Spring Reverb DIY
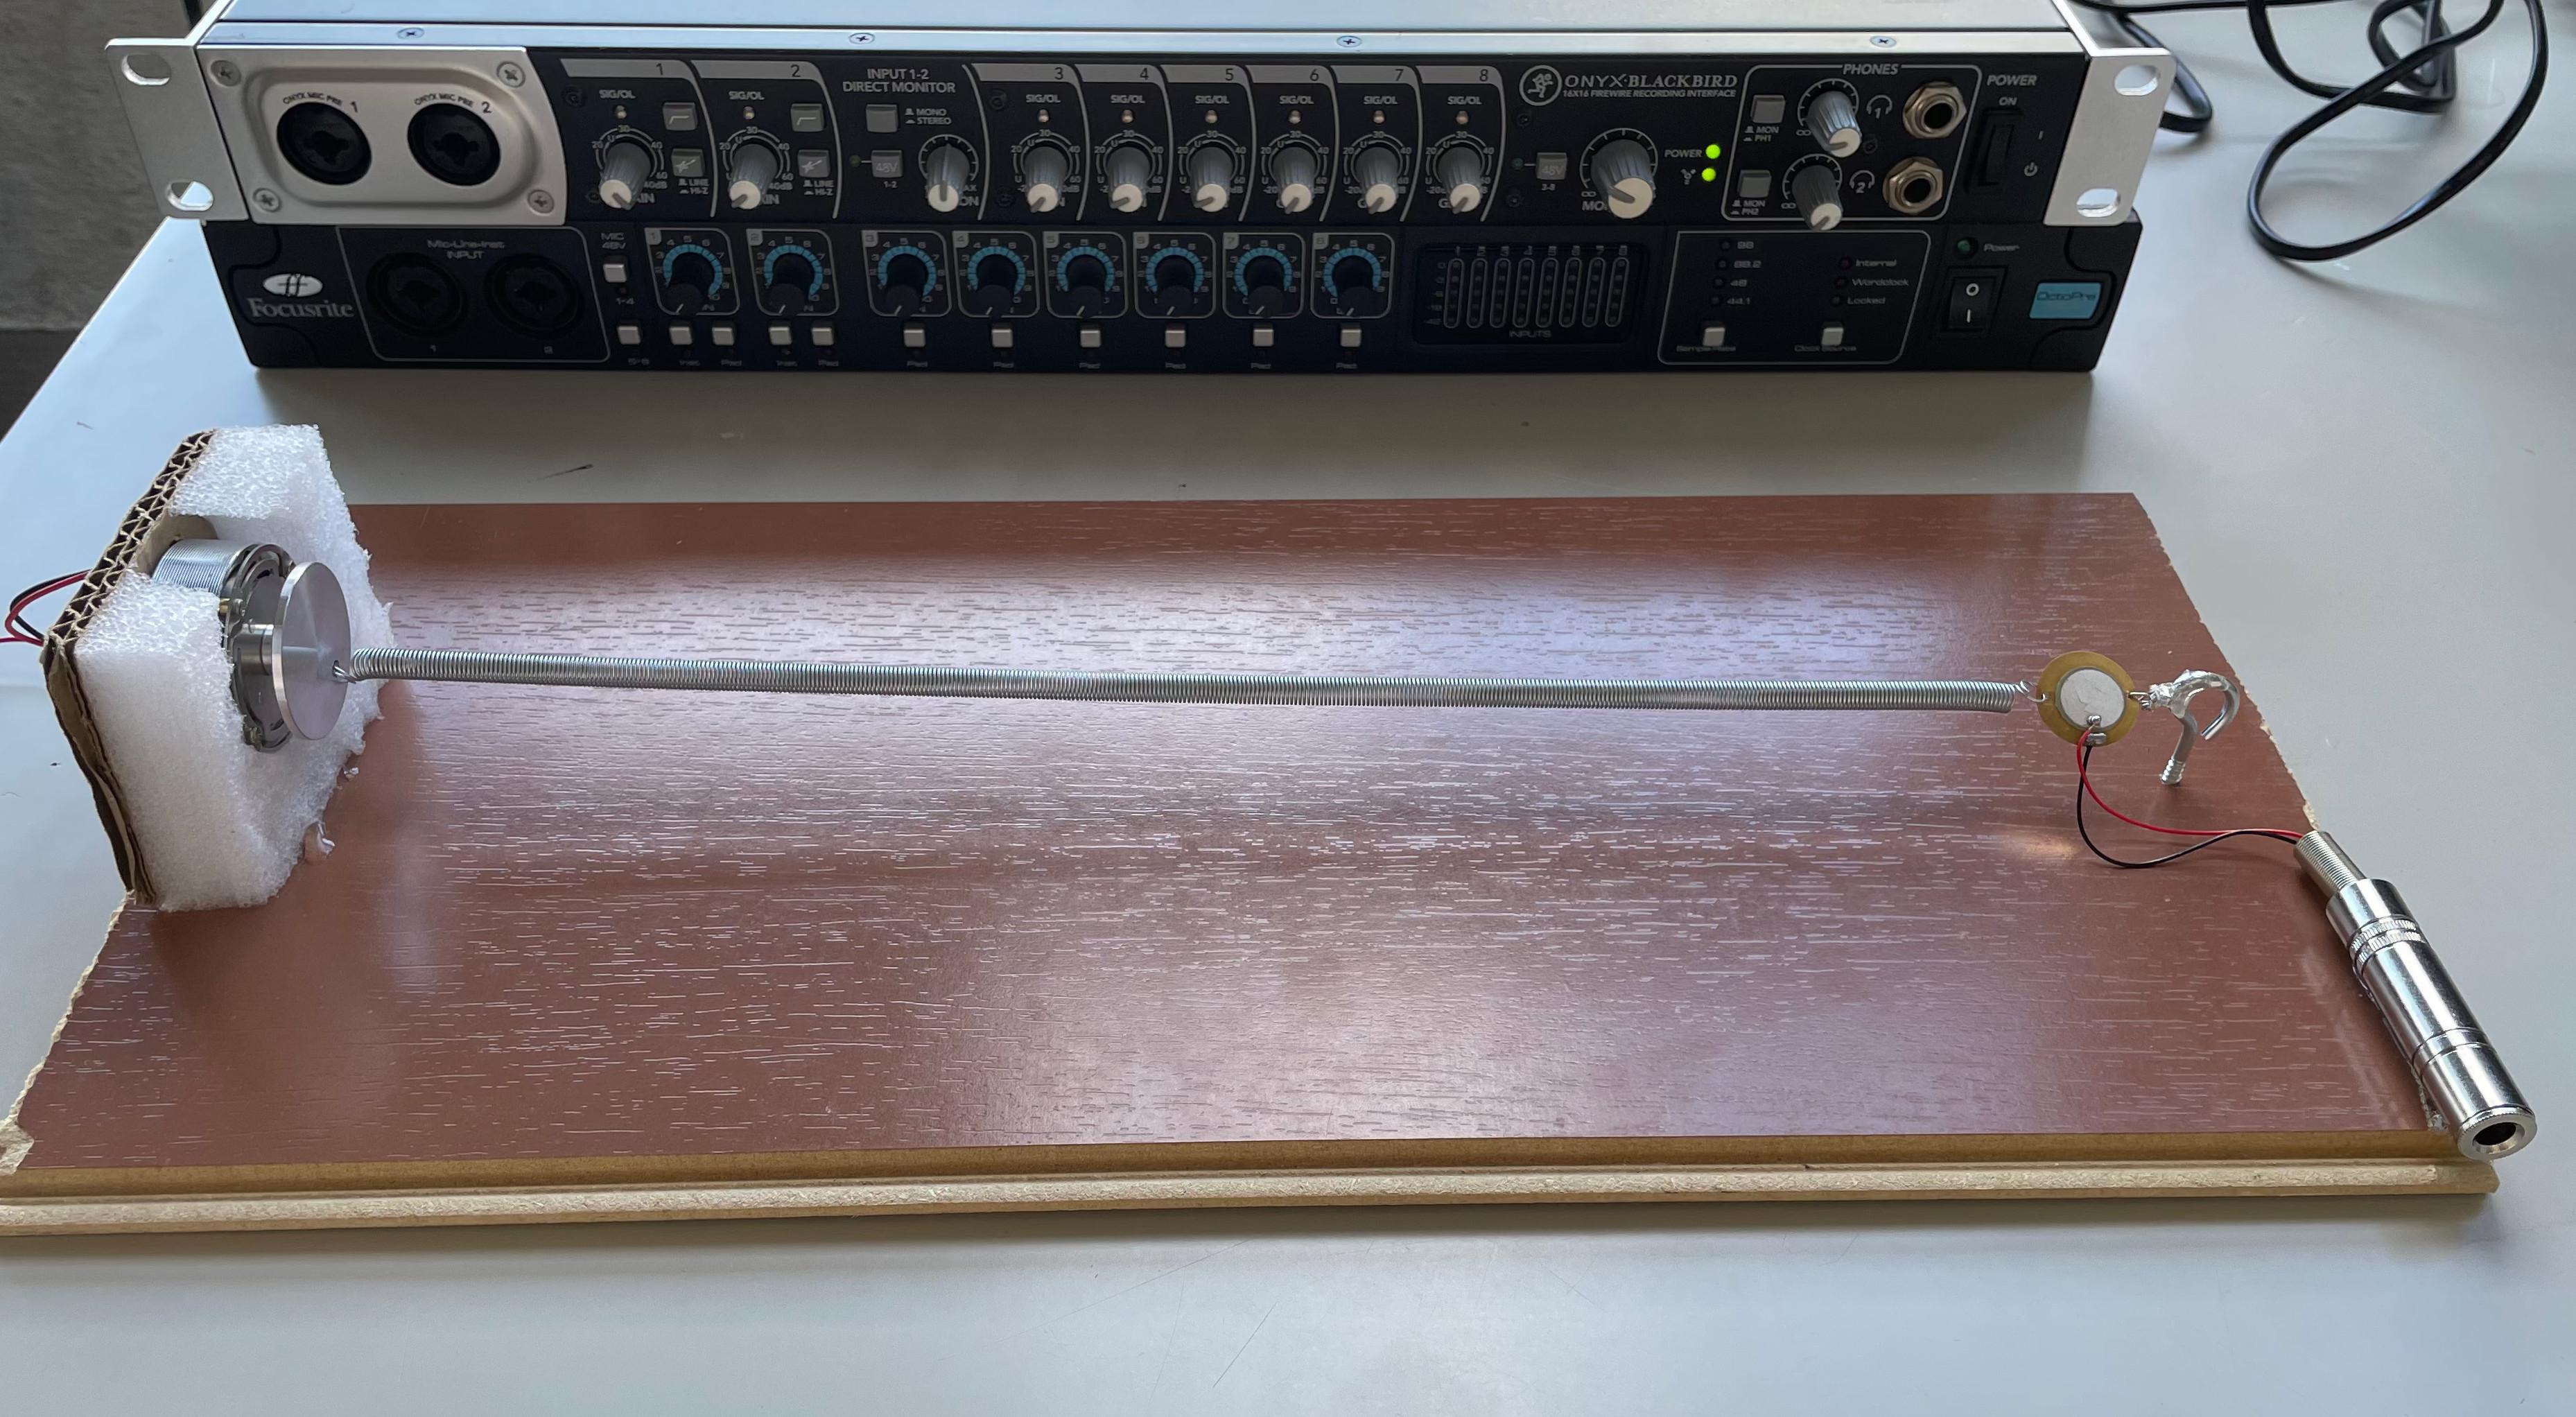
As a musician myself, I'm always on the look for new sounds. Having learned more about reverberation modeling in the recent years, I've slowly began to grow some interest in making one of them myself. With this project I present a version of a spring reverb that I believe is as simple as it gets: an exciter, the spring itself and a pietzo to collect the sound. There is only one catch: you will need an amplifier to feed the signal to the exicter.
Supplies
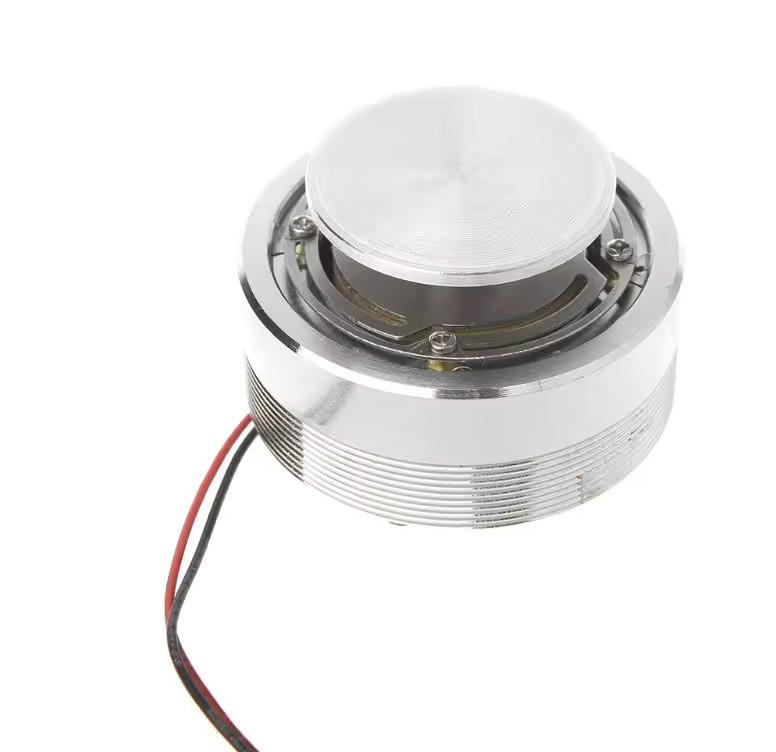
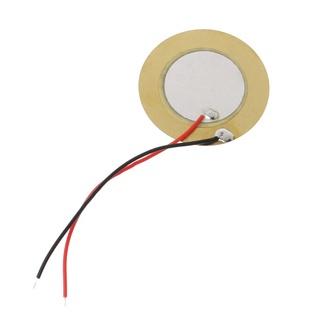
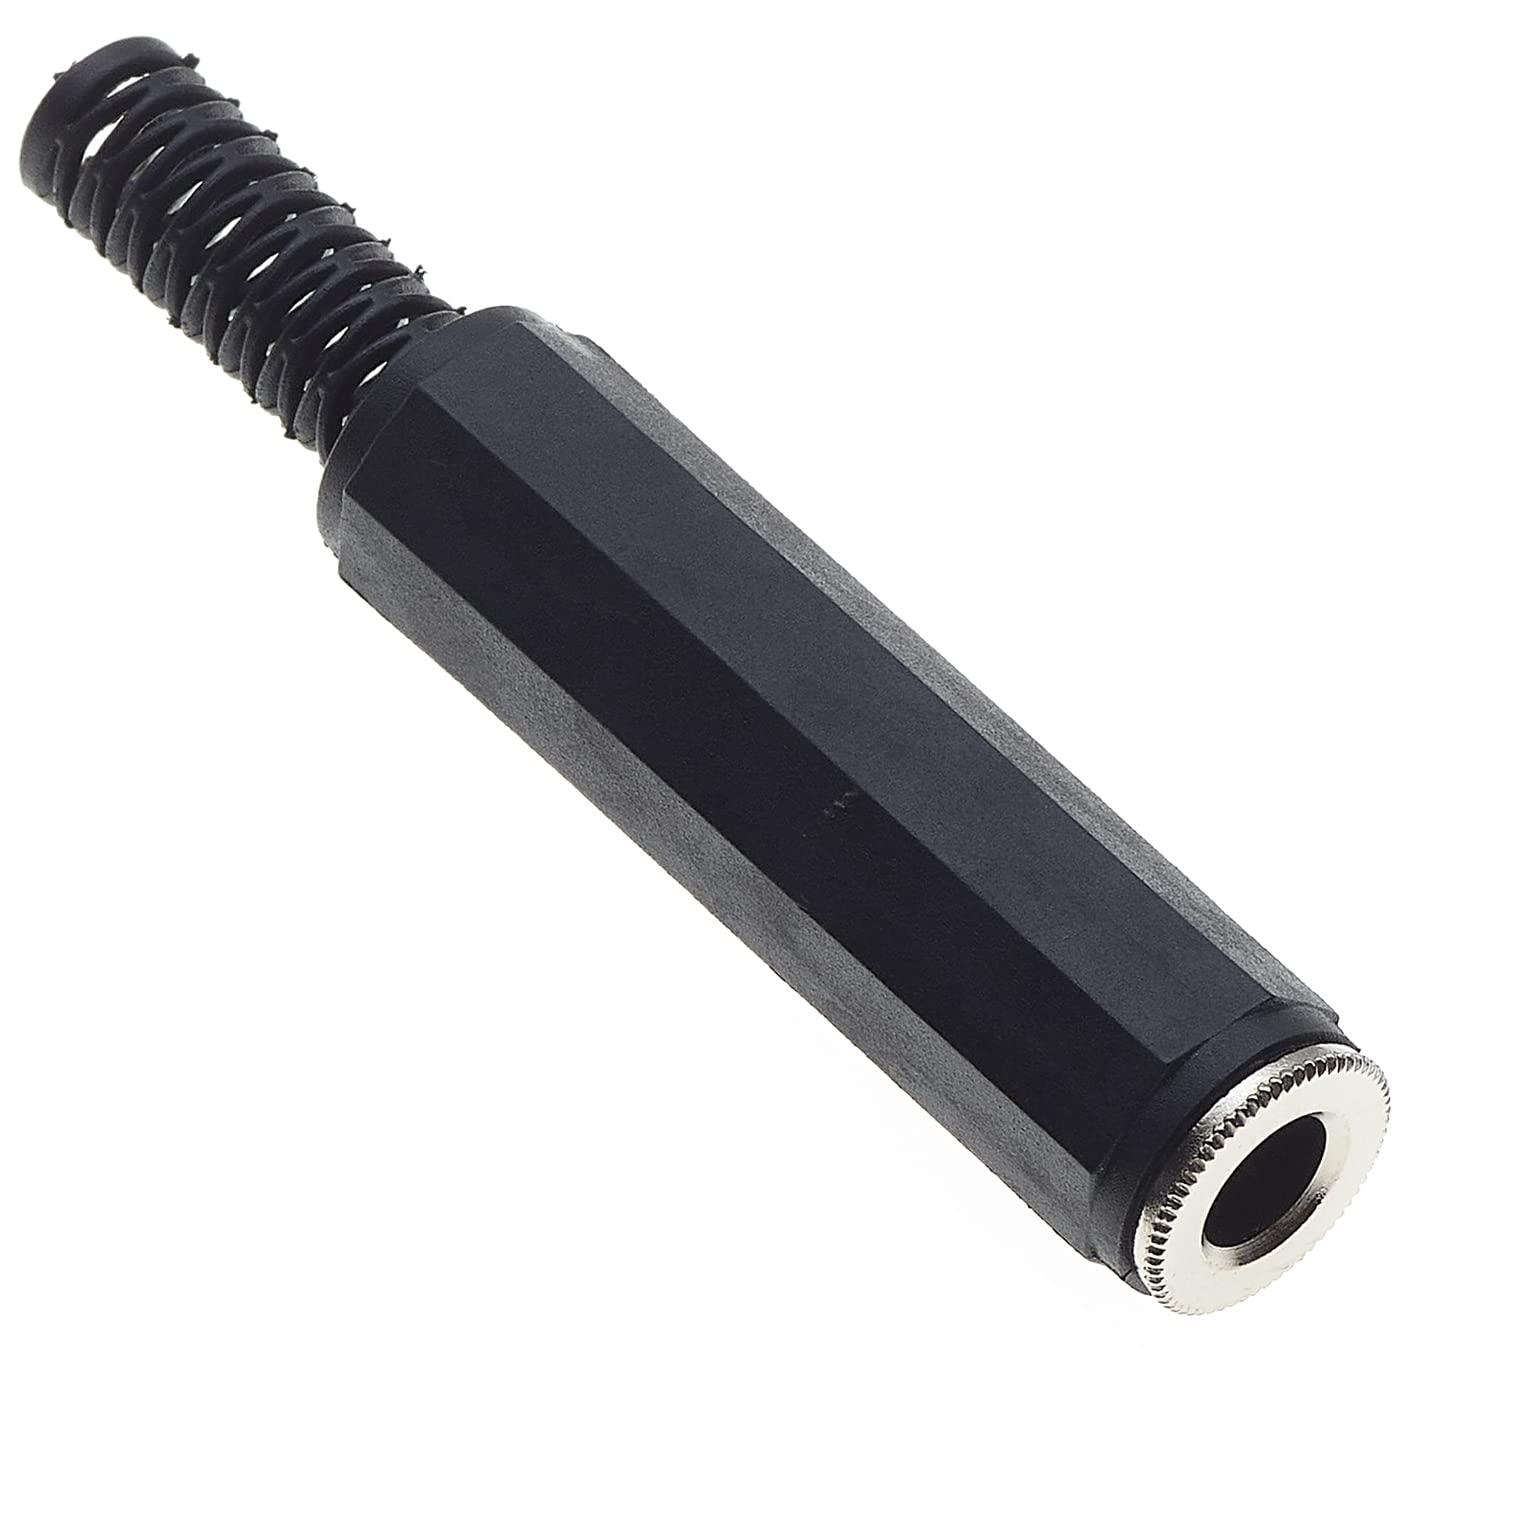
This list includes everything necessary for the completion of the project, however, keep in mind that not following the exact materials (measurements, models...) won't mean that it won't work out for you. In any case, I've included some advice on things to avoid / try if possible and linked some of the products for reference.
-Audio Exciter (40mm 15W 4 Ohm)
-Piezoelectric disc (20mm): Bigger piezos would work too, however, i wouldn't go any smaller.
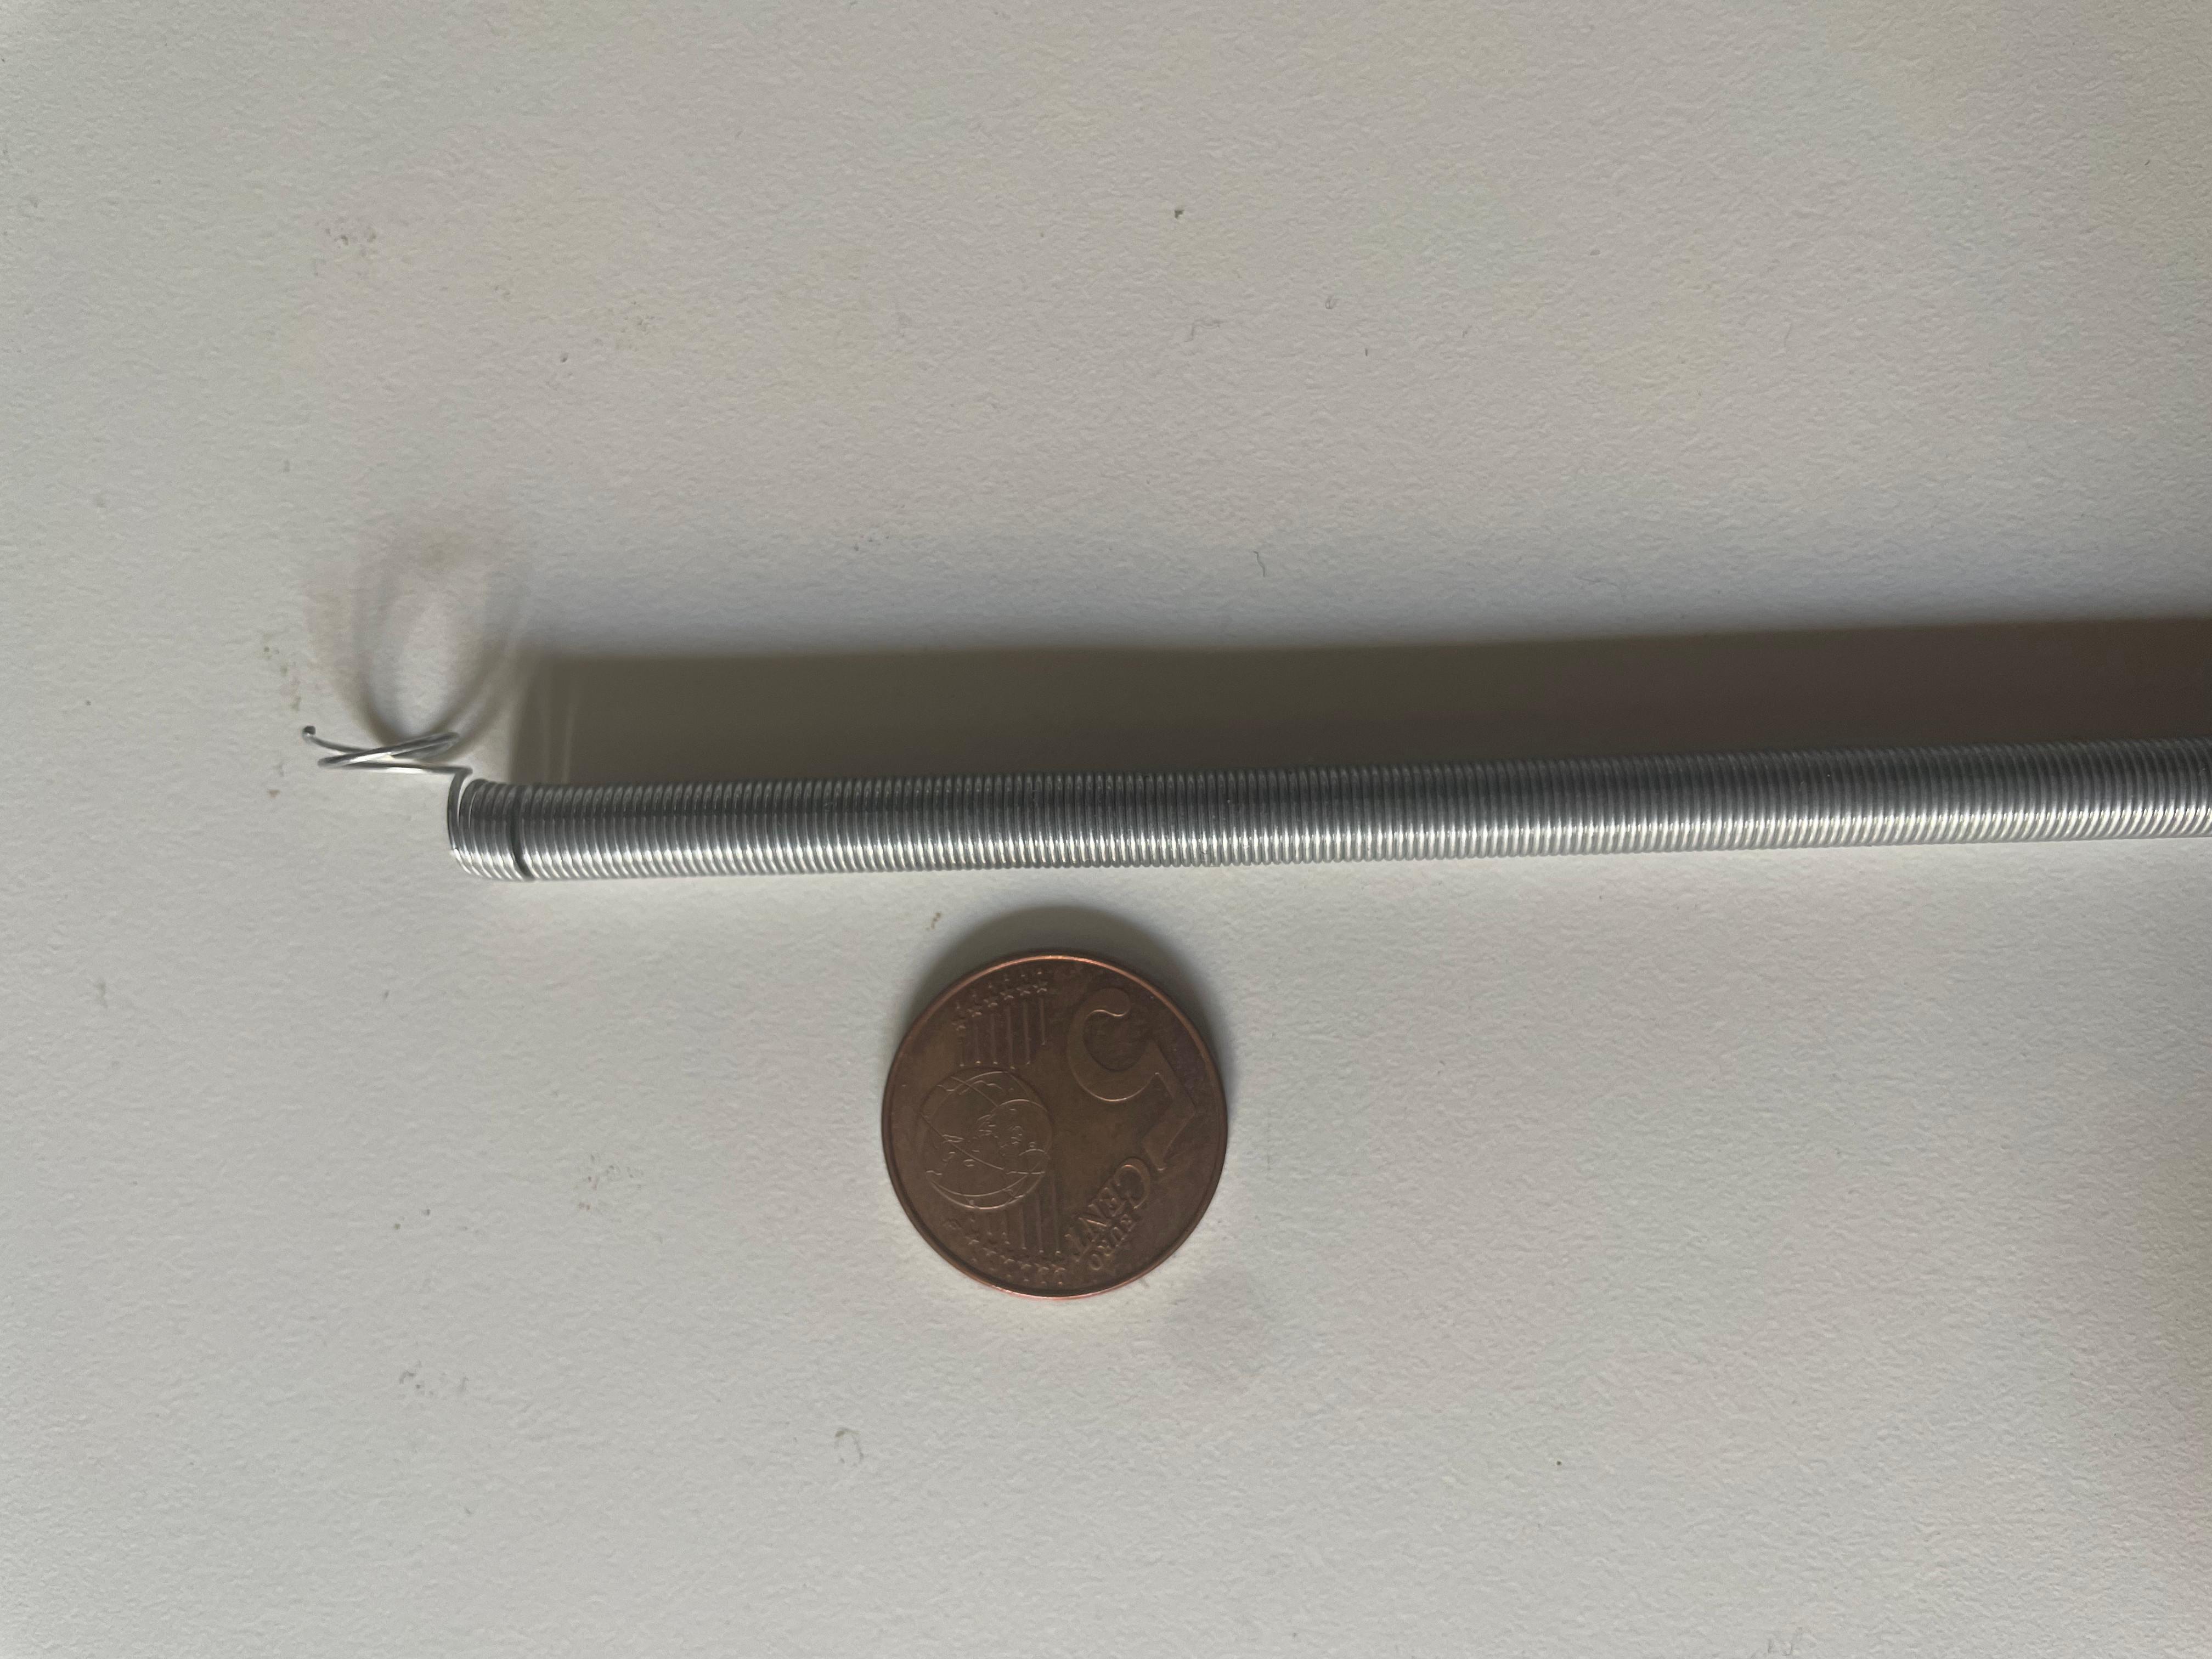
-The spring itself (5mm diameter): Keep in mind vibrations have to be able to go through it, so not any spring will do, make sure your spring it's loose enough to be tensed without needing much force while being able to easily vibrate.
-TS Female connector: I prefered it so I can conect the jack straight to my sound card but feel free to adapt this component to your needs.
-Drill.
-Hot glue gun.
-Screw hook.
-Some kind of mount/cushioning for the exciter.
-A flat surface to mount everything to.
-A soldering kit.
Drilling Holes
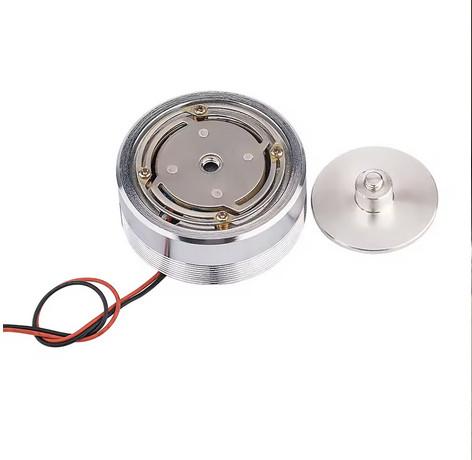
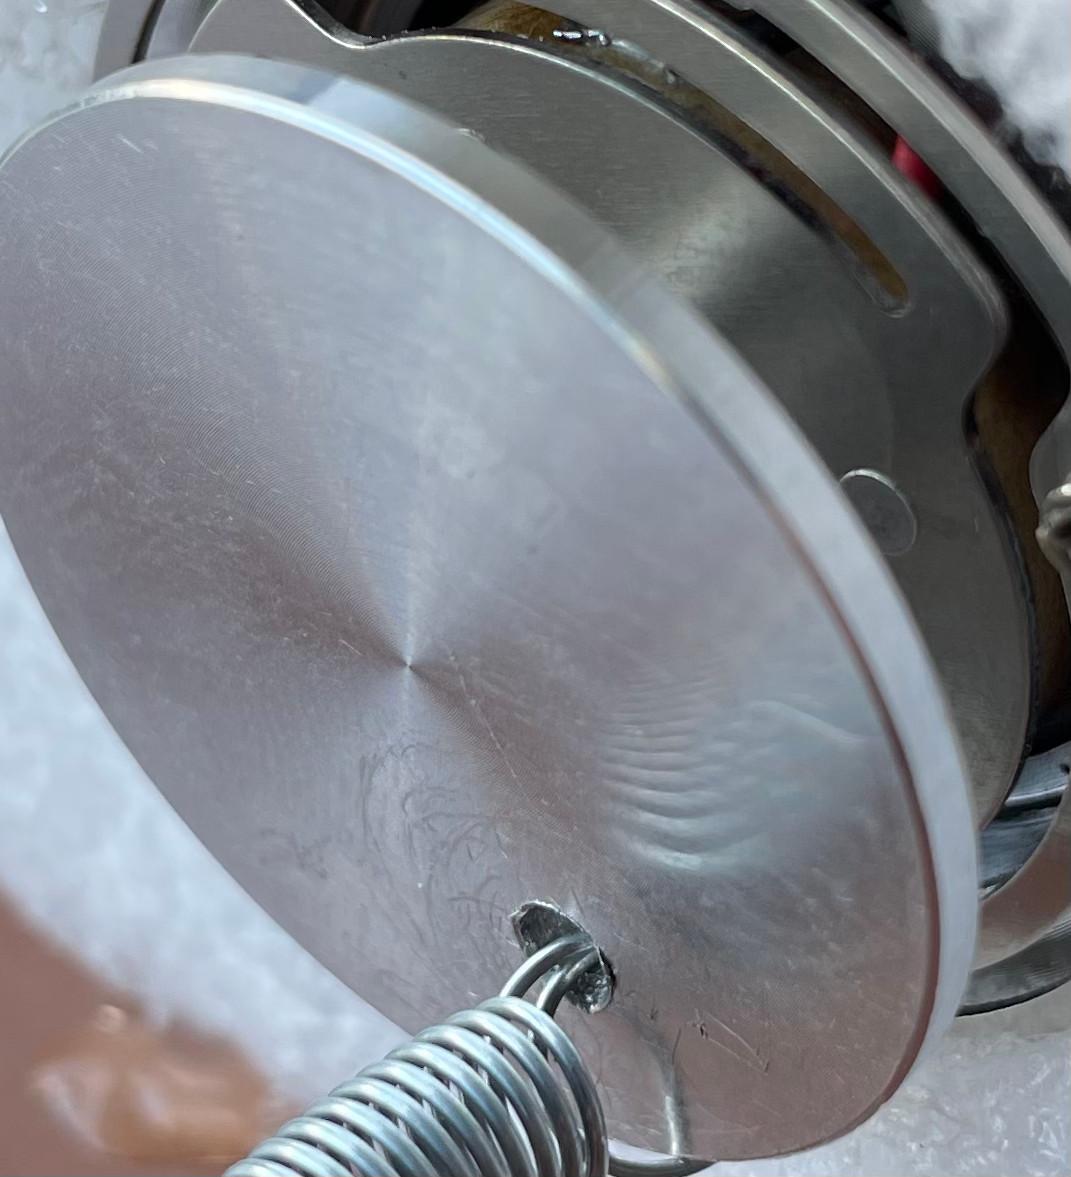
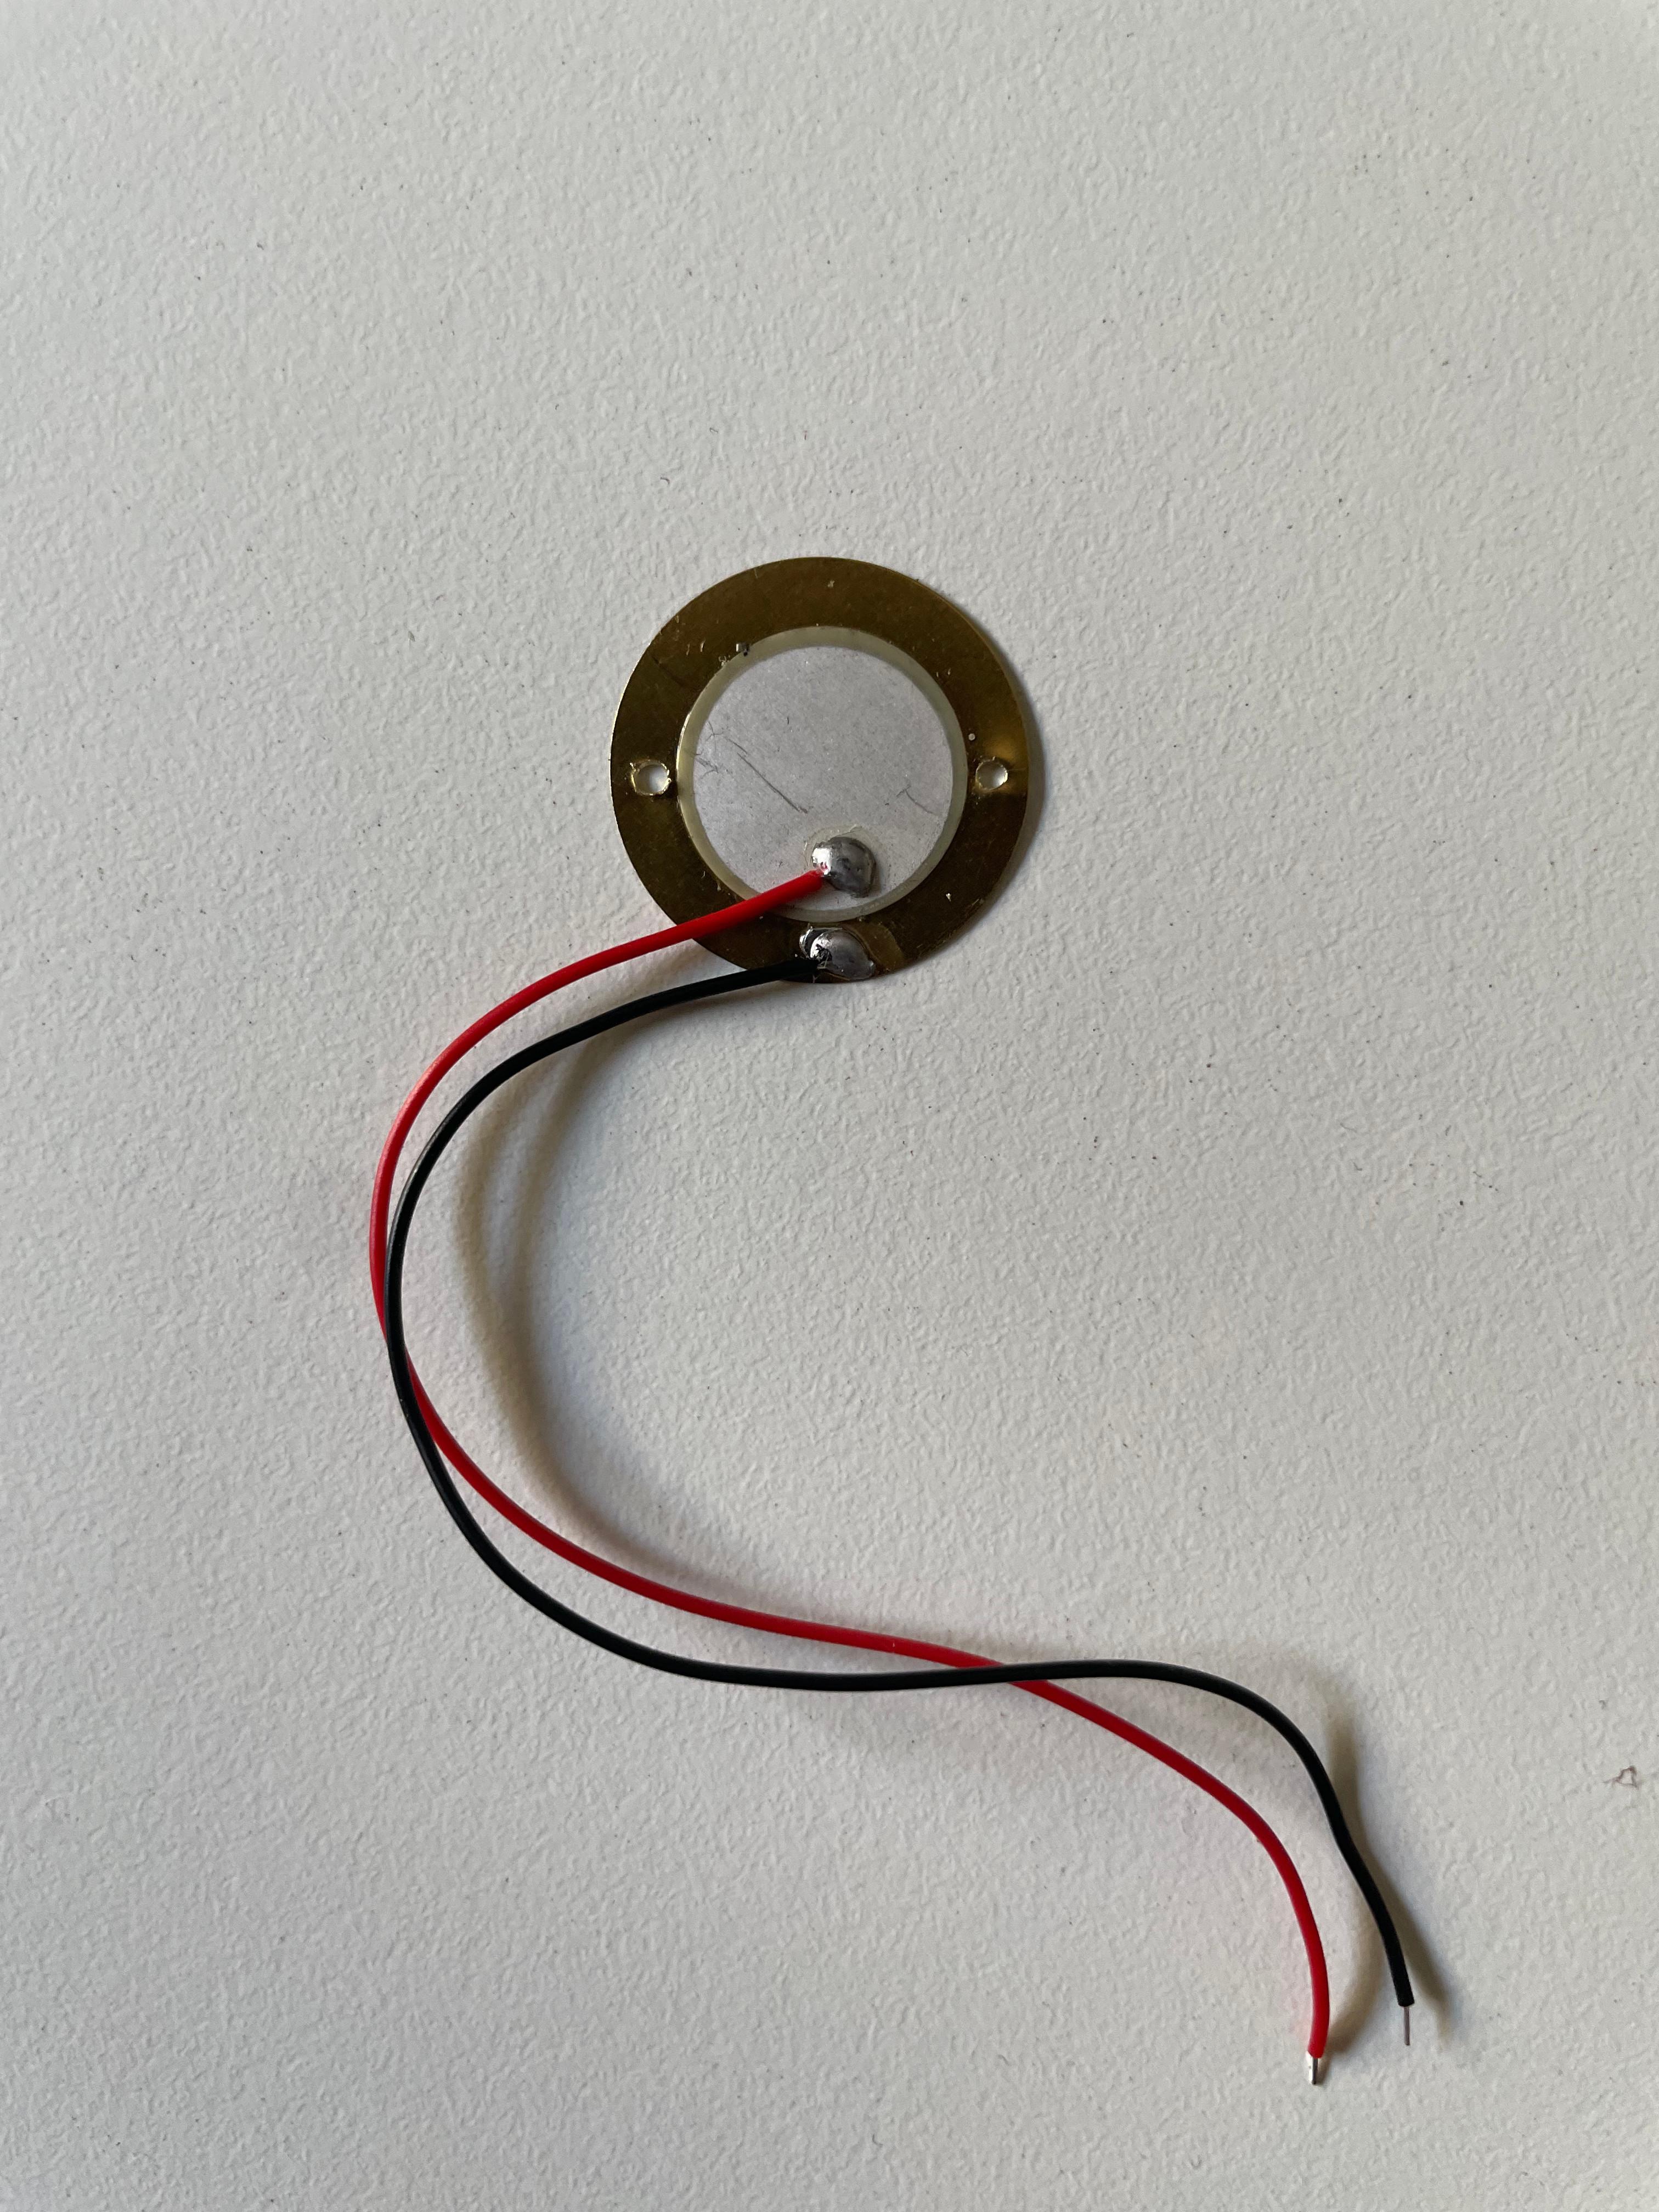
Firstly, we'll drill the holes the spring will atatch to.
For the exciter, I first deattached the main piece and drilled a hole of around 2.5mm as close to the perimetrer as possible (this way it will be easier when connecting the spring).
For the piezo I used a sharp pointed knive to make two opposite small incisions in the metalic surface where we will connect the spring and the support cable.
Soldering
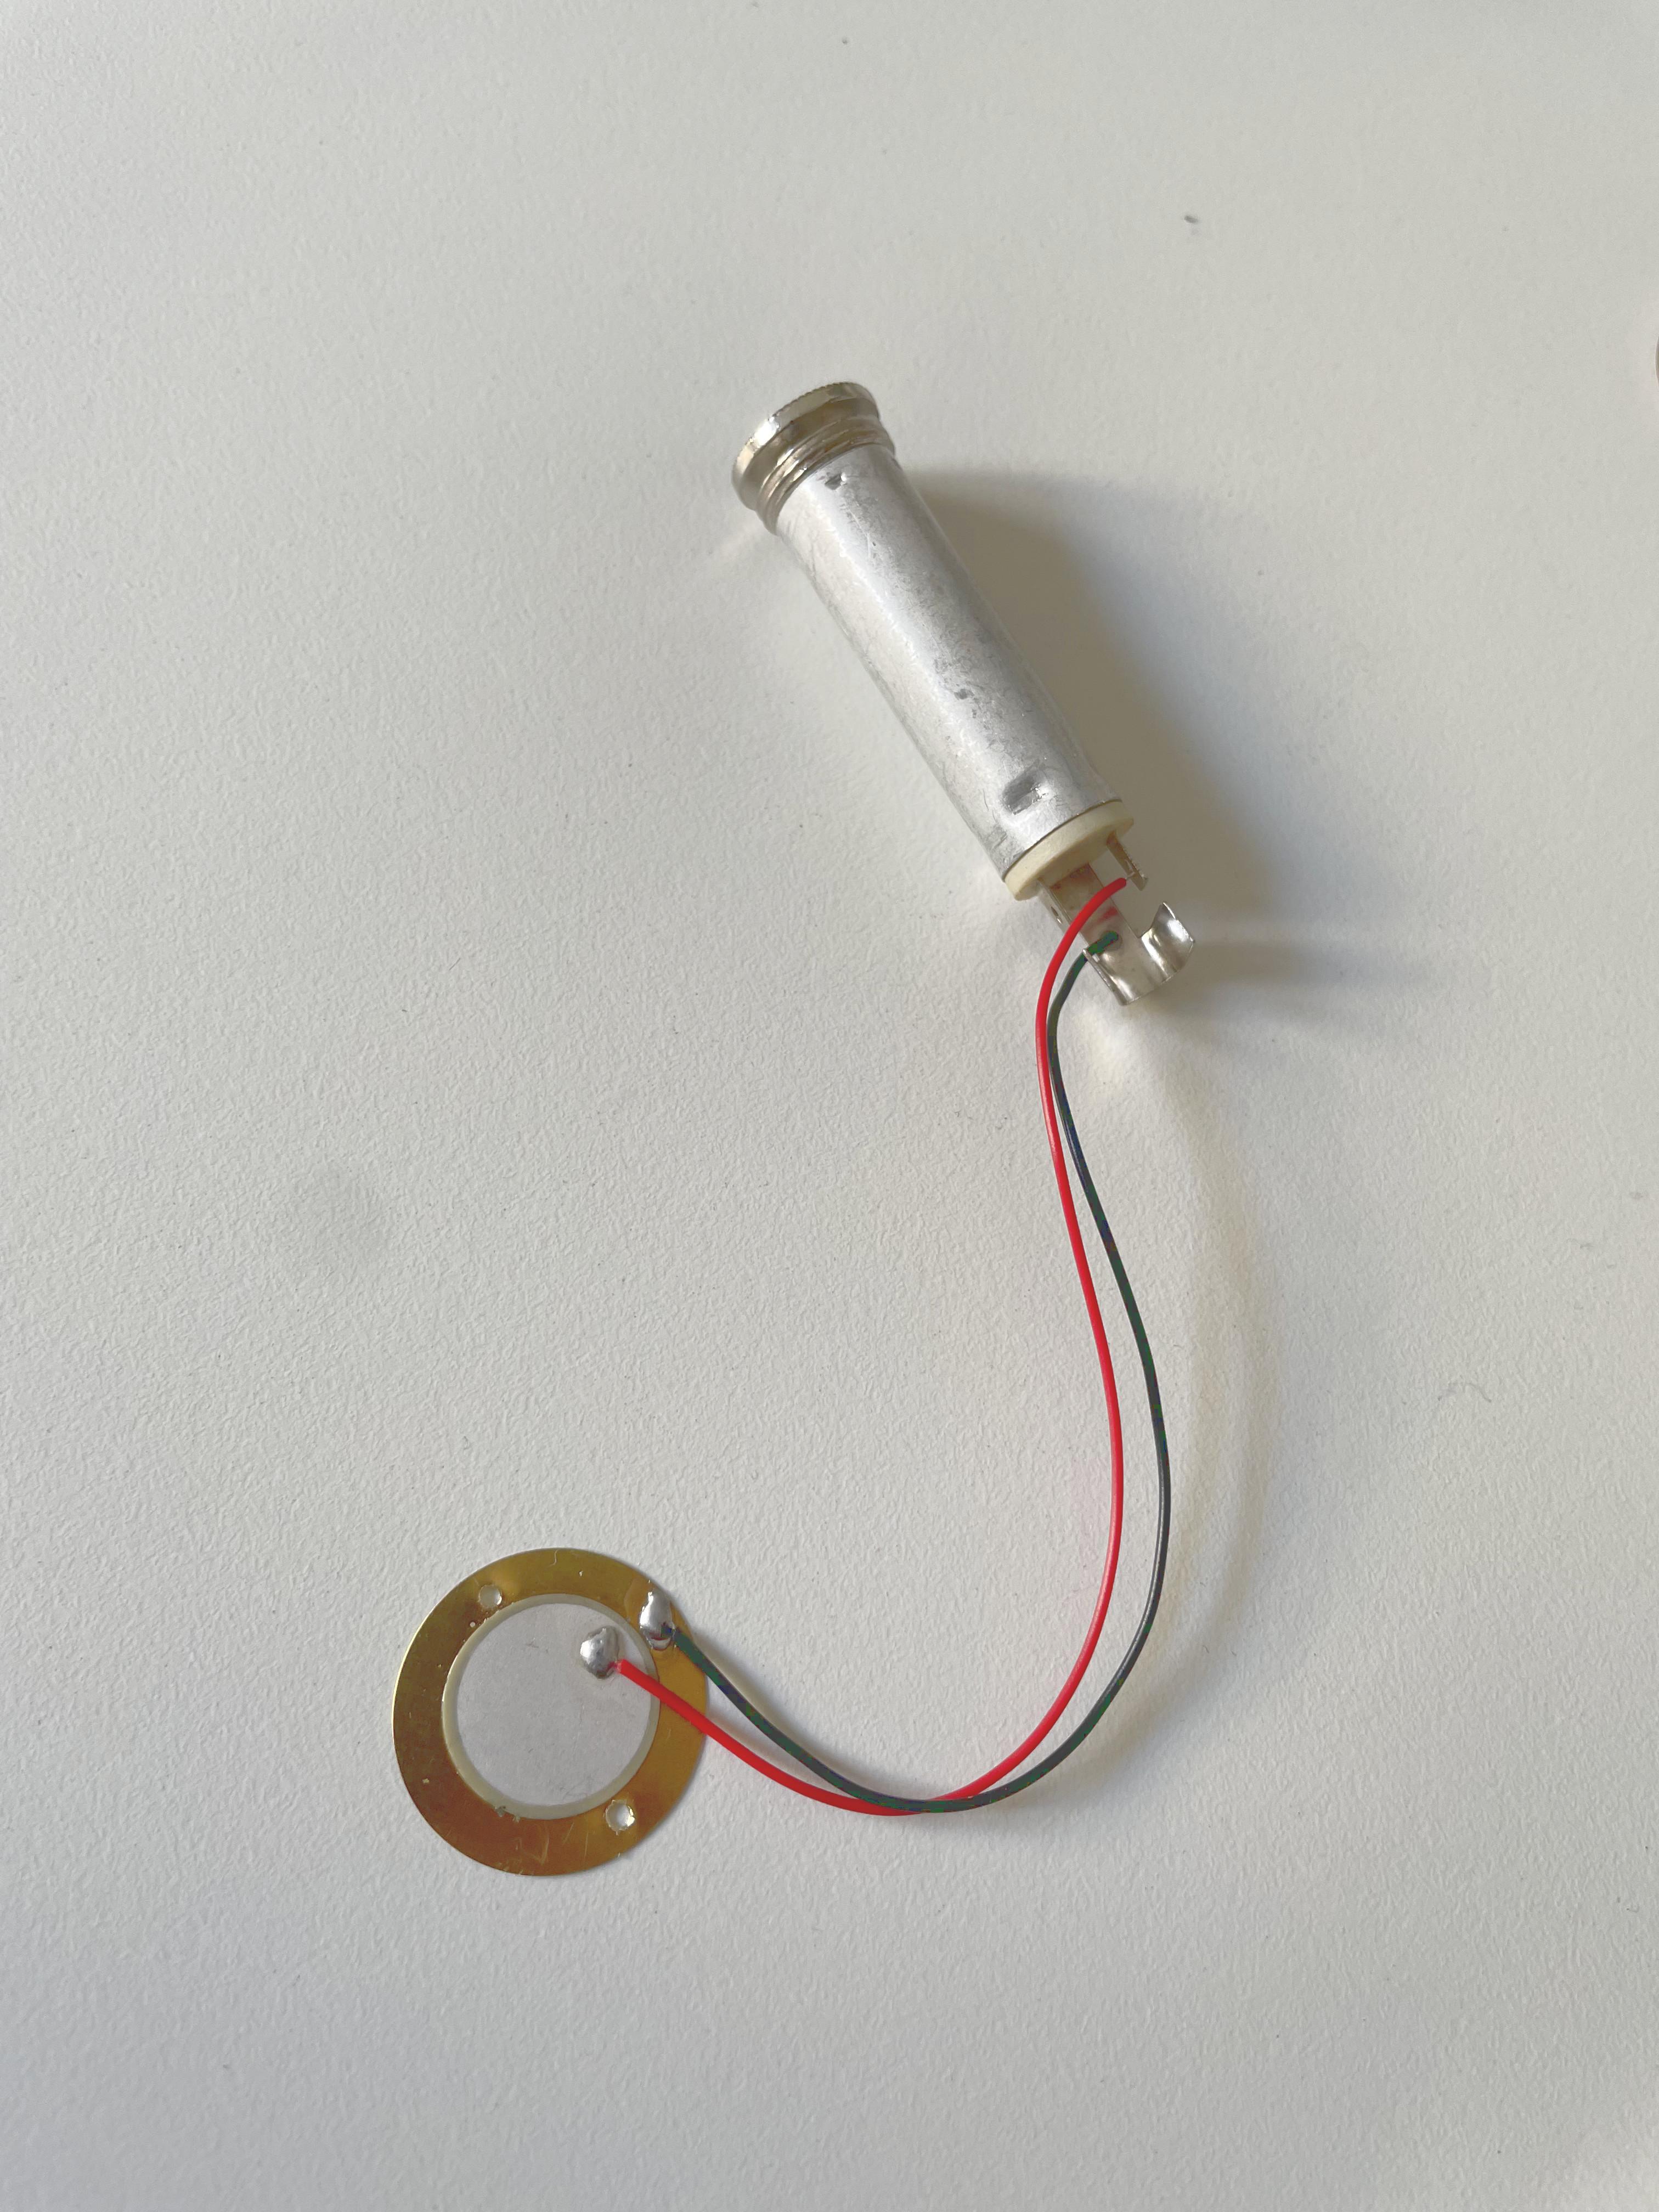
Since I've left the exciter cables exposed so I can conect them directly to my audio amplifier, we'll only need to solder the piezo to the TS connector.
Shaping the Spring
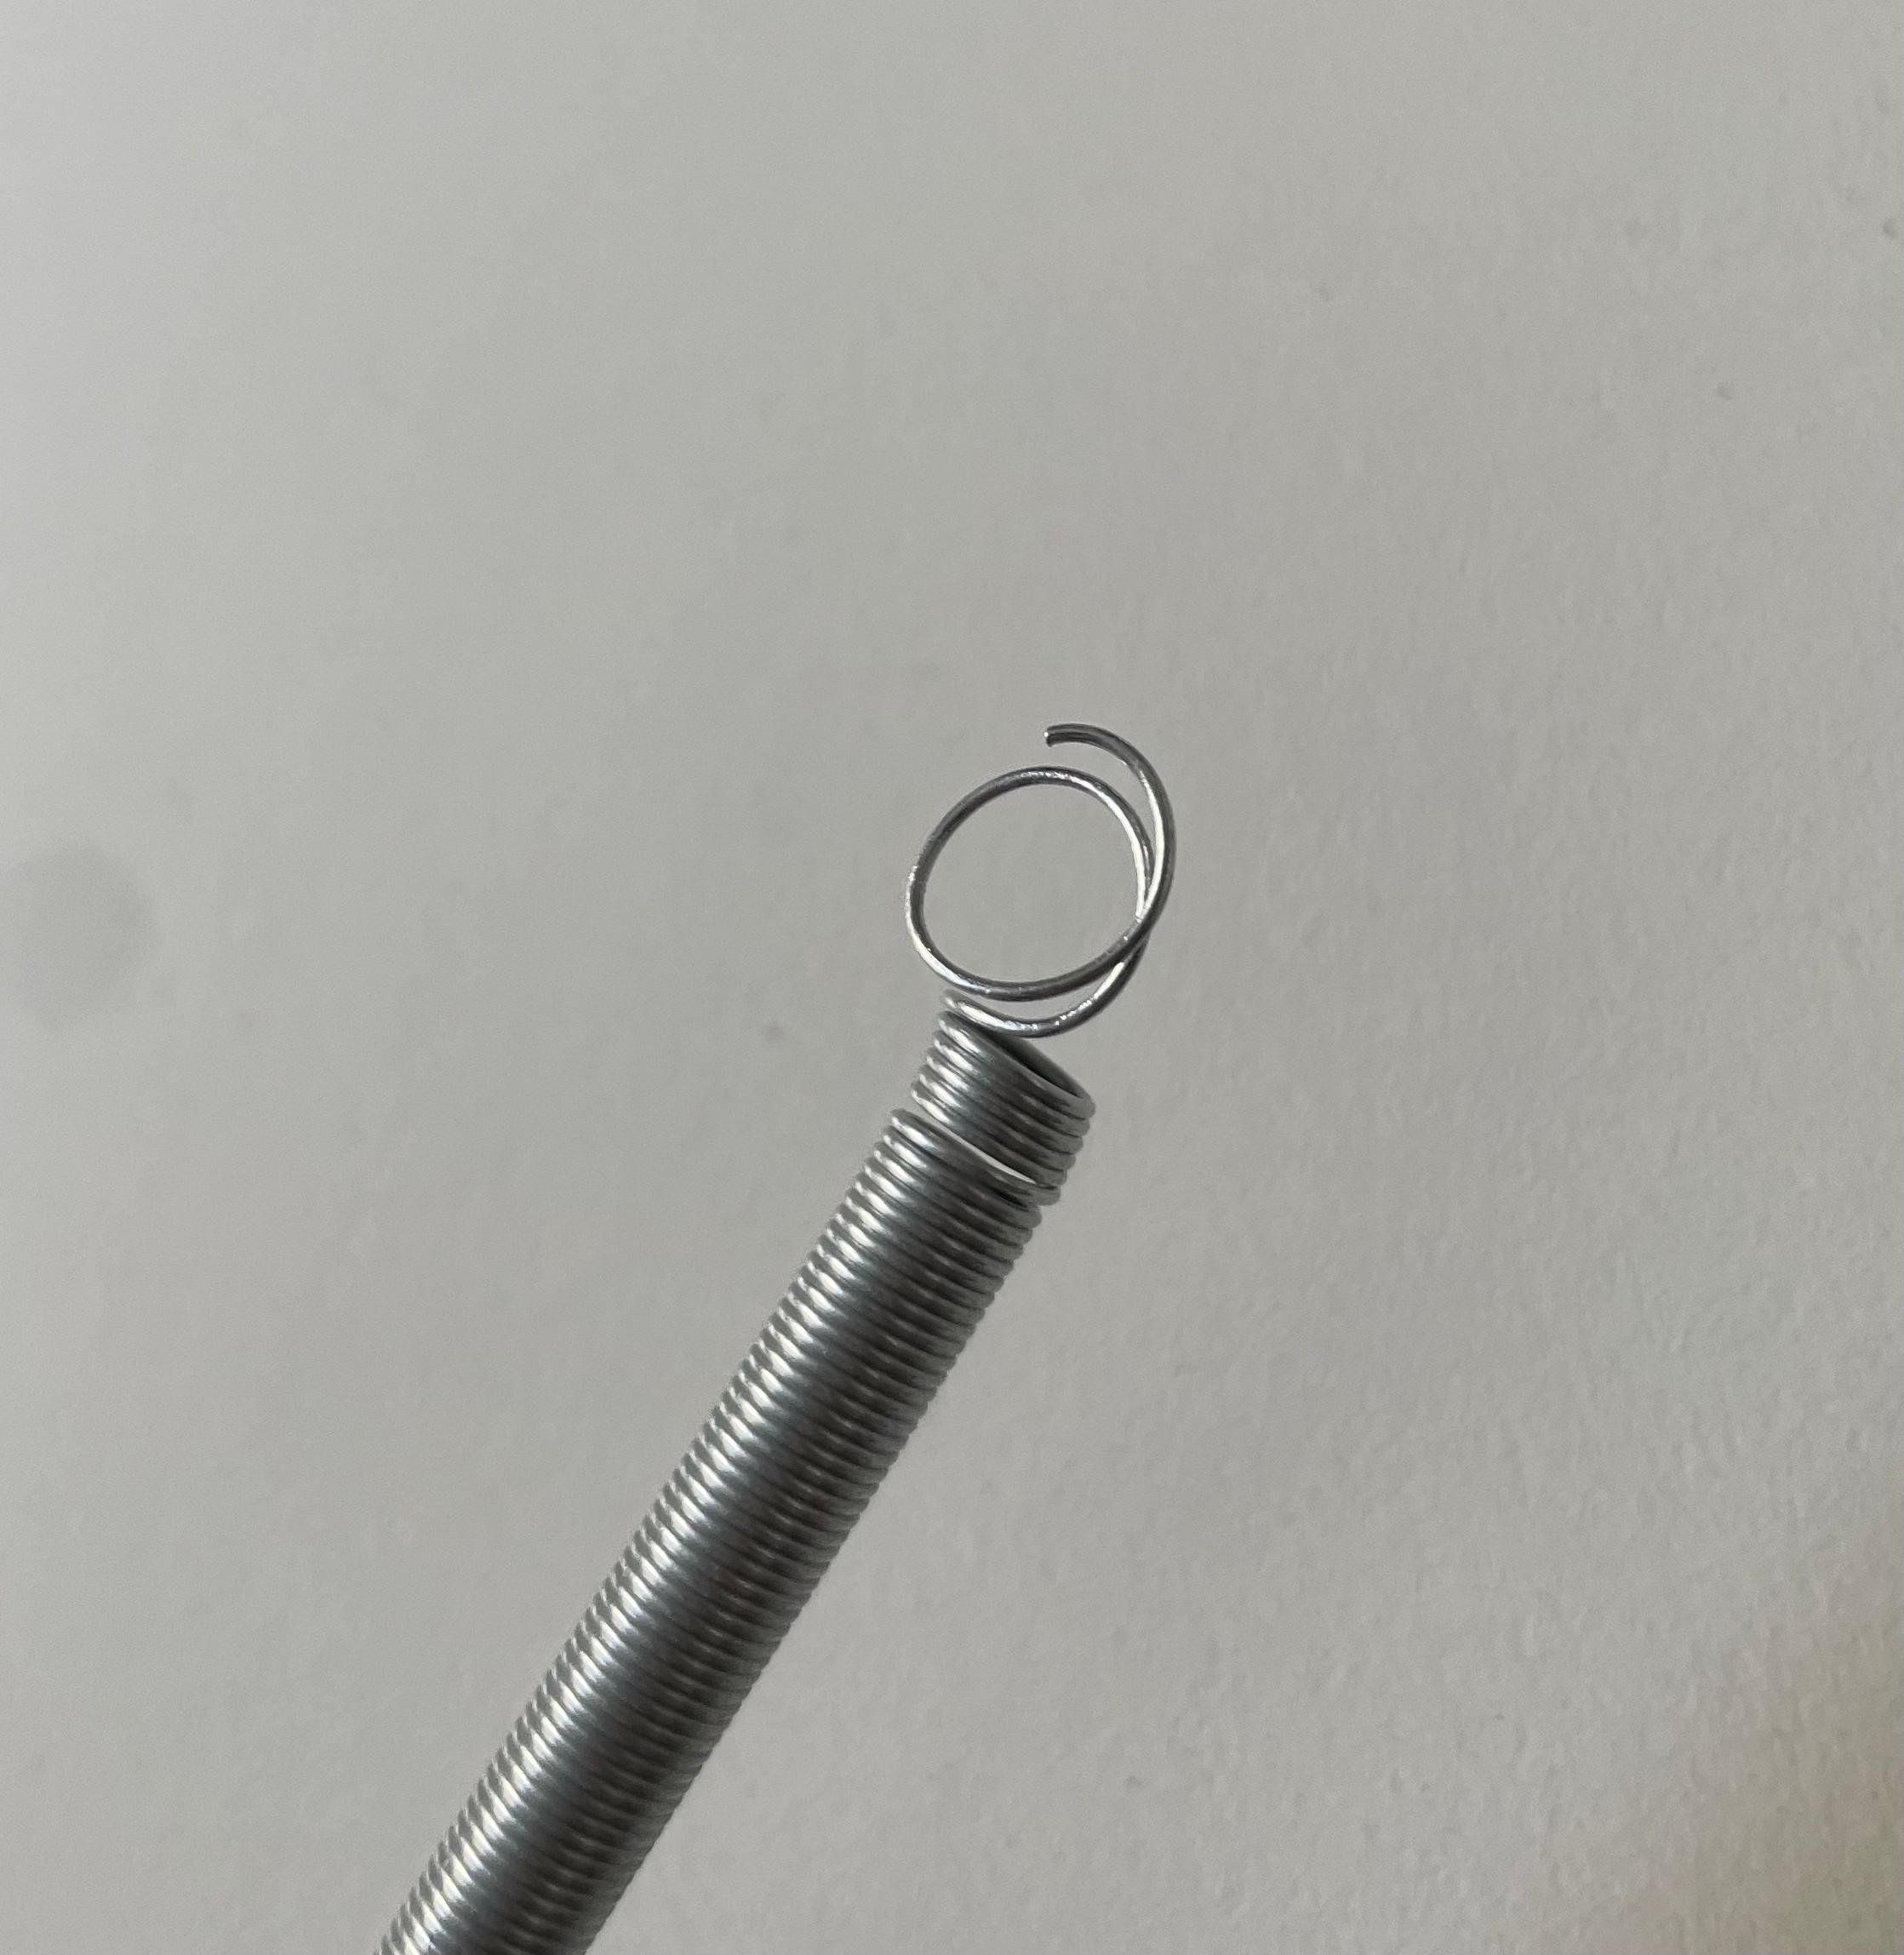
Now we'll adjust the spring to our needs.
I used about 25cm of untensioned string which stretched to 35cm when mounted. I'd suggest experimenting with tension before fixing everything in place so you can adjust to your spring and find the sweet spot for the best sound possible.
If not provided by the factory finish, we'll need to shape both ends of the spring to create a hook for the holes drilled previously.
Mounting the Exciter to Our Surface
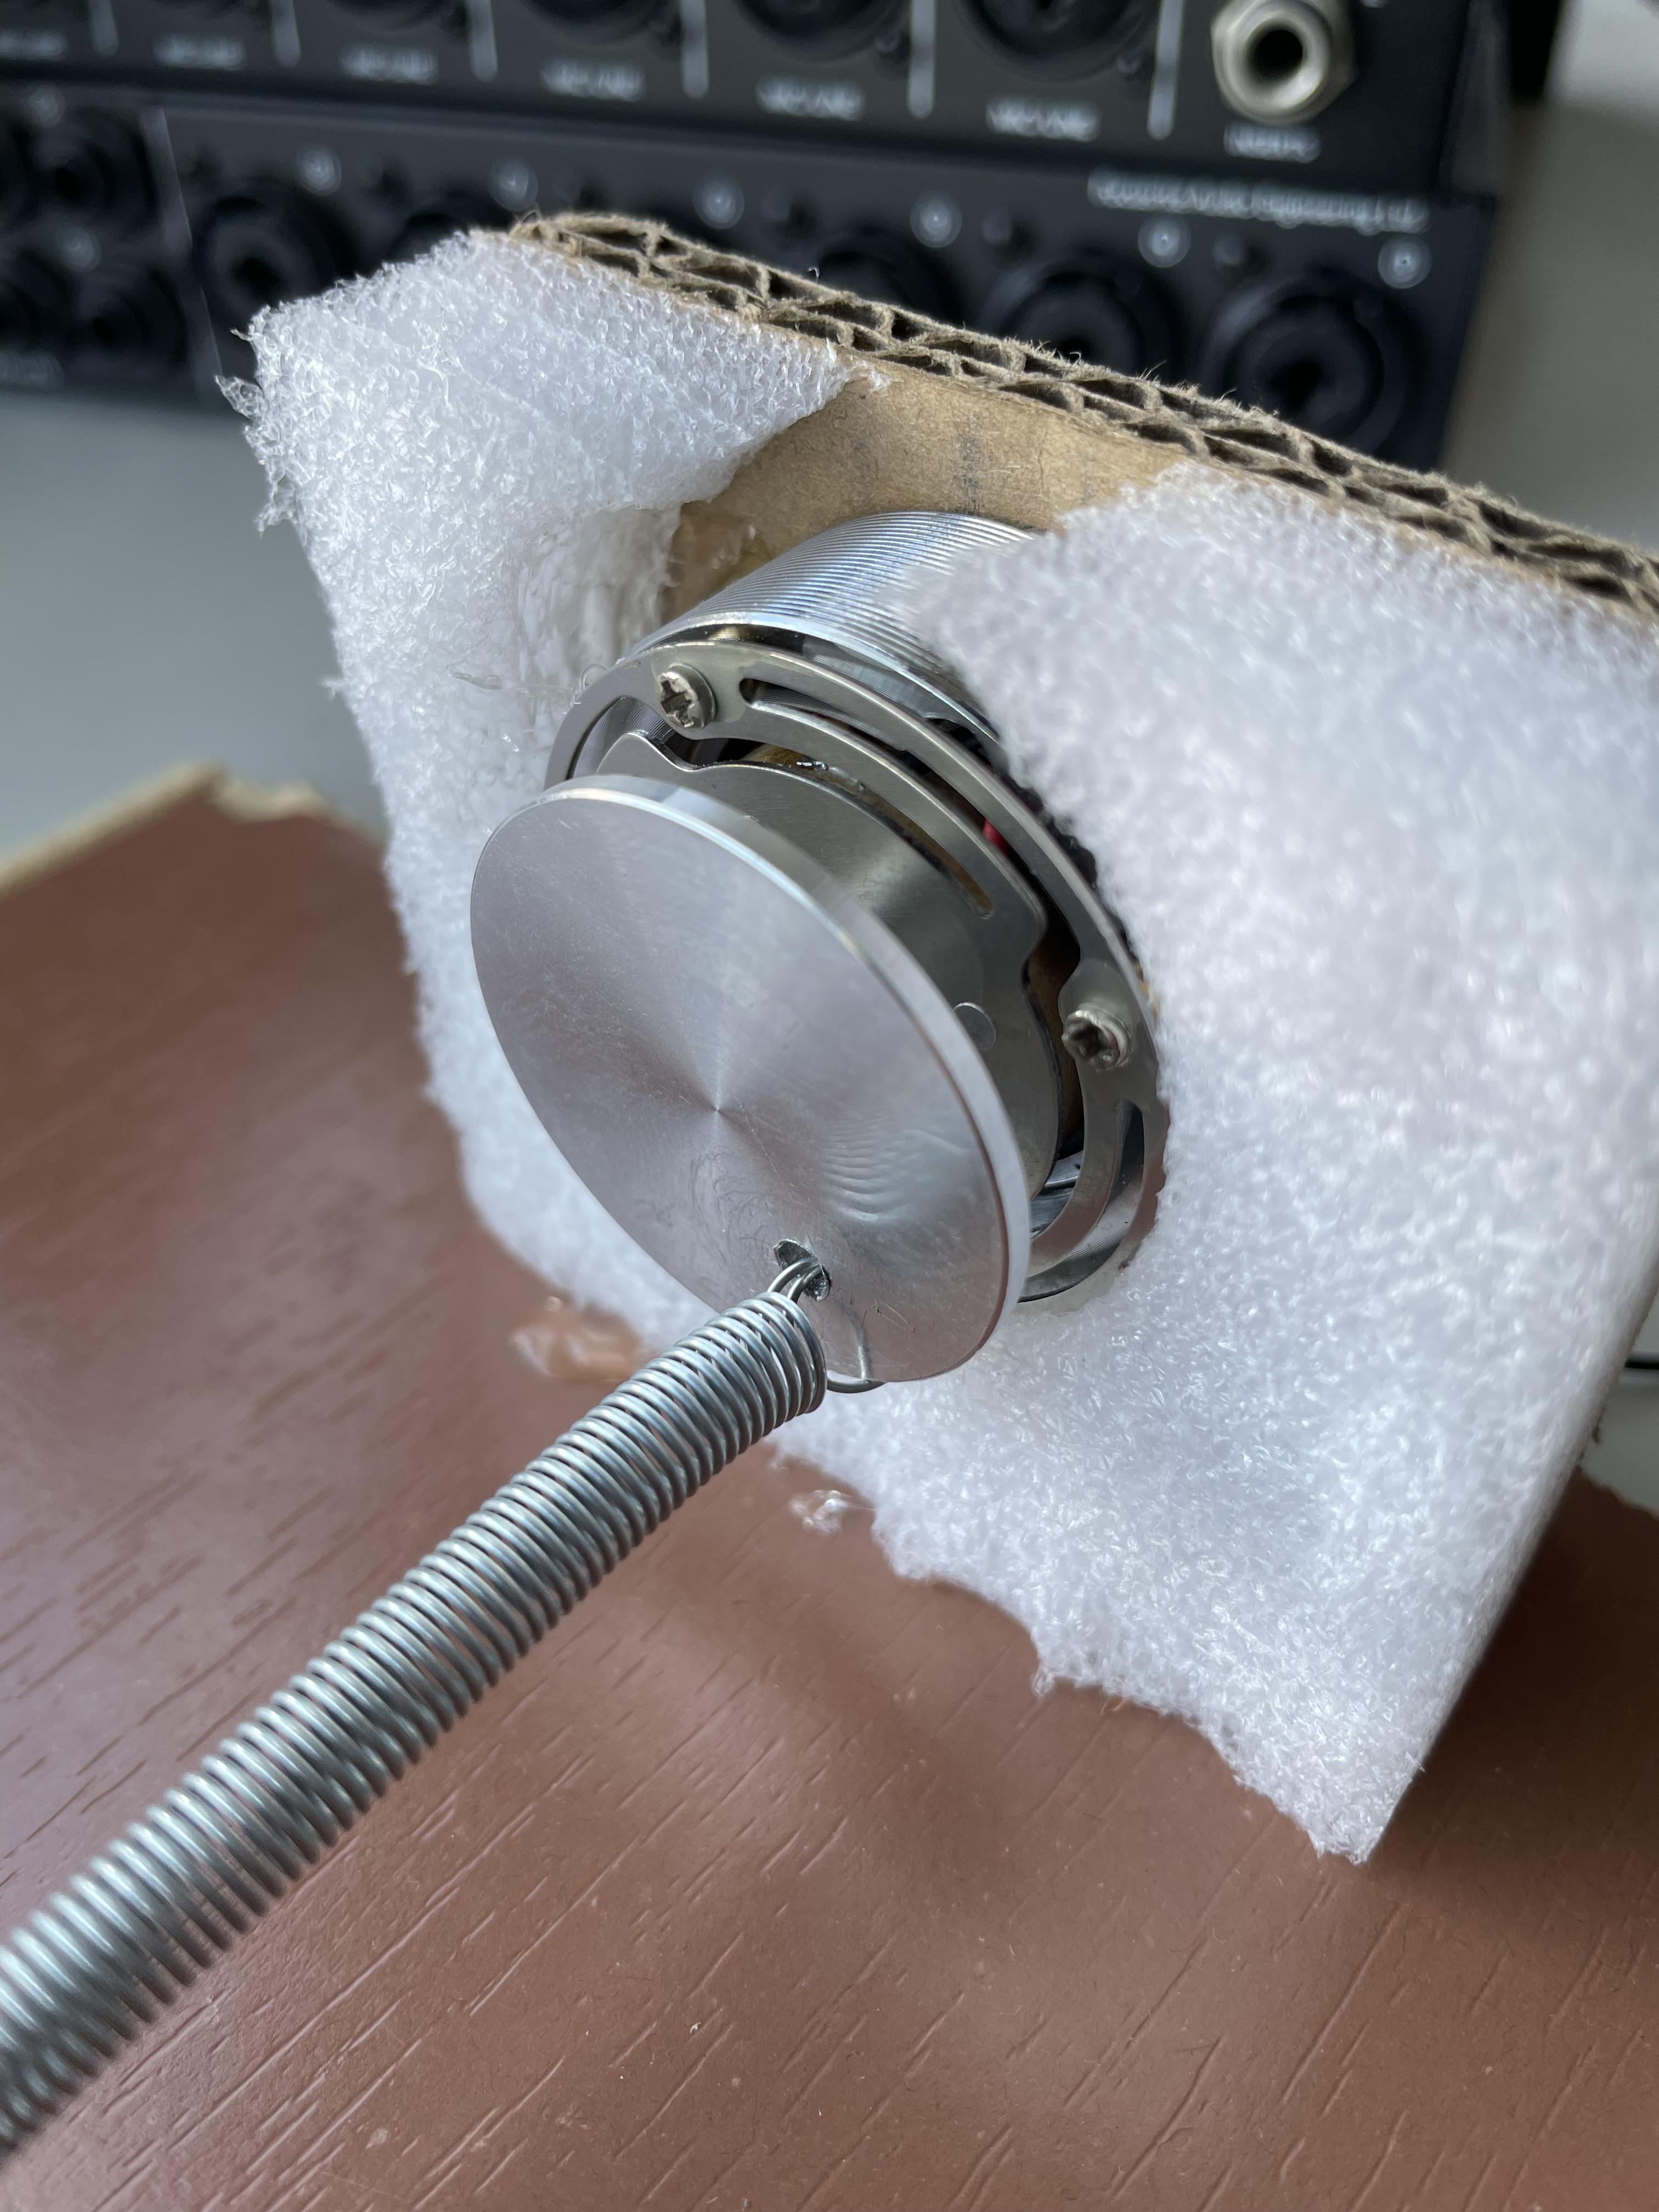
I'd say this is one of the most crucial steps in this project, since not mounting the exciter propperly and, most importantly, not cushioning/isolating it well (as it was my case), can have a big impact in the sound quality.
In my case, I tried using the packaging foam shown in the picture to try dumpening the vibrations coming from the exciter. However, I didn't take into consideration that I was actually attaching it to the cardboard in the back, so at the end of the day, I had an membrane-like structure giving me sound that transfered into the rest of the project and, inevitably, into the piezo mic.
Giving my situation, I'd suggest experimenting with other isolating methods and find some better solution than I did. In the future, I'll probably try suspending it so I can avoid as many not wanted sound as possible.
Mounting the Piezo to Our Surface
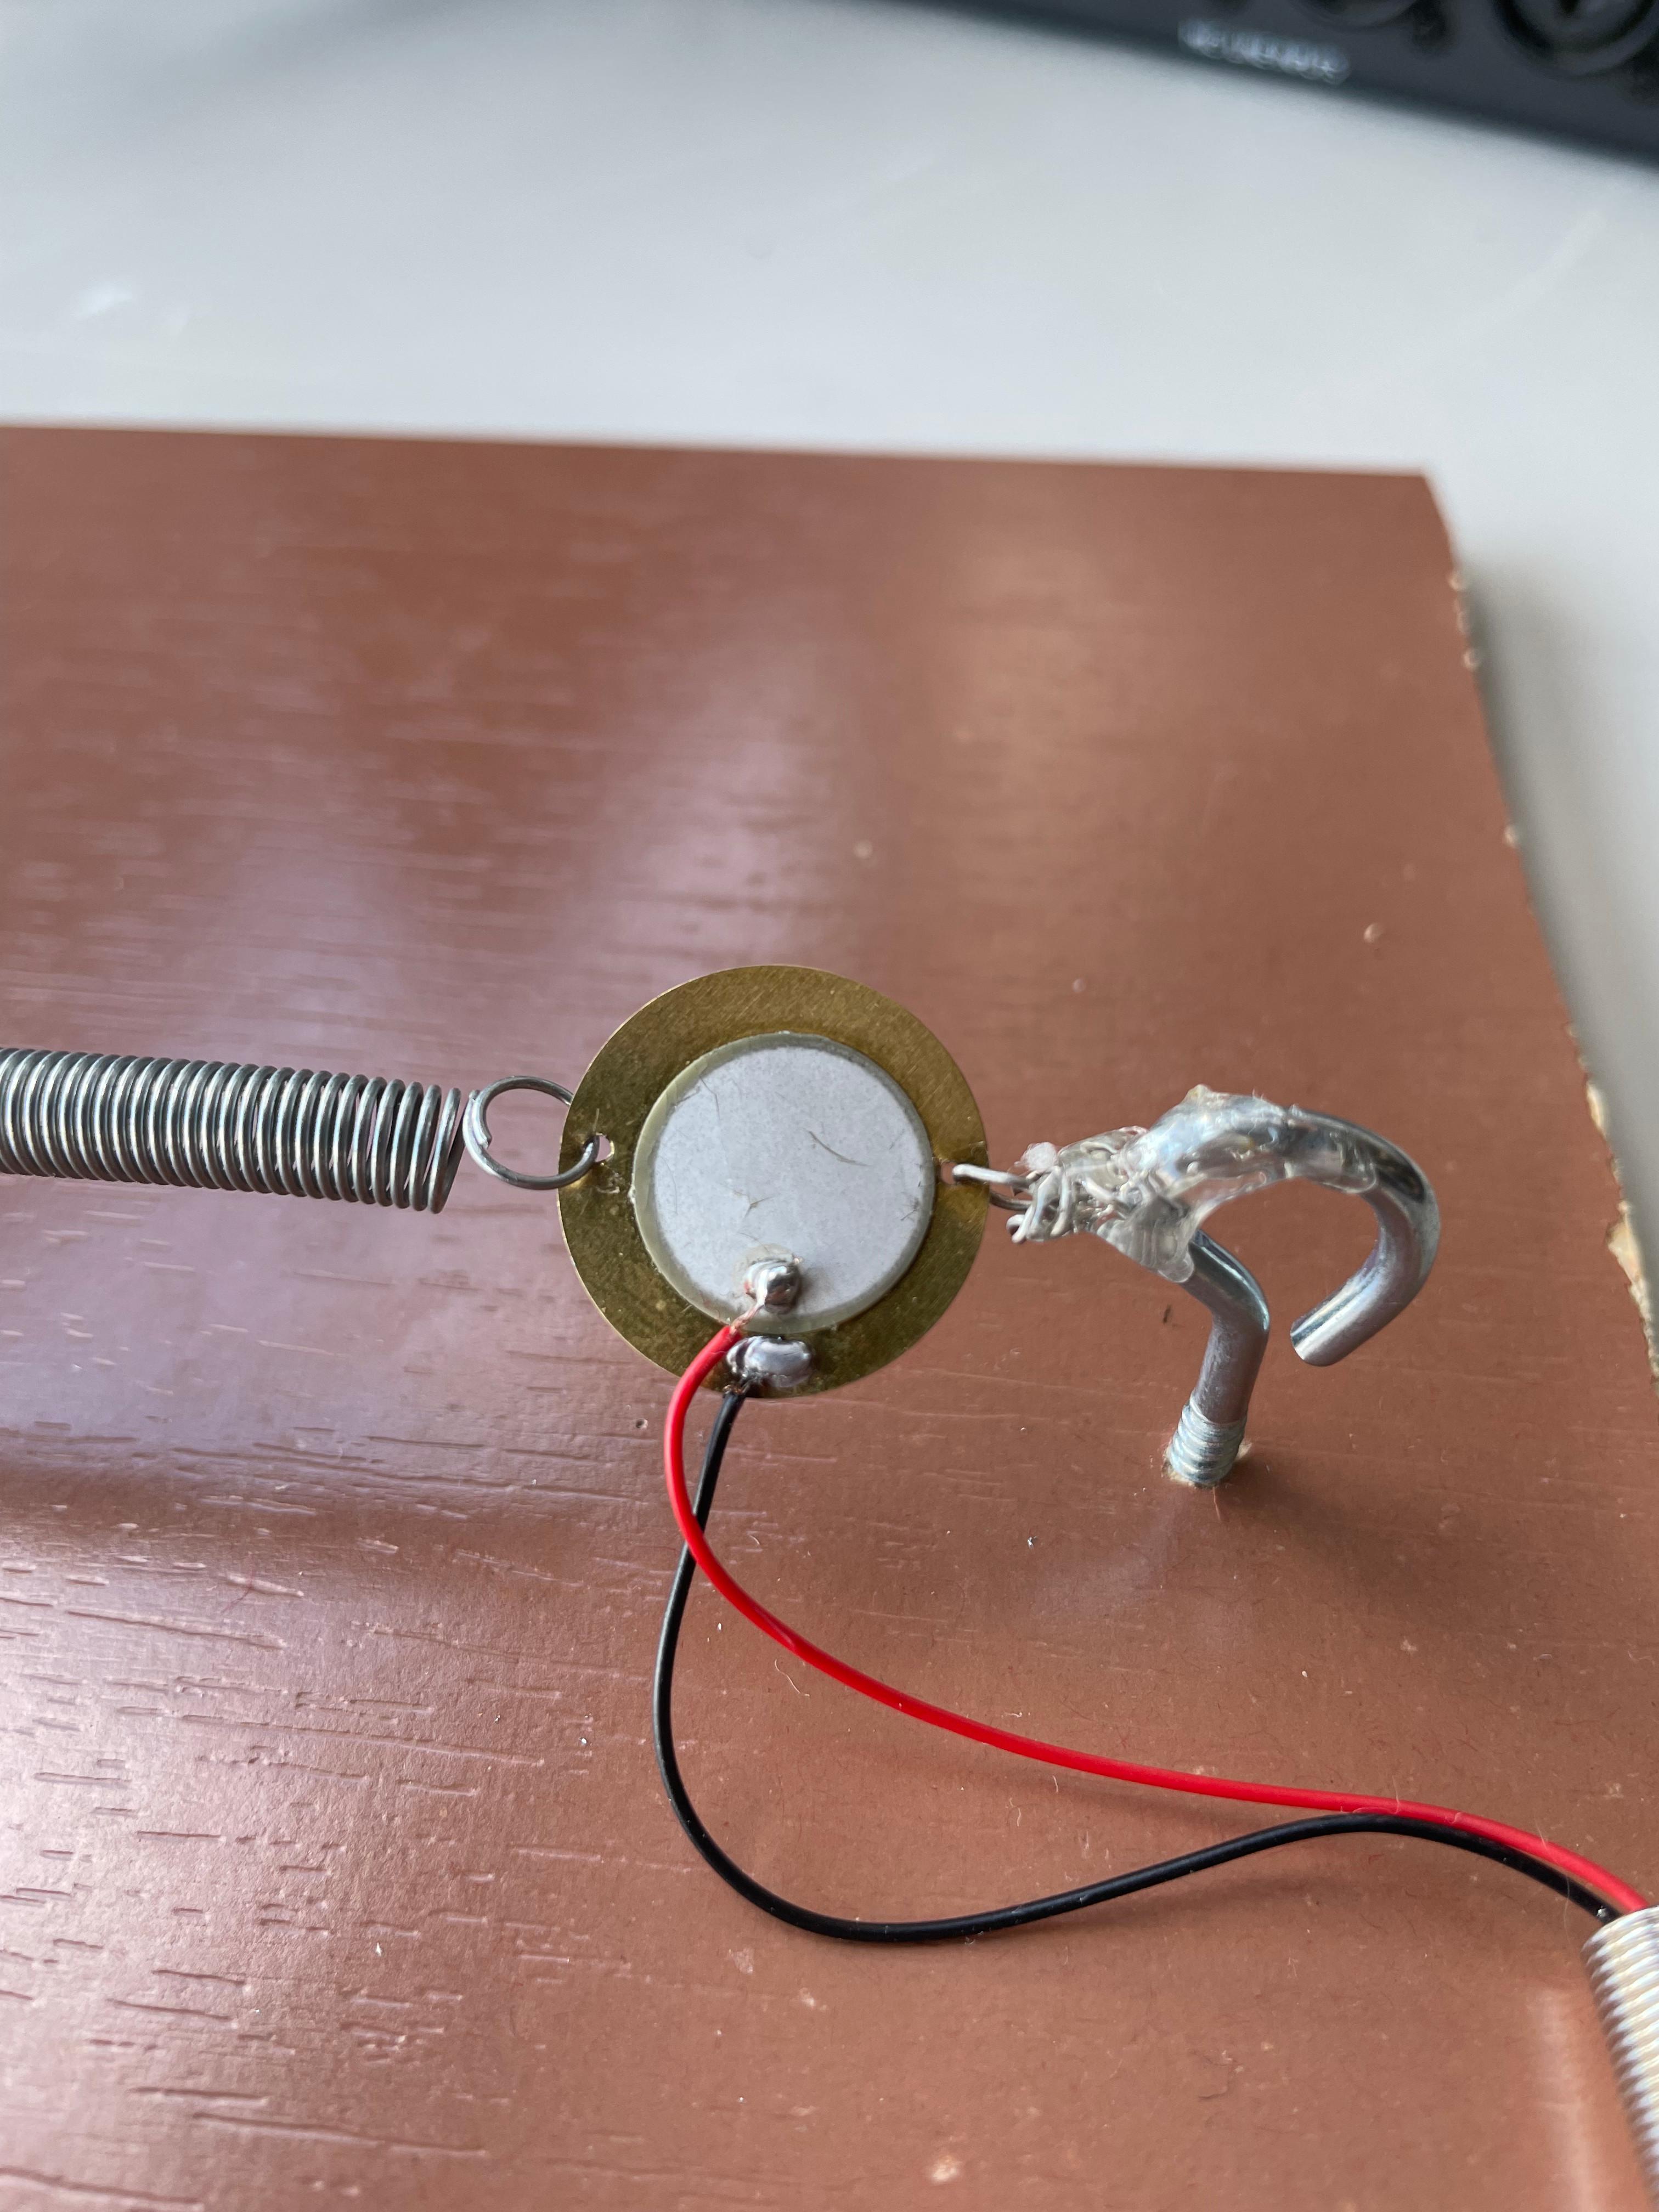
I screwed the hook into my surface and connected the piezo with wire so it will be suspended when connecting the spring later. I also added a bit of hot glue to try dumpening the vibrations transfering to said wire.
Keep in mind that you'll need to calculate the distance to the exciter so it will tense the spring as you have planned before.
Connecting the Spring
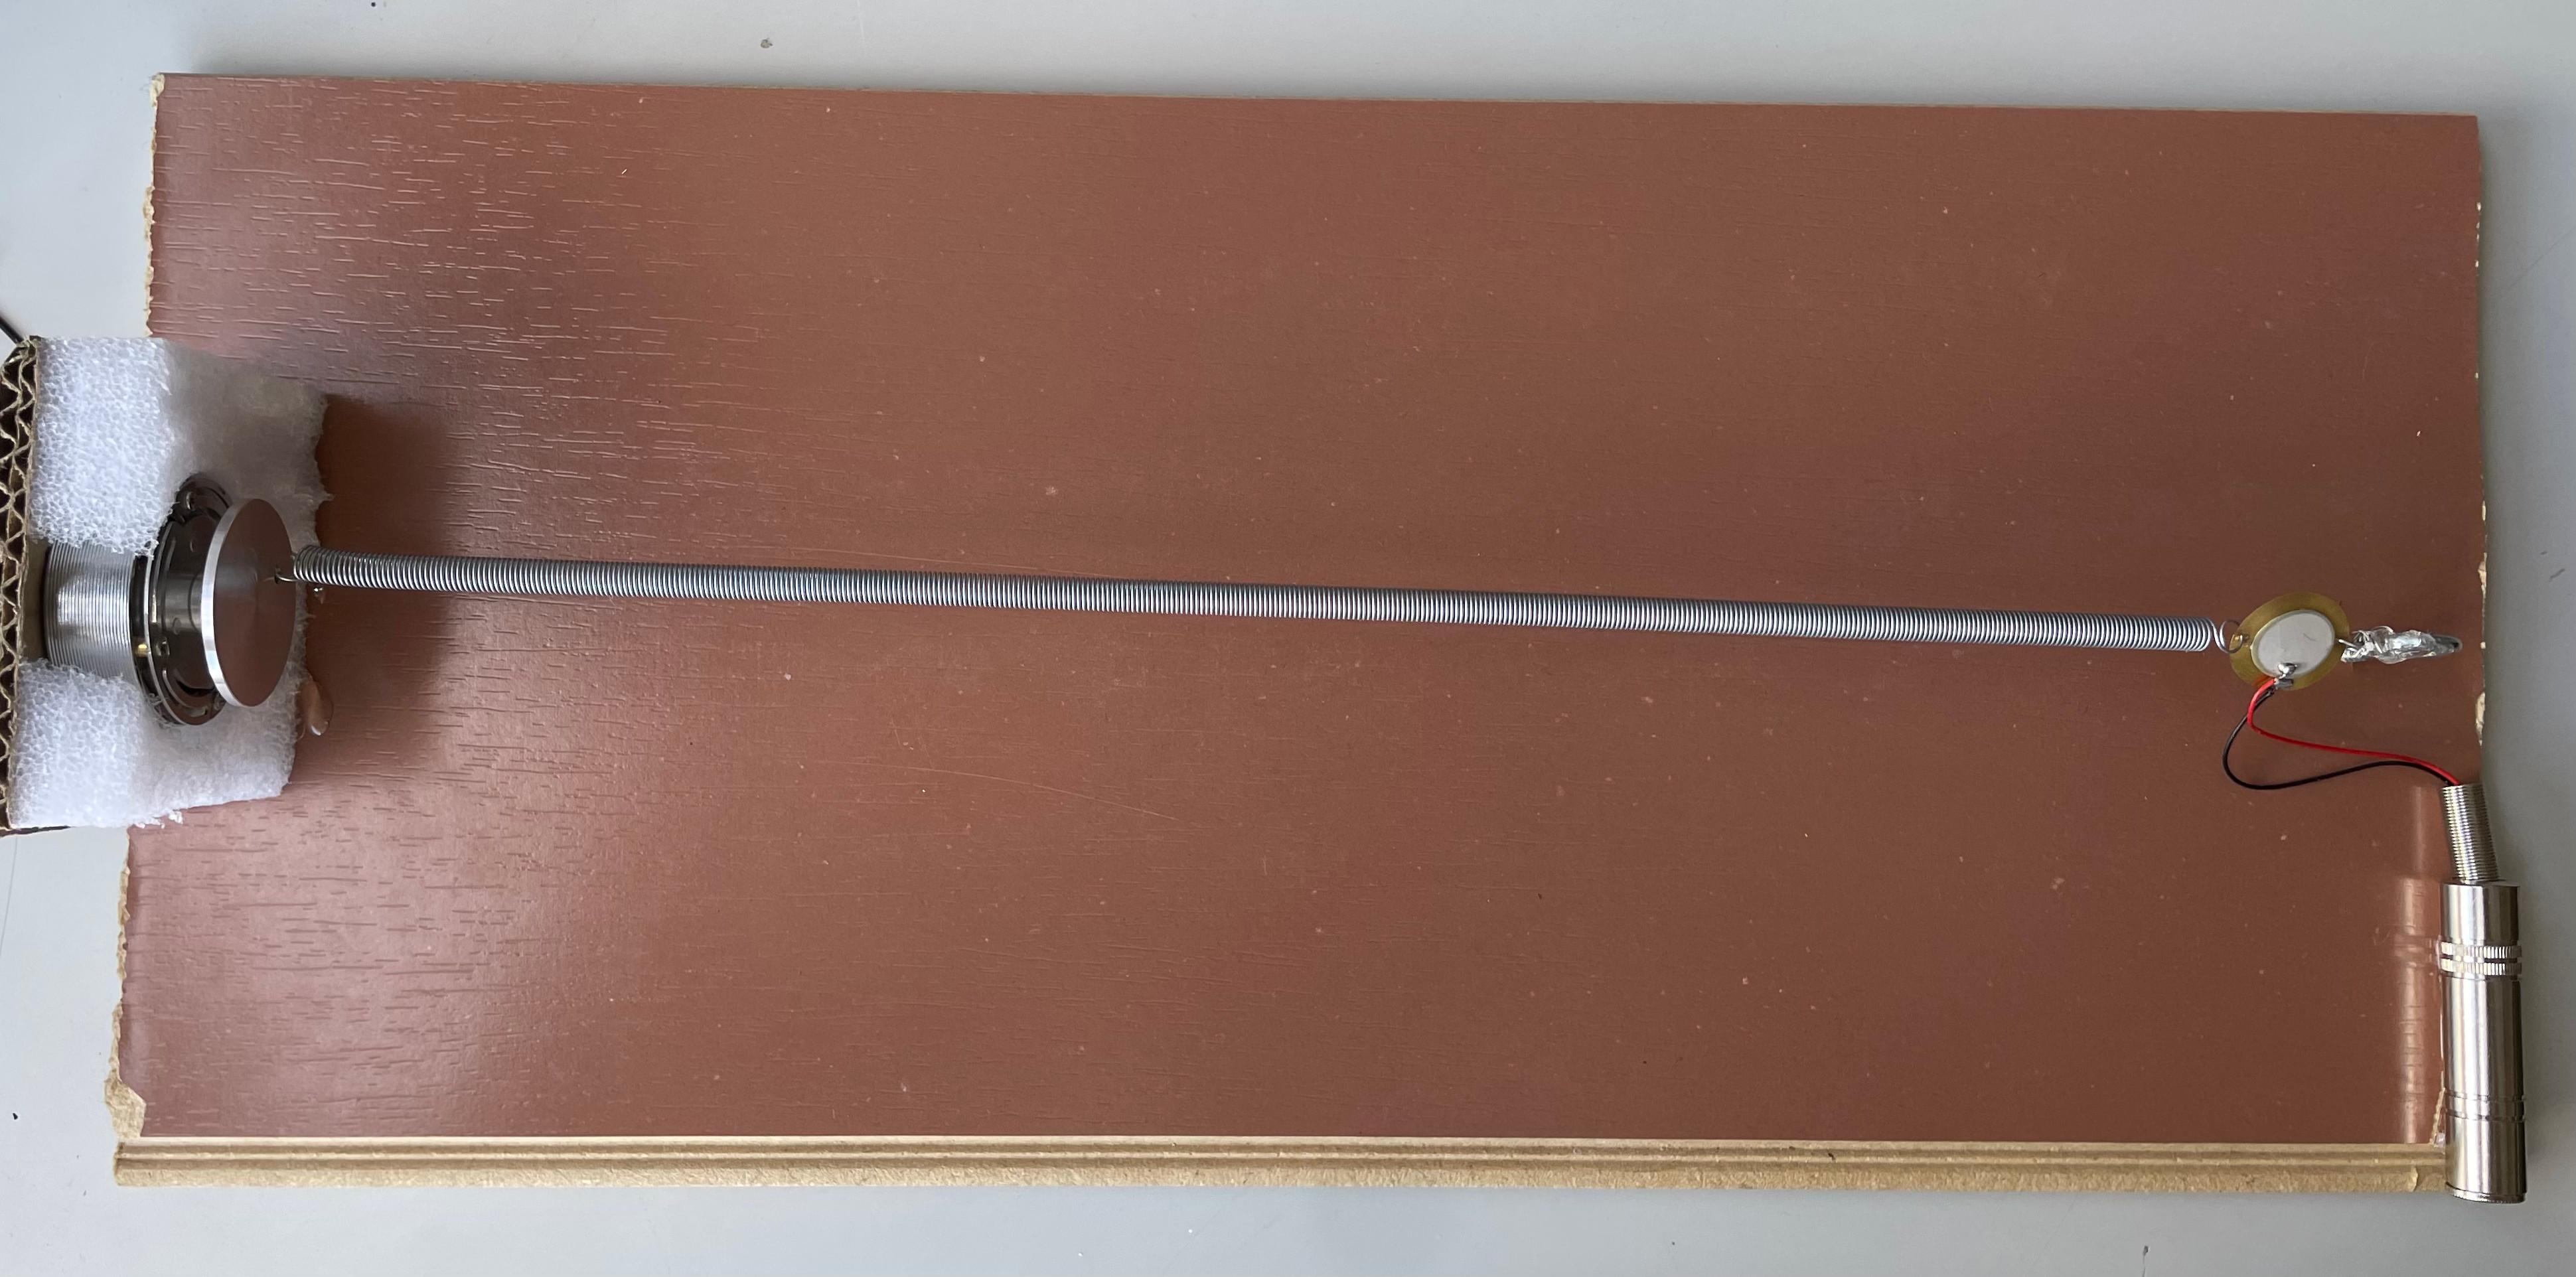
Lastly, we just have to connect the spring to both sides and it's all done!
Connect the output to your sound card and try it out!
My Results
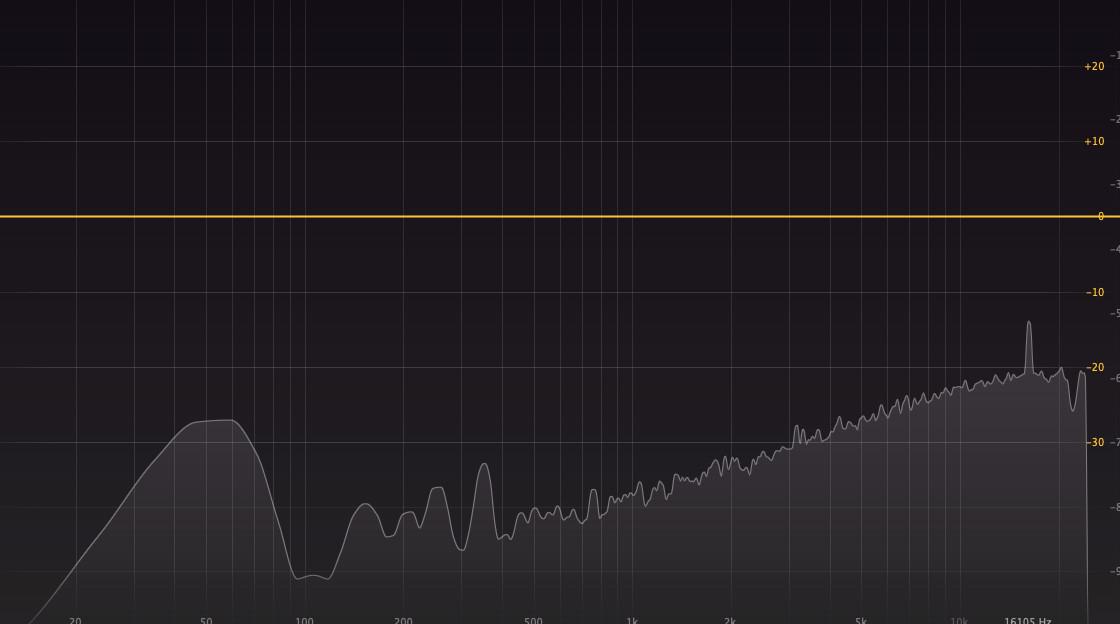
The image above represents the noise signal's frequency response when nothing is playing trough the exciter, although I haven't calculated the exact SNR, you can apreciate the relation between signal and noise in the demo video. As you can see, it's not the cleanest look, but I'd say is more than enough for my sound designing applications.