Star Wars Night Light With Linocut and Arduino
by ChristophF1 in Craft > Printmaking
2711 Views, 37 Favorites, 0 Comments
Star Wars Night Light With Linocut and Arduino
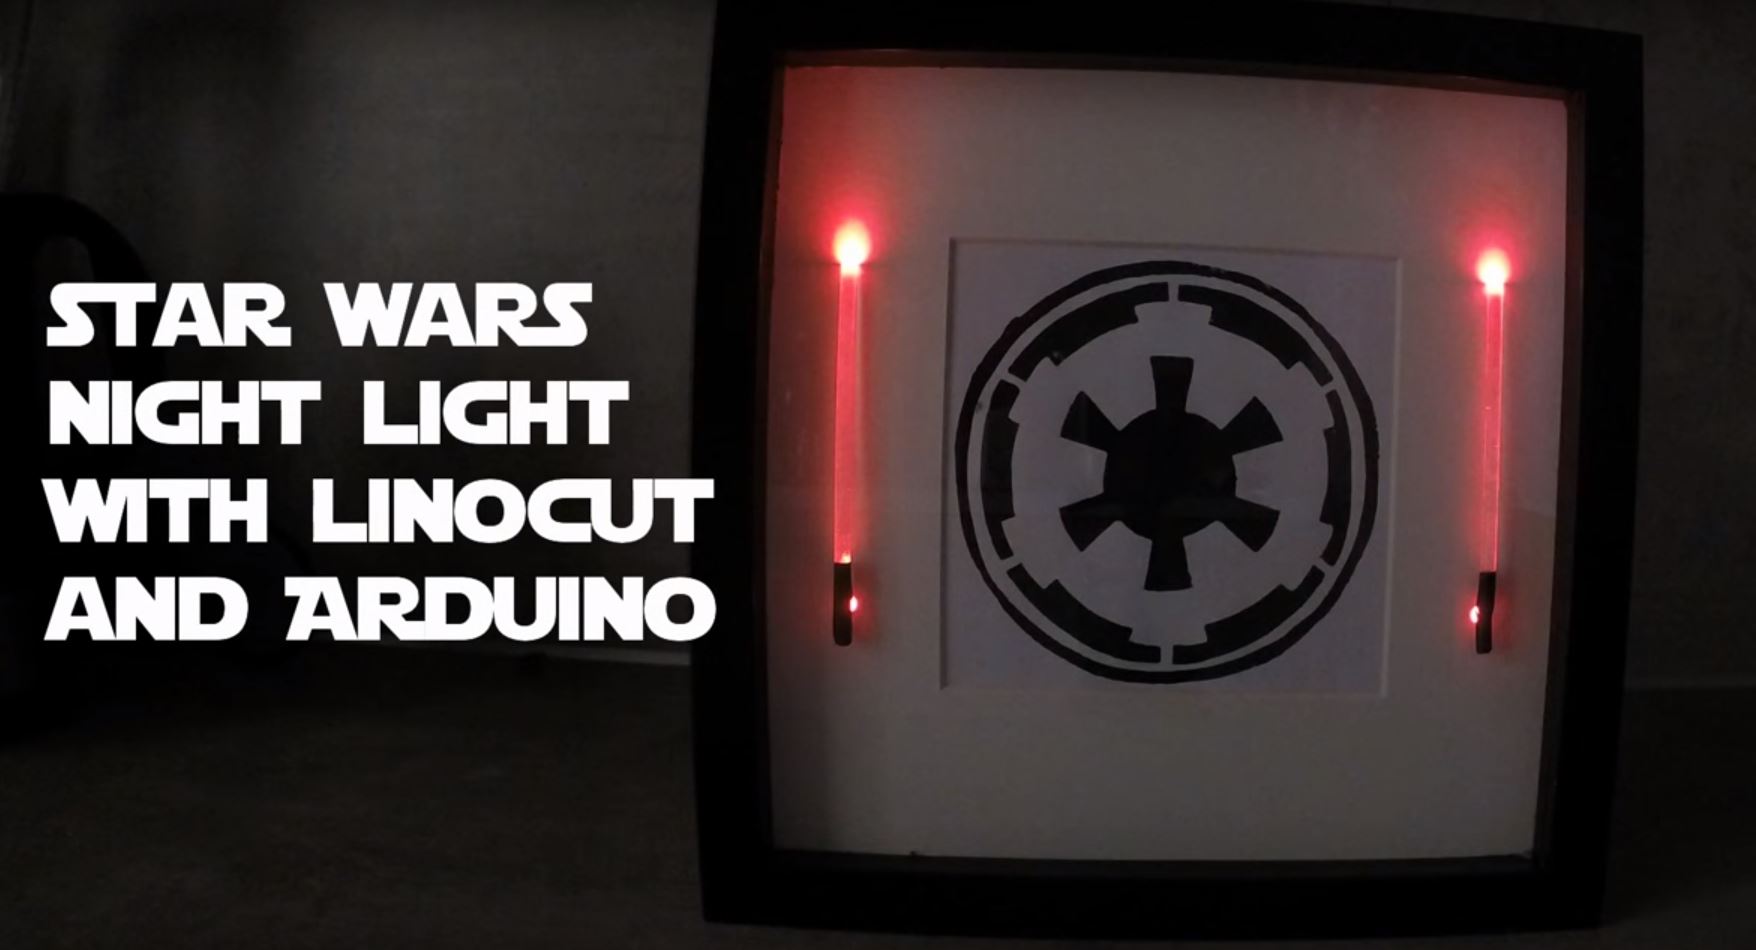
This time I wanted to do another picture frame project and again with a simple arduino controlled LED-light. Since I had stuff for linocutting lying around, I thought it would be nice to illuminate a handprinted pattern.
Things I used for this project (listed in order of the appearance in the video)
- Linoplate
- Cutting tools
- White paper
- Inkroller
- Ink
- Glass plate (or other flat surface)
- IKEA picture frame
- Saw
- Hammer
- Pliers
- Duct tape
- Hot air gun
- 2 acrylic tubes (in my case 4mm diameter an 100mm long)
- Punch pliers
- Arduino Nano
- Solder
- Resistors
- Wire
- 2 red LED’s
- Perfboard
- Battery
Linocutting
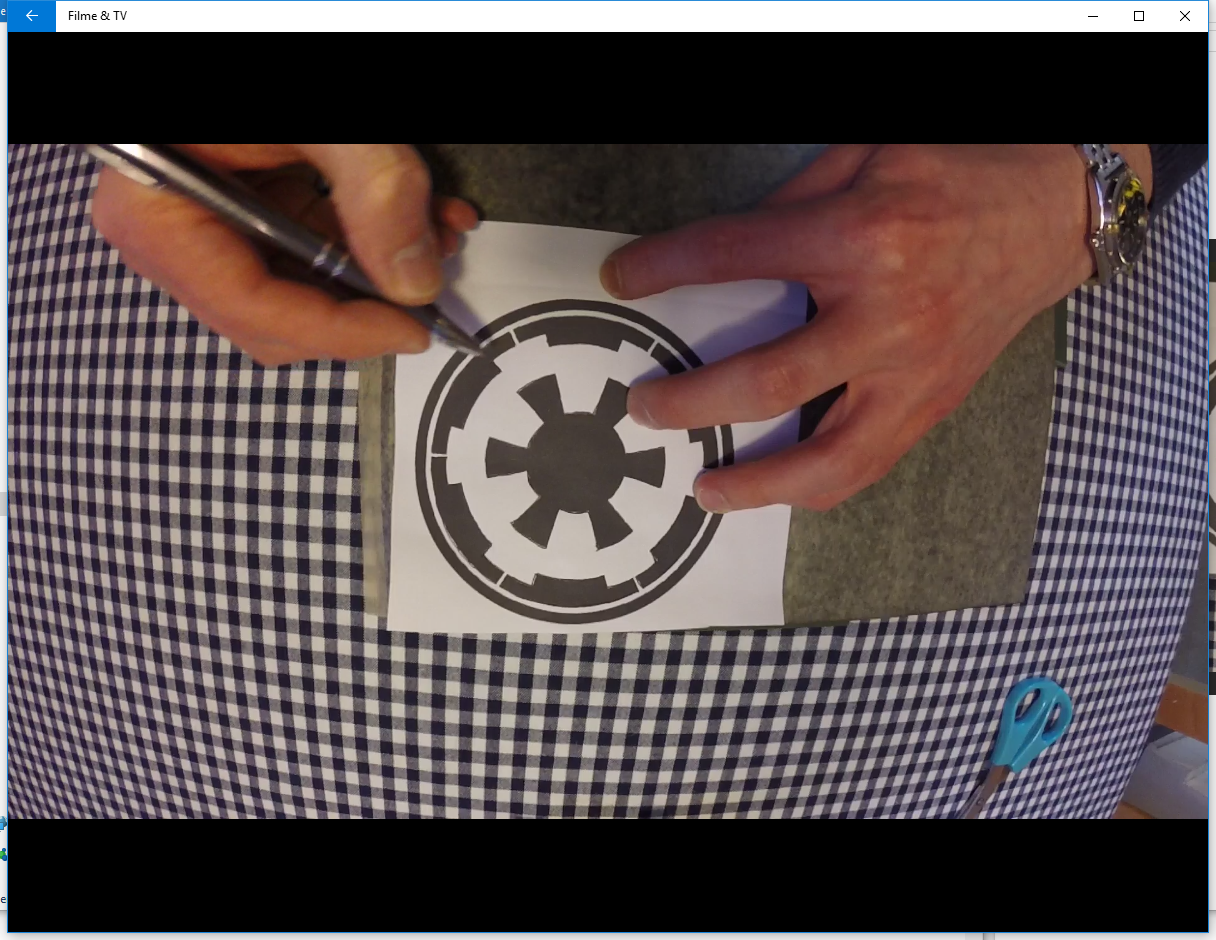
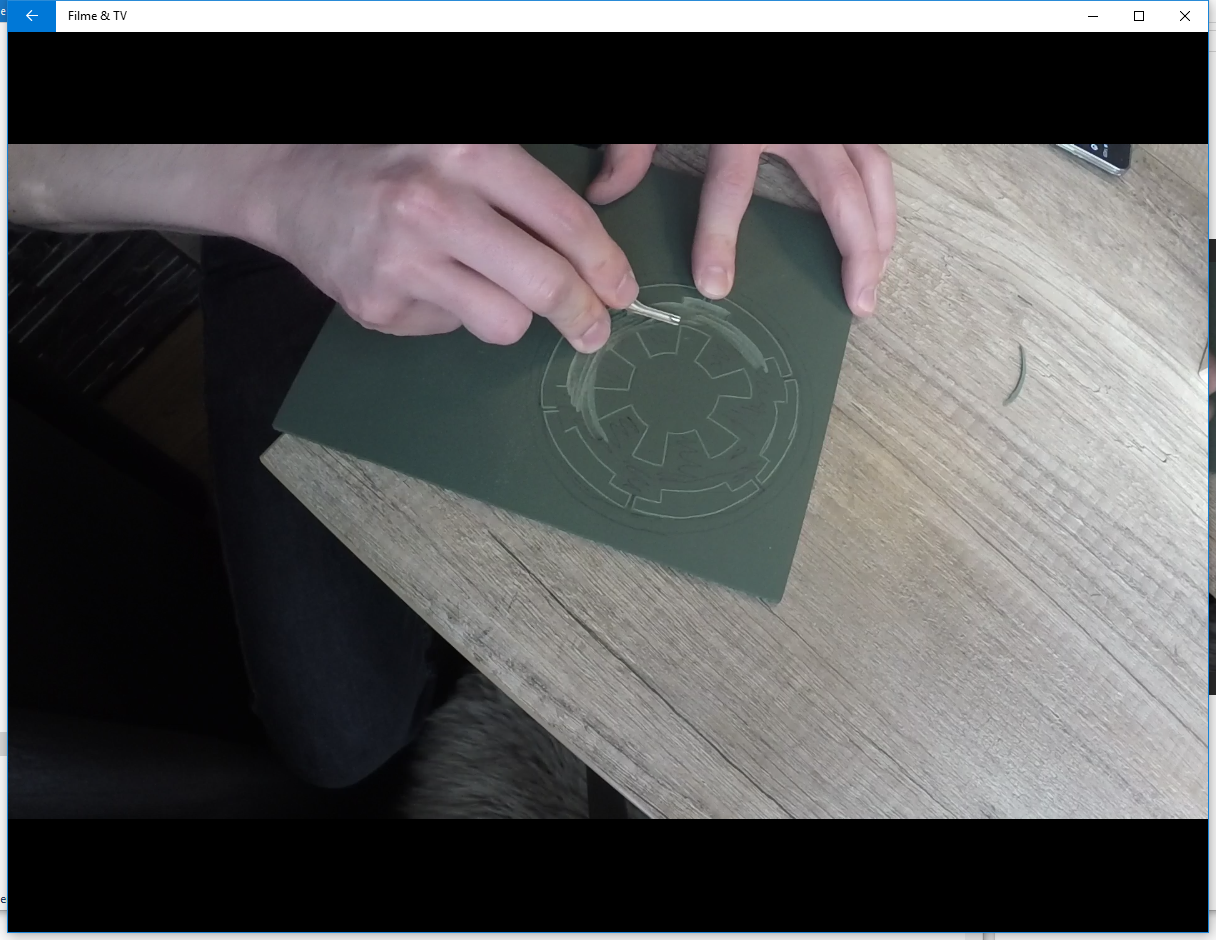
I startet with lining out the pattern so that I easily could trace the lines in the linoleum plate, followed by removing every part I did not want to be printed. After that, I poured some ink on a glass plate and rolled it evenly on the linoleum plate. Then, I placed a piece of paper over the linoleum and pressed it firmly down. Linocut done.
Taking Apart the Frame
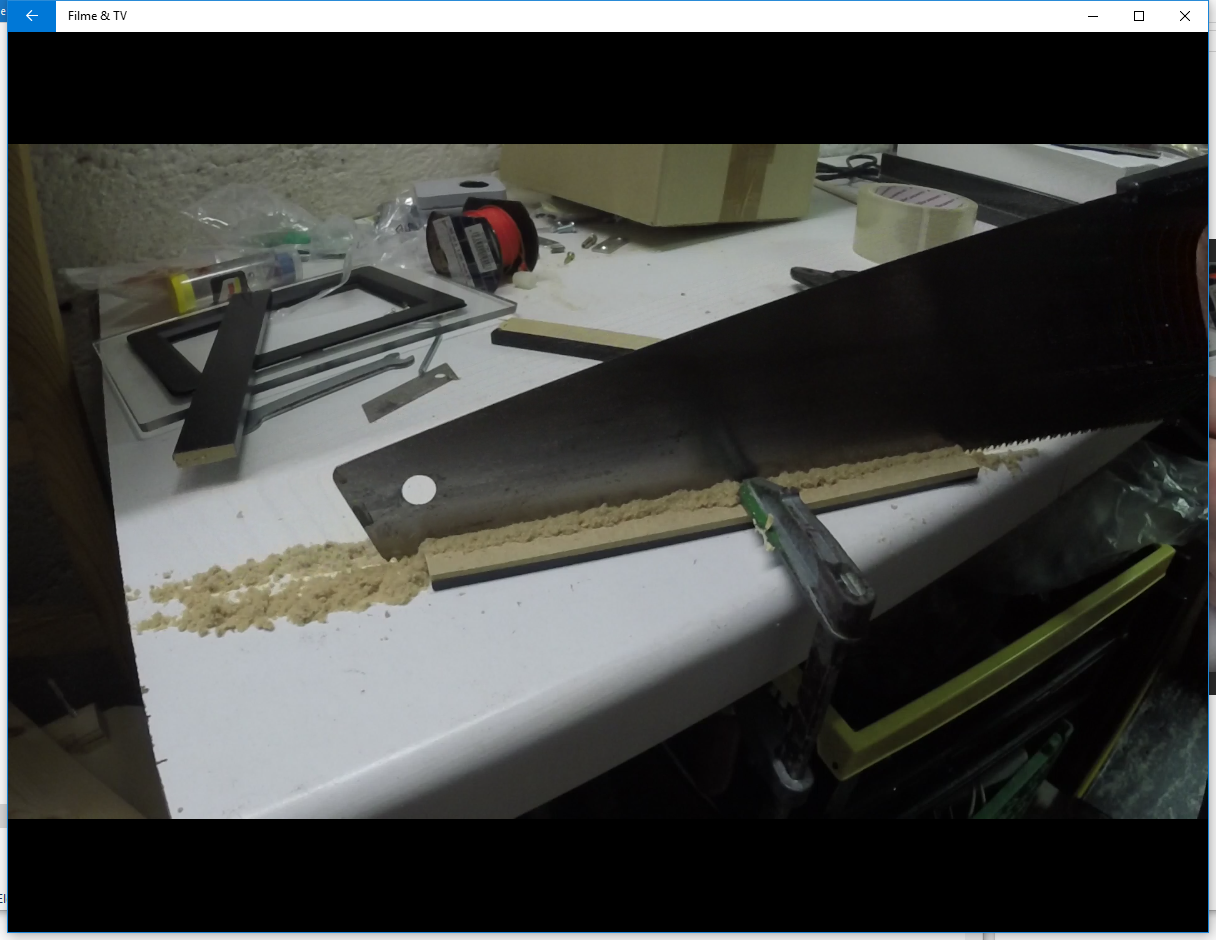
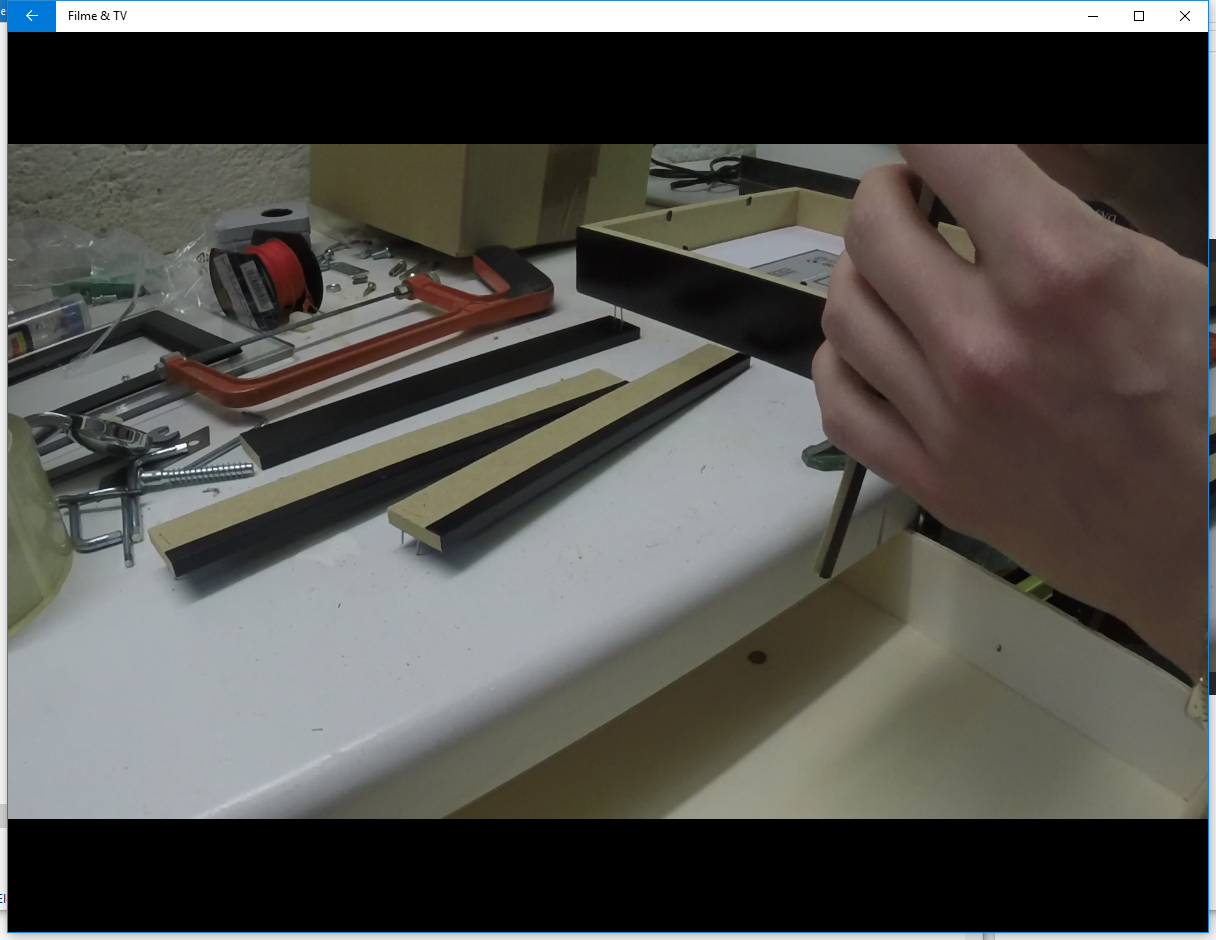
In the original state, the frame is designed to have the passepartout either directly sitting on the glass or with a distance of 2.5 cm to the glass. Since I needed both, a little space between the glass and the passepartout as well as behind the passepartout I had to saw each piece of the spacer to ⅓ and ⅔. After that I just attached the spacer pieces again with black duct tape. Works fine.
Bending the Tubes
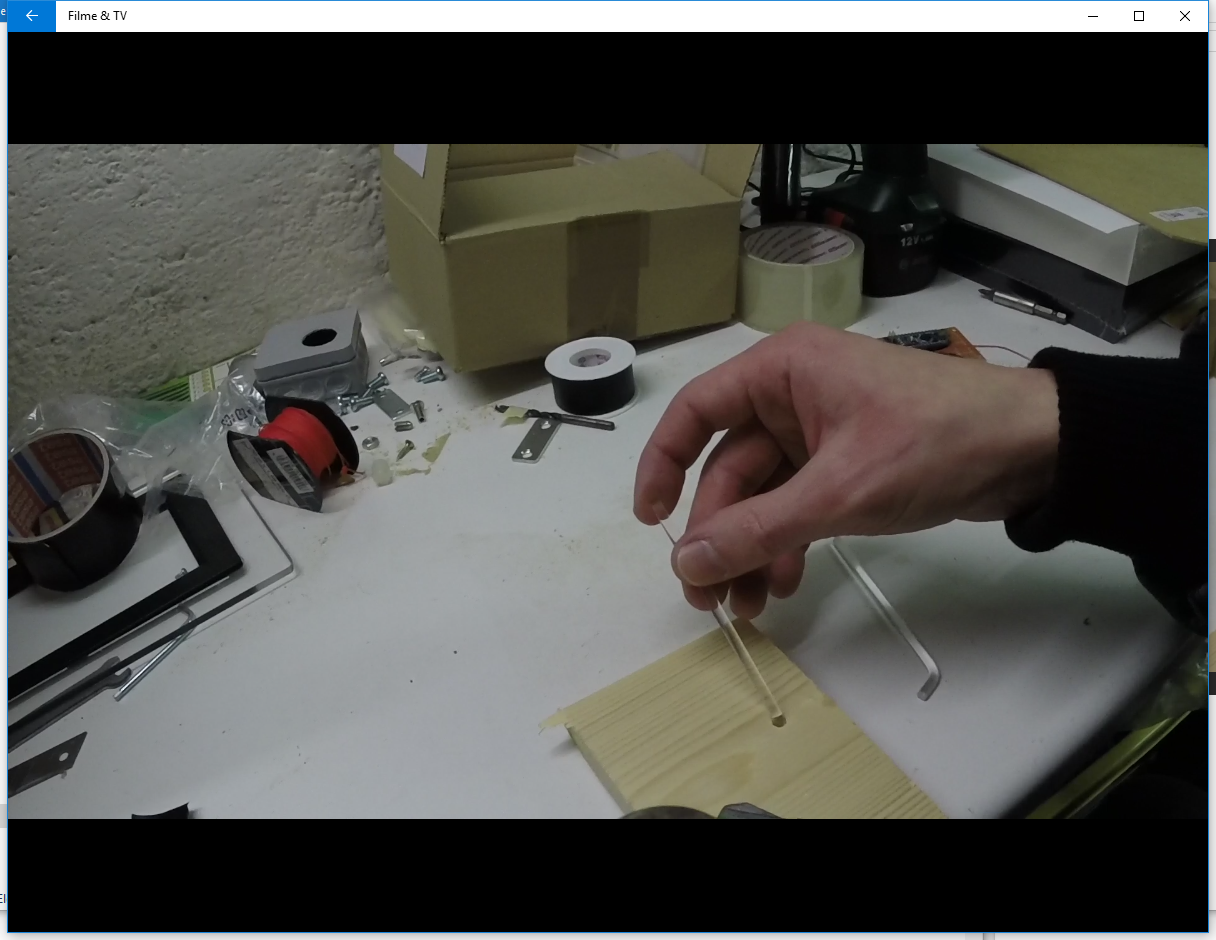
I wanted to have some kind of lightsaber on both sides of the passepartout I slightly bent two acrylic tubes with a heat gun and made two corresponding holes so the tubes fit snugly. Now the two LED can illuminate the tubes from the backside. For the handle I used some heat shrink tubing… I had no idea how to do this better.
Preparing the Simple Circuit
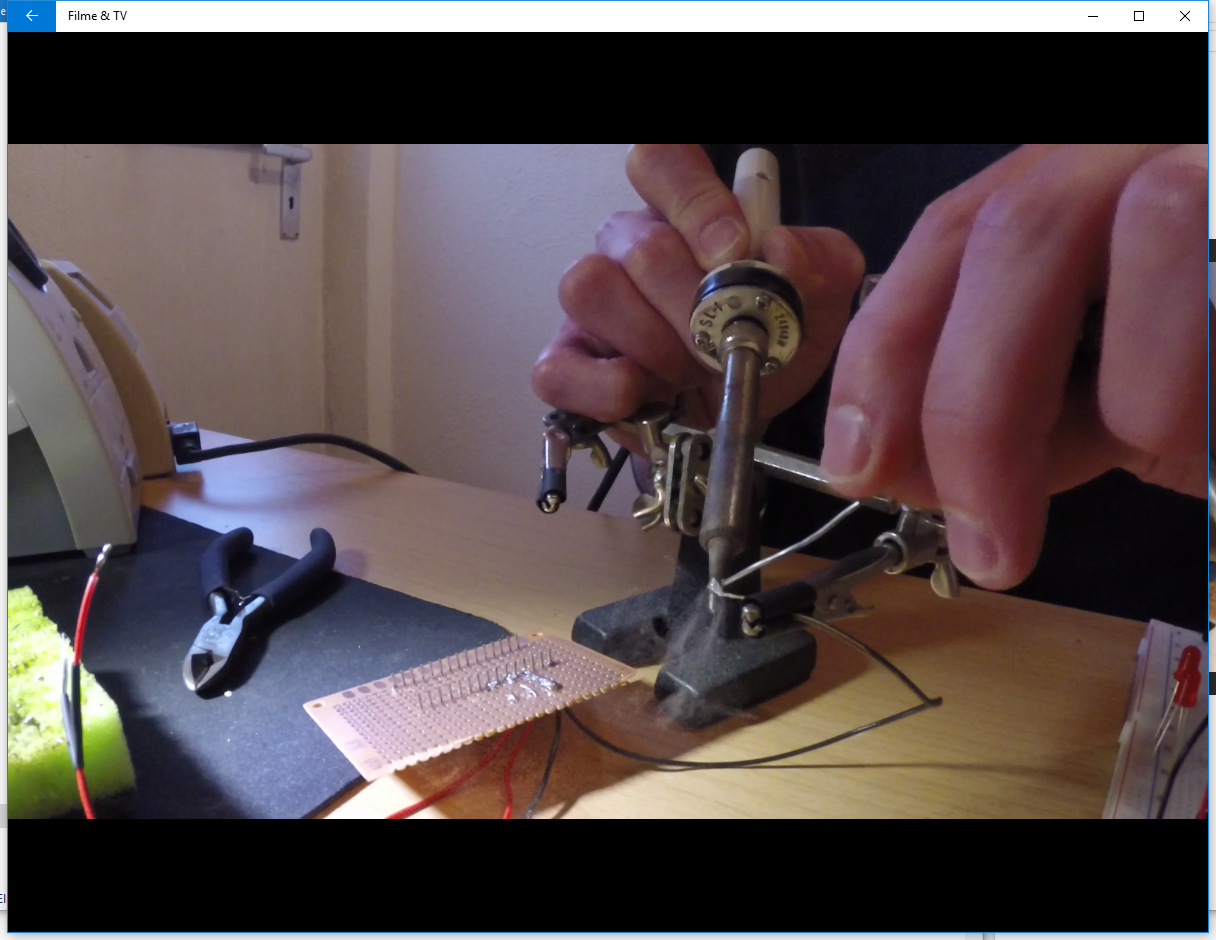
After some easy prototyping (and I am still very new to programming and stuff) I used the original “Fade” demo-sketch provided by the Arduino IDE and added a second LED to the code, so that both LED will fade in the same way. I think there are different ways to do this, but it works for me. Since the test went well, I soldered everything to a perboard just to make it more durable.
Final Assembly
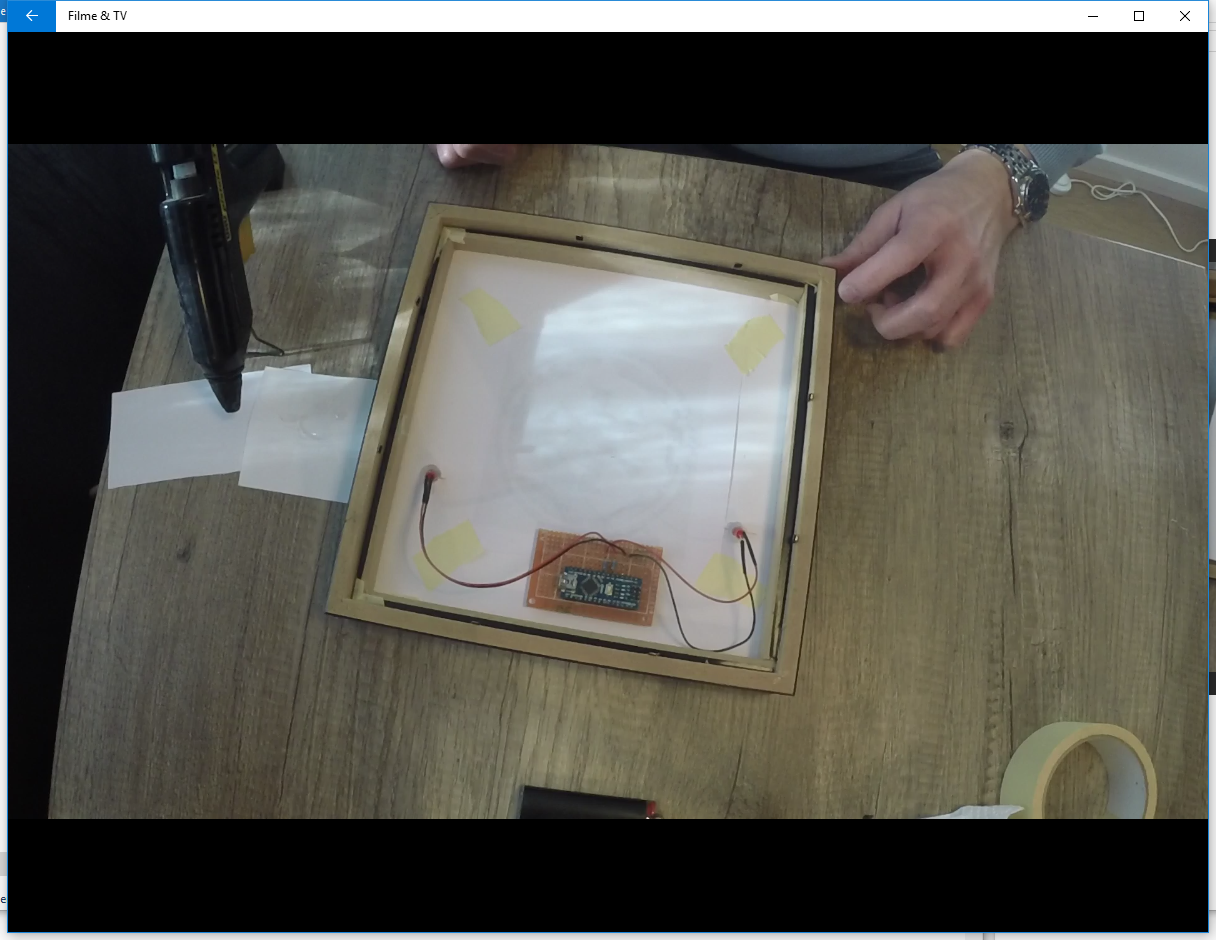
After all these steps done, it was time for putting it back together. I glued the LED’s on the “hidden end” of the acrylic tubing and the perfboard to the frame. As a last step I decided to glue a battery pack to the back panel, so that I do not have to drag a cable around.
Initially my focus was on making the following video for this project, so I do not have more photos of the building process - please accept my apologies for this. It was just my second instructable :-)
Thank you for reading and your time watching the video. I hope you like it.