Stich--> a Tool to Make Video Streamers & Video Mixers Out of Old Mobile Phones

by manoj.cherukat in Circuits > Raspberry Pi

176 Views, 0 Favorites, 0 Comments

Stich--> a Tool to Make Video Streamers & Video Mixers Out of Old Mobile Phones
raspberry-pi-4-official-kit.jpg

When making youtube videos in which we are showing some demo or some working model using a mobile phone , there would be a need to switch the camera to our face or to the worktable as the case may be and this requires quite a bit of juggling, by pausing the video , restarting again etc.

So, I have designed a solution using raspberry pi single board computer having push button switches to record video from any source as desired by pushing some switches and activating the mobile phone cameras

The mobile phone cameras will be pre-positoned facing the desired subject like the face of the presenter or the workbench etc.

So pushing switch 1 will record video from camera 1, pushing switch 2 , will finalize the video being recorded by camera1 and camera 2 starts recording. Pushing the END switch will finalize the camera2 video and stiches together the camera1 and camera 2 video as a FINAL video and deleting any intermediate files, which can be then uploaded to youtube.

In short, it can merge videos recorded from various cameras wirelessly depending on the key press of buttons.


Supplies

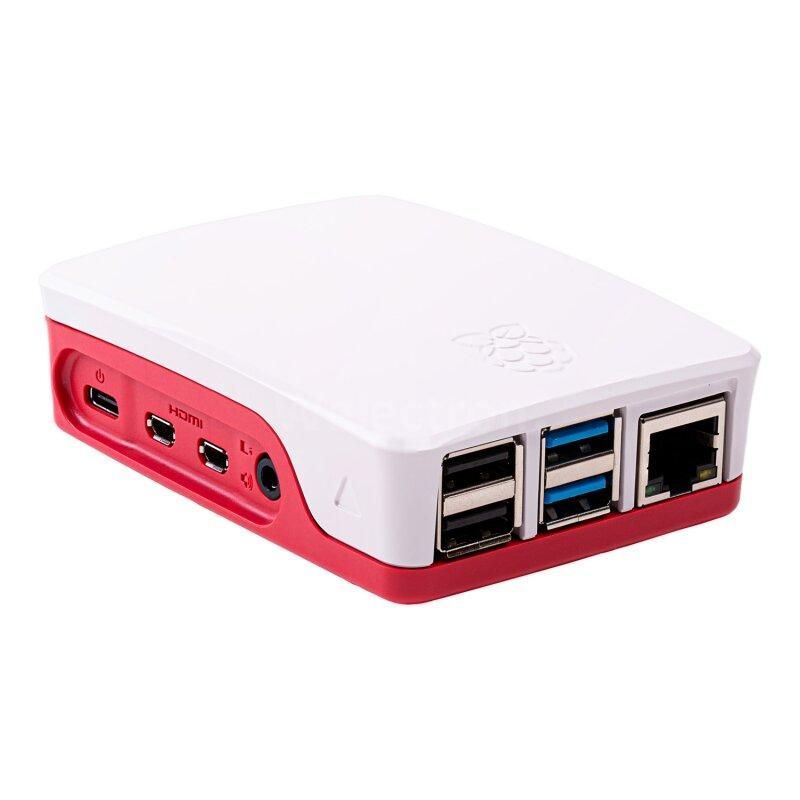
  1. Raspberry pi 4 board
  2. 3 red color push button switches ( for recording videos from each of three mobile phones)
  3. one yellow or any other color push button switch ( for ending and stitching together the recorded videos)
  4. Assorted single strand wires
  5. assorted cable to connect to the I/O header of the Raspberry pi
  6. A suitable box to house the raspberry pi & switches ( I used a take away box )
  7. Home wifi network

Hardware Wiring

circuit_zoom.JPG

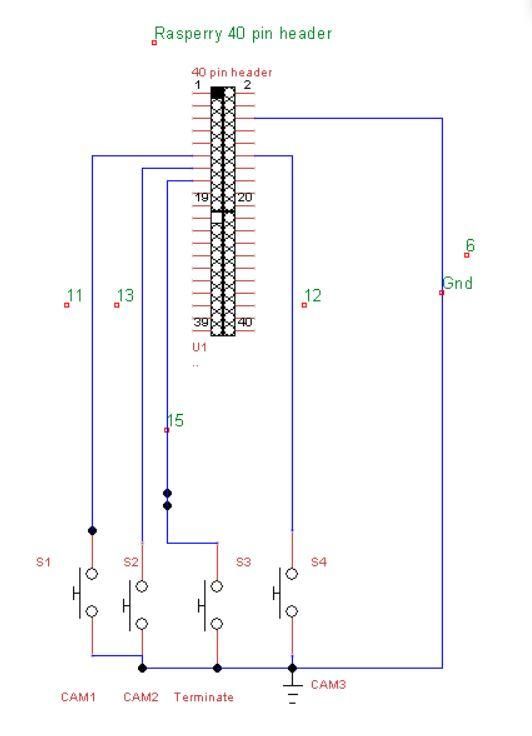
The hardware wiring is simple. The four switches are connected as shown in the above diagram utilizing the IO pins of the raspberry properly configured in the code.

Architecture
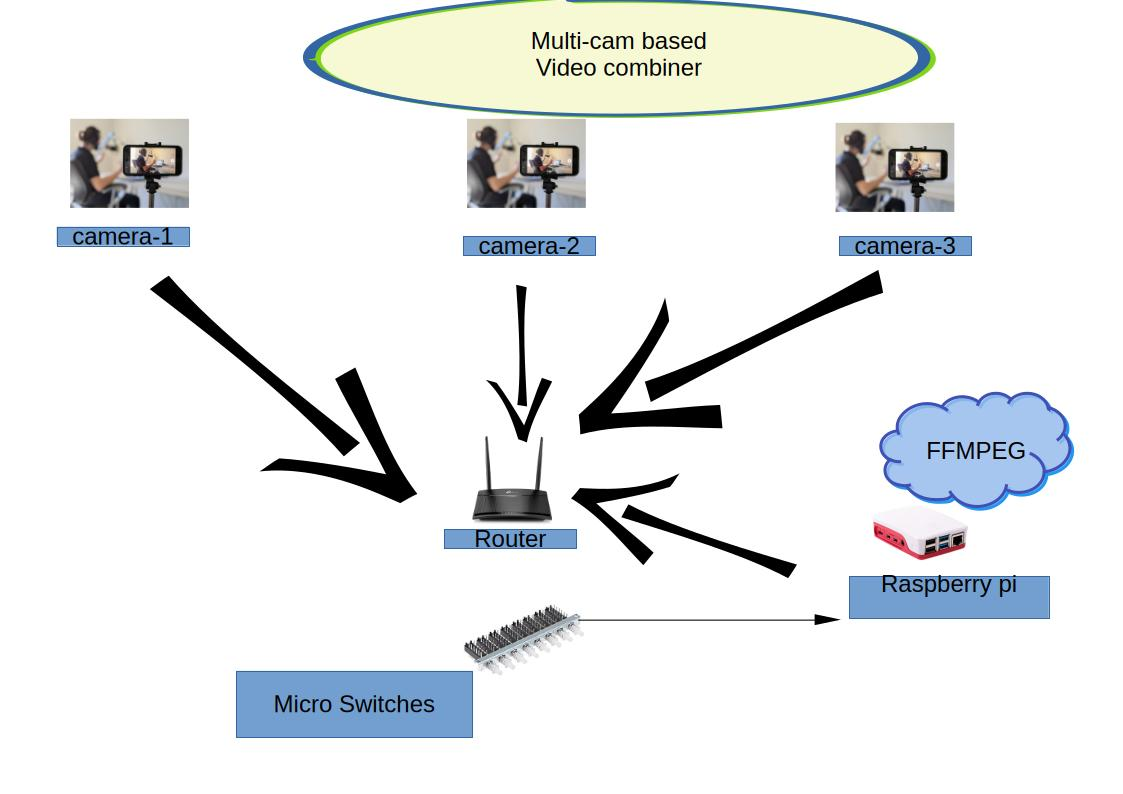
multicam_block_diagram.png

The system architecture is shown in the above figure. The streaming video using RTSP (Real time streaming format) from the mobile phones is dumped into mp4 files using FFMPEG running in the raspberry pi. The dumping process starts with press of a switch (each camera has a switch assigned to it). The "END" switch takes all the recorded videos and combines to a single file and deletes all the individual clips.

The present code caters to three mobile phone recording sources, so therefore, there would be four switches, three to switch on the desired three cameras, and fourth one to completely stop the recording and create a final file. More cameras can be included by increasing the switches and modifying the code.

Construction
IMG-20260321-WA0036.jpg
Screenshot_2026-03-31-16-06-17-60_1cbbed4c73c27d62fc00595b744139a5.jpg

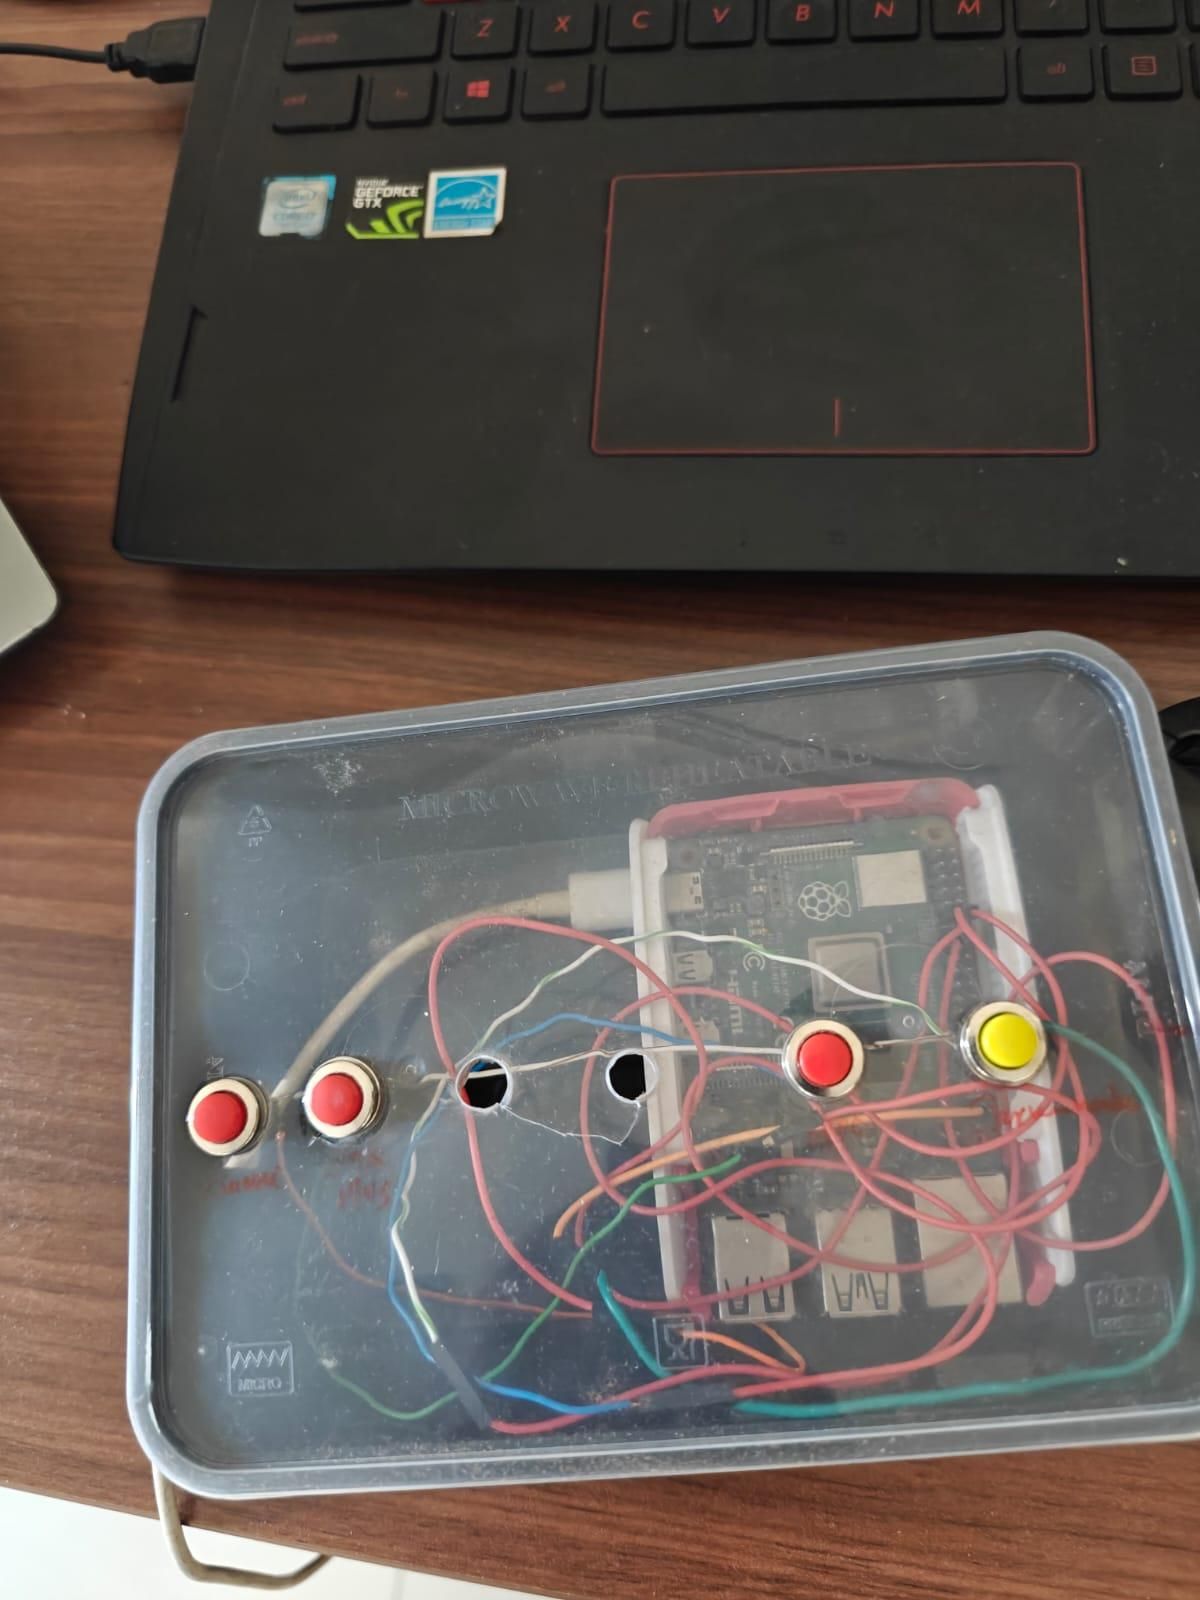
Step1: Physical assembly of the Raspberry pi & switches

Make a small plastic or wooden box with four push switches as shown in the figure such that the raspberry pi can be fixed inside the box and the push buttons mounted on top and connected to the required pins of the raspberry pi. (pin # is given in the code). One terminal of all the push-buttons to be connected together and connected to ground pin of the raspberry pi.


Step2: Connecting all to the home wi-fi router

Connect all the four devices ( Three mobile phones and the raspberry pi) to the home wi-fi network and note the IP addresses asigned to the devices. You might want to declare these IP address as static in the router so that they stay the same and no change needs to be done in the code .


Step 3: Preparing the Android devices

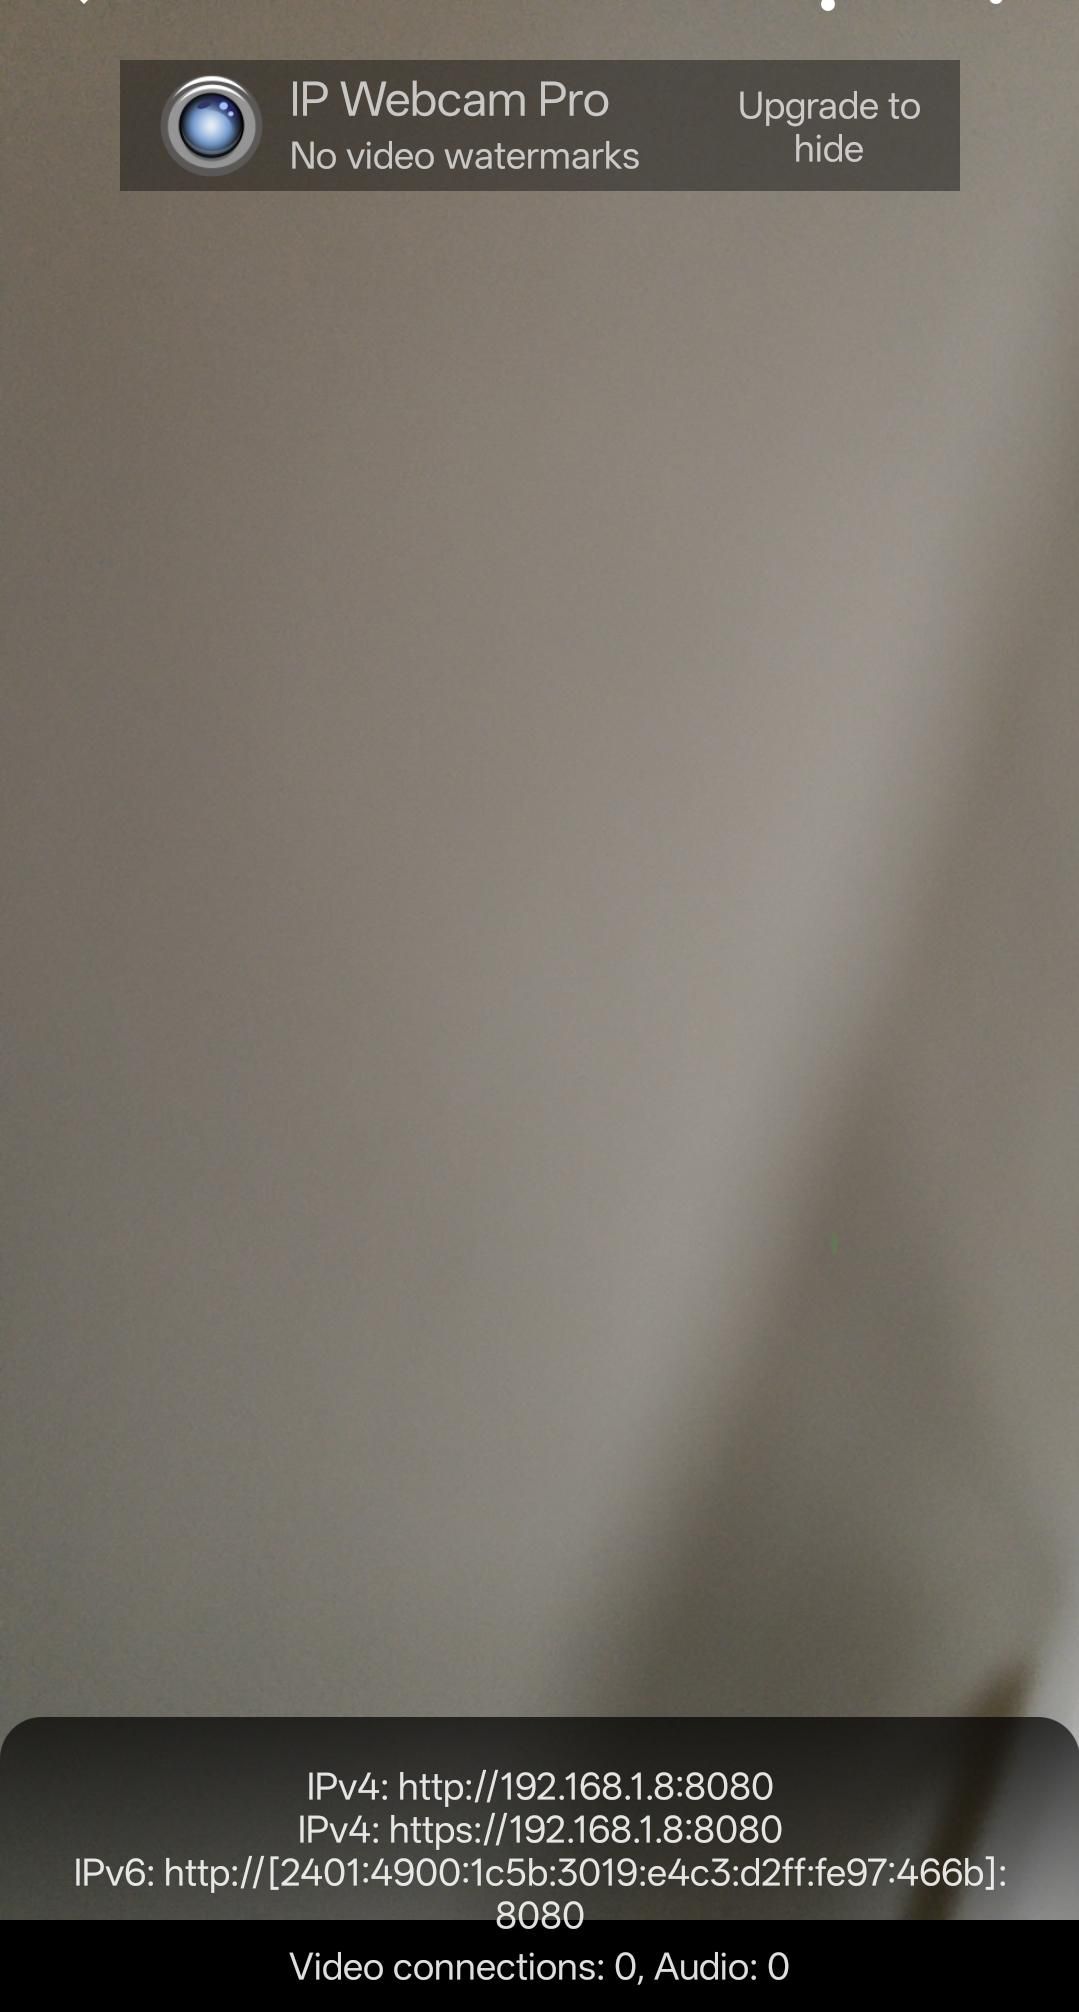
Download an app which can give out RTSP stream out of the mobile camera. Various software like IP webcam can be used. In this project , I have used the IP Webcam downloaded from the play store. If using IP webcam, then the URL would be like ...... start the application and go to the three ellipsis button and touch on “start server”. This will make the device output RTSP stream on default port of 8000. Keep the stream resolution as 1280 x 720 for all mobile streamers.


Step 4: Installing python and copying the script to the home directory of the raspberry pi

(1) Install python on raspberry pi using sudo apt-get install Python3

(2) install FFMPEG . if you use traditional method of installing using sudo apt get install ffmpeg, you may be only able to use the transcode options of ffmpeg ( without setting desired bit rate etc) and will have to depend on the device sent bitrate ( -c:v copy option instead of -c:v h264_v4l2m2m in FFMPEG in the main code block section).

(3) If you want to use -b:v", VIDEO_BITRATE option as used in the code, a special FFMPEG tuned for raspberry pi needs to be installed which uses the h264_v4l2m2m


sudo apt remove ffmpeg
git clone --depth 1 https://github.com/jc-kynesim/rpi-ffmpeg.git
cd rpi-ffmpeg
./configure --enable-v4l2-m2m --enable-gpl --enable-libx264
make -j4
sudo make install


(4) Notes for Raspberry pi 5

(a) For Raspberry pi 5, h264_v4l2m2m is not possible as h.264 encoder is not available on board and therefore, only libx264 is available as software, therefore, the above command should be used as --enable-libx264 only & --enable-v4l2-m2m should be removed when compiling for raspberry pi 5.

(5) In any case, the availability of modules can be checked by using the following command after ffmpeg is installed.

ffmpeg -encoders | grep h264_v4l2m2m


should throw up h264_v4l2m2m if it is loaded.


(6) copy the script to a file , say multi_cam.py and copy the file to home directory of pi.

(7) Make the multi_cam.py as executable by chmod +777 multi_cam.py

(8) start the script with ./multicam.py at the prompt , you should see a message like “waiting for push button press”

(9) The final output is available in the same directory as “final_recording.mp4 with date and time annexed in filename for easy identification. The same can be used for further editing or youtube upload.

Code

#!/usr/bin/env python3.11
import RPi.GPIO as GPIO
import subprocess
import time
from datetime import datetime
import os
import signal
from pathlib import Path

# ----------------------------
# GPIO pin assignments (BCM)
# ----------------------------
PB1 = 17 # one plus (phy pin 11) green switch
PB2 = 18 # oppo (phy pin 12) blue switch
PB3 = 27 # xiaomi (phy pin 13) red wire
PB4 = 22 # terminate (phy pin 15) white wire

# ----------------------------
# RTSP URLs for cameras
# (IP Webcam example uses h264_pcm.sdp)
# ----------------------------
CAMERA_STREAMS = {
PB1: "rtsp://192.168.1.2:8080/h264_pcm.sdp", #one plus
PB2: "rtsp://192.168.1.3:8080/h264_pcm.sdp", #oppo
PB3: "rtsp://192.168.1.7:8080/h264_pcm.sdp", #xiaomi
}

# ----------------------------
# Output folder
# ----------------------------
OUT_DIR = Path("/home/manoj/")
OUT_DIR.mkdir(parents=True, exist_ok=True)

# ----------------------------
# Encoding parameters (keep identical across segments)
# ----------------------------
VIDEO_BITRATE = "2M"
MAXRATE = "2M"
BUFSIZE = "12M"
FPS = "30"
GOP = "60" # 2 seconds @ 30fps
AUDIO_BITRATE = "128k"
AUDIO_RATE = "48000"
AUDIO_CHANNELS = "1" # mono as requested

# Polling delays (no debounce; just simple "sleep after press")
PRESS_SLEEP = 1.0 # your earlier script used ~1 second after detecting press
LOOP_SLEEP = 0.1

# ----------------------------
# Runtime state
# ----------------------------
recording_process = None
segment_files = []
segment_index = 0
session_stamp = None


def now_stamp():
return datetime.now().strftime("%Y%m%d_%H%M%S")


def build_ffmpeg_segment_cmd(rtsp_url: str, segment_path: Path):
"""
Records RTSP -> h264_v4l2m2m + AAC mono -> MPEG-TS segment (.ts).
"""
return [
"ffmpeg",
# "-hide_banner",
"-loglevel", "verbose",

# RTSP settings
"-rtsp_transport", "tcp",
# "-rw_timeout", "5000000",
# "-use_wallclock_as_timestamps", "1",
# "-fflags", "nobuffer",
"-flags", "low_delay",

# Keep these moderate to reliably detect both video+audio from IP Webcam
"-probesize", "32",
# "-analyzeduration", "256k",

"-y",
"-re",
"-i", rtsp_url,

# Explicit mapping (video+audio)
# "-map", "0:v:0",
# "-map", "0:a:0",

# Video: Pi4 HW encoder
"-c:v", "h264_v4l2m2m",
"-b:v", VIDEO_BITRATE,
"-maxrate", MAXRATE,
"-buffer_size", BUFSIZE,
"-pix_fmt", "yuv420p",
"-r", FPS,
# "-g", GOP,

# Audio: AAC mono fixed params
"-c:a", "aac",
"-b:a", AUDIO_BITRATE,
"-ar", AUDIO_RATE,
# "-ac", AUDIO_CHANNELS,

# Output as MPEG-TS segment
"-f", "mpegts",
str(segment_path)
]


def start_recording(rtsp_url: str):
"""
Start a new TS segment recording.
"""
global recording_process, segment_index, session_stamp

if session_stamp is None:
session_stamp = now_stamp()

segment_name = f"seg_{session_stamp}_{segment_index:04d}.ts"
segment_index += 1
segment_path = OUT_DIR / segment_name

cmd = build_ffmpeg_segment_cmd(rtsp_url, segment_path)

# IMPORTANT: stdin=PIPE so we can send 'q' to stop cleanly [1](https://stackoverflow.com/questions/45294069/how-to-gracefully-close-an-ffmpeg-process-running-in-background-without-corrupti)[2](https://github.com/kkroening/ffmpeg-python/issues/162)
# preexec_fn=os.setsid to allow signaling process group if needed
recording_process = subprocess.Popen(
cmd,
stdin=subprocess.PIPE,
stdout=subprocess.DEVNULL,
stderr=subprocess.STDOUT,
preexec_fn=os.setsid
)

segment_files.append(segment_path)
print(f"[INFO] Started recording segment: {segment_path.name}")


def stop_recording():
"""
Stop ffmpeg gracefully by sending 'q' so buffers flush and tail isn't lost. [1](https://stackoverflow.com/questions/45294069/how-to-gracefully-close-an-ffmpeg-process-running-in-background-without-corrupti)[2](https://github.com/kkroening/ffmpeg-python/issues/162)
"""
global recording_process
if not recording_process:
return

print("[INFO] Stopping recording (graceful)...")
try:
if recording_process.stdin:
recording_process.stdin.write(b"q\n")
recording_process.stdin.flush()

# give time to flush and close (RTSP + encoder can buffer)
recording_process.wait(timeout=30)

except Exception:
# fallback: SIGINT to process group
try:
os.killpg(os.getpgid(recording_process.pid), signal.SIGINT)
recording_process.wait(timeout=10)
except Exception:
# last resort kill
try:
os.killpg(os.getpgid(recording_process.pid), signal.SIGKILL)
except Exception:
pass

recording_process = None
print("[INFO] Recording stopped.")


def concatenate_segments():
"""
Concatenate TS segments into a single MP4 using concat demuxer. [3](https://trac.ffmpeg.org/wiki/Concatenate)[4](https://www.mux.com/articles/stitch-multiple-videos-together-with-ffmpeg)
"""
global segment_files, session_stamp, segment_index

if not segment_files:
print("[WARN] No segments to concatenate.")
session_stamp = None
segment_index = 0
return

final_name = f"final_{session_stamp}.mp4"
final_path = OUT_DIR / final_name
list_path = OUT_DIR / f"segments_{session_stamp}.txt"

# Write concat list file: file 'path' ... [3](https://trac.ffmpeg.org/wiki/Concatenate)[4](https://www.mux.com/articles/stitch-multiple-videos-together-with-ffmpeg)
with open(list_path, "w", encoding="utf-8") as f:
for seg in segment_files:
f.write(f"file '{seg.as_posix()}'\n")

cmd = [
"ffmpeg", "-hide_banner", "-loglevel", "warning",
"-y",
"-f", "concat",
"-safe", "0",
"-i", str(list_path),
"-c", "copy",
"-movflags", "+faststart",
str(final_path)
]

print(f"[INFO] Concatenating {len(segment_files)} segments -> {final_path.name}")
res = subprocess.run(cmd)

if res.returncode == 0:
print(f"[OK] Final saved: {final_path}")

# Cleanup temp files
try:
list_path.unlink(missing_ok=True)
except Exception:
pass

for seg in segment_files:
try:
seg.unlink(missing_ok=True)
except Exception:
pass

print("[INFO] Temporary TS segments deleted.")
else:
print("[ERROR] Concat failed. Keeping segments and list file for debugging:")
print(f" List: {list_path}")

# Reset for next session
segment_files = []
session_stamp = None
segment_index = 0


# ----------------------------
# GPIO Setup
# ----------------------------
GPIO.setmode(GPIO.BCM)
GPIO.setup(PB1, GPIO.IN, pull_up_down=GPIO.PUD_UP)
GPIO.setup(PB2, GPIO.IN, pull_up_down=GPIO.PUD_UP)
GPIO.setup(PB3, GPIO.IN, pull_up_down=GPIO.PUD_UP)
GPIO.setup(PB4, GPIO.IN, pull_up_down=GPIO.PUD_UP)

try:
print("[READY] Polling buttons... PB1-3 start/switch cam, PB4 finish+merge")

while True:
if GPIO.input(PB1) == GPIO.LOW:
stop_recording()
start_recording(CAMERA_STREAMS[PB1])
time.sleep(PRESS_SLEEP)

elif GPIO.input(PB2) == GPIO.LOW:
stop_recording()
start_recording(CAMERA_STREAMS[PB2])
time.sleep(PRESS_SLEEP)

elif GPIO.input(PB3) == GPIO.LOW:
stop_recording()
start_recording(CAMERA_STREAMS[PB3])
time.sleep(PRESS_SLEEP)

elif GPIO.input(PB4) == GPIO.LOW:
stop_recording()
concatenate_segments()
time.sleep(PRESS_SLEEP)

time.sleep(LOOP_SLEEP)

except KeyboardInterrupt:
print("\n[INFO] Ctrl+C: stopping current recording...")
stop_recording()
GPIO.cleanup()
print("[DONE] Exiting.")

Sample Video

Demo video for 'Stich' Project.

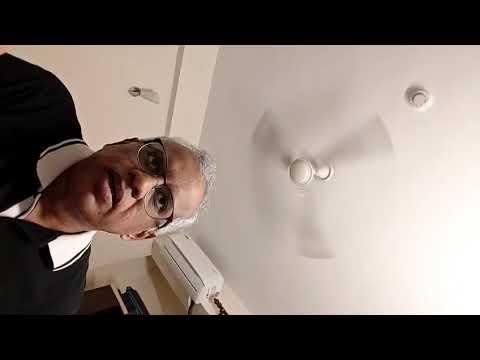
The sample video created using the system can be seen at https://youtu.be/rTxcOCDL7yQ?si=iuQxlQswq_N3lLLh

Conclusion

The project code has been completely generated using AI prompts to Microsoft copilot and it did a good job of generating the code against various prompts and challenges. It was a learning experience as to how to pull video out of a app running on old mobile phone using the RTSP protocol and manipulate it inside Raspberry pi single board computer using the FFMPEG library to give a stitched video output from various sources.

This can be a use case for reusing old mobile phones into something useful. In fact, some old phones like Samsung J20 performed better than comparatively younger generation XIAOMI 12 Pro 5G while doing testing.