Storage Stairs -
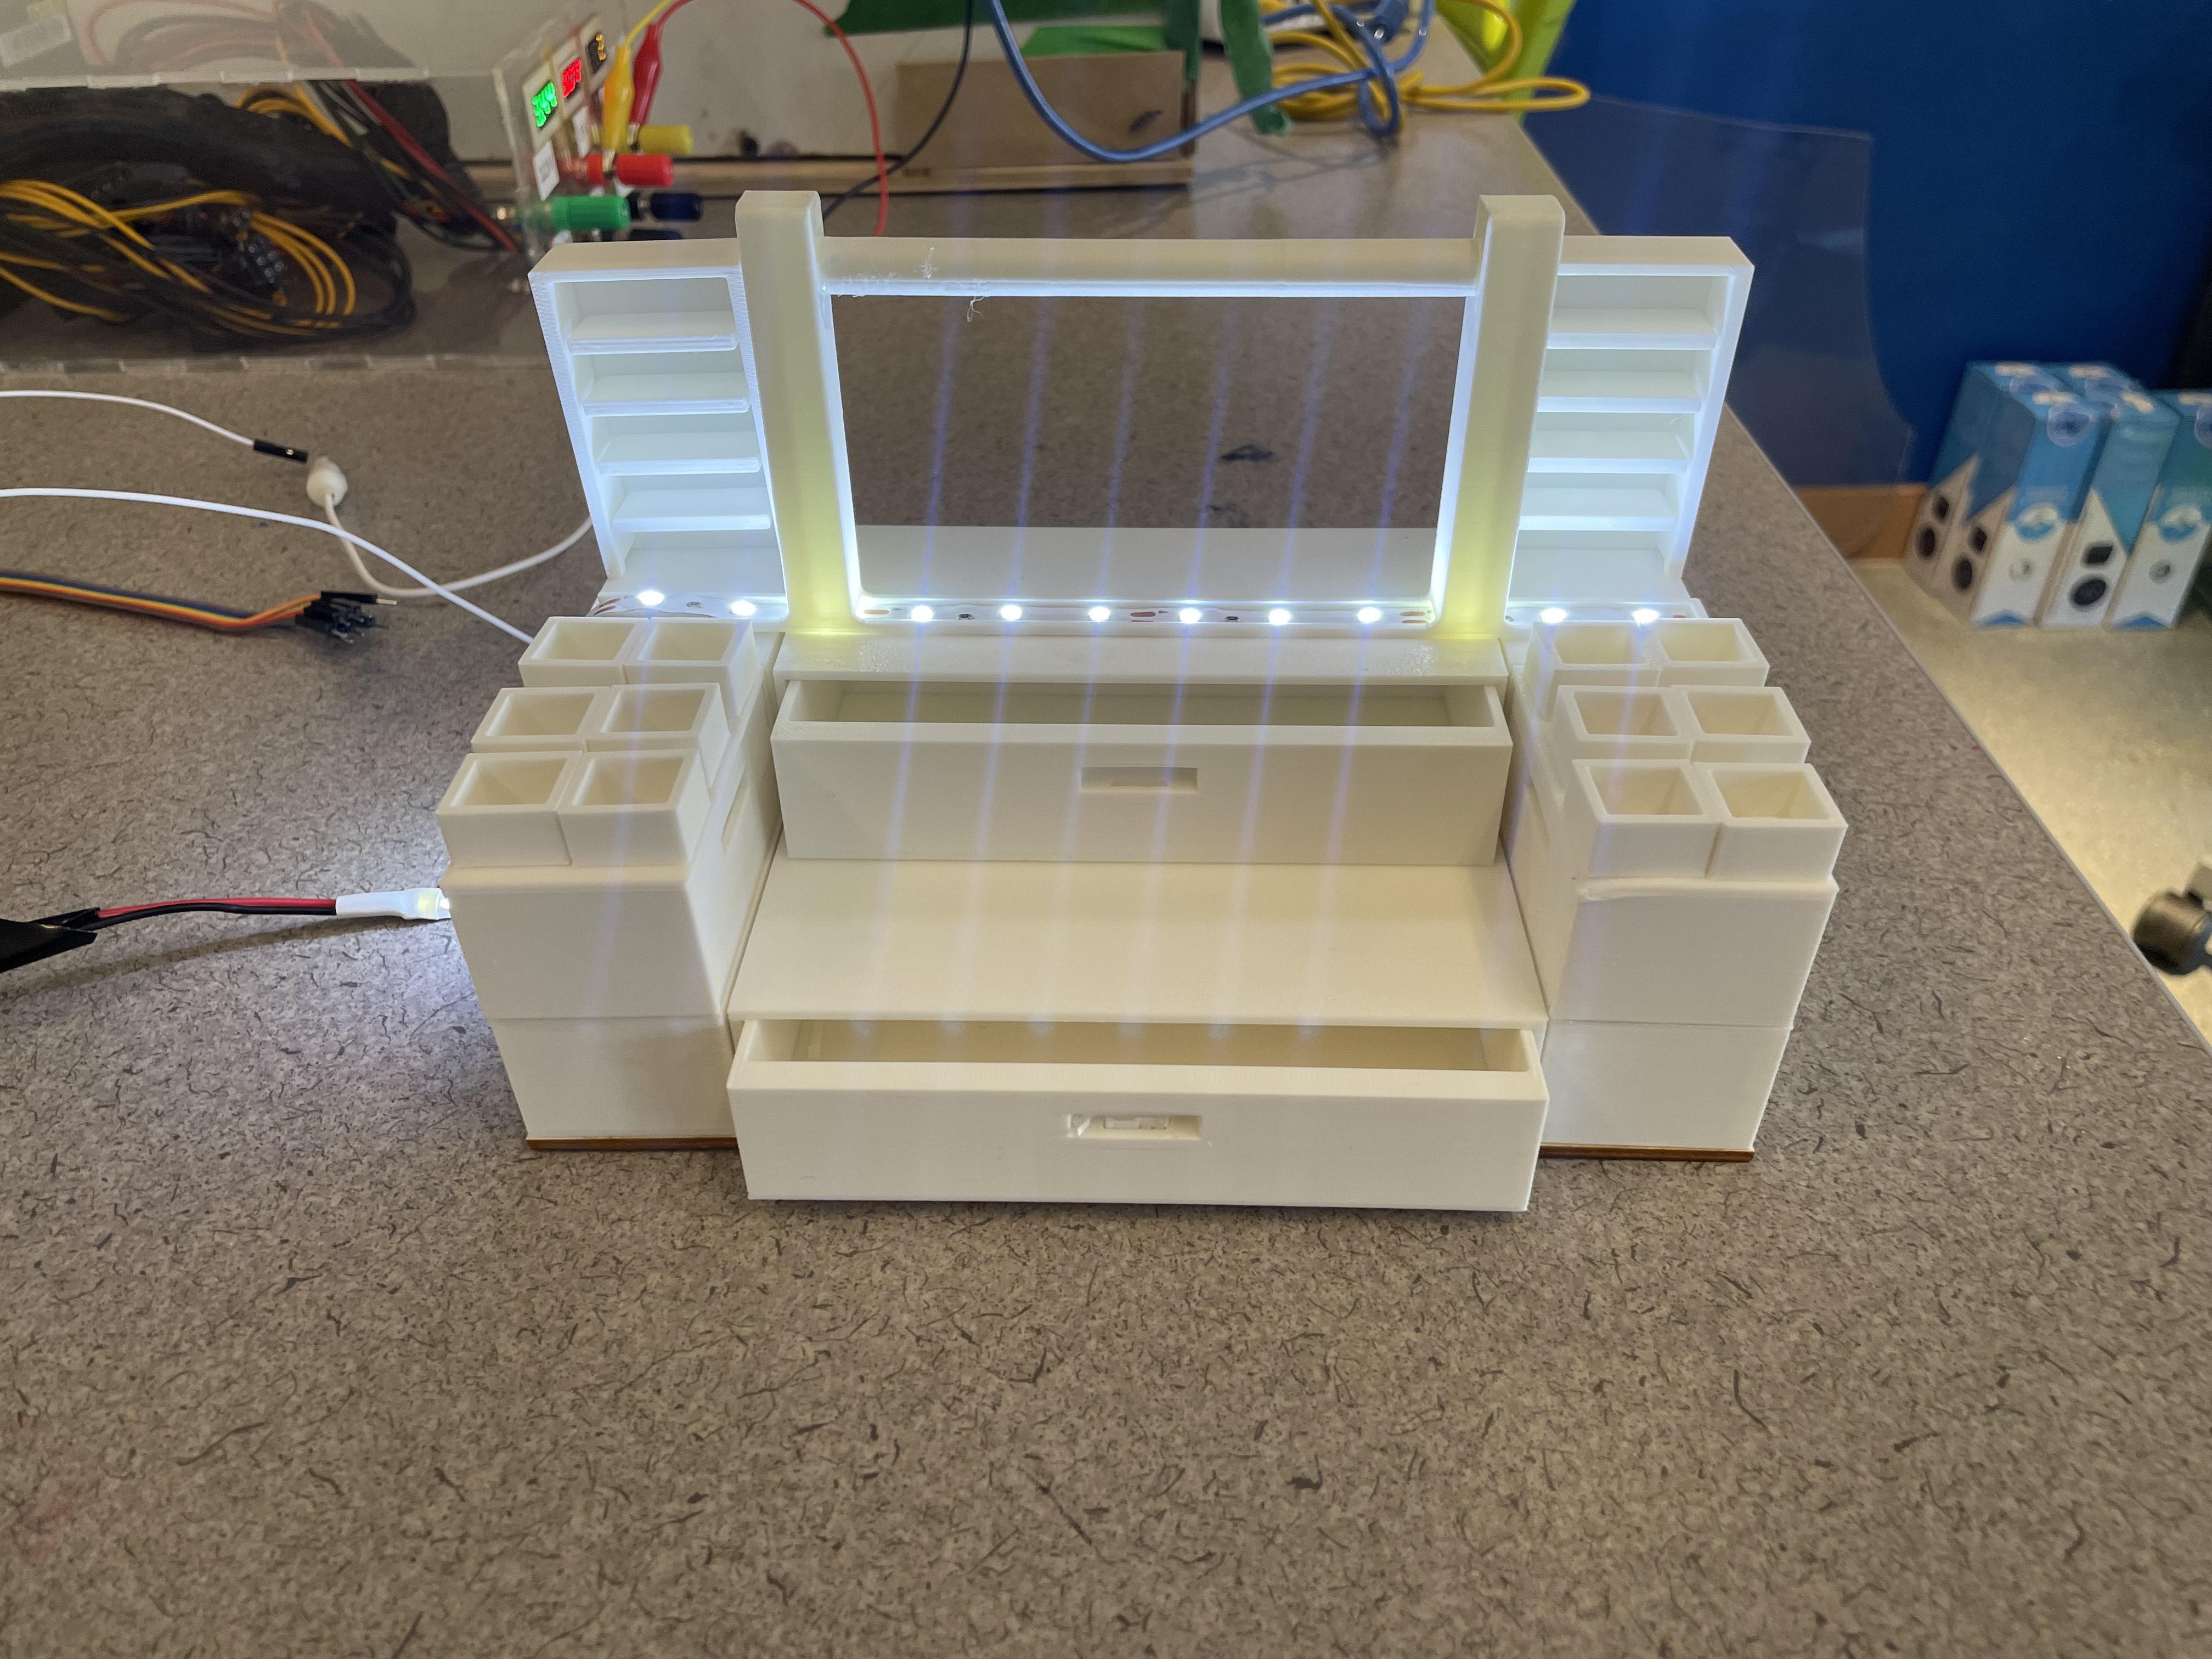
The Storage Stairs optimize storage spaces to fit in staircases around a house, workplace, factory, etc. By fitting drawers into creative areas and using all empty space for alternative methods of storage such as sorted boxes or hanging racks, the Storage Stairs ensure that no space is wasted. It can be scaled to fit whichever space it is required to be installed and adds a bit of flair through the LED lights that surround the shelves and hanging rack.
In the 3D modelled design, the total space was limited to 117.5 mm by 205 mm. Drawers were stacked on top of one another to become the stairs. This design could be expanded to include more steps, simply by adding more stacked drawers and moving the hanging rack and shelves to the top of the last step. The LED Light Strip is powered by a nearby outlet and can go under the hanging rack by making use of precisely made holes/gaps in the modeled component
Something unique about this design is the ability for the drawers to freely slide in and out of their shells. This was done by creating two components, with one being the actual drawer that holds stuff, and the other being the shell that surrounds the drawer and makes it appear closed. This way, only the shell is glued to the surface that the drawer is placed on, allowing the drawer to freely slide in and out of the shell.
Supplies
PLA
12 Volt LED Light Strip
Glue
Power Source
Laser Cut the Base
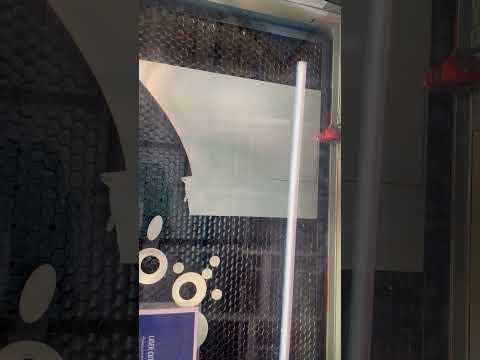
Laser cut the base to put the printed parts on later. This should be 117.5mm by 205mm.
Print the Parts
The Storage Stairs were designed in Fusion 360, as that was the software that our Tech Design class uses for all projects. Every file needed to print is below alongside how many times they need to be printed.
Drawer: x2
Shell: x2
SmallDrawer: x2
SmallDrawerShell: x2
Boxes: x2
Small Support: x2
Support: x2
BigSupport: x1
Rack: x1
Cyllinder: x1
LeftShelf: x1
Right Shelf: x1
Each part that had to connect to/cover another part was given 0.5mm of tolerance to account for inaccuracies in the 3D printing process.
Glue Small Support and Regular Support
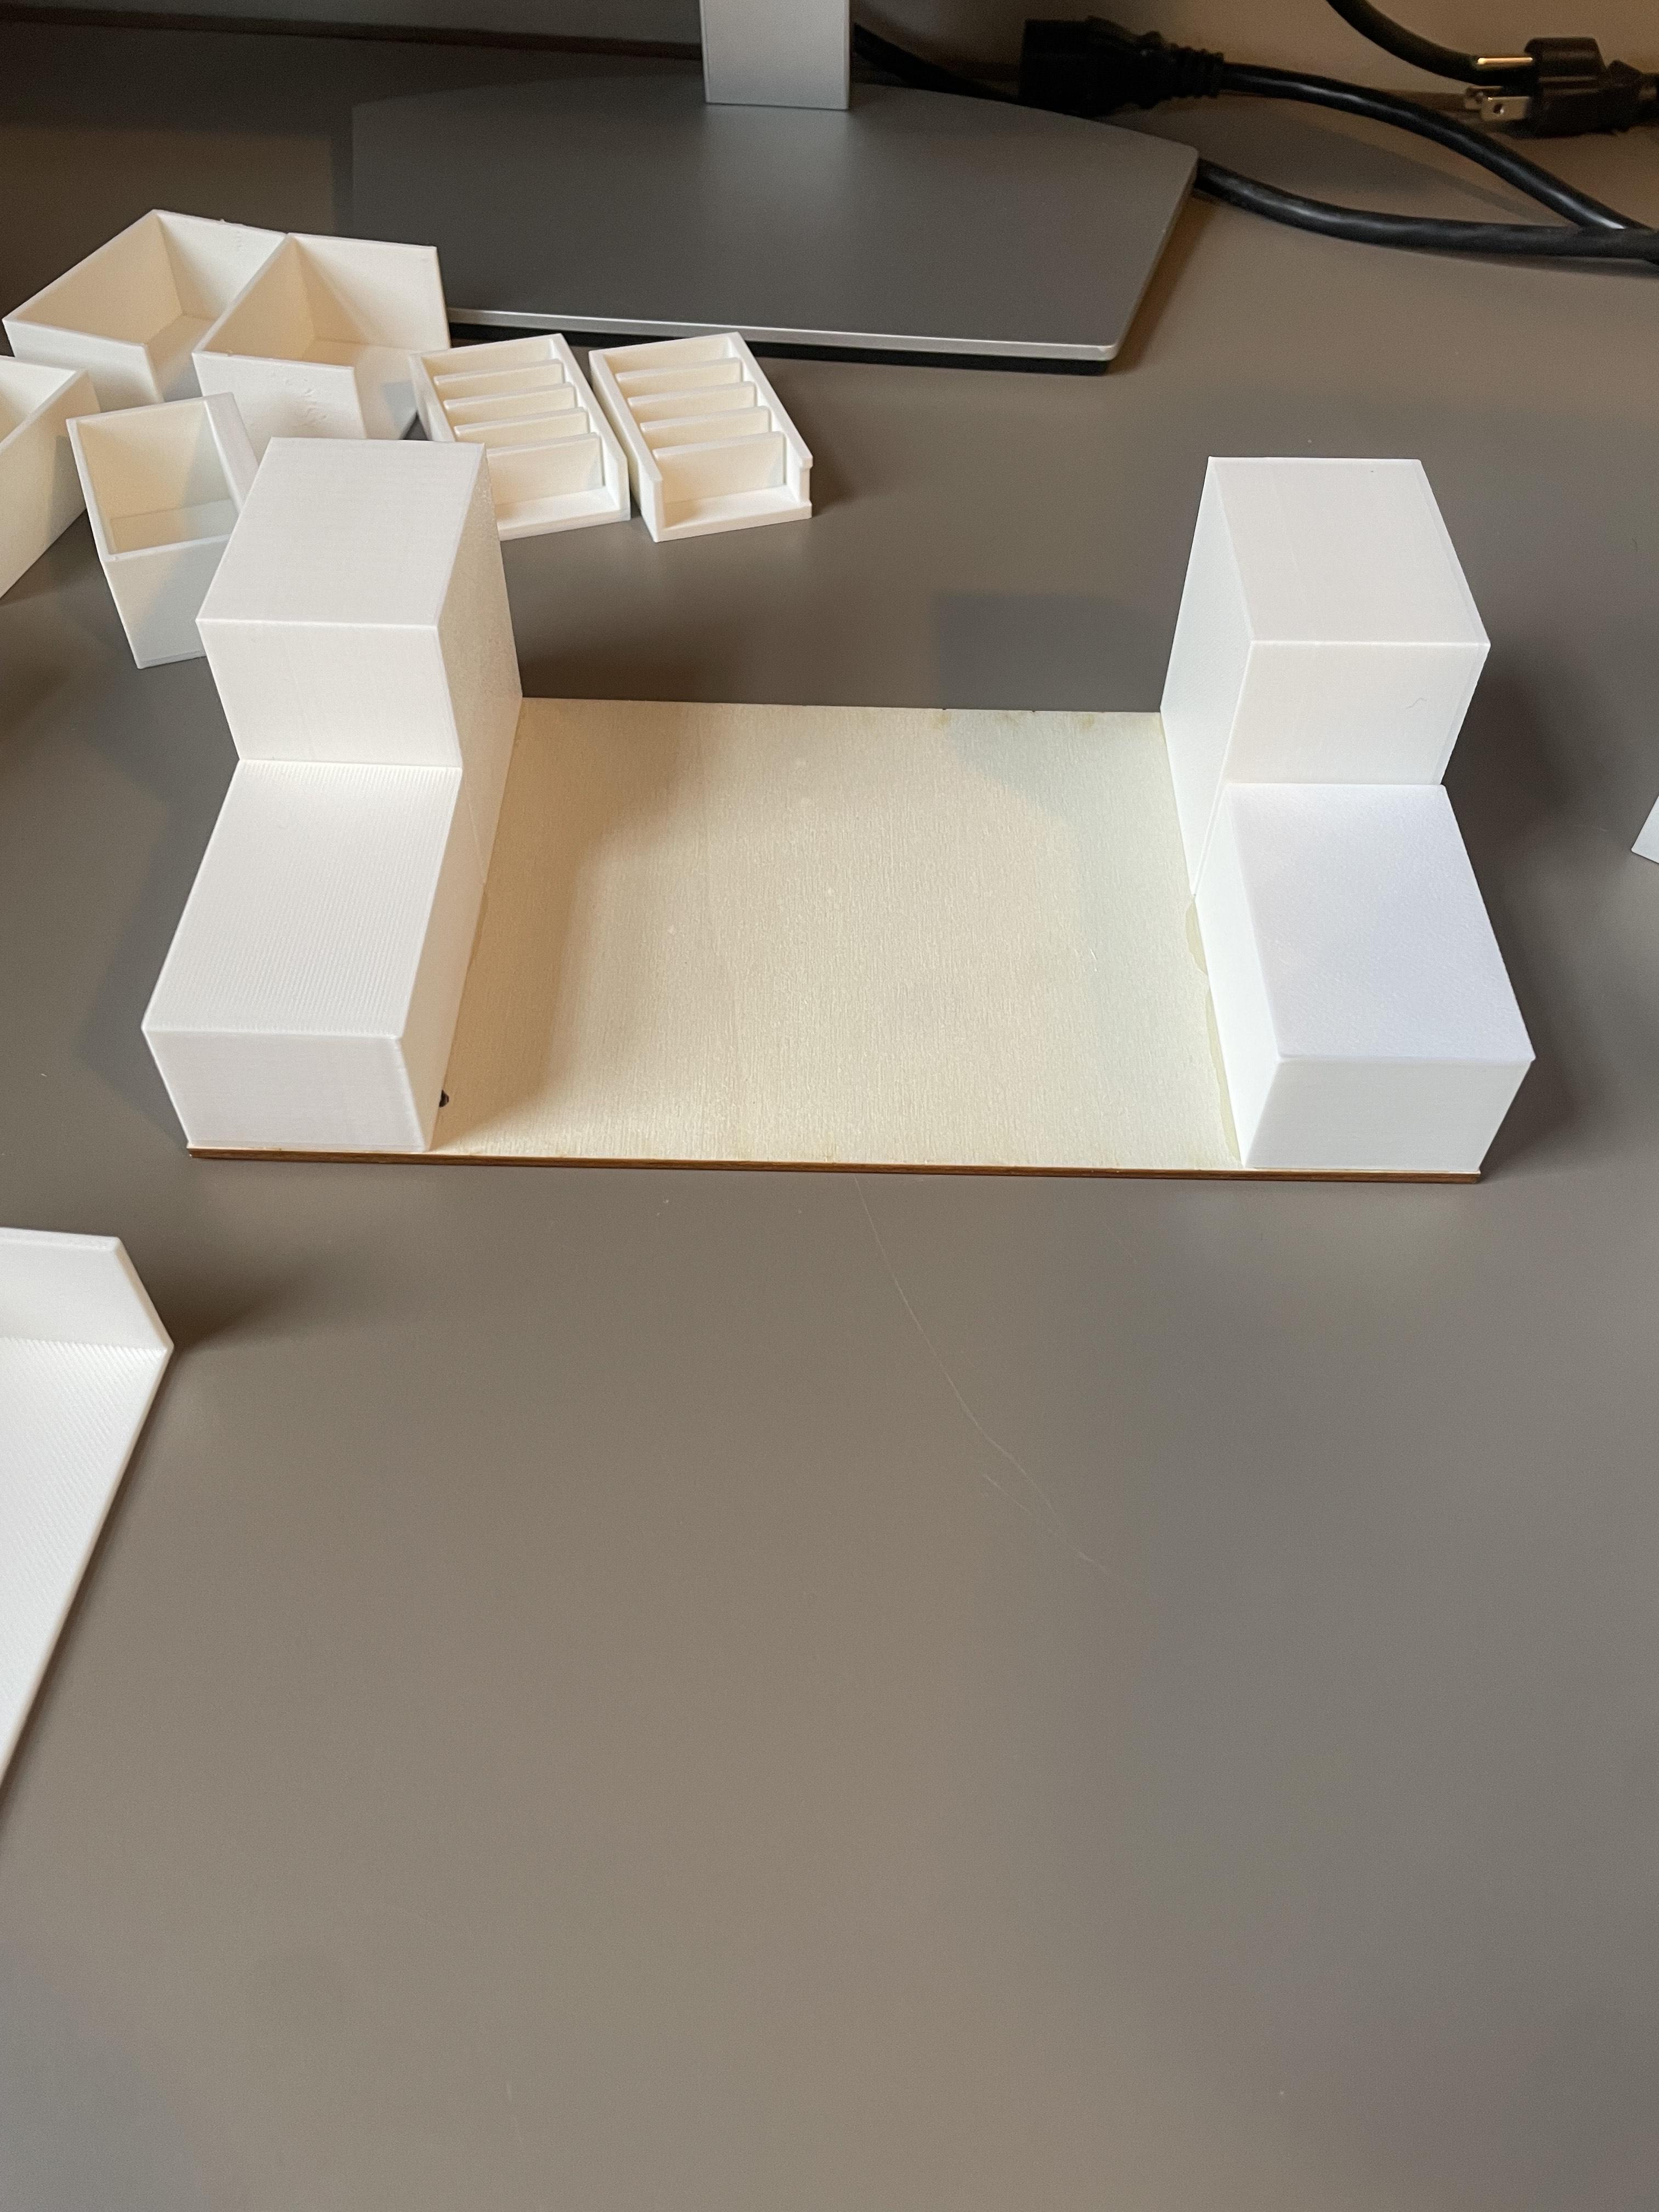
The first pieces that should be glued onto the laser cut base are the two small supports and two regular supports on each side of the base. They should cover the 117.5mm side.
Glue Small Drawers/Small Shells, and Boxes
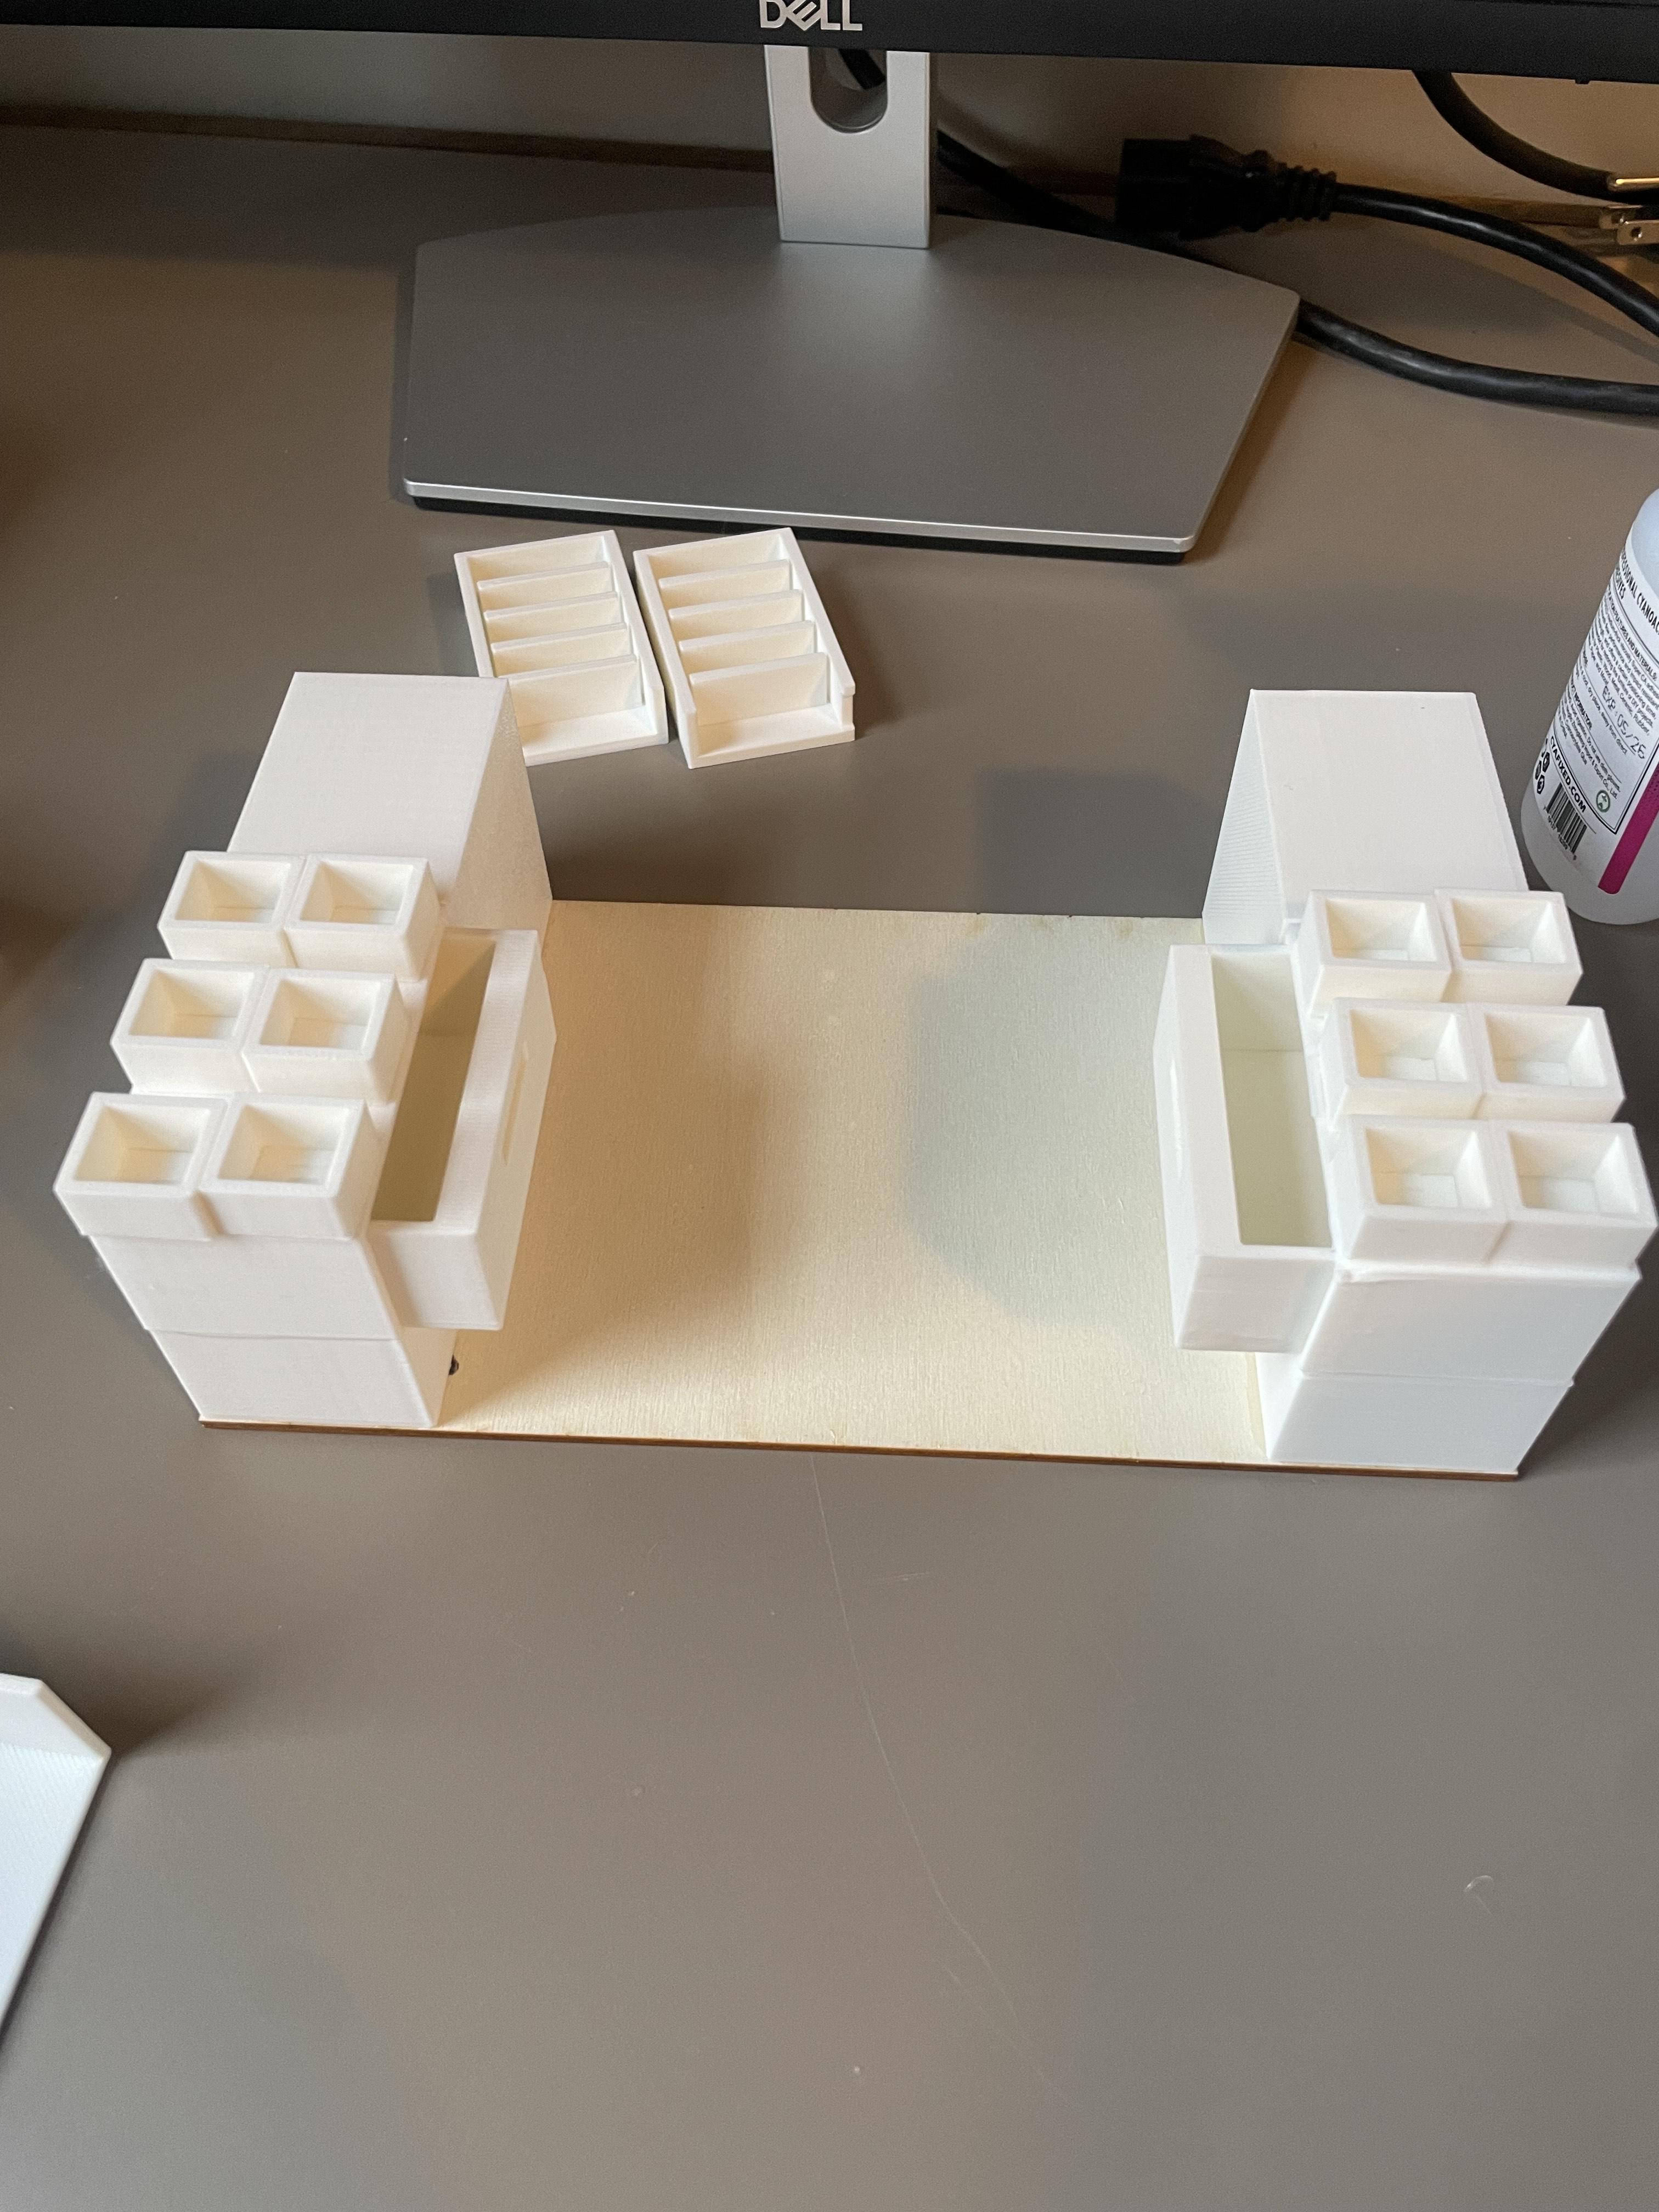
Place the small drawers on each of the small supports so that the handle is facing inwards. Ensure they are NOT glued, as they have to be able to slide. Then, place the small shells over, and glue them to the small supports. The boxes are placed on top of the small shells and can be either glued or left to balance depending on if you want to re-arrange them later or not.
Glue Drawers/shells and Large Support
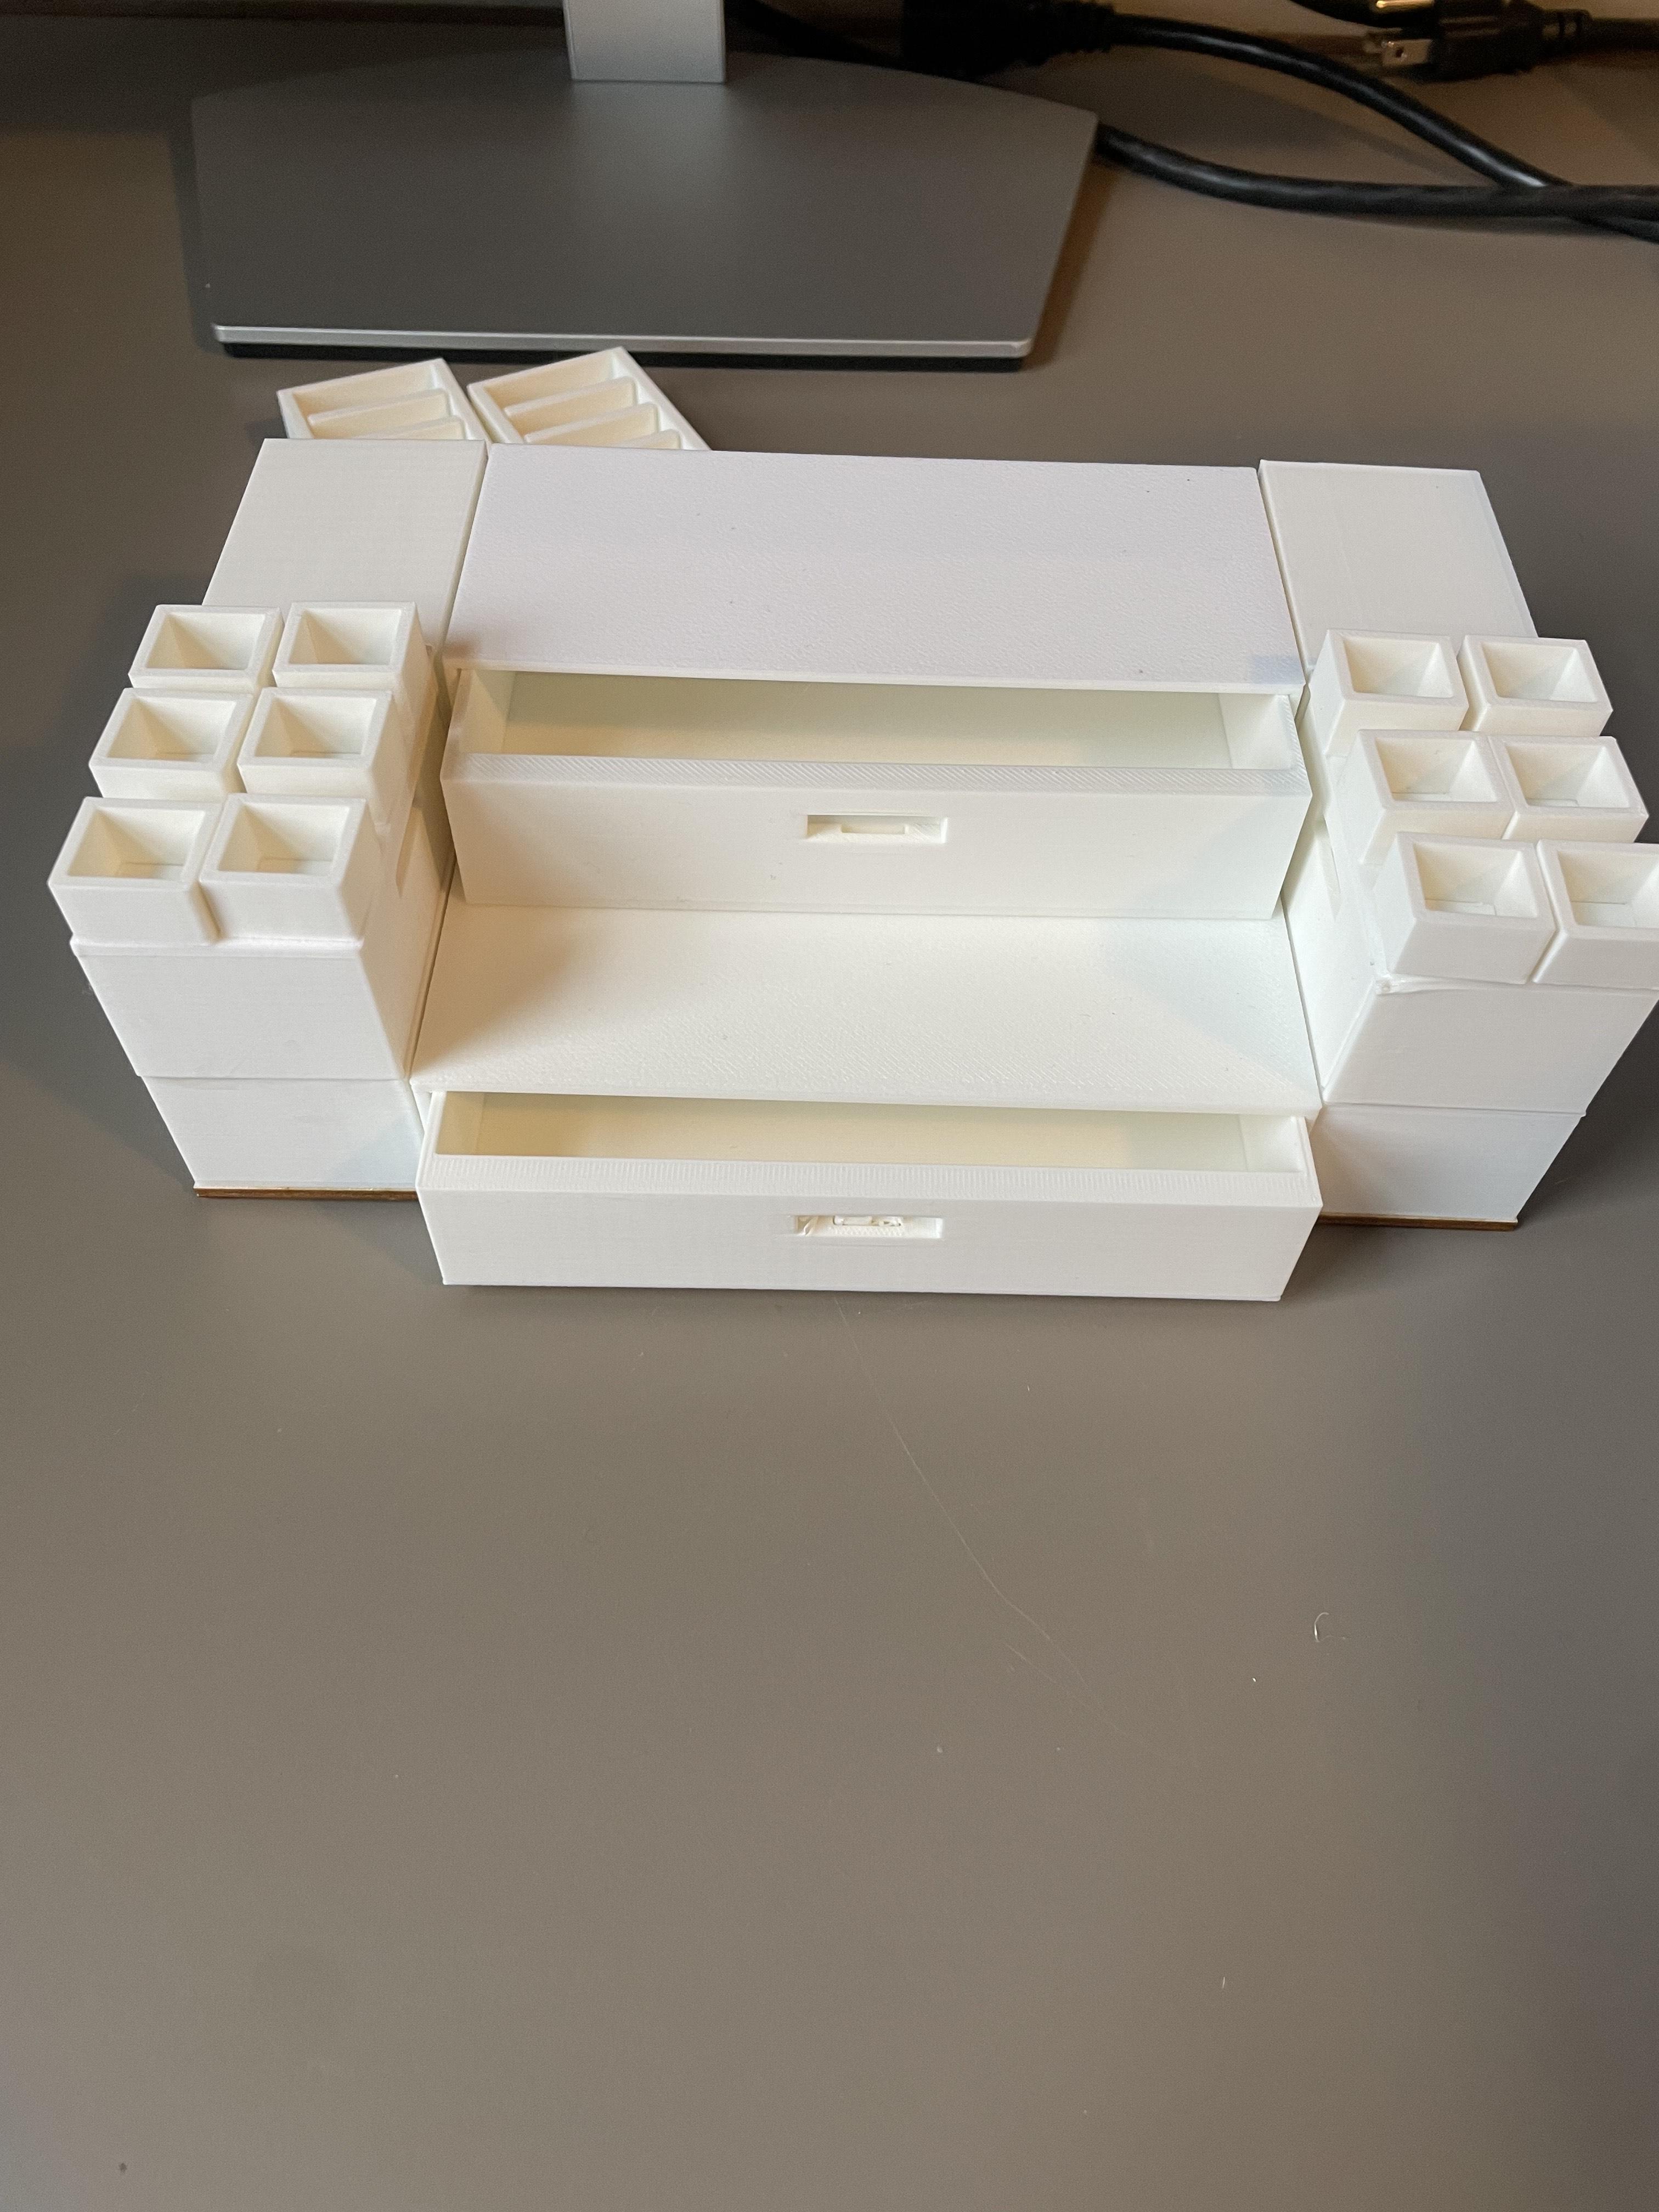
Between the two small supports, place one regular drawer, so that the handle is facing the side you desire to be the front. Then, place the shell over it, glueing the shell but not the drawer. Behind the shell, glue the large support to the base. On top of it, repeat the process of placing the drawer and glueing the shell, this time on top of the large support.
Glue Rack, Shelves, and Cylinder
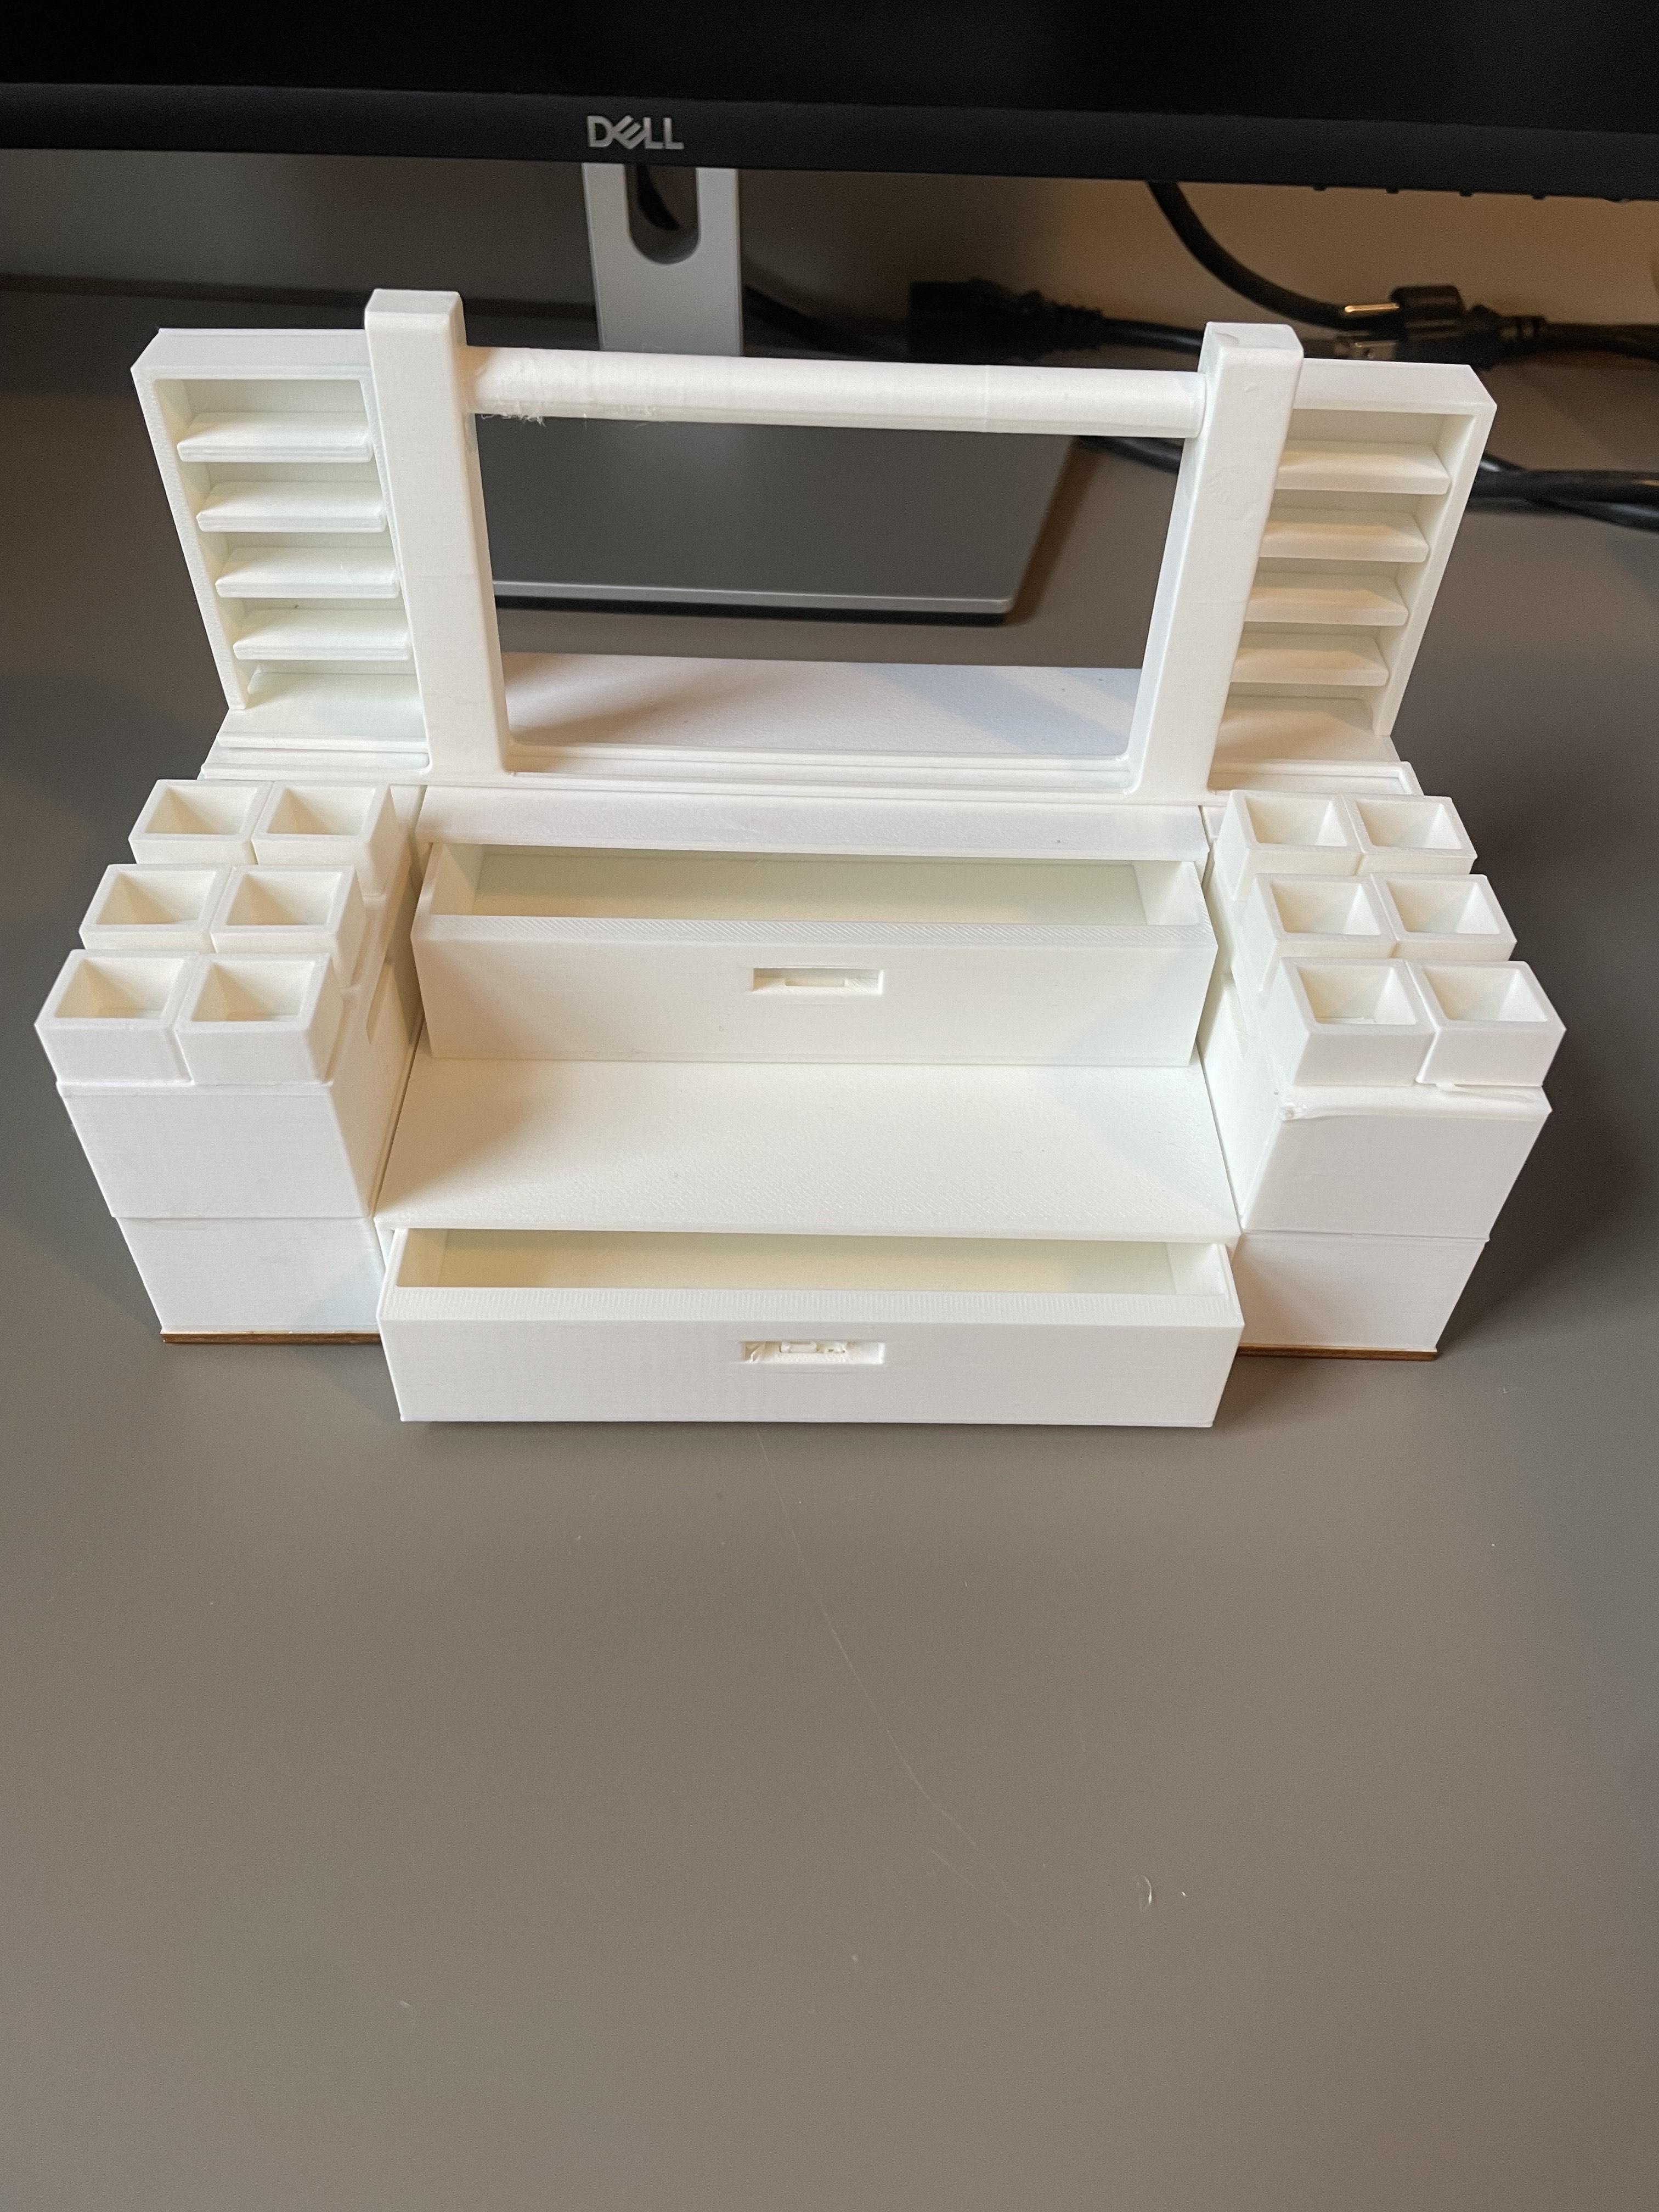
There should now be a large space at the top that is made up of the regular supports and a drawer shell. Glue the shelves on the regular supports, with them being 4mm away from the back of the supports. Glue the rack 4 mm in front of the shelves, with it being on top of the supports and drawer shell. Glue the cylinder into the rack so that the top of the cylinder is around 5mm down from the top of the rack.
Add the LED Lights
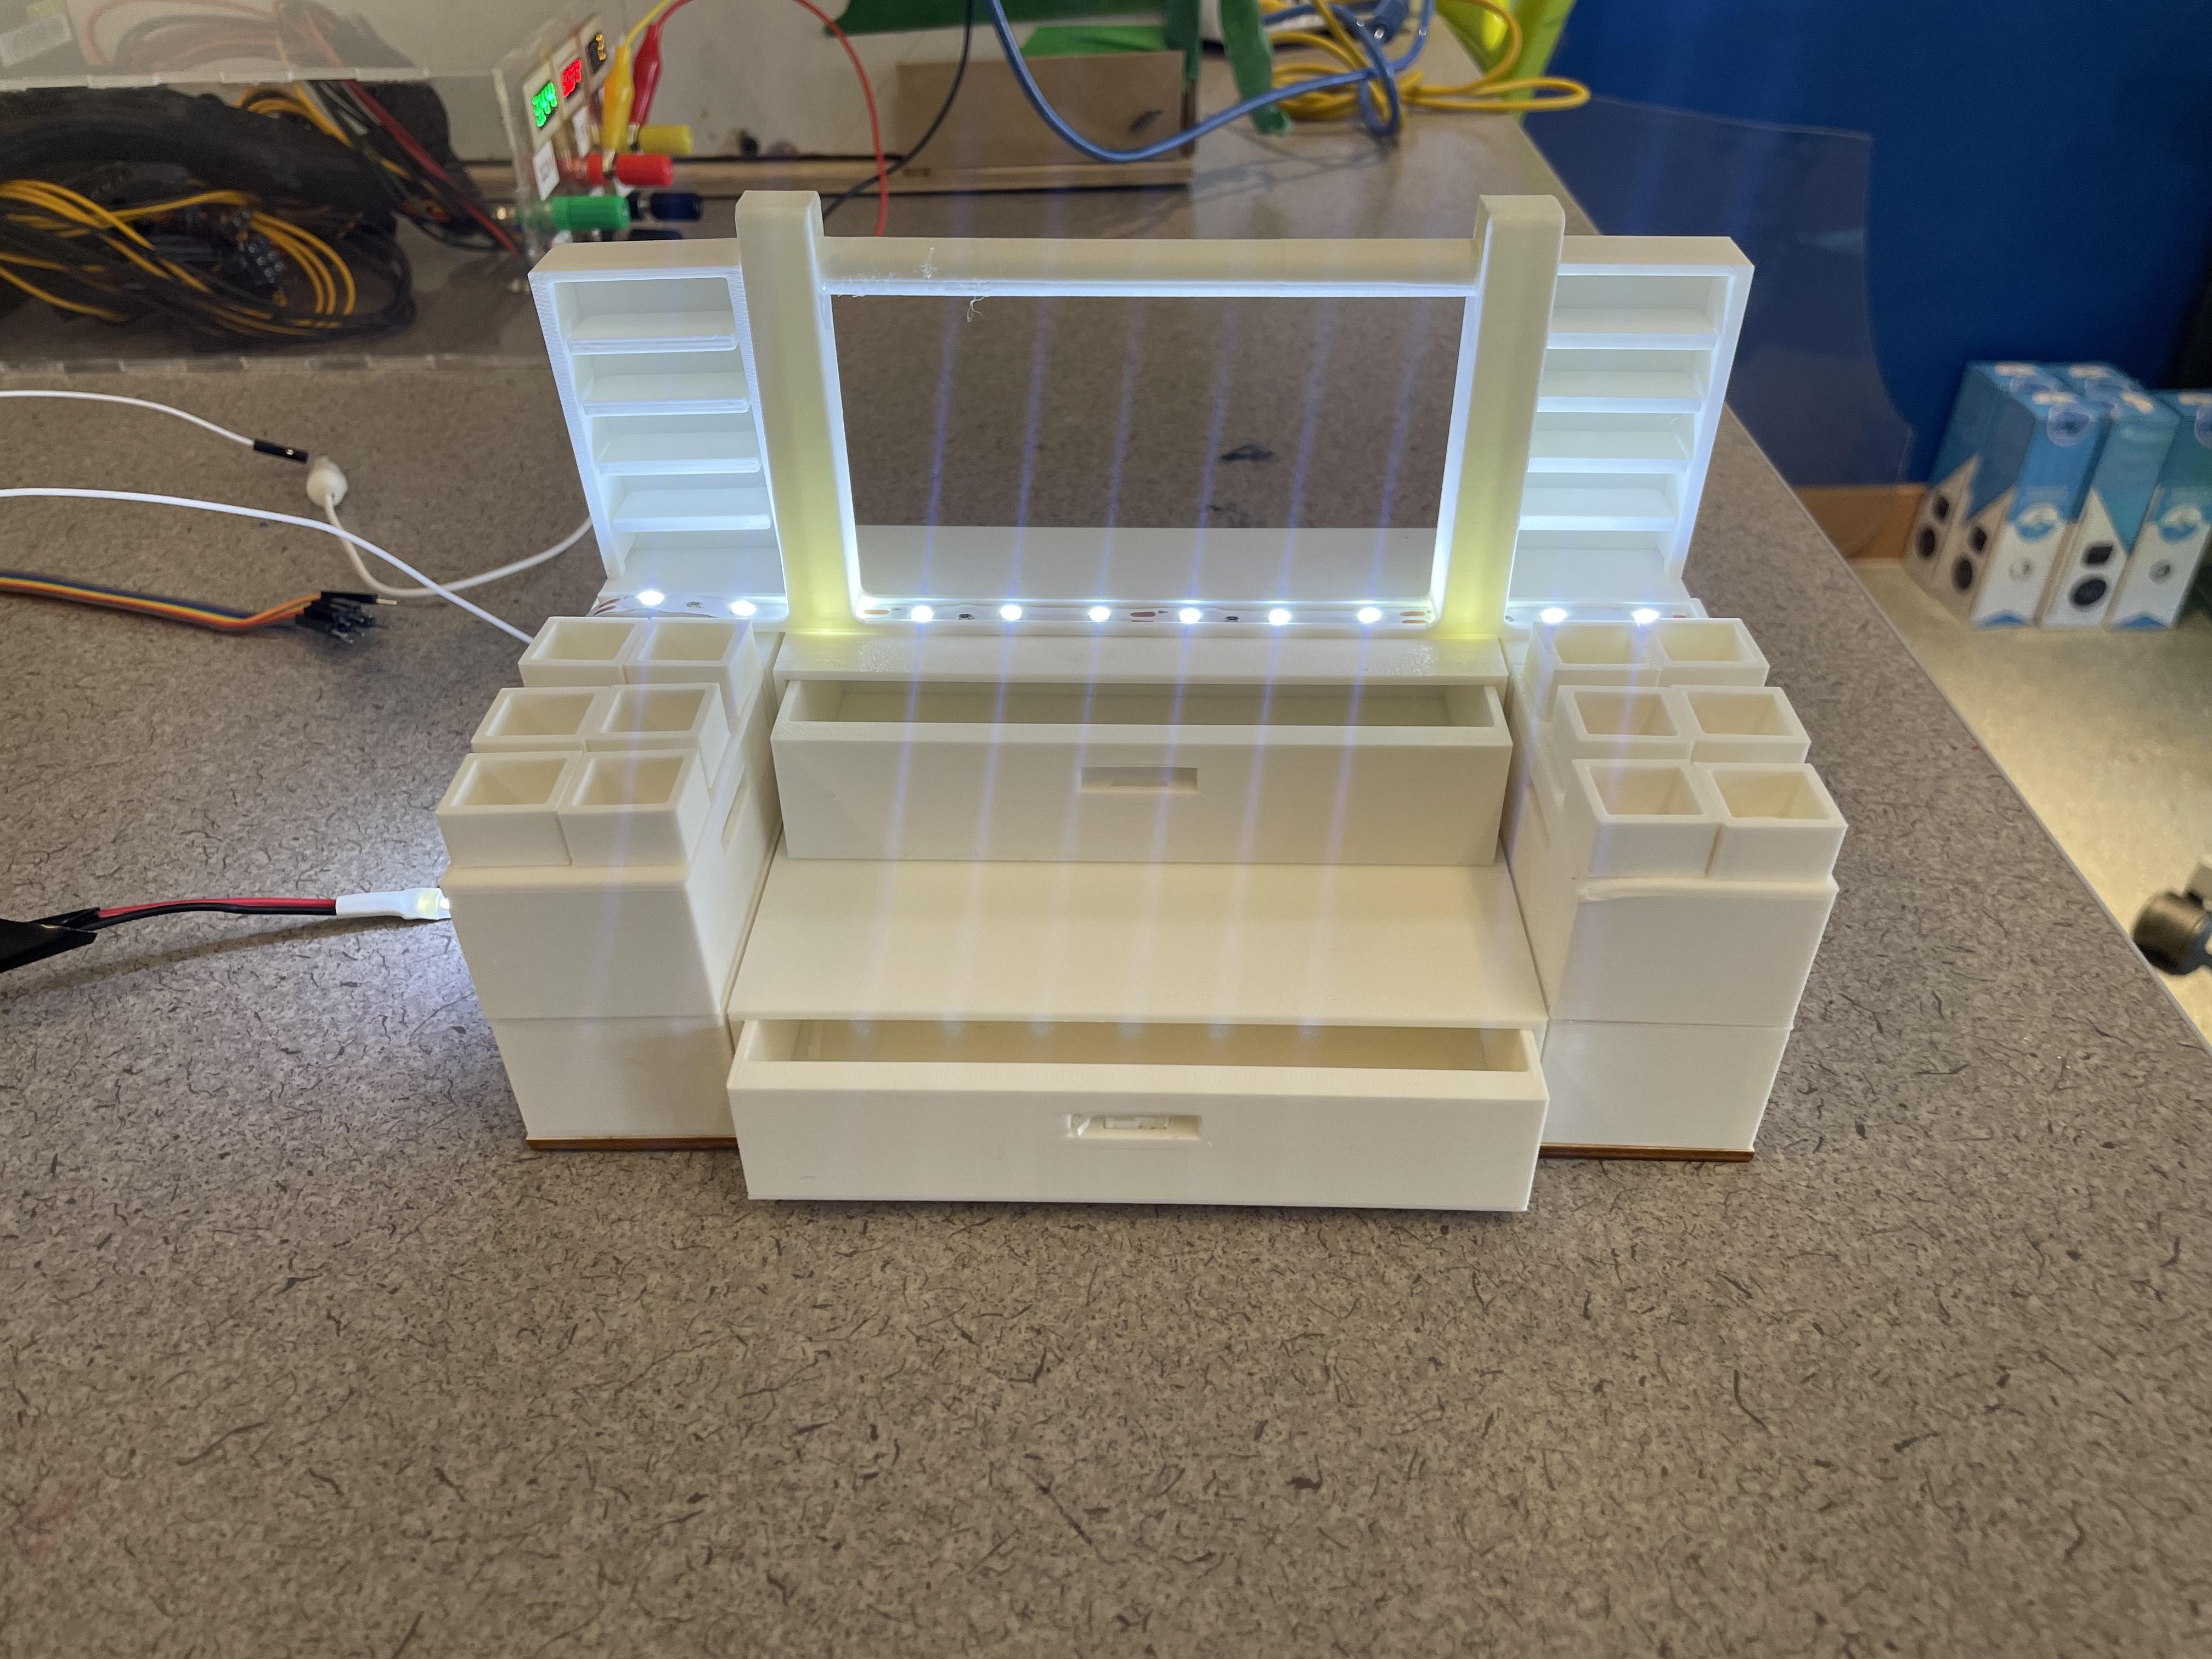
The LED Strip can go under the hanging rack by making use of the 2mm thick guidelines. The strip will start on the left side.
Note that a bit of the LED Strip will have to stick to the side of the Storage Stairs. This is so that it is not hanging off awkwardly from the rest of the design.