Store Locator


This project uses the ViSi Genie
environment. In addition, Genie Magic feature is used to add custom routines to this project. To use Genie Magic feature, you need to purchase a PRO license for Workshop 4 IDE. For more information on Workshop 4 PRO, kindly visit our website, www.4dsystems.com.au.
In this project, you will be able to create a simple store locator for a mall. This locator will allow the user to find a specific store in the mall. Here, it is assumed the display module is mounted in the entrance of the mall.
The locator allows the user to select the store category they are looking for then choose the specific store they want. After the user has selected the store, the module will display the path from the initial position to the store.
How It Works

Components


- gen4-uLCD-70DT
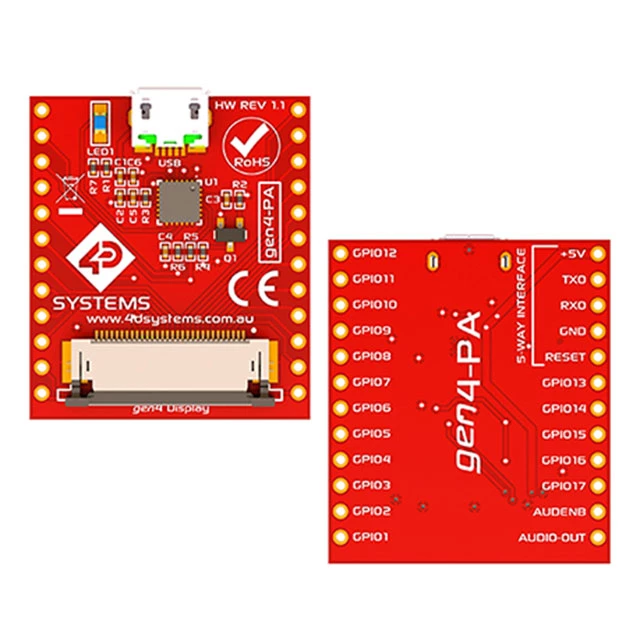
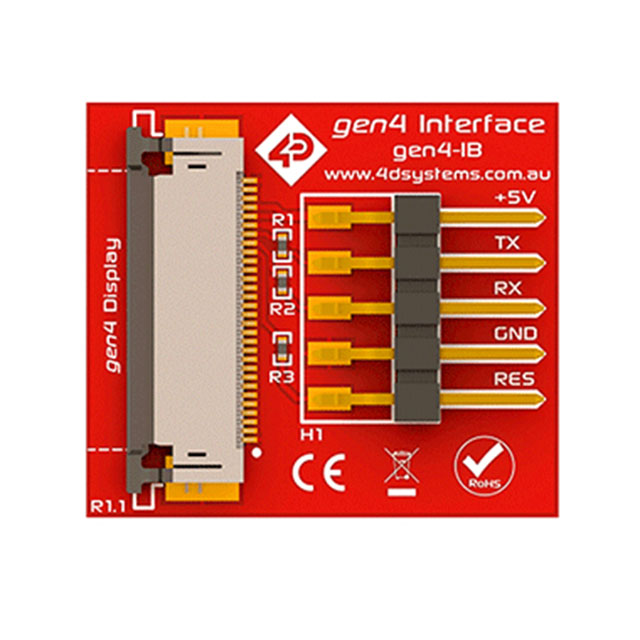
- gen4 -Programming Adapter or gen4 -Interface Board
- uUSB -PA5 (if using gen4-IB)
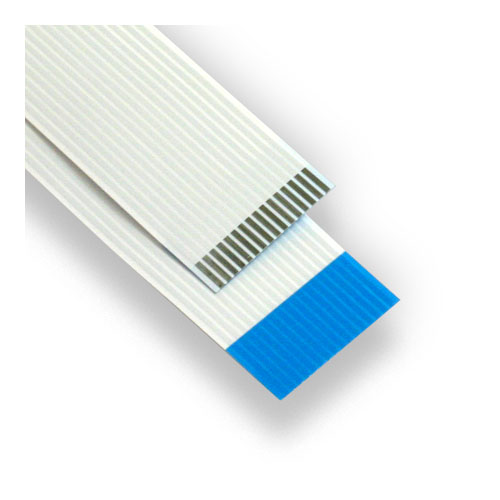
- 30 way FFC Cable
- uSD Card
- Mini USB Cable (if using gen4-PA) or Micro USB Cable (if using gen4-IB)
Build


If you are using gen4-IB and uUSB PA-5, connect the display to your computer as shown in the image (1st image)
If you are using gen4-PA board, connect the display to your computer as shown in the image (2nd image)
Program

Download the project file here.
You need Workshop 4 to start coding the display module.
Open the project using Workshop 4. This project uses the Visi-Genie Environment.
You can also modify some properties of each widget.
Make sure that you are connected to the right port. Red Button indicates that the device is not connected, Blue Button indicates that the device is connected to the right port.
Now click on the “(Build) Copy/Load” button.
Workshop 4 will prompt you to select a drive to copy the image files to a uSD Card. After selecting the correct drive, click OK.
The module will prompt you to insert the uSD card. (1st image)
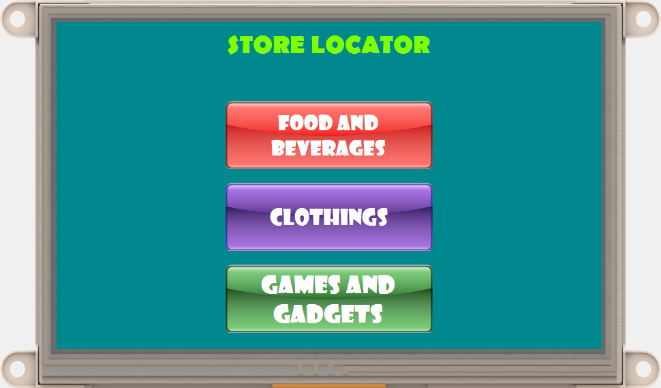
Properly unmount the uSD Card from the PC and insert it to the uSD Card slot of the display module. The image below must appear on your display after completing the steps above. (2nd image)
Demonstration


You can now use the Store Locator and find the location of the store in simply by choosing a store.