Study Timer

You know how people talk about how you should take frequent breaks while studying? Well this is a study timer, it helps to remind you when to take breaks as you are studying and/or working on your computer!
Supplies

I used Foam Core for the sides of my project to cover the battery. You can use any type of foam that you like, so long as it is sturdy. You could even use cardboard too!
Other materials and Tools you will need:
- Hot Glue
- Painters Tape/Duct Tape
- Utility Knife/Xacto Knife
- Hole Puncher
- Cutting Board or a surface to cut the foam on
Code Your Adafruit Playground Arduino Circuit


You will create three variables, you can name them however you want. For me I used these three terms:
- Time Setting - Helps the Arduino know which time setting it will be running. Whether that's 30, 45, or 60 minutes
- Setting - Helps the circuit know if the user is selecting a time setting or running the timer
- Timer - Tracks the amount of time that is past so the RGB lights can change in accordance
The screenshot of the timer code only shows the code for the 30 minutes setting. For the other settings you will simply just need to copy and paste the code.
After pasting the code, adjust the timer variable so that it lines up with the setting. In addition to that, make sure to change the if statement to the corresponding time setting.
Every 5 minutes is 300 seconds so just adjust the time increments by 300. You may have to double that for some because there aren't enough RGB lights to tick down every 5 minutes
Example:
For 30 minutes you would set the timer at 1,800
Then set the pixel if statement to If timer = 1,500 set pixel to "RED"
Cut Out Sides


Using your Utility Knife and Cutting Board, cut out 3x3 inch foam squares for the sides of the cube. The reason it is 3 inches by 3 inches is so the battery can fit inside the cube.
Punch Hole in Top Piece


Identify a piece of foam for the top of the cube
Punch a hole on the edge of the piece so the battery chord can fit through
Glue the Foam Sides Together


After cutting out all your pieces use your hot glue to line the edges and stick them together
You can also add tape to the edges to help make the cube more sturdy
Place the battery inside on some tape and feed the cord through the top
Be sure to leave at least one side of the cube open!
Secure Adafruit Circuit to the Top

Using some tape or other adhesive, secure your Adafruit Circuit to the top and connect the battery.
Battery Acess


Before you secure the final side of the cube, you will need some way to access the battery.
To do this I simply just took a foam piece and cut it down so it was just the right side to be able to slide on and off the back of the cube.
I drew a little battery symbol so user's know why that side isn't secured with tape or glue.
Make It Look Nice


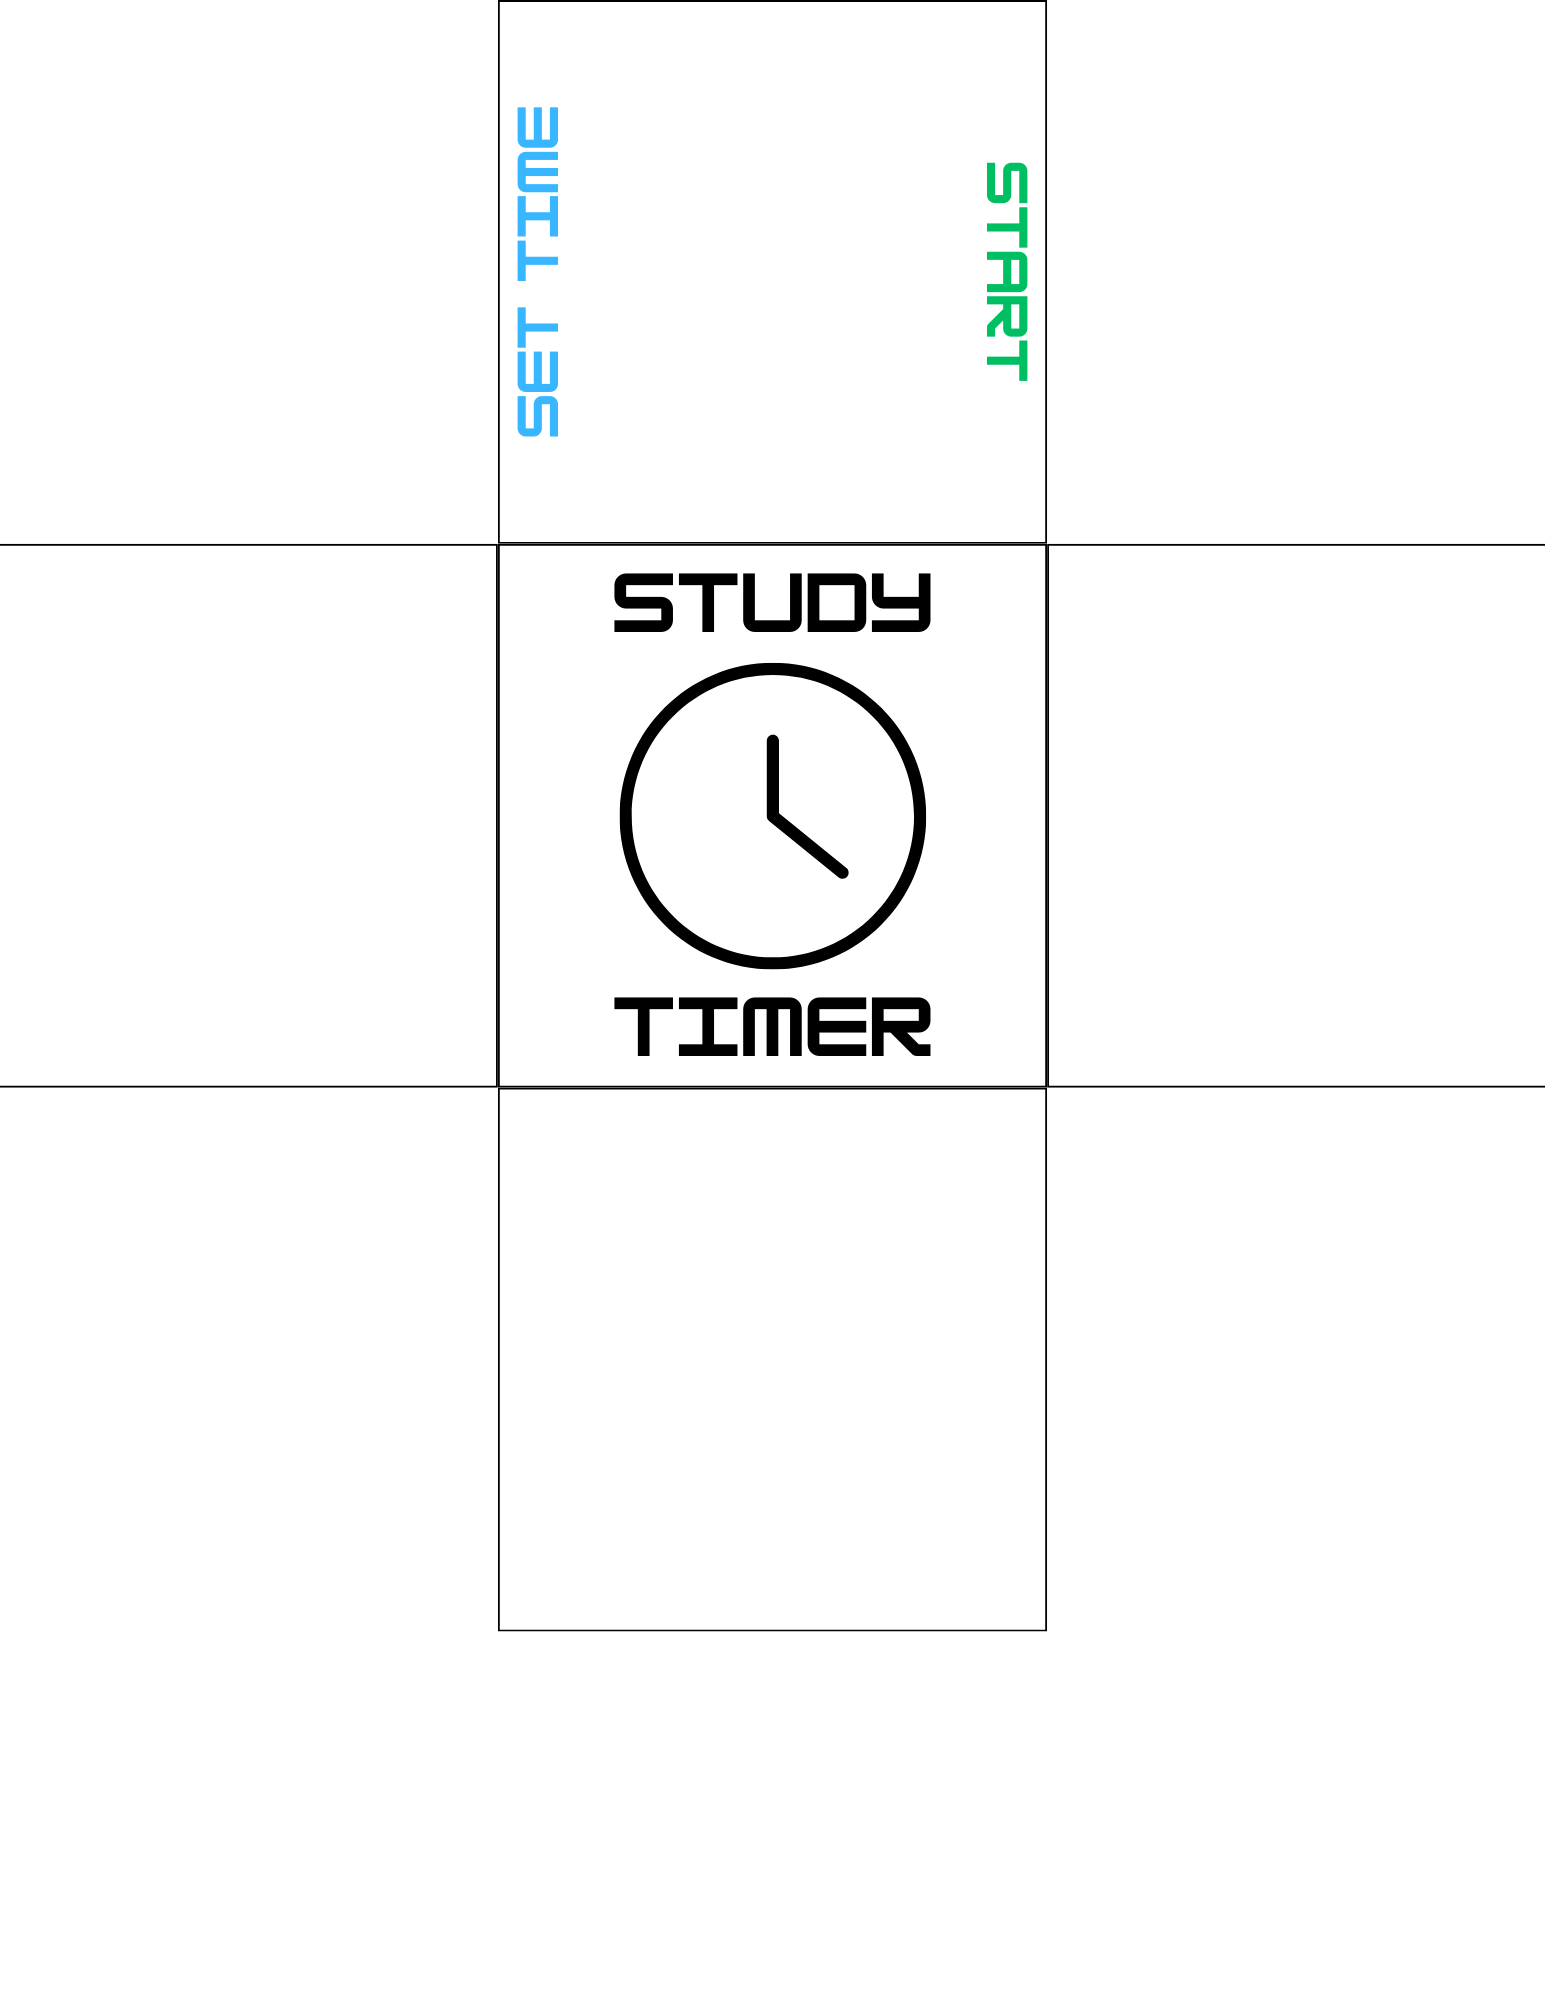
At this point you are finished with the product! If you would like, you could add some things to the outside to make it look nice. For me I printed out a graphic on a piece of paper that indicated 5 sides of the cube with an opening for the back so you can still access the battery.
I then just folded and glued the sides onto the cube and covered it in transparent tape for security and to give it a bit of a shine.
Finished!
You are done with the project! Now you have a timer to help you take breaks as you study or work!