Sunshine Shaker Earrings

I'm kind of bad about hanging onto odd things that I think might be useful someday. Or I have an idea for a project and stow away a piece of "junk" because it will become something later, but then I never get around to later. One of those things that I stowed away was a packet of those little plastic bubble pill packs. You pop the aluminum foil off and get the pill out and then you are left with this interesting little plastic bubble. I have seen people use them for miniature making, so I kept a few of them. I had an idea about two years ago that they could make fun little shaker earrings - earrings filled with sprinkle-like items that would shake around loose in the plastic bubble. I have been trying to "catch up" on old projects, so I found this one and decided to give it a go. These are just fun little sunshine earrings that the insides shake and rattle as you move.
Supplies
Clay (I am using yellow for the sunshine)
Clay Sprinkles (you can diy this)
Plastic pill bubble pack
Scissors
Clay tools: roller, knife, silicone shaper, stylus tool
Water: for smoothing clay and painting
Aluminum foil: to back the plastic bubbles
Mod Podge
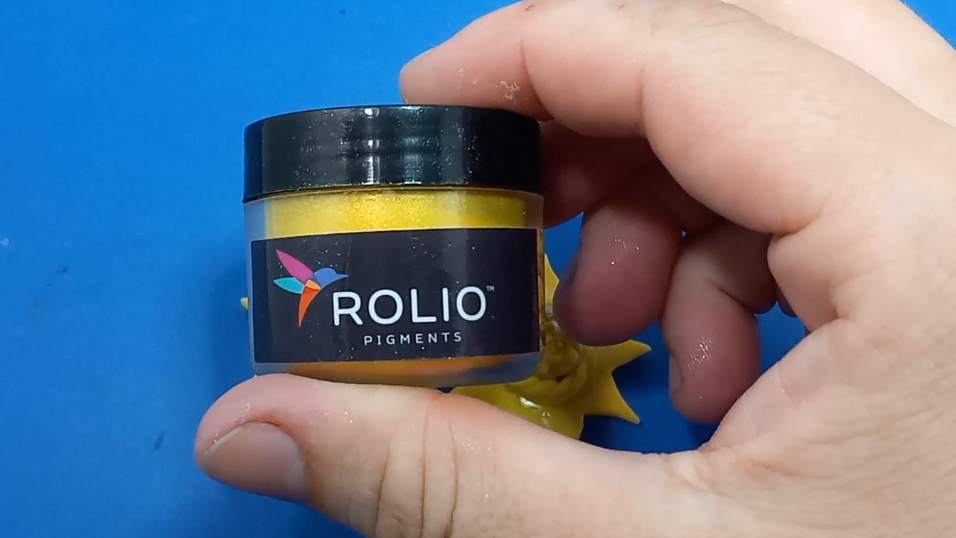
Mica Powder in yellow
Varnish (I prefer Duraclear Gloss Varnish)
Paint brush
Flat post earring backs
Make the Shakers
.png)
.png)
.png)
.png)
.png)
.png)
.png)
.png)
.png)
.png)
.png)
.png)
.png)
.png)
.png)
.png)
First, trim out two of the plastic bubbles. Pick ones that haven't been very squished. Leave a bit of an edge around them; don't trim all the way up to the side of the bubble.
To fill the bubbles, we will be using clay sprinkles. I have some ready made, but making them is simple. Roll out very thin snakes of clay and then cut them into tiny bits with your clay knife. Let them dry and you have clay sprinkles. I dump a little bit of clay sprinkles into the bubbles, not filling them completely so they will shake around. Then I take a tiny bit of aluminum foil and lay it on the bubble's open back, folding the excess aluminum foil over the extra sides of the bubbles. This traps the sprinkles inside and doesn't allow them to escape!
Creating the Sun
.png)
.png)
.png)
.png)
.png)
.png)
.png)
.png)
.png)
.png)
.png)
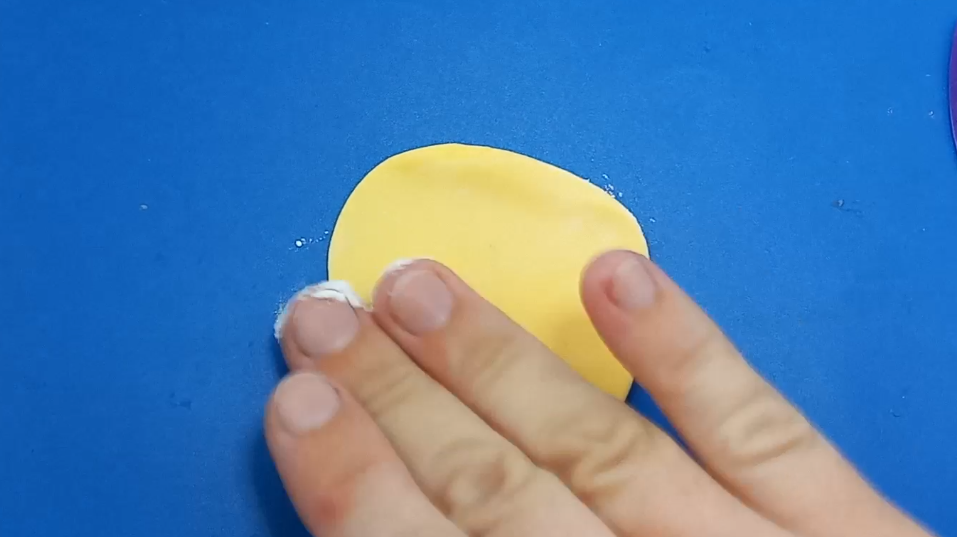
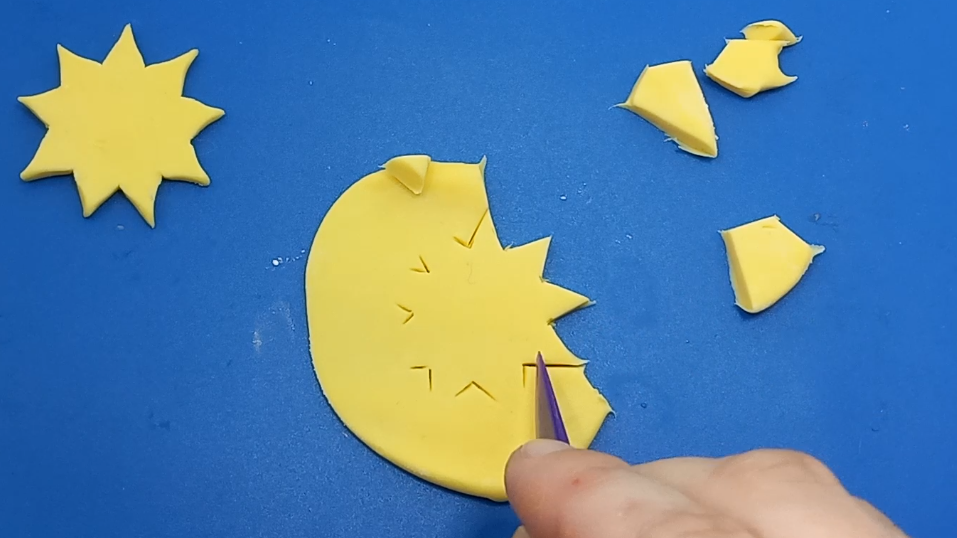
Roll out a thin piece of yellow clay. Cut out a sunshine or star shape on it. I drew mine out on the clay with a stylus tool before cutting because I am not very good and making my star shapes come out evenly. I placed my shaker bubble on the clay and then drew around it so that I knew it was the correct size.
For the second sun, I put a thin coat of cornstarch on a piece of rolled out clay and then laid the first sun on top of this clay. Then I cut around it, using it as a guide for the second sun. Once the suns were both cut out and I had smoothed all the edge bits, I placed the shakers on them for the next step.
Attaching the Shakers
.png)
.png)
.png)
.png)
.png)
.png)
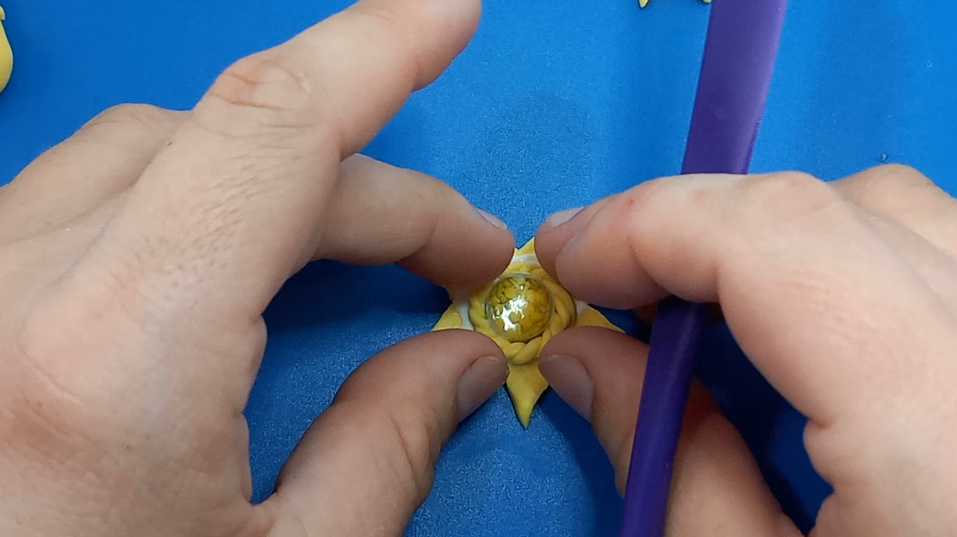
I rolled out a very thin snake of clay and then twisted it on itself to form a rope. I then took Mod Podge and coated the edges of the shaker bubble and the clay around it. Placing the clay rope around the shaker bubble, I covered up the edges of the aluminum, hiding them from view. I trimmed off the excess rope and smoothed it into the beginning with a silicone shaper. Then I let them dry.
Finishing
.png)
.png)
.png)
.png)
.png)
.png)
.png)
.png)
.png)
.png)
.png)
.png)
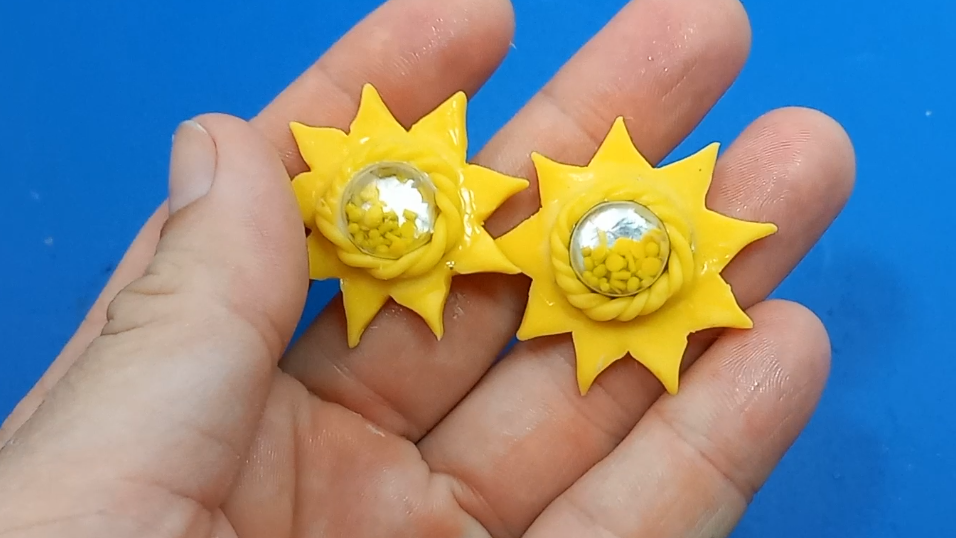
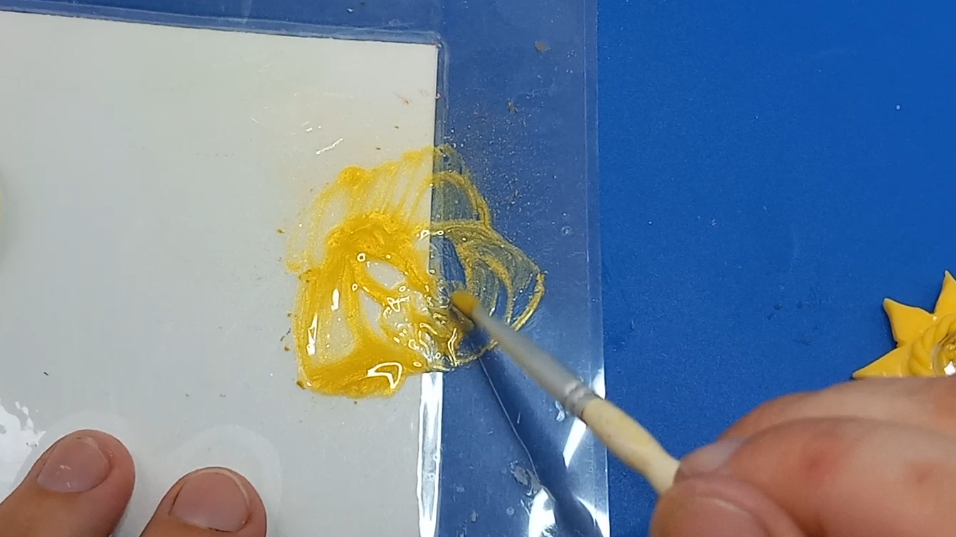
After drying, I mixed a TINY amount of my yellow mica powder with my Duraclear Gloss Varnish. I painted the sunshines with it. It makes such a beautiful glow.
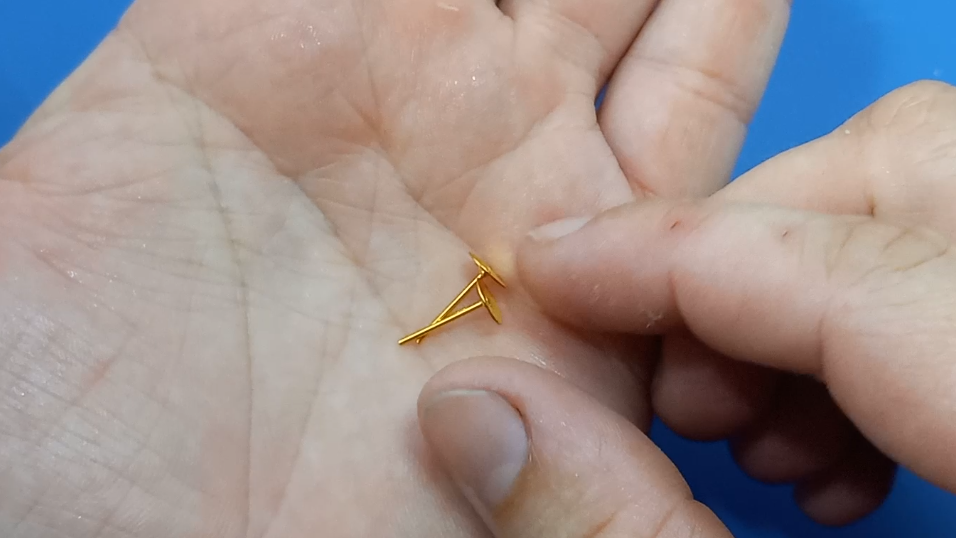
Then I got out the flat post earring backs. I placed them on the backs of the sunshines, and using bits of clay, I covered the post back completely. I smoothed them with a silicone shaper.
Let the Sun Shine
.png)


That's it. Now I have fun little shaky earrings.
I hope this Instructable inspired you. Go Clay Today!