Tart Cherry Jam - Beginner Friendly
by meganpearson1111 in Cooking > Canning & Preserving
475 Views, 0 Favorites, 0 Comments
Tart Cherry Jam - Beginner Friendly

This recipe is for a deliciously sweet and tart cherry jam. It uses pie cherries, which are naturally tart, to give it a wonderful depth of flavor. This recipe is also beginner-friendly
Supplies

Ingredients:
· 2.5 pounds sour cherries (also called pie cherries)
· ¼ cup lemon juice
· 3 cups sugar
· 1 package Sure Jell pectin
Supplies:
· Canner (or large stock pot)
· Another pot for cooking the jam
· Canning funnel
· Spoon
· Butter knife
· Potato masher
· Measuring cups/spoons
· 6 or 7 8oz jars (make sure you have 2-piece lids
· Tray with a towel to hold your jars once you’re done. (optional)
Fill Your Canner
.jpg)
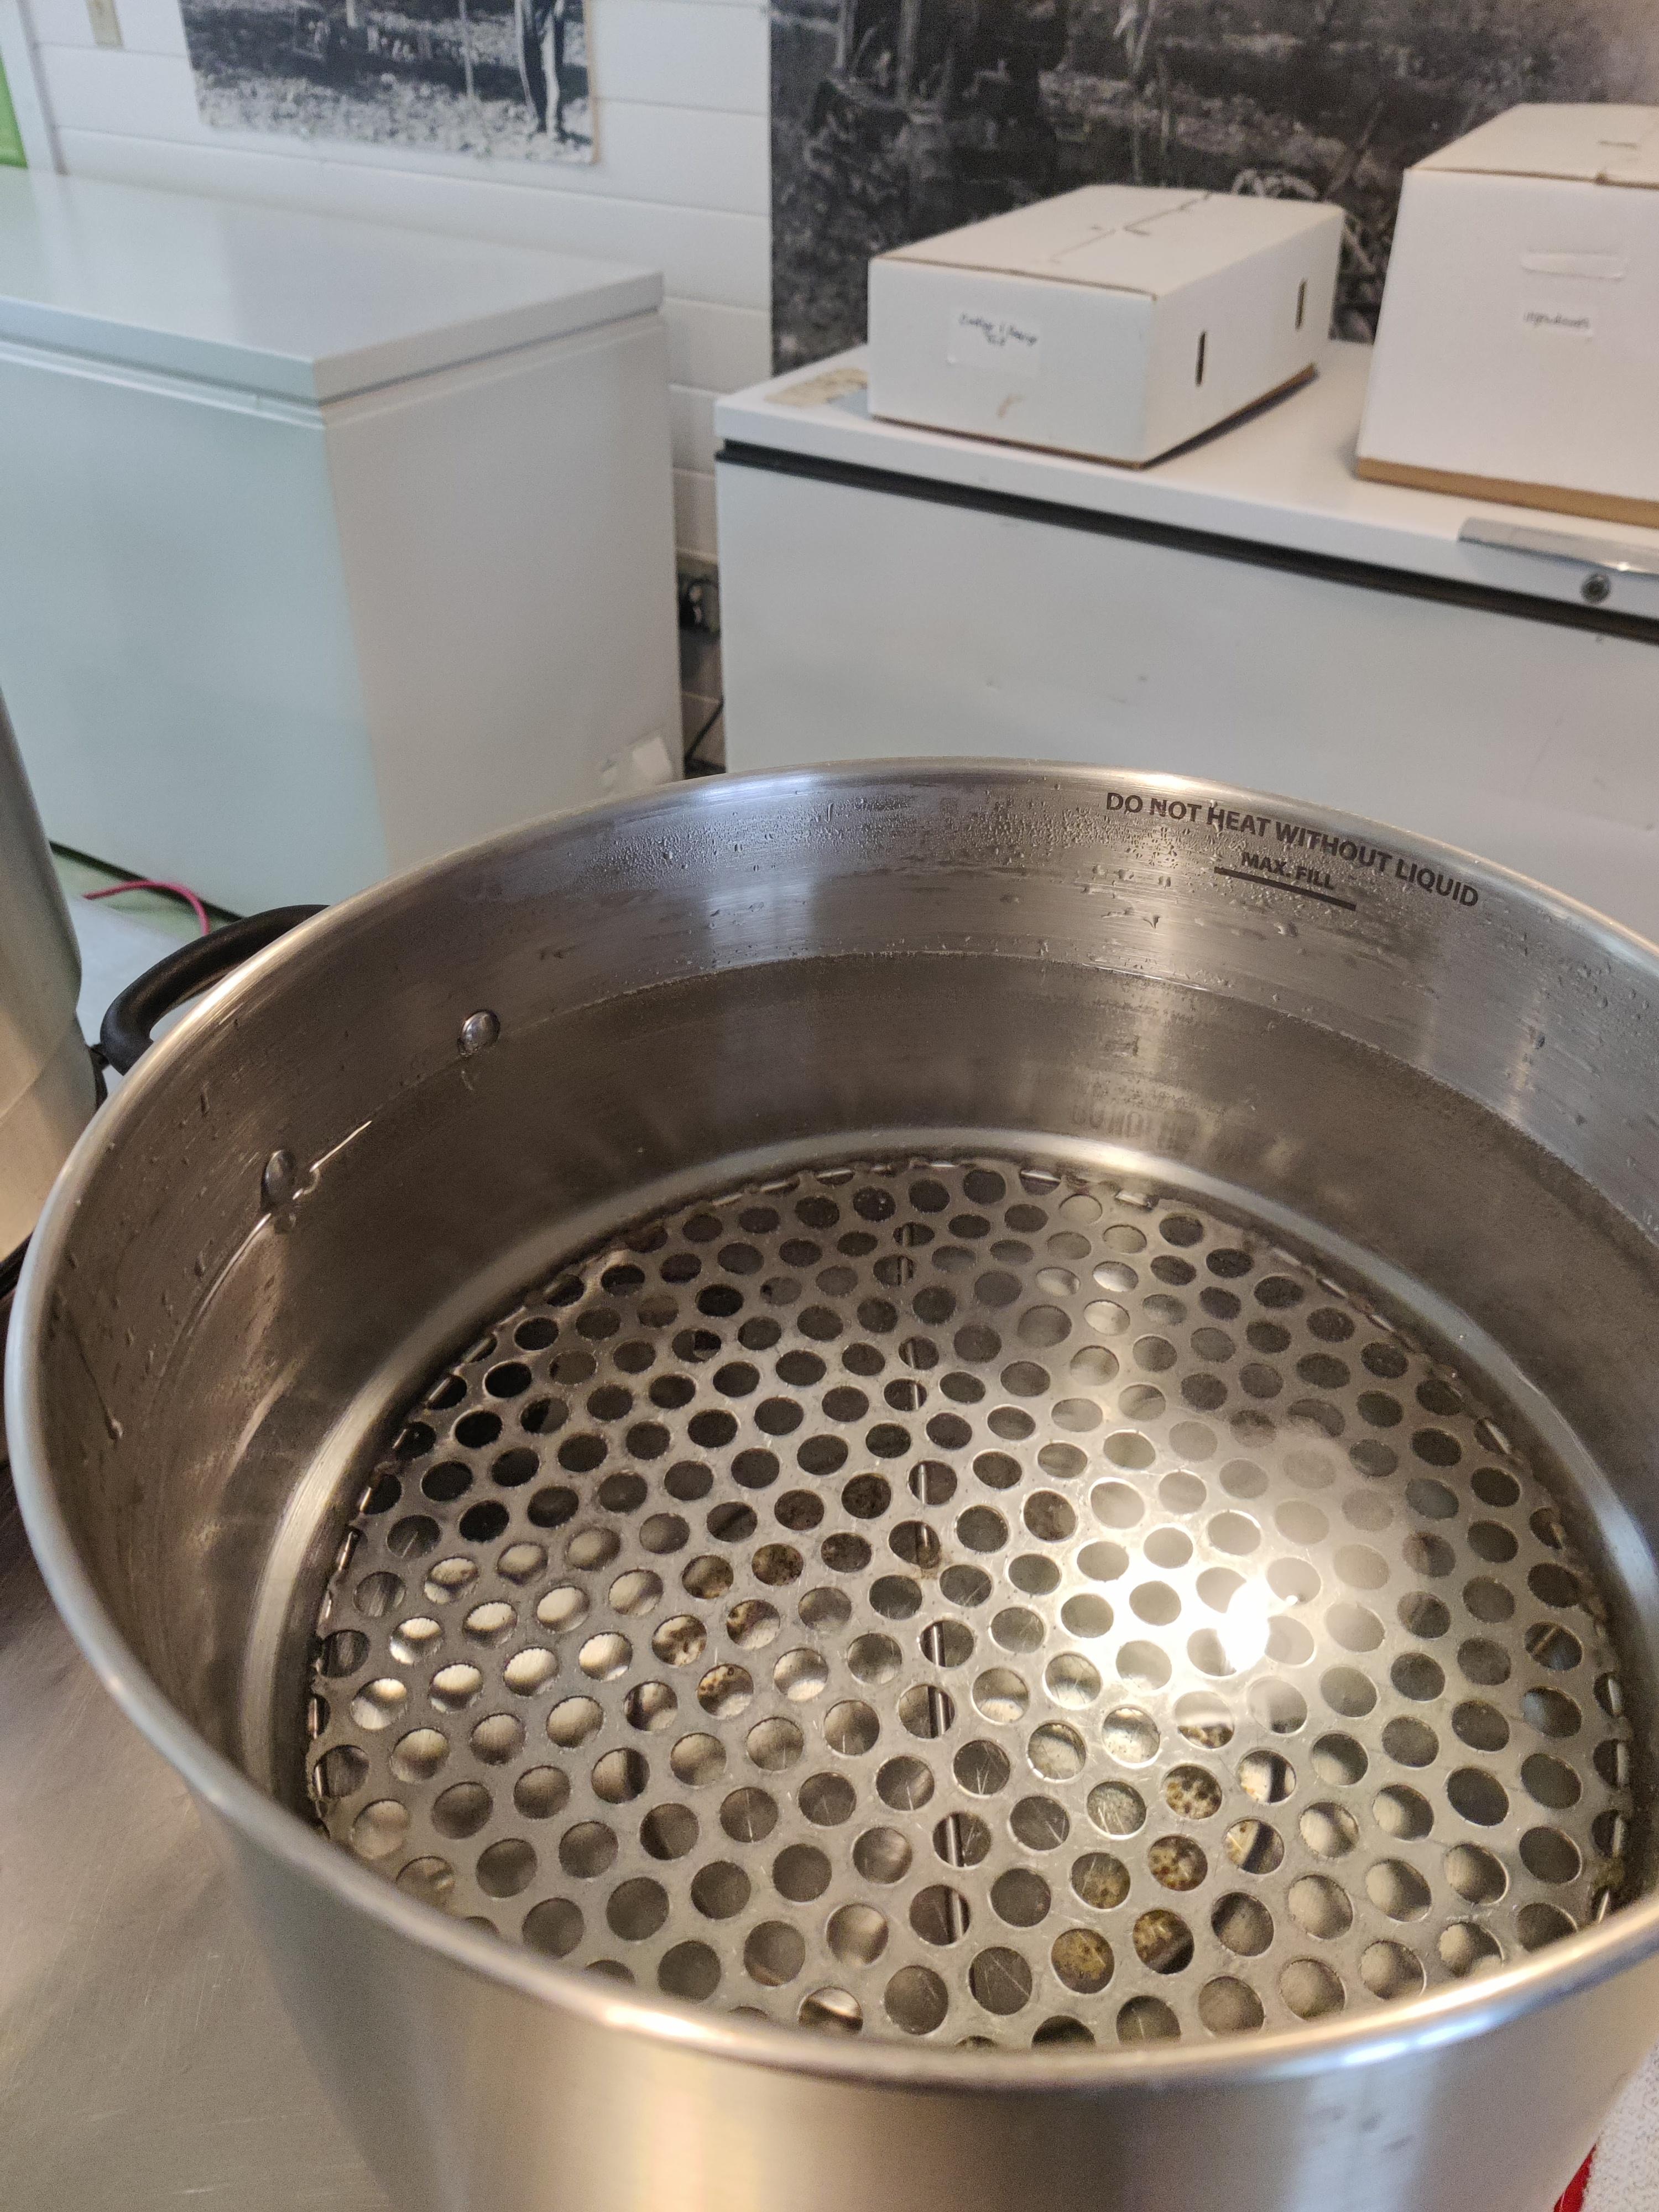
Add water to your canner (about 3 inches below the max fill line) then turn the Canner on too high. If you don’t have a canner, use a large stockpot with a wire rack in the bottom. (The jars can’t sit directly on the bottom of the pot.)
Add ¼ Cup of white vinegar to the canner or pot (prevents cloudiness on jars)
Add Jars to Canner
Remove the lids from the jars and add them to the canner. Boil for at least 10 minutes. (do this to warm the jars and to sanitize and prevent cracking when adding hot jam)
Start Your Jam


Add your cherries and lemon juice to another pot and cook on high at a rolling boil for 20 minutes. Meanwhile, use a potato masher to break down the cherries.
Add Your Pectin

Measure out sugar, then take out ¼ cup of the measured sugar and mix it with the package of pectin. Add it to the pot with the fruit and bring it back to a rolling boil for 1 minute.
Add Your Sugar
Add Sugar and bring back to a rolling boil for 1 minute.
Ready Your Jars
Remove your jars from the canner or stockpot. (be careful. They’re hot!)
Fill Your Jars

Place canning funnel in the mouth of the jar. Ladle jam into hot jars. Leave approximately ¼ inch headspace. (Headspace is the space between the jam and the rim of the jar. This space is needed so the jam can expand without overflowing from the jar.)
Remove the Bubbles
Remove air bubbles using a knife. Slide the knife around the sides of the jar and move the liquid towards the center of the jar.
Clean the Rims
Wipe the rim of the jars and along the treads with a damp paper towel. (Again, be careful, the contents are extremely hot.)
Put the Lids On
Place lids on jars. Tighten lids finger tight. (Finger tight is as tight as you can get while only using your finger tips with a very gentle grip. This is so the air can escape while they are in the canner.)
Put Them in the Canner
Add filled jars to the canner and set the temperature to canning (or high if you’re using a stockpot) Bring to a rolling boil for 15 minutes
Let Them Rest
Turn off the heat and let them rest for 5 minutes before removing jars. (This time is import for the jars to seal properly.)
Remove the Jars
Remove jars and place on towel-covered tray. Jars must have at least 1 inch of spacing between jars to allow for proper cooling
Don't Touch the Jars!
Leave jars undisturbed for 24 hours to ensure the seal isn’t broken. The seal is very fragile while the jars are still warm.
You're Almost There!
After 24 hours, check to make sure that jars are sealed. Remove the ring and wipe away any water on the lid or under the ring to prevent rusting. Place the ring back on.