TerraCool — Natural Cooling Through Terracotta
by Icreate in Craft > Cardboard
276 Views, 5 Favorites, 0 Comments
TerraCool — Natural Cooling Through Terracotta
Introduction
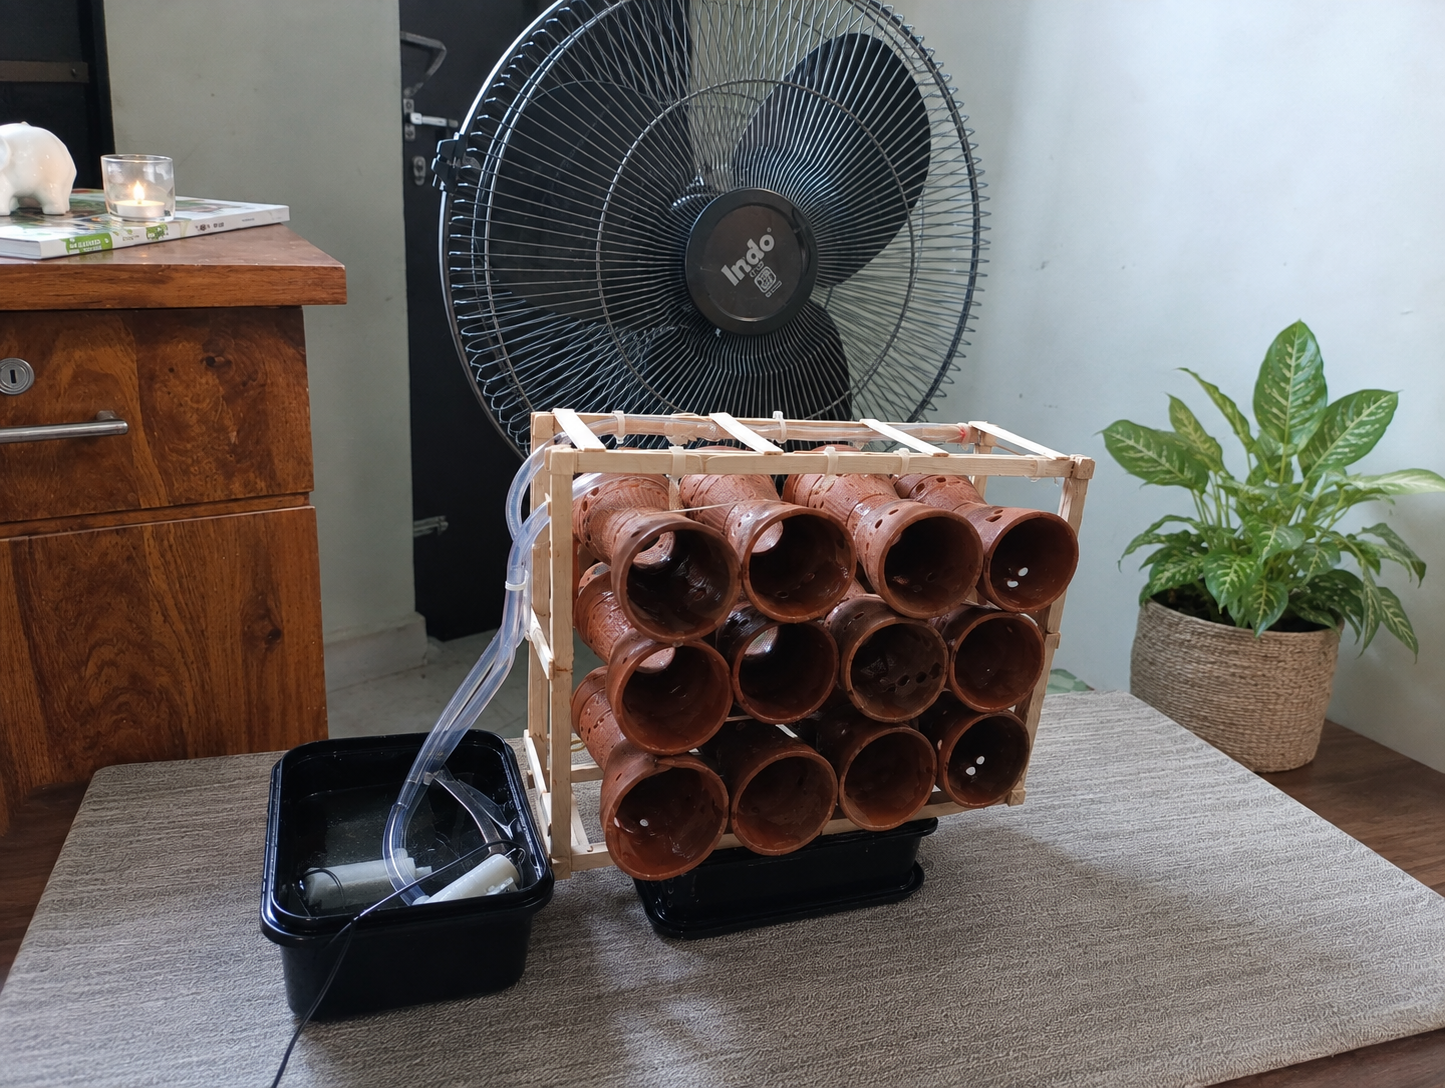
- Beat the Heat is a DIY evaporative cooling system designed to provide a simple and low-cost way to reduce surrounding temperature without relying on a traditional air conditioner.
- The project uses terracotta (kulhad) cups, which naturally absorb and hold water because of their porous structure.
- Water is pumped through a simple pipeline and distributed into the terracotta cups, keeping their surfaces wet.
- As air passes around the wet terracotta surfaces, some of the water evaporates and removes heat from the surrounding air, creating a cooling effect.
- The setup is built mainly from terracotta cups, ice cream sticks, silicone tubing, a small water pump, a battery, and a simple frame.
- The design also allows the water to be collected and reused, helping reduce water wastage.
- The main goal of this project is to demonstrate that simple, affordable, and easily available materials can be combined to create a practical cooling solution, especially for hot environments where conventional cooling systems may be expensive or consume a lot of electricity.
Supplies
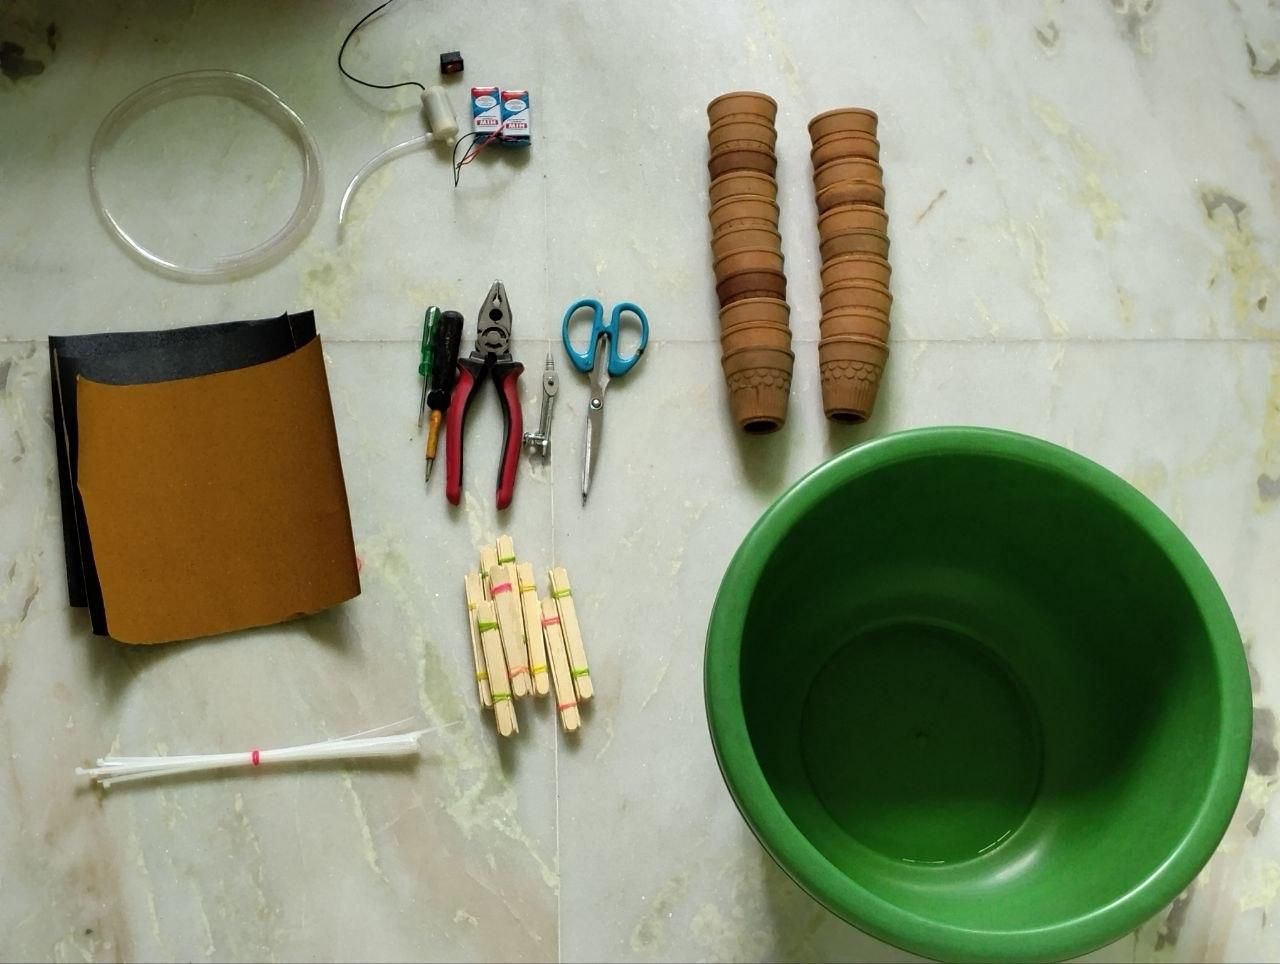
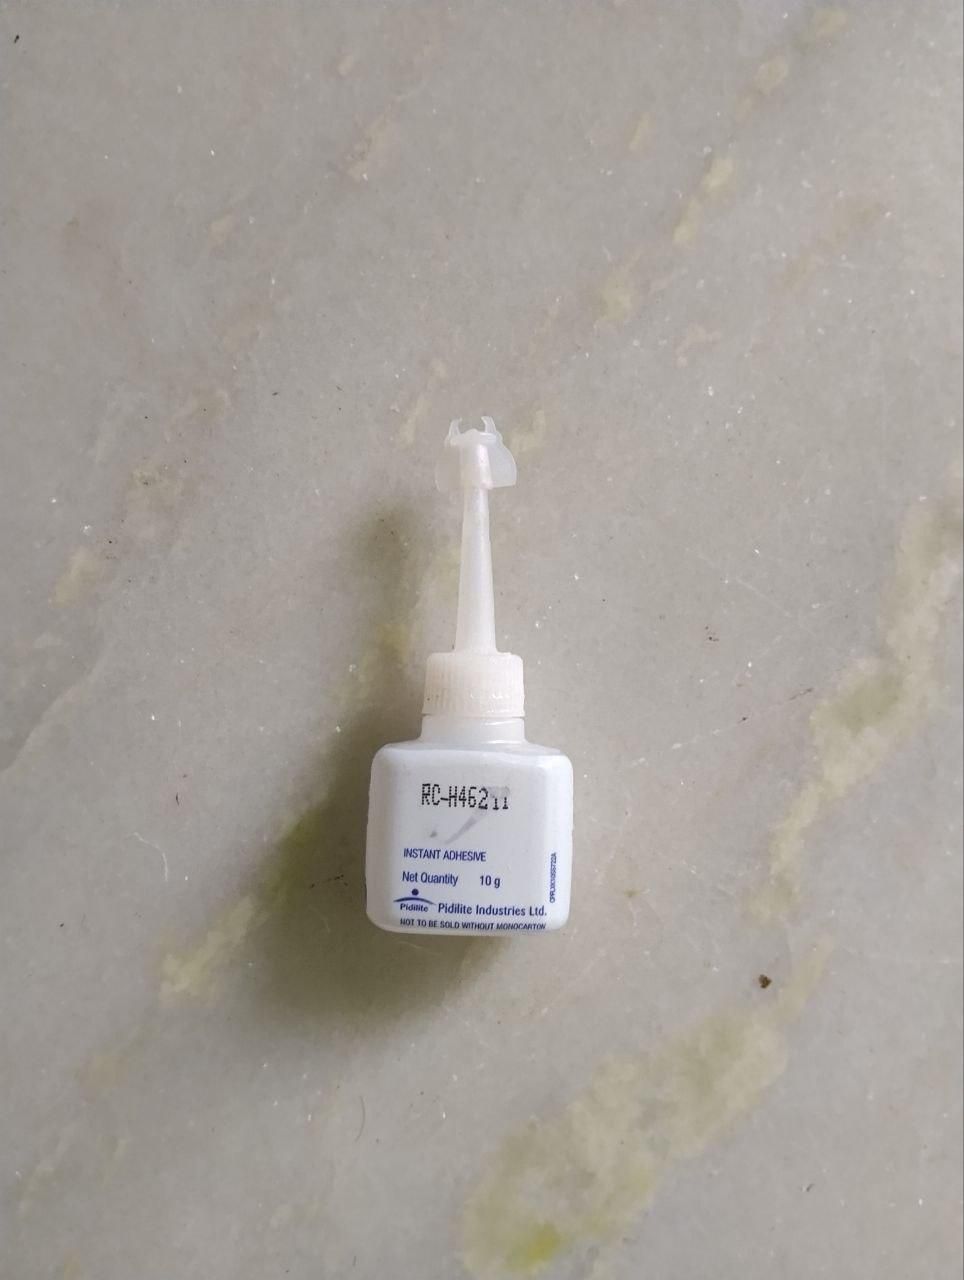
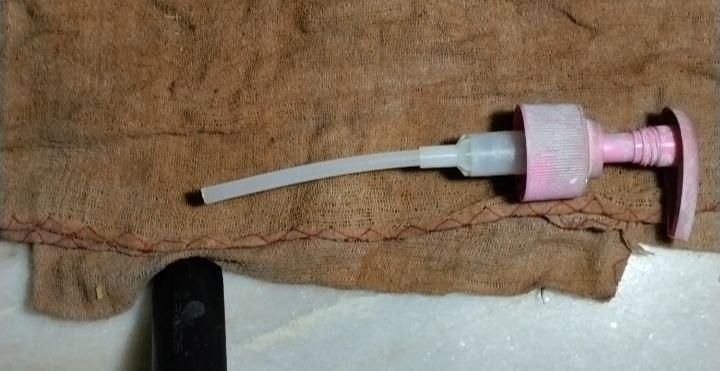
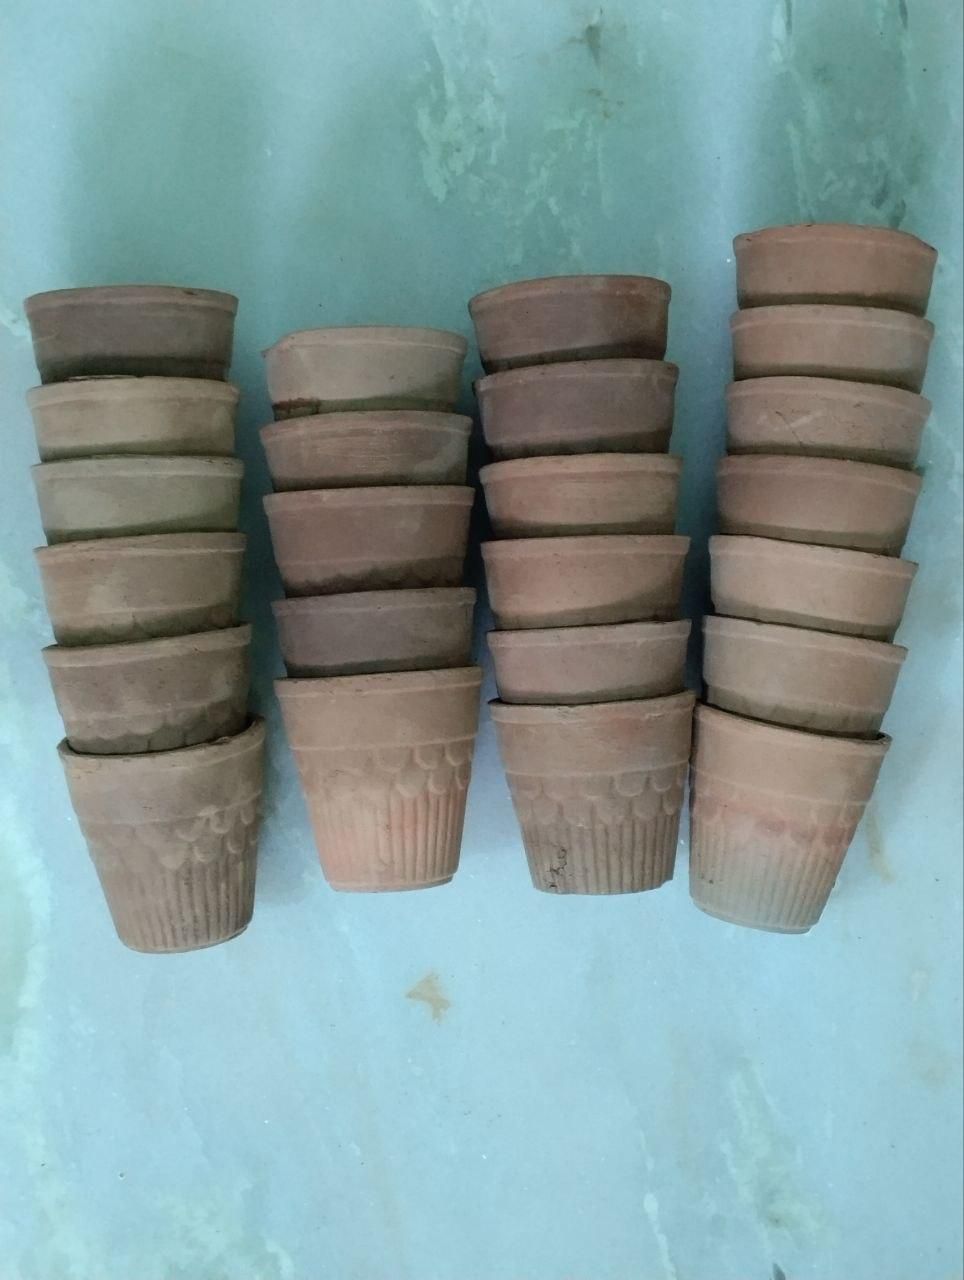
- Small terracotta/clay cups (kulhad-type cups) — around 30-32 pieces
- Large green plastic tub/basin for soaking terracotta
- Wooden ice-cream/popsicle sticks
- Clear flexible plastic/silicone tubing
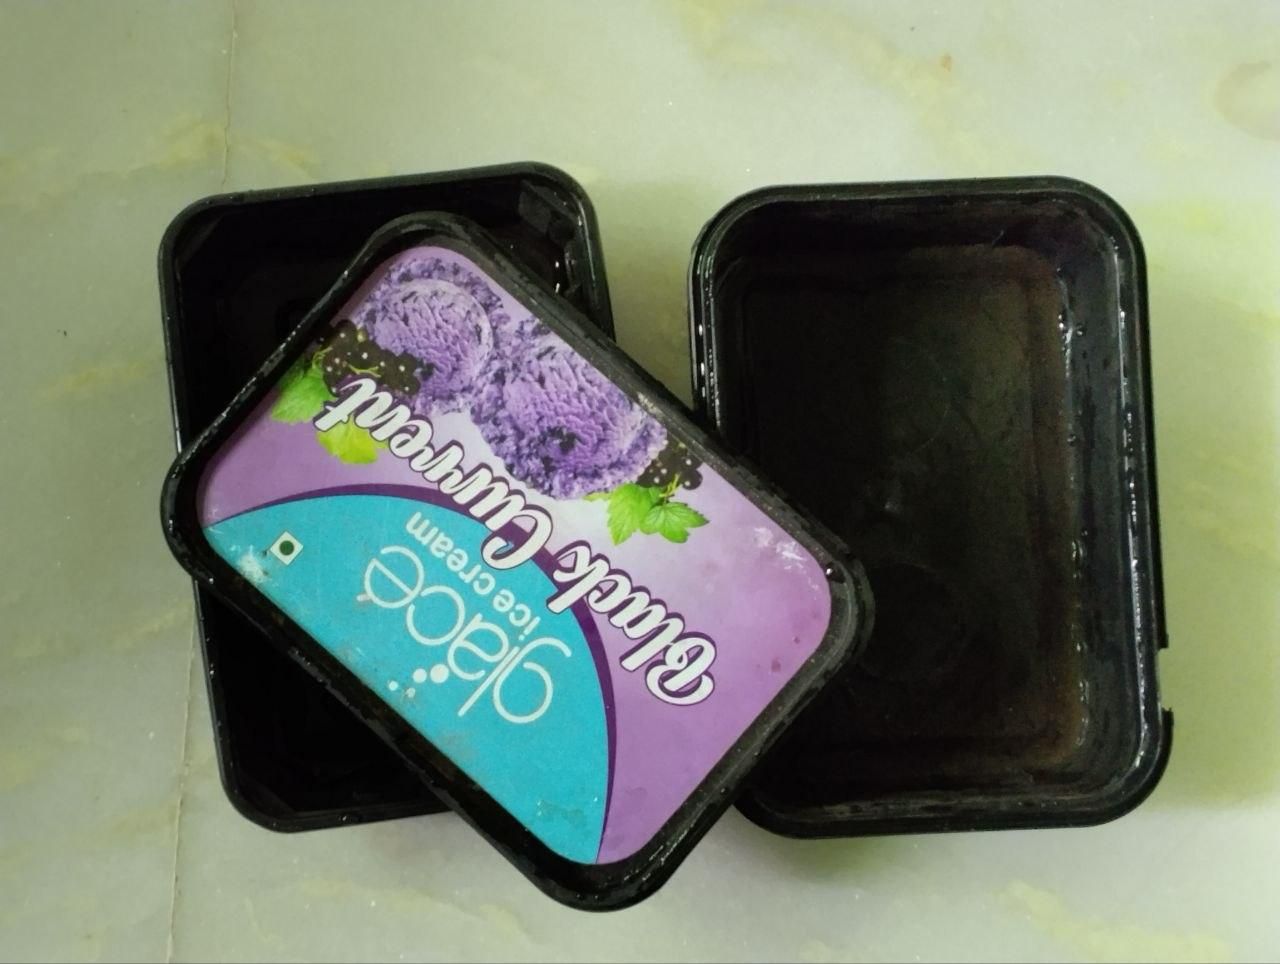
- 2 plastic container
- ZIP Tie
- Small water pump x2
- small batteries/cells connected to the pump x3
- Small black ON/OFF switch
- battery connector
- Sand paper 100,150,220 grit
- Scissors
- Small screwdrivers x2
- Combination pliers
- Super Glue
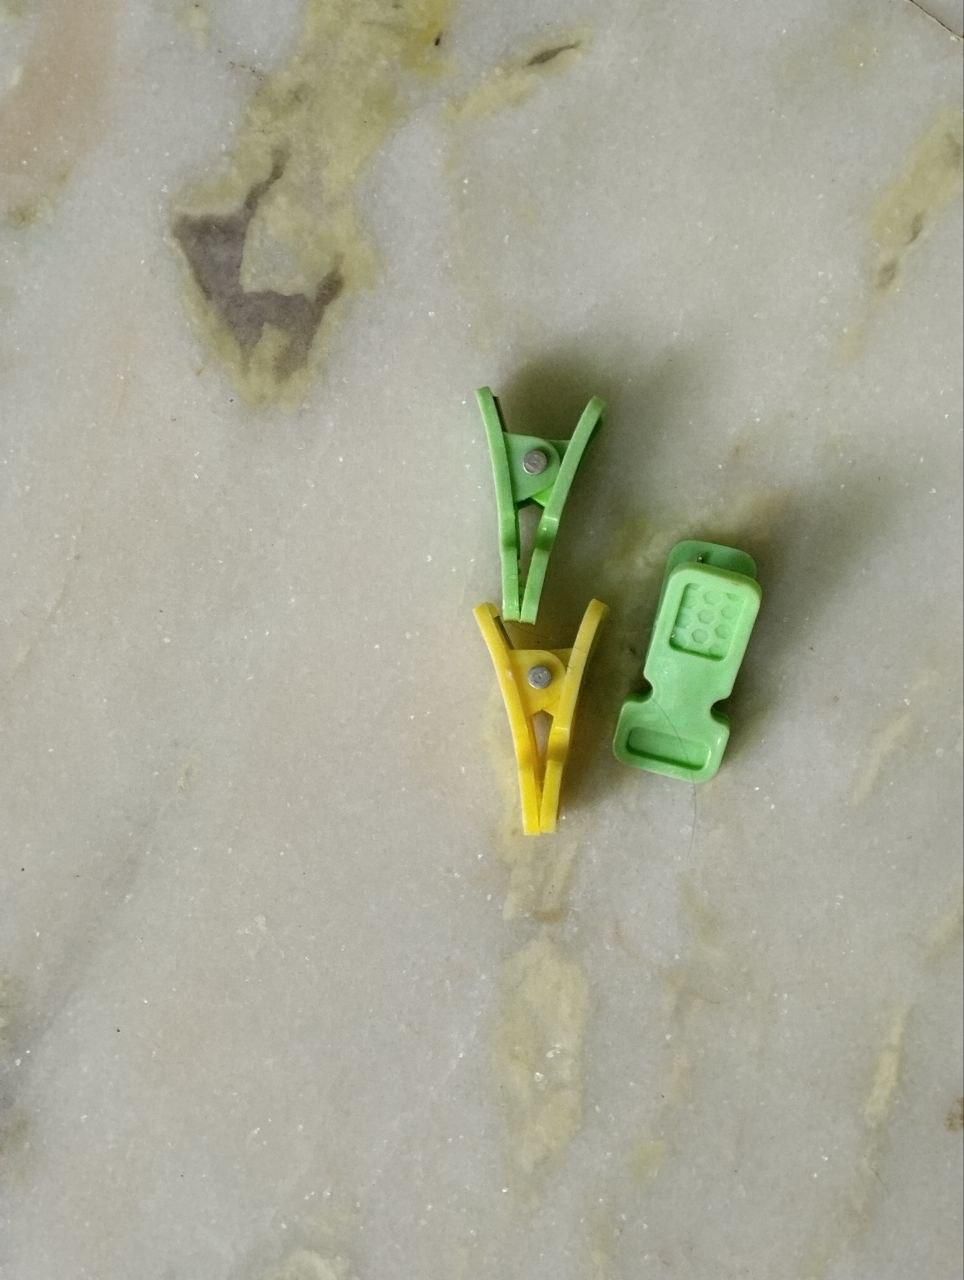
- Cloth Hanging clips
- Hand wash thick straw
Soak the Terracotta Cups
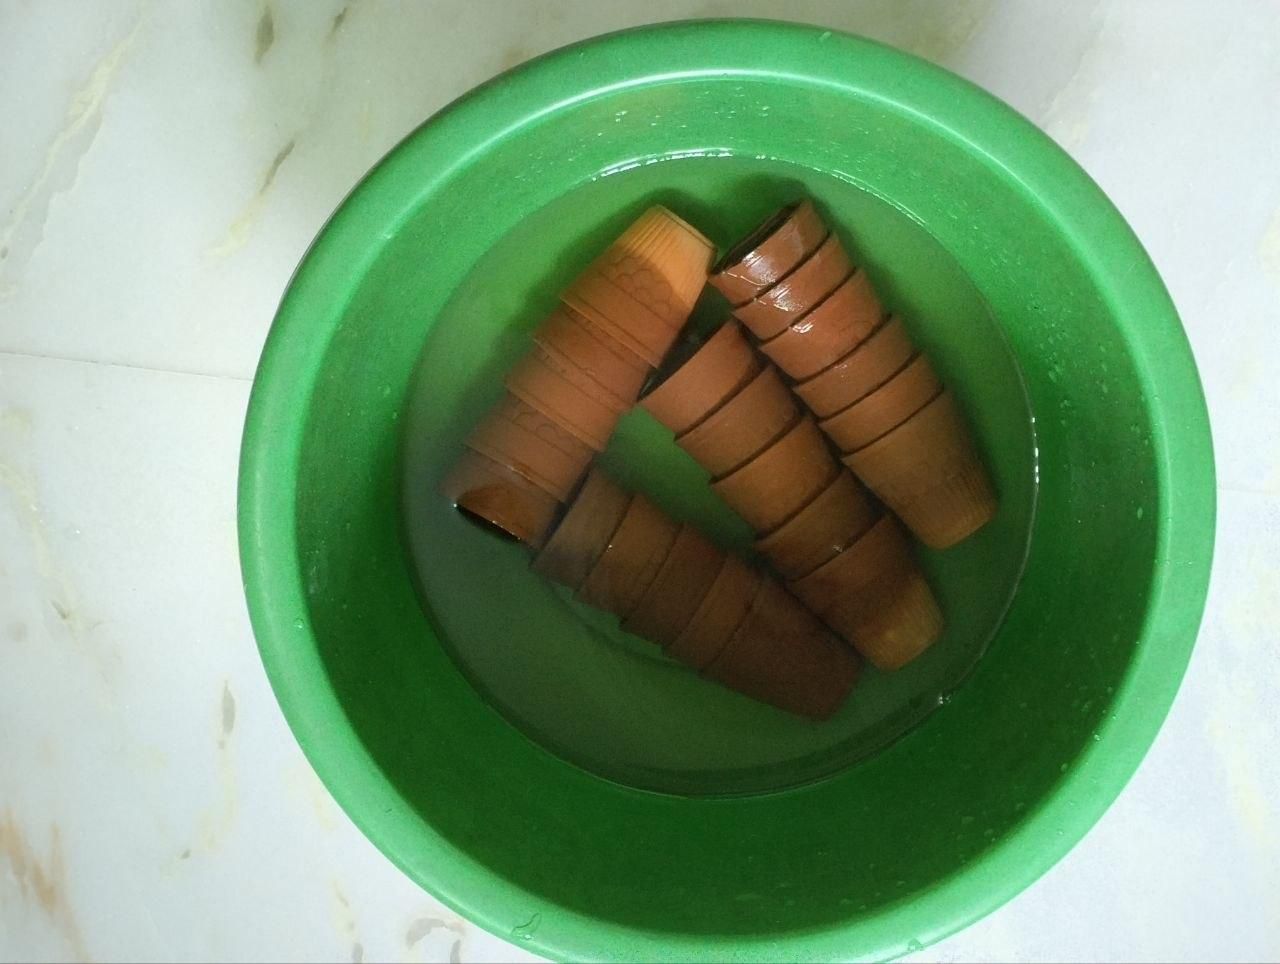
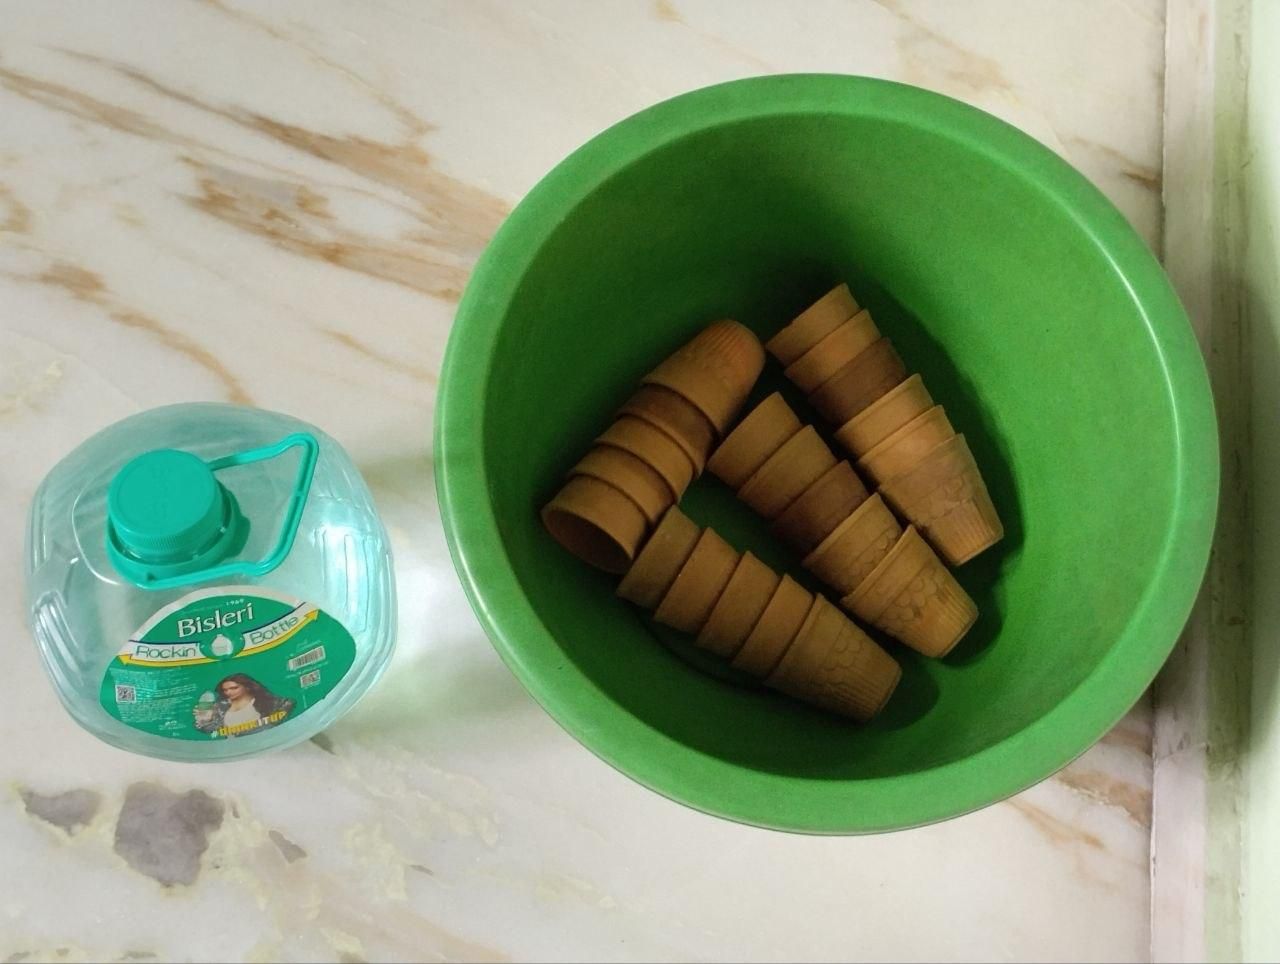
Step 1 — Soak the terracotta cups
- Place the terracotta cups in a large bucket or tub.
- Fill it with clean water until the cups are completely submerged.
- Leave them soaking for about 1 hour.
- This allows the porous terracotta to absorb water and makes it less brittle and easier to work with.
- After soaking, handle the cups gently and let excess water drain before drilling, cutting, or making holes.
Tip: Don't try to make the terracotta extremely soft—the goal is to reduce brittleness, not turn it into clay.
Prepare the Terracotta Cup
.png)
Step 2: Prepare the Terracotta Cup
- Carefully take the terracotta cup out.
- Place it on a folded piece of cloth.
- The soft cloth will cushion the cup and help prevent it from cracking or breaking.
- Make sure the cup is stable before making the hole.
Make a Small Hole in the Terracotta Cup
.png)
.png)
.png)
Step 3: Make a Small Hole in the Terracotta Cup
- Place the terracotta cup upside down on the folded cloth.
- Use a combination plier and a small screwdriver to make the hole.
- Place the tip of the screwdriver at the center of the bottom side of the cup.
- If you have a hammer, gently tap the back of the screwdriver 2–3 times to start a small hole.
- If you don't have a hammer, use another suitable tool to apply very light, controlled taps—avoid hitting too hard.
- After the initial hole appears, continue with gentle tapping to gradually enlarge it.
- Once the hole becomes visible, carefully work from the hole toward the outer area of the bottom.
- Slowly chip away small pieces of terracotta around the hole until you reach the desired size.
- Work patiently and gently to avoid cracking the entire cup.
: Sand the Terracotta Cups After Making the Holes in All the Terracotta Cups
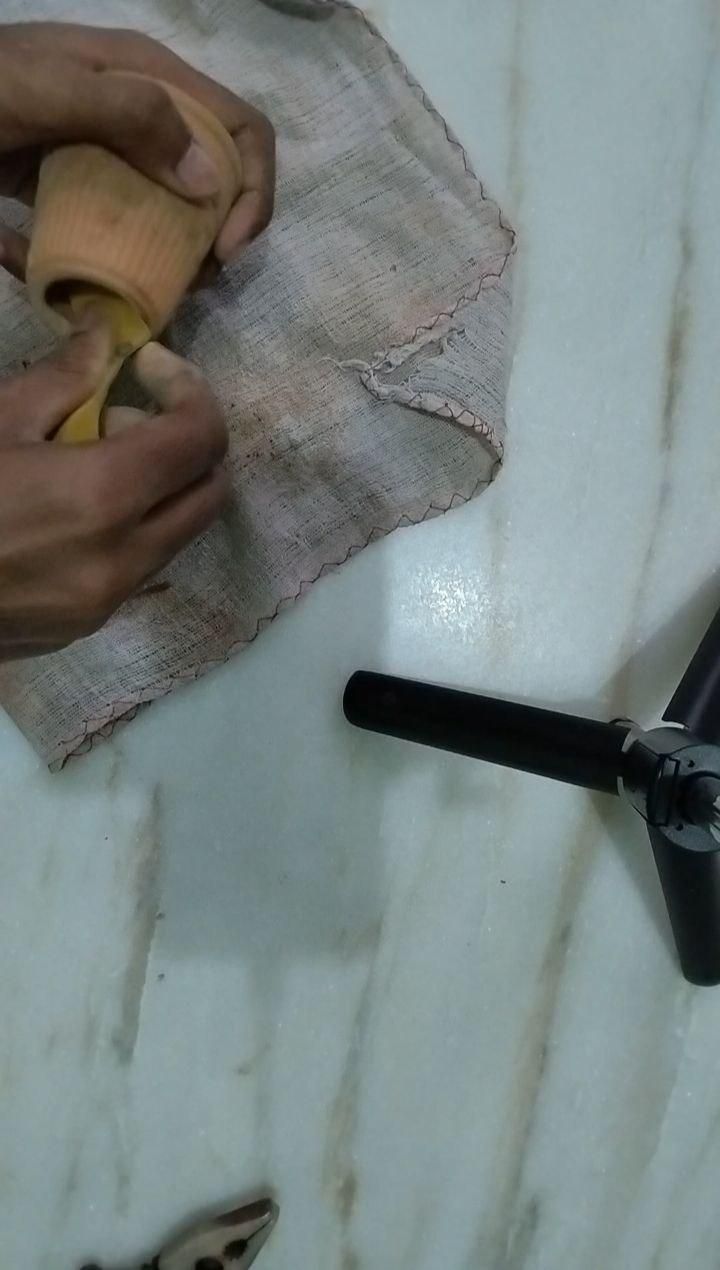
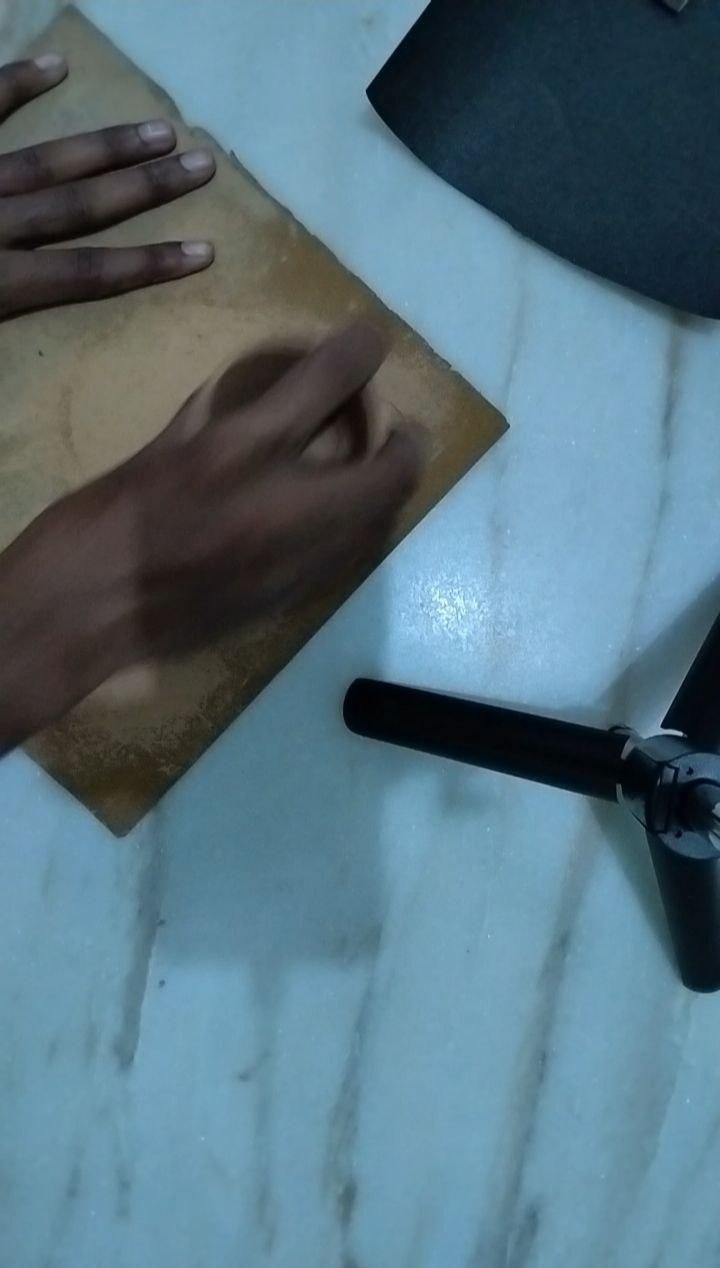
Step 4: Sand the Terracotta Cups After making the holes in all the terracotta cups
- Start with 100-grit sandpaper to remove sharp edges and rough pieces of terracotta.
- Sand gently and evenly around the hole.
- Once the surface becomes smoother, switch to 220-grit sandpaper.
- Use the 220-grit sandpaper to give the edges a smooth, clean finish.
- Remove any loose terracotta dust before moving to the next step.
Soak the Terracotta Cups Again
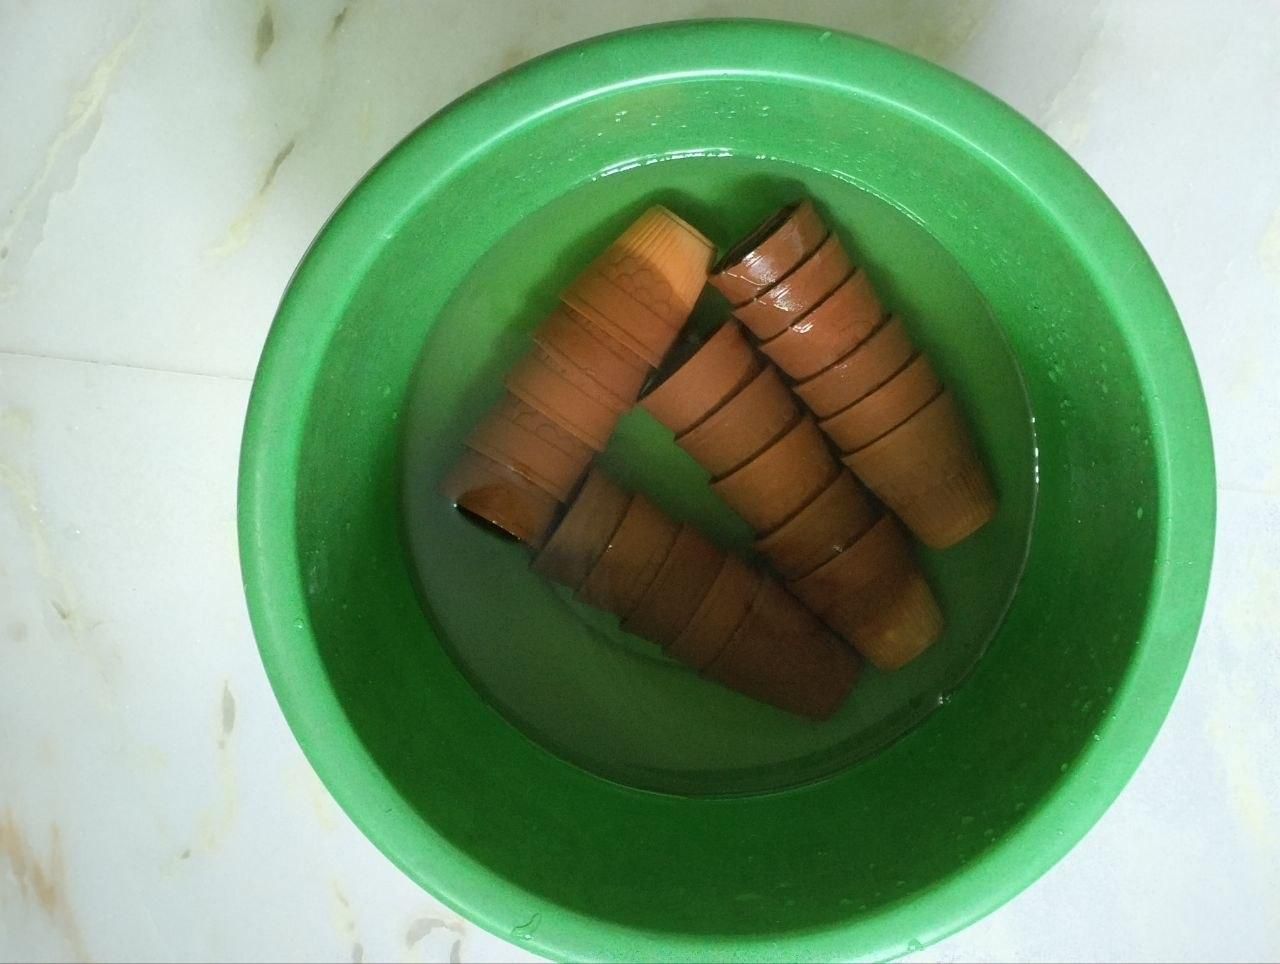
Step 5: Soak the Terracotta Cups Again After sanding all the cups, place them back into a container of water.
- Soak them for about 1 hour.
- This allows the terracotta to absorb more water after sanding.
- Make sure the cups are fully exposed to the water while soaking.
- After 1 hour, take them out and let the excess water drain before continuing.
Punch the Side Holes and Join the Cups
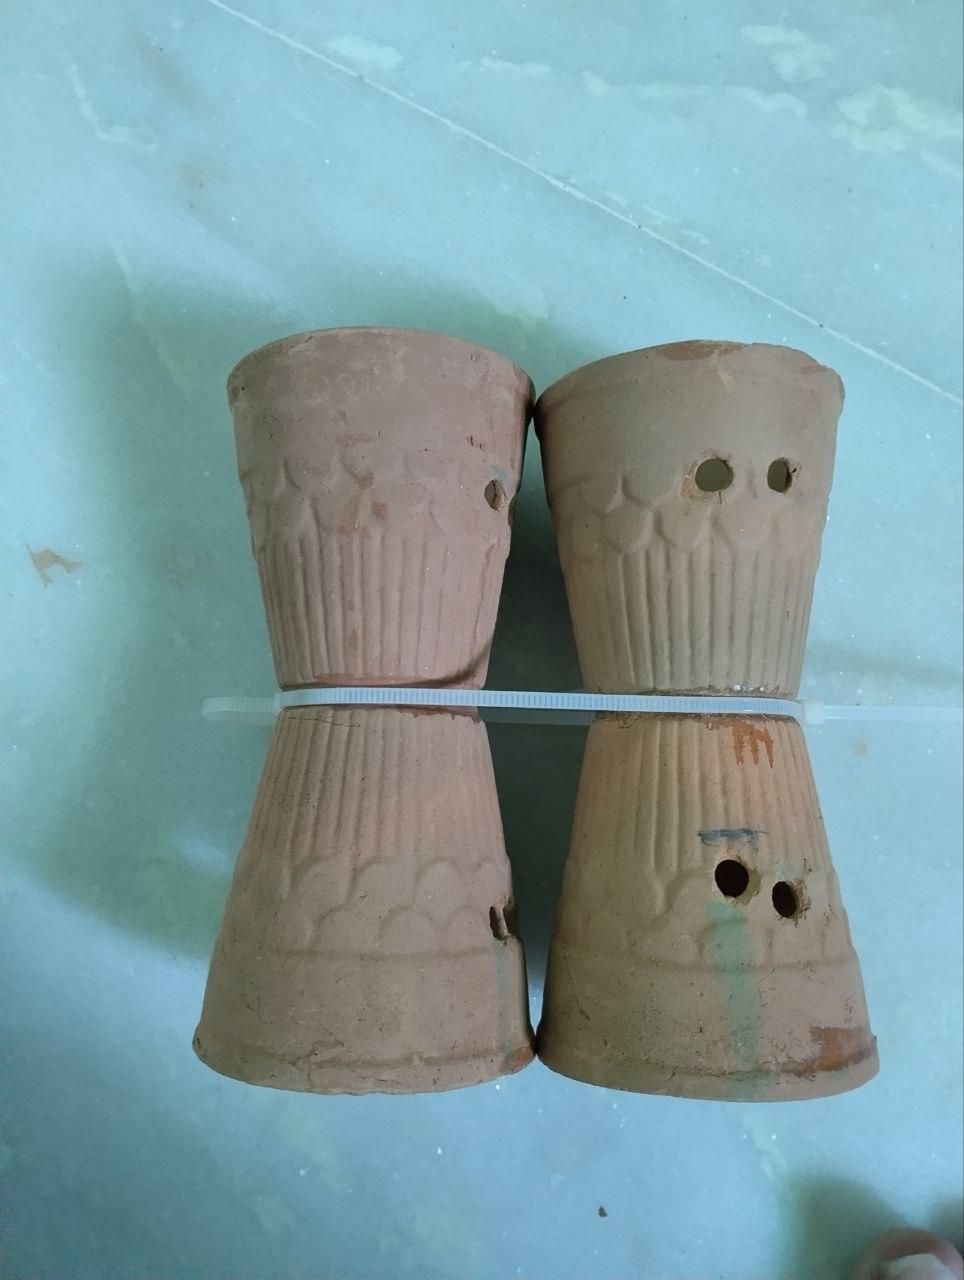
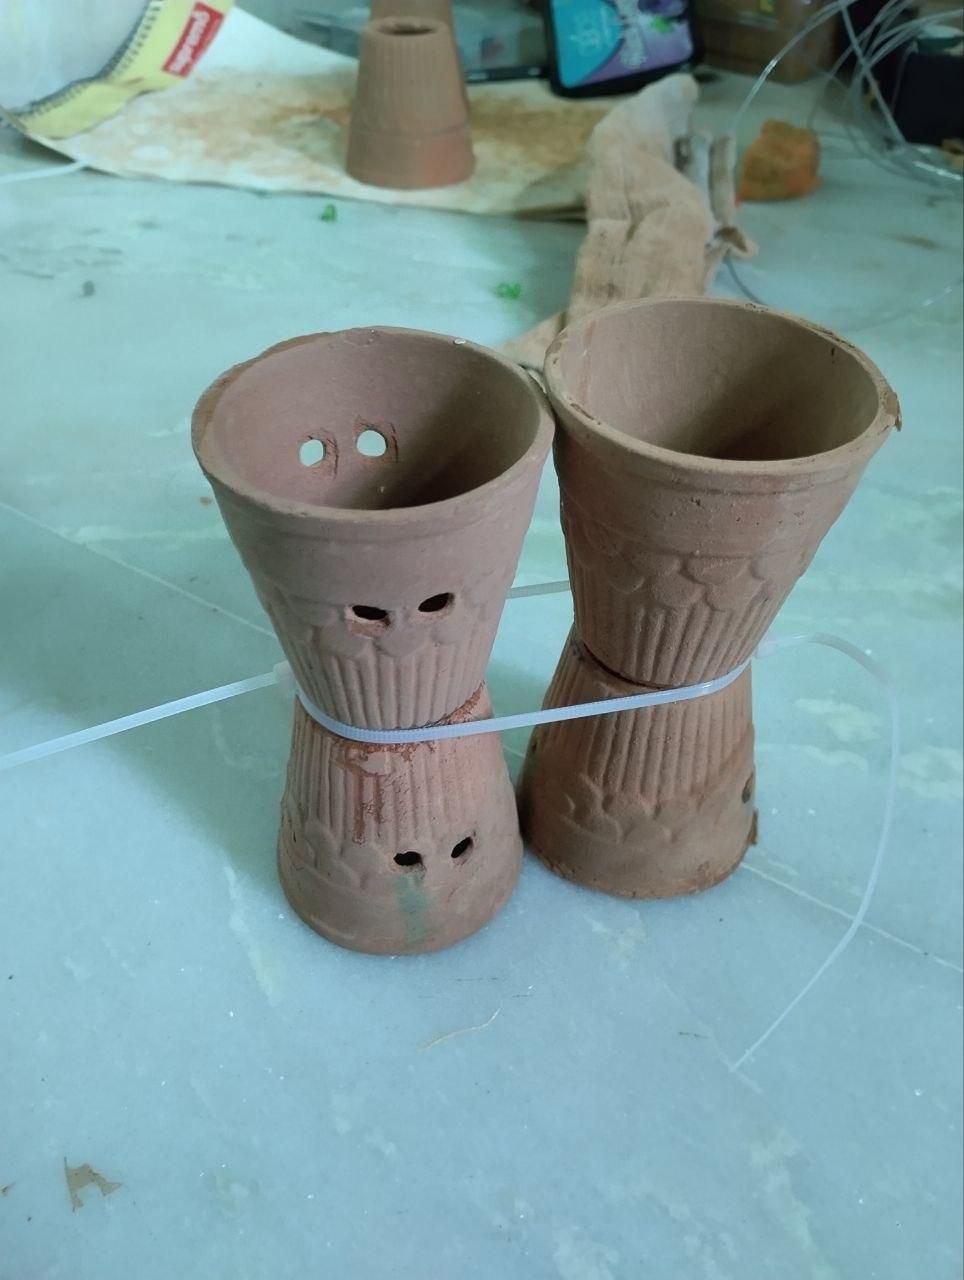
- Step 6: Punch the Side Holes and Join the CupsMake a small hole on the side of each terracotta cup to allow water to enter.
- Carefully punch the hole using a small screwdriver and gentle taps.
- Once all the holes are made, arrange the terracotta cups end-to-end in the desired layout.
- Apply a small amount of super glue to the connecting edges.
- Press the cups together and hold them in position while the glue sets.
- Use zip ties around the cups to provide extra support and keep the whole structure securely connected.
- Allow the super glue to fully dry before moving or testing the assembly.
- I am using a trick by combining two zip tye end to end for long lenght without buying heavy duty expensive one
tip: i dont have drill so I have to do with screw driver but you can do with drill machine and while that placing a cloth or any shock absorbing material inside terrocatta
Prepare the Ice Cream Sticks for the Frame
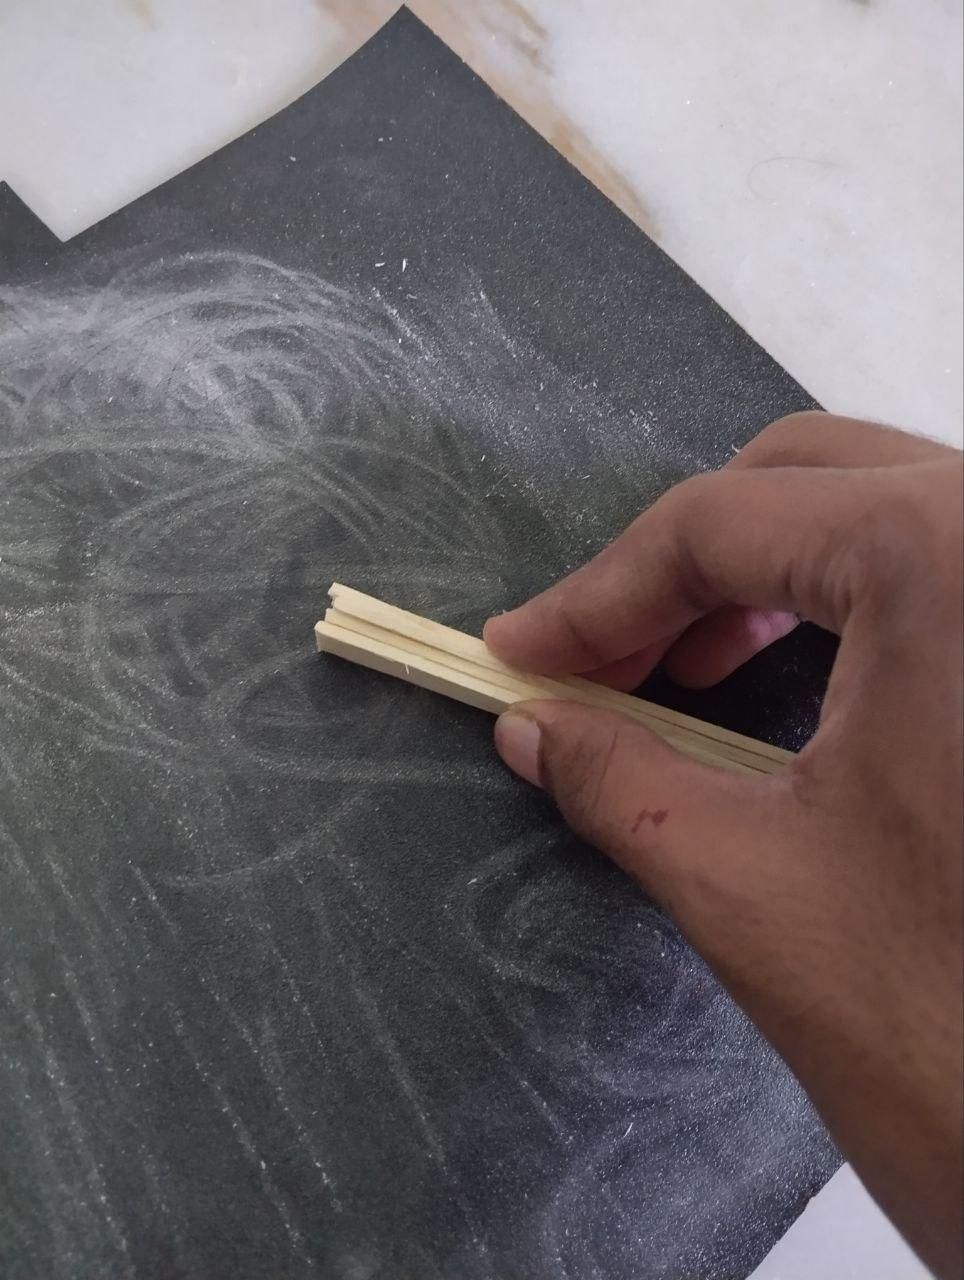
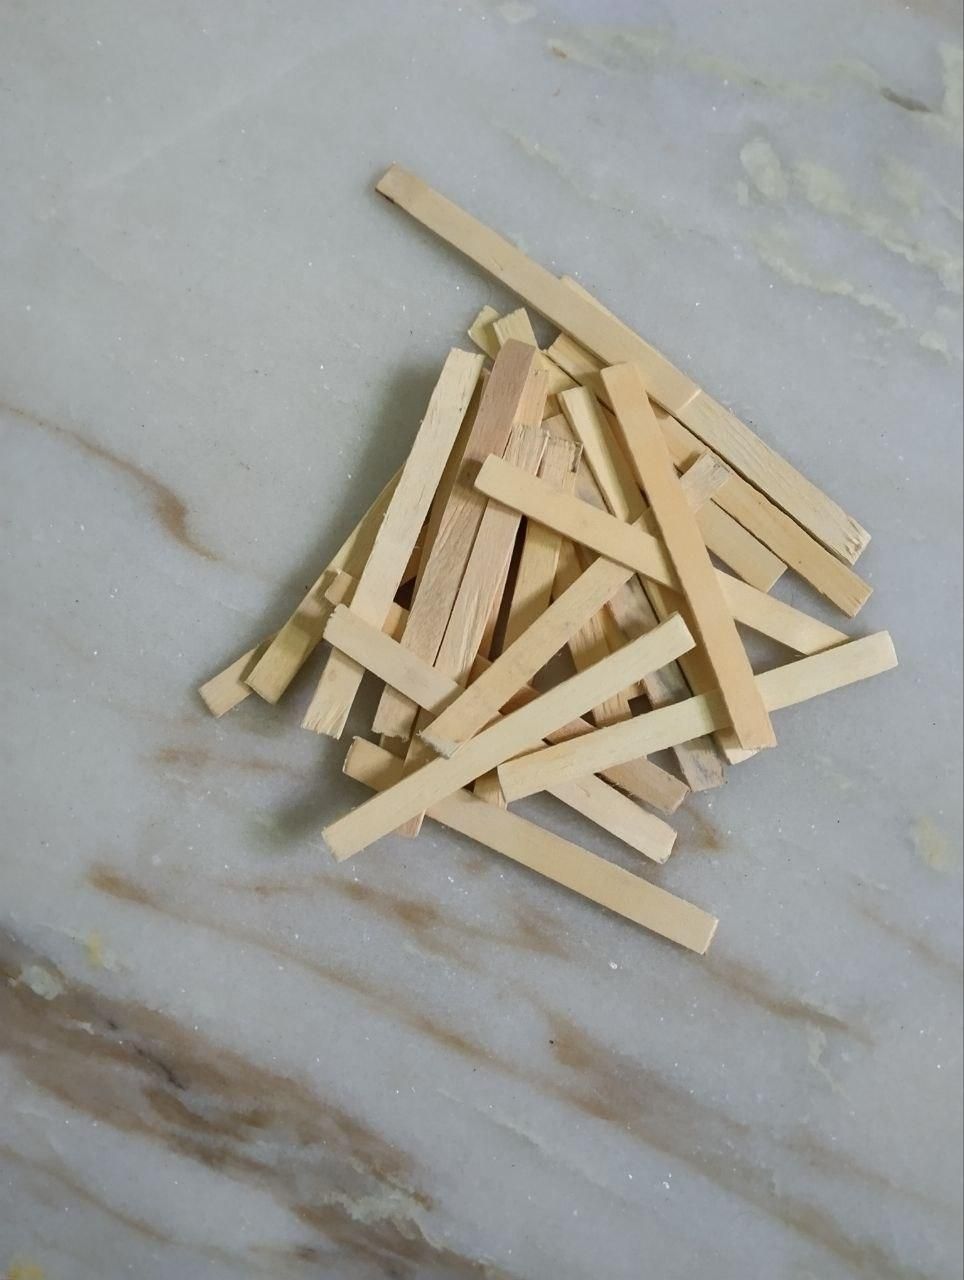
- Step 7: Prepare the Ice Cream Sticks for the Frame Take the required ice cream sticks for making the frame.
- Cut off the curved/rounded ends of each stick.
- Make the ends as straight as possible so they can join neatly.
- Use sandpaper to smooth the cut edges.
- Remove any sharp or rough parts before assembling the frame.
- Prepare all the sticks before moving on to the frame assembly.
Making Frame
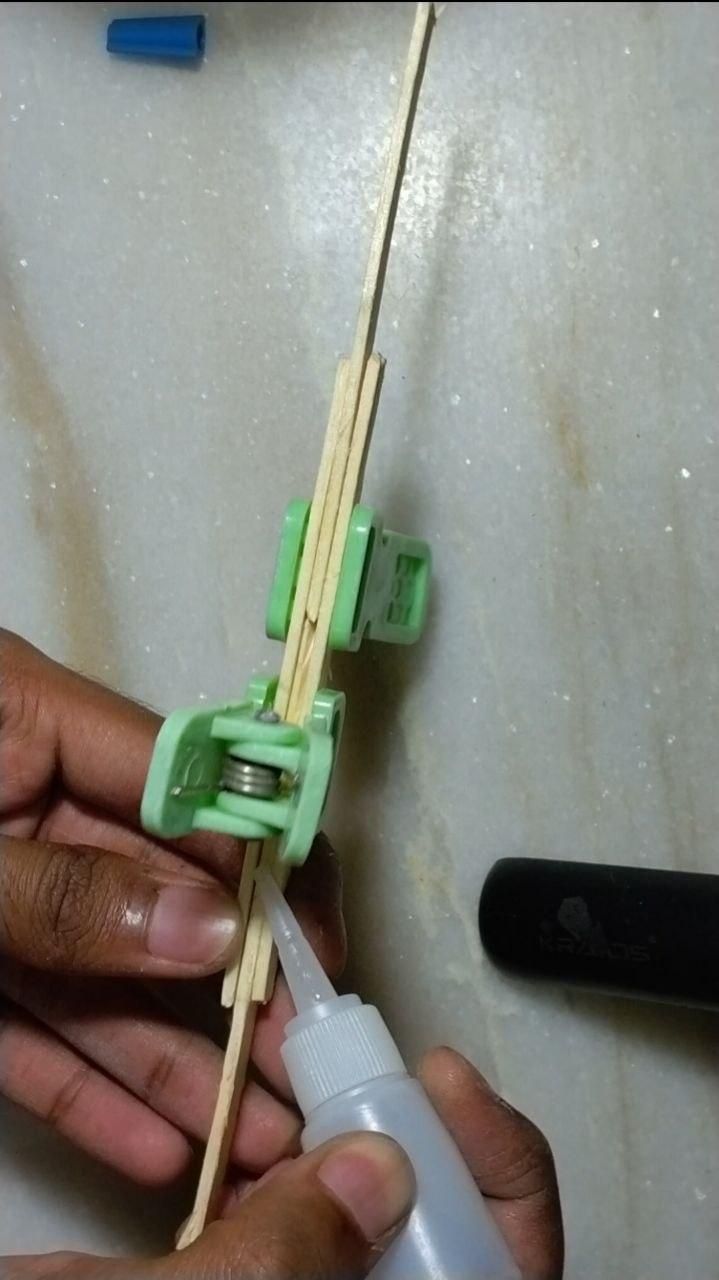
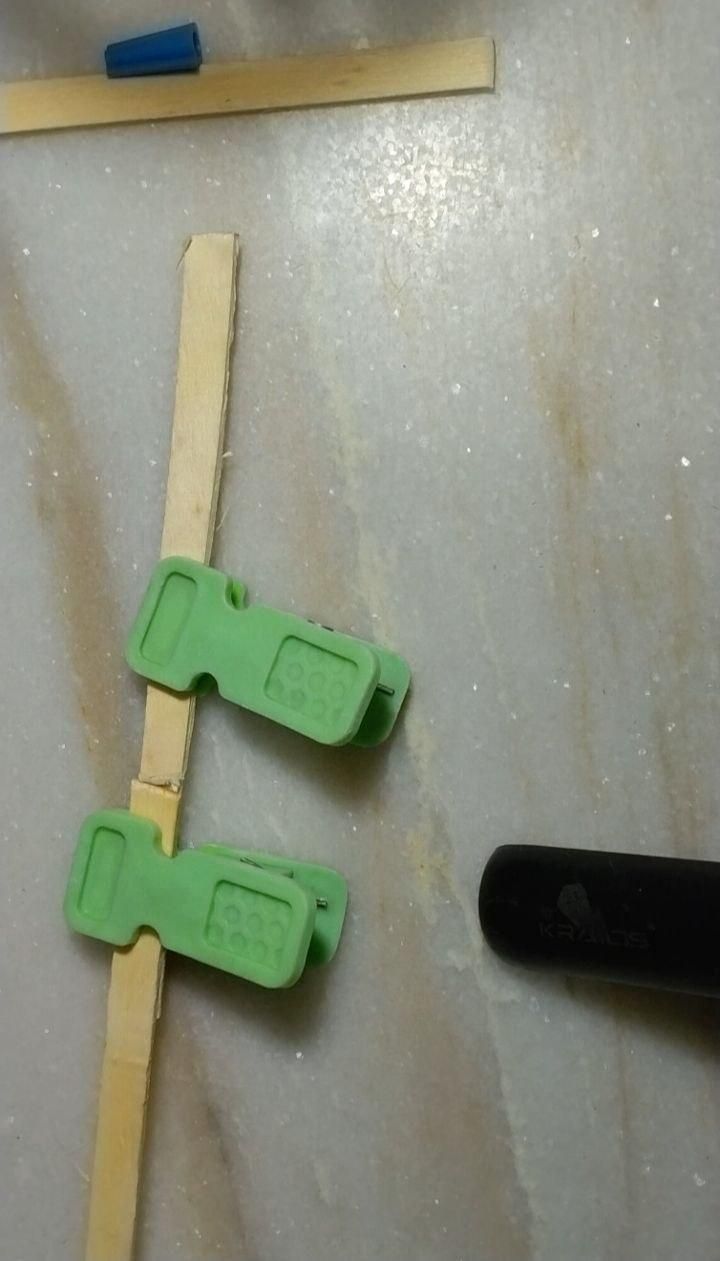
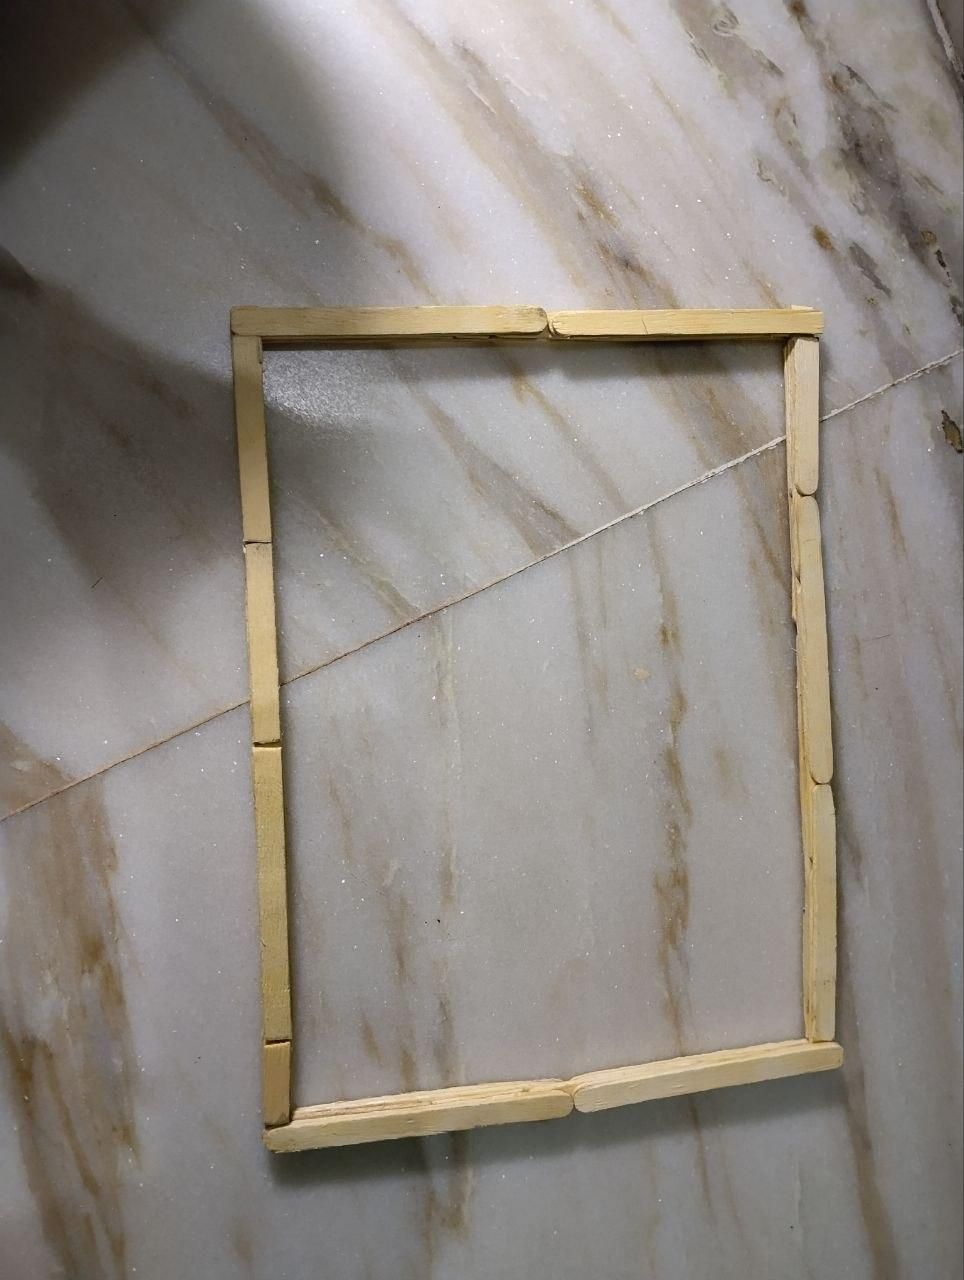
- Step 8: Assemble and Strengthen the Frame Arrange the prepared ice cream sticks according to the required frame shape.
- Overlap the ice cream sticks at the joints to make the frame stronger.
- Apply a small amount of super glue to the overlapping sections.
- Use cloth clips to hold the sticks tightly in place while the glue sets.
- Keep the clips in position until the glued joints are firmly attached.
- Continue joining the sticks until the complete frame is formed.
- Check that all joints are secure and properly aligned.
- Allow the super glue to dry completely before removing the cloth clips.
Downloads
Prepare and Attach the Water Line
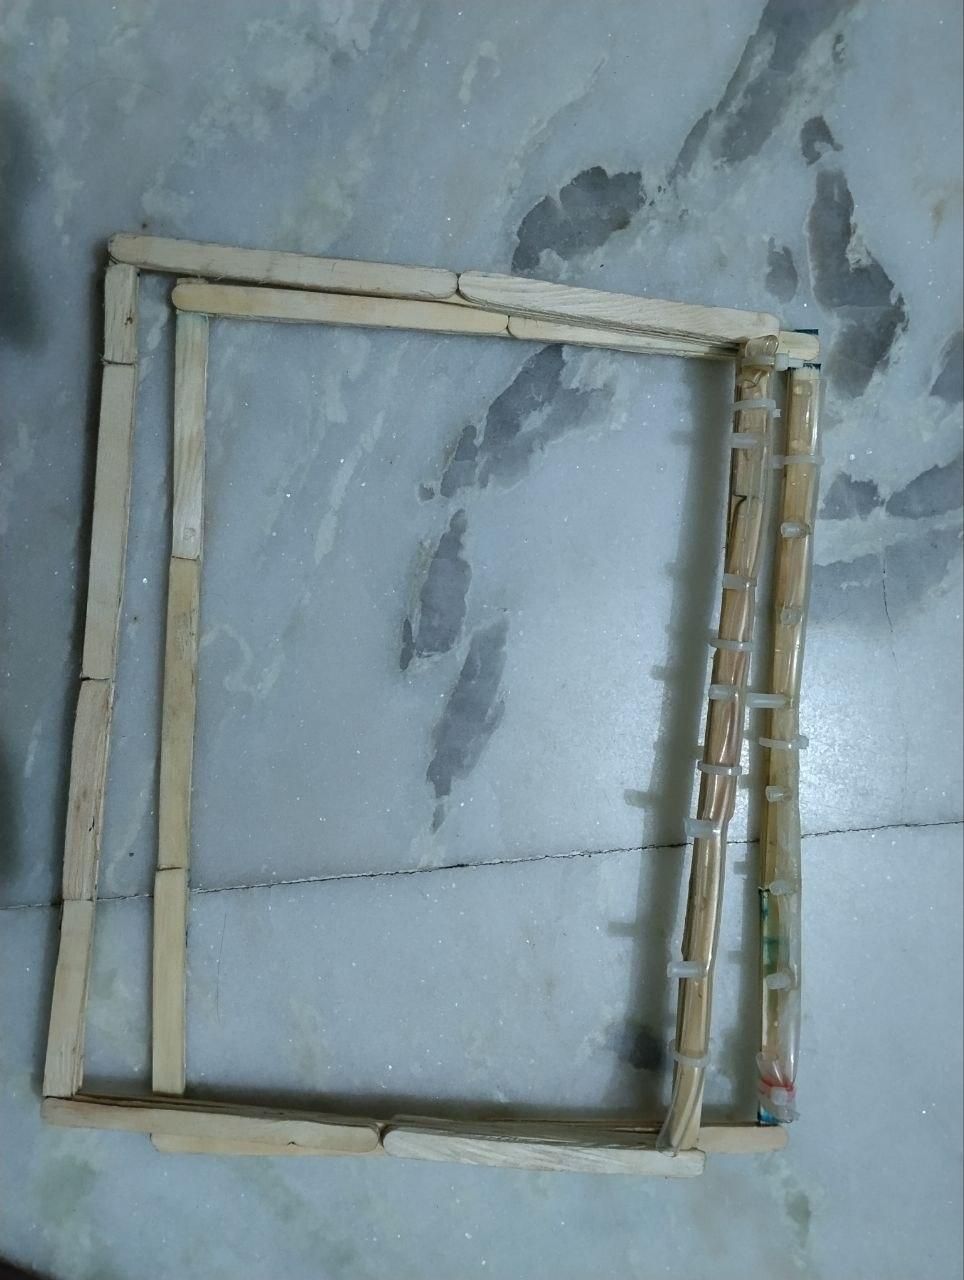
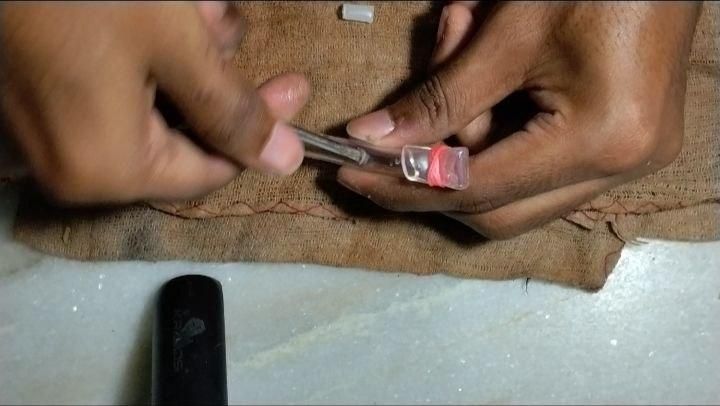
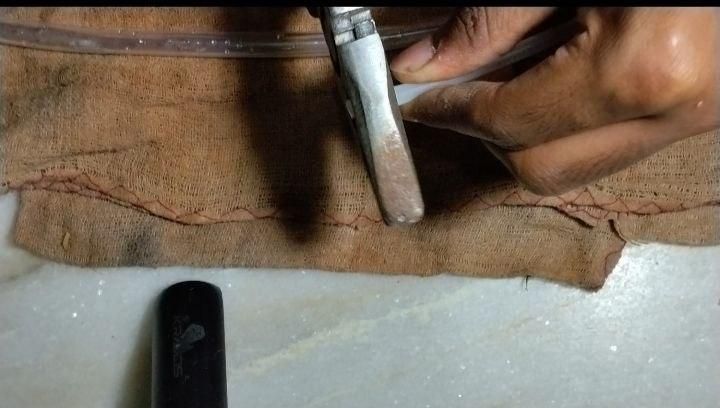
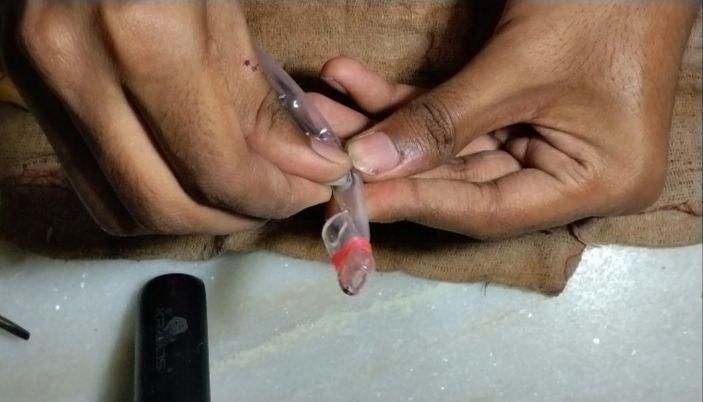
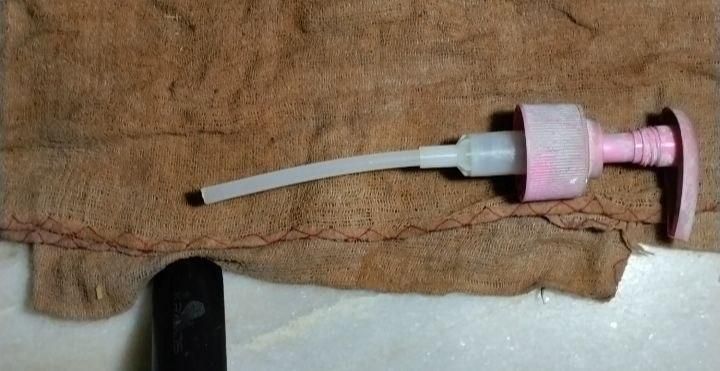
- Step 9: Prepare and Attach the Water Line Prepare the water tubes according to the required length of the frame.
- Make small holes in the tubes at the points where water needs to flow into the terracotta cups.
- Check that the holes are properly positioned and evenly spaced.
- Place the water line along the frame in the desired position.
- Attach the water line to the frame using zip ties.
- Tighten the zip ties enough to keep the tube securely in place without crushing or blocking the tube.
- Check that all the tube holes are facing the correct direction for proper water flow.
- I am using hand wash thick straw for nobes
Assemble the Full Body
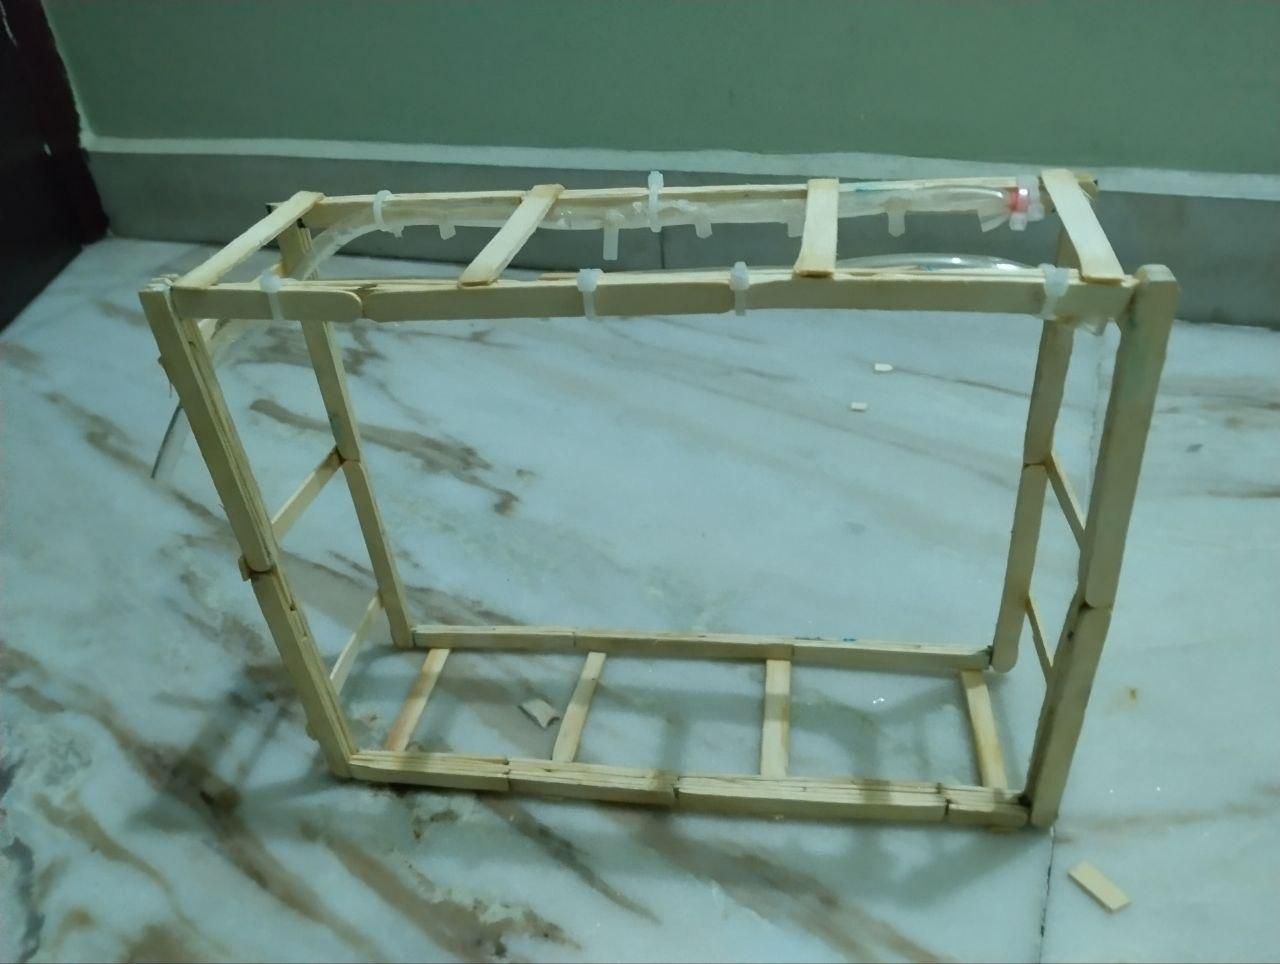
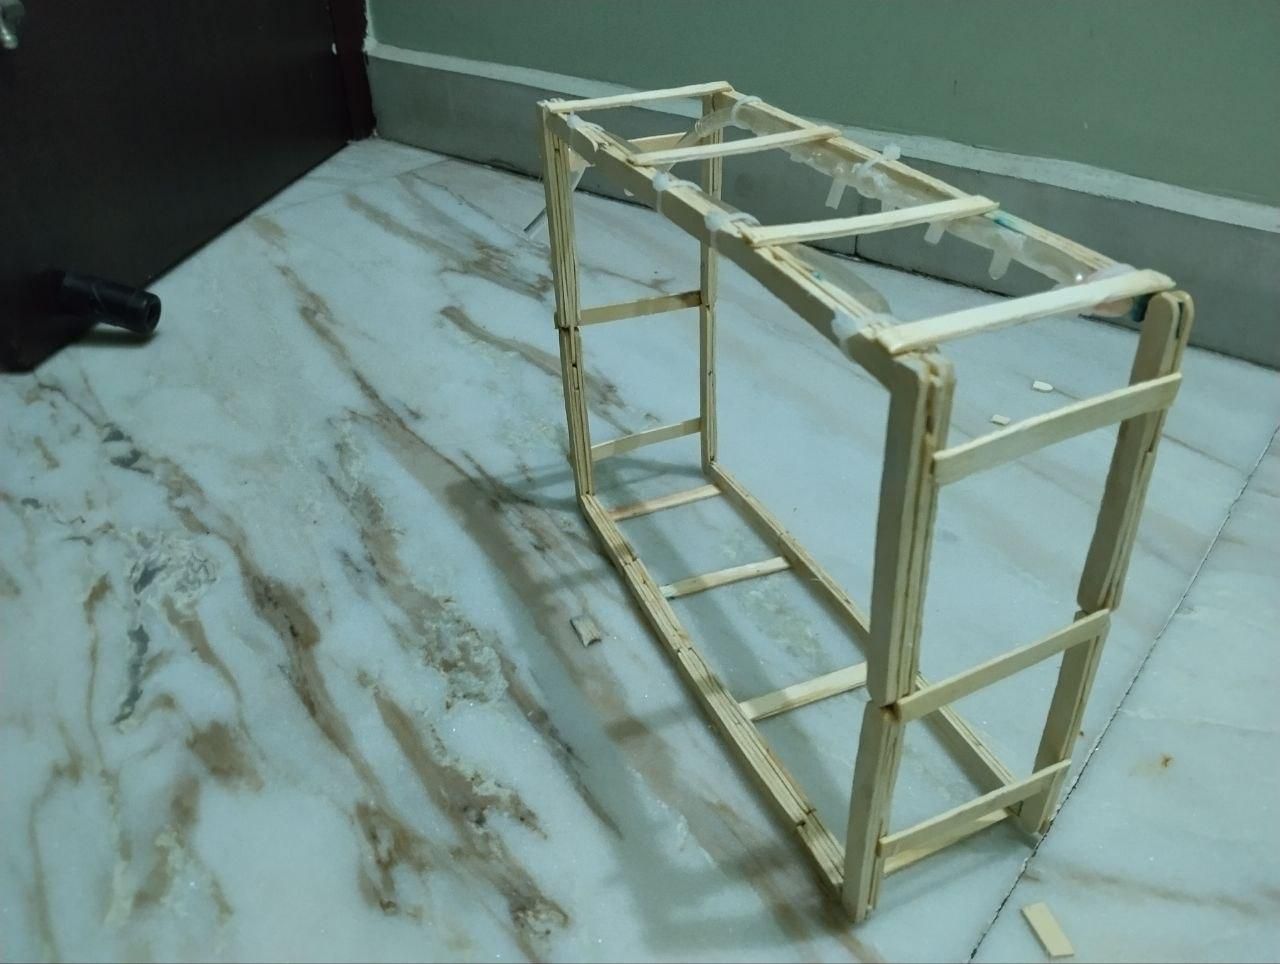
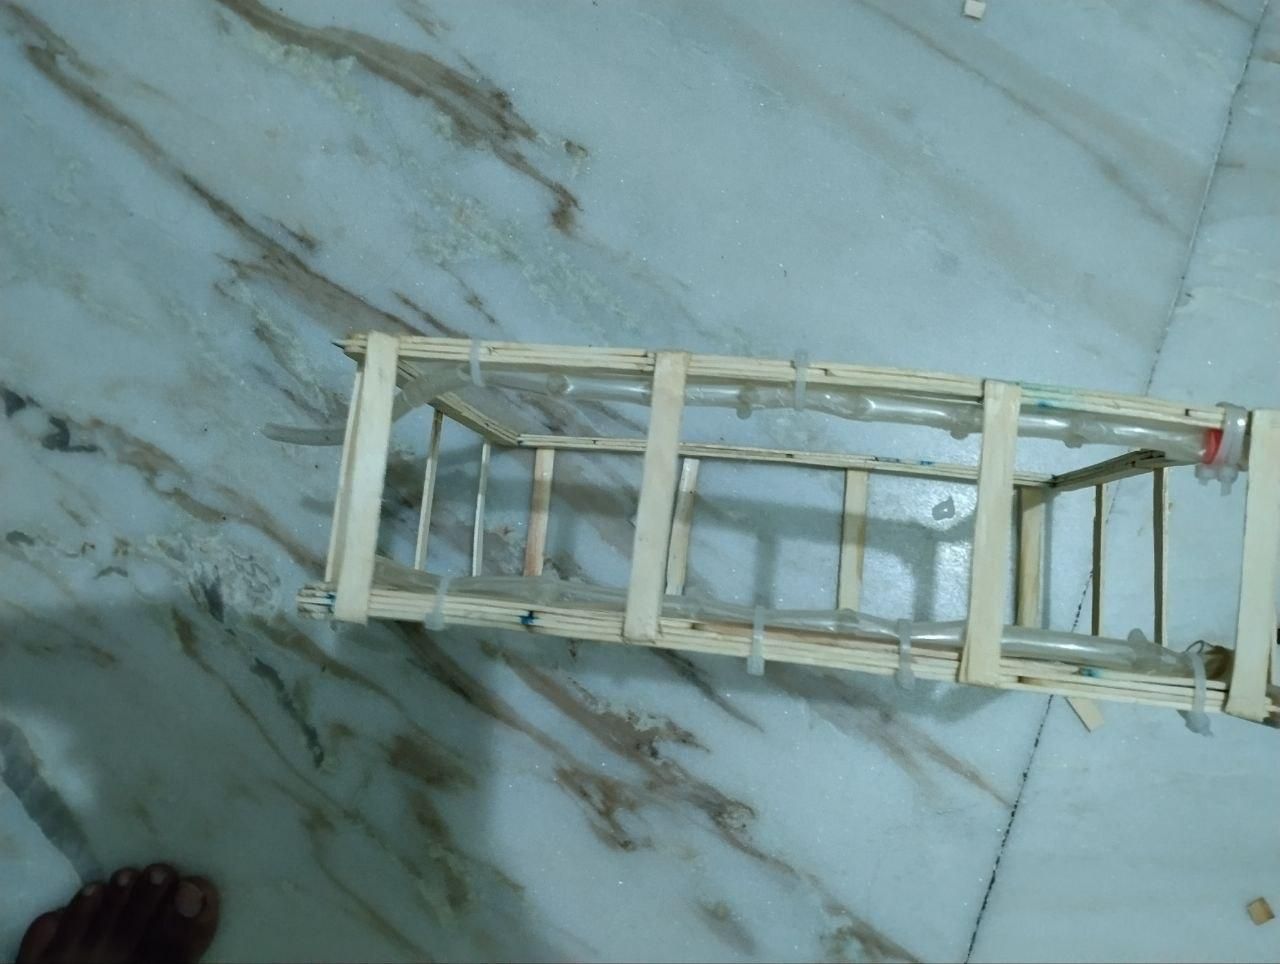
Step 10: Assemble the Full Body
- Prepare the front frame and back frame that were made earlier.
- Position the two frames opposite each other at the required distance.
- Connect the front and back frames using additional ice cream sticks as side supports.
- Apply super glue to the joints to secure the connections.
- Use cloth clips to hold the joints in place while the glue dries.
- Check that both frames are straight, aligned, and stable.
- Allow the glue to dry completely before moving on to the next step.
Connect the Pump, Battery, and Switch, Water Pump to the Main Water Pipeline.
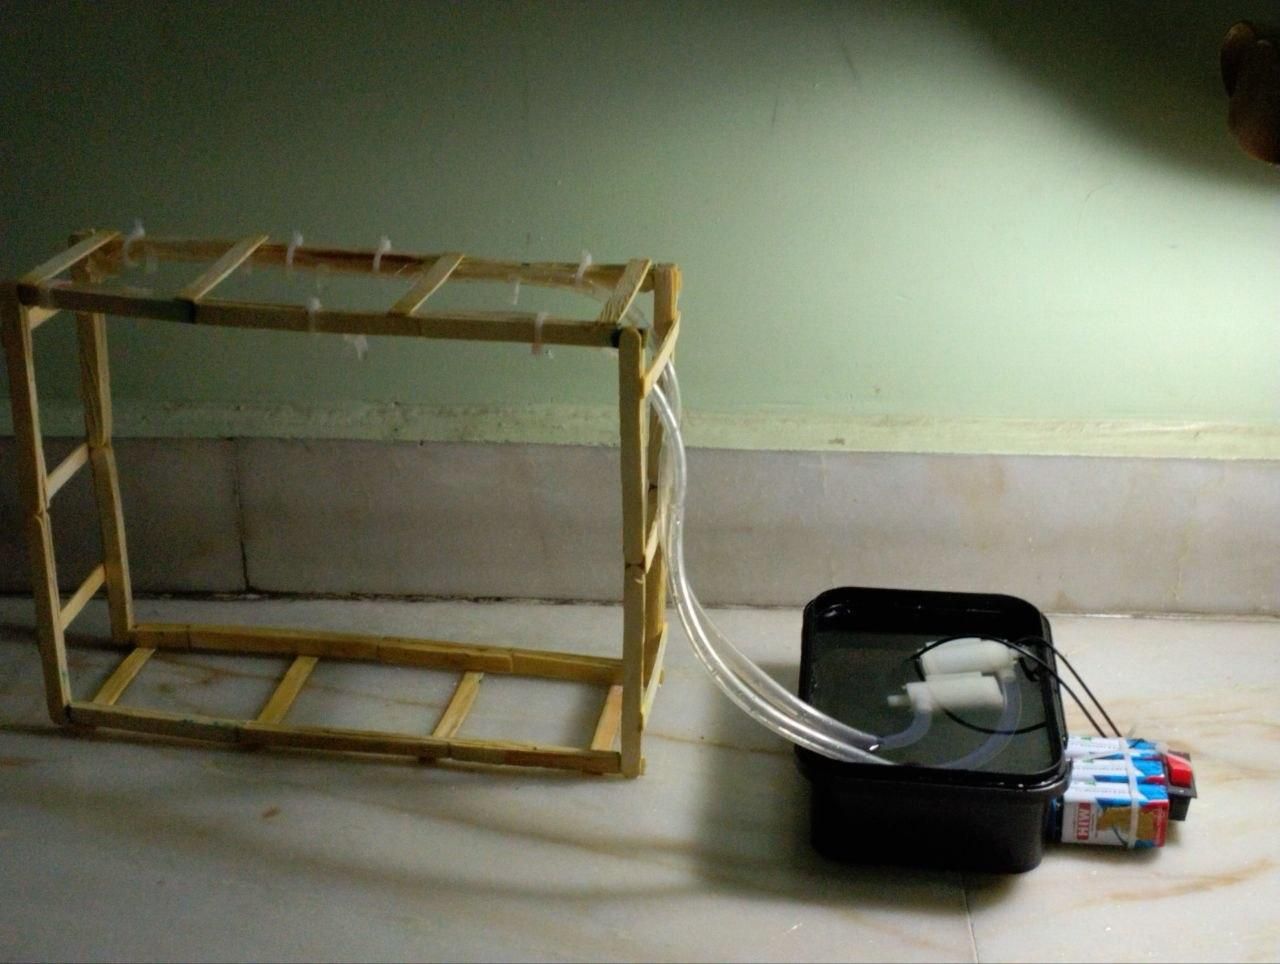
- Step 11: Connect the Pump, Battery, and SwitchConnect the water pump to the main water pipeline.
- Route the pipeline upward toward the roof/top section of the frame.
- Secure the pipeline to the frame using zip ties.
- Place the water pump inside the water container.
- Connect the pump to the battery and switch according to the circuit.
- Secure the battery and switch to the frame using zip ties.
- Make sure the electrical connections are well away from the water.
- Turn on the switch and check that the pump sends water through the roof pipeline.
- Check the entire system for leaks or loose connections before continuing.
Placing Terracota in Frame
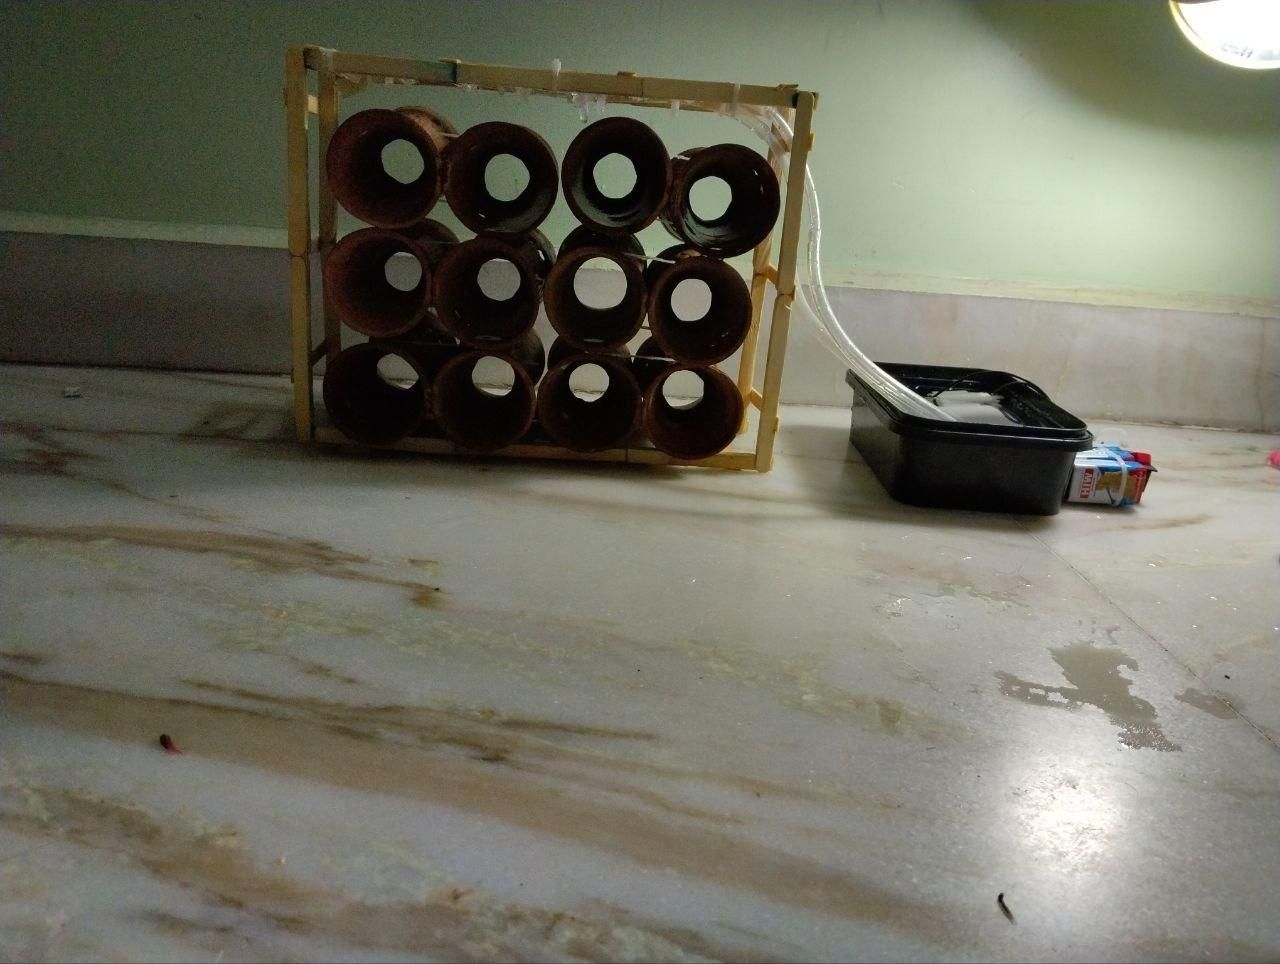
- Step 12: Place the Terracotta Cups in the FrameTake the prepared terracotta cups (kulhad) and make sure they are clean and free from loose dust.
- Carefully place the cups inside the completed frame.
- Position them end-to-end according to the planned arrangement.
- Align the holes with the water pipeline so water can flow into the cups.
- Make sure each cup sits securely and does not move around.
- Use zip ties or additional supports where needed to keep the cups firmly in place.
- Check that the terracotta cups are evenly positioned before testing the water flow.
Final Setup and Testing
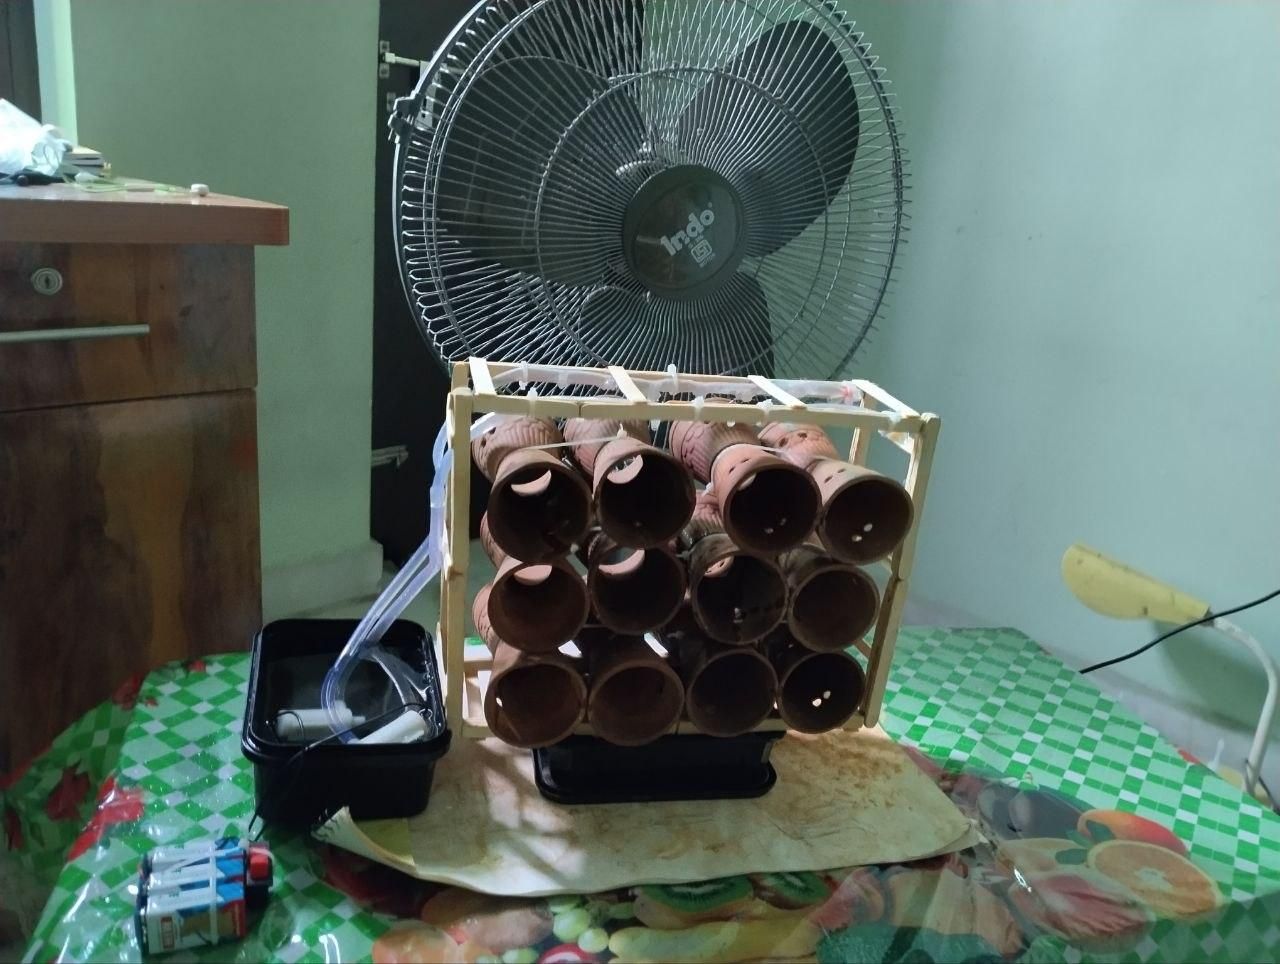
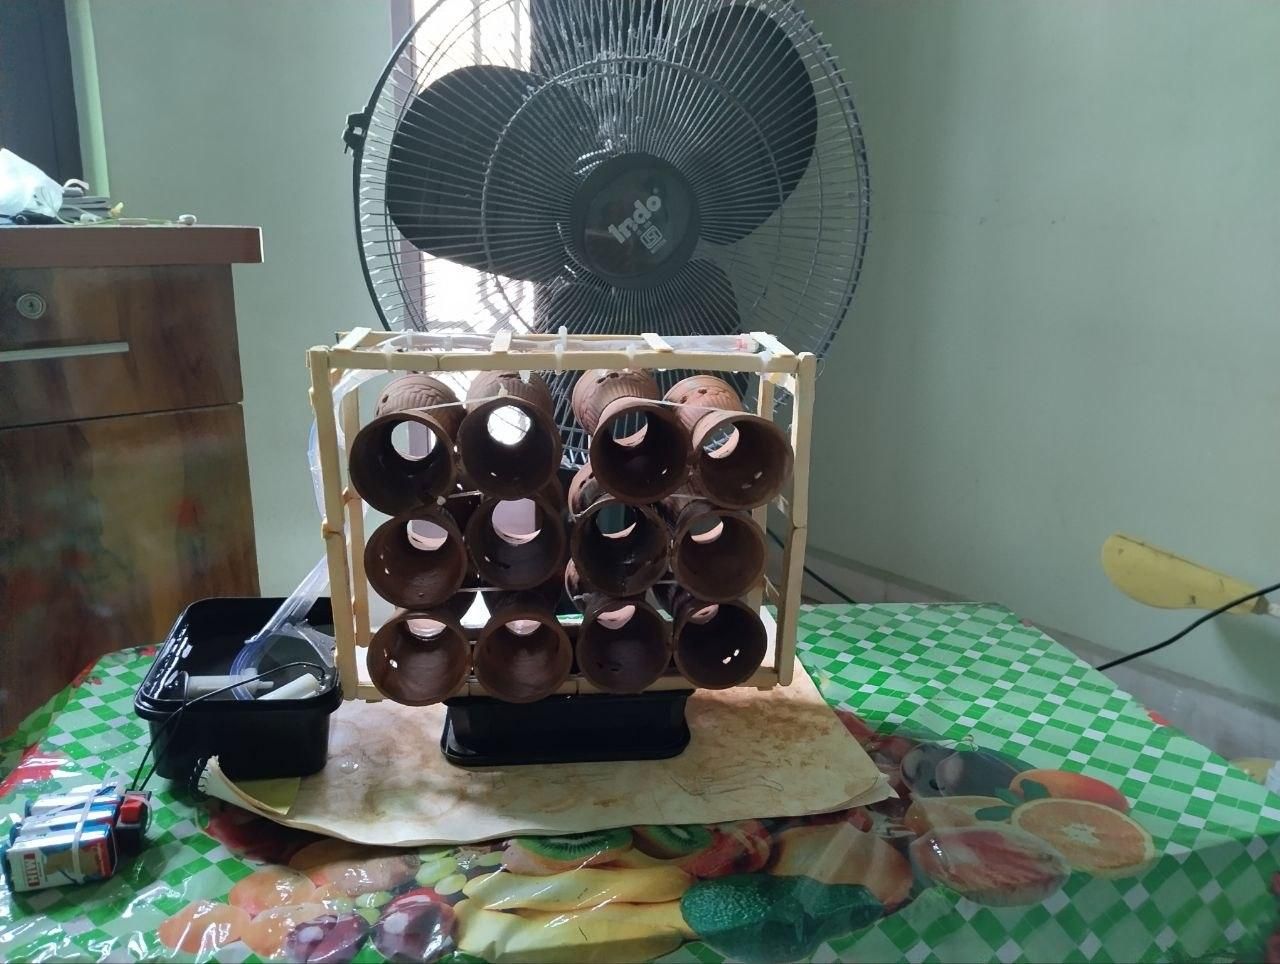
- Step 13: Final Setup and Testing Place the entire setup on a black water container to give it some additional height.
- Make sure the setup is stable and securely positioned on the container.
- Turn on the water pump and allow the water to flow through the pipeline and terracotta cups.
- Observe the water flowing from the top and through the terracotta cups.
- If extra water flows out from the top, you can place a tray or plate underneath to collect it.
- I did not use a tray or plate because I did not have one available.
- Check the complete setup while it is running and make sure the water is flowing properly.
Downloads
Future Upgrade Options
1.you can use powerfull 12v dc pump and adapter for more and efficient water supply
2.you can use big size terrocatta cups and join them end to end for air to have more time inside terrocatta which improves cooling
3.you can add 12v dc pump into collection tray which is connected to main pipeline to get that collected water reuse in cooling of terrocatta
4. You can use electronics module which tell temp drop value current temp and before temperature