The BEST Potato Masher -Tinkercad
by 1526379 in Design > 3D Design
1109 Views, 2 Favorites, 0 Comments
The BEST Potato Masher -Tinkercad


I was looking at my entry for the mason jar speed challenge(please vote for me ,mine is the mason jar mini garden) when I saw this I knew that I had to put my Potato masher. Here I am going to take you step by step to make a potato masher in Tinkercad that you can print out and use as your new favorite kitchen tool.(Honestly though this is pretty good)
⚠️WARNING:YOU SHOULD NOT USE IT TO MASHER POTATO UNLESS YOU PUT A FOOD SAFE COATING ON THE MASHER
The Base


To make the most important part of the potato masher you will have to take out a cylinder and make it thinner then make it 56 by 56 make sure you get it right you do not want to have a over size potato smasher.(That would be cool though :)
The Small Cutters


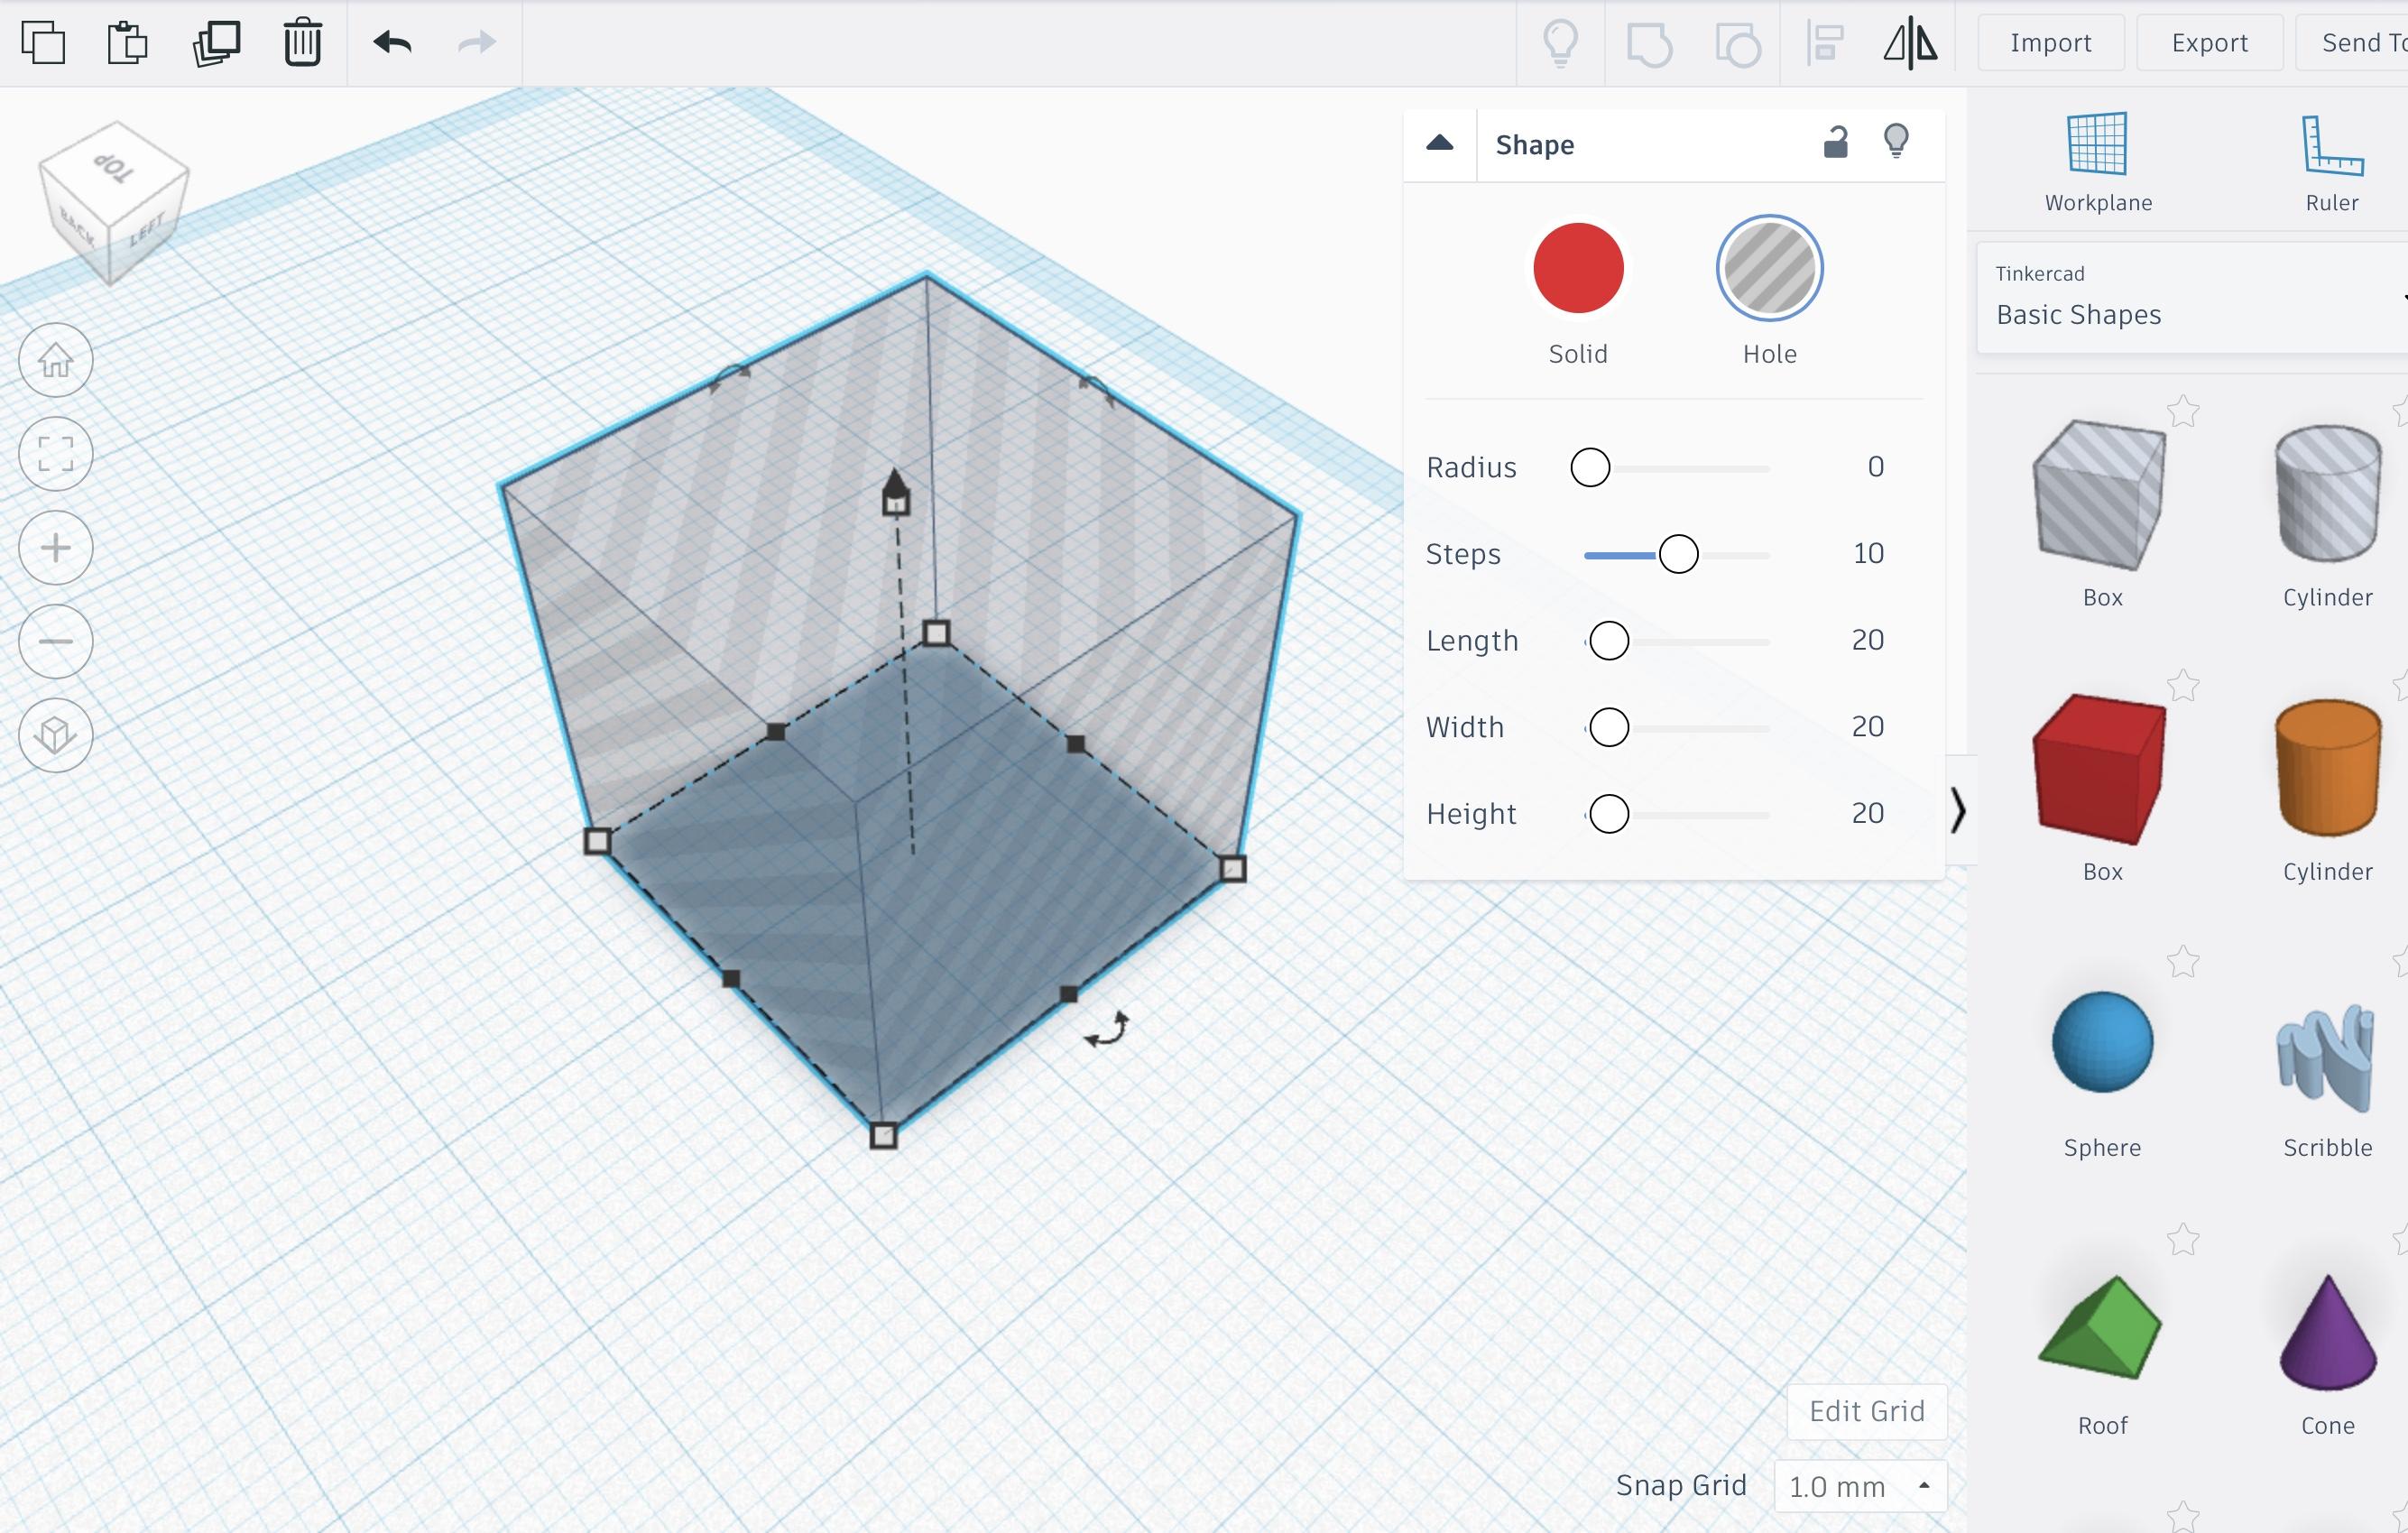
First you need to that out 50 cubes. Set the color to be a hole then make all the cubes small to where you could fit them in the cylinder that you made.(let’s go to the next step)~~~
Putting the Cube Holes Into the Flat Flat Flat...cylinder


This is one of the things that all really really simple but It takes a longggggggggg time. So here it goes you drag the cubes into the cylinder *screams*. It takes a long time trust me it okay I can wait for you go ahead.
Building and Finishing the Masher


For this step you will need three rectangles, two triangles , one cylinder, and one sphere. So first gather the materials. Then you flatten two of the rectangle to a point where it is about 2 cm. You put the two rectangles (flattened) to a side(has to be facing each other).the you put the two triangles On the rectangles and then you connect the rectangle(has not been flattened) To the triangles.Now you have to put a cylinder on the rectangle and then a sphere on the cylinder. Now you are almost done.
The Finishing Step


Now you have to select all of them at click on the blinding button. You will notice that the cubing disappeared and there are holes on it. They are the cutting points.
Color Time


Now you have to make the color grey click on the color place and make it grey you will notice that the masher is one whole thing now that is what the blinding button does.
Printing

Now all you have to do is to print it.*IMPORTANT*Remember to put a coat of food safe Coating on the masher if you are going to use it to masher potato.