The Bullet Time Project
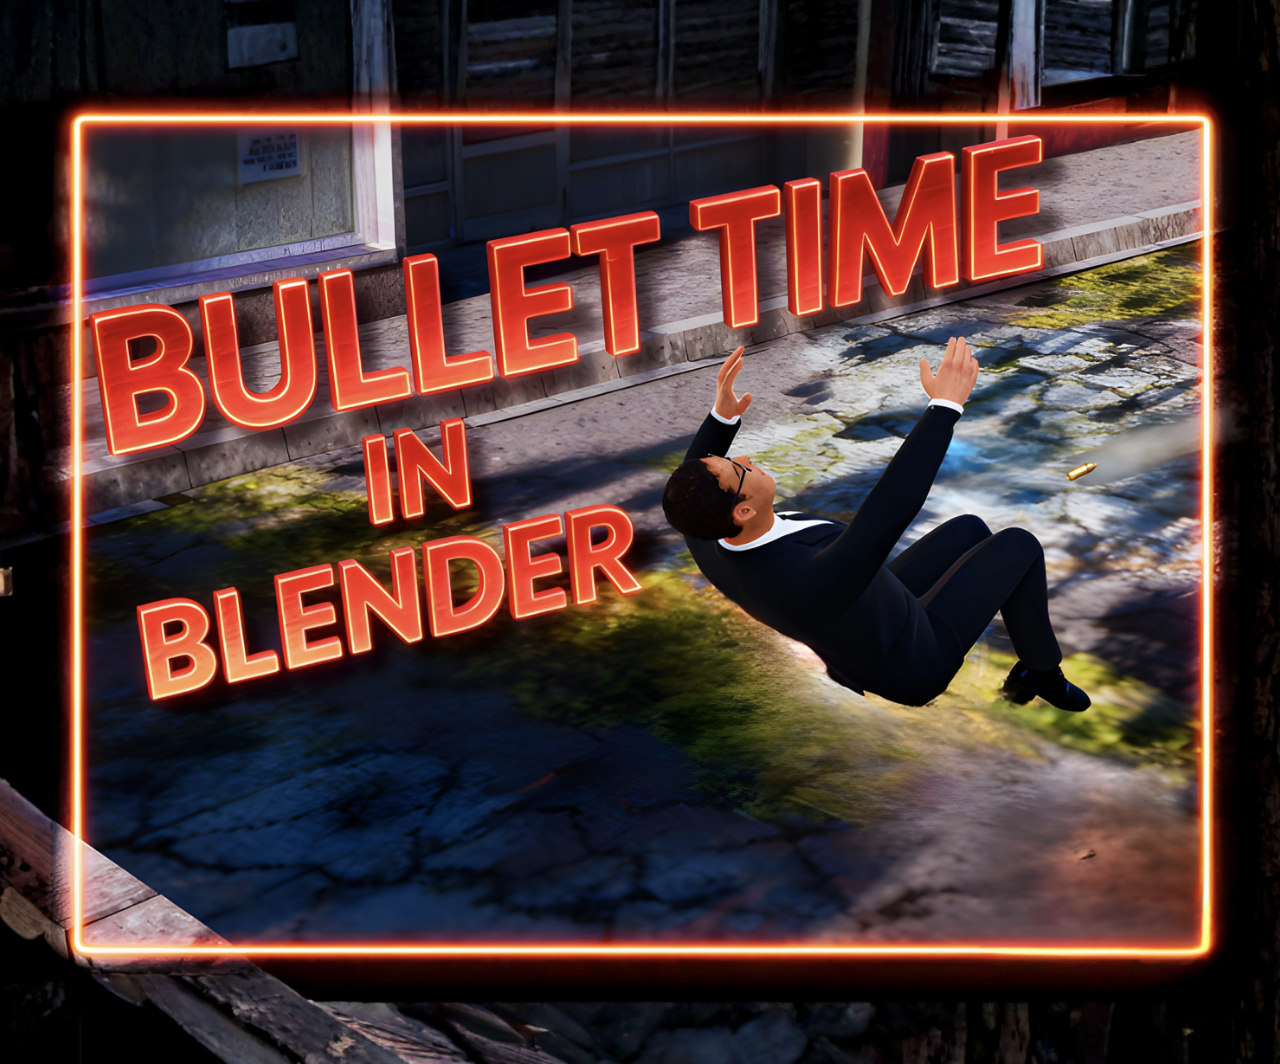
Ever since I first saw Bullet Time in movies, I’ve been fascinated by that one impossible moment — when everything seems to hang still in the air. The world slows down, gravity lets go, and motion itself seems to float. You can see every ripple in a coat, every fragment of debris suspended mid-flight, every bullet slicing through space like it’s moving through water. That’s the feeling I wanted to capture in this project — not just slow motion, but a sense of suspended reality.
In this Blender project, my goal was to recreate that floating, cinematic instant — a Bullet Time shot where a character dodges incoming bullets in midair above a city. Instead of simply animating fast motion, I wanted to freeze it. I wanted the entire scene to feel like time had been stretched to its limit, leaving everything weightless: the character twisting away from danger, the empty air bending around them, the world below blurred into a quiet backdrop.
To build this effect, I started by searching for the perfect assets. I found a detailed city model that gave the scene a realistic sense of scale, and a 3D character that I could animate into that iconic dodge pose. Both were downloaded as GLB files to preserve their textures and keep everything compact and reliable. The combination of these models became the foundation for the moment I wanted to create — a place where physics feels optional, and everything floats in perfect balance.
What makes Bullet Time so captivating is how it contrasts stillness and motion — the camera moves freely, but the subject barely does. That tension is what makes it powerful. In this tutorial, I’ll show how I brought all of those pieces together: importing the models, setting up the character, positioning the camera, animating the slow-motion bullet trails, and crafting the illusion of floating through time.
By the end, you’ll have not just a scene, but a feeling — that strange, dreamlike moment when the world pauses, and everything around you is suspended in a perfect, silent drift.
Supplies
Tools:
Computer
Materials:
Indian Man In Suit by Nodeaxis Interactive
Bullet 9 mm by Y2JHBK
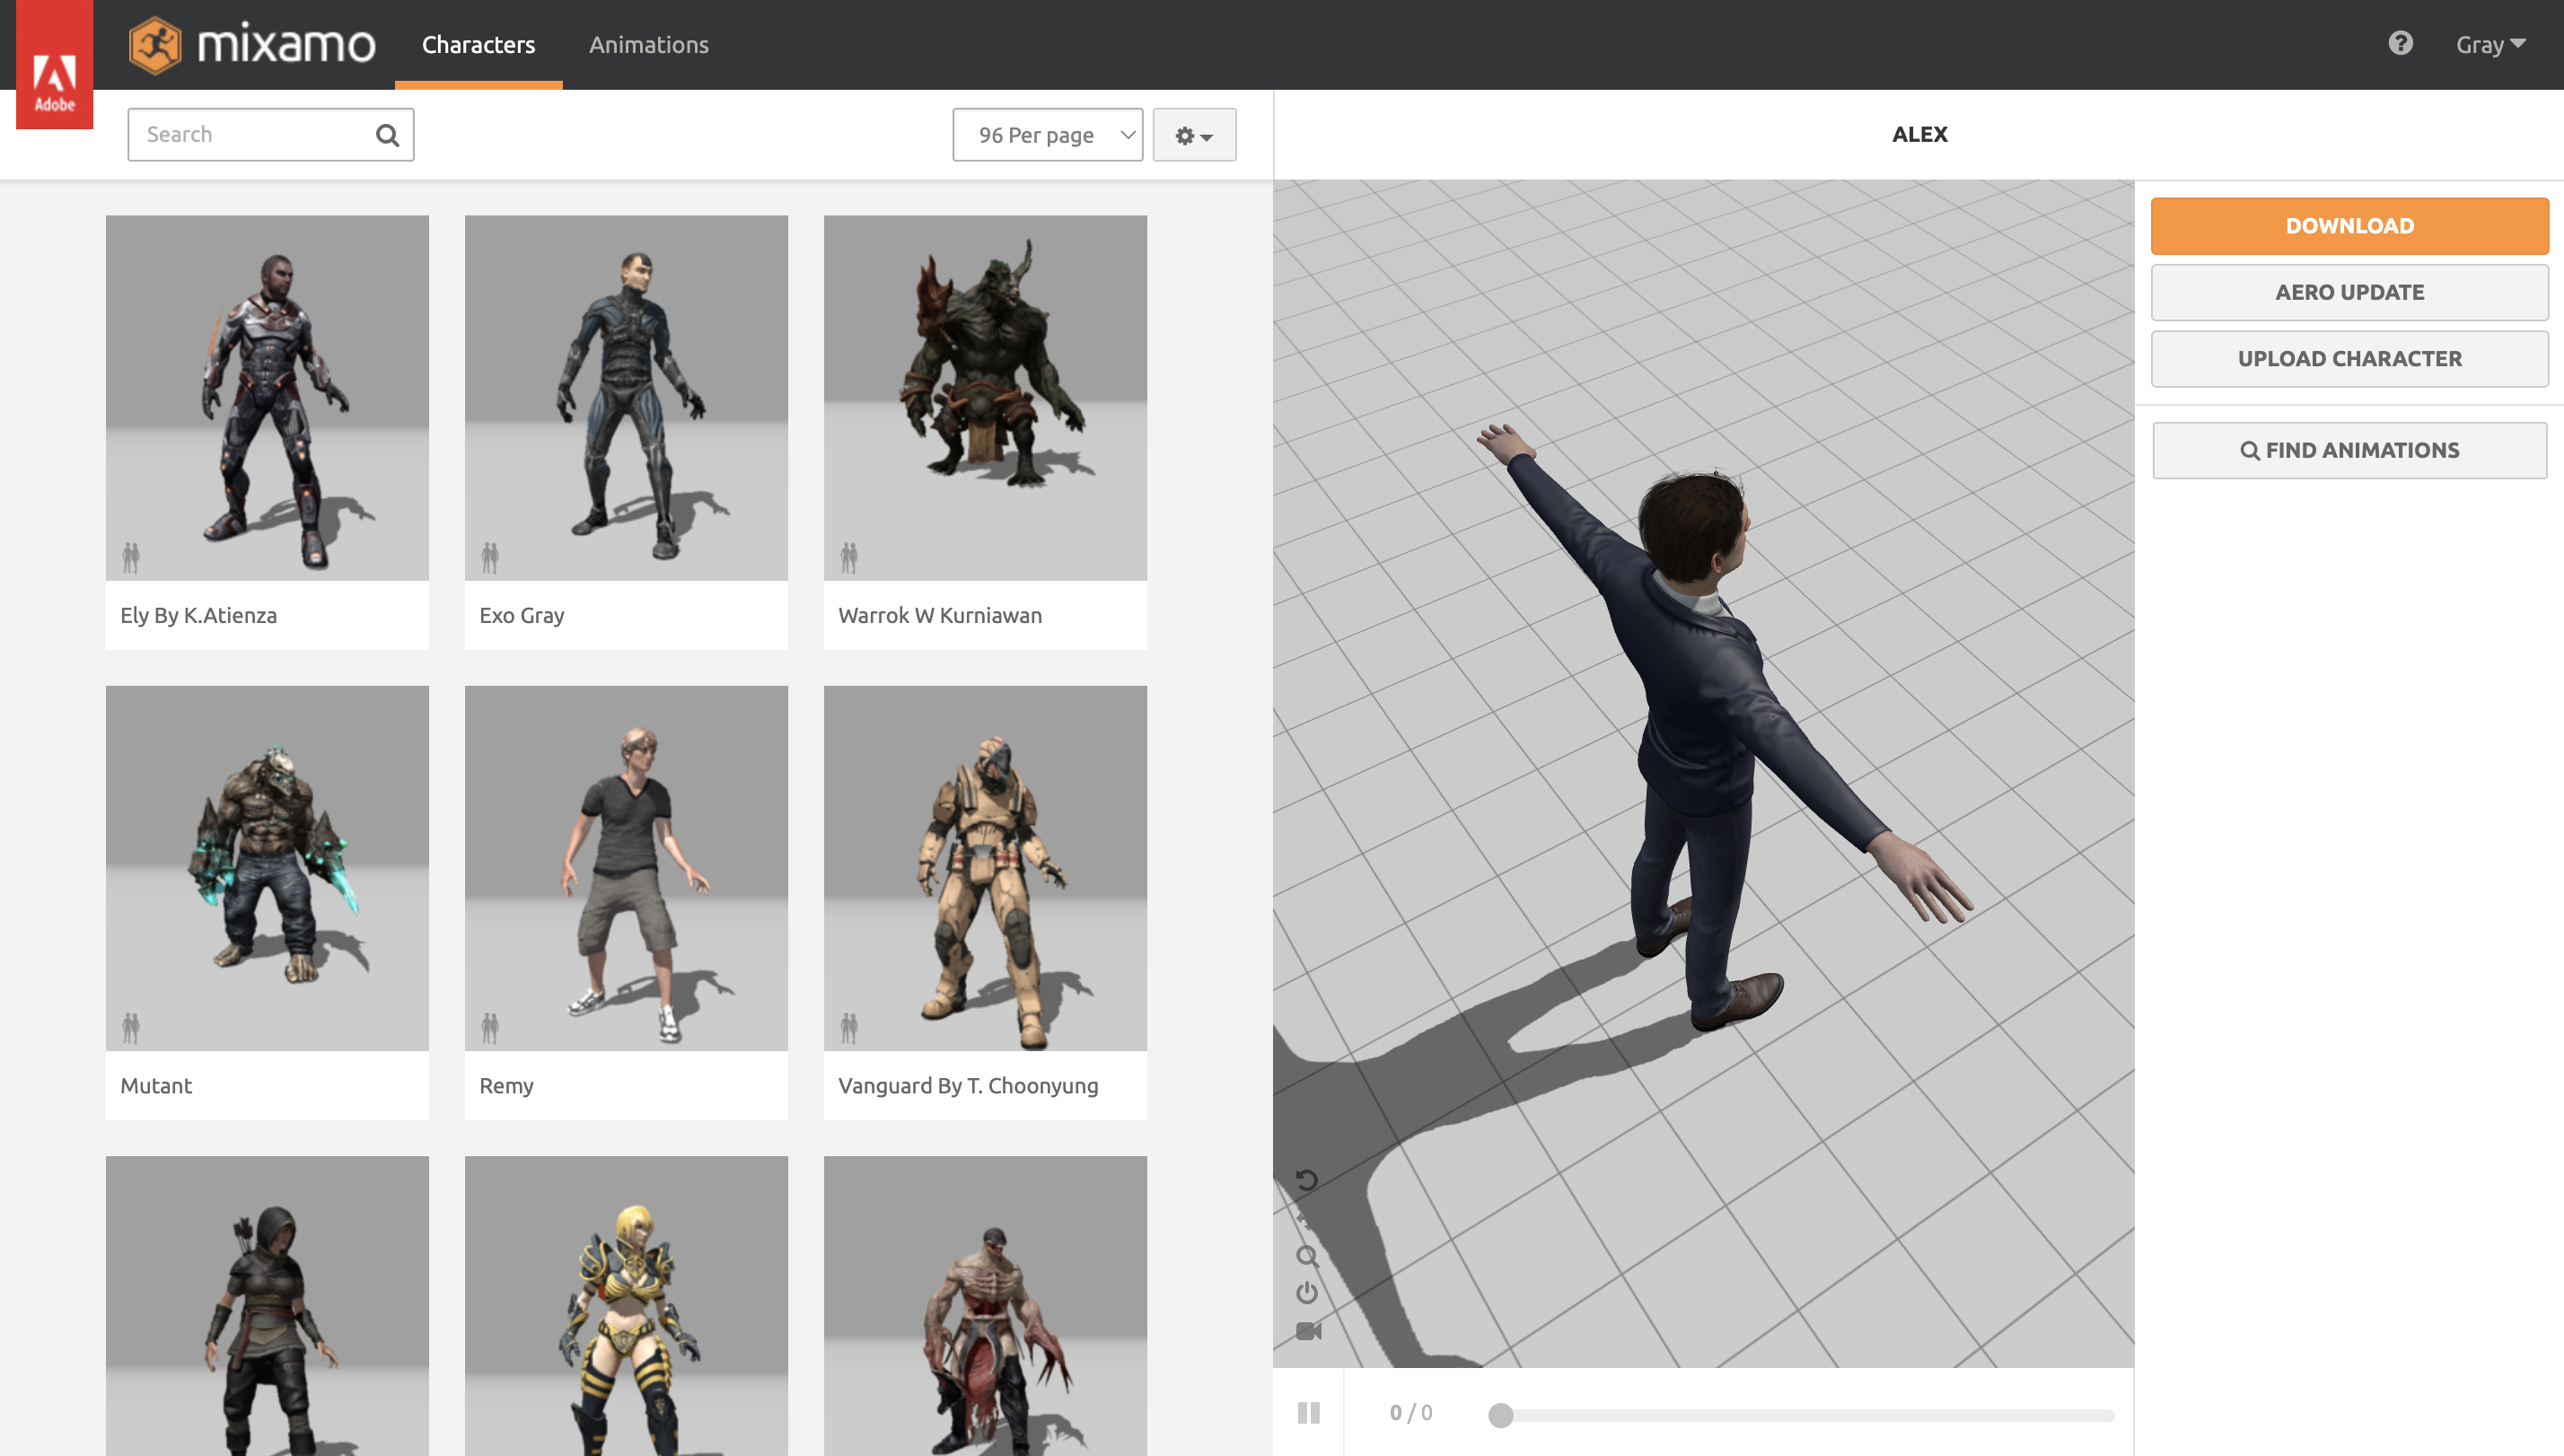
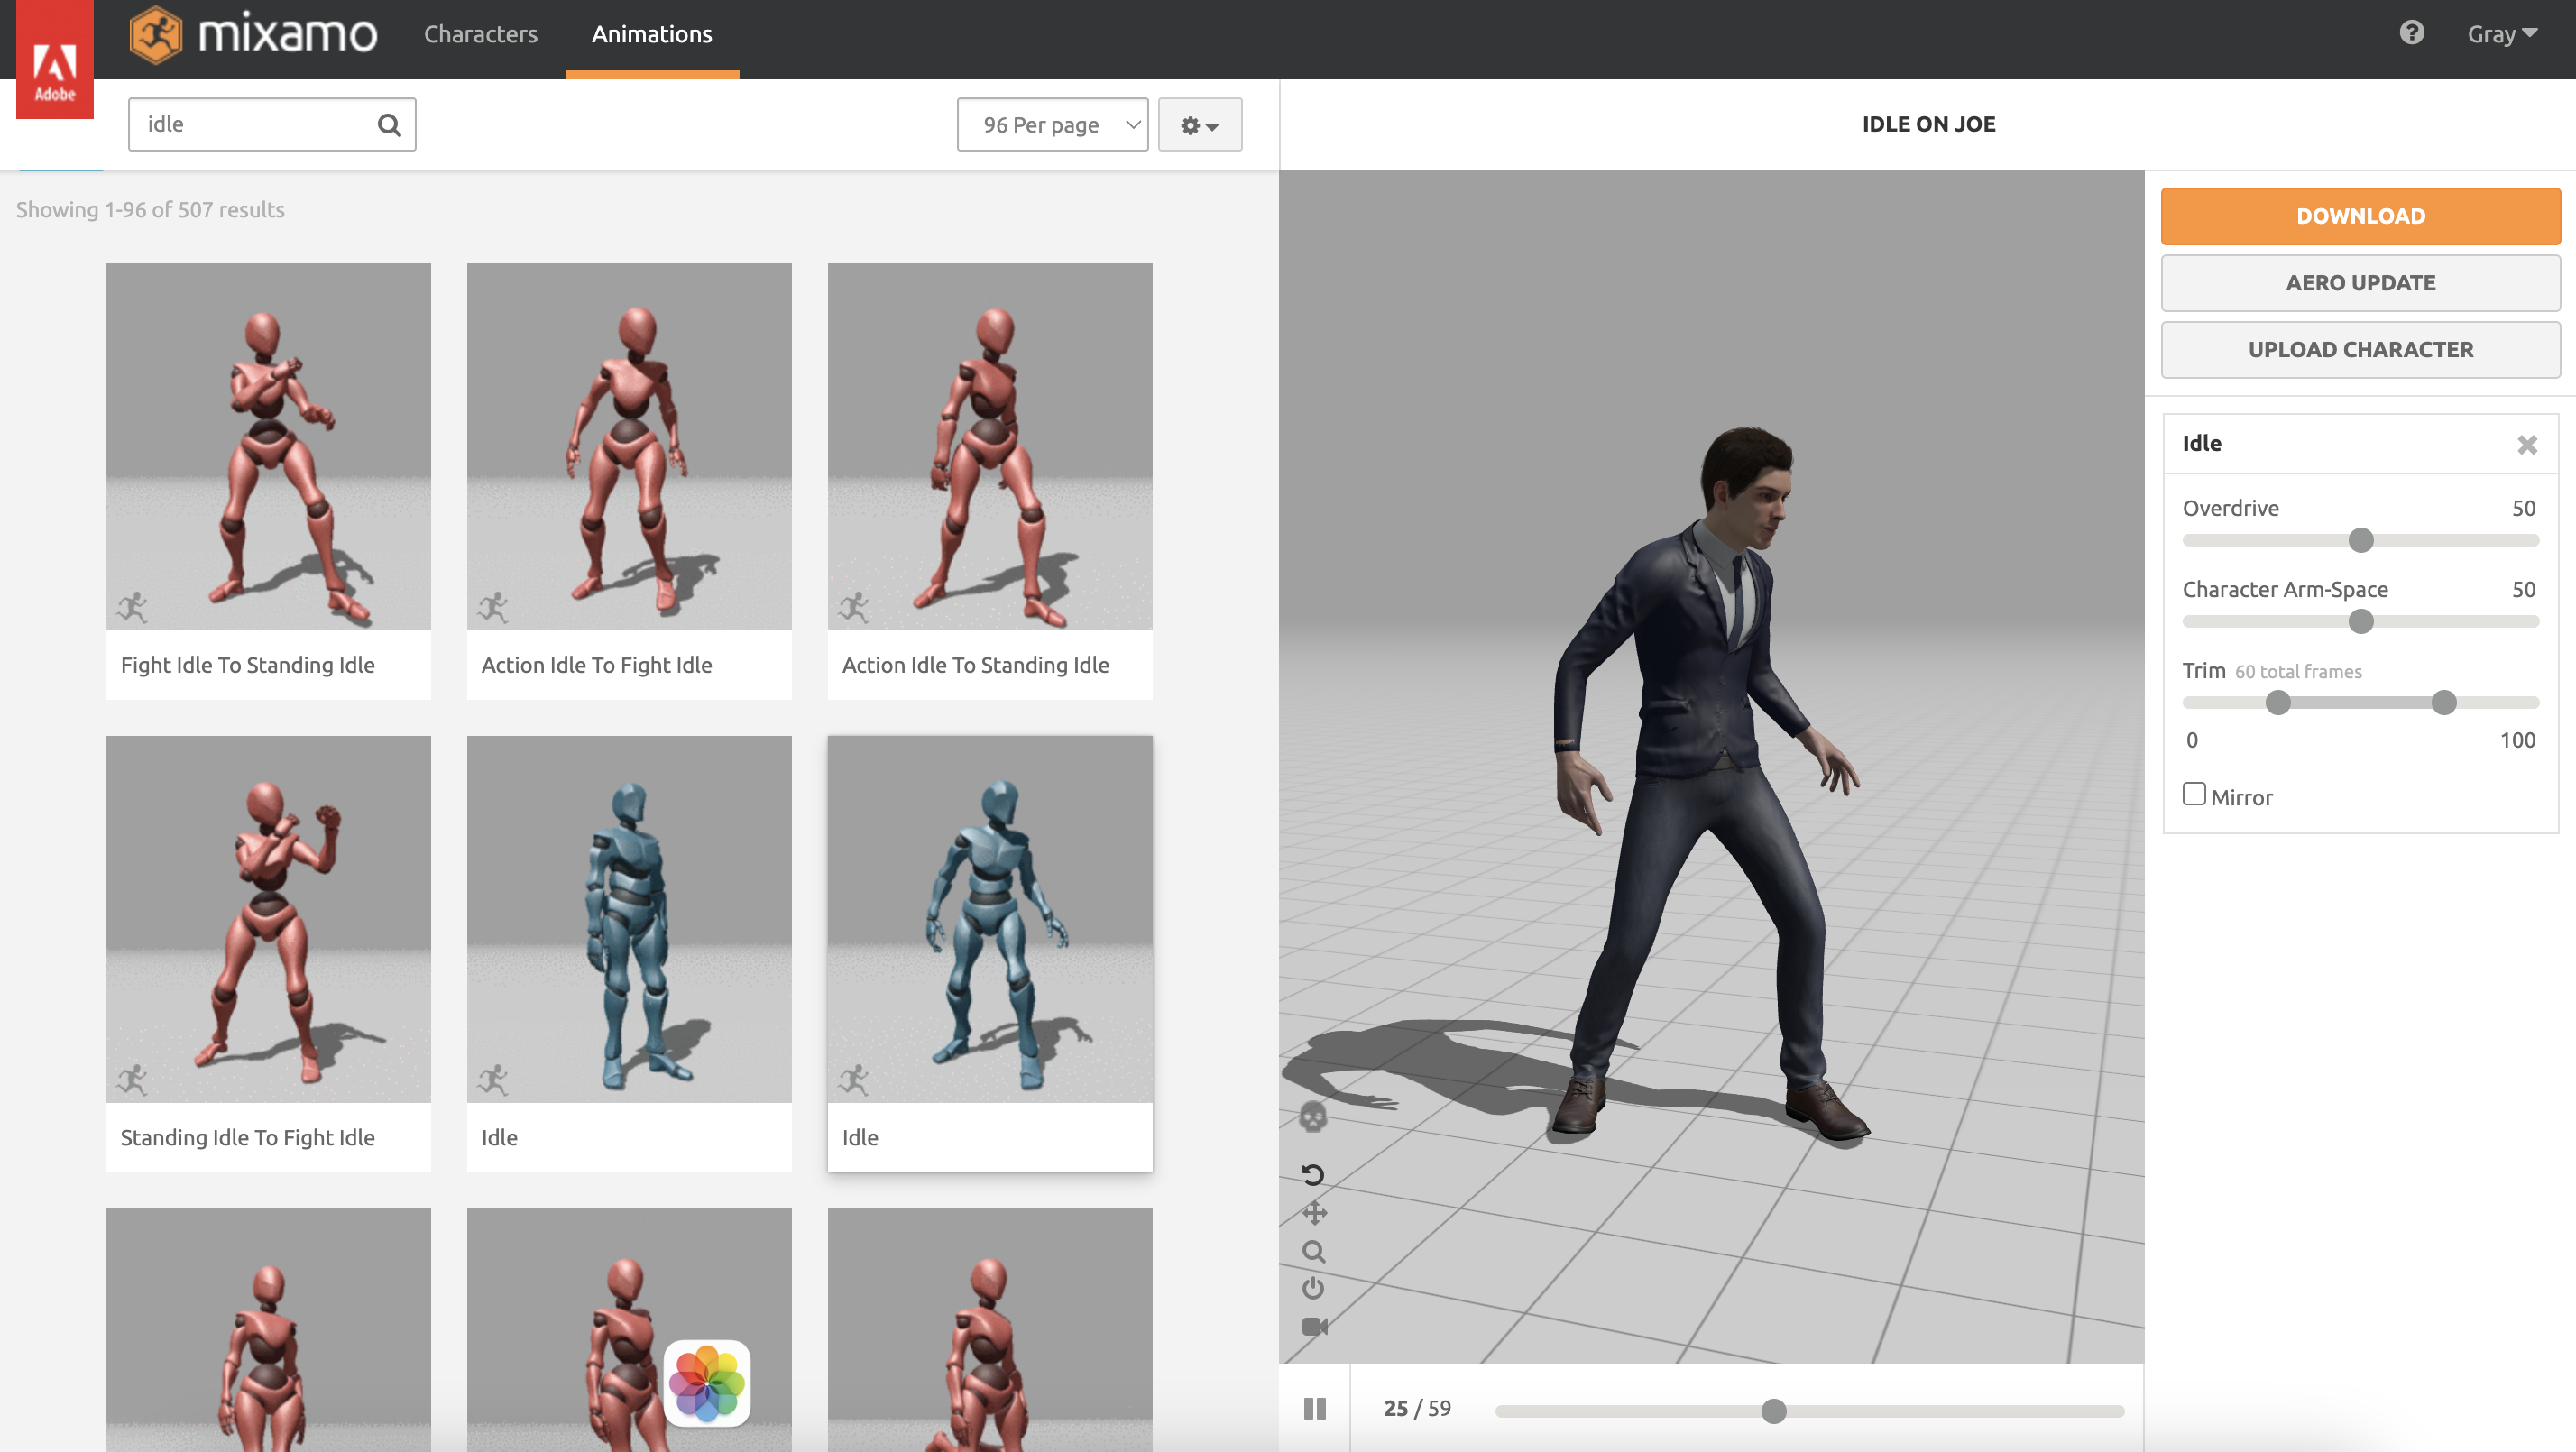
Joe by Mixamo
Software:
Mixamo
Blender
CapCut
Sketchfab
What Is Bullet Time?
Bullet Time is one of the most iconic effects in modern cinema — a shot where time itself seems to slow down or stop completely, yet the camera continues to move freely through the scene. It creates the impossible illusion that the viewer has stepped outside of time, able to look around a frozen moment from every angle.
The effect became famous in The Matrix, when Neo leans back to dodge bullets that streak through the air in slow motion. The world freezes, the camera glides smoothly around him, and for a few seconds, time feels suspended. It’s more than just slow motion — it’s a deliberate manipulation of perception. Bullet Time allows the audience to witness motion in a way the human eye never could, moving through space while the rest of the world stands still.
Originally, filmmakers achieved this effect with elaborate setups of dozens or even hundreds of cameras arranged in a curve or circle around the actor. Each camera would fire at precisely the right moment, capturing a single frame of the same instant from a slightly different angle. When all those images were stitched together, they created the illusion of a camera sweeping around a frozen point in time.
In 3D software like Blender, we can create the same effect digitally — and even push it further. Instead of hundreds of real cameras, we can use a single virtual one, animate it through a frozen scene, and control time itself with perfect precision. The principle remains the same: the subject pauses, the camera moves, and for a moment, it feels like reality has been broken apart so we can look at it from the outside.
History of Bullet Time
Before it became a pop culture phenomenon, Bullet Time began as a fascinating experiment in photography. The core idea — capturing a single moment from multiple angles — can be traced back more than a century.
In the 1870s, English photographer Eadweard Muybridge arranged a line of cameras along a racetrack to study how a horse runs. Each camera was triggered in sequence, capturing the animal’s motion frame by frame. While Muybridge’s work was intended as scientific study, it also laid the foundation for the idea of time sliced into images, each taken from a slightly different perspective — the first primitive form of what would later be known as Bullet Time.
Fast forward to the 1990s, when film and technology finally caught up with the concept. Commercials and music videos began experimenting with arrays of still cameras firing at once to create surreal, frozen-motion sequences. One notable example came from the Gap “Khaki Swing” ad and Michel Gondry’s music videos, where the effect was used creatively long before it reached Hollywood fame.
Then in 1999, The Matrix changed everything. The Wachowskis, along with visual effects supervisor John Gaeta, refined and popularized the technique. Their version used 120 still cameras arranged in a semi-circle around the actors, each carefully timed and positioned. The footage from those cameras was then combined digitally, allowing the viewpoint to move fluidly through a frozen instant. When audiences saw Neo dodging bullets in slow motion, it felt completely new — like time itself could be bent.
After The Matrix, Bullet Time became a staple of pop culture and filmmaking. It appeared in commercials, sports replays, and video games. The technique evolved from physical camera arrays into fully digital simulations, where virtual cameras and 3D models could recreate the same impossible movement without physical limitations.
Today, we can achieve Bullet Time with Blender or even smartphones. What once required a Hollywood-sized budget can now be done on a laptop — the same idea of capturing a frozen moment from multiple angles, but powered by creative software instead of complex rigs.
From Muybridge’s horses to Neo’s bullets, Bullet Time has always been about one thing: seeing time differently.
Planning the Scene
Before jumping into posing or animation, I spent some time planning the scene itself. My goal was to create a Bullet Time moment where the main character appears to float in mid-air while dodging bullets. This gives the scene a dynamic, cinematic feeling — a frozen moment of action that emphasizes both motion and suspense.
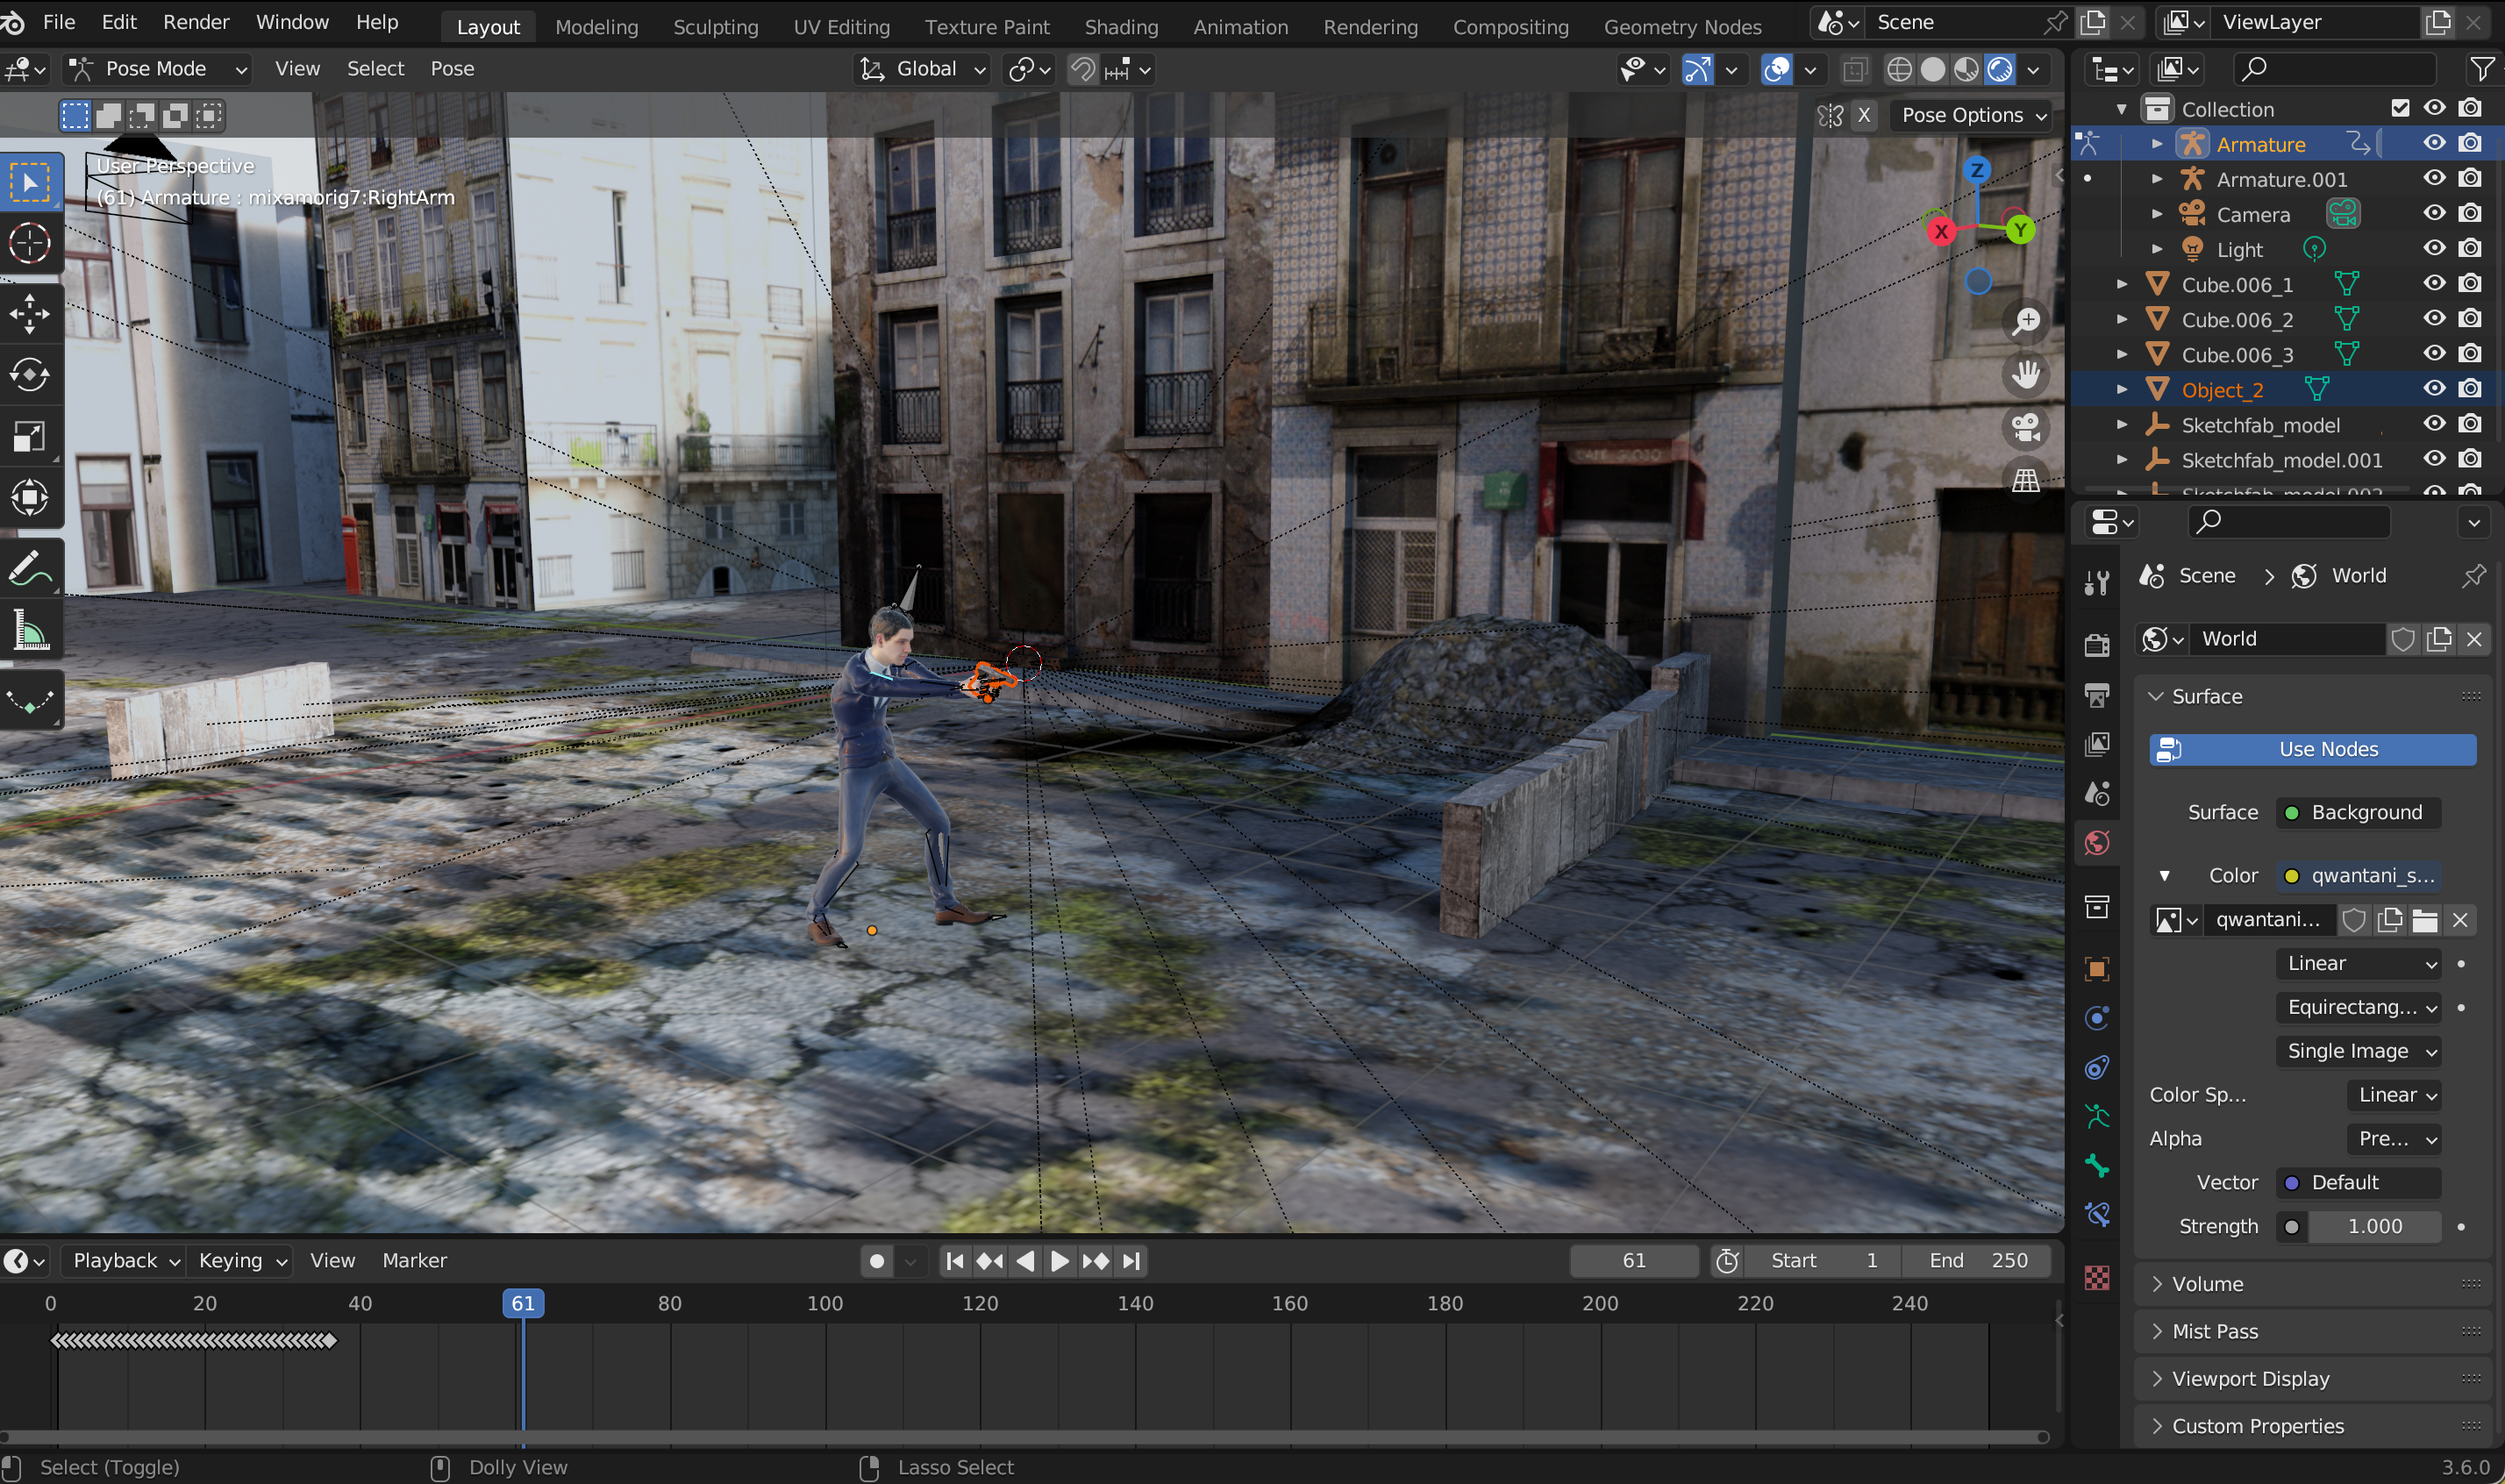
I envisioned the character suspended above the rooftop, body slightly arched as if reacting instinctively to projectiles flying past. The second character — the one imported from Mixamo — would be positioned in the scene to suggest the source or direction of the bullets, adding context and tension without needing them to be threatening. By thinking through the positions and interactions first, I could plan the camera movement around the scene, making sure that every angle would highlight the character’s pose and the sense of motion.
This planning stage also helped me consider scale and spacing. The rooftop needed to feel wide enough to give the character room to move, while still keeping the scene visually tight so the camera could glide around smoothly. The character’s pose, combined with the positioning of the second figure, would create a natural arc for the camera to follow in the Bullet Time effect.
Having a clear concept in mind — floating, dodging, mid-air action — made it much easier to select poses and animations later, ensuring that the final shot would feel intentional, cinematic, and exciting from every angle.
New Blender Project


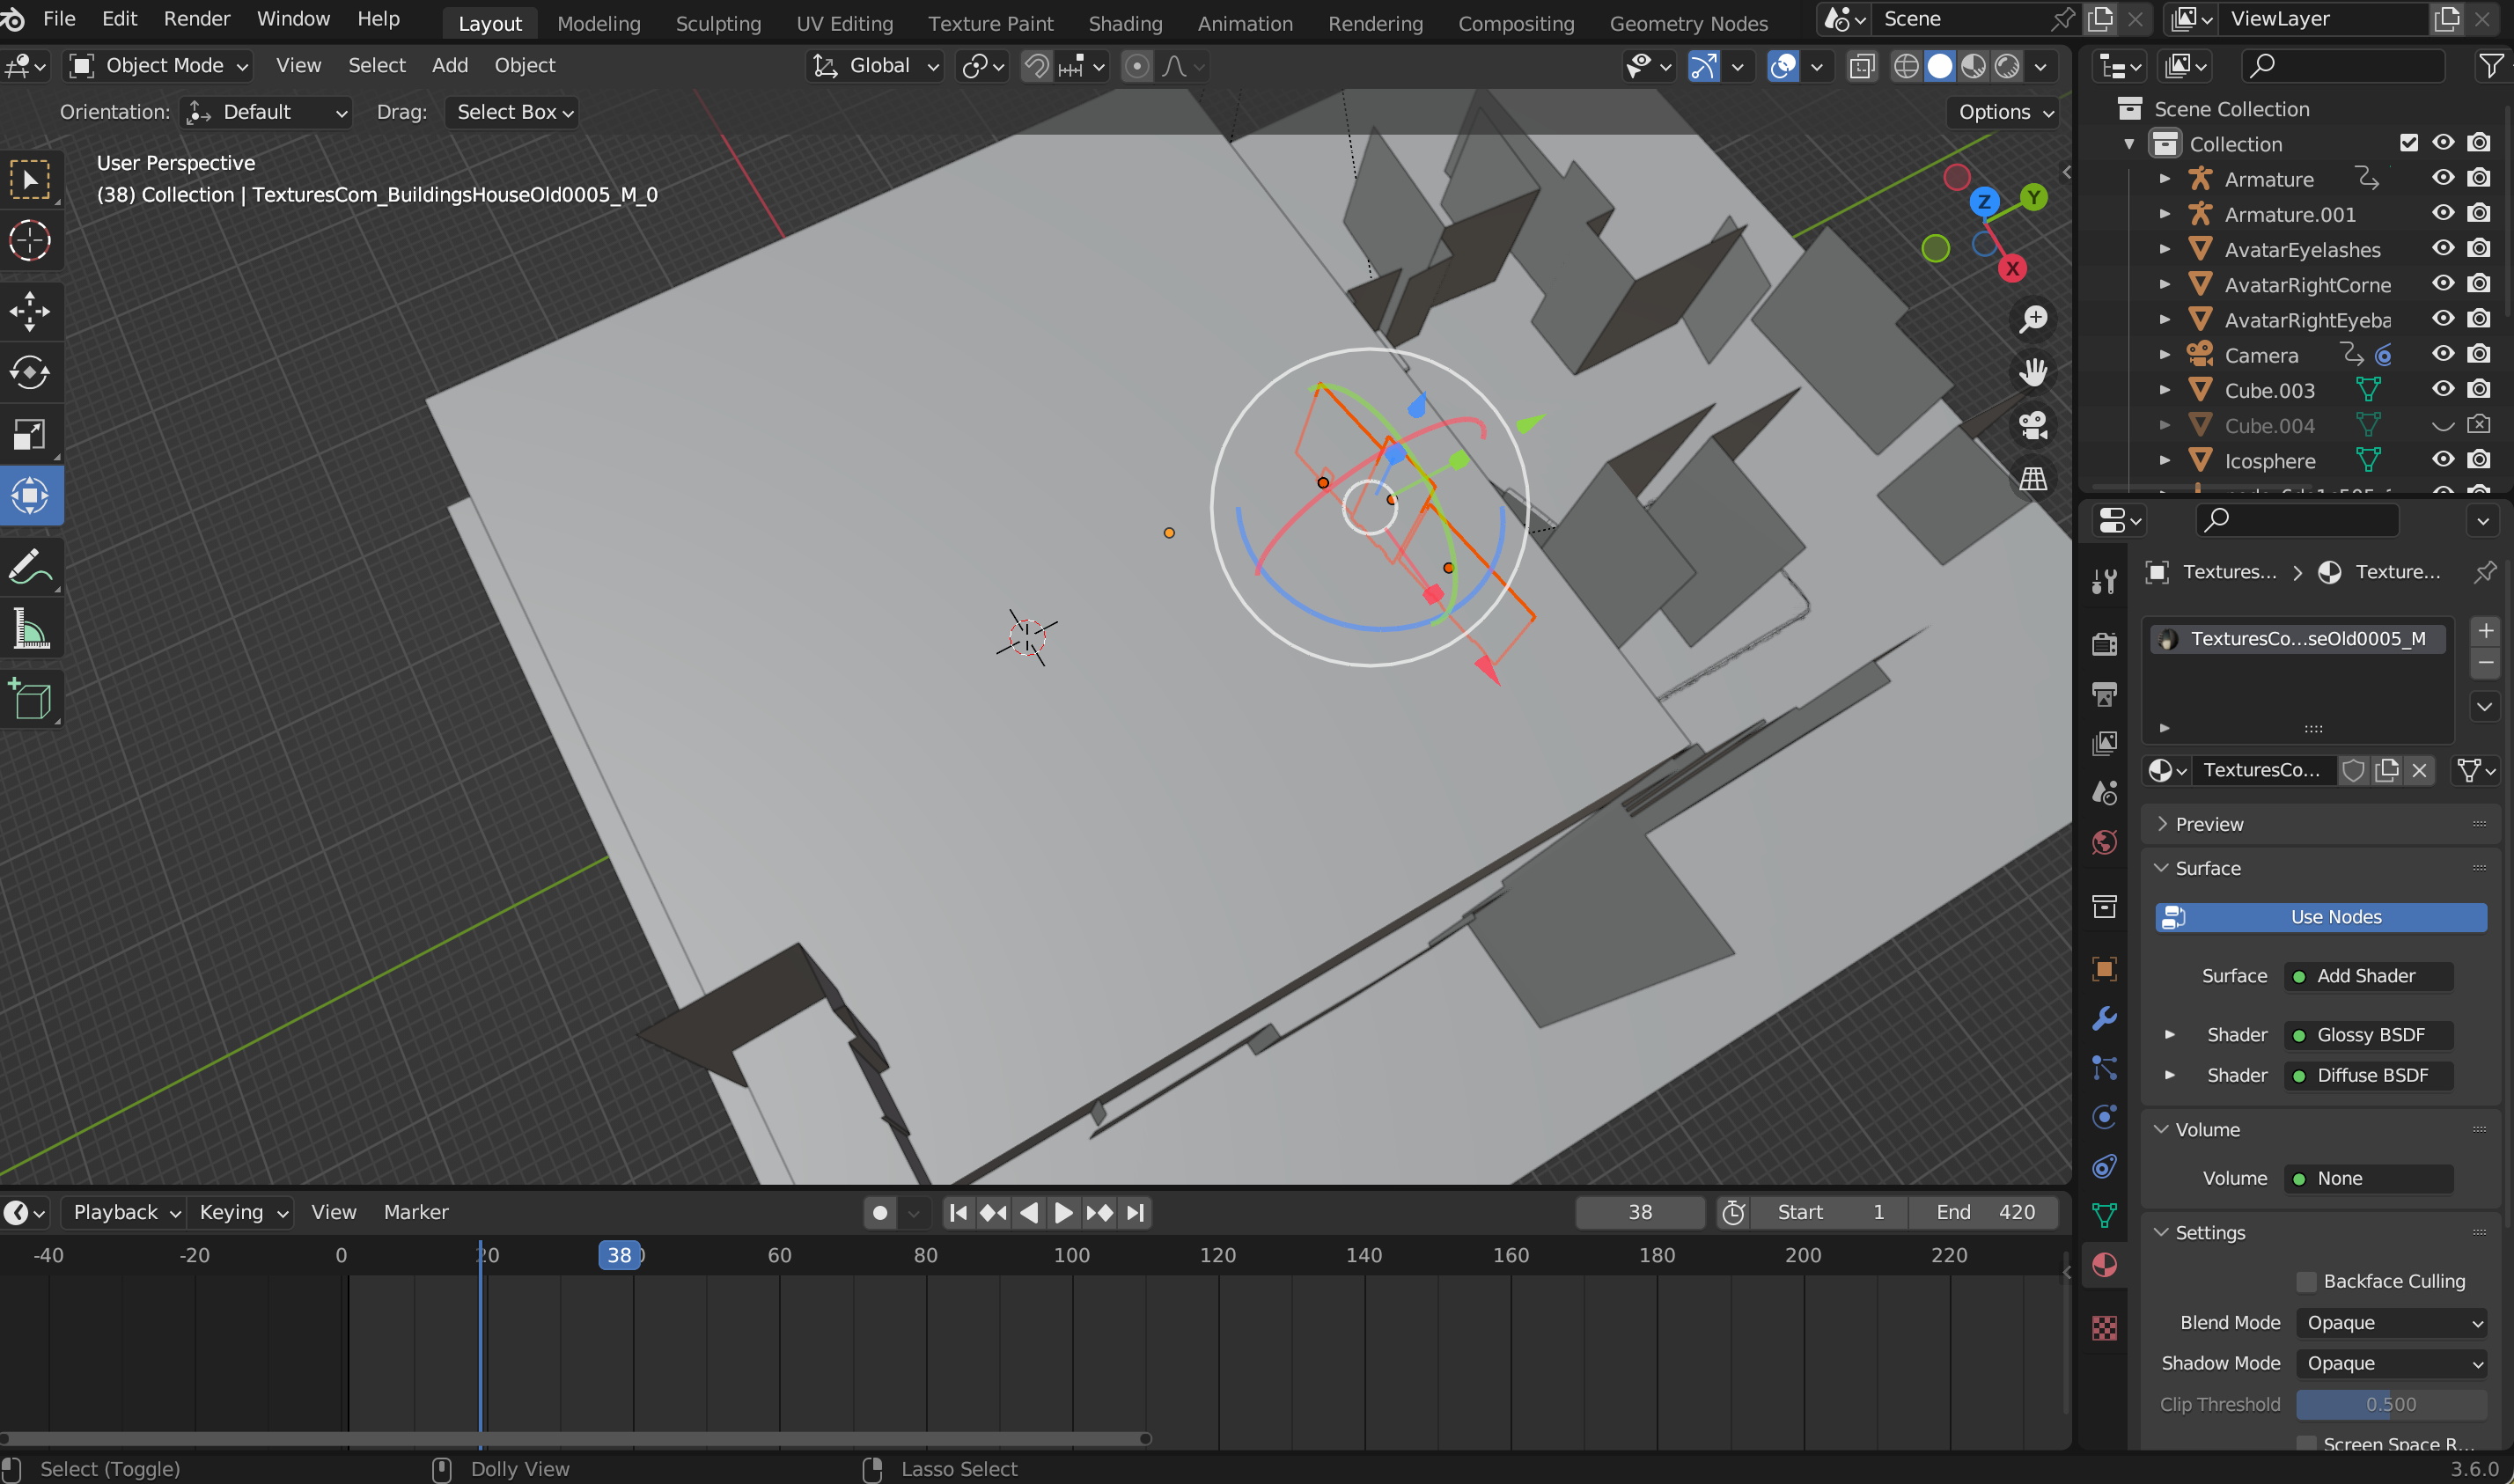
Choosing 3D Models

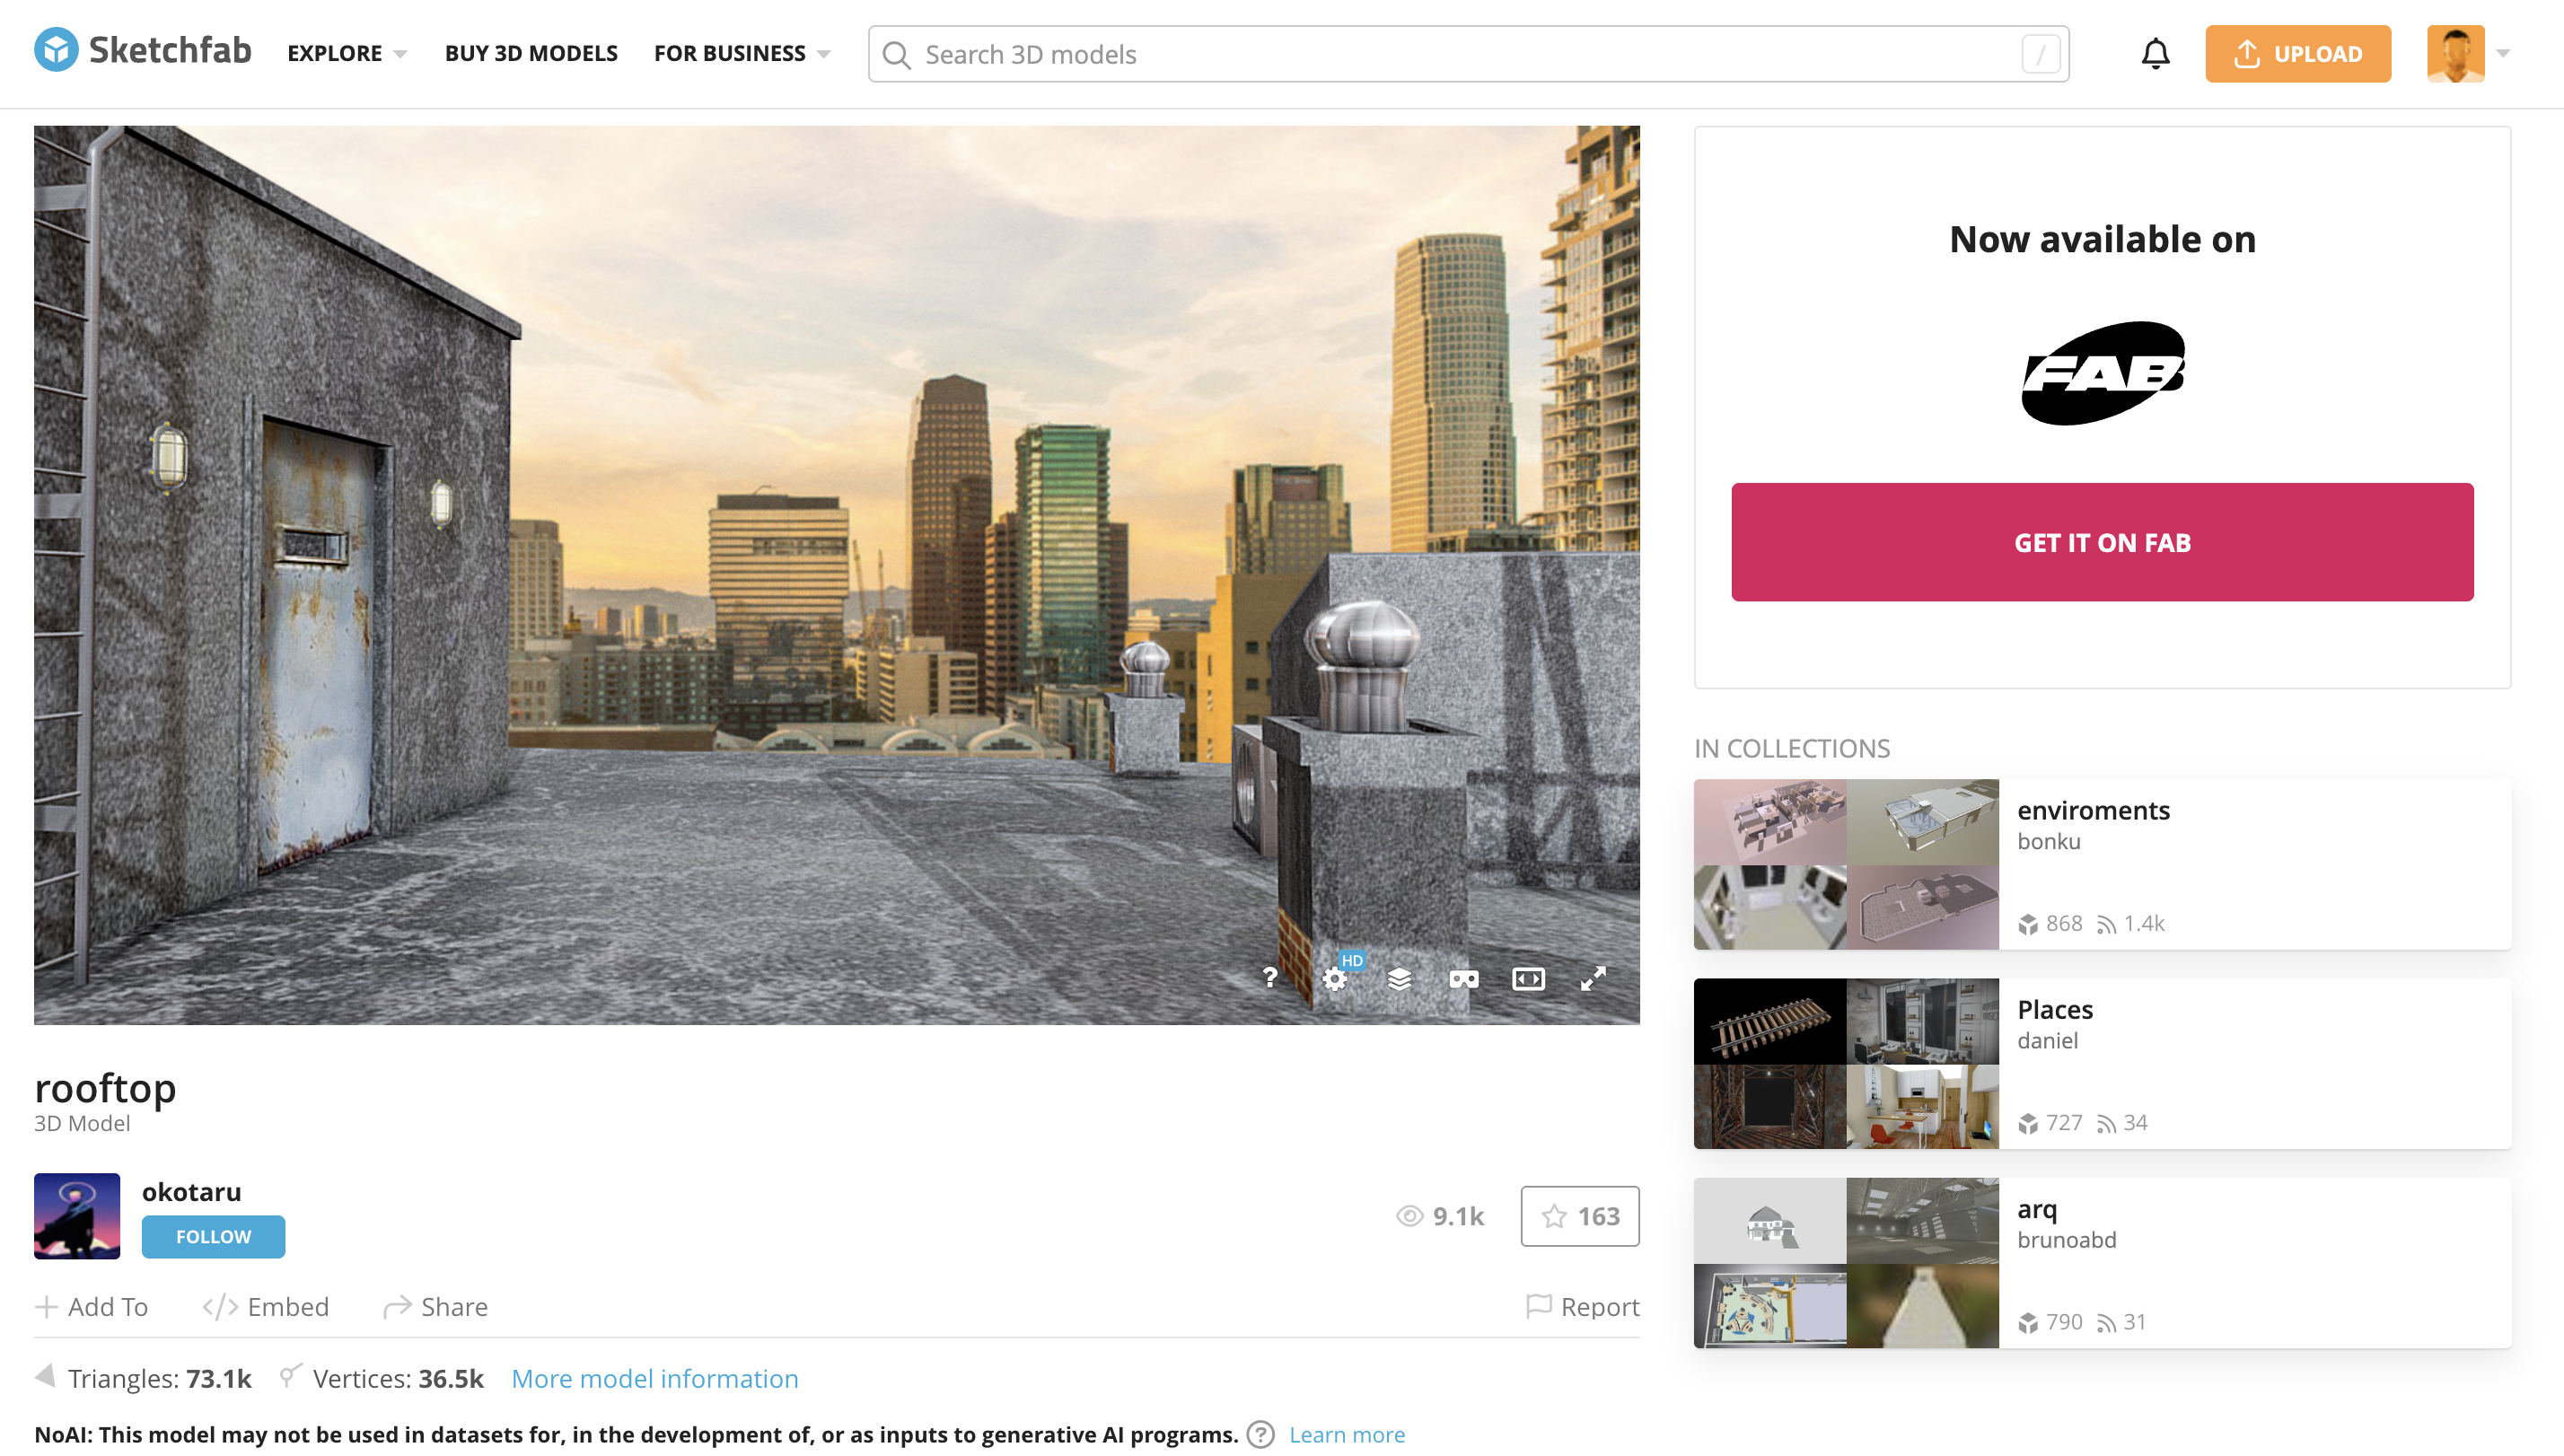
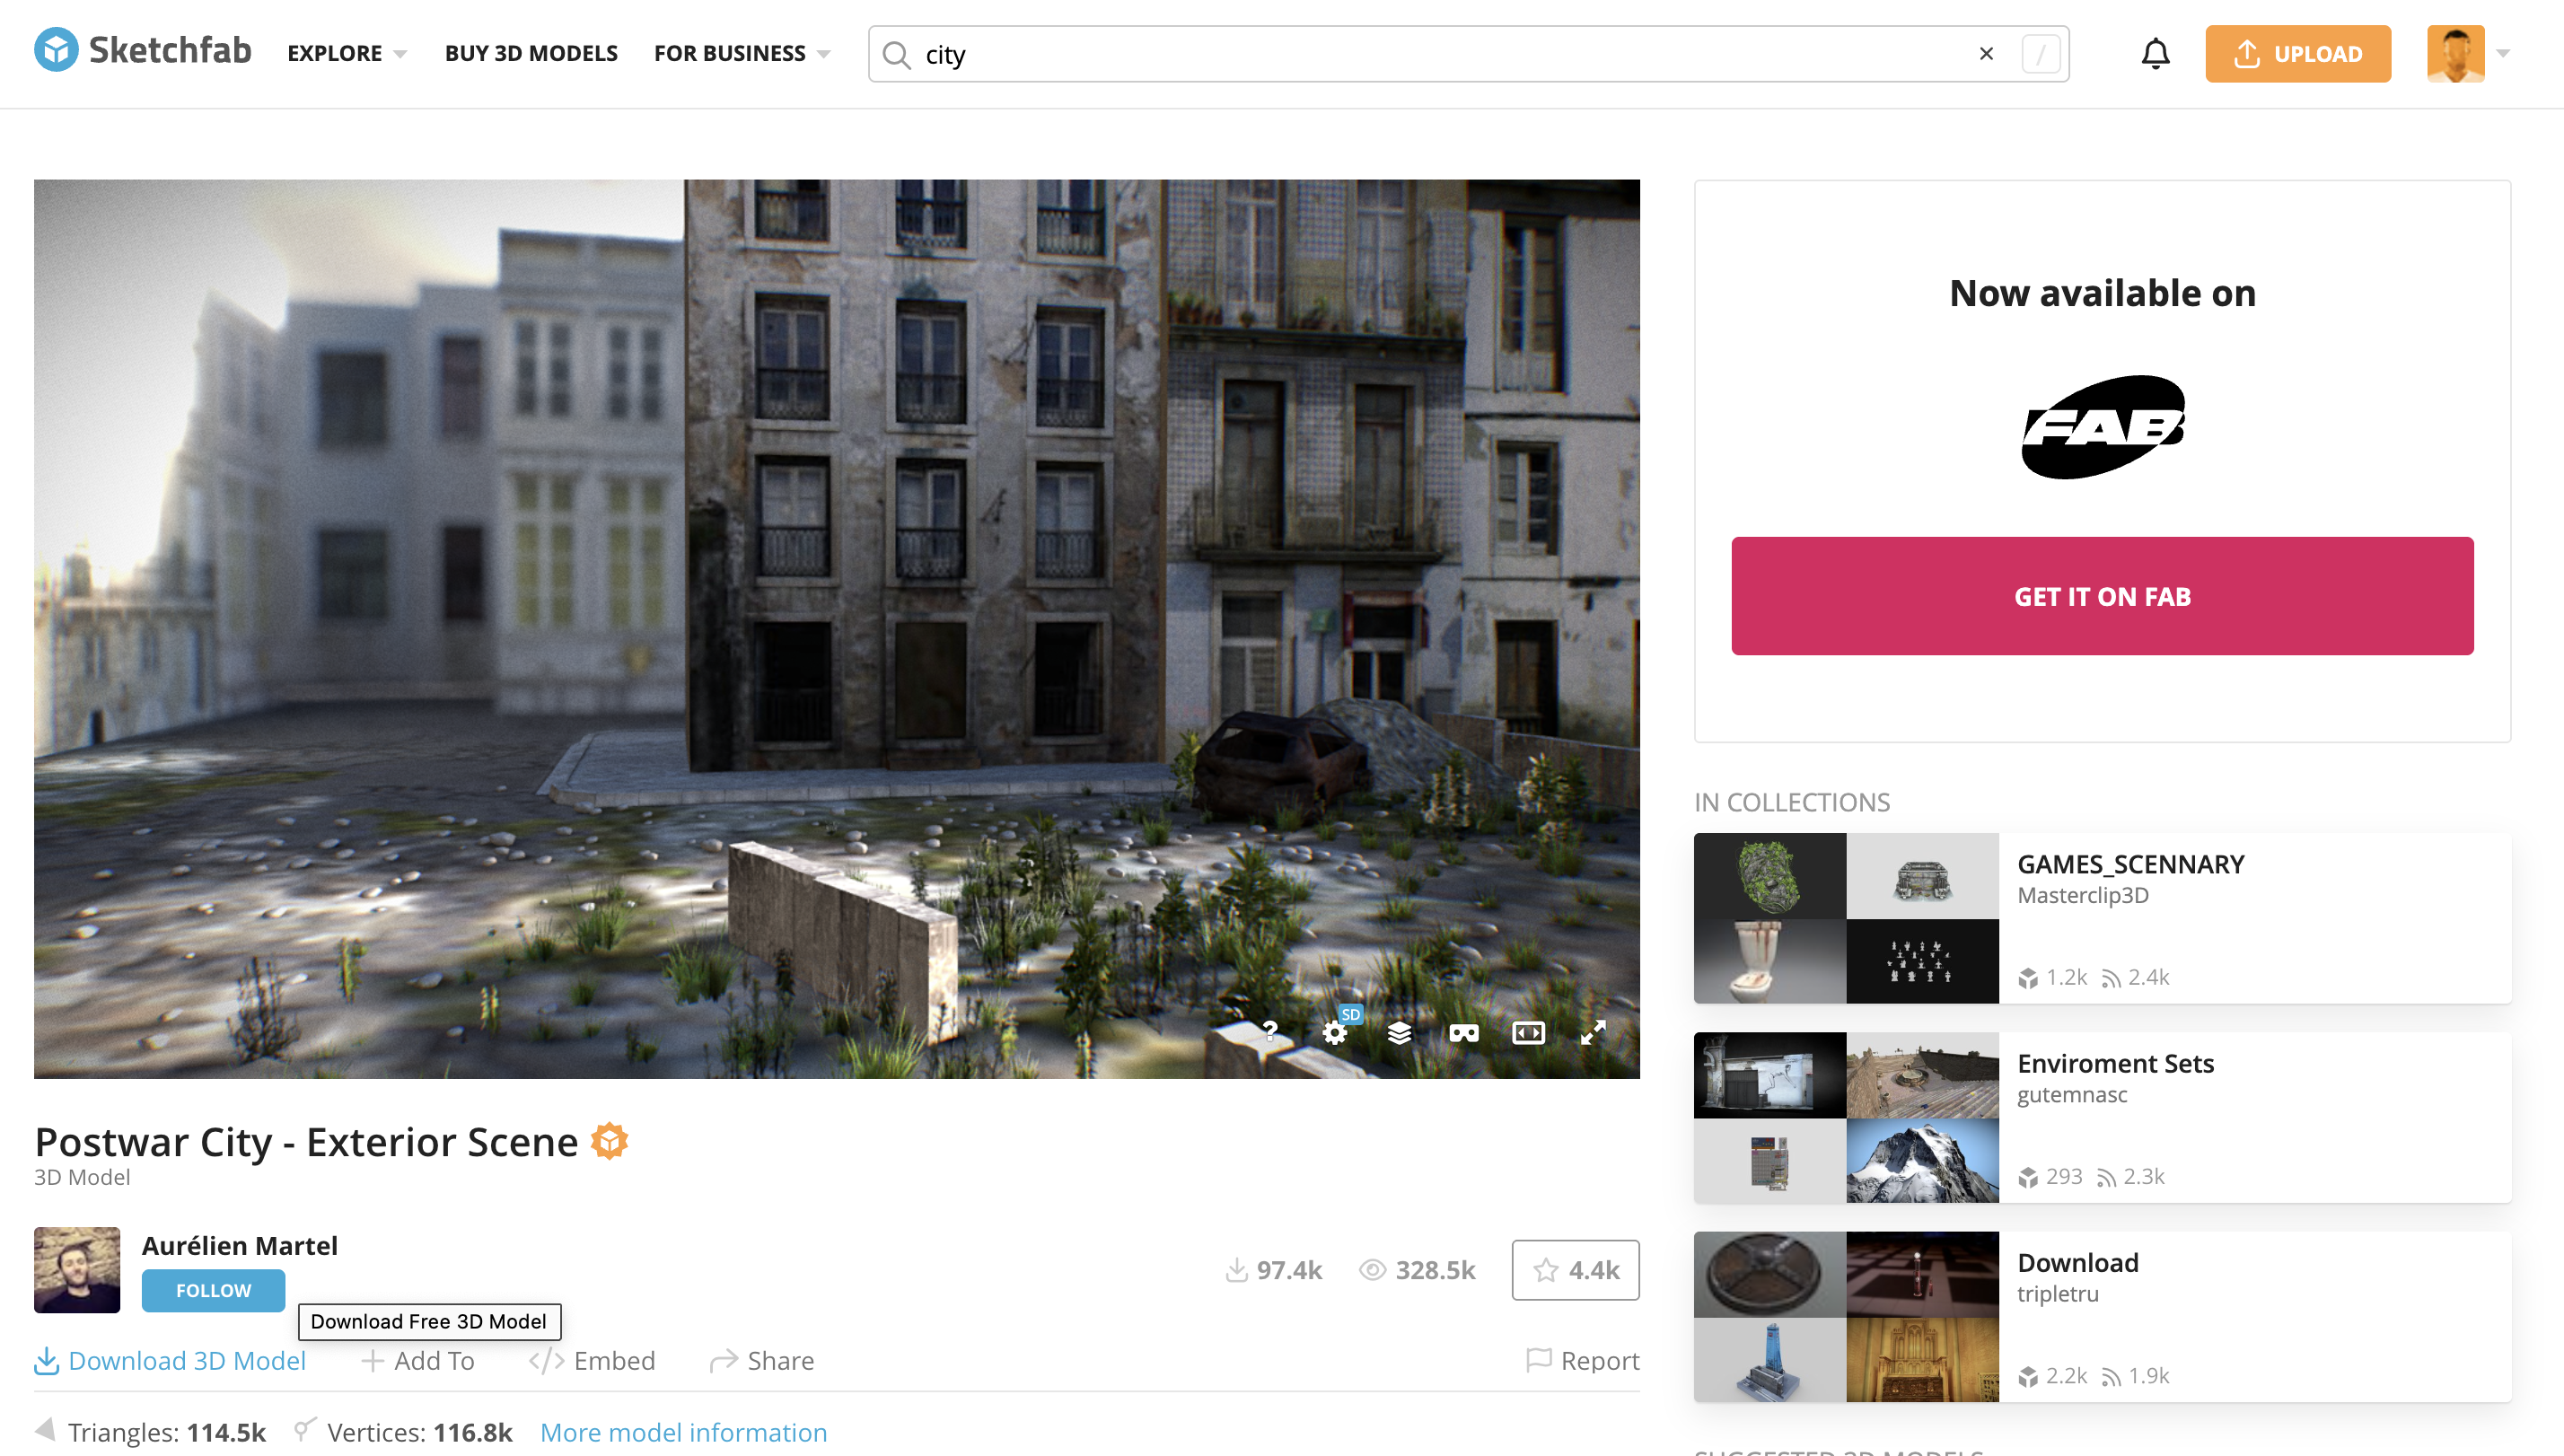
For my Bullet Time scene, the first thing I needed was the environment — a place where the action would take place. I searched on Sketchfab, which is full of free and downloadable 3D assets, and found a city model that was perfect. It had the right balance of detail and simplicity: railings, vents, and structural elements that made it look realistic without being too heavy for Blender. The rooftop gave me a sense of height and space, which is essential for a dramatic action shot, and it provided a neutral but interesting backdrop that wouldn’t distract from the characters.
Next, I needed the main character — the focus of the Bullet Time effect. I again turned to Sketchfab and found a 3D human model that suited my scene. It was rigged and posed naturally, which made it easy to manipulate in Blender. I could position him mid-action, freeze him in a dynamic pose, and ensure that the movement would look realistic from every angle the camera would pass. Choosing the right model here was important because the Bullet Time effect emphasizes the subject; any odd proportions or awkward rigging would break the illusion.
Finally, I needed a second character to interact with the main character — someone to create a sense of motion or tension in the scene. Instead of importing another model manually, I used one of the ready-to-use characters in Mixamo. Mixamo makes it simple to select a character, test animations, and import it directly into Blender. This model didn’t need to be threatening or villainous; it just needed to exist in the scene naturally, providing a sense of interaction and complementing the hero’s pose.
By combining these three models — the city, the main character from Sketchfab, and the Mixamo character — I had all the pieces I needed to construct the Bullet Time shot. Each model was chosen with care, not only for its appearance but also for how it would function in Blender: the rooftop for the environment, the hero for the focal point, and the second character to add depth and dynamic interaction. Together, they formed the foundation of a cinematic scene ready for the Bullet Time effect.
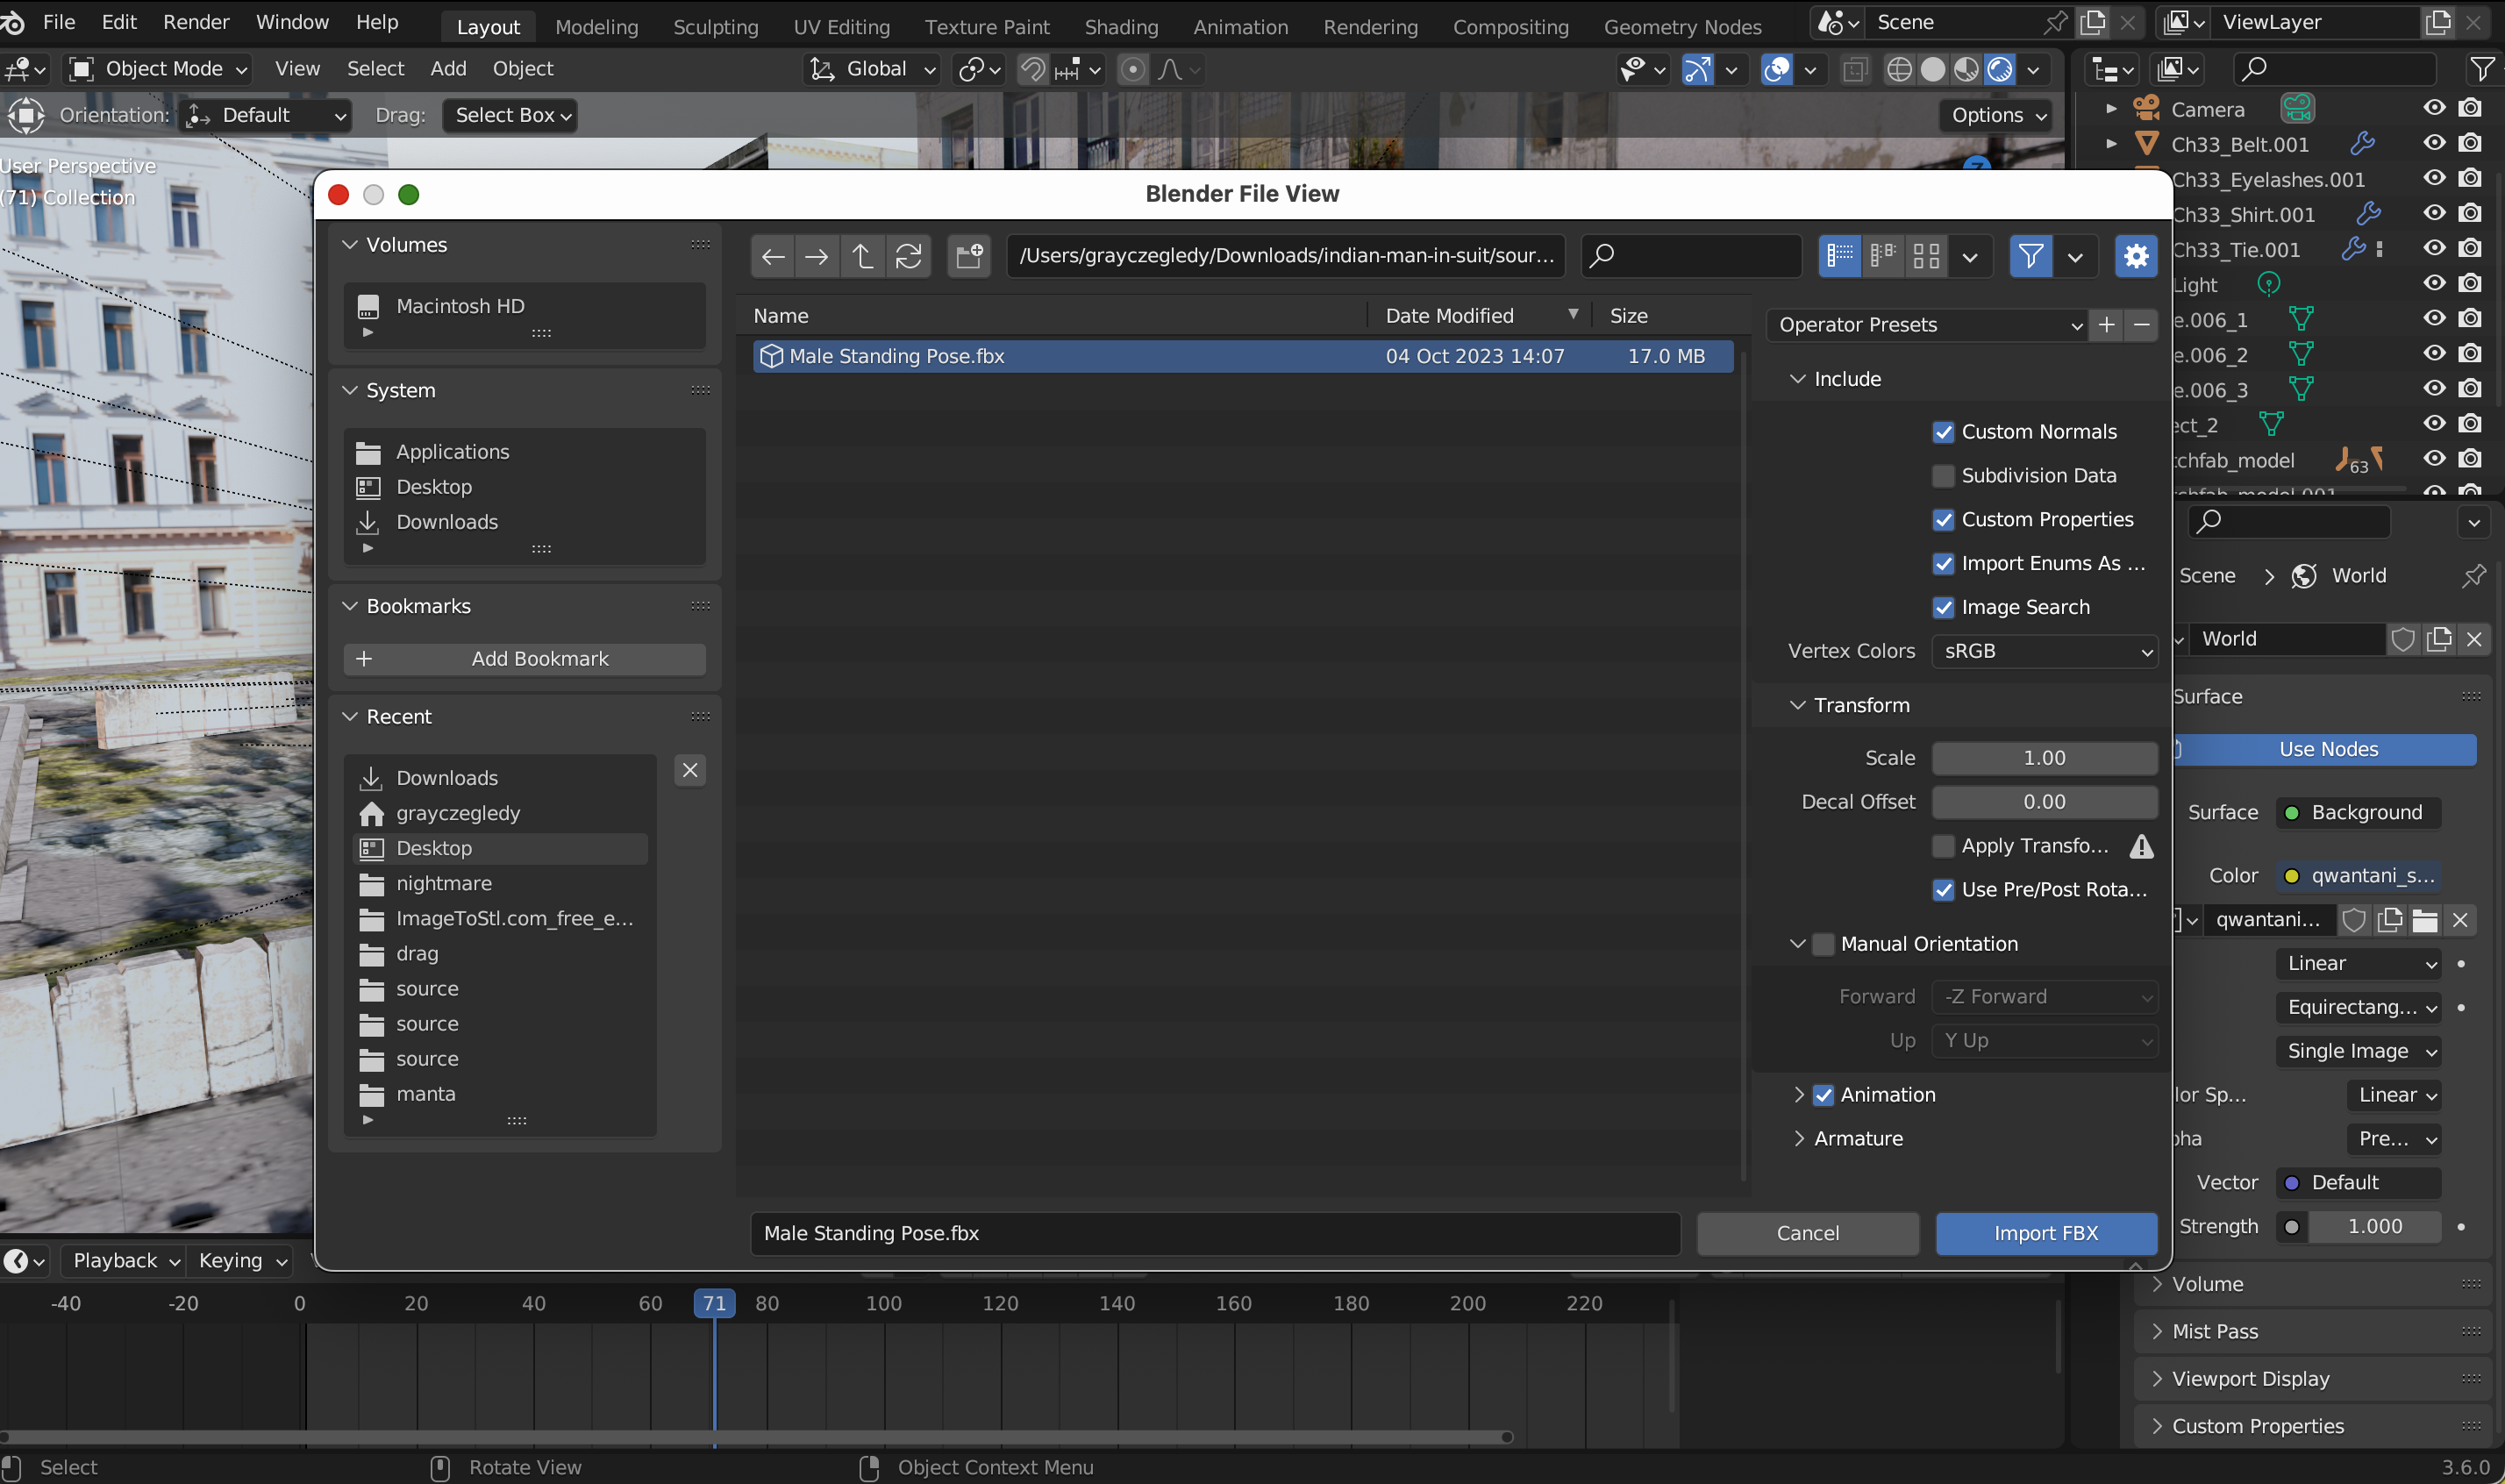
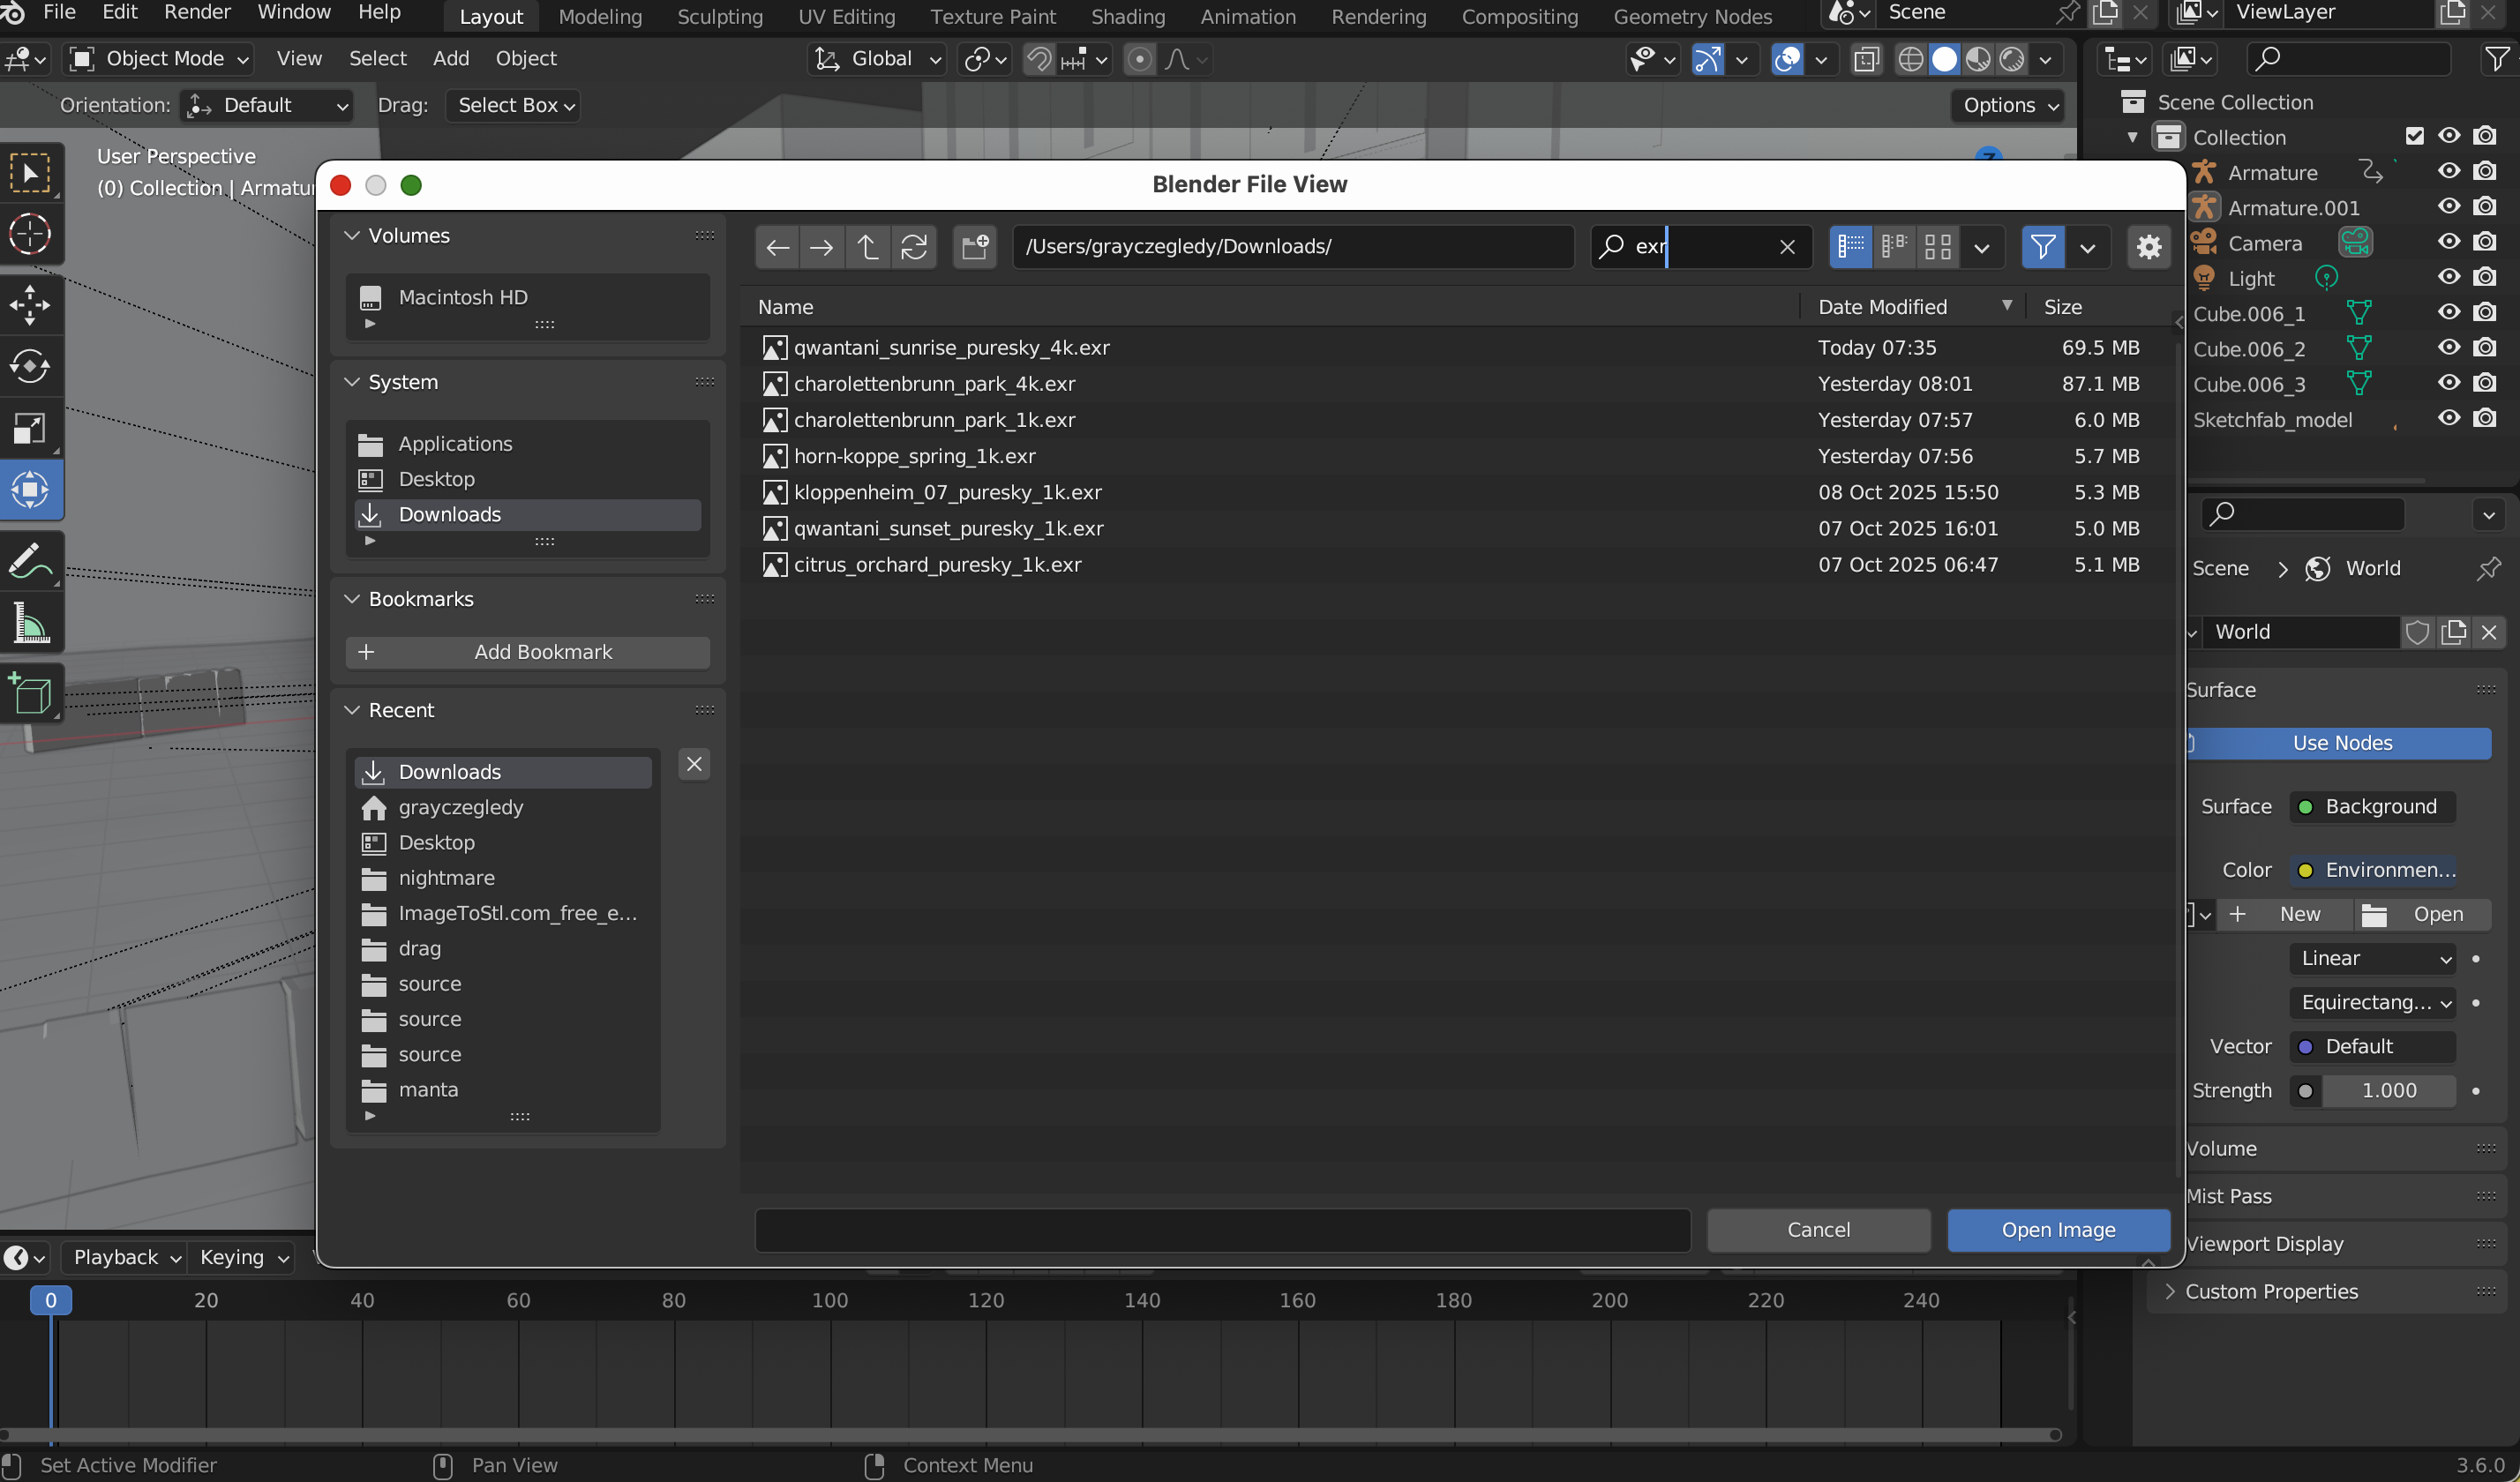
Dowloading

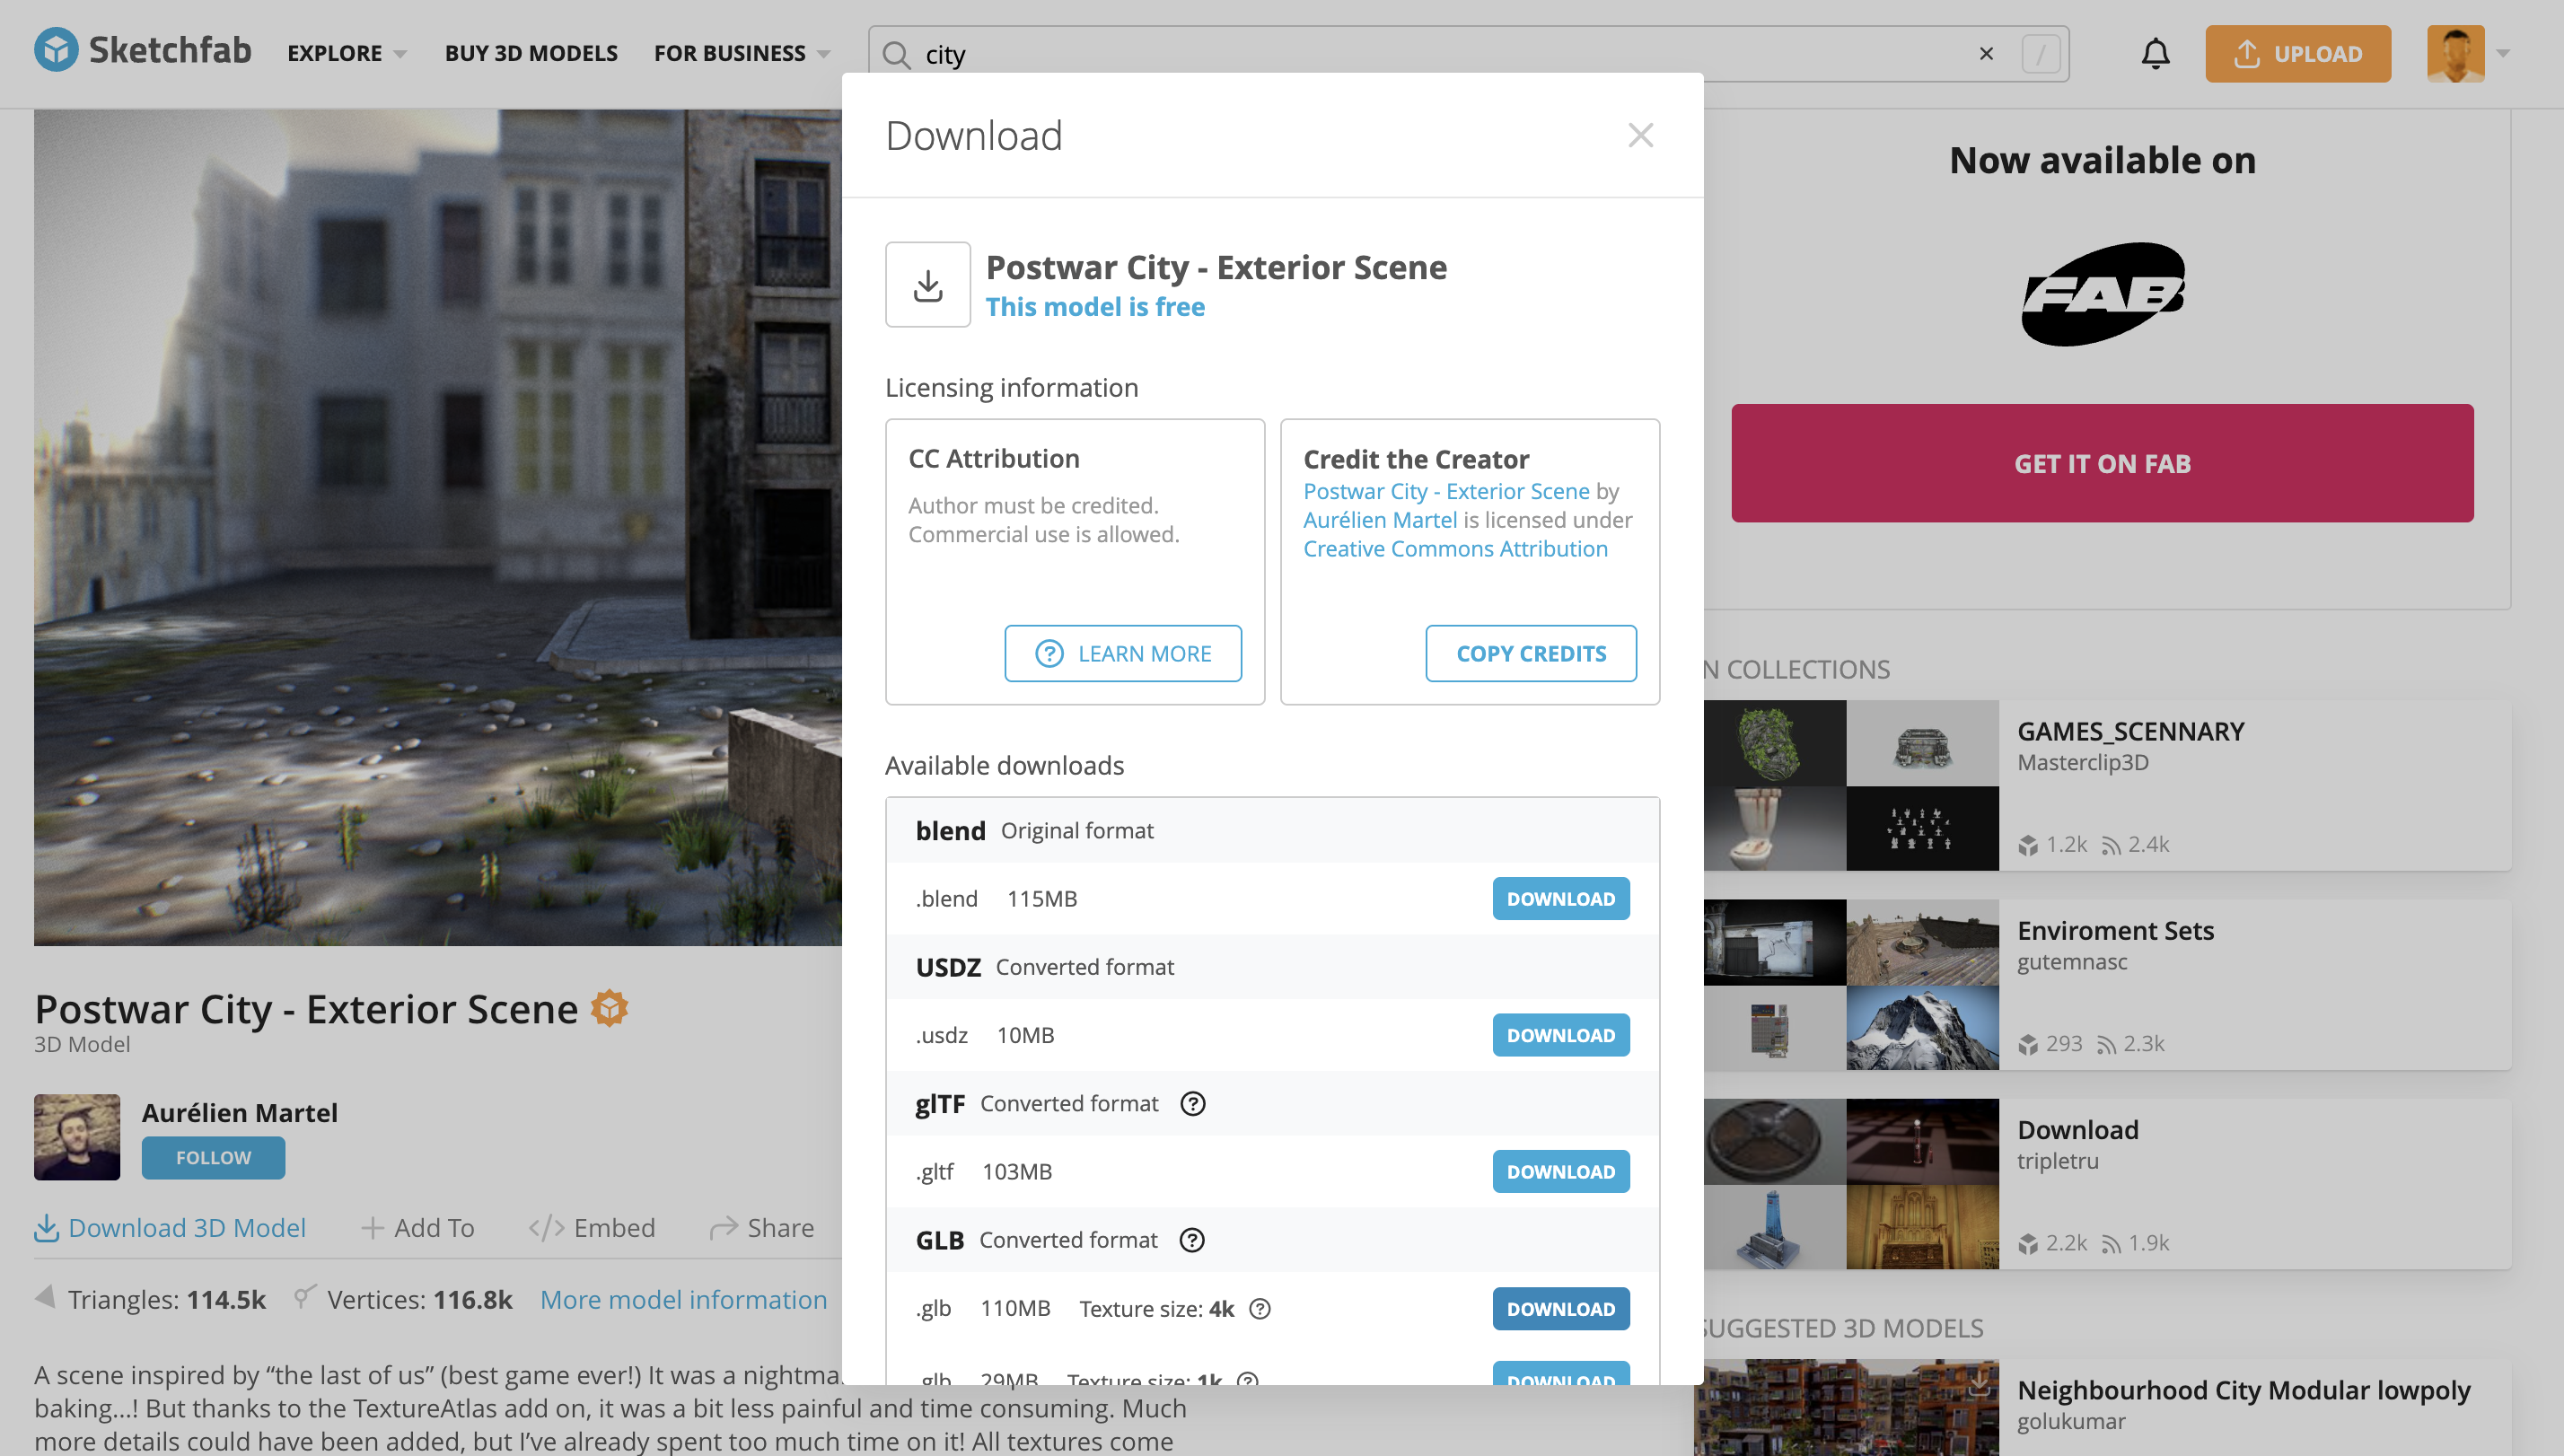
After deciding on the assets for my Bullet Time scene, the next step was to download the 3D models in a format that would be easiest to work with and least likely to cause problems later. I chose GLB for both the city environment and the main character.
GLB is an all-in-one format that contains the geometry, materials, and textures all in a single file. This is especially useful because it eliminates the need to track multiple texture files or worry about broken materials — a common issue when working with FBX or OBJ files. By using GLB, I knew that when I opened the models later, everything would be intact and ready to use, which greatly simplifies the workflow and reduces the risk of errors.
For the city model, I browsed Sketchfab until I found one that fit the style and scale I wanted for the scene. The city needed to feel open and cinematic, with enough visual detail to look realistic, but not so heavy that it would be difficult to work with. Once I confirmed it was free to download, I clicked the Download button and chose GLB. I saved it in a dedicated project folder, keeping it separate from other assets so everything would stay organized.
For the main character, I also downloaded it as a GLB file. I chose this format for the same reasons: it’s easy to manage, fully contains the textures, and ensures the character would appear correctly without additional setup. Having both the environment and the character as GLB also keeps the workflow consistent — I don’t have to deal with multiple file types, which makes later steps like importing, posing, or animating much simpler.
After downloading both files, I had two complete, ready-to-use models: the city environment to serve as the backdrop for the action, and the main character, fully textured and prepared for the next stages of the project. Organizing the files in a dedicated folder also made it easier to plan the scene, knowing that everything I needed was collected and ready to go. By choosing GLB for both models, I set up a workflow that was reliable, simple, and efficient, giving me a solid foundation for building the Bullet Time shot.
Animating the Secondary Charecter
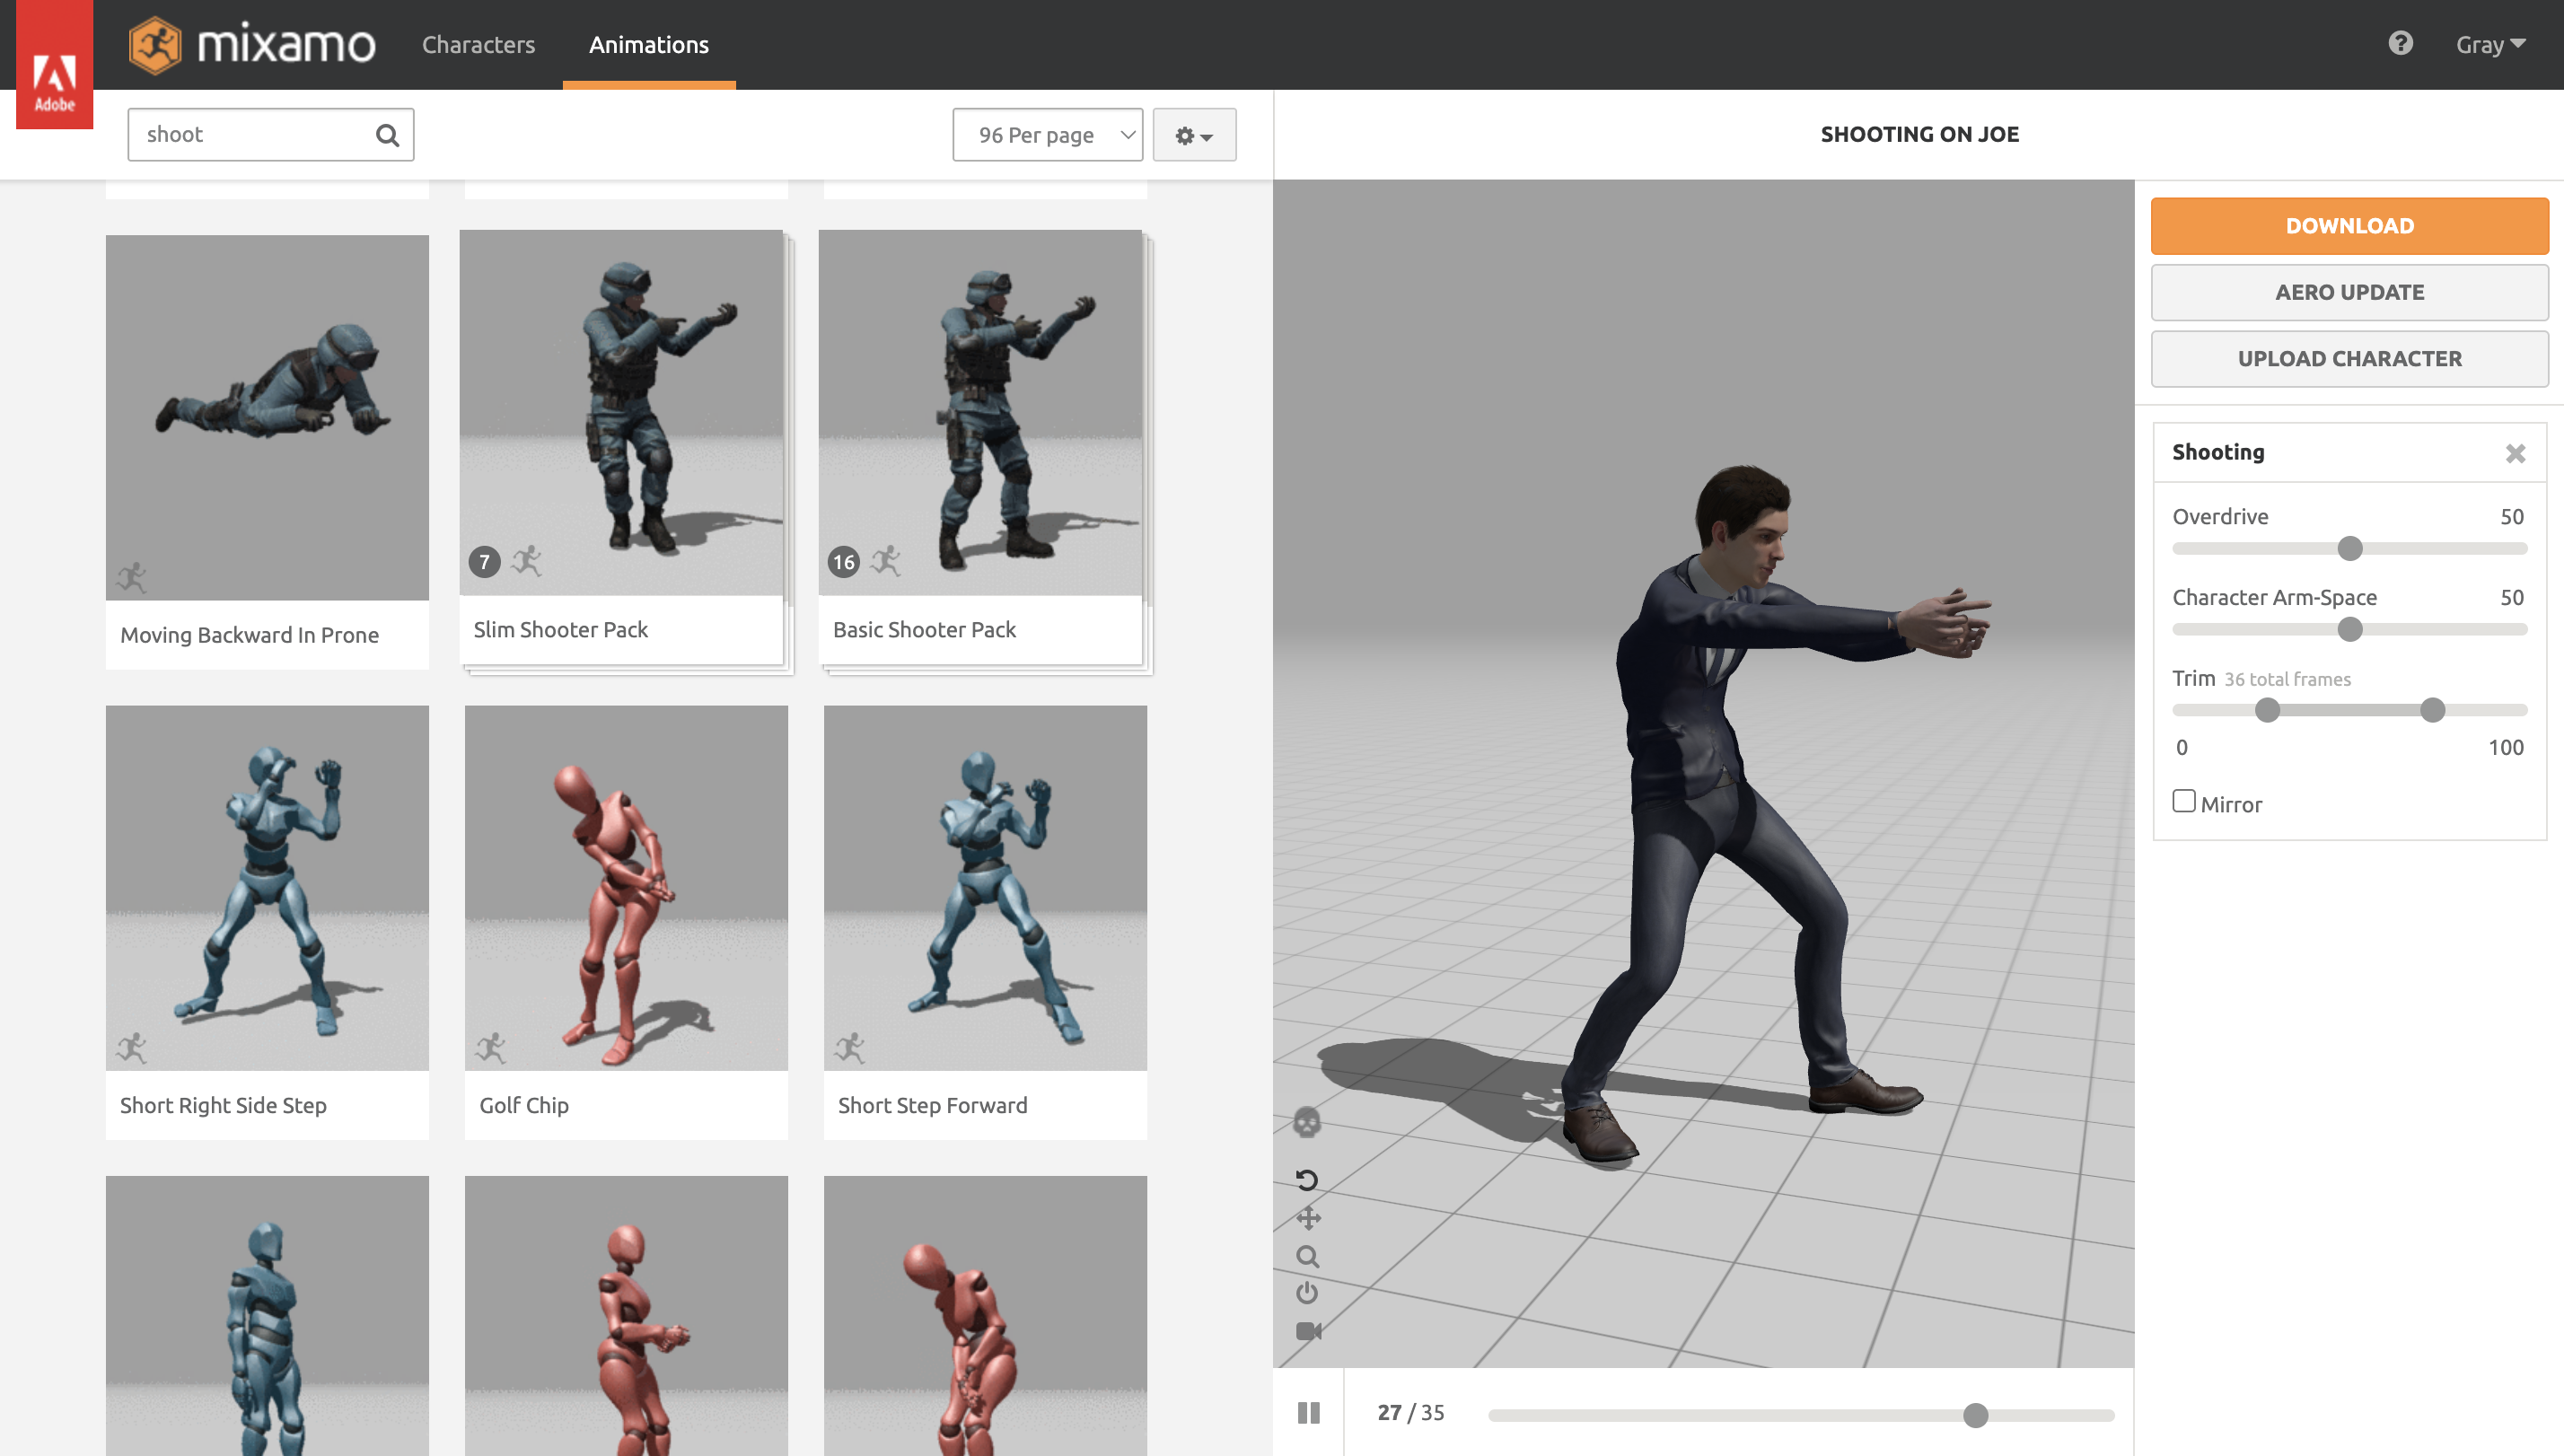
With the city and main character models ready, I turned my attention to the secondary character — the one who would act as the enemy, firing the bullets in slow motion. I wanted this figure to feel alive even in stillness, like a snapshot of motion frozen at the peak of tension.
To create that look, I used Mixamo, which made the process of animating much smoother. I uploaded the model and browsed through Mixamo’s library of action poses and short motion clips, looking for something that captured that instant right before a shot — when the character is steady, focused, and locked onto the target.
After trying a few different animations, I found one that struck the right balance. It had the kind of body language I wanted: the arms raised, shoulders tense, and a sense of direction in the movement, as if the character had just fired or was about to. I imagined this being the moment everything slows down — the gun recoils, the air bends, and the bullets hang midair.
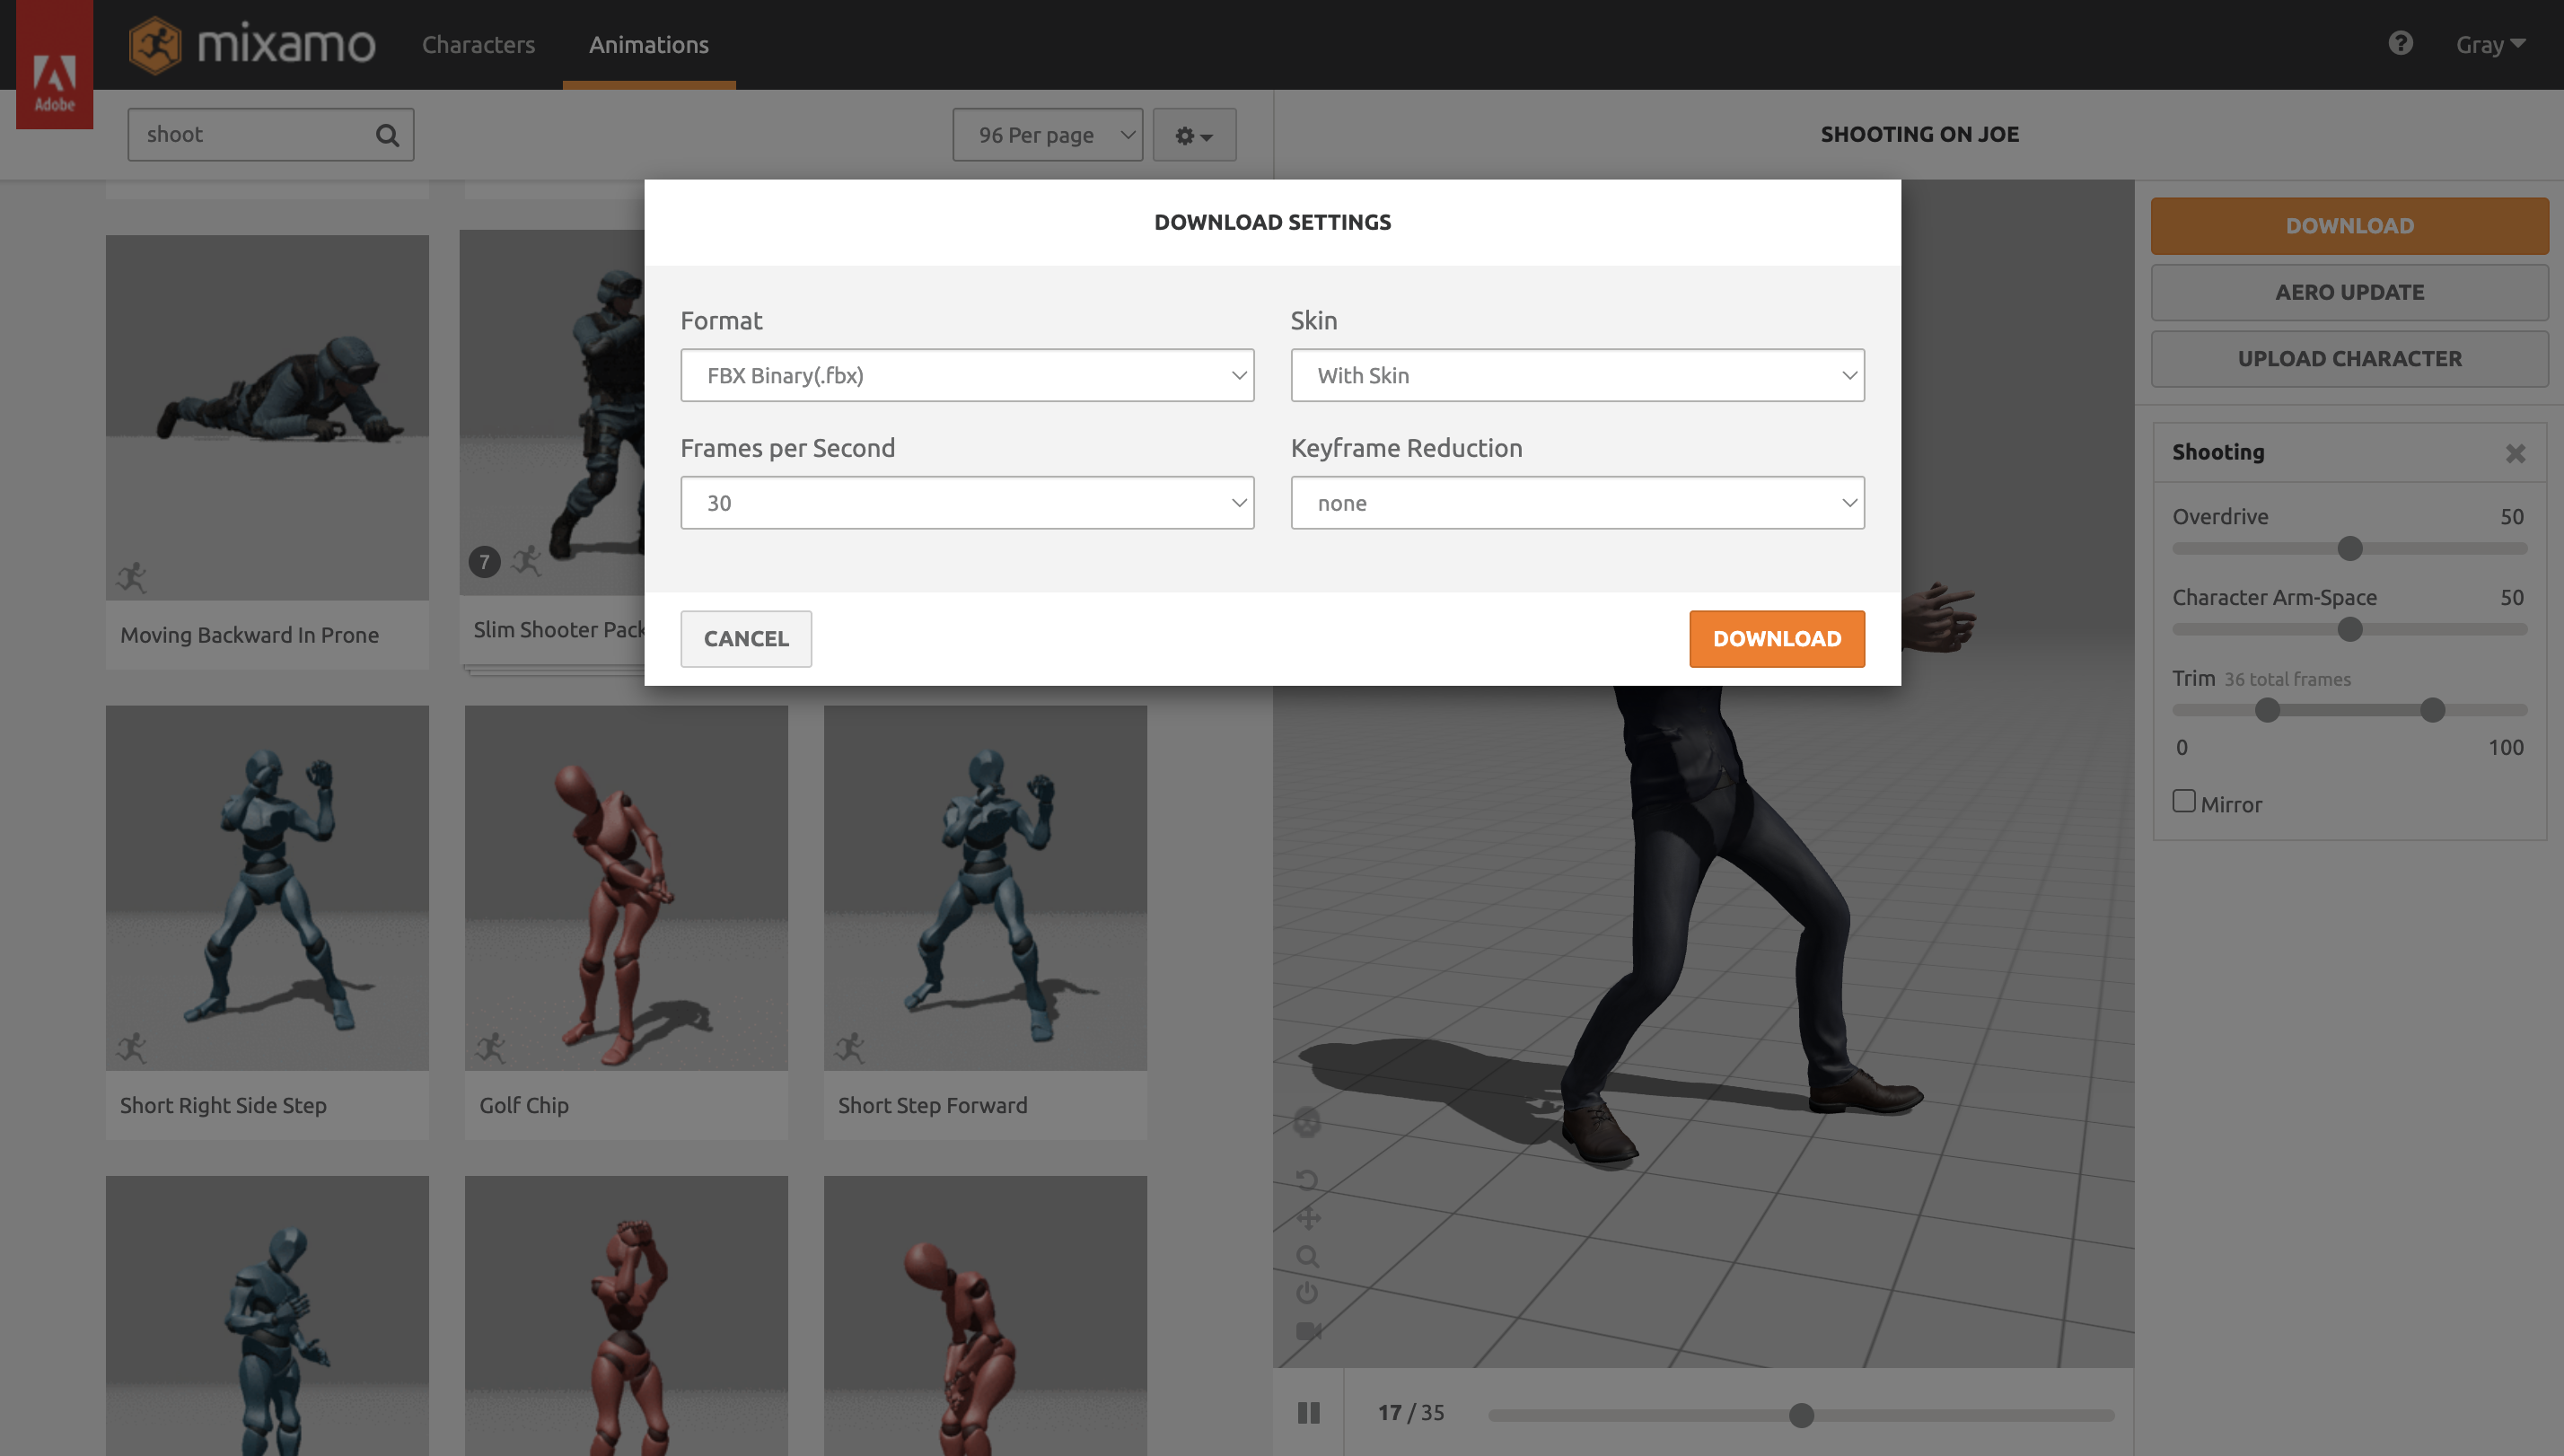
I made a few small adjustments to make sure the pose fit the mood of the scene. I wanted it to feel believable but also stylized, matching the floating, dreamlike energy of the bullet-time effect. Once I was happy with how it looked, I downloaded the animation from Mixamo, ready to bring it into Blender later for the full setup.
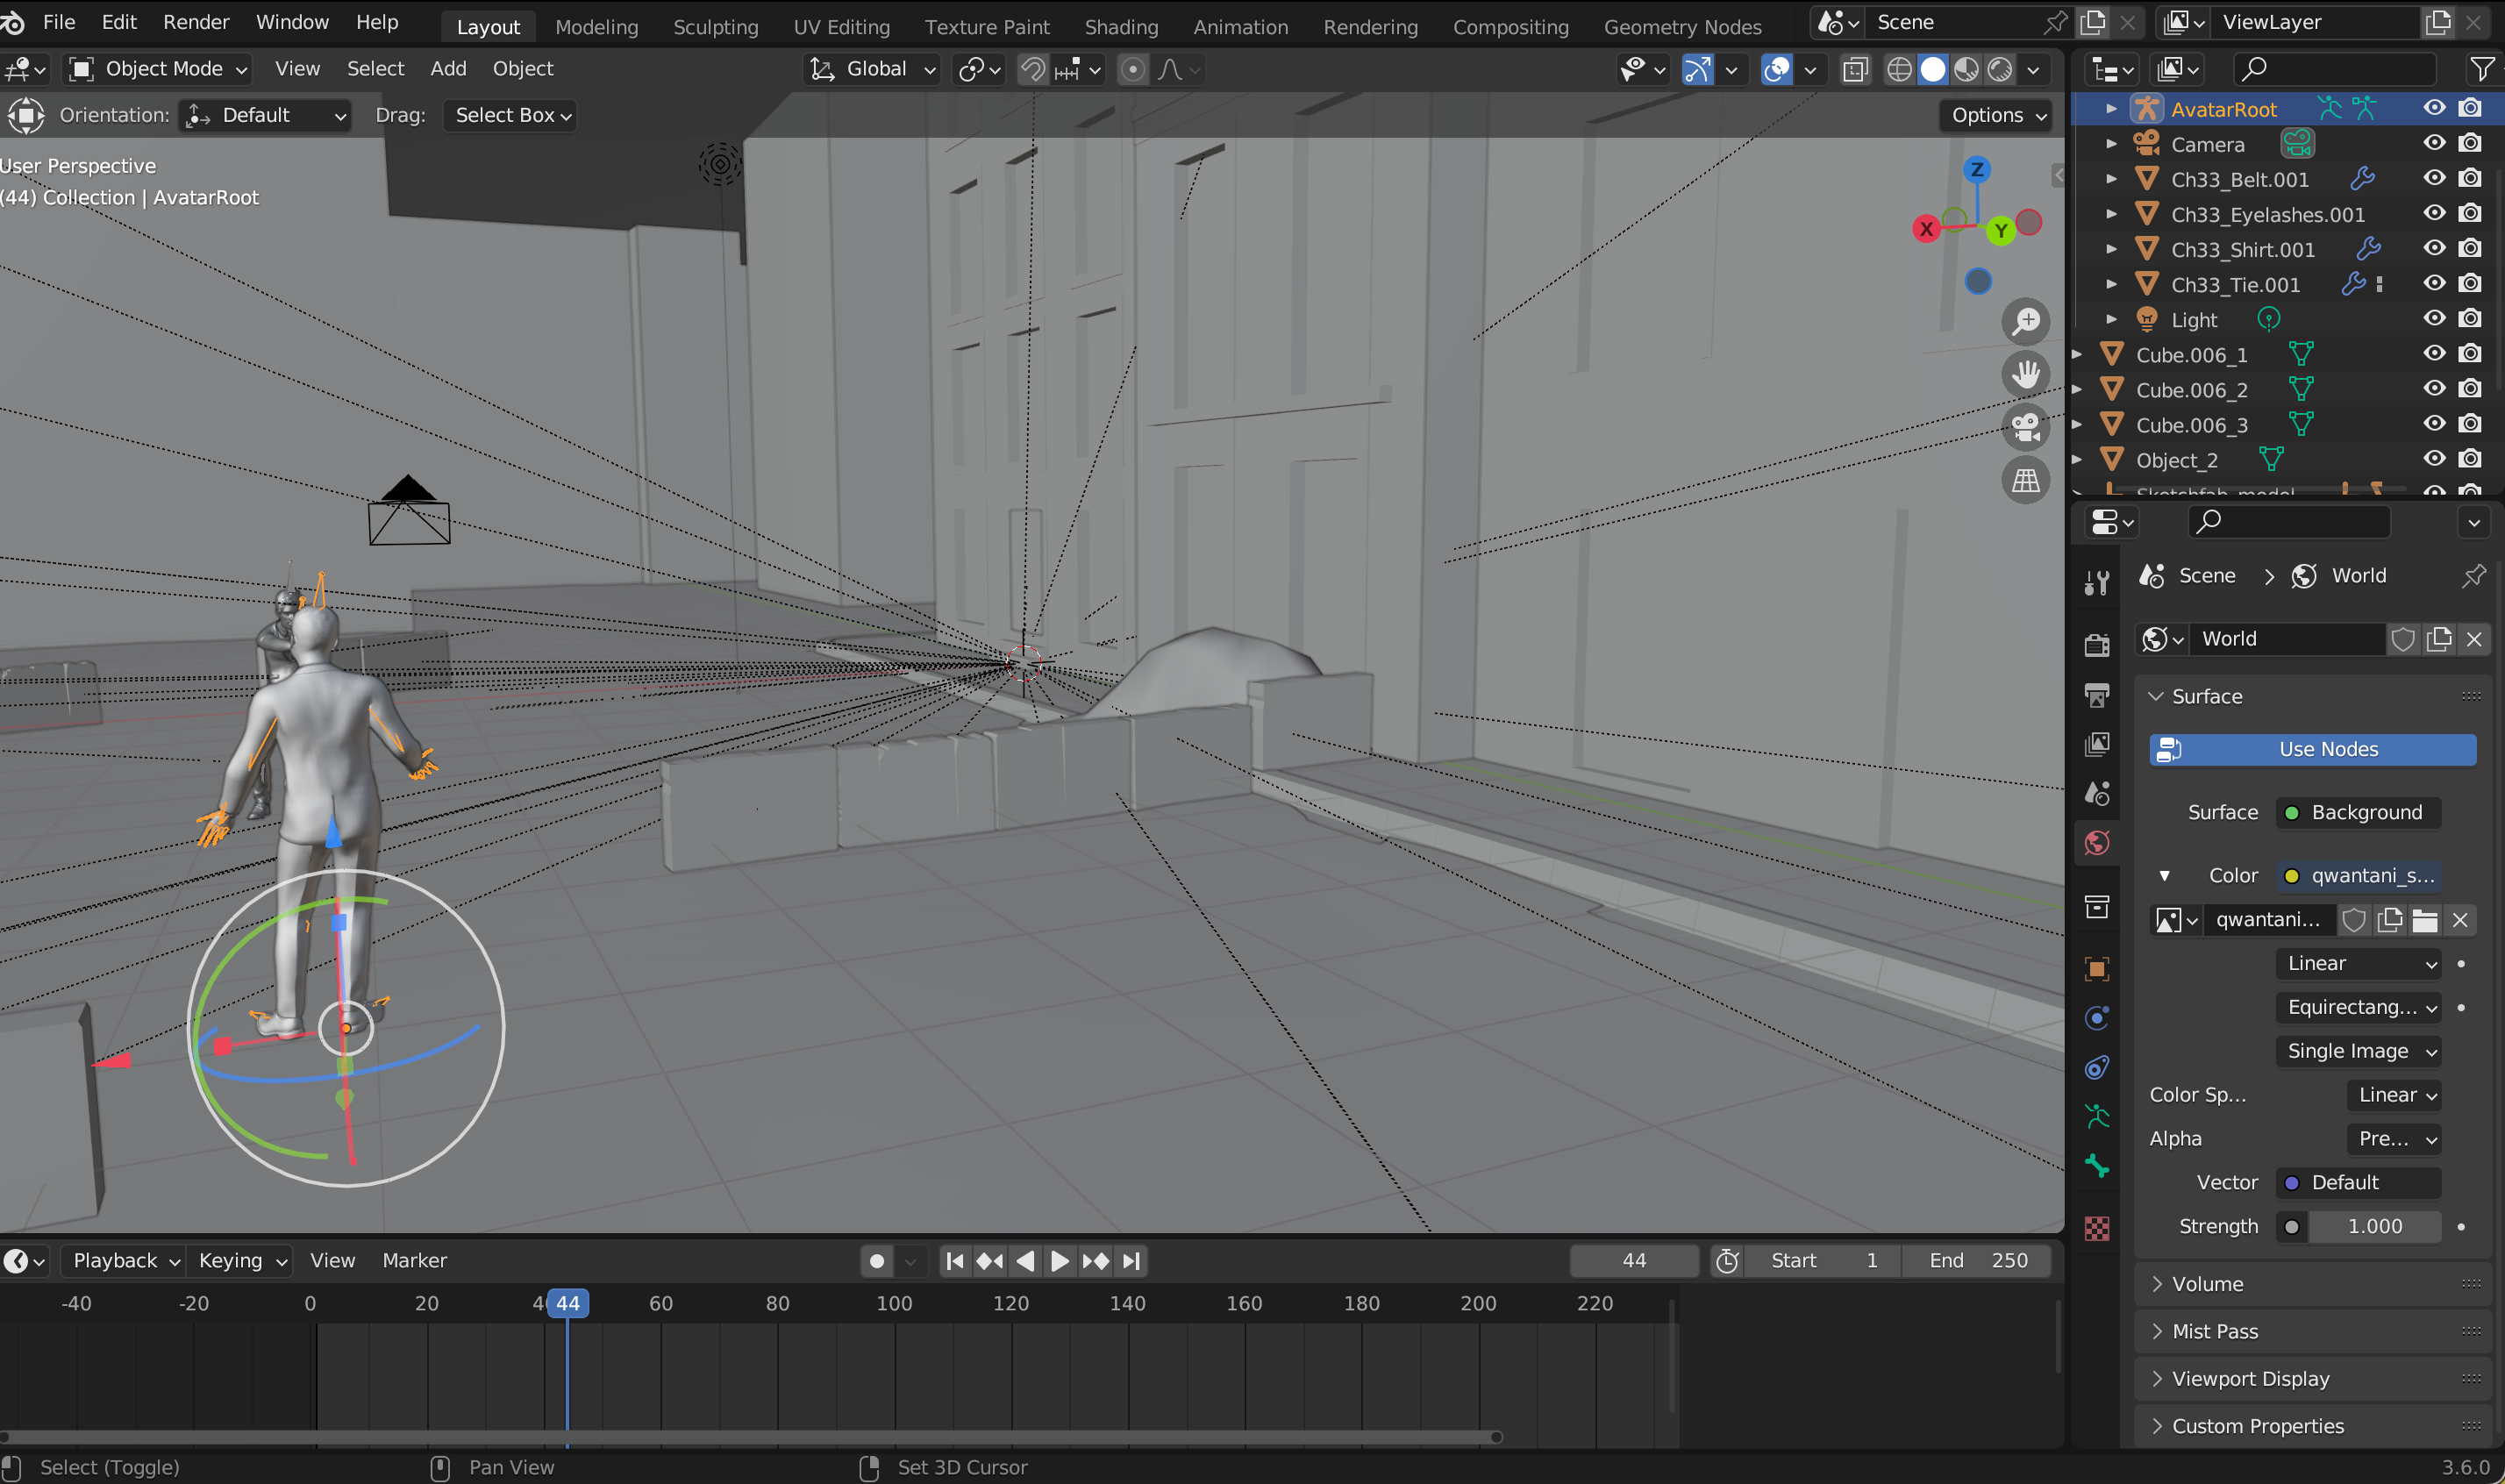
Setting the Scene in Blender

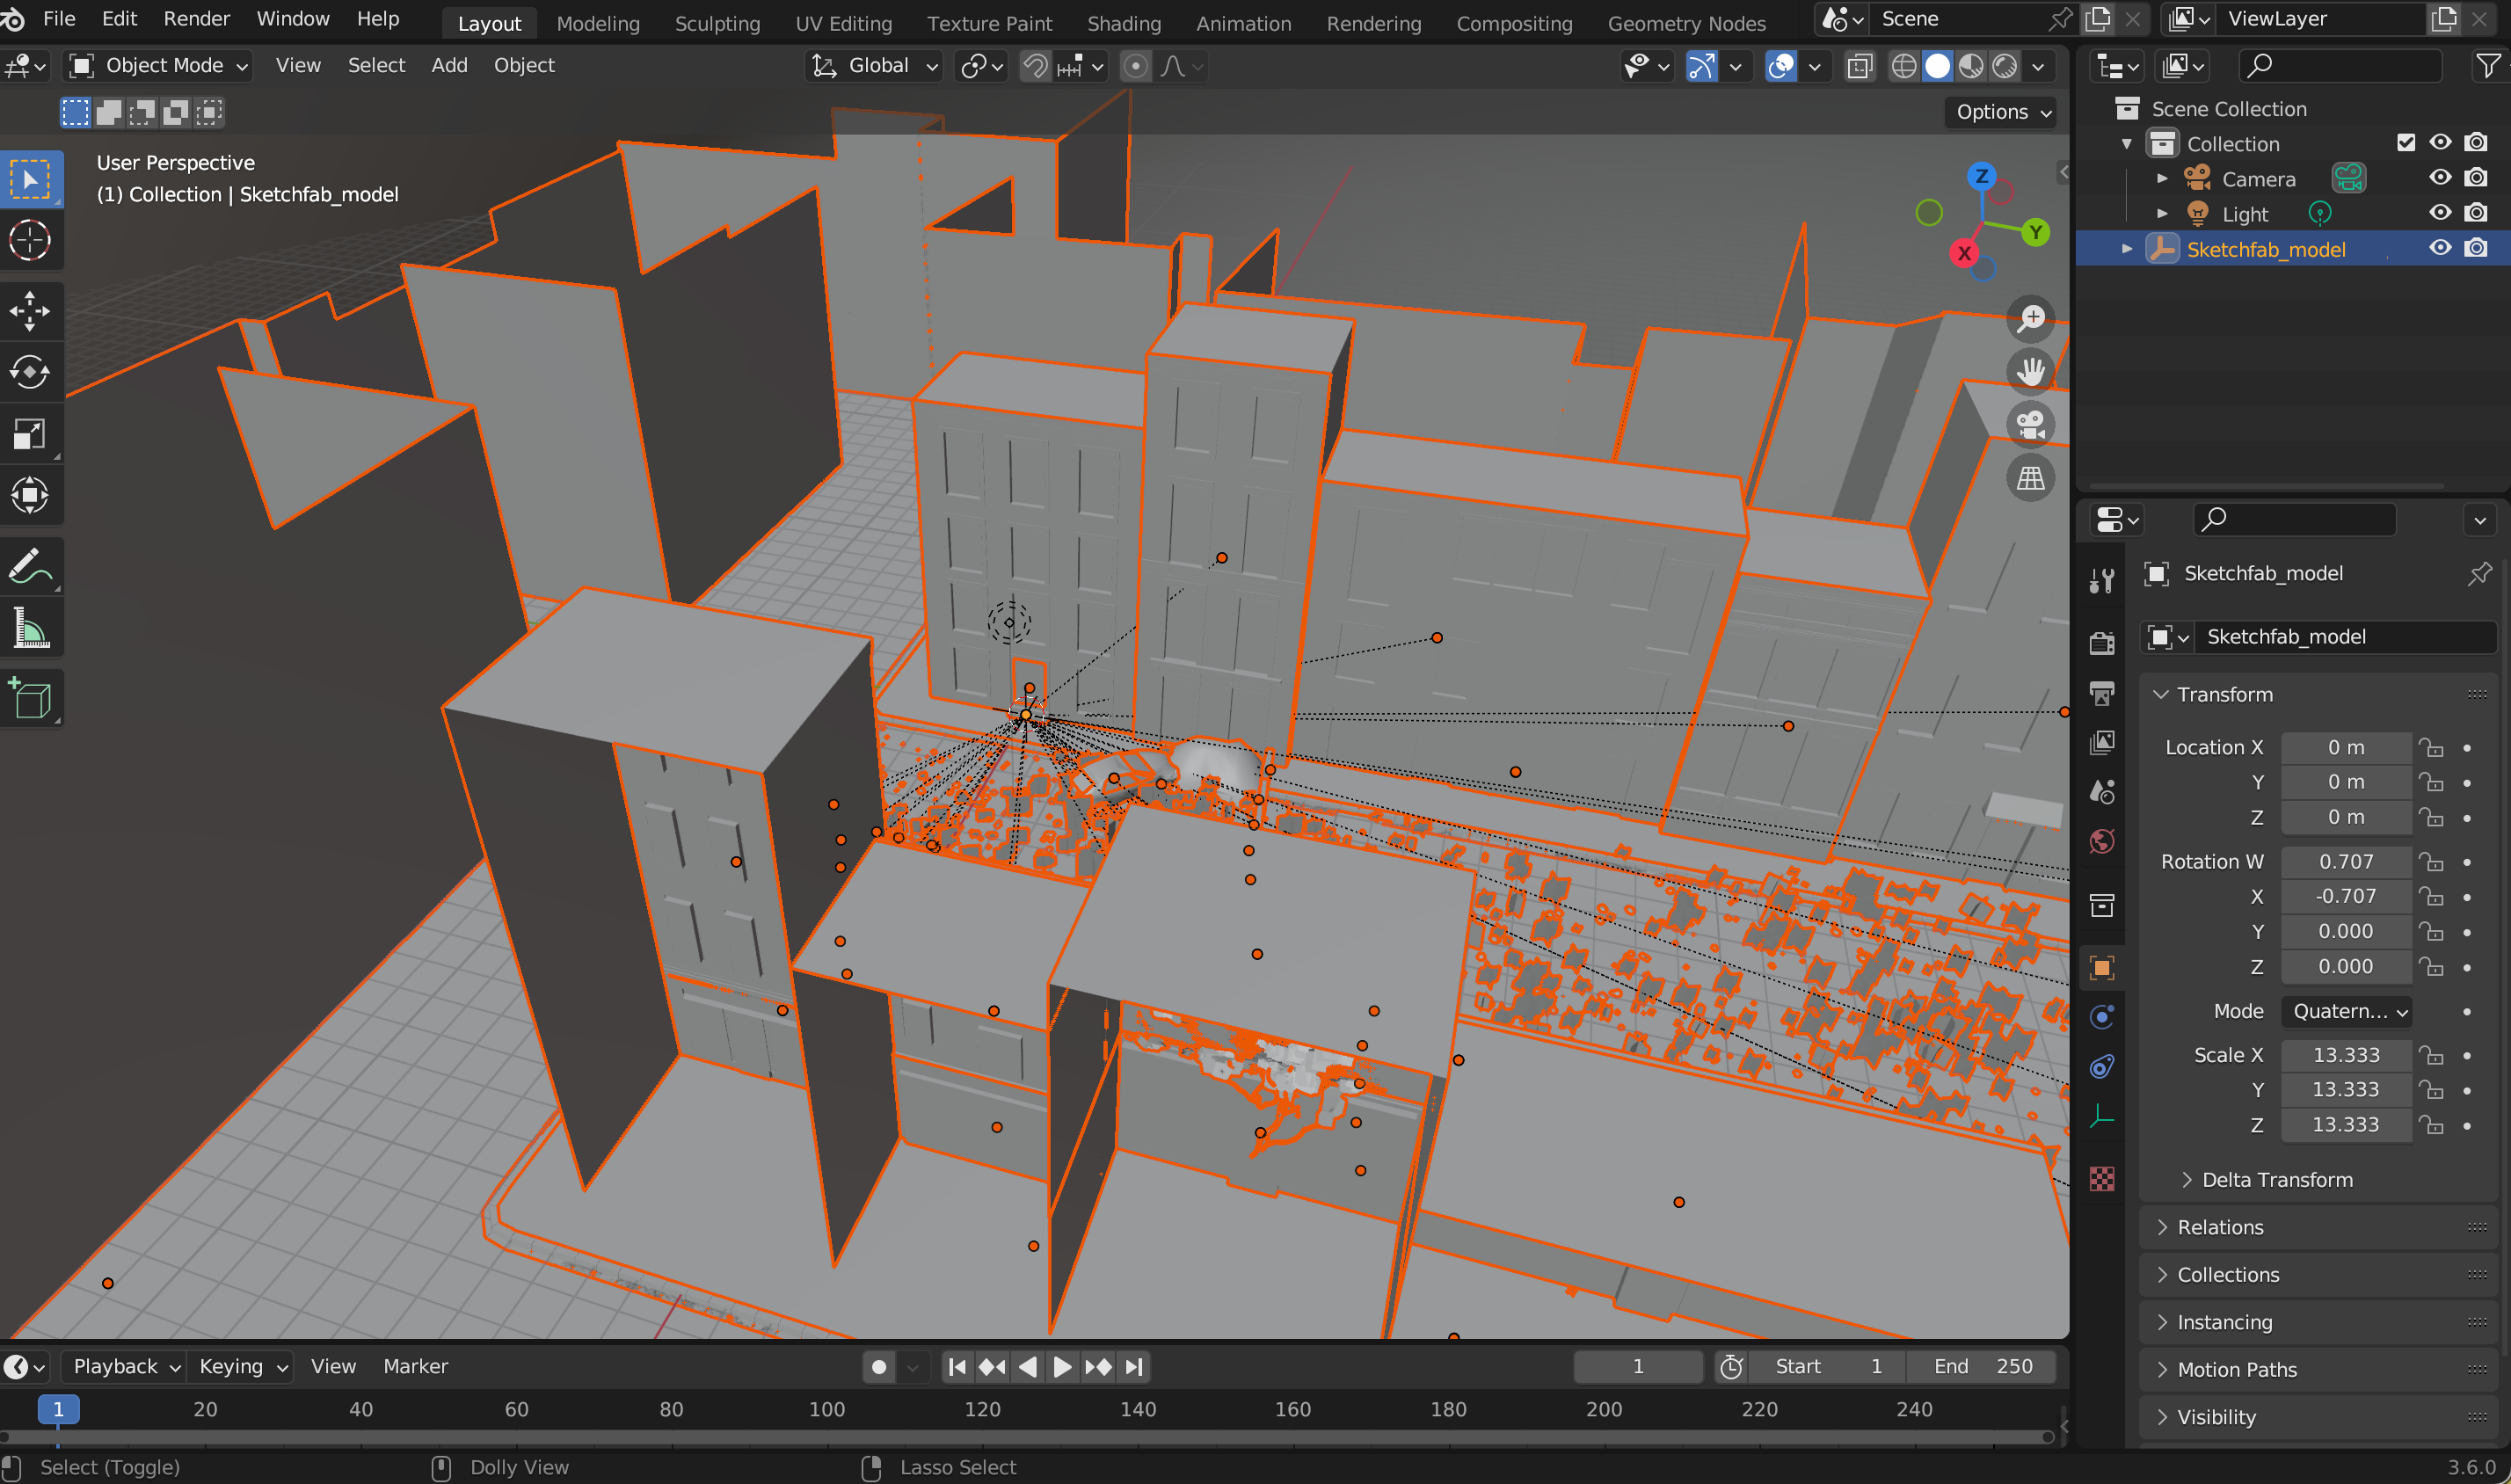
Once I had the animations ready, I moved over to Blender to start building the full scene. The first thing I imported was the city model I had downloaded earlier. Since it was saved as a .glb file, it came in as a single, self-contained asset — all the geometry, textures, and materials were already linked correctly. That made things much easier, with no missing textures or broken paths to fix.
When I brought it into Blender, the model appeared exactly as it looked on Sketchfab — buildings, streets, and lighting all intact. I spent a little time adjusting its scale and position to make it feel right for the camera shot. The city served as the backdrop for the entire bullet-time moment, so I wanted it to look vast but not distracting — more like a stage that supports the action above it.
After positioning it, I cleaned up the scene a bit by removing unnecessary objects and setting the viewport to a simpler shading mode to keep performance smooth. With the city in place, the world of the shot finally started to take shape. It felt like the right foundation to bring in the characters next.
Cleaning the Model
After importing the city into Blender, I spent some time refining it to fit the style I wanted for the scene. The original model came with a lot of small environmental details — pebbles, weeds, plants growing through cracks, broken-down cars, and bits of street debris scattered everywhere. While all of that added realism, it didn’t match the mood I was going for.
My goal wasn’t to create a gritty or busy environment — I wanted the city to feel almost frozen in time, like a still image caught in midair. The extra clutter made the scene feel too alive, too ordinary. So, I started cleaning it up piece by piece.
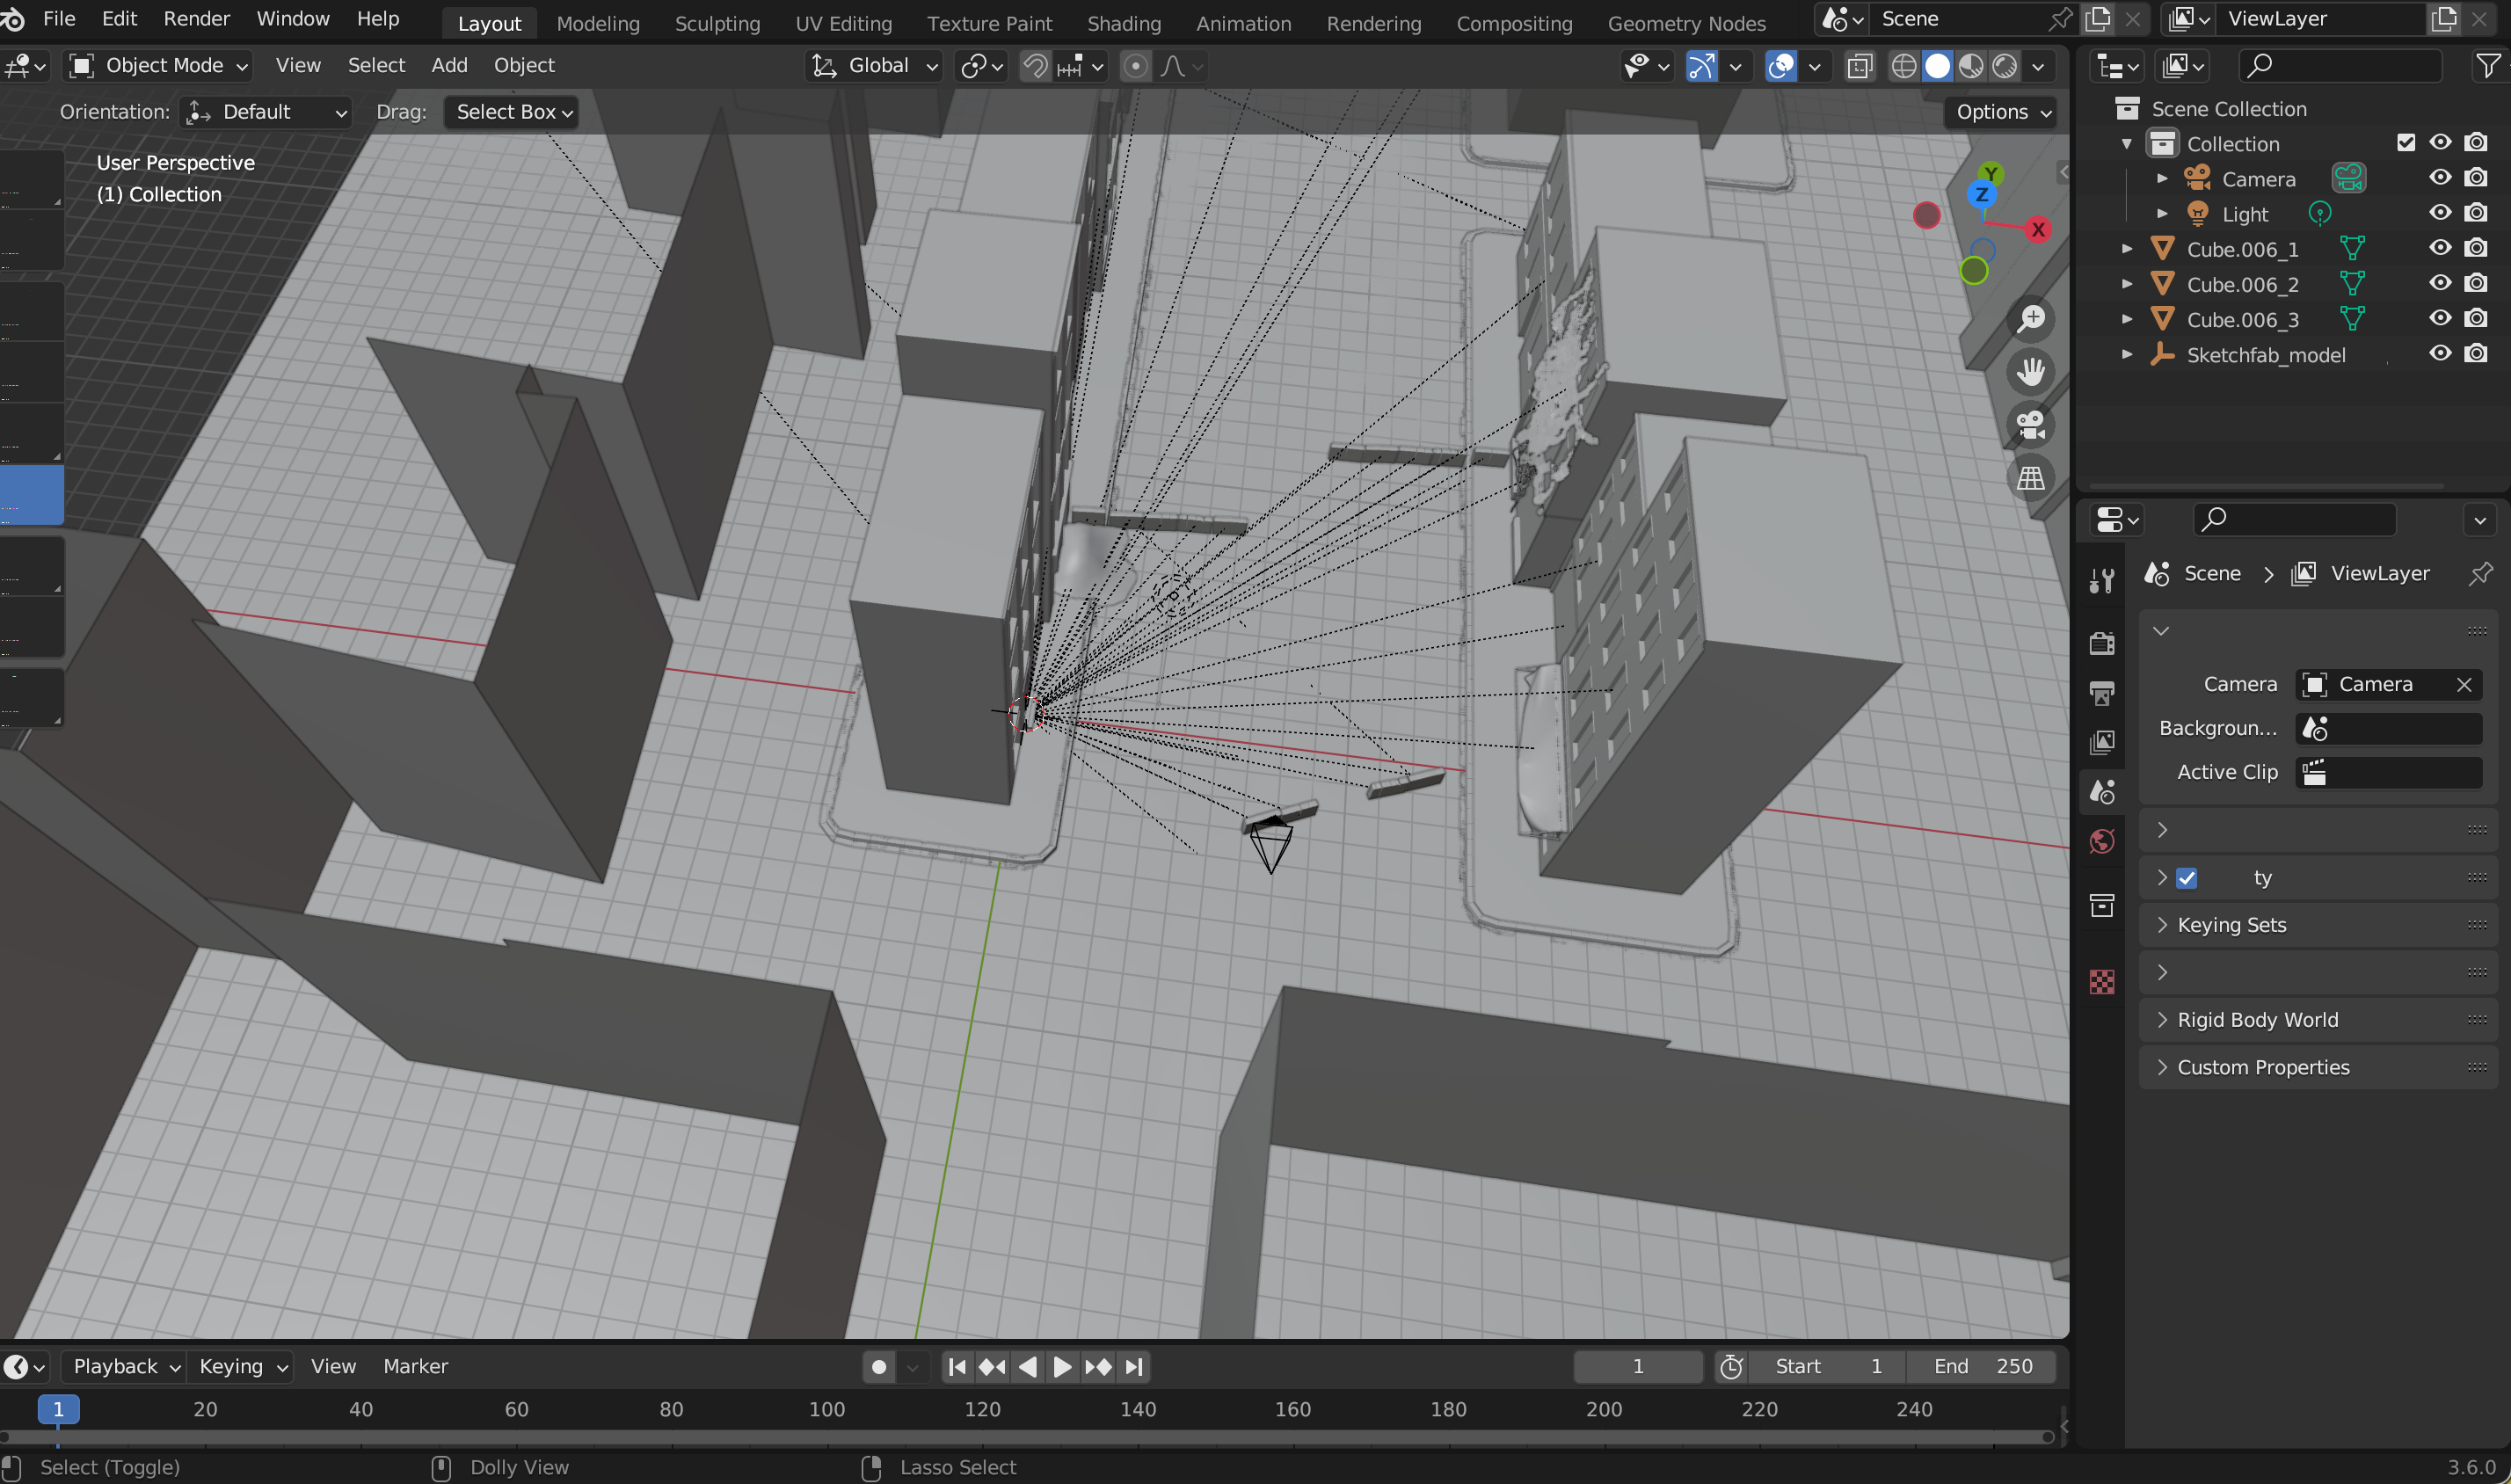
In the Outliner, I carefully went through the list of objects, hiding and deleting the smaller props that didn’t add anything to the shot. I removed the cars that sat awkwardly in the streets, the plants growing along the sidewalks, and the random bits of debris that filled the corners. I also simplified a few areas of geometry that weren’t visible from the camera’s perspective, to make the scene lighter and easier to navigate.
Once everything unnecessary was gone, the city started to transform. It no longer looked like a messy, abandoned place — it felt open, quiet, and dreamlike. The emptiness gave the scene a sense of scale and focus, drawing attention to where the real action would happen: the floating characters caught in the middle of bullet time.
It became less of a real city and more of a stage, suspended between motion and stillness — exactly the kind of space I wanted to create for this moment.
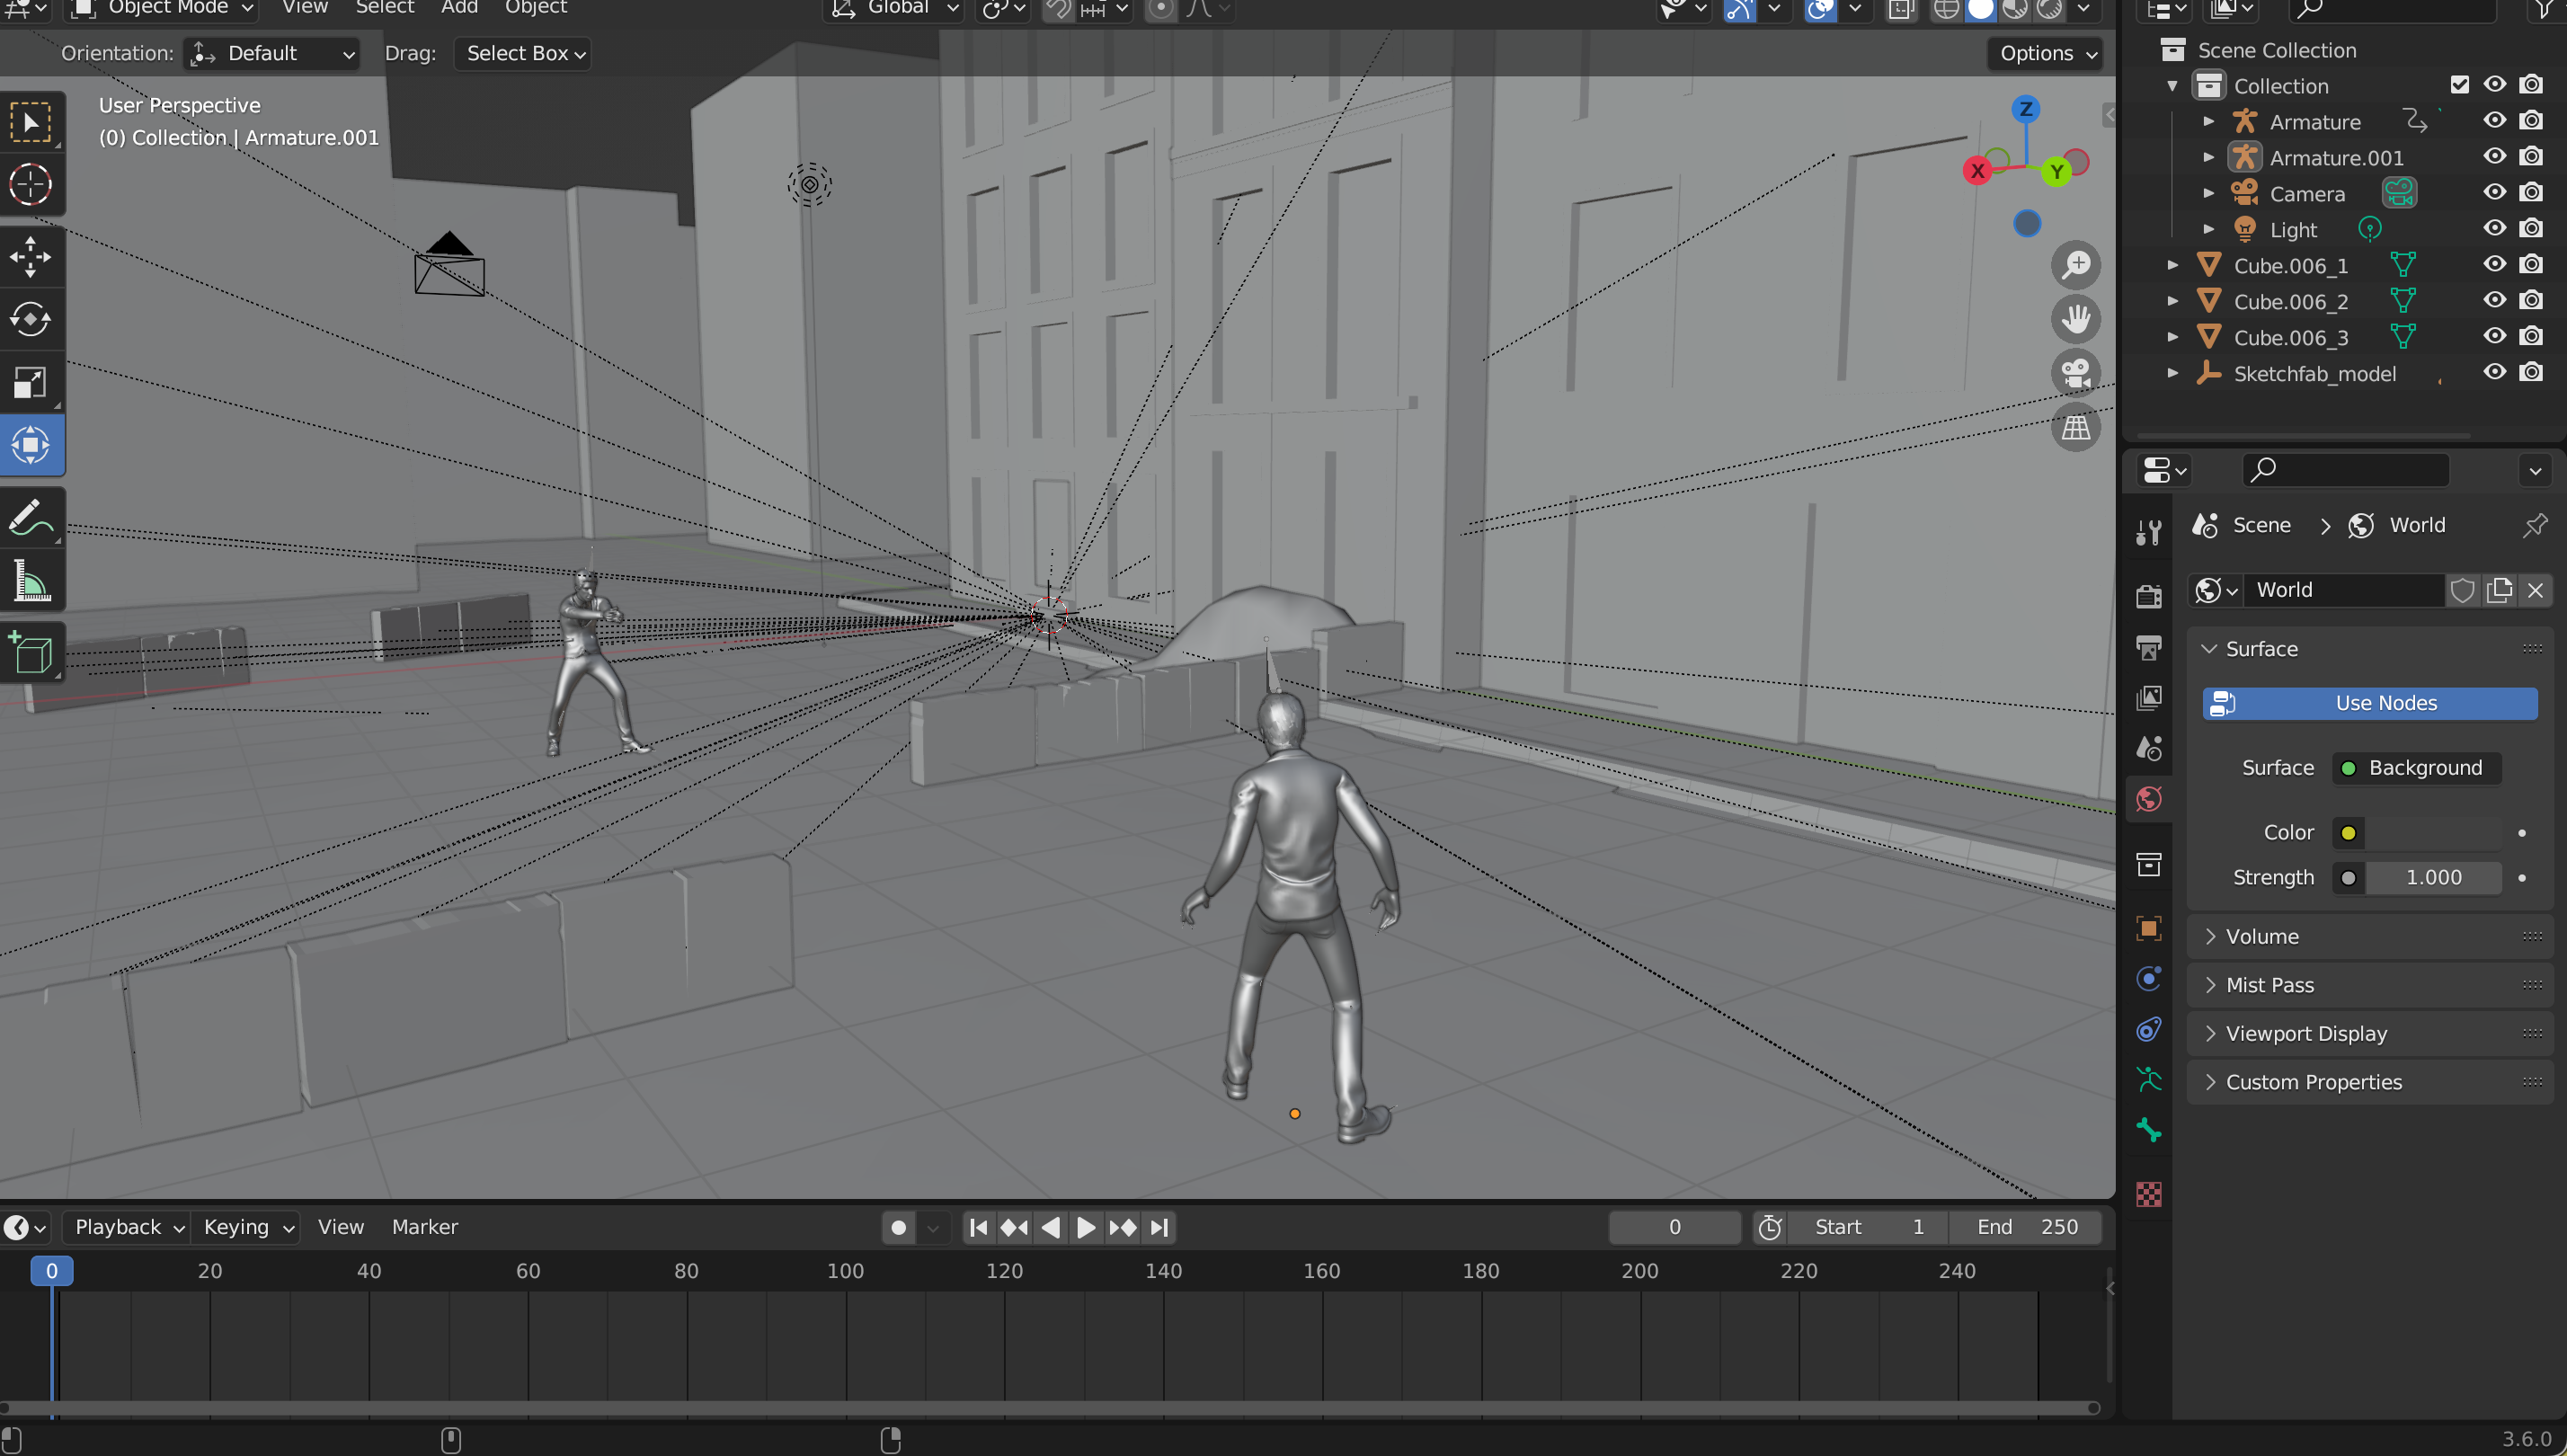
Importing the Secondary Charecter
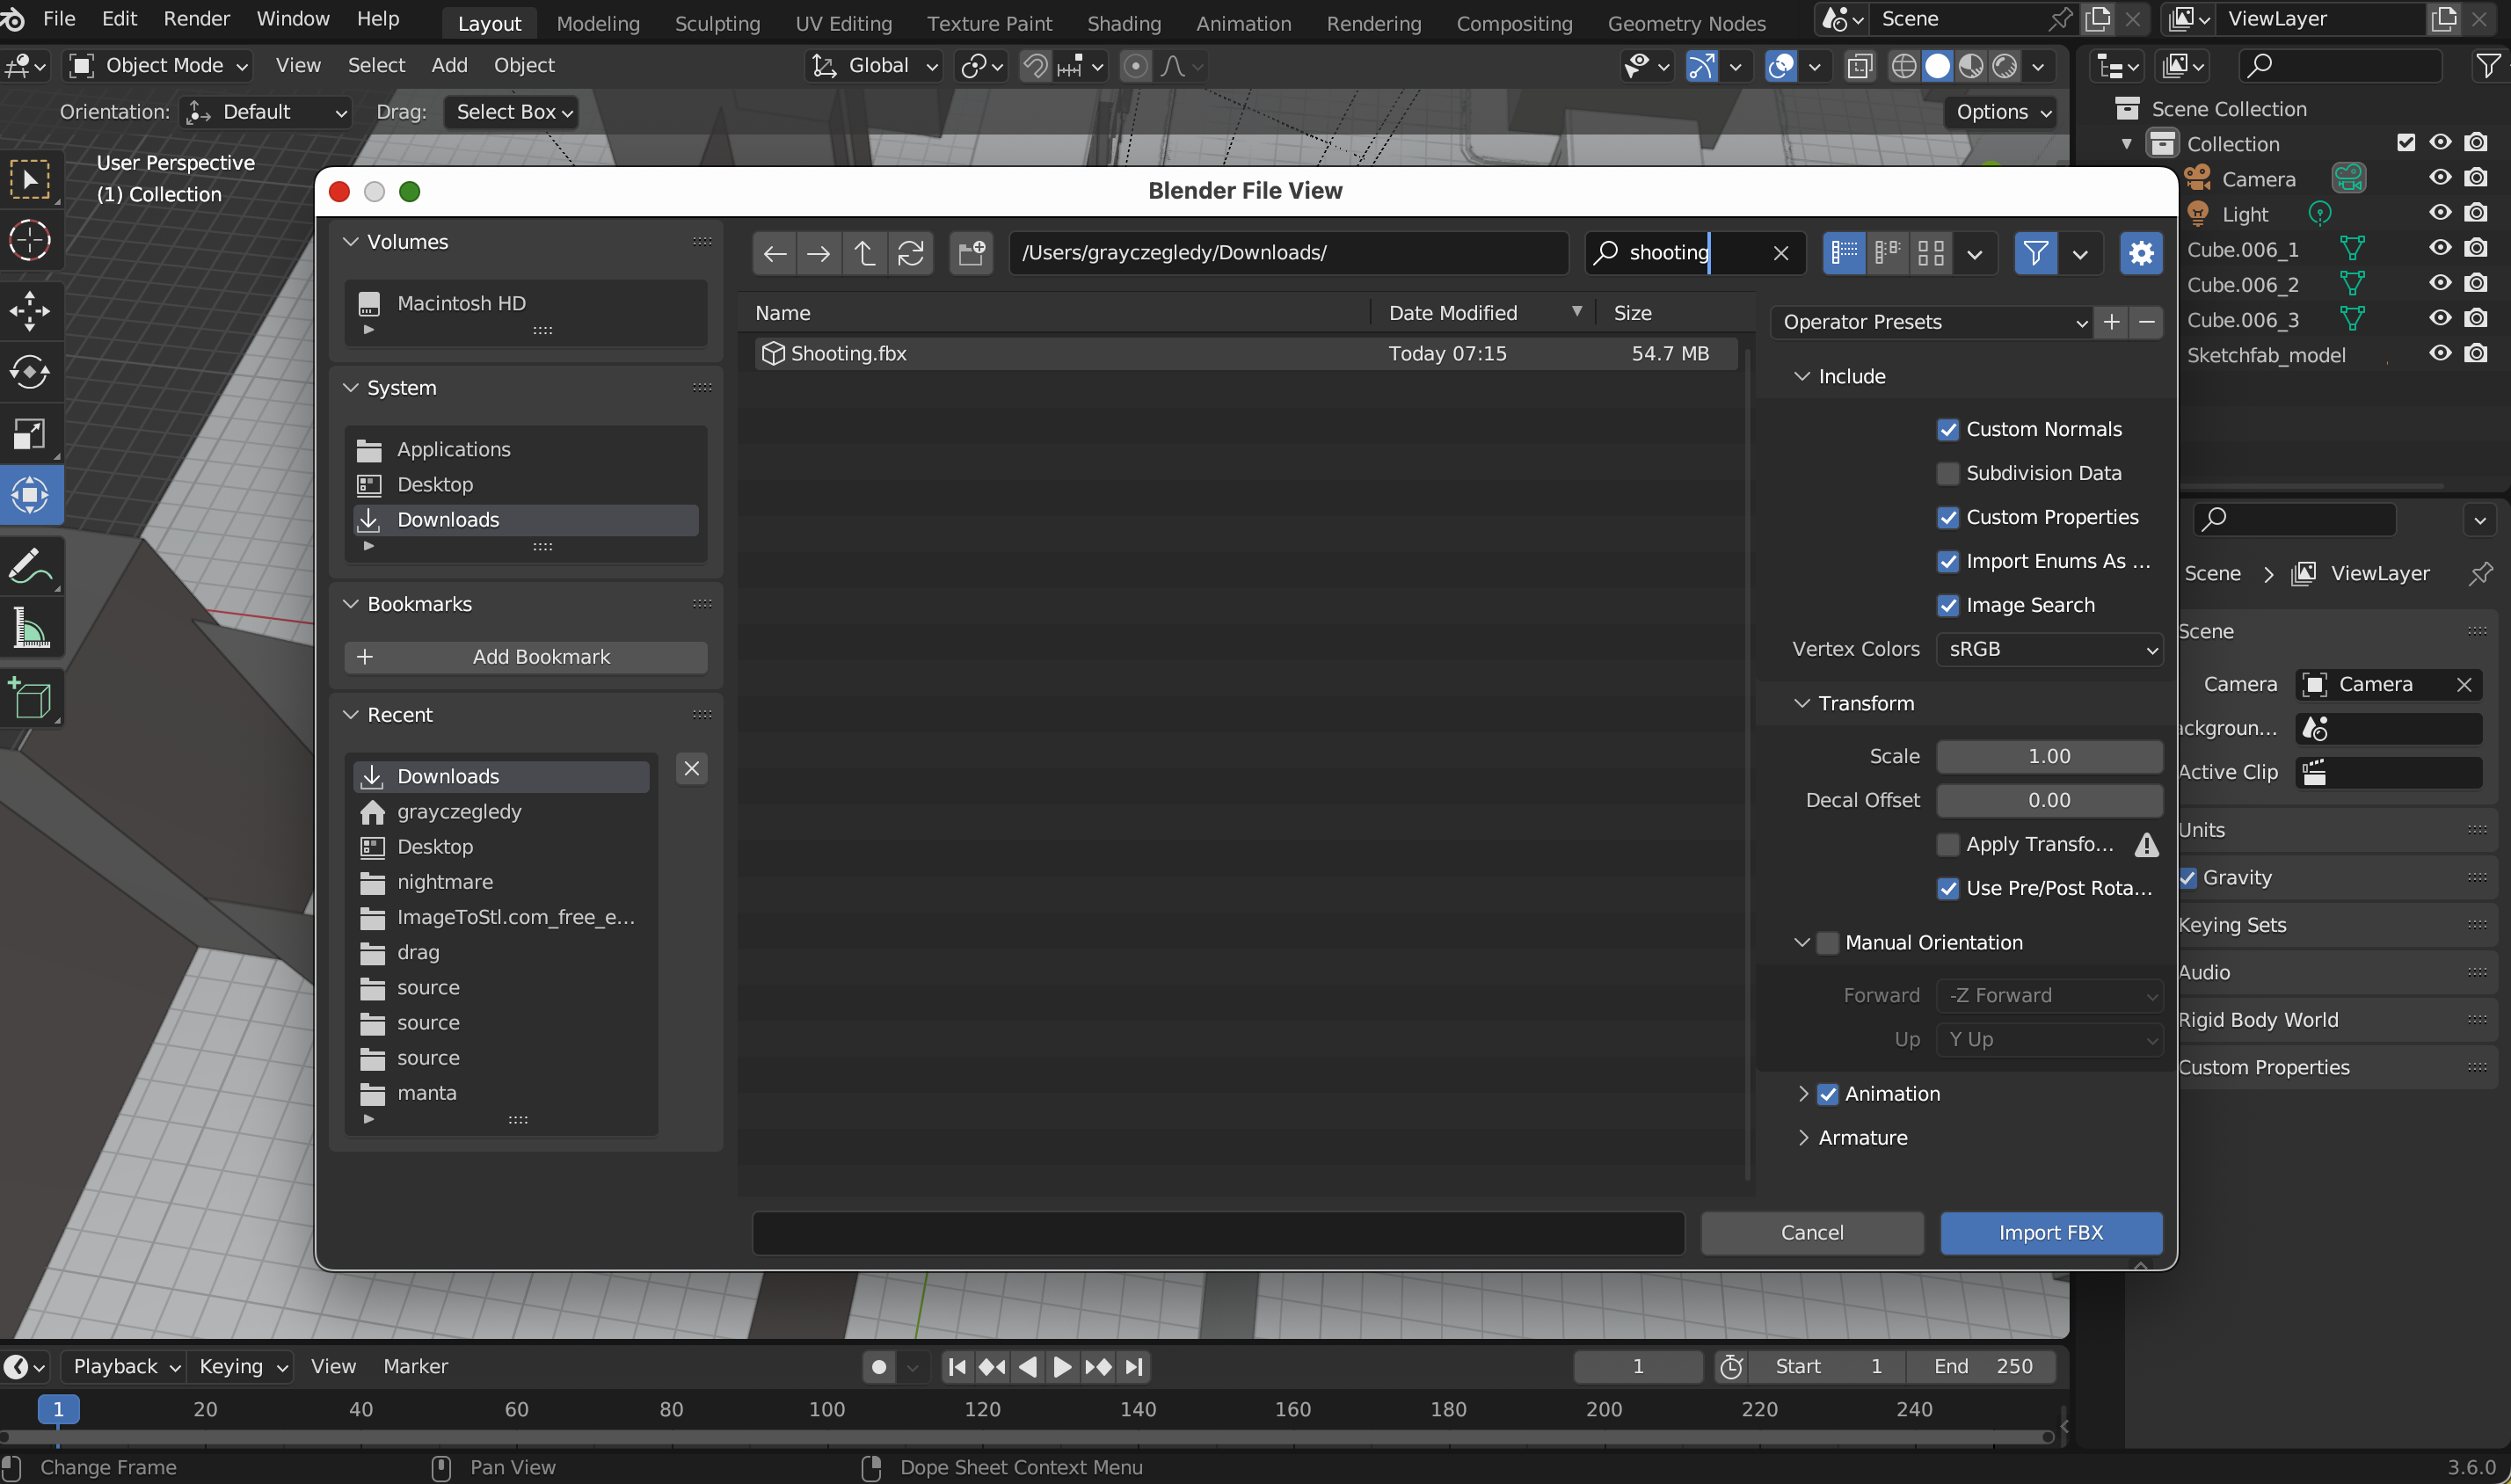

Once the city was cleaned and ready, I imported the secondary character into Blender. This was the character acting as the shooter in the scene, the one responsible for the incoming bullets. I had already downloaded it from Mixamo with the shooting animation applied, so it came fully rigged and ready to move.
I brought the model in as an FBX file, which preserved both the skeleton and the animation data. Once imported, I positioned the character carefully within the city, making sure it faced the main character at the right angle for the bullet-time effect. This placement was important — it would determine the trajectory of the bullets and the sense of tension in the scene.
After positioning, I did a quick check to make sure the animation played correctly in Blender. The arms, torso, and gun all moved as expected, which made it easy to start planning the final composition. With the secondary character in place, the scene began to feel more alive, setting up the dynamic interaction that would define the floating bullet-time moment.
Importing Primary Charecter
After bringing in the secondary character, I imported a placeholder version of the primary character — the one that would be floating and dodging bullets. At this stage, I didn’t need the animation yet, so I used an unanimated model. This allowed me to focus on positioning and planning the composition of the scene without worrying about movement.
I imported the placeholder as a GLB file, which included all the textures and materials in a single package. Once it appeared in Blender, I positioned it roughly above the city, suspended in midair to match the vision of the bullet-time moment. Even as a static model, it was enough to judge scale, spacing, and camera angles, and to make sure the secondary character’s aim lined up correctly.
Using a placeholder also made it easier to adjust the scene before committing to the final animation. With both characters and the city in place, I could start refining the camera, lighting, and overall composition, knowing the floating primary character would fit naturally once fully animated.
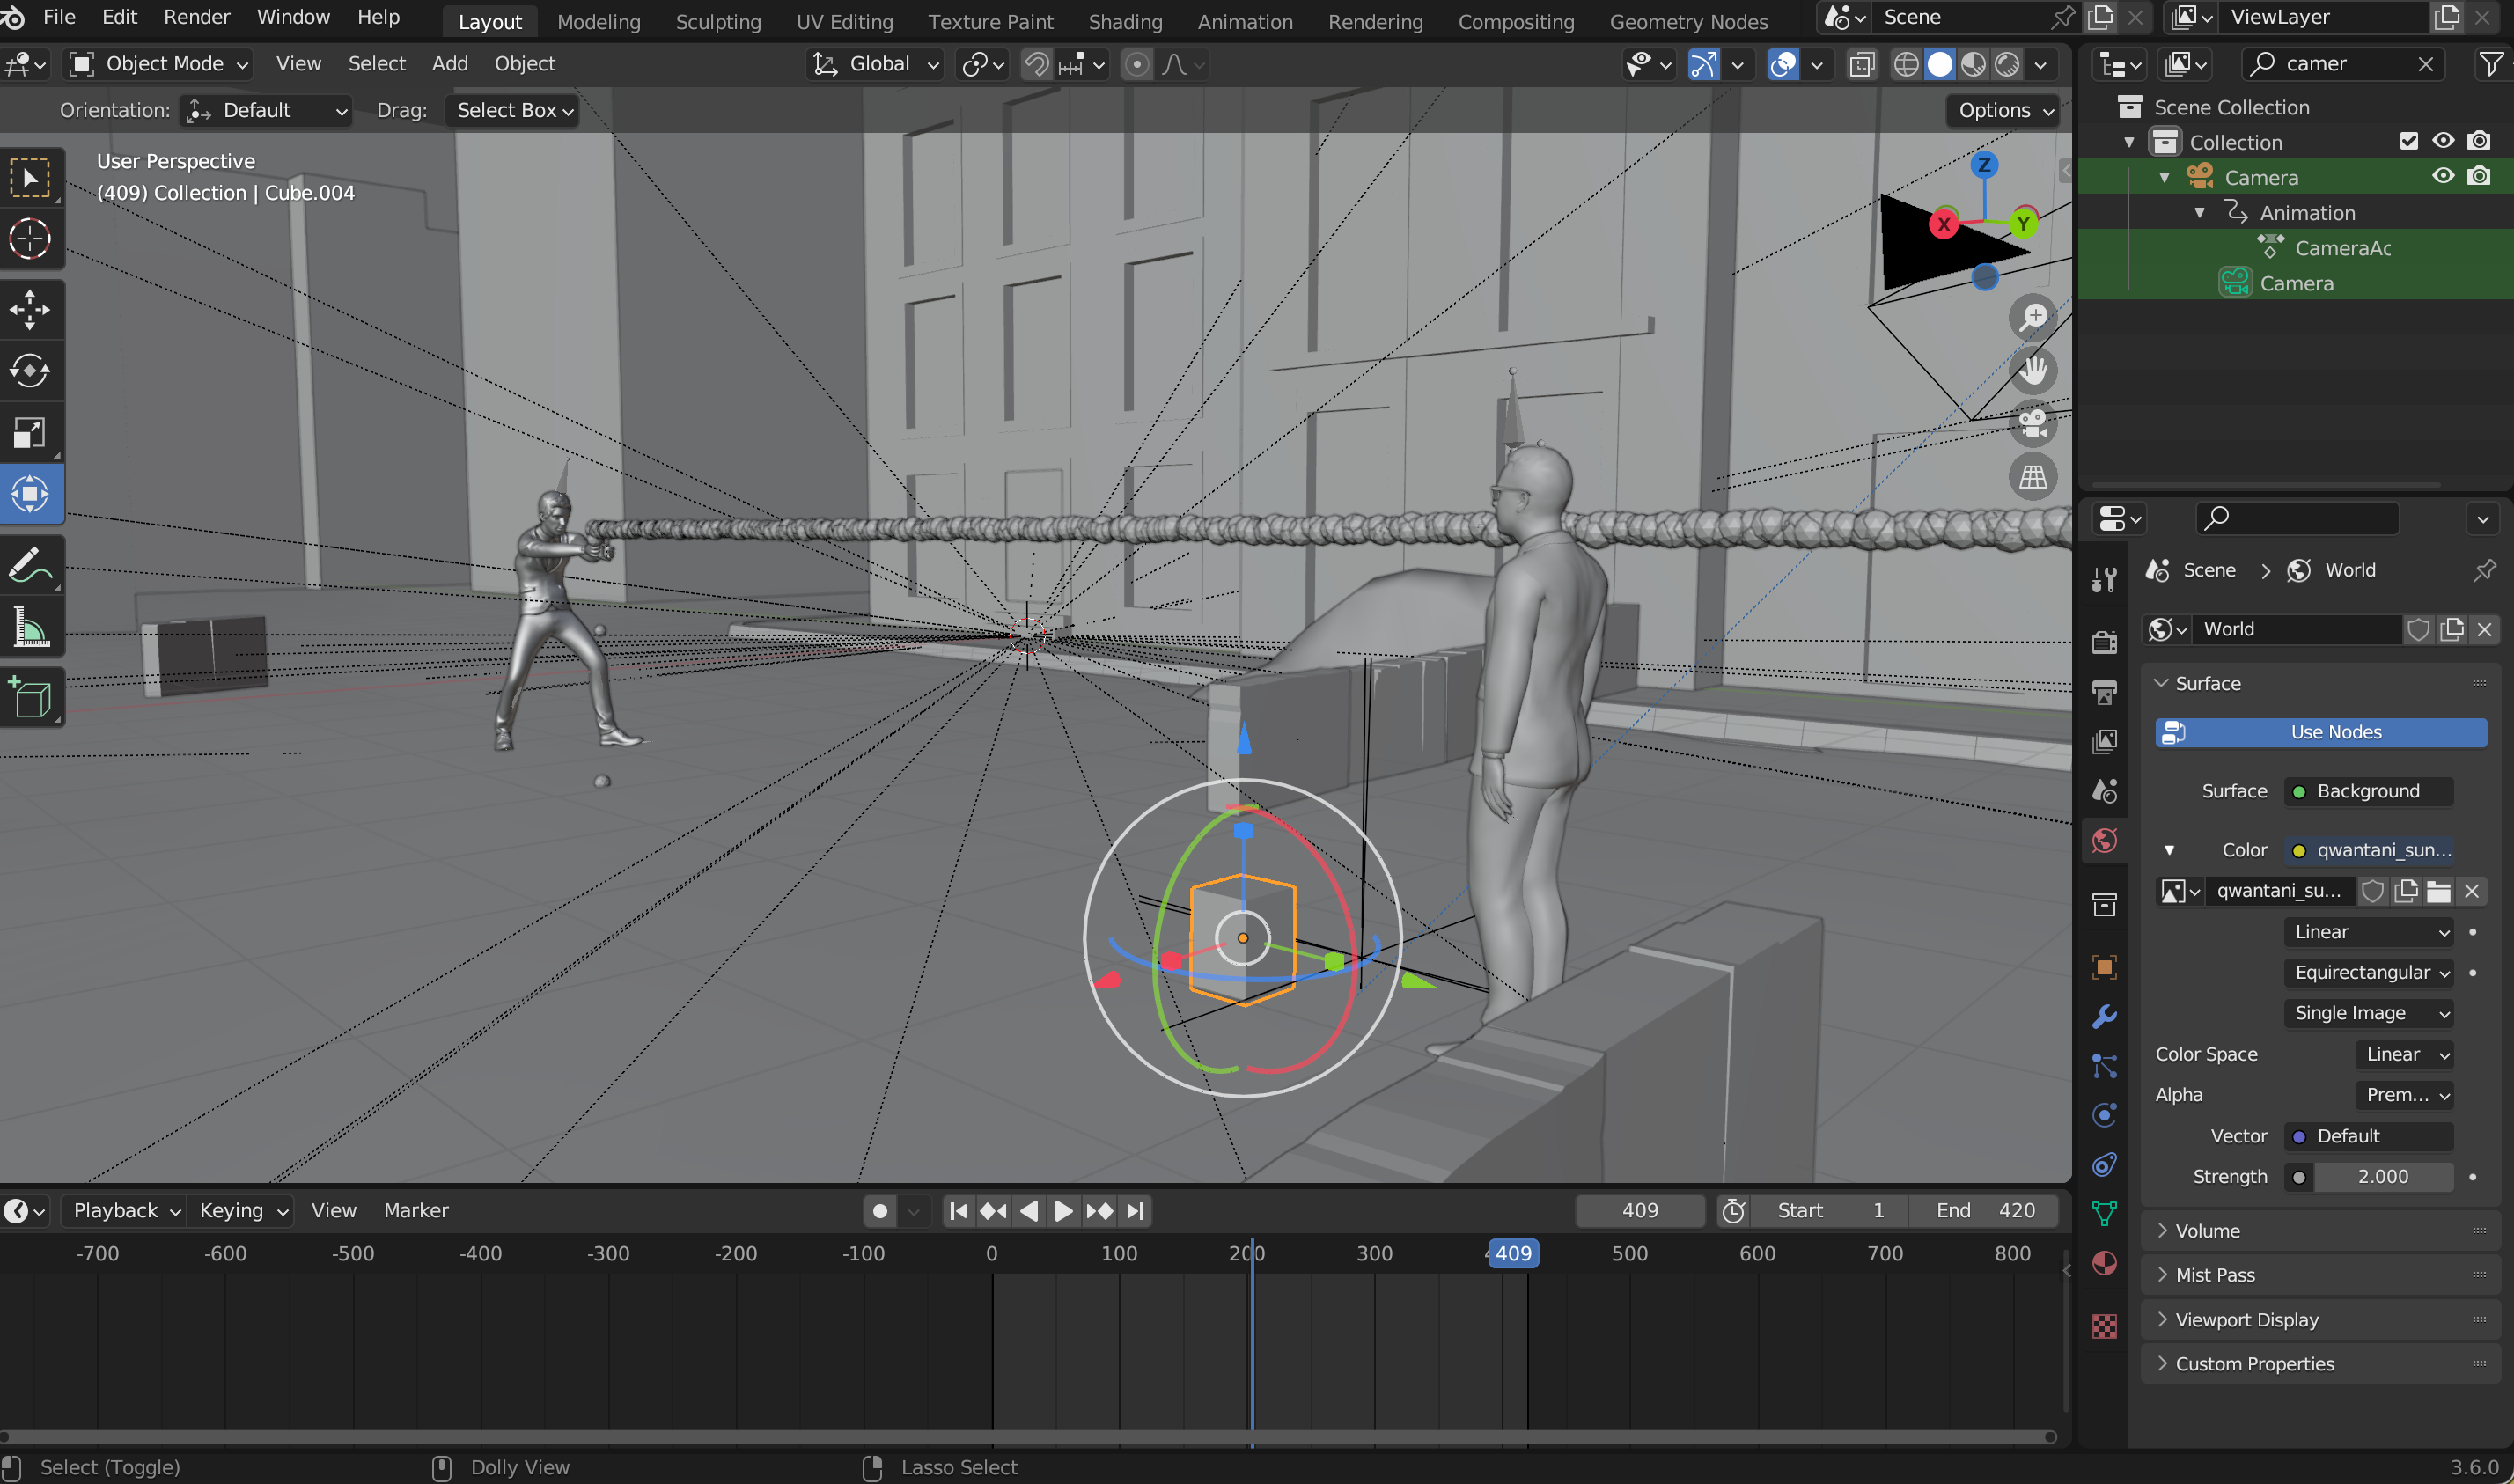
Finding an HDRI
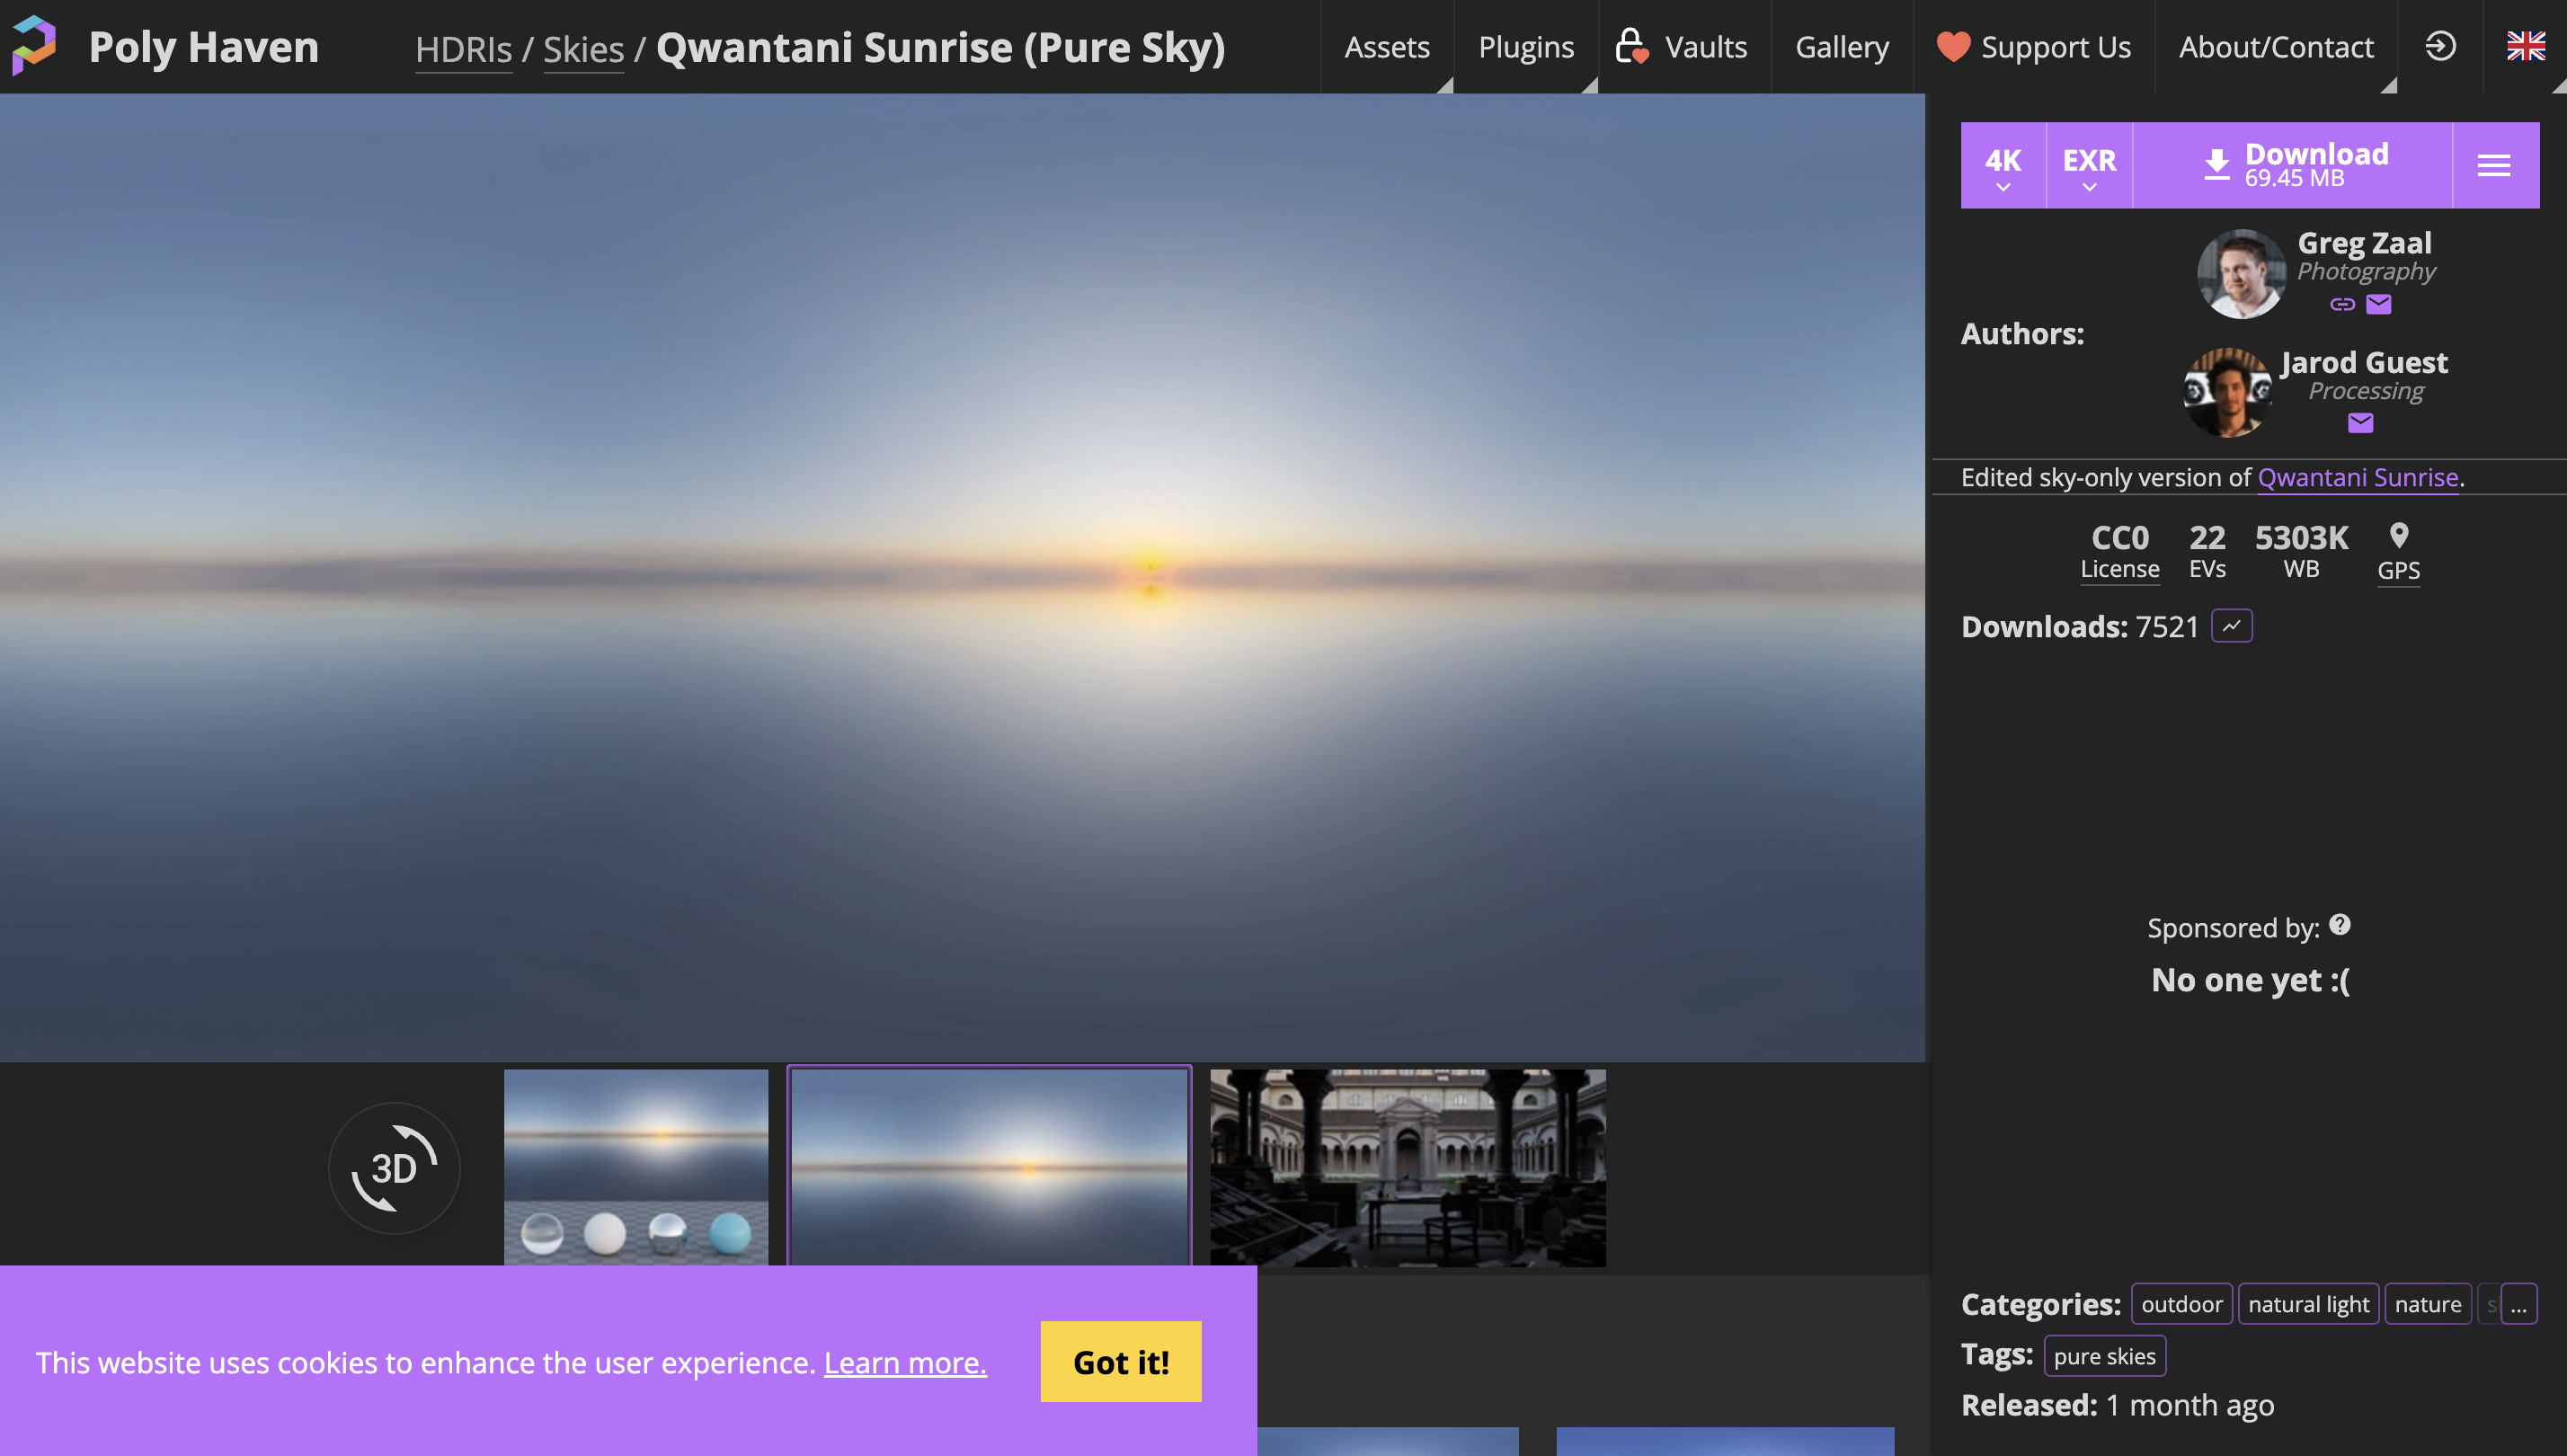
Once the city and characters were roughly in place, I needed lighting that would fit the cinematic, floating bullet-time look. I decided to use an HDRI, since it provides realistic light and reflections for outdoor scenes.
I browsed Poly Haven, which has a large collection of high-quality HDRIs that are free to use. I looked for options that felt urban, dramatic, and cinematic, with interesting sky tones and subtle lighting contrasts. I previewed several thumbnails and HDRI previews to see how the light would interact with buildings and open spaces.
After exploring multiple options, I found one that fit the mood perfectly: it had the right balance of brightness and shadows, with an atmosphere that enhanced the sense of height and openness above the city. I downloaded the HDRI in high resolution, knowing it would give the scene a realistic and visually striking backdrop for the bullet-time moment.
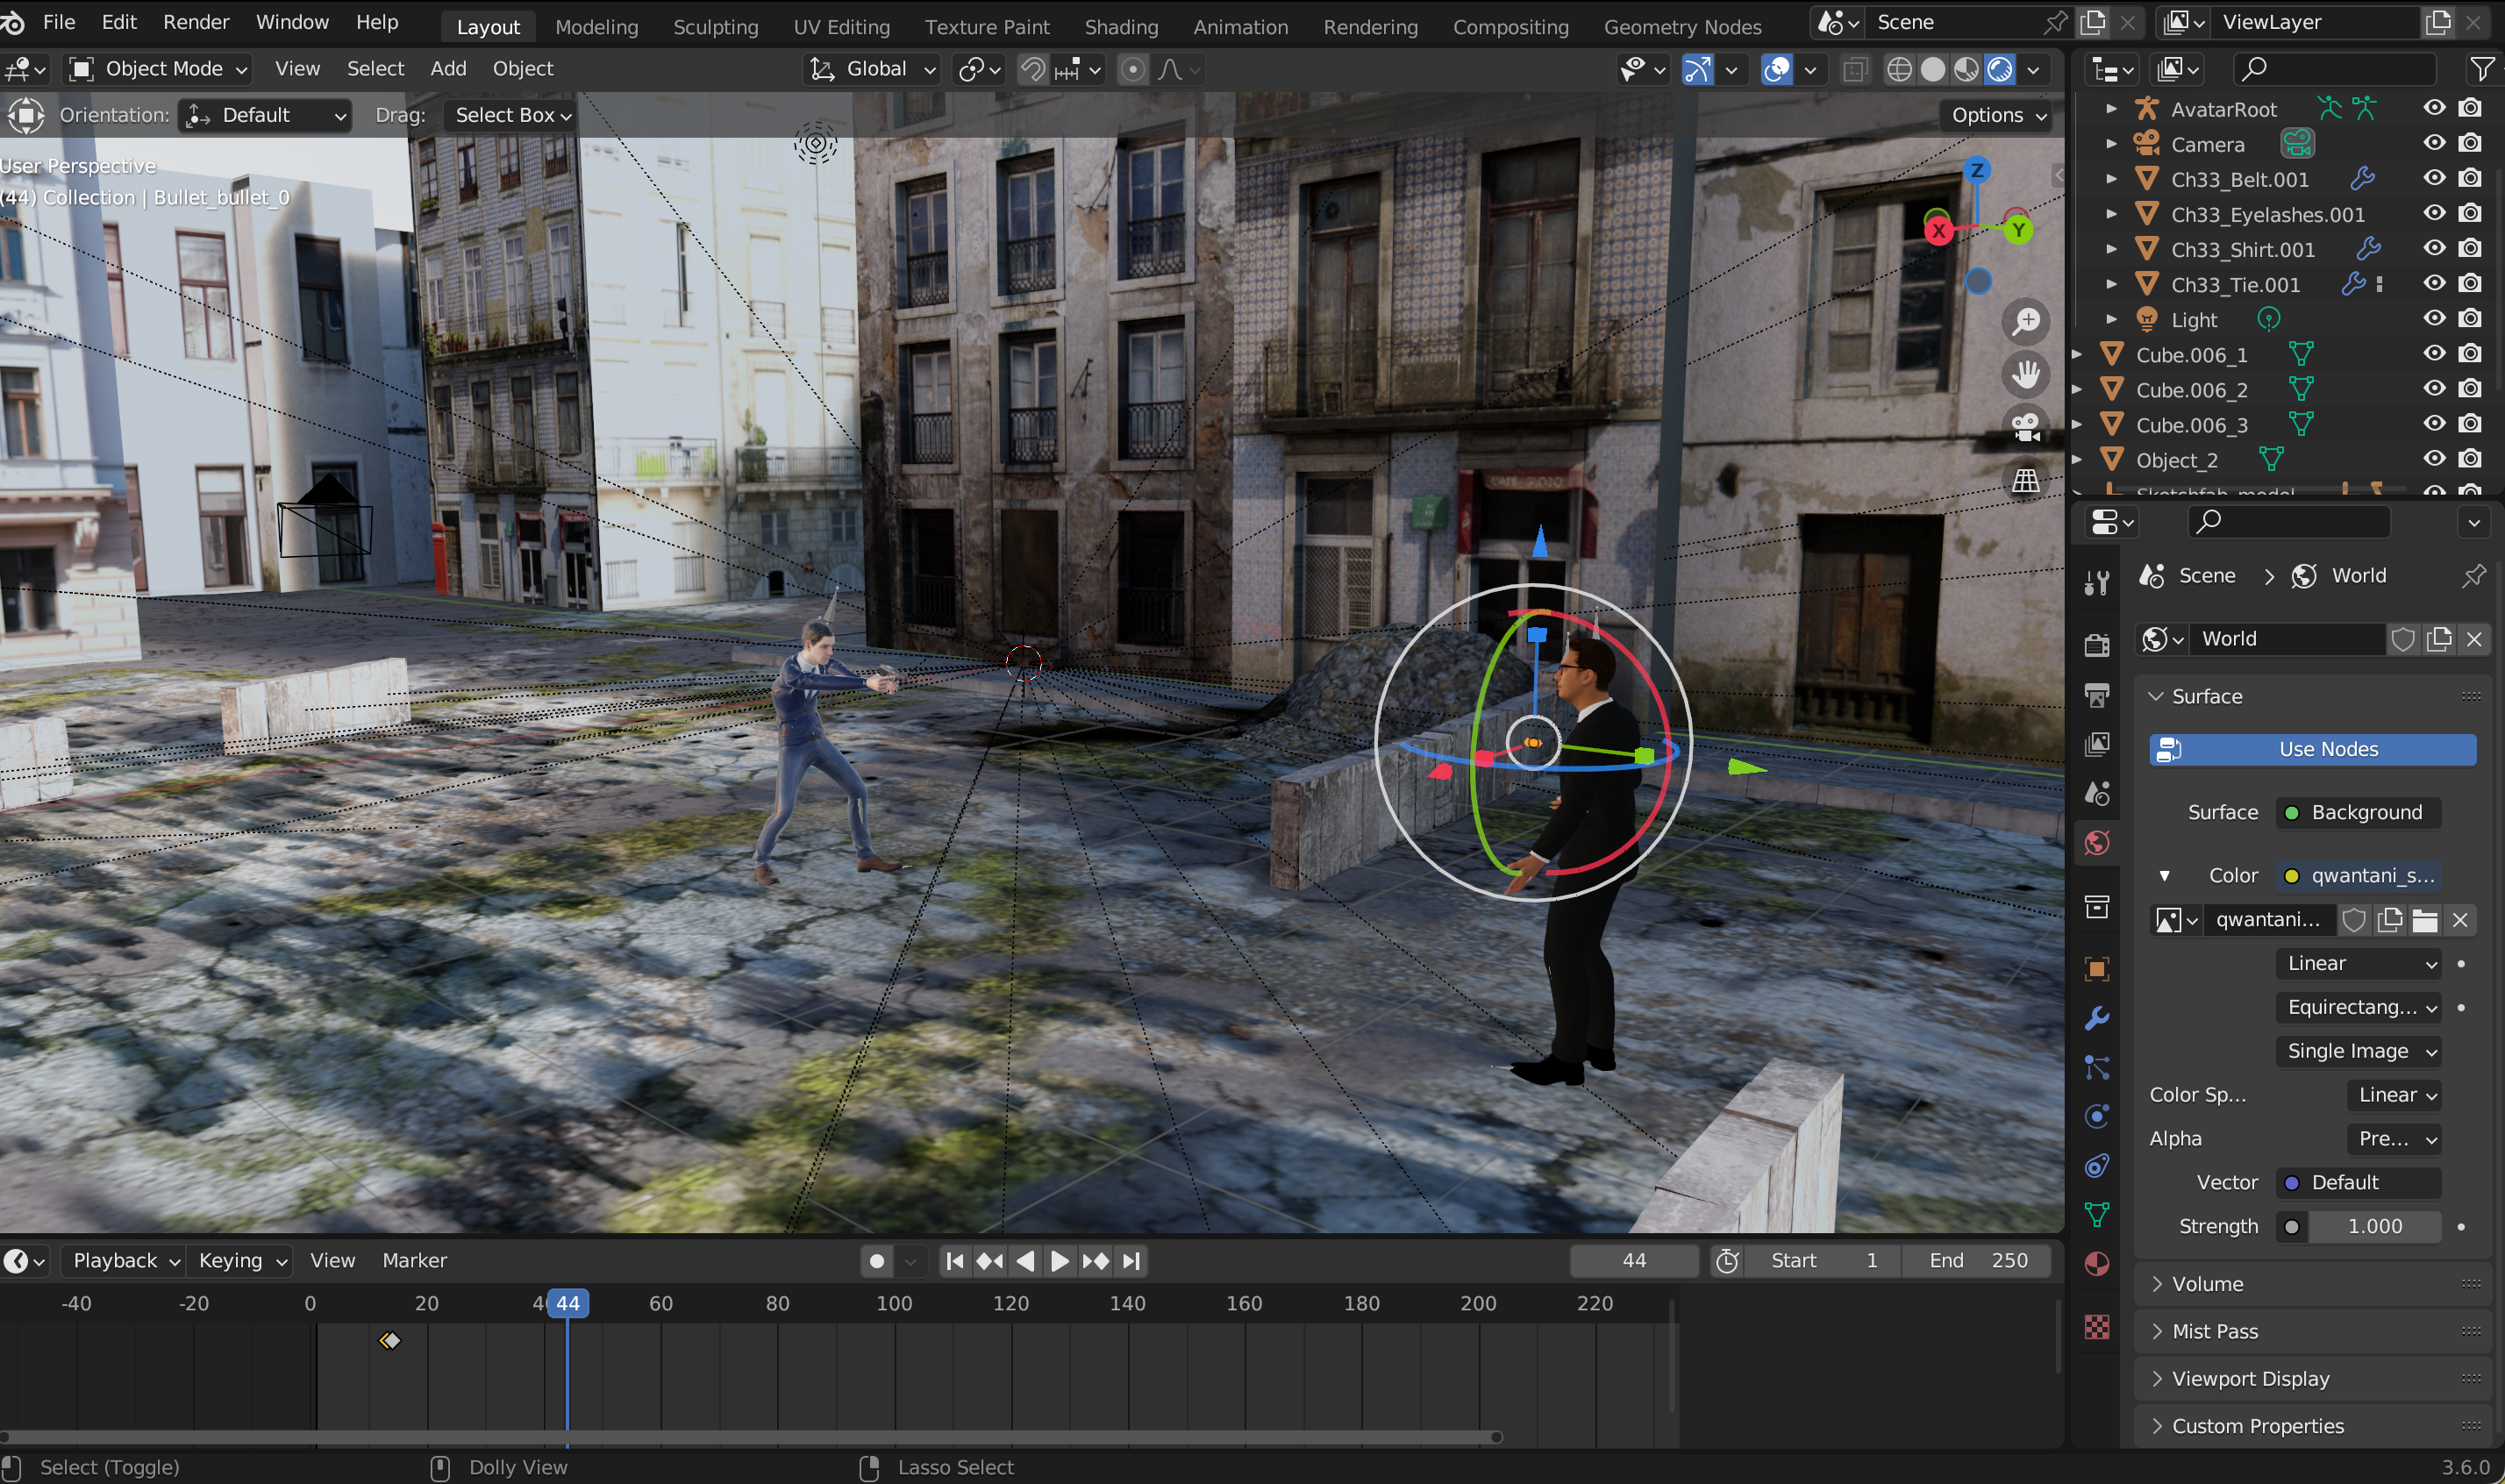
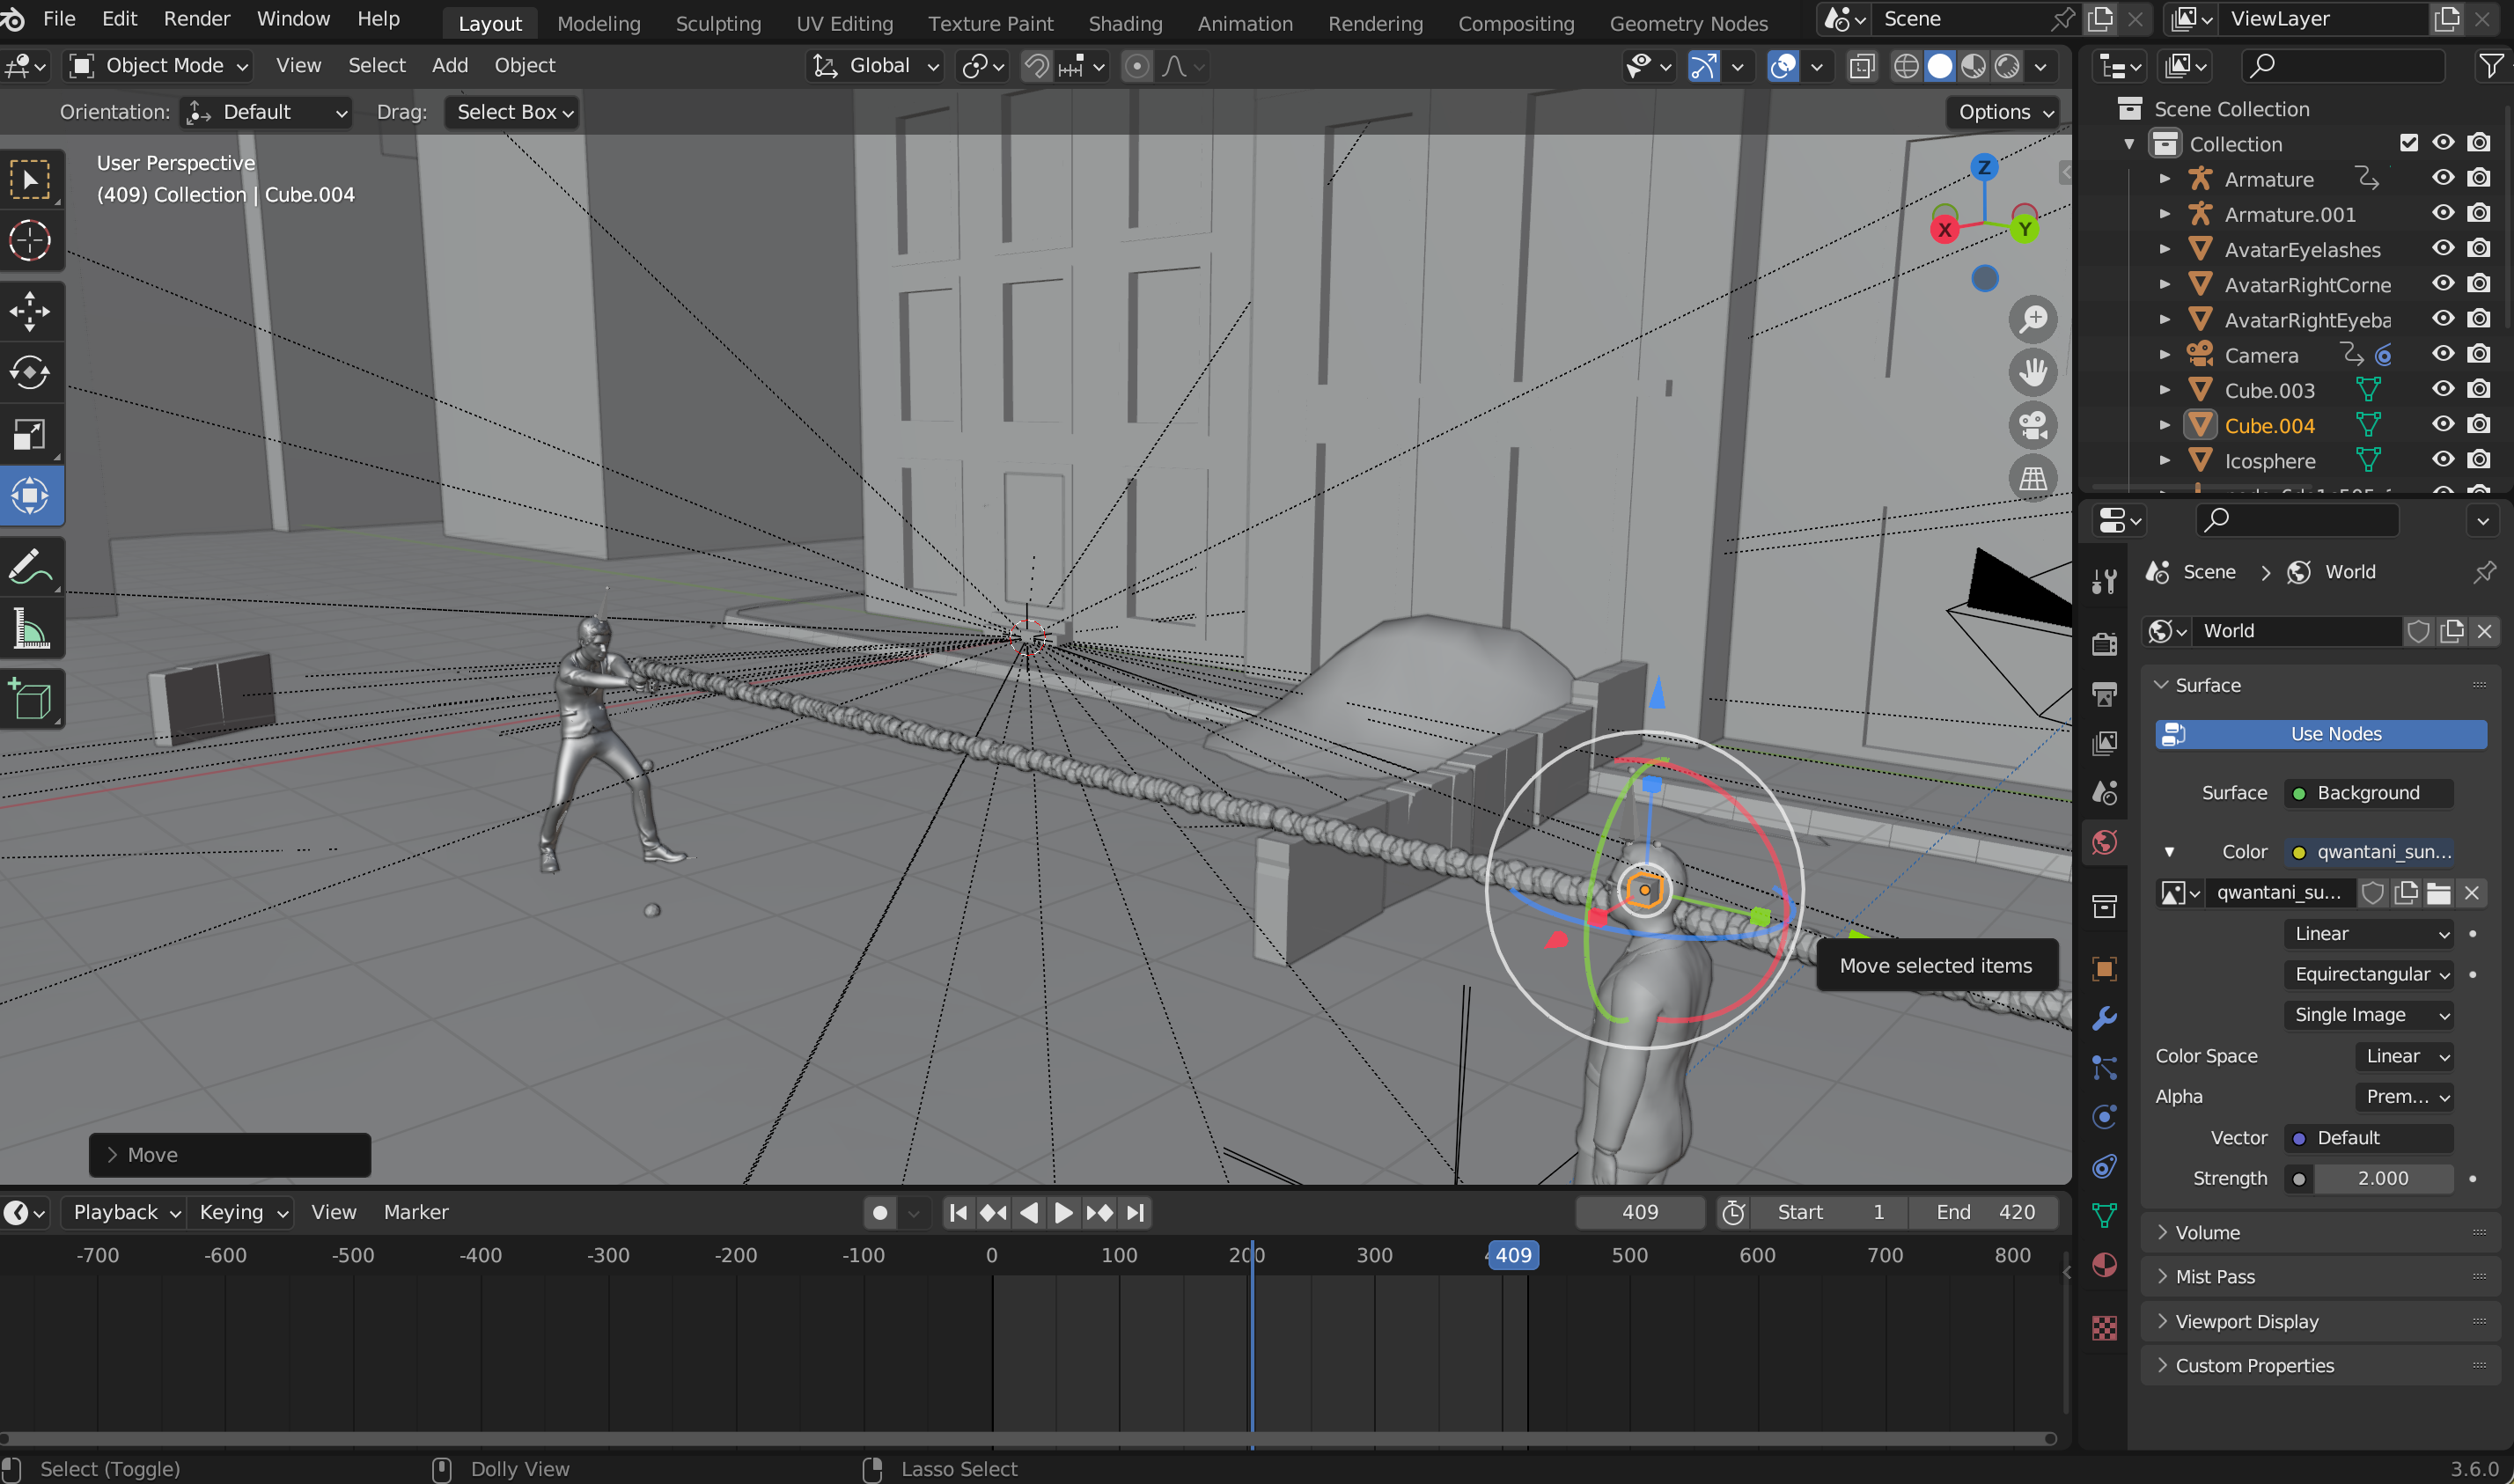
Lighting the Scene With the HDRI

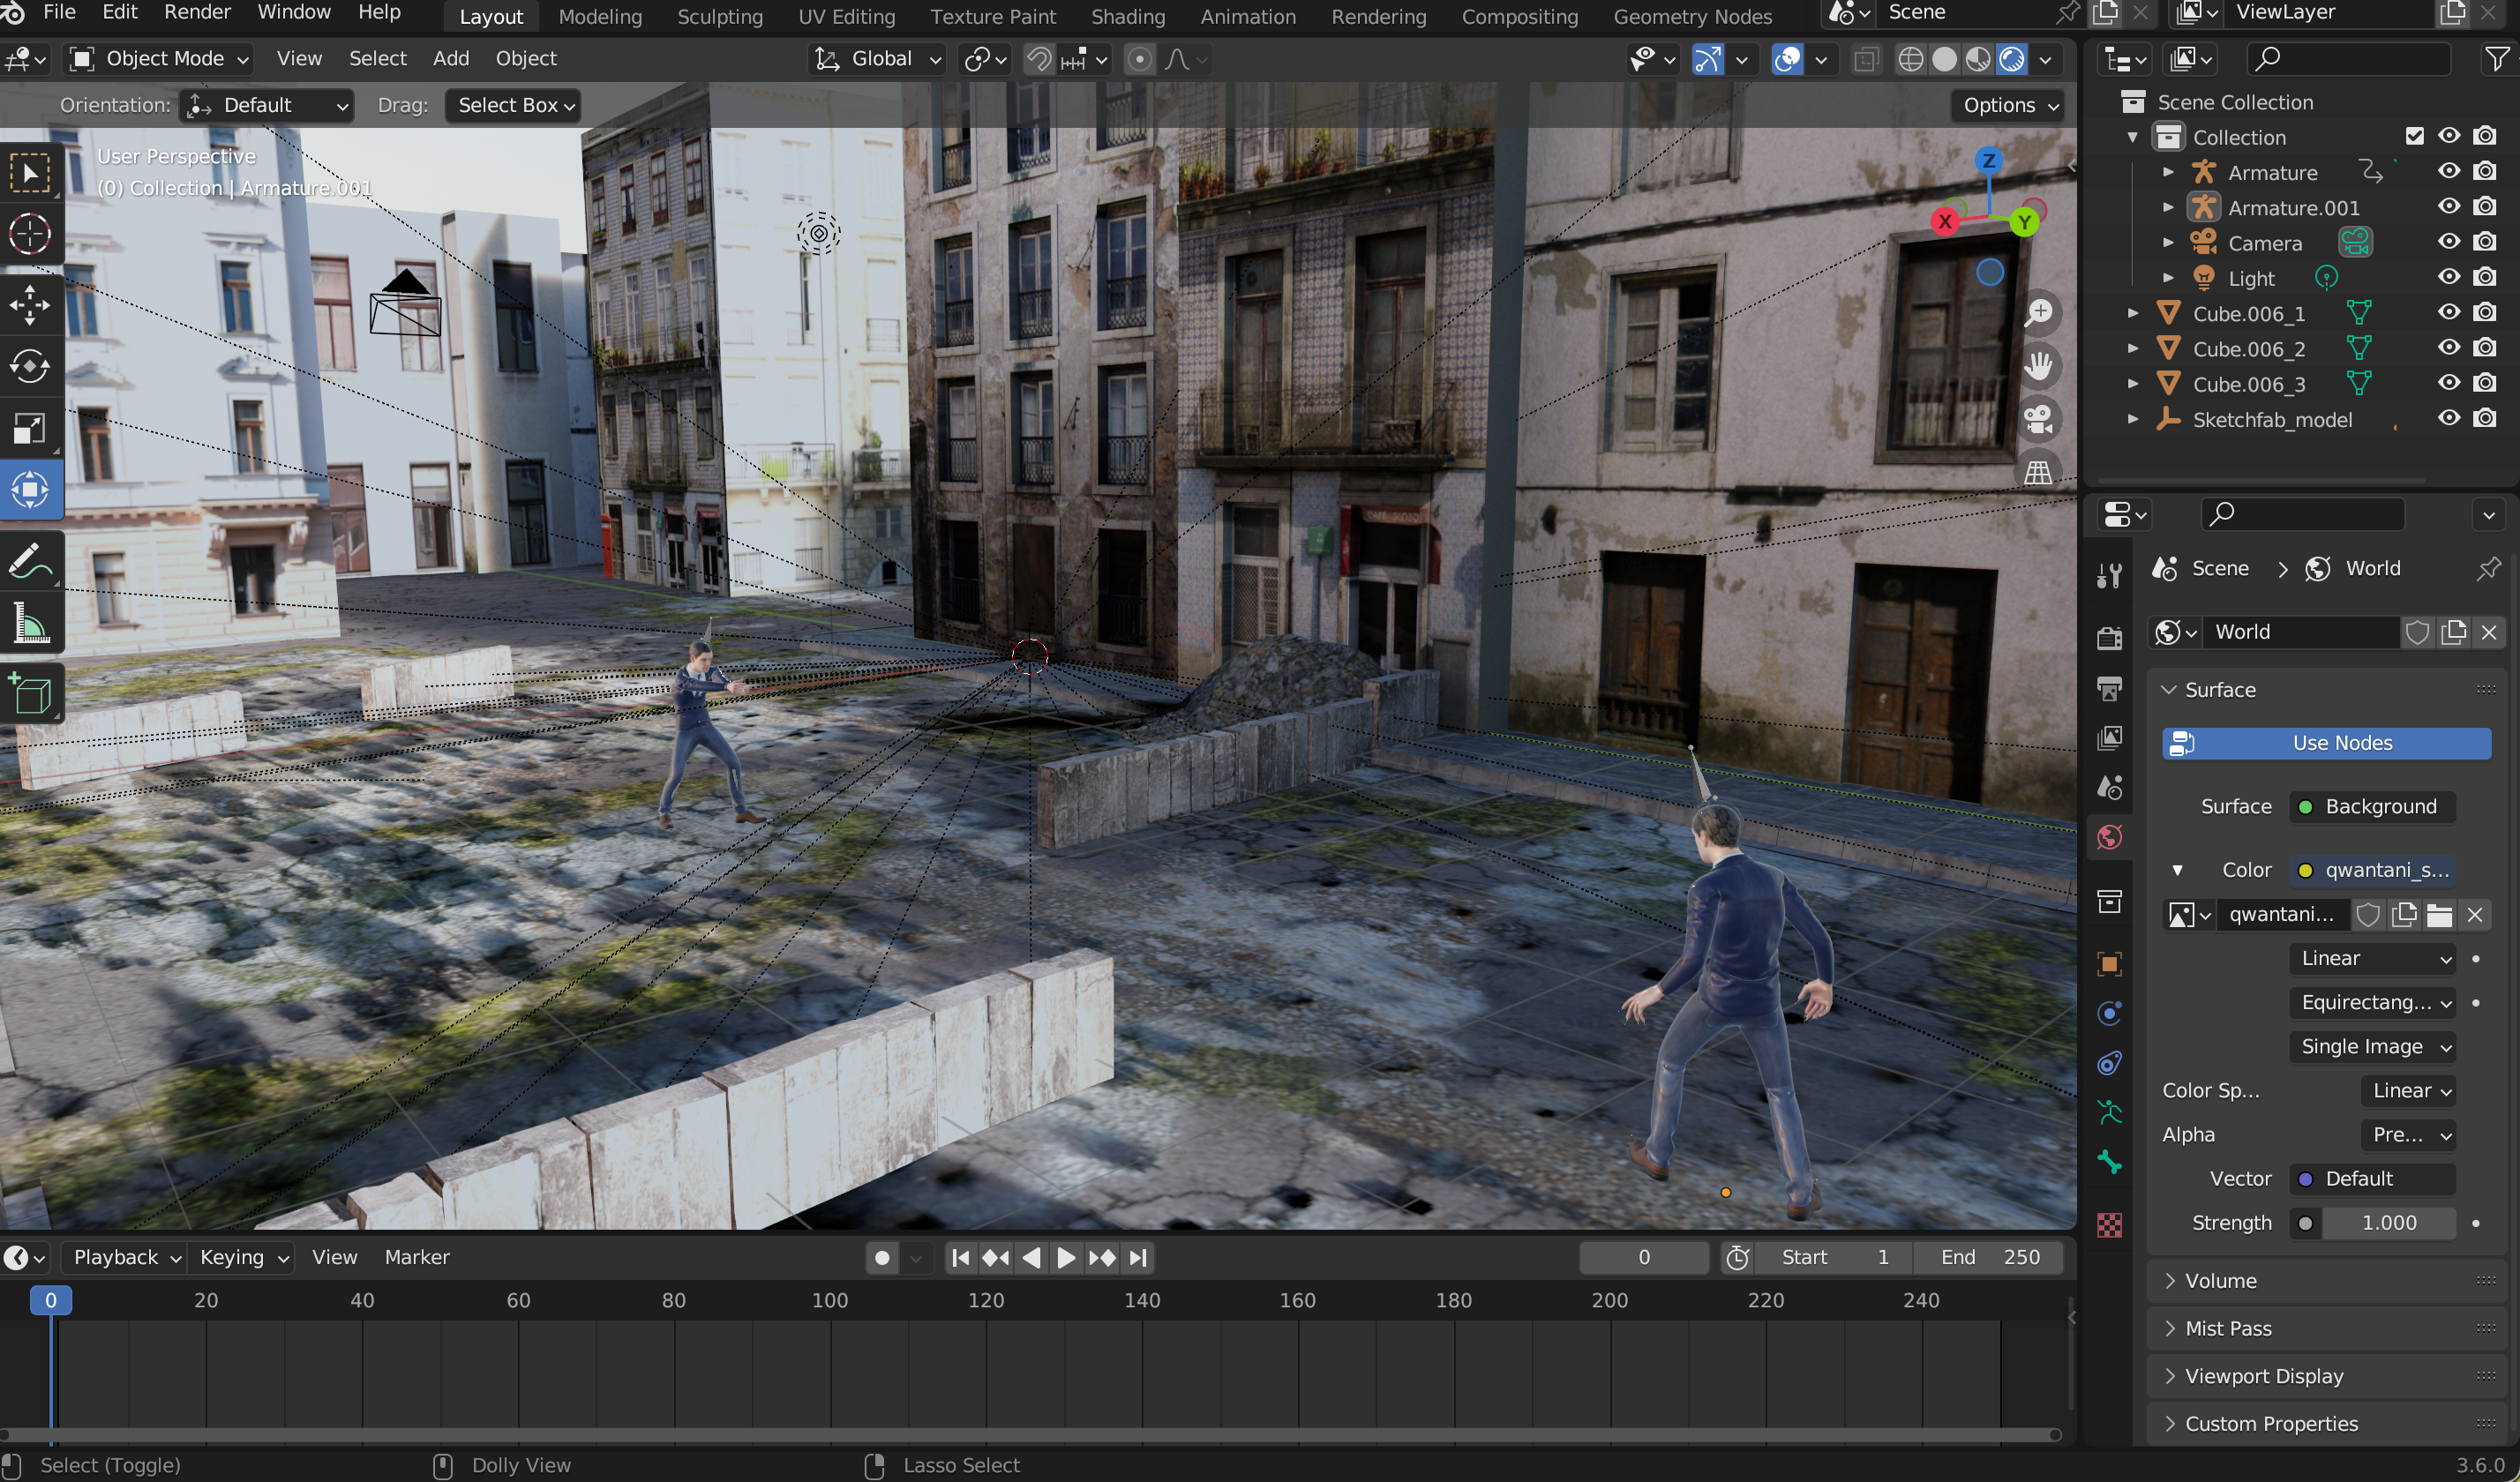
After downloading the HDRI from Poly Haven, I added it directly to the scene as the environment texture. I didn’t tweak the lighting, colors, or any other settings — I left it exactly as it came. Even without adjustments, it immediately transformed the look and feel of the scene. The HDRI provided natural, realistic lighting, giving depth to the city and subtle reflections across surfaces. The way the light interacted with the buildings, streets, and windows made the environment feel more alive, even though the city itself was static and mostly cleared of clutter.
The beauty of using an HDRI like this is that it handles multiple layers of lighting at once. Instead of placing separate lamps or trying to guess how sunlight or sky reflections would fall, the HDRI automatically cast light in all directions. It created soft shadows, gentle highlights, and realistic ambient illumination, all in one simple step. This helped the floating characters stand out while still feeling part of the same world, because the light naturally wrapped around them, emphasizing contours and giving them a sense of volume.
Even though I didn’t modify the HDRI in any way, it added a subtle sense of atmosphere and scale. The city felt expansive without needing extra lights, and the height of the floating characters above it became more pronounced. The HDRI essentially set the stage for the bullet-time action, giving everything a cinematic backdrop that looked polished and visually interesting right away.
By relying solely on the HDRI, I was able to focus on positioning the characters and planning the composition, knowing that the lighting already felt realistic and immersive. It’s a simple step, but it made a big difference — the scene instantly looked more cohesive, dramatic, and ready for the floating, slow-motion action I wanted to capture.
Finding the Gun
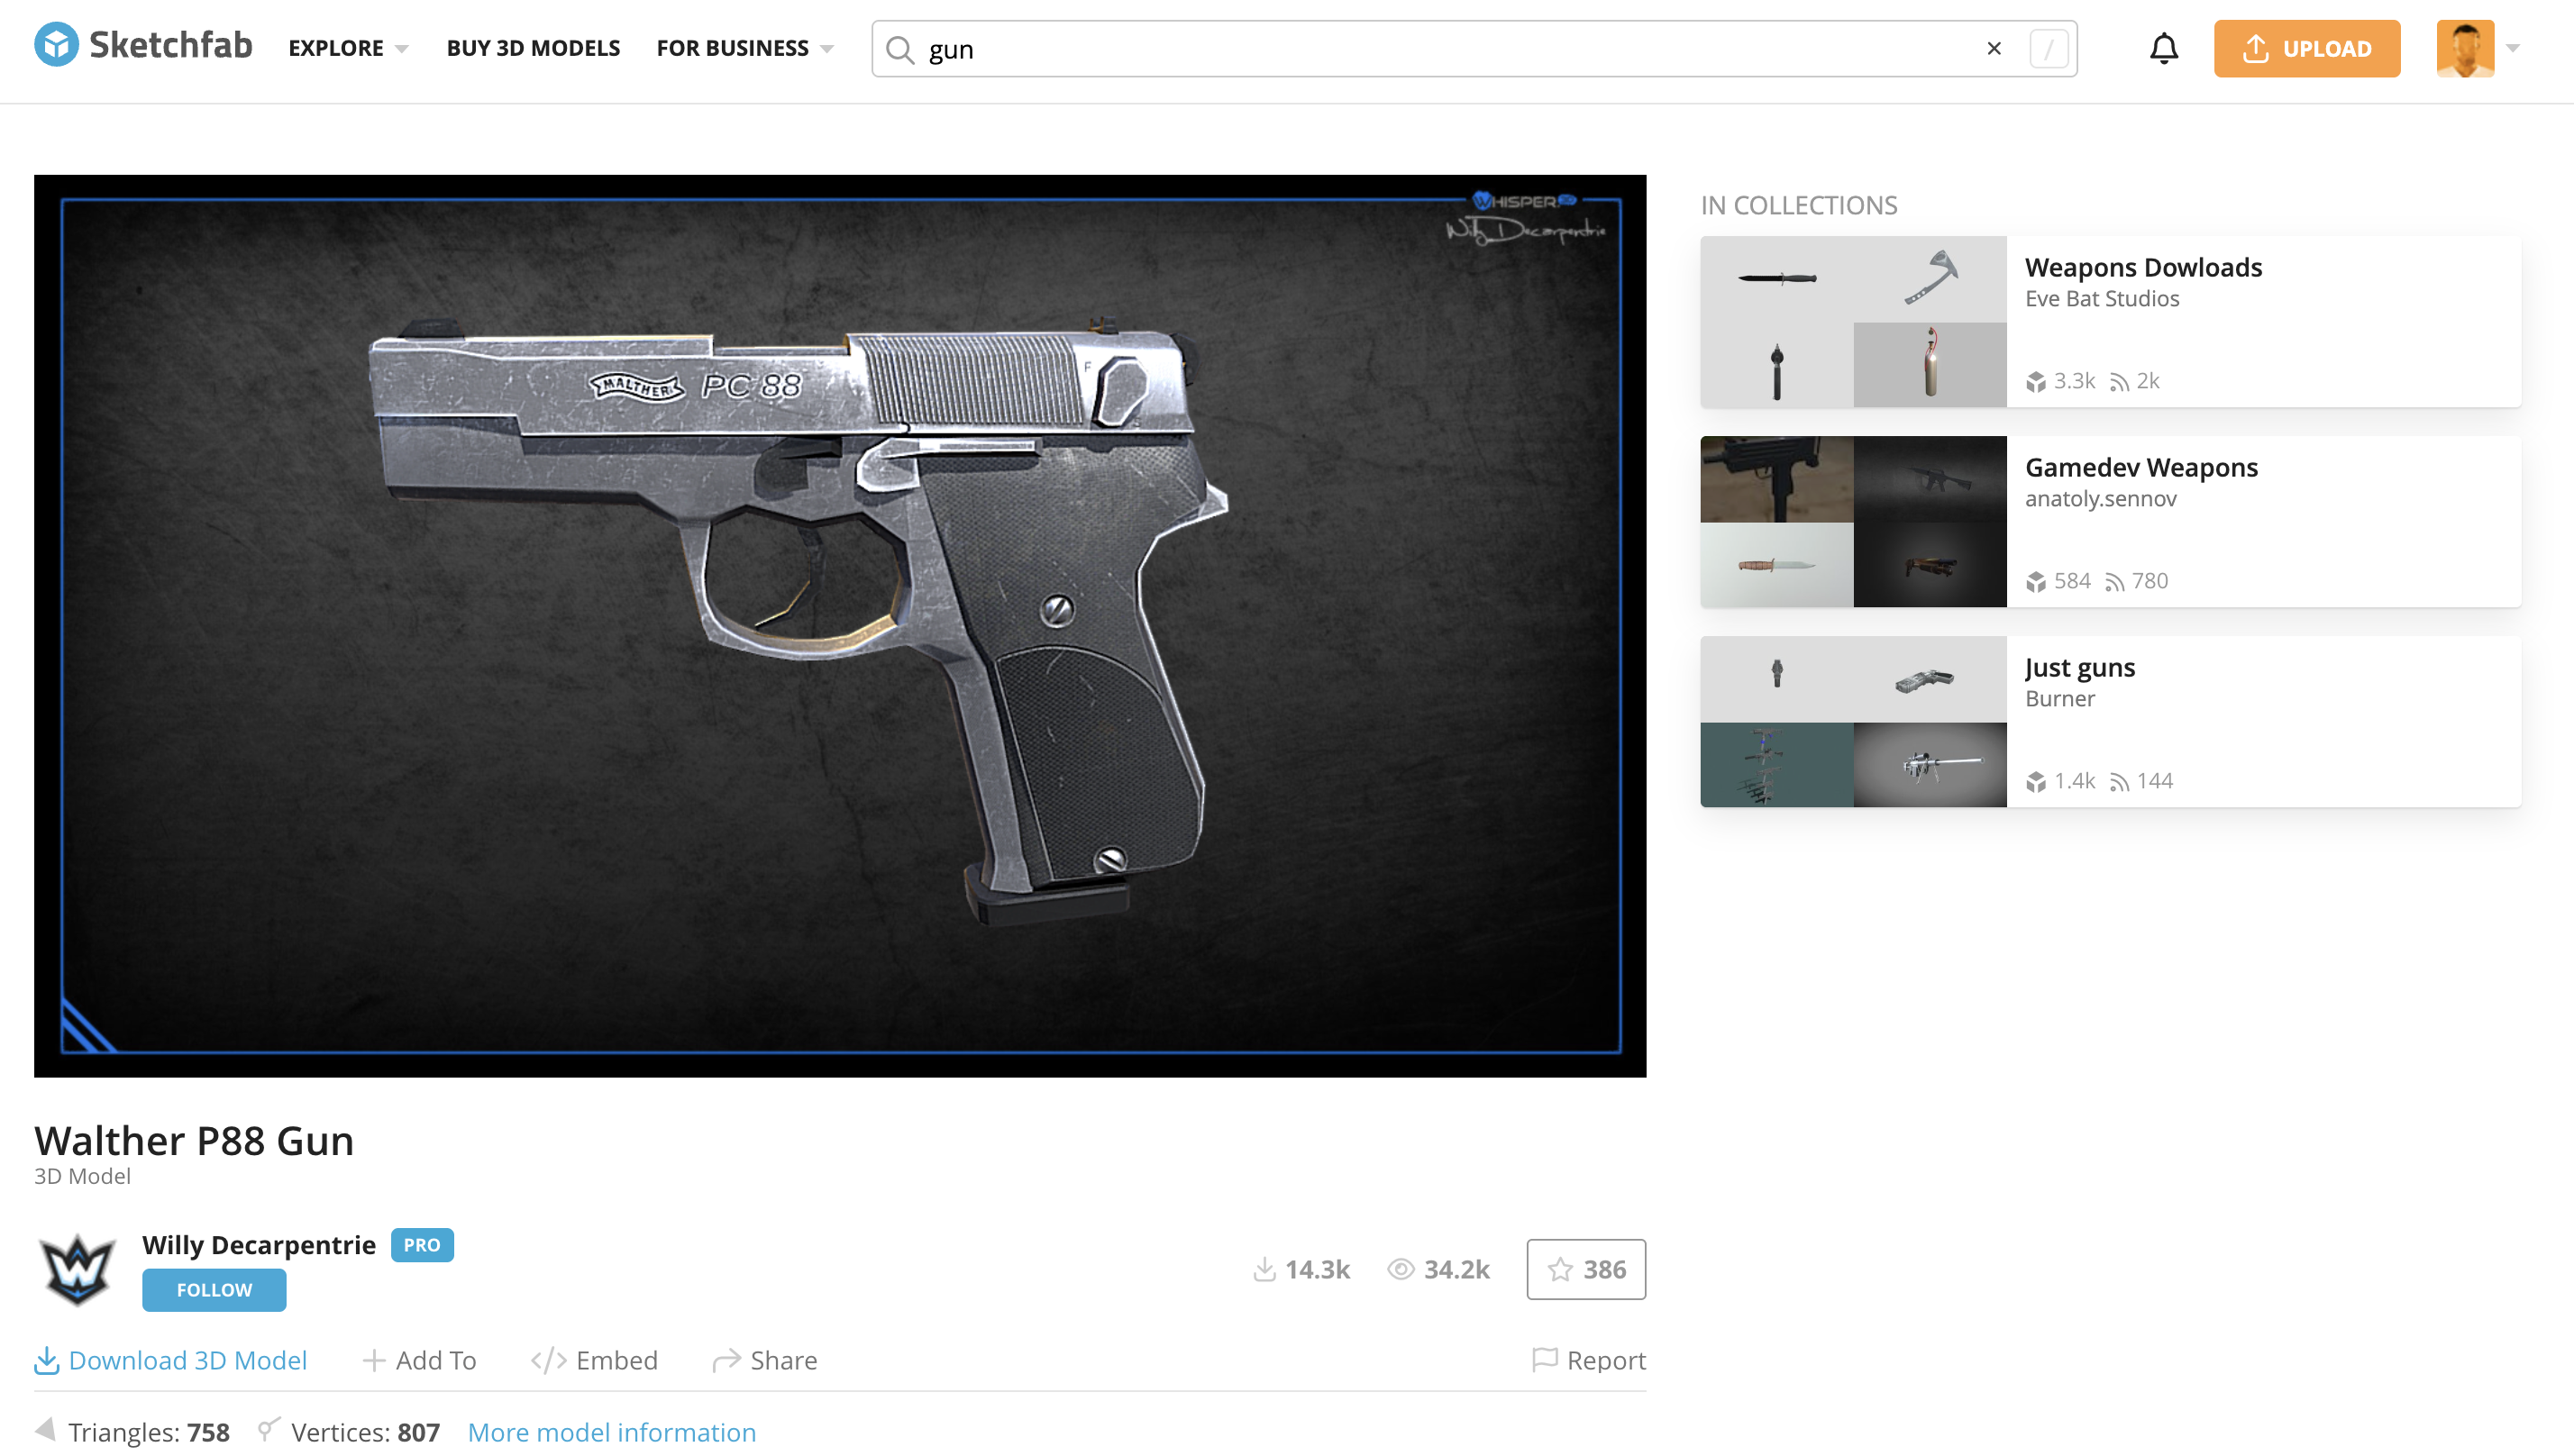
After setting up the characters and city, I needed a gun model for the secondary character to hold. I turned to Sketchfab, which has a large library of 3D models in various styles. I browsed through different options, looking for something that would match the tone of the scene — a standard pistol that looked detailed enough to be believable in close-up, but not so complicated that it would be difficult to work with.
Once I found a model that fit the aesthetic, I downloaded it as a GLB file, which keeps everything — geometry, textures, and materials — in a single package. Using GLB made it easier to import later and reduced the chance of textures breaking. The gun was now ready to be positioned in the secondary character’s hands for the bullet-time animation.
Importing the Gun
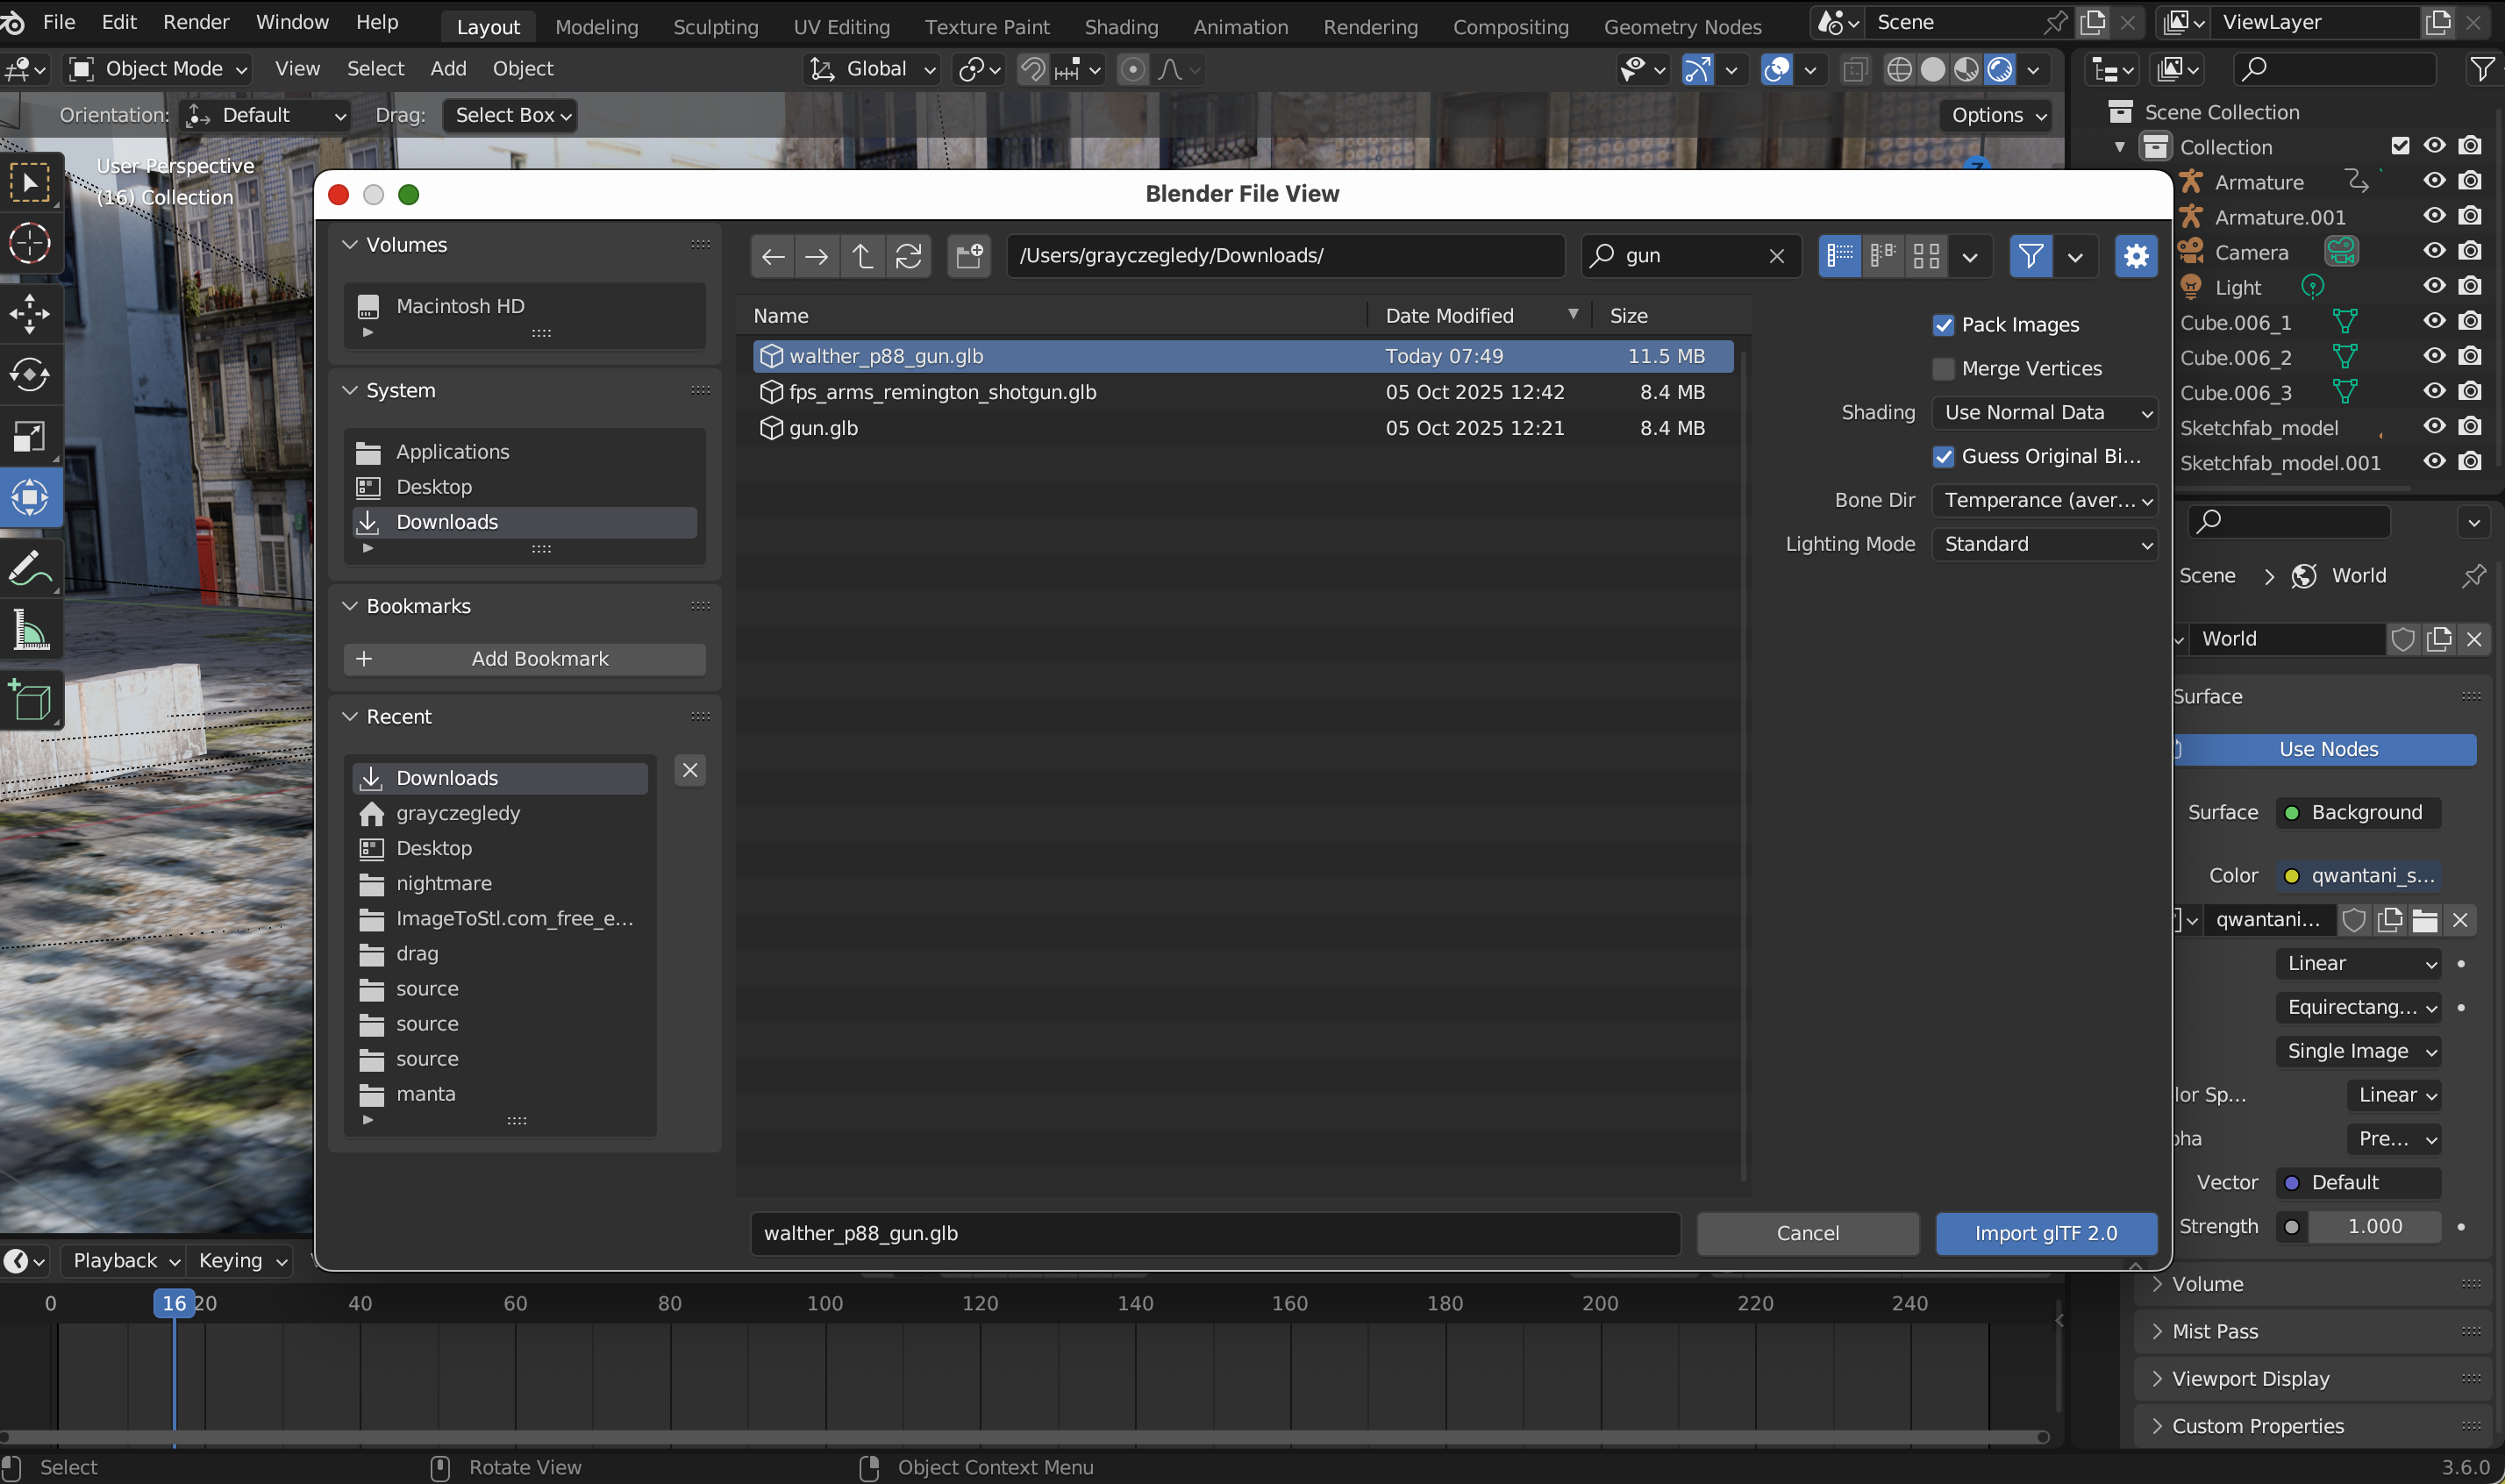
After finding the gun model on Sketchfab, I brought it into Blender to start integrating it into the scene. I had downloaded it as a GLB file, which is convenient because it packages the entire model — geometry, textures, and materials — into a single file. That meant I didn’t have to worry about missing textures or broken links, and the import process was quick and seamless.
Once the gun appeared in Blender, I took some time to position it relative to the secondary character. Even though I wasn’t ready to parent it to the hand yet, placing it roughly in the right spot was important to check scale and proportion. The goal was for the gun to look natural in the character’s grip and consistent with the overall aesthetic of the scene.
I also rotated and scaled it as needed, making sure it lined up with the shooting animation I had applied in Mixamo. This step was crucial because any mismatch in size or orientation could make the character’s pose look awkward once the gun was attached. Having the gun in place allowed me to visualize the final shot better, and it made it easier to plan the next stage — attaching it to the hand bone so it would move naturally with the animation.
Even at this early stage, just having the gun in the scene helped me fine-tune the composition. I could see how the secondary character would interact with the weapon, how it would line up with the trajectory of the bullets, and how it fit within the floating, cinematic world I was building. It was a small step, but it set the foundation for the next stage of the Bullet Time setup.
Parenting the Gun
Once the gun was properly positioned near the secondary character’s hand, the next step was to make sure it would move naturally with the shooting animation. To do this, I needed to parent the gun to the hand bone of the character’s rig. Parenting an object to a bone ensures that it follows the bone’s movement exactly, which is essential for keeping the gun aligned during complex animation, especially in a Bullet Time scene.
Here’s the process I followed:
- Select the Gun First
- I clicked on the gun object in Object Mode. This is important because parenting must be done in Object Mode, not Pose Mode, otherwise Blender won’t let you select bones properly.
- Select the Armature
- Holding Shift, I then selected the character’s armature (the skeleton). Now both the gun and the armature were selected.
- Initiate Parenting
- I pressed Ctrl + P, which brings up Blender’s parenting menu.
- Choose the Correct Option
- From the menu, I selected Bone, which tells Blender to attach the object to a specific bone instead of the whole armature.
- Blender then asked which bone to parent to — I selected the hand bone (hand.R or hand.L, depending on which hand held the gun).
- Check the Attachment
- Once parented, the gun moved along with the hand bone when I switched to Pose Mode and rotated or animated the arm.
- At first, there might be a slight offset depending on how the gun was positioned, but this can be adjusted in Object Mode after parenting to align perfectly with the hand.
- Fine-Tuning
- I adjusted the gun’s position and rotation slightly in Object Mode so that it sat naturally in the grip.
- This ensured that when the character animated in Mixamo’s shooting pose, the gun looked firmly held, moving in sync with the hand, without clipping or floating.
By parenting the gun to the hand bone, I created a setup where the weapon would automatically follow the character’s animation, which is especially useful for Bullet Time shots, where the camera might spin or move while the characters and bullets appear frozen in midair. This step made the interaction between the character and the gun feel natural and dynamic.
Finding the Bullet
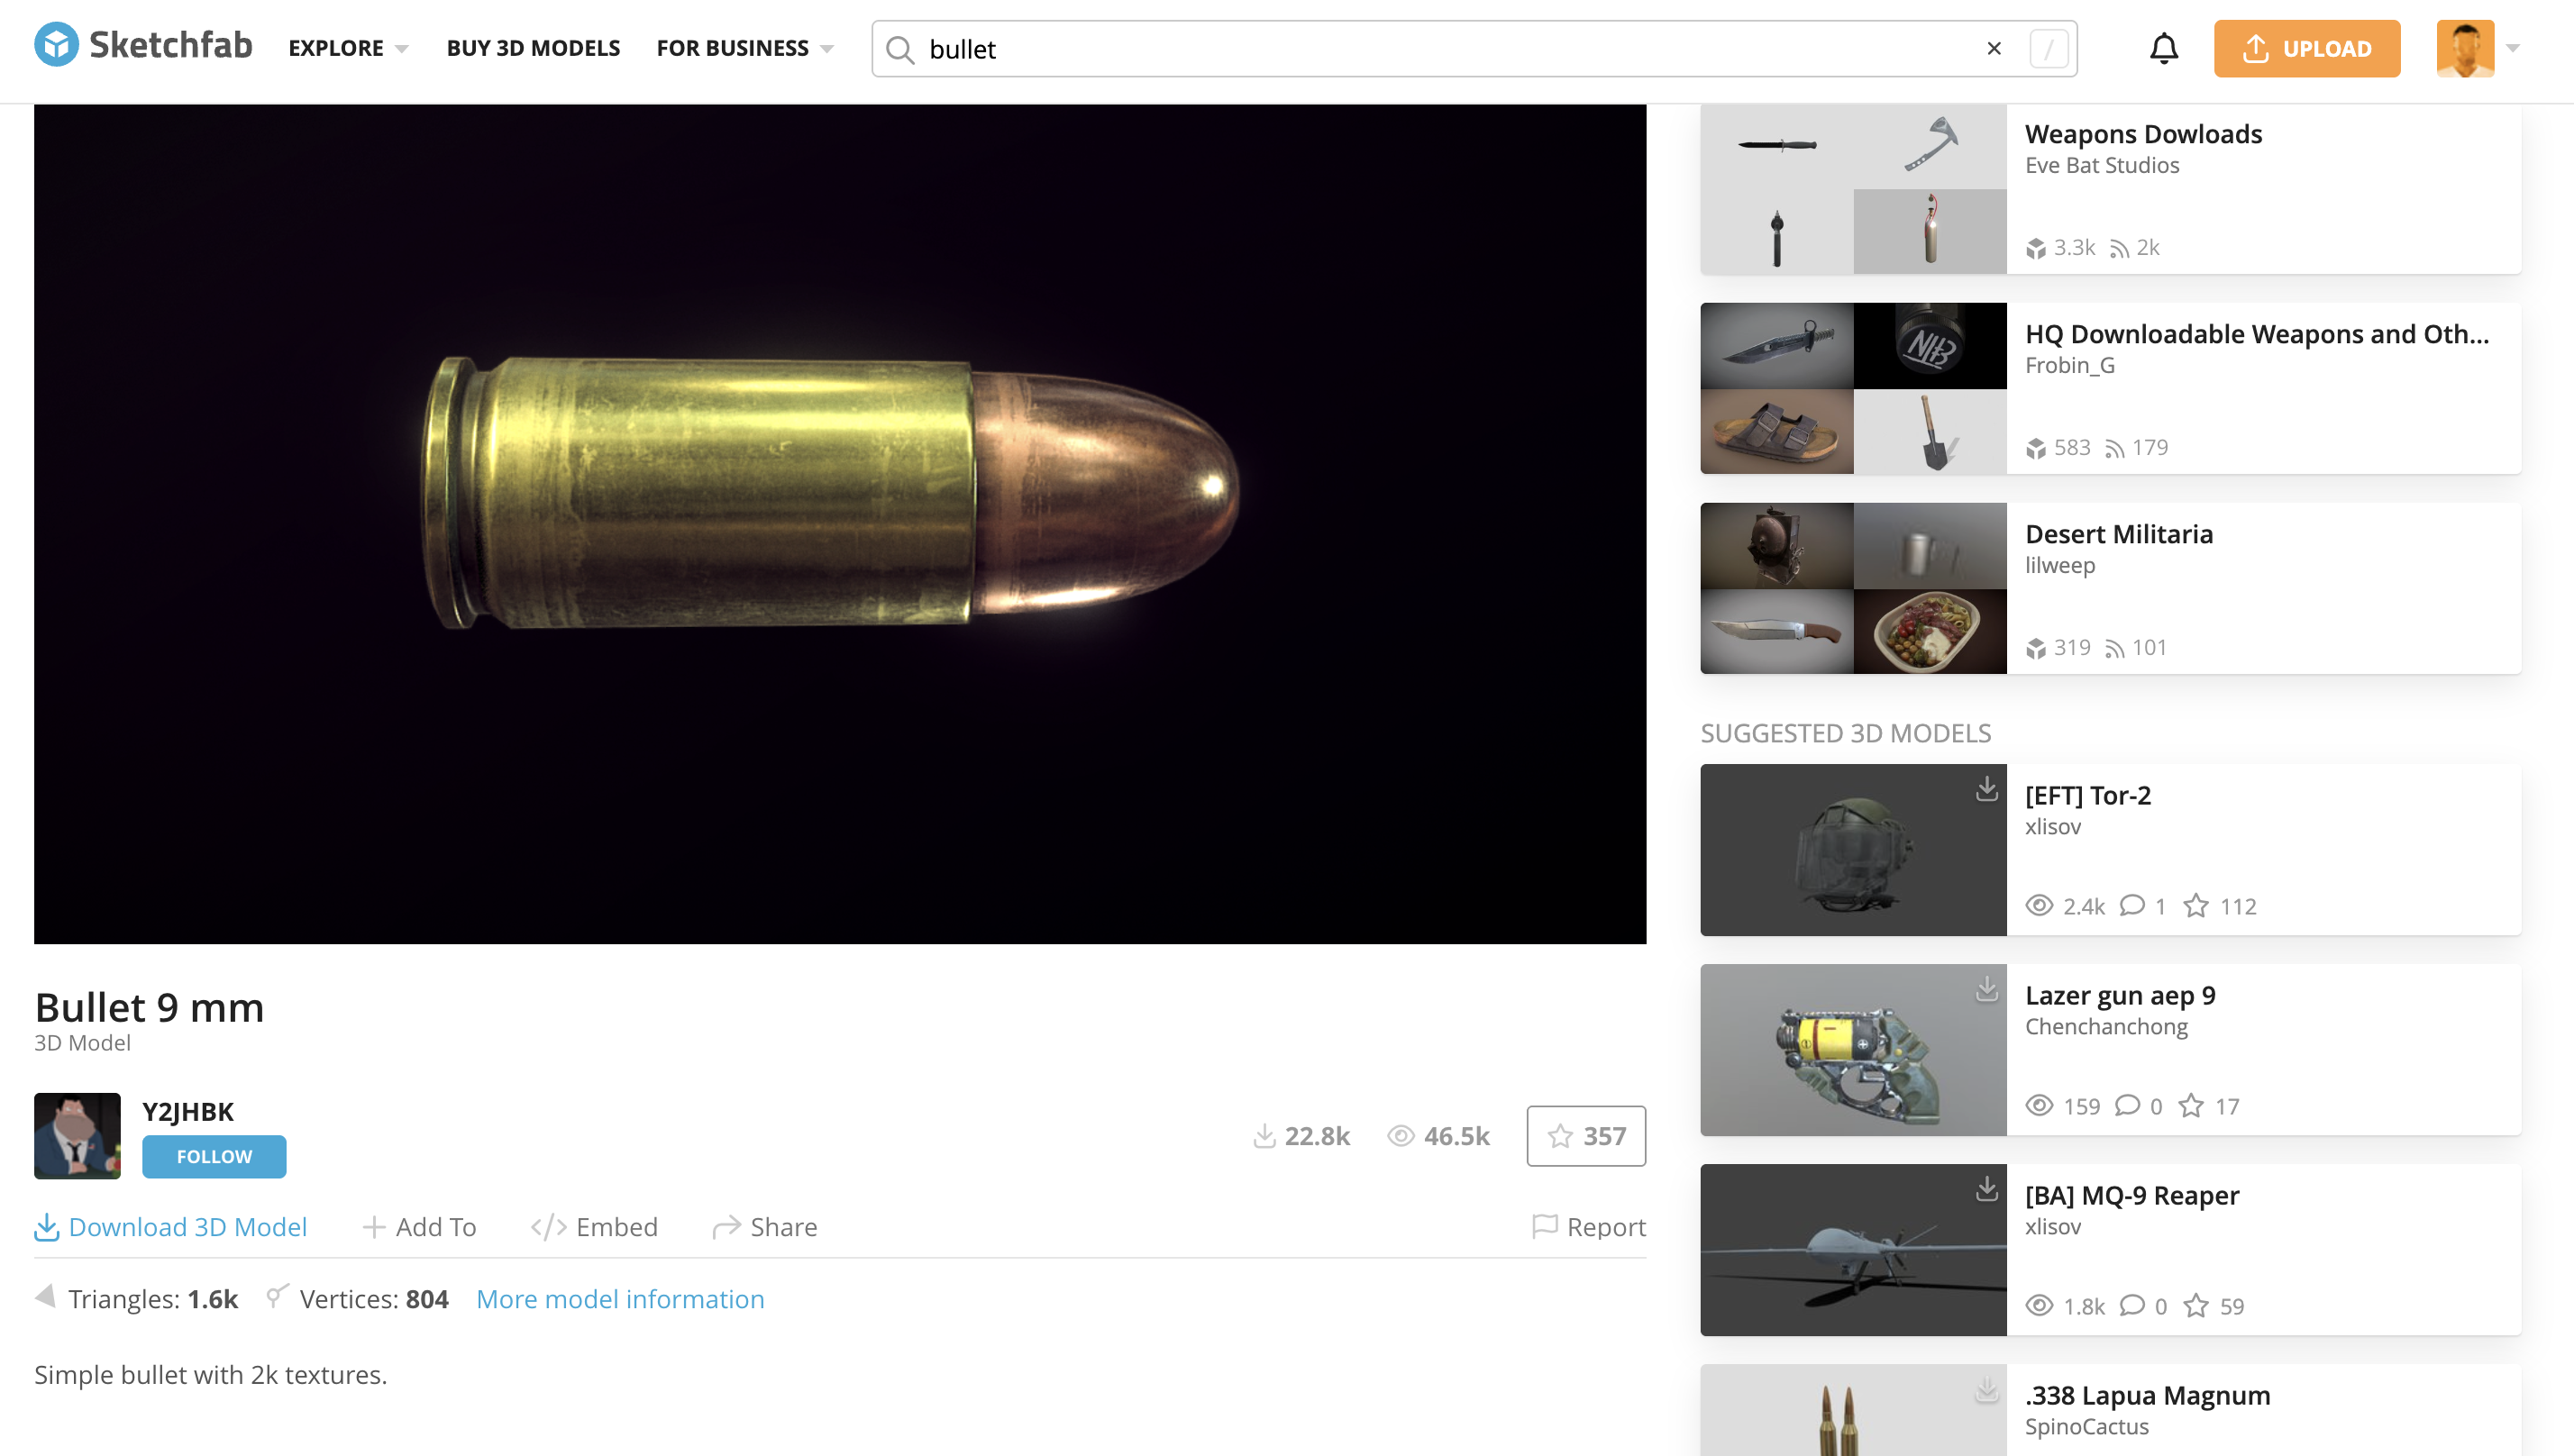
After getting the gun set up, I needed a bullet model to create the projectile effects for the scene. I turned to Sketchfab again, since it has a wide variety of 3D models suitable for quick use in Blender. I searched for “bullet” and looked through the results, focusing on models that were simple, realistic, and lightweight, so they wouldn’t slow down the scene when creating multiple instances for the bullet trails.
Once I found a model that matched the style I wanted — a standard metallic bullet with clear geometry — I downloaded it in GLB format, keeping it as a single file with textures intact. This made it easy to import and use later for the particle trails and the dynamic Bullet Time shots. Having the bullet ready allowed me to start planning the trajectories and timing for the floating midair action.
Importing the Bullet
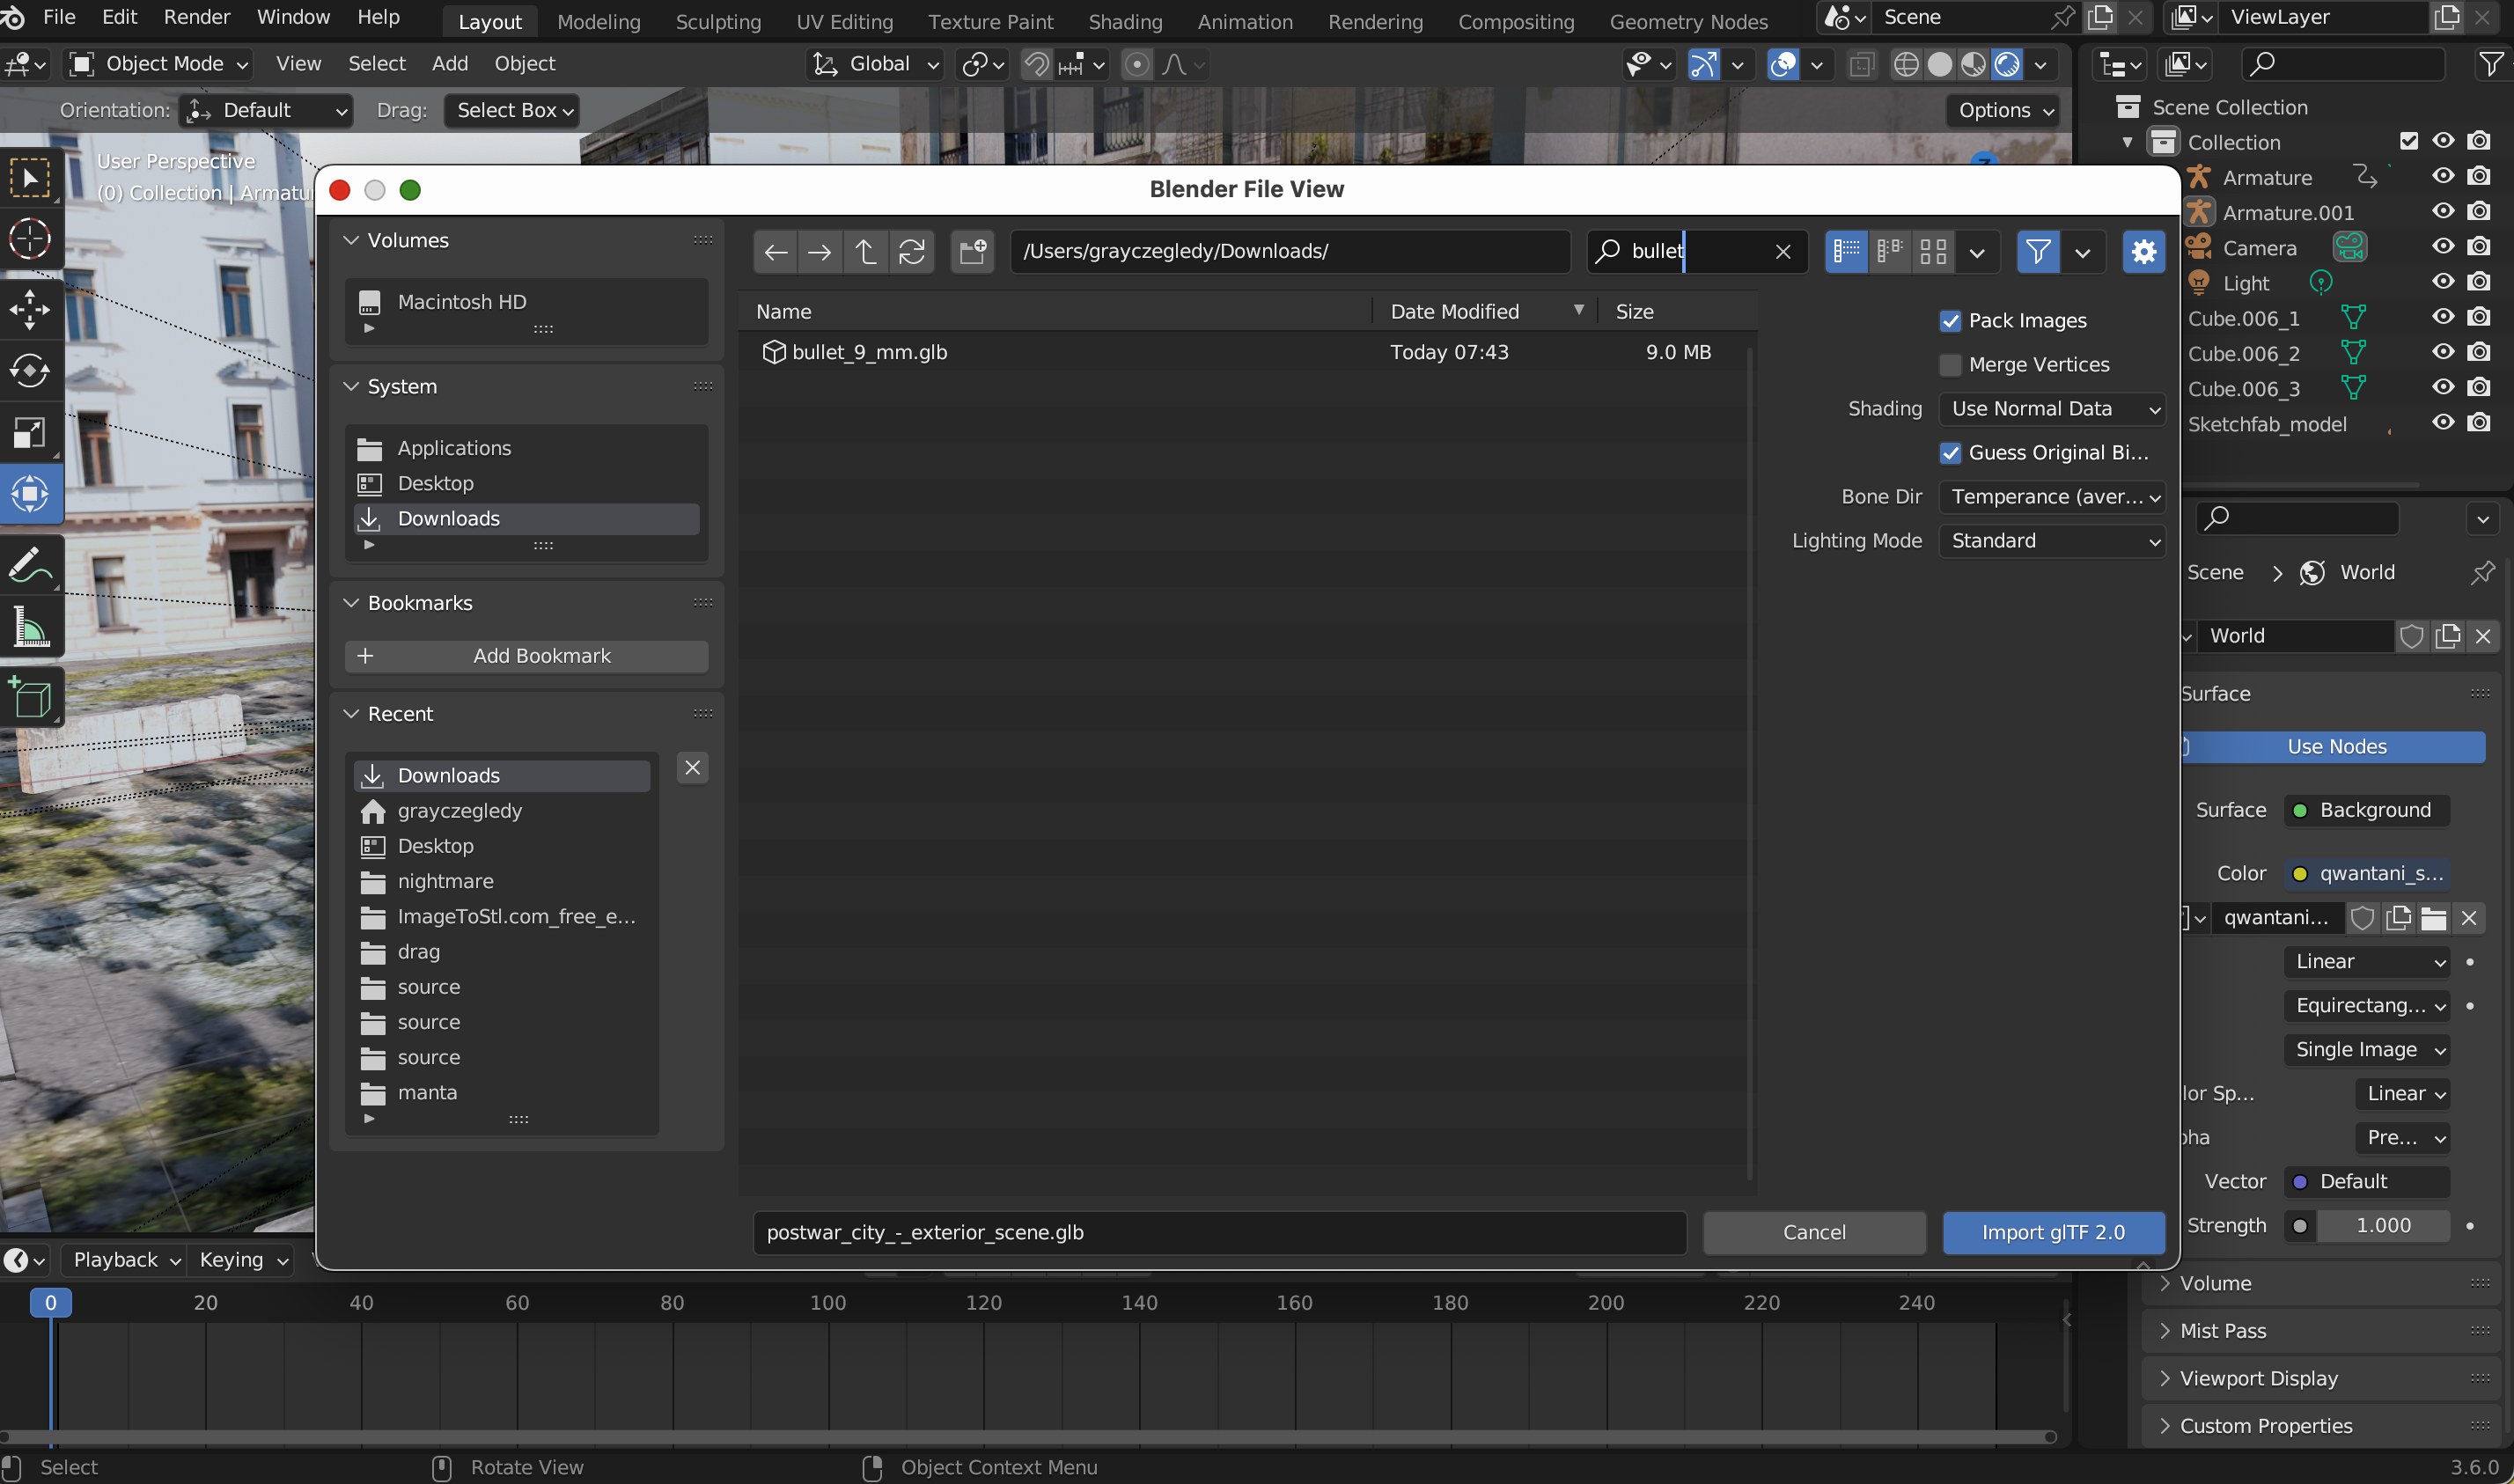
Once I had downloaded the bullet from Sketchfab, I imported it into Blender to start setting up the projectile effects. Since I had chosen the GLB format, the import was straightforward — the bullet appeared as a single object with all its materials and textures already intact, so I didn’t need to fix anything.
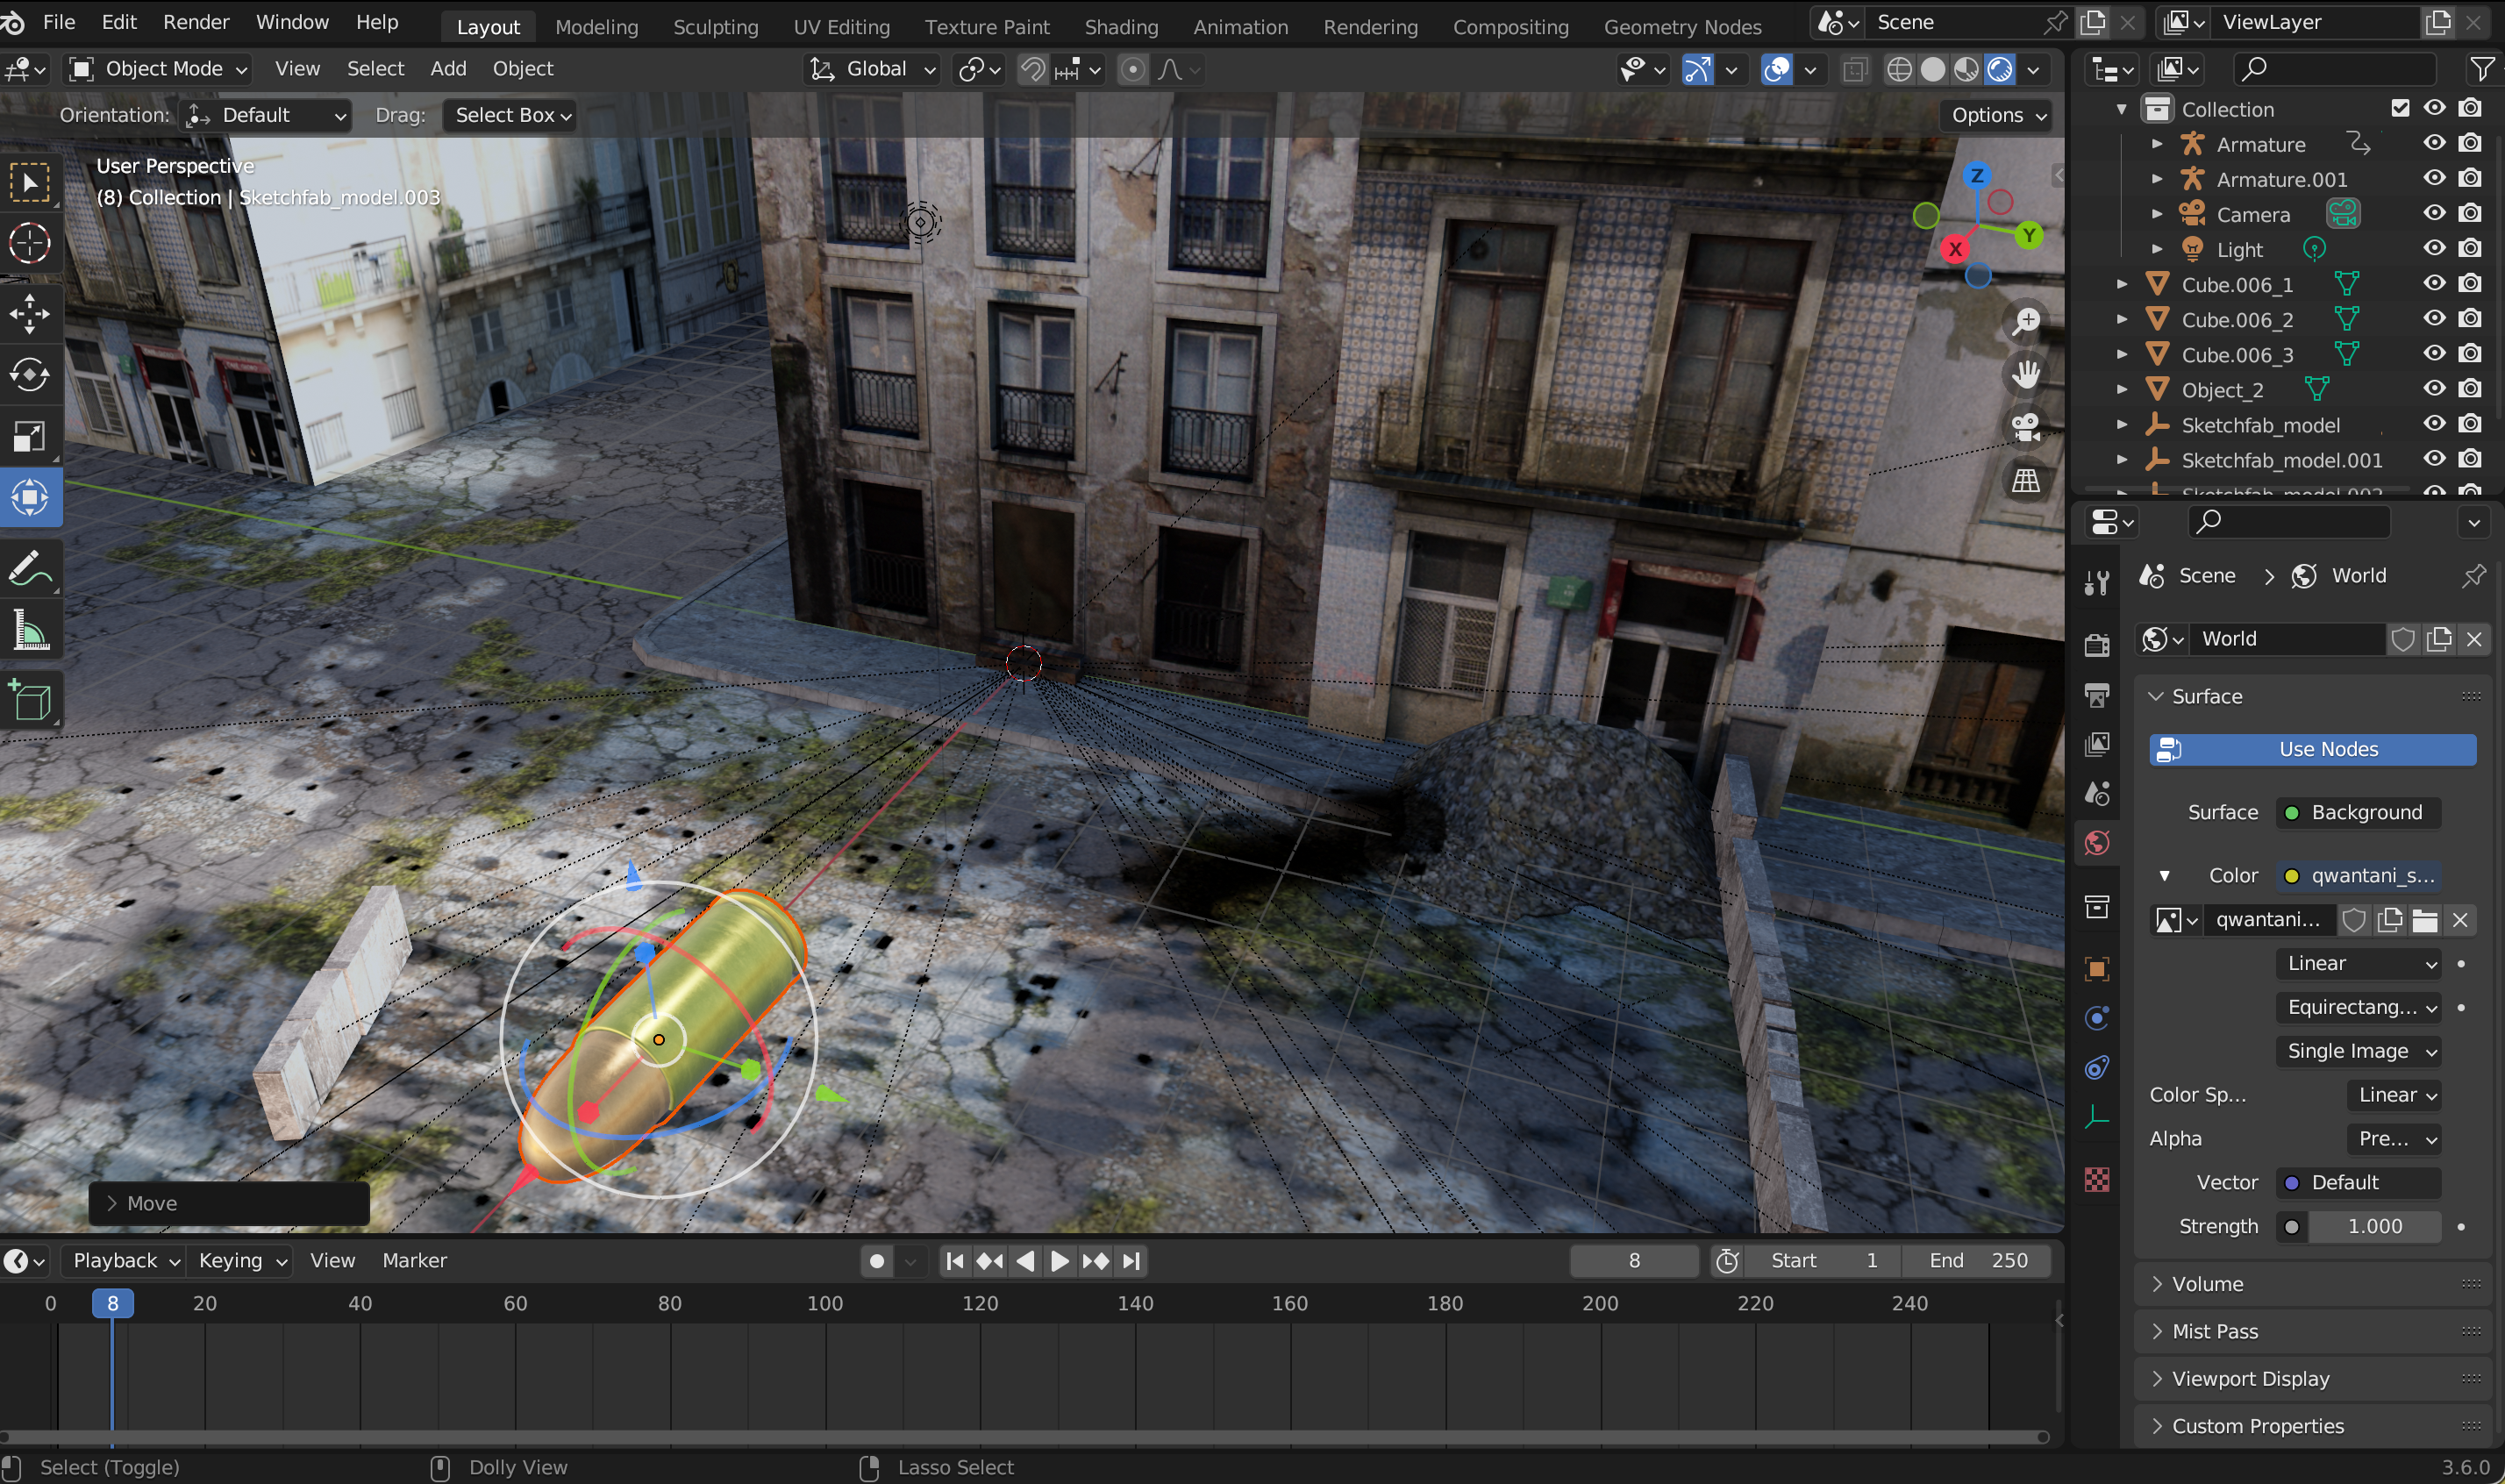
After importing, I scaled the bullet to match the size of the gun and the proportions of the scene. This step was important because the bullet would later be used in particle trails and simulations, and having it properly sized ensured that the motion would look realistic relative to the characters and the environment.
I also positioned the bullet near the gun’s barrel to visualize where it would be fired from. At this stage, the bullet was still static, but placing it correctly helped me plan the trajectory, direction, and spacing for the upcoming Bullet Time effects. Having the bullet imported and ready made it easier to start building the particle system and trails that would bring the scene to life.
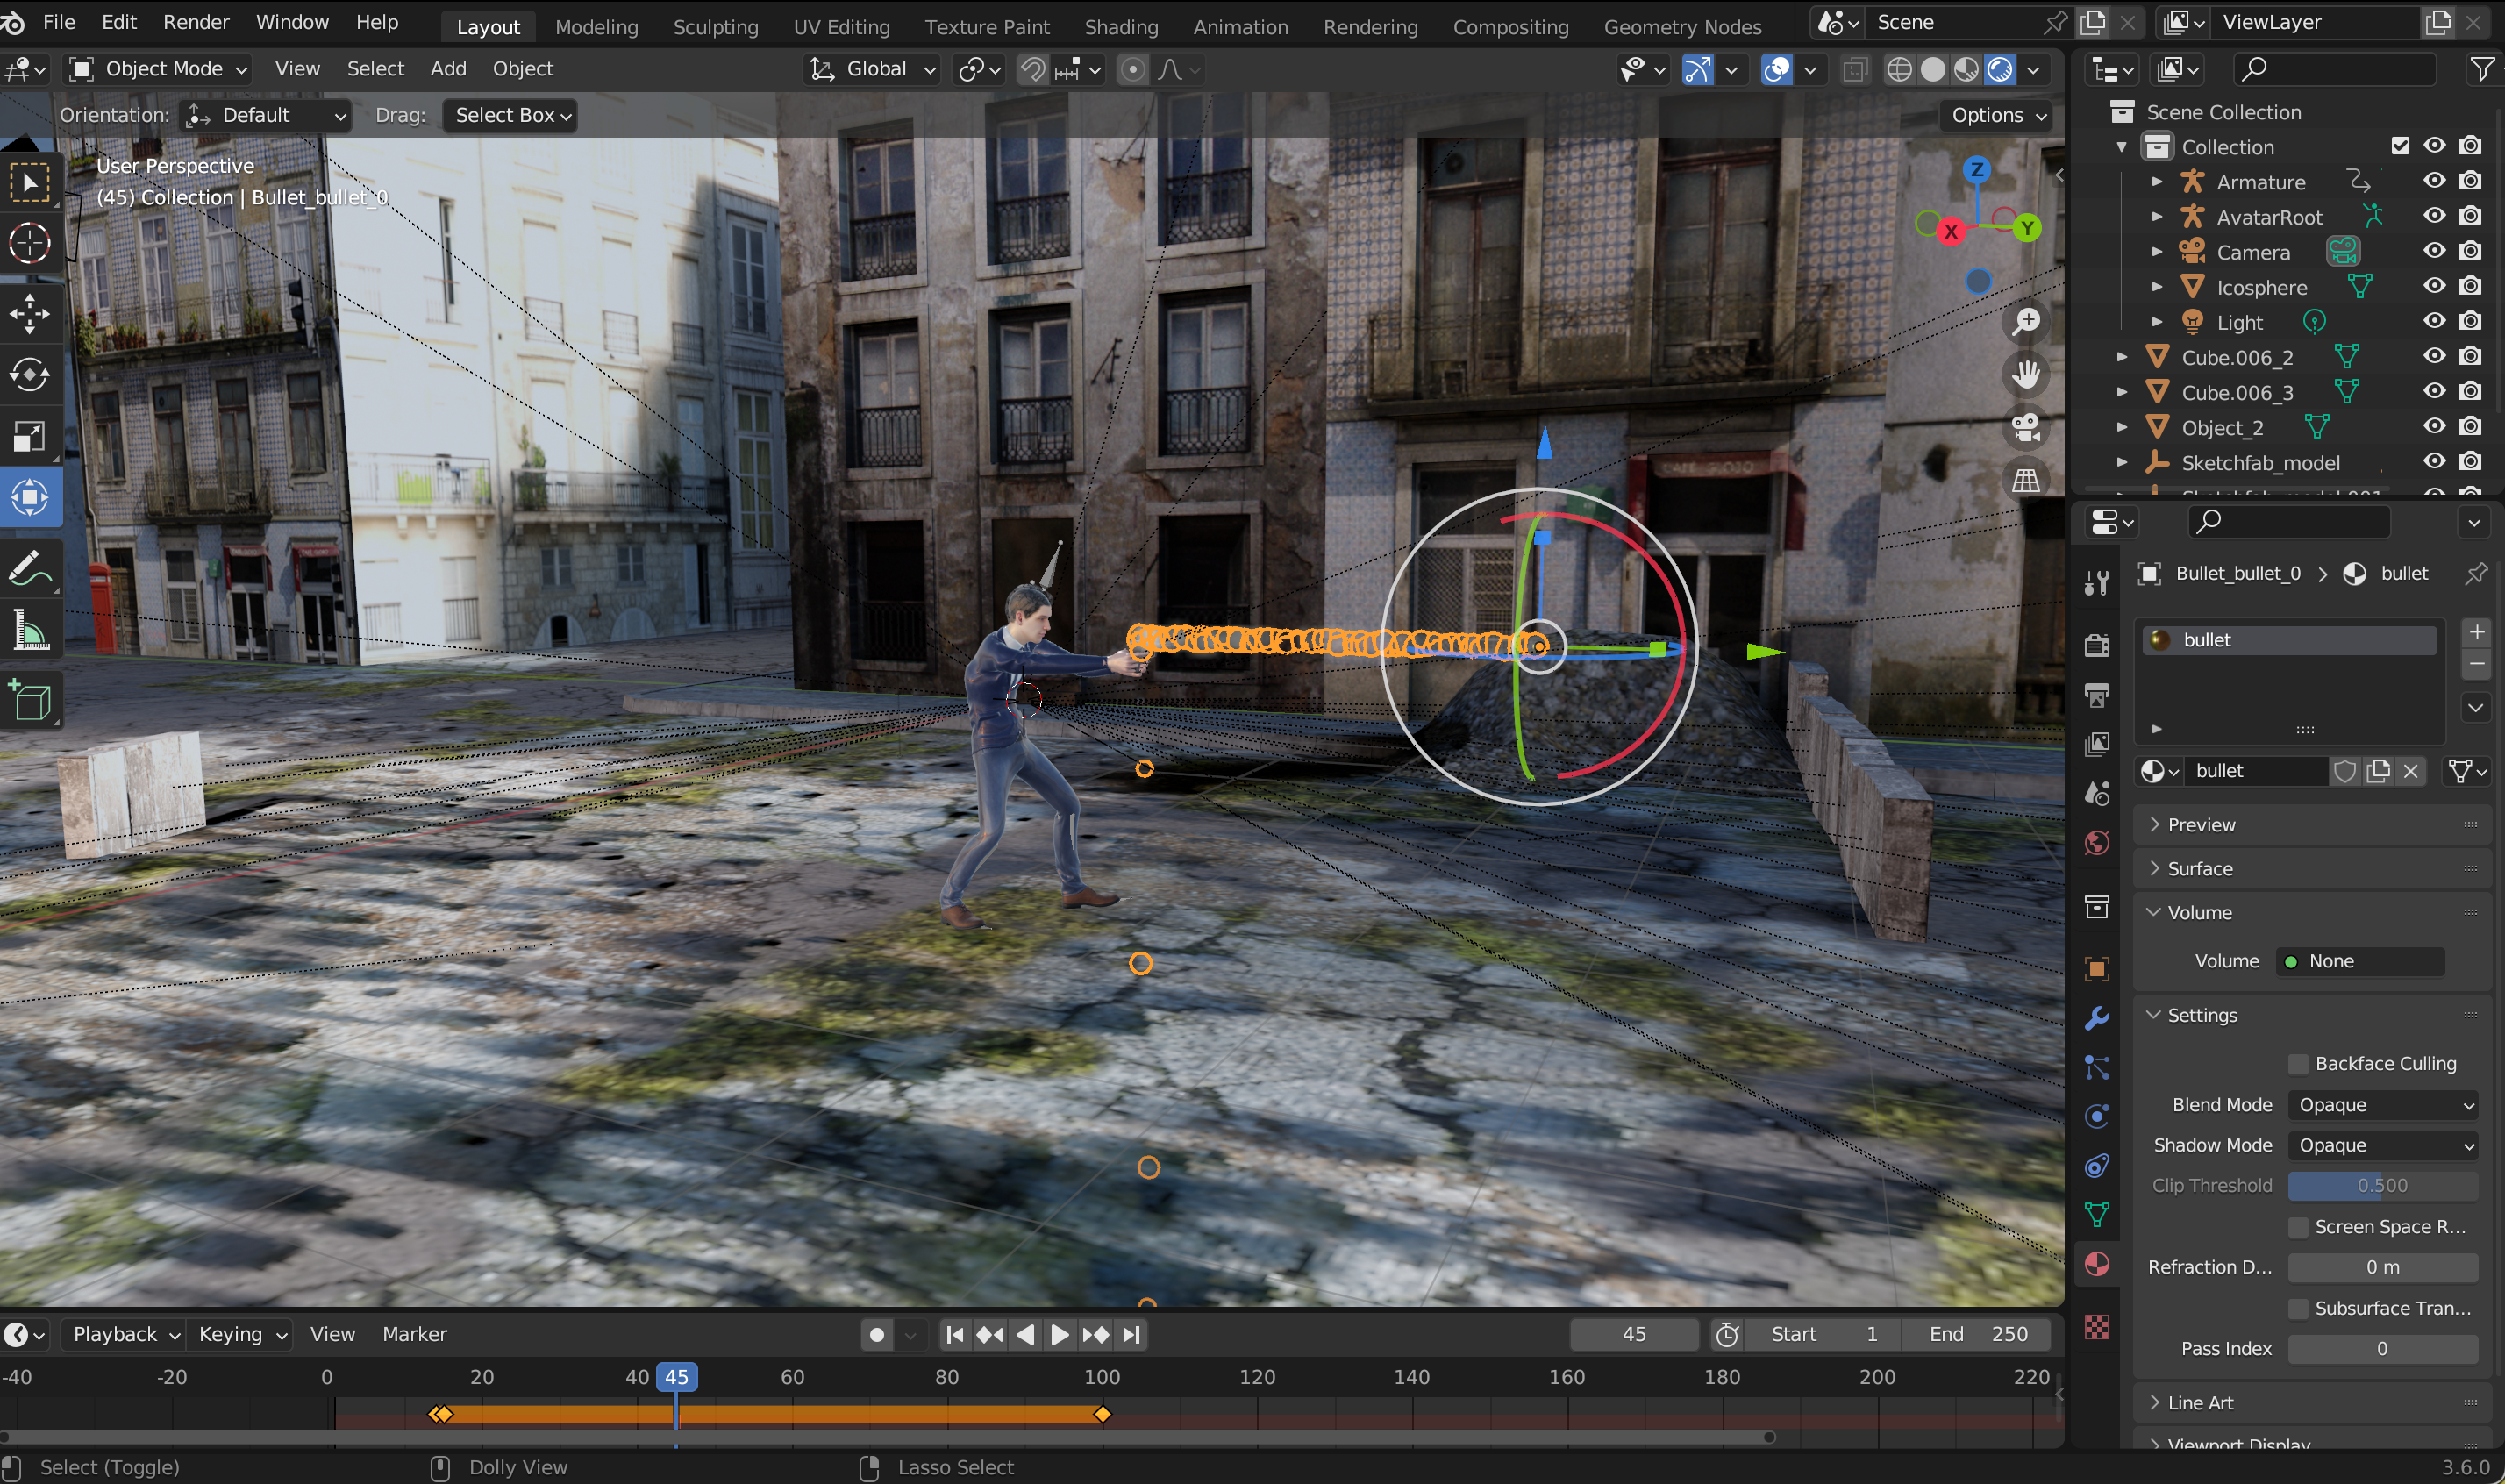
Keyframing the Bullet
After importing and positioning the bullet, I needed to make it move through the scene. I did this by keyframing its location over time, which allowed me to control its trajectory and timing precisely.
First, I placed the bullet at the starting point, right at the gun’s barrel. In Object Mode, I pressed I and chose Location to insert the first keyframe at the frame where the bullet would begin moving.
Next, I moved forward in the timeline to the frame where I wanted the bullet to reach its target or end point. I moved the bullet to that position and pressed I → Location again to insert the second keyframe. Blender automatically interpolated the movement between these two keyframes.
By default, Blender uses Bezier interpolation, which causes acceleration and deceleration. For a bullet, I wanted it to move at constant speed, so I later adjusted the interpolation in the Graph Editor to Linear. This ensured the bullet traveled smoothly without slowing down at the start or end, making the motion appear more realistic in the frozen Bullet Time sequence.
Adding Particle Effects
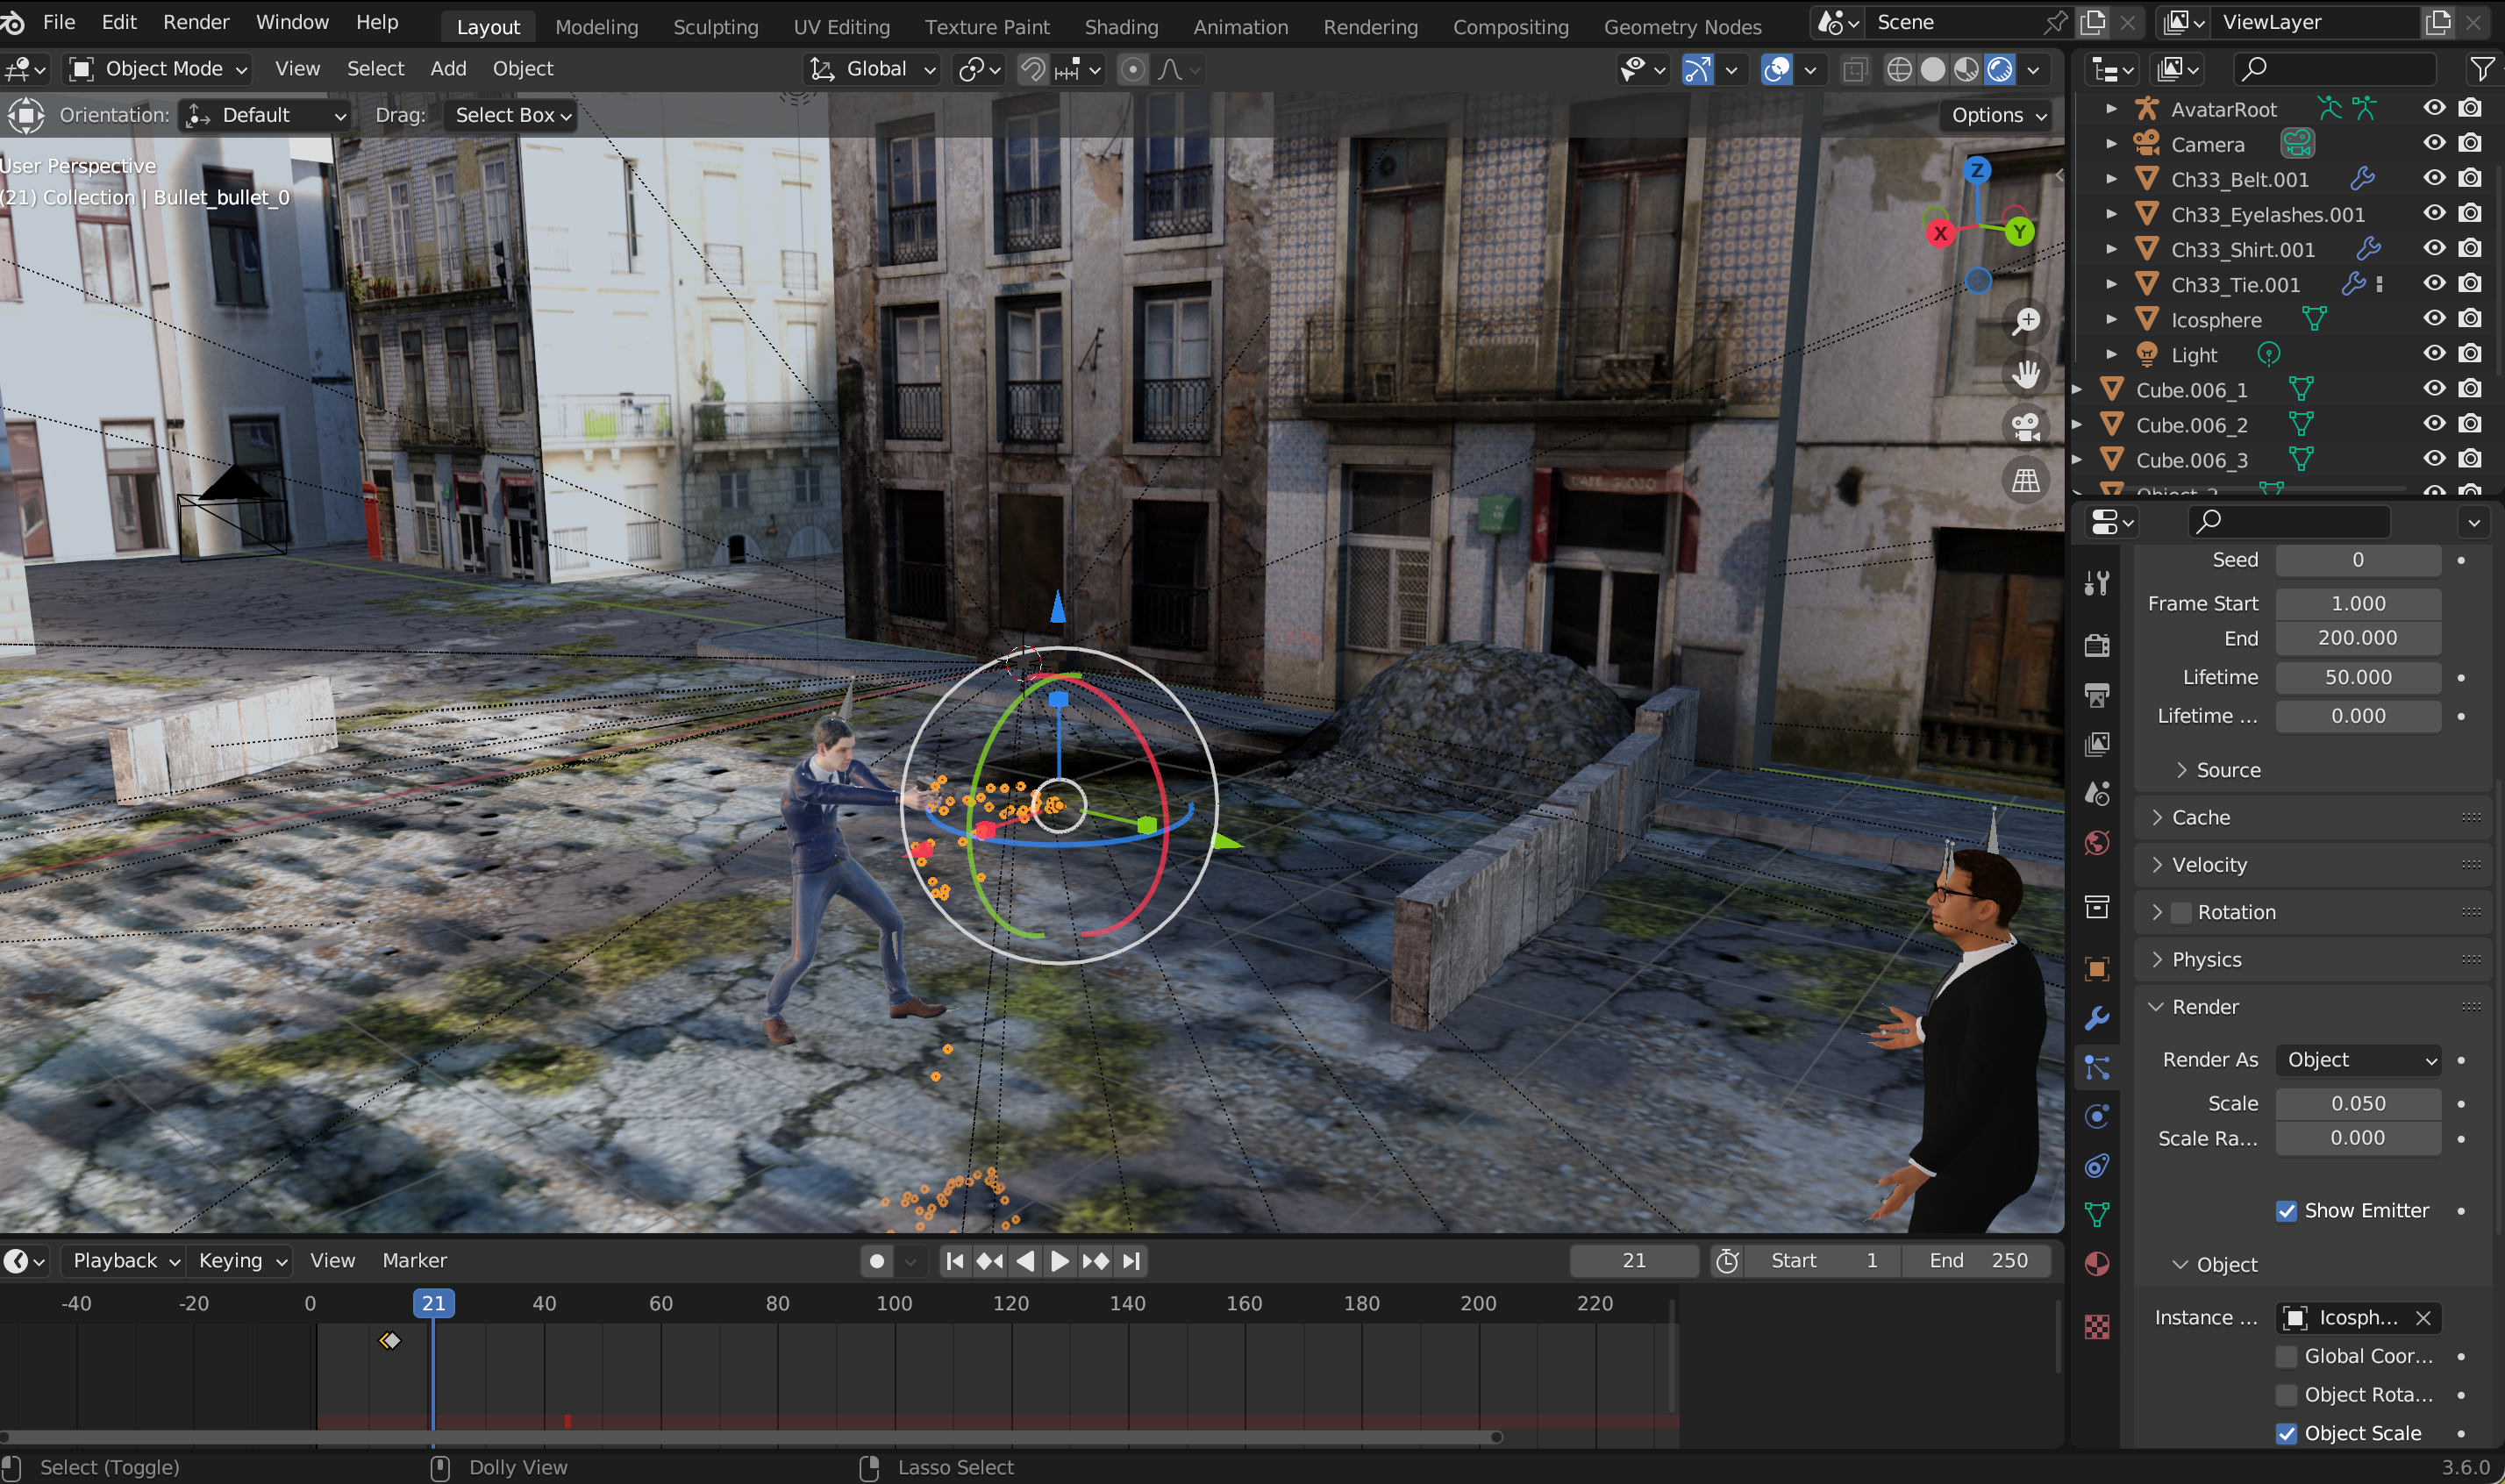
Once the bullet was keyframed, I wanted to give it a visible trail to enhance the Bullet Time effect. To do this, I used Blender’s particle system to create simple motion trails that would follow the bullet as it moved.
I selected the bullet object and added a new particle system in the Particle Properties panel. For this setup, I used emitter mode, which allowed the bullet to emit small particles along its path. I adjusted the lifetime of the particles so that they would appear briefly behind the bullet, creating the illusion of a fast-moving trail frozen in midair.
Next, I scaled the particle size down and set the number of particles to be moderate, so the trail was visible but not overwhelming. I also disabled gravity in the particle settings, because I wanted the particles to float naturally along the bullet’s path without falling, reinforcing the sense of suspended motion.
Rigging the Primary Charecter
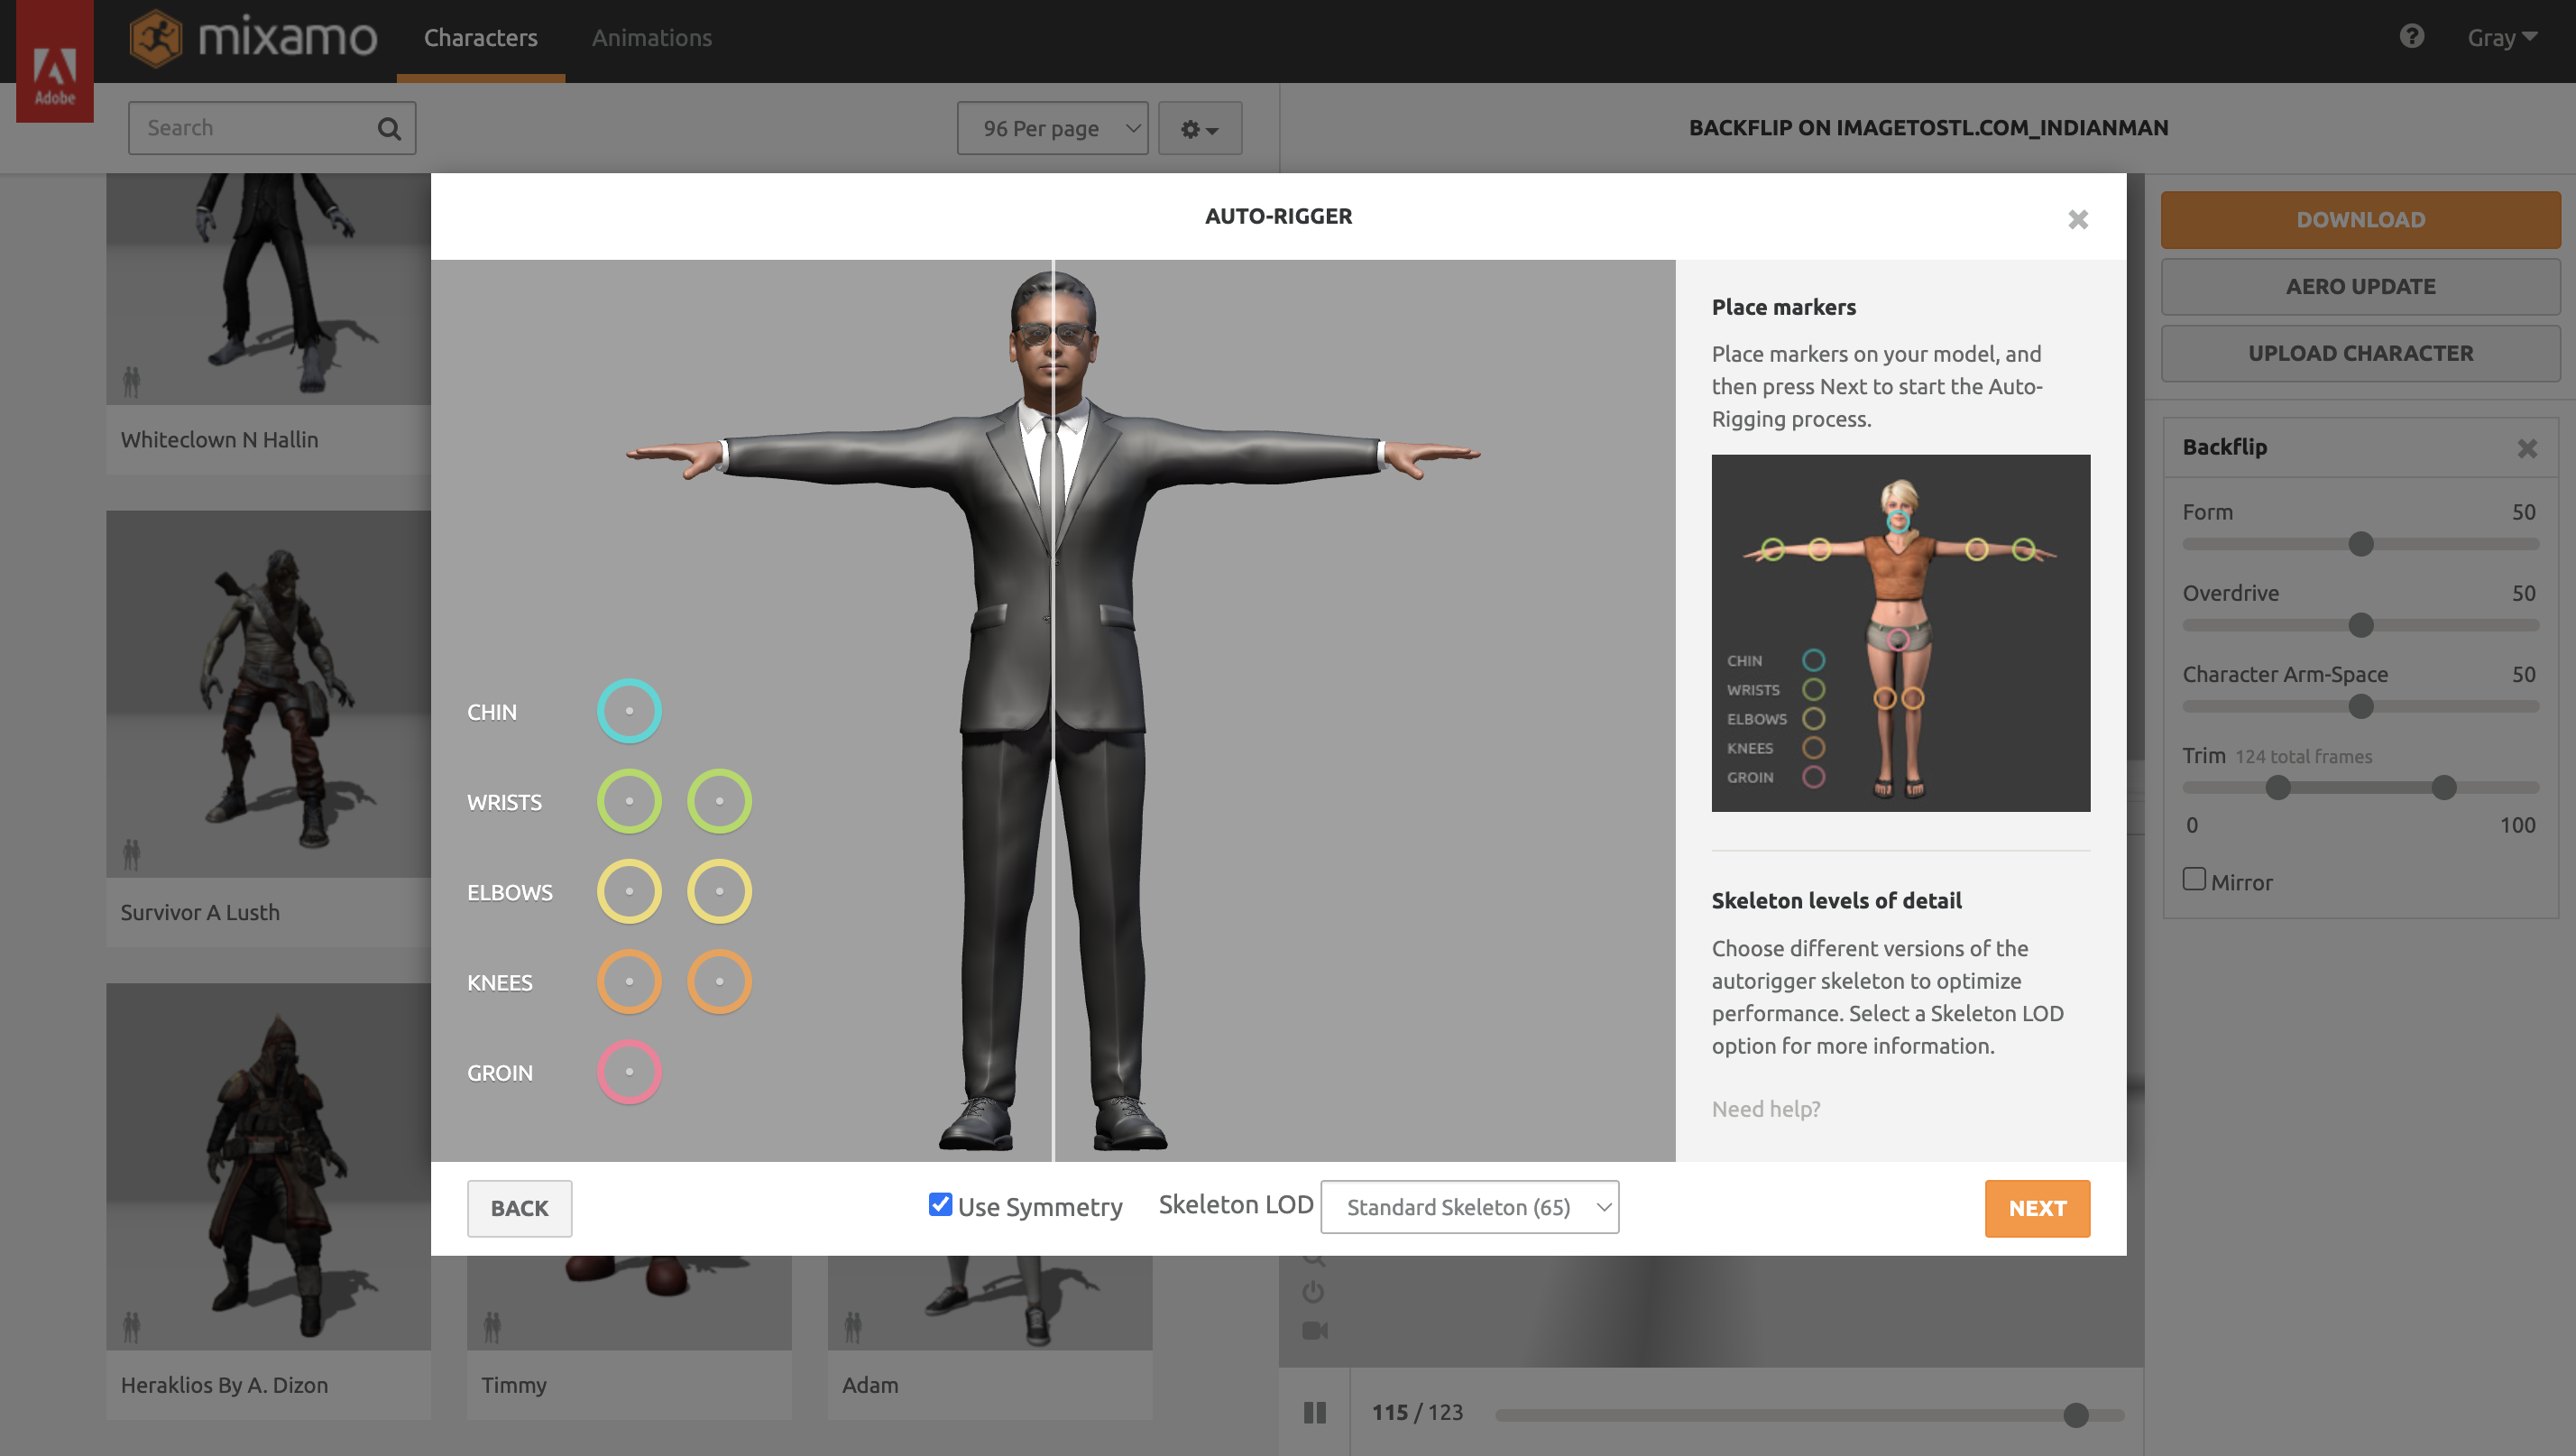
Once the placeholder model of the primary character was in place, I needed to get it ready for animation. I uploaded the model to Mixamo, which automatically generated a rigged skeleton for the character. Mixamo analyzed the mesh and applied a fully functional rig, so the character could be posed or animated without manual weight painting or bone placement.
After the rigging process finished, I tested a few simple poses to make sure the skeleton moved correctly with the mesh. The rig included all the key bones — arms, legs, spine, and head — giving me full control over the character’s motion. With this automatic rig in place, I could download the model as an FBX with skin, ready to be imported back into Blender and posed in the floating Bullet Time stance.
Using Mixamo for rigging saved a lot of time and ensured that the character would deform naturally, which is especially important when creating dramatic midair poses where limbs twist and stretch dynamically.
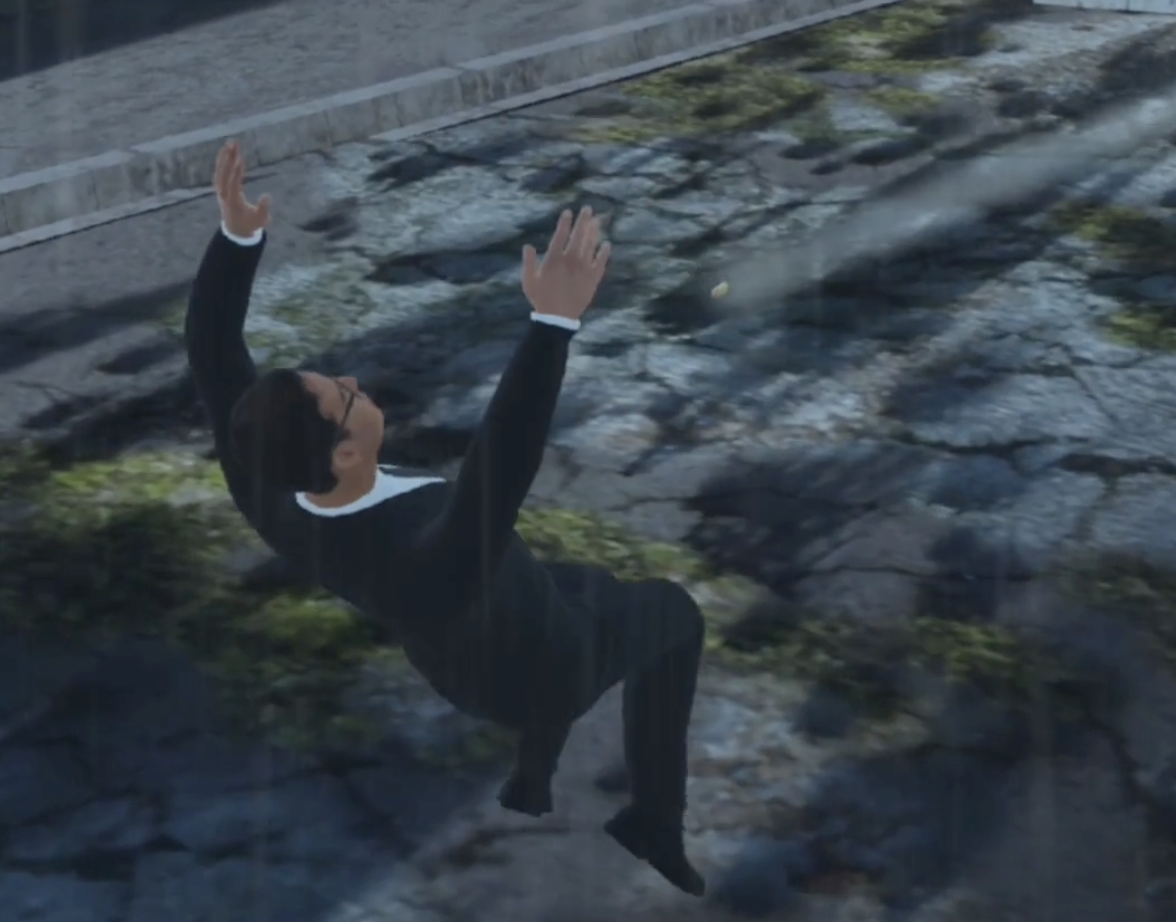
Animating the Primary Character
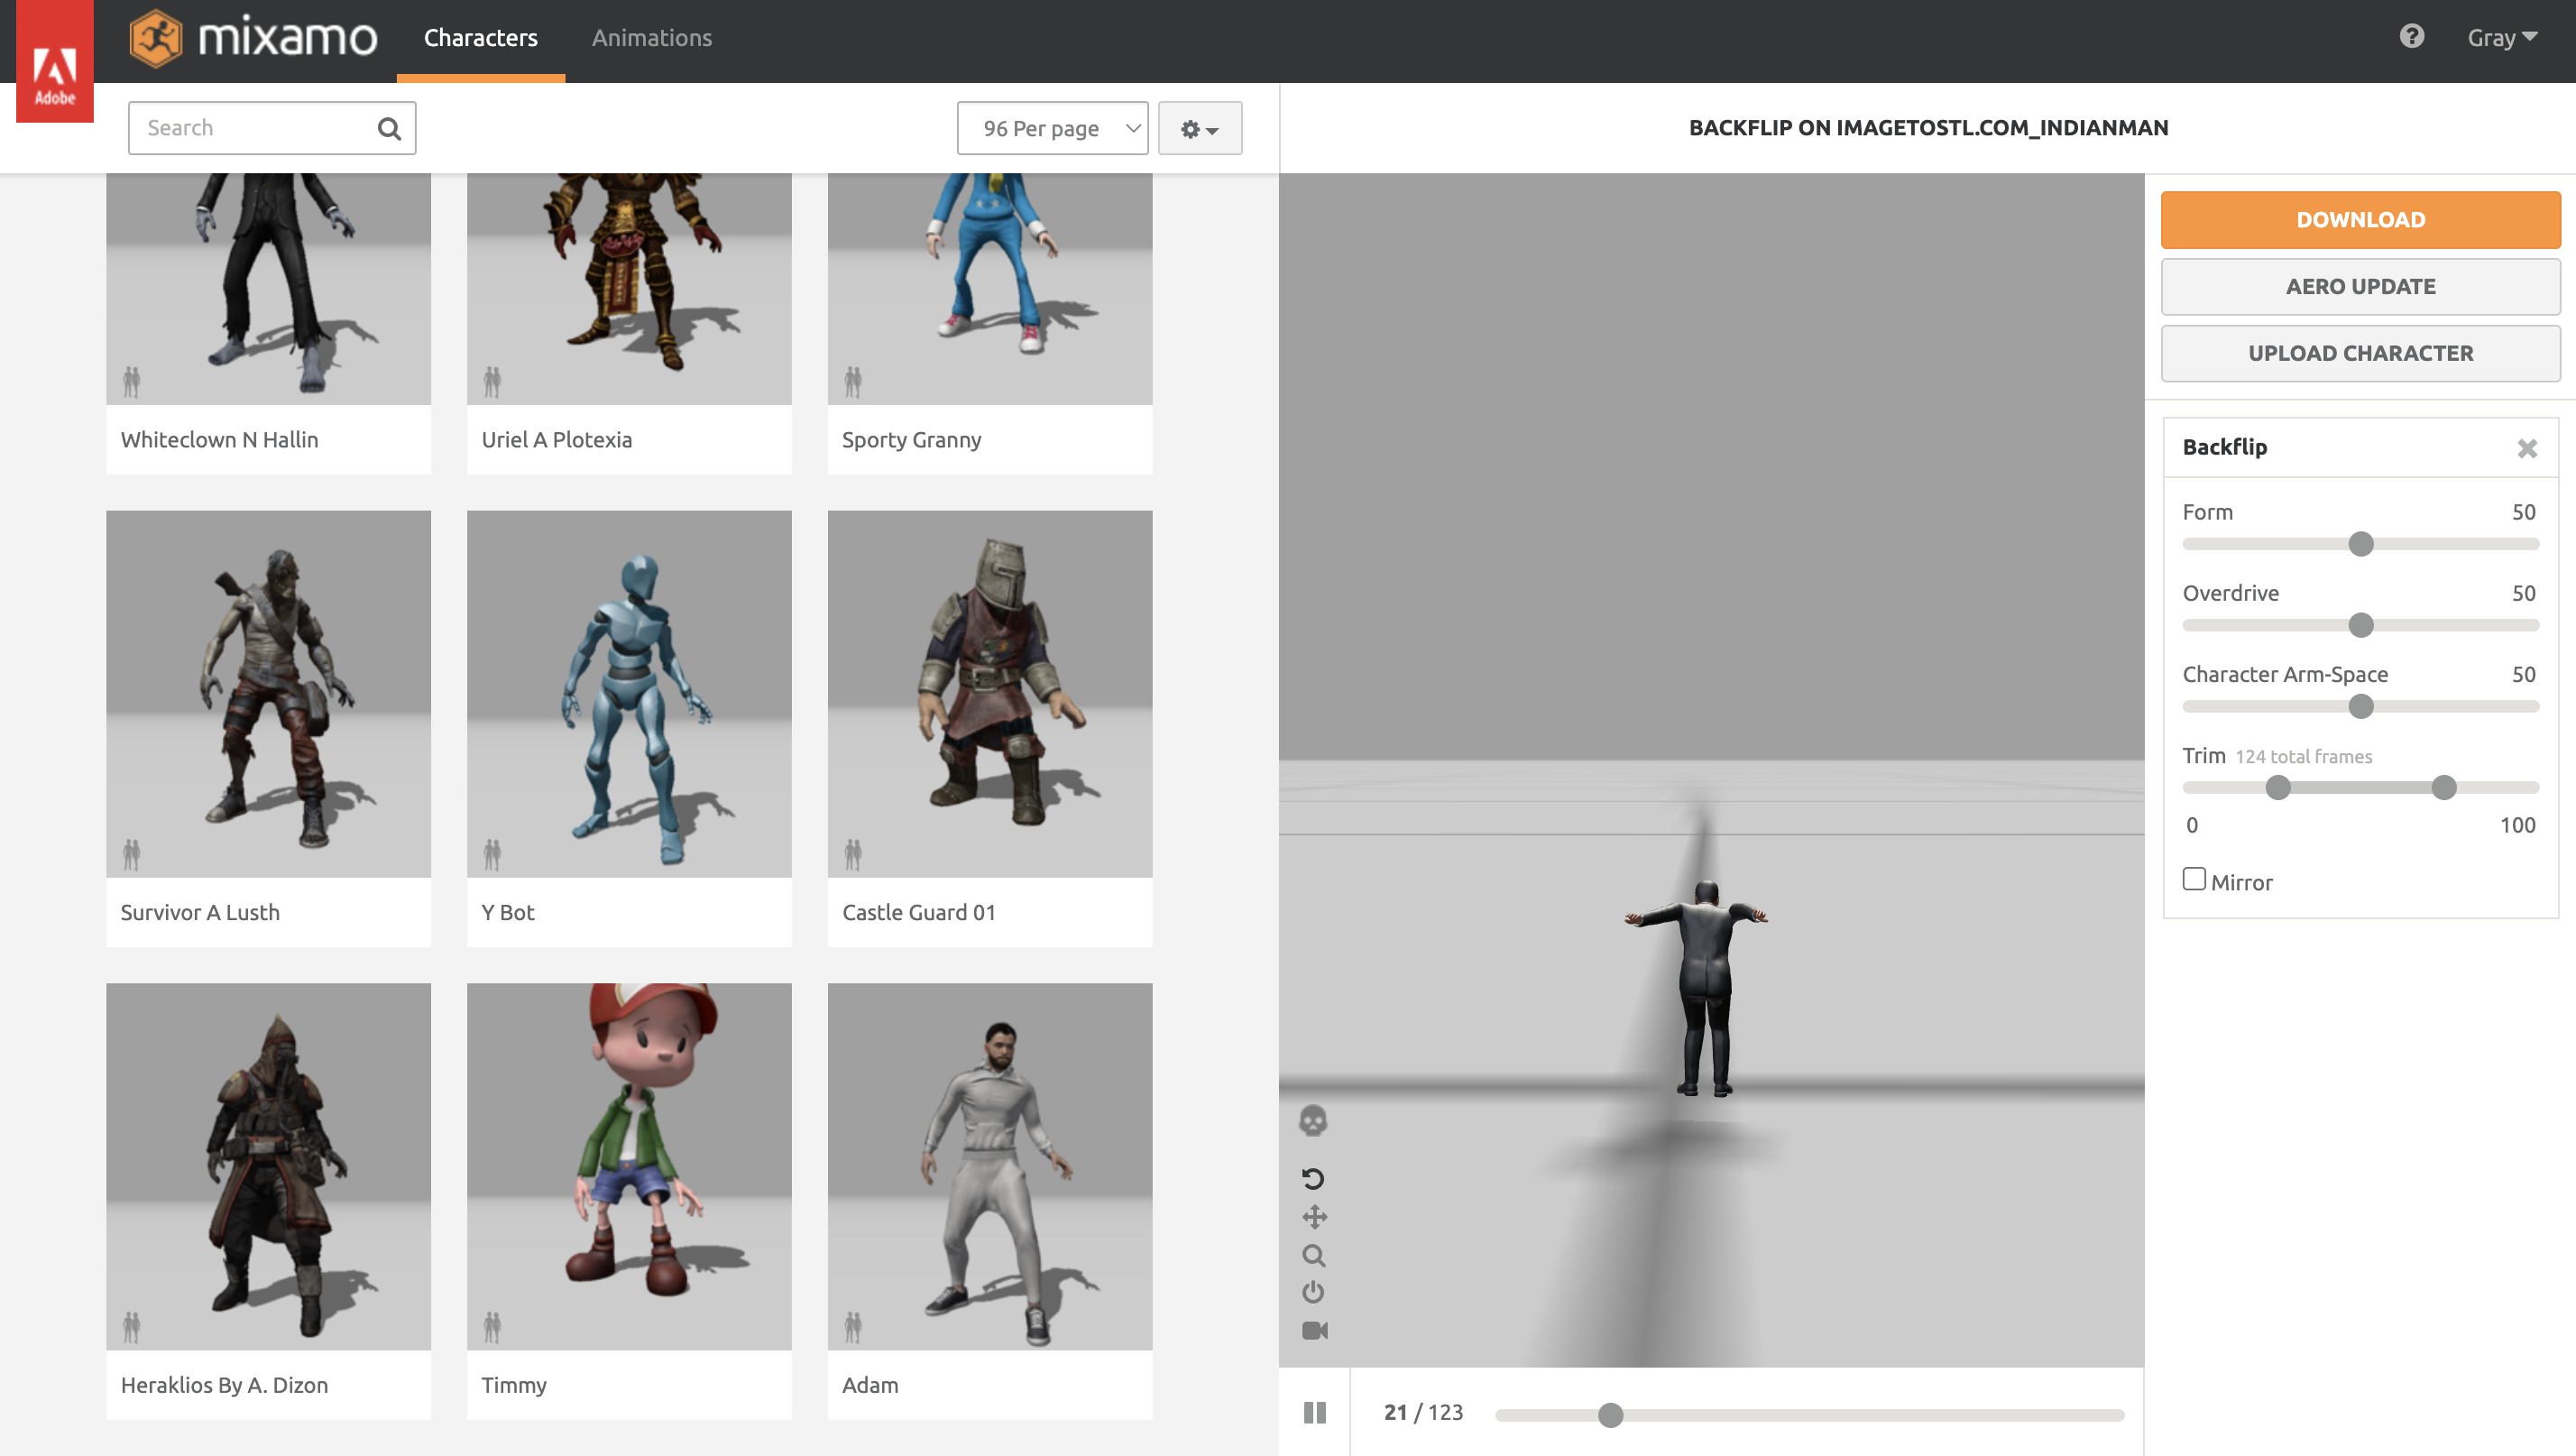
Once the primary character was rigged in Mixamo, I wanted to create a dynamic floating pose for the Bullet Time shot. To do this, I applied a backflip animation from Mixamo’s library. Mixamo makes this process straightforward: you can preview each animation in real time and see how it interacts with your rigged character.
I searched for “backflip” in Mixamo’s animation options and tried several variations until I found one that matched the style I wanted — something that felt fluid, cinematic, and exaggerated enough to emphasize the suspended-in-air effect. Once I selected the animation, I adjusted a few settings to ensure it looked natural in the scene and fit the scale of the environment.
After finalizing the animation, I downloaded the character with the backflip motion applied as an FBX with skin. This gave me a fully animated model that could be imported into Blender, ready to integrate with the bullet particle effects, city environment, and camera angles. The result was a character that appeared to twist and spin gracefully in midair, perfectly complementing the floating Bullet Time aesthetic.
Replacing the Scene Primary Character

Once I had the primary character fully rigged and animated with the backflip in Mixamo, the next step was to replace the placeholder model in Blender with this final animated version.
I first imported the animated character as an FBX file into Blender. The model came with the rig and animation baked in, so I could immediately see it performing the backflip in the scene. Then, I positioned it in roughly the same spot as the placeholder, aligning it with the city and the secondary character to match the planned Bullet Time composition.
Once everything was lined up, I deleted or hid the placeholder model. This ensured that only the animated character remained visible, making it easier to work on the scene without confusion. I also double-checked the scale and orientation so the animated model fit naturally within the environment and matched the trajectory of the bullets.
Replacing the placeholder with the fully animated character allowed me to move forward with integrating the Bullet Time effects, like particle trails, camera motion, and floating poses, without worrying about misalignment or scaling issues. The scene was now ready for the main action to unfold.
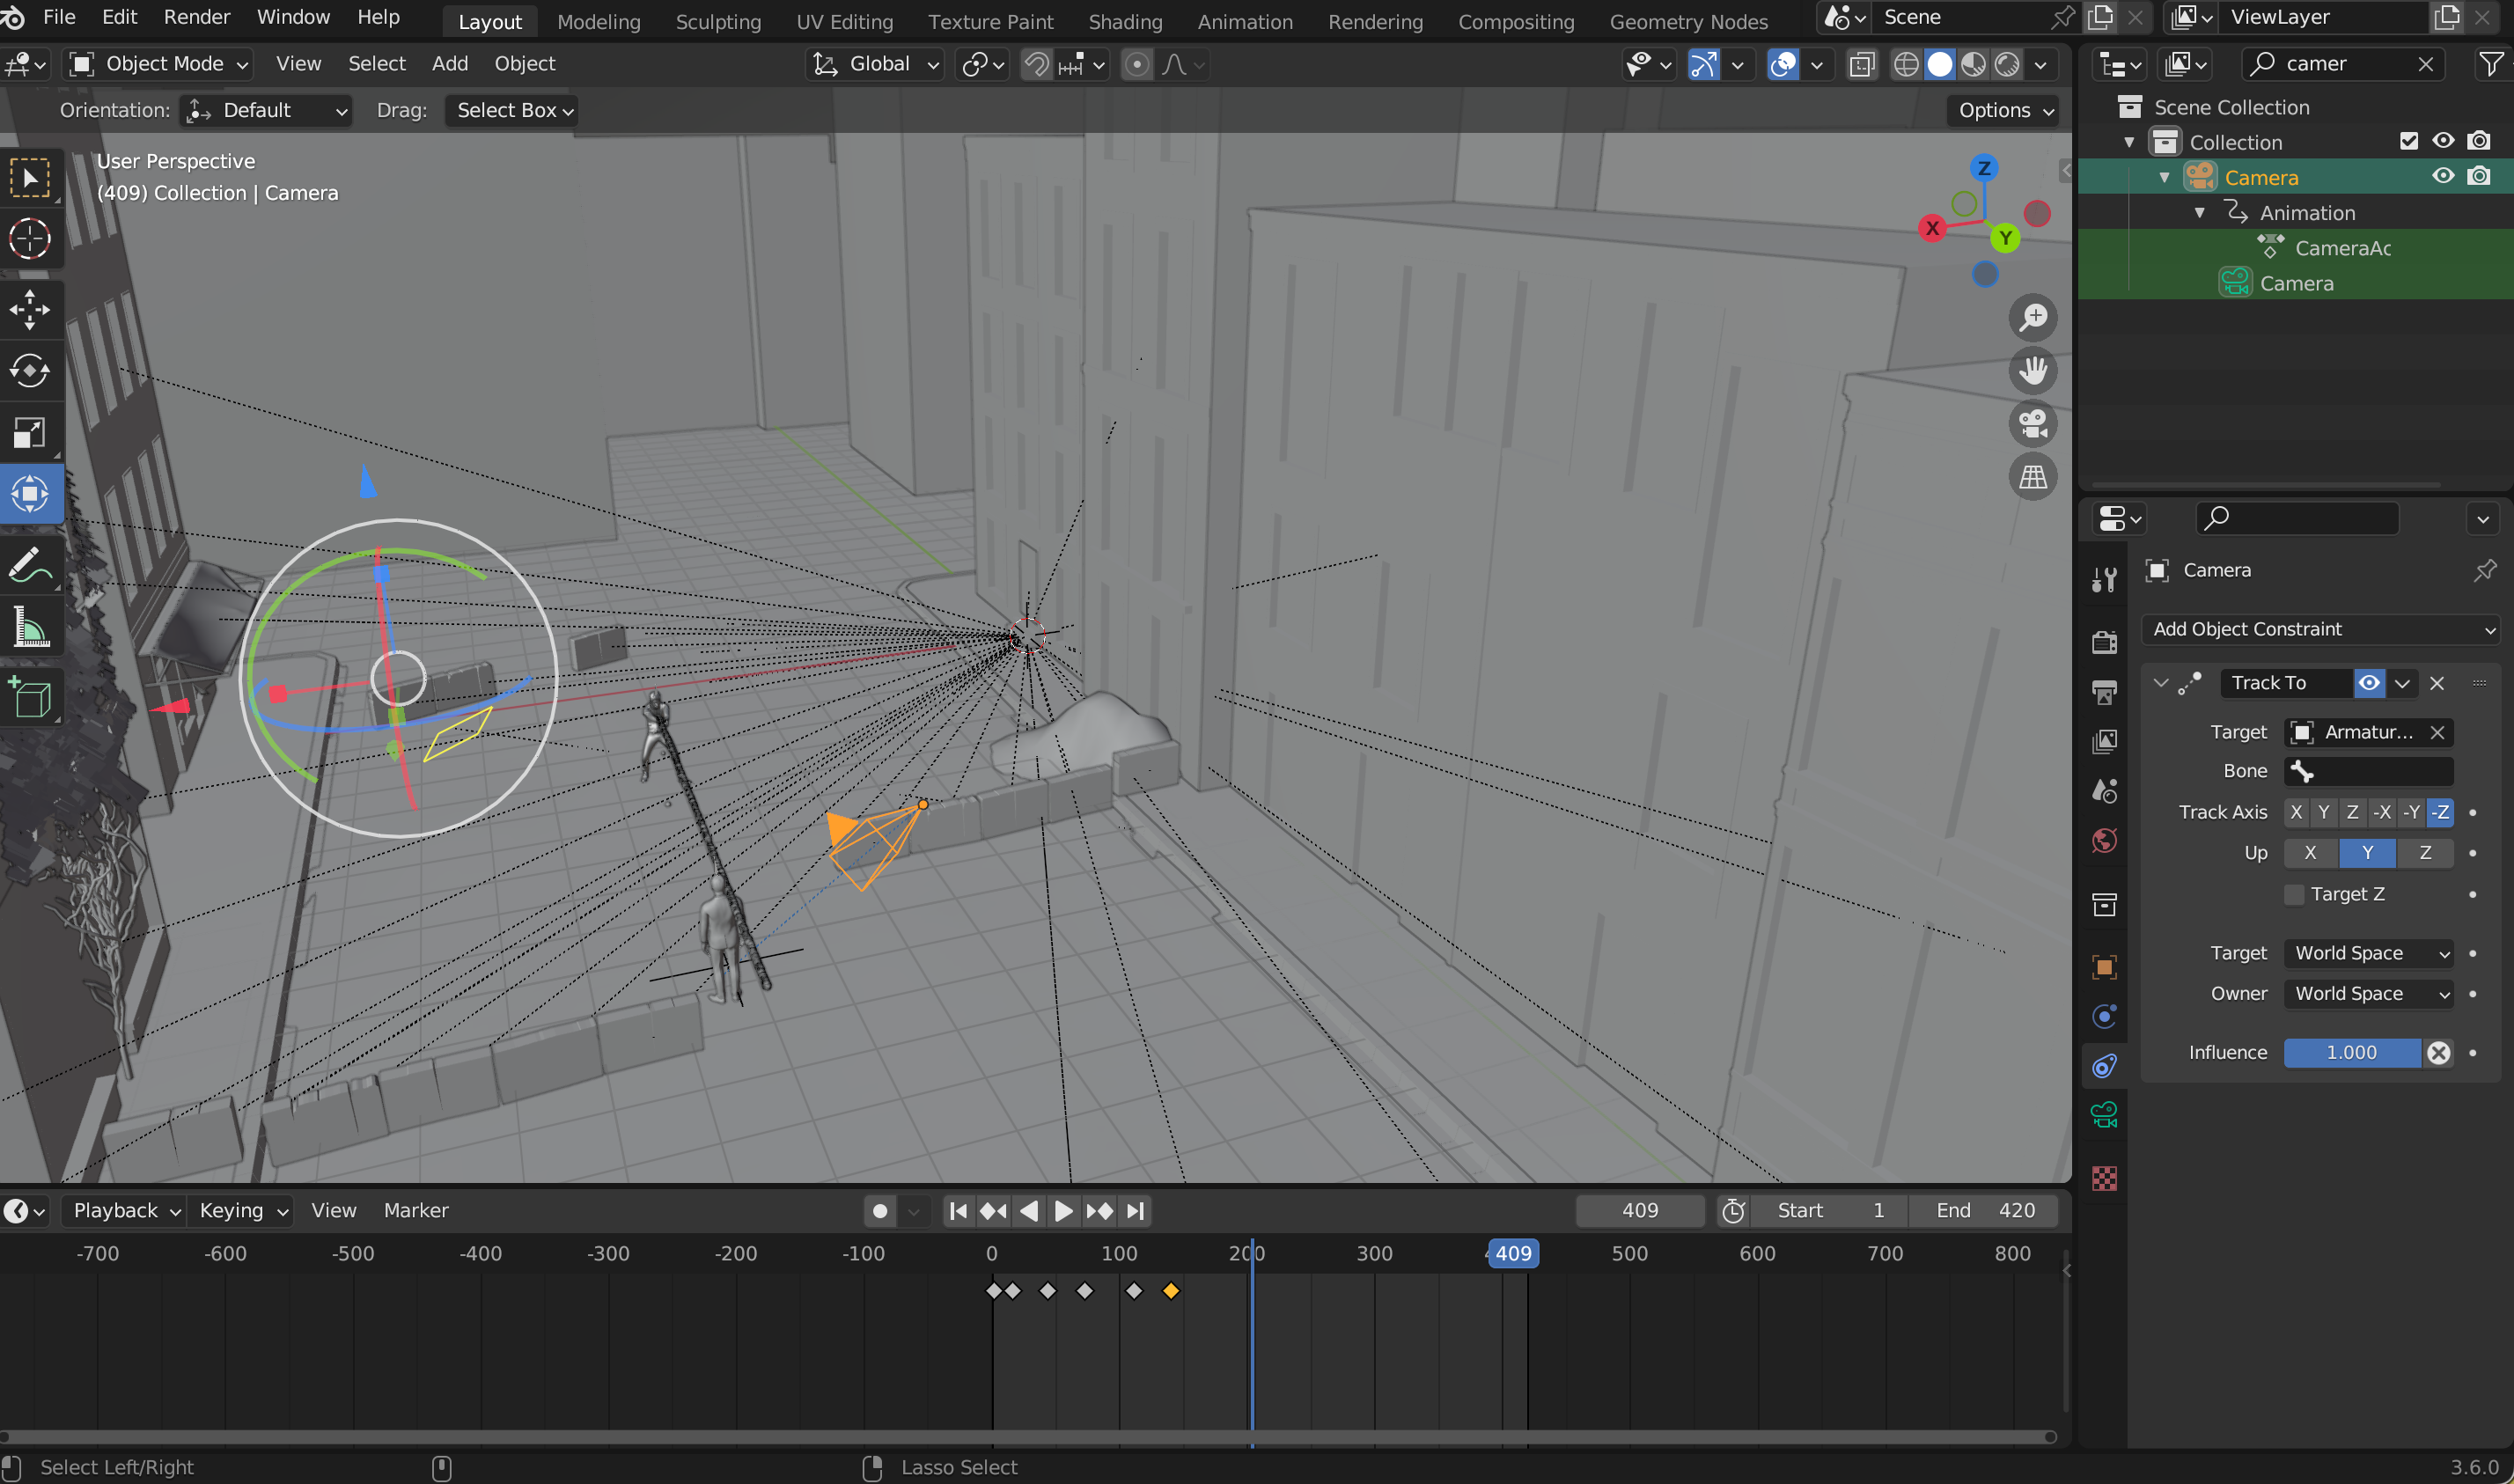
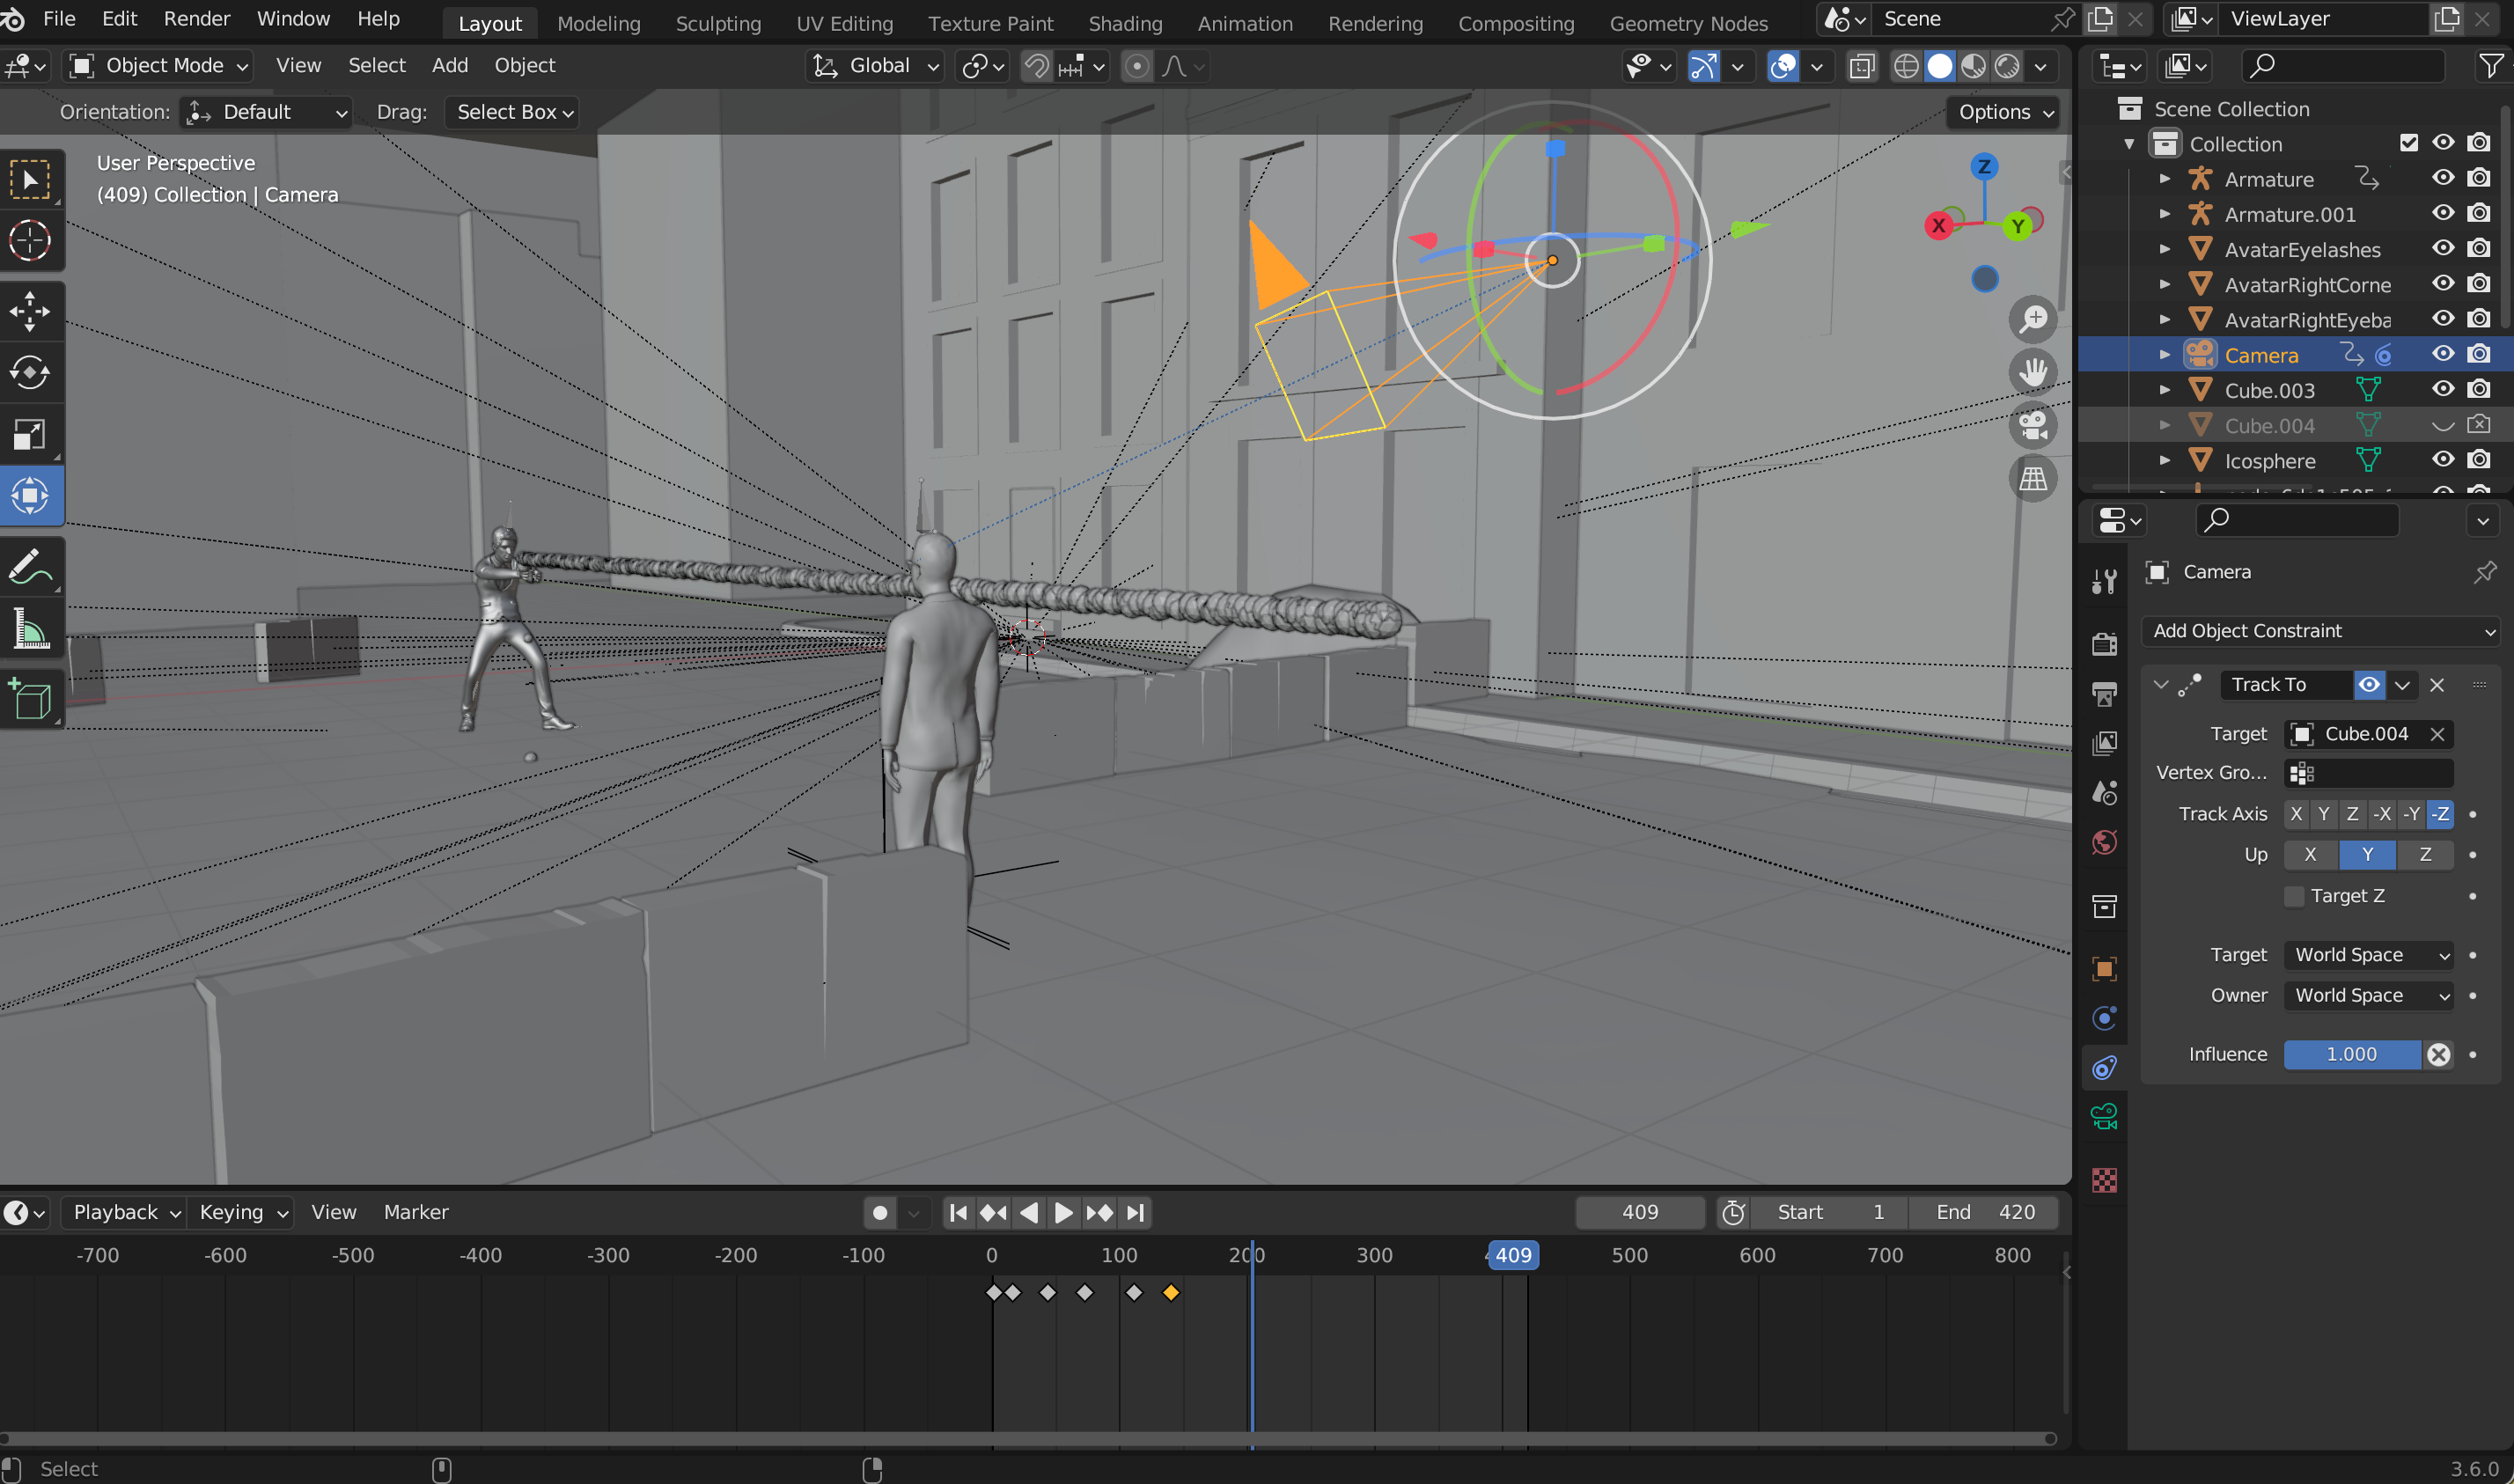
Camera Tracking
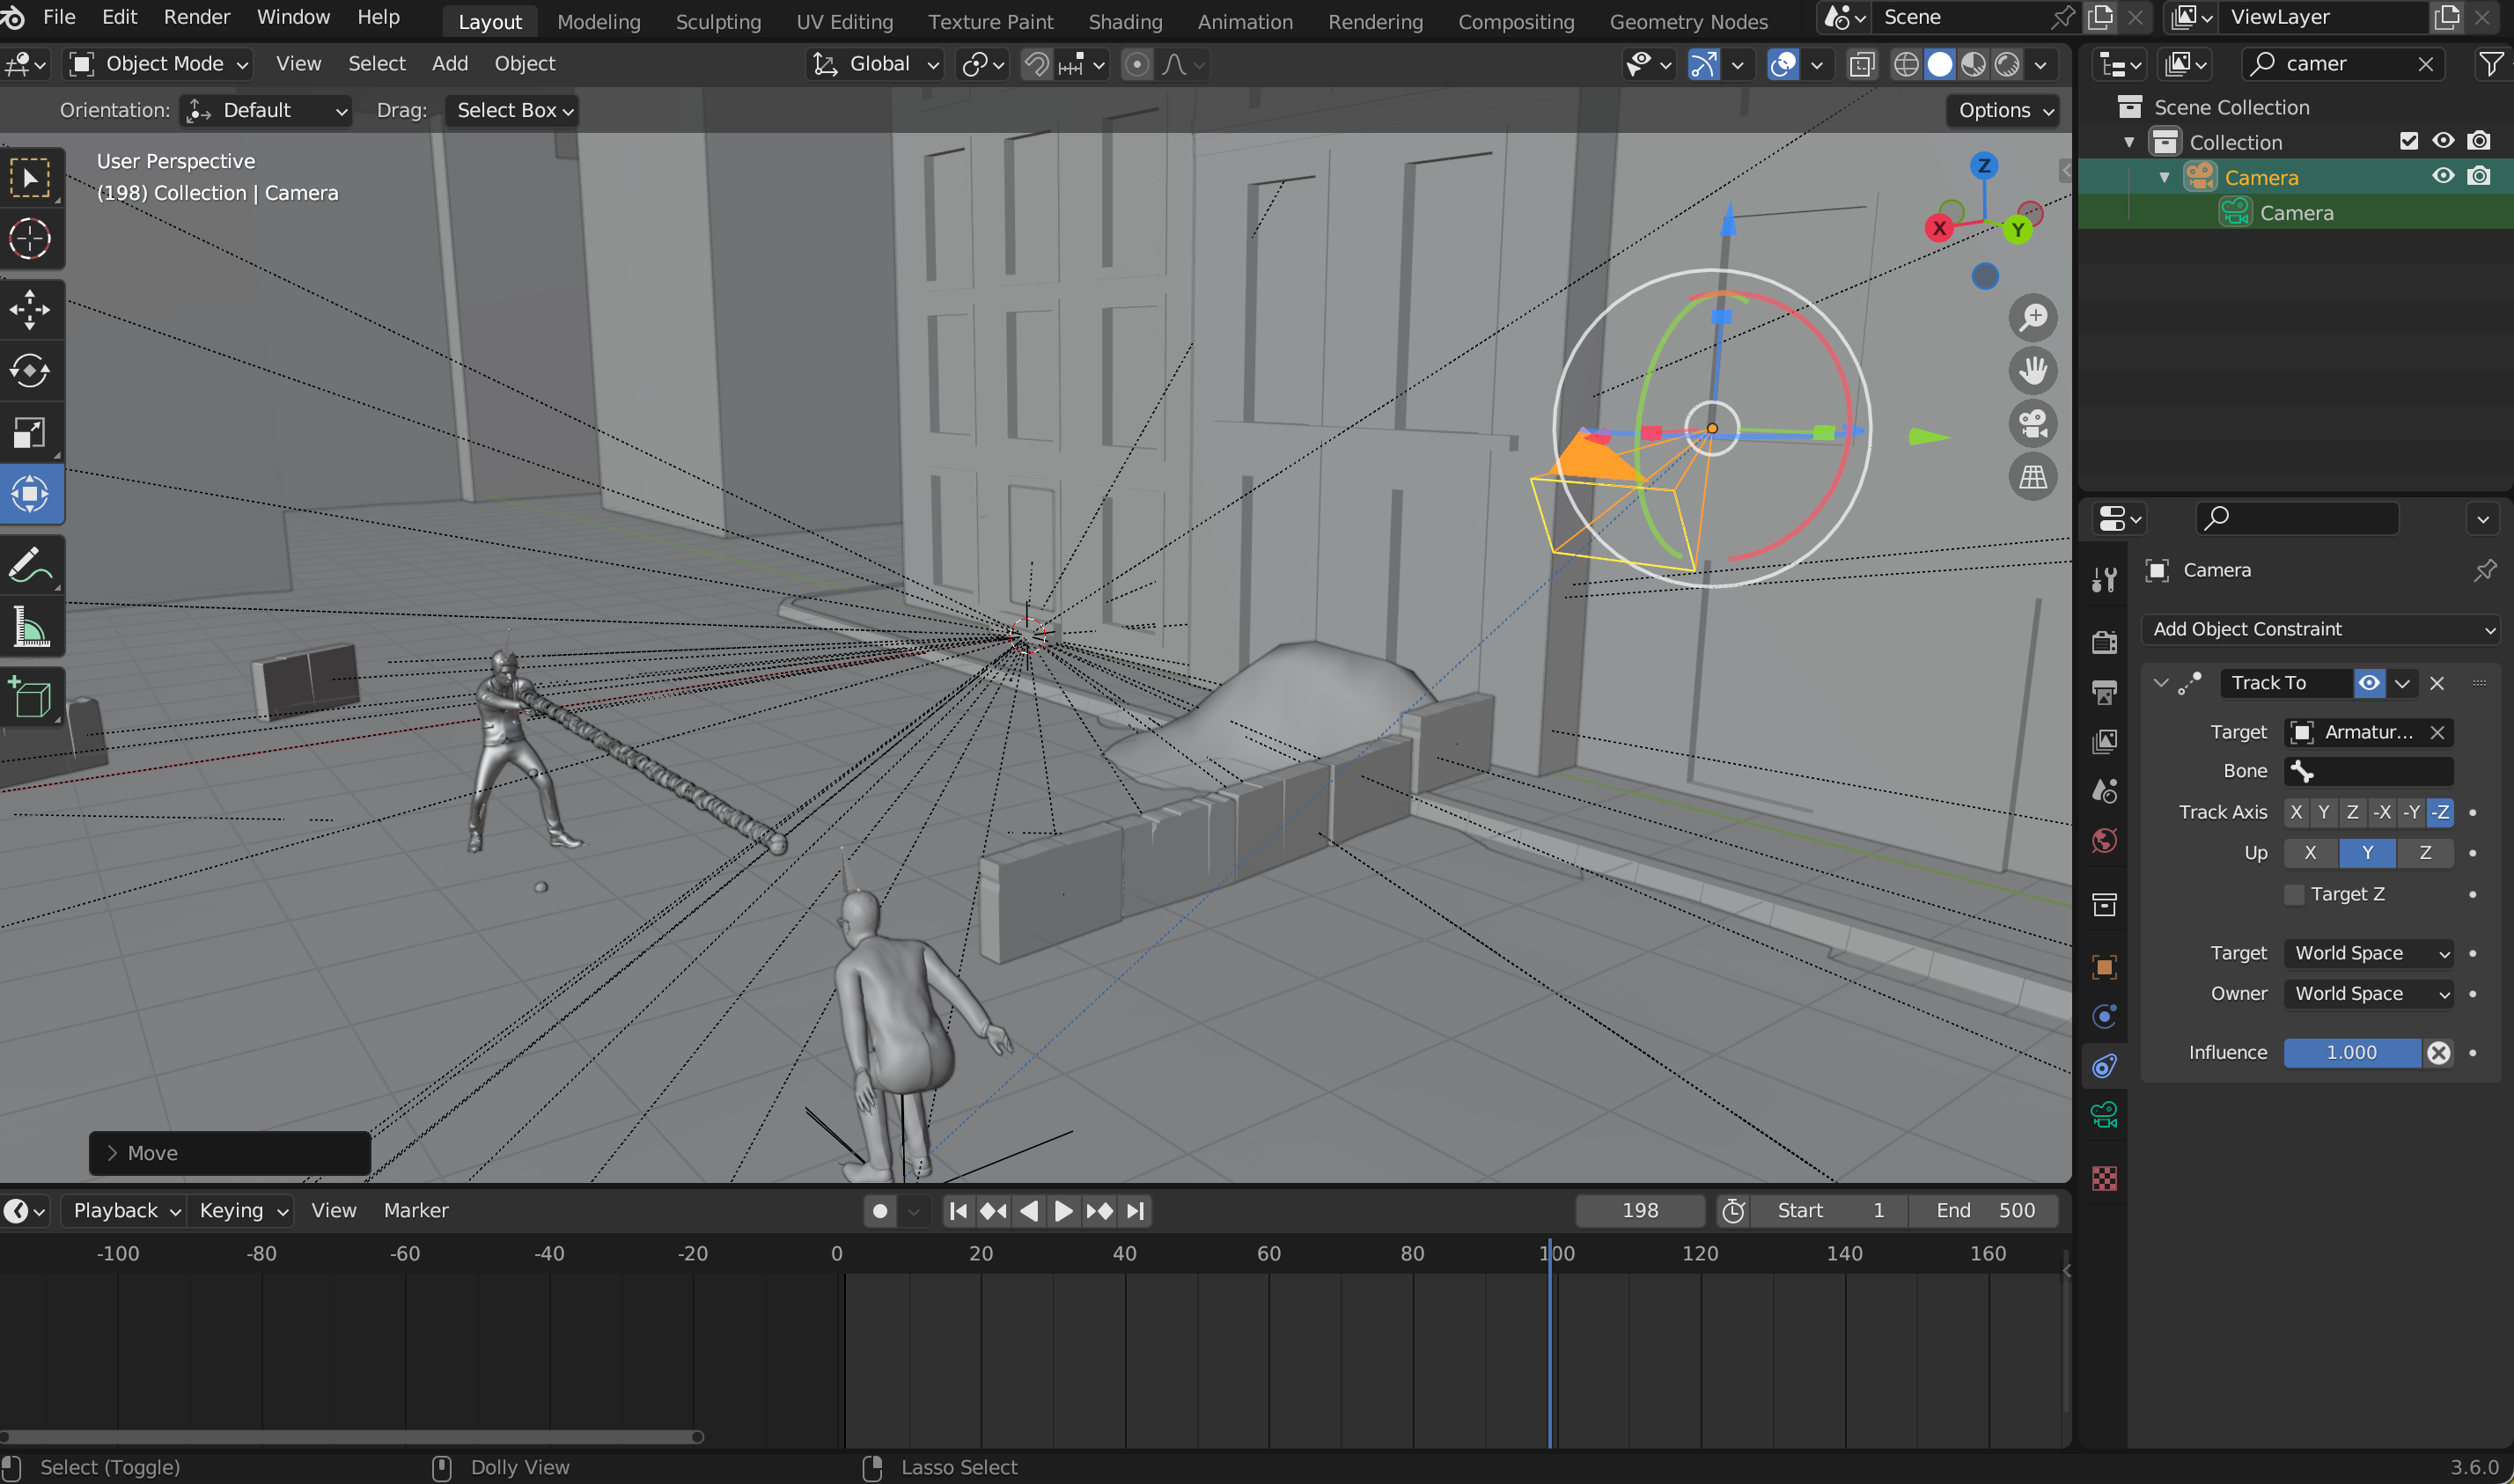
Once the animated primary character was in place, I wanted the camera to always point at the character during the backflip. I did this using Blender’s Track To constraint.
I selected the camera, added a Track To constraint, and simply set the target to be the character’s rig. By doing this, the camera automatically rotated to face the character at all times, keeping them centered in the frame. I didn’t need to keyframe the camera’s rotation or adjust individual frames — Blender handled it automatically.
This made it much easier to focus on positioning the camera for the best angle while the character floated and spun, ensuring that the action stayed dramatic and clearly visible throughout the Bullet Time sequence.
Camera Keyframes
After setting up the Track To constraint so the camera always pointed at the primary character, I wanted the shot to feel dynamic, with the camera moving smoothly around the floating backflip. To do this, I keyframed the camera’s rotation and position so it would orbit the character during the Bullet Time sequence.
I started by positioning the camera at the first frame of the animation, choosing an angle that showed both the city below and the character in midair. I pressed I and inserted keyframes for Location and Rotation. Then, I moved forward in the timeline to the point where I wanted the camera to complete its arc around the character. I adjusted the camera’s position so it followed a curved path, maintaining focus on the character thanks to the Track To constraint, and inserted another set of keyframes for Location and Rotation.
Blender interpolated the movement between the keyframes, creating a smooth rotation around the character as they performed the backflip. I fine-tuned the spacing and timing of the keyframes to ensure the camera moved at the right speed — slow enough to emphasize the Bullet Time effect, but fast enough to add cinematic motion and energy.
This keyframing technique allowed the camera to orbit the character dynamically while keeping them perfectly centered in the frame, enhancing the sense of floating and suspended action in the Bullet Time shot.
Volumetric Fog
After setting up the camera and animation, I wanted to add a cinematic, atmospheric effect to the scene. To do this, I added a cube that enclosed the entire area of action — the floating primary character, the secondary character, and the city below.
I then applied a Volume Scatter shader to the cube. Unlike a Principled Volume, Volume Scatter creates a hazy, light-scattering effect that mimics how particles in the air catch and diffuse light. I kept the density low so the fog would be subtle, adding depth without obscuring the characters or environment. This gave the scene a sense of scale and height, making the floating character and bullets feel more dramatic against the misty atmosphere.
The cube simply defined the bounds of the volumetric effect, while the Volume Scatter shader filled it with soft, realistic fog that interacted with the lighting naturally. It enhanced the overall cinematic quality of the Bullet Time shot, emphasizing motion, depth, and suspended midair action.
Slowing the Footage Down

Once all the animation, camera motion, and volumetric effects were set up, I wanted to emphasize the Bullet Time effect by slowing down the scene. In Blender, I did this by adjusting the timeline playback speed and keyframe timing.
I went to the Graph Editor and selected the keyframes for the primary character, the secondary character, and the bullets. By scaling the keyframes along the timeline, I stretched out the animation so that the motion occurred more slowly. This made every twist of the backflip, every floating bullet, and every subtle movement of the characters appear suspended in midair, giving the scene that signature slow-motion, cinematic feel.
Slowing the footage also allowed the volumetric fog and particle effects to interact more visibly with the motion, enhancing the sense of depth and drama. Even small details, like the bullets’ glowing trails, became more prominent, making the action clearer and more visually striking.
This step was crucial for achieving the suspenseful, frozen-in-time look that defines Bullet Time, transforming the animation from ordinary motion into a dramatic, cinematic moment.
Reviewing Draft Render
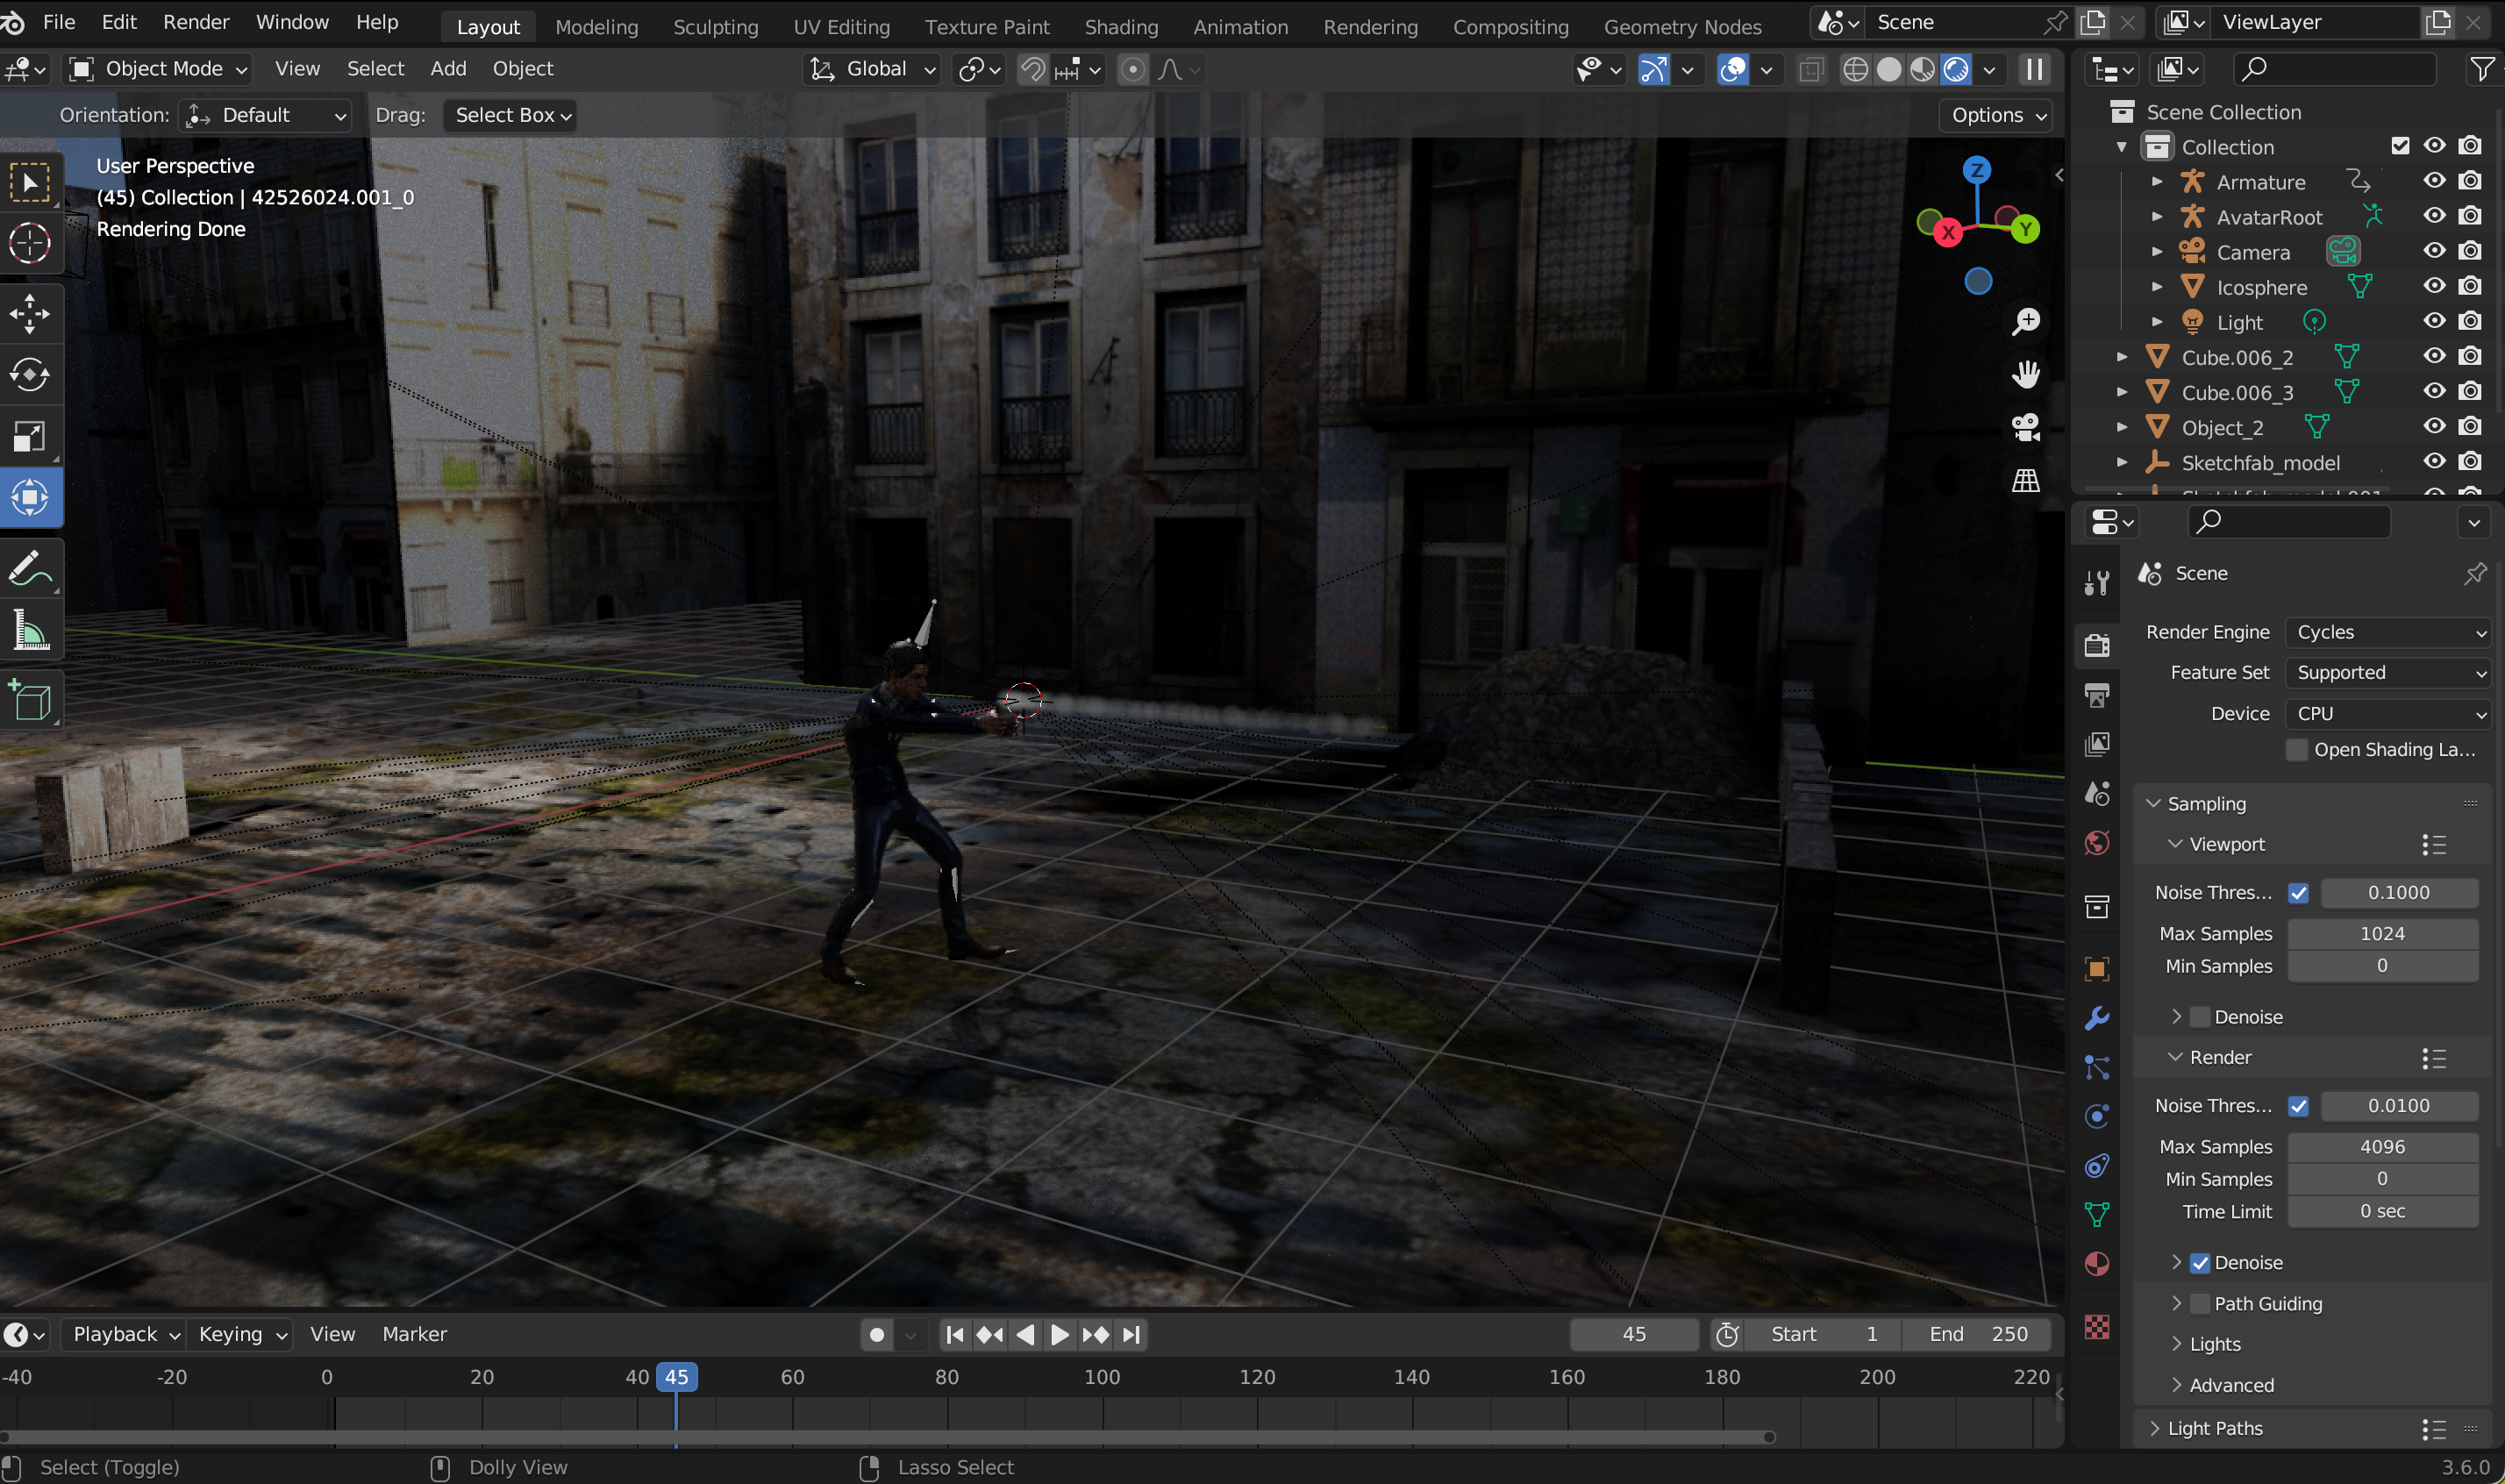
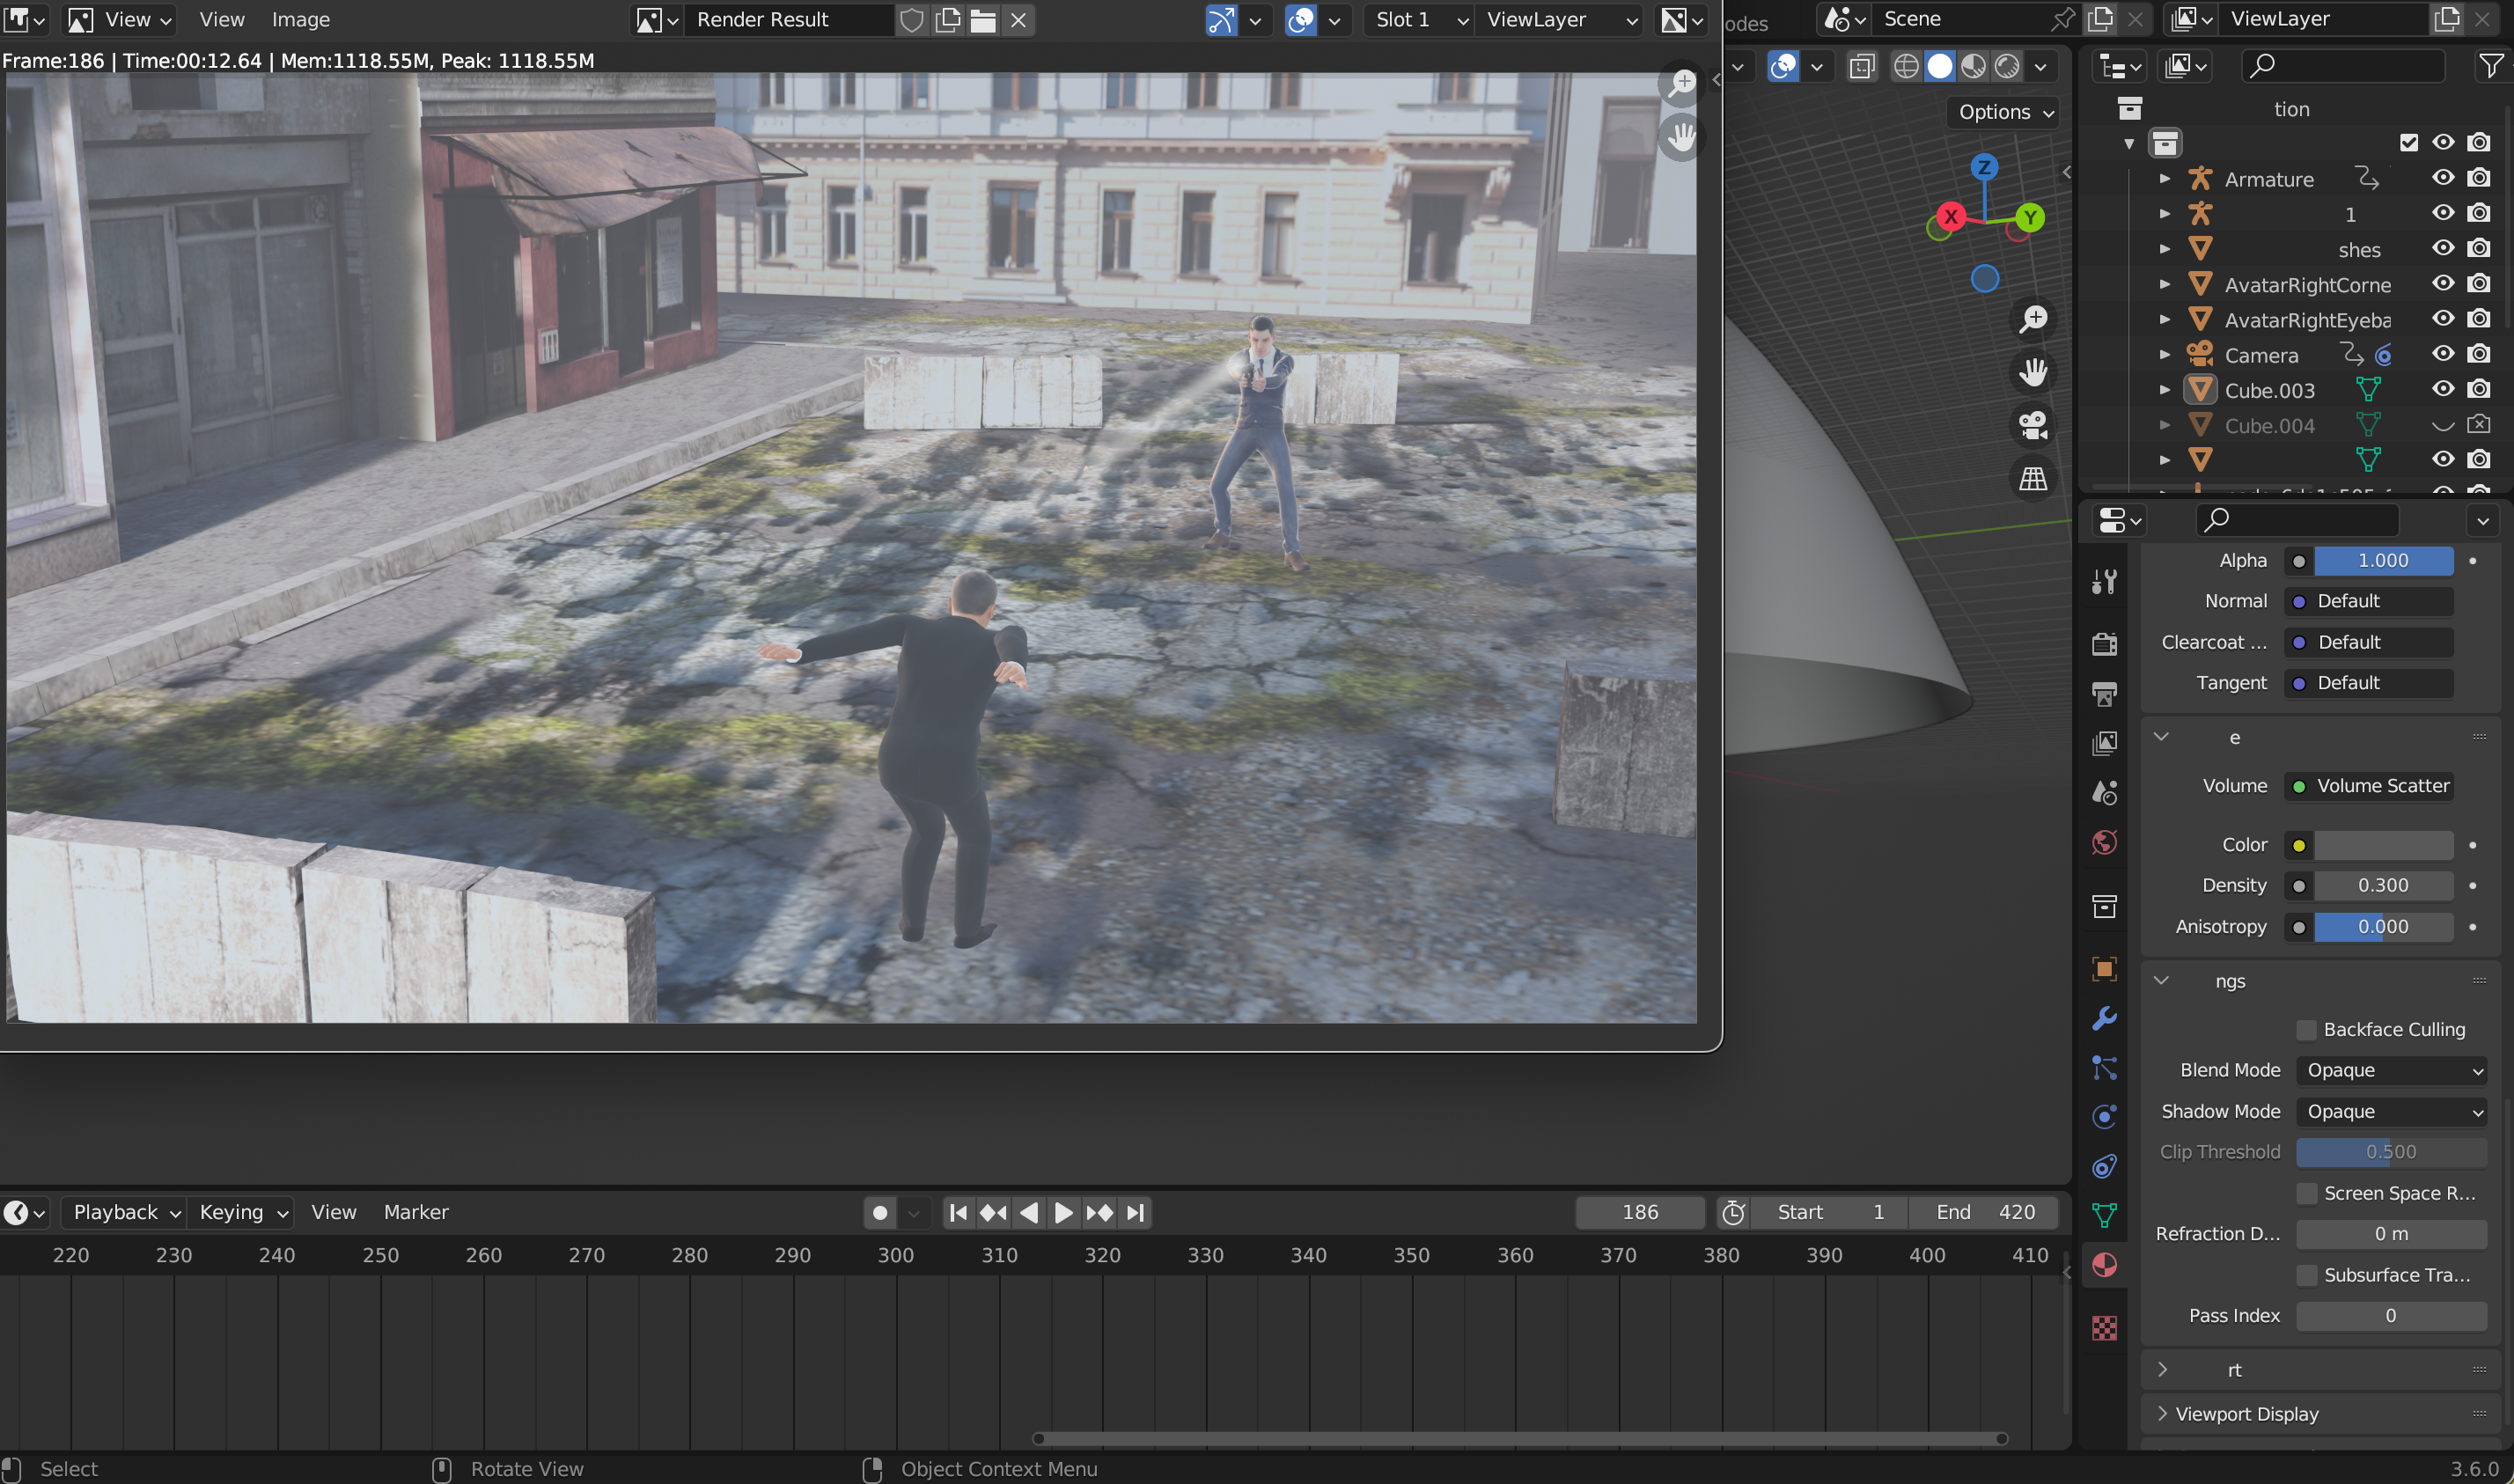
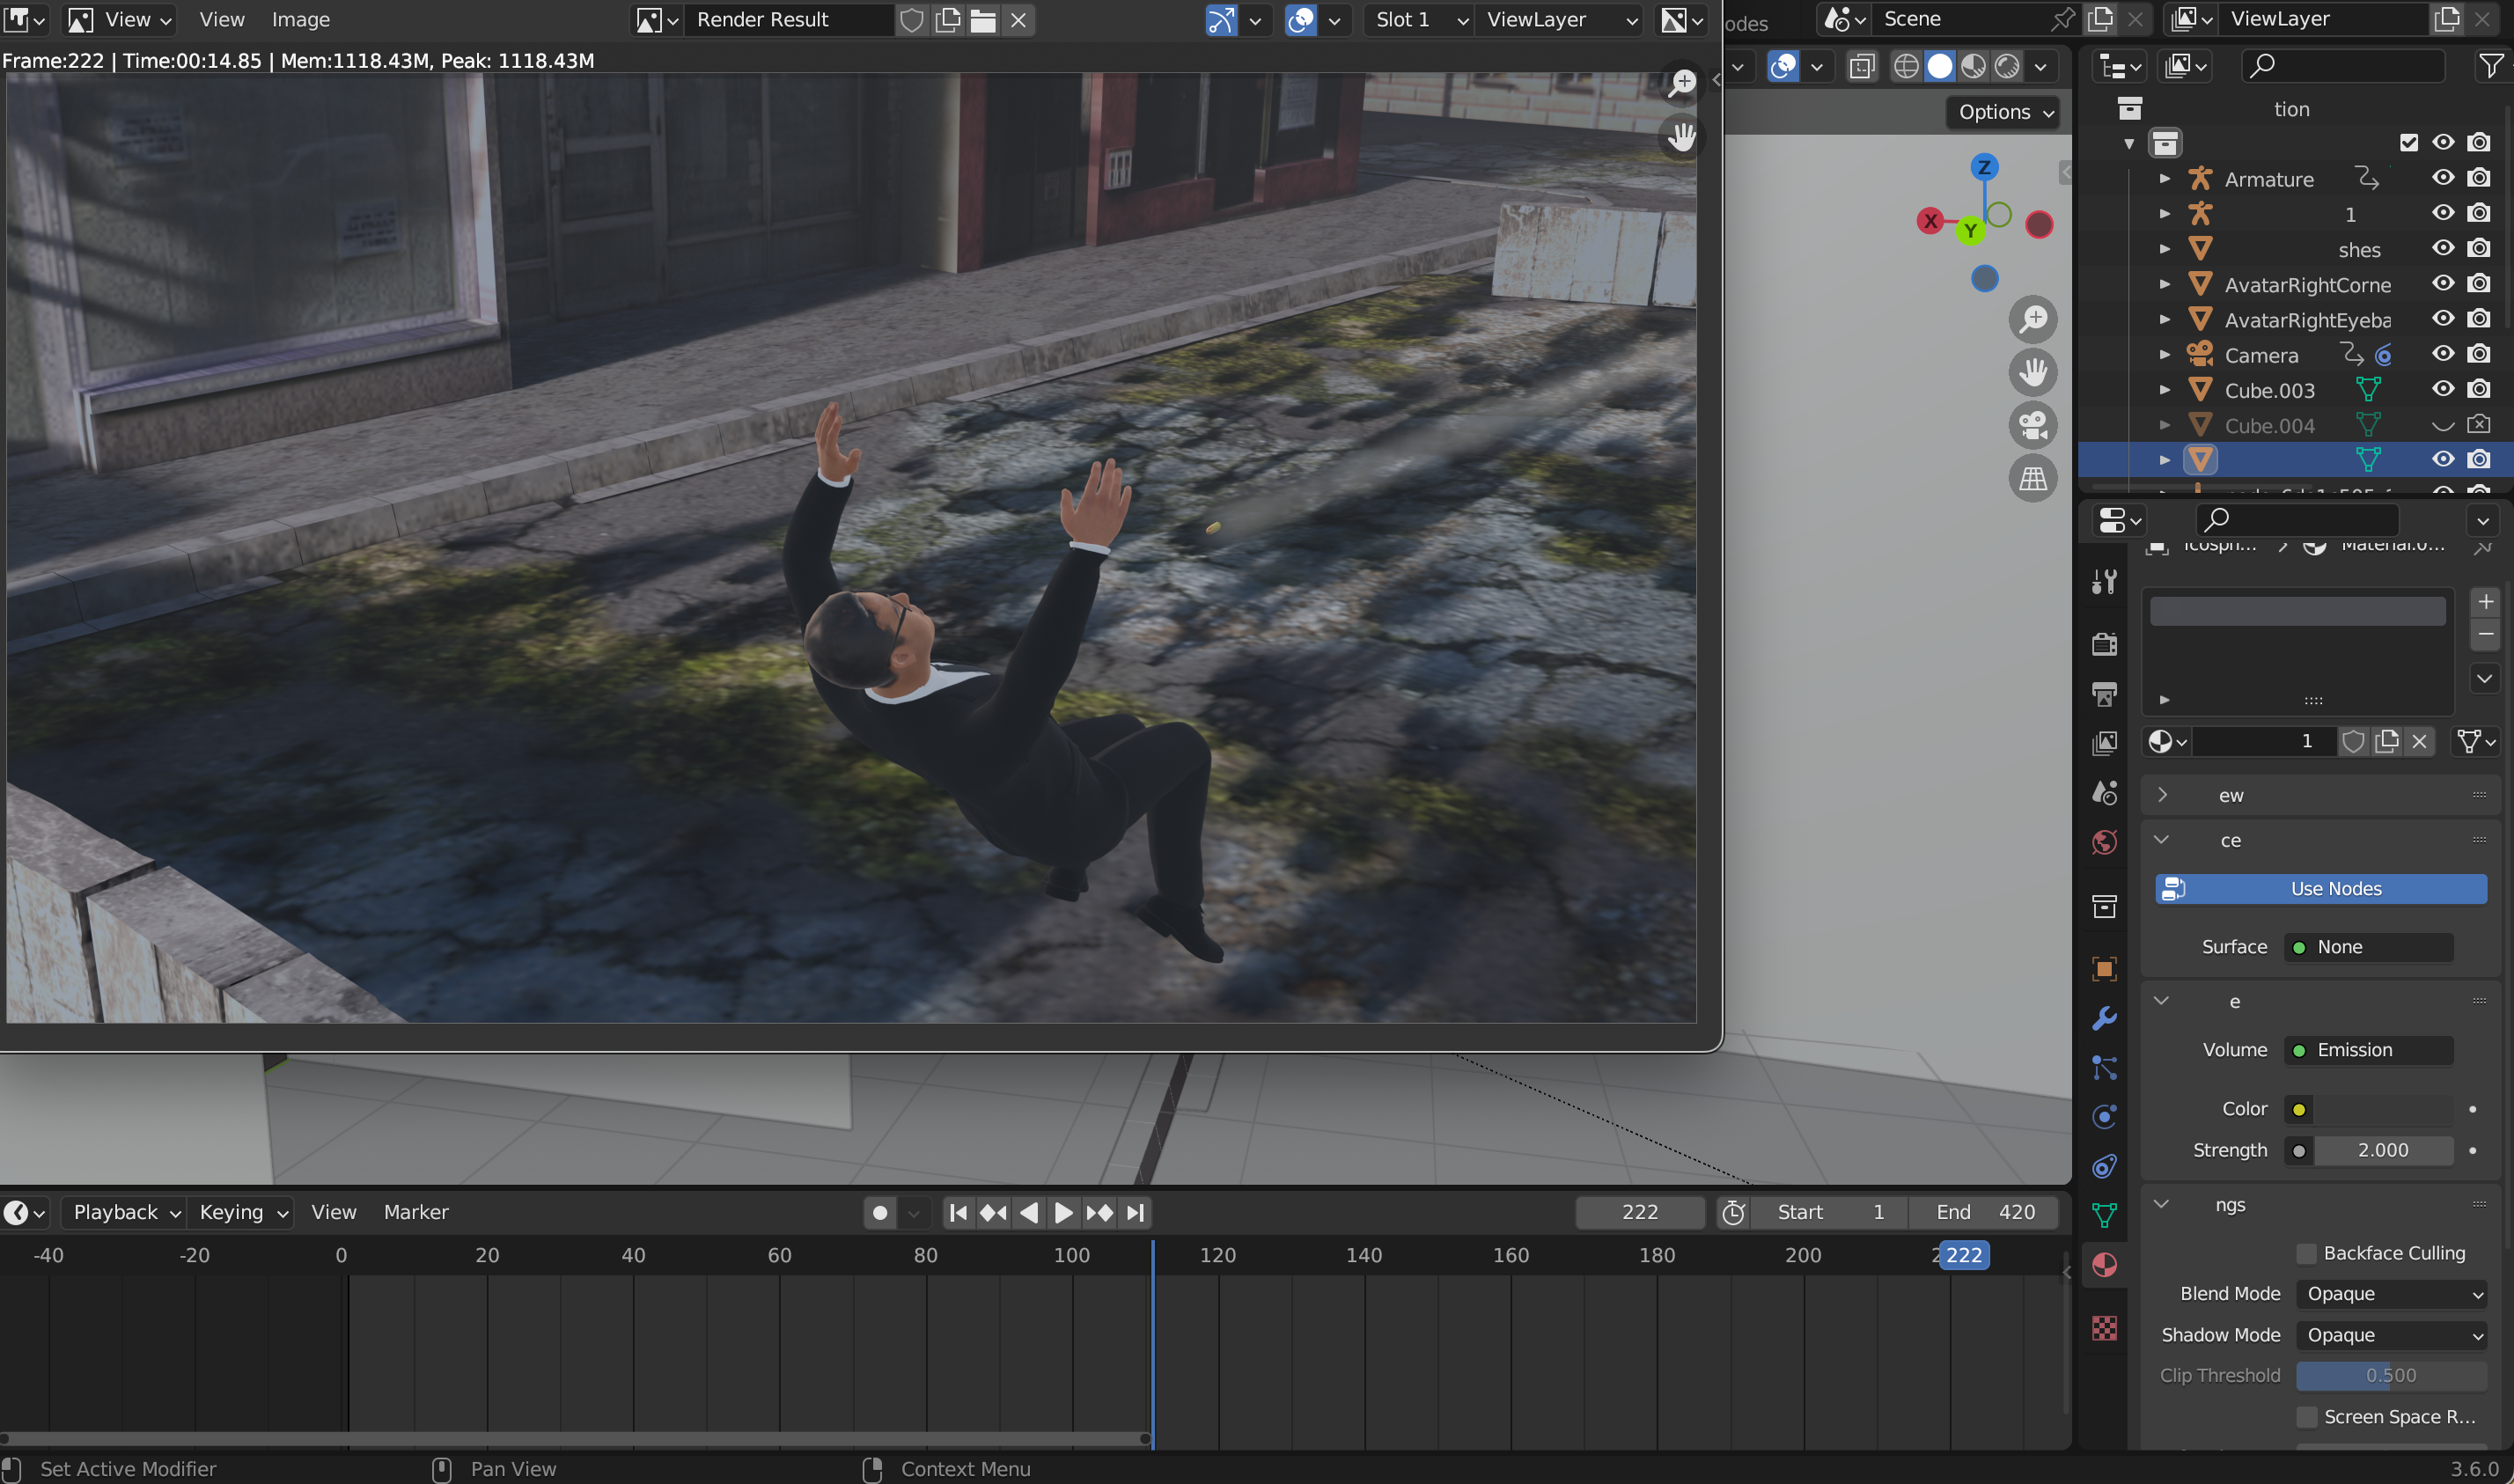
After finishing the scene setup, I did a draft render using Blender’s Eevee engine. I chose Eevee because it’s fast and ideal for previewing the animation, allowing me to see the motion, composition, and effects without waiting for a full Cycles render.
I rendered the animation to a video file and played it back to review how everything looked together. This initial draft let me check the placement of the characters, the trajectory of the bullets, the visibility of the volumetric fog, and the overall composition of the scene. Even though the lighting and materials weren’t final, it was a crucial step for spotting areas that could be improved before committing to a slower, high-quality render.
Watching the draft helped me identify issues and plan adjustments, ensuring that the final Bullet Time shot would be more polished, dynamic, and cinematic.
Ideas for Changes
After viewing the draft render in Eevee, I noticed several areas that could be improved to make the Bullet Time shot more dramatic and cinematic. I made a list of adjustments I wanted to implement:
- Increase the camera tracking point height – I wanted the camera to track slightly higher on the primary character, emphasizing the floating backflip and giving a better angle to showcase both the city below and the spinning motion. Raising the tracking point ensures the character stays fully in frame while maintaining the sense of midair suspension.
- Increase bullet trail visibility – In the draft, the bullet trails were a bit too subtle. I planned to make them brighter or larger, so they would stand out more clearly against the environment and better convey the motion and energy of the scene.
- Add more volumetric fog – The current fog was subtle, but I wanted it denser in certain areas to enhance depth and atmosphere, making the city feel more suspended and giving the scene a stronger cinematic look.
- Change smoke trail color to darker – The smoke from the bullets or muzzle flashes was too light and faded into the background. Darkening the smoke would make it contrast better against the HDRI lighting and cityscape, adding more visual impact.
- Delete the skybox with the model – The city model came with its own skybox, which was blocking the HDRI environment. Removing it would allow the HDRI to show through, giving more natural lighting and reflections and improving the overall realism and mood.
- Add a blocker wall at the end of the scene – Without it, the edge of the city or scene could be visible when the camera rotated, breaking immersion. Adding a simple blocker wall ensures the scene feels contained and cinematic, preventing any accidental clipping or empty space from appearing at the end of the animation.
These planned adjustments were aimed at enhancing the visual clarity, atmosphere, and cinematic composition of the Bullet Time scene. By making these changes, the animation would feel more polished and immersive, with better focus on the floating character and the dynamic action around them.
Increasing Height on Camera Tracking Point
To improve the camera framing after the draft render, I decided to raise the camera’s tracking point so it would focus slightly higher on the primary character during the backflip. To do this, I added a small cube at the character rig’s head position.
I then made the cube invisible in the viewport and render by disabling its visibility and renderability. This way, it wouldn’t appear in the final animation, but it could still serve as a precise reference point for the camera.
Next, I selected the camera and updated the Track To constraint, setting the target to be the invisible cube instead of the original rig. Now, the camera automatically rotated to track the cube at the head, keeping the character’s upper body and face properly framed while still following the motion of the backflip.
Using this method allowed me to fine-tune the camera focus without altering the character’s rig or animation, giving a more cinematic angle and making the floating action read clearly in the Bullet Time shot.
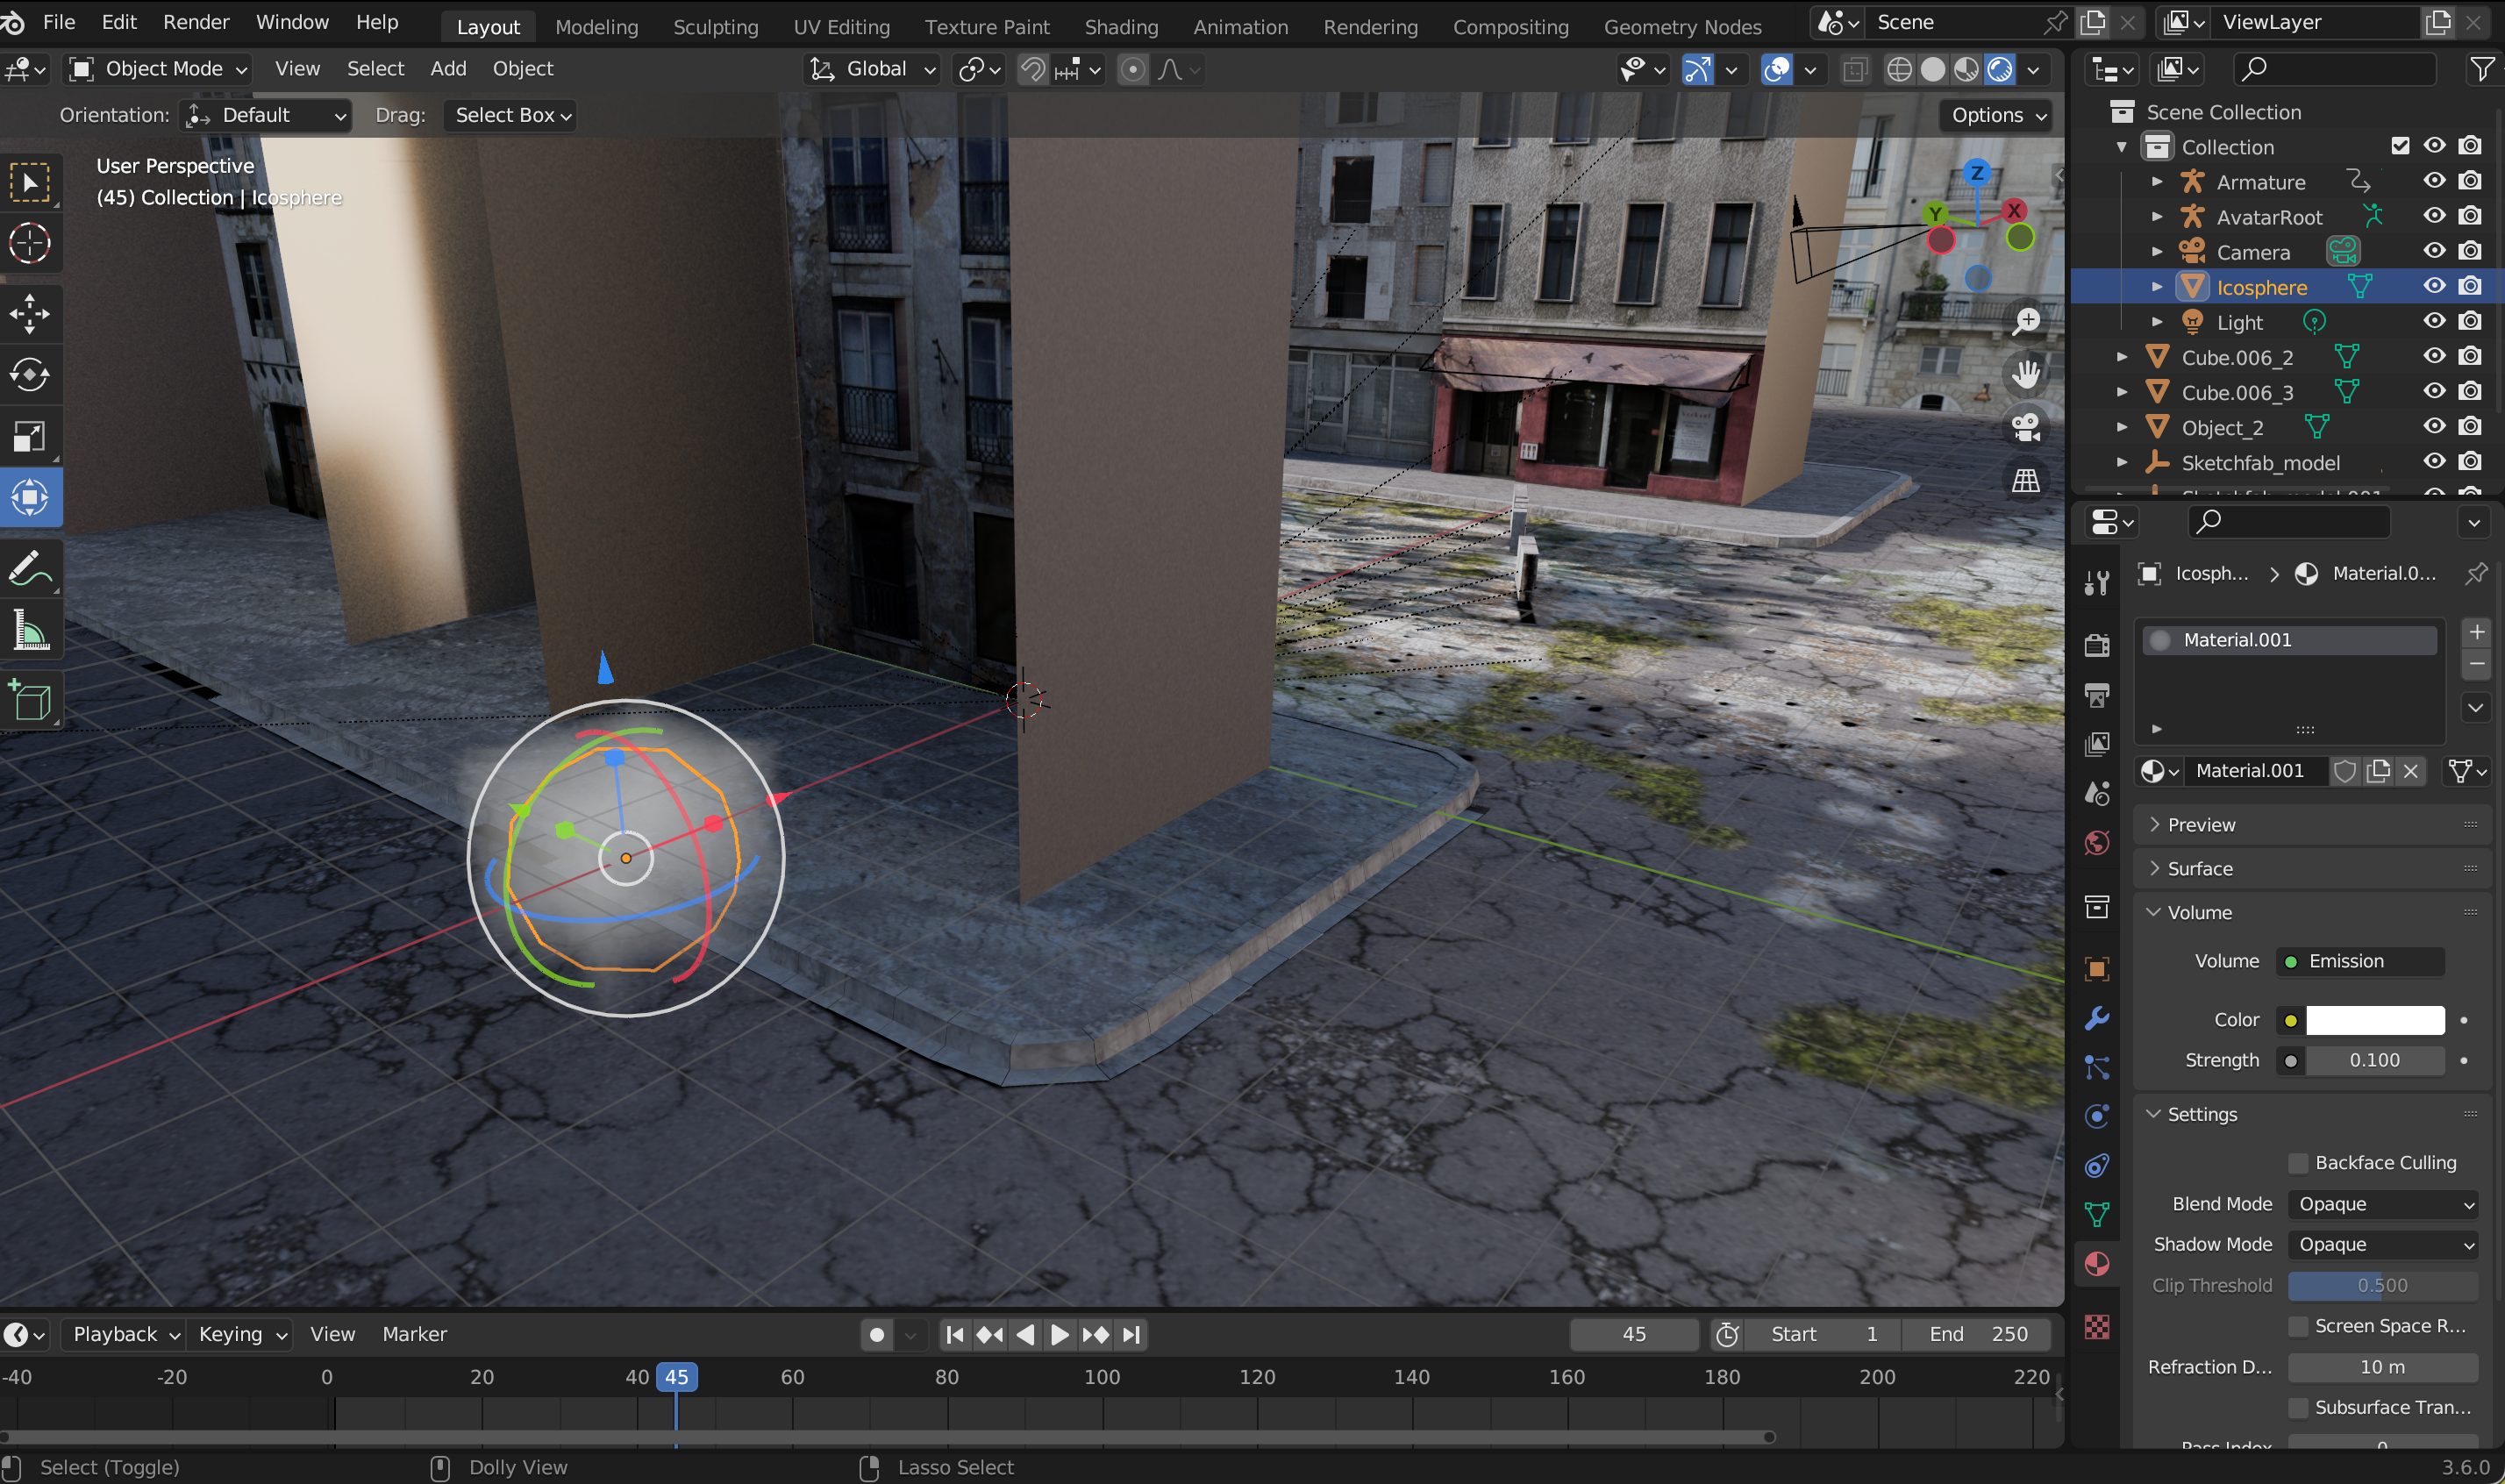
Increasing Bullet Trail Visibility
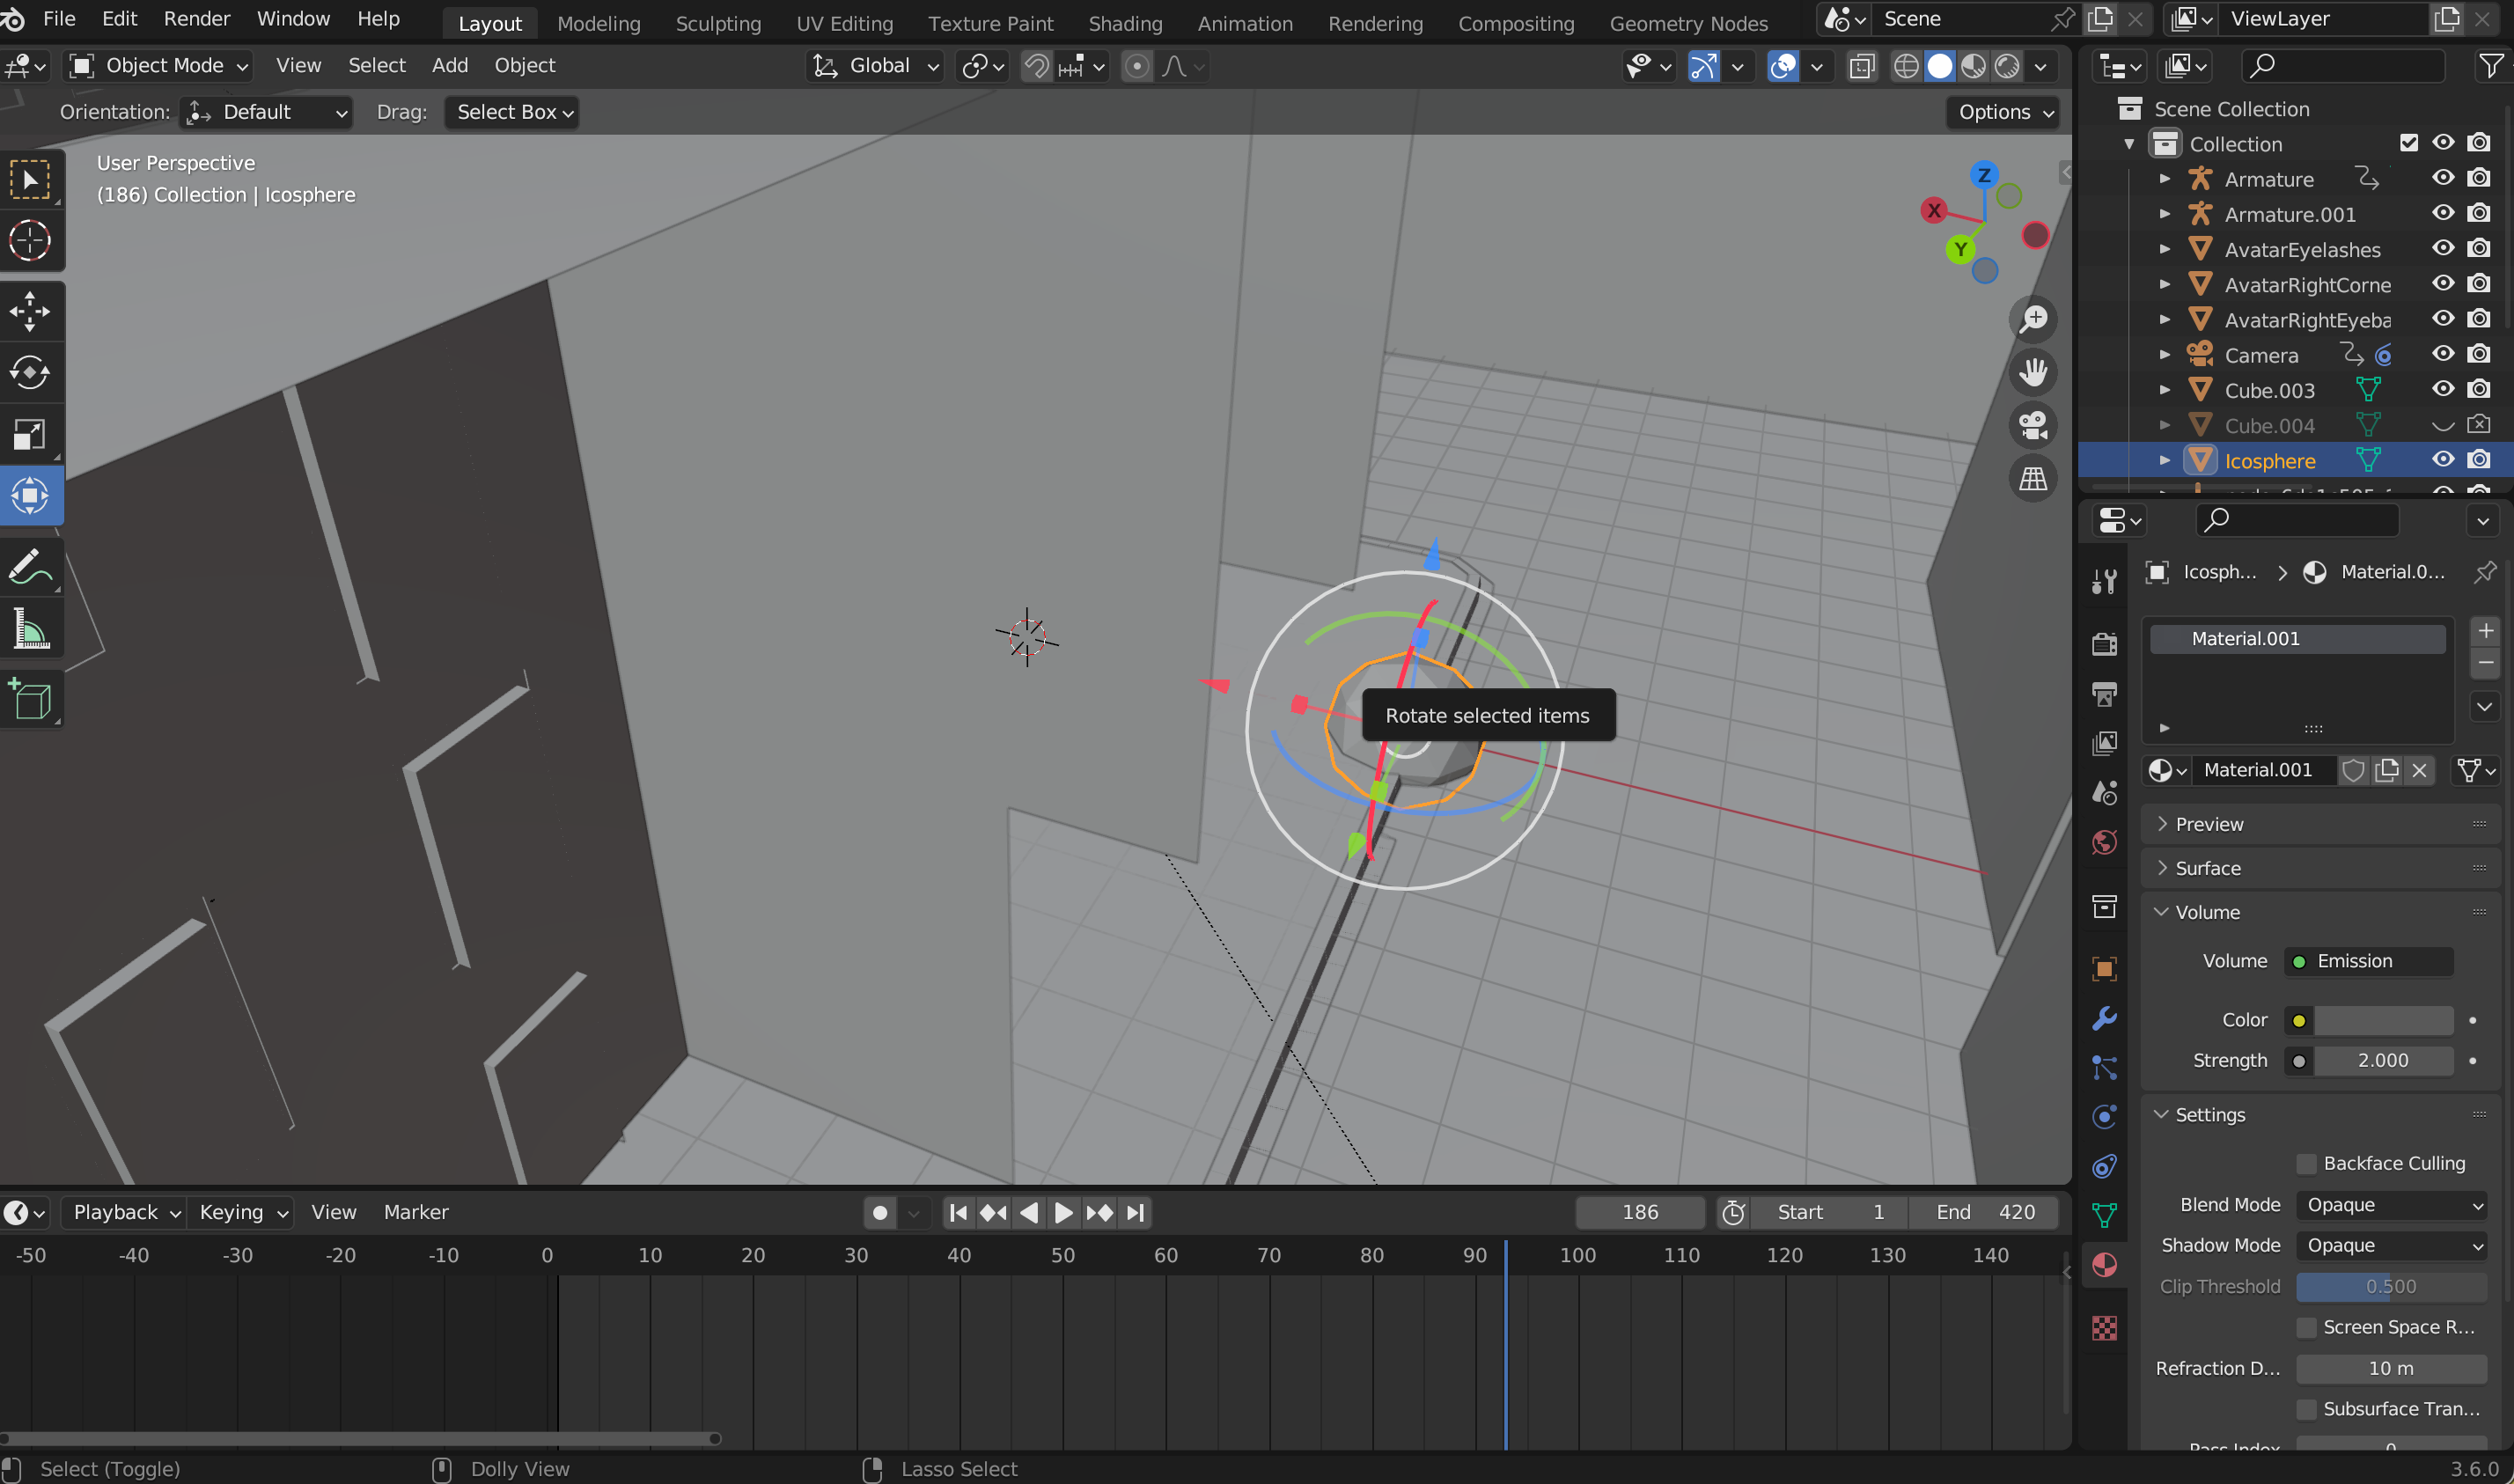
After setting up the bullets and their particle trails, I noticed in the draft render that the trails were too subtle. To make them more visible and dynamic, I decided to increase their visual strength using the icospheres that were trailing behind each bullet.
I selected the particle system that emitted the icospheres and adjusted the scale, emission amount, and material strength so that each icosphere appeared brighter and more noticeable in the scene. By giving the icospheres a stronger emission or glowing material, the trails became clearly defined against the background, highlighting the path of each bullet.
This method allowed me to enhance the Bullet Time effect without changing the actual motion of the bullets. The glowing icospheres emphasized speed and direction, making the frozen, midair moment more visually striking and cinematic.
More Fog
After enhancing the visibility of the bullet trails, I wanted the scene to feel more atmospheric and cinematic, so I focused on the volumetric fog. The fog added a sense of depth, making the city and floating characters feel more three-dimensional, but in the draft render it was a little too subtle to fully achieve the dramatic effect I was aiming for.
I selected the cube that contained the fog and adjusted the Density value in the Volume Scatter shader. Increasing the density made the fog more prominent, so it filled the space between the city, the floating primary character, and the secondary character in a way that emphasized the scale of the environment. The denser fog naturally softened some of the background details, helping the characters and bullets stand out more clearly while maintaining a sense of immersion.
The increased fog also enhanced how the light interacted with the scene. With more particles in the air, the HDRI lighting and any subtle reflections scattered realistically, creating a soft, diffused glow around the characters and emphasizing the midair floating motion. This gave the Bullet Time shot a much more suspenseful, cinematic quality, making the scene feel heavier, moodier, and visually richer without obscuring important details.
By carefully balancing the density, I ensured that the fog added depth and atmosphere while keeping the action clear and readable. This step was crucial for making the slow-motion, floating-backflip sequence feel grounded in a believable, dramatic environment.
Smoke Trail Color
After increasing the fog density and improving the visibility of the bullet trails, I noticed that the smoke trails coming off the bullets or gunfire were still too light. Against the city background and HDRI lighting, they didn’t stand out enough to have the dramatic impact I wanted.
To fix this, I selected the smoke trail object or particle system and went into the Material properties. I adjusted the Base Color or Emission Color, depending on the shader setup, to a darker tone, making the smoke more visible and giving it stronger contrast against the environment. I also made minor tweaks to the opacity and density so the smoke retained a sense of volume without becoming completely opaque.
Darkening the smoke trails had a couple of important effects. First, it made the motion of the bullets more readable, emphasizing the path and speed even in the slowed-down Bullet Time sequence. Second, it improved the overall cinematic feel, giving the scene more mood and weight. The darker smoke contrasted nicely with the glowing bullet trails and the volumetric fog, creating a layered visual effect that enhanced the depth and drama of the scene.
With this adjustment, the Bullet Time shot looked more polished, and every element — bullets, smoke, fog, and floating characters — combined harmoniously to create a dynamic, cinematic environment.
Delete the Skybox

When I first imported the city model, I noticed it came with its own built-in skybox. At first glance, it seemed fine, but when I looked at the draft render, I realized that the skybox was blocking the HDRI environment I had chosen. This prevented the HDRI from contributing proper lighting, reflections, and atmosphere to the scene. Since I wanted realistic lighting, reflections on surfaces like windows, the gun, and bullet trails, as well as a cohesive cinematic look, I needed to remove it.
To do this, I opened Blender’s Outliner, which lists all objects in the scene, and located the skybox object. It was usually a large surrounding object or set of planes/textures that encompassed the city. Once identified, I selected the skybox and deleted it from the scene.
Immediately after deleting it, the HDRI became visible in the background. The effect was noticeable: the lighting felt more natural and consistent, shadows and reflections matched the scene, and the volumetric fog and bullet trails interacted more realistically with the environment. Removing the skybox also helped the composition feel more open and cinematic, emphasizing the height and scale of the floating character and the cityscape below.
This step was small but crucial for achieving the desired Bullet Time effect, because having the HDRI fully visible allowed all the elements — the floating character, the backflip animation, the bullets, the fog, and the city — to blend naturally under the same realistic lighting, giving the scene depth, atmosphere, and a professional, polished look.
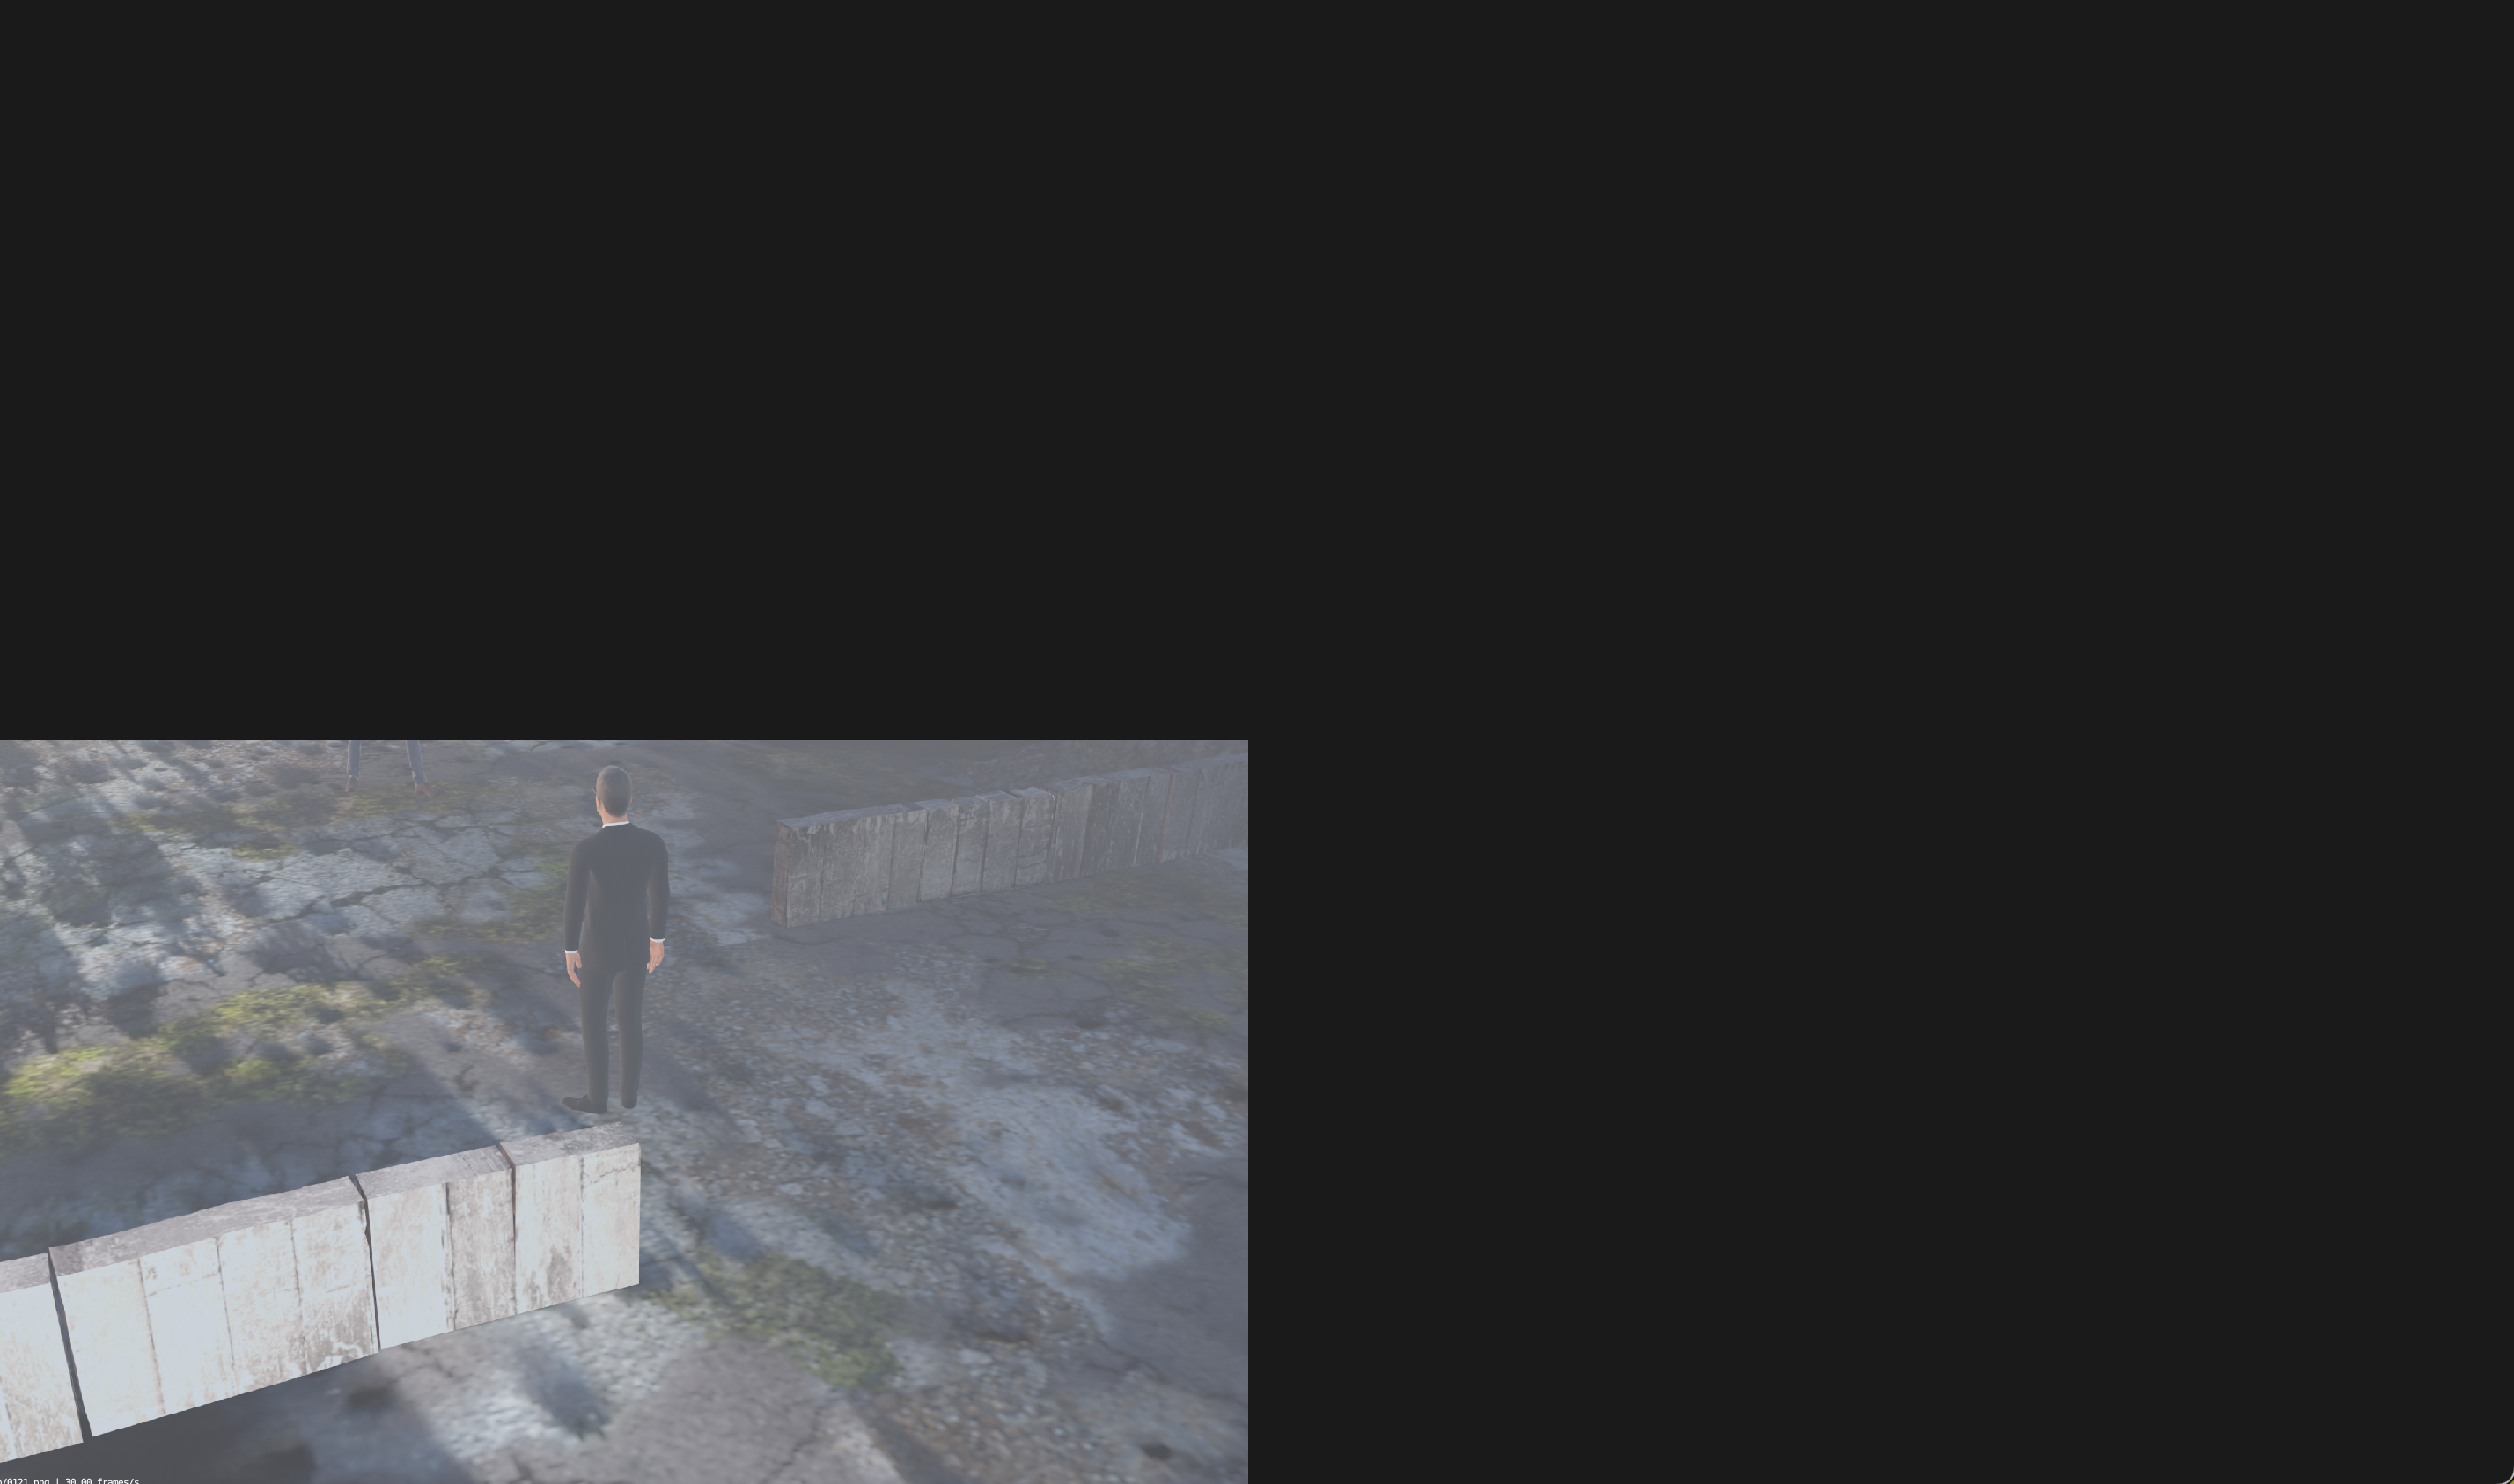
Add a Blocker Wall
Instead of creating a new wall from scratch, I decided to copy and paste an existing wall from the city model to serve as a blocker. This approach saved time and ensured that the new wall would match the style, texture, and scale of the environment seamlessly.
I selected a suitable wall within the city, duplicated it using Shift + D, and moved it into position where the edge of the scene might be exposed in the camera’s view. I adjusted its rotation and scale slightly to make sure it effectively blocked any gaps without looking out of place.
Using a wall that was already part of the city maintained visual consistency, so the blocker didn’t stand out or feel artificial. It provided a simple solution to prevent the camera from seeing beyond the scene, keeping the focus on the floating character, the bullet trails, and the cityscape while maintaining the cinematic integrity of the Bullet Time shot.
Rendering

After making all the adjustments — raising the camera tracking point, enhancing the bullet trails, increasing fog density, darkening the smoke trails, removing the city skybox, and adding a blocker wall — I was ready to render the improved animation.
I used Eevee for this render, since it’s fast and suitable for previewing the scene with all the updates applied. I checked that the camera framing, lighting, and all visual effects were in place. Then, I went to the Output Properties, set the resolution and frame rate, and chose a video file format for the render.
Once the render was complete, I opened the output in Blender’s Video Sequencer or a media player to view the final animation. Watching it back, I could see all the improvements clearly: the camera smoothly tracked the floating character at the new height, the bullet trails were bright and dynamic, the smoke and fog added depth and atmosphere, the HDRI lighting now illuminated the scene naturally, and the blocker wall ensured nothing looked out of frame.
This final review confirmed that all elements of the Bullet Time scene were working together cohesively, creating a polished, cinematic, and dramatic sequence. The combination of motion, particle effects, volumetric fog, and careful camera tracking brought the floating backflip and midair action to life exactly as envisioned.
Importing Into CapCut
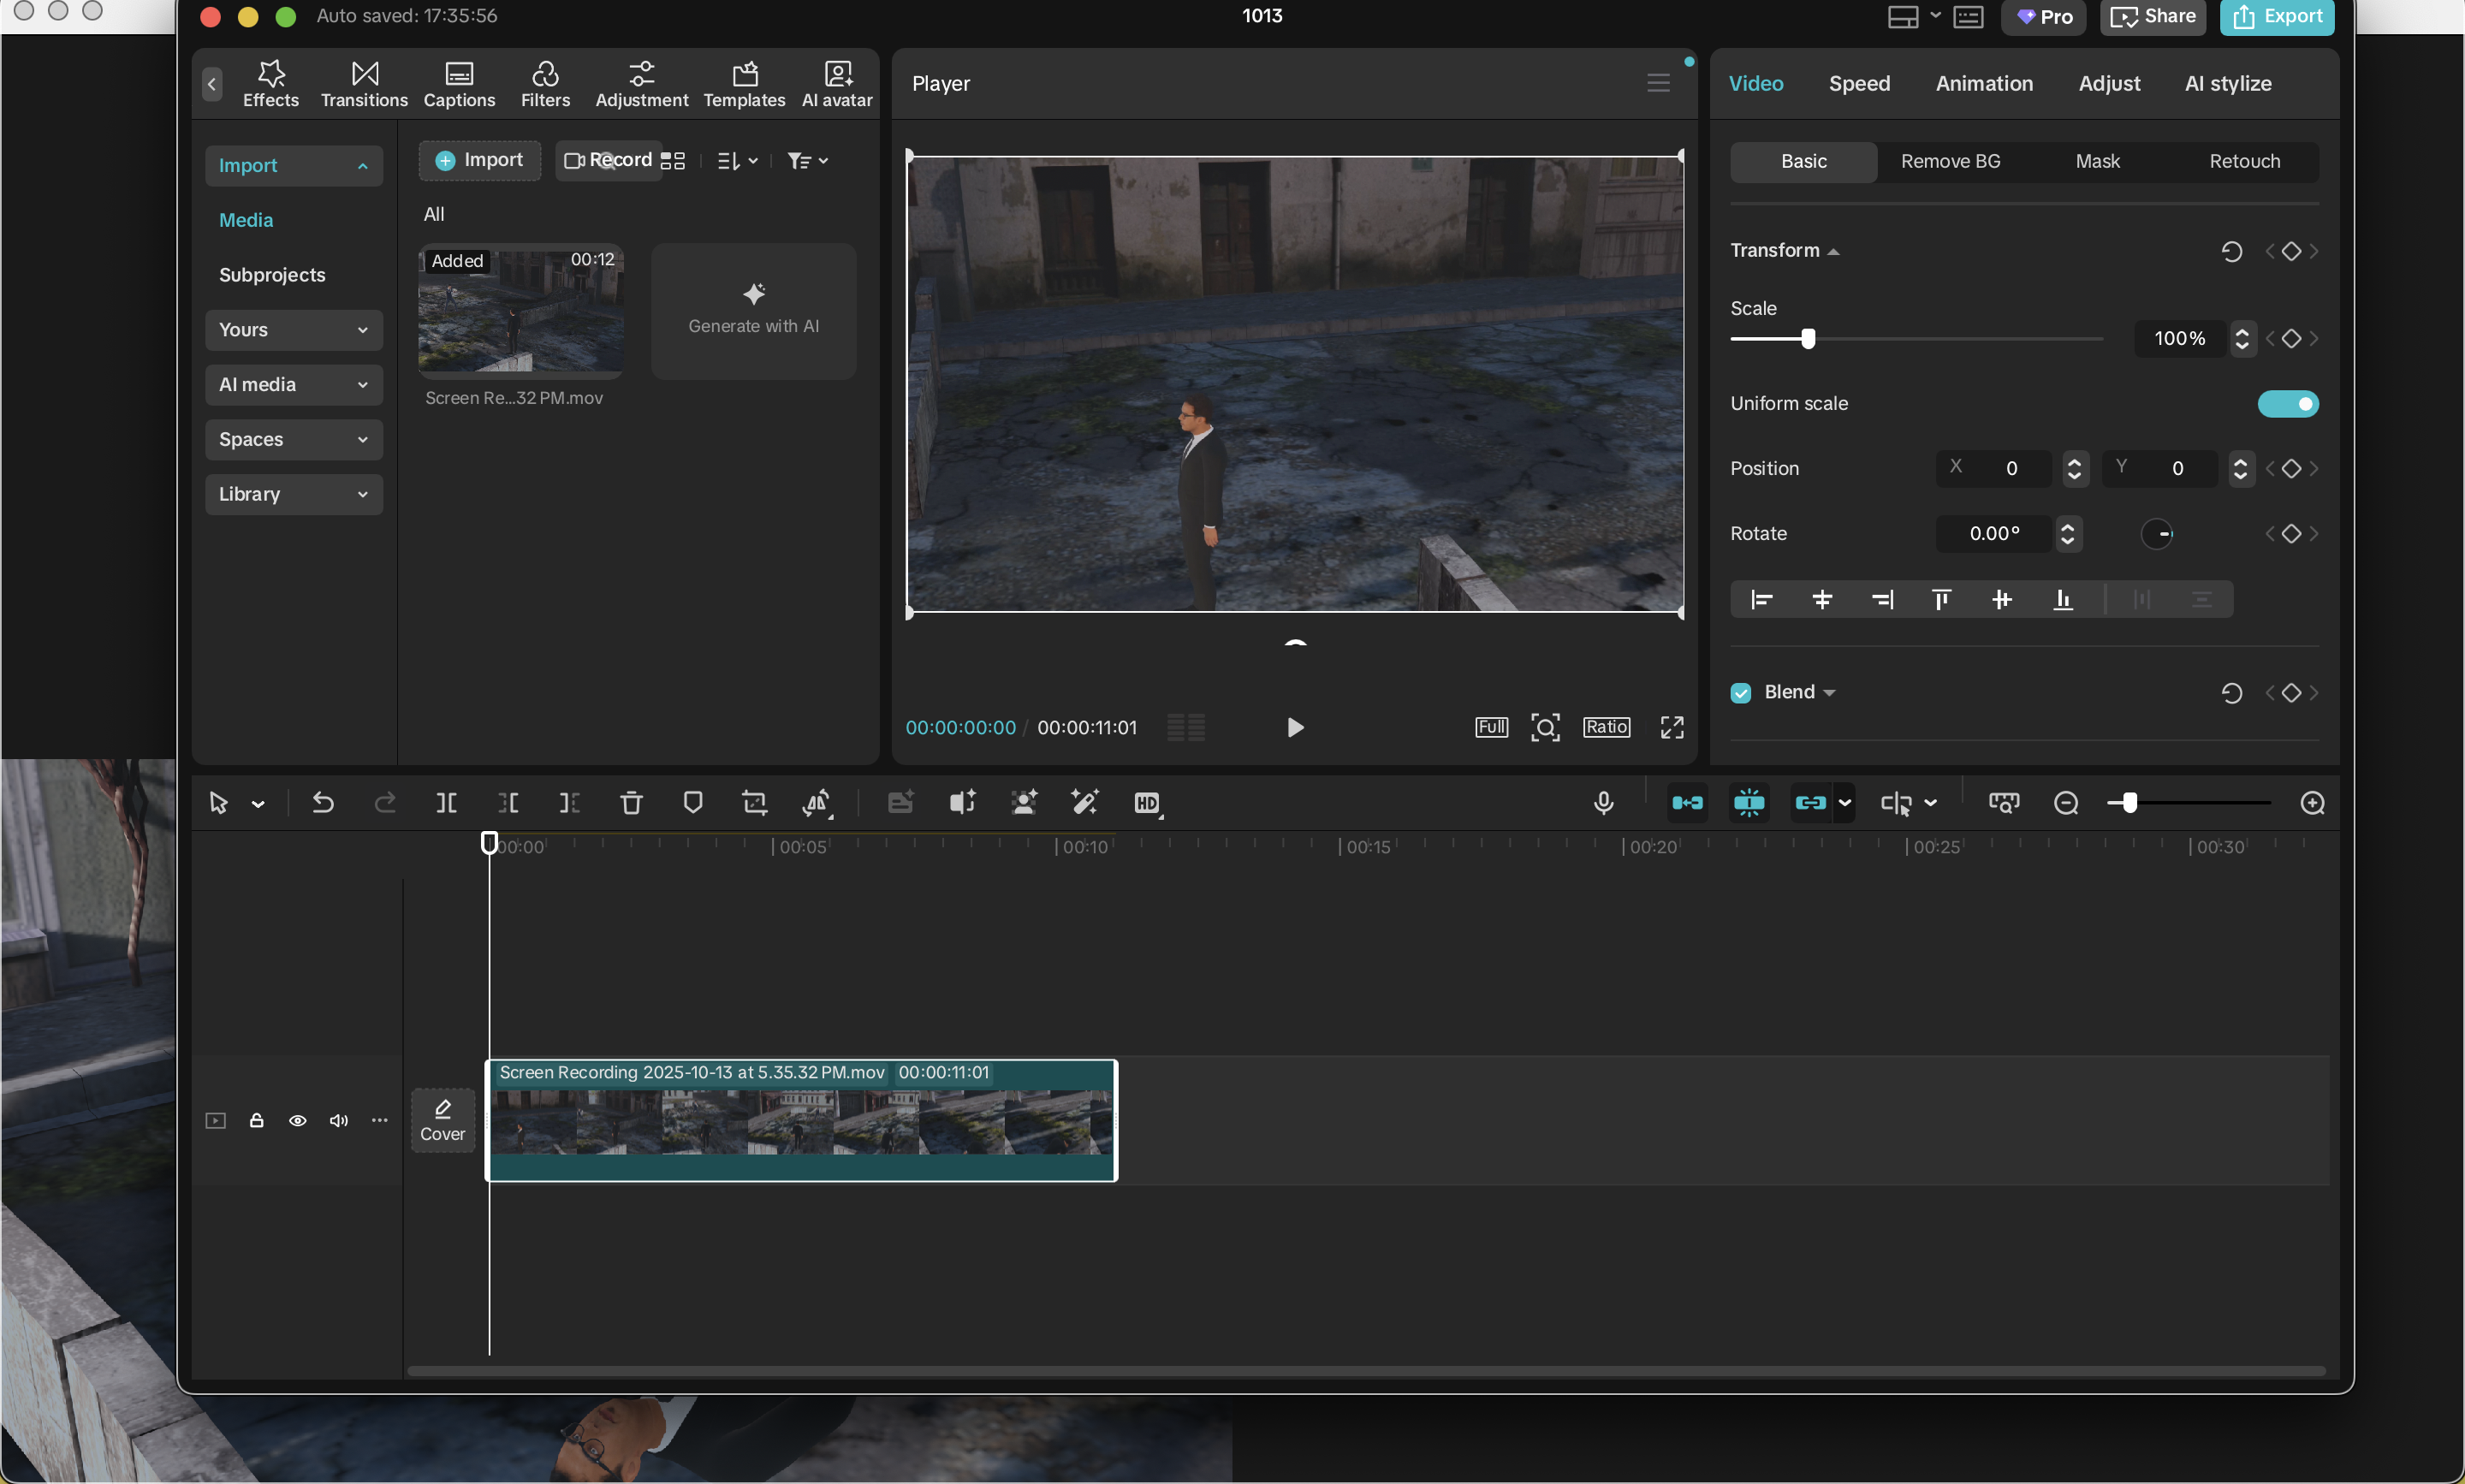
Once the final animation was rendered from Blender, I wanted to edit and finalize it in CapCut. To do this, I first made sure the video file was saved in a format compatible with CapCut, such as MP4. I also verified the resolution and frame rate to ensure smooth playback and consistency with the intended final output.
Next, I opened CapCut and created a new project. Using the import media option, I selected the rendered video file and brought it into the project timeline. CapCut automatically loaded the video so I could scrub through the frames, preview the motion, and check that all the Bullet Time effects, particle trails, and camera movements appeared correctly.
Importing the animation into CapCut allowed me to make additional adjustments, like trimming the clip, adding transitions, or preparing it for final export. This step was important because it enabled me to see the entire scene in a video editing environment, confirming that the slow-motion, floating backflip, and cinematic Bullet Time effects looked polished and ready for sharing.
Editing in CapCut
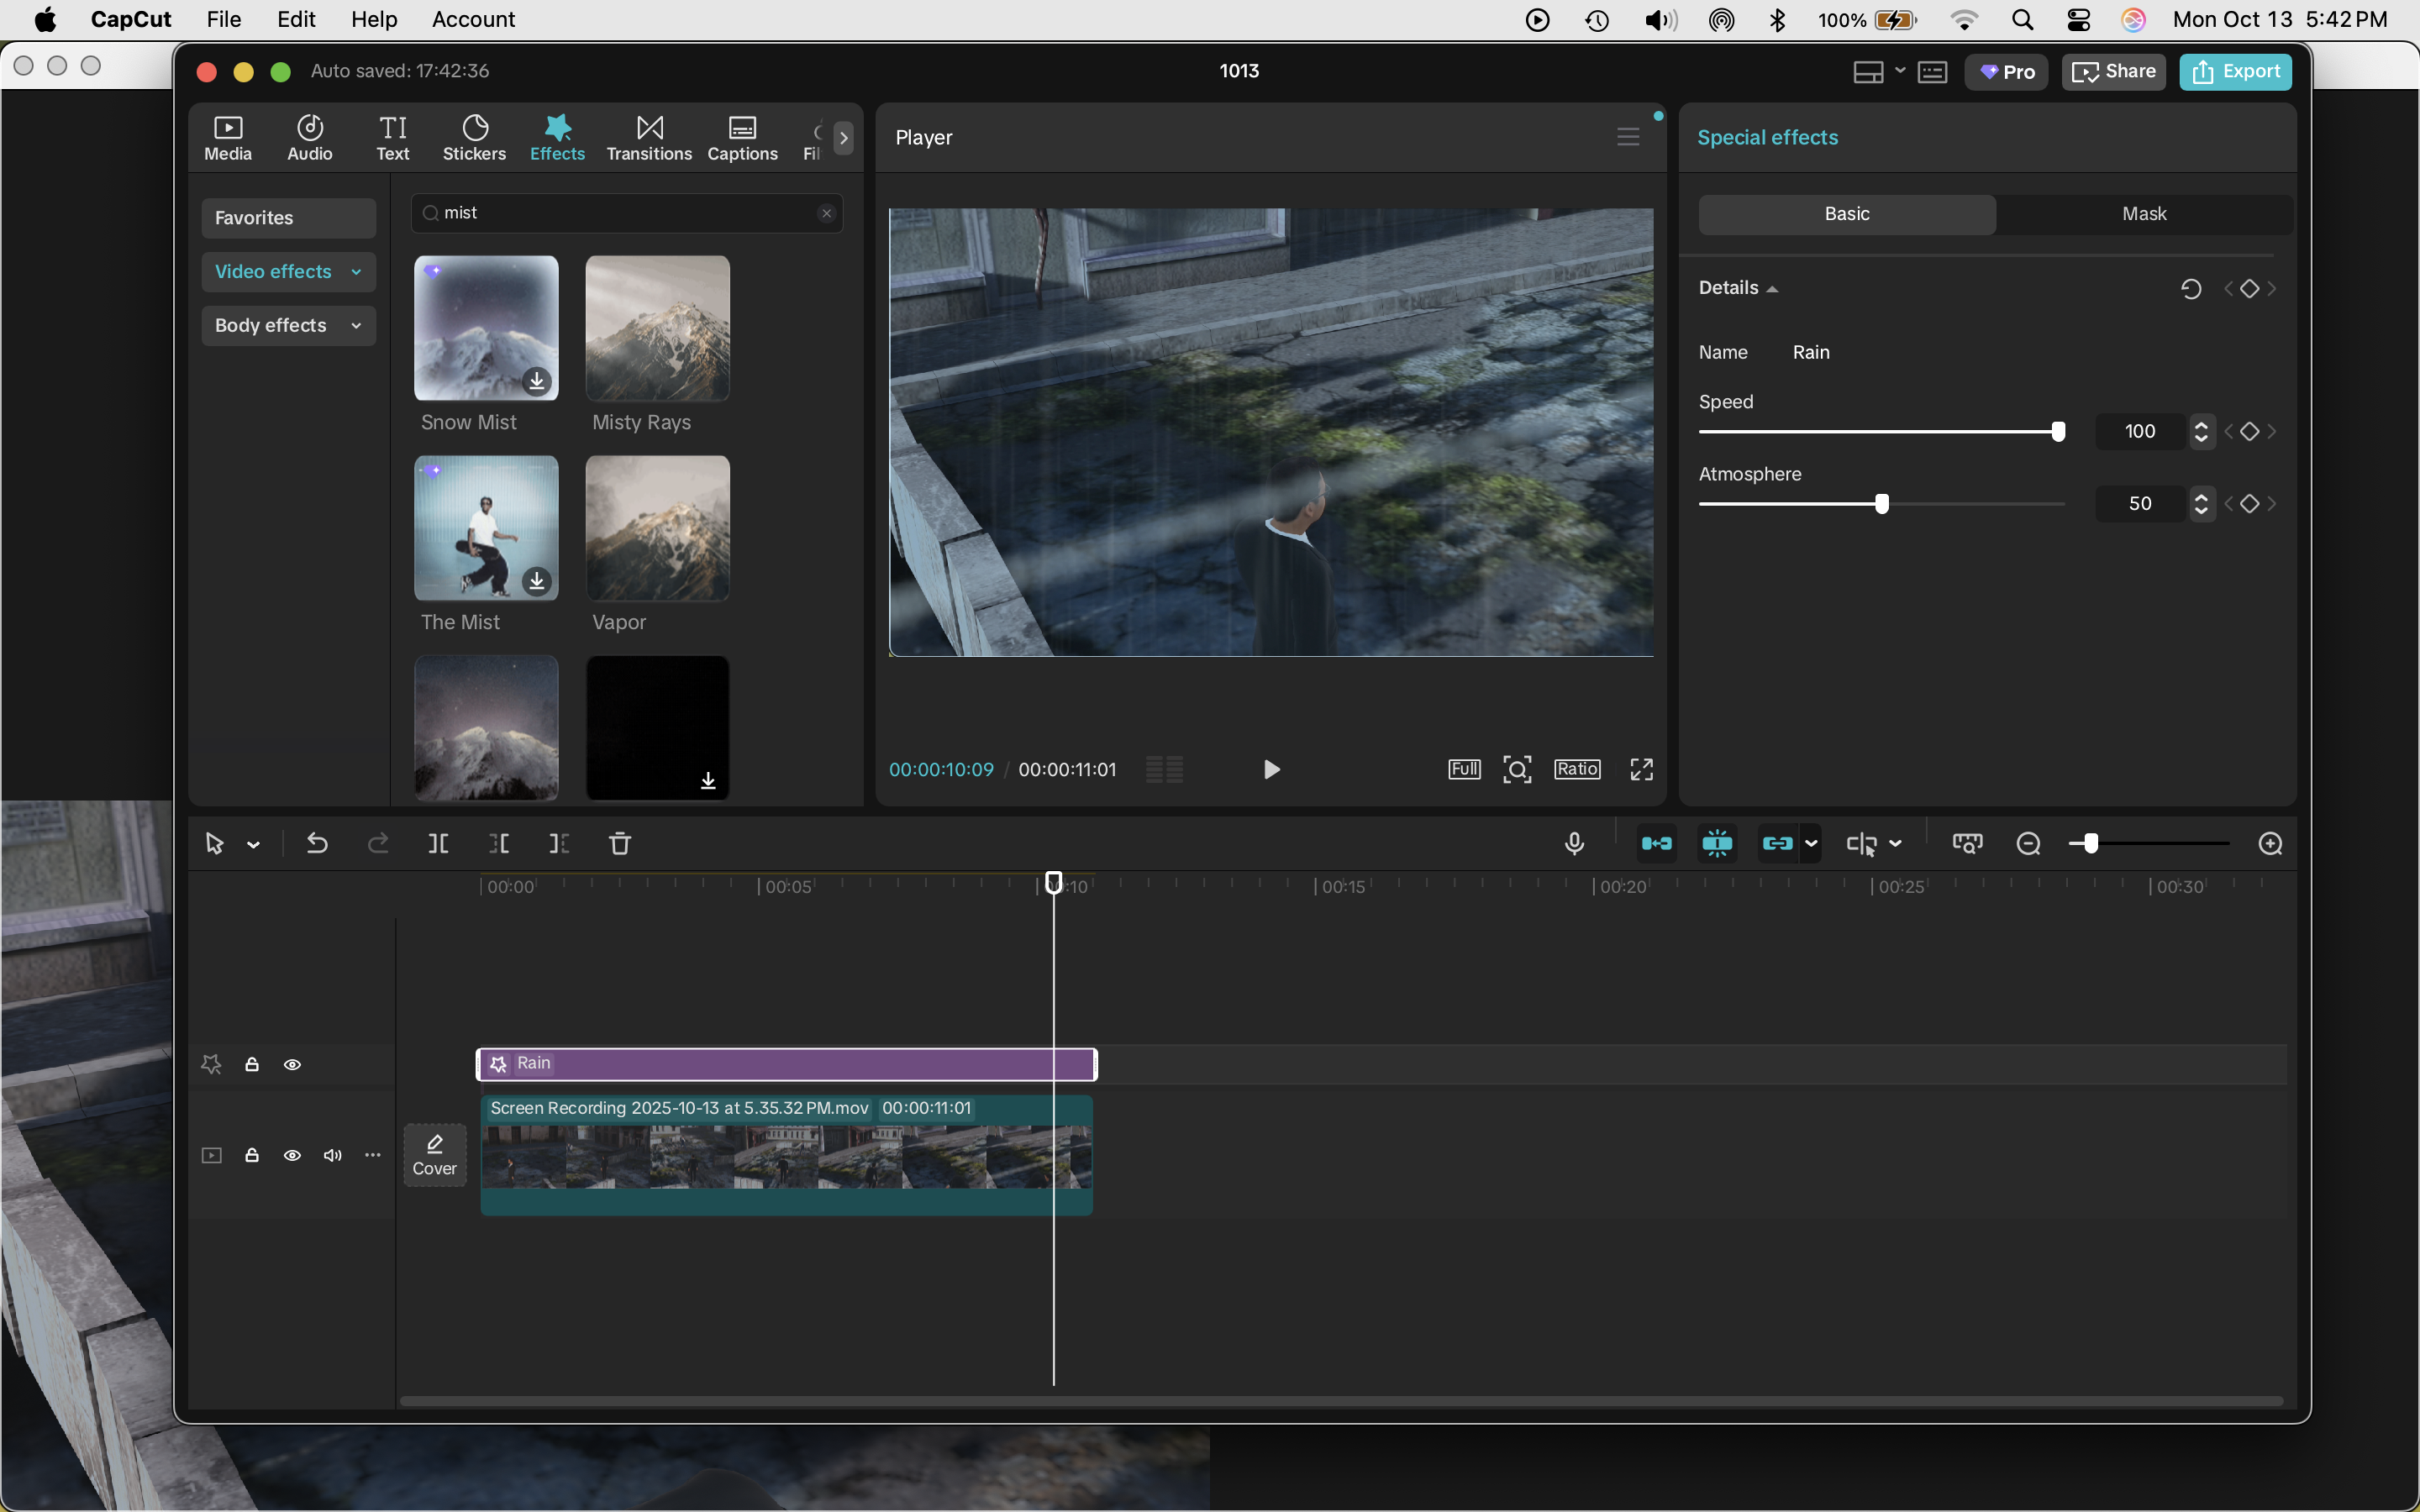
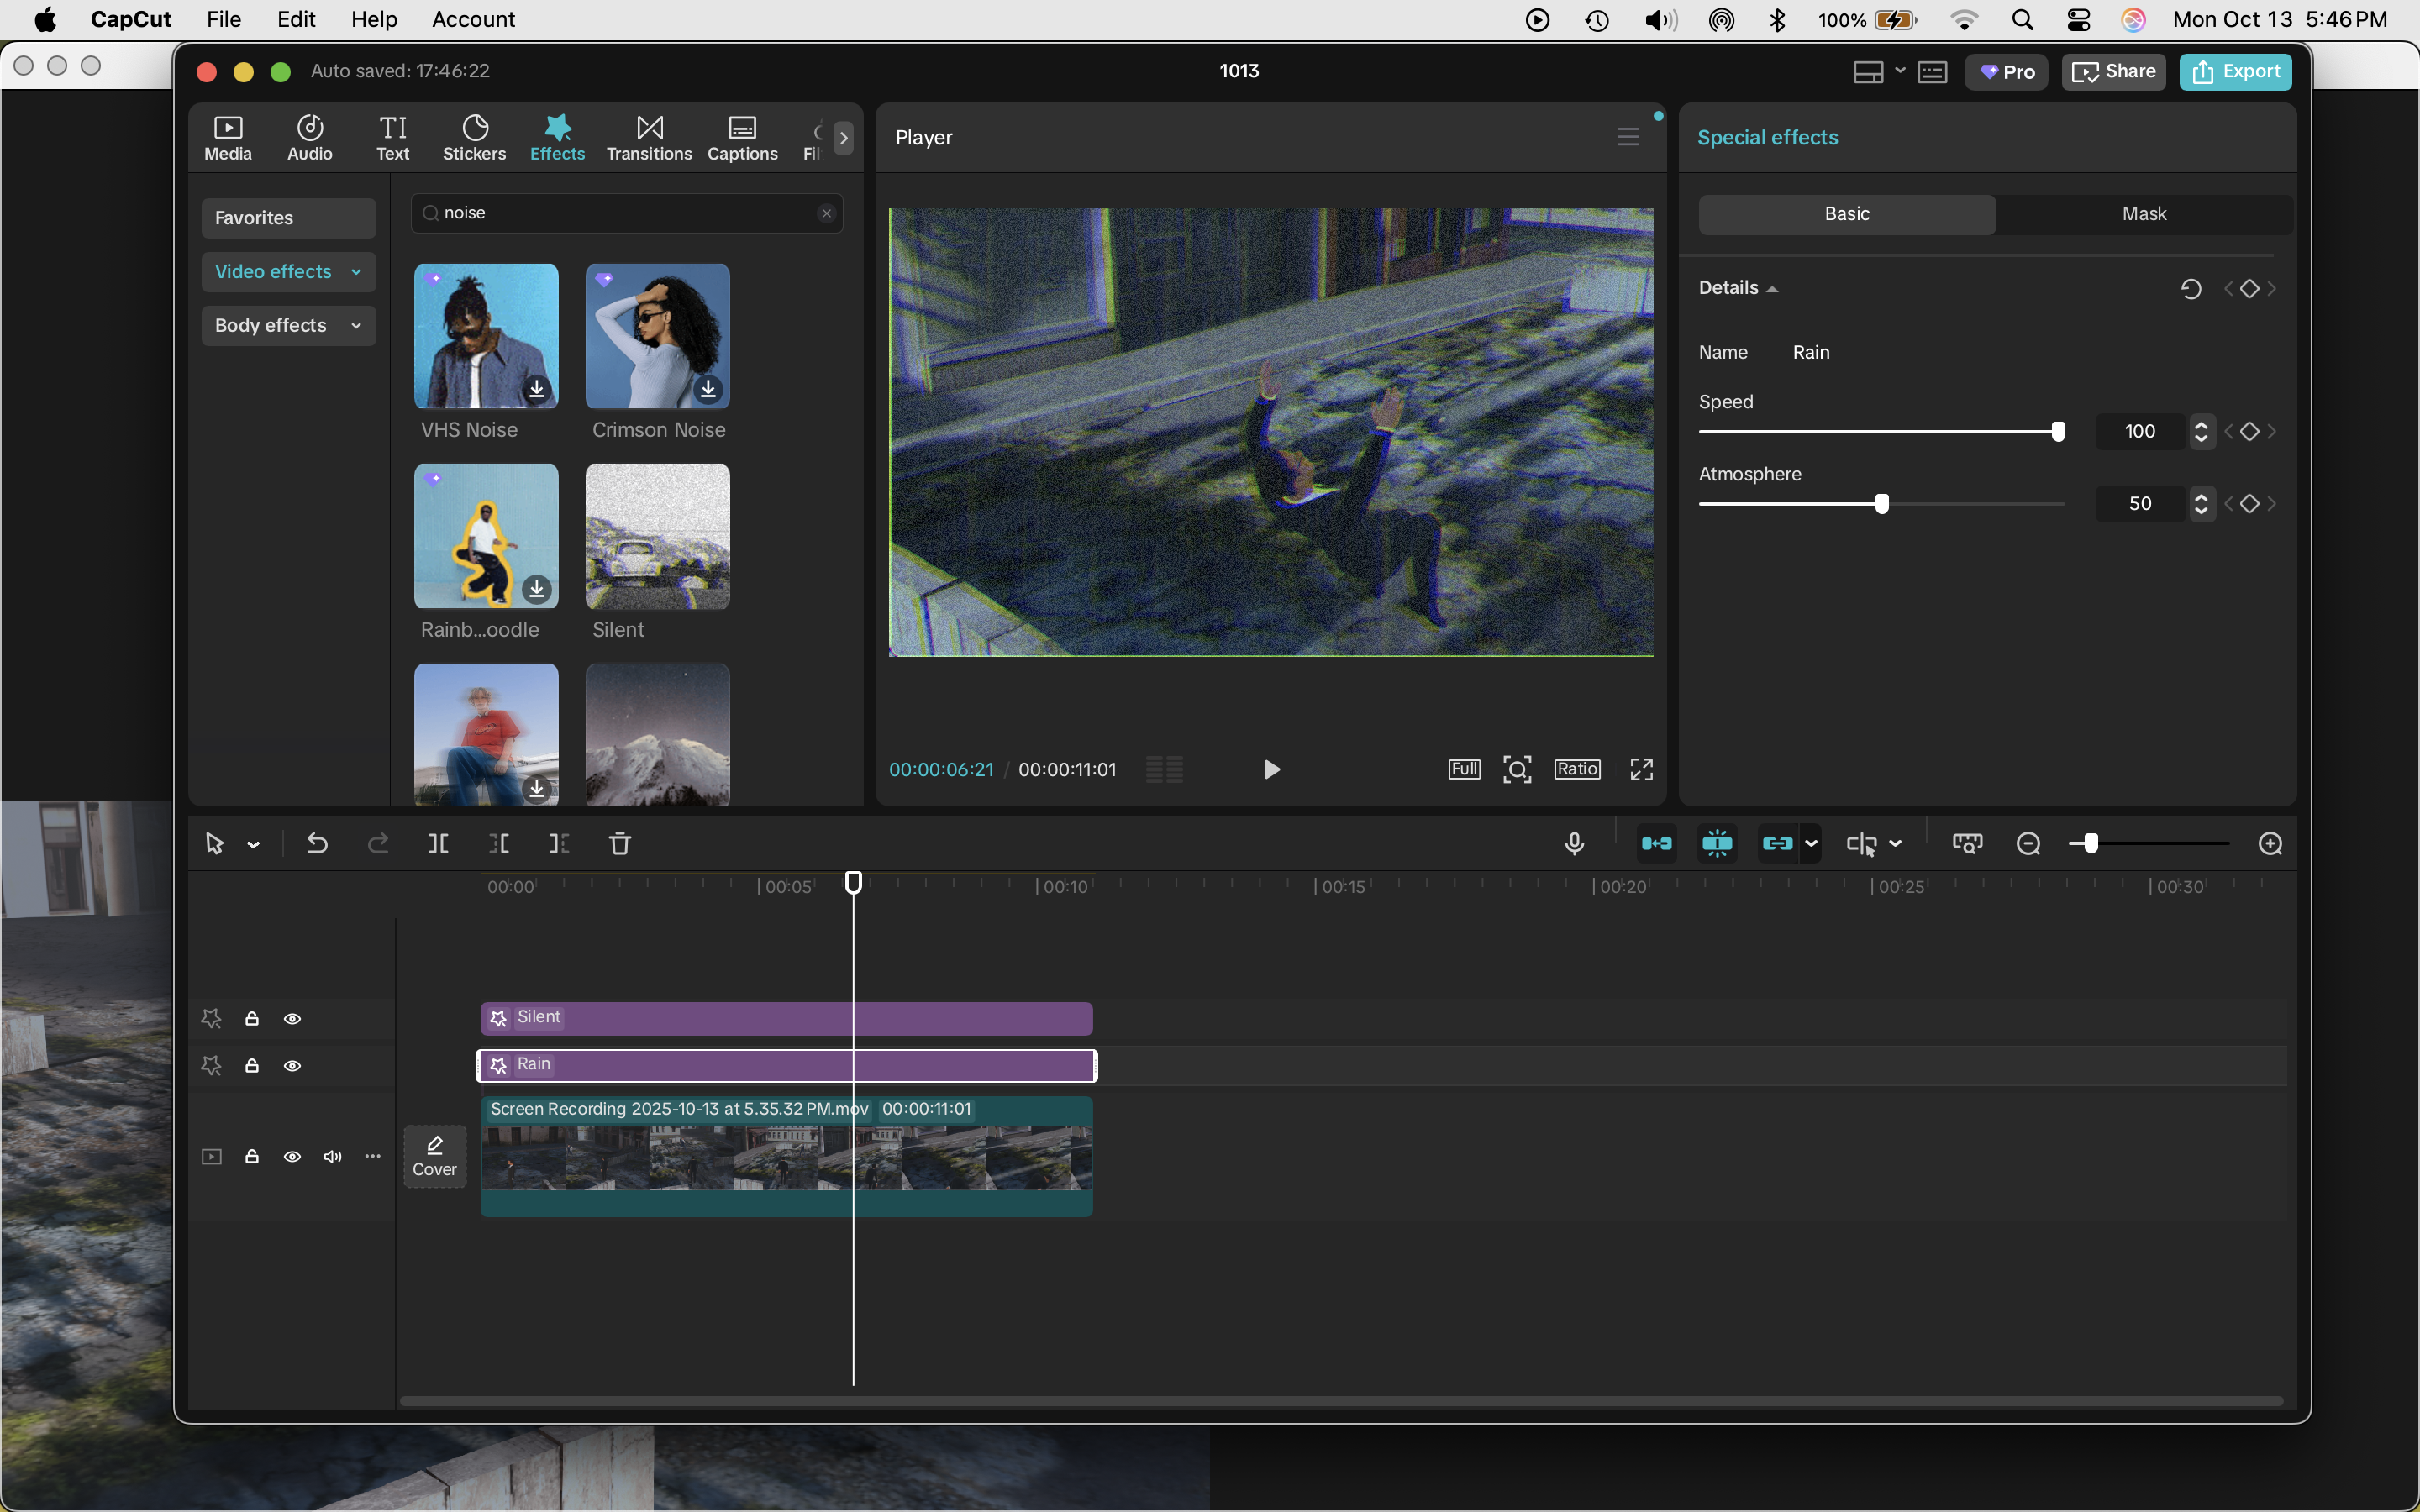
After importing the rendered animation into CapCut, I wanted to enhance the cinematic atmosphere with visual effects and color adjustments.
I added a rain overlay to increase the intensity of the environment and give the city a moodier, more dramatic appearance. The rain interacted well with the fog and lighting, helping to emphasize depth and motion while reinforcing the sense of a tense, cinematic moment.
I also adjusted the color grading to make the scene feel colder and darker. By lowering the brightness slightly, increasing contrast, and shifting the color balance toward cooler tones, the floating Bullet Time action gained a more dramatic and suspenseful tone. The character and bullets now stood out more against the cityscape, and the fog and rain blended naturally with the overall mood.
These post-processing effects in CapCut were crucial for turning the render into a polished cinematic sequence, enhancing both the atmosphere and the readability of the action, while giving the Bullet Time scene a professional, filmic quality.
Exporting With CapCut

Once all the post-processing effects were applied — including the old footage grain, rain overlay, and colder, darker color grading — I was ready to export the final video. In CapCut, I navigated to the Export option, usually located at the top-right corner of the interface.
I chose the desired resolution and frame rate, making sure it matched the original render from Blender to maintain smooth playback and clarity. I also selected the MP4 format, which is widely compatible and works well for sharing or uploading online.
Before exporting, I double-checked the timeline to ensure all effects, clips, and transitions were applied correctly. Then I clicked Export and waited for CapCut to process the video. Depending on the length and complexity of the scene — with the added grain, rain, and color adjustments — this step could take some time, but it produced a polished final file.
Once the export was complete, I opened the video in a media player to review it. The Bullet Time sequence now showcased the floating backflip, dynamic bullet trails, volumetric fog, and atmospheric effects exactly as intended, with all the cinematic post-processing enhancing the final presentation. The video was ready for sharing, editing further, or uploading to any platform.
Feedback
After finishing the final render and post-processing, I shared the animation with friends and family to get their thoughts. I wanted to see how the Bullet Time scene — especially the floating, midair backflip — felt to people outside of my workflow, and whether the action and cinematic effects were clear and engaging.
I watched their reactions as they saw the character twist and float through the city, bullets streaking past and fog creating depth. They offered feedback in a casual, conversational way, pointing out which parts looked exciting or dramatic, and suggesting small tweaks to make the motion, camera angles, or effects even clearer. Because they were people who cared about the project, their input felt supportive and constructive, helping me notice details I might have overlooked.
Getting feedback from friends and family was valuable not just technically, but also emotionally — it was encouraging to see how the floating action and cinematic atmosphere resonated with people, and it gave me confidence that the scene was both visually striking and fun to watch. This step helped me refine the final animation and made the whole process feel more connected and rewarding.
Final Project

The final product of the project is a cinematic Bullet Time animation that captures a dynamic, midair backflip in a stylized city environment. The primary character floats and twists gracefully while dodging bullets, each bullet leaving bright, glowing trails that emphasize motion and direction. The secondary character is positioned strategically, contributing to the sense of action and tension in the scene.
The environment is enhanced with volumetric fog, creating depth and a sense of scale, while the HDRI lighting gives the city a realistic and immersive atmosphere. Post-processing effects, including old footage grain, rain, and cooler, darker color grading, add cinematic flair and mood, making the scene feel intense and dramatic.
The camera uses a Track To constraint on an invisible cube at the character’s head, combined with keyframed rotation around the character, allowing it to orbit smoothly while keeping the action centered. A blocker wall ensures that the camera never exposes the edges of the city, maintaining immersion.
Overall, the final product is a polished, visually striking animation that demonstrates the floating, suspended-in-time effect of Bullet Time, with careful attention to composition, particle effects, lighting, and cinematic atmosphere. It serves as both a demonstration of technical Blender and CapCut techniques and a creative, dramatic animation sequence suitable for tutorials, showcases, or cinematic projects.
Conclusion
In the end, the project stands as a cinematic exploration of floating, suspended motion, capturing the unique sensation of weightlessness and midair drama that defines the Bullet Time effect. The animation is designed to make the viewer feel as though they are witnessing action frozen in time, with characters, projectiles, and environmental elements all seemingly suspended in space. This sense of suspension draws attention to every subtle motion, twist, and turn, allowing the choreography of the characters and the trajectory of bullets to be appreciated in detail.
Floating is at the core of the animation, giving the scene an ethereal, almost dreamlike quality. The characters’ movements, whether twisting in a backflip or dodging projectiles, are highlighted by the midair environment, emphasizing a freedom from gravity that contrasts with the grounded elements of the city below. This interplay between the airborne characters and the urban backdrop reinforces the sense of height, scale, and three-dimensionality, immersing the viewer in a space where motion can be seen from multiple perspectives simultaneously.
The environment itself — enhanced with volumetric fog, particle effects, and subtle atmospheric elements — plays a critical role in accentuating the floating sensation. Fog softens the background and creates depth, while particle trails trace the path of motion, giving the floating objects a tangible presence within the scene. The careful orchestration of camera movement around the characters further amplifies the effect, offering dynamic angles that highlight the curves, twists, and arcs of motion, making the viewer feel like they are orbiting alongside the characters in midair.
The floating aspect is not just visual but also emotional, conveying a sense of suspense, tension, and awe. By isolating the characters in a suspended environment, the animation allows the viewer to focus on the elegance and fluidity of motion, appreciating the choreography and timing without distraction. The combination of lighting, shadows, volumetrics, and post-processing creates a mood that reinforces this sense of levitation, making the scene feel alive yet suspended, dramatic yet controlled.
Ultimately, the final product is a celebration of movement and suspension, where floating becomes the central narrative device. The animation invites viewers to experience the delicate balance between motion and stillness, height and depth, action and atmosphere. It is a visually striking exploration of what it means to be suspended in midair, capturing the tension, drama, and beauty of motion in a way that is both immersive and cinematic. Every element — from character poses to environmental effects to camera choreography — works together to create a cohesive sense of floating through space, leaving a lasting impression of elegance, drama, and visual spectacle.