The "Hip-POOF! Breeze Blower" Project: Engineering a Pocket-Sized Hippo to Bite the Heat
by emilycanhelp in Design > 3D Design
48 Views, 2 Favorites, 0 Comments
The "Hip-POOF! Breeze Blower" Project: Engineering a Pocket-Sized Hippo to Bite the Heat

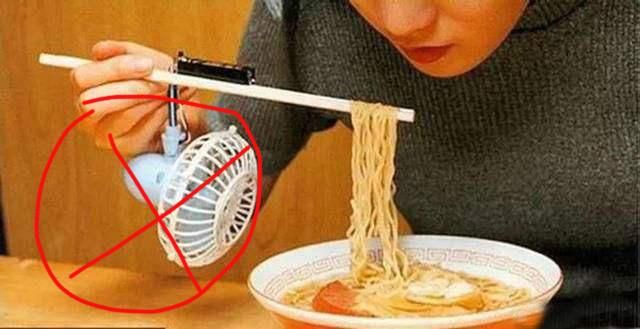

The "Hip-POOF! Breeze Blower" is more than just a fan; it is a tangible piece of digital art that bridges the gap between whimsical cuteness and hyper-utility. The core concept revolves around "Aggressive Cuteness"—a harmless, chubby hippo that uses its famously large mouth not to chomp, but to chomp the heat out of your soup and your face. (Just blowing air with a plain little fan is so unsophisticated.)
Designed as a trinity of functions, it serves as a desk-side cooling companion, a food-cooling gadget to save your tongue from hot pizza, and a quirky bag charm that provides portable relief during summer commutes. The kinetic experience is key: when you twist the hippo's bright red tail, it acts as a playful "ignition" that brings the silent little creature to life, blowing a refreshing breeze right through its roaring open mouth.
Supplies





Software Used:
- ChatGPT (DALL-E / Image Generator): For ideation and generating the 2D "blueprint" with specific open-mouth, outstretched-arm poses.
- Tripo 3D (AI Modeling App): For instant photogrammetry-to-3D conversion and the critical "Segmentation/Blockout" feature used to separate the mesh into printable components.
- Slicing Software (e.g., Bambu Studio / Cura): For generating G-code for the 3D printer.
Materials:
- PLA or PETG Filament: (Matte finish recommended for painting adhesion). ~200g.
- Acrylic Paints: Pink, soft blue/grey, white, black, and bright red (for the tail).
- Clear Acrylic Sealant / Varnish: Water-based, matte or gloss finish for protection.
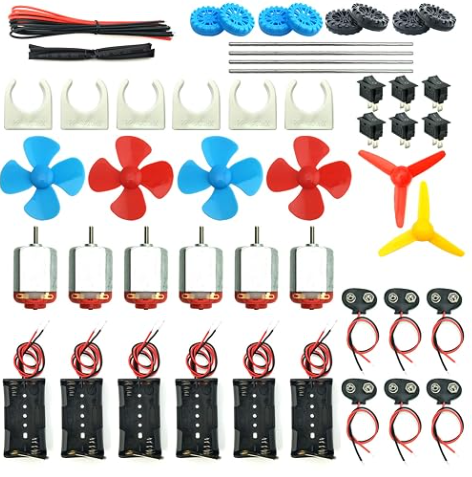
- Mini Cooling Fan: 30mm or 40mm 5V brushless DC fan.
- Battery Housing: 2x AA or 1x 9V battery holder with an attached JST or bare wire connector.
- Batteries: Corresponding to the holder.
- Toggle Switch (Optional but modified): Since you are using the tail, you may just need a small SPST twist/potentiometer switch that fits the tail cavity, or simply wire the red tail as a physical "key" that completes the circuit when twisted in its slot.
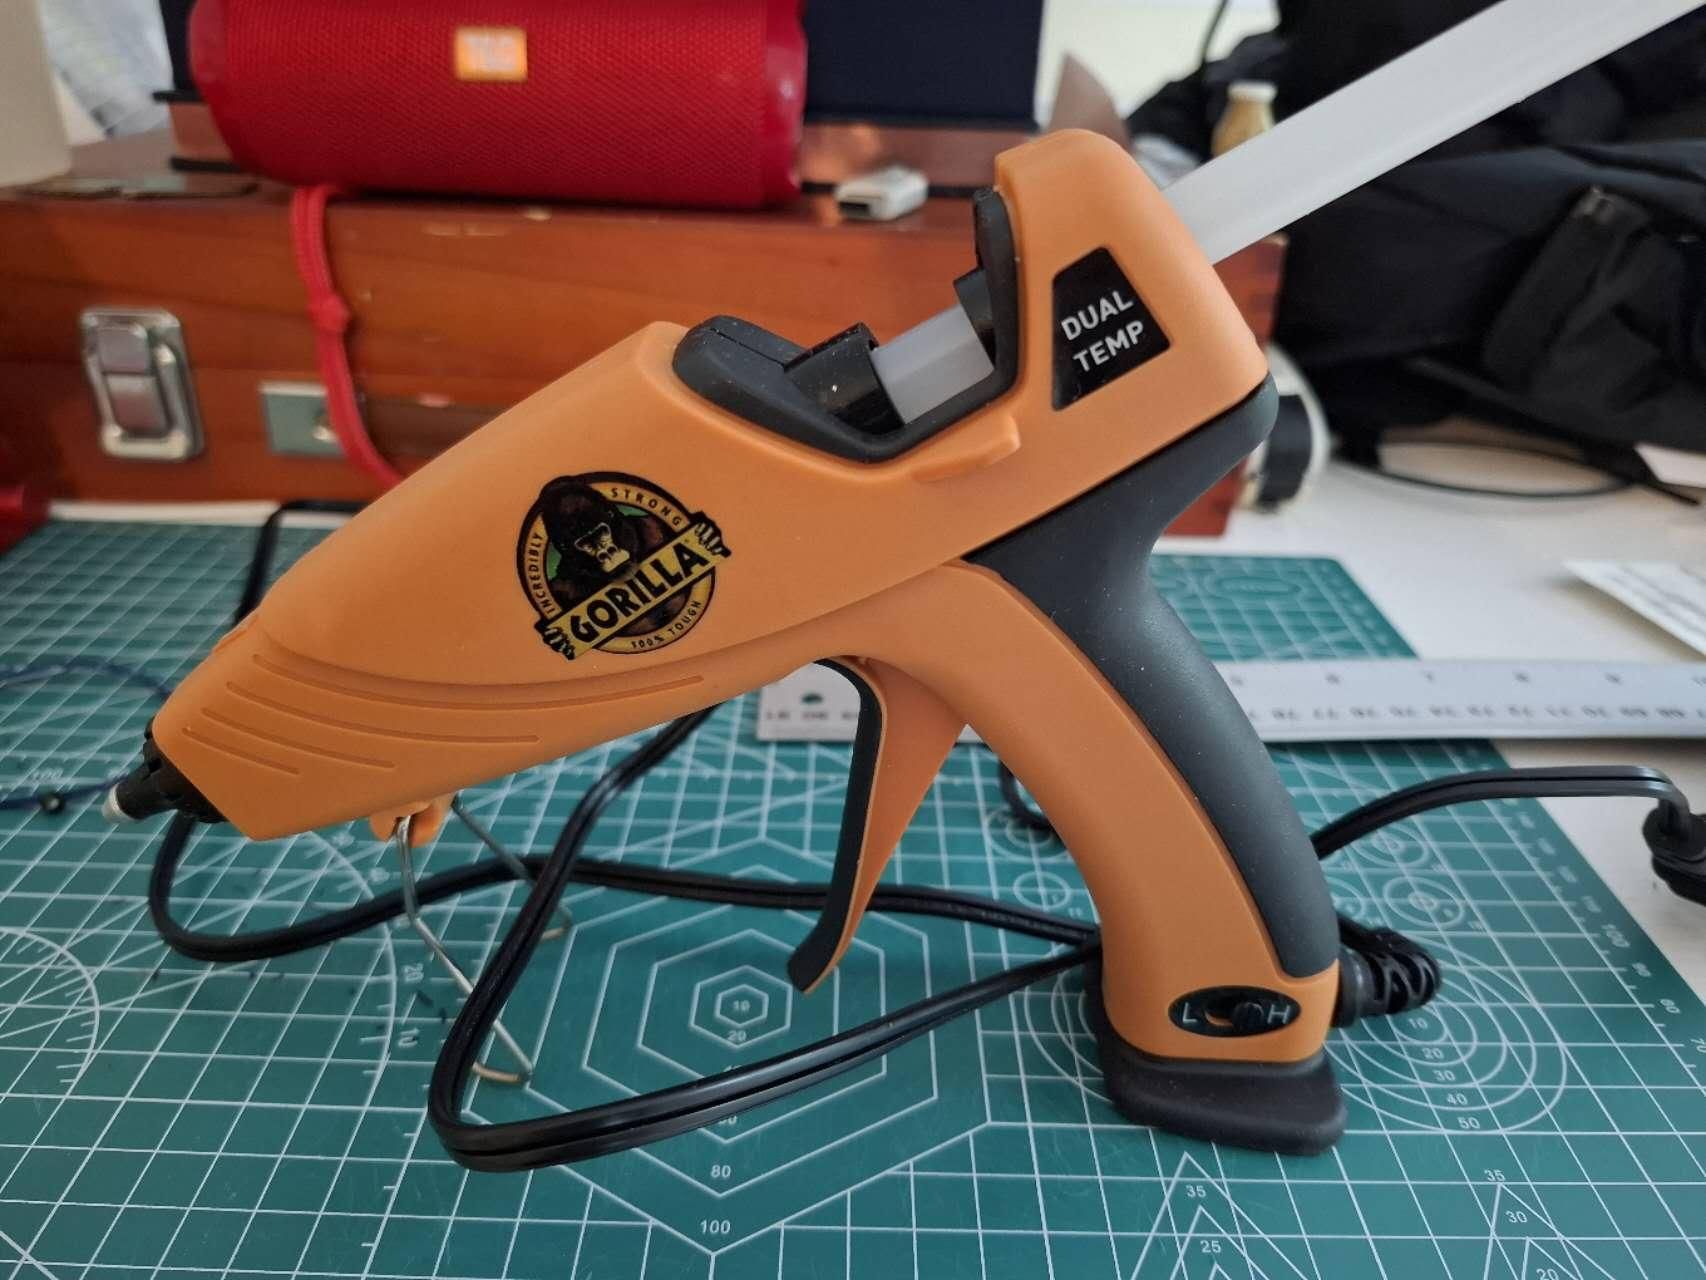
- Hot Glue Sticks: For securing internal components.
- Fine Sandpaper: Grit 400 and 800 for smoothing.
Tools:
- 3D Printer
- Precision Screwdriver Set.
- Wire Cutters / Strippers.
- Hot Glue Gun.
- Small Paintbrushes .
Curation of the "Base Canvas"

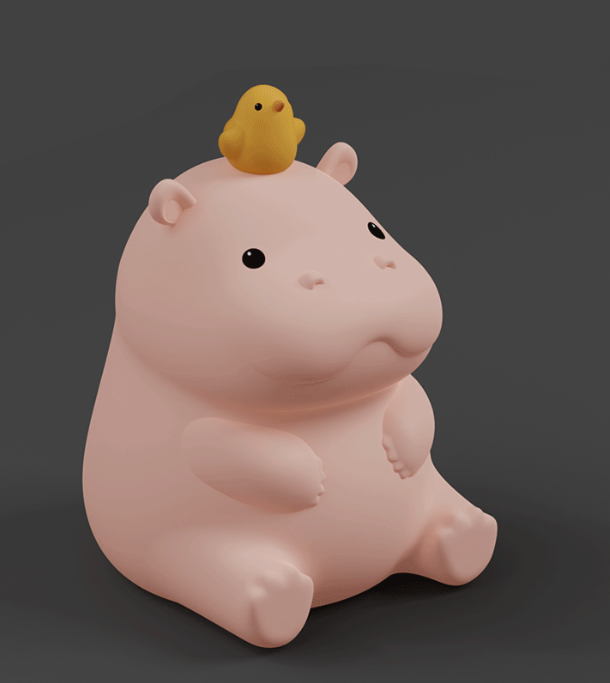
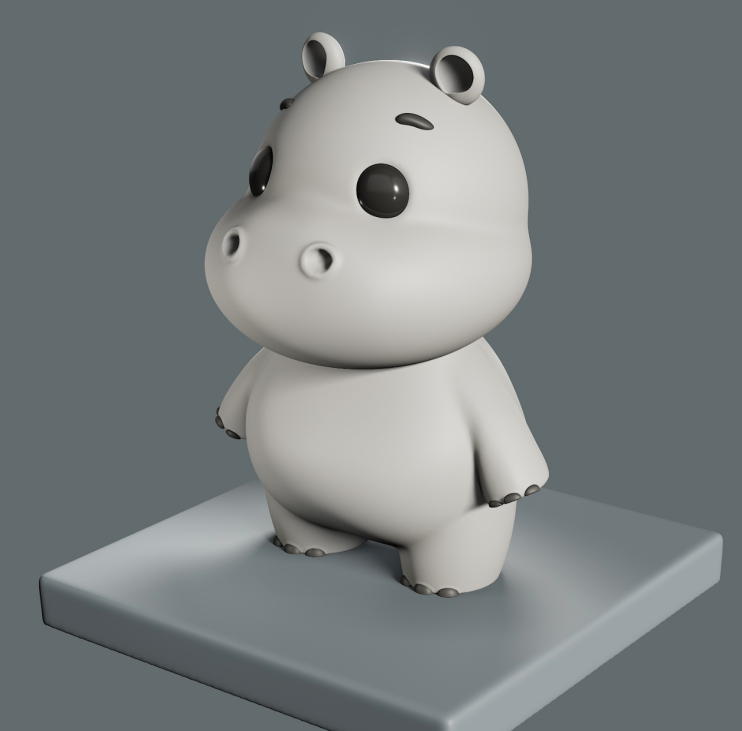
- Action: Search for a simple, minimalist 2D illustration of a hippo. Aim for "kawaii" style—chubby cheeks, short legs, and a soft, rounded silhouette.
- Crucial Detail: Ensure the image is high-contrast and has a solid background for easy AI processing. Do not choose one with an open mouth yet; we want the AI to invent that part based on your prompt.
AI-Accelerated Design Evolution (The "Open-Wide" Prompt)


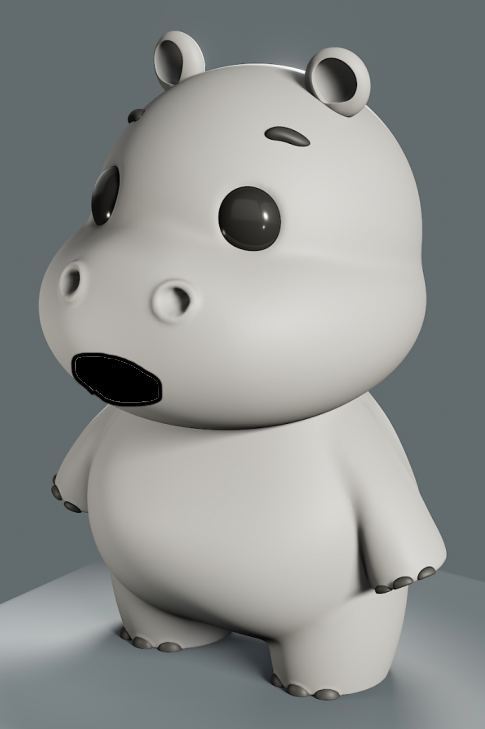
- Action: Upload your base image to ChatGPT. Input a highly specific engineering prompt: "Modify this hippo to have an open mouth . Change the arms to stretch forward, as if it is holding onto the edge of a hot bowl, with little chubby fingers splayed out."
- Goal: Generate 2-3 variations. Pick the one with the best forward-thrusting chest and largest oral cavity, as this will become your air duct.
Photogrammetry to 3D Mesh (Tripo)

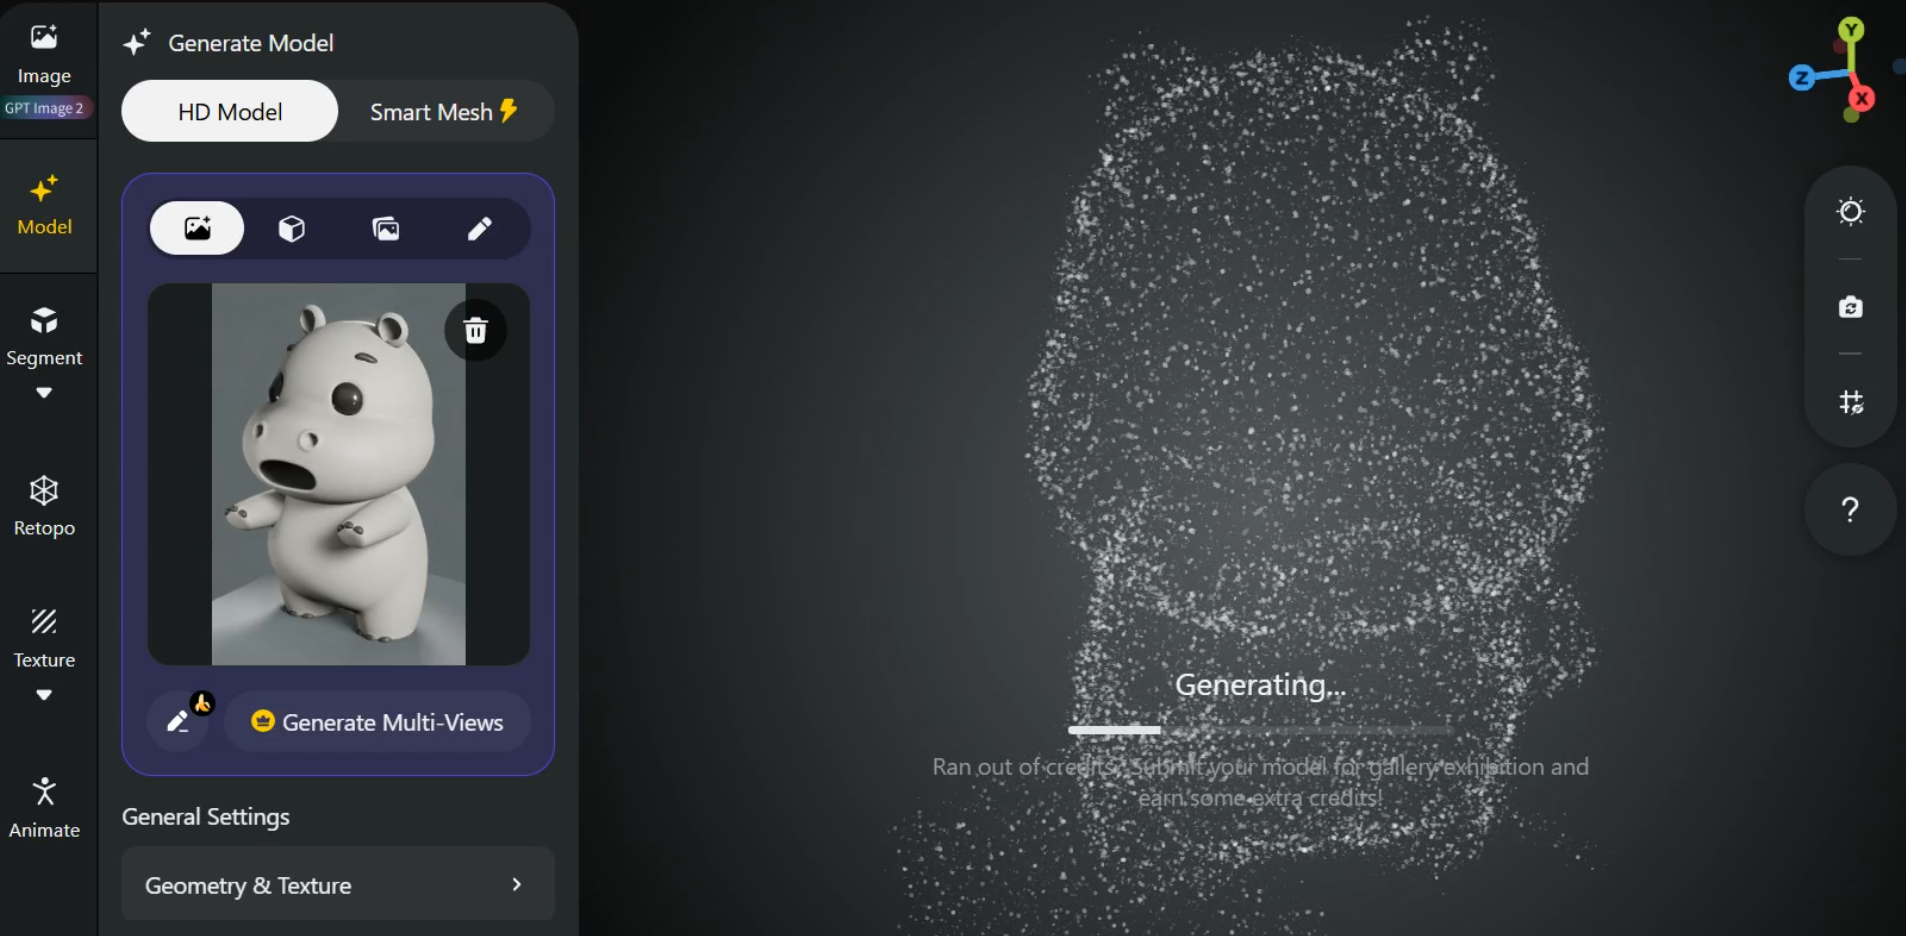

- Action: Upload your selected AI-generated image into the Tripo app.
- Expectation: Tripo will generate a watertight, uniform STL/OBJ file within 1-2 minutes. Because the shapes (spheres and cylinders) are simple, the topology will be clean with minimal digital artifacts.
The "Digital Dissection" (Separation into Bodies)
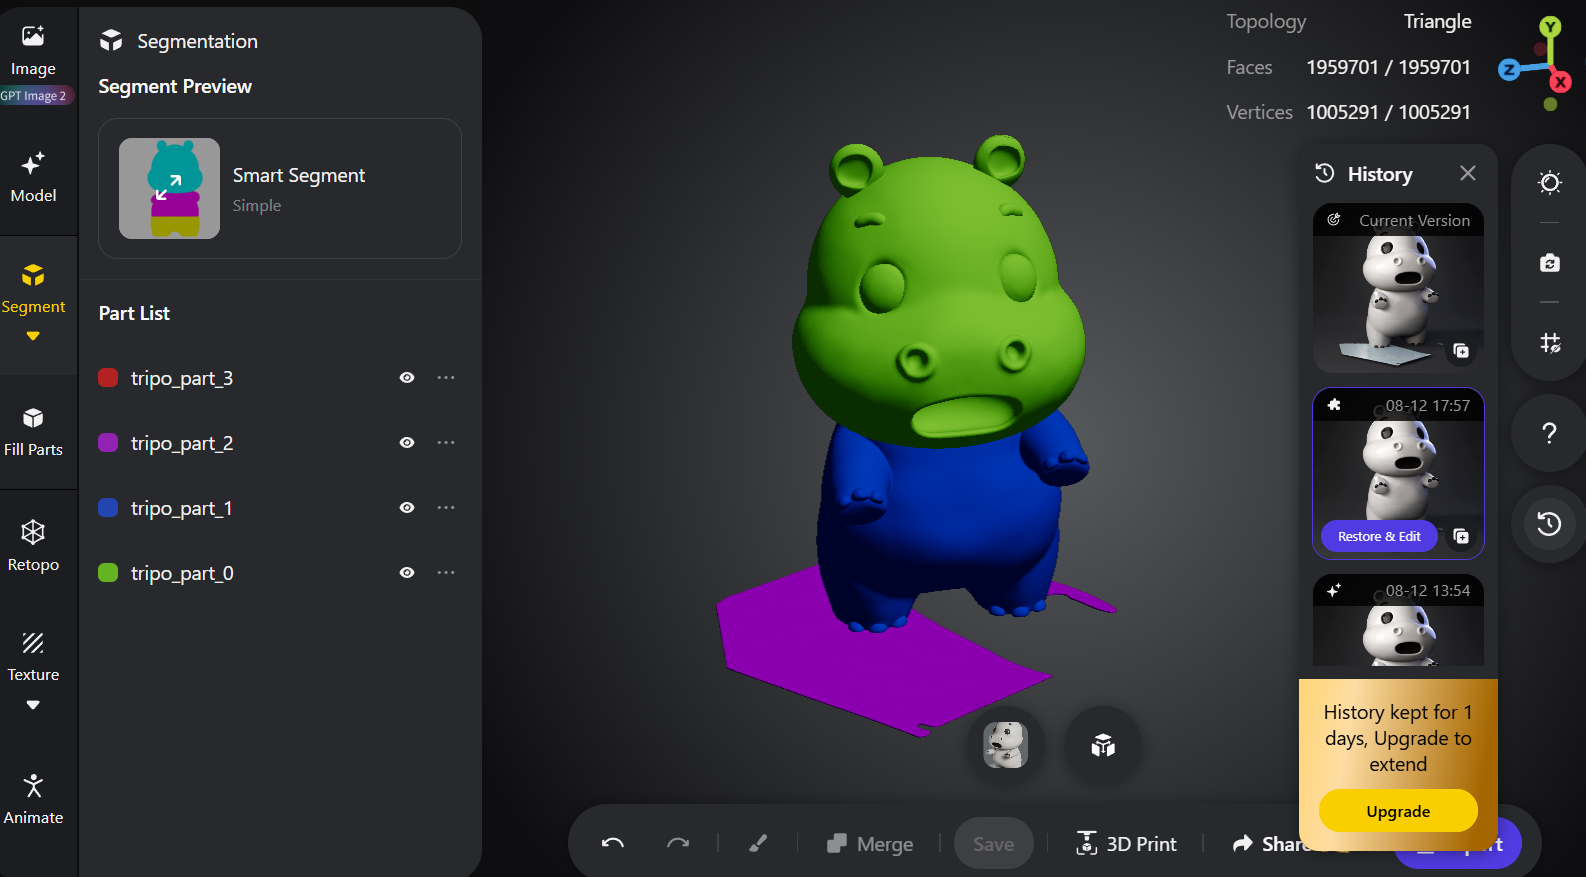
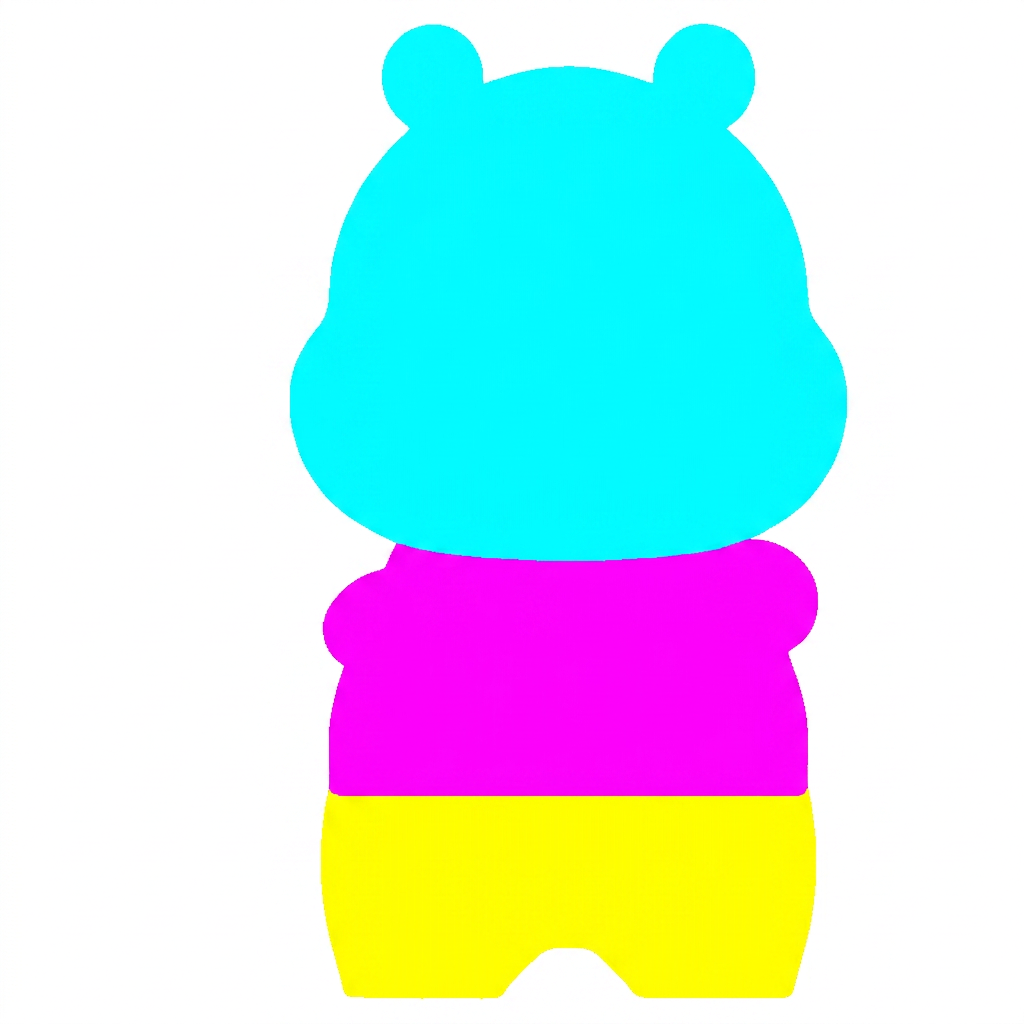
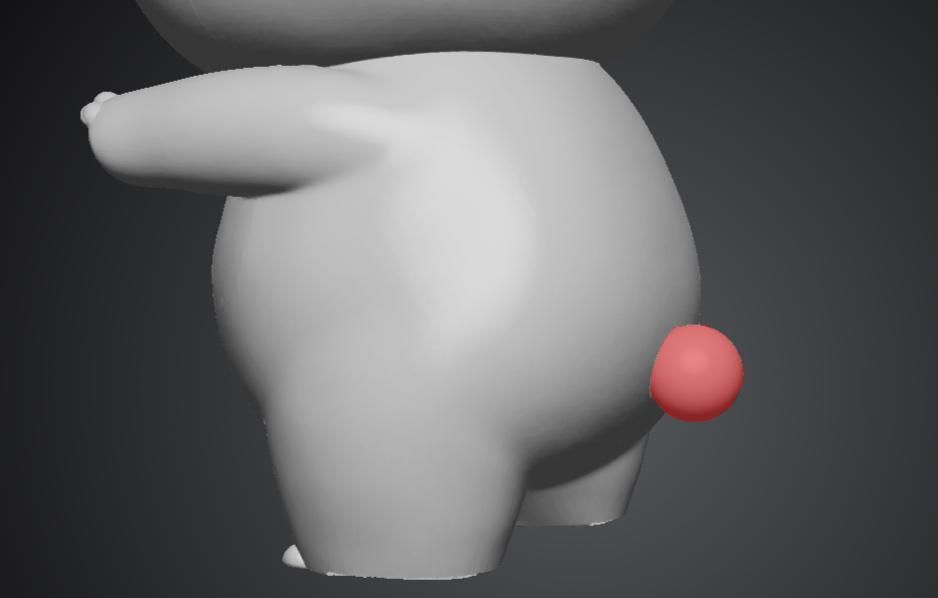
- Action: Utilize Tripo's advanced "Segmentation / Auto-Retopology" feature. Manually isolate the model into your desired 3 distinct Blocks:
- Block A (Head & Mouth): The entire cranium, including the upper and lower jaw (ensure it's hollow).
- Block B (Body & Torso): The belly, back, and internal cavity for the battery.
- Block C (Tail - Red Sphere): The small round nub at the back.
- Bonus Cleanup: During this separation, you noticed a planar "ground" layer was generated. Simply select and delete this polygon group now. Export these as three separate .STL files.
Slicing & 3D Printing
- Action: Import the three STLs into your slicer.
- Print Settings: Use a 0.2mm layer height for detail.
- Orientation: Print the Head upside down (nose facing up) to minimize supports on the inner mouth cavity. Print the Body upright. Print the Tail as a solid sphere.
- Post-Print Removal: Carefully snip away support structures. Use a small file to clean the inside of the mouth, ensuring the fan blades have clearance.
Post-Processing & The Art of "Plushification" (Sanding & Painting)
- Action: Sand all parts with 400-grit, then 800-grit sandpaper to remove layer lines (focus on the cheeks and nose).
- Painting: Apply 2-3 thin coats of acrylic. Base coat in soft slate-grey/blue. Paint the inner mouth a deep pink/red, and the teeth white. Give the cheeks a dusty-rose blush.
- Protection: Spray 2 even coats of the clear acrylic sealant. This protects the paint from sweaty hands and gives it a "vinyl toy" feel.
Mechanical Assembly - Installing the Fan & Battery

- Action:
- Place the fan inside the hollow head cavity, with the blowing side facing directly out of the open mouth. Secure with hot glue at the 4 corners of the fan chassis.
- Place the battery holder inside the main torso cavity. Secure it with hot glue to prevent rattling.
- Drill/poke a small wire-guide hole between the neck joint of the Head and the Body so the fan wires can feed down into the body cavity to meet the battery wires.
The "Twist-to-Start" Ignition System (Wiring the Tail)
- Critical Engineering Step: You are using the red tail as the switch.
- Take the positive wire from the battery pack and cut it. Attach one cut end to the inner metal base of the tail socket (inside the body).
- Attach the other cut end to the metal contact on the red tail ball itself.
- When you insert and twist the tail, the metal contacts touch, completing the circuit.
- Connect the negative wire directly from the battery to the fan.
- Alternative: If using a push/click rotary switch, hide it in the tail cavity and glue the red ball over the knob.
- Solder/twist all connections and insulate with electrical tape.
- Final Result: Hang it on your bag, place it next to your steaming ramen, or point it at your face during a video call. Twist the tail to "wake the beast" and enjoy your personalized breeze!