The Home Upcycle Lab: a Pot of Ideas — Giant LEGO, Art Scroll Holders, Cube Ottoman & Microgreen Planter
by xX_christopher_Xx in Living > Life Hacks
91 Views, 2 Favorites, 0 Comments
The Home Upcycle Lab: a Pot of Ideas — Giant LEGO, Art Scroll Holders, Cube Ottoman & Microgreen Planter
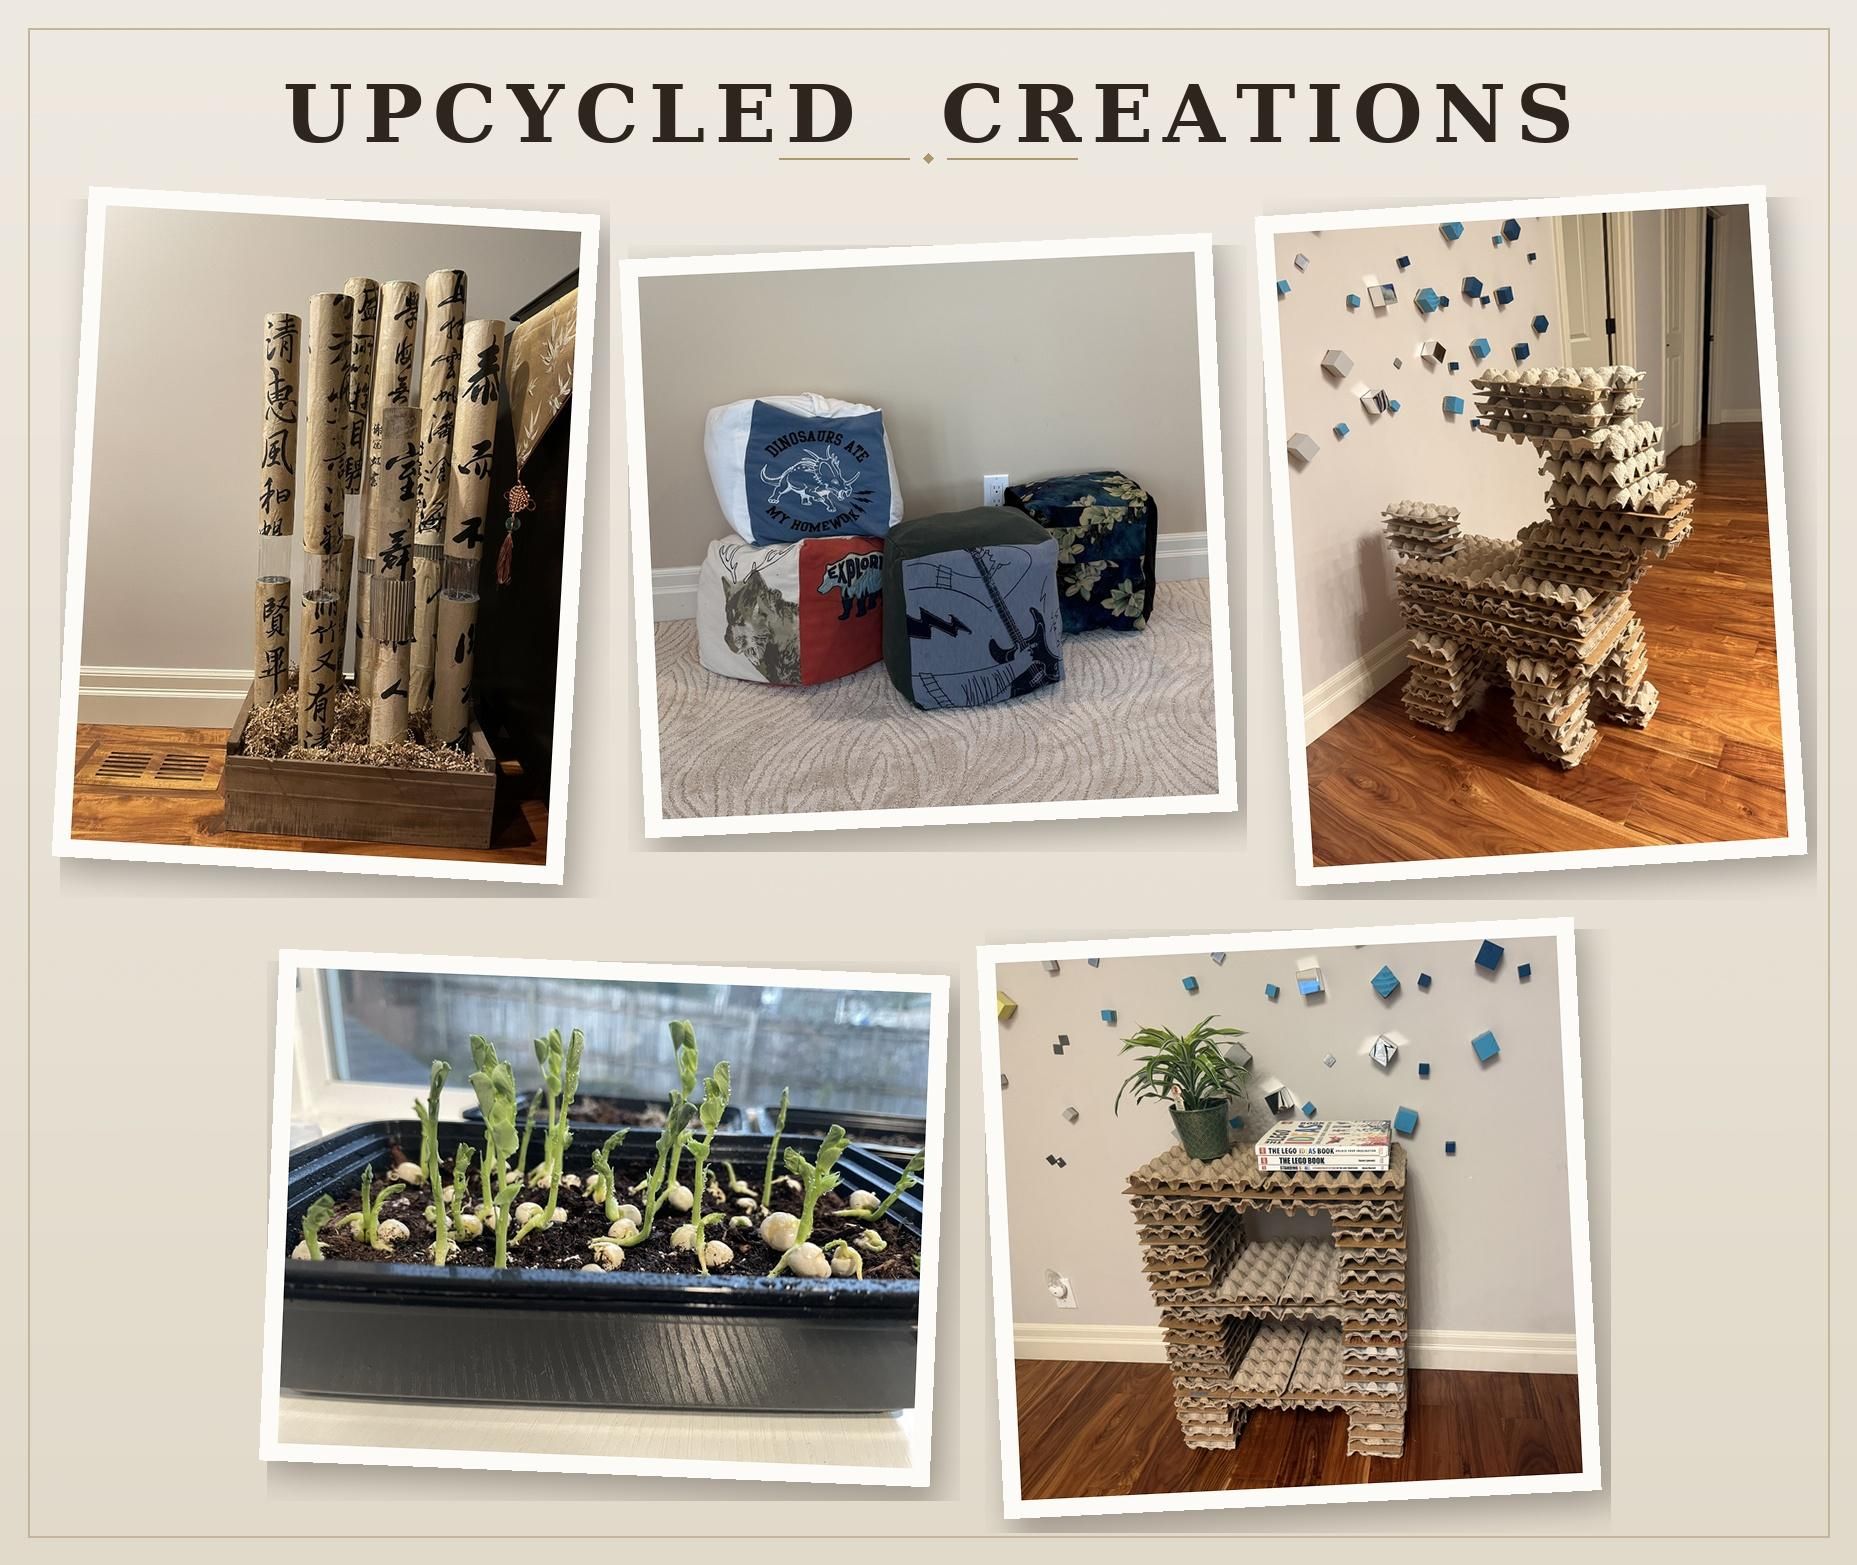
Over the years, we’ve found simple and creative ways to upcycle everyday items around the house. These projects are easy to make, fun to play with, and—best of all—can turn things we might otherwise throw away into something useful.
This Instructable will continue to grow with more small upcycling projects and ideas. Because when it comes to reducing waste and reusing what we already have, even the simplest effort can make a difference—and is worth sharing!
Supplies
Any household waste could work, just be creative!
Egg Carton LEGO
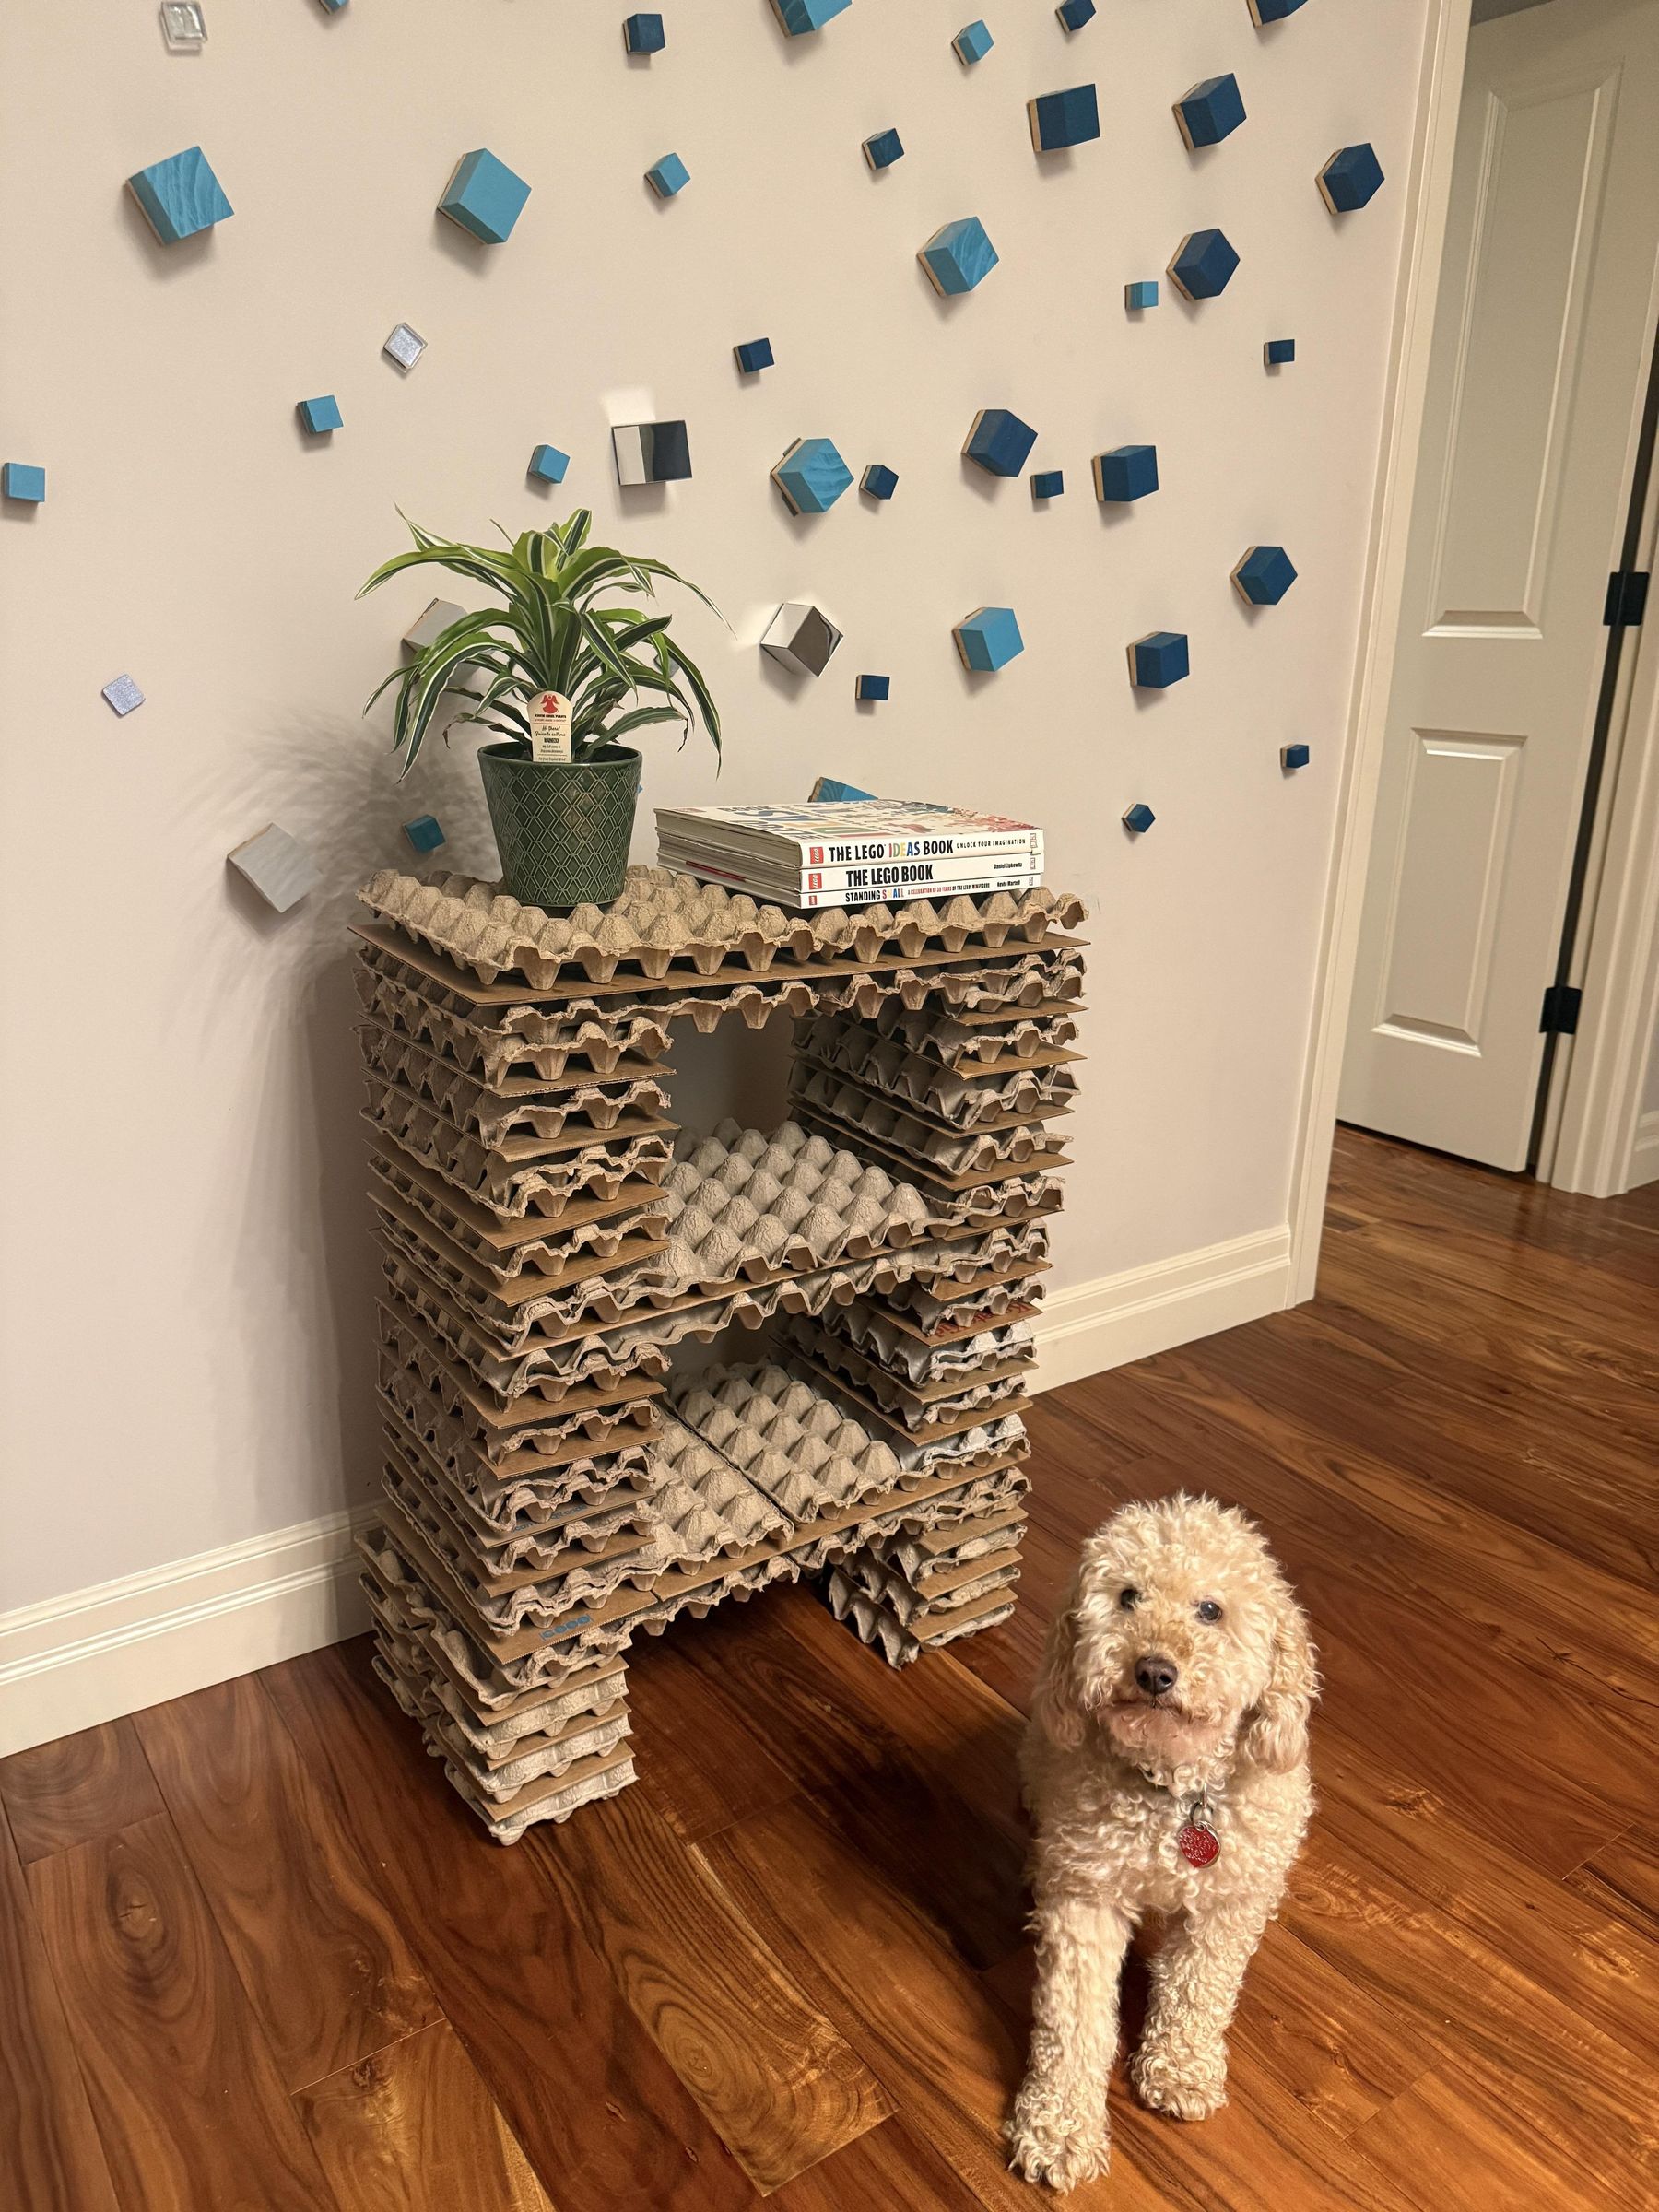
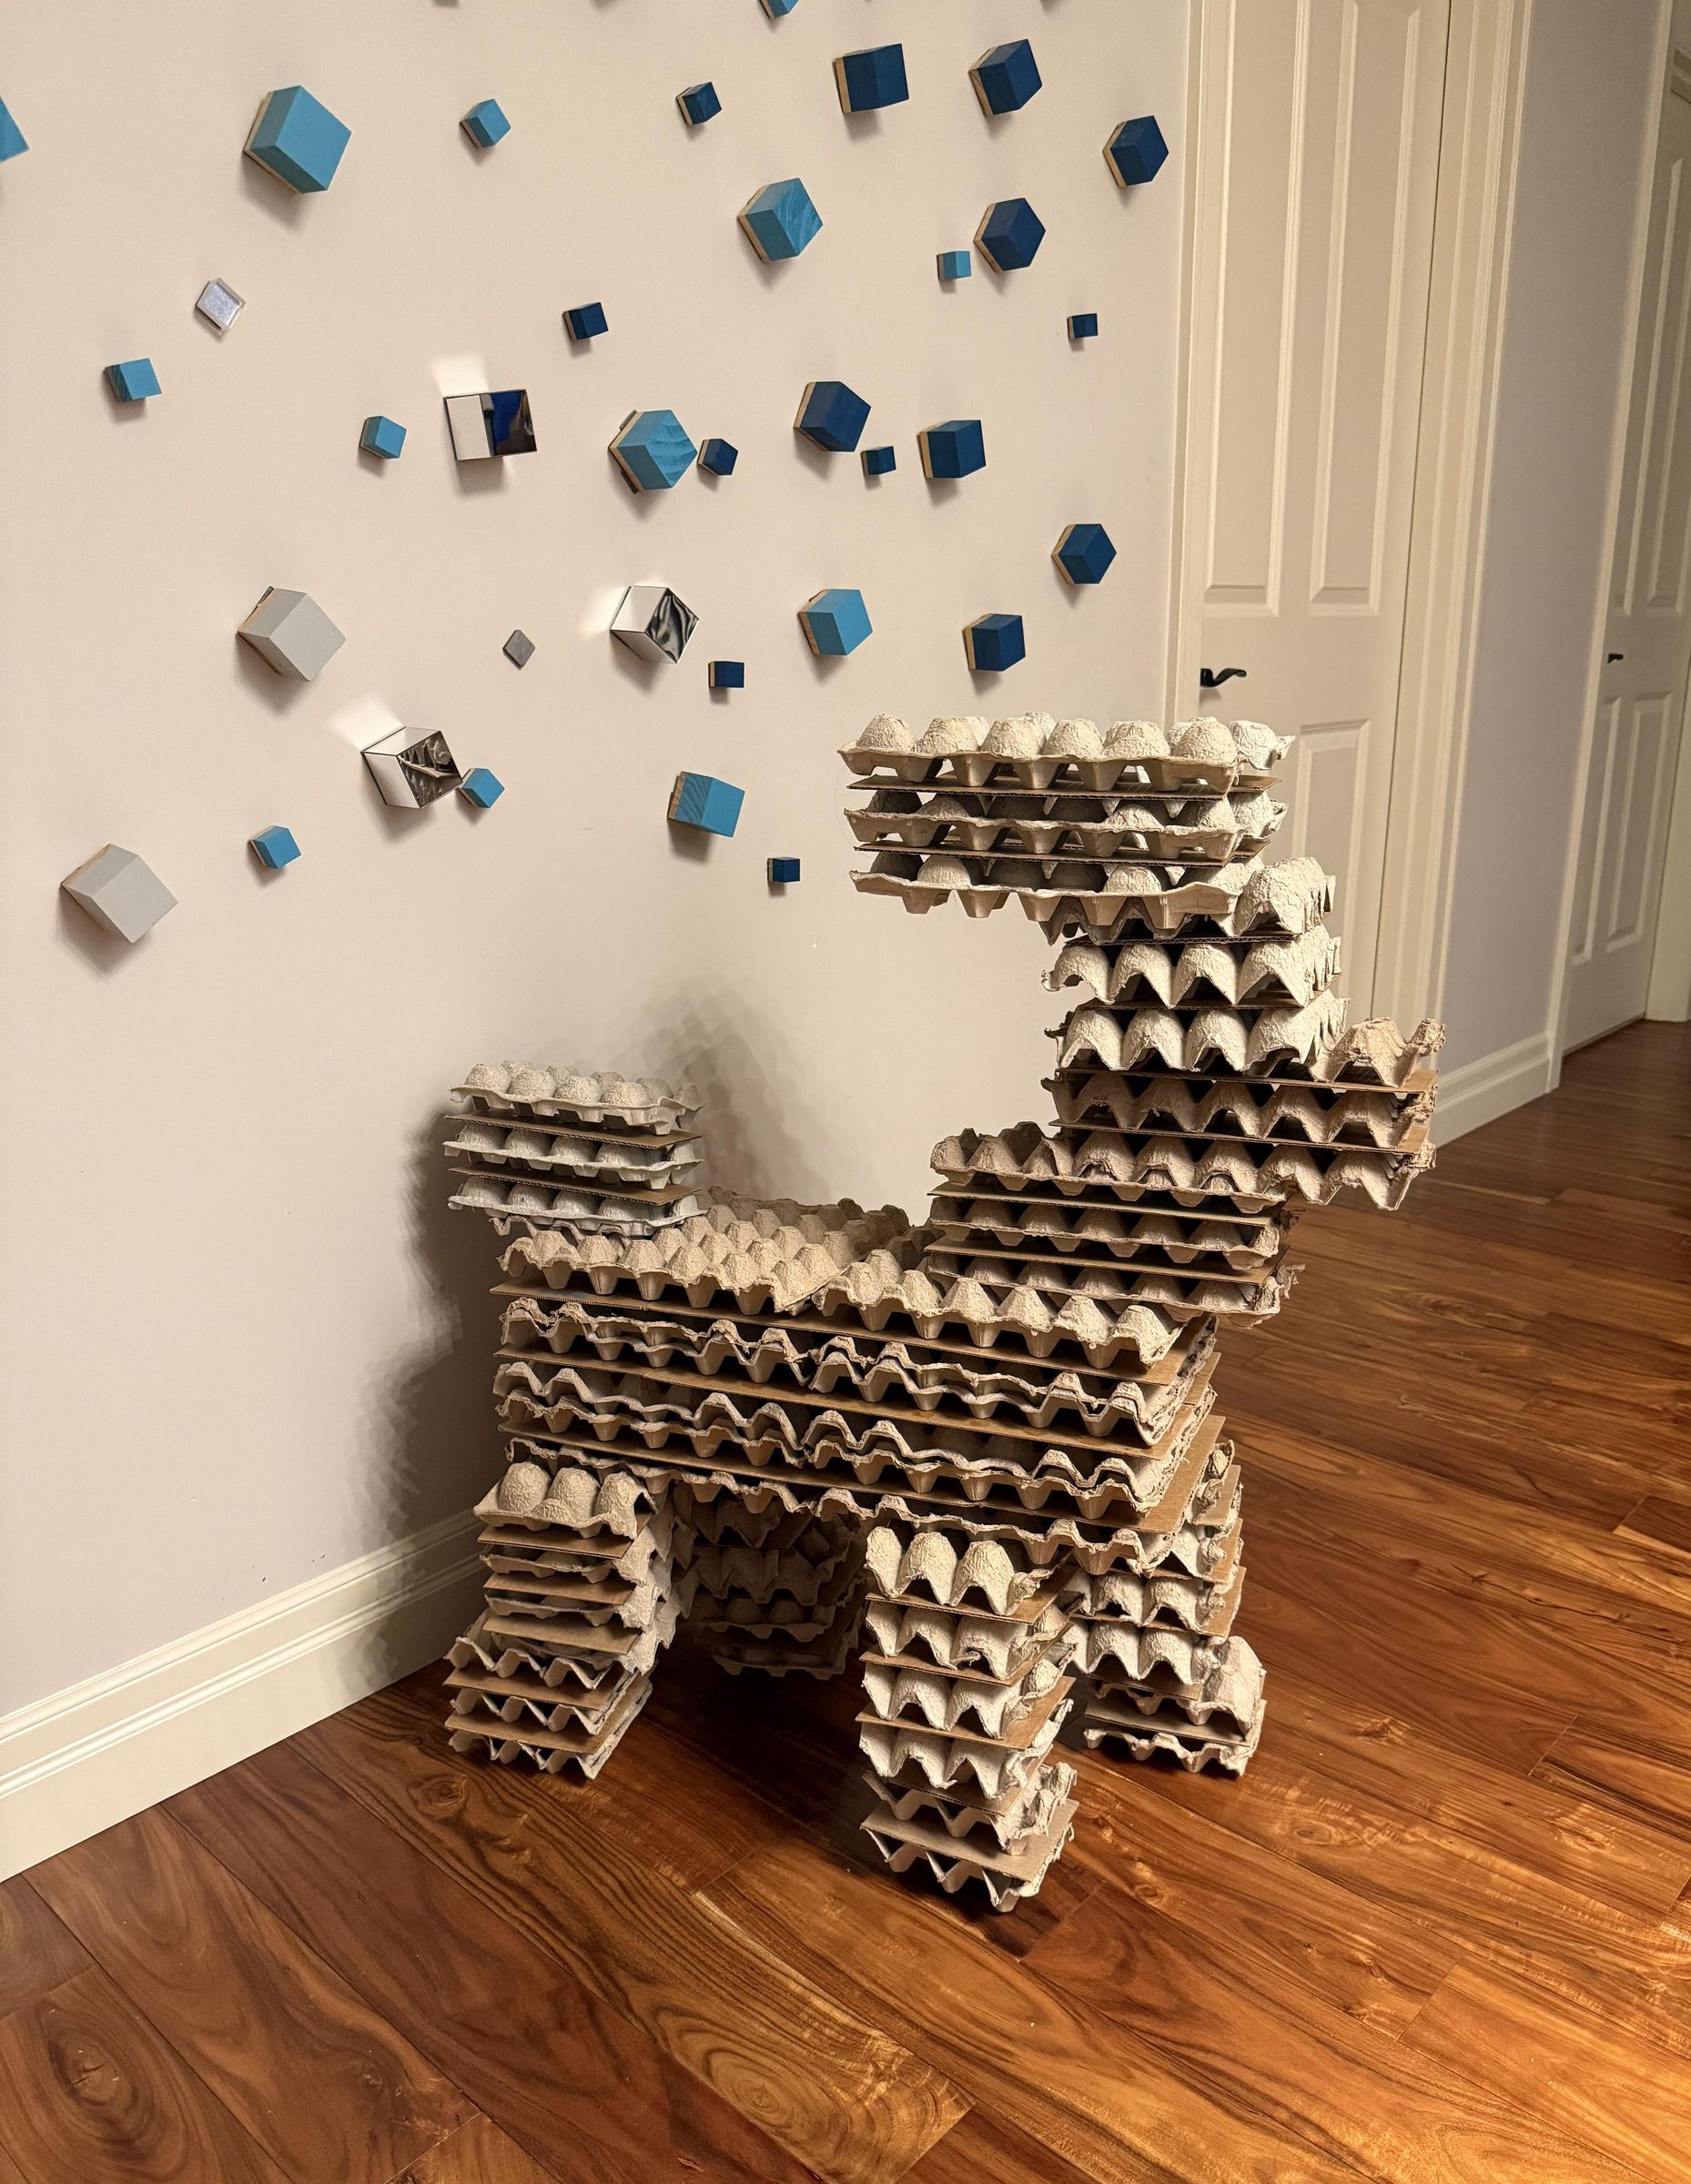
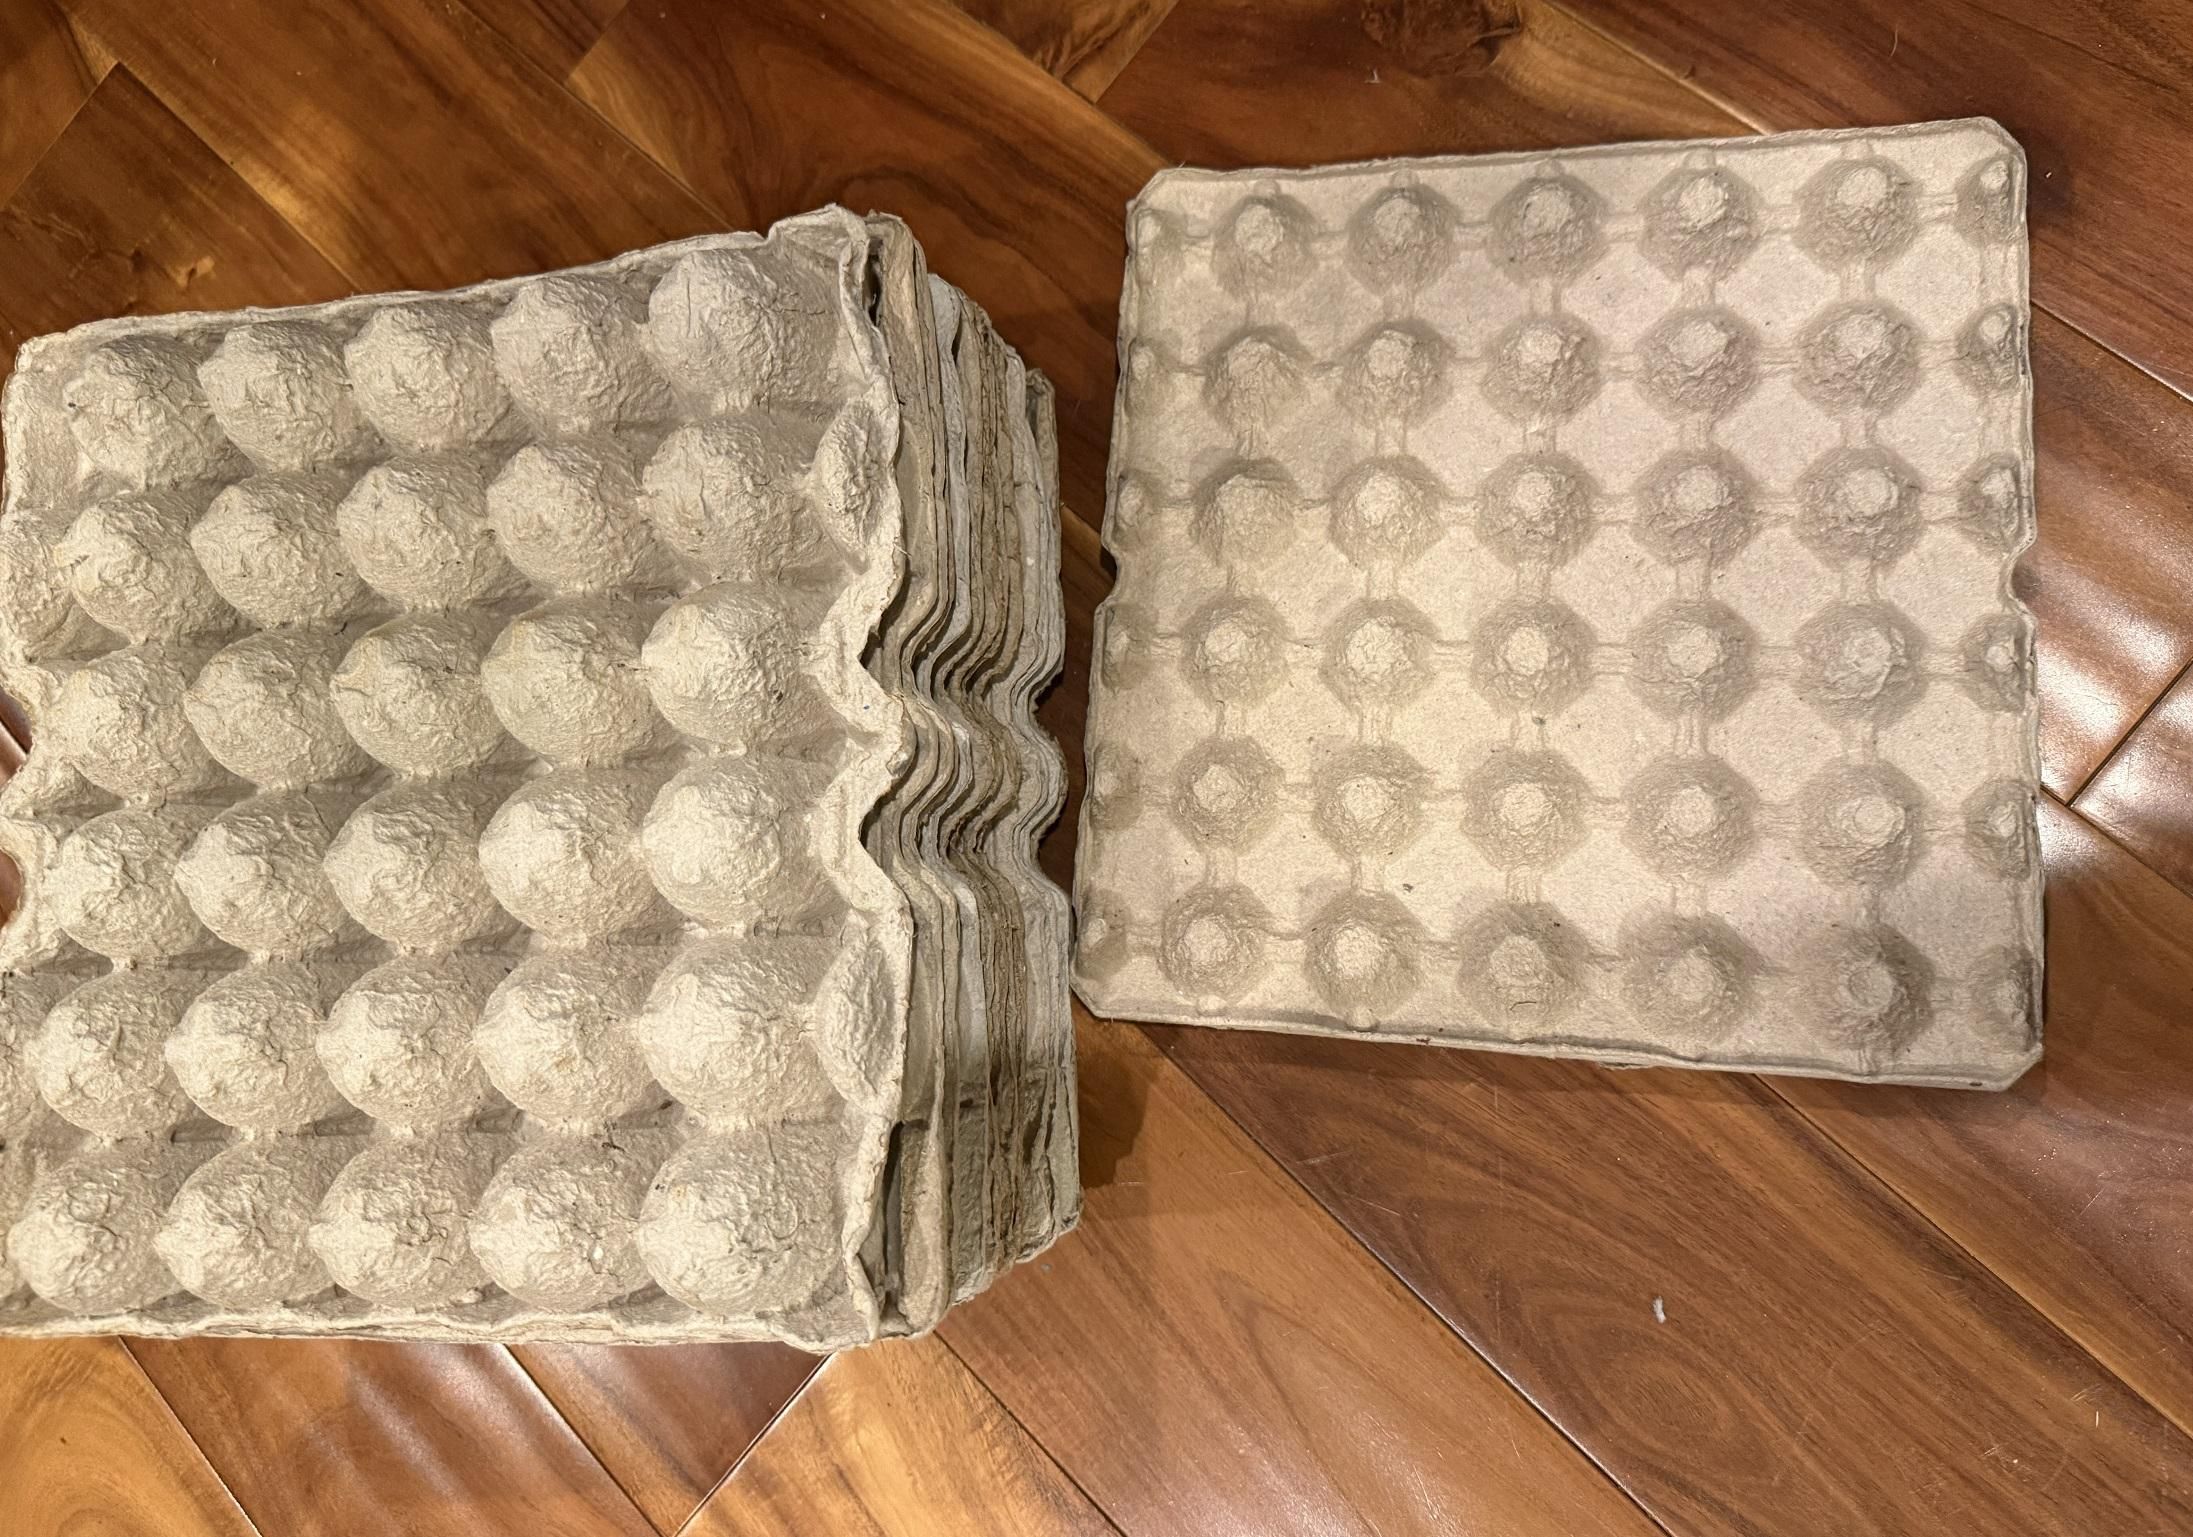
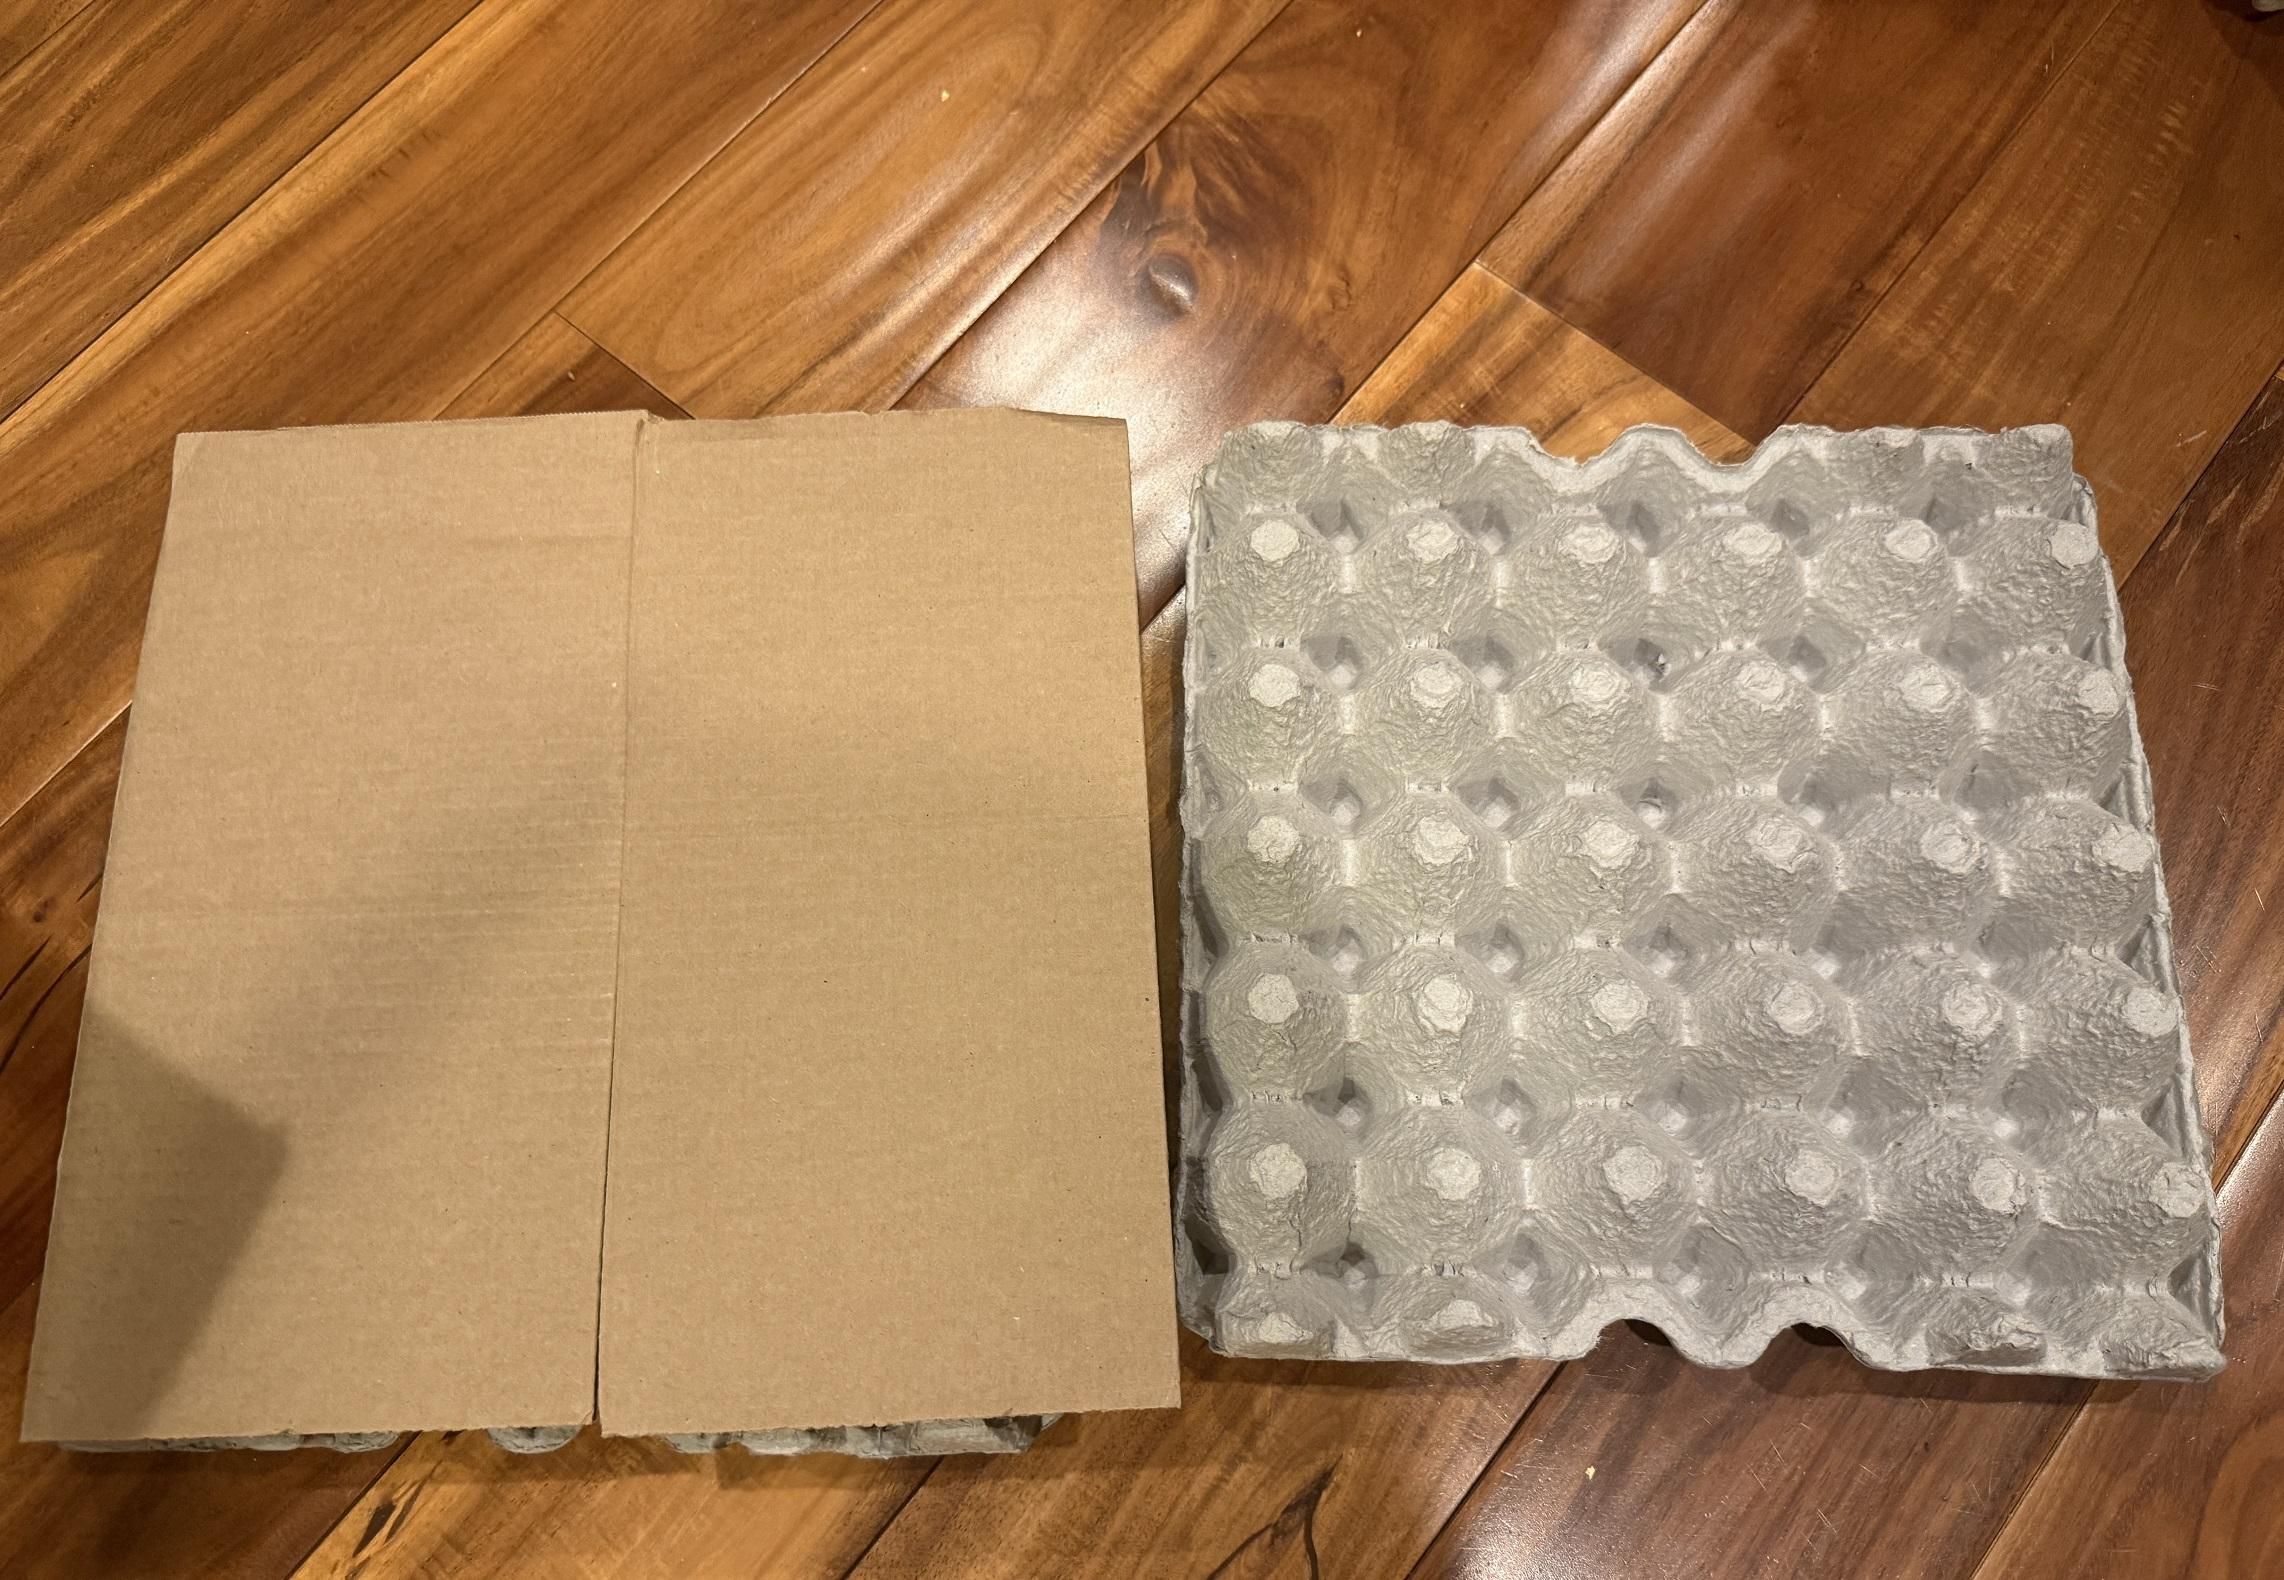
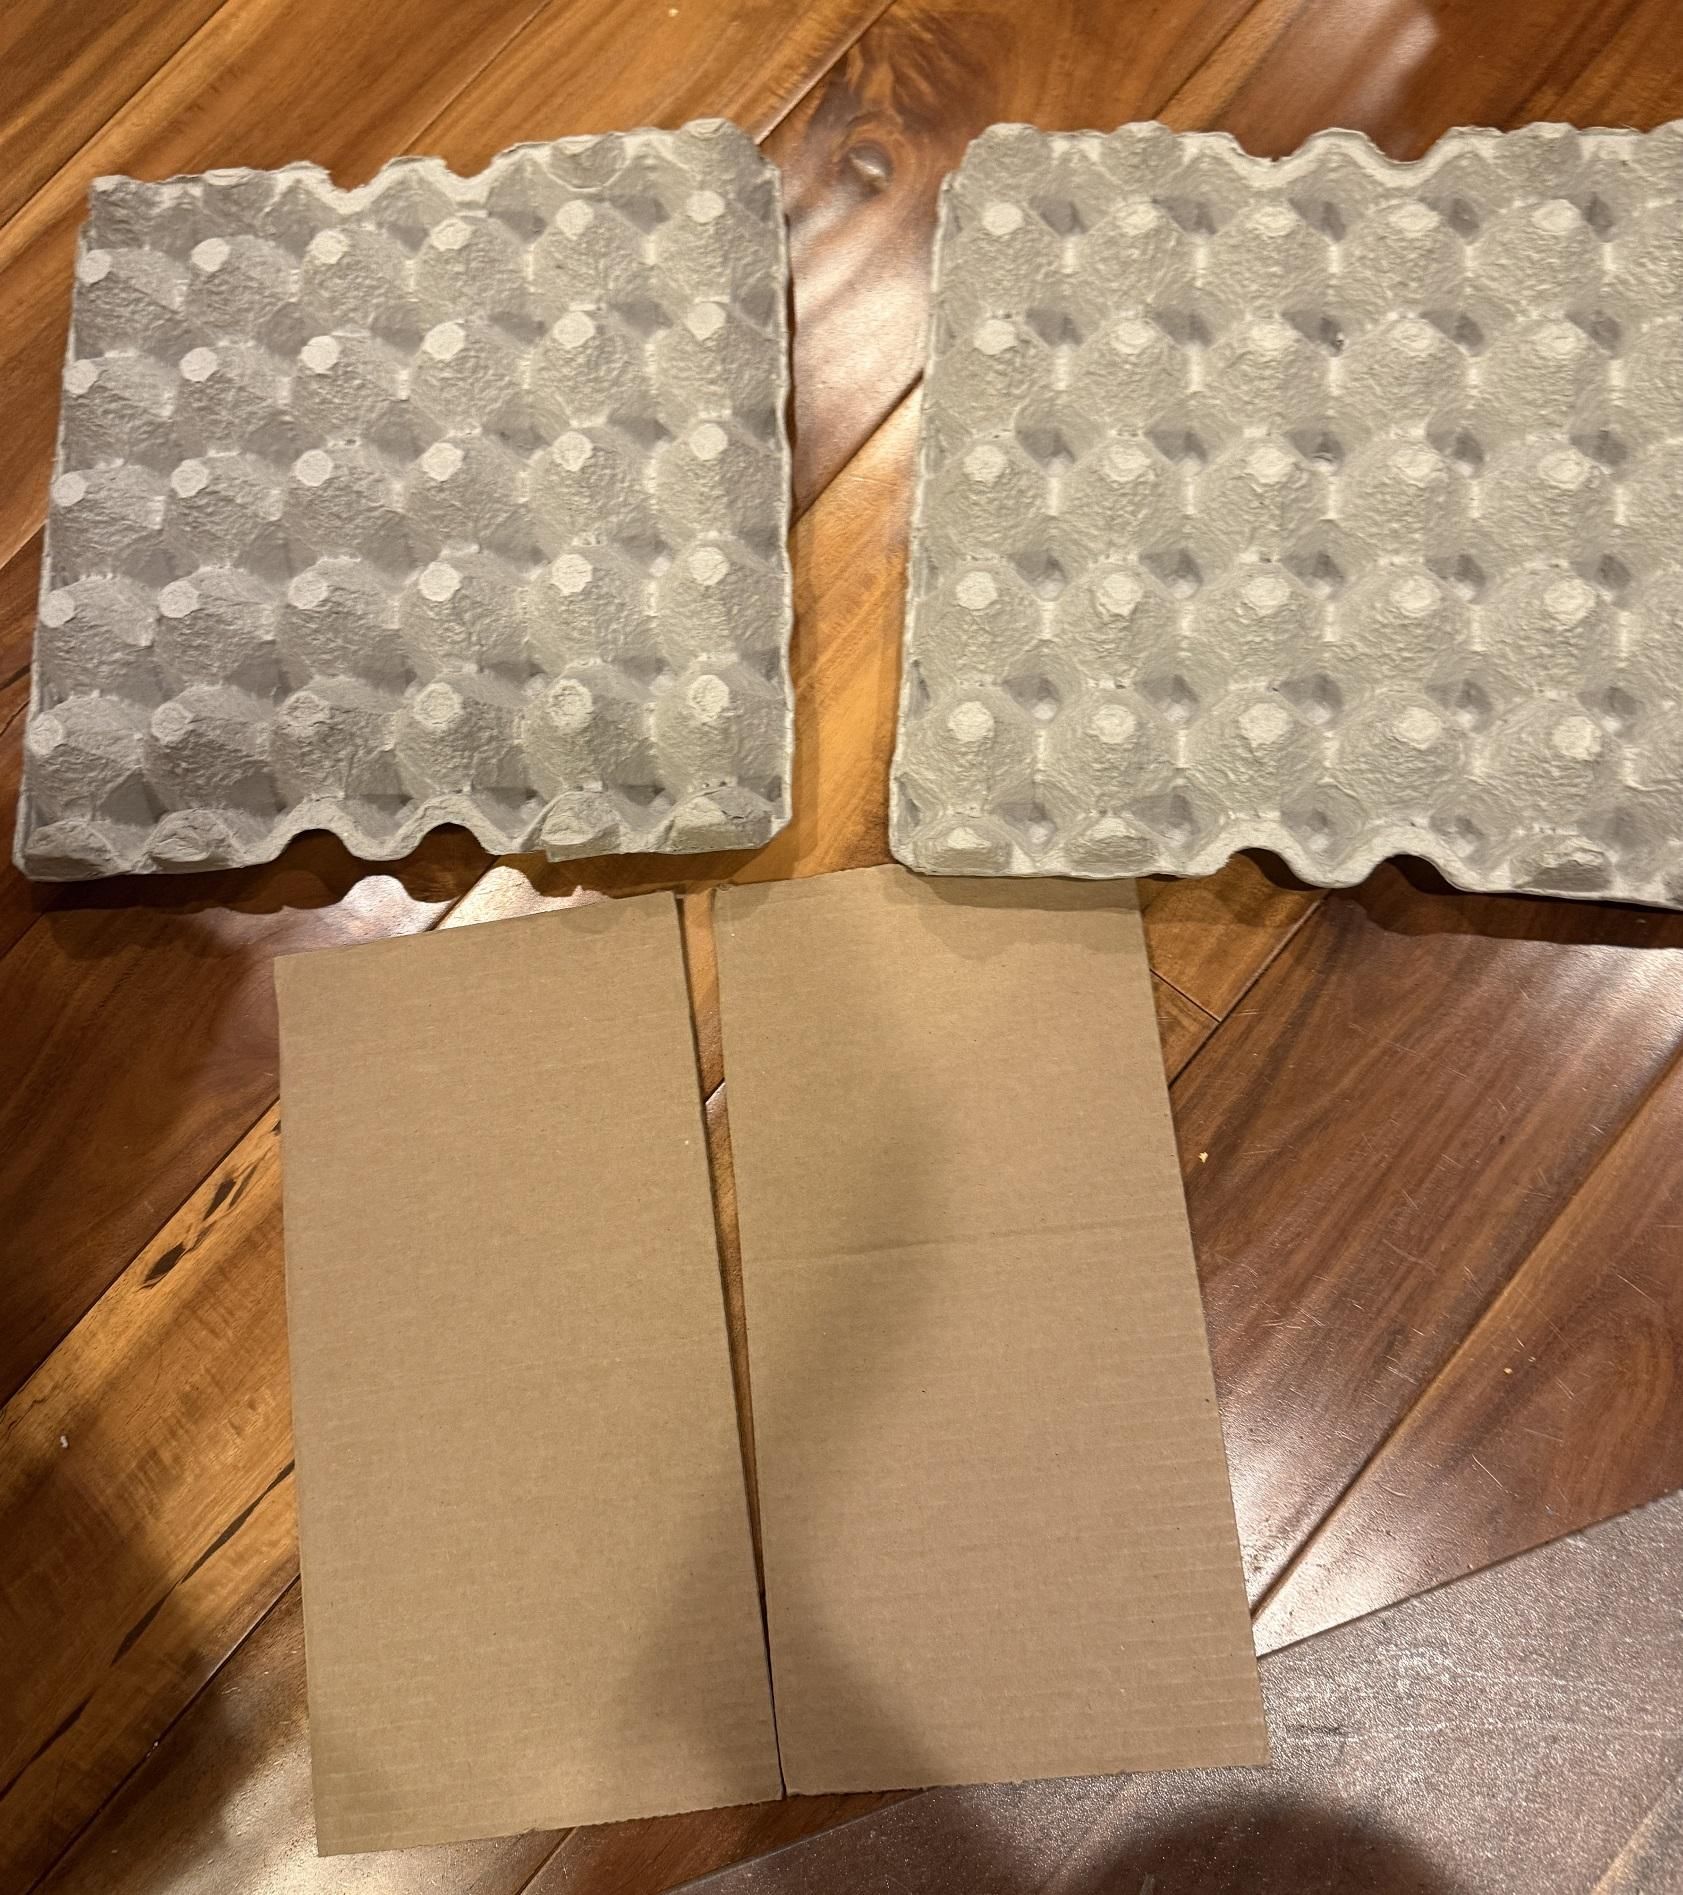
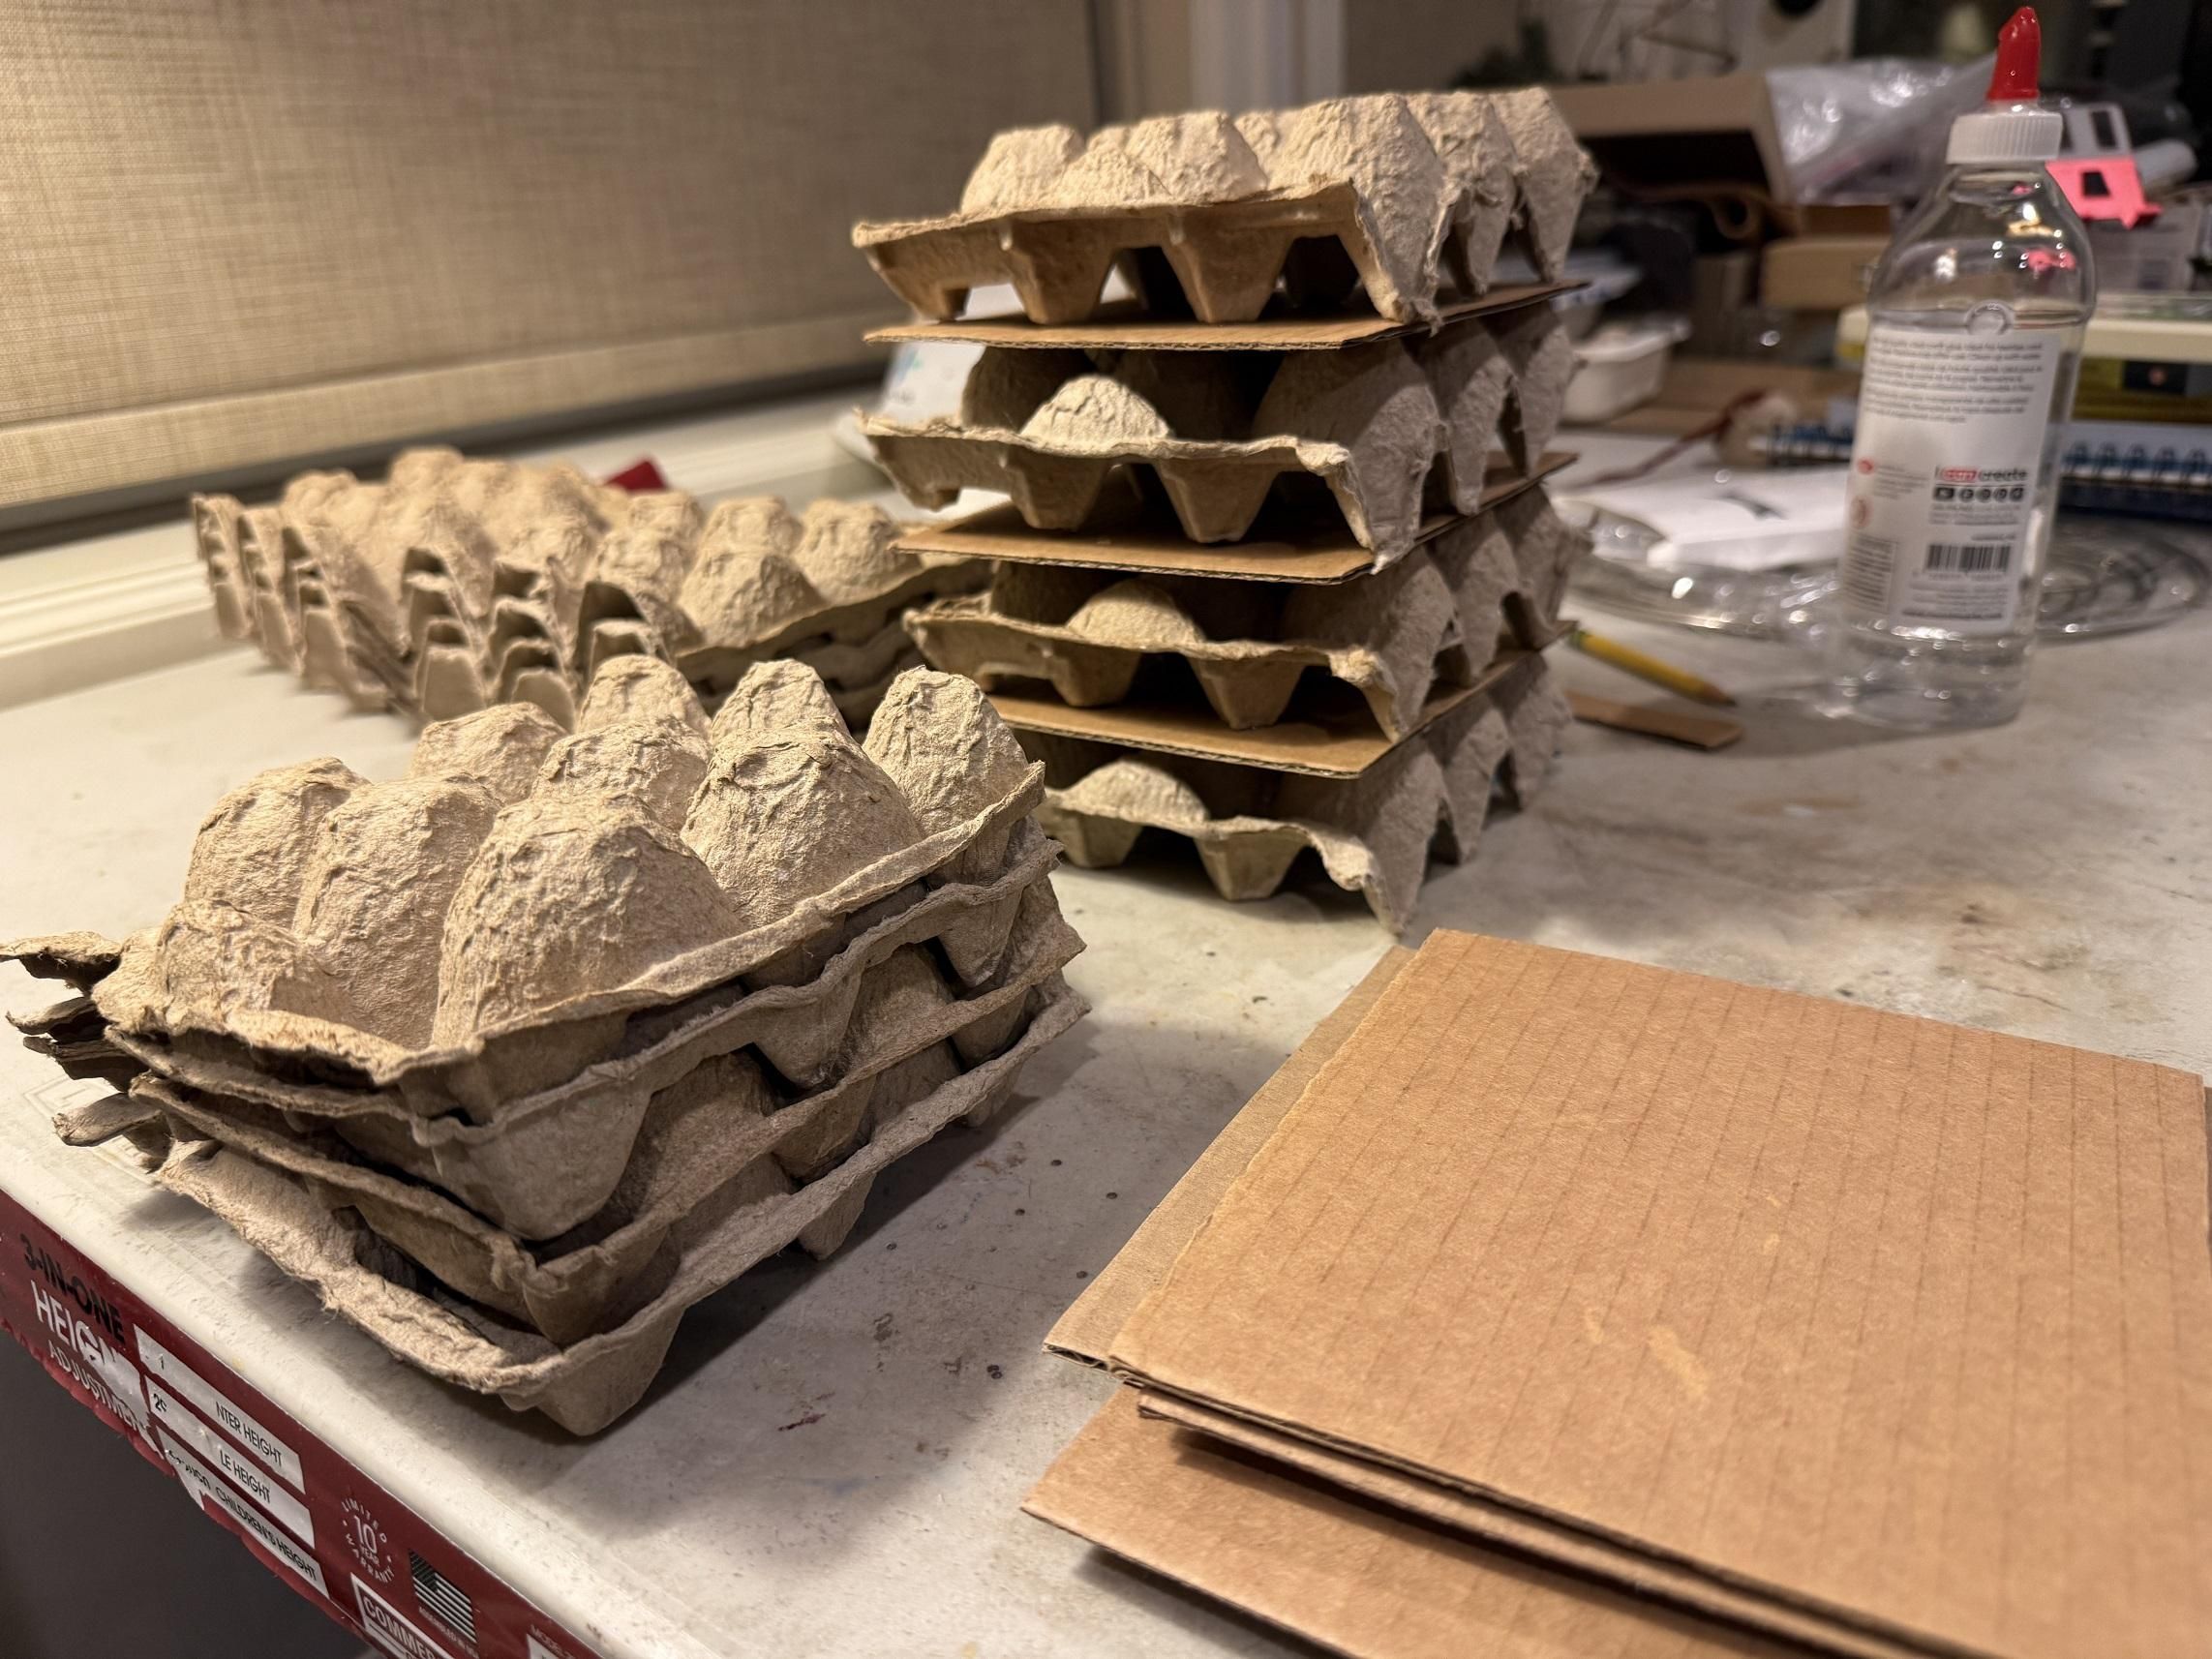
We buy large cartons of eggs from Costco. Each carton comes with a couple of “shelf layers” and a “top layer.” For this project, we use the “shelf layer,” shown on the left in the third picture.
The idea is simple: when two shelf layers are stacked together, the egg holders line up perfectly, allowing them to fit tightly and securely. We can use this stack-and-lock matching pair to create a kind of giant LEGO—turning ordinary egg cartons into fun, oversized building blocks.
Each building block can be designed with dimensions of l (length) × w (width) × h (height). Simply alternate the layers and glue them together as needed:
- One layer of egg carton
- One layer of cardboard — note that you don’t need a full sheet; just cut a piece of cardboard to match the size of the egg carton or make several piece together to match the shape/size of the egg carton layer.
- Another layer of egg carton
- Repeat as needed to achieve the desired size and height.
The length and width is pretty straight forward. For the height, however, keep in mind that when two pieces are stacked together, one layer of the pieces will overlap with the other. In other words, you effectively lose the height of one layer when designing your structure, so plan accordingly.
You can also create larger building blocks by using bigger pieces of cardboard.
If you like planning ahead, you can even design your structure using a LEGO model builder. Personally, though, I enjoy making lots of individual pieces and then simply experimenting with them. It’s surprisingly satisfying—and a great way to release some stress! Relax! if I need another piece, I just grab another egg carton and make one on the fly!
Microgreen Planter With Takeout Boxes
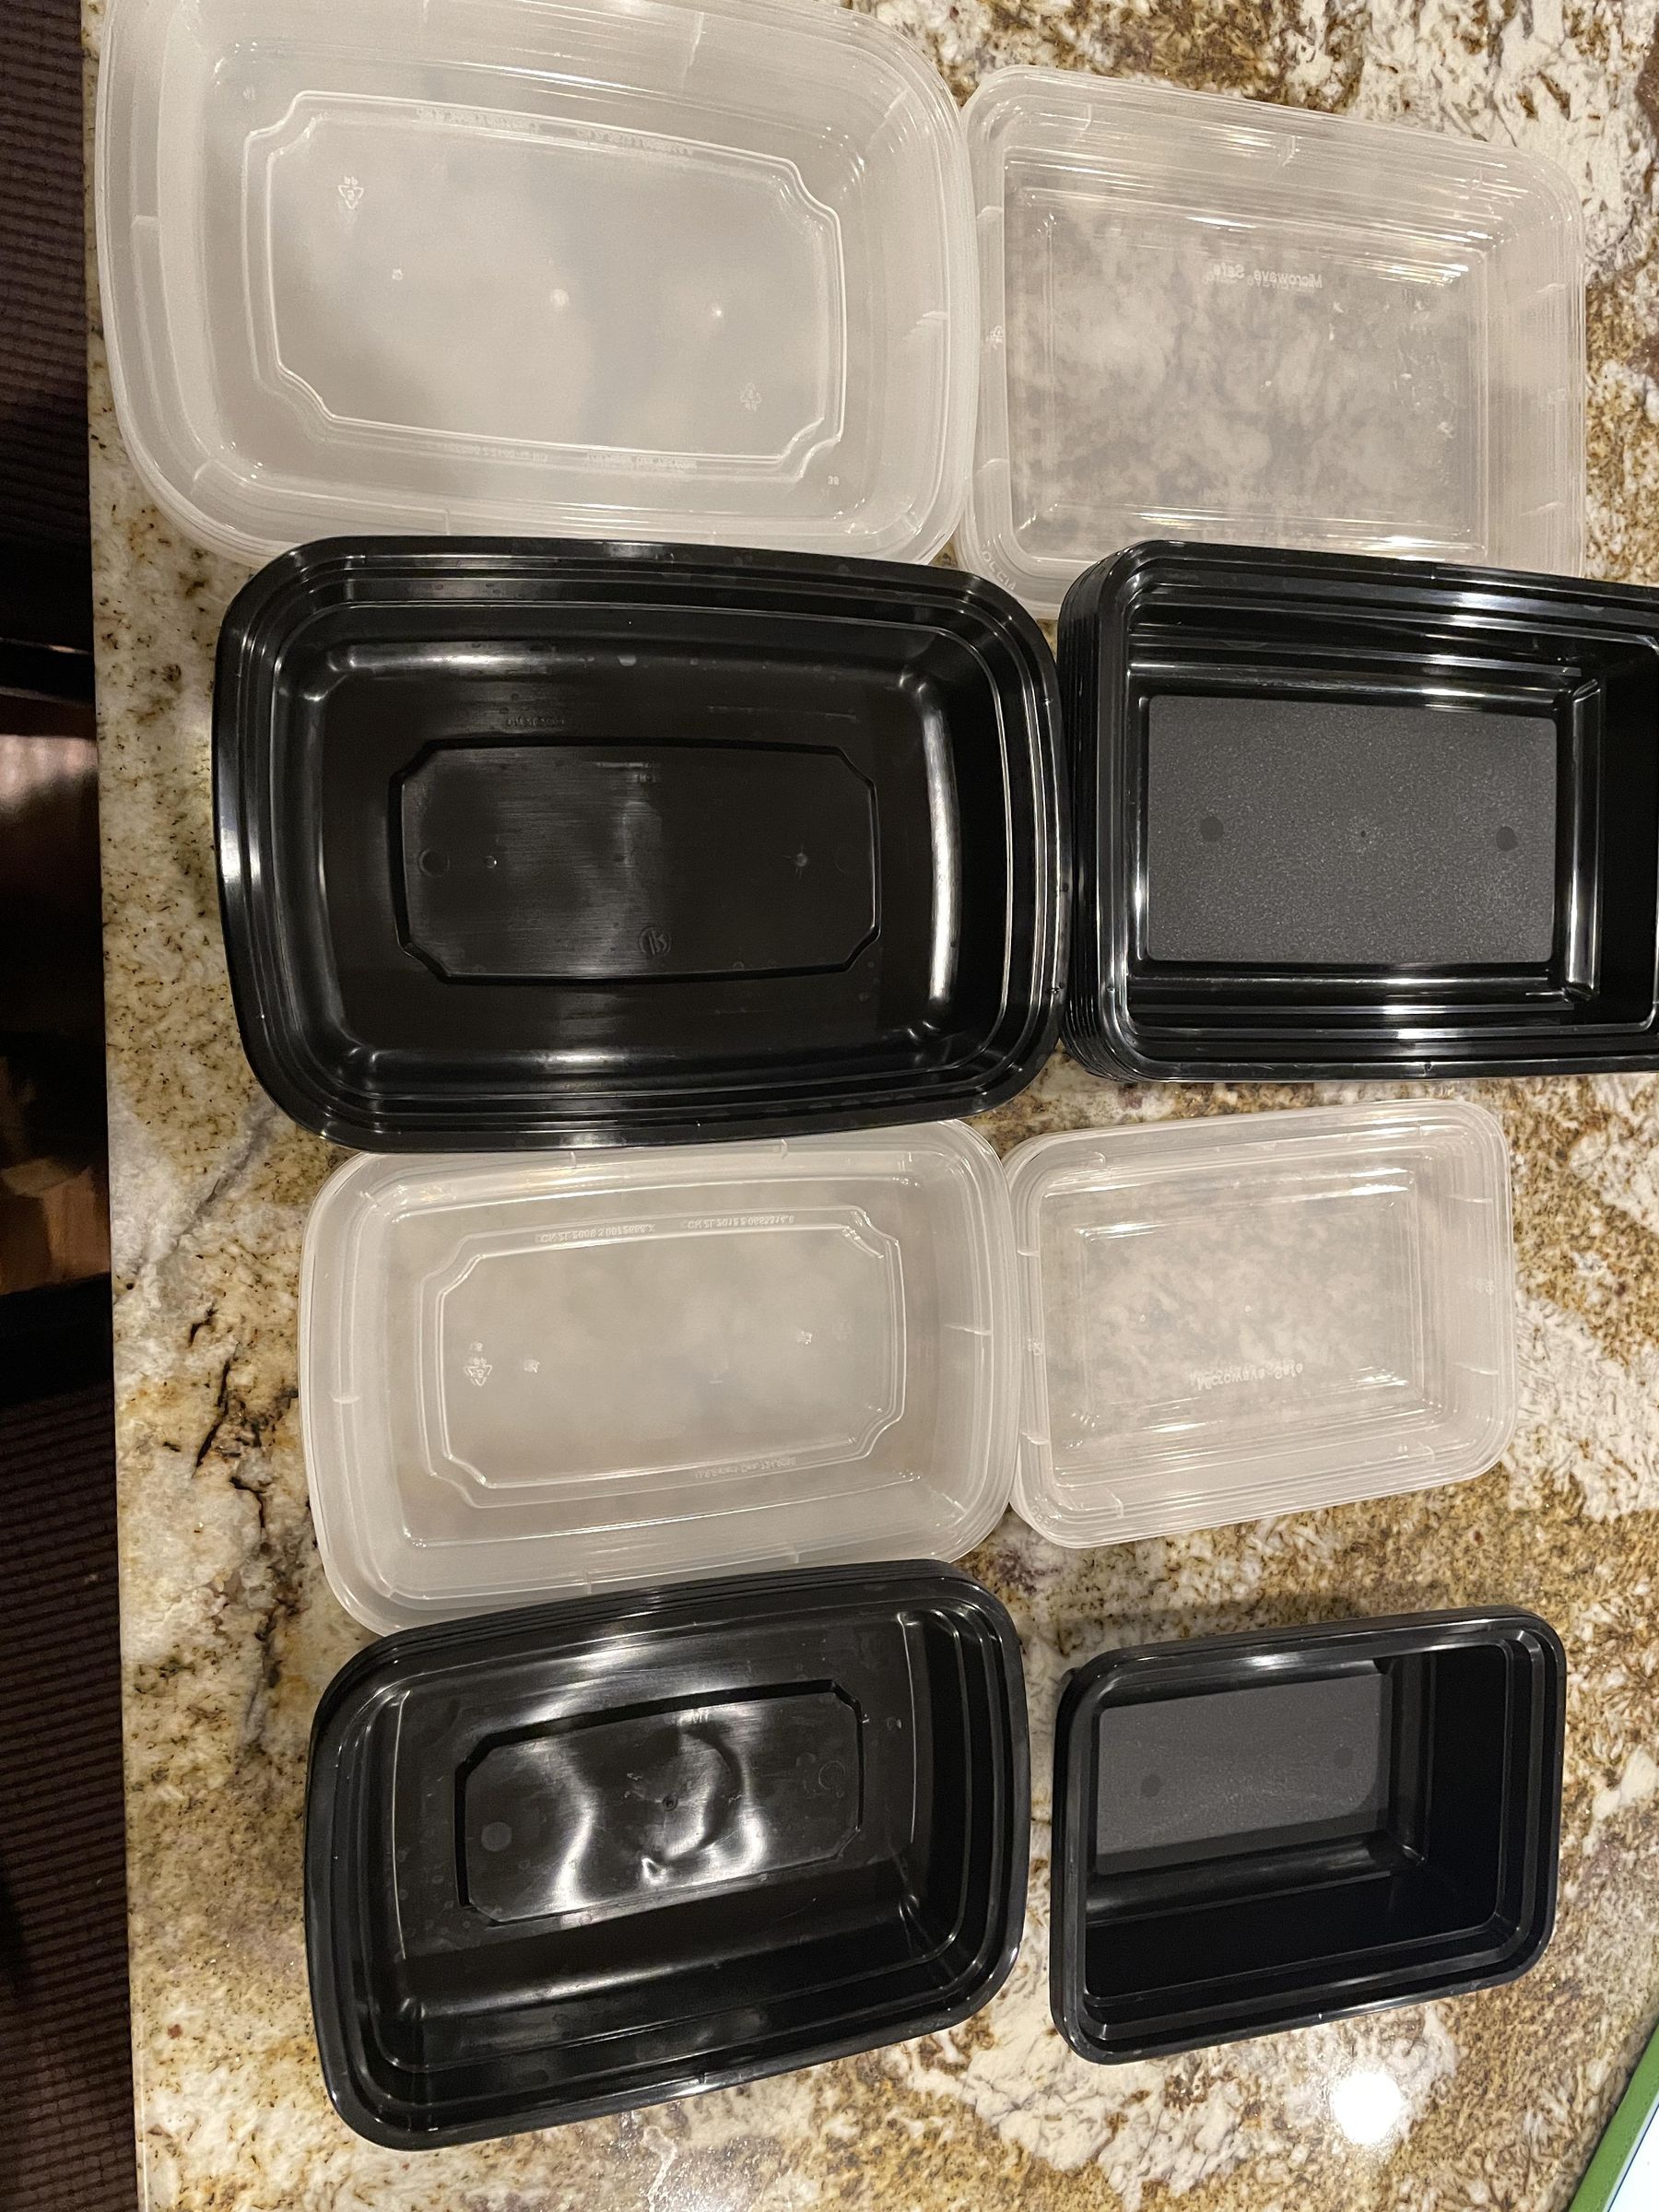
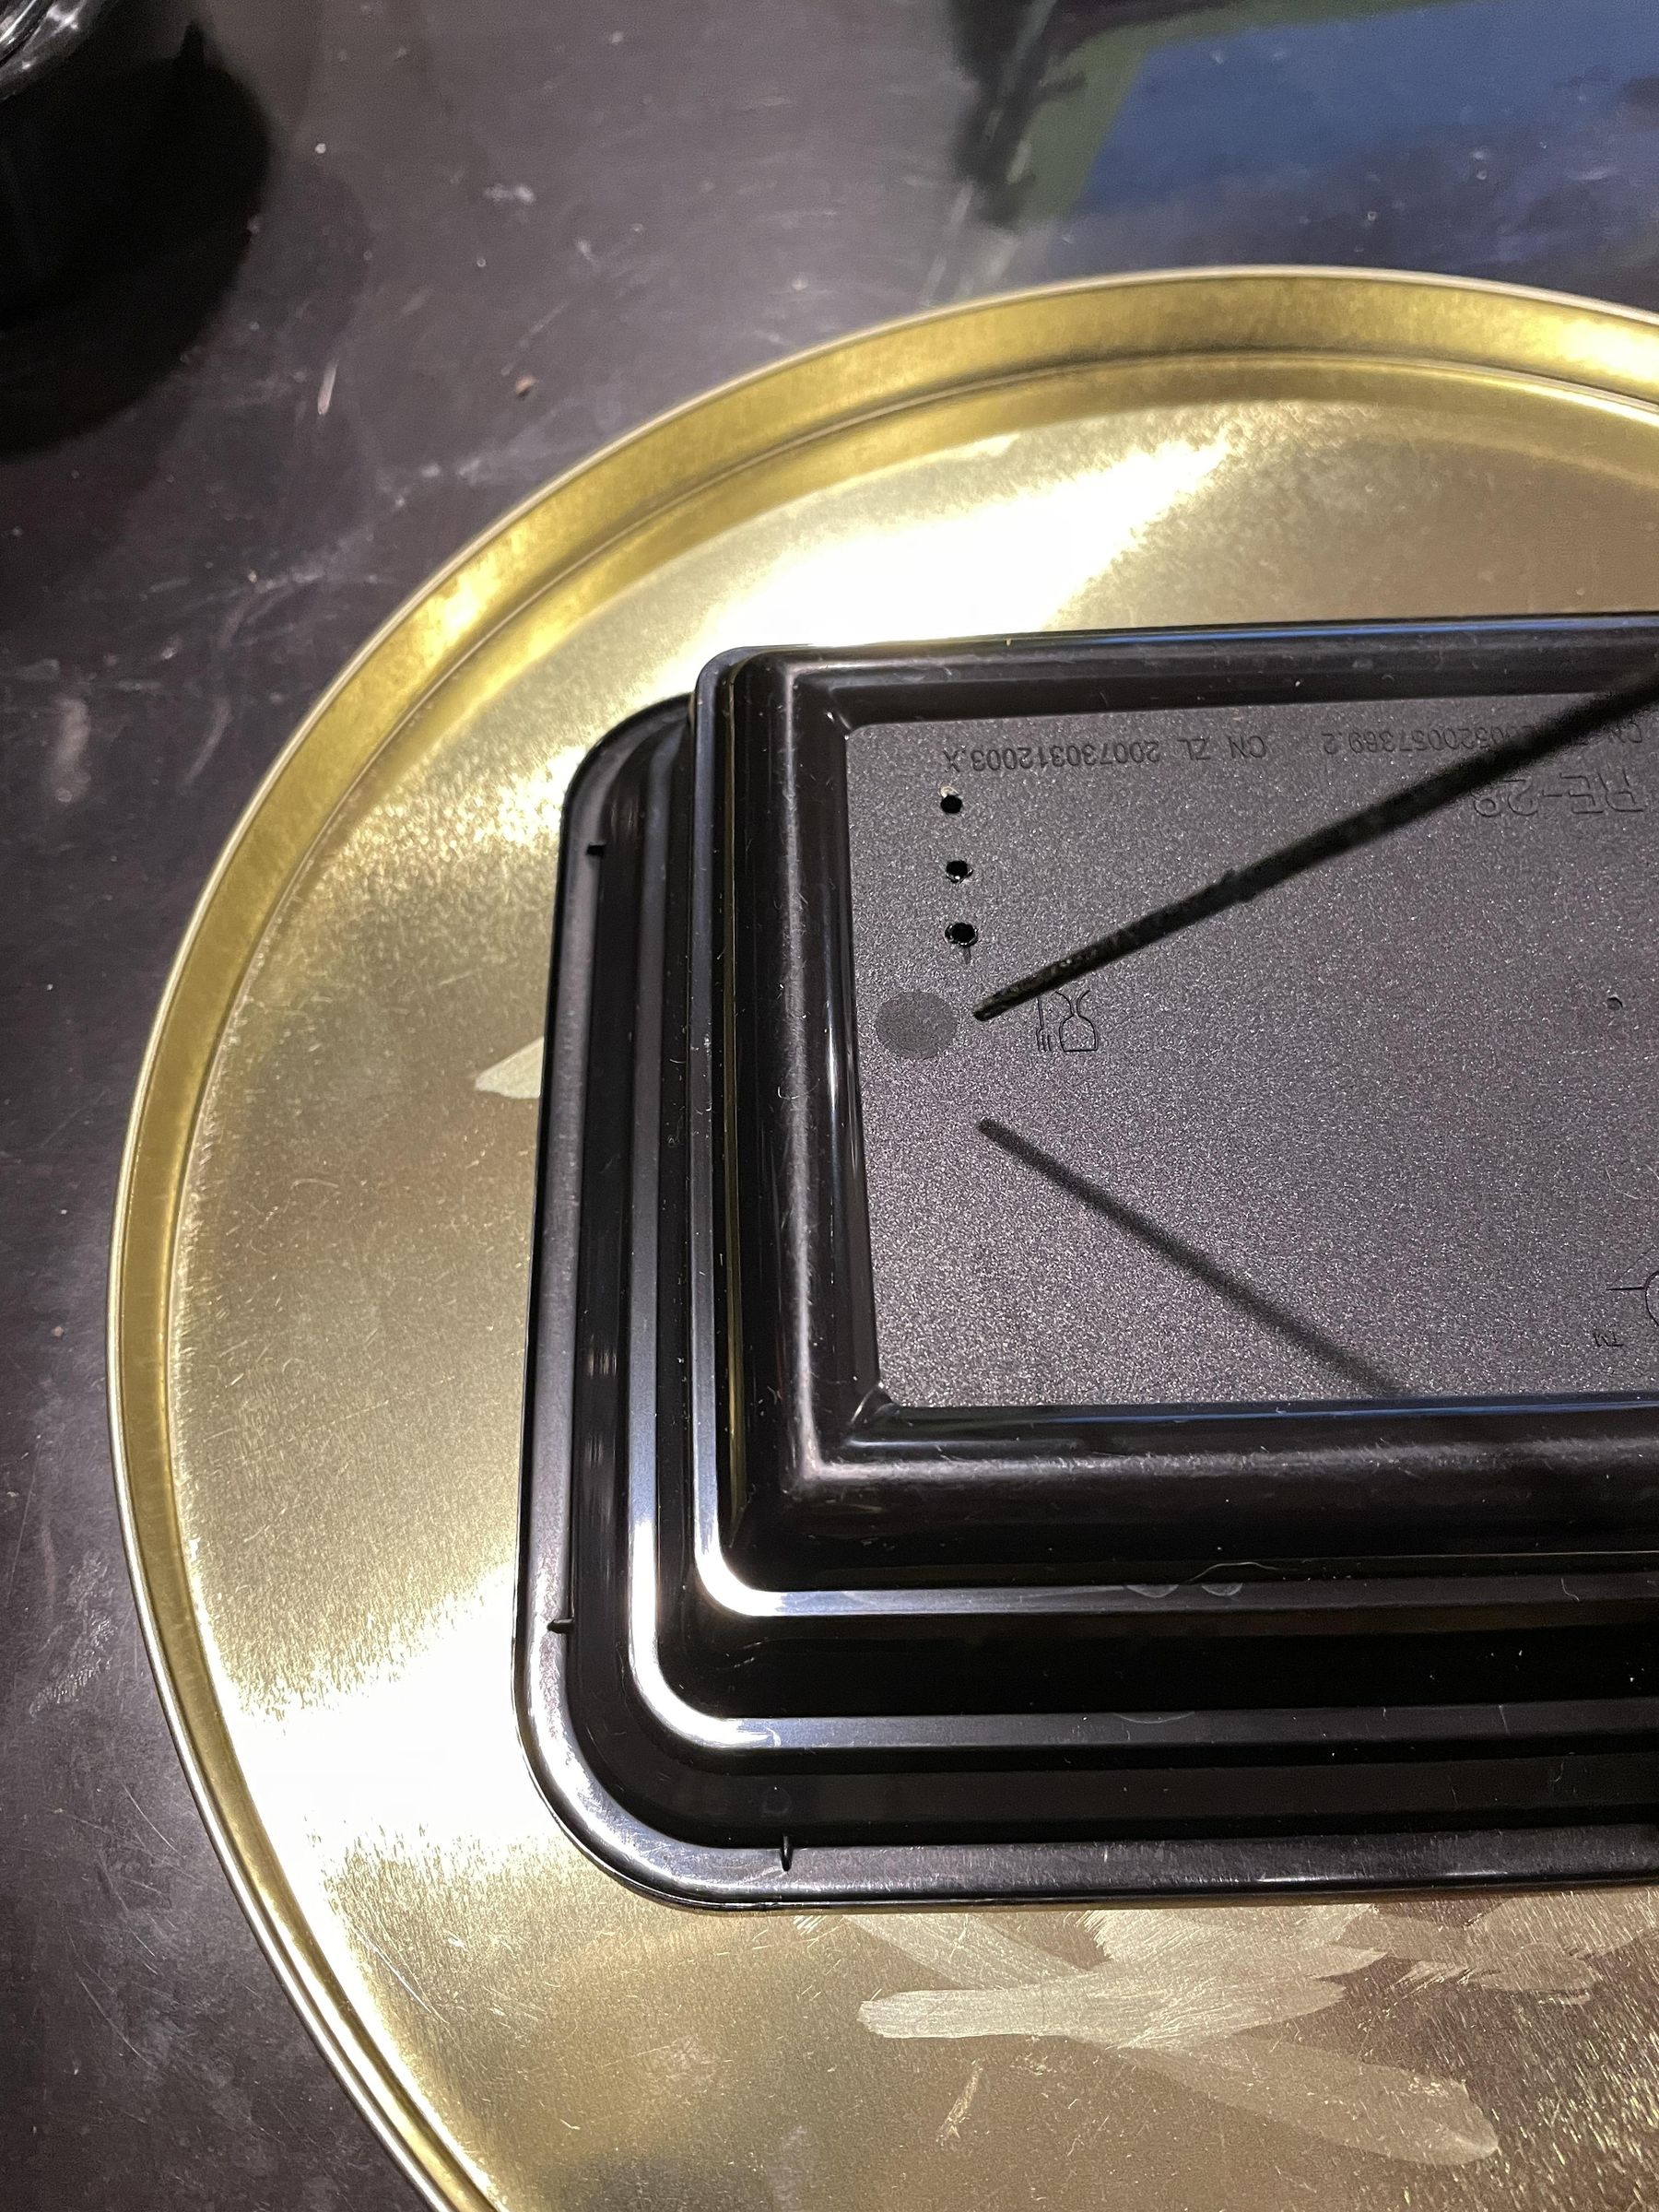
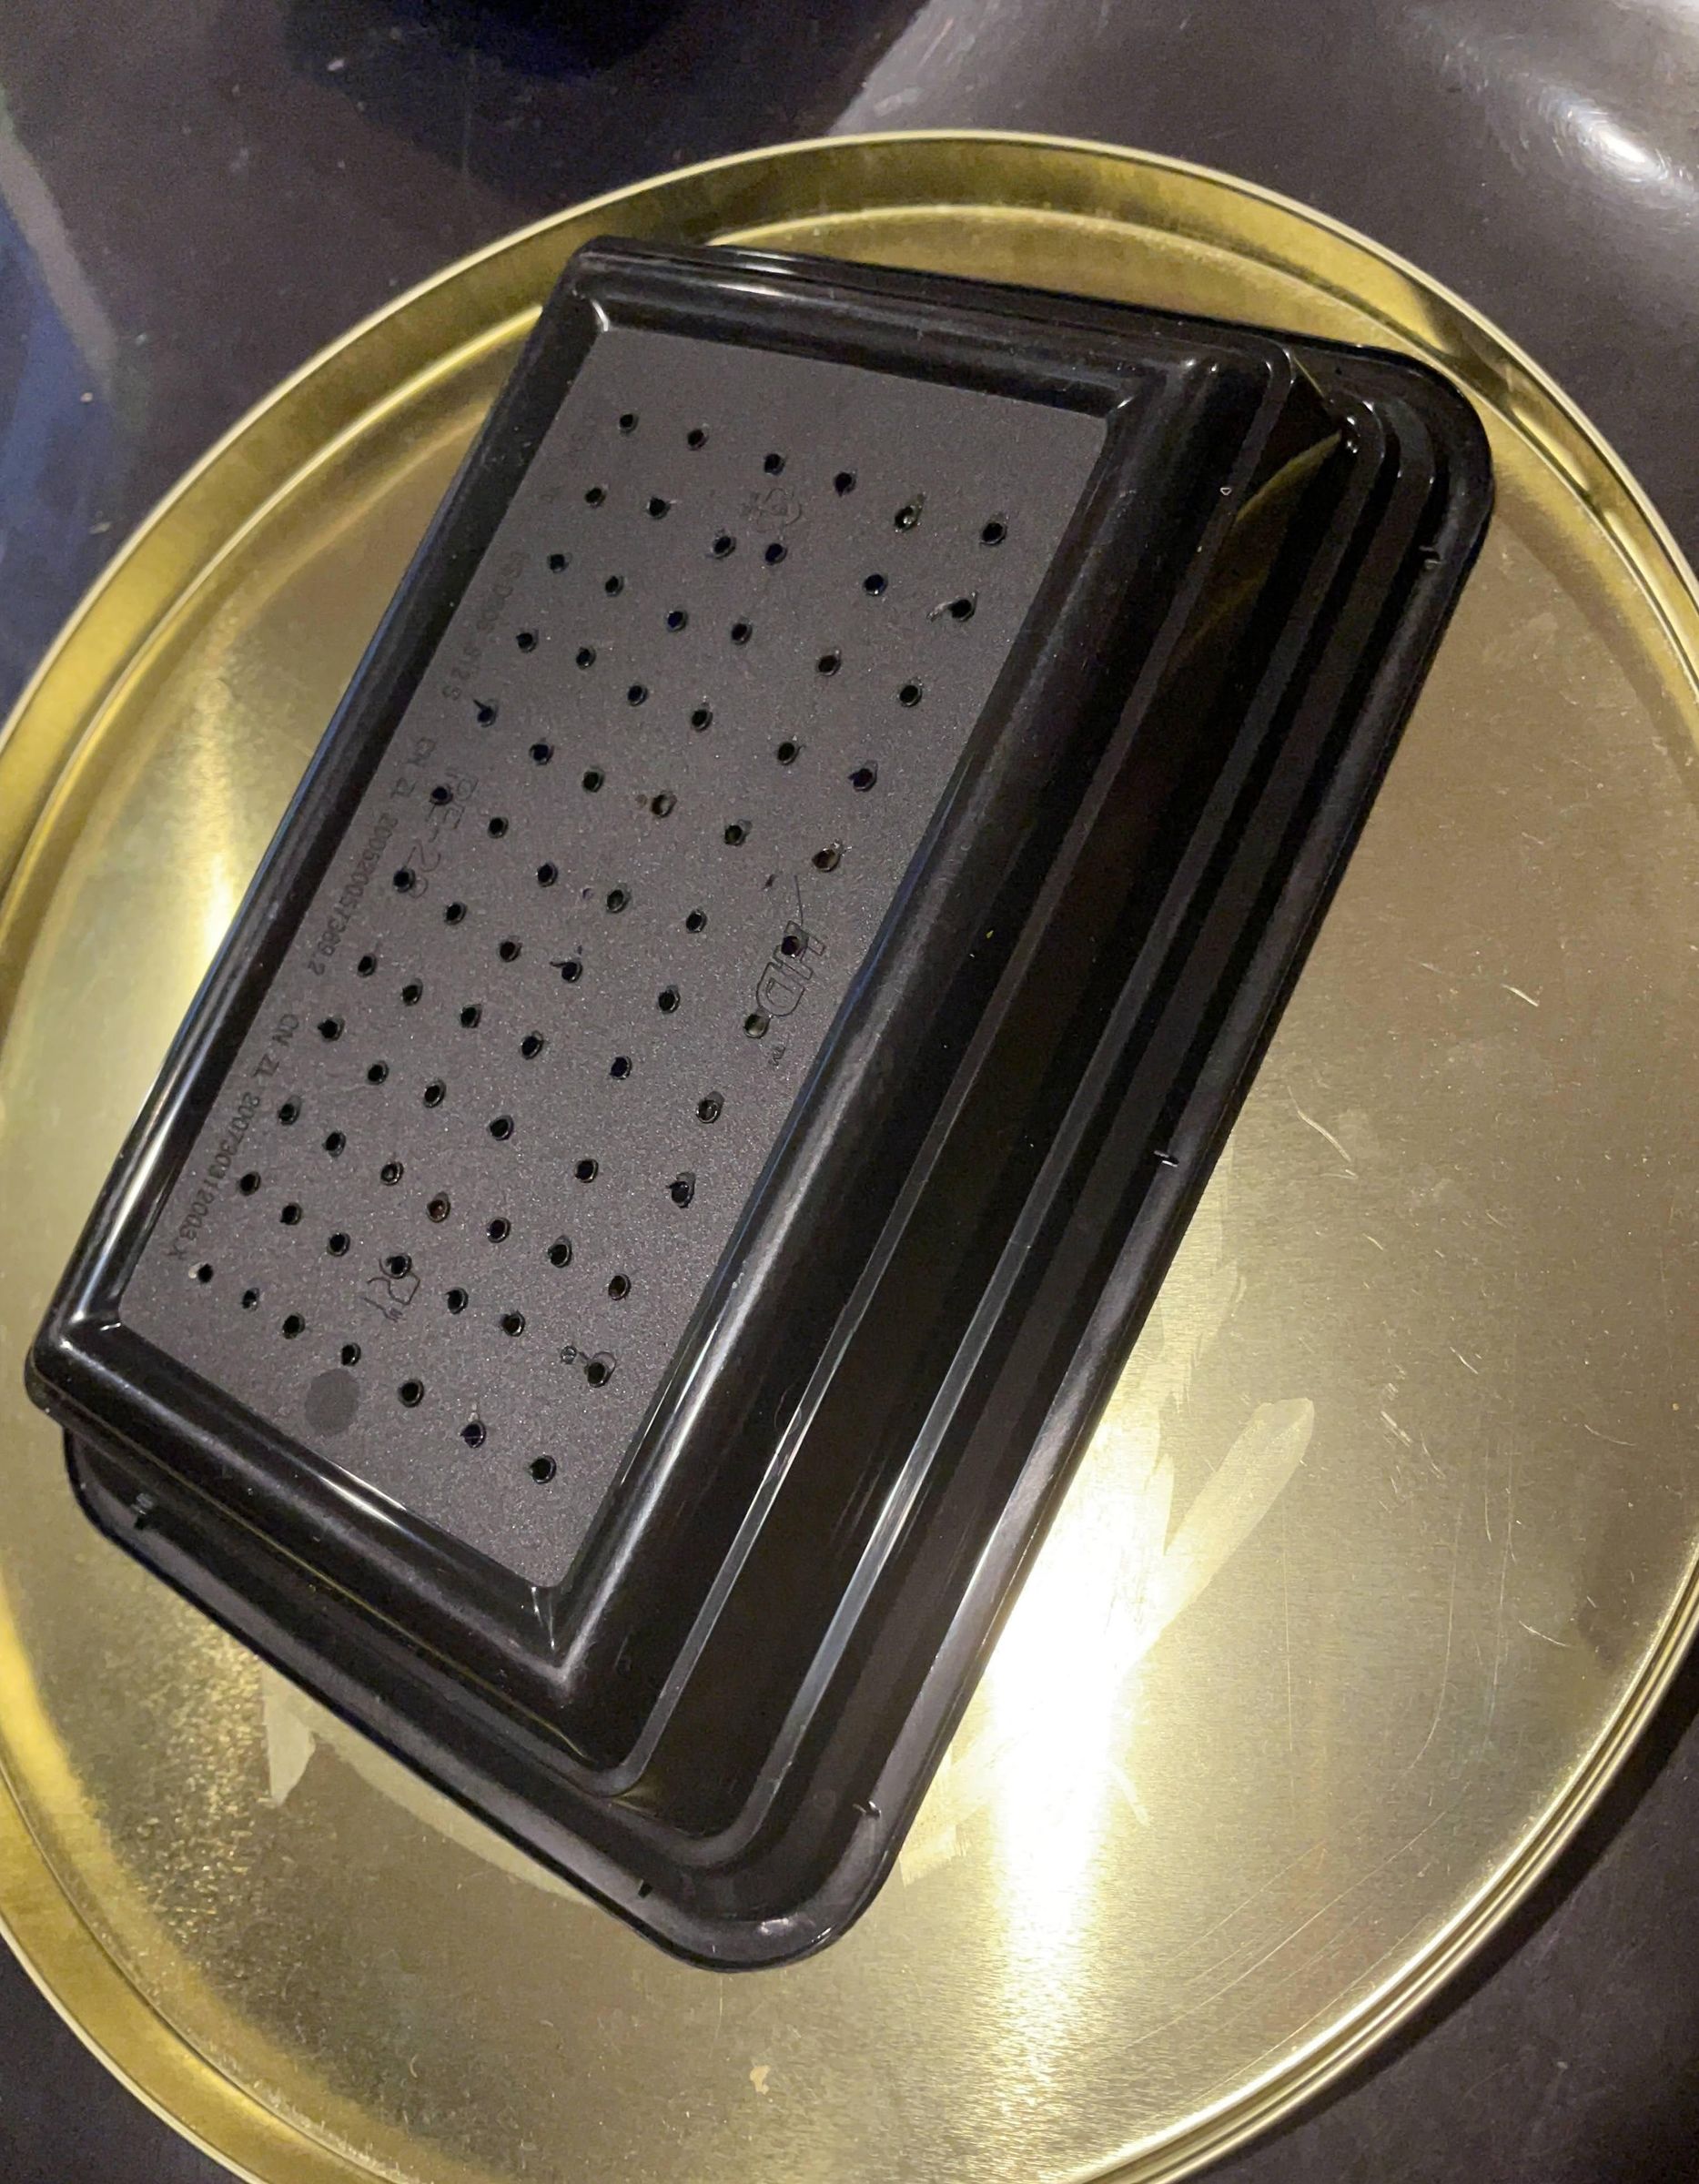
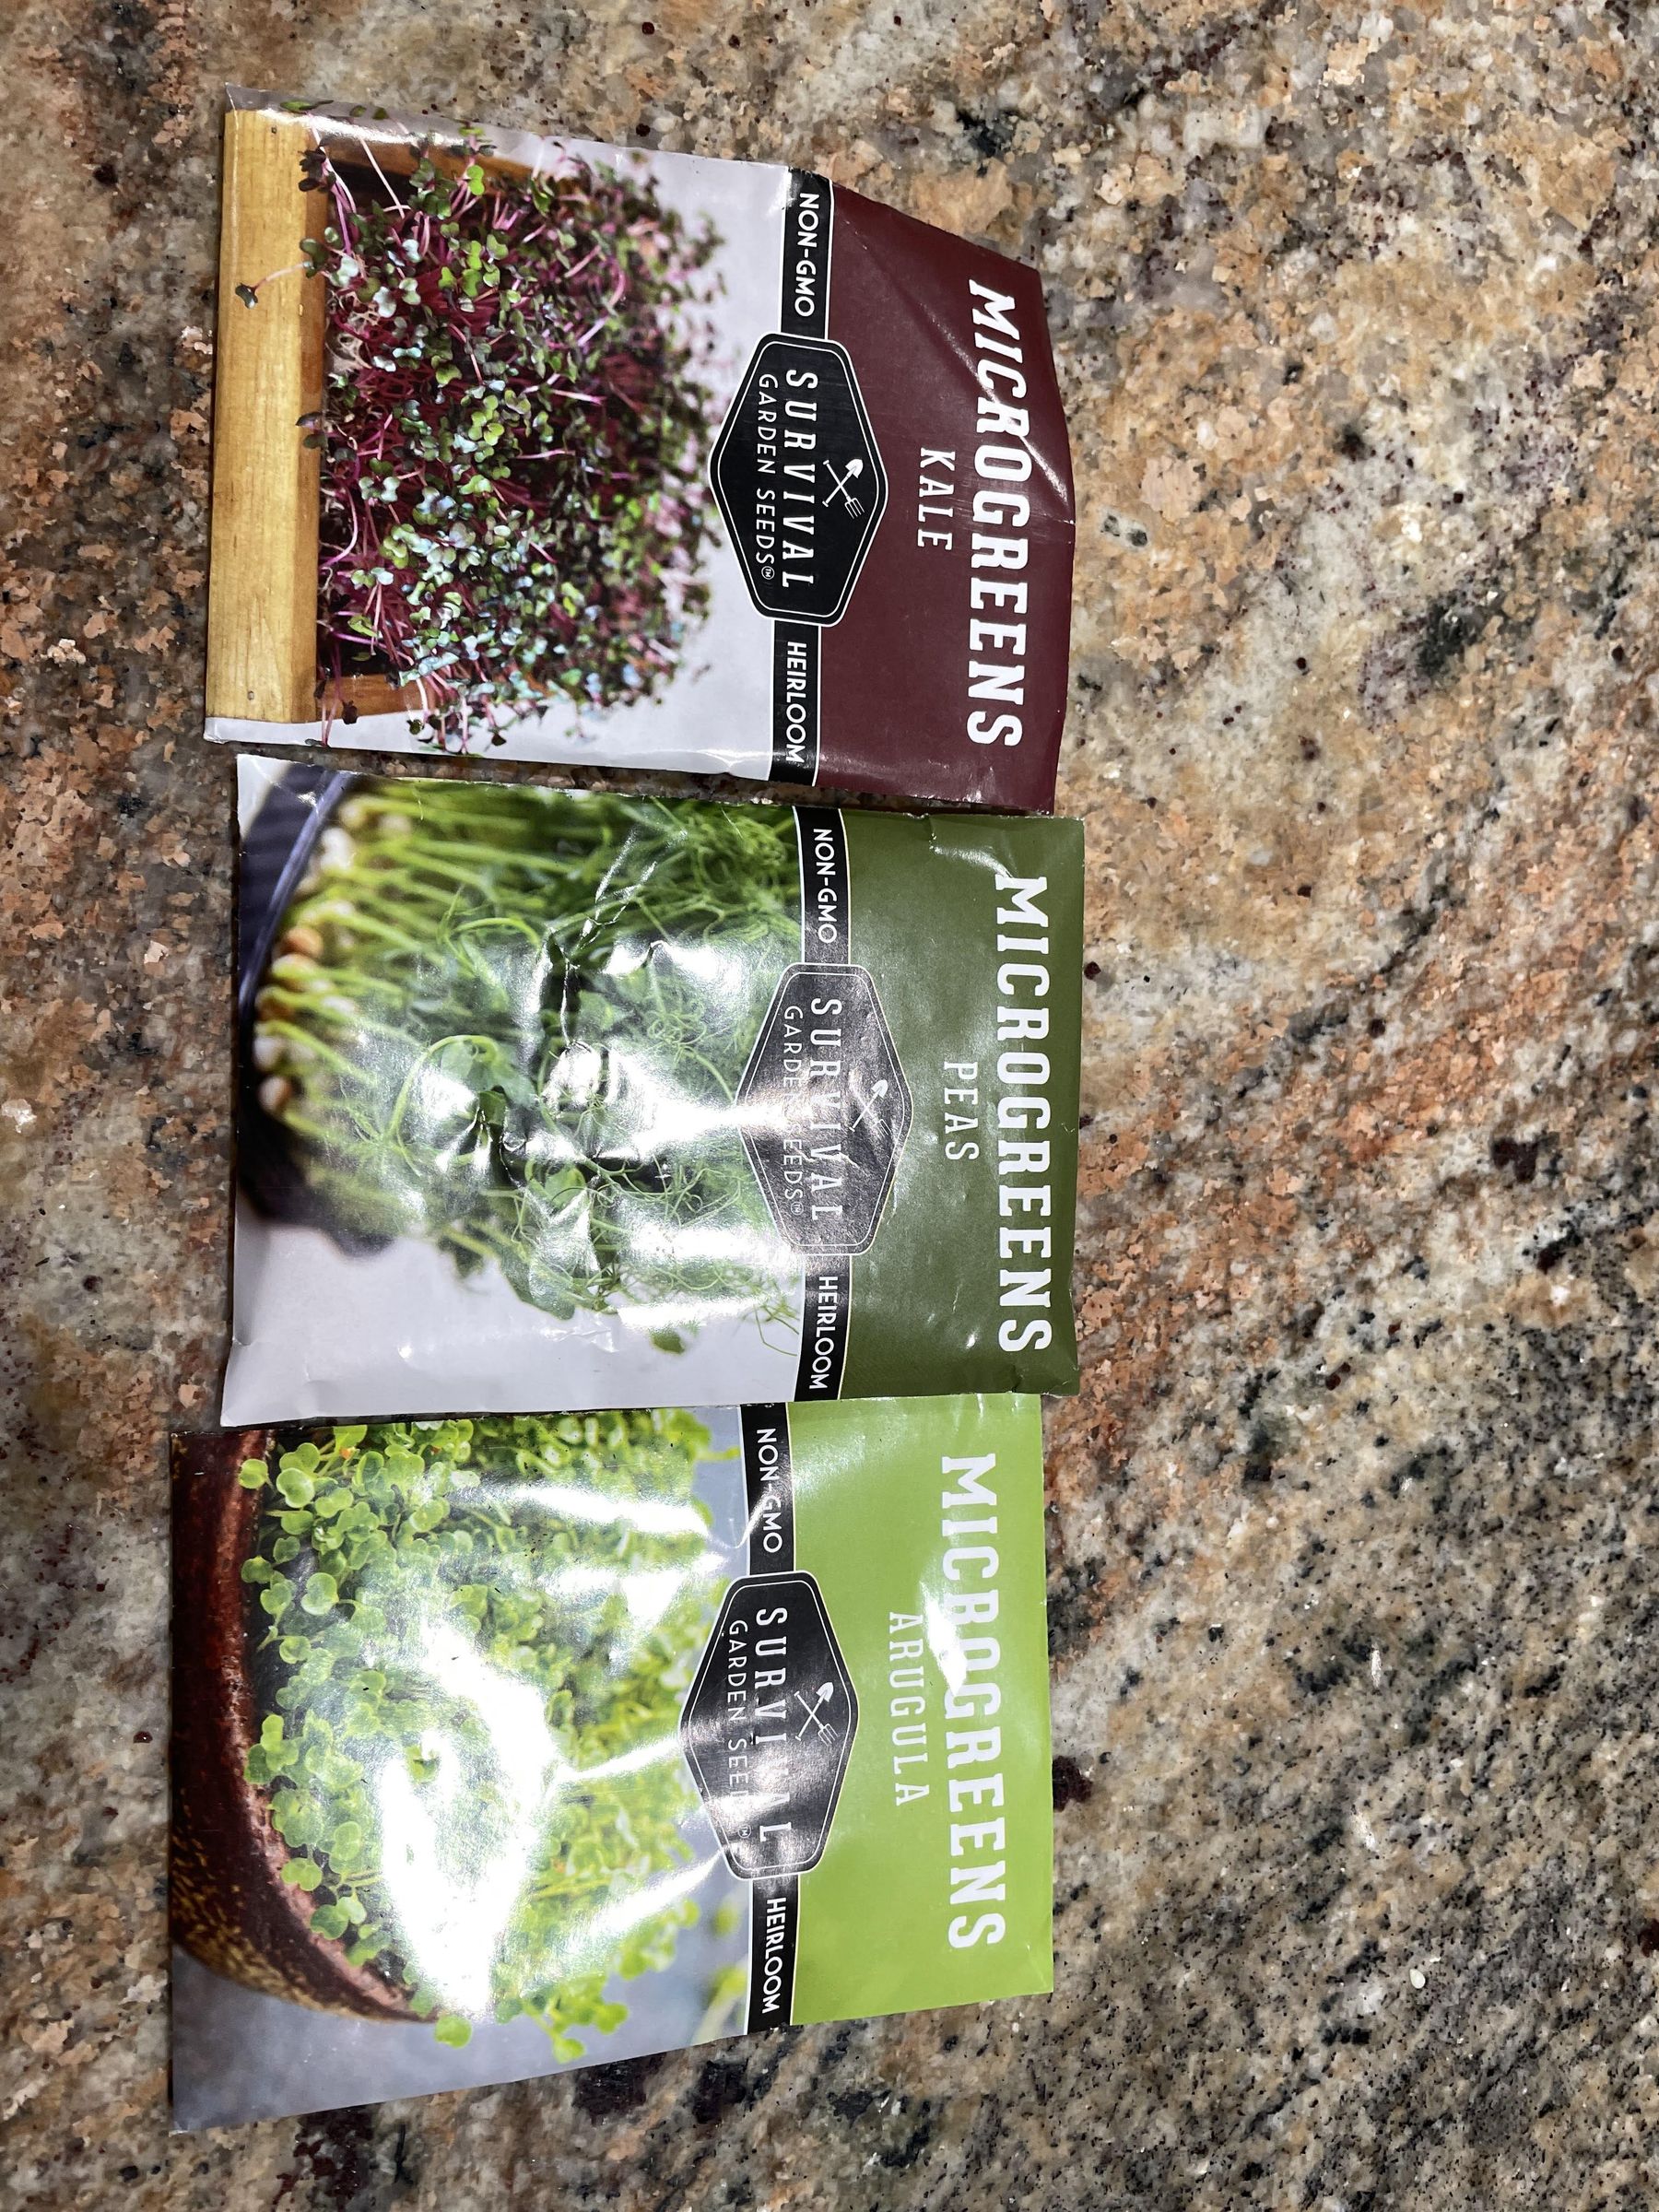
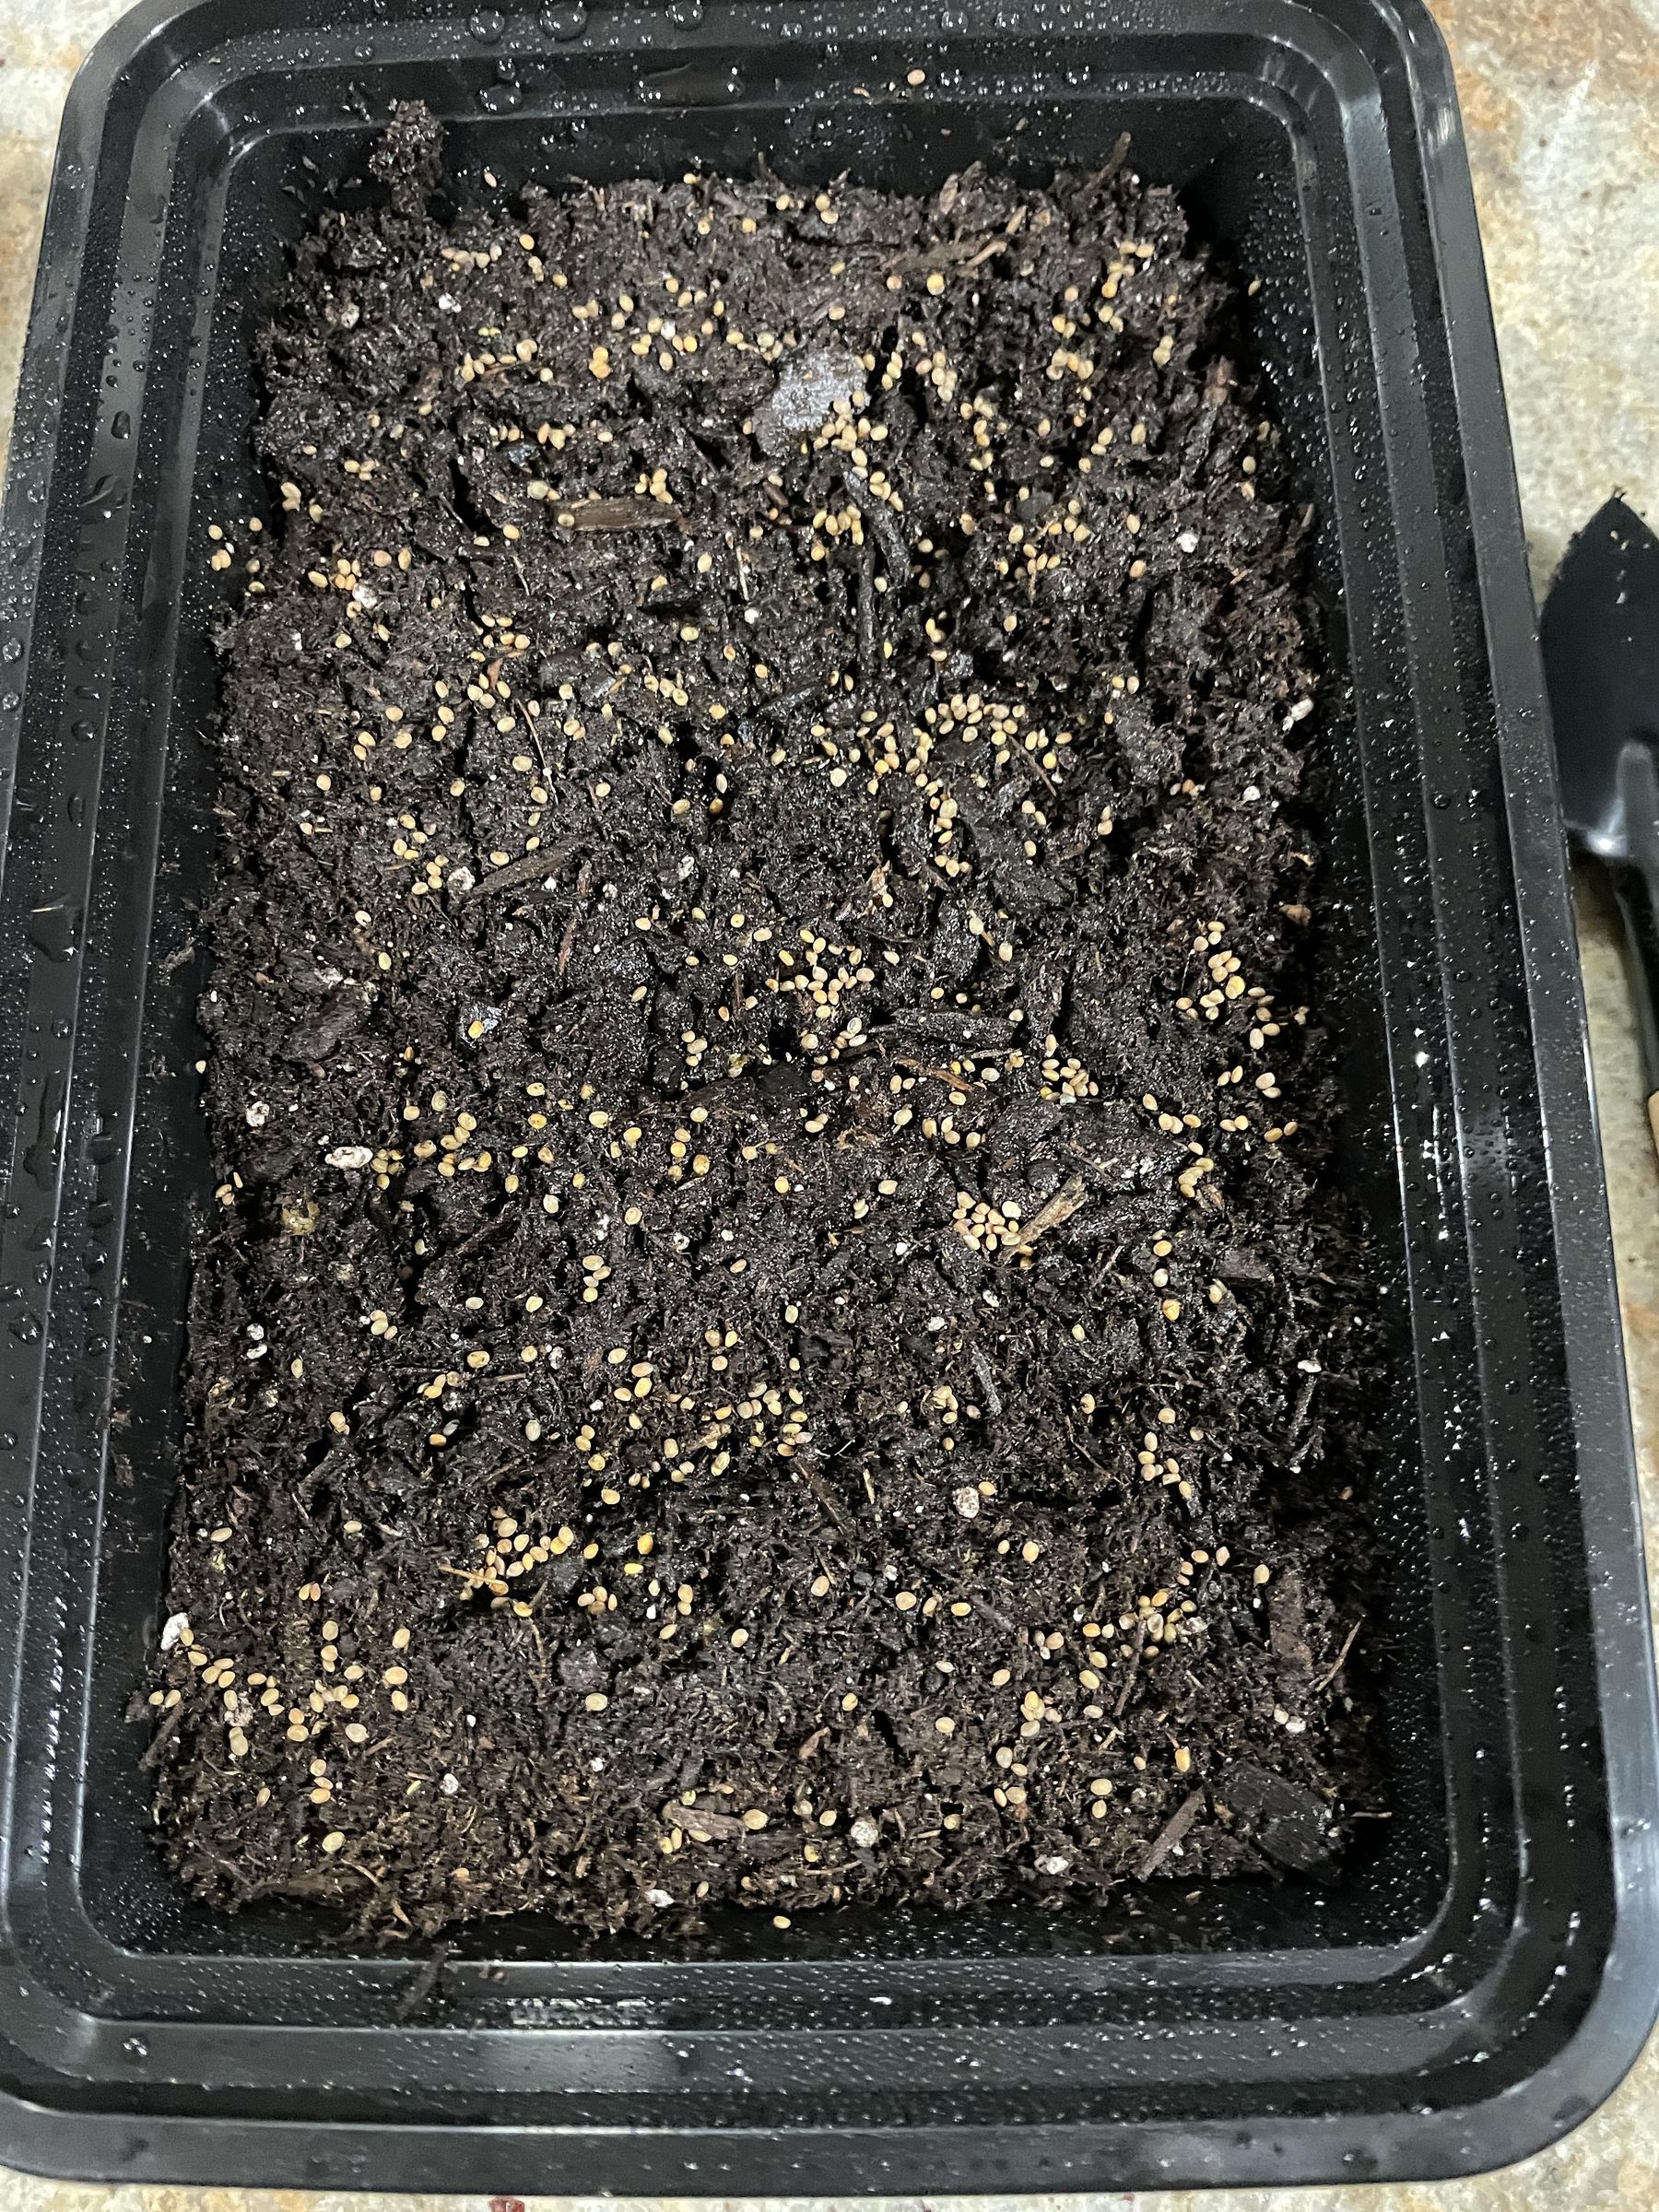
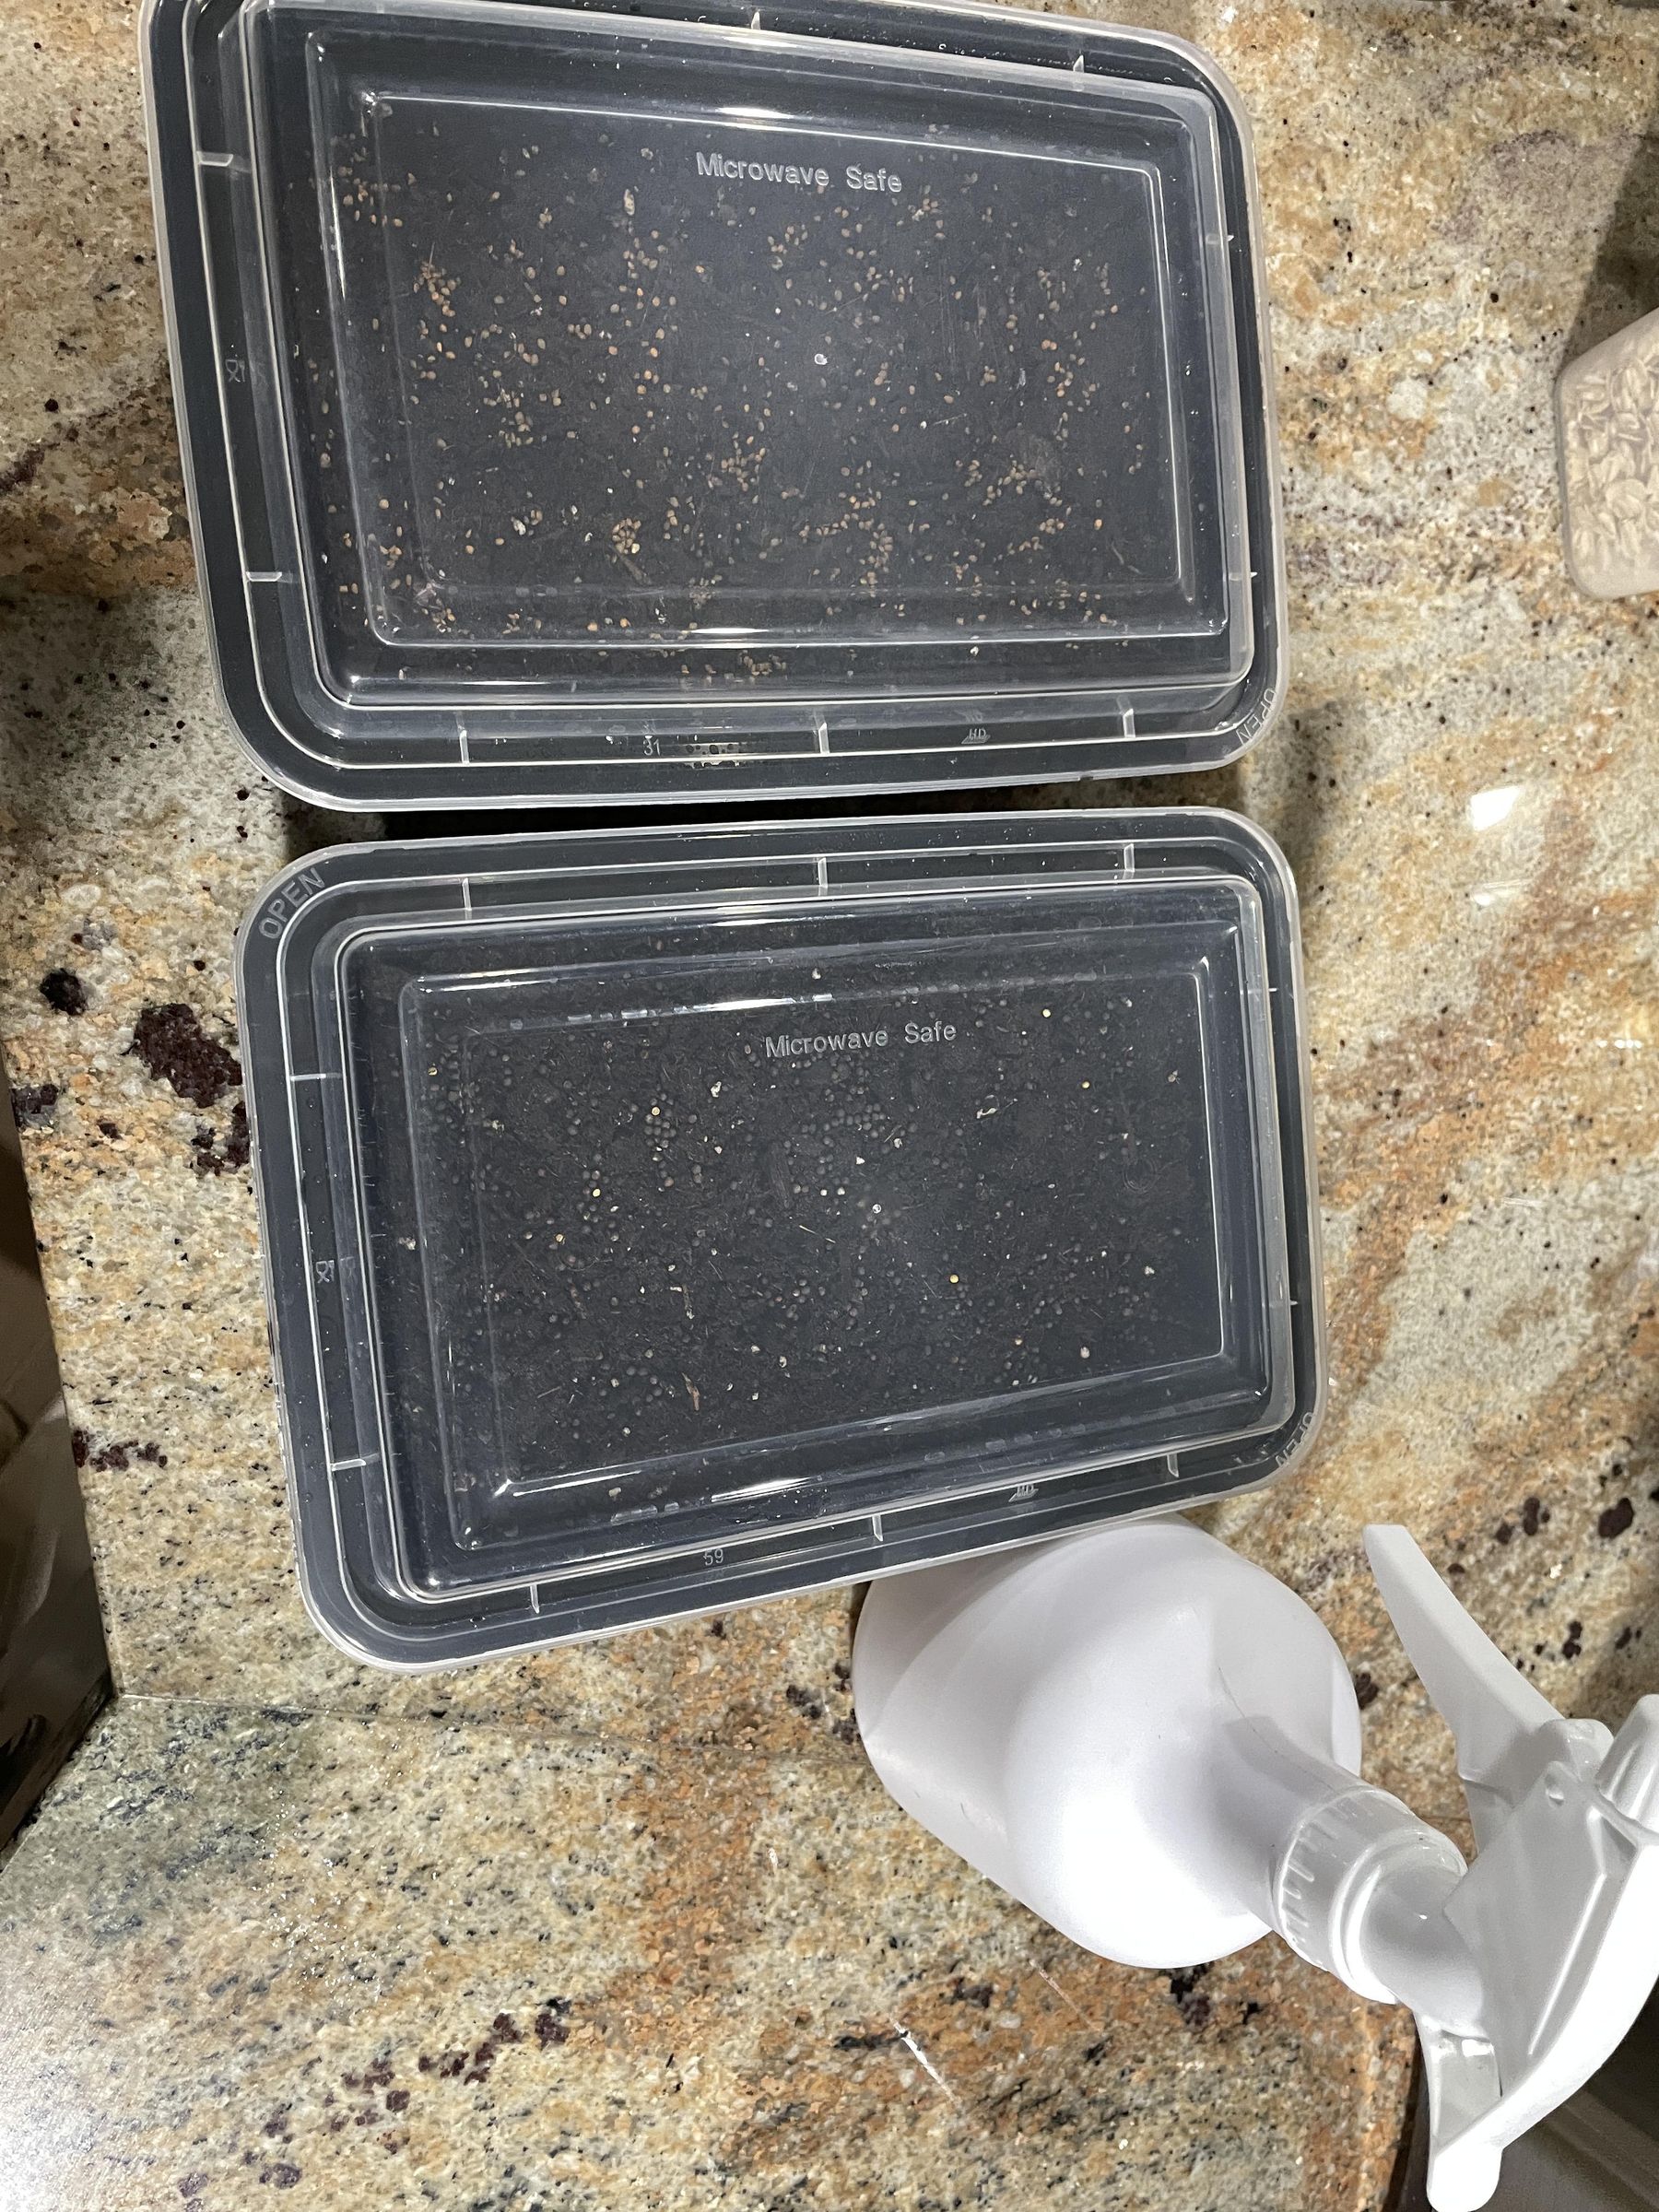
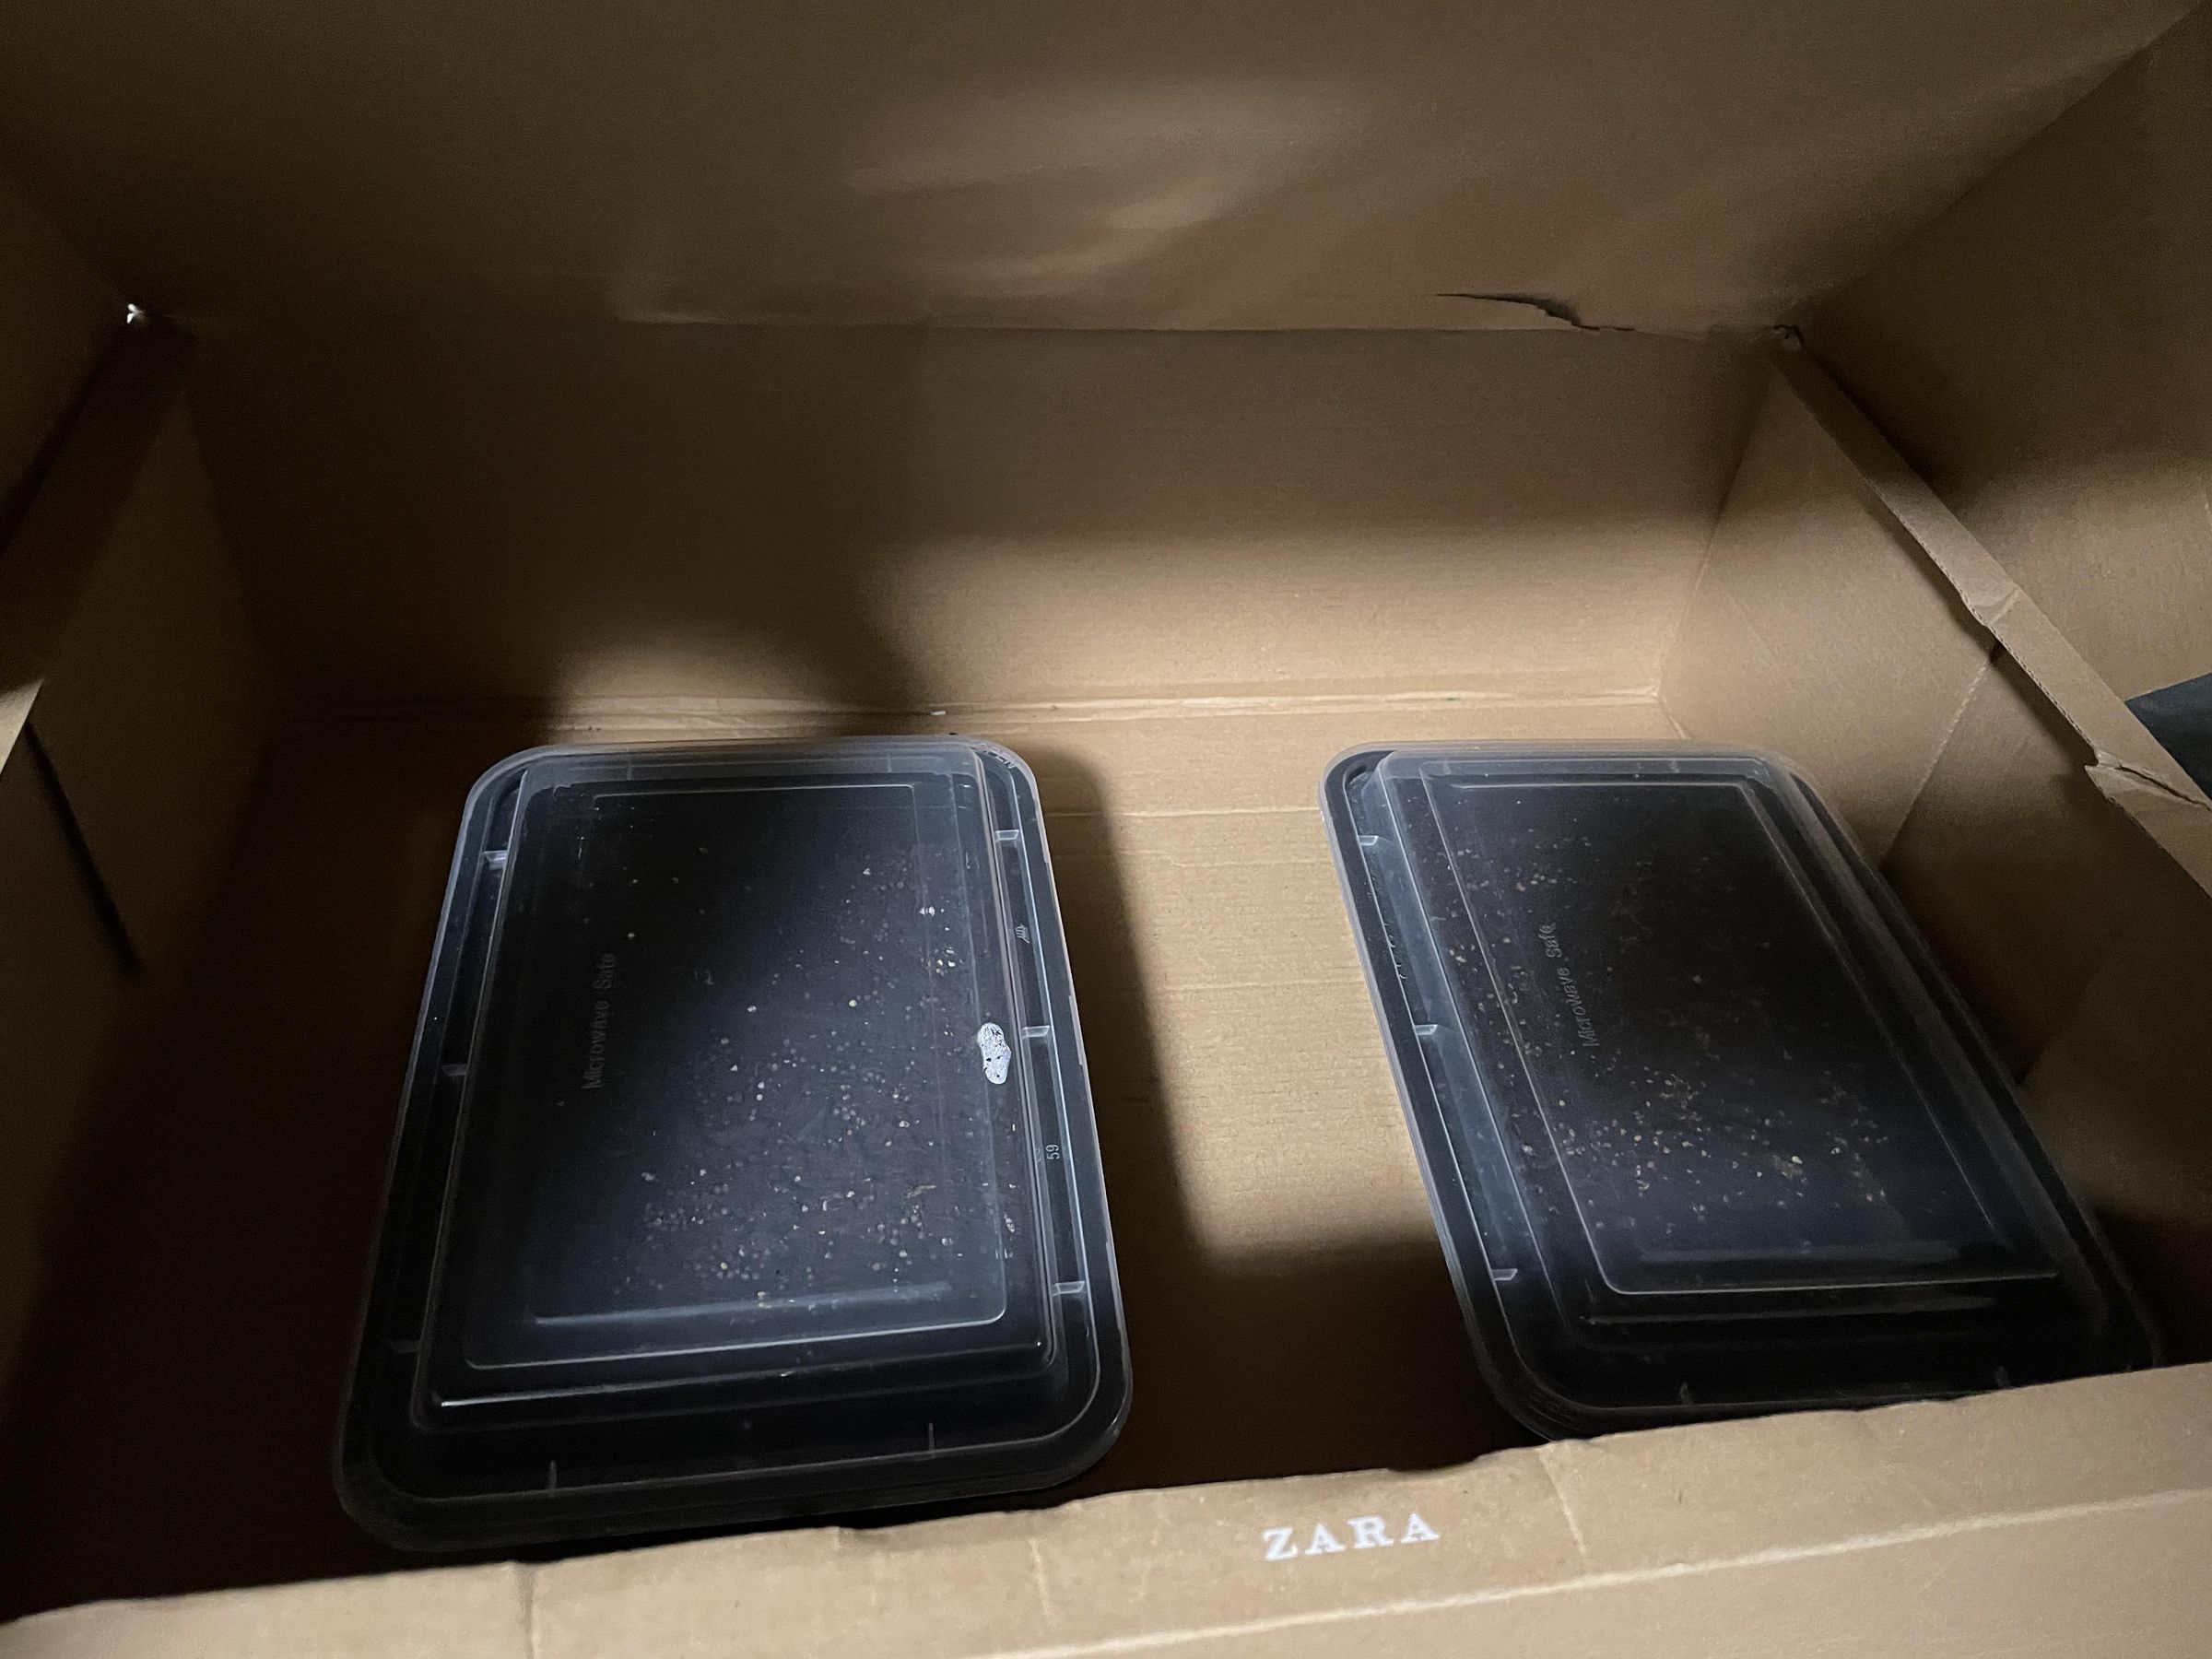
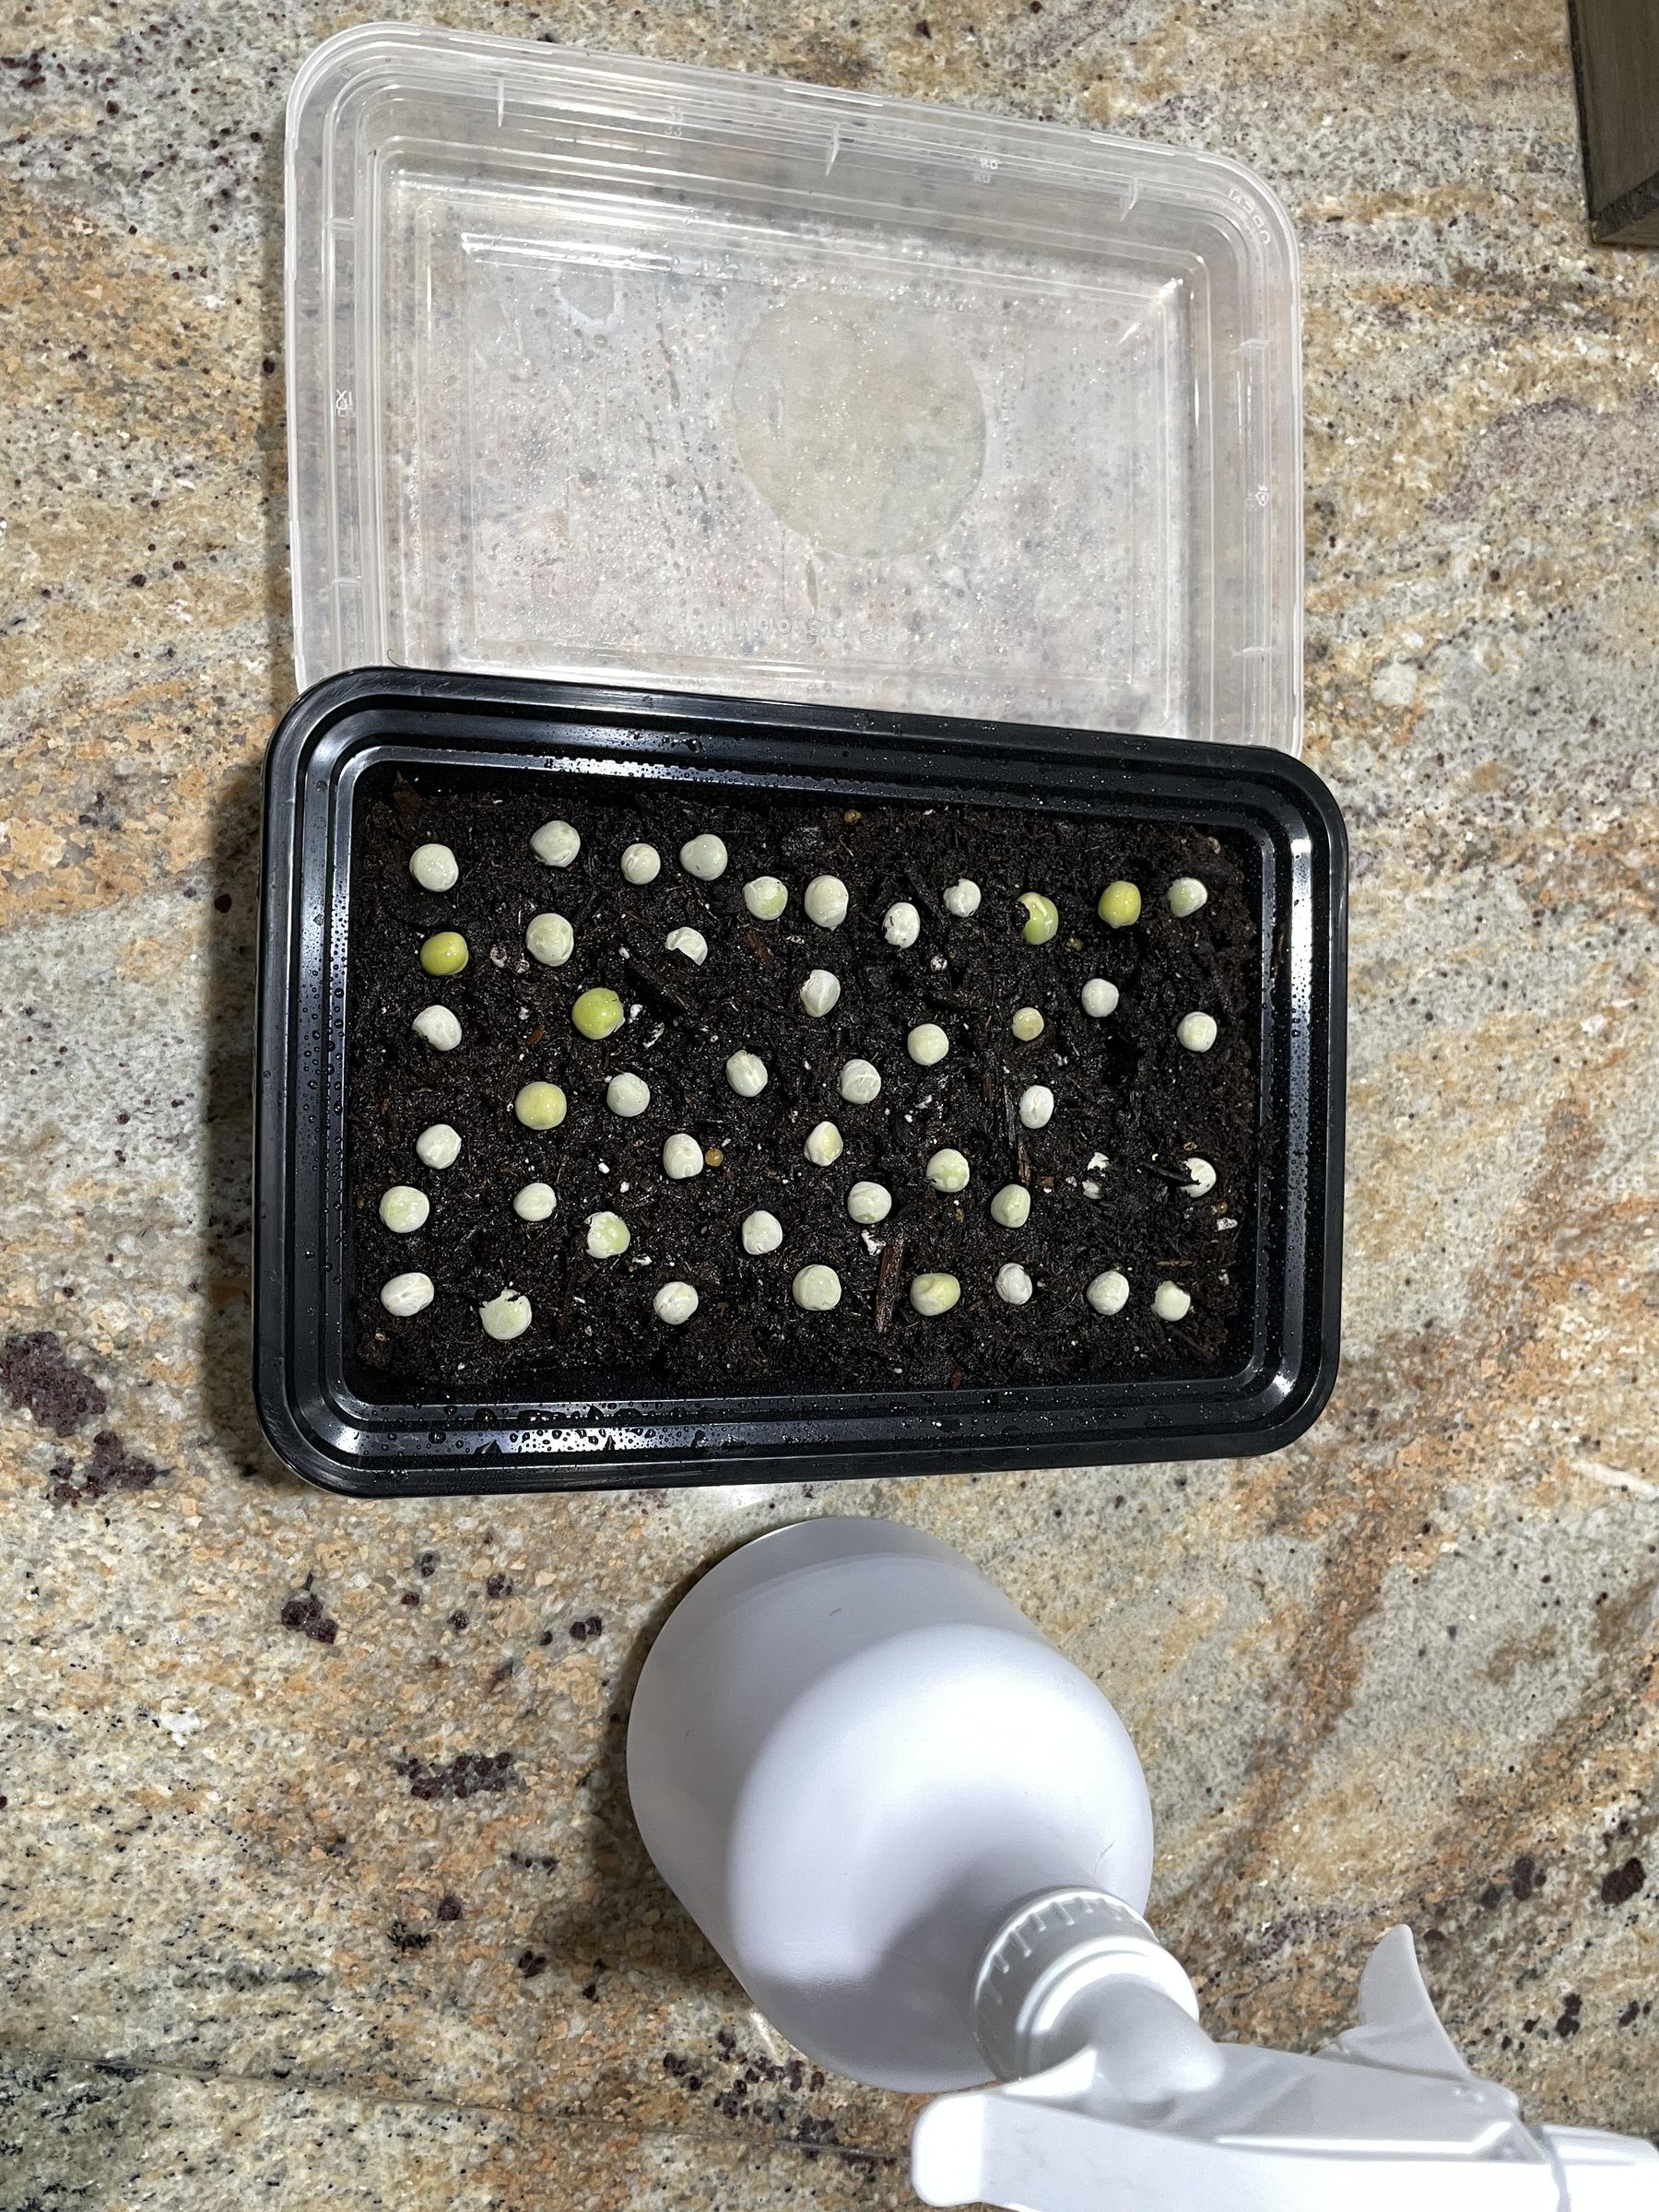
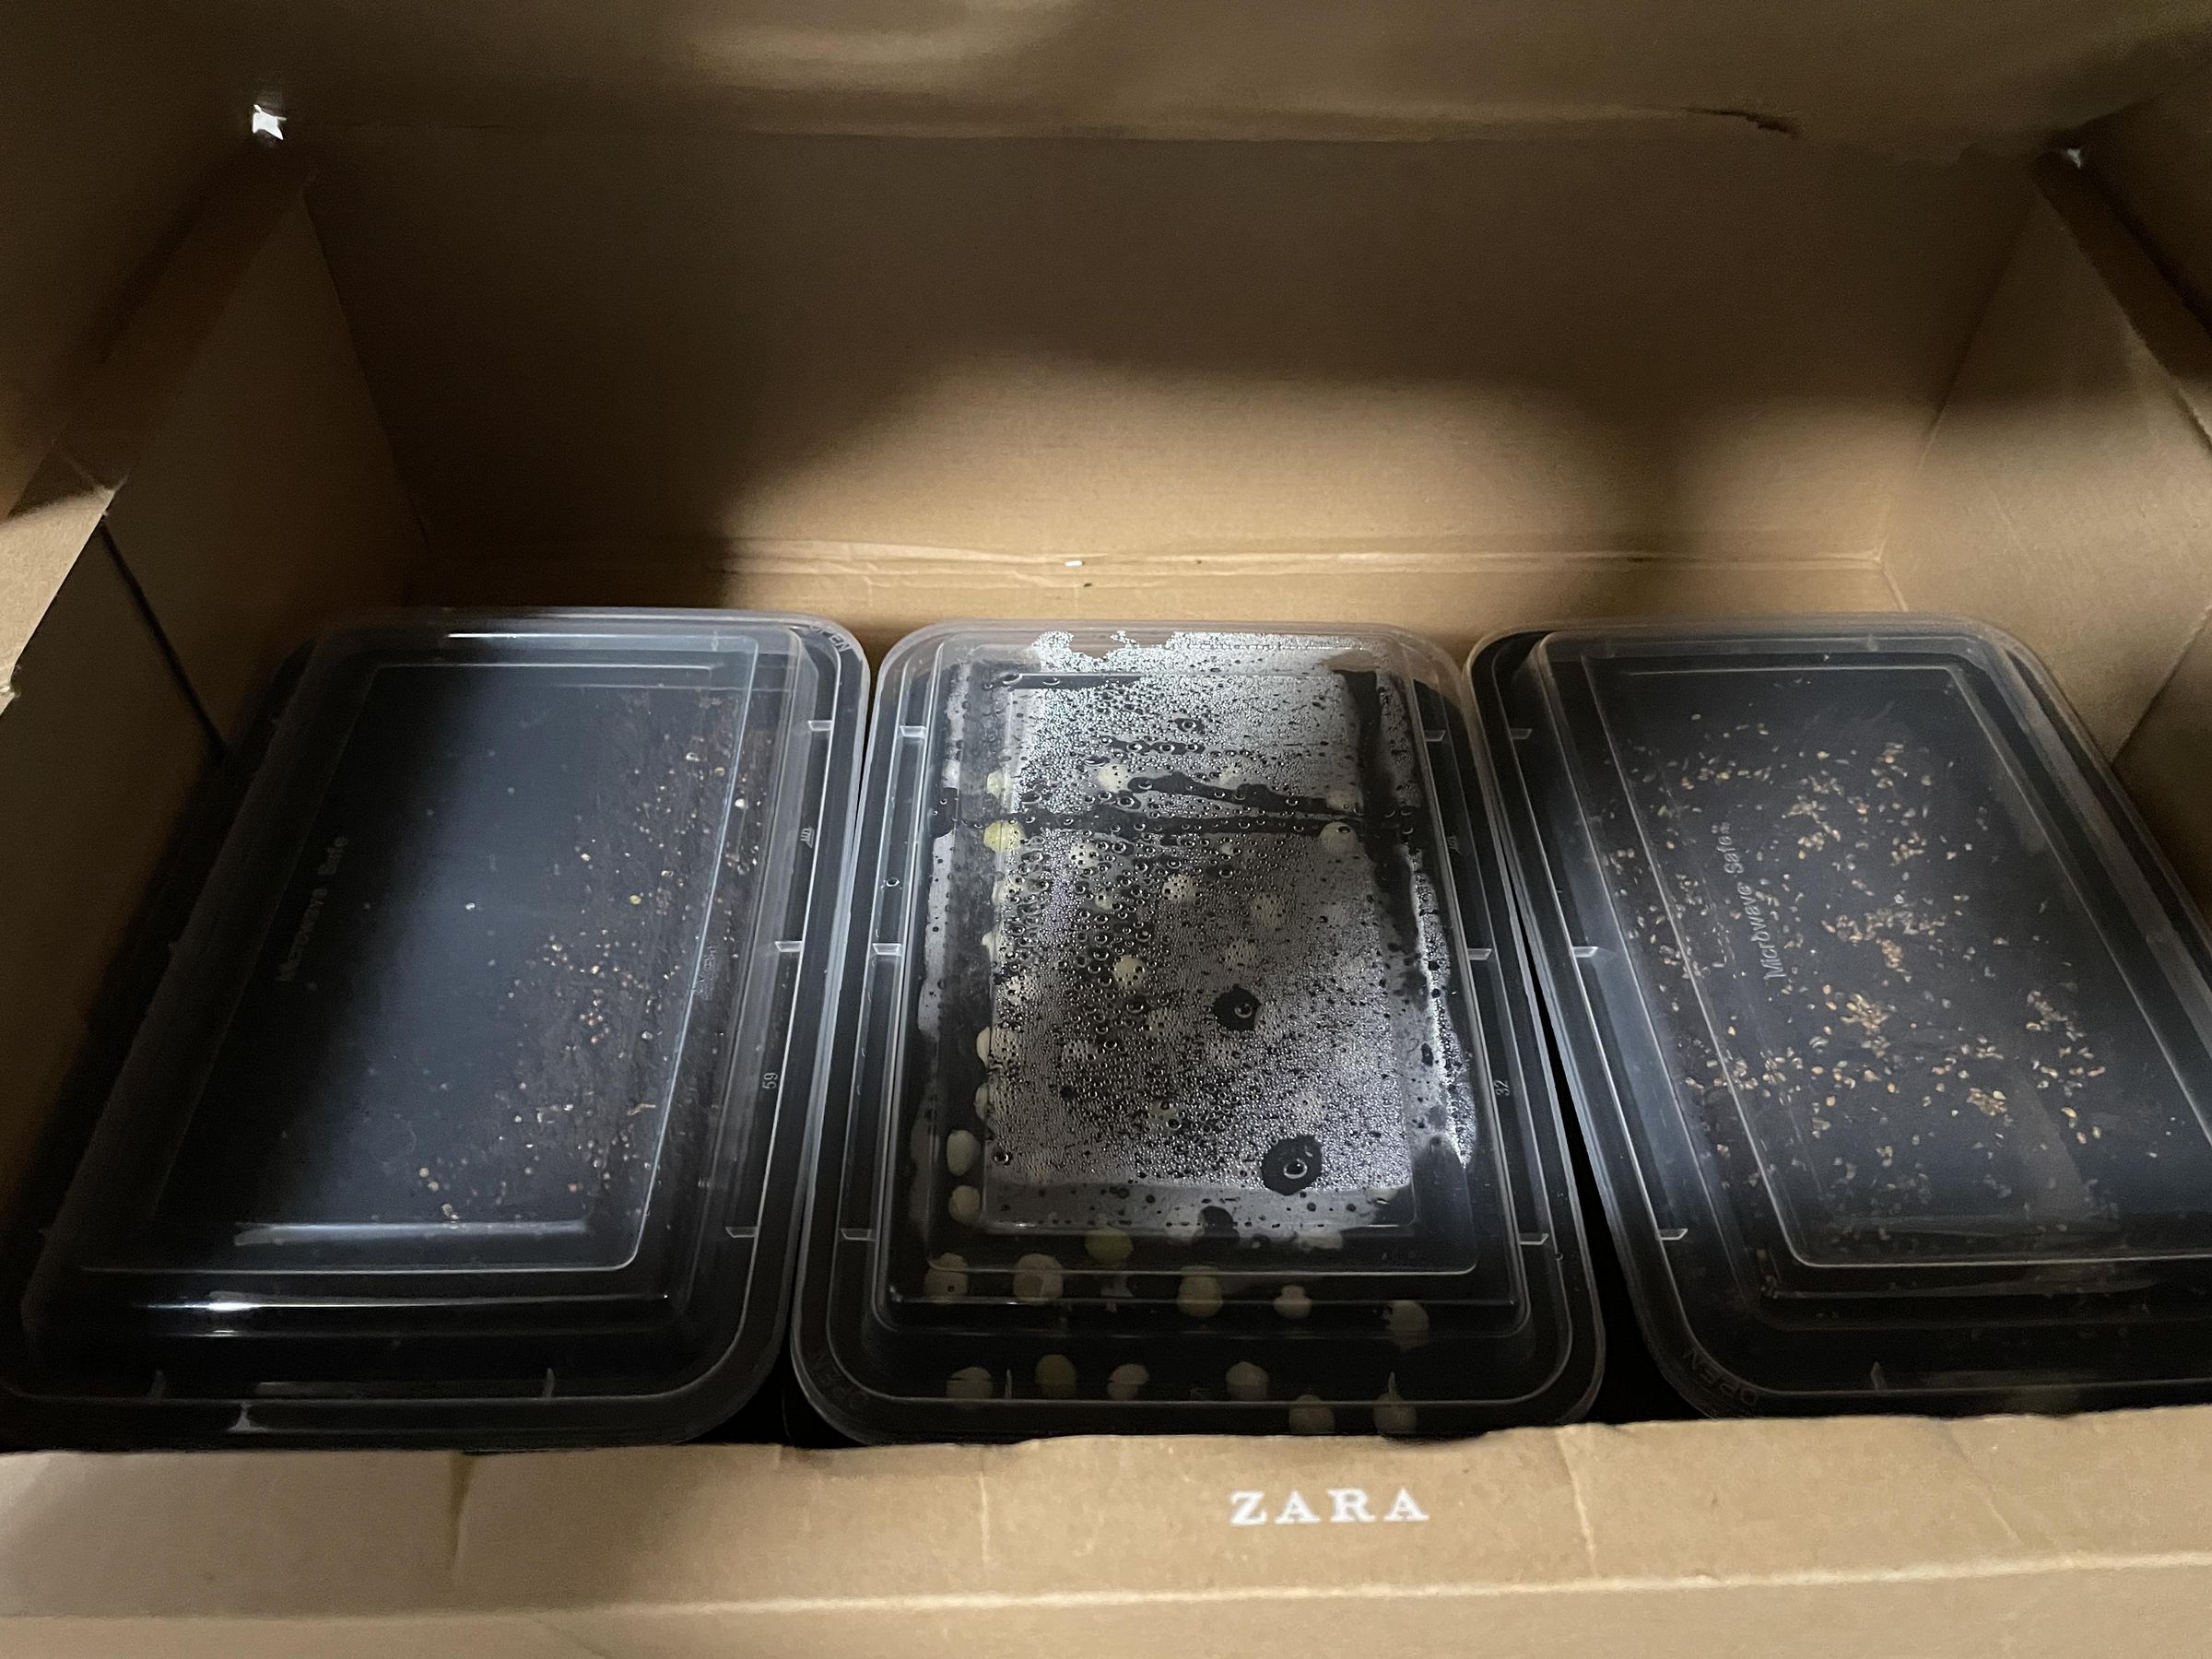
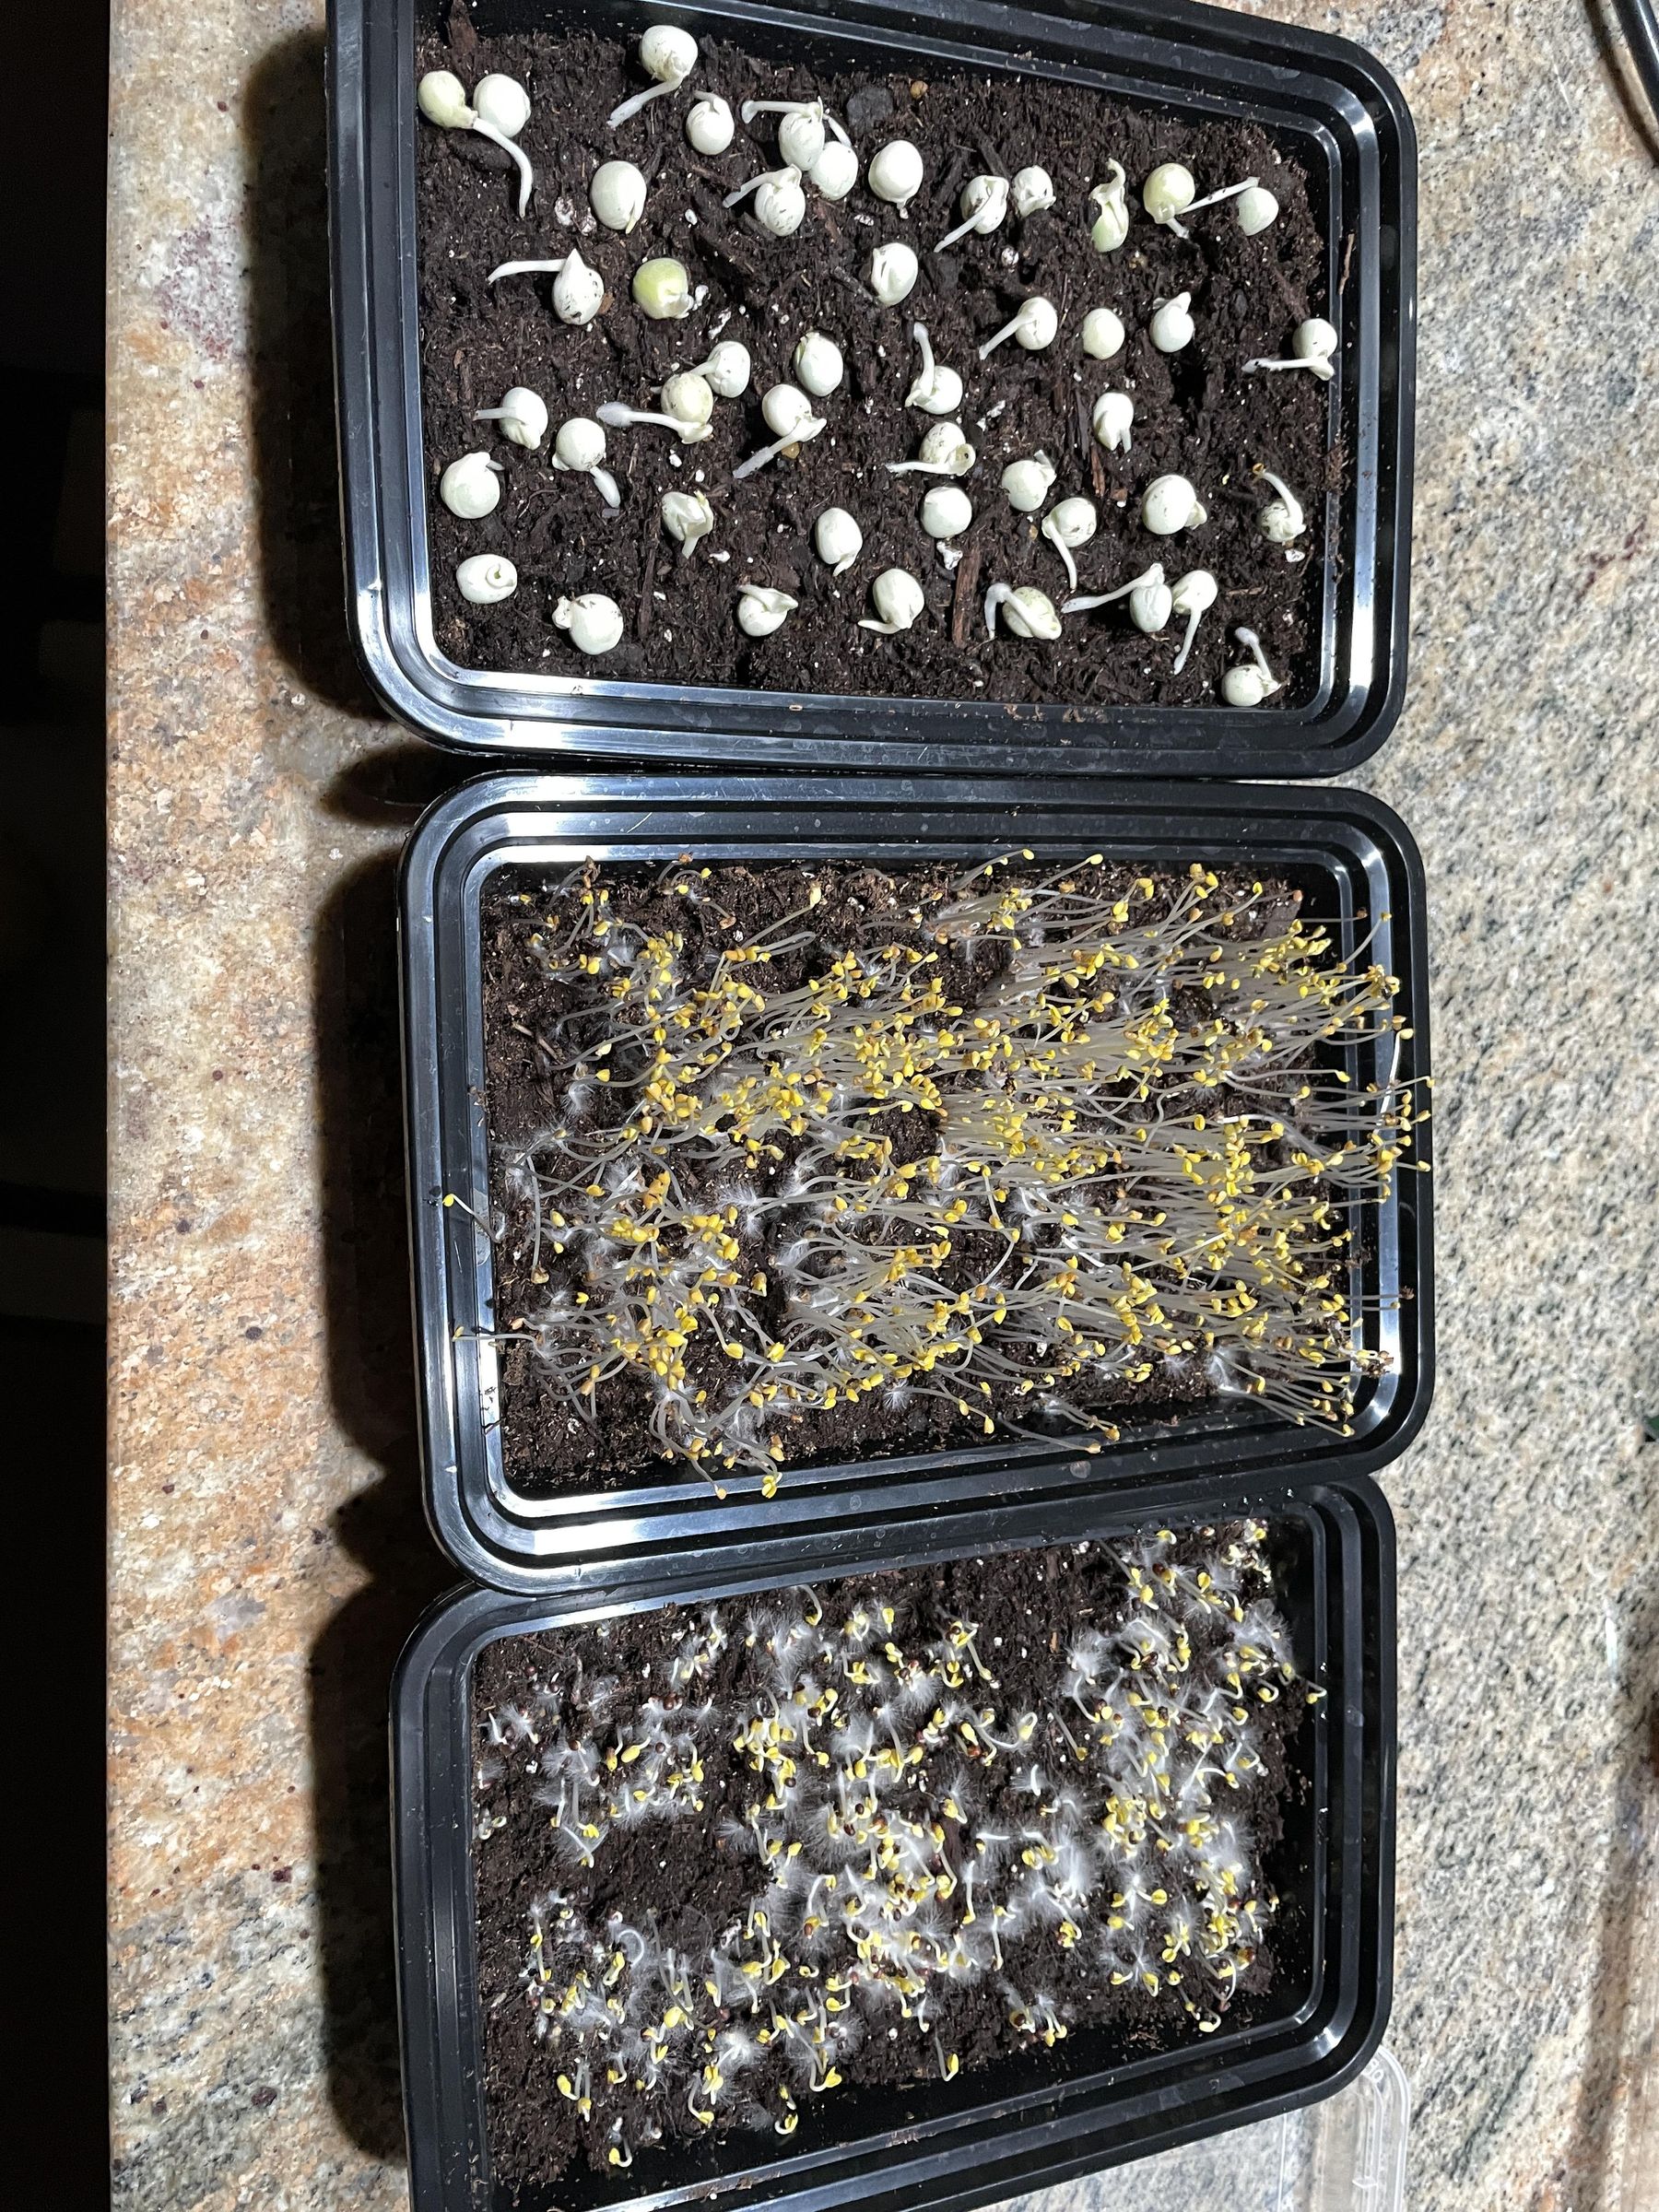
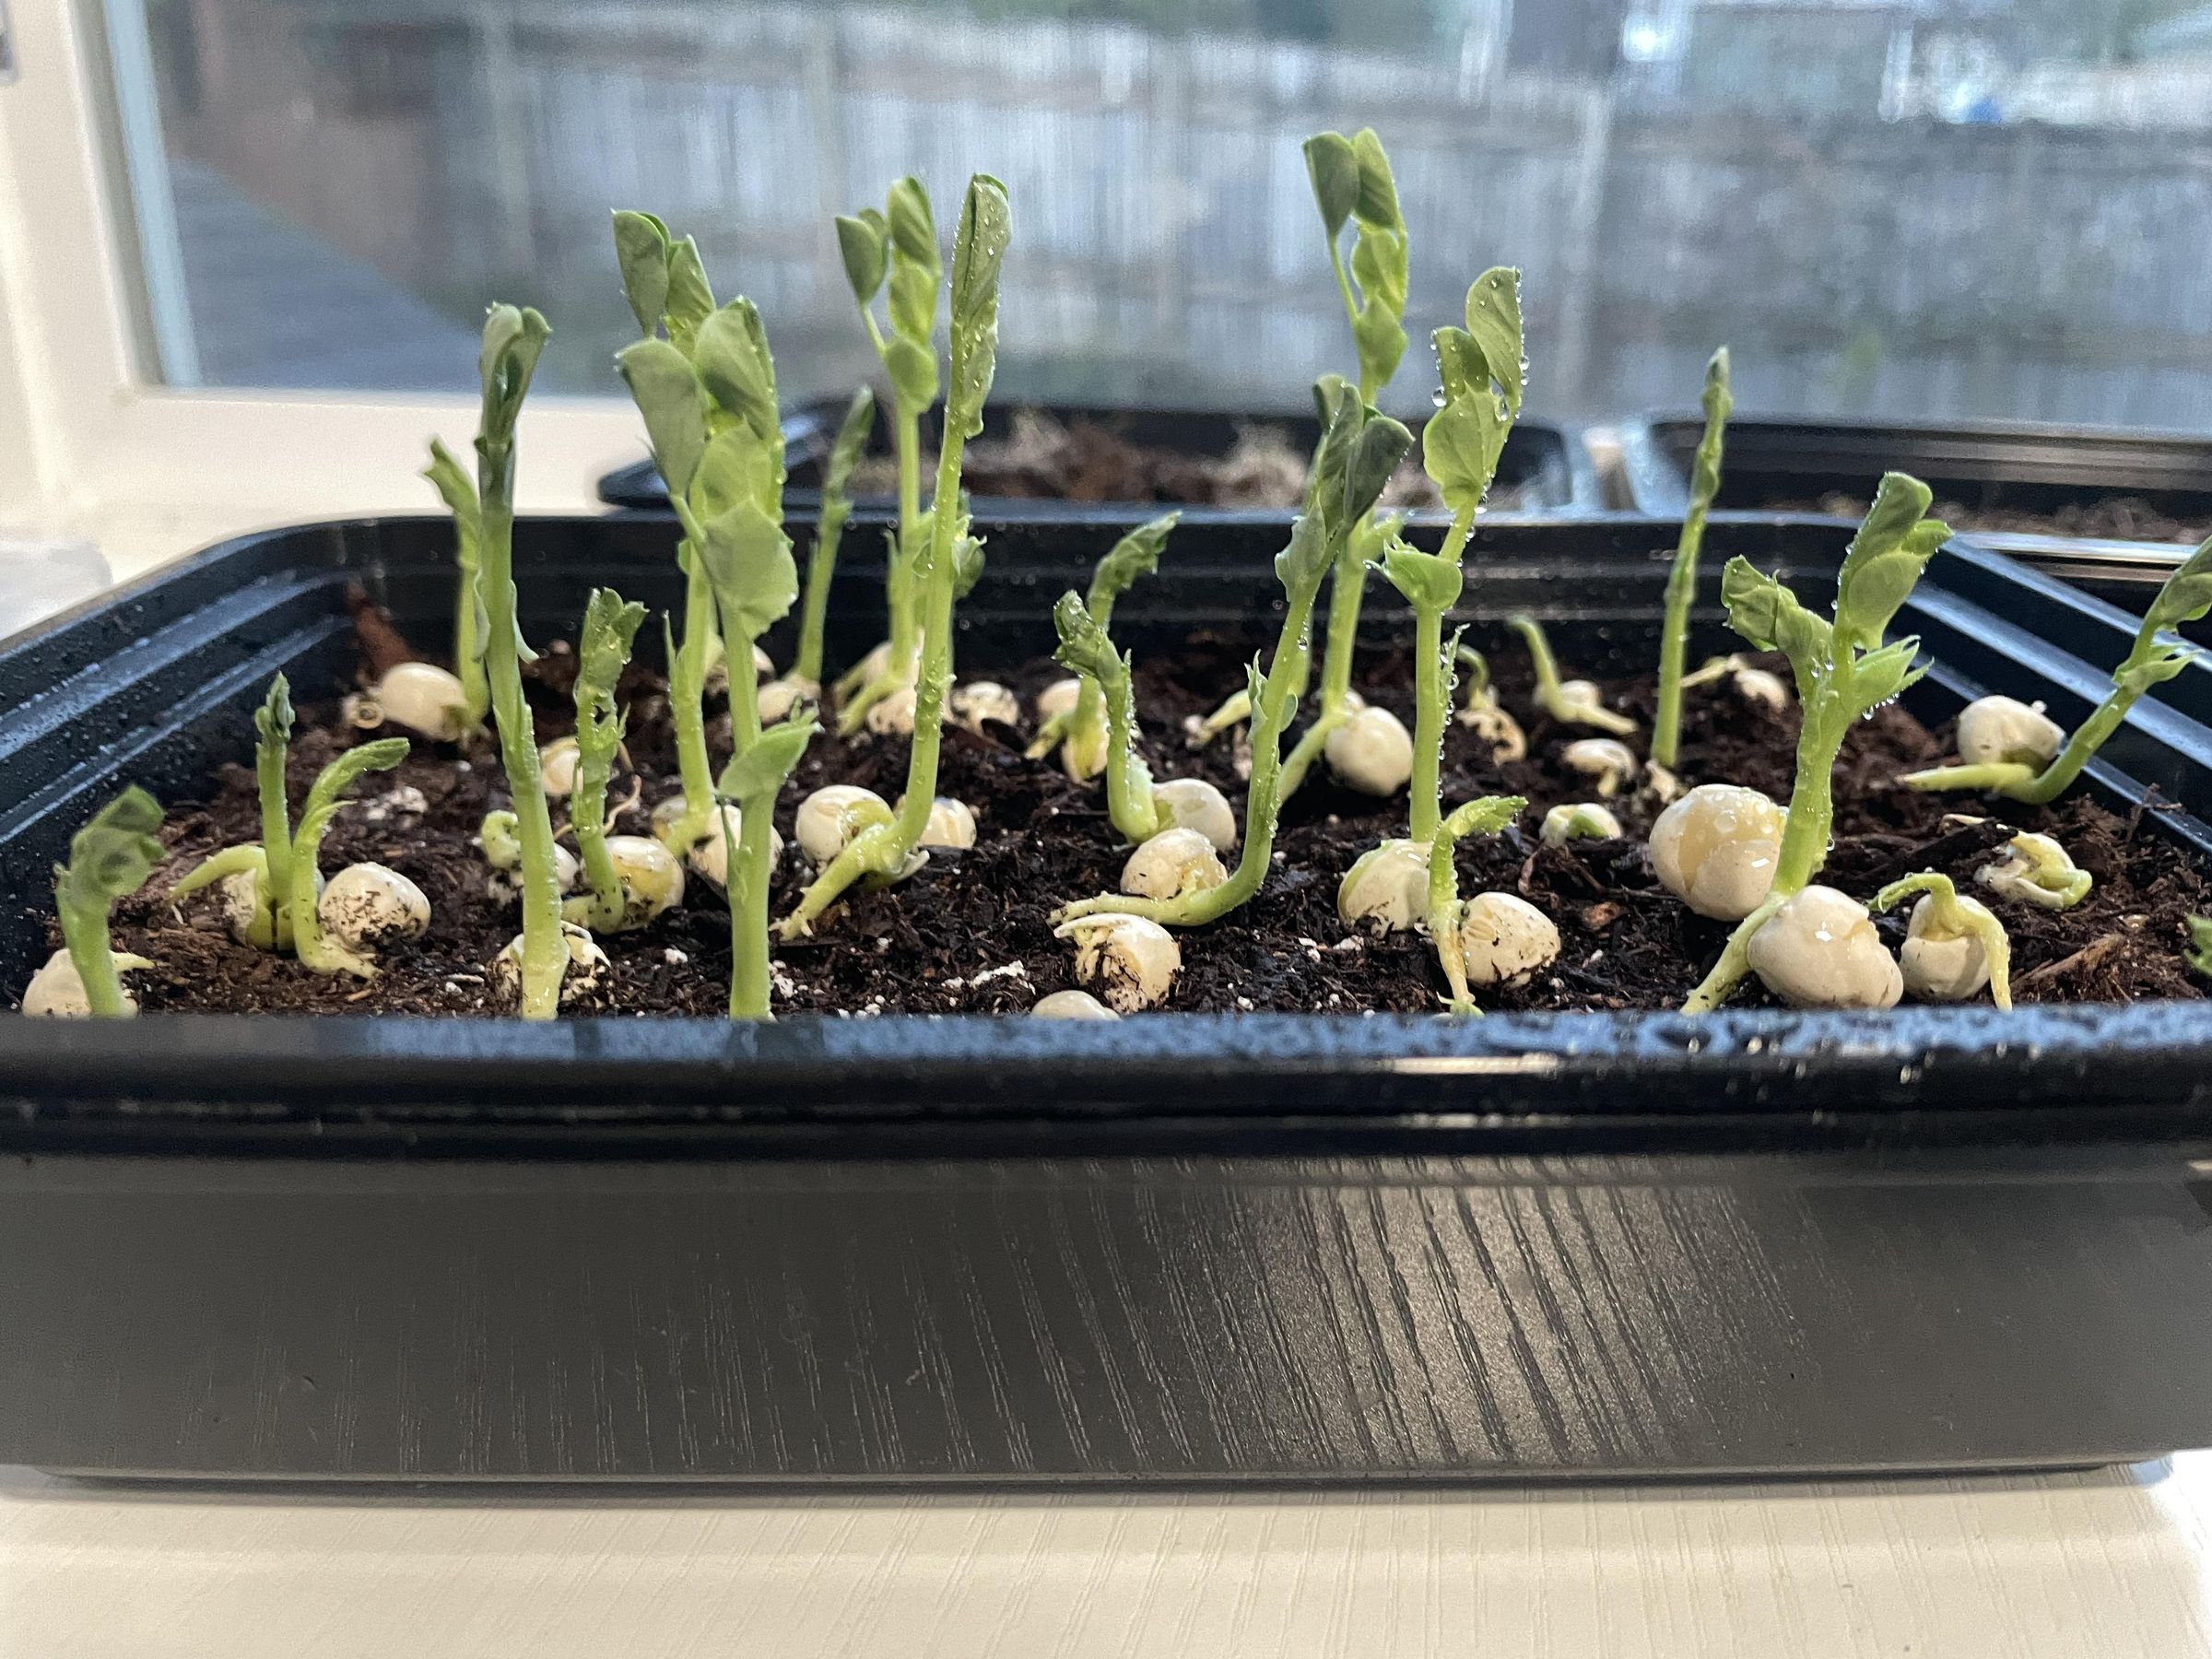
Over the past few years of staying home, we’ve collected quite a number of takeout containers. I’d like to share a simple way to reuse them as planters for growing microgreens.
Before explaining the process, it’s worth noting that many plastic takeout containers today are dishwasher-safe, reusable, and even microwave-safe. Whenever possible, consider reusing them instead of throwing them away.
Here is an informative reference https://learn.eartheasy.com/articles/plastics-by-the-numbers/
Step 1: Sort
Group the takeout boxes into piles based on the shape of their openings. For boxes with matching openings, pair one shallow box with one deeper box.
Step 2: Make Holes
Use a foam cutter to create holes in the shallow box of each pair, as shown.
Tip: Make sure the area is well ventilated while doing this.
Step 3: Setup
Stack two containers of the same size together, placing the one with drilled holes on top.
Step 4: Plant and Wait
Add soil, spread the seeds evenly over the surface, and mist with water.
Place the setup in a dark space (we used a cardboard box).
Keep the soil moist by spraying daily, then wait—you’ll be excited to see the sprouts appear!
Art Scroll Holders From Tin Cans and Badminton Shuttlecock Tube Holders
.JPG)
.JPG)
.JPG)
.JPG)
.JPG)
.JPG)
.JPG)
.JPG)
.JPG)
.JPG)
.jpg)
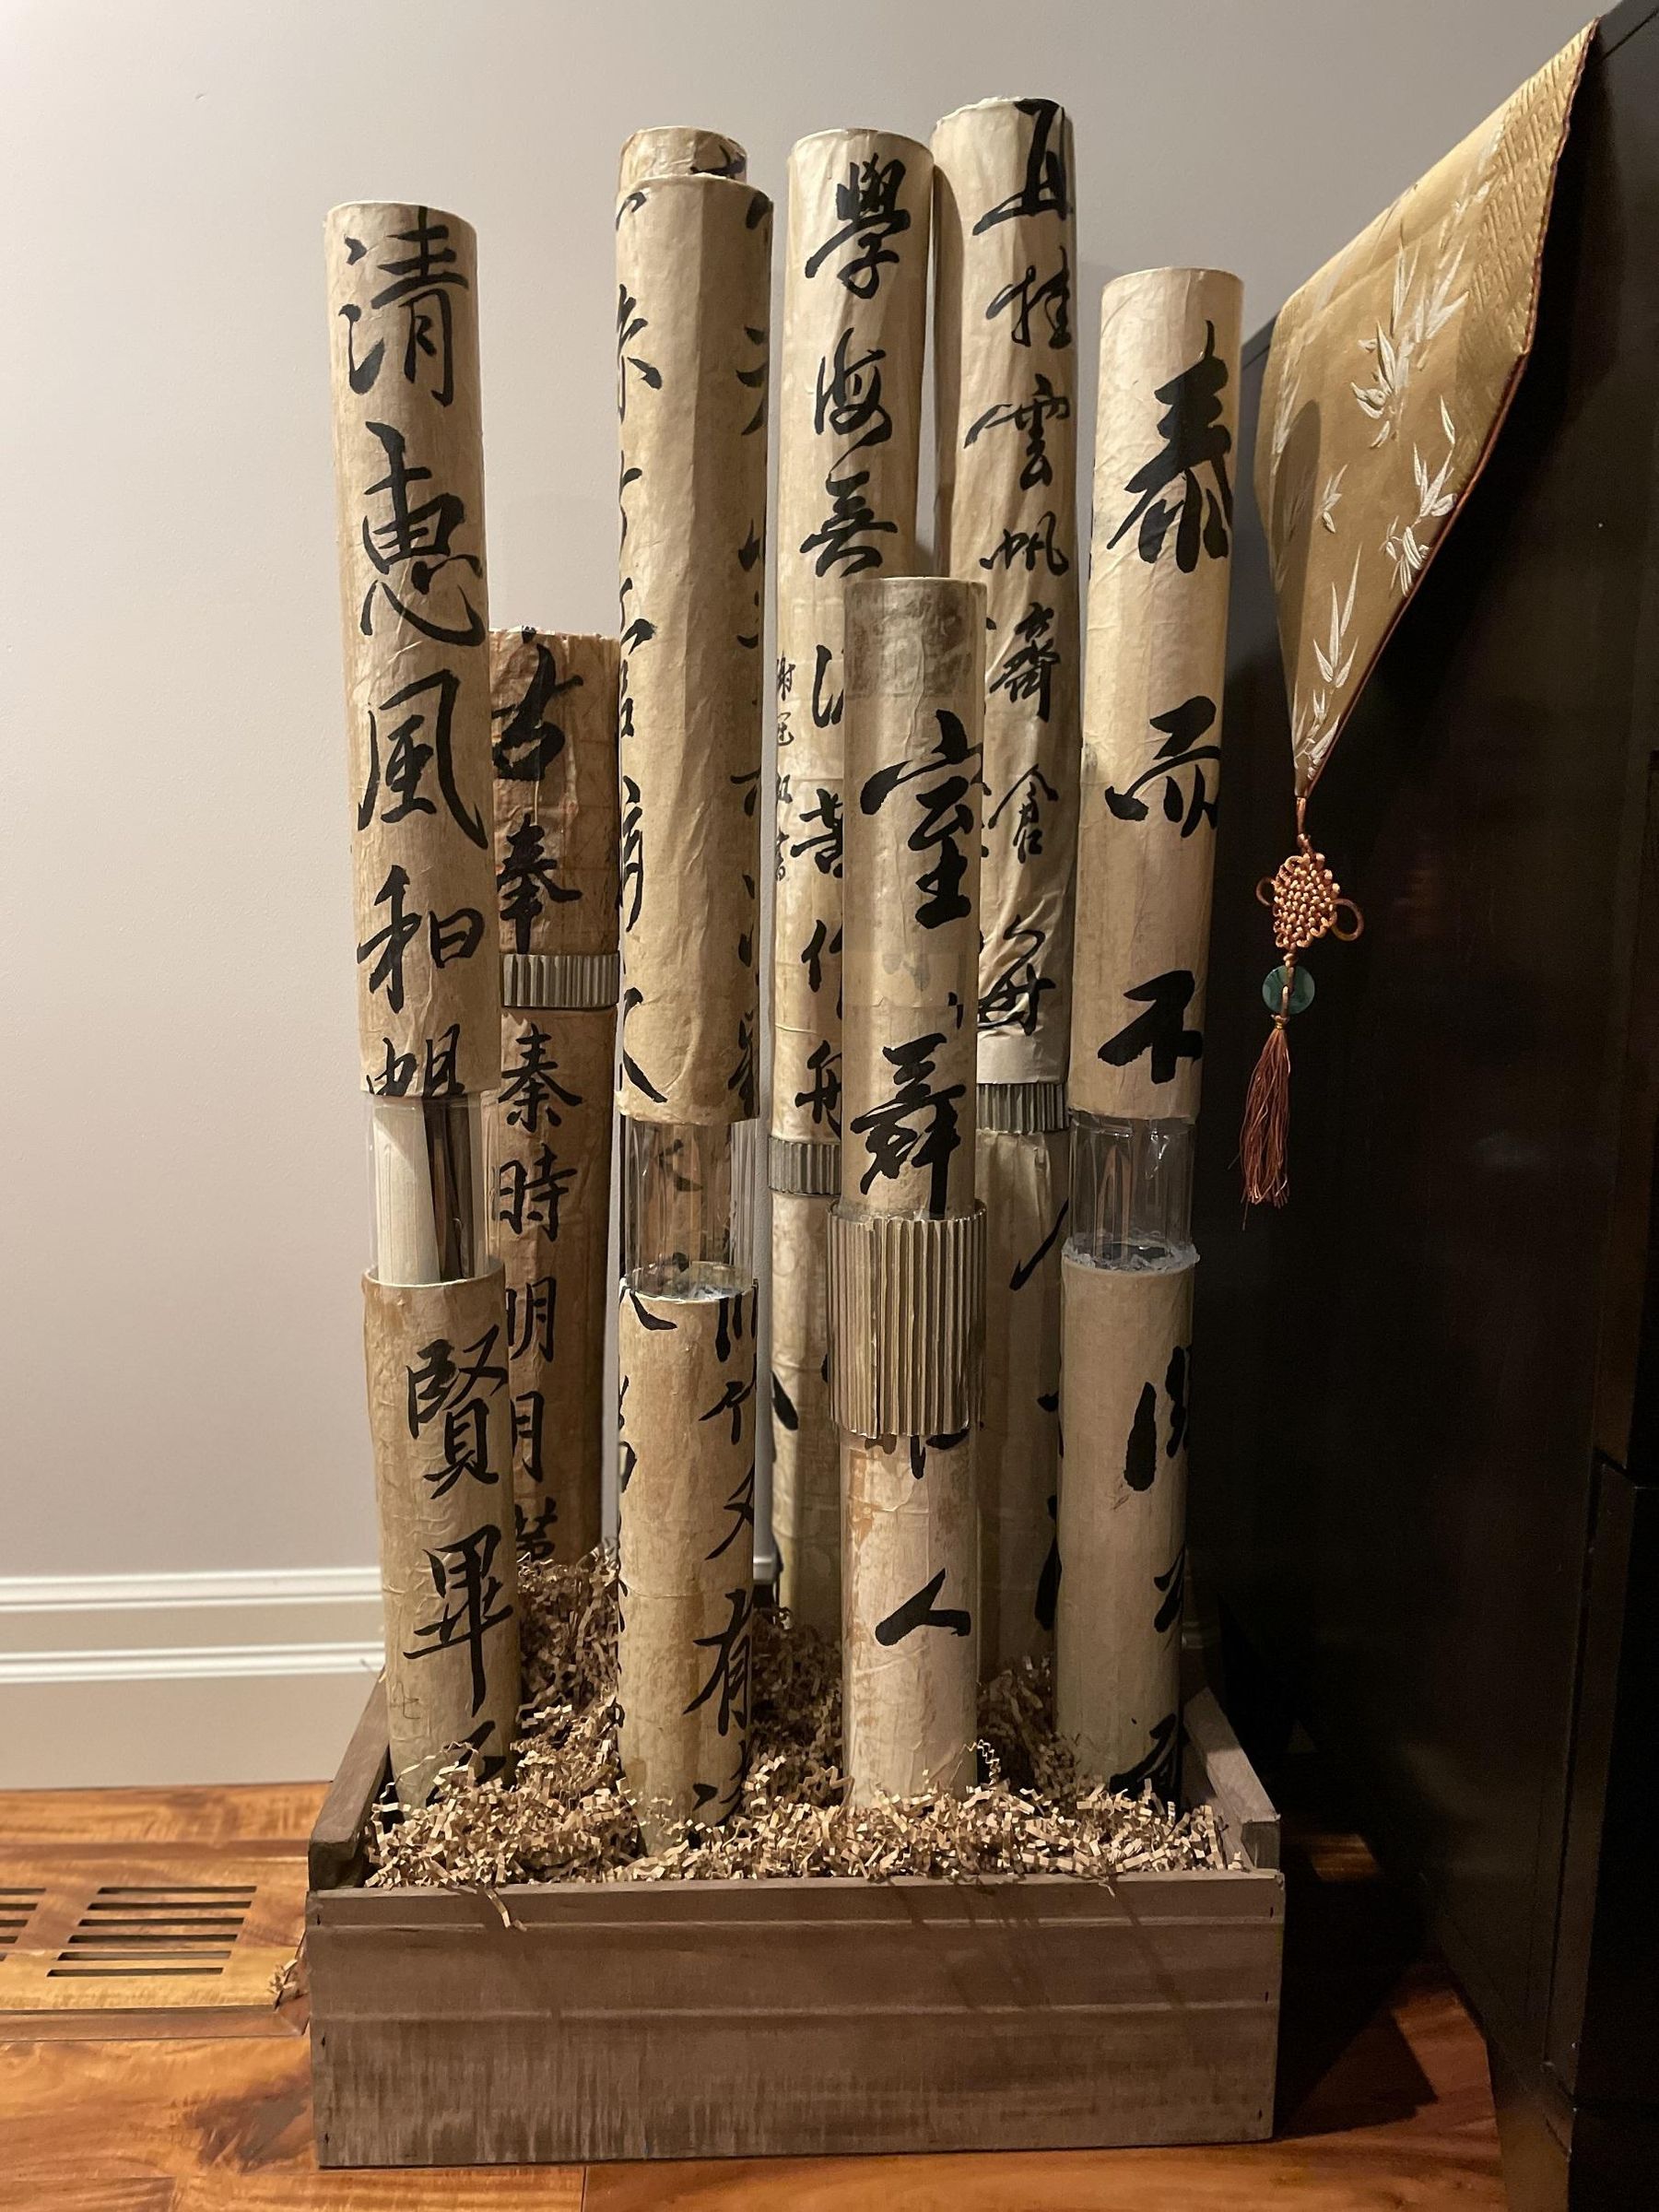
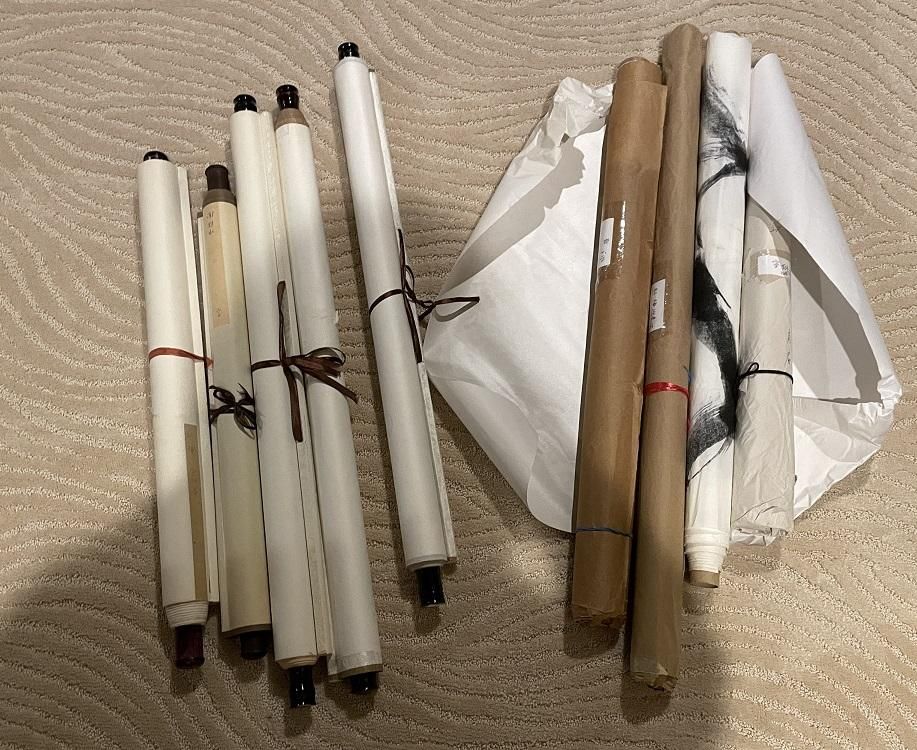
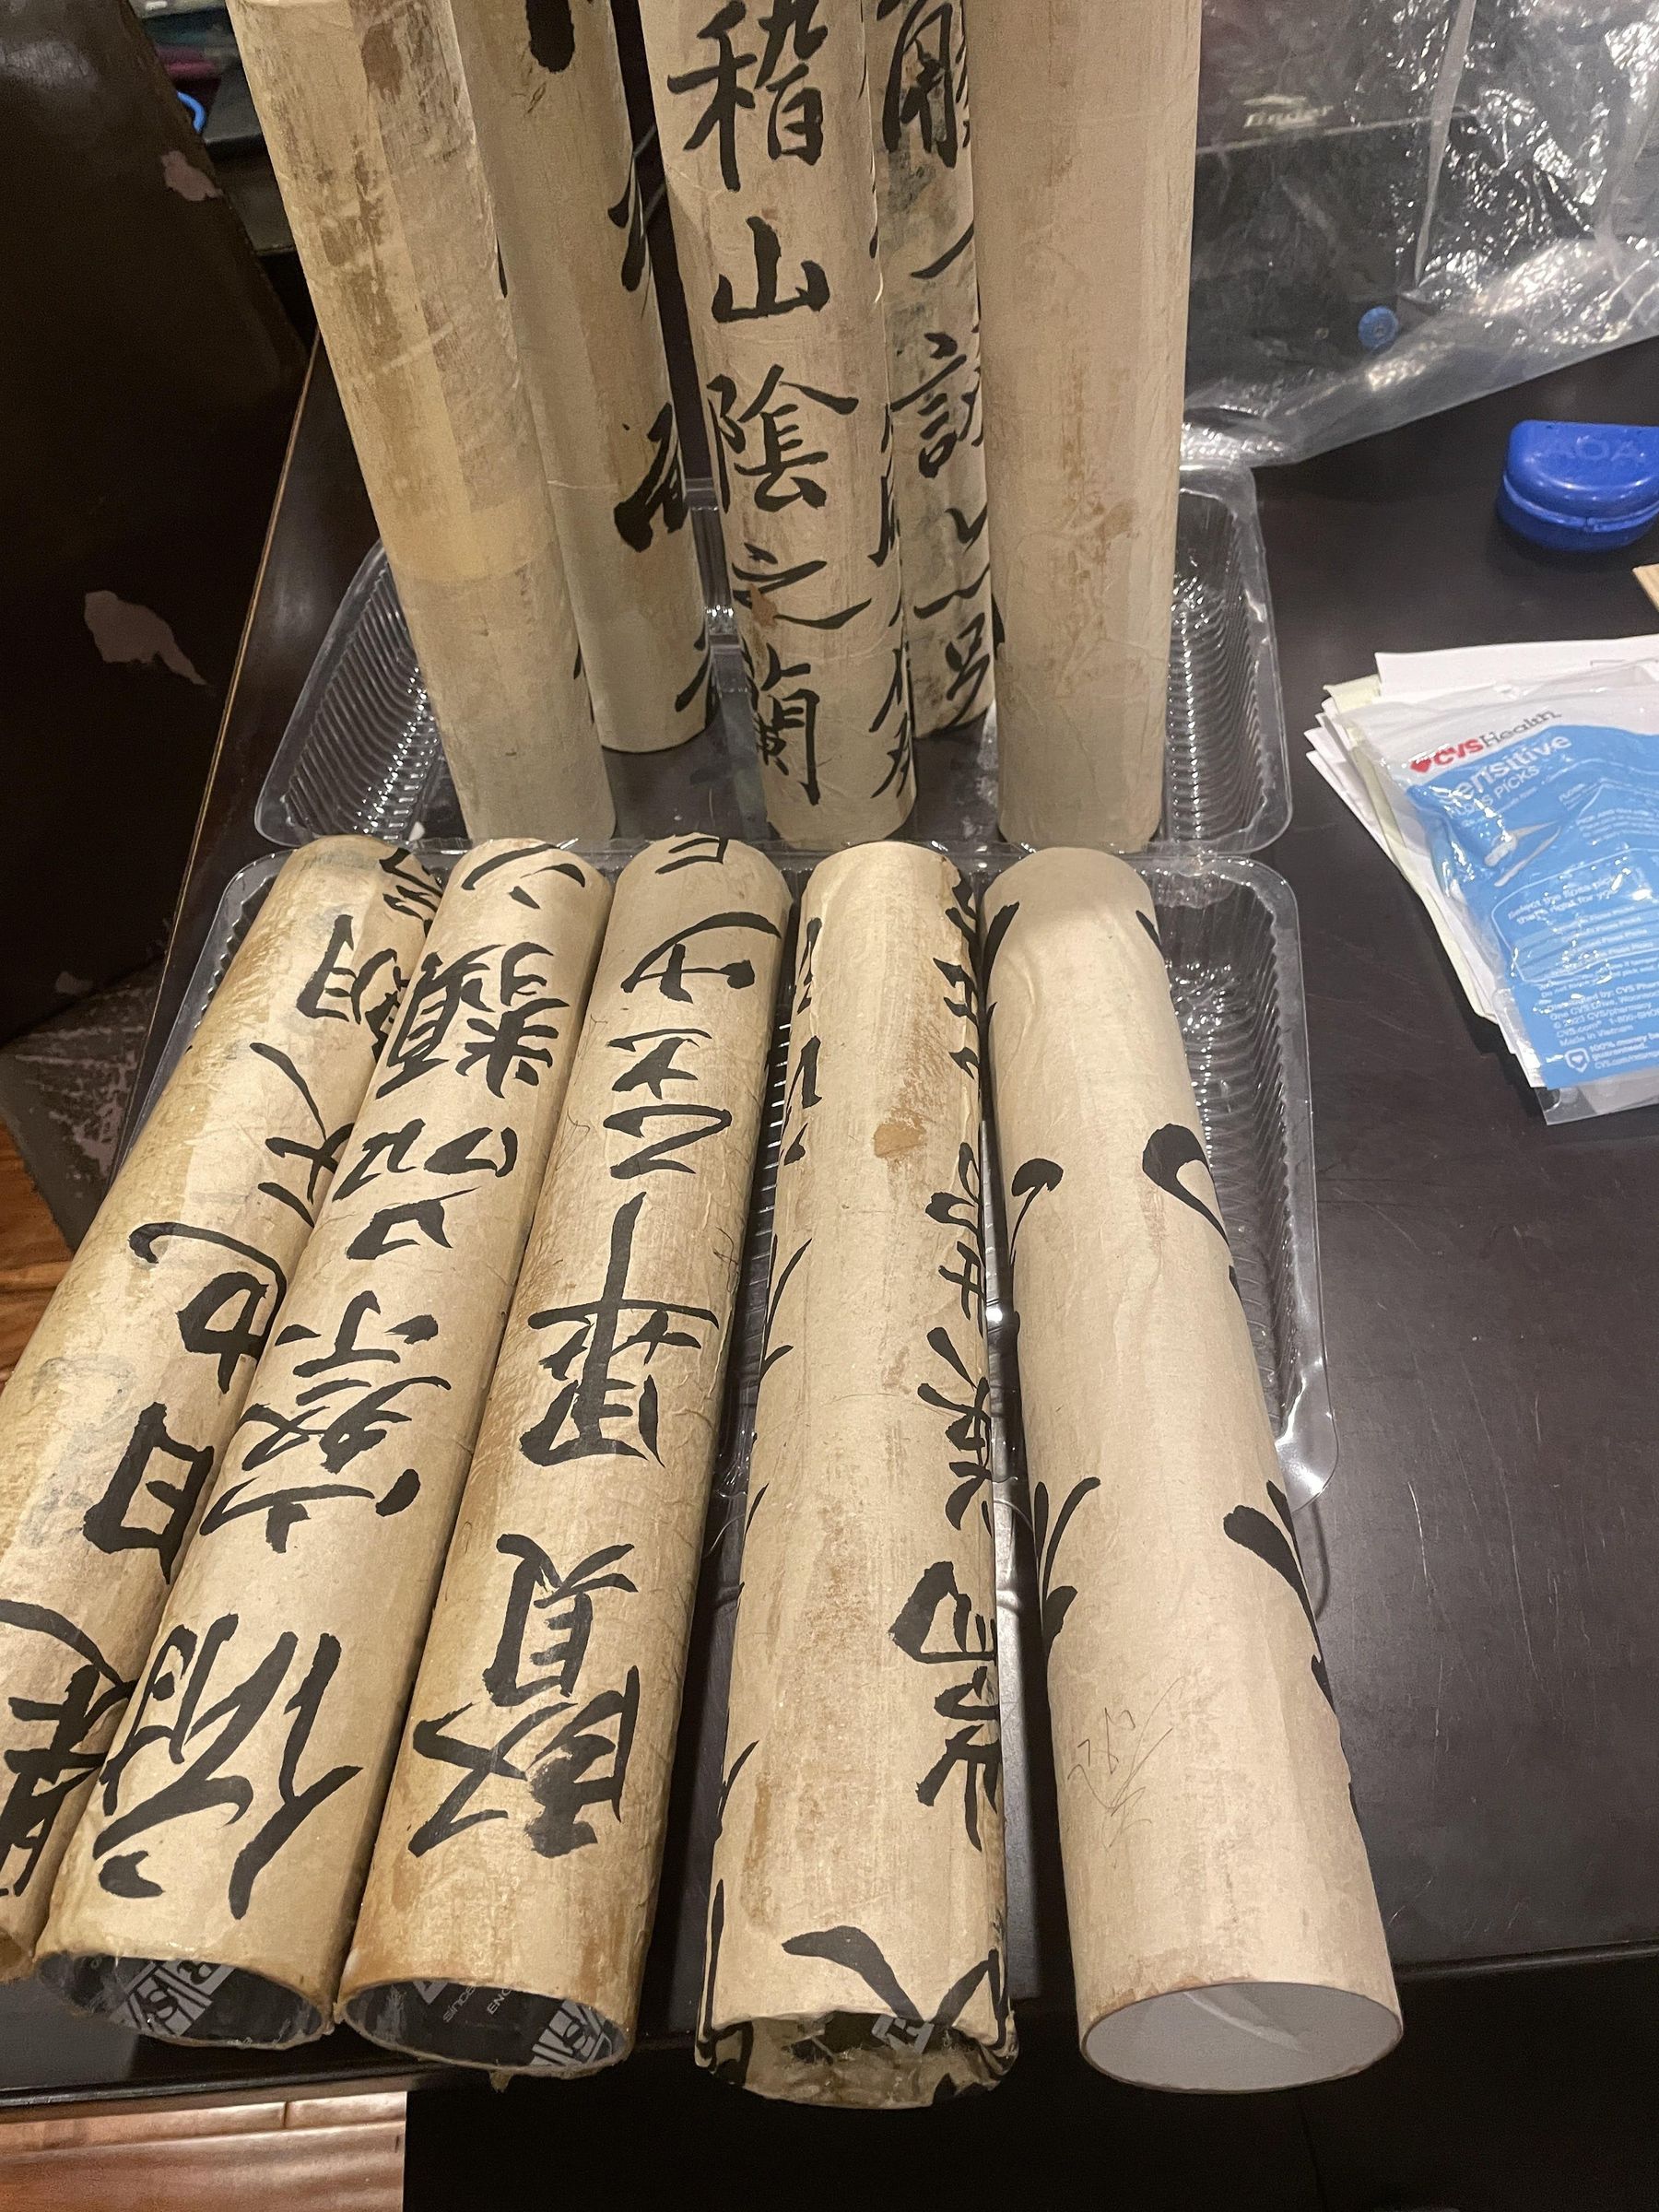
Since my family plays badminton, we naturally ended up with a lot of shuttlecock tube holders—and just as many tin cans. At the same time, my grandma collects Chinese art scrolls, which get dusty if left out and are a hassle to unwrap from paper (not to mention they don’t look great sitting around).
So, we decided to turn the tubes and cans into proper scroll holders!
How we did it:
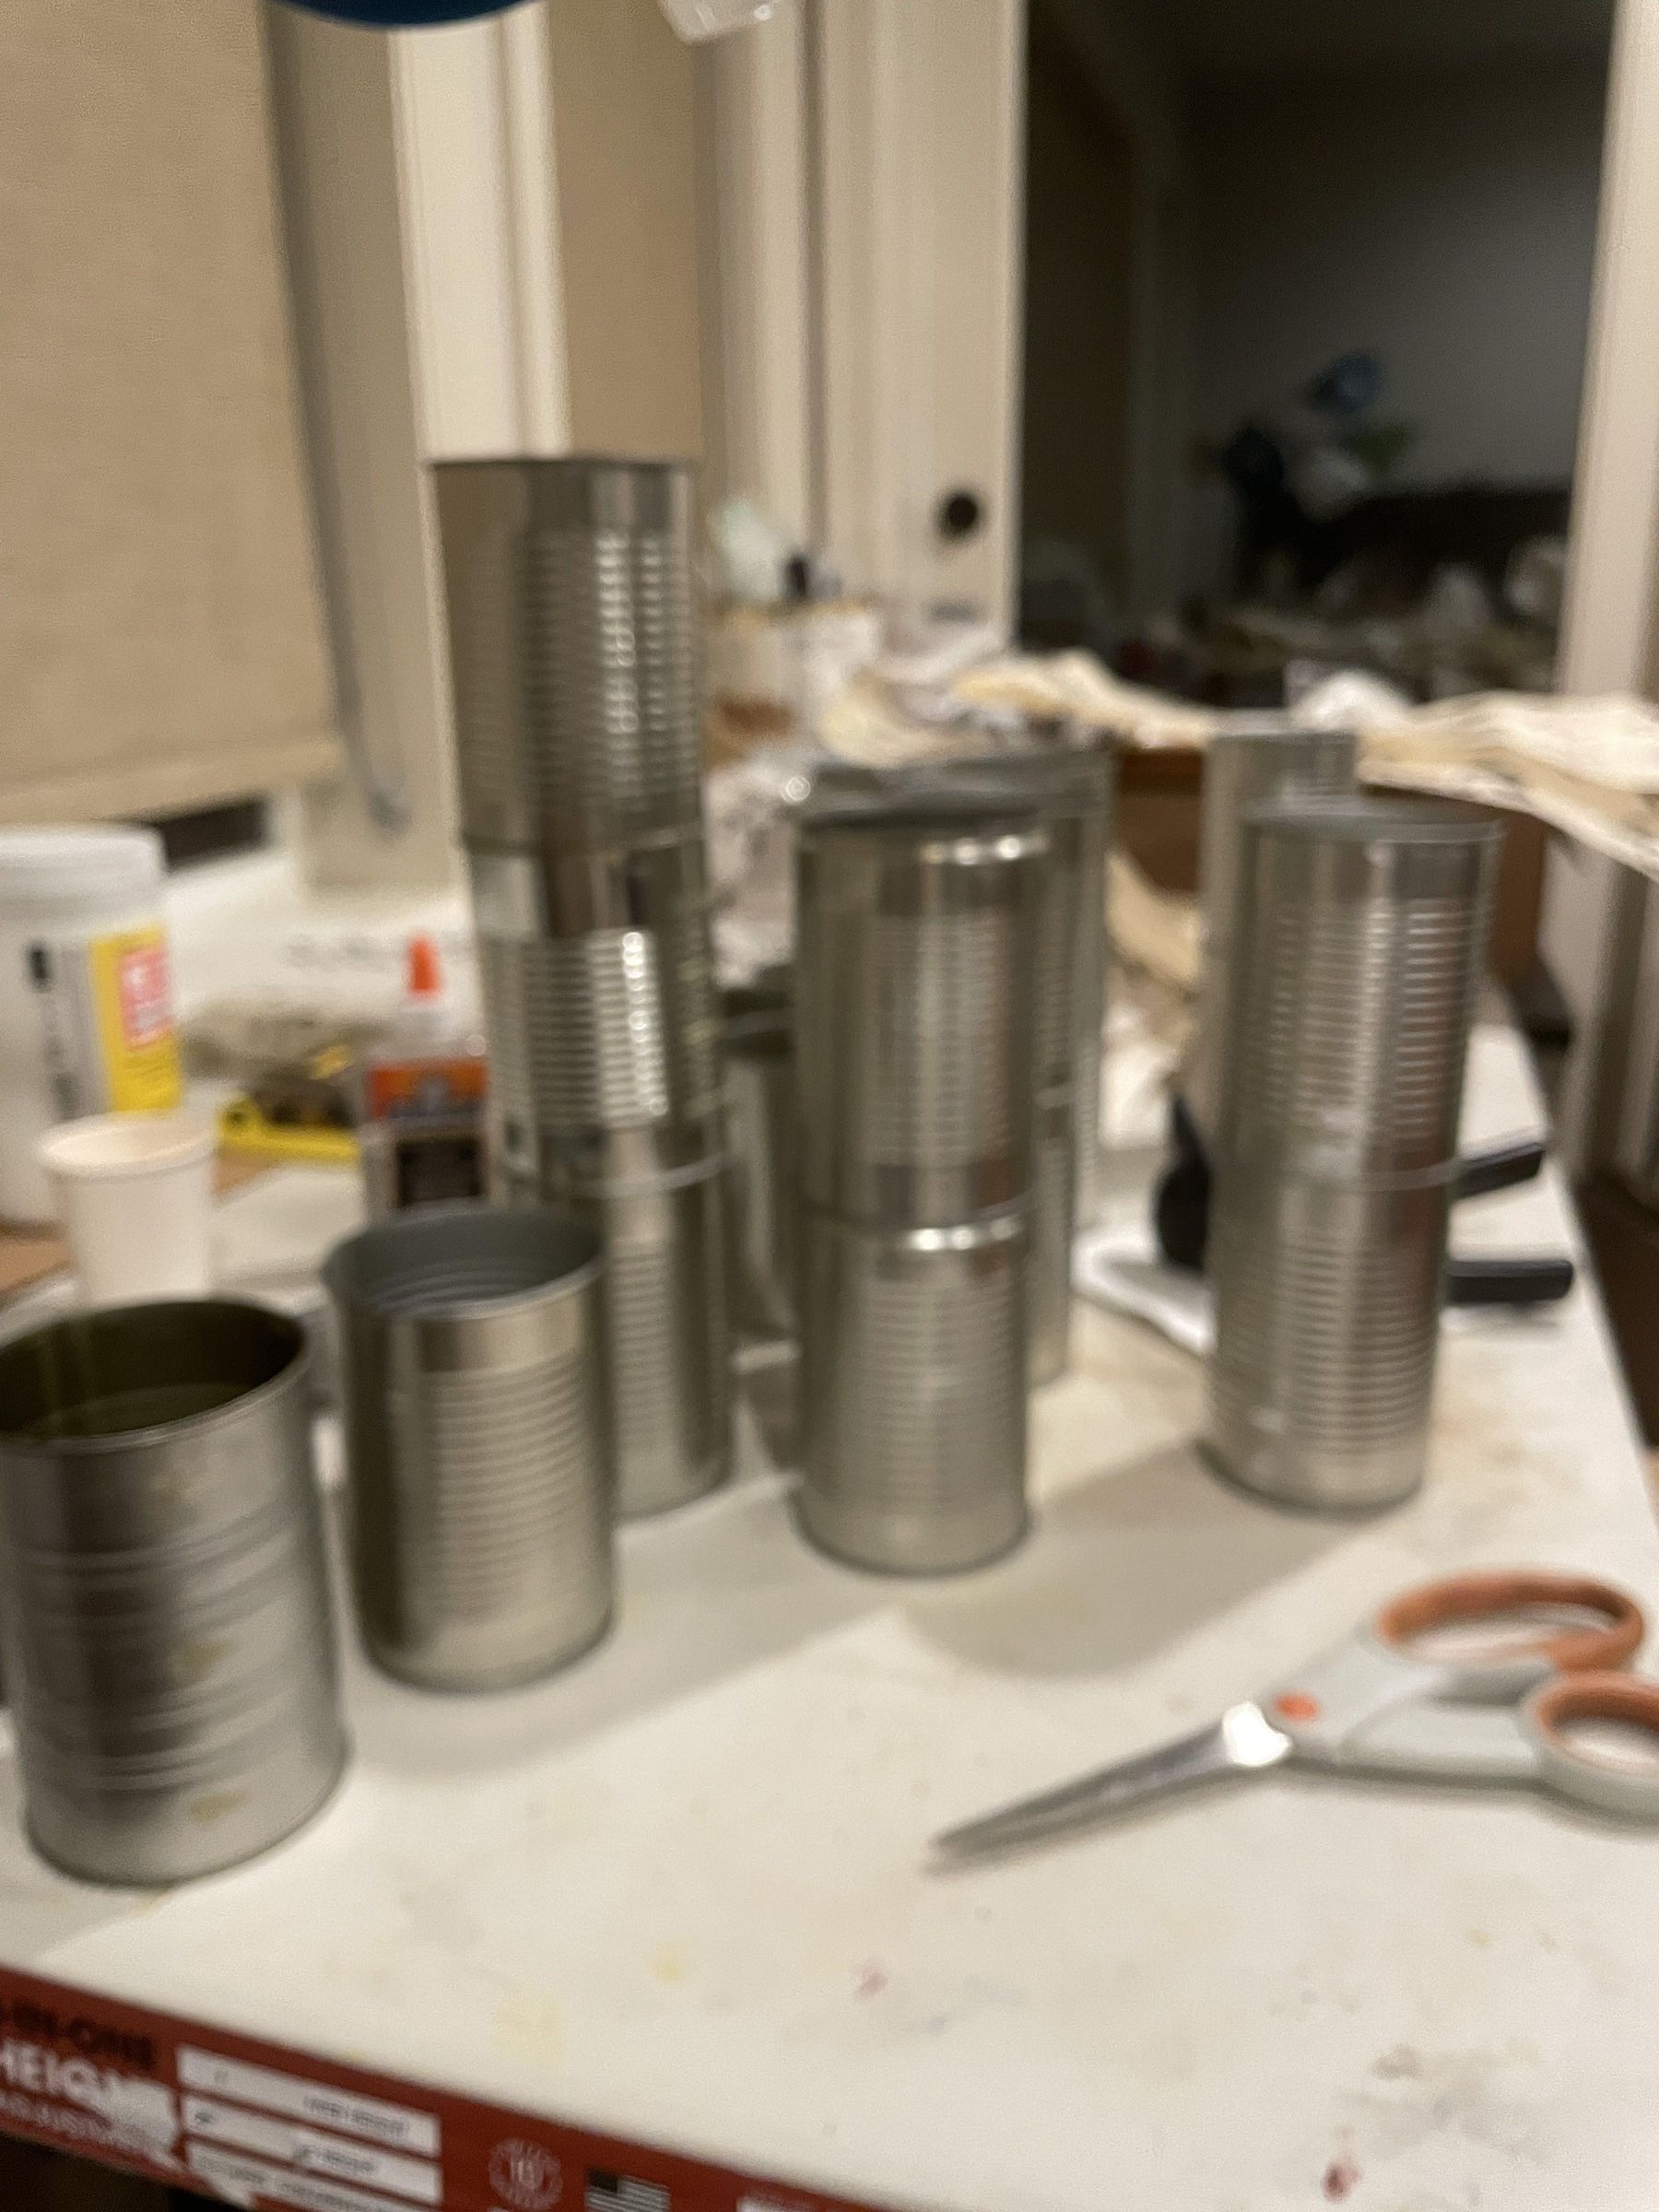
- Take off the wrappers from all the tubes and cans.
- Sort them by diameter.
- Connect pieces with matching diameters using plastic bottles until they’re long enough for the scrolls (remove can bottoms except for the first and last pieces of each tube).
- Decorate by wrapping them with my grandma’s practice calligraphy sheets and sealing with Mod Podge.
- Arrange the finished holders in a wooden box with the art scrolls inside.
Fun and Soft Cube Ottoman With Bubble Wrap and Old Clothes
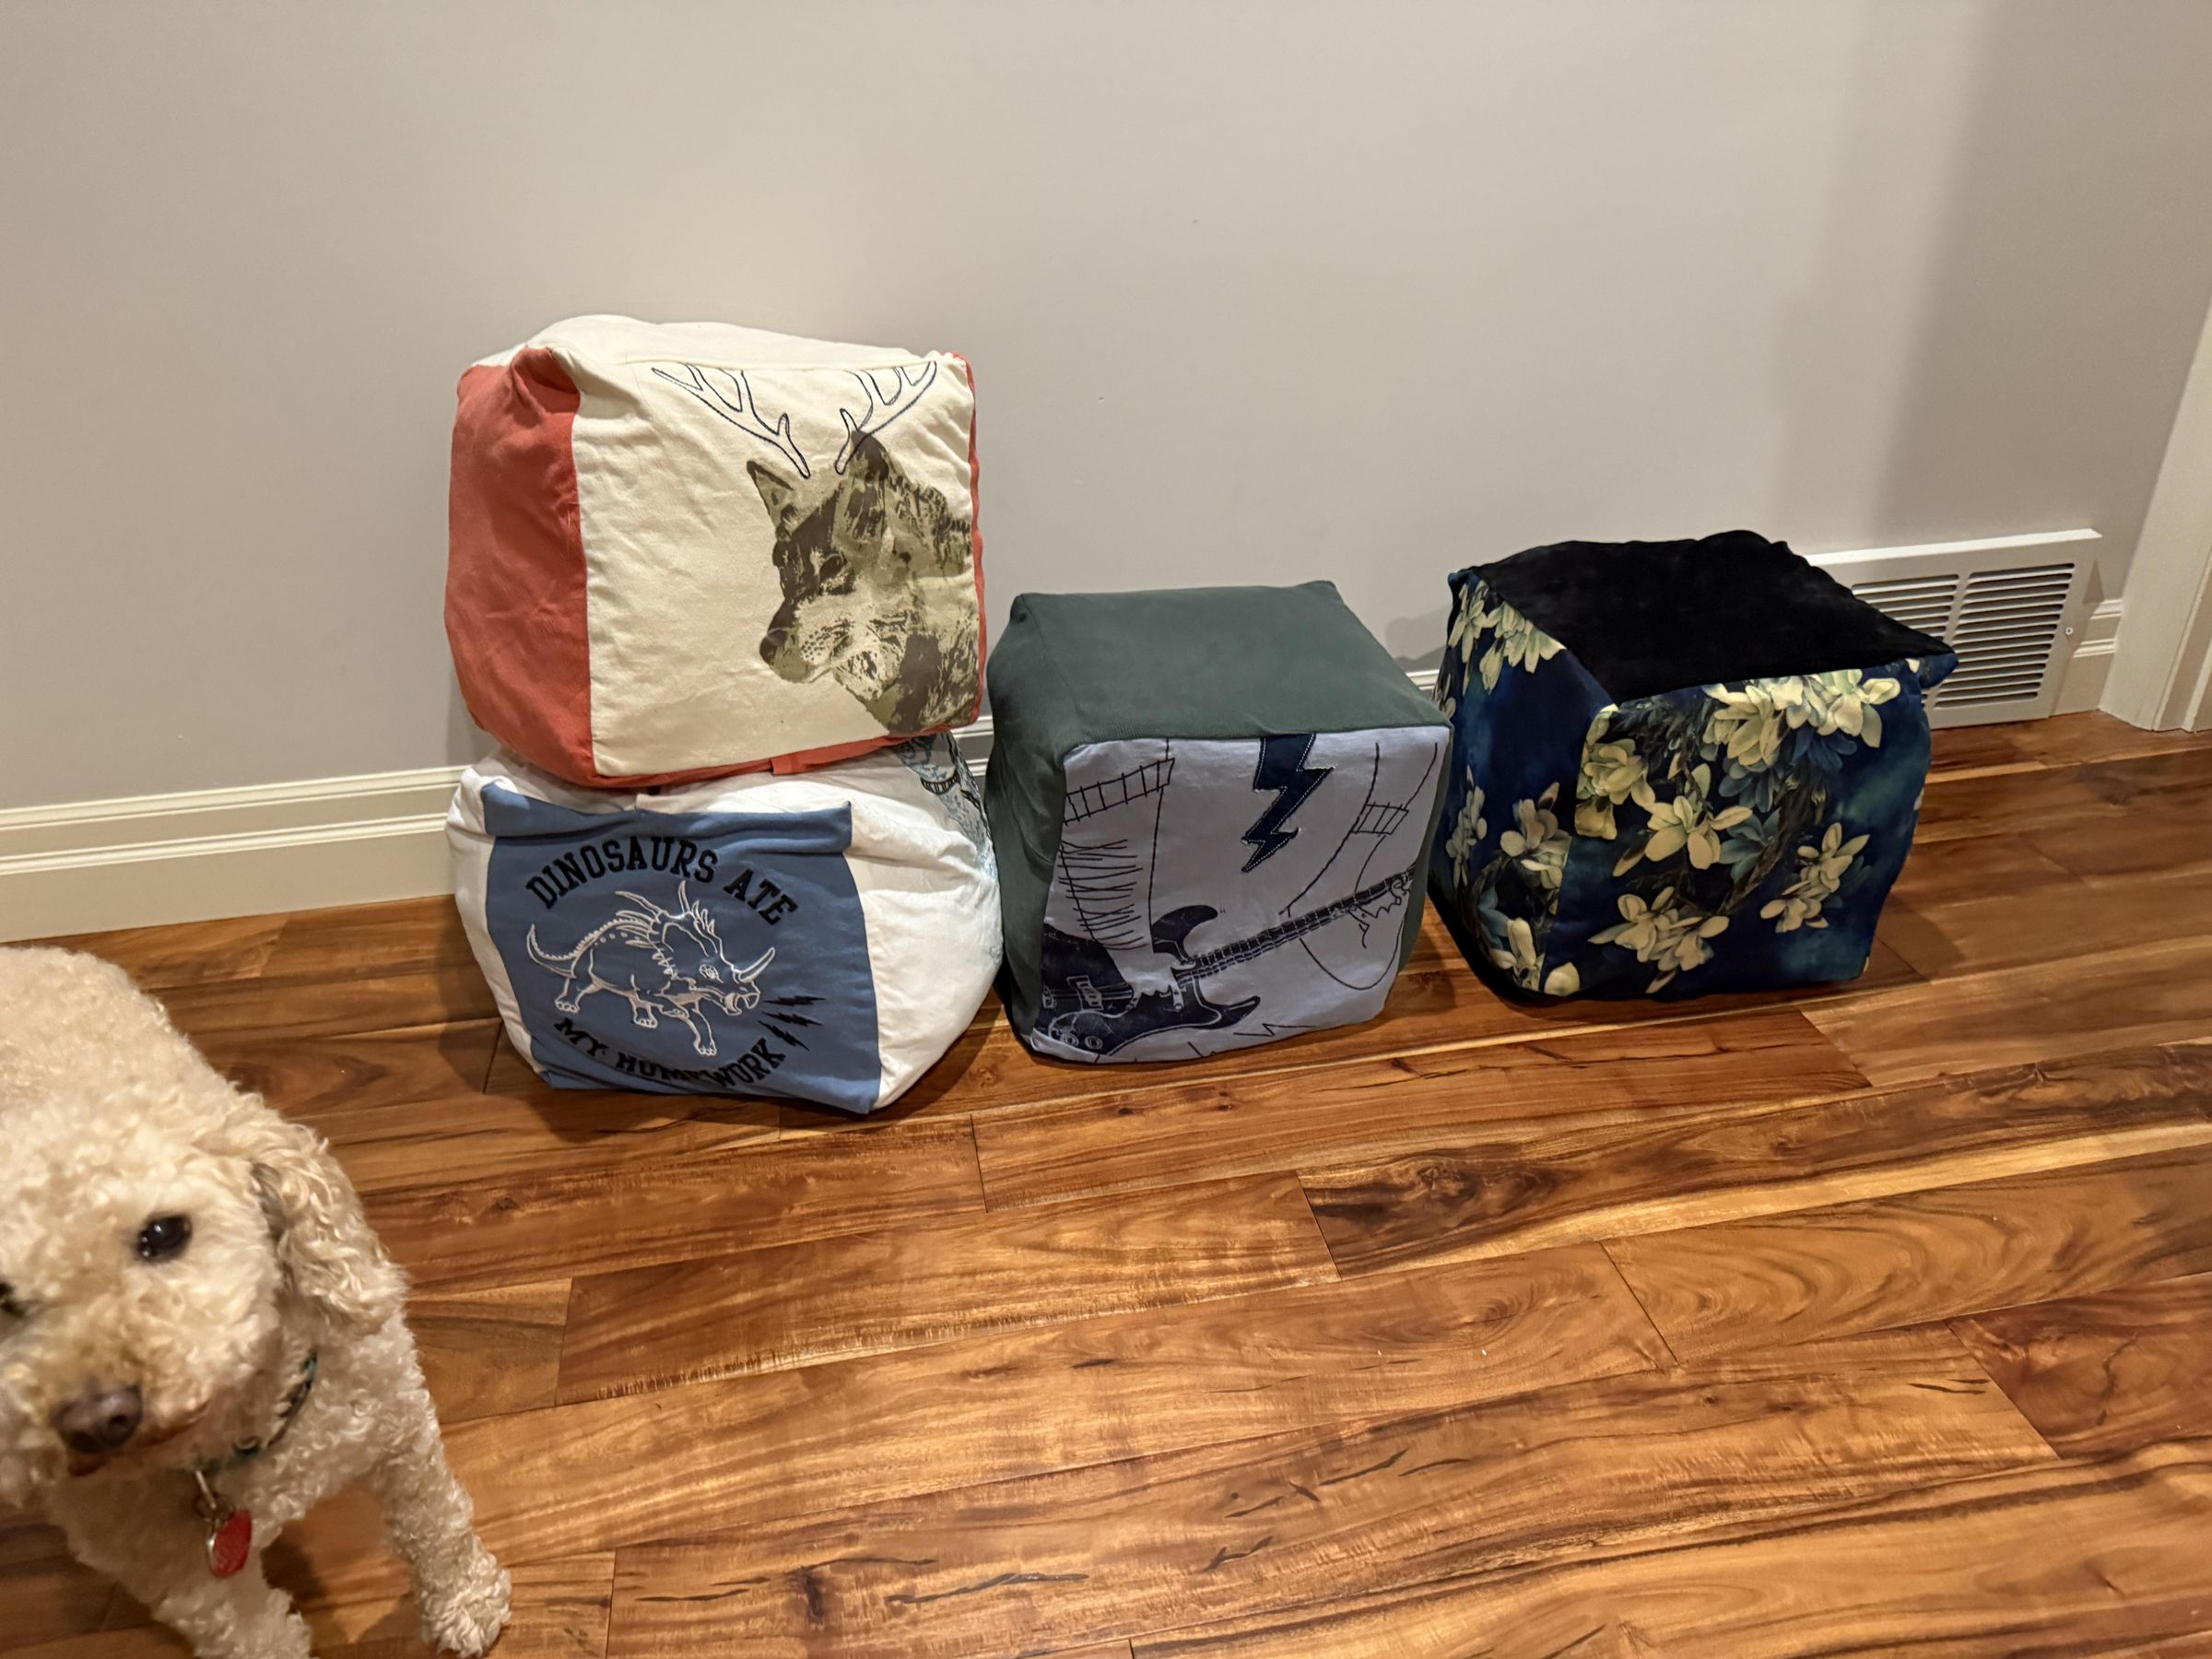
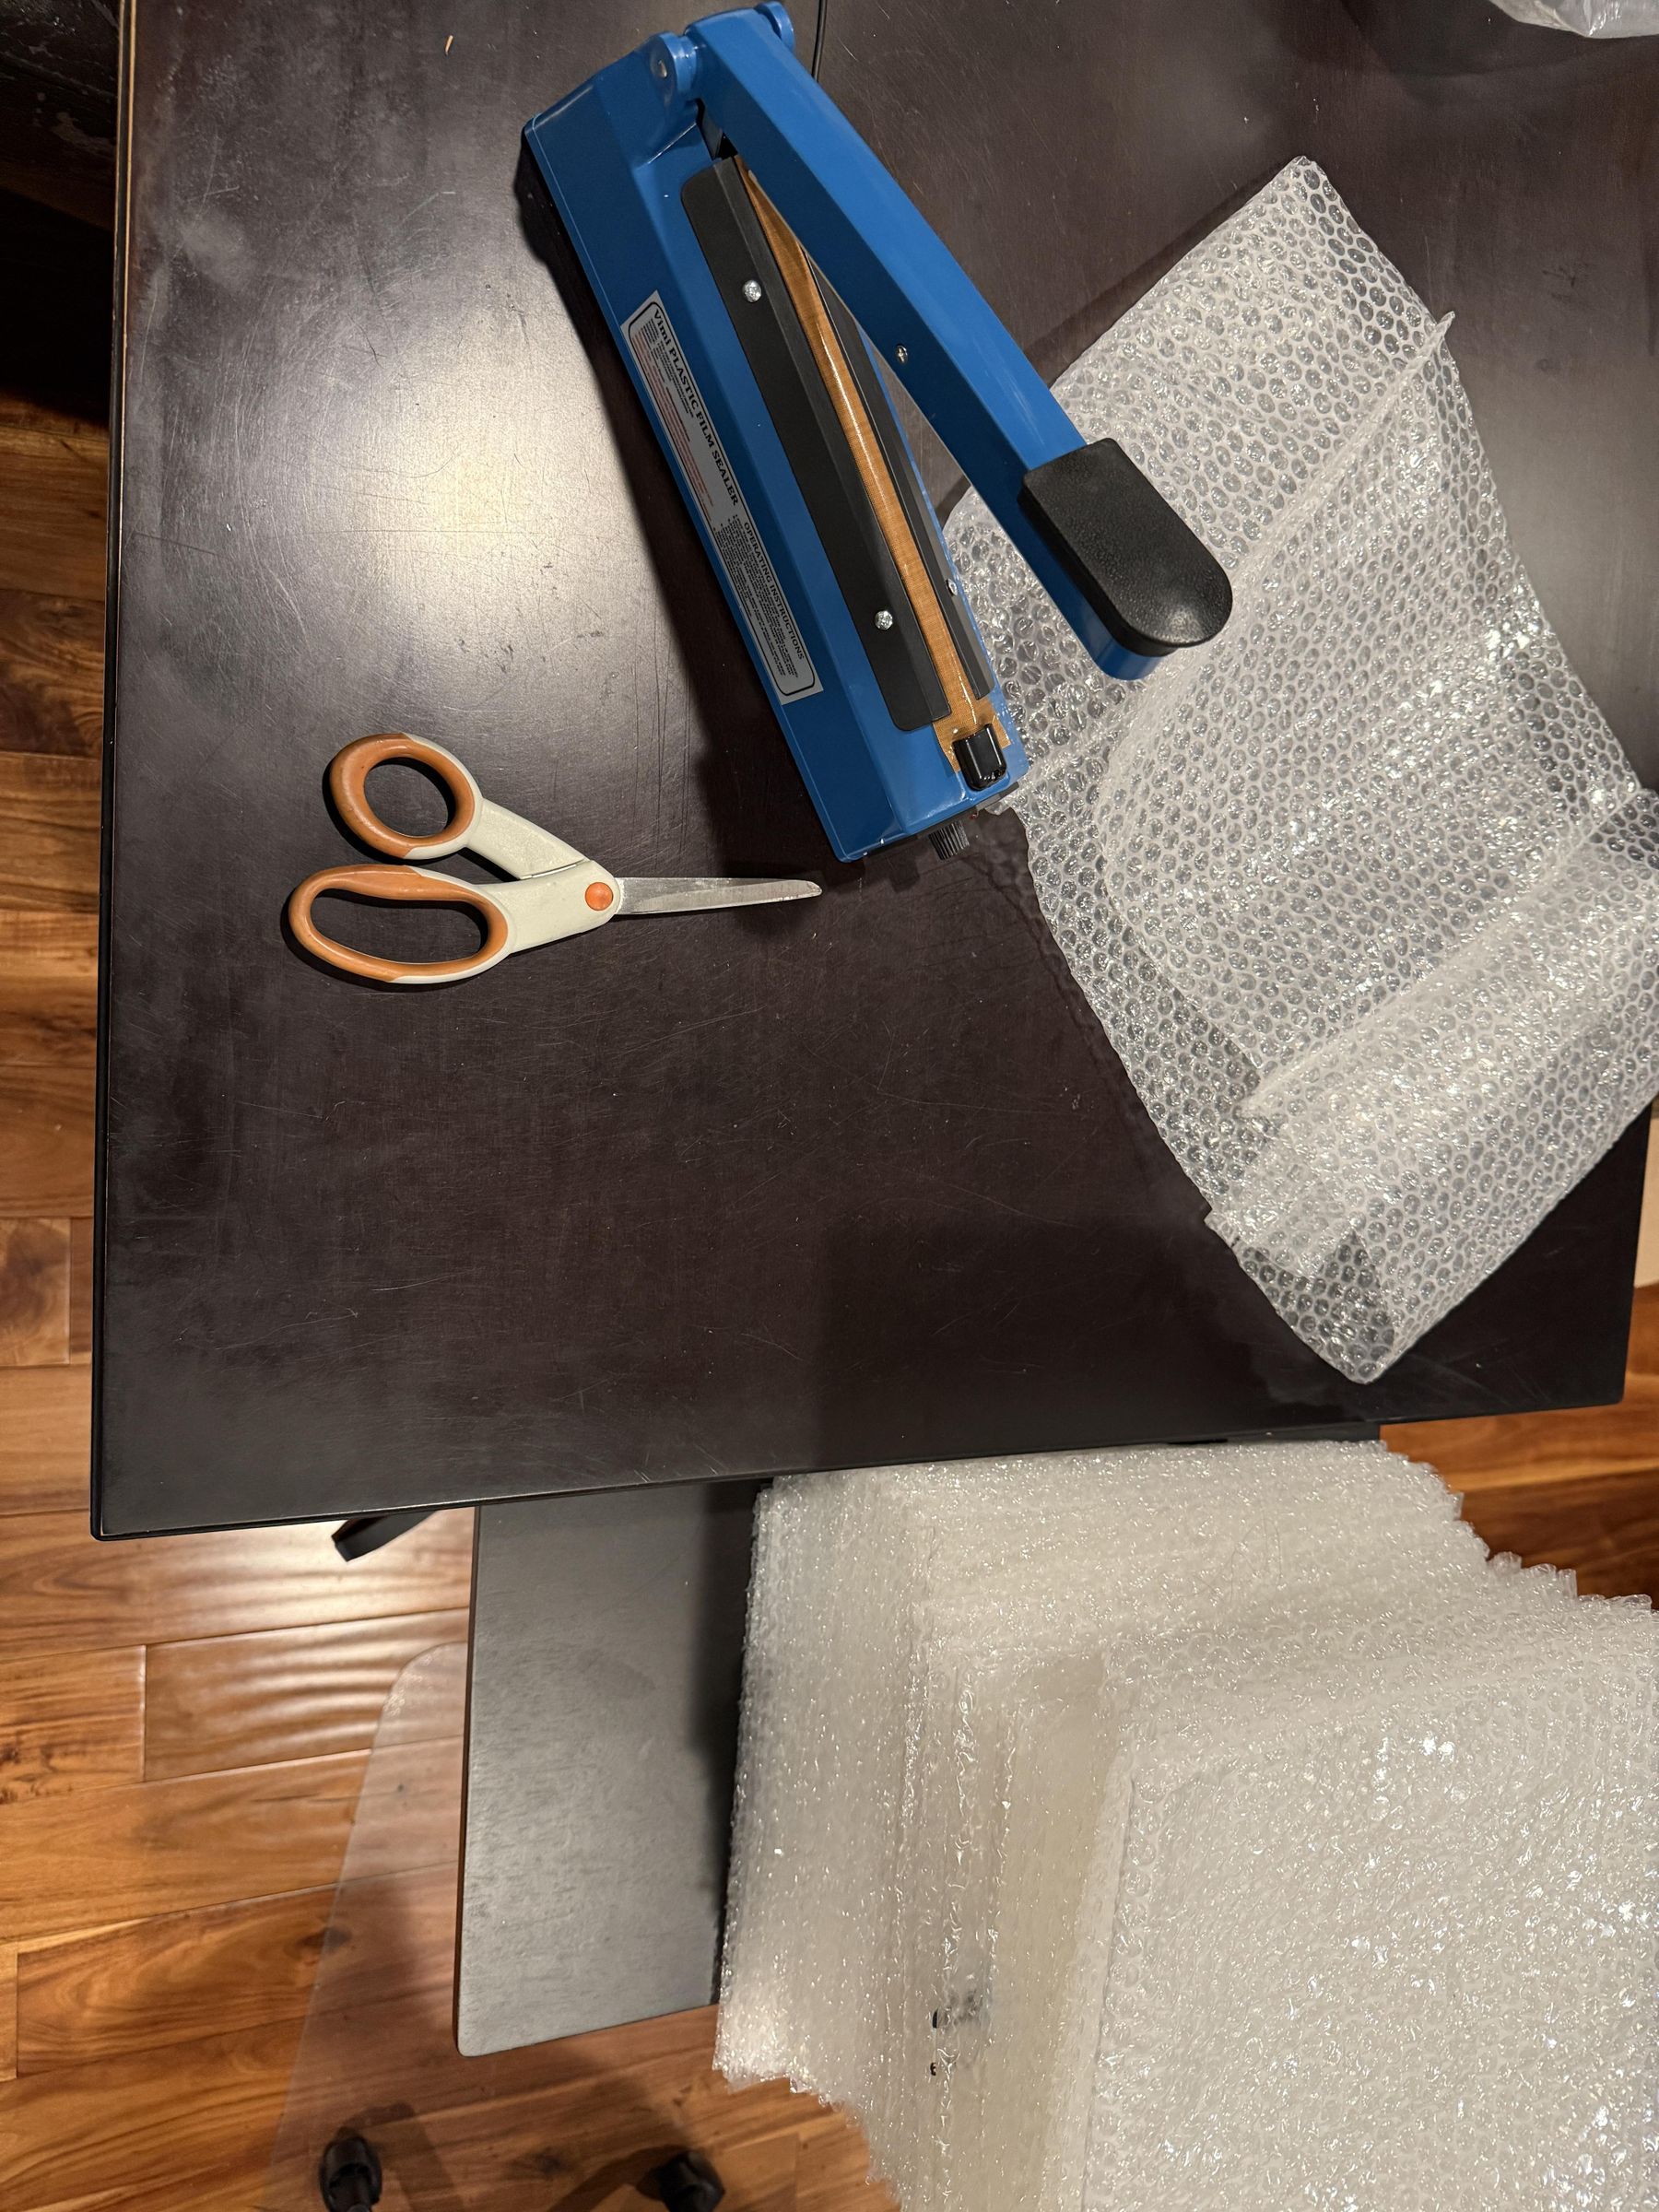
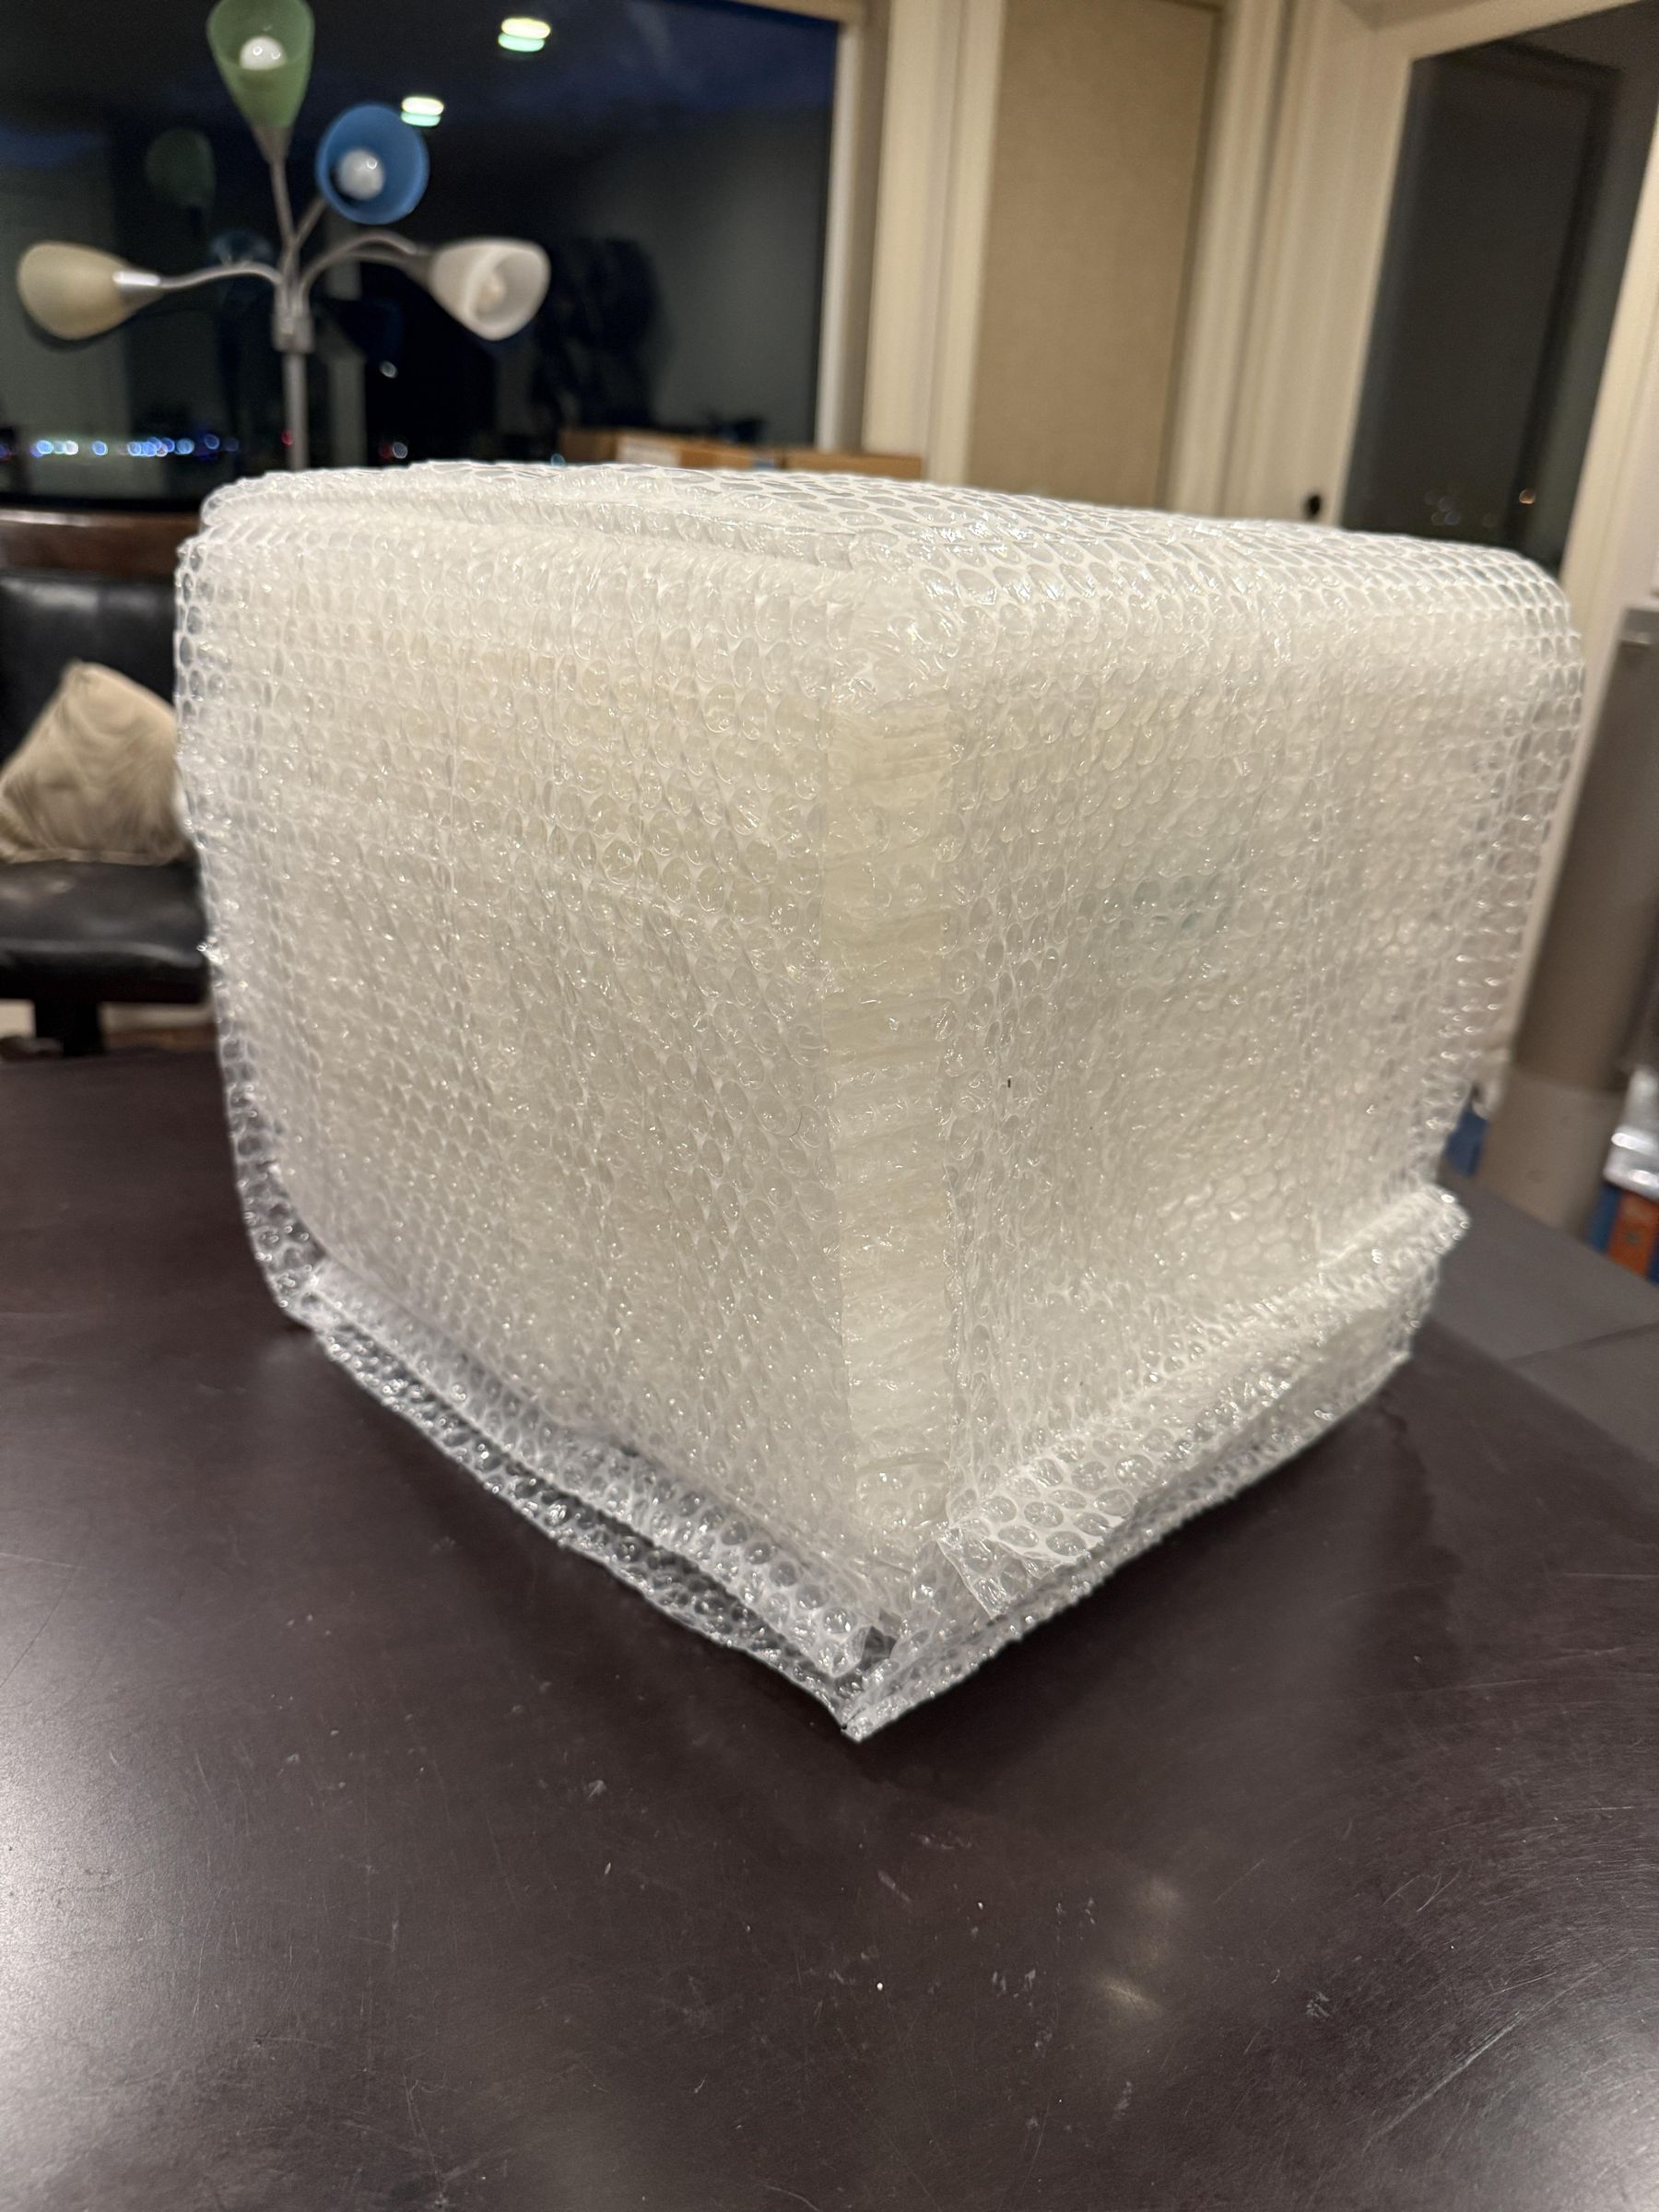
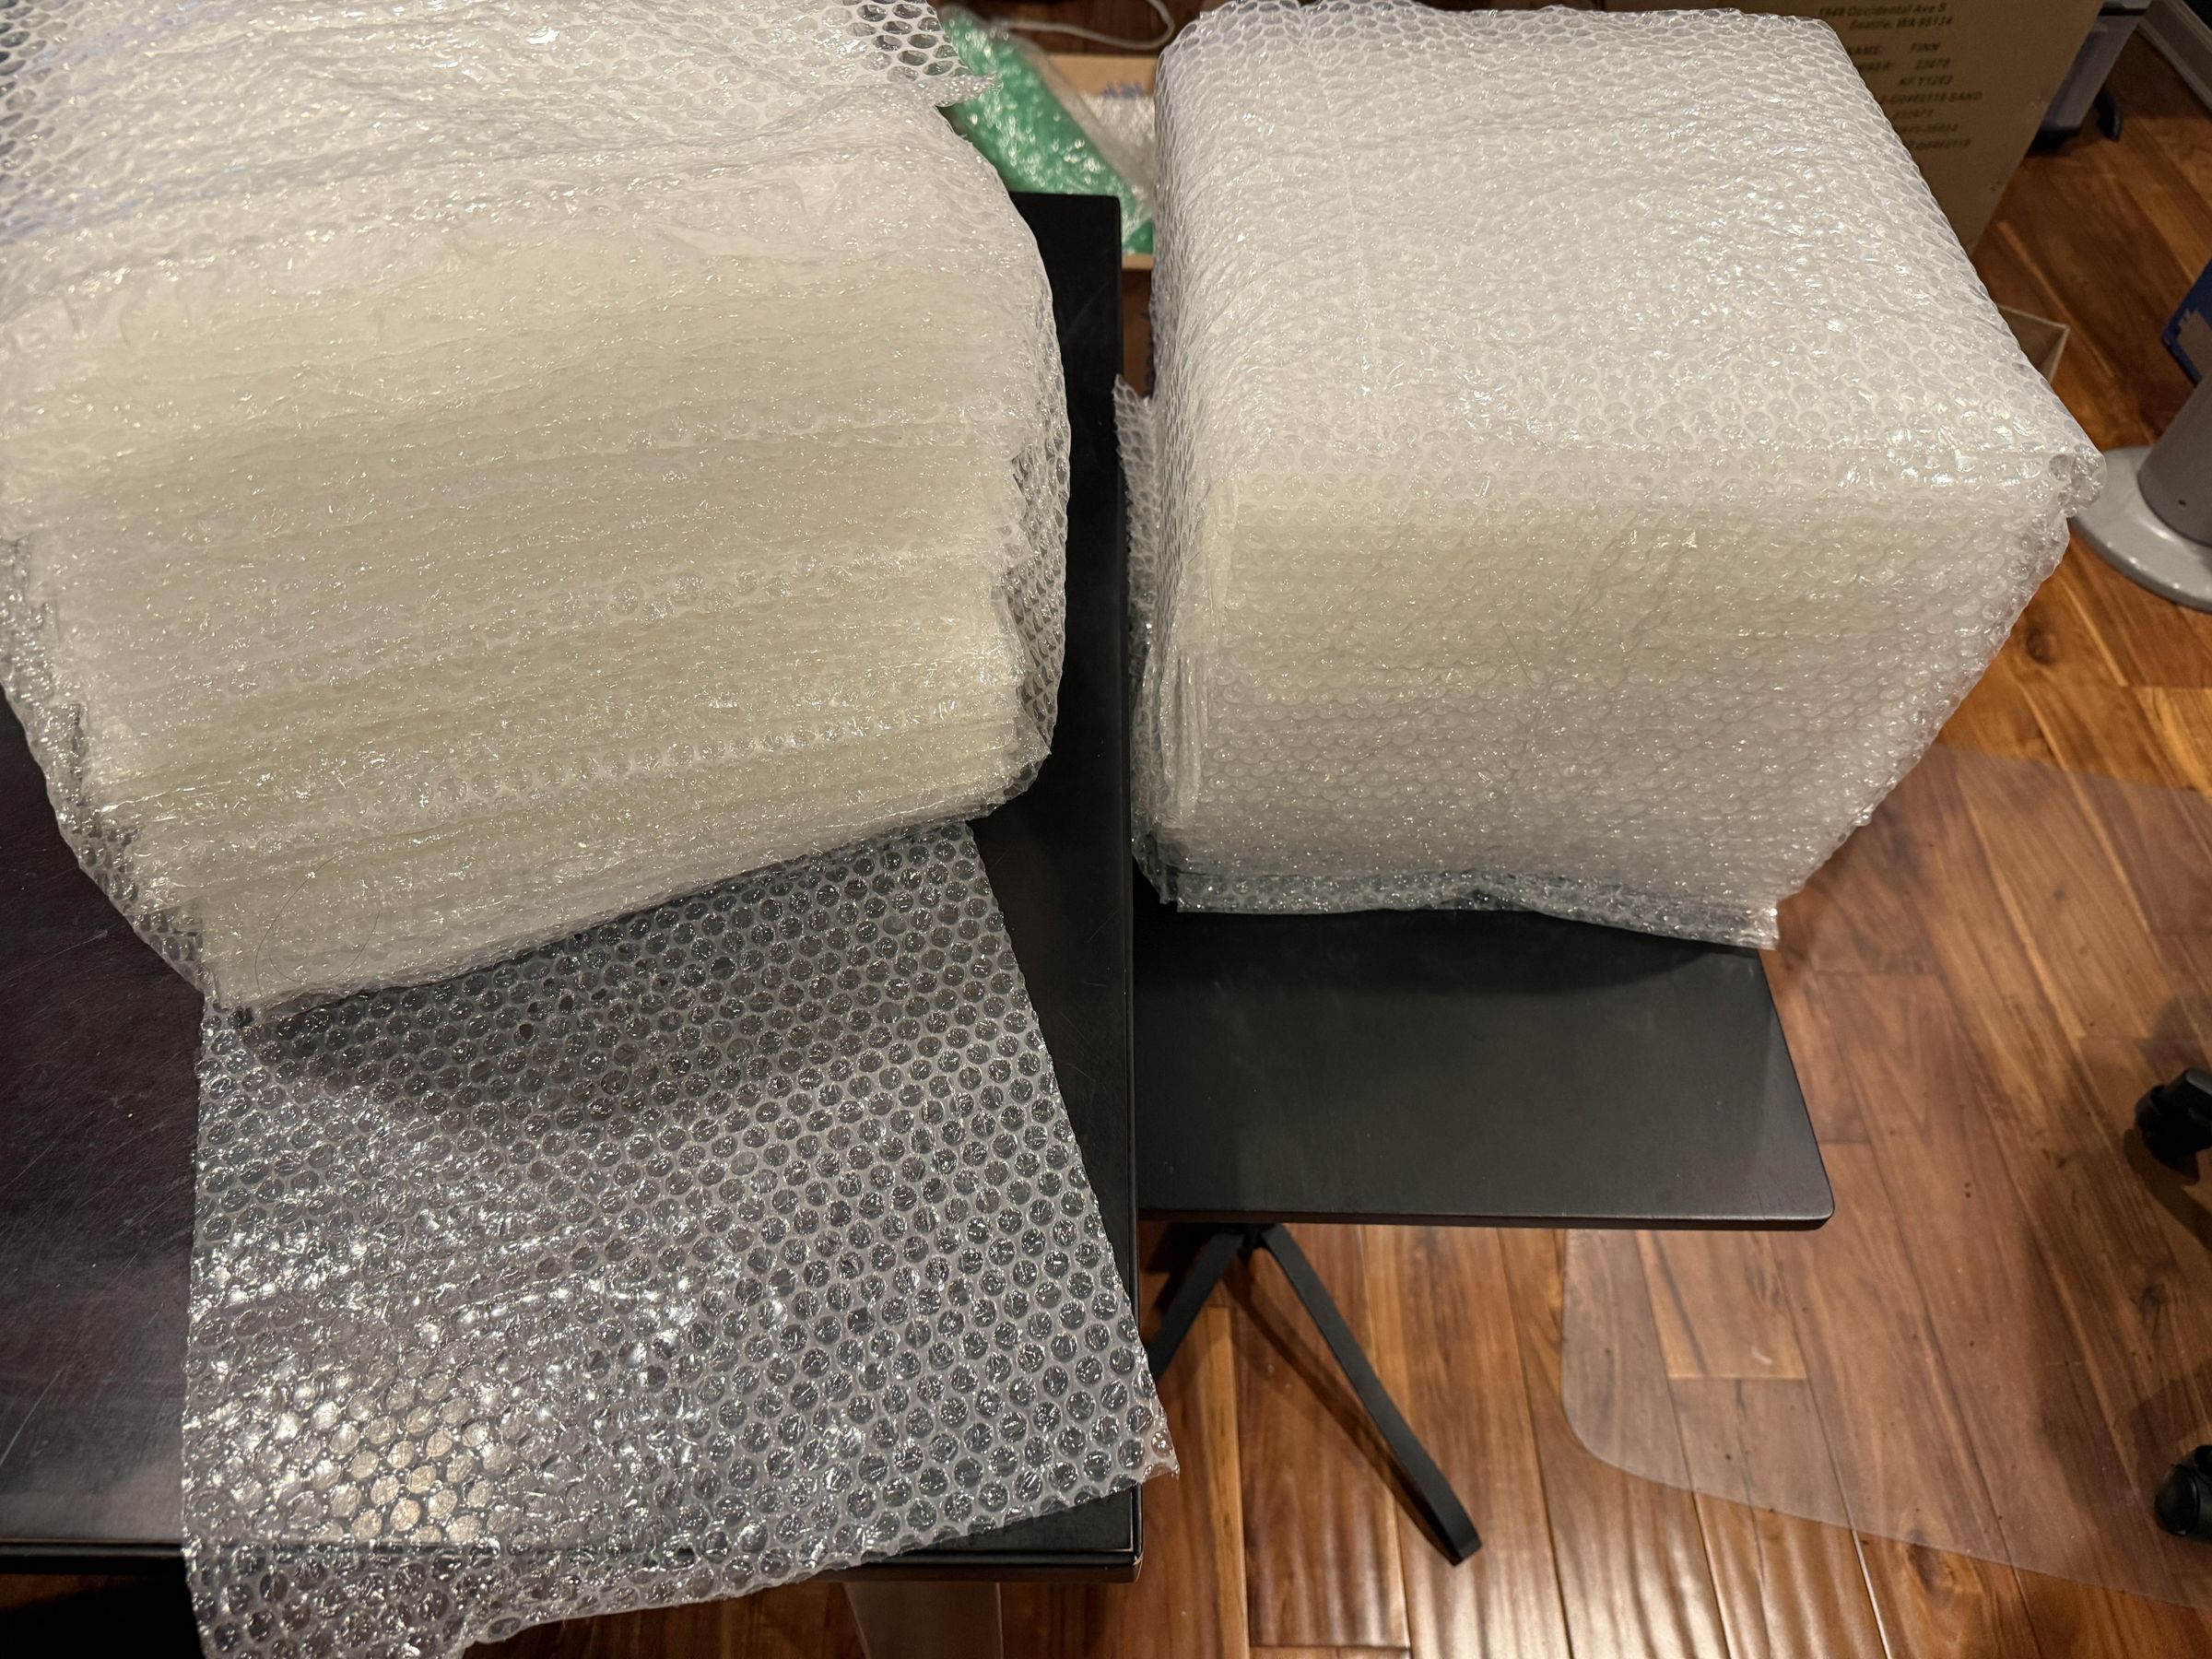
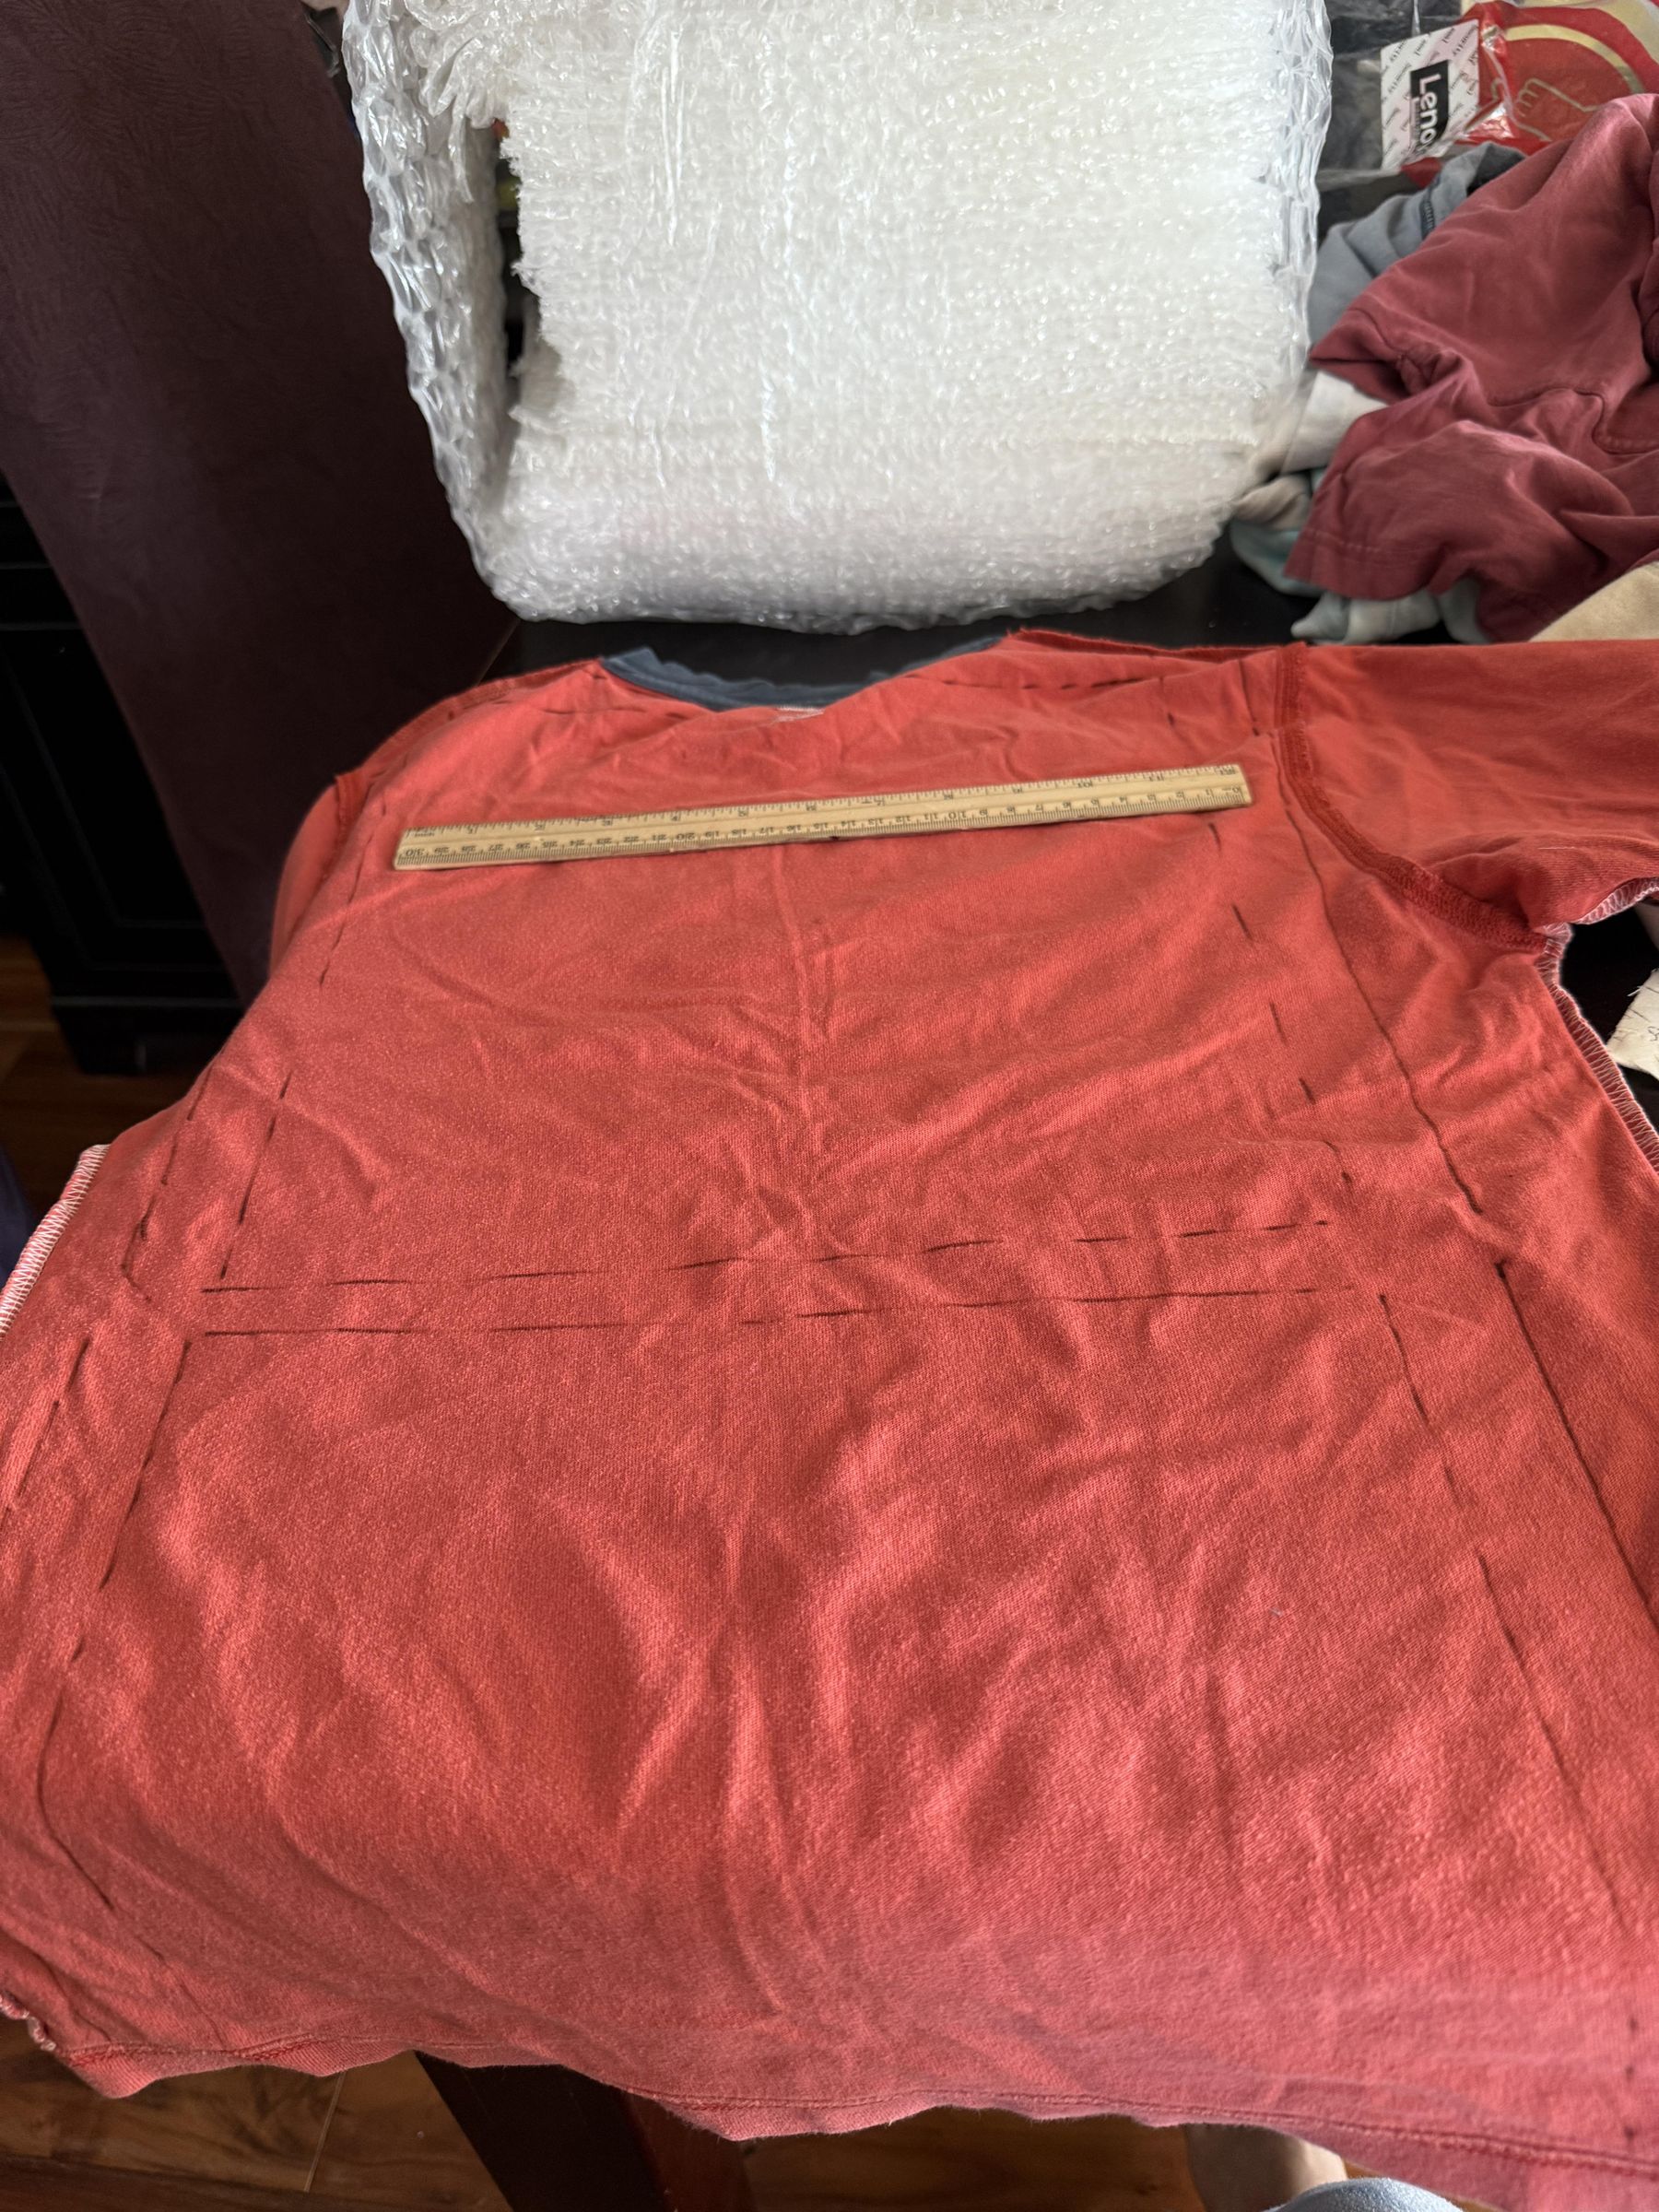
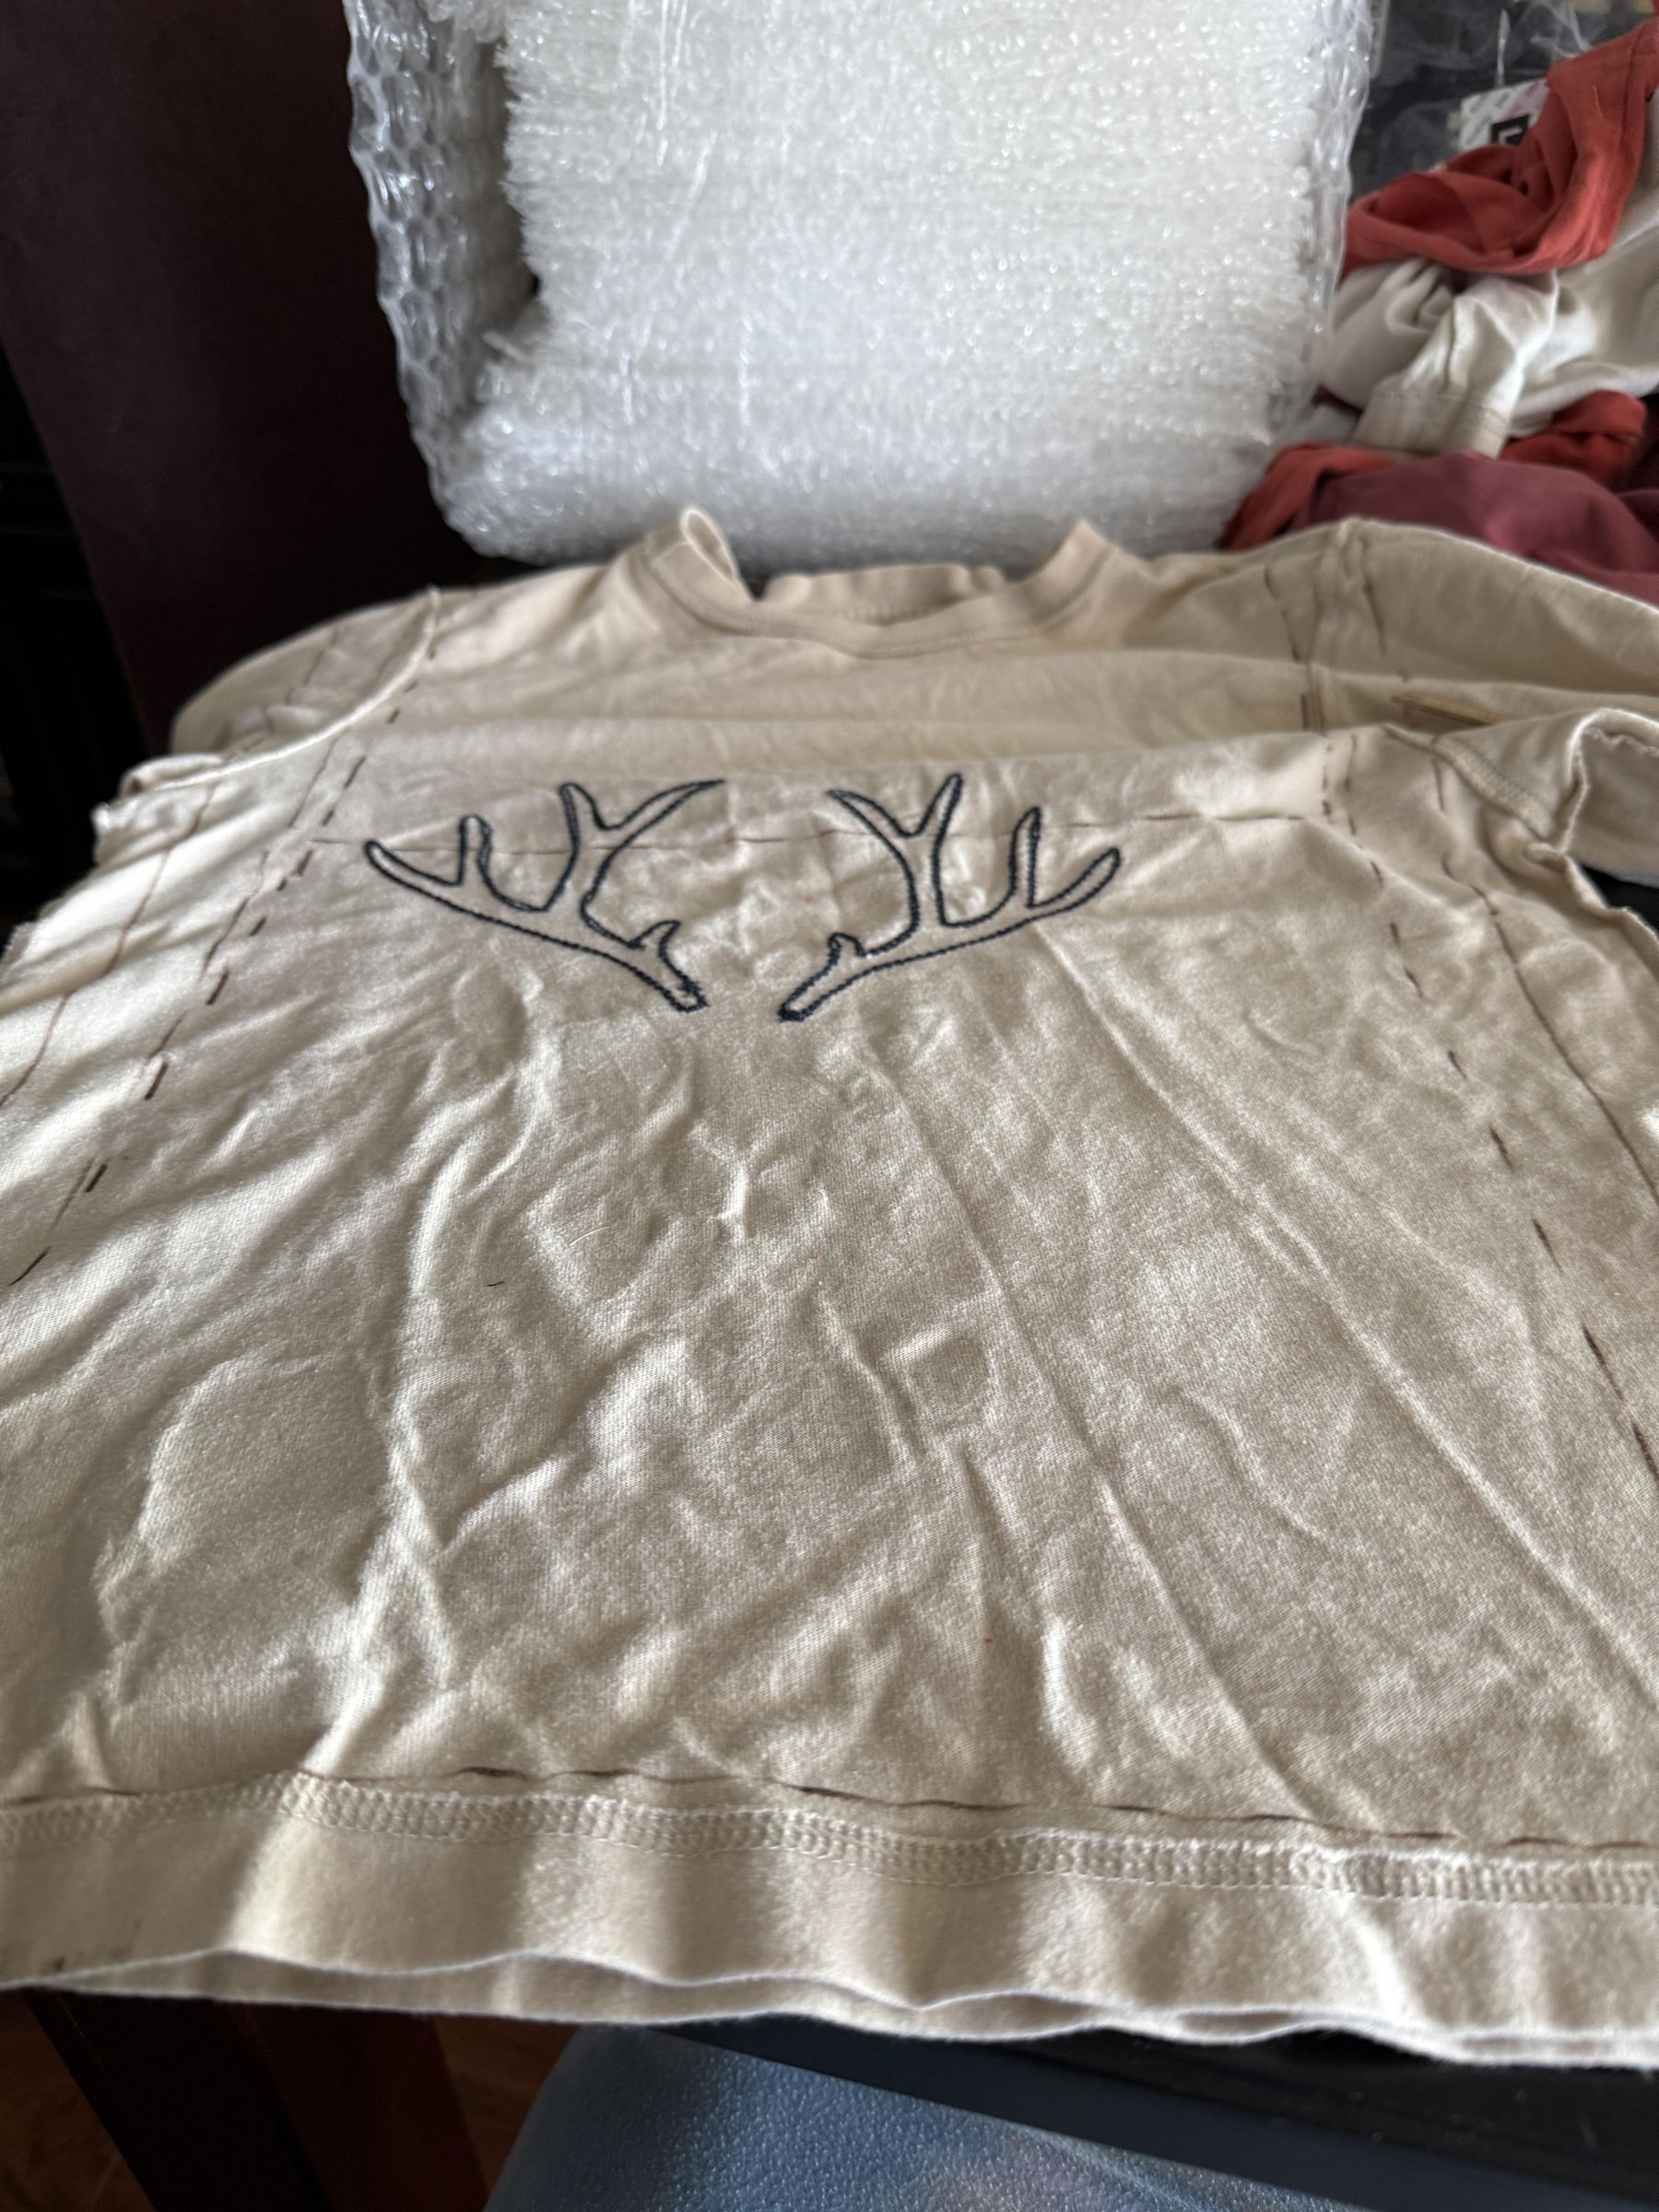
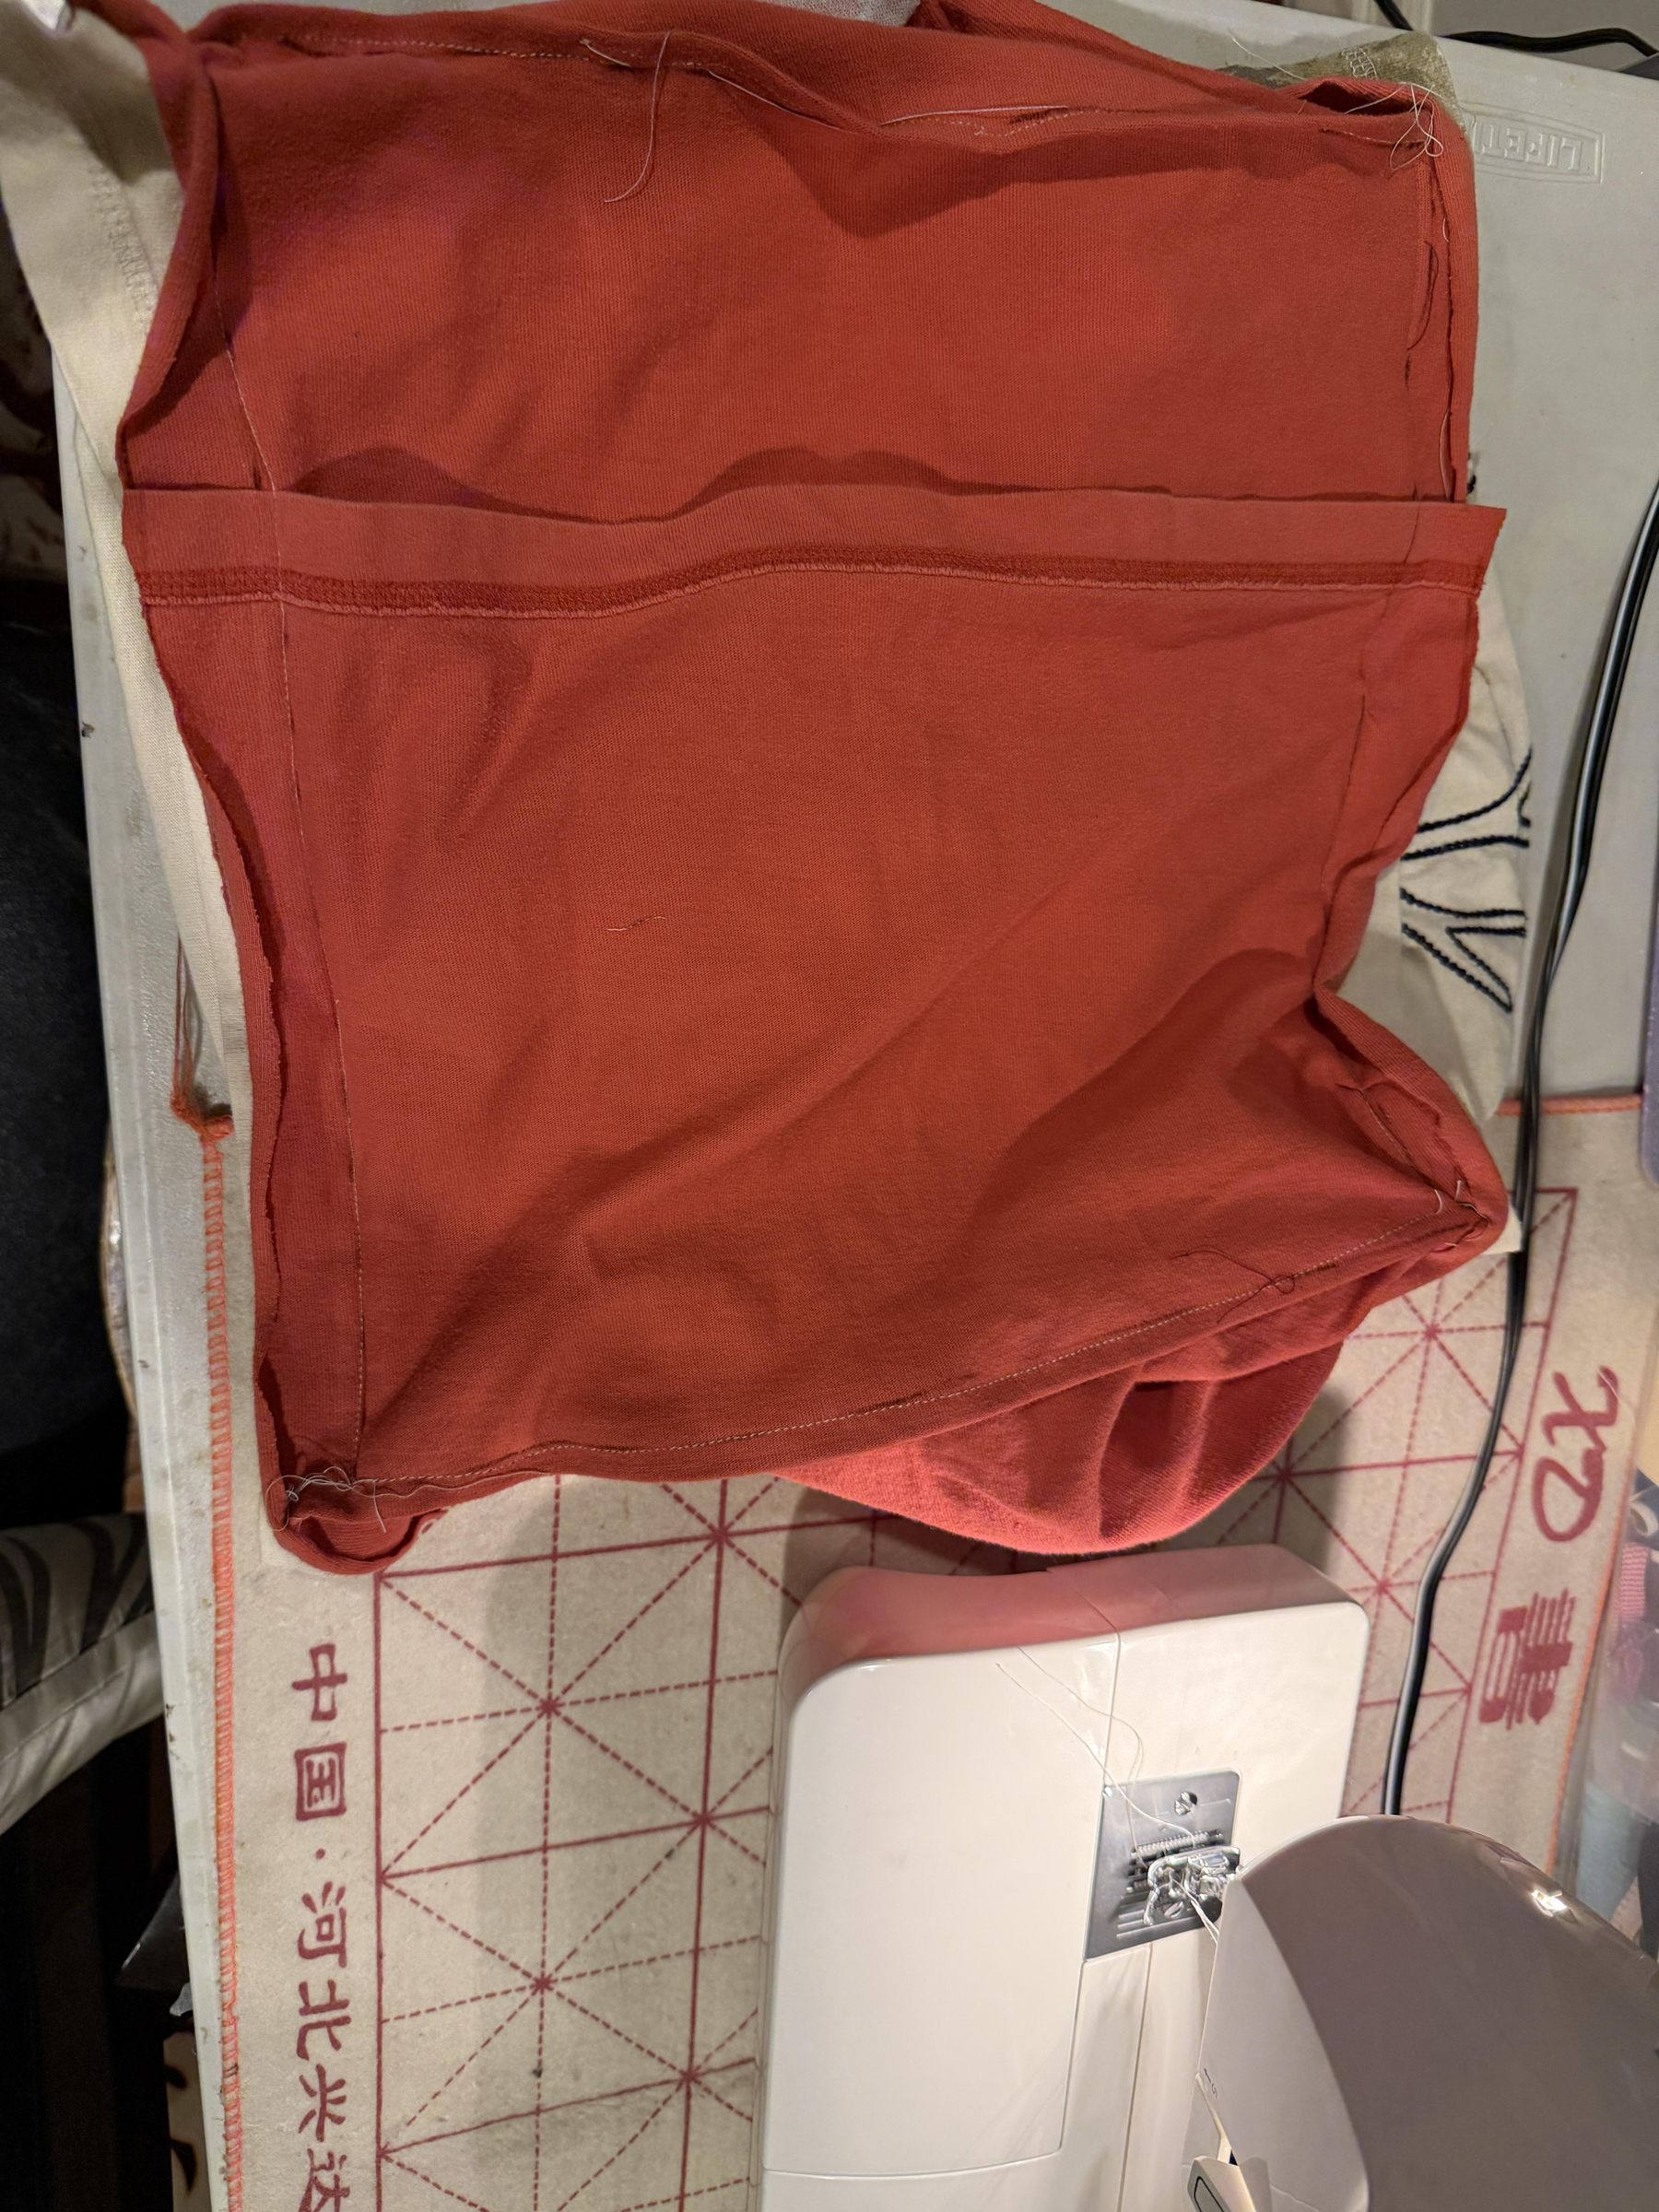
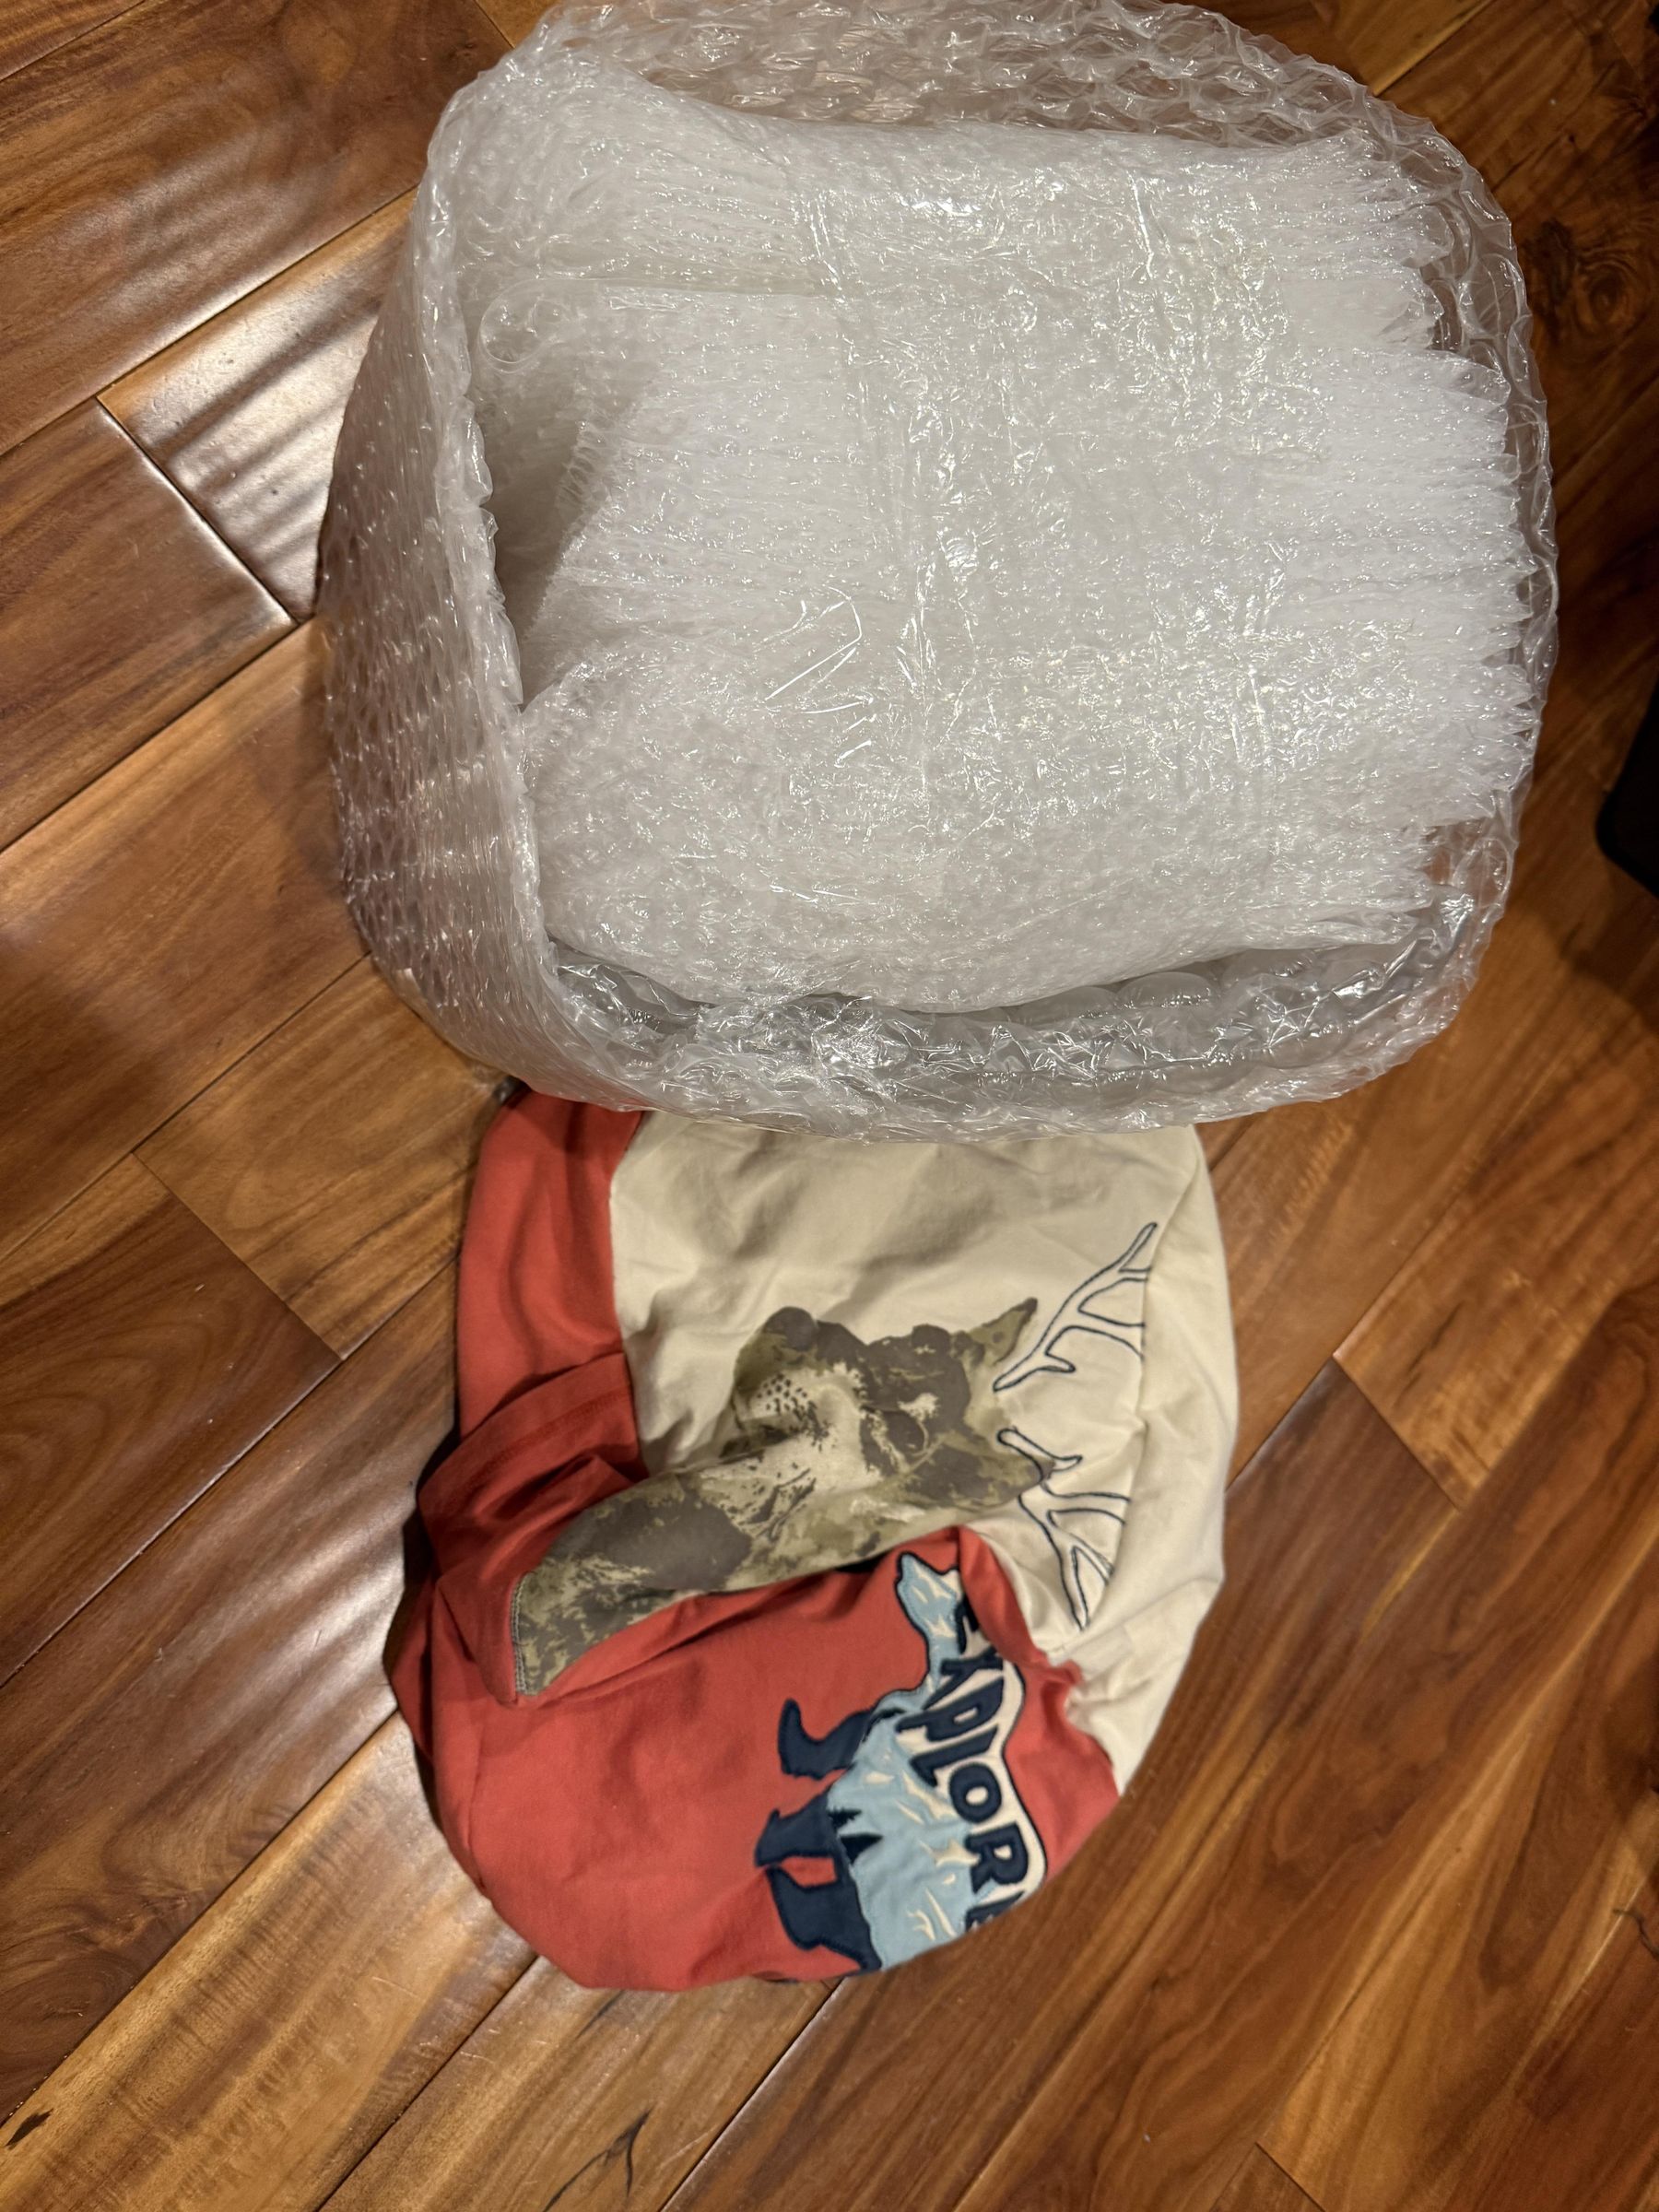
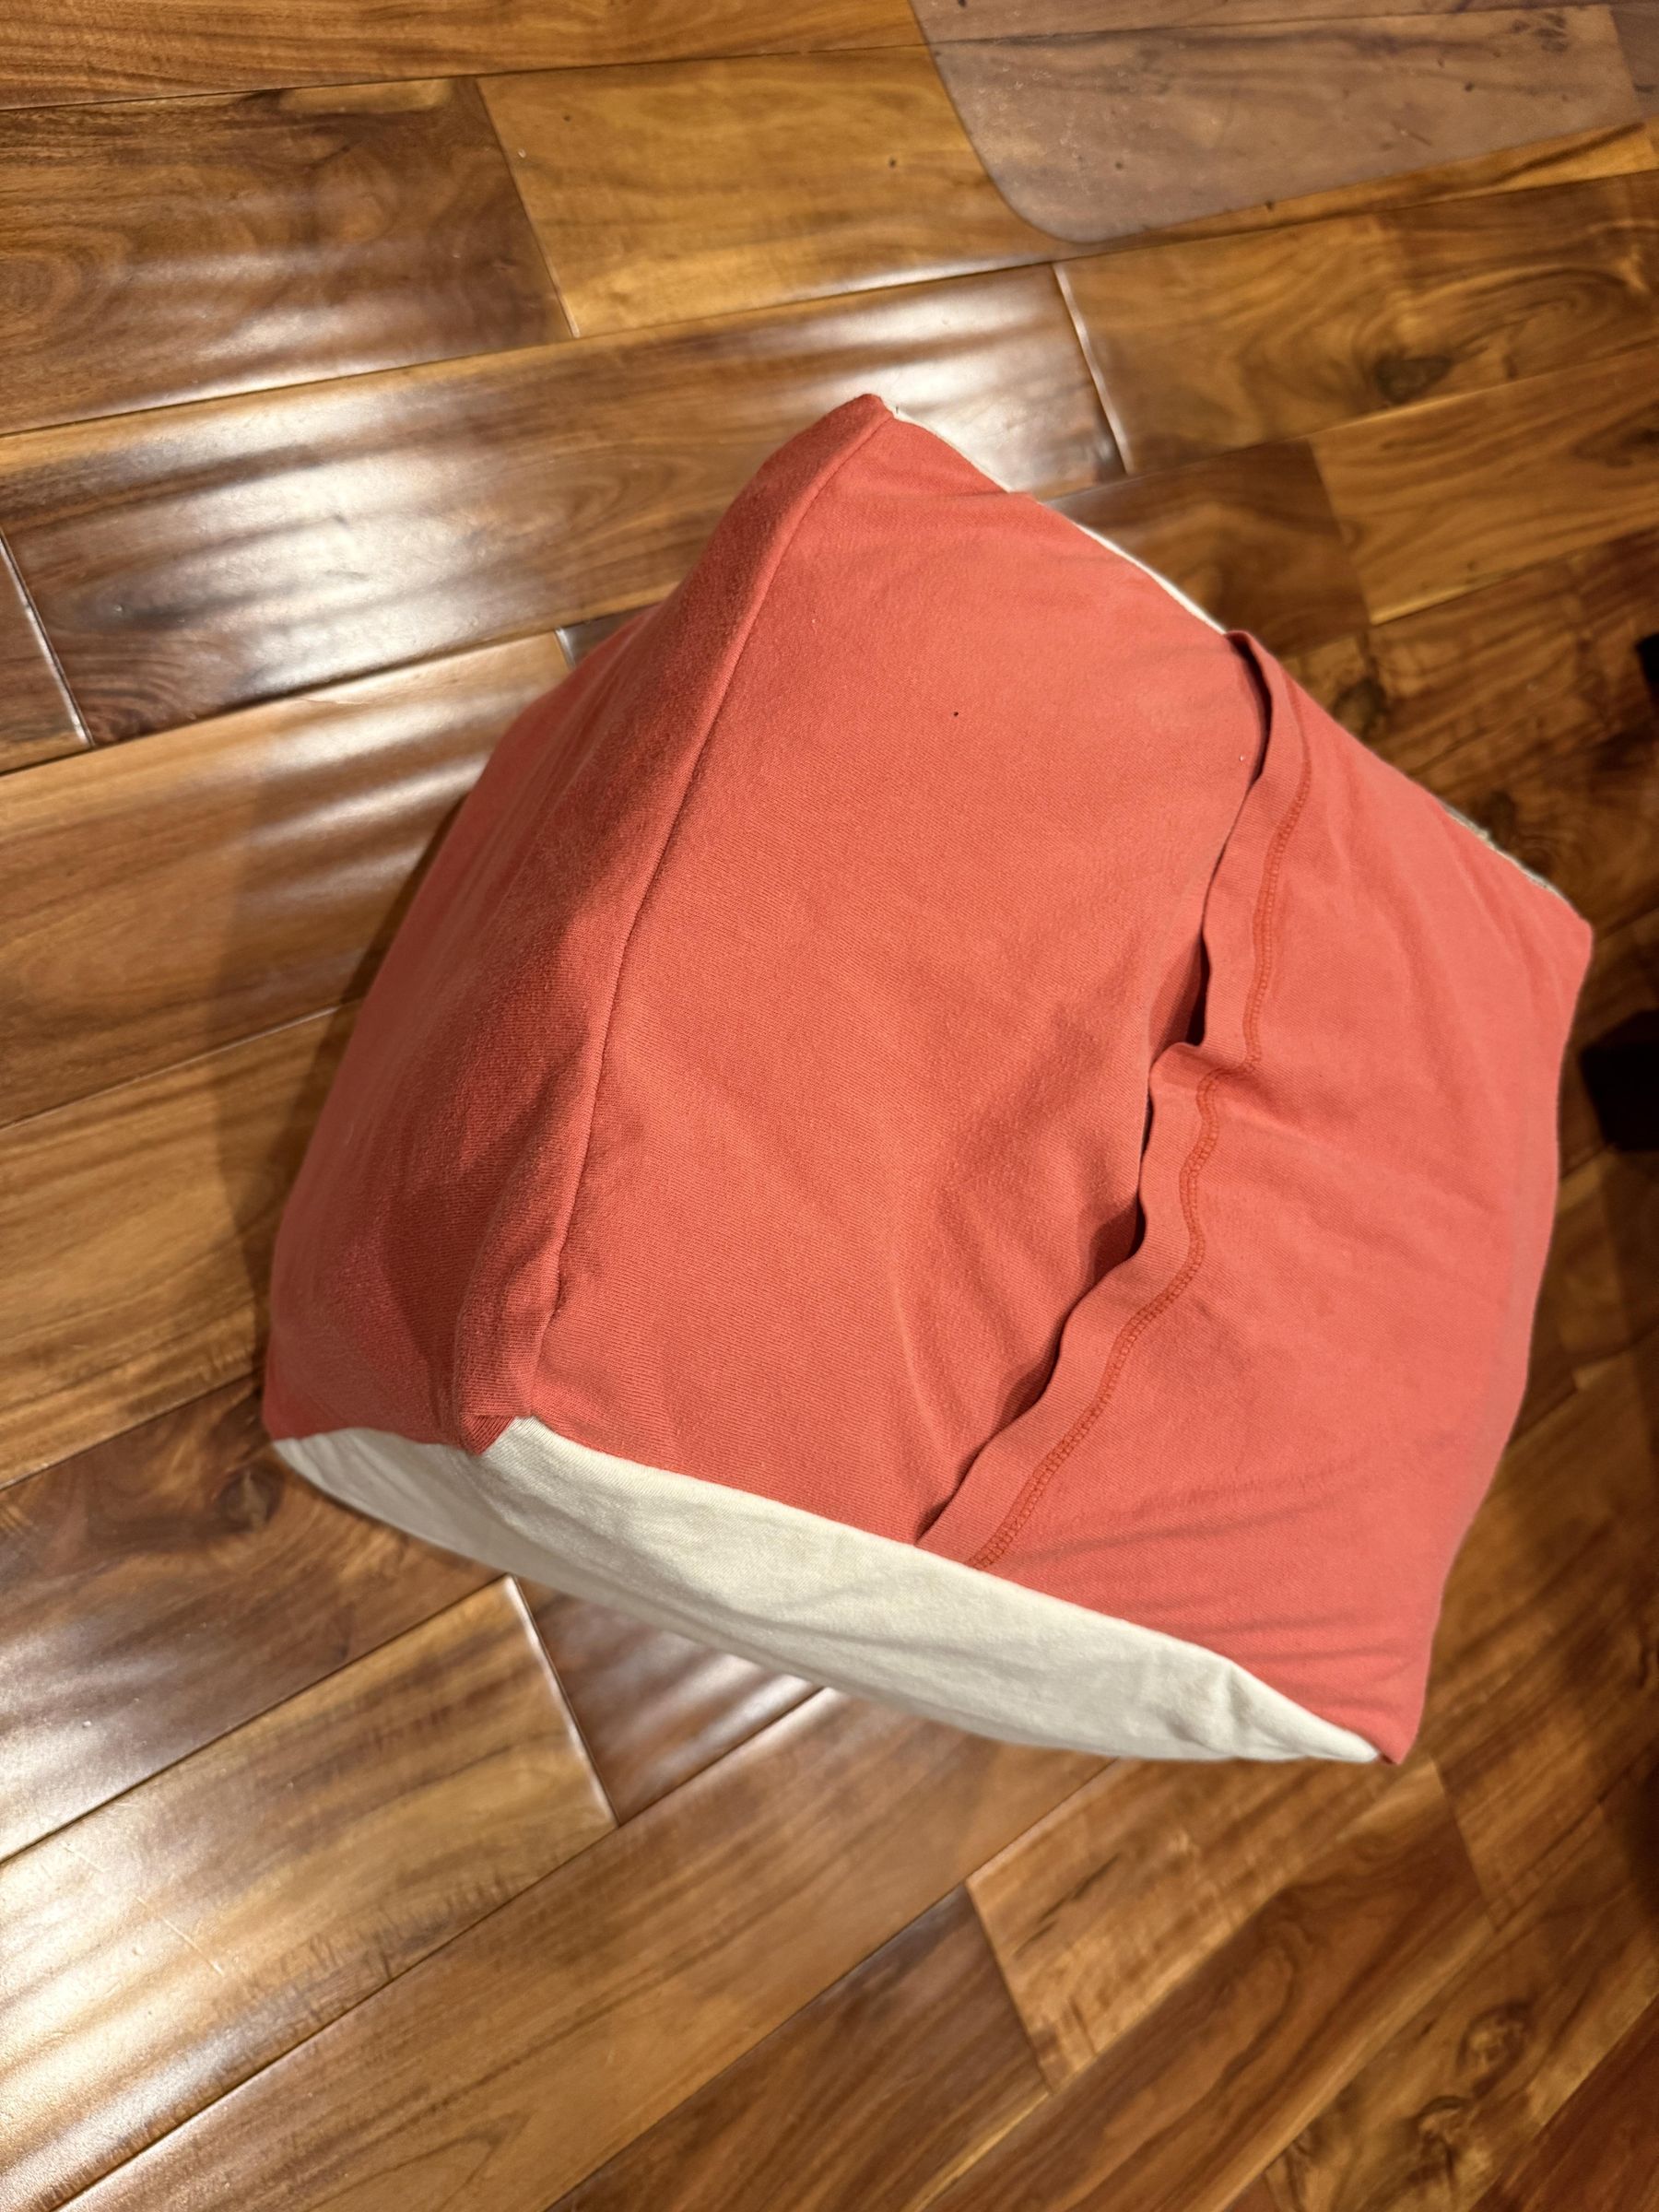
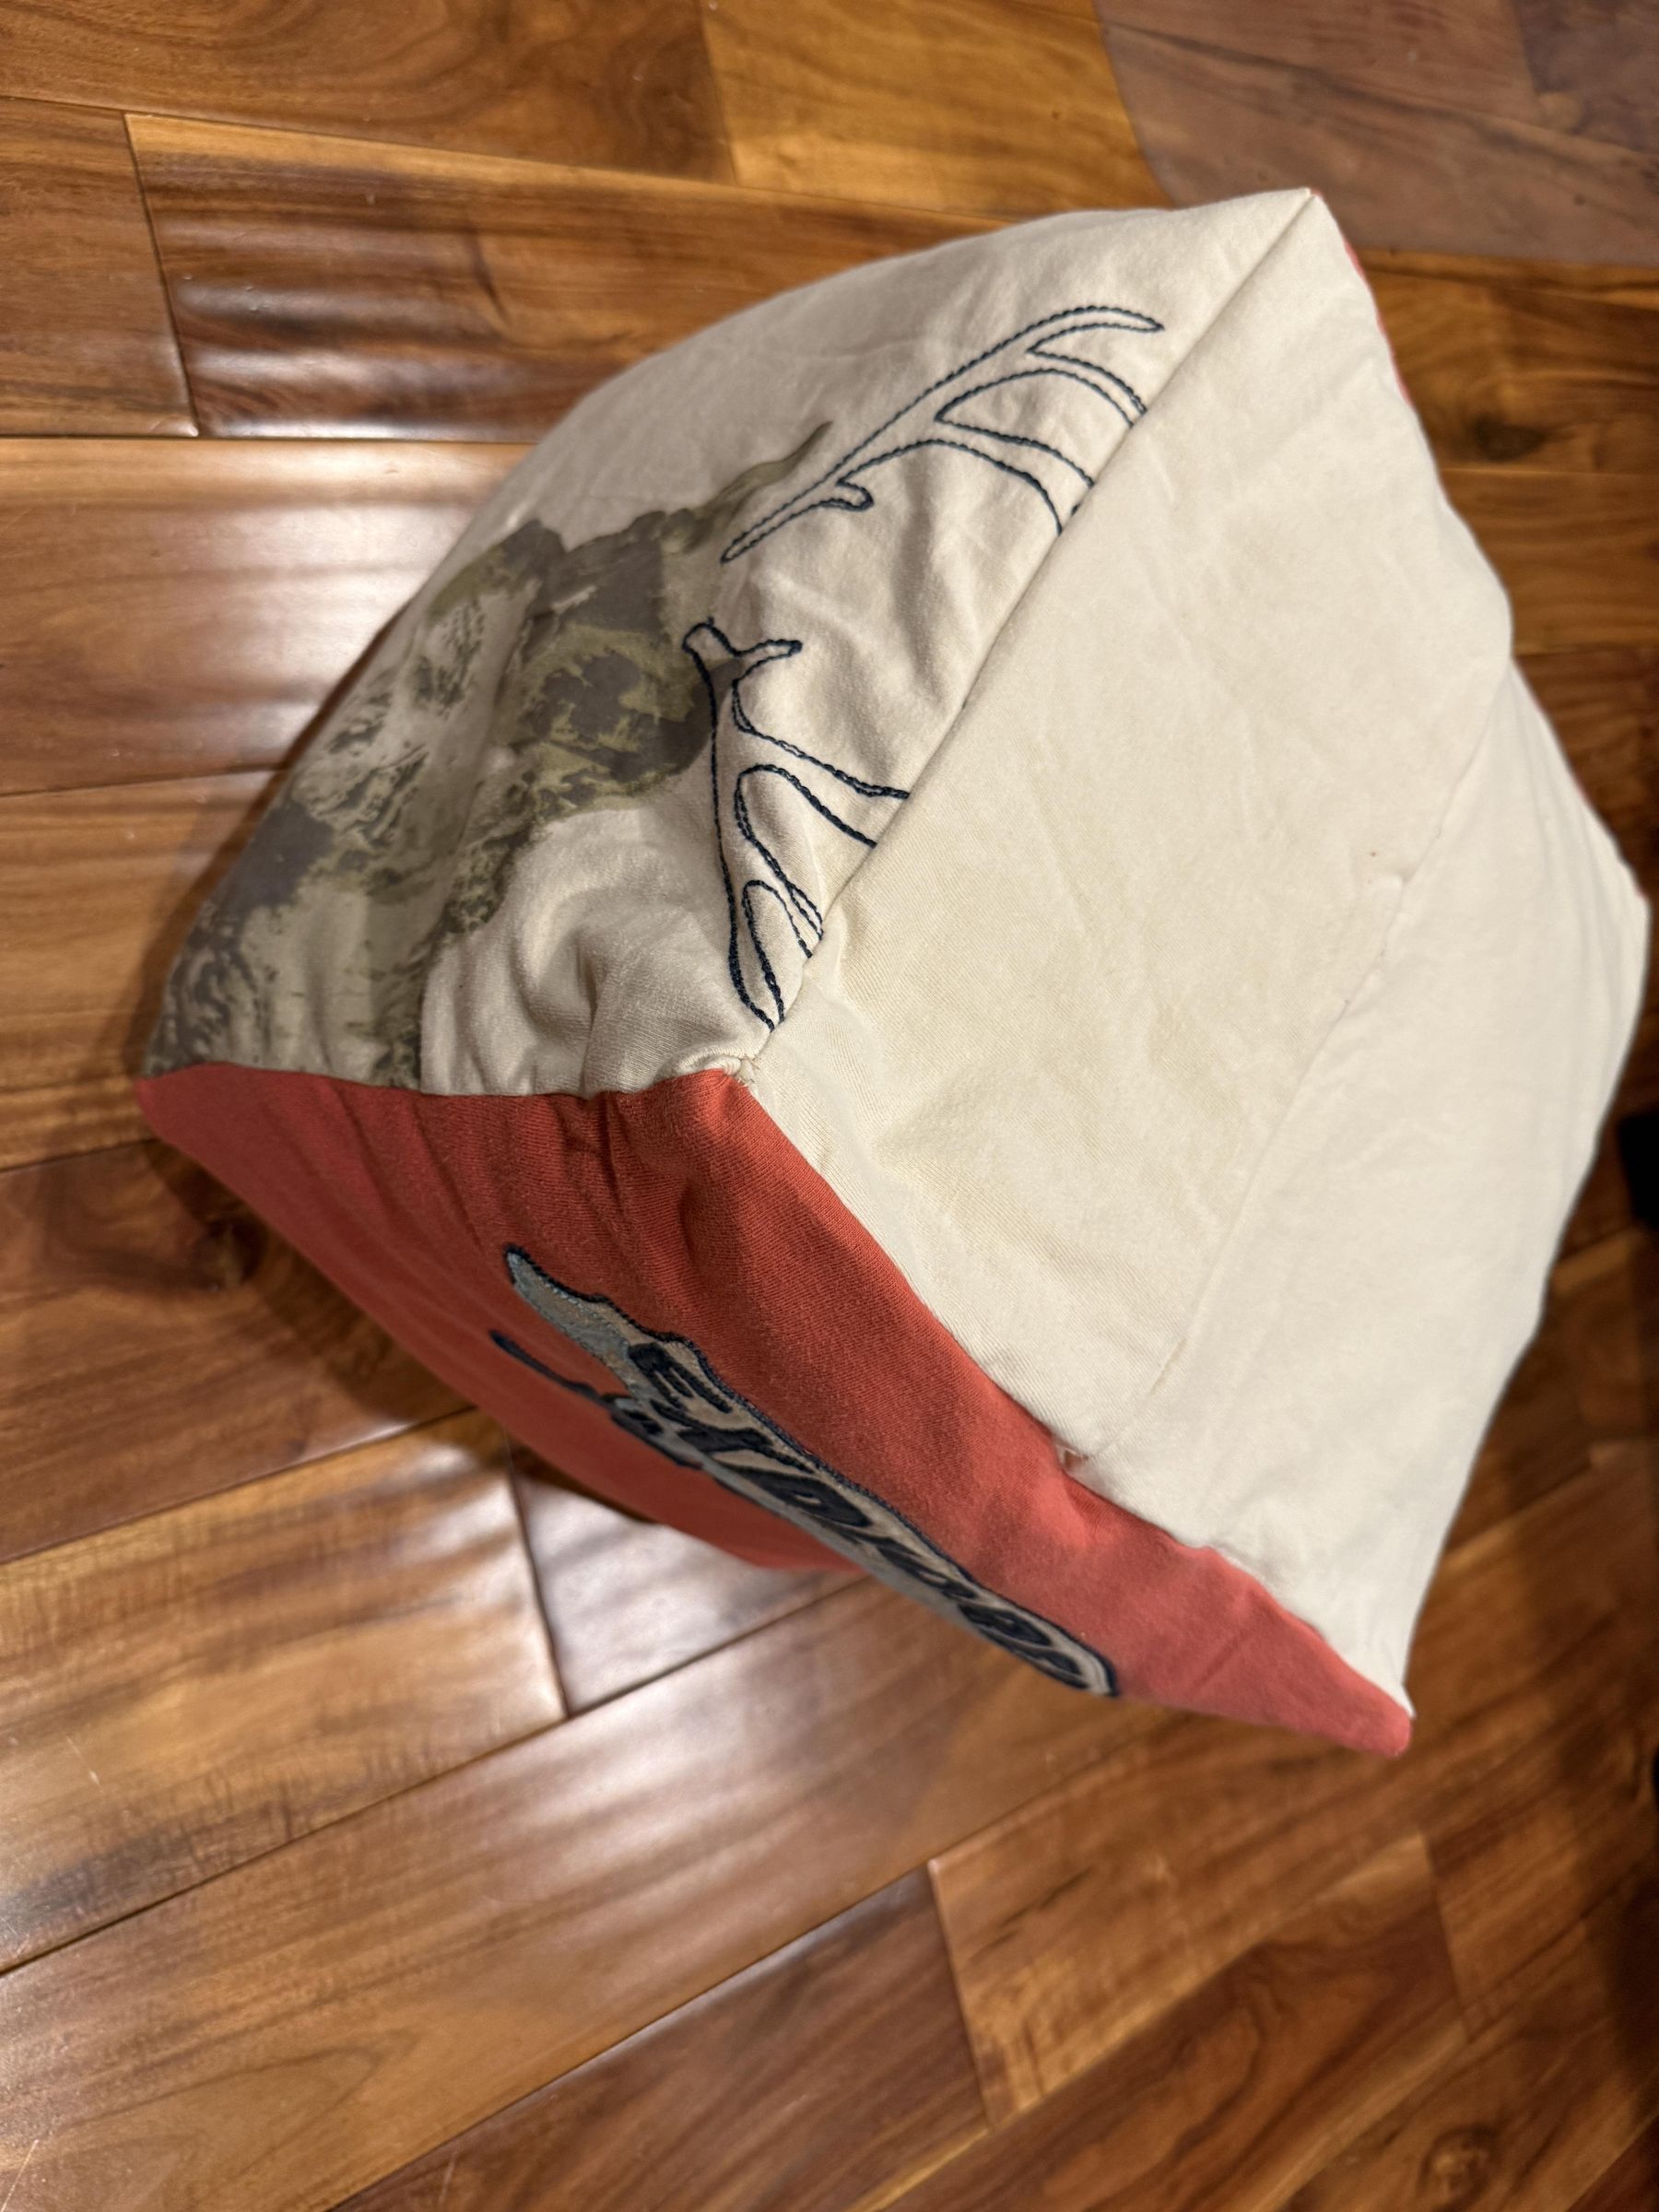
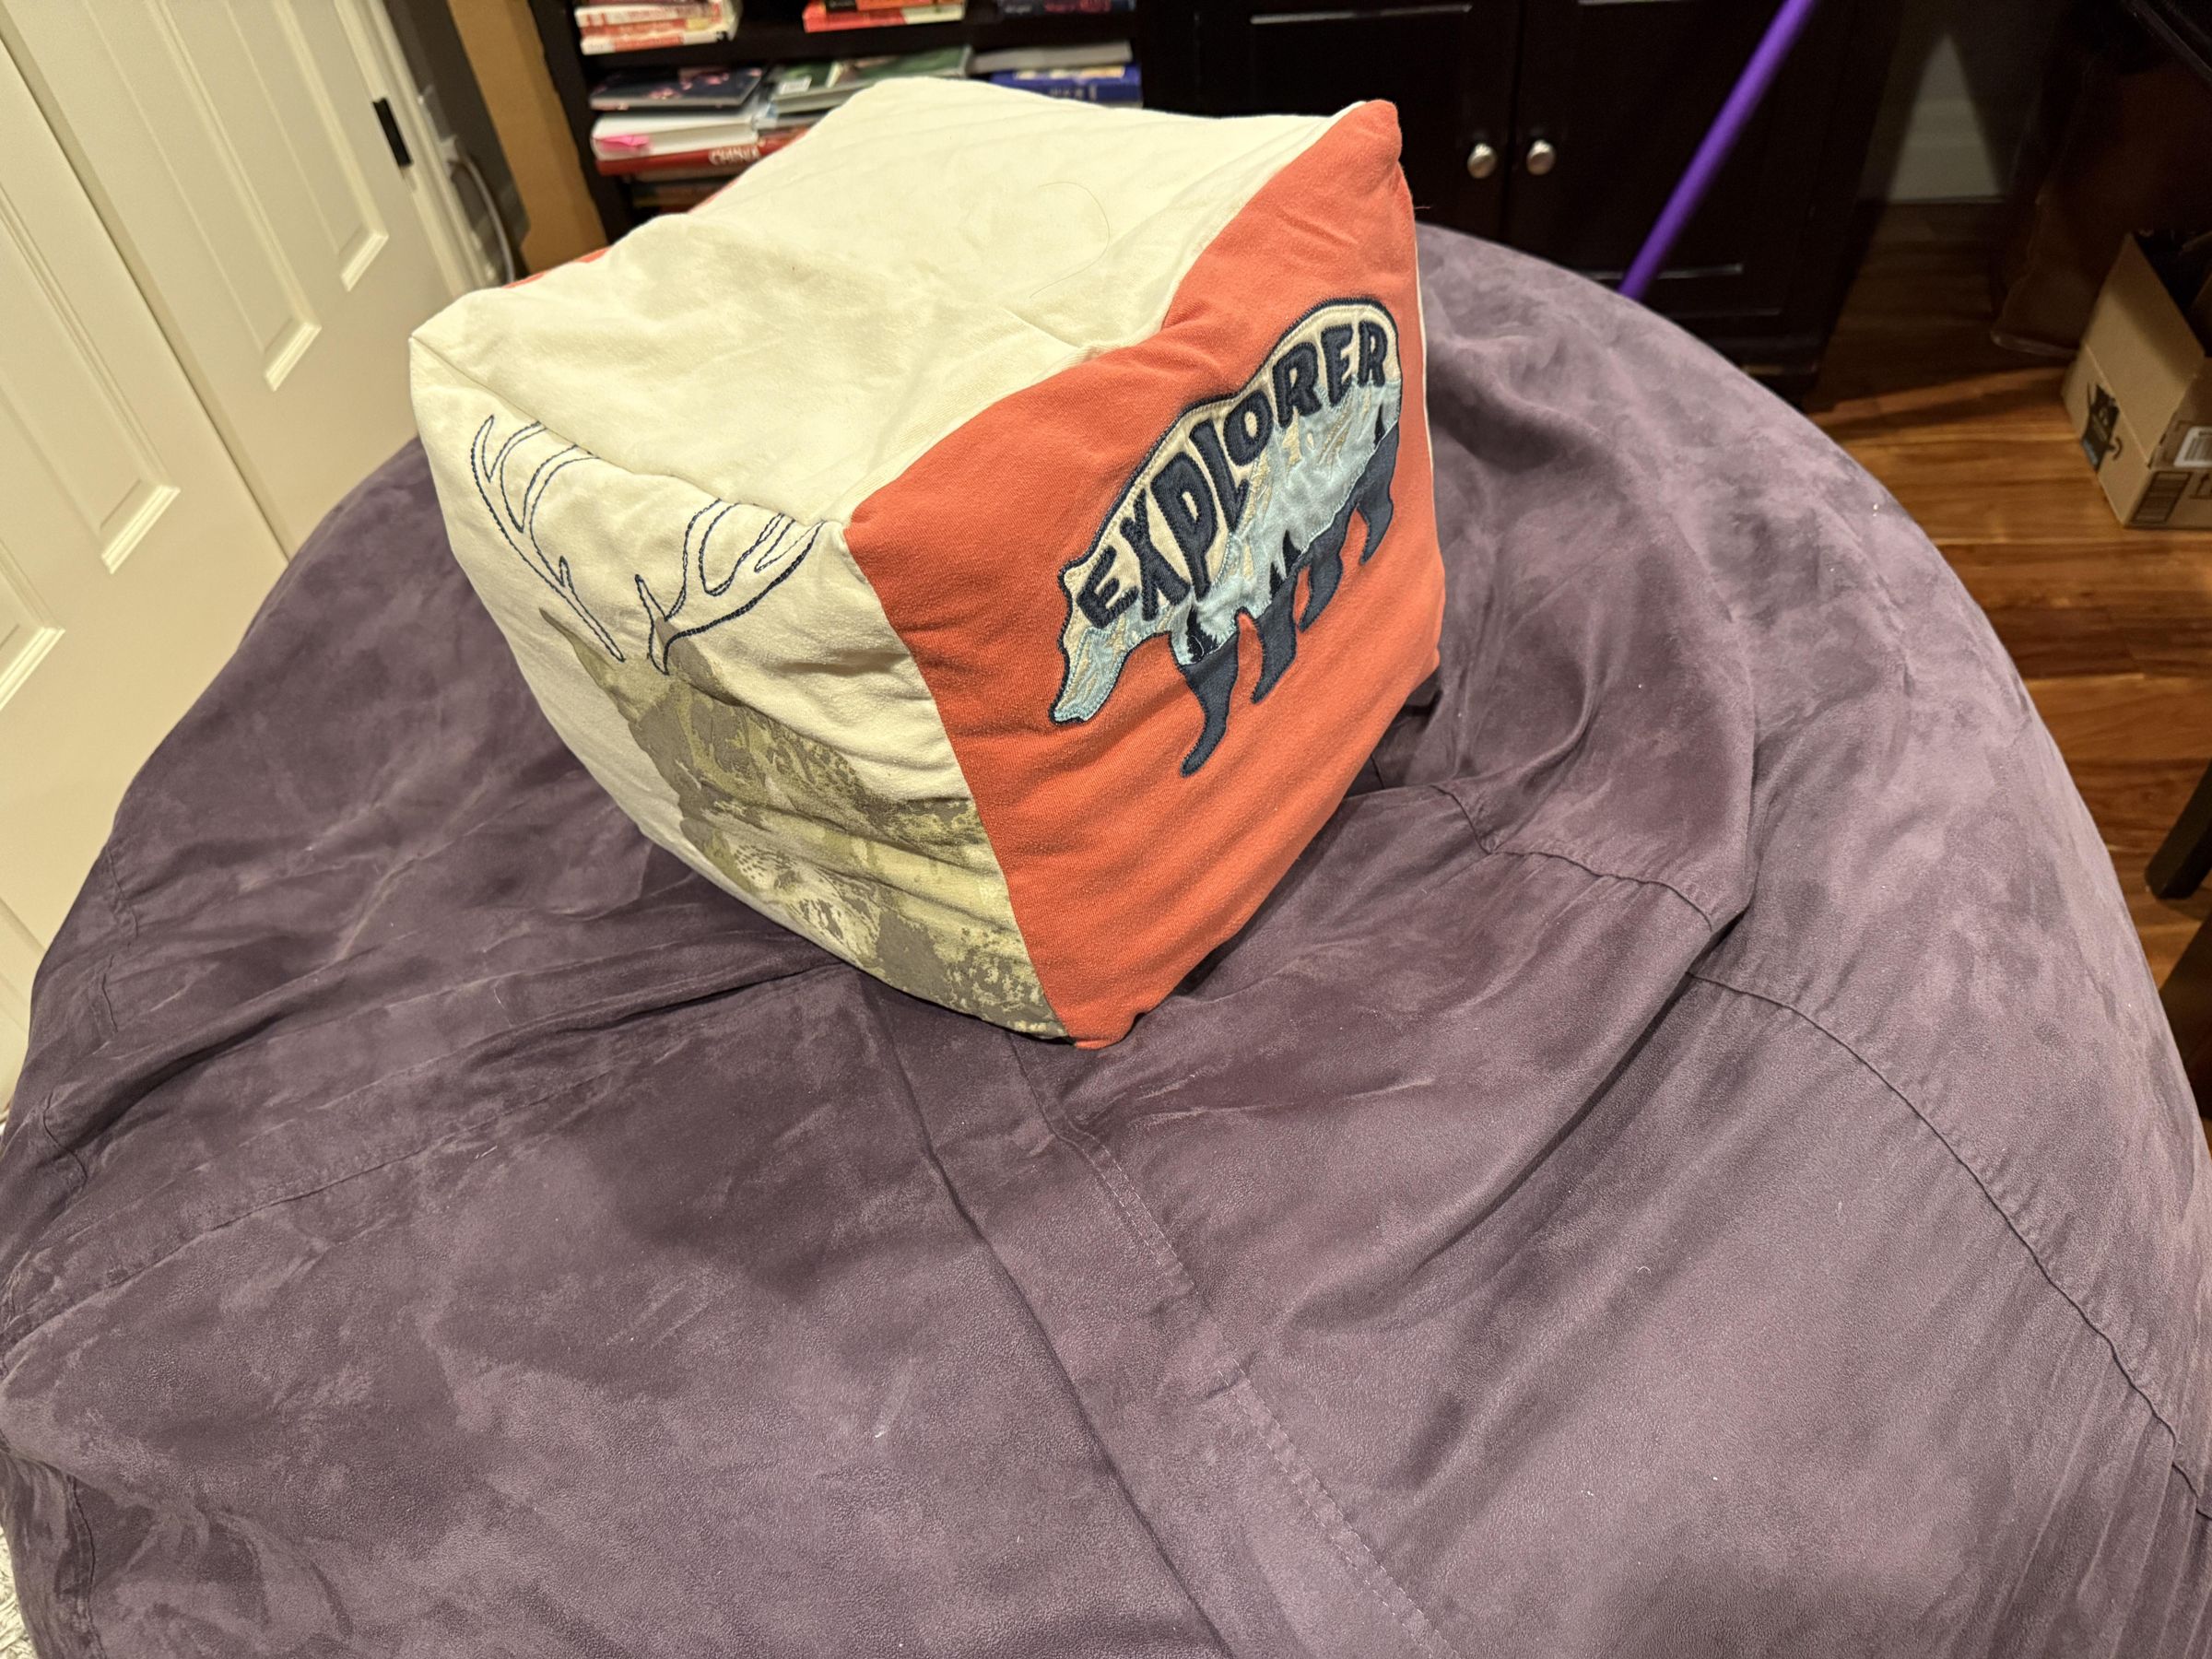
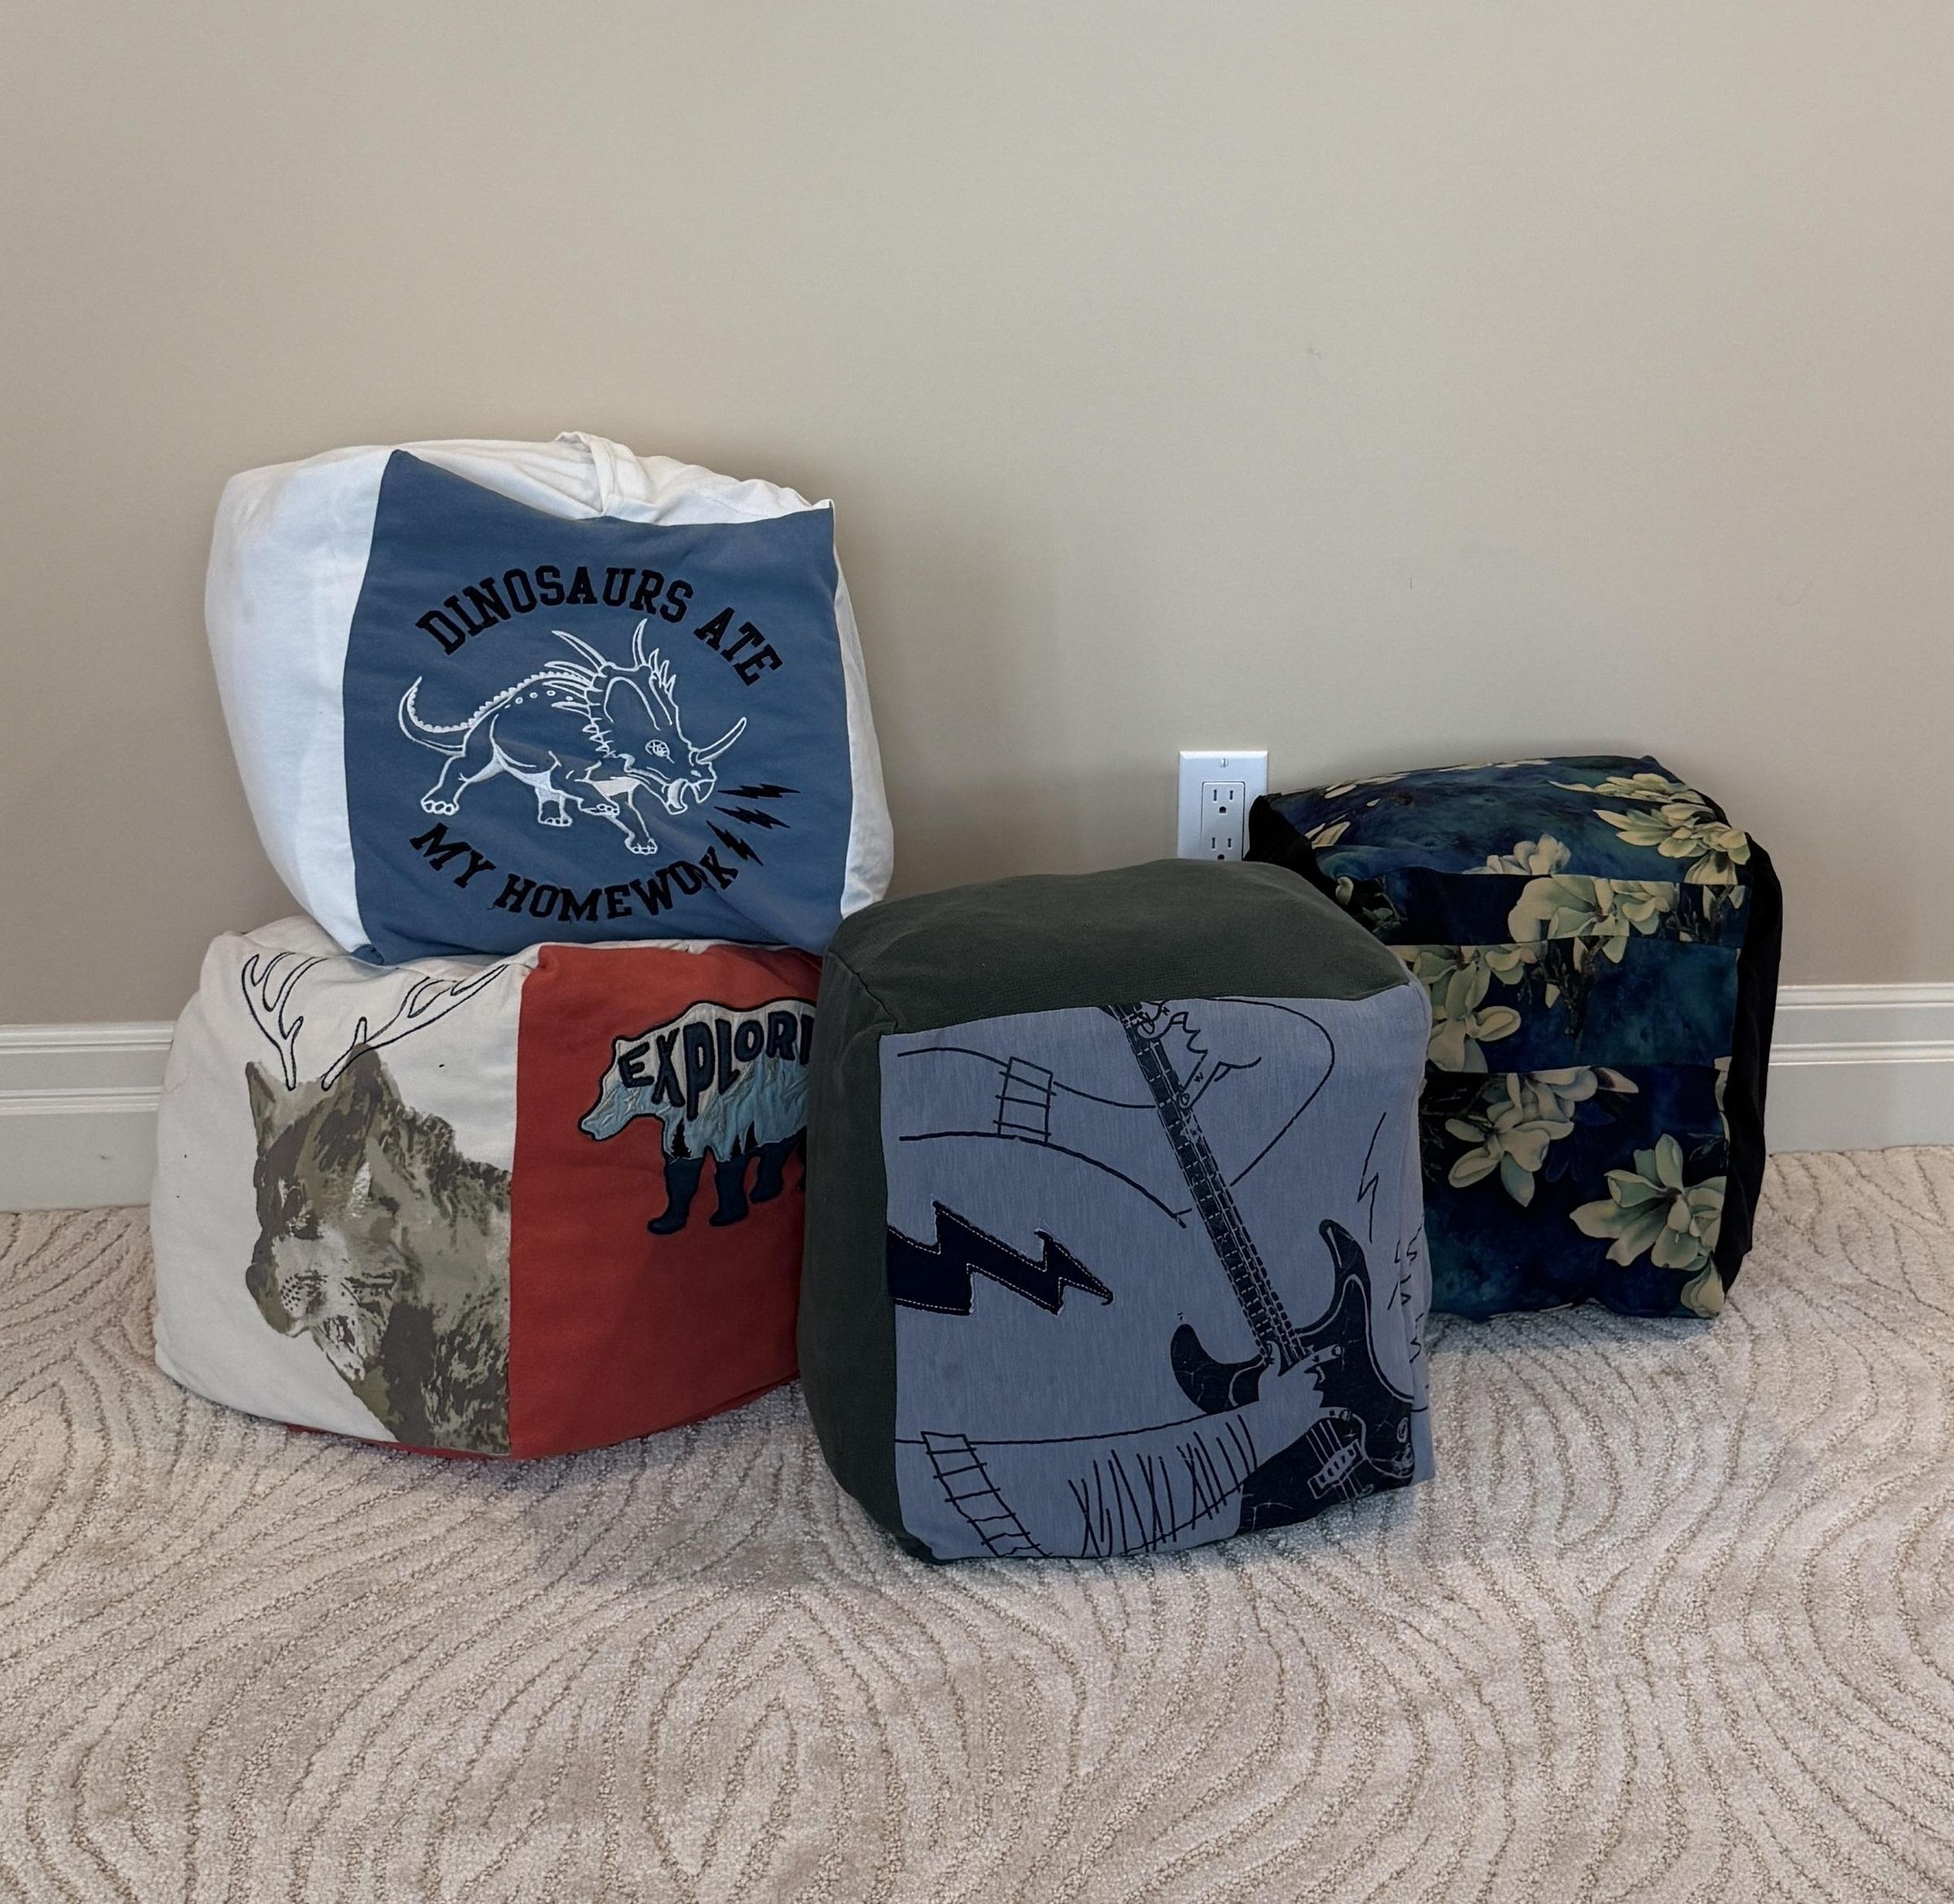
My family has been shopping for groceries online for years, which means we’ve accumulated a huge amount of bubble wrap and insulated silver thermal bags. We reuse them whenever we can—on picnics, as padding for packages, and even as seat mats—but we still have far too many, and I didn’t want to just throw them away. I needed a way to store them that was actually useful.
One day, while we were looking for a footrest, it suddenly occurred to me—why not make a footrest out of bubble wrap?
Here’s what we did:
- Fold bubble wrap into uniform squares and stack them. I made cubes measuring 1' × 1' × 1'.
- To keep the stack from shifting, we made a top-open cube using more bubble wrap. Tape as needed.
- Then we made an outer cube using old clothes, leaving an opening as shown.
- Place the top-open bubble wrap cube inside the clothes cube first.
- Fill it with the stacked bubble wrap cubes from step 1.
We mostly use it as a footrest, but it doubles as a playful foam-like cube—and our dog loves it too! The best part? We can still take out the silver bubble thermal bag if needed from time to time.