
The ZERO Stand: a Print-in-Place Tech Cradle Born From an Open Source Community
by CtrlEnergy in Workshop > 3D Printing
34 Views, 1 Favorites, 0 Comments
The ZERO Stand: a Print-in-Place Tech Cradle Born From an Open Source Community
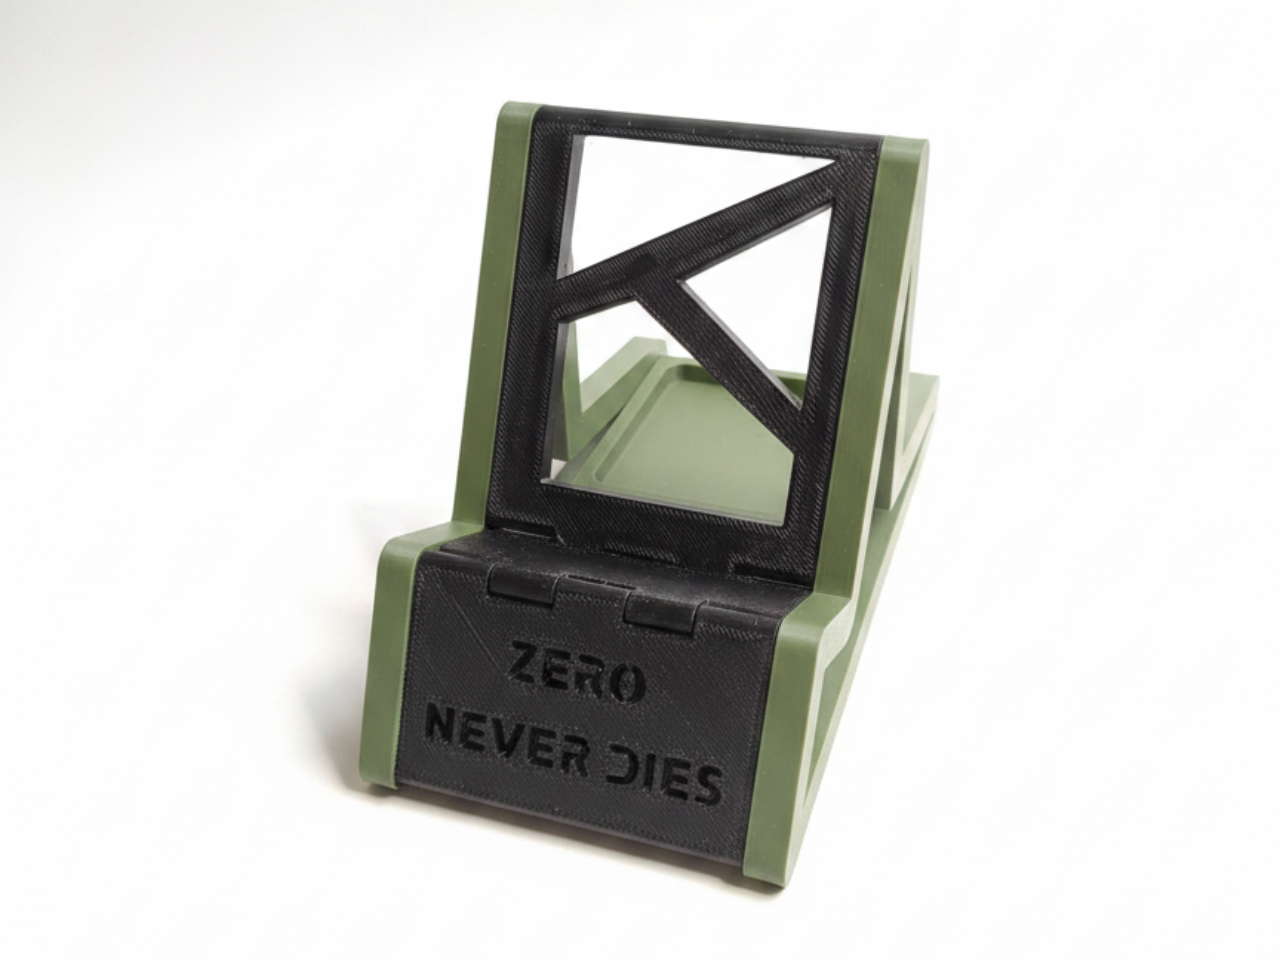
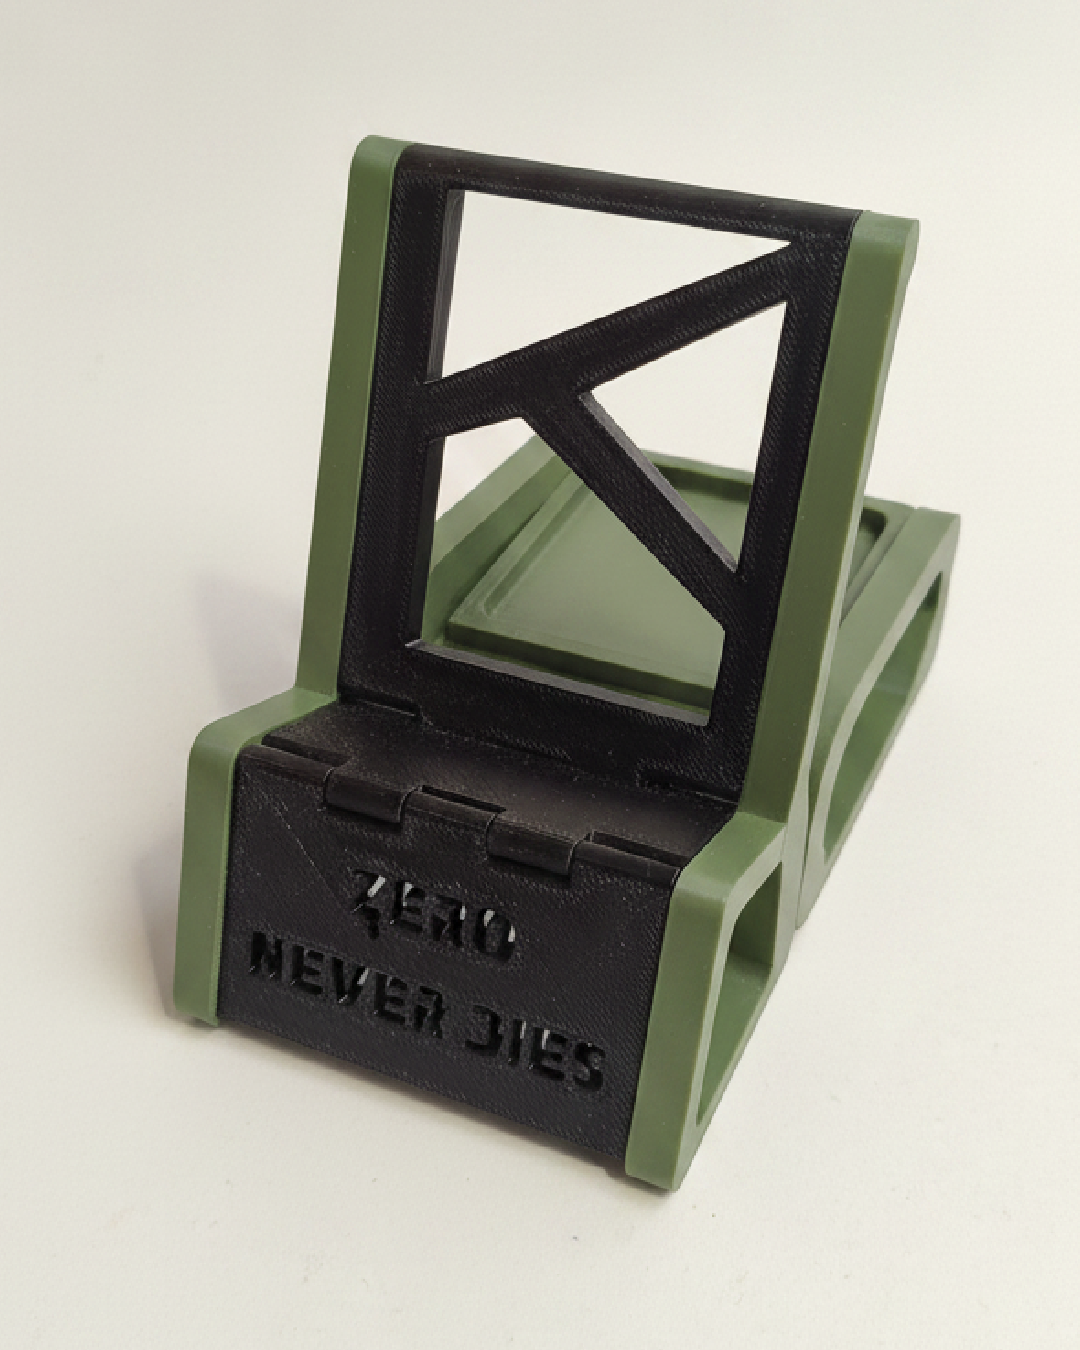
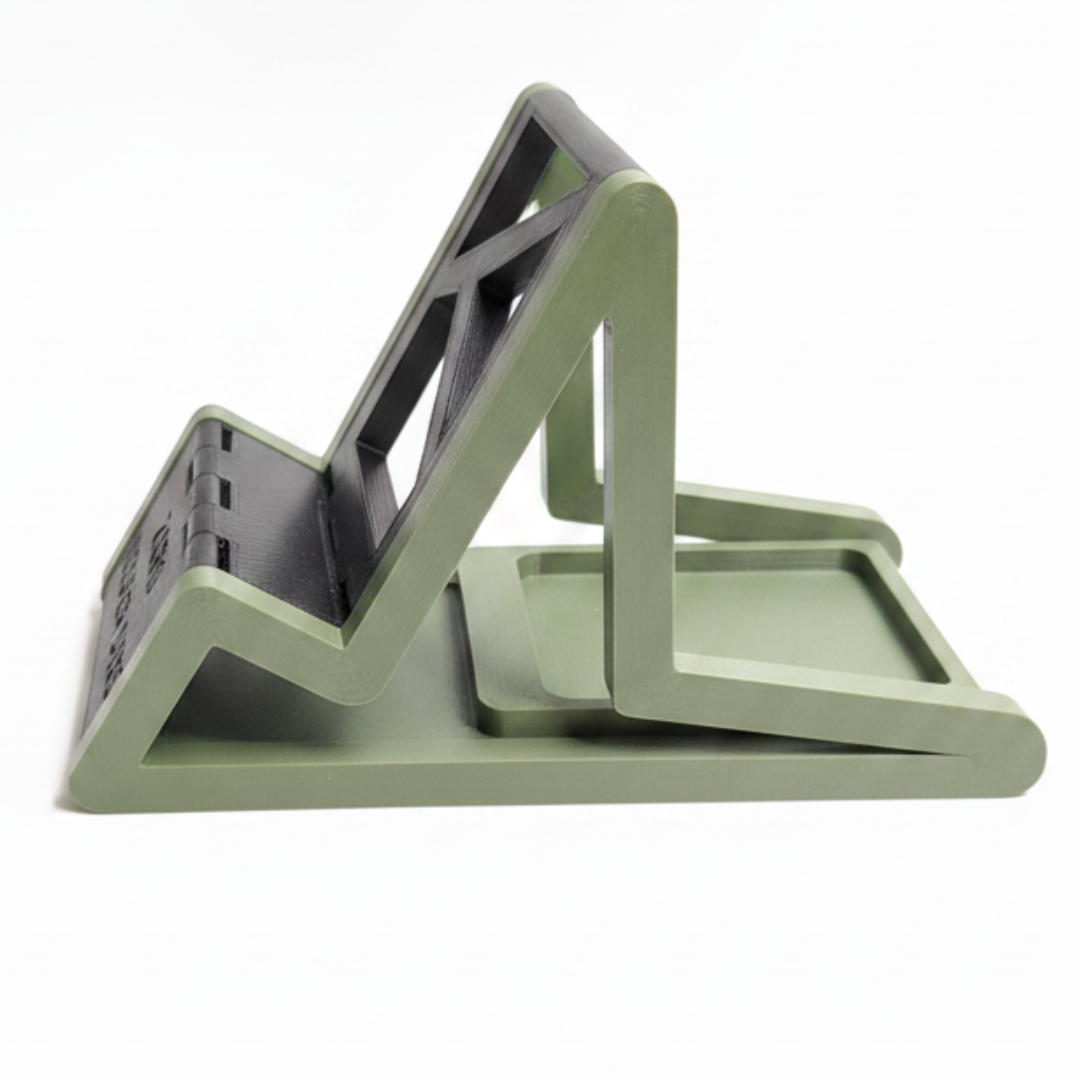
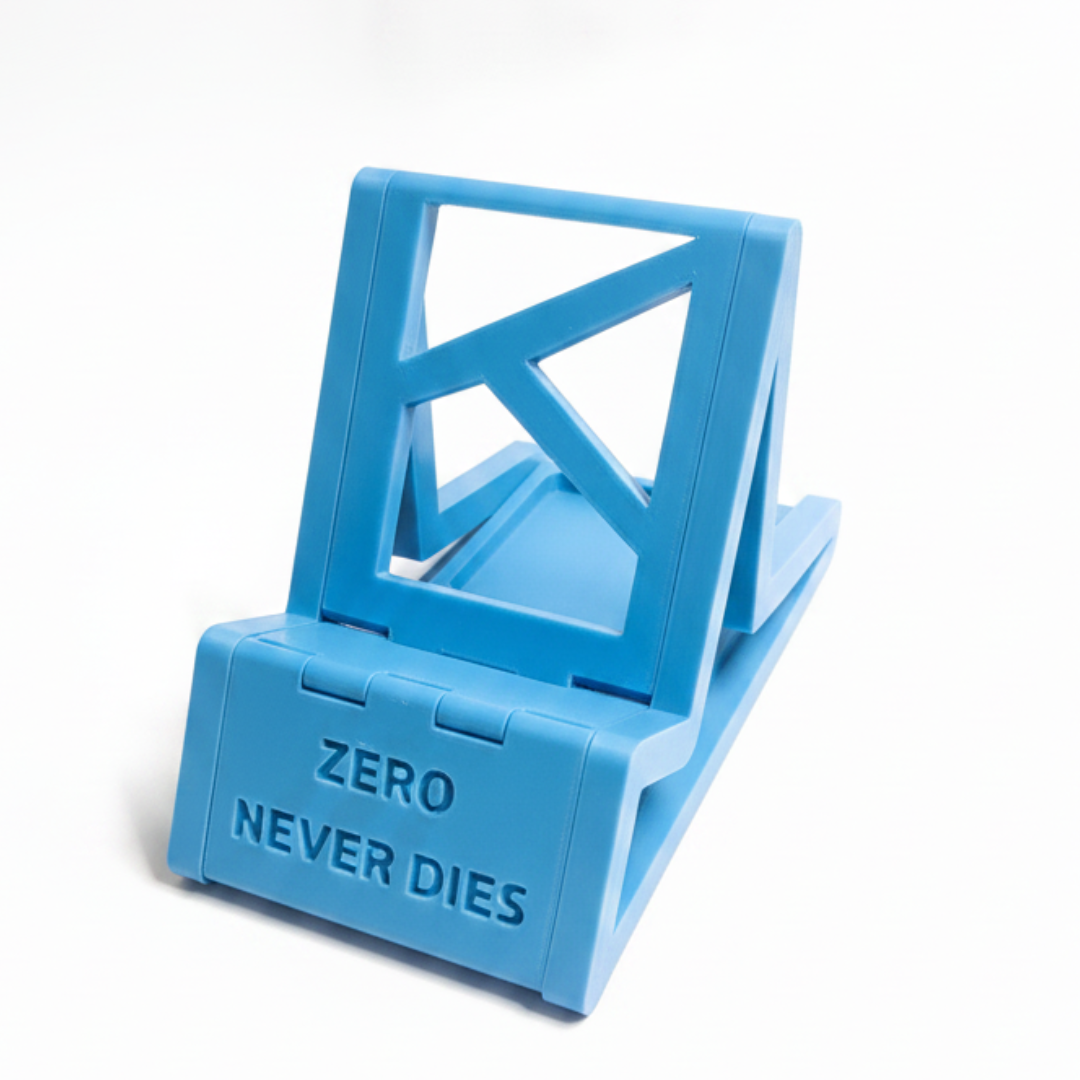
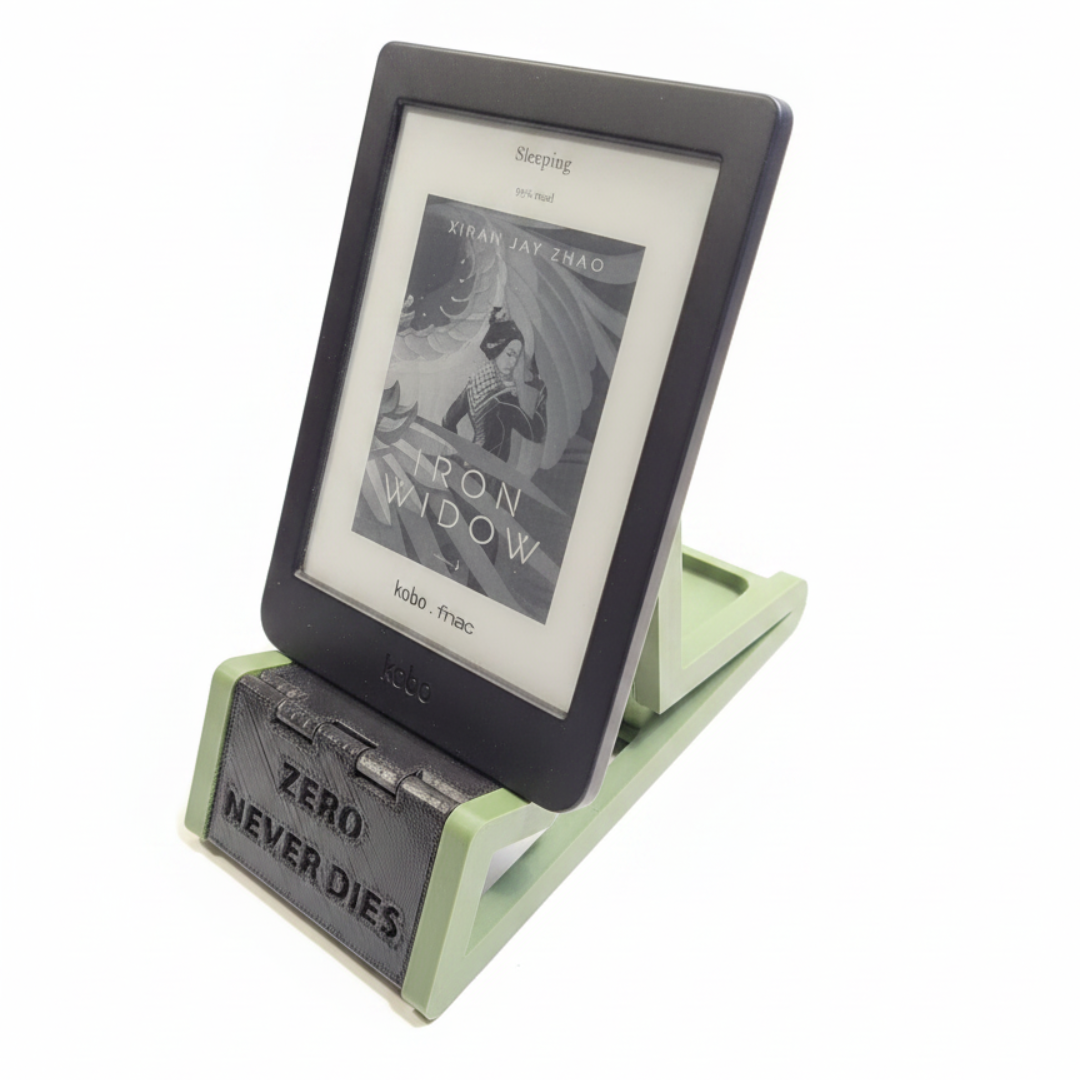
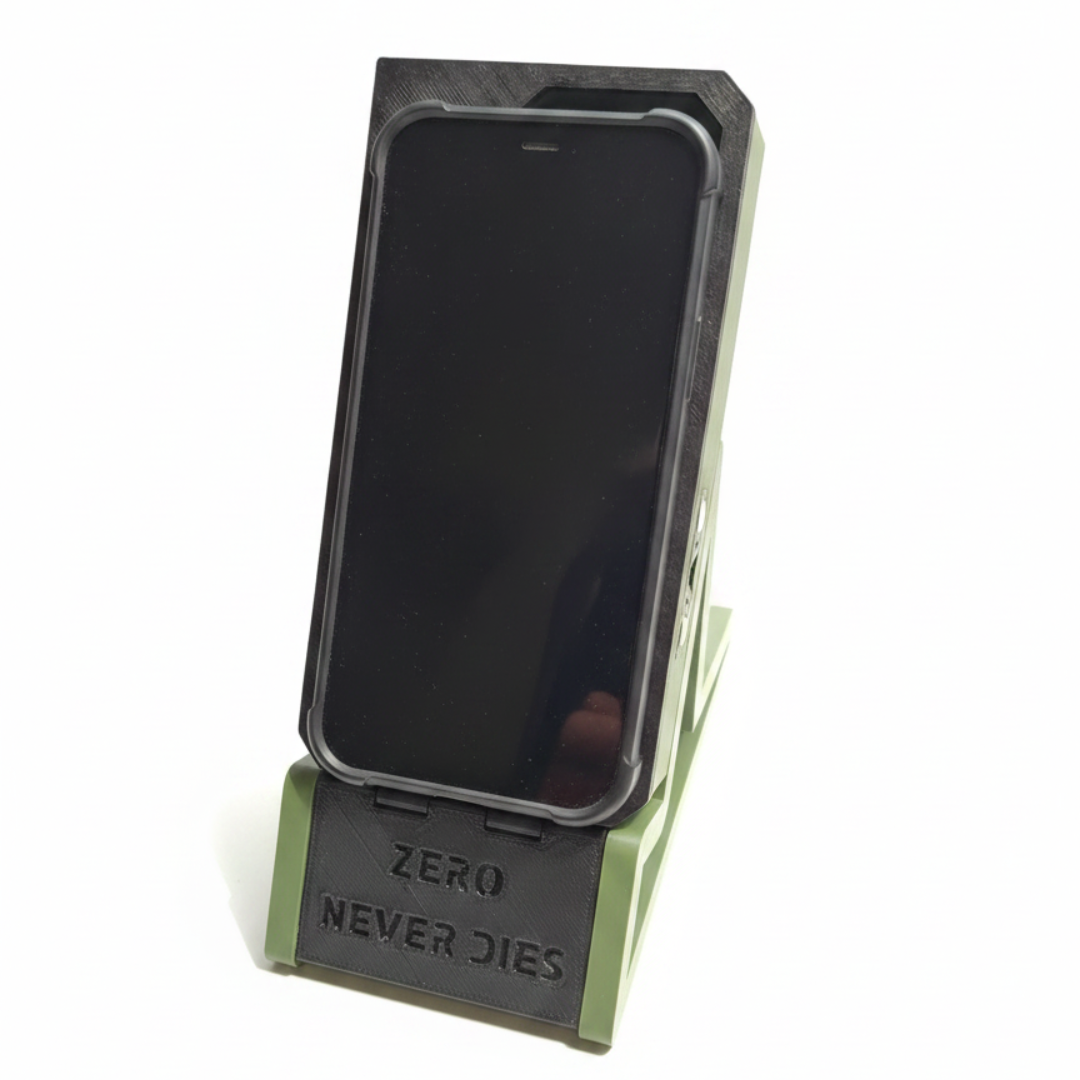
Imagine a piece of travel gear that folds down completely flat, has no screws, needs no assembly, and yet securely props up a heavy iPad or a lightweight laptop.
Now, imagine that same stand has a secret pocket hidden right in the back—sized perfectly to stash a high-performance 18650 battery cell or a backup charging cable.
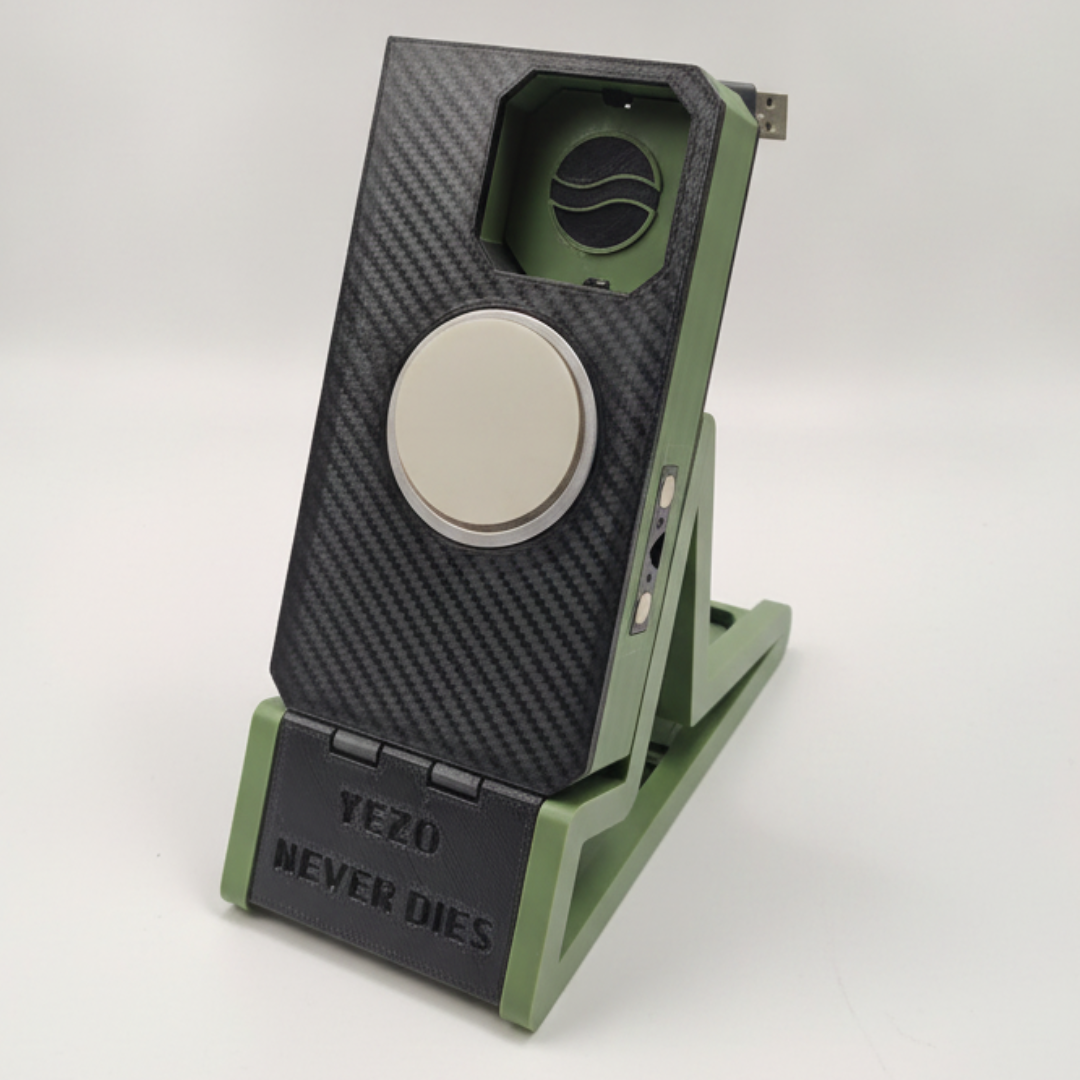
This is the ZERO Stand, an open-source, print-in-place design born from the collective brainpower of our community.
Downloads
Supplies

Your 3D printer, the files shared below, 10 grams of filaments (any) and 2 hours, that's what you need to build the stand x)
The Story Behind the Design
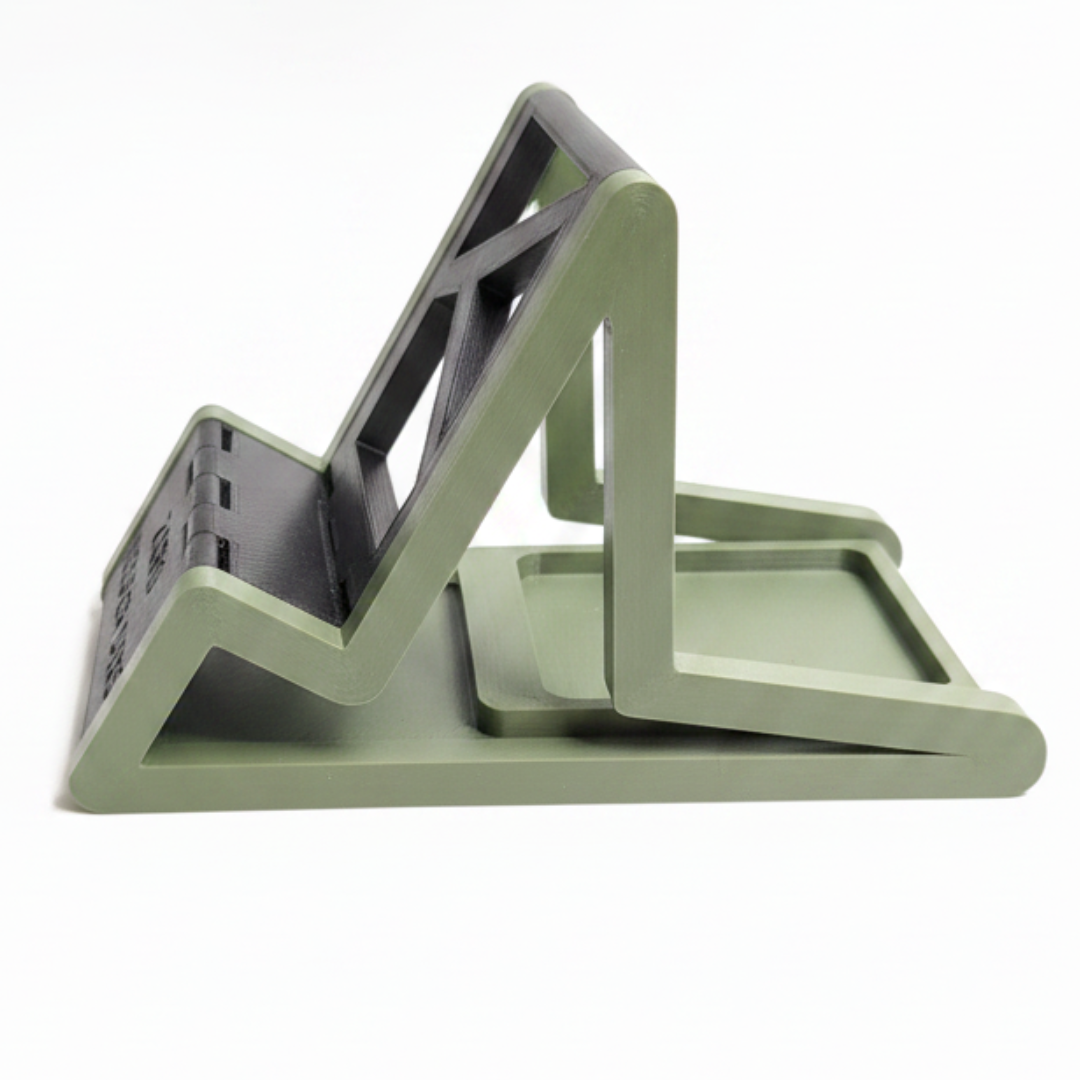
Most tech accessories are designed in isolation by corporate teams and sold as sealed plastic blocks. We wanted to do things differently.
This design is a direct companion to ZERO—a modular, fully repairable, 3D-printed power bank with swappable battery cells. As we were developing the power bank alongside our community, one of our Discord members (@voltnomad) dropped a brilliant suggestion:
"We need a travel-friendly desk stand that cleanly cradles the ZERO power bank, folds down completely flat, and utilizes the empty structural space in the back of the kickstand for a spare battery storage slot."
We loved the challenge. Within a few design iterations, the community helped us refine the tolerances, optimize the print-in-place hinges, and create the ultimate companion stand. By open-sourcing the design here, we hope to show how open development can create incredibly functional physical products.
Understanding the ZERO Ecosystem
Our goal with the ZERO project is to fight back against electronic waste. Most modern power banks are designed with "planned obsolescence"—when the internal lithium-ion cells eventually degrade after a few years, the entire unit is thrown into a landfill.
ZERO changes that:
- Fully Repairable: You can open it up and replace parts yourself.
- Swappable 18650 Cells: Swap dead batteries out for fresh ones instantly.
- 3D-Printed Chassis: Users can customize and print their own enclosures.
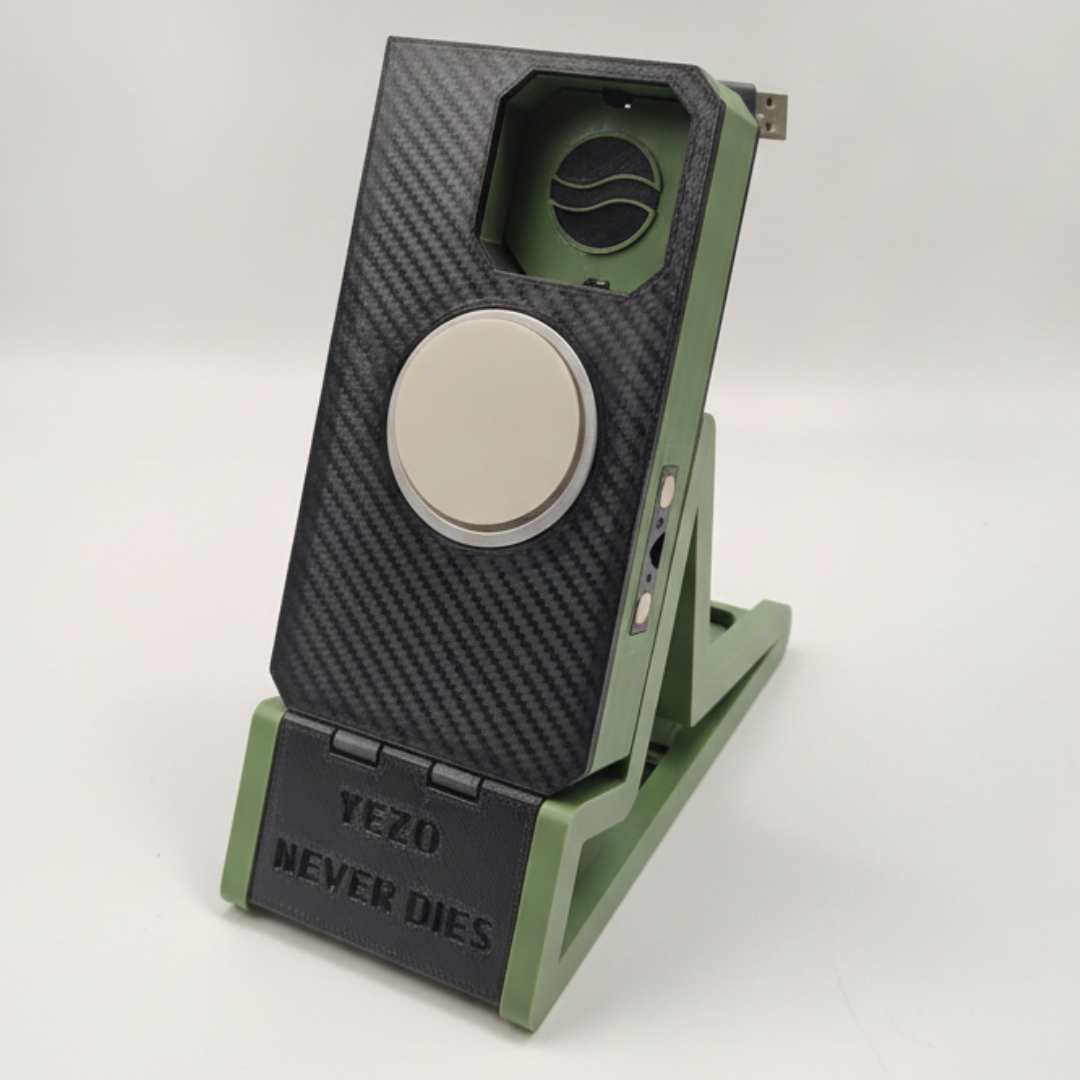
Because the ZERO power bank uses swappable 18650 cells, we engineered the hidden pocket on the back of this stand to double as a clean storage bay for a spare cell. When you're working on the go, you have your device stand, your charging cable, and your backup power cell all nestled in one flat-folding unit.
- 💬 Join the ecosystem on Discord: https://discord.gg/NEGxbPztXZ
- 🌐 Check out the project: https://go.nomorezero.com
- 📬 Back us on Kickstarter: https://www.kickstarter.com/projects/ctrlenergy/zero-portable-battery
Gather Materials & Slicer Settings
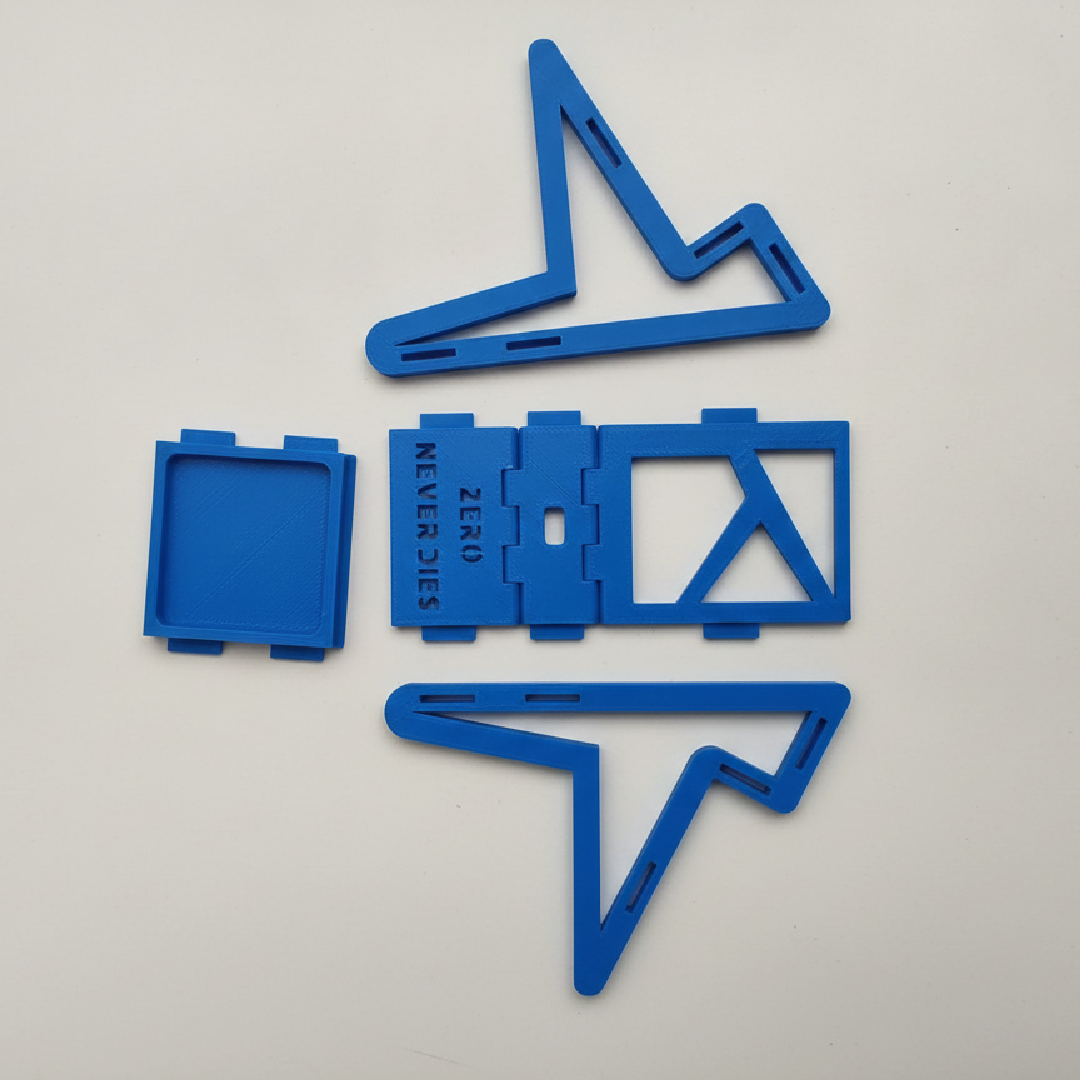
To bring this community design to life, you only need your 3D printer and a single filament of your choice.
Materials:
- Filament: PLA, PETG, or ABS/ASA. (ABS or ASA works beautifully if you want a premium, heat-resistant matte finish for travel).
- 3D Printer: Any standard FDM printer.
Slicer Configuration:
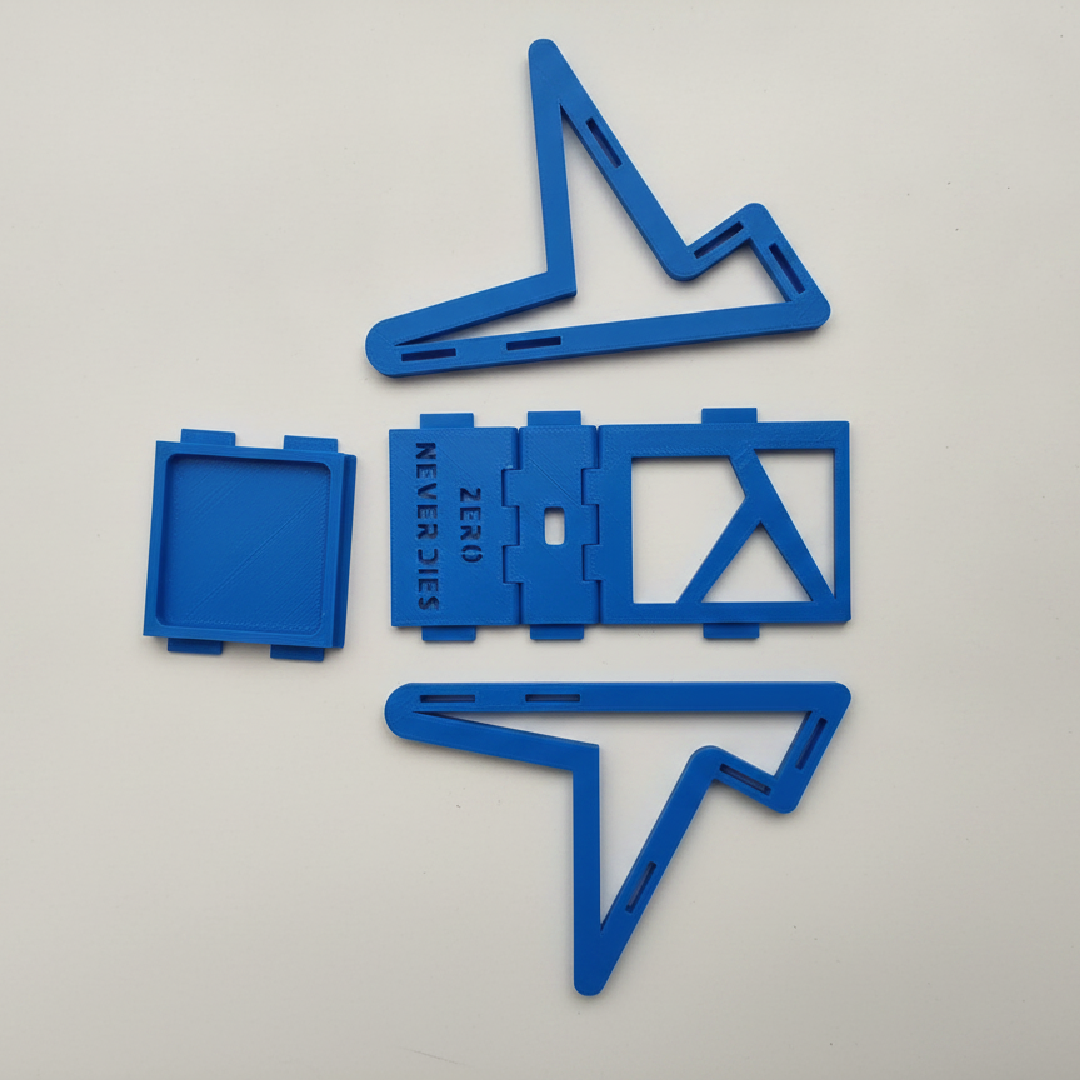
Because the hinges are printed already assembled in a single flat layer, your slicer settings are critical.
- Layer Height: 0.2 mm is the absolute sweet spot. Any thicker and the internal hinge clearance might fuse.
- Infill: 15% to 20% (Gyroid pattern works great for structural strength).
- Supports: Disabled / OFF. The entire model is optimized to bridge gaps natively without any support material.
Printing & the Crucial First Layer
Go ahead and send the sliced file to your printer.
⚠️ The Golden Rule: A perfectly calibrated first layer is everything for this print.
If your nozzle is printing too close to the bed, the plastic will squish outward (a phenomenon known as "elephant's foot"). Because the clearance inside the rotating hinges is tight, excessive first-layer squish can permanently fuse the hinge parts together, turning your folding stand into a solid, unmovable plate. Ensure your bed leveling and z-offset are dialed in before starting!
Breaking the Hinges Free & Assembly
Once the print is finished, let the build plate cool down completely before removing the model. Removing it hot can warp the plastic and ruin the hinge alignment.
1.Lift & inspect:Post-print check.
Carefully peel the flat stand off your build plate. Inspect the bottom layer to ensure no plastic ran together across the hinge gaps.
2.The first gentle flex:Listen for the snap.
Hold the main frame firmly with both hands. Apply a slow, steady, and gentle flexing pressure to the hinged joints. You will hear a sharp, clean crack—this is the tiny, intentional fuse points cleanly breaking free.
3.Work the joint:Ensure smooth action.
Swing the support arms back and forth a few times to clear out any stray plastic dust and ensure the rotation is silky smooth.
4.Fold and Lock:Deploy the stand.
Swing the main frame up and slide the locking bar into the notched grooves on the base to set your viewing angle. Drop a spare 18650 cell or a USB cable into the rear pocket, and you are ready to roll!