Tie Guys' Tie Guide for Tying Windsor Ties.
by Tieguy679 in Craft > Fashion
388 Views, 1 Favorites, 0 Comments
Tie Guys' Tie Guide for Tying Windsor Ties.

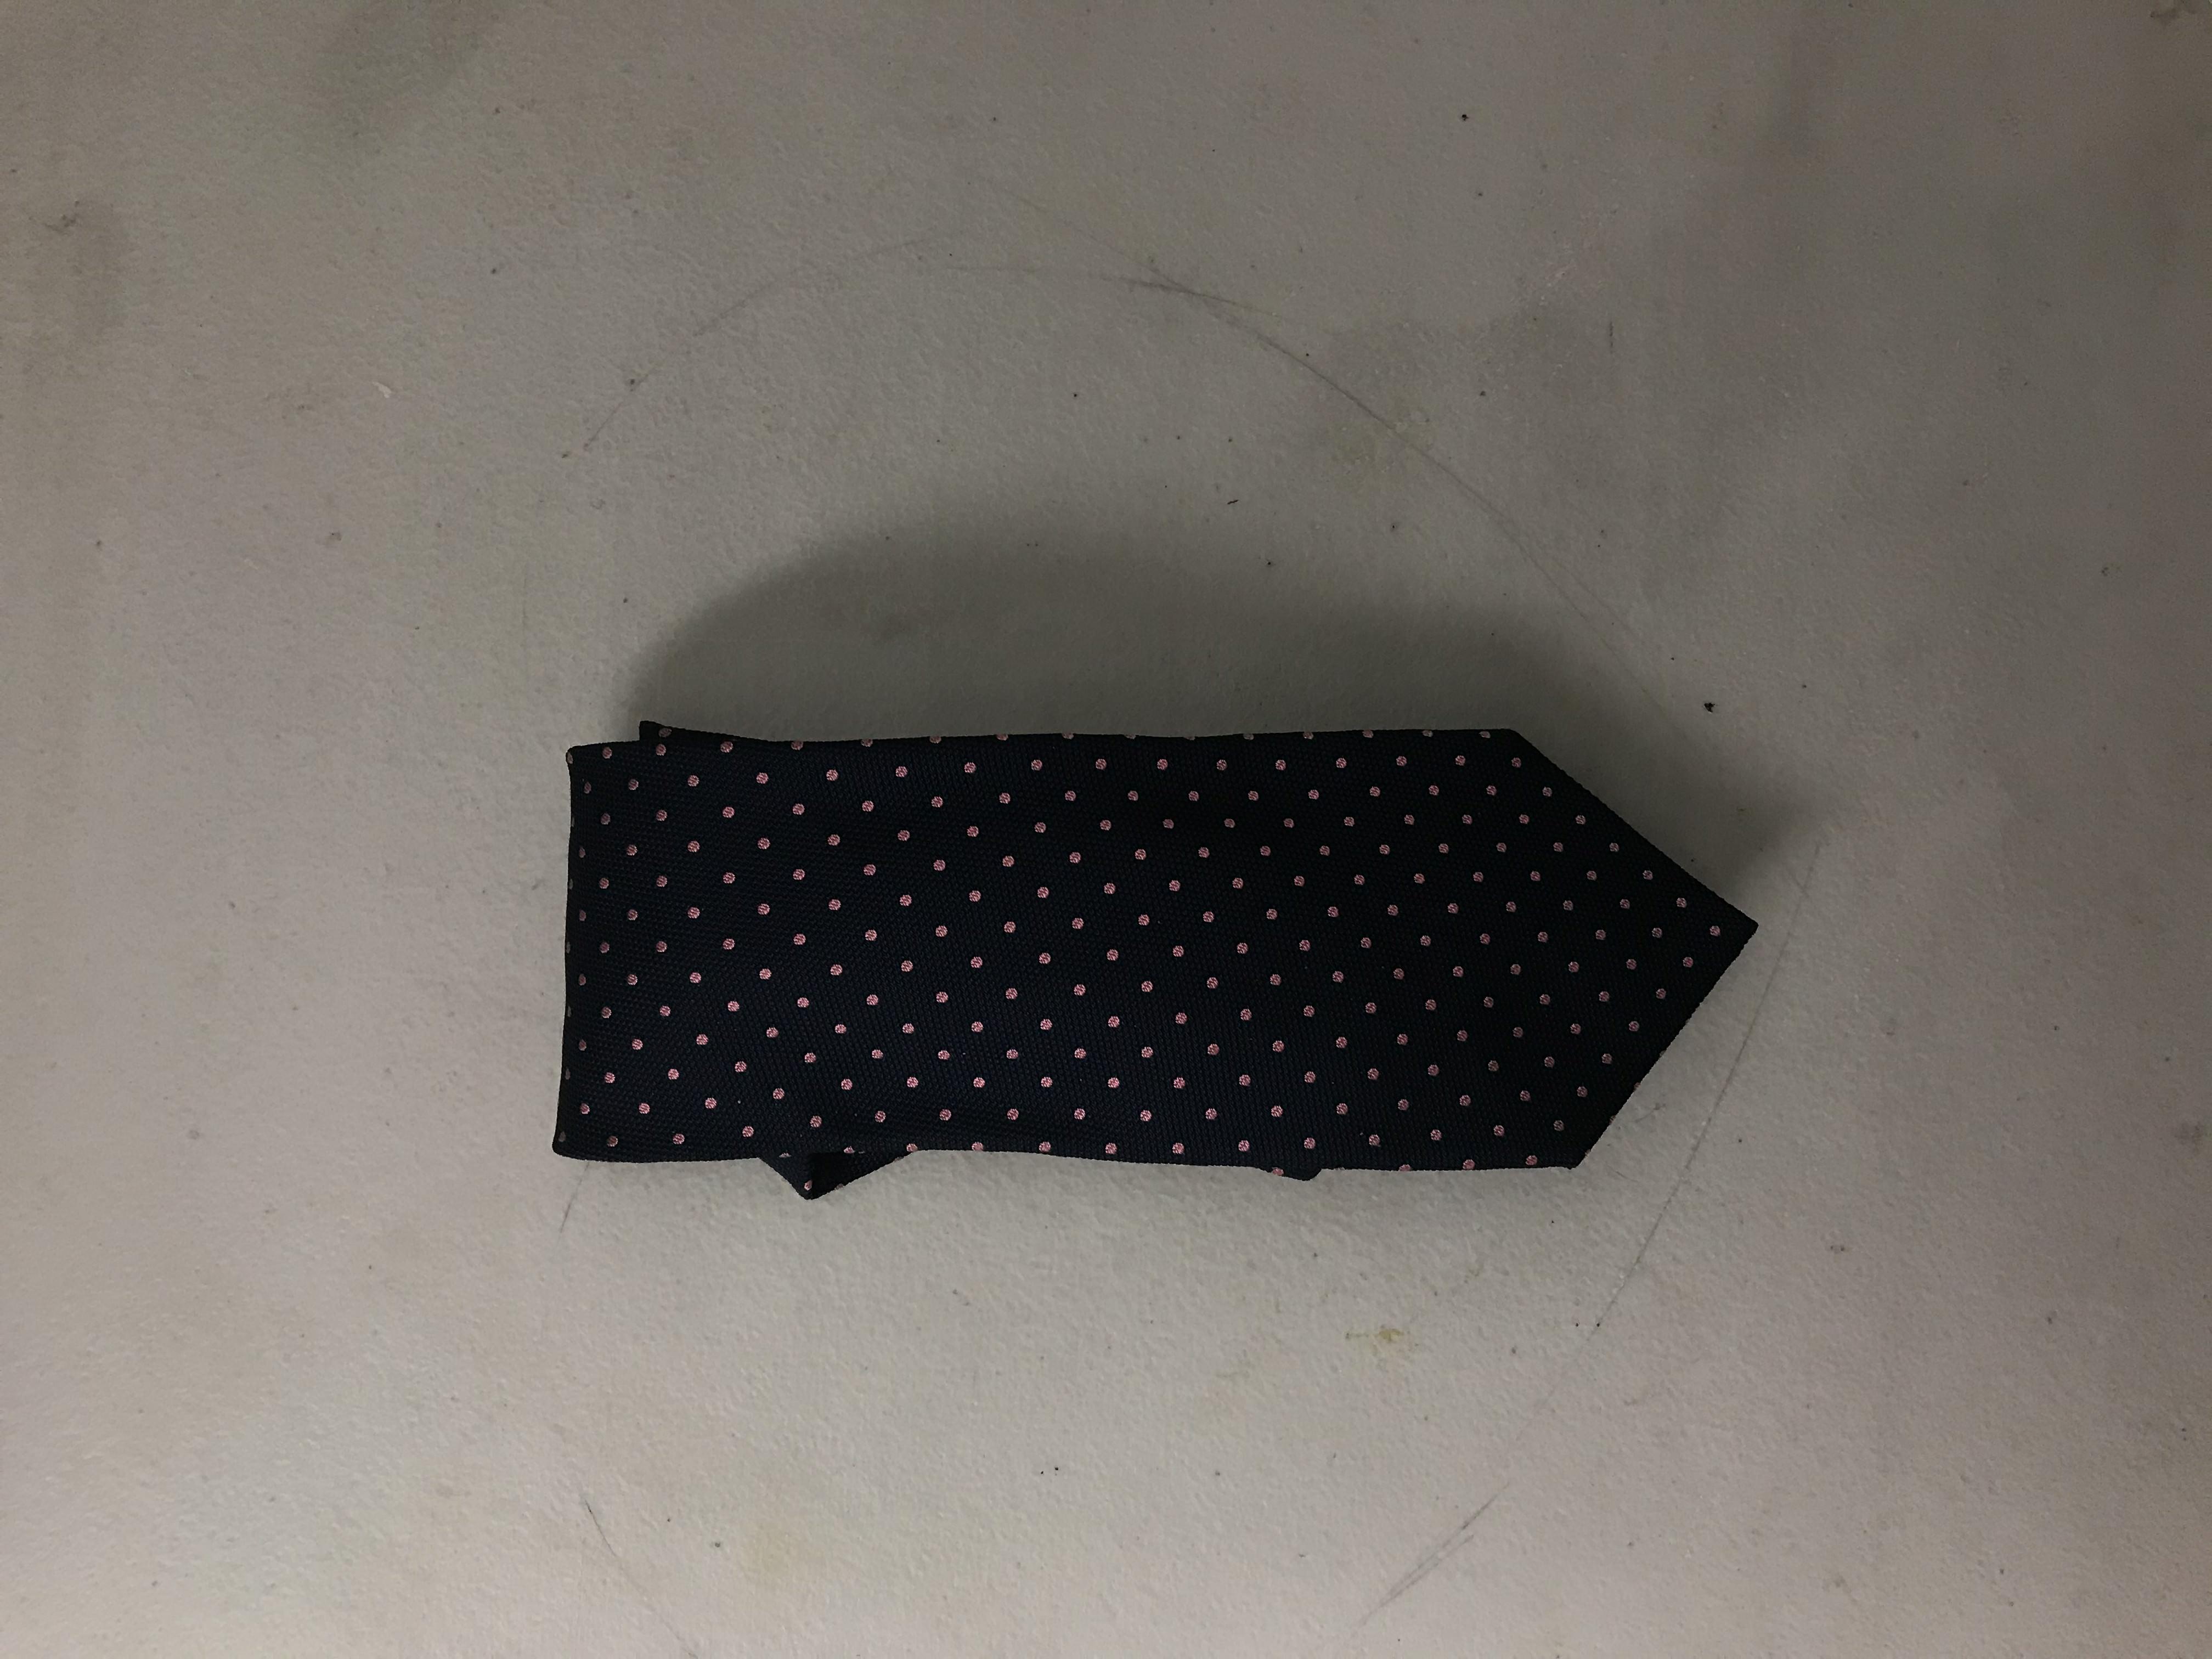
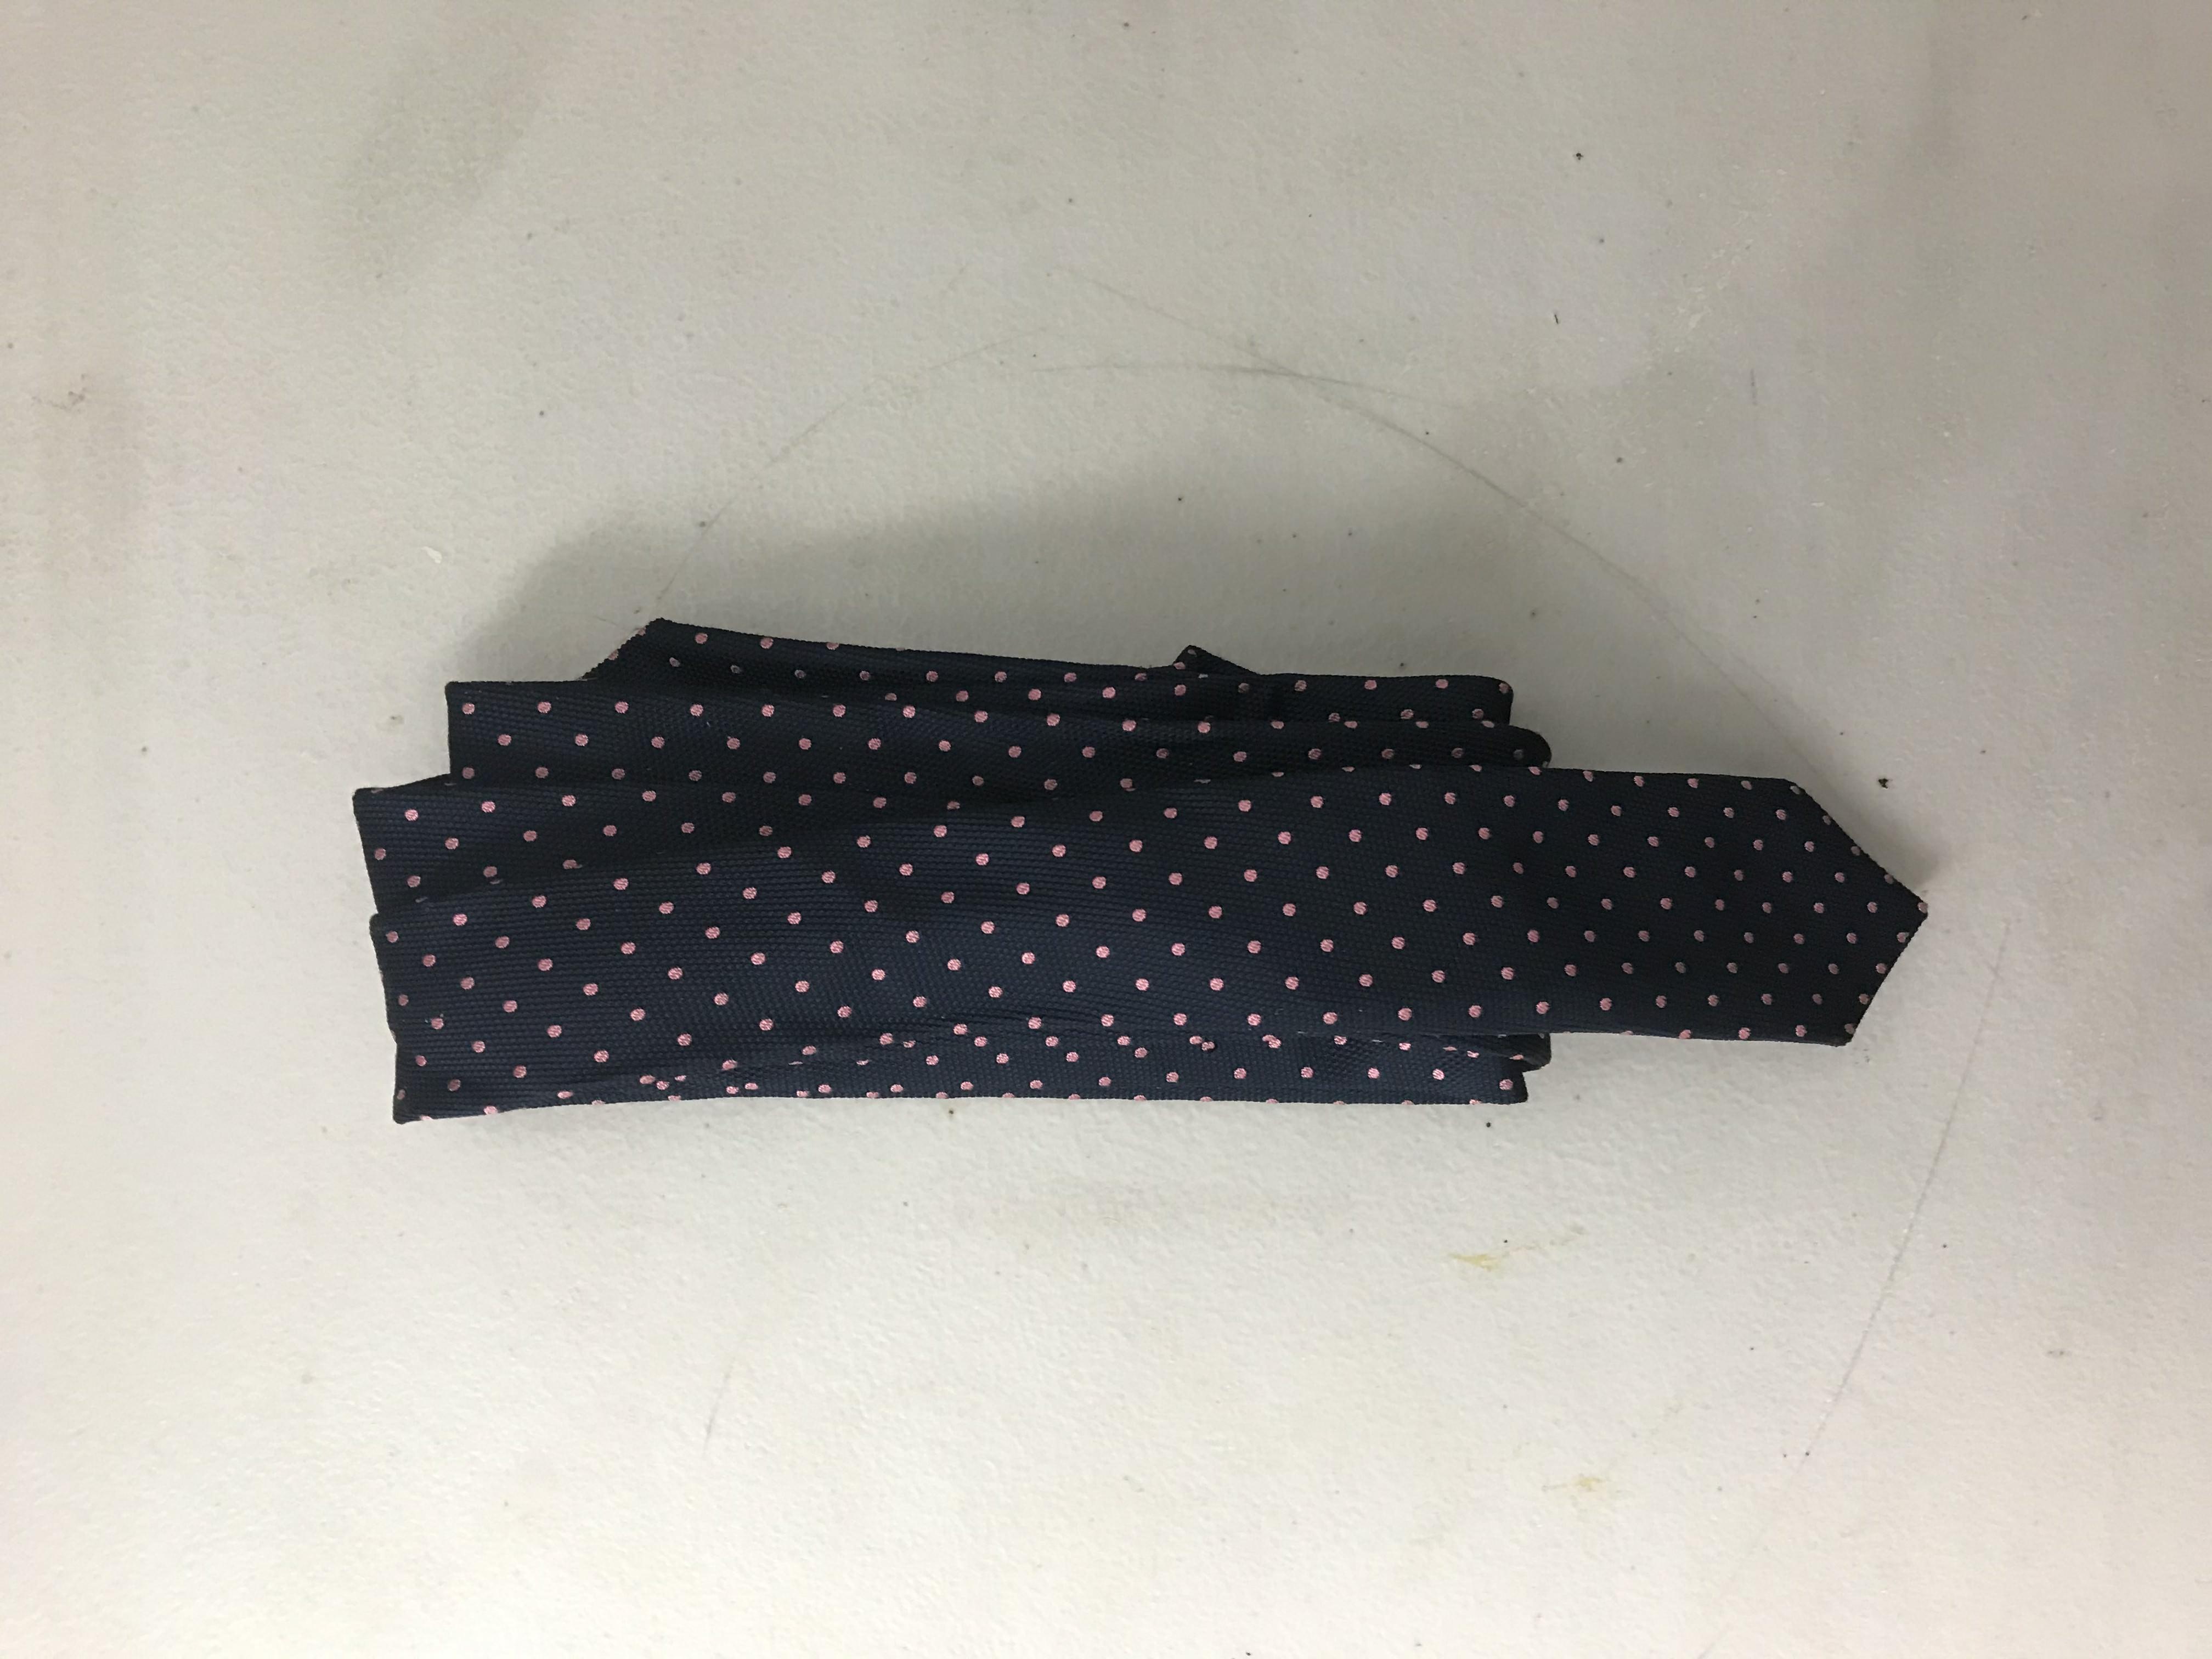
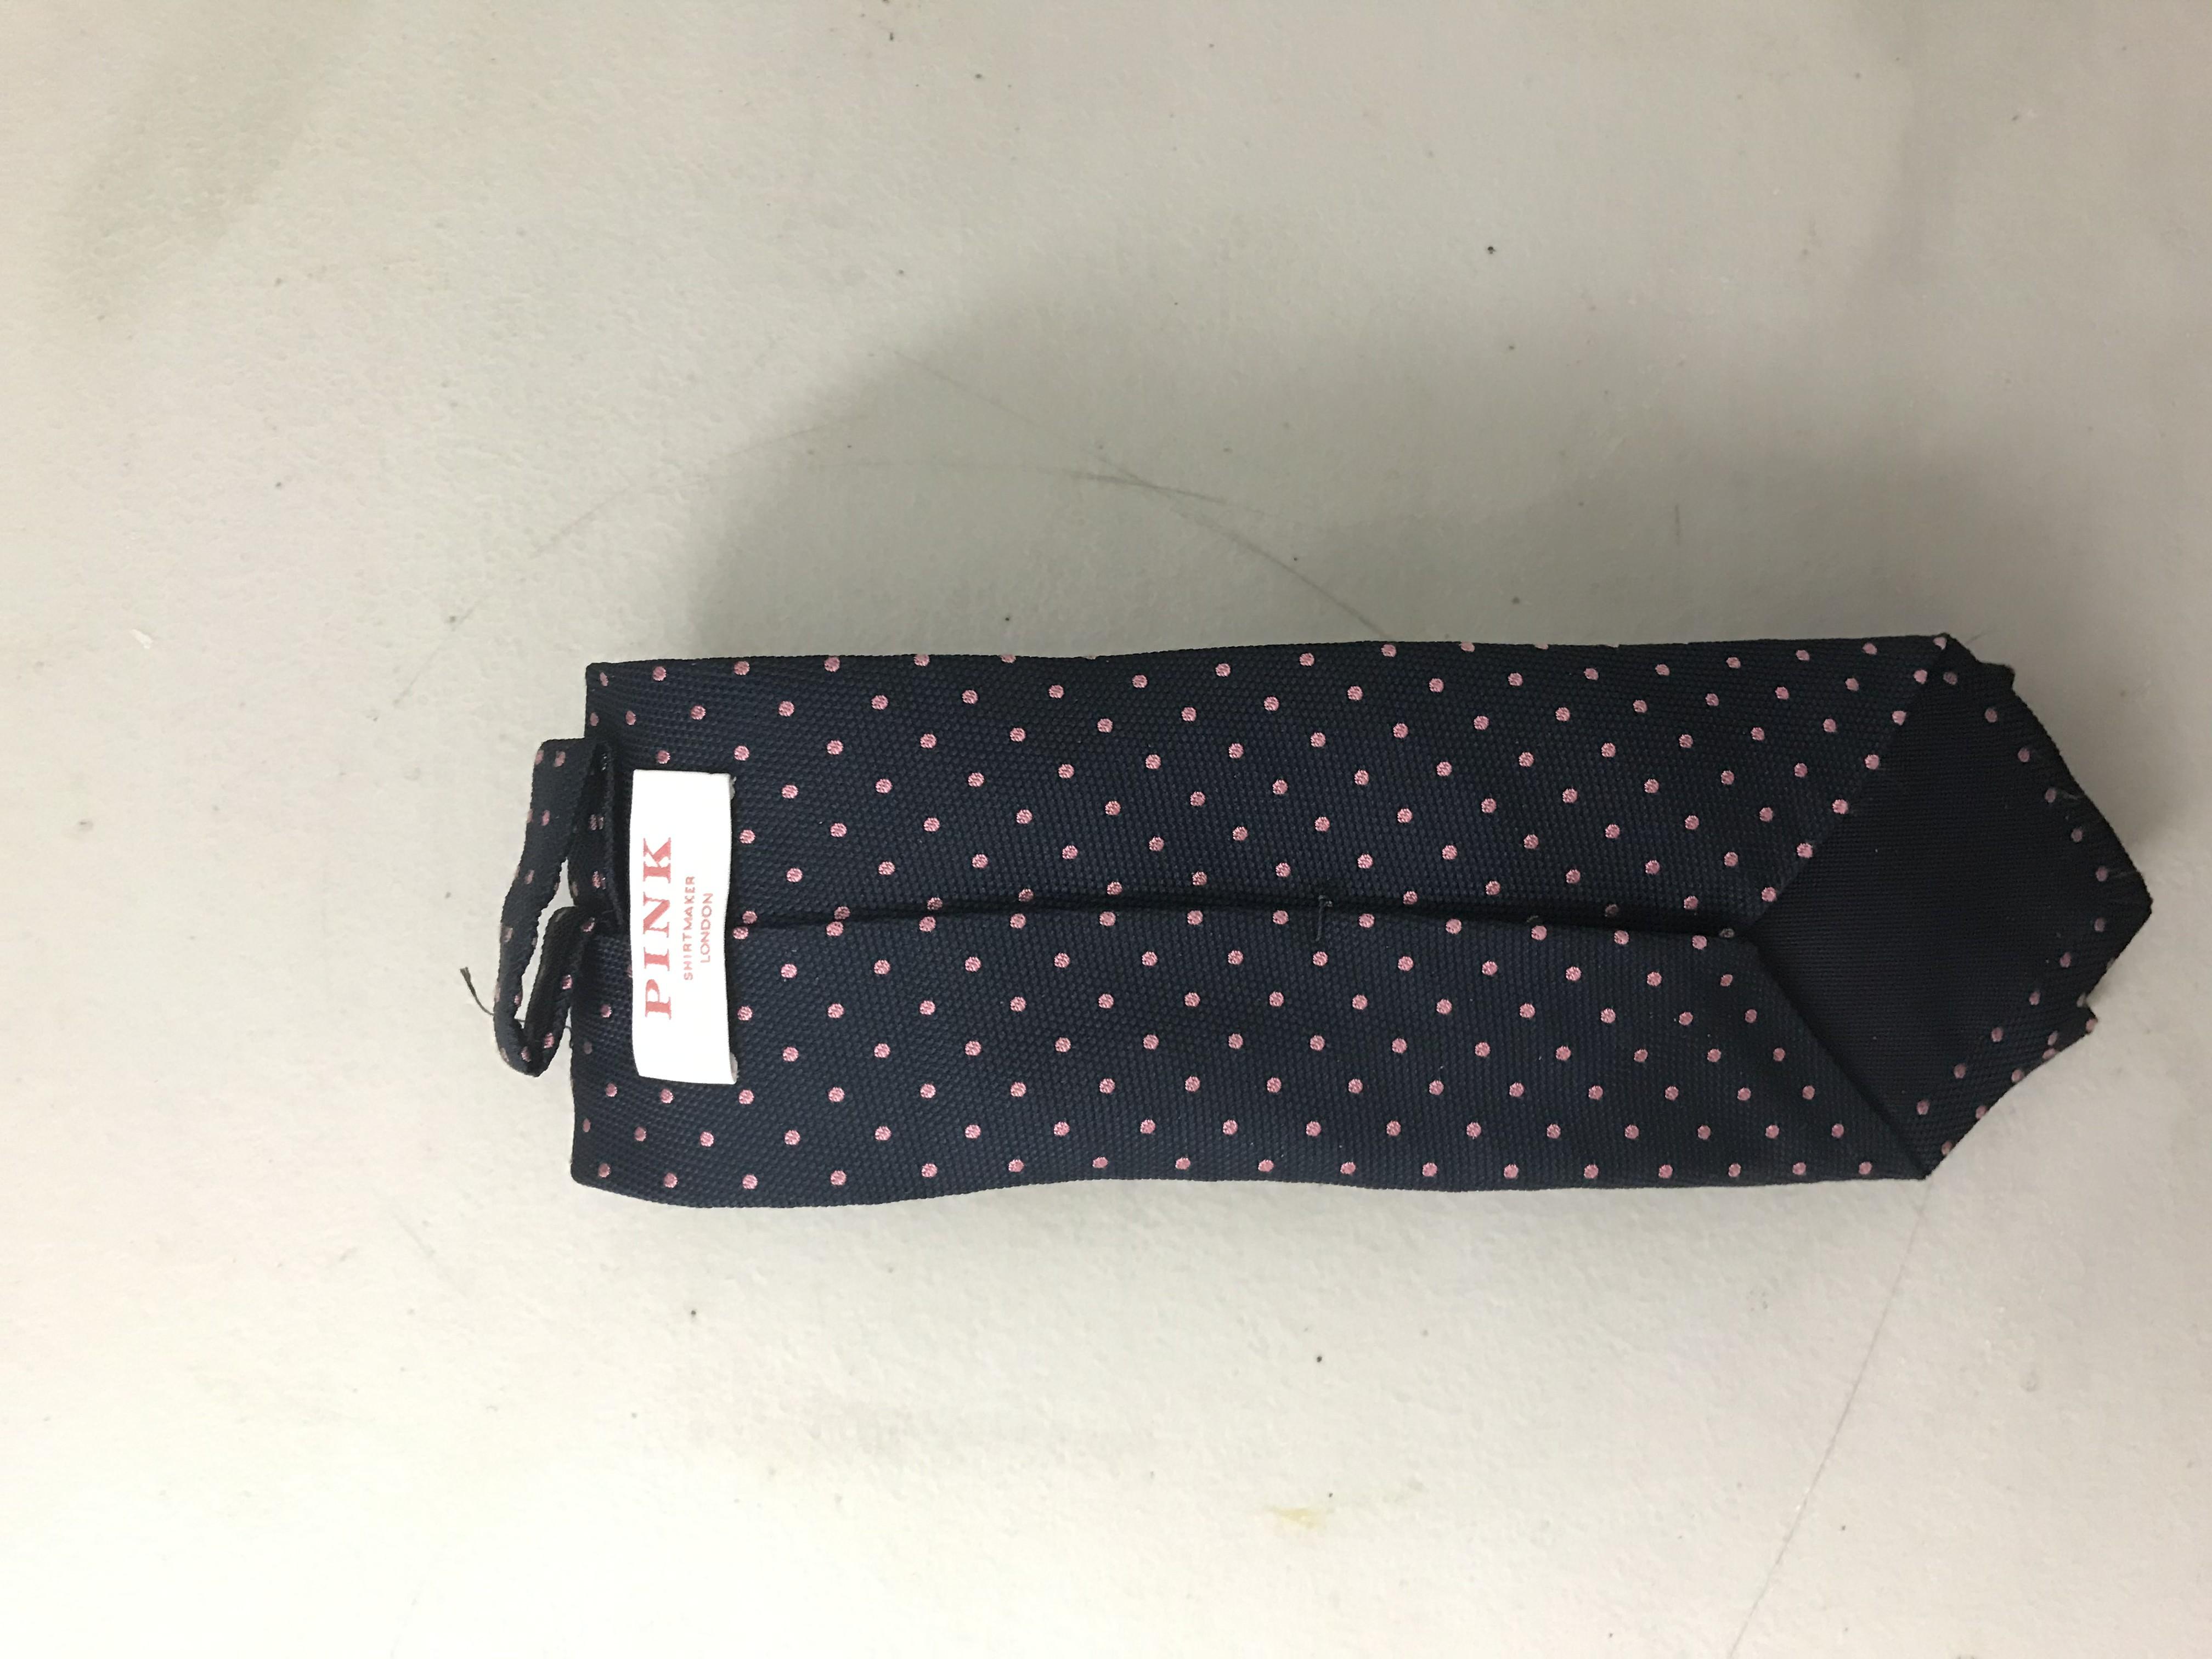
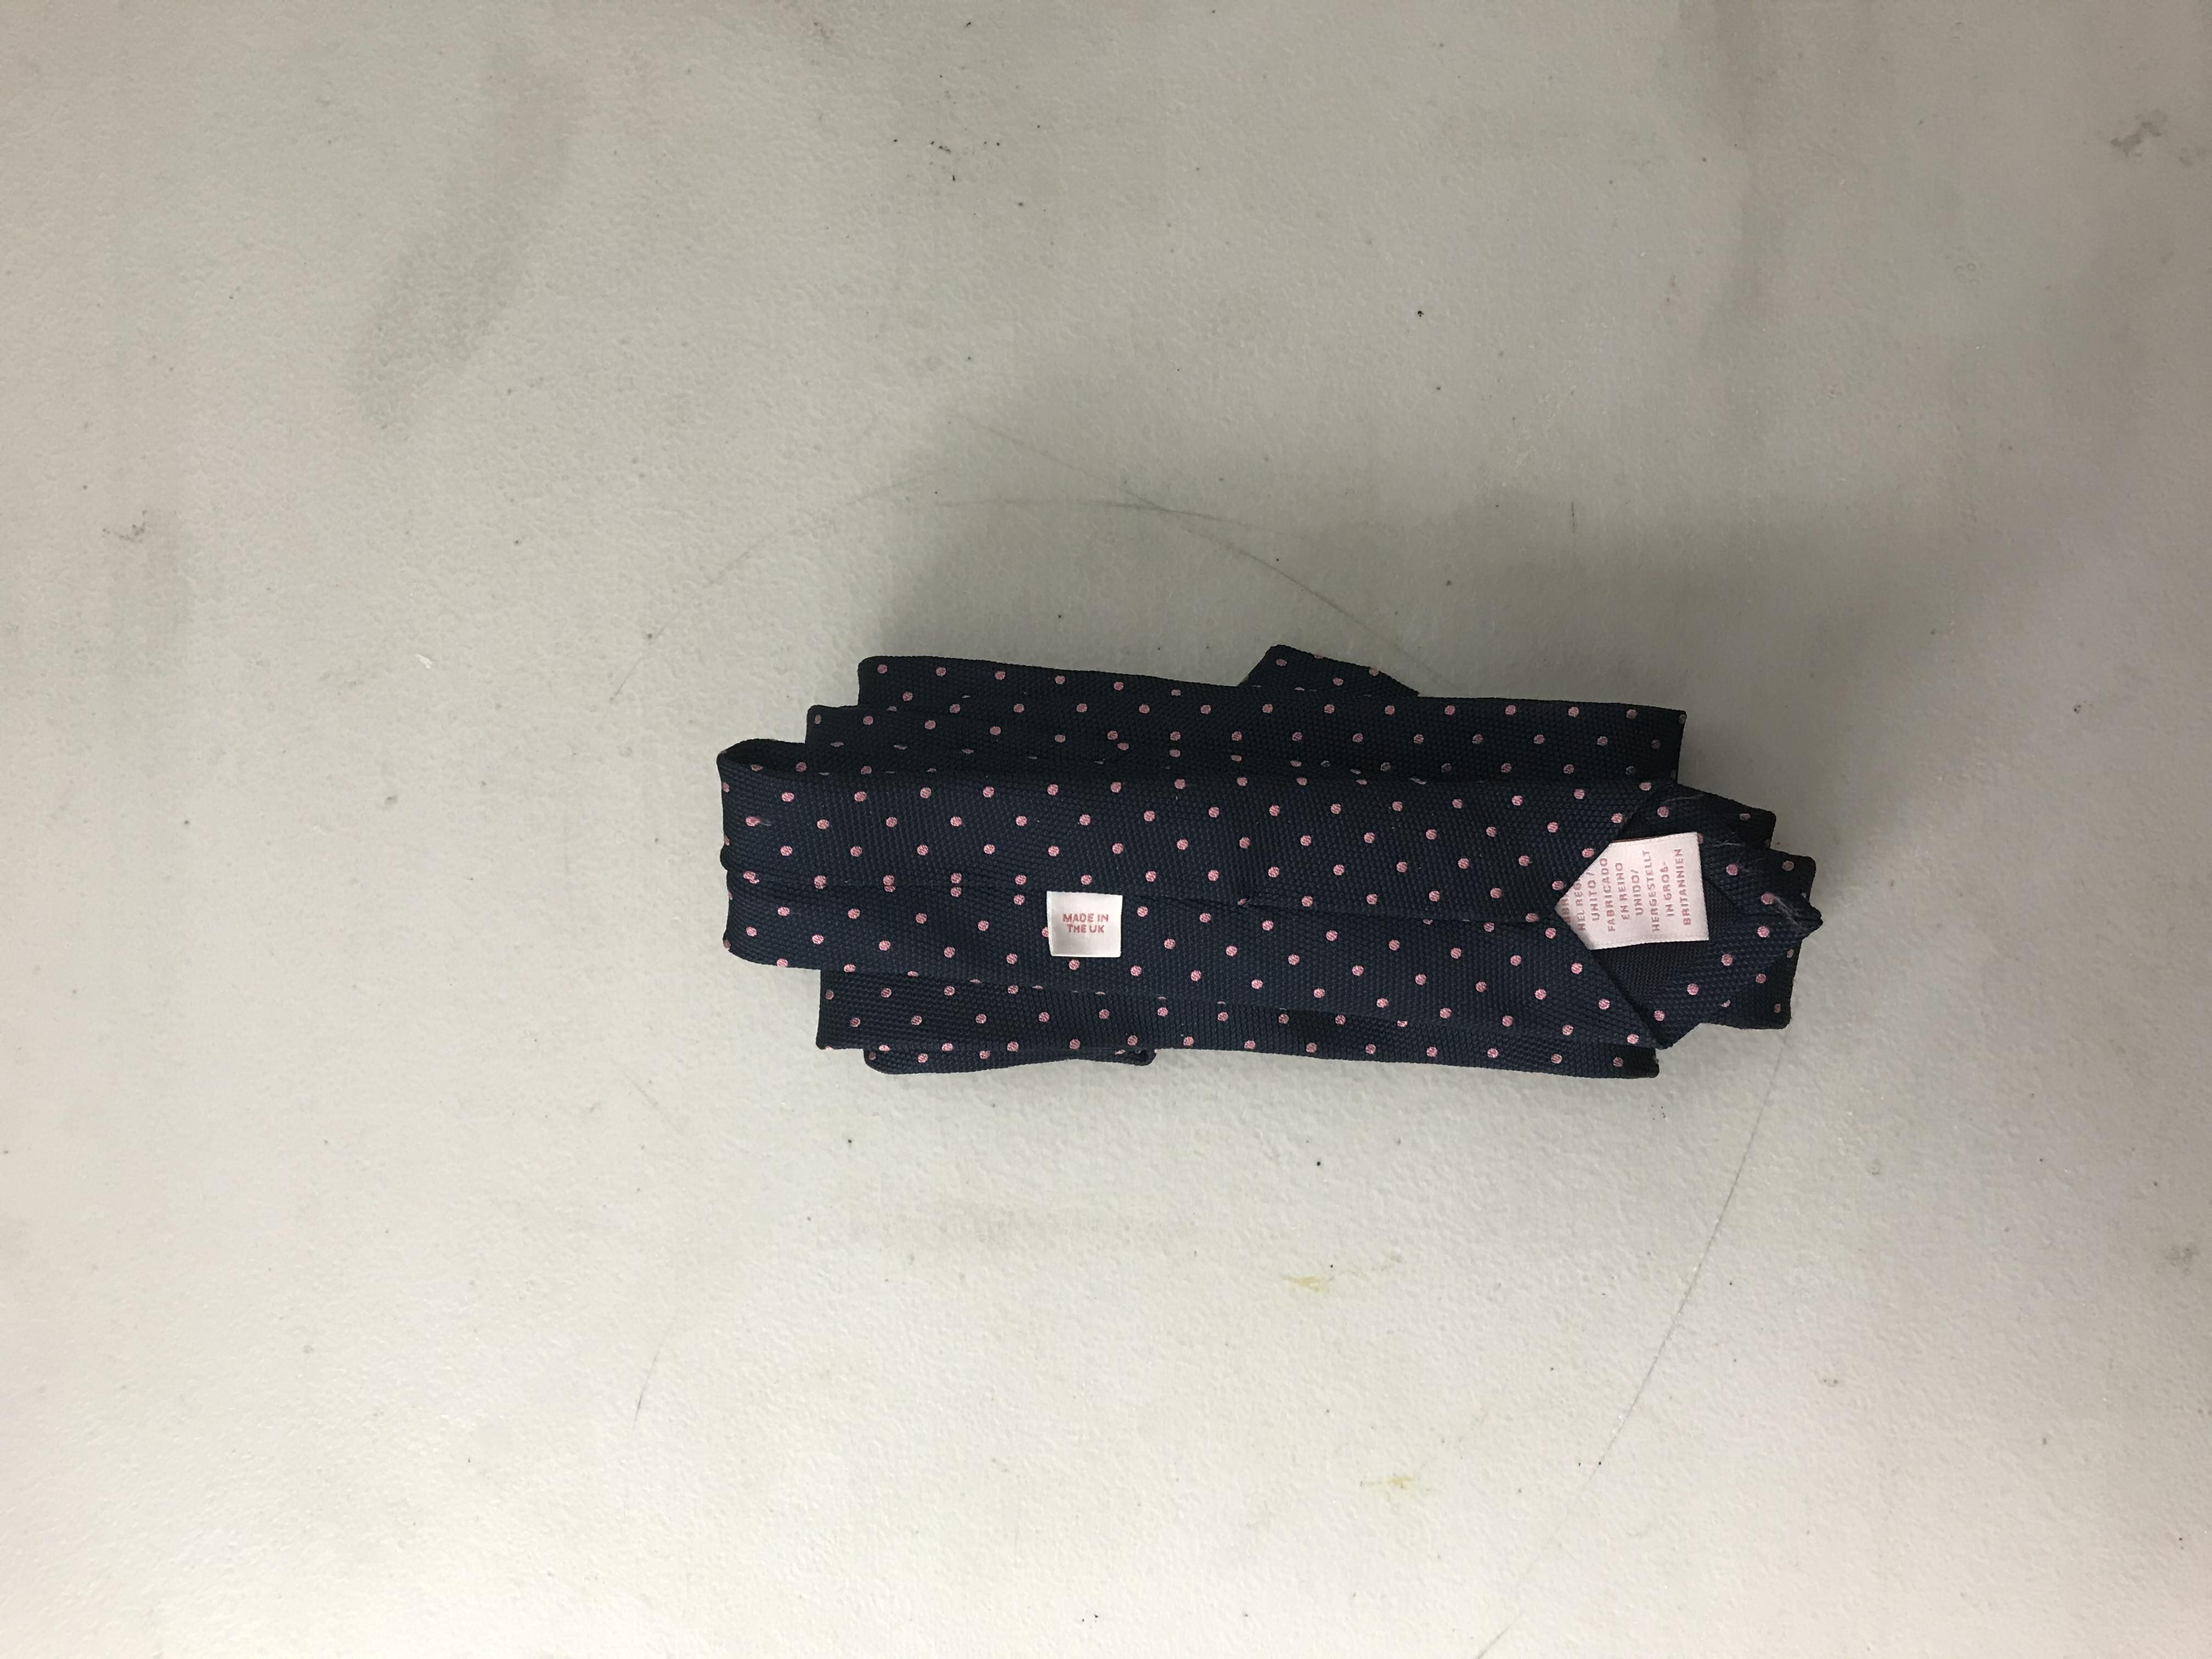
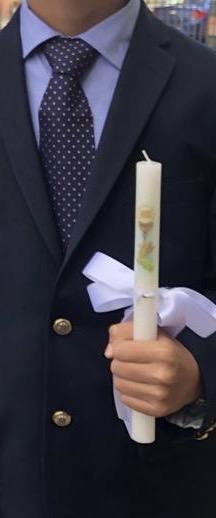
Named after the notorious Duke of Windsor, the full Windsor knot was made popular by the public who wished to make their ties look like those of the duke who famously wore his wide and thick. Such a knot is now considered the standard for formal outings and is one of the most recognizable and popular knots.
This knot is characterized by its symmetry and largeness in comparison to other tie knots. It is also self releasing and does not need a large collar to look appropriate. (This demonstration will be done without a collar for the purposes of understanding.
Parts of the Tie
1.The front, large end (seams face towards you)
2.The front, small end (seams face towards you)
3.The back, large end (seams face away)
4. The back, small end (seams face away)
The Setup

Once you’ve got all the different parts down, you can now set up your tie for tying. Here just place the tie around your neck(seams facing you) preferably with the large side on the right side of your chest.
Make sure that roughly 3/4 s of the tie is on the large end’s side.
X-marks the Spot
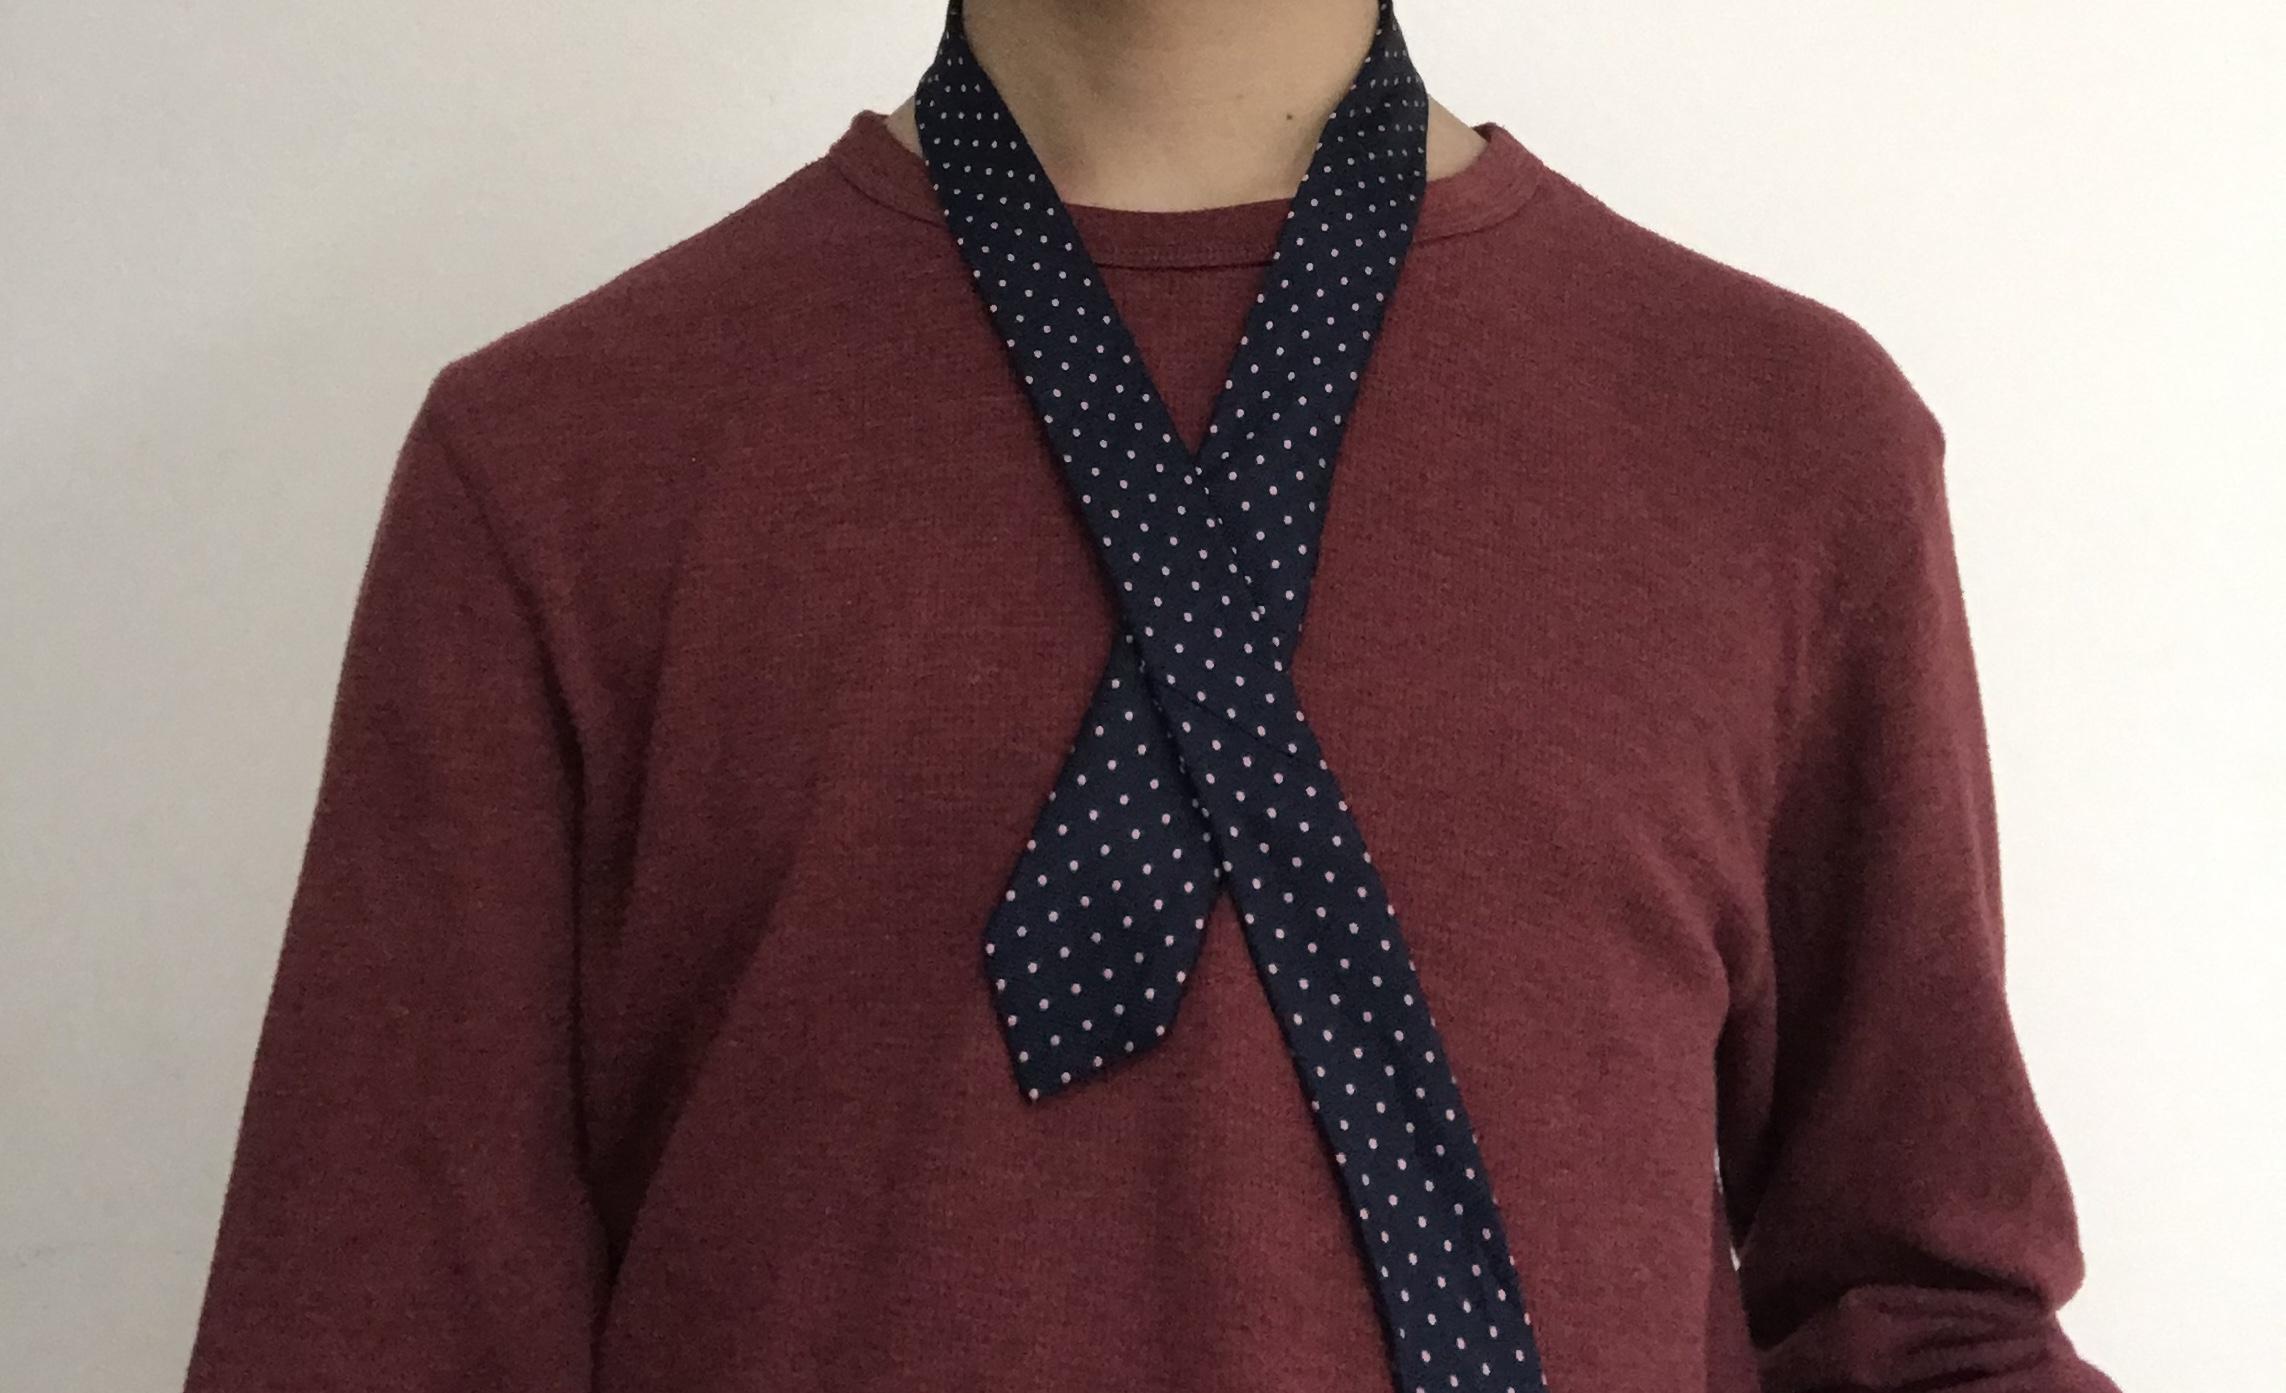
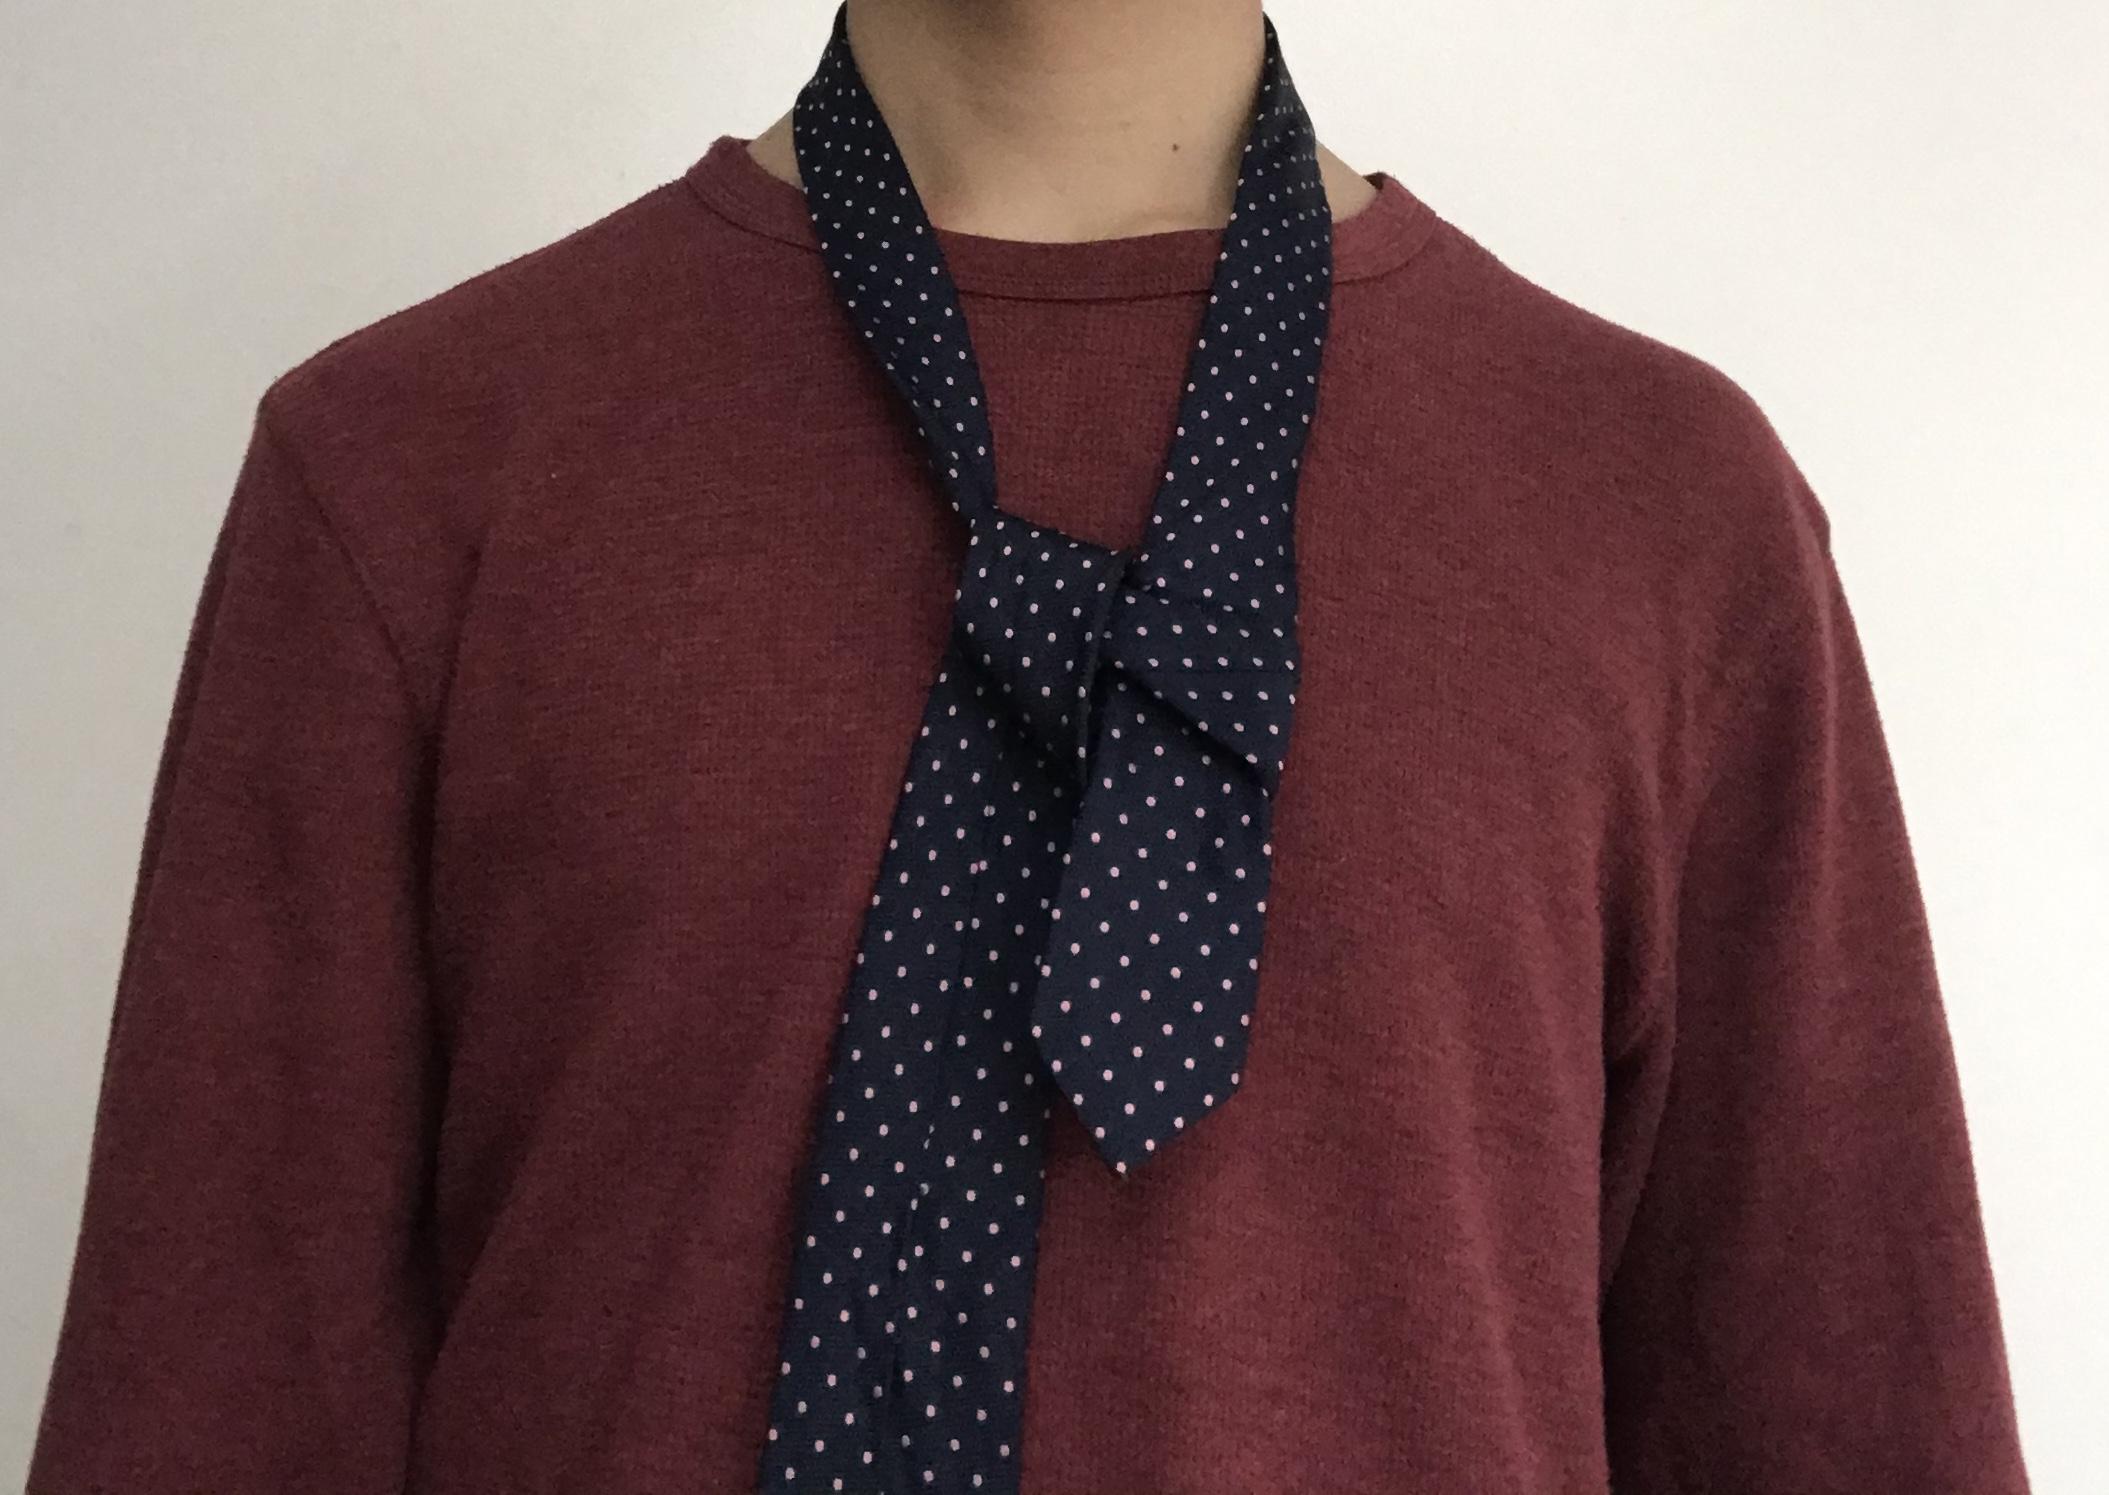
Now cross the front large end over the smaller end, making a loose X.
(You may want to play around with how much space you leave between your neck and the Knot while you're tying it as some people find it more comfortable to tie the knot farther from their neck and then later bring it up, while other prefer simply tying it close to their neck already)
First Half
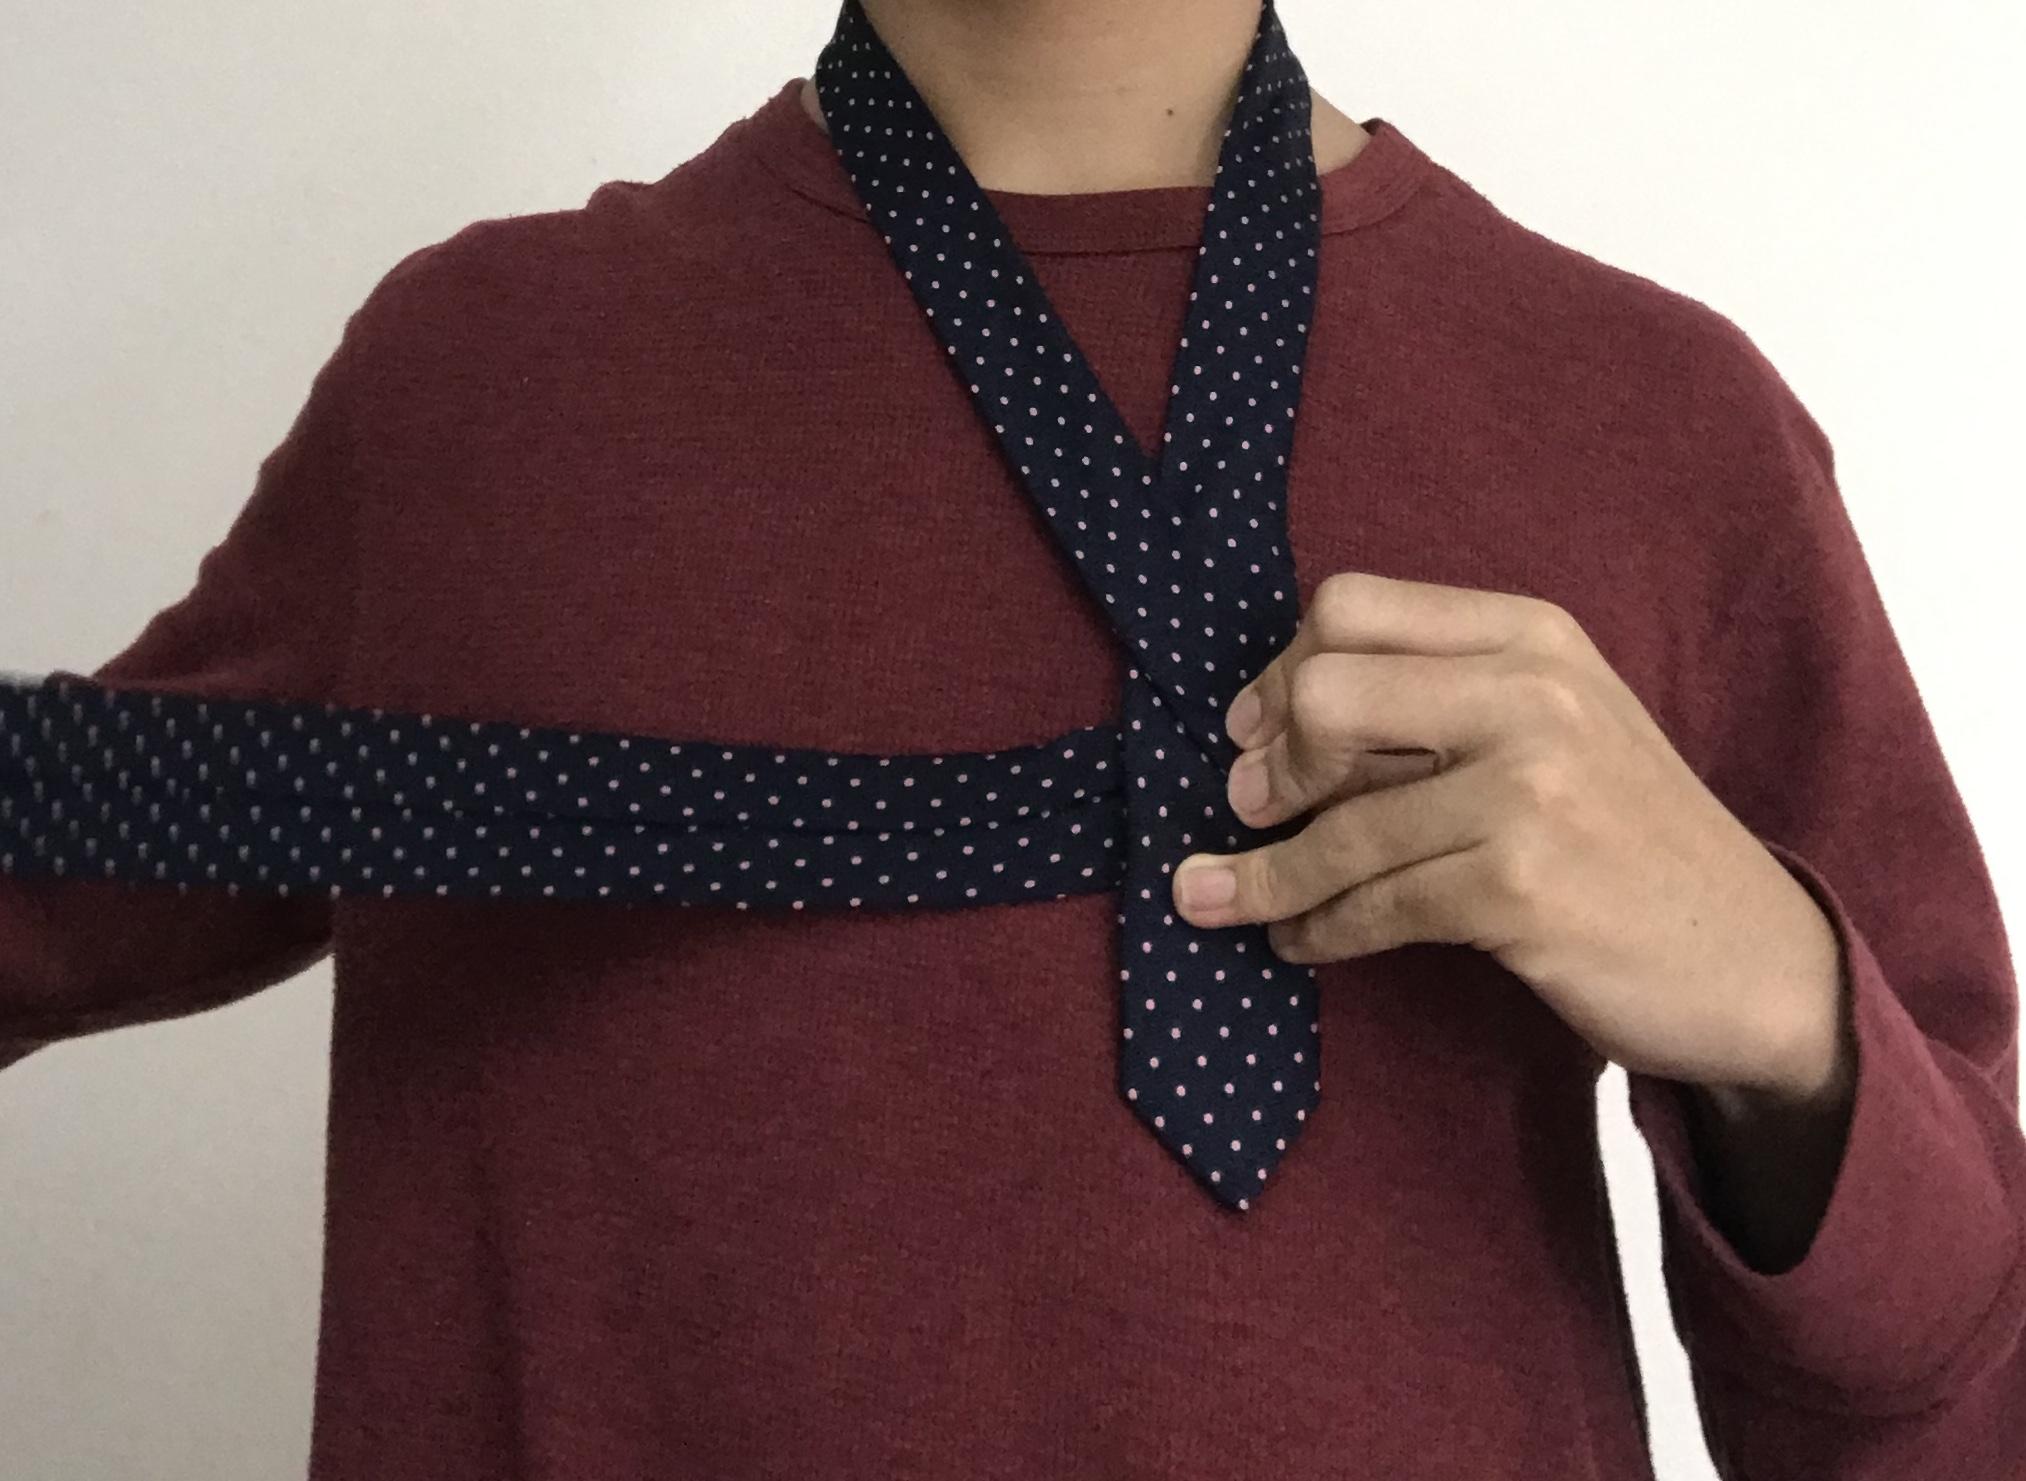
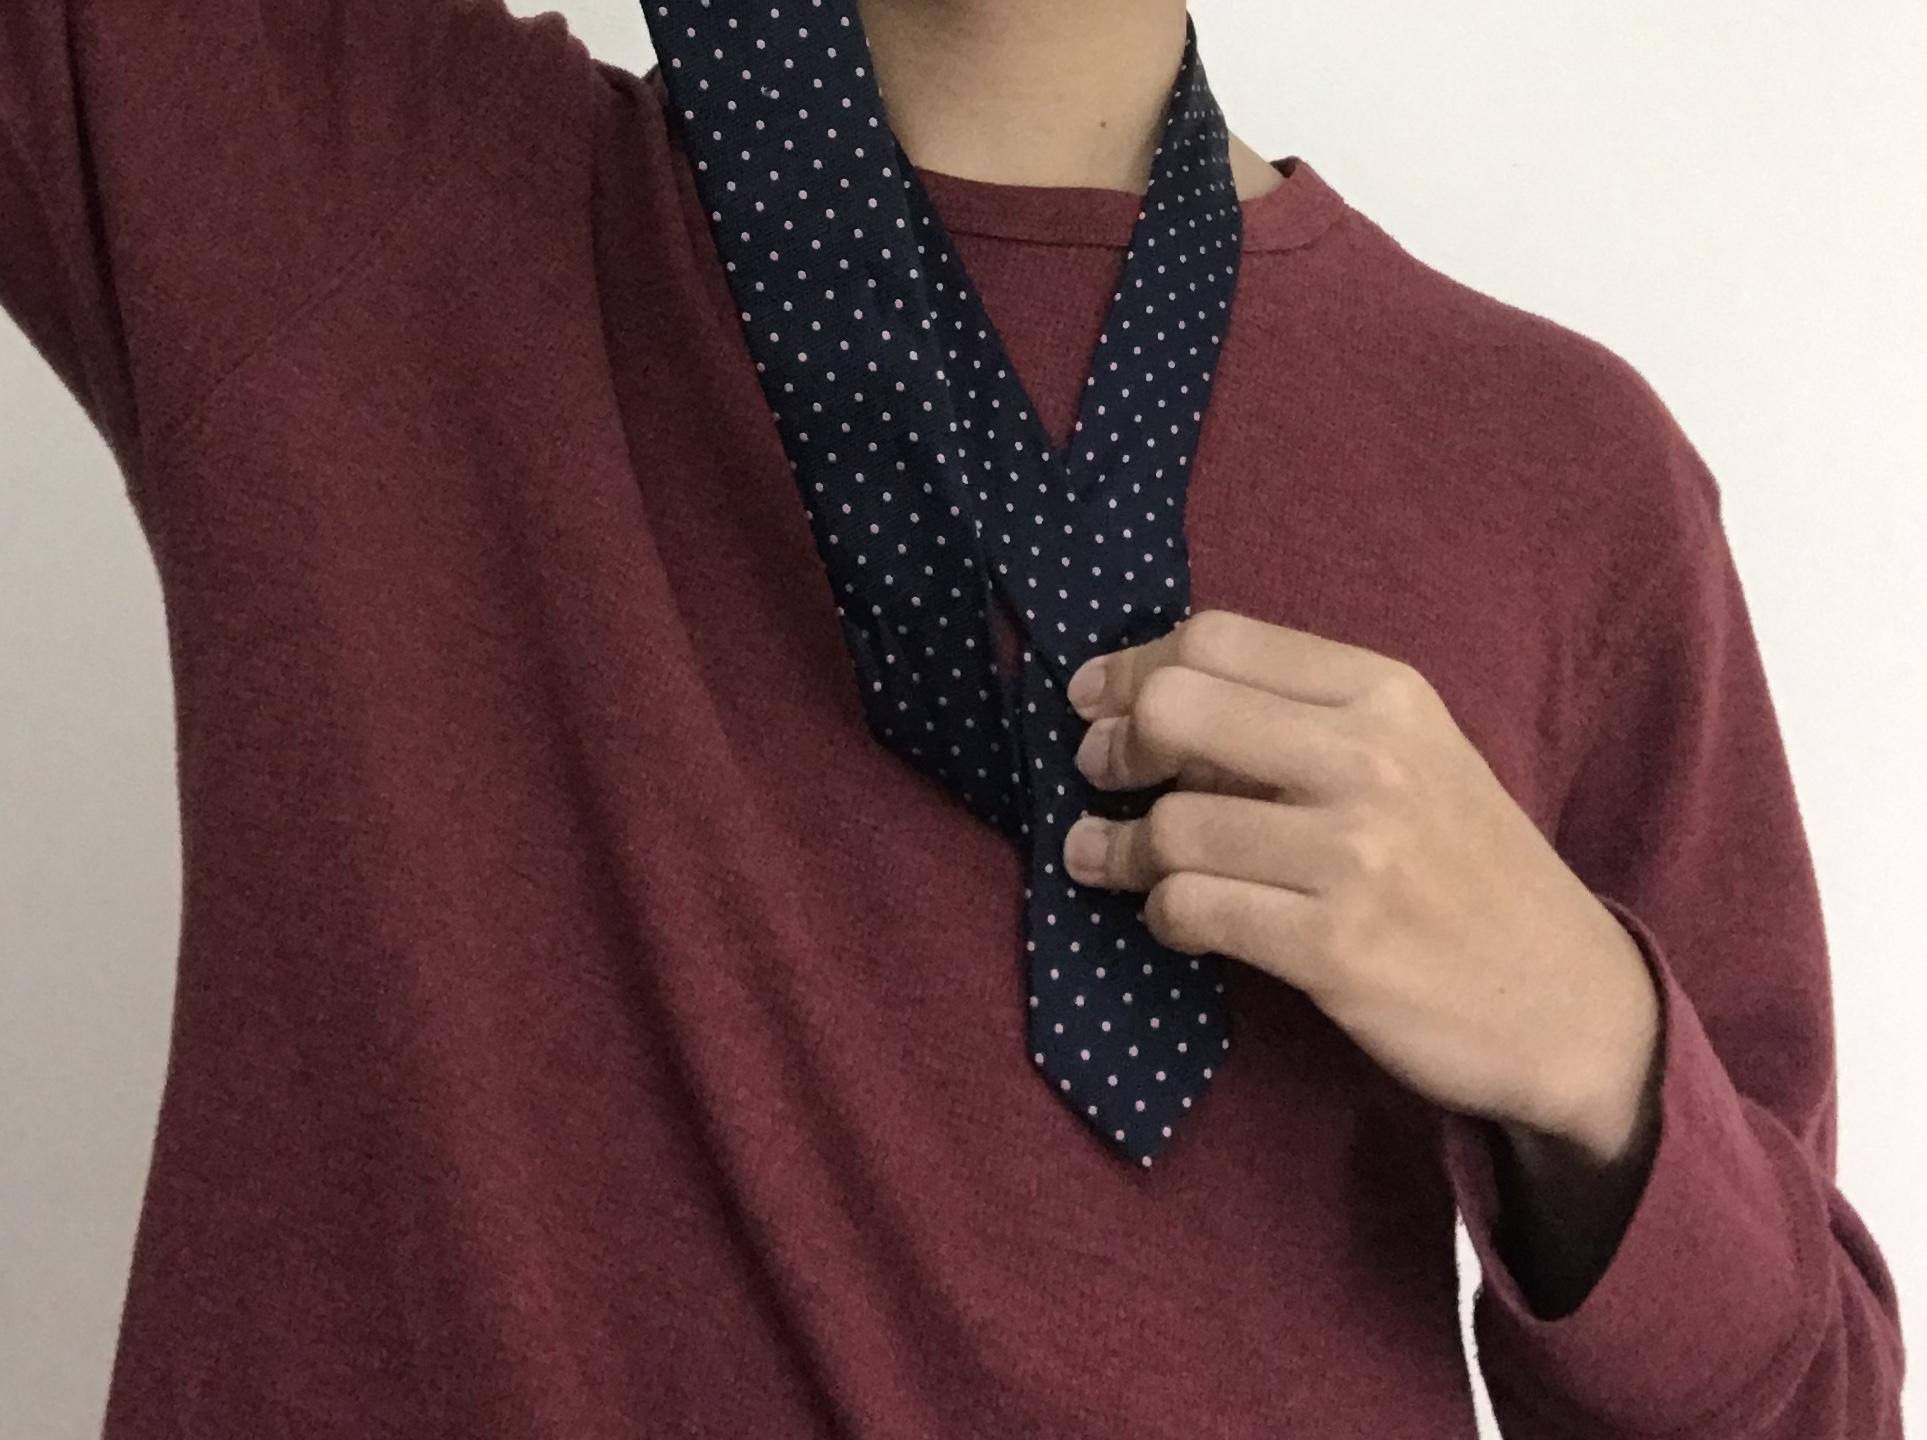
Next, we have a somewhat double step as there are two movements resulting in one shape.
First, pull the large end behind the smaller as indicated in the photo.
Then, carefully pull the front, large end through the X created in the previous step. As you do this the back, small end should momentarily face away from you.
First Half Pt.2
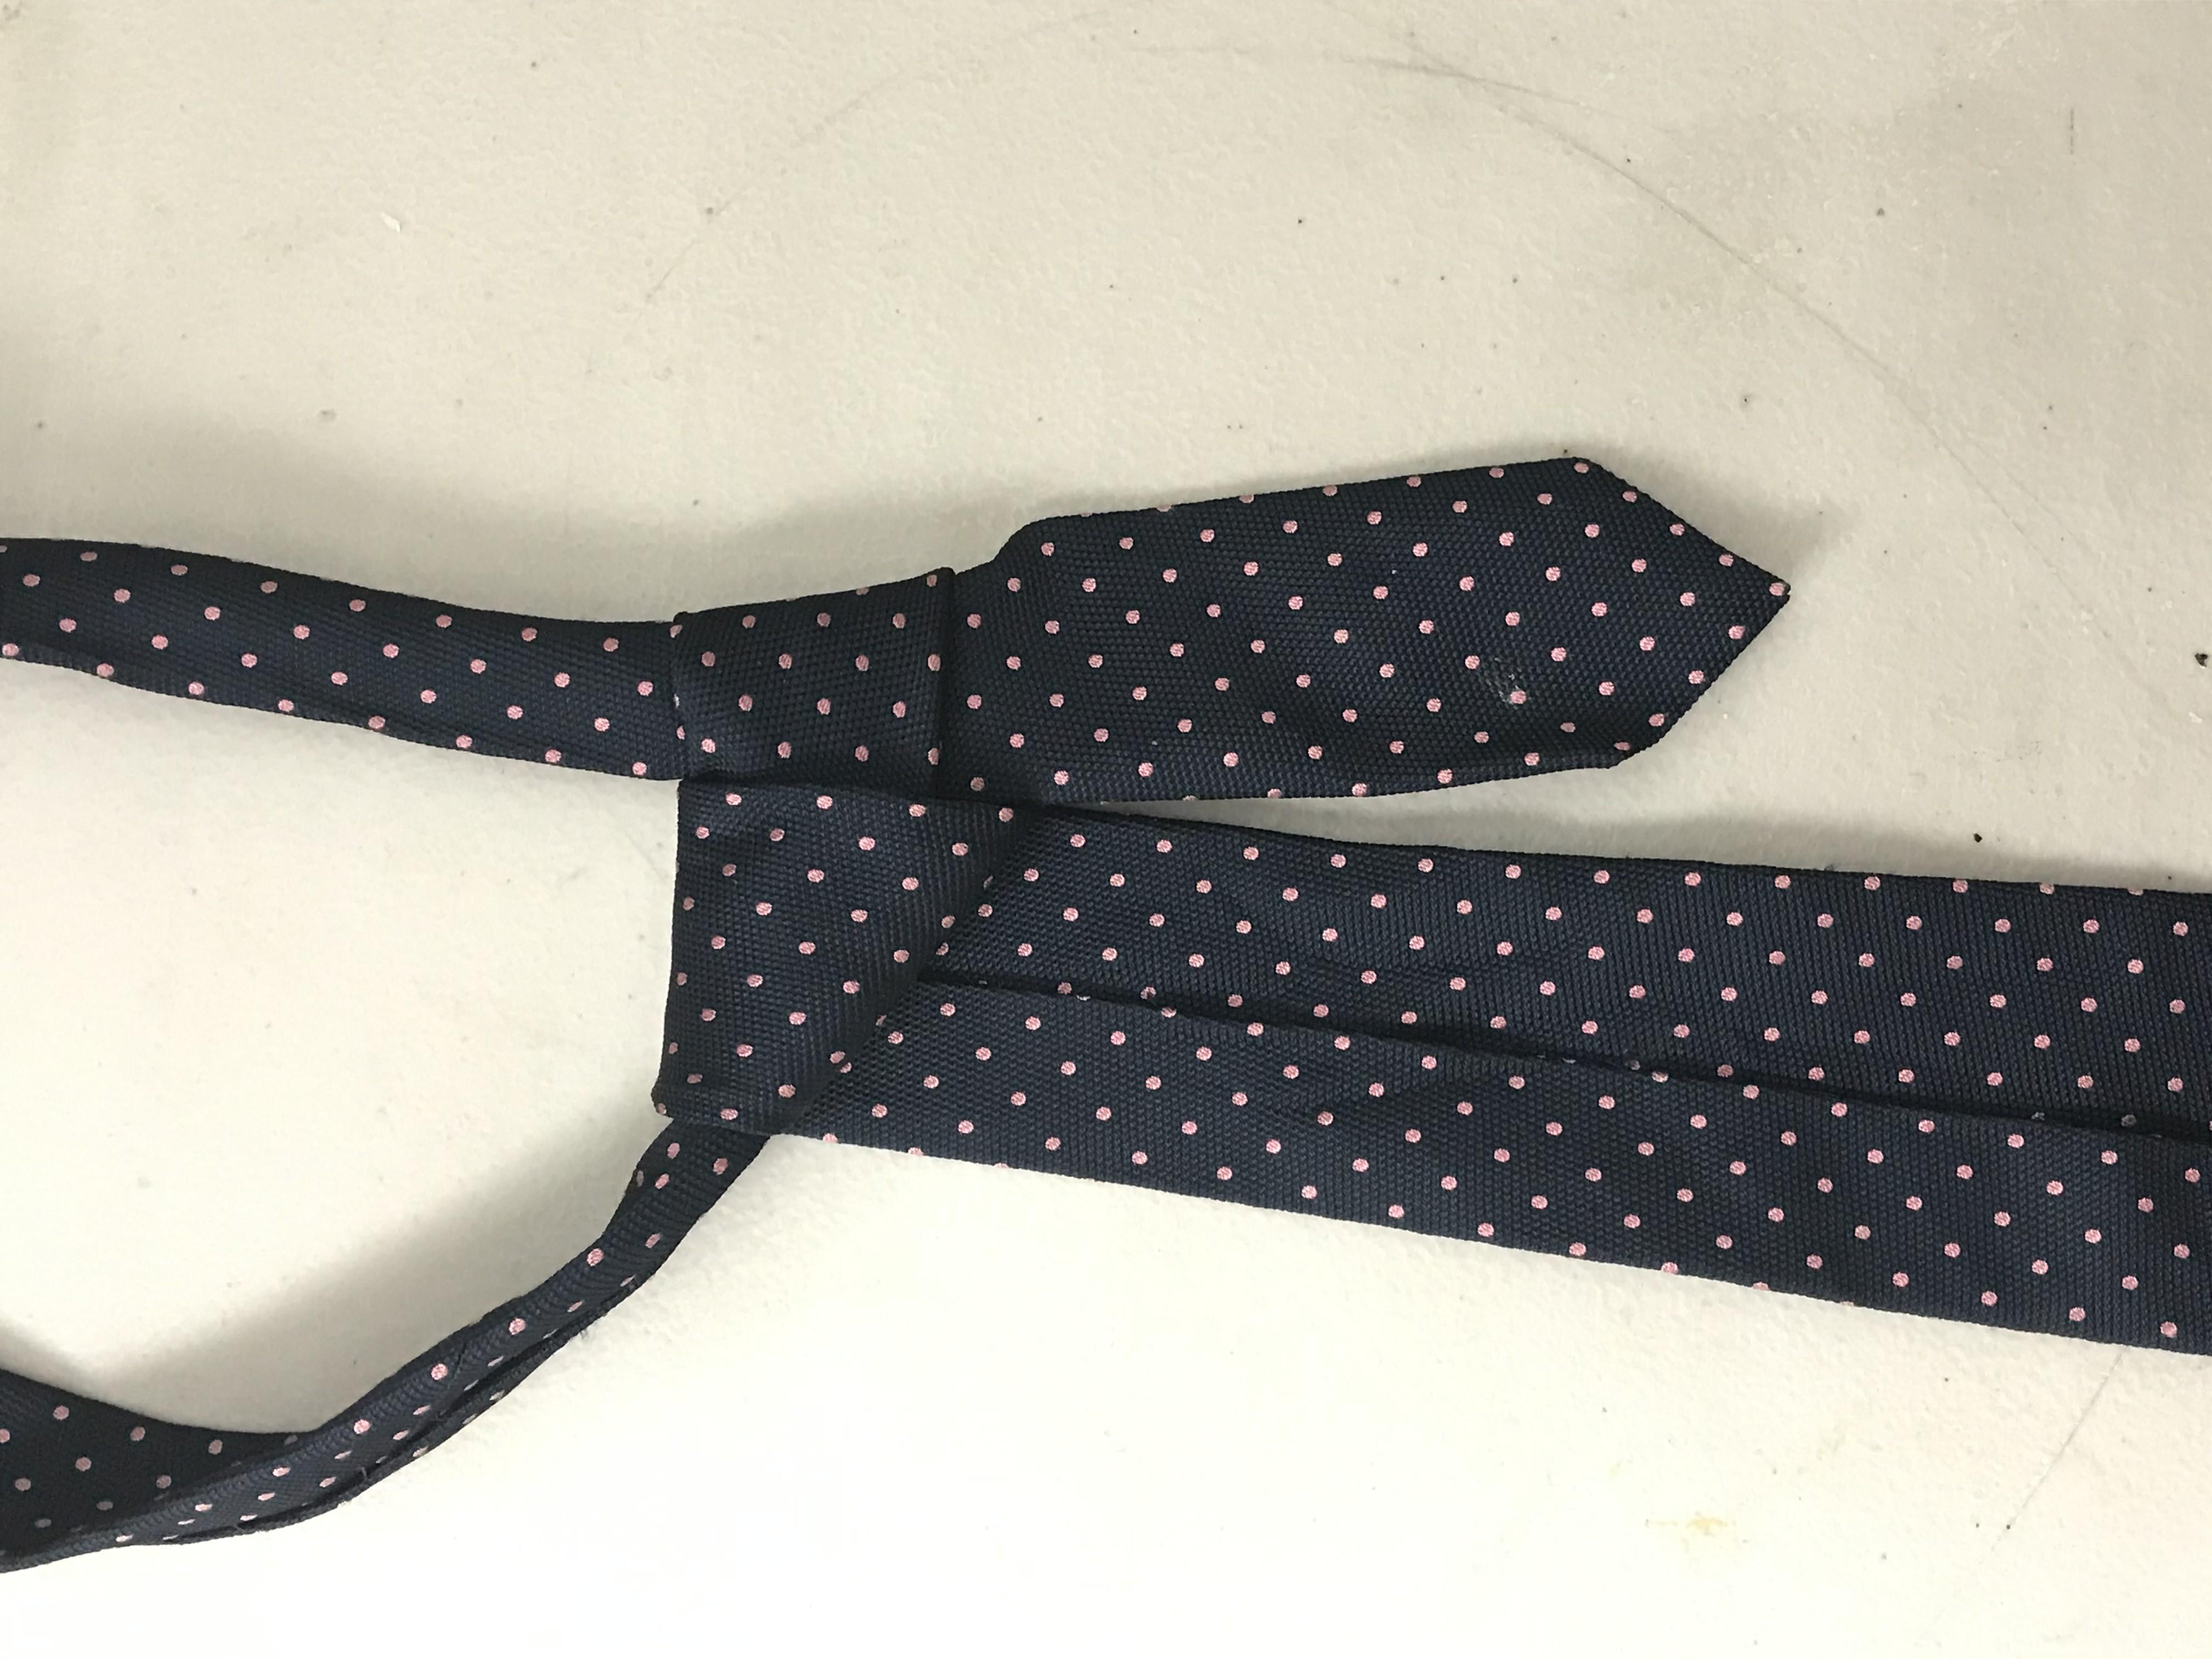
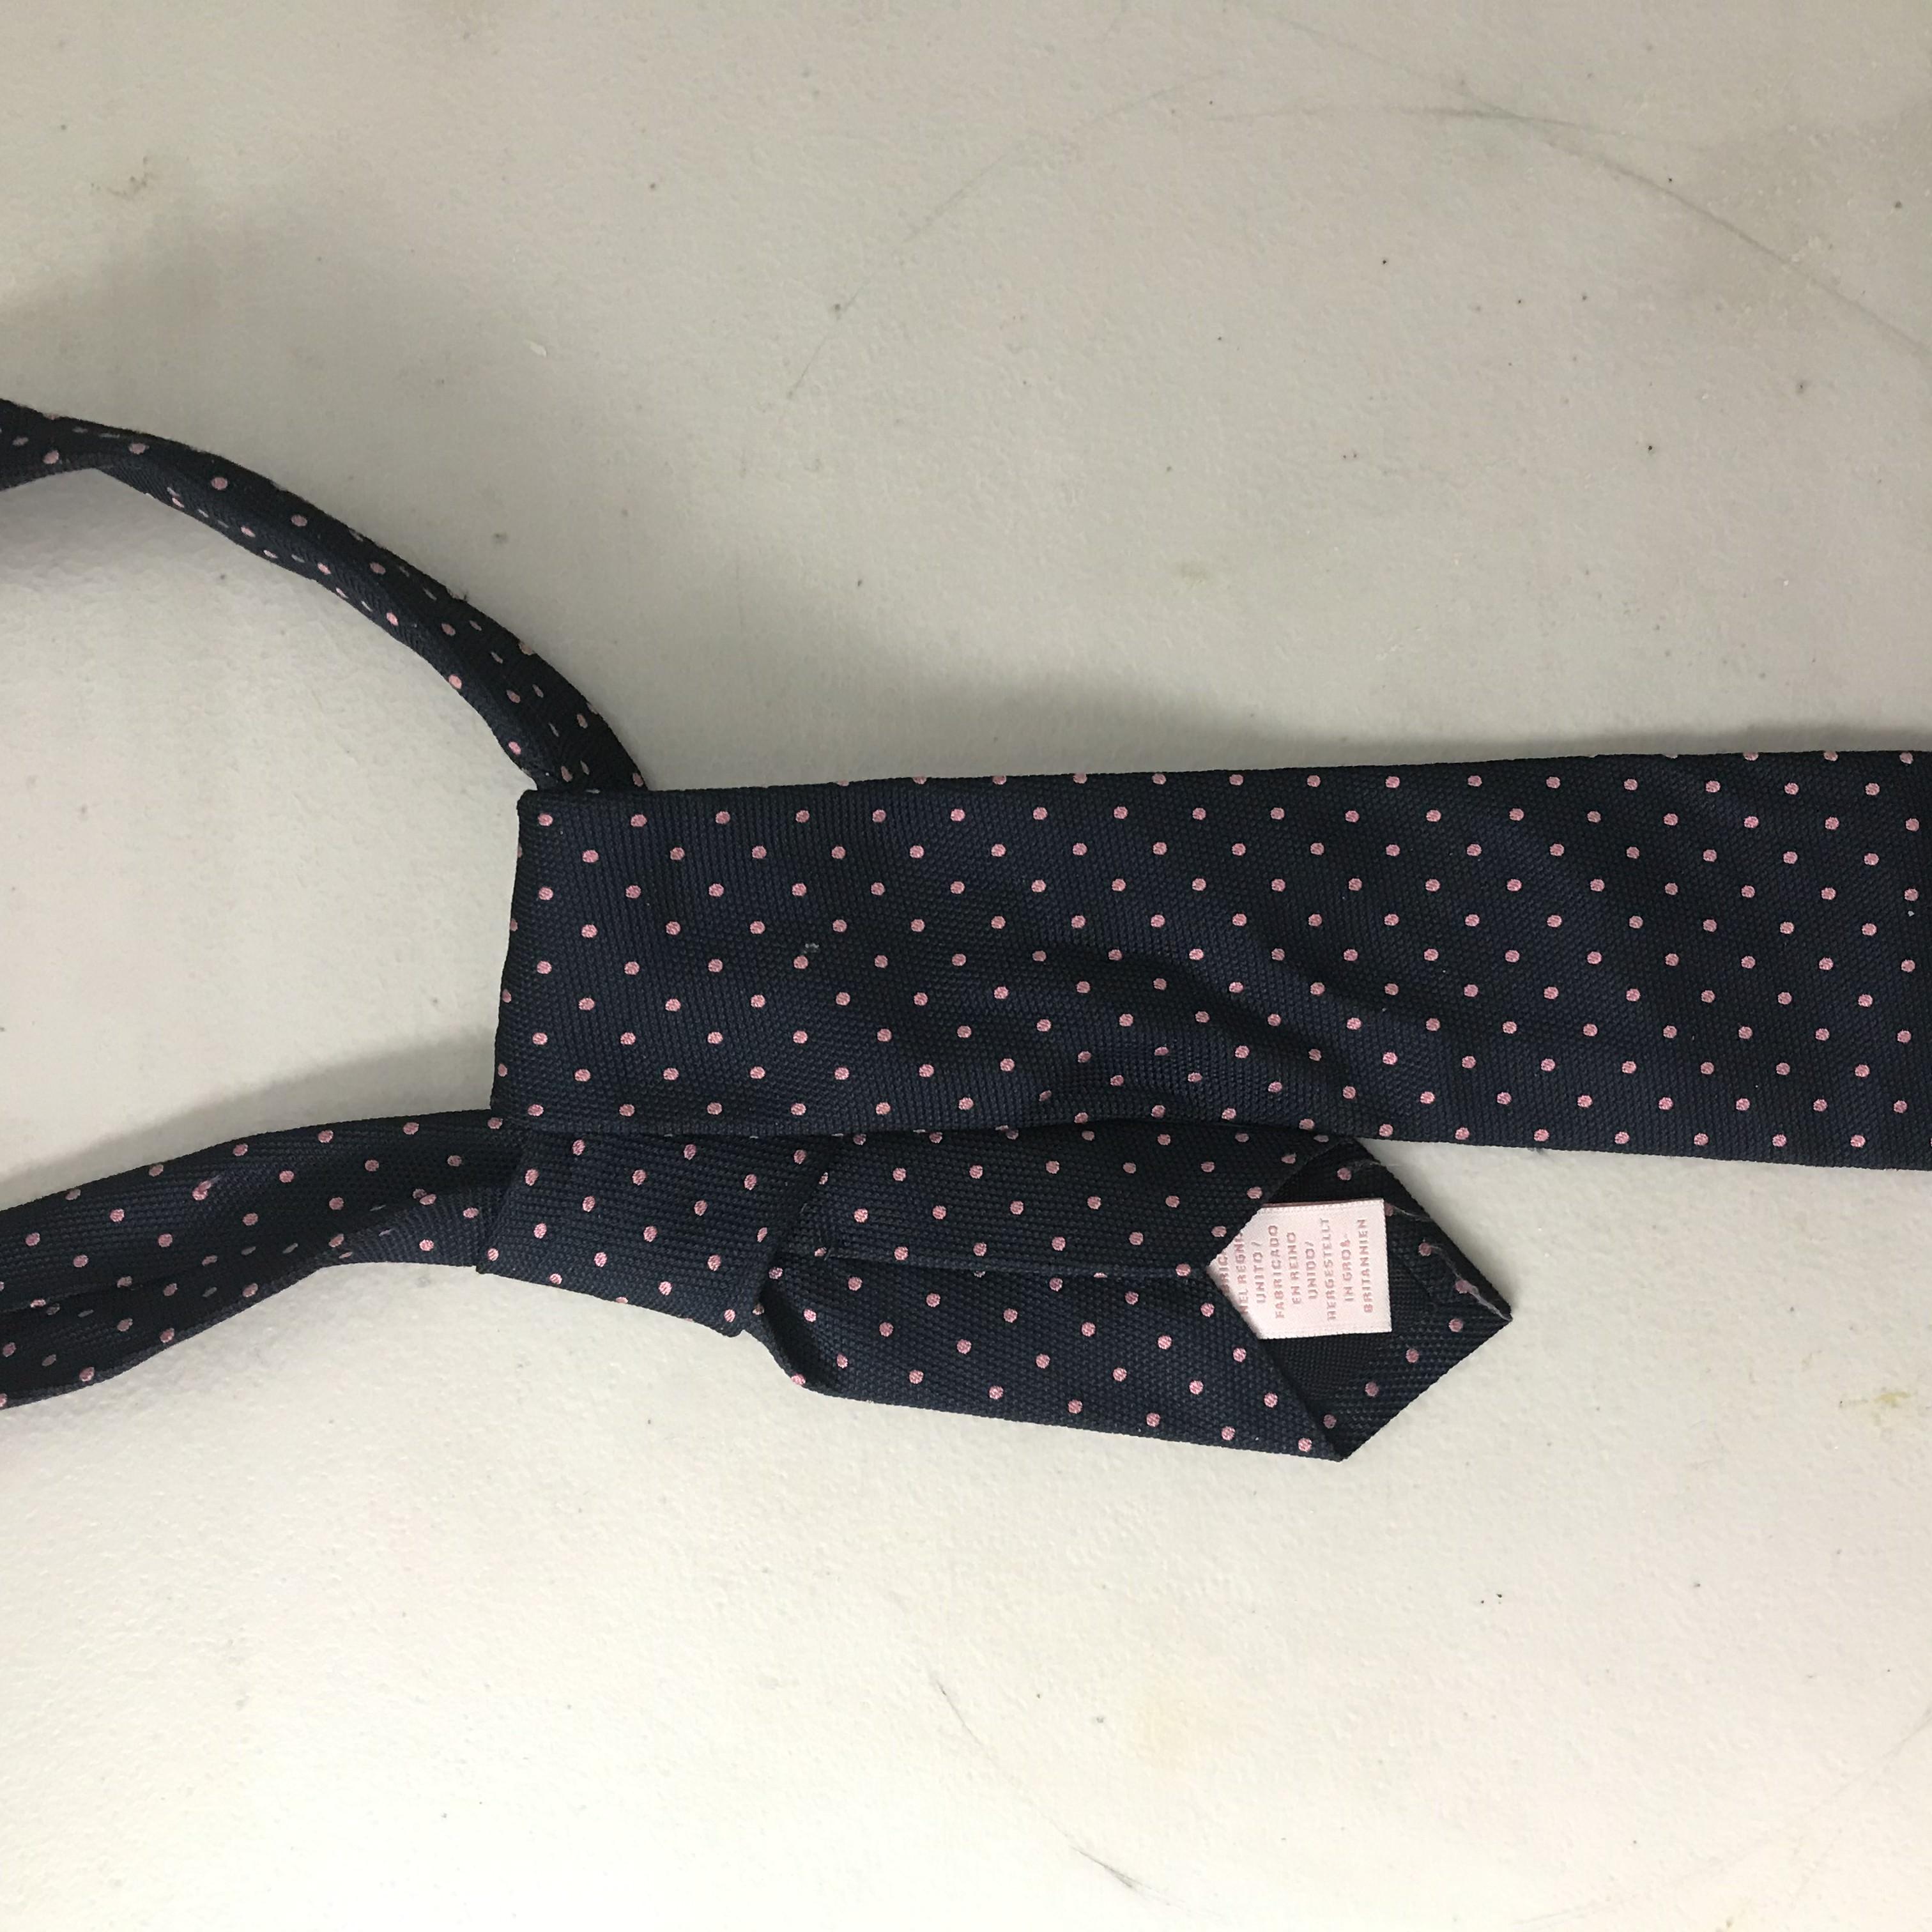
Swiftly drop the large back end over the left side, resulting in the first half of the knot and leaving the large, back end facing the world.
(Make sure to pull tight when bringing it through the X as doing so will ensure a much sharper finish)
Second Half Pt.1
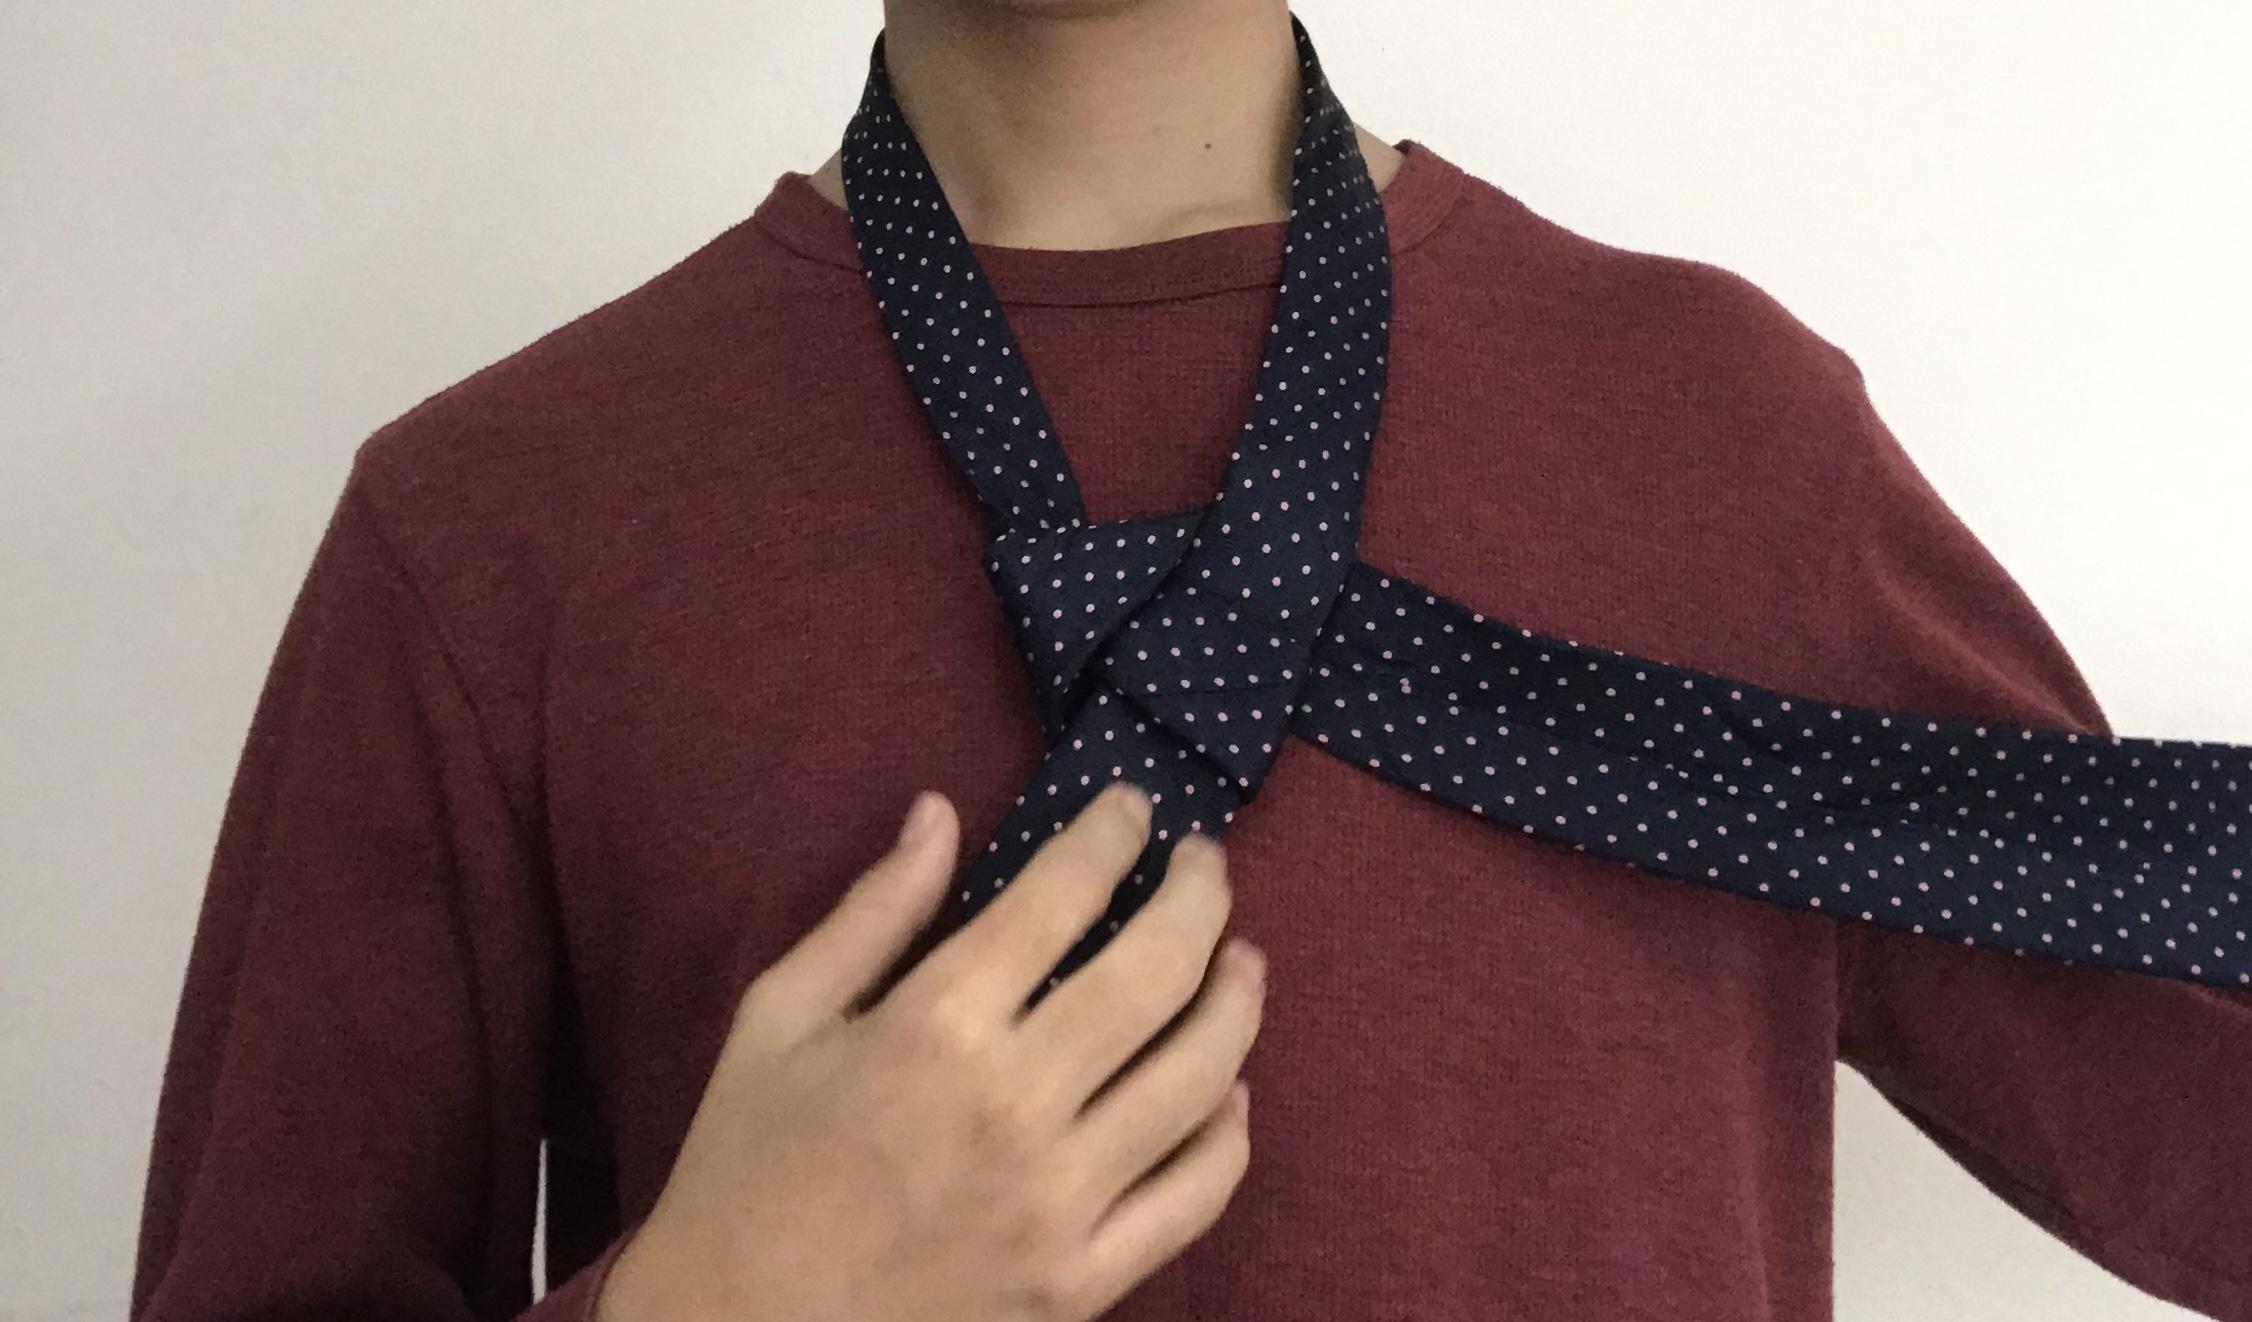
Here might be a good moment to stop and understand how you got to this step. I recommend restarting a few times until you can comfortably get to this step without any references.
Once you’ve done that, move the Large, back end behind the small front end and into the right side of your chest, causing the Back large end to face away from you.
Second Half Pt.2
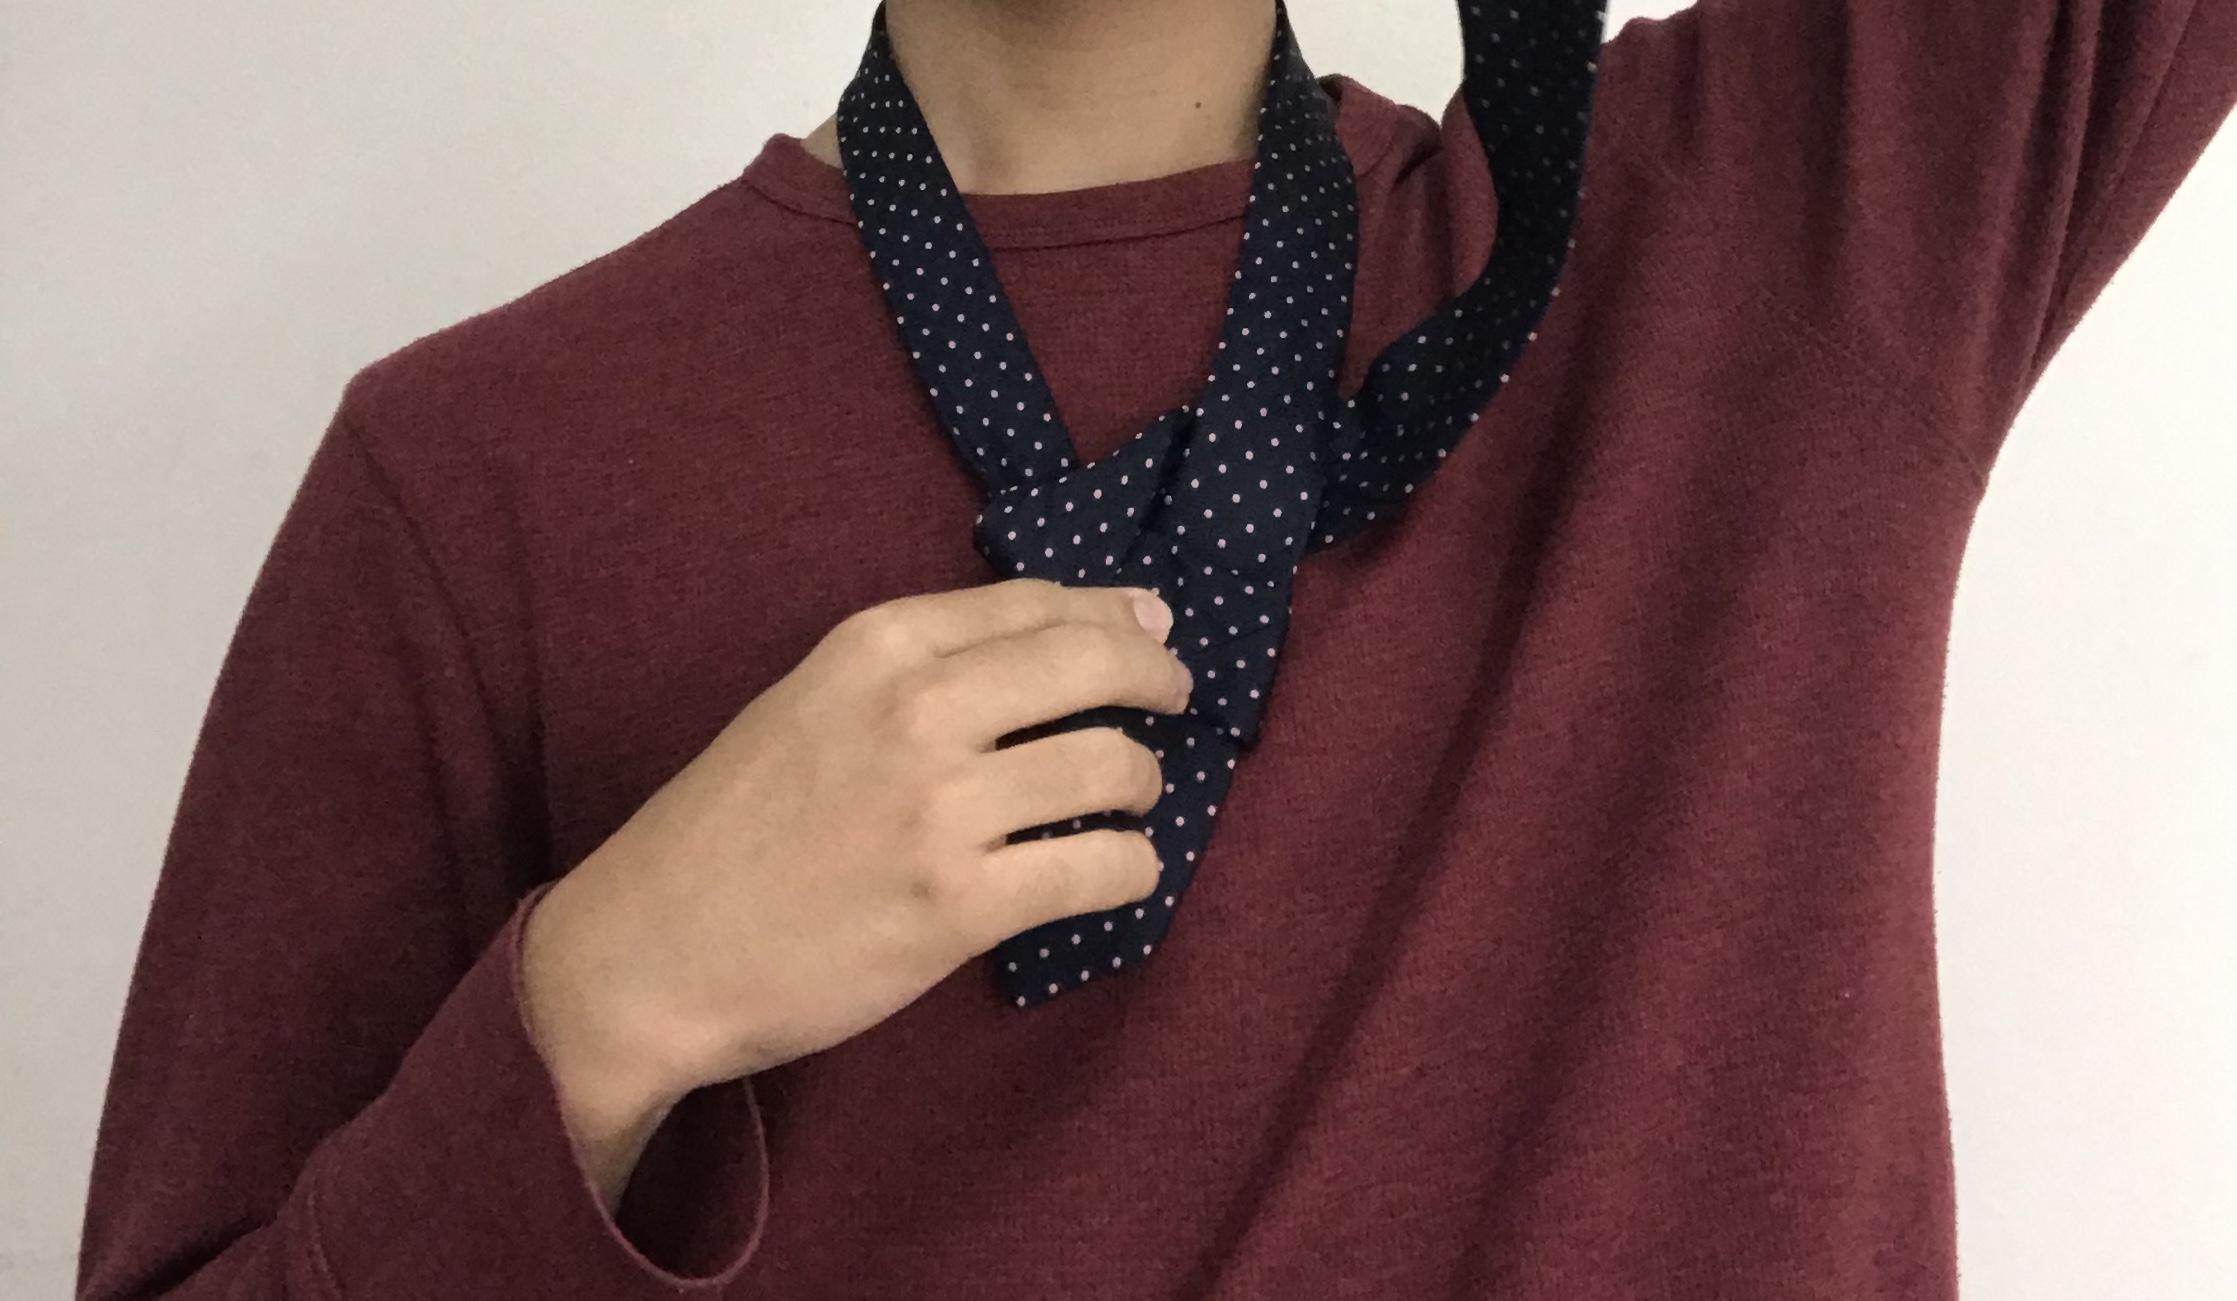
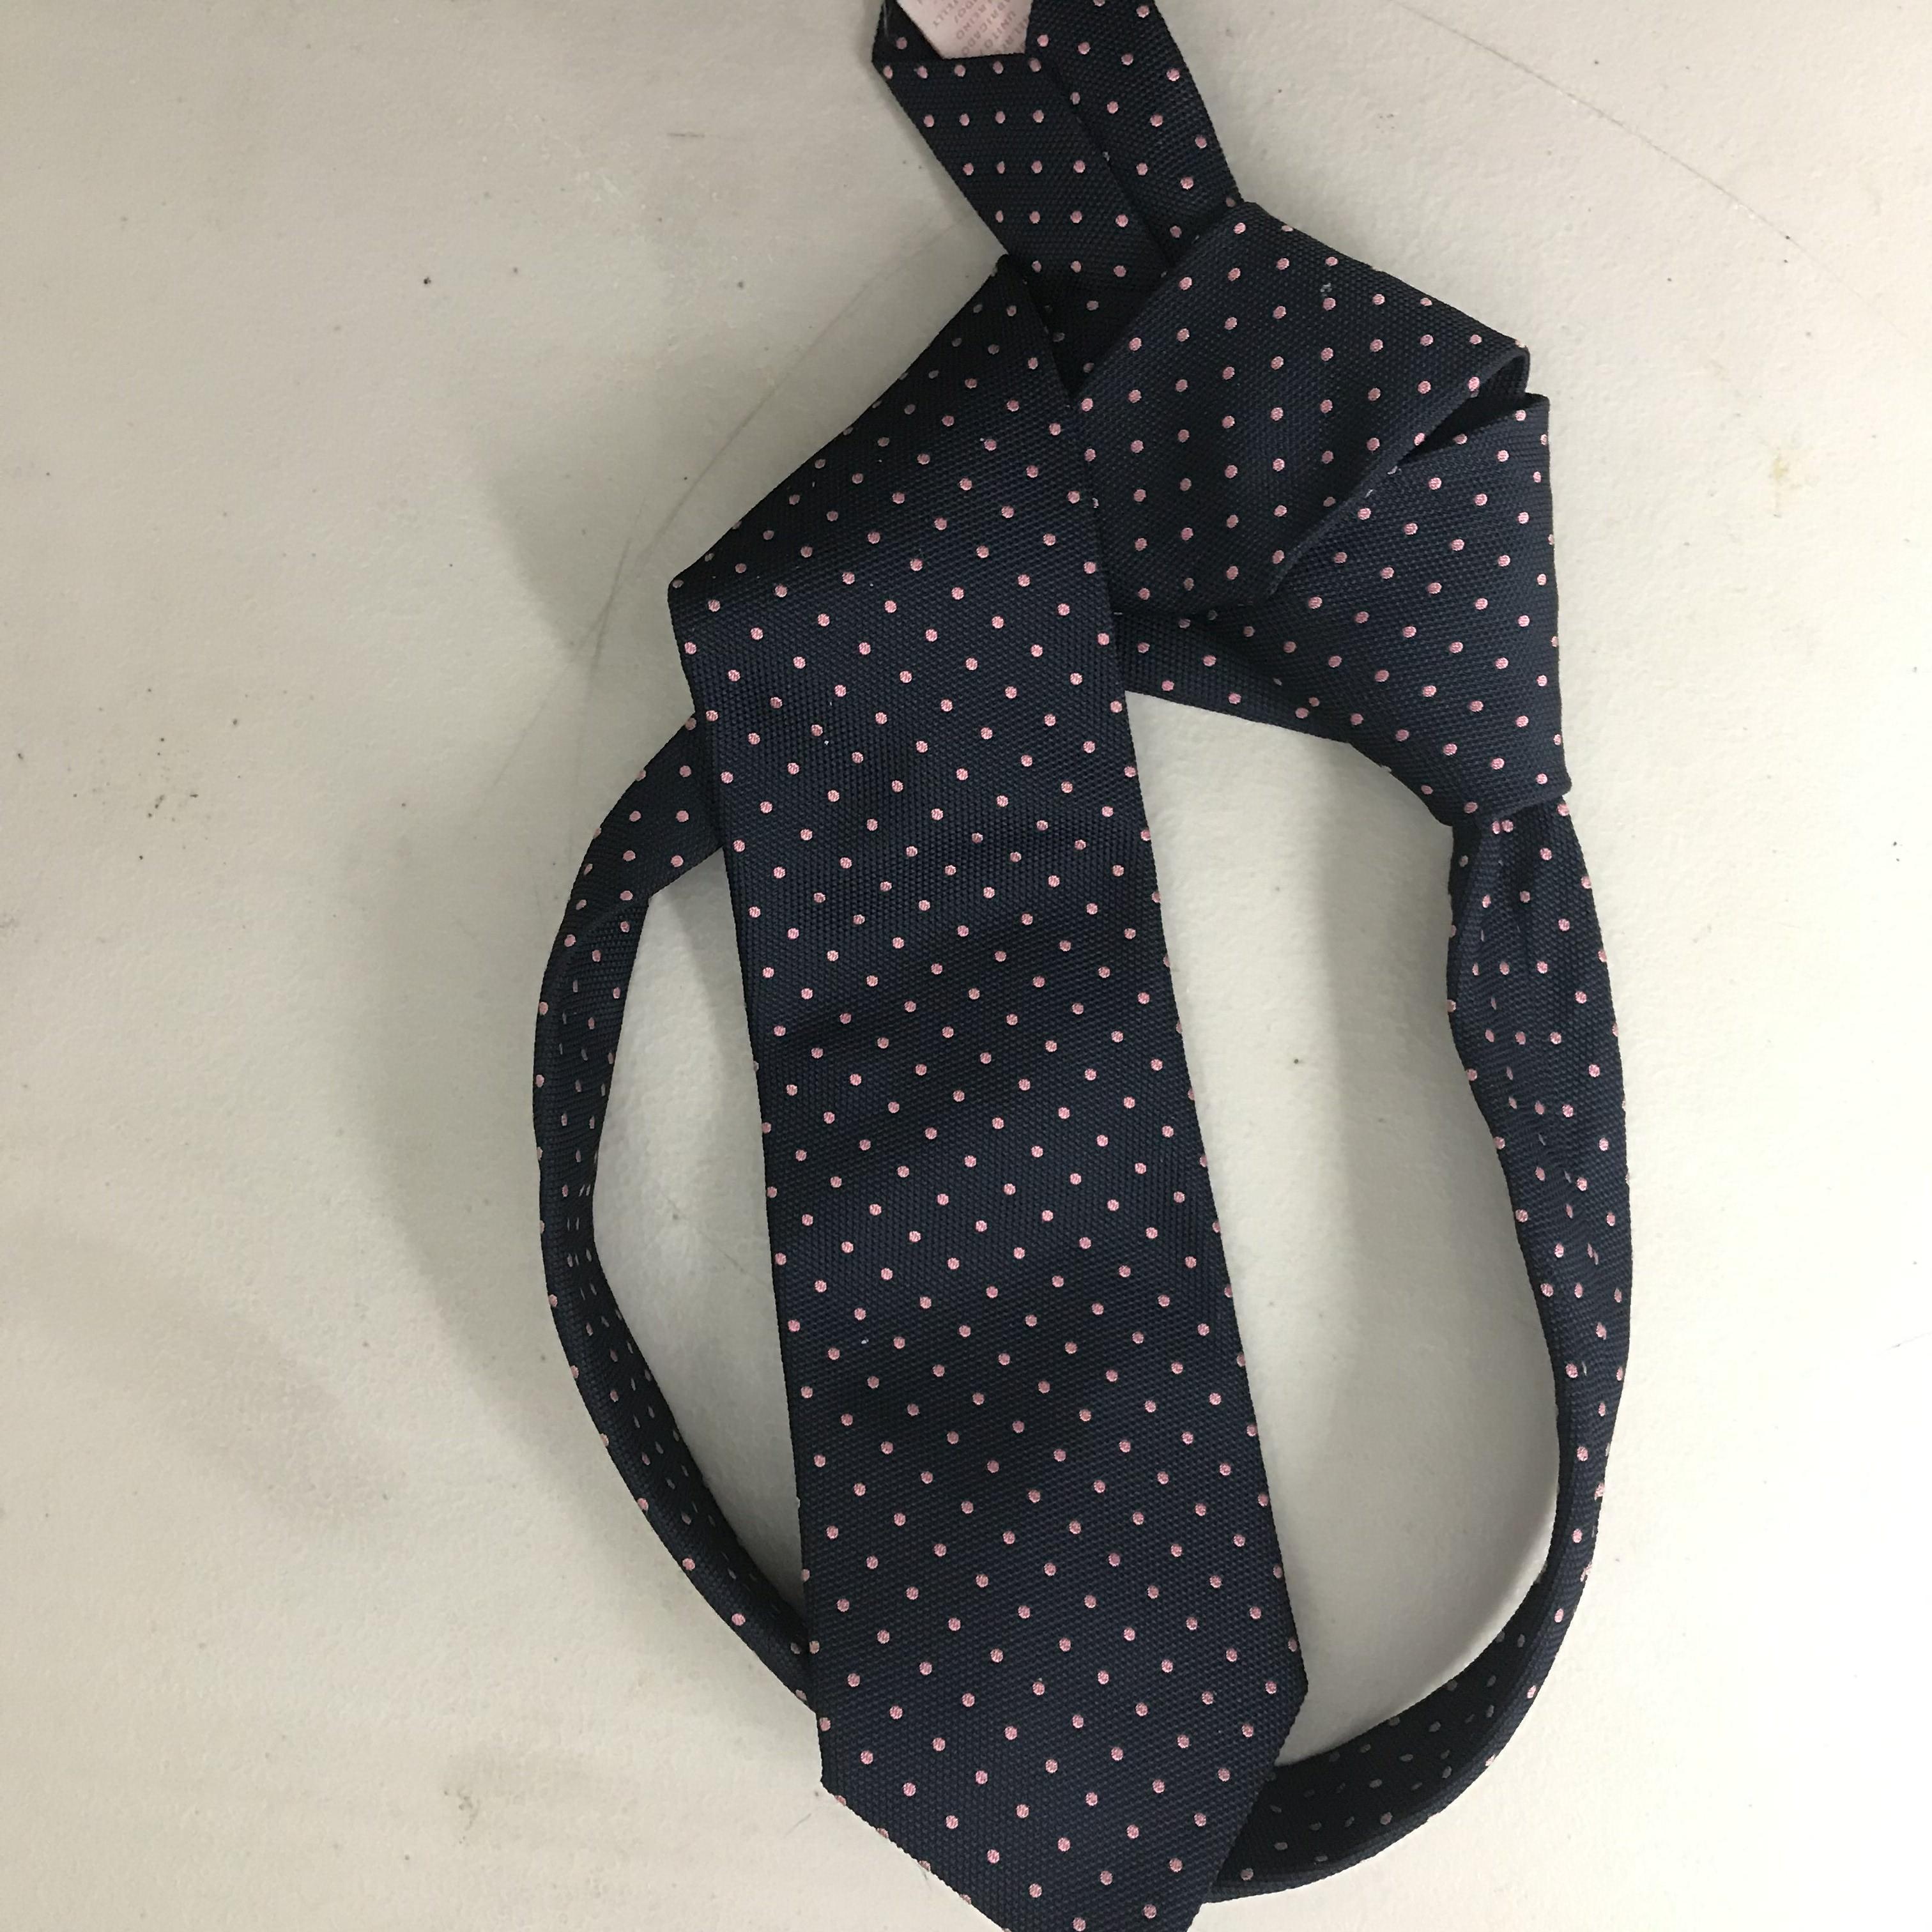
Then you simply have to raise the large end so that the seams face you, thus the large front end will be facing away from you.
(The positioning of the small end is irrelevant for now so do not worry if it feels like it's far too left or right)
Second Half Pt.3
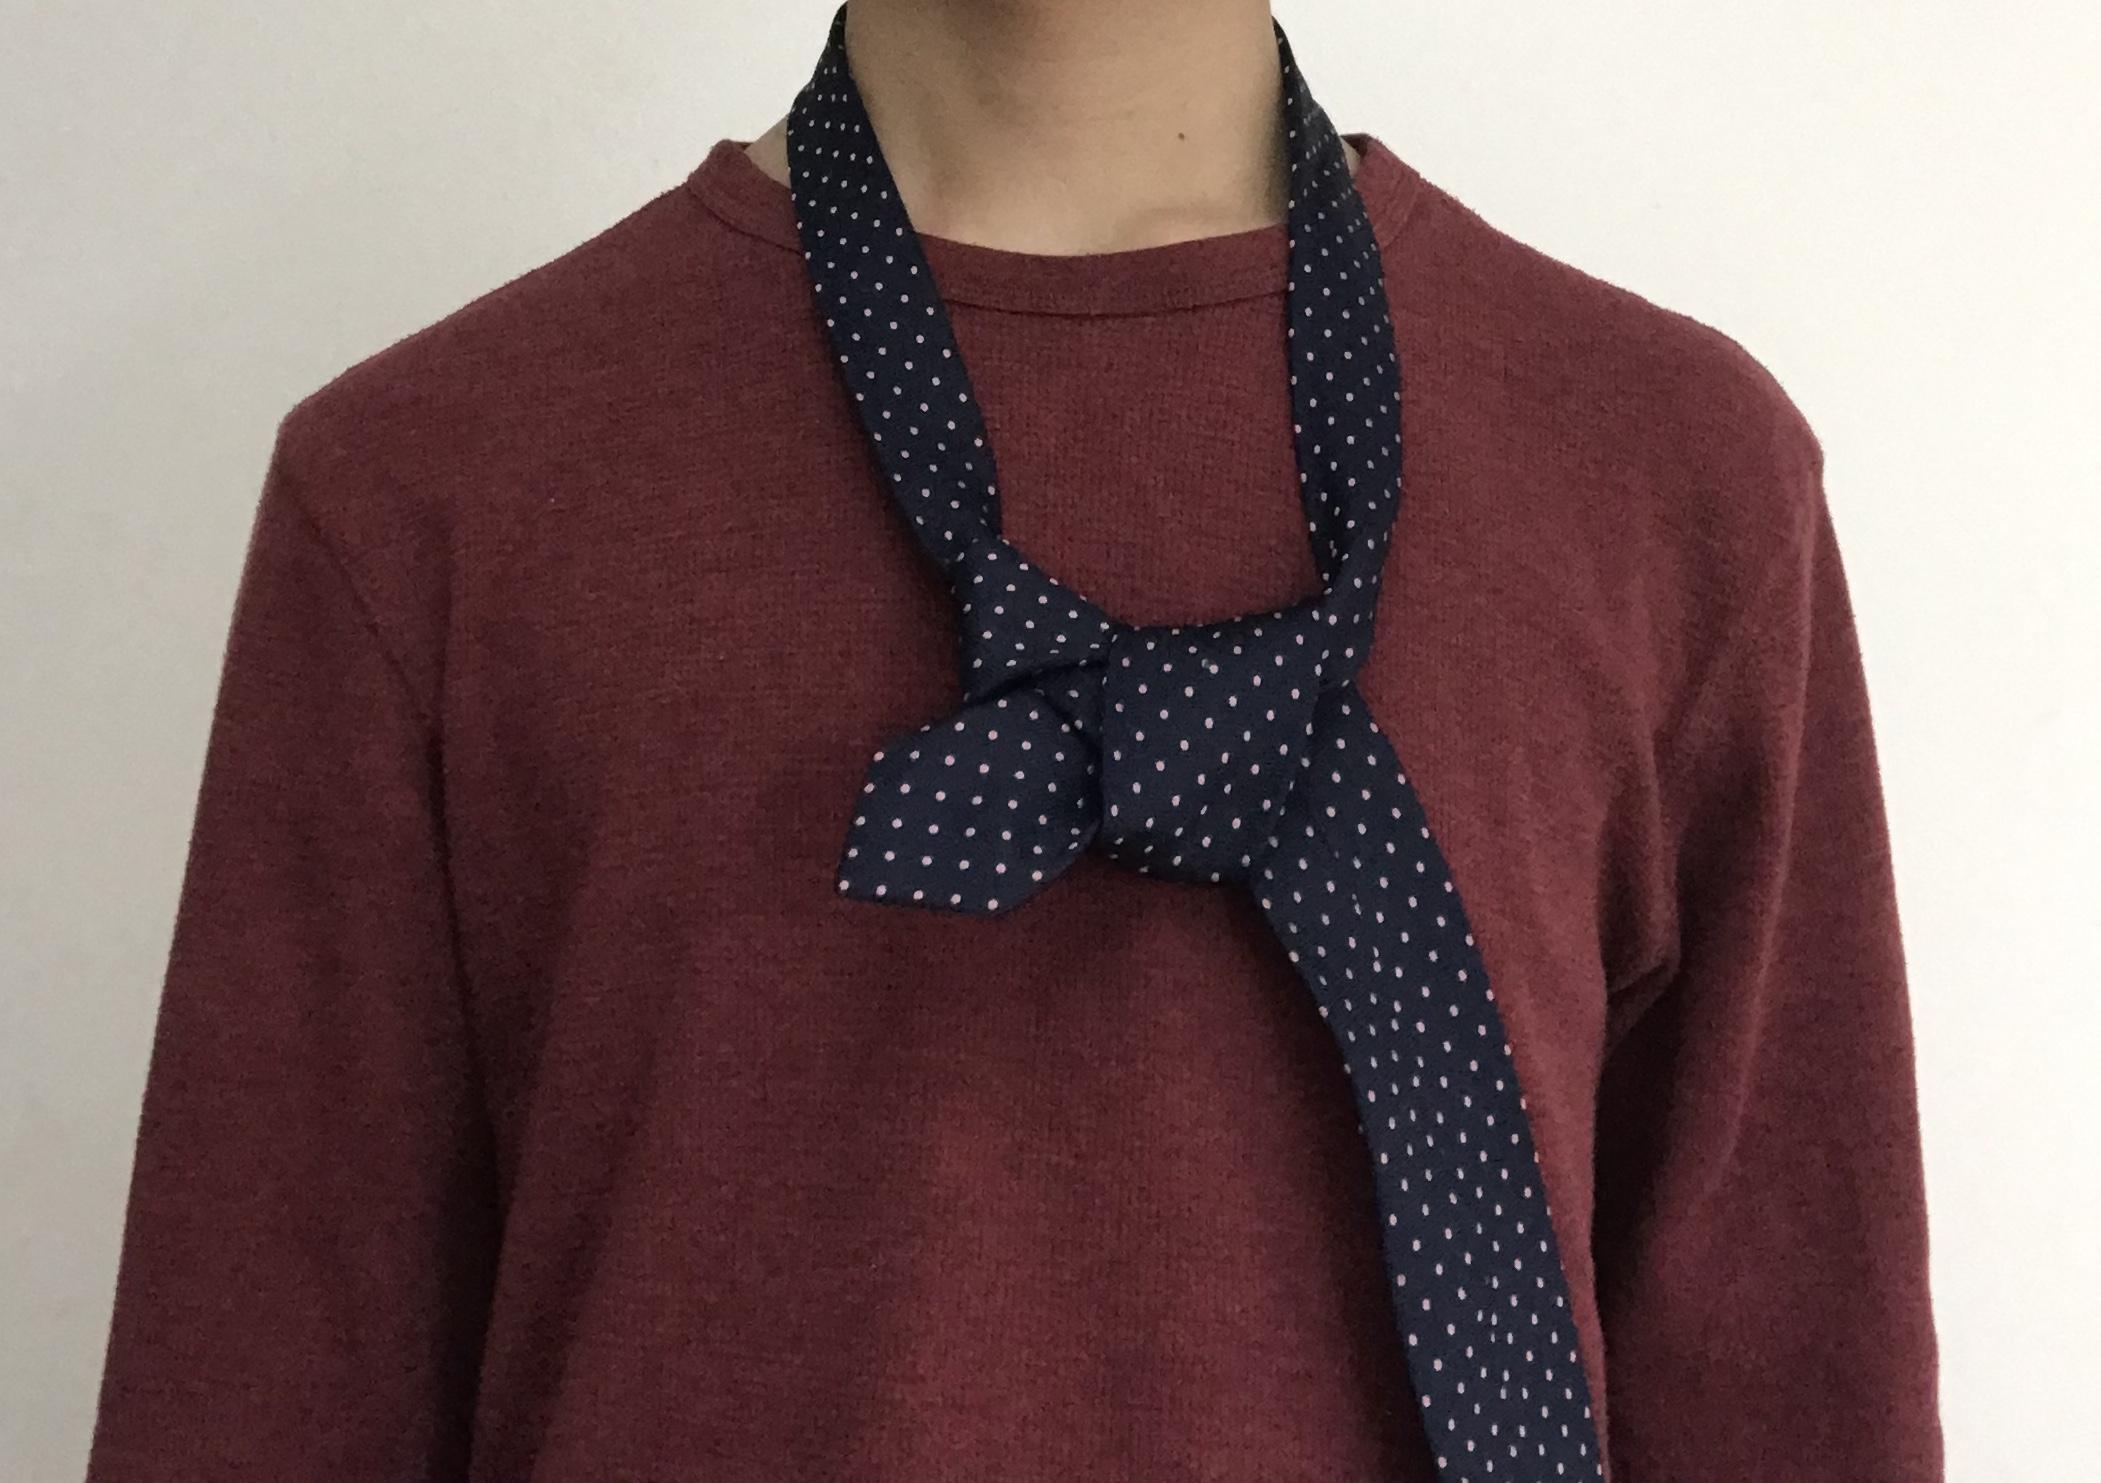
Next, bring the large end back through the hole between your neck and the tie, once more exposing the seams, facing away from the right side of your chest.
(This is basically emulating the first half except on the other side, thus creating the symmetrical look)
Overhang Pt.1
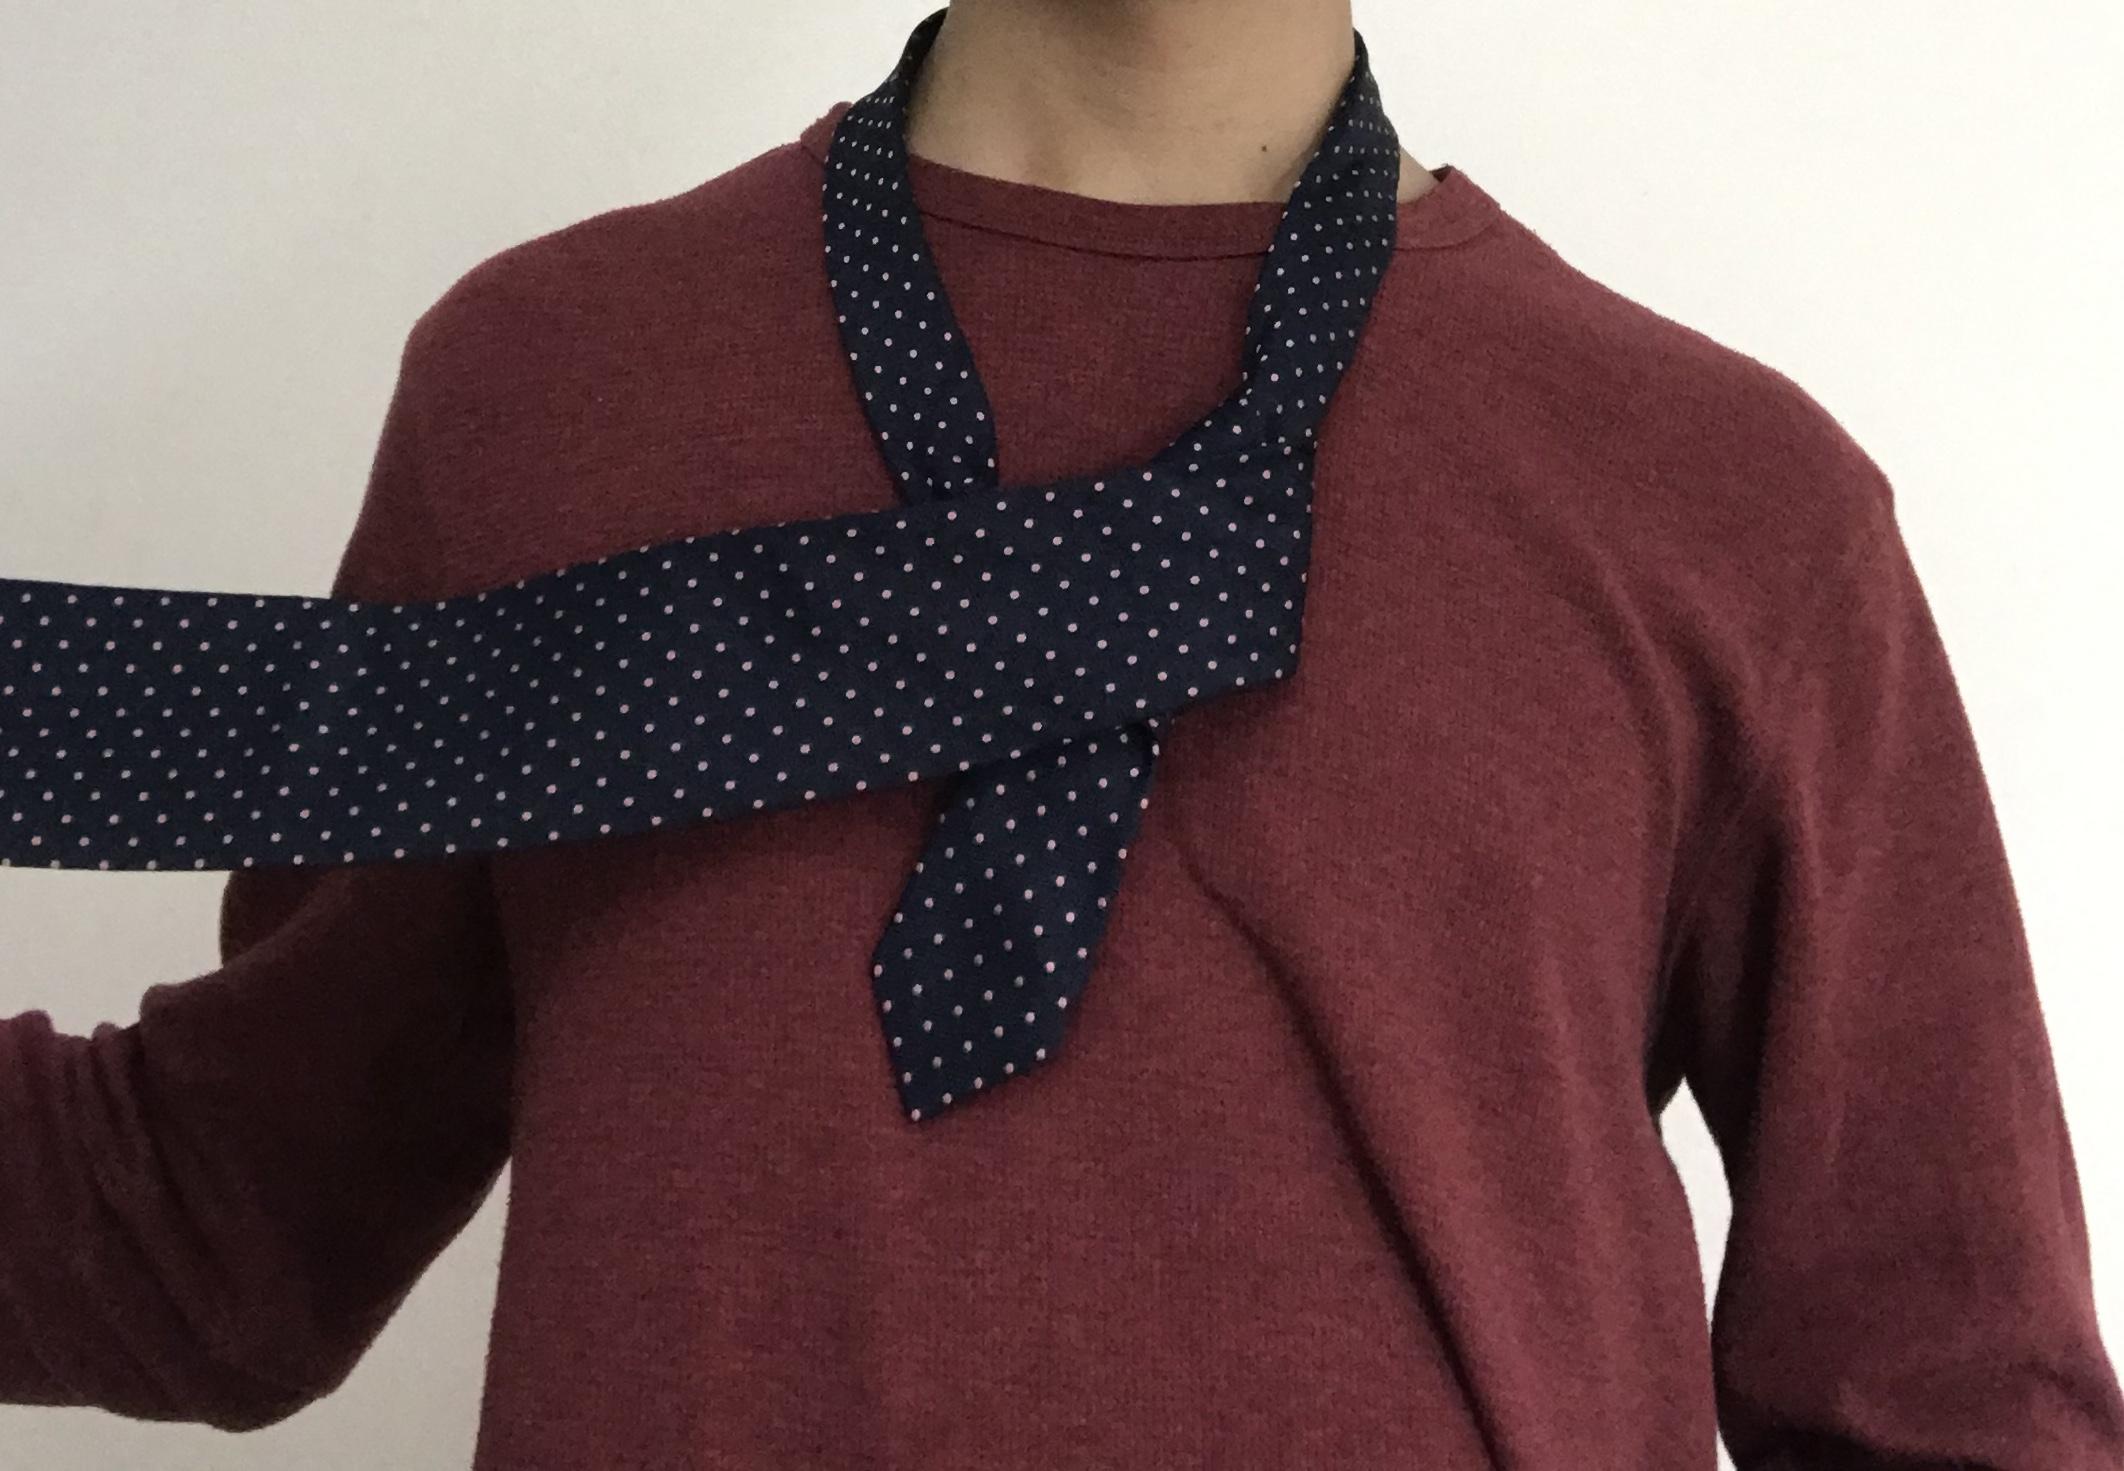
Now you must shift the large end back across to the left side of your chest, resulting in the back large end facing you.
Overhang Pt.2
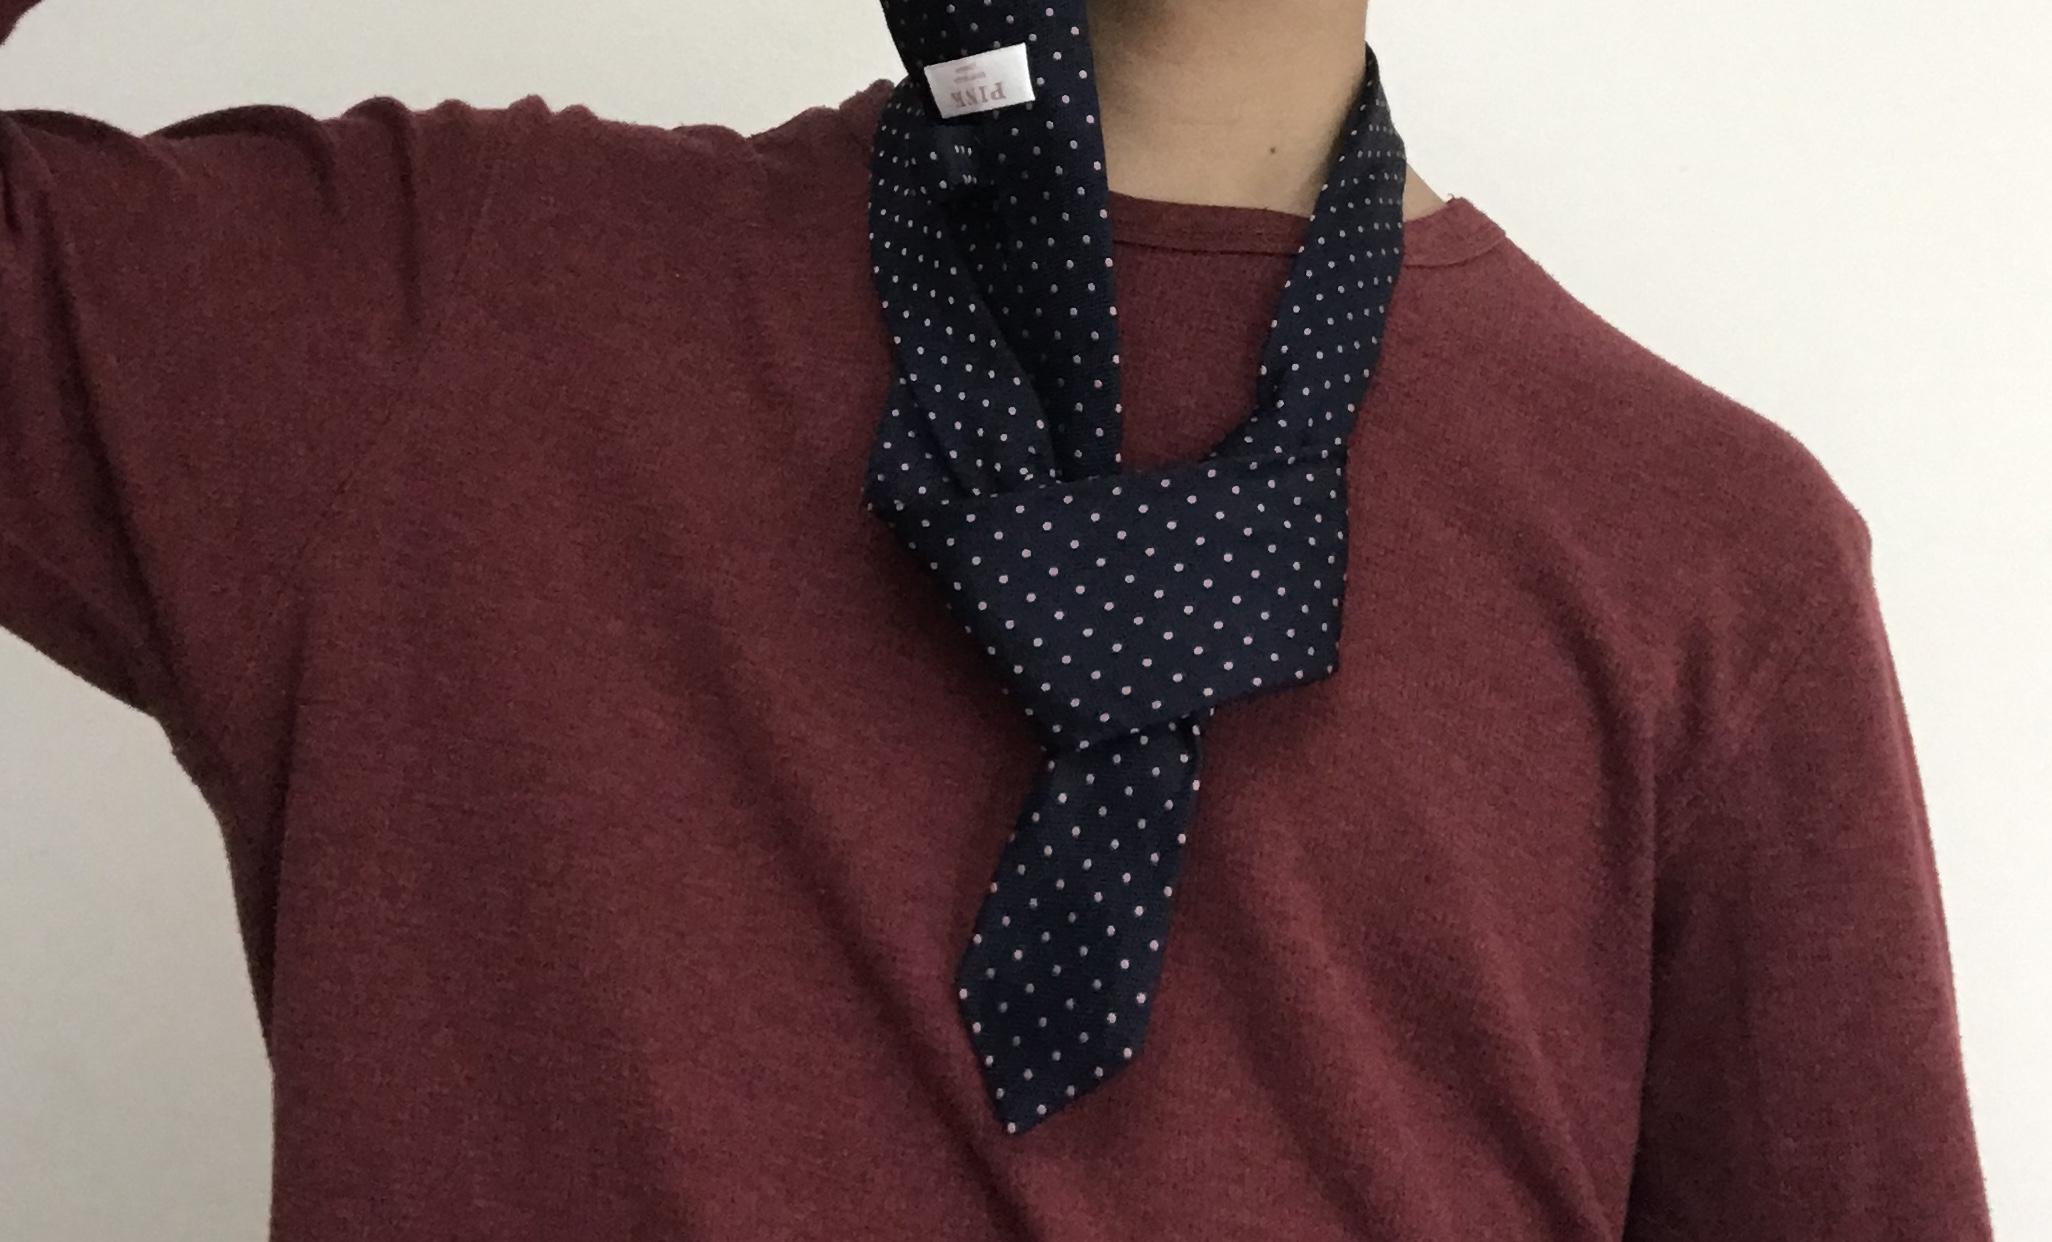
Once again, this would be a good place to stop and master all the previous steps before advancing since you've finished both halves of the knot and now simply need to bring it all together with the part i call the overhang.
After that, bring the front large end through the gap between your neck and tie, making sure that it ends with the back large end facing away from you.
Overhang Pt.3
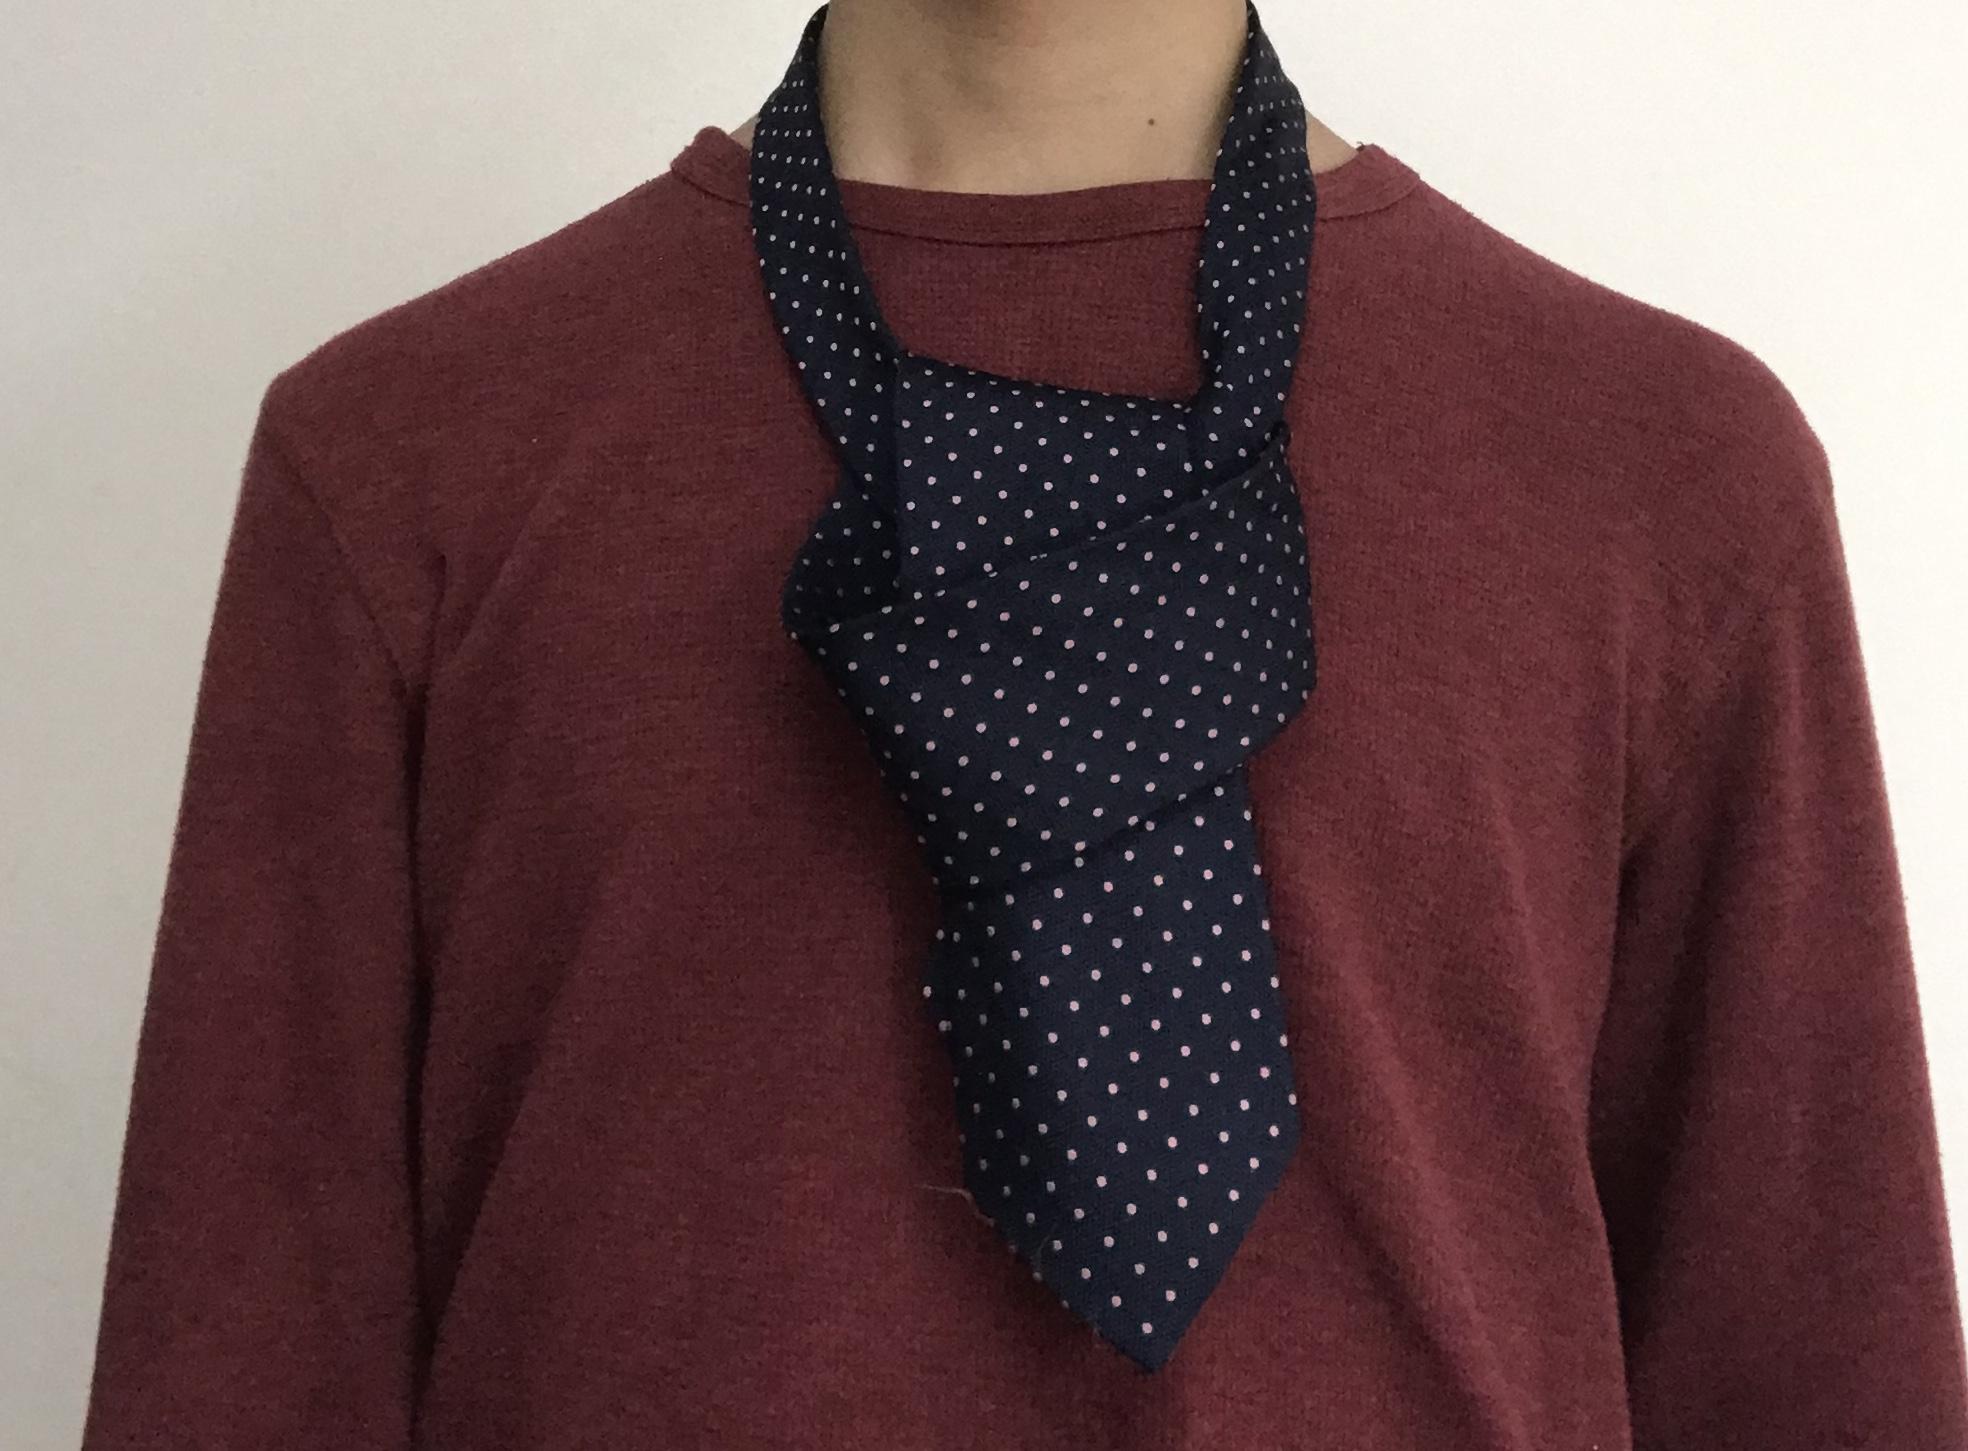
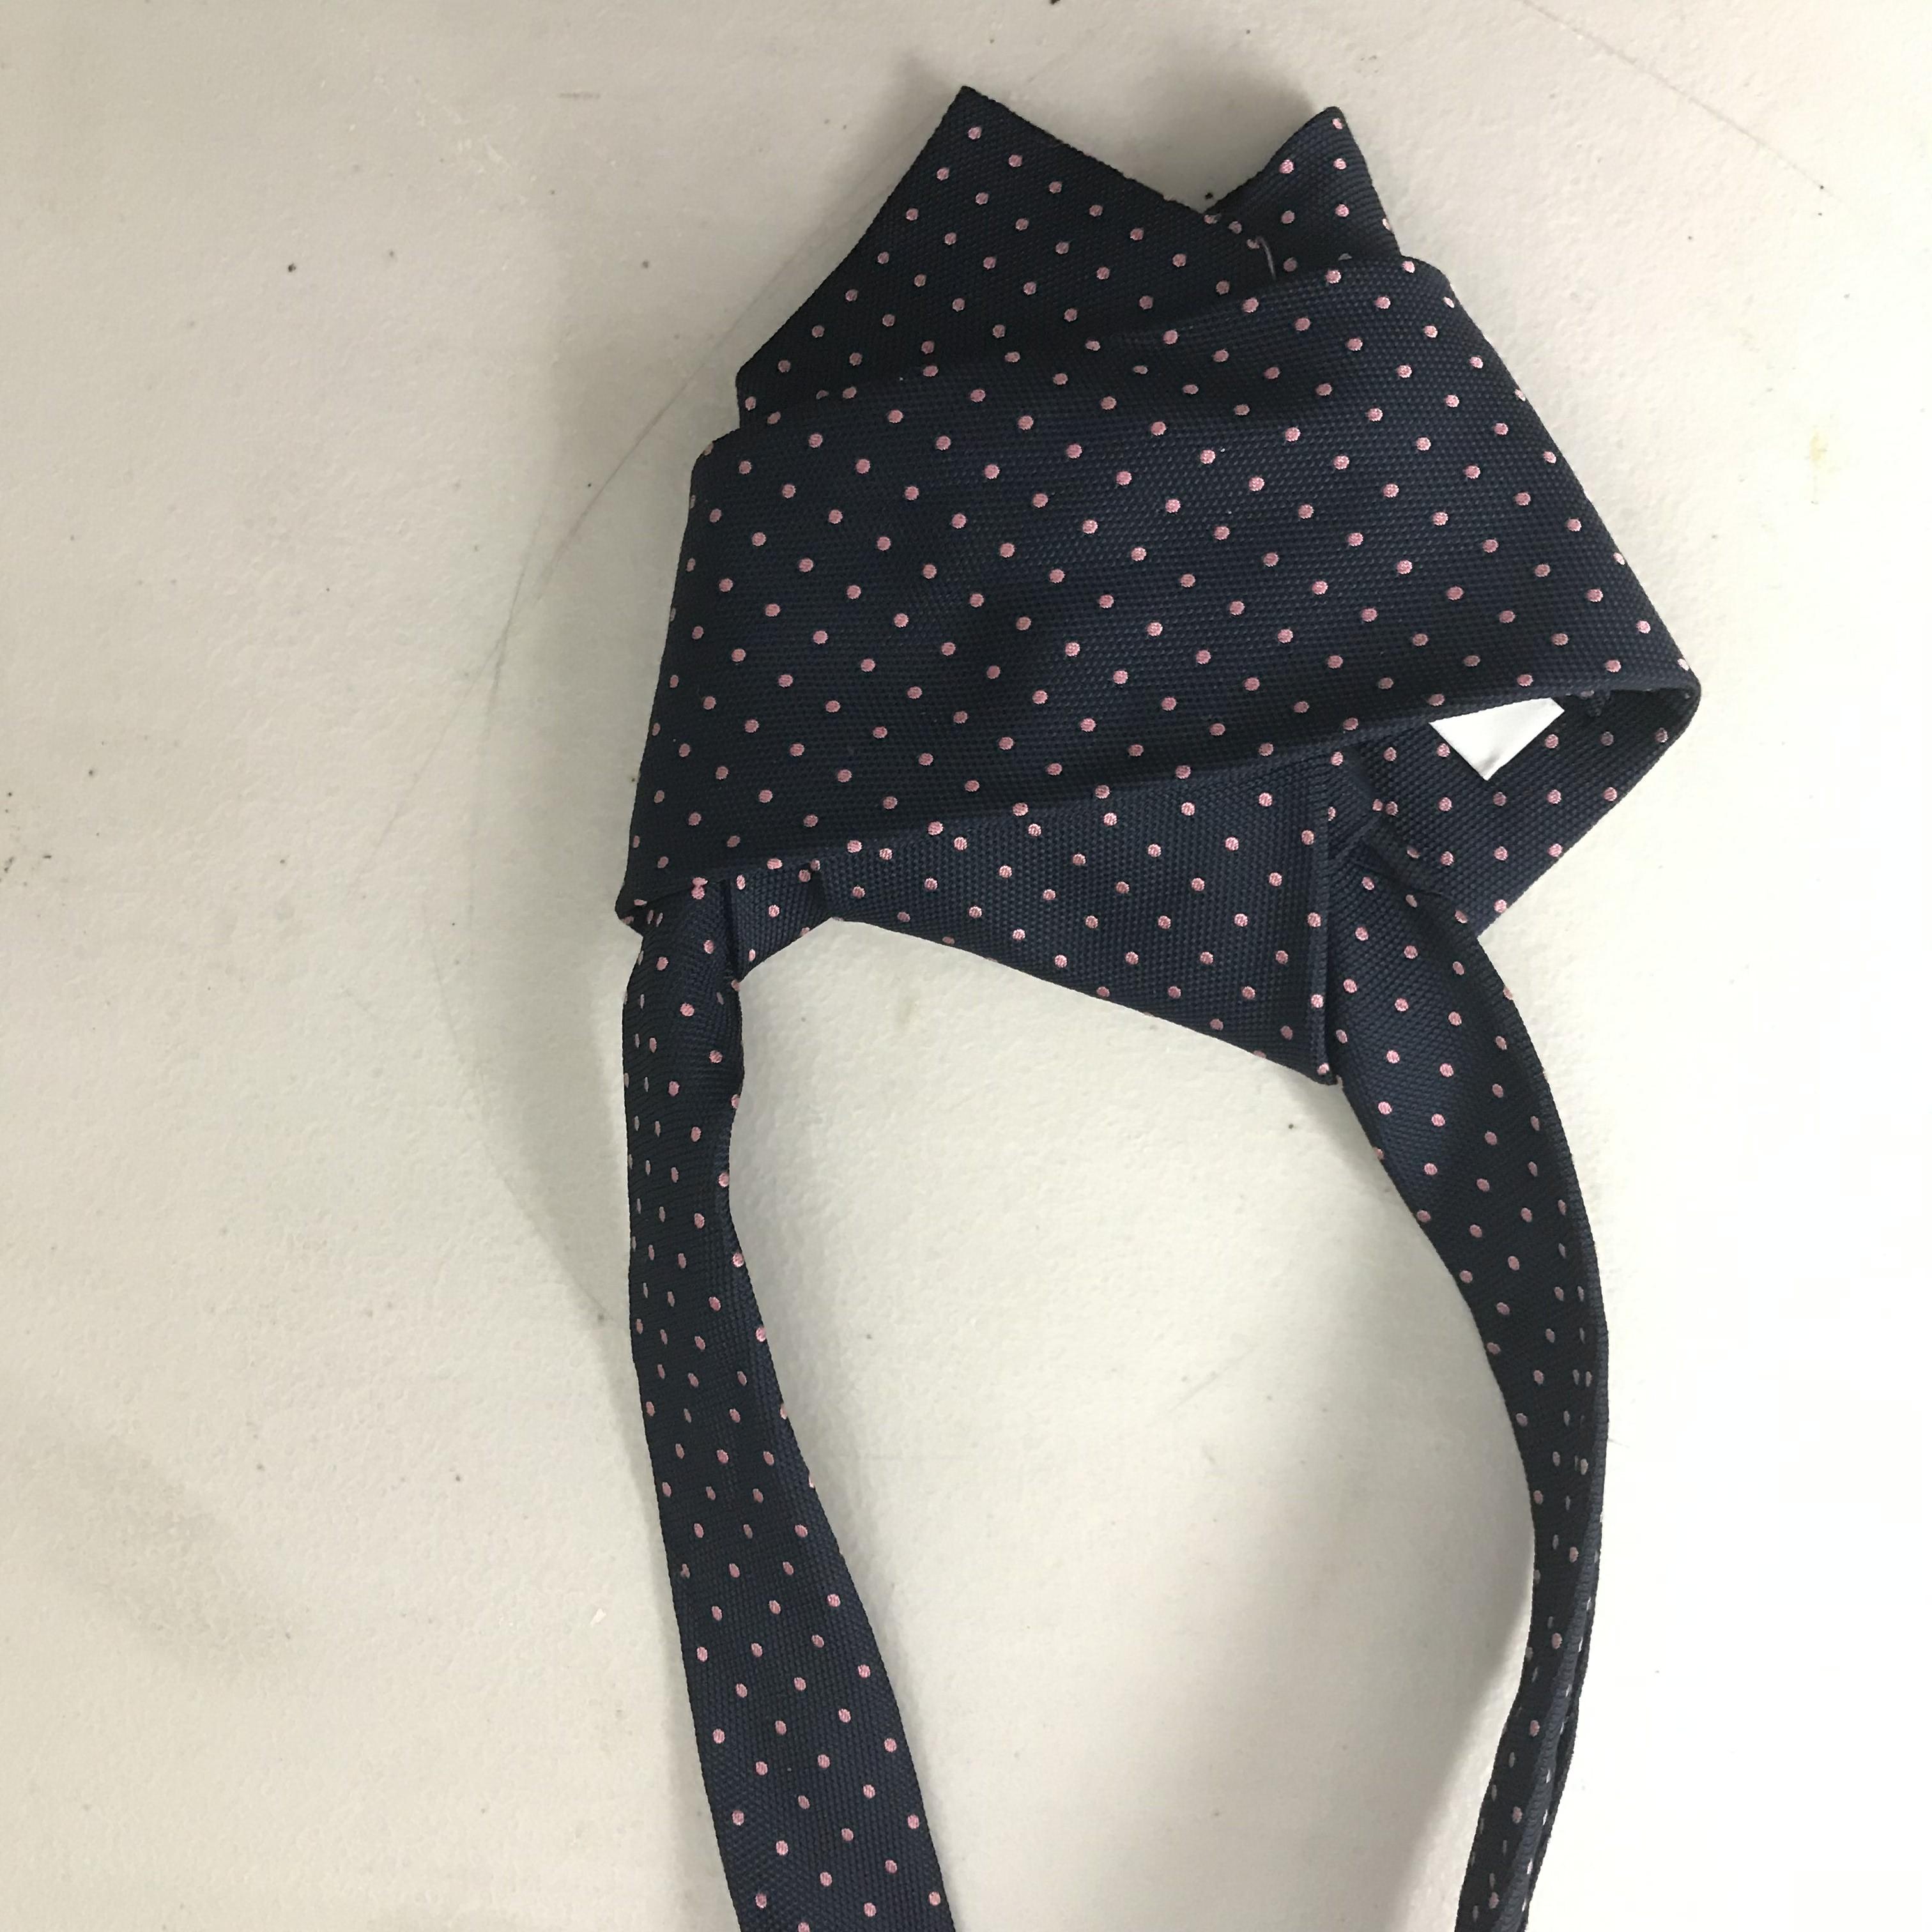
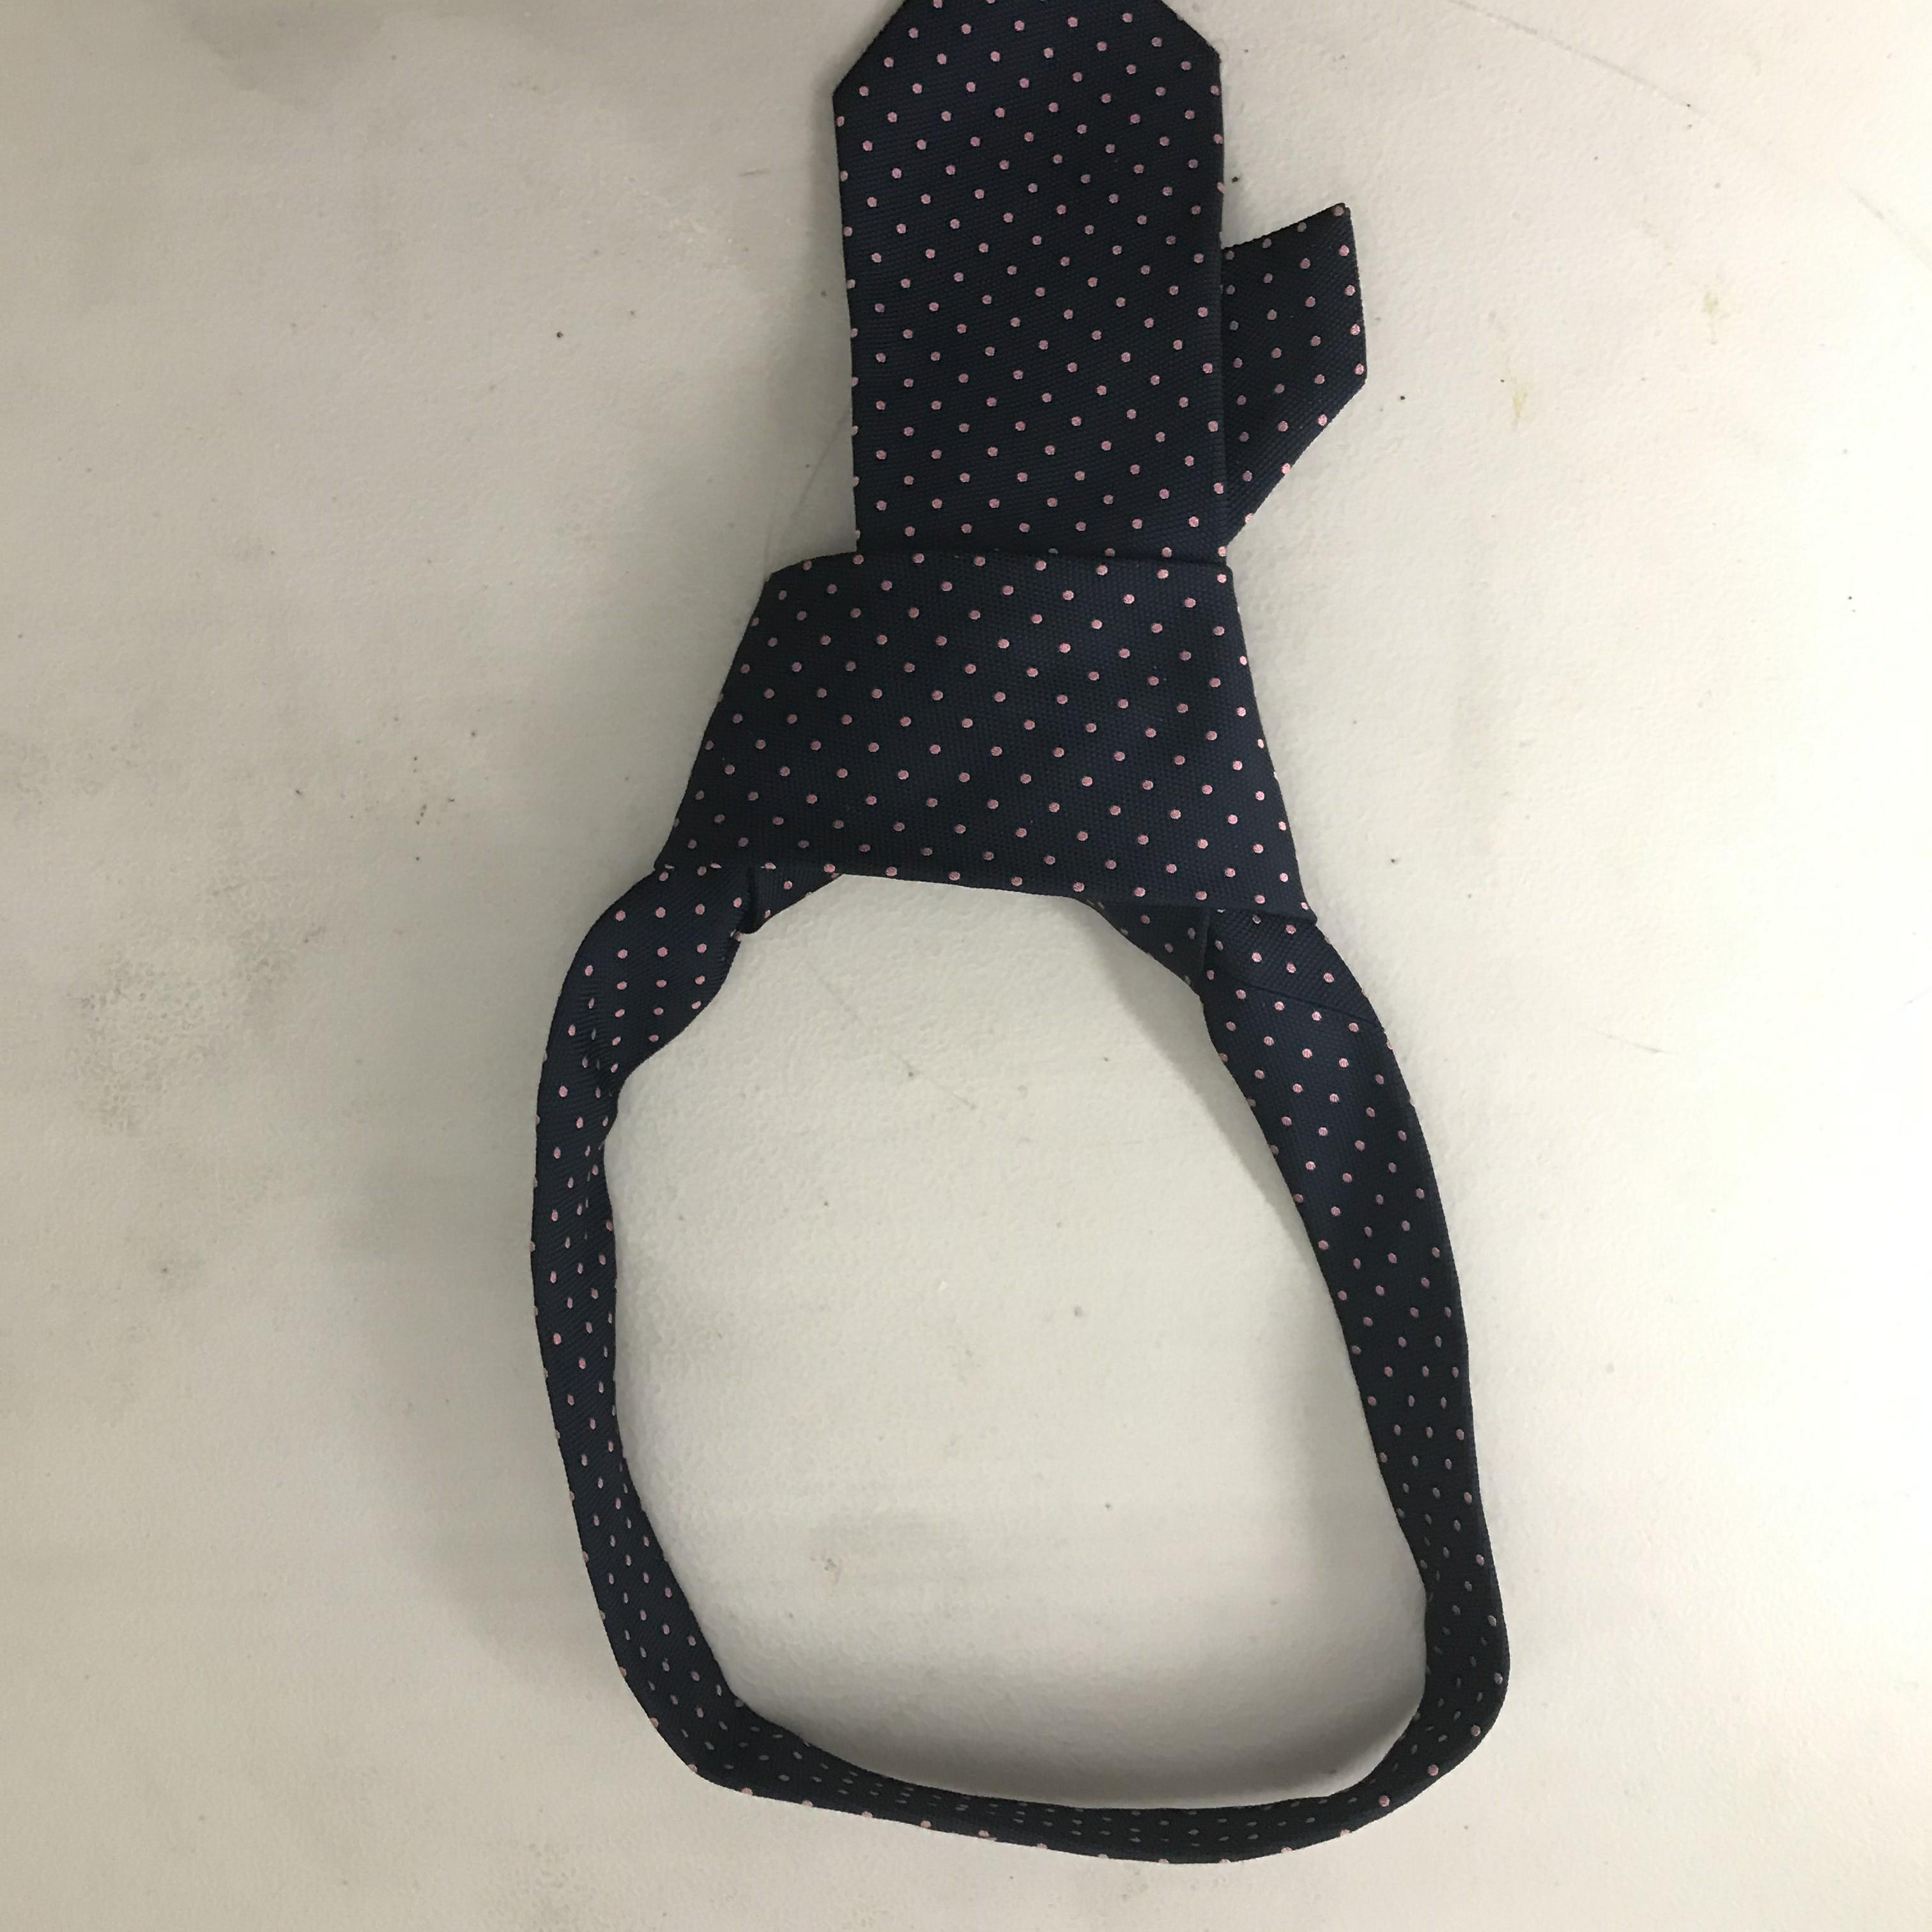
Penultimately, pull the large end of the tie through the sort of slit in the middle of the tie which has appeared as a result of the previous steps. Additionally, Make sure that the front large end is the one that ends up facing the world.
(here you can pull as hard as you wish, just make sure that you keep the knot itself tight or else it may deform and deviate from its triangular shape.)
The End+ Final Adjustments
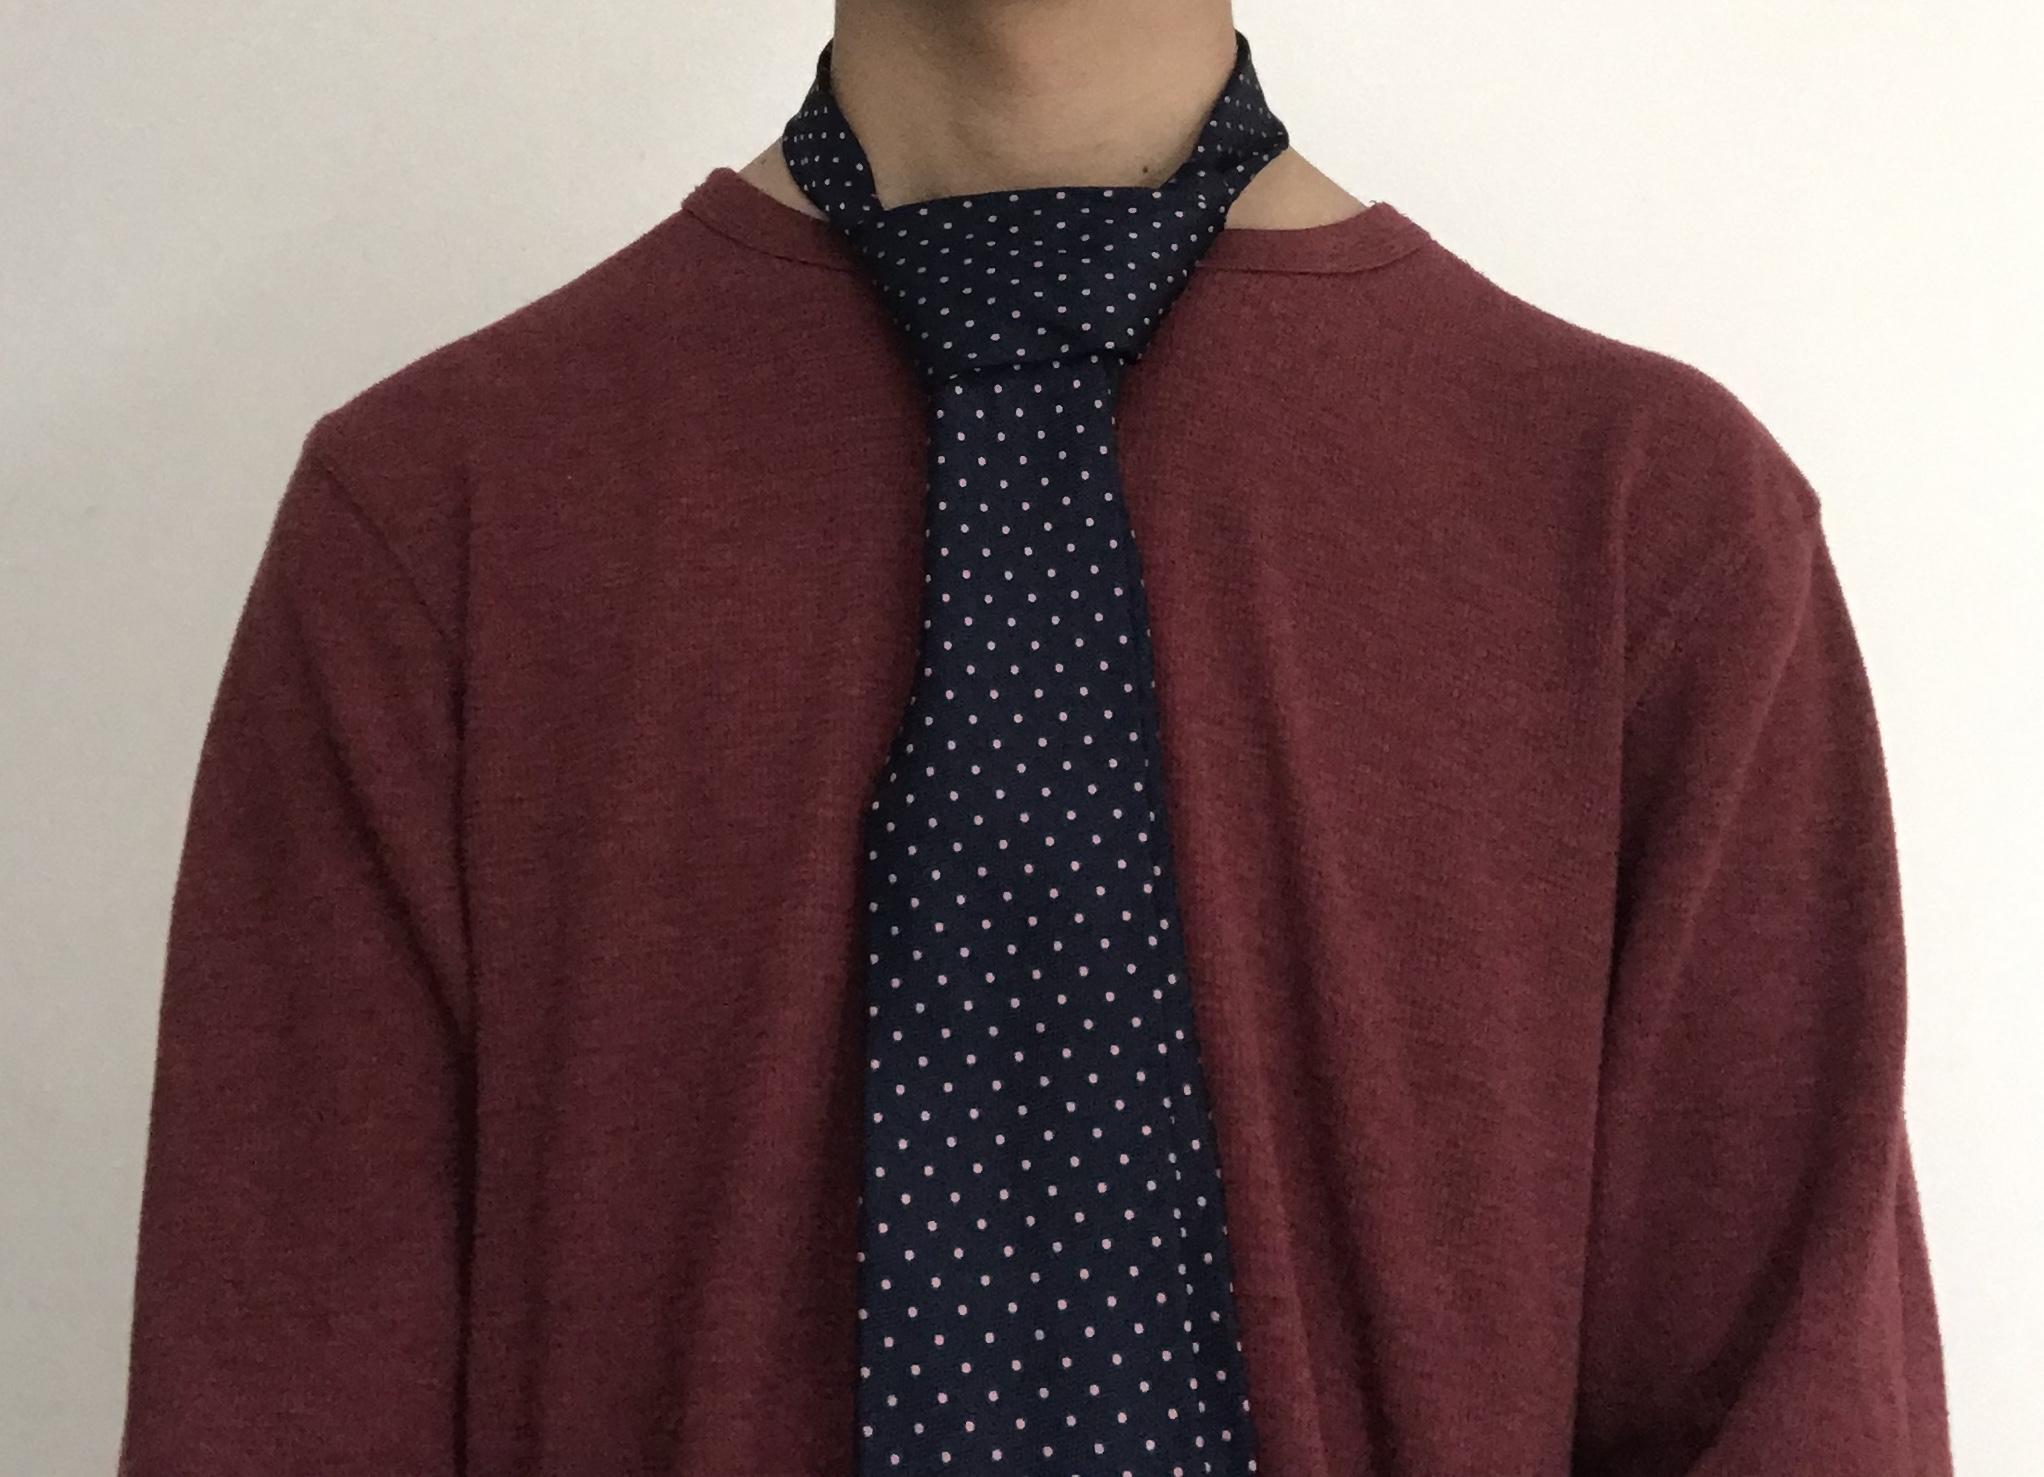
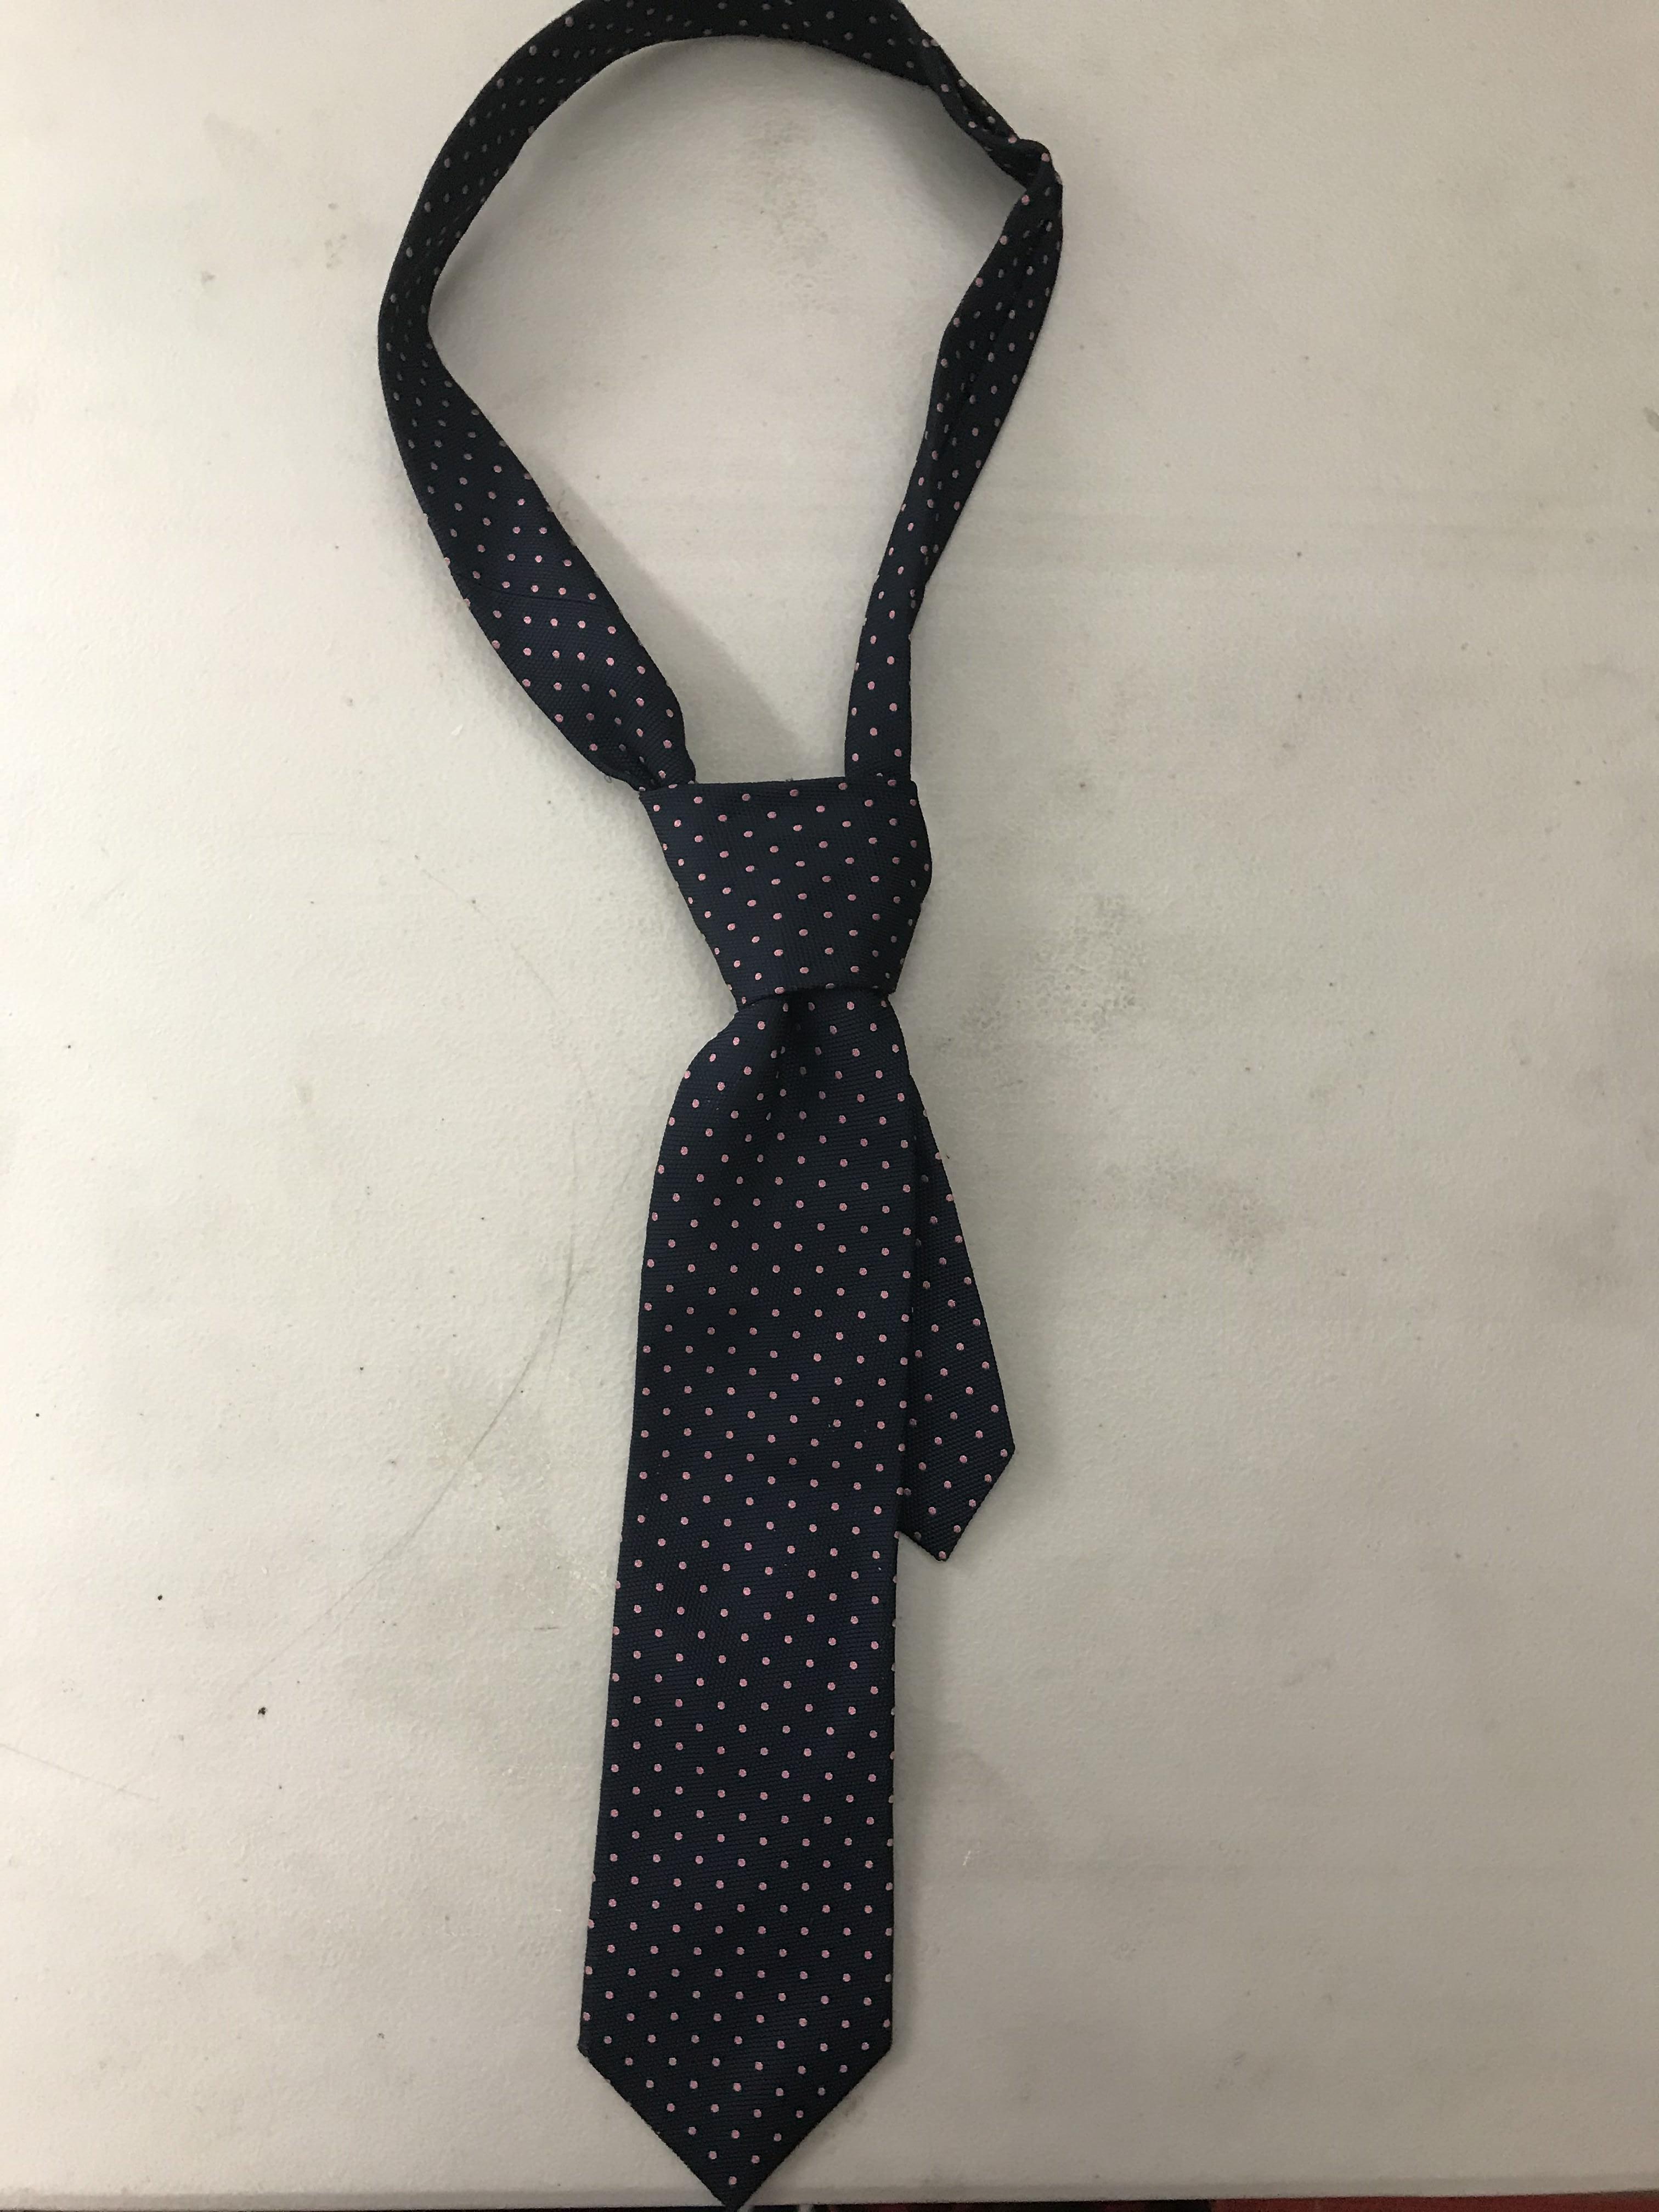
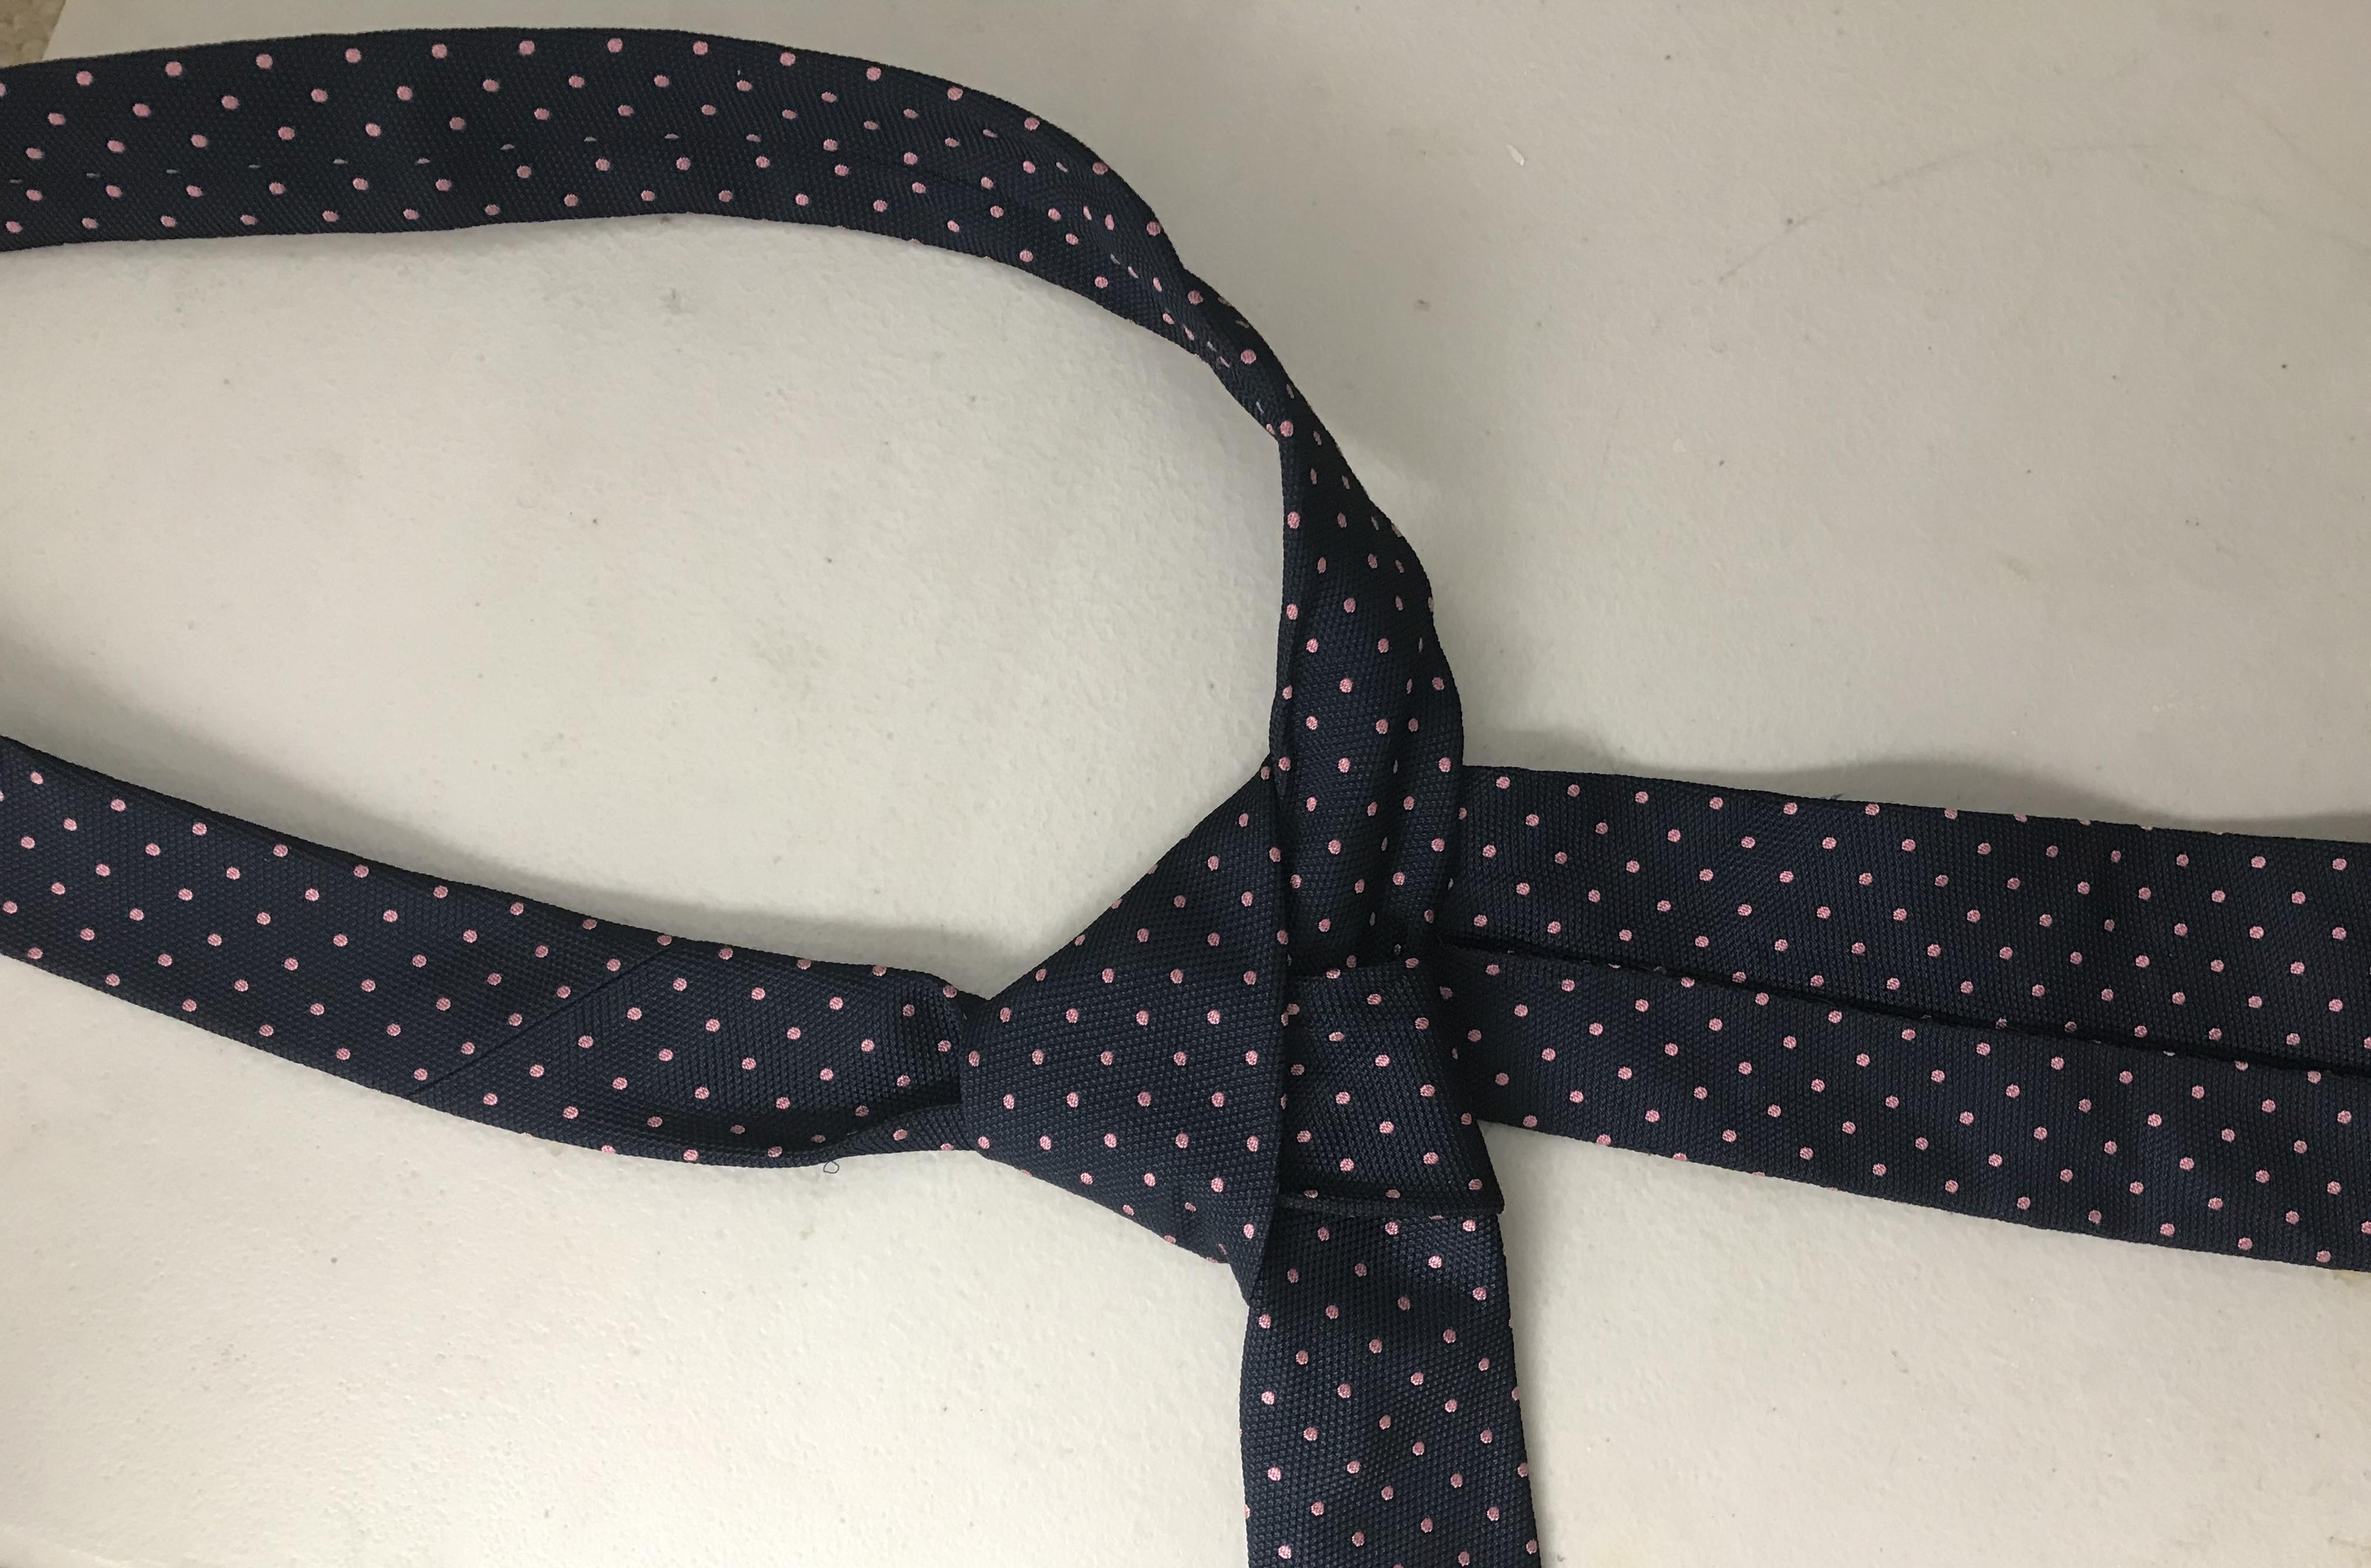
Finally, pull down on the large front end and up on the tie knot itself to adjust it to your preference as well as obviously your collar and neck size.
Congratulations! You’ve effectively learned how to tie the famous Windsor knot, perfect for any formal outing. As well as the only acceptable tie knot for the Royal Air Force in the UK. (Just in case you were interested in applying!)