Tinder Tool / Emergency Candle - Waterproof, Long Lasting - Keyring, Two Pocket Sizes. Simple and Sooo Useful.
by eastfamilyreddish in Outside > Fire
244 Views, 2 Favorites, 0 Comments
Tinder Tool / Emergency Candle - Waterproof, Long Lasting - Keyring, Two Pocket Sizes. Simple and Sooo Useful.
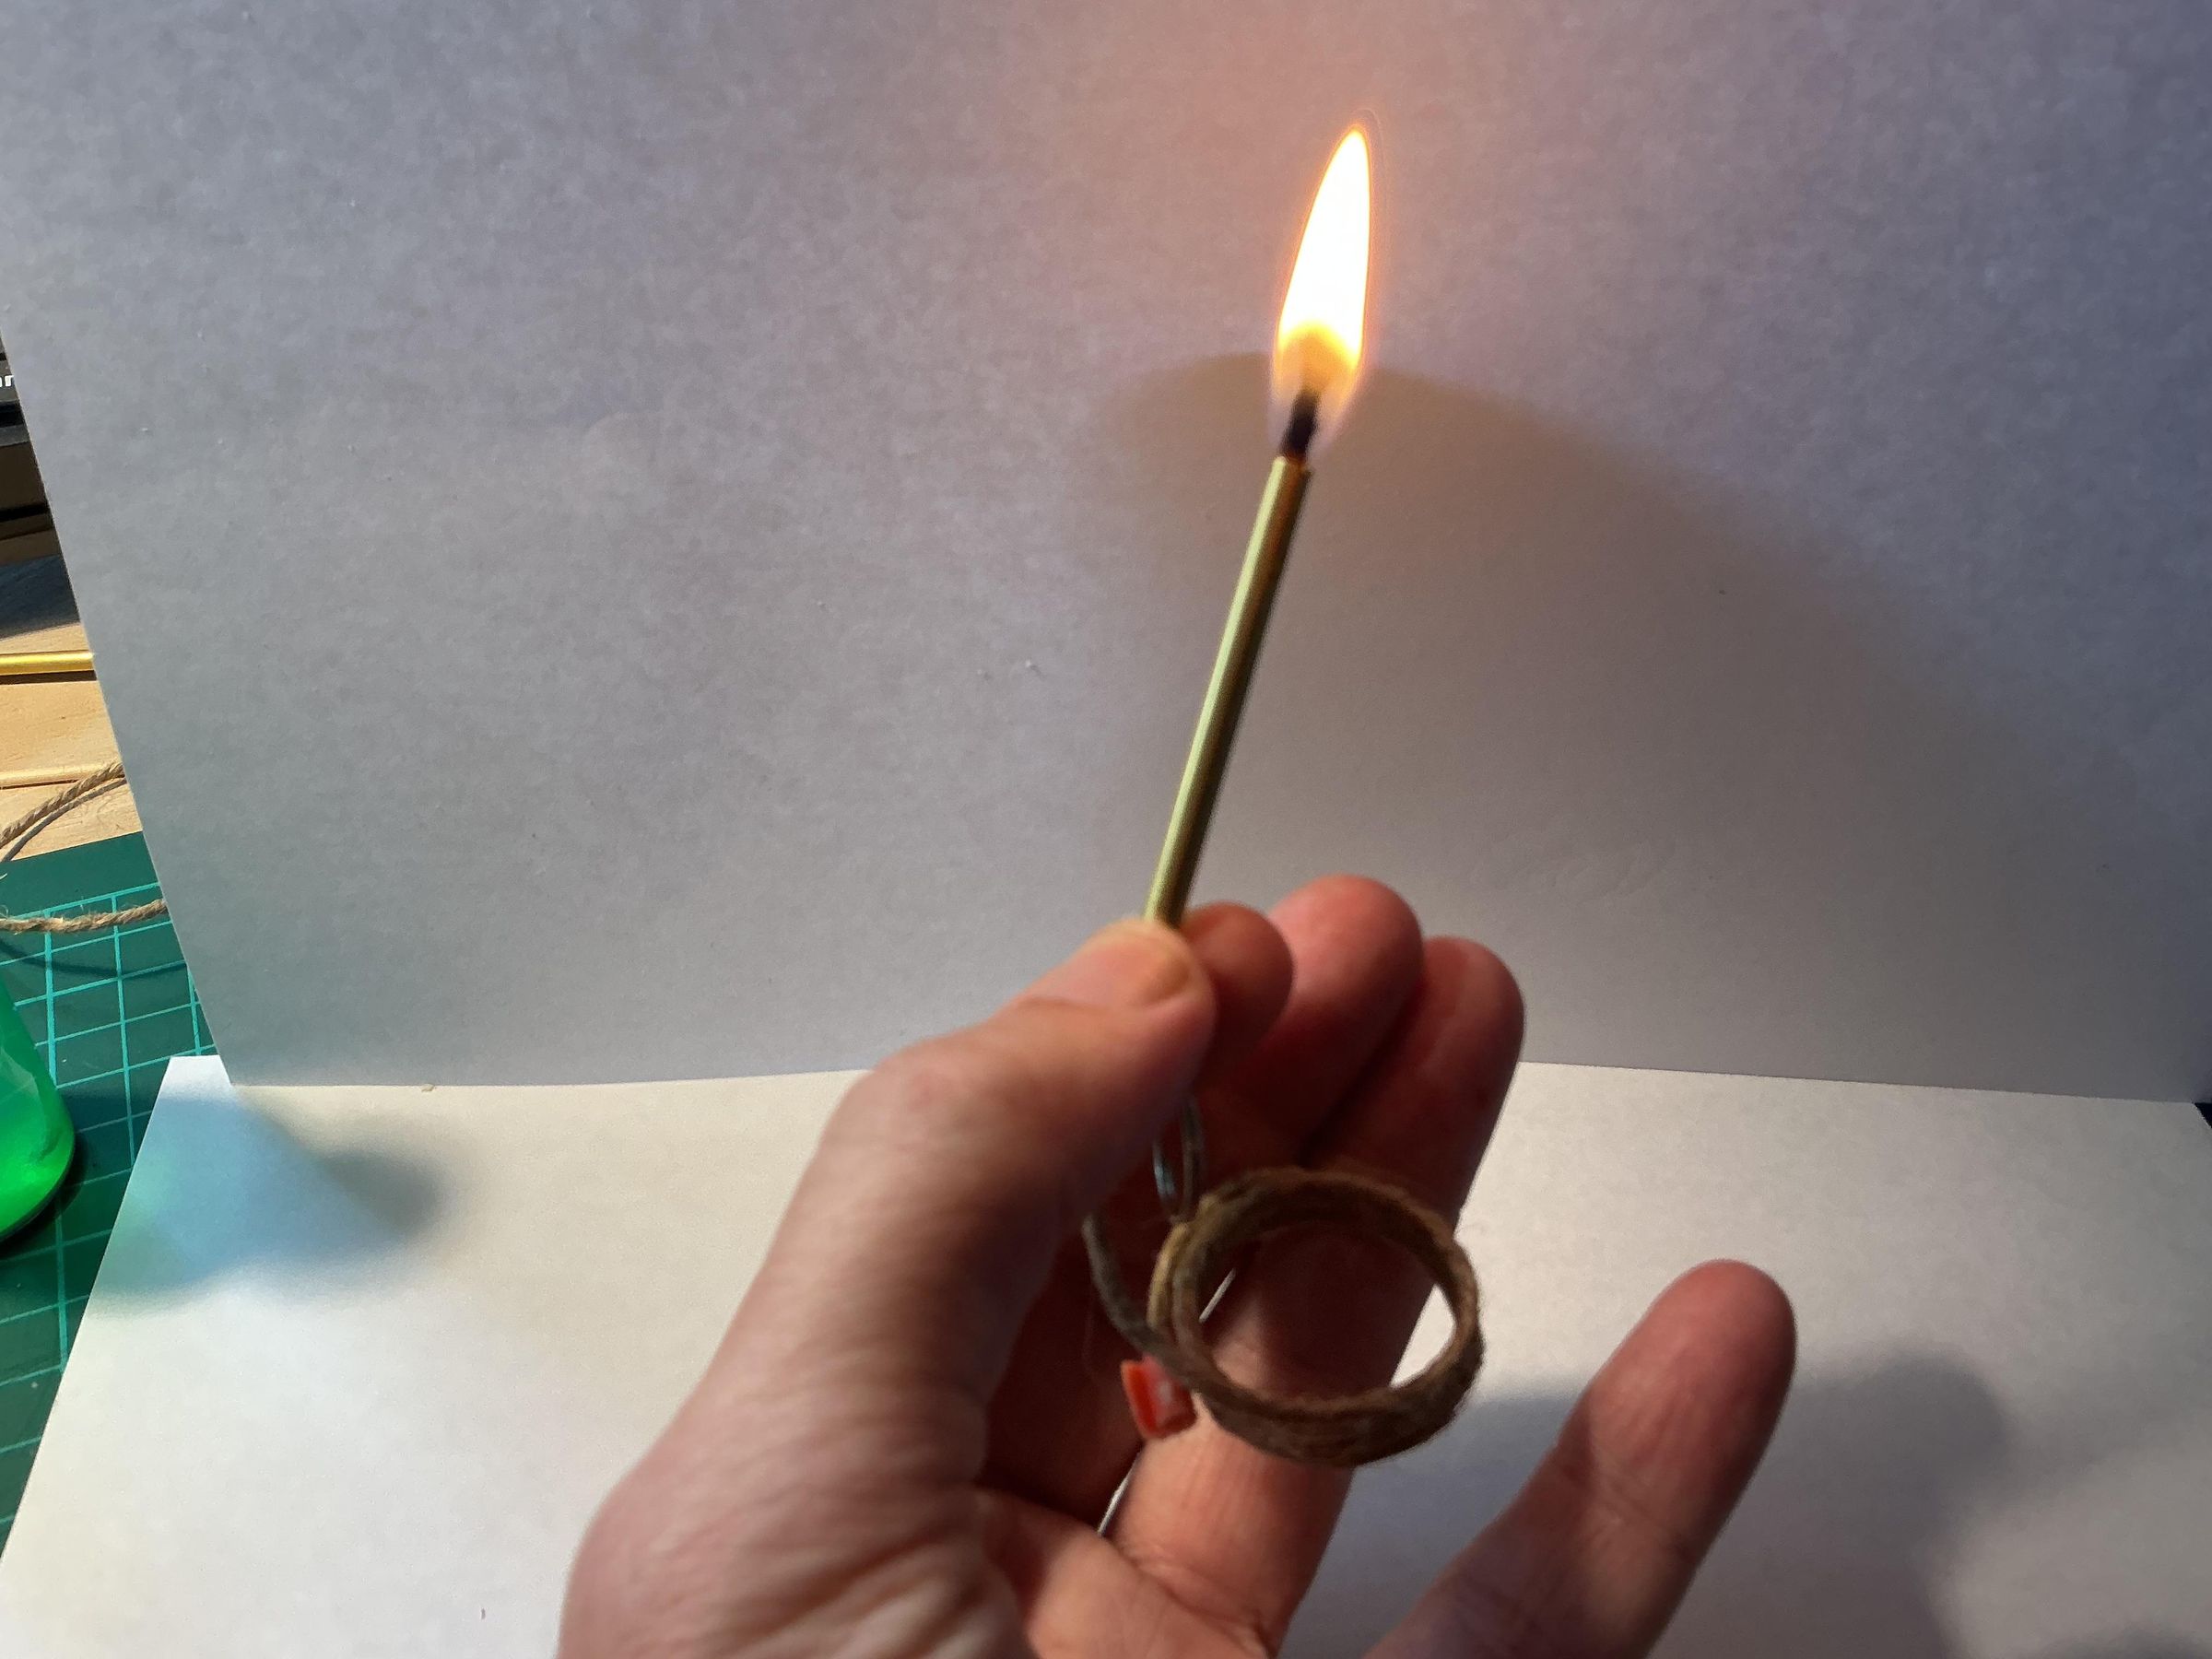
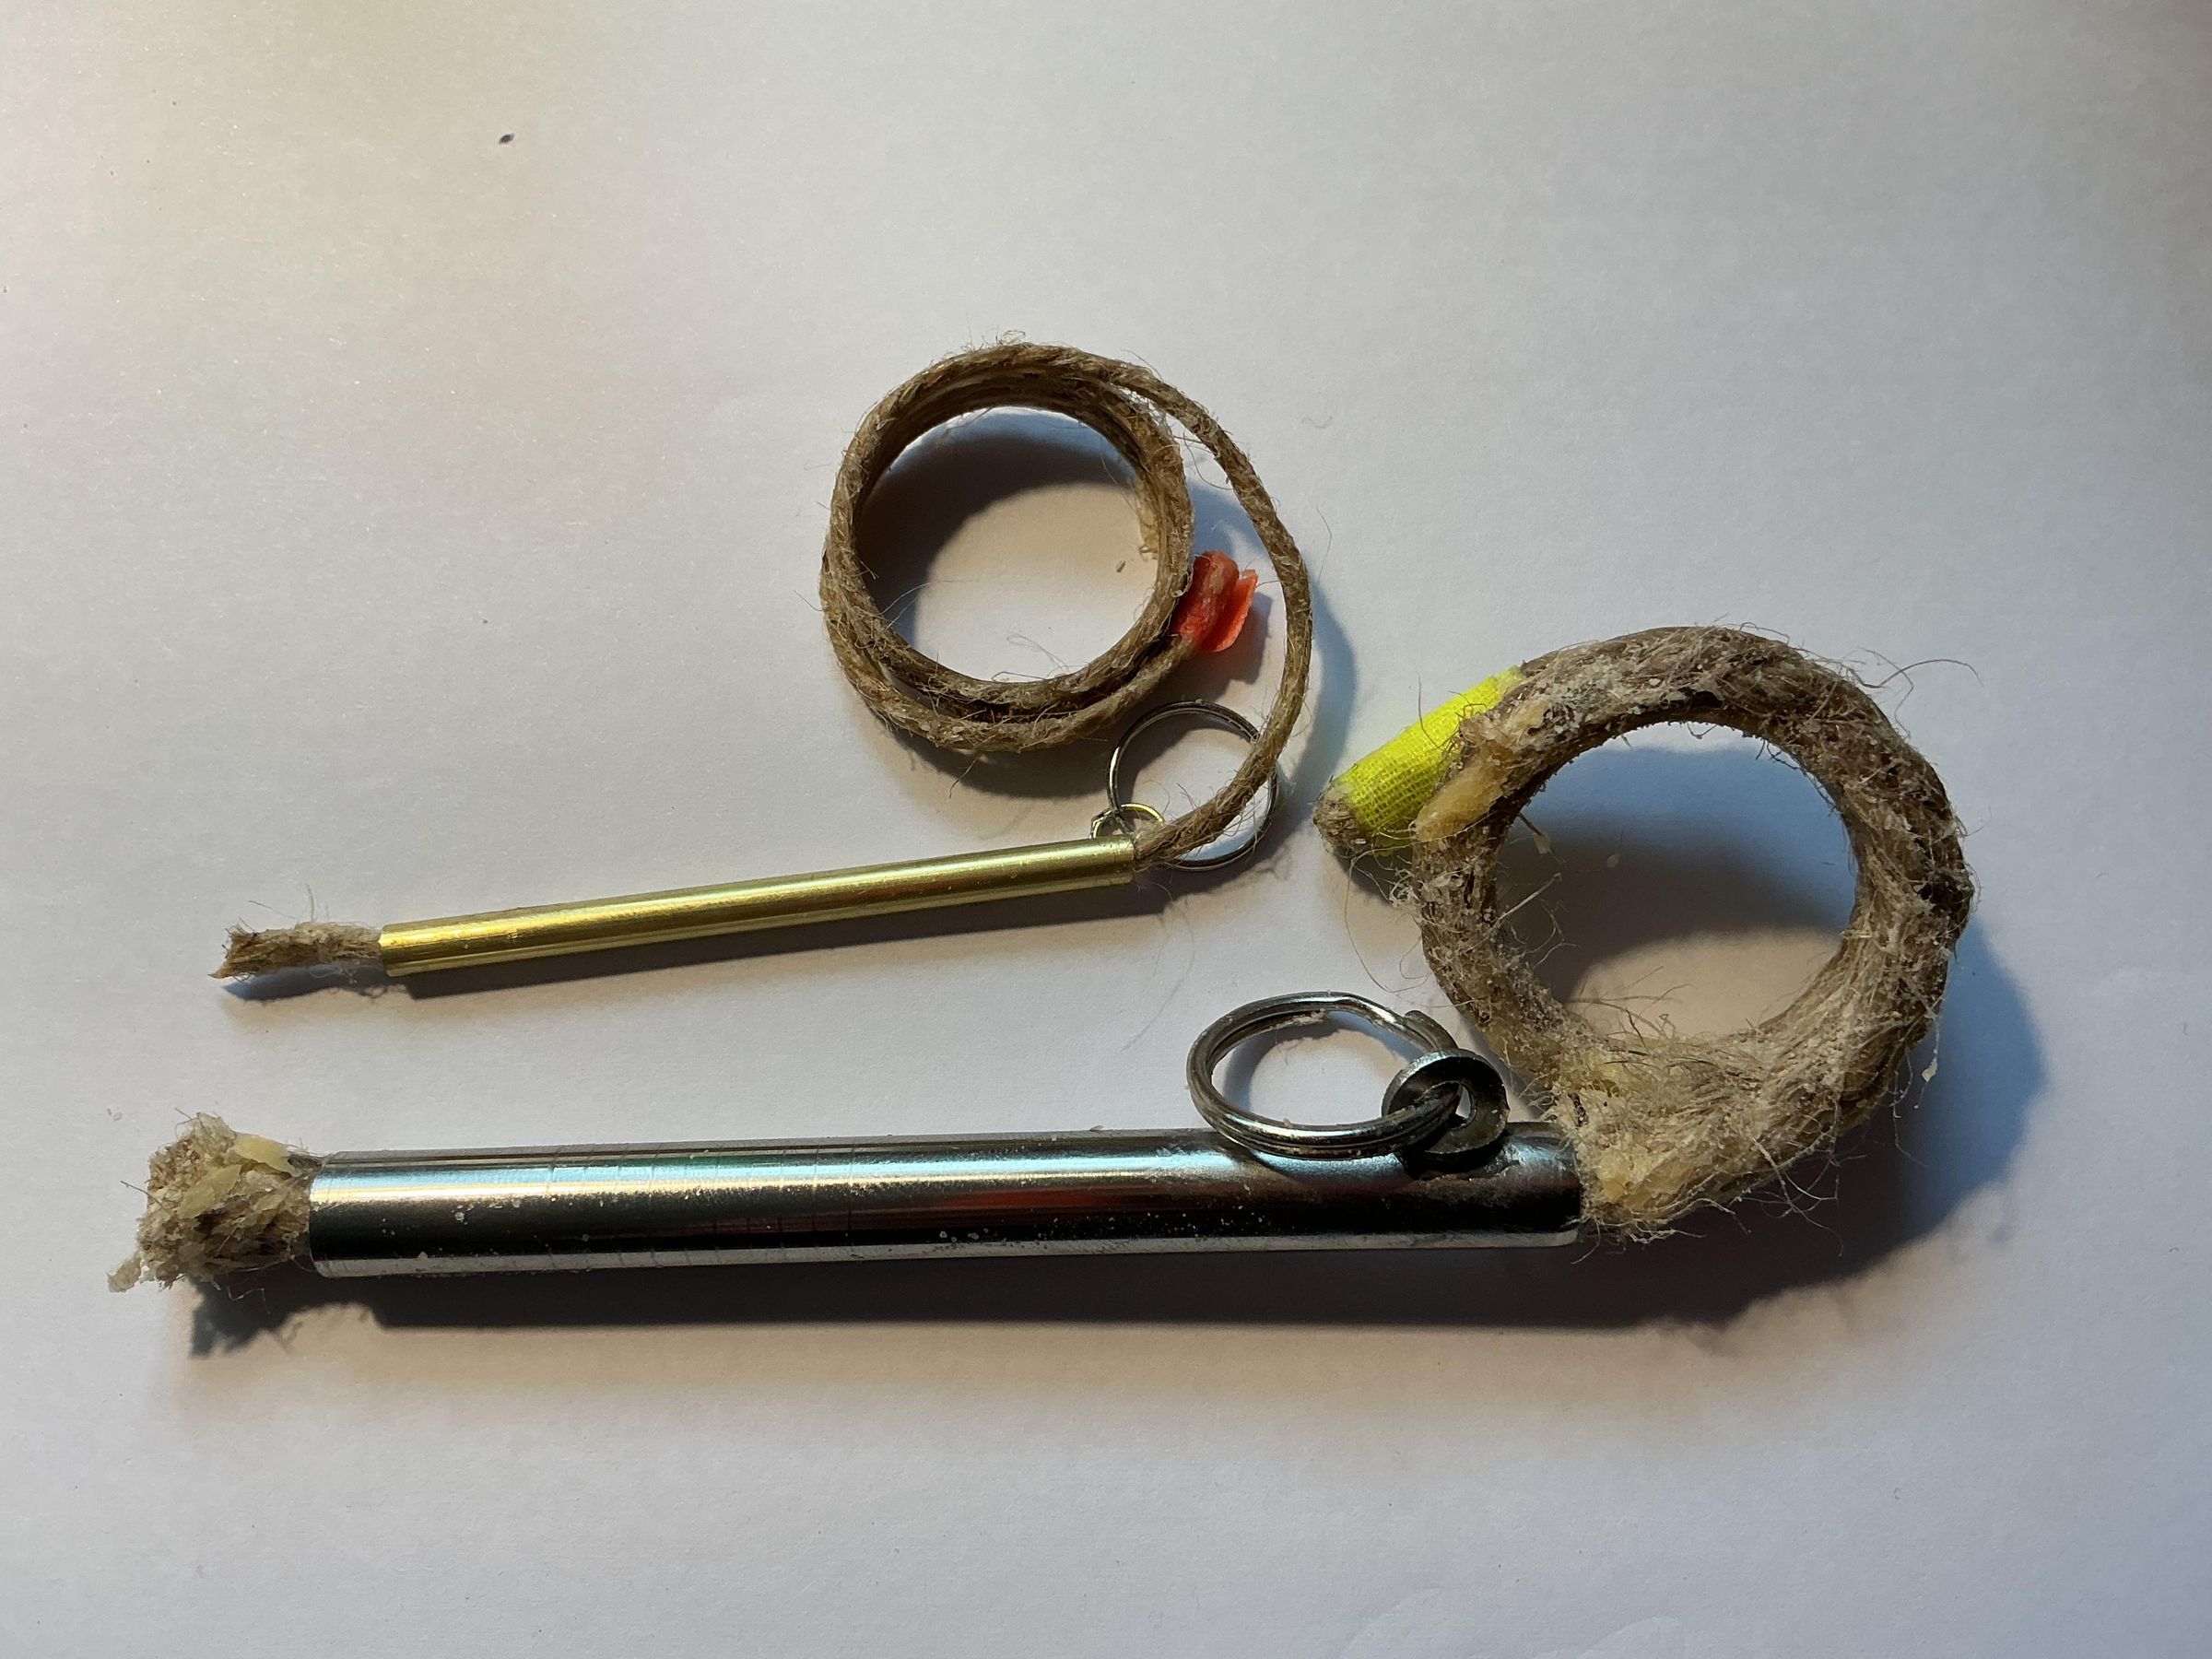
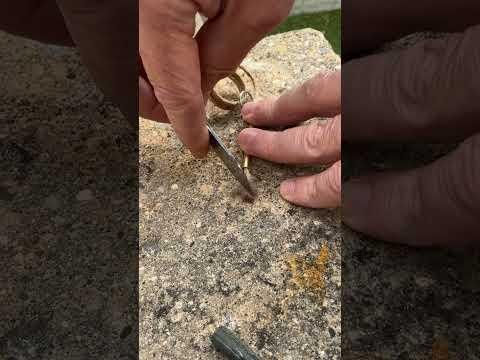
Welcome to my Instructable to make the only tinder tool you’ll ever need to start fire.
Away from civilization? Off grid? You need fire, fire keeps us warm, provides light, turns inedible food to edible food and always looks cool. You need tinder to start this. Tinder is the combustible material you use to ignite larger fuel you’ll use to cook or heat.
Using jute twine or rope, a metal tube, wax and a keyring it’s one of the most useful tools I take out wild camping and hiking. The biggest benefit of this tool, above being a readily available source of tinder is the metal tube/holder which allows you to apply flame to your campfire or stove without burning yourself in the process, it’s a convenient handle and extinguishes the flame when you’re done.
It’s compact, waterproof and infinitely refillable. Made using only a few materials and tools you can build this in under an hour.
I live in the North of the UK, this means the ground and potential tinder material is often wet and unusable so I wanted to find a way to carry ignition tinder with me, easy to use and weather proof.
I wanted it pocket size, ideally with a keyring to attach it to other tools and above all clean so it does not leave me with a pocket full of soot.
CAUTION- All around the world wildfires are causing carnage, make sure wherever you’re starting your fire you need to:
- Find a suitable location away from meadows, dry forests or dry material
- Always have a bucket of water with you for emergencies
- Set your fire on solid ground that will not ignite
- Never leave a lit fire alone and ensure it’s properly extinguished when you're finished.
- If you’re not sure, don’t start a fire, drink cold coffee instead.
We normally use a river bank that’s wet and does not have overhanging (dry) vegetation.
Supplies
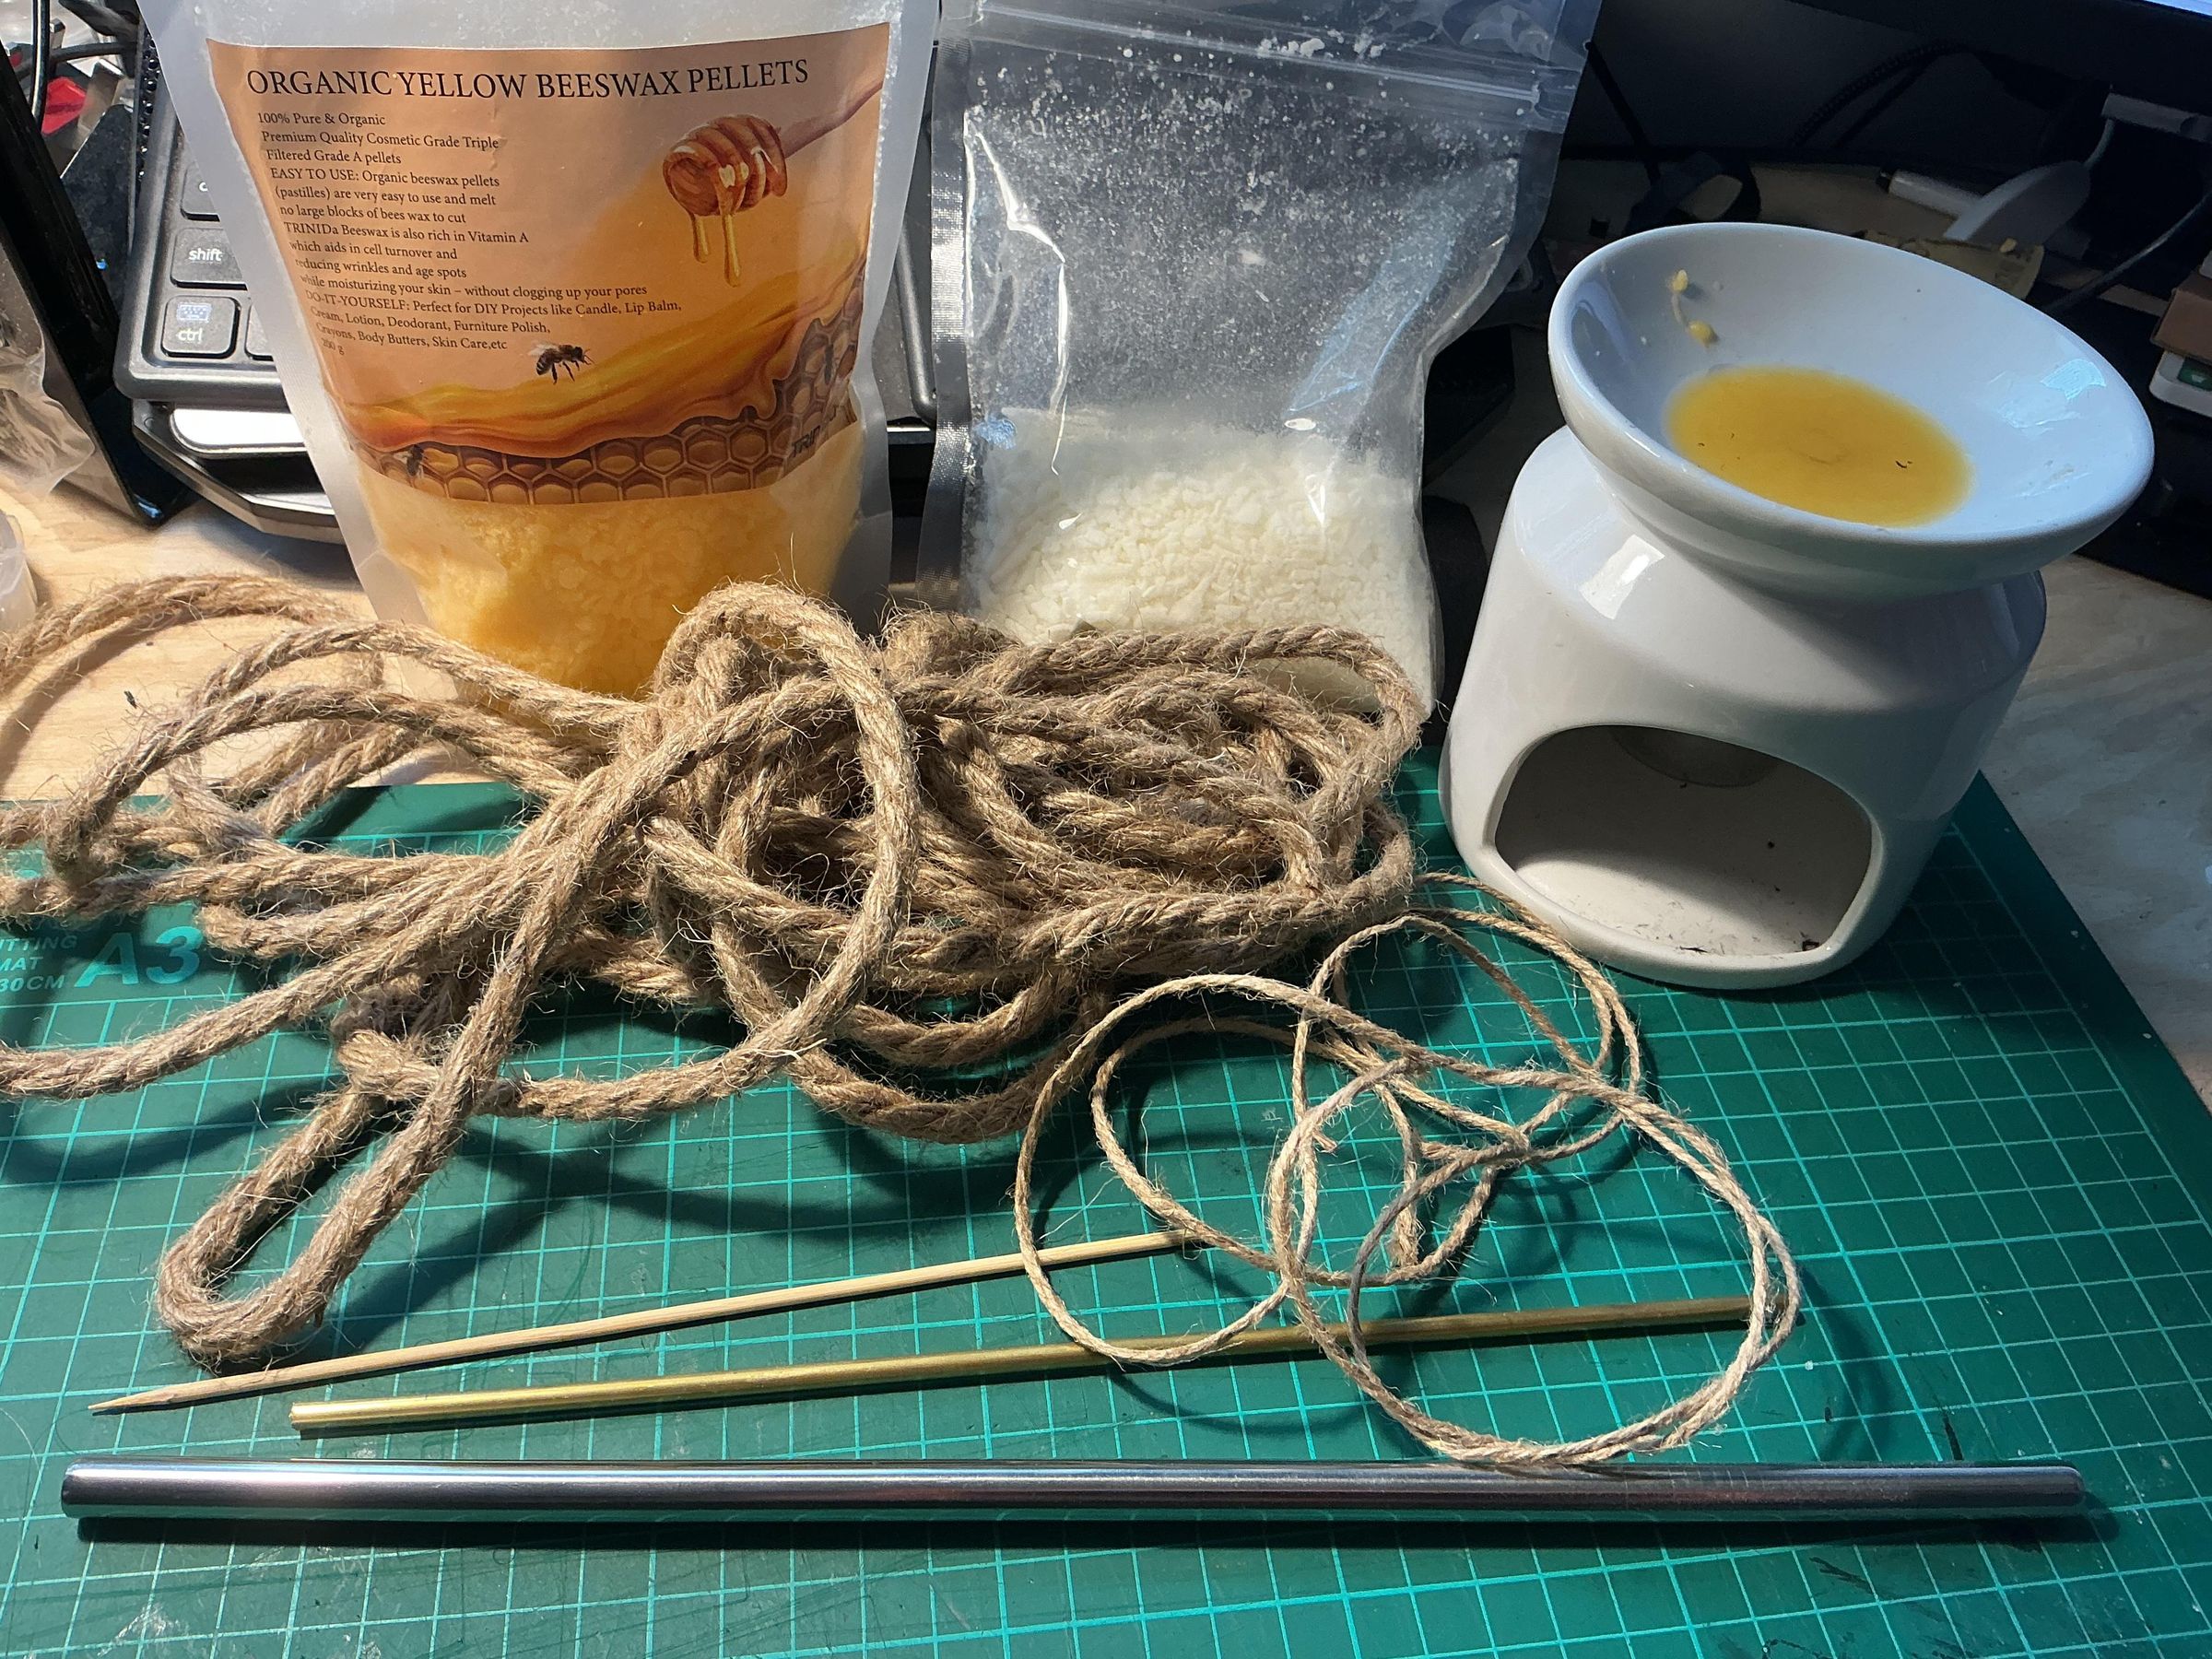
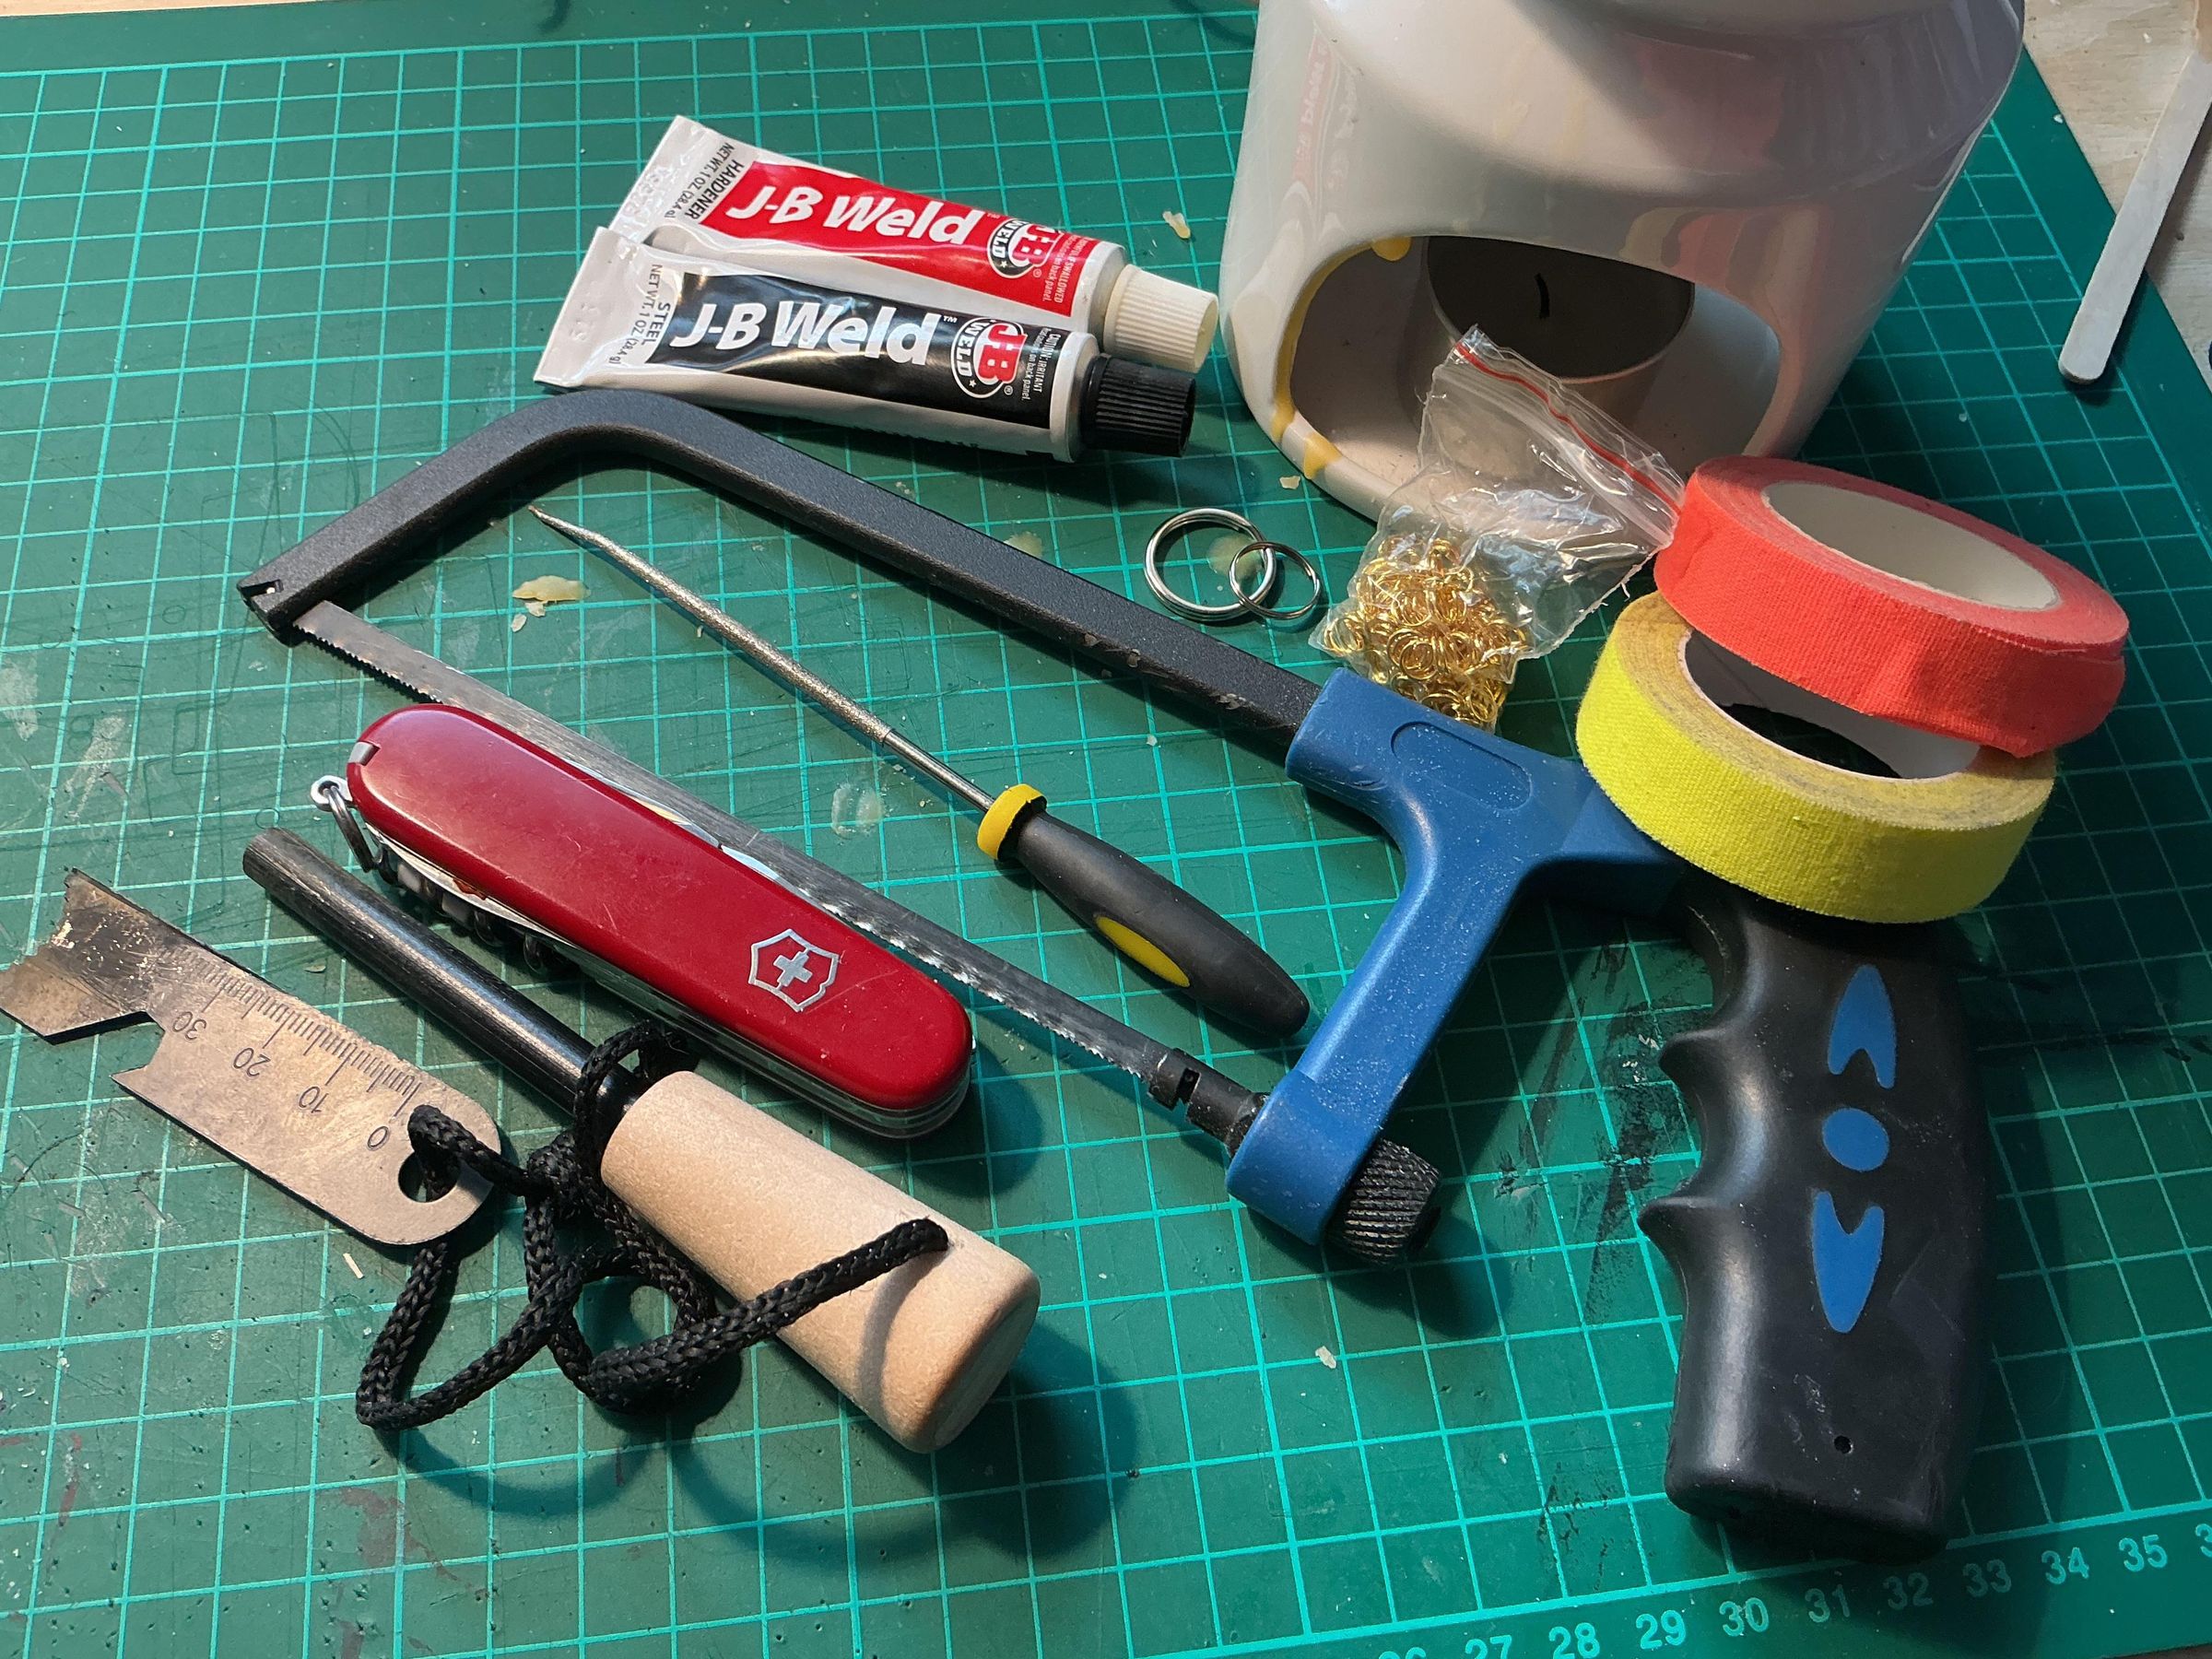
You can make this for only a couple of pounds or dollars, I had most things around the workshop.
Materials
- Wax - more on this later, you can use any but I recommend Bees Wax
- Jute String or cord. You can find this in most hardware or garden stores.
- Metal Tubes slightly wider than your jute.
- Keyrings
Tools
- Pen Knife/Swiss army knife (Optional: pointy stick)
- Fire starter - I use a Magnesium/Ferro Fire Starter which has never let me down, you can use a lighter or matches if you prefer.
- Wax melting pot, saucer or similar
- Hacksaw
- Dremel/Multi tool and small drill bit
- Drill (optional)
- Metal File
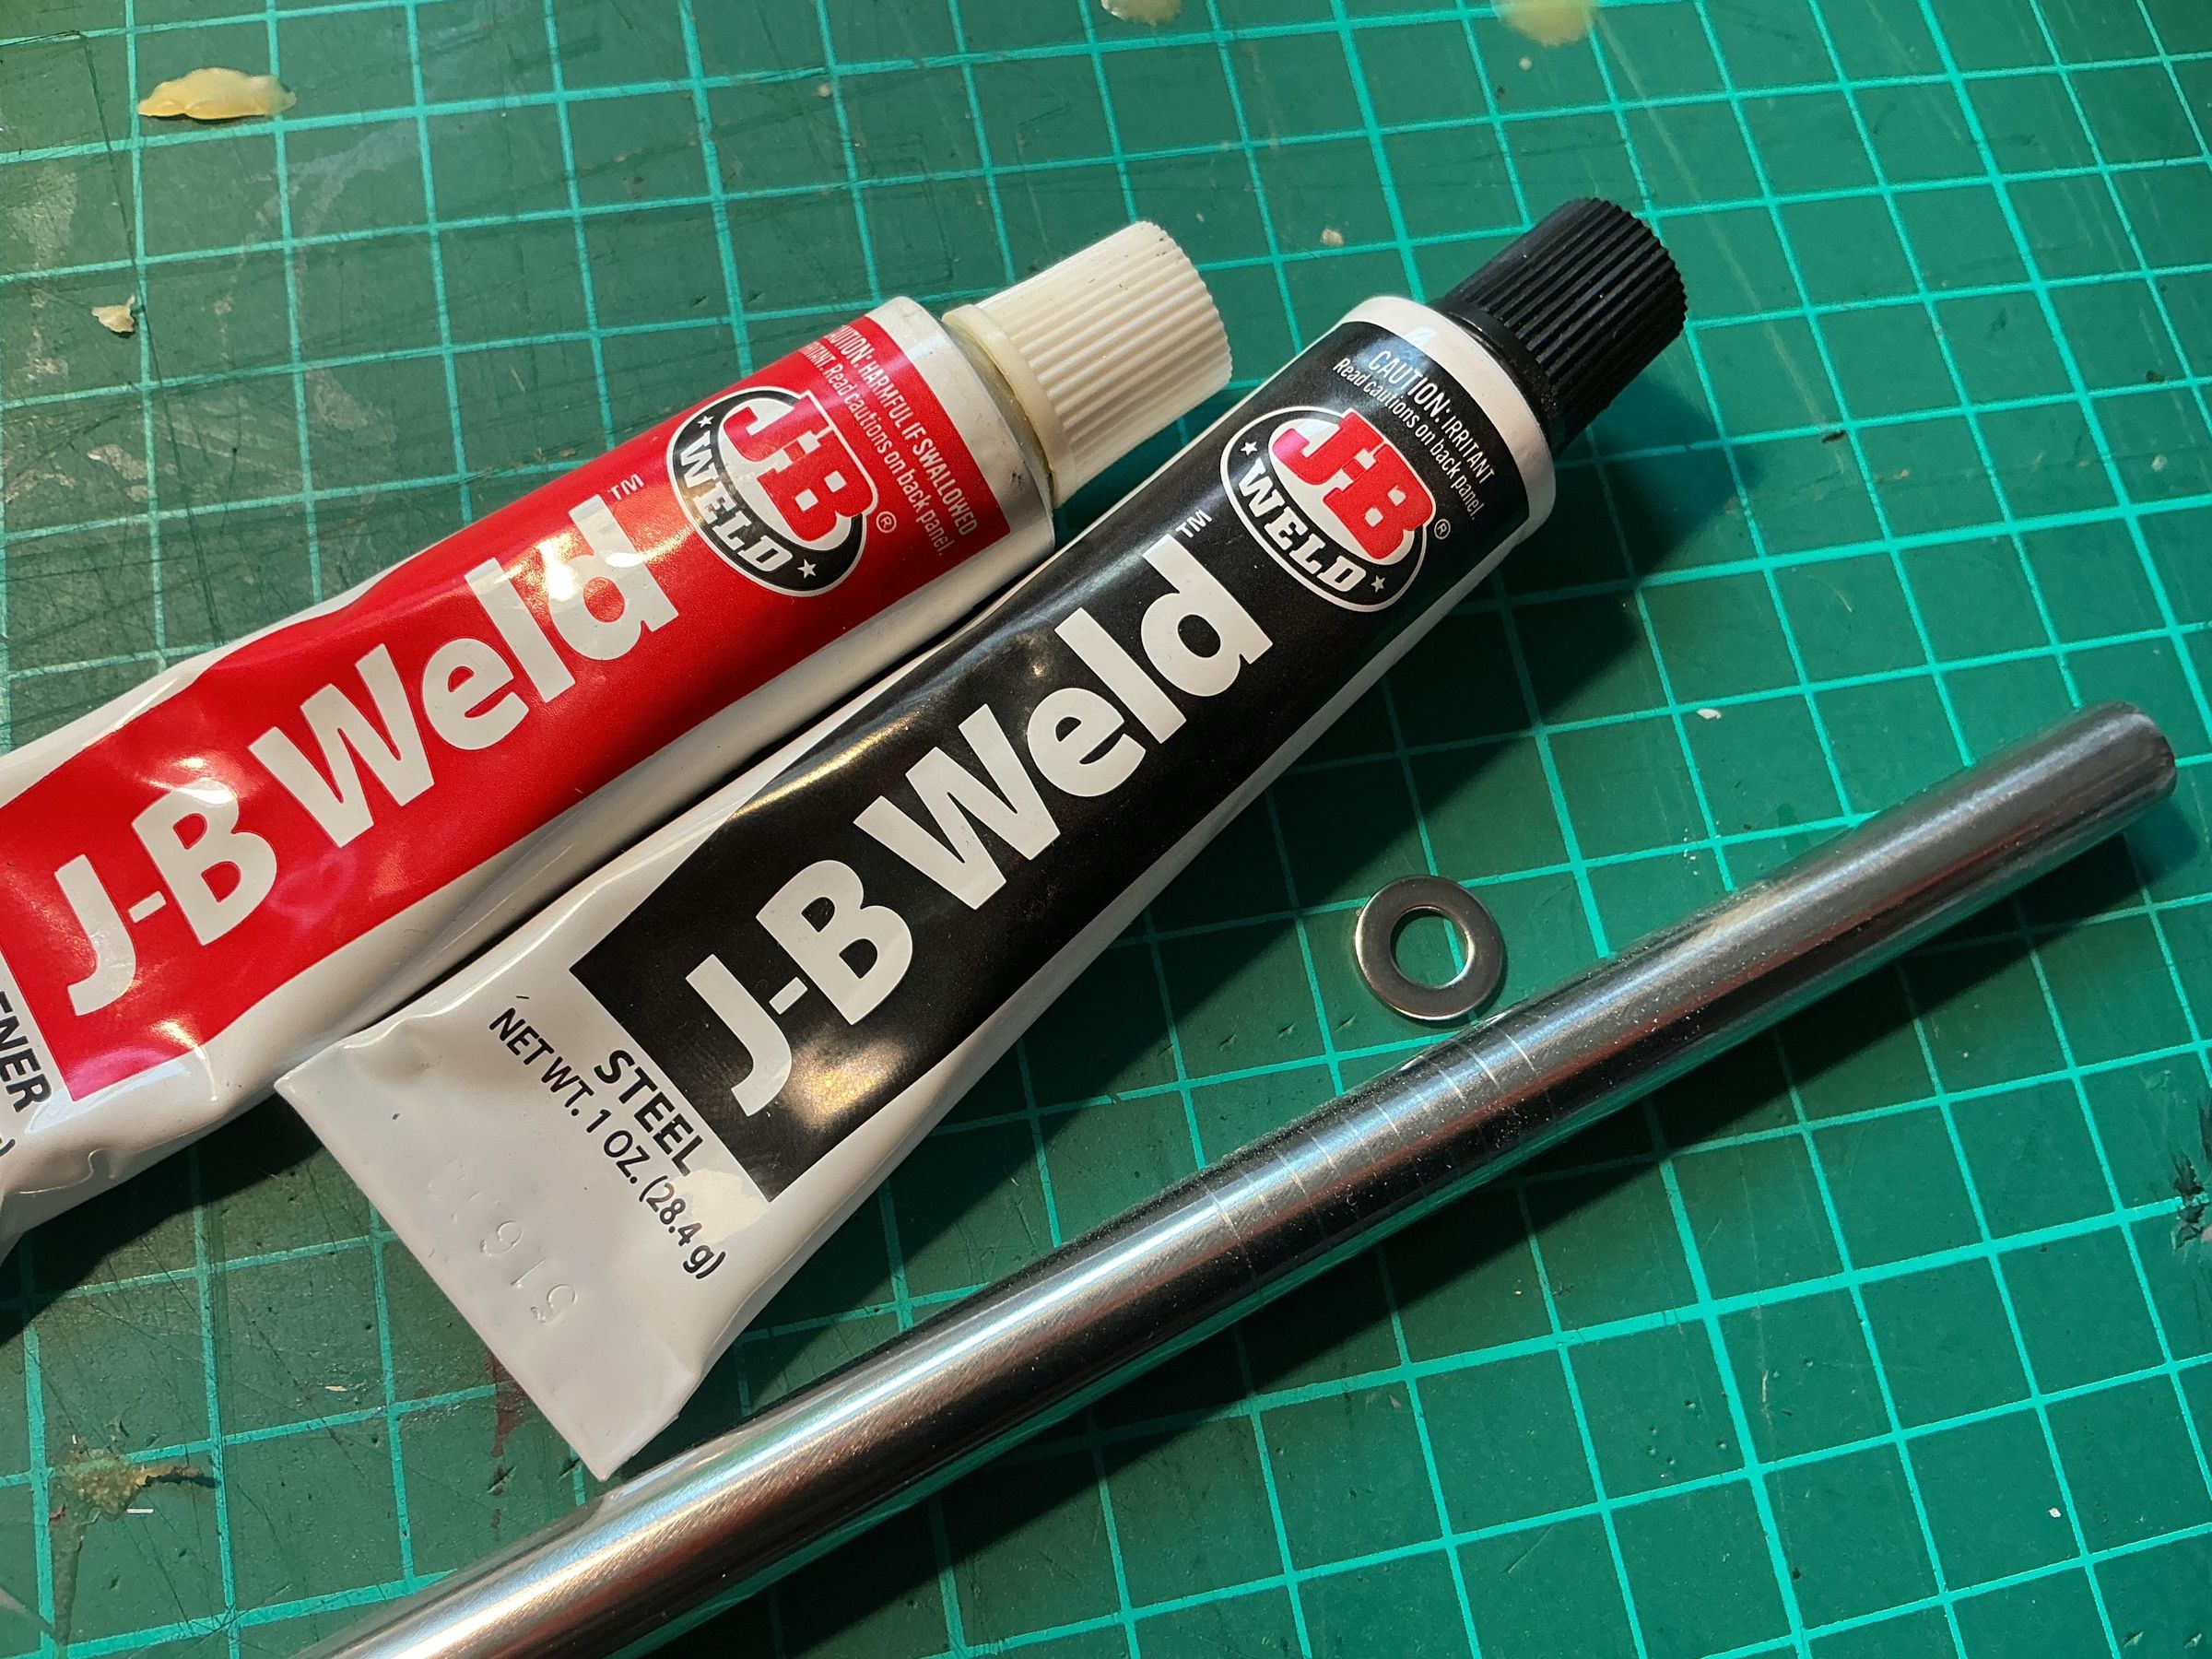
- JB Weld - Metal glue (if you follow the same design as mine)
Safety
- Work gloves
- Bucket of water or fire extinguisher to hand
Prepare the Tinder
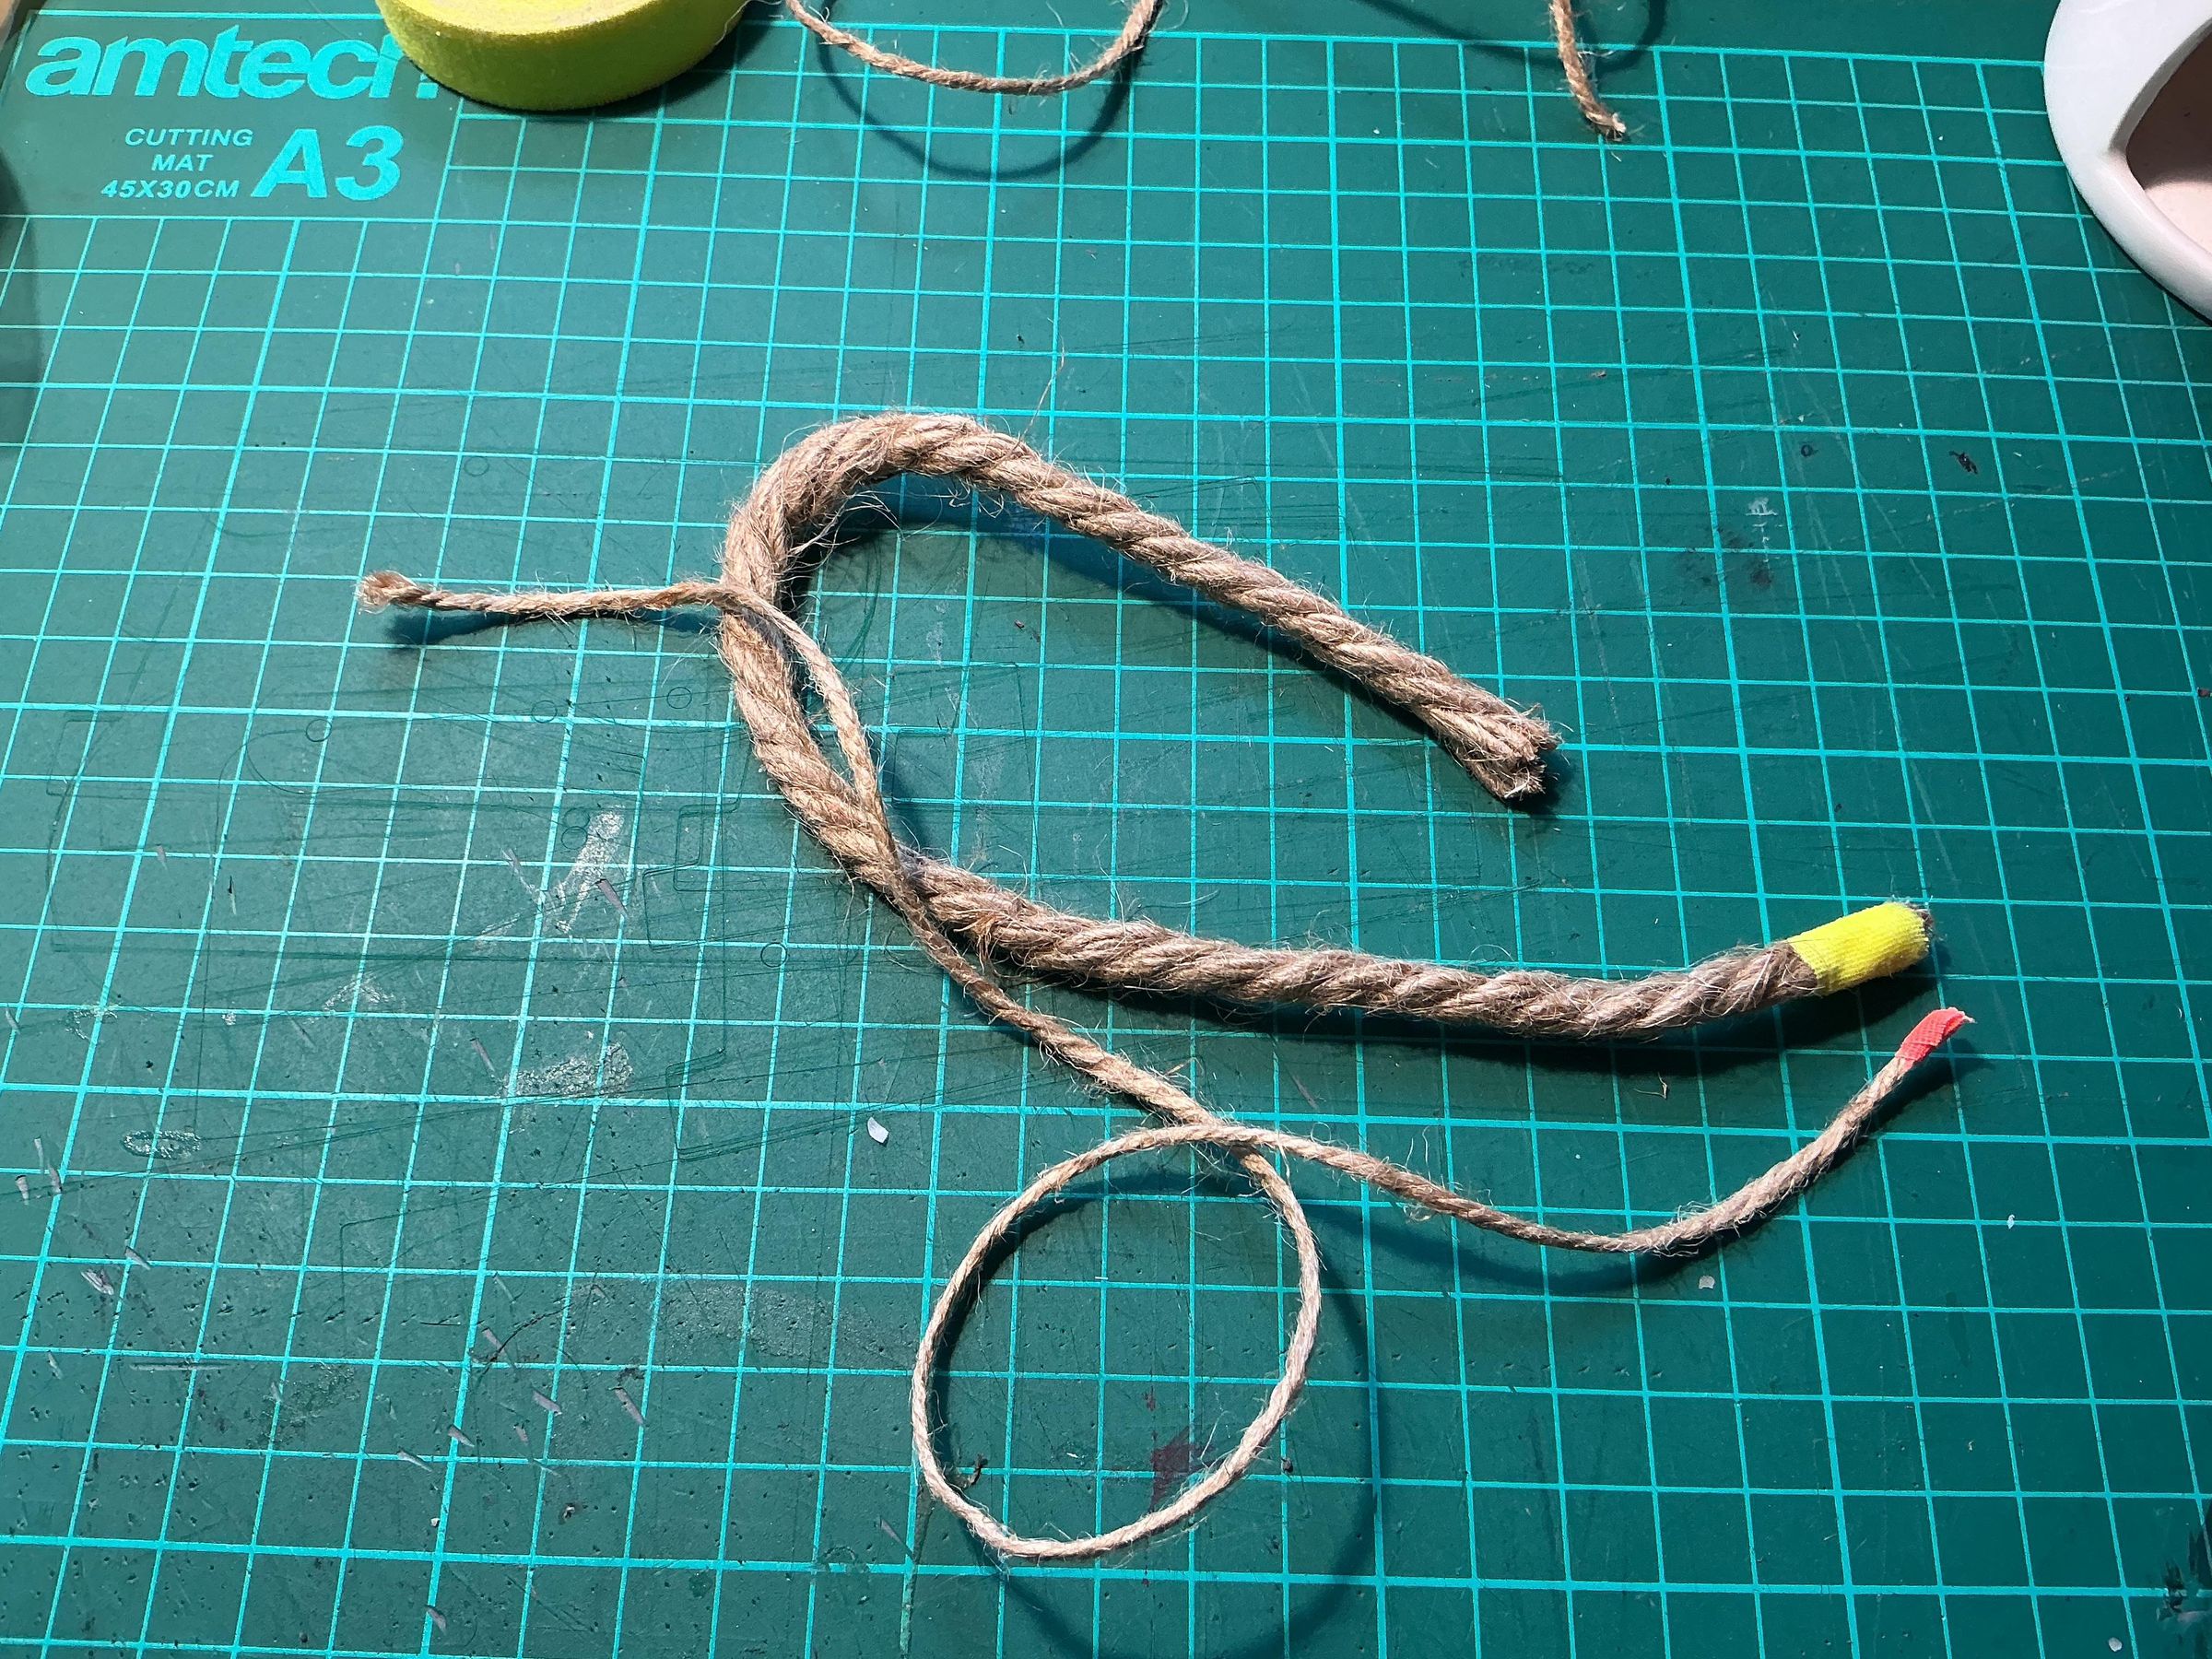
Jute rope or string is ideal for Tinder, it’s a fibrous rough material made from the Jute plant, spun into rope or string it’s strong and pretty weather resistant which is why it’s favoured by gardeners. It's also 100% natural, and bio-degradable, for our purposes it also burns and ignites well when "fluffed" up without harmful chemicals or fumes.
As I'm making two size models, I chose 10mm thick jute rope and a thinner jute string, about 3-4mm. I cut a portion of rope about 12inch/30cm long and a bit longer for the string (the string is more compact so you can carry more).
As jute is fibrous it absorbs water well, not great for our scenario! so we're going to seal it with wax to protect it and enhance its fire capabilities, wax slows the wick from burning down as quickly.
I secured one end with a bit of fabric tape to stop the tail end unravelling.
Waxing the Tinder
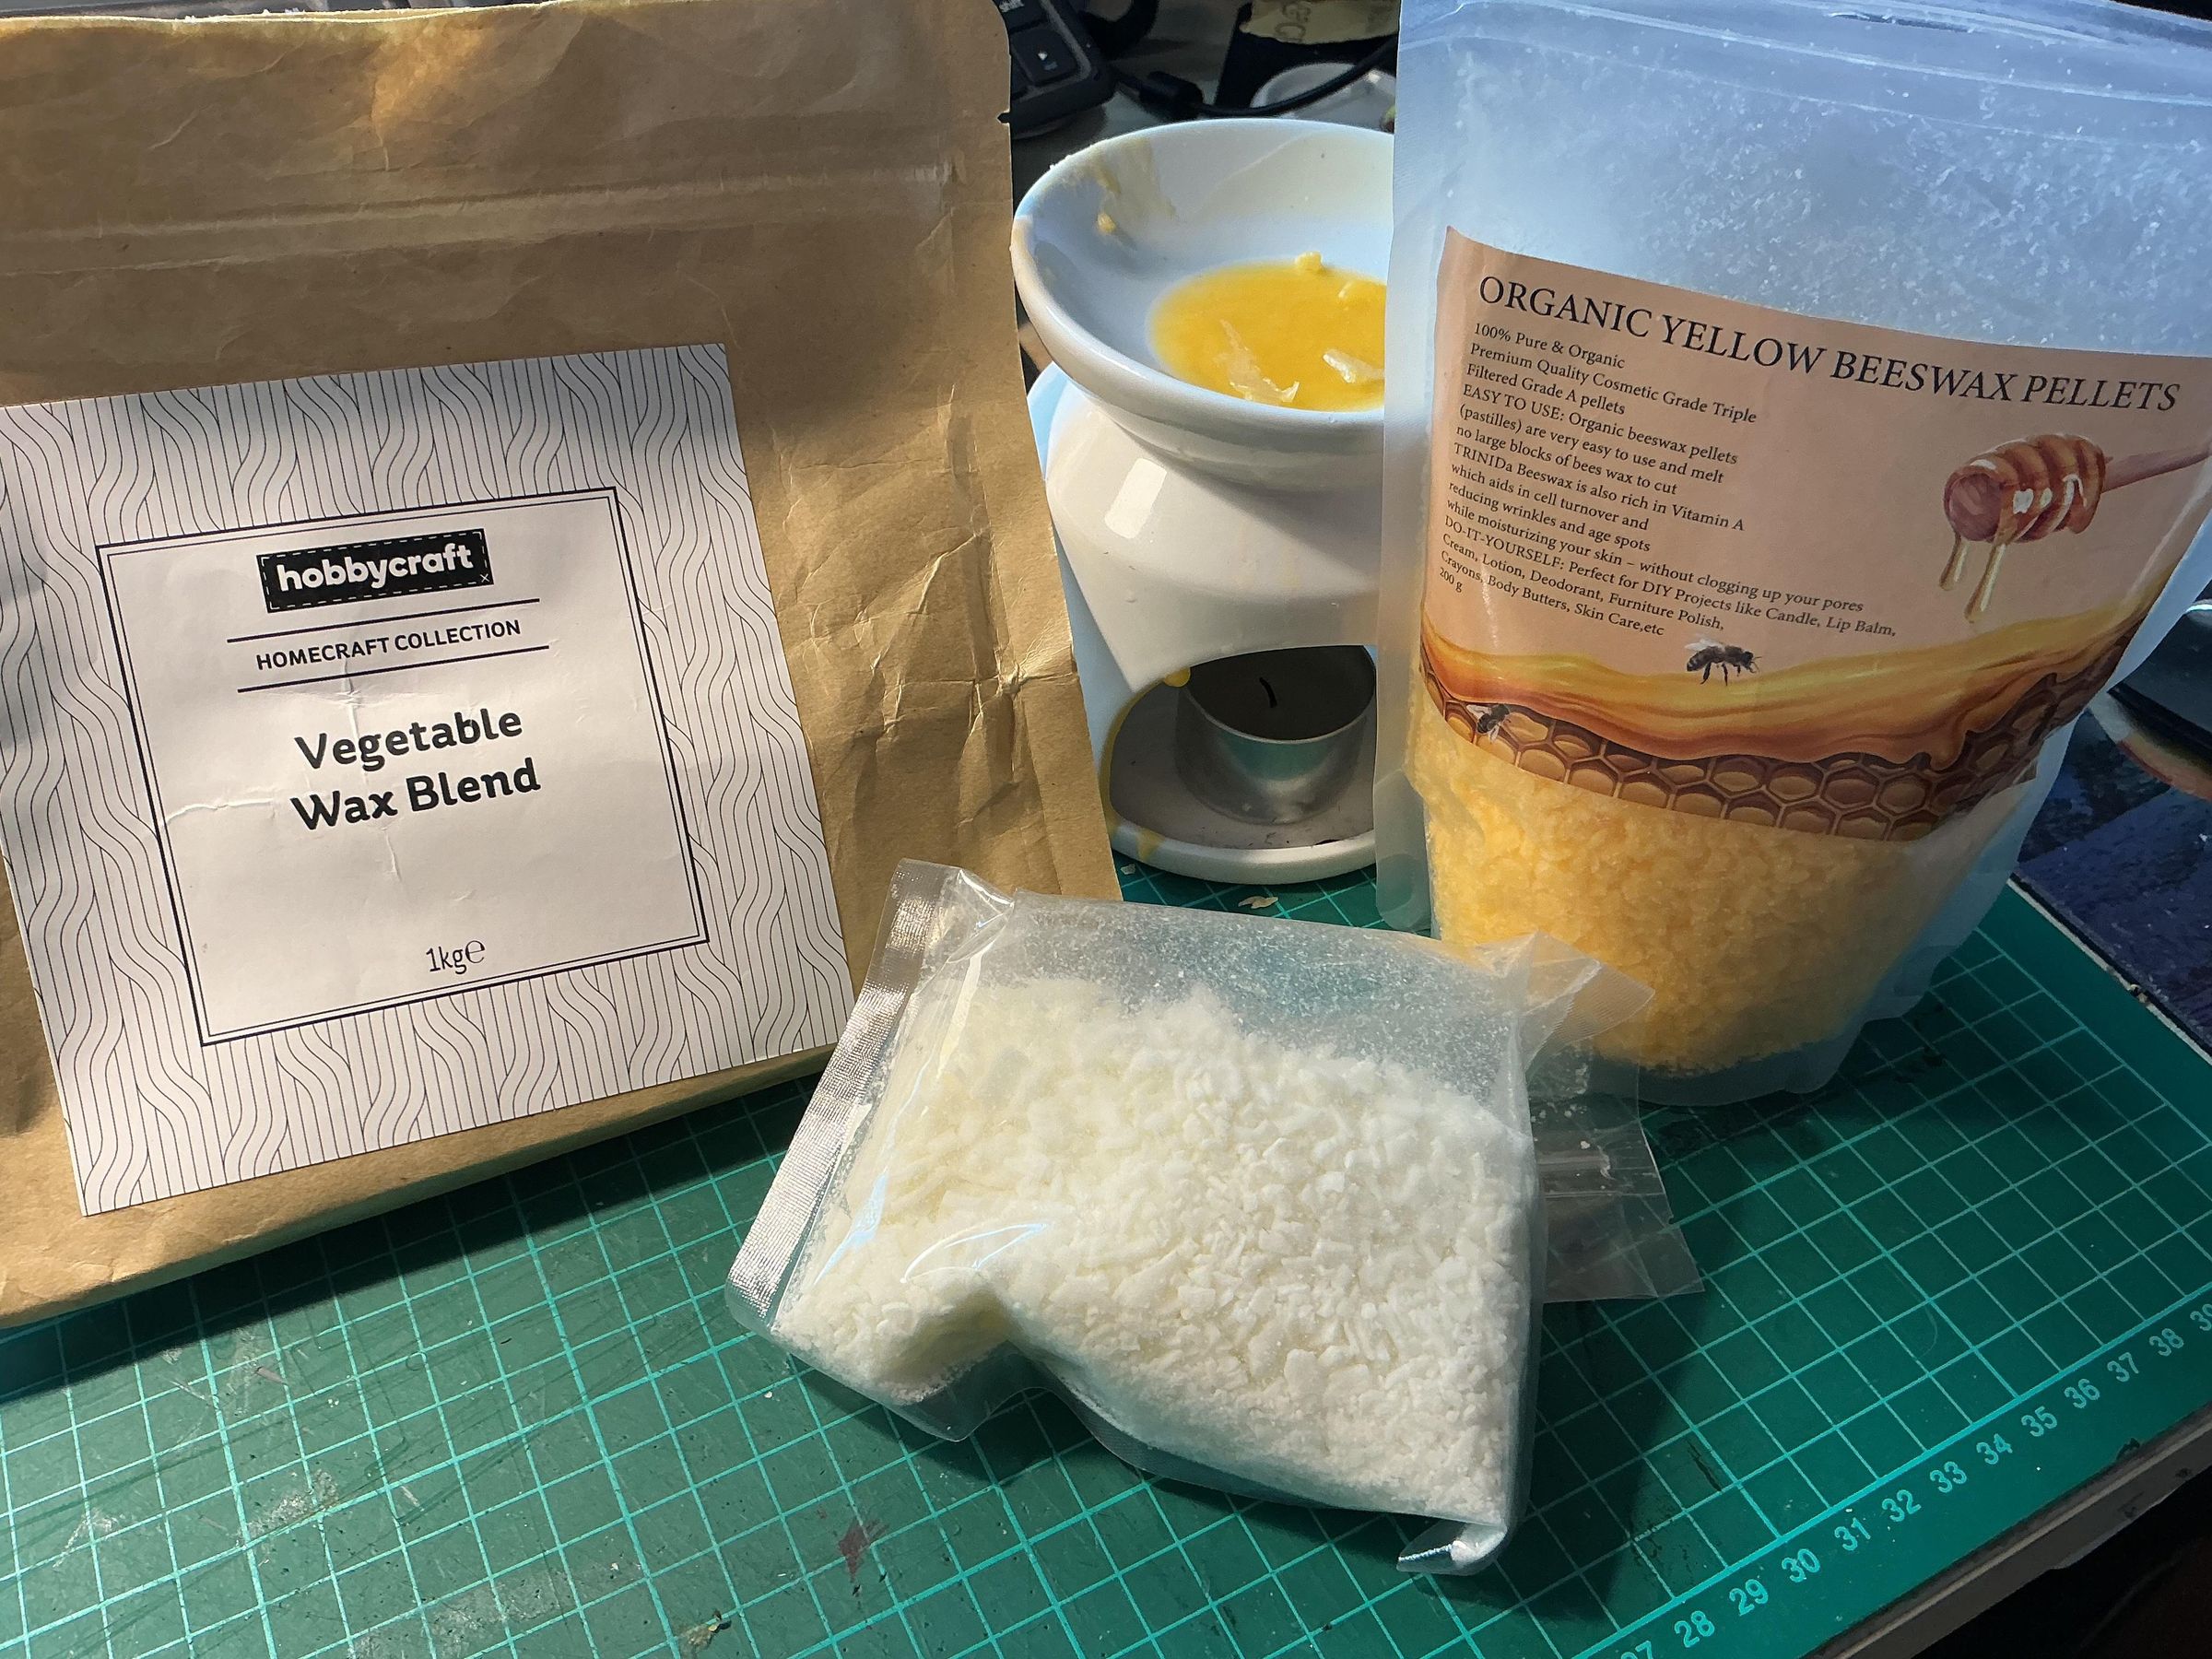
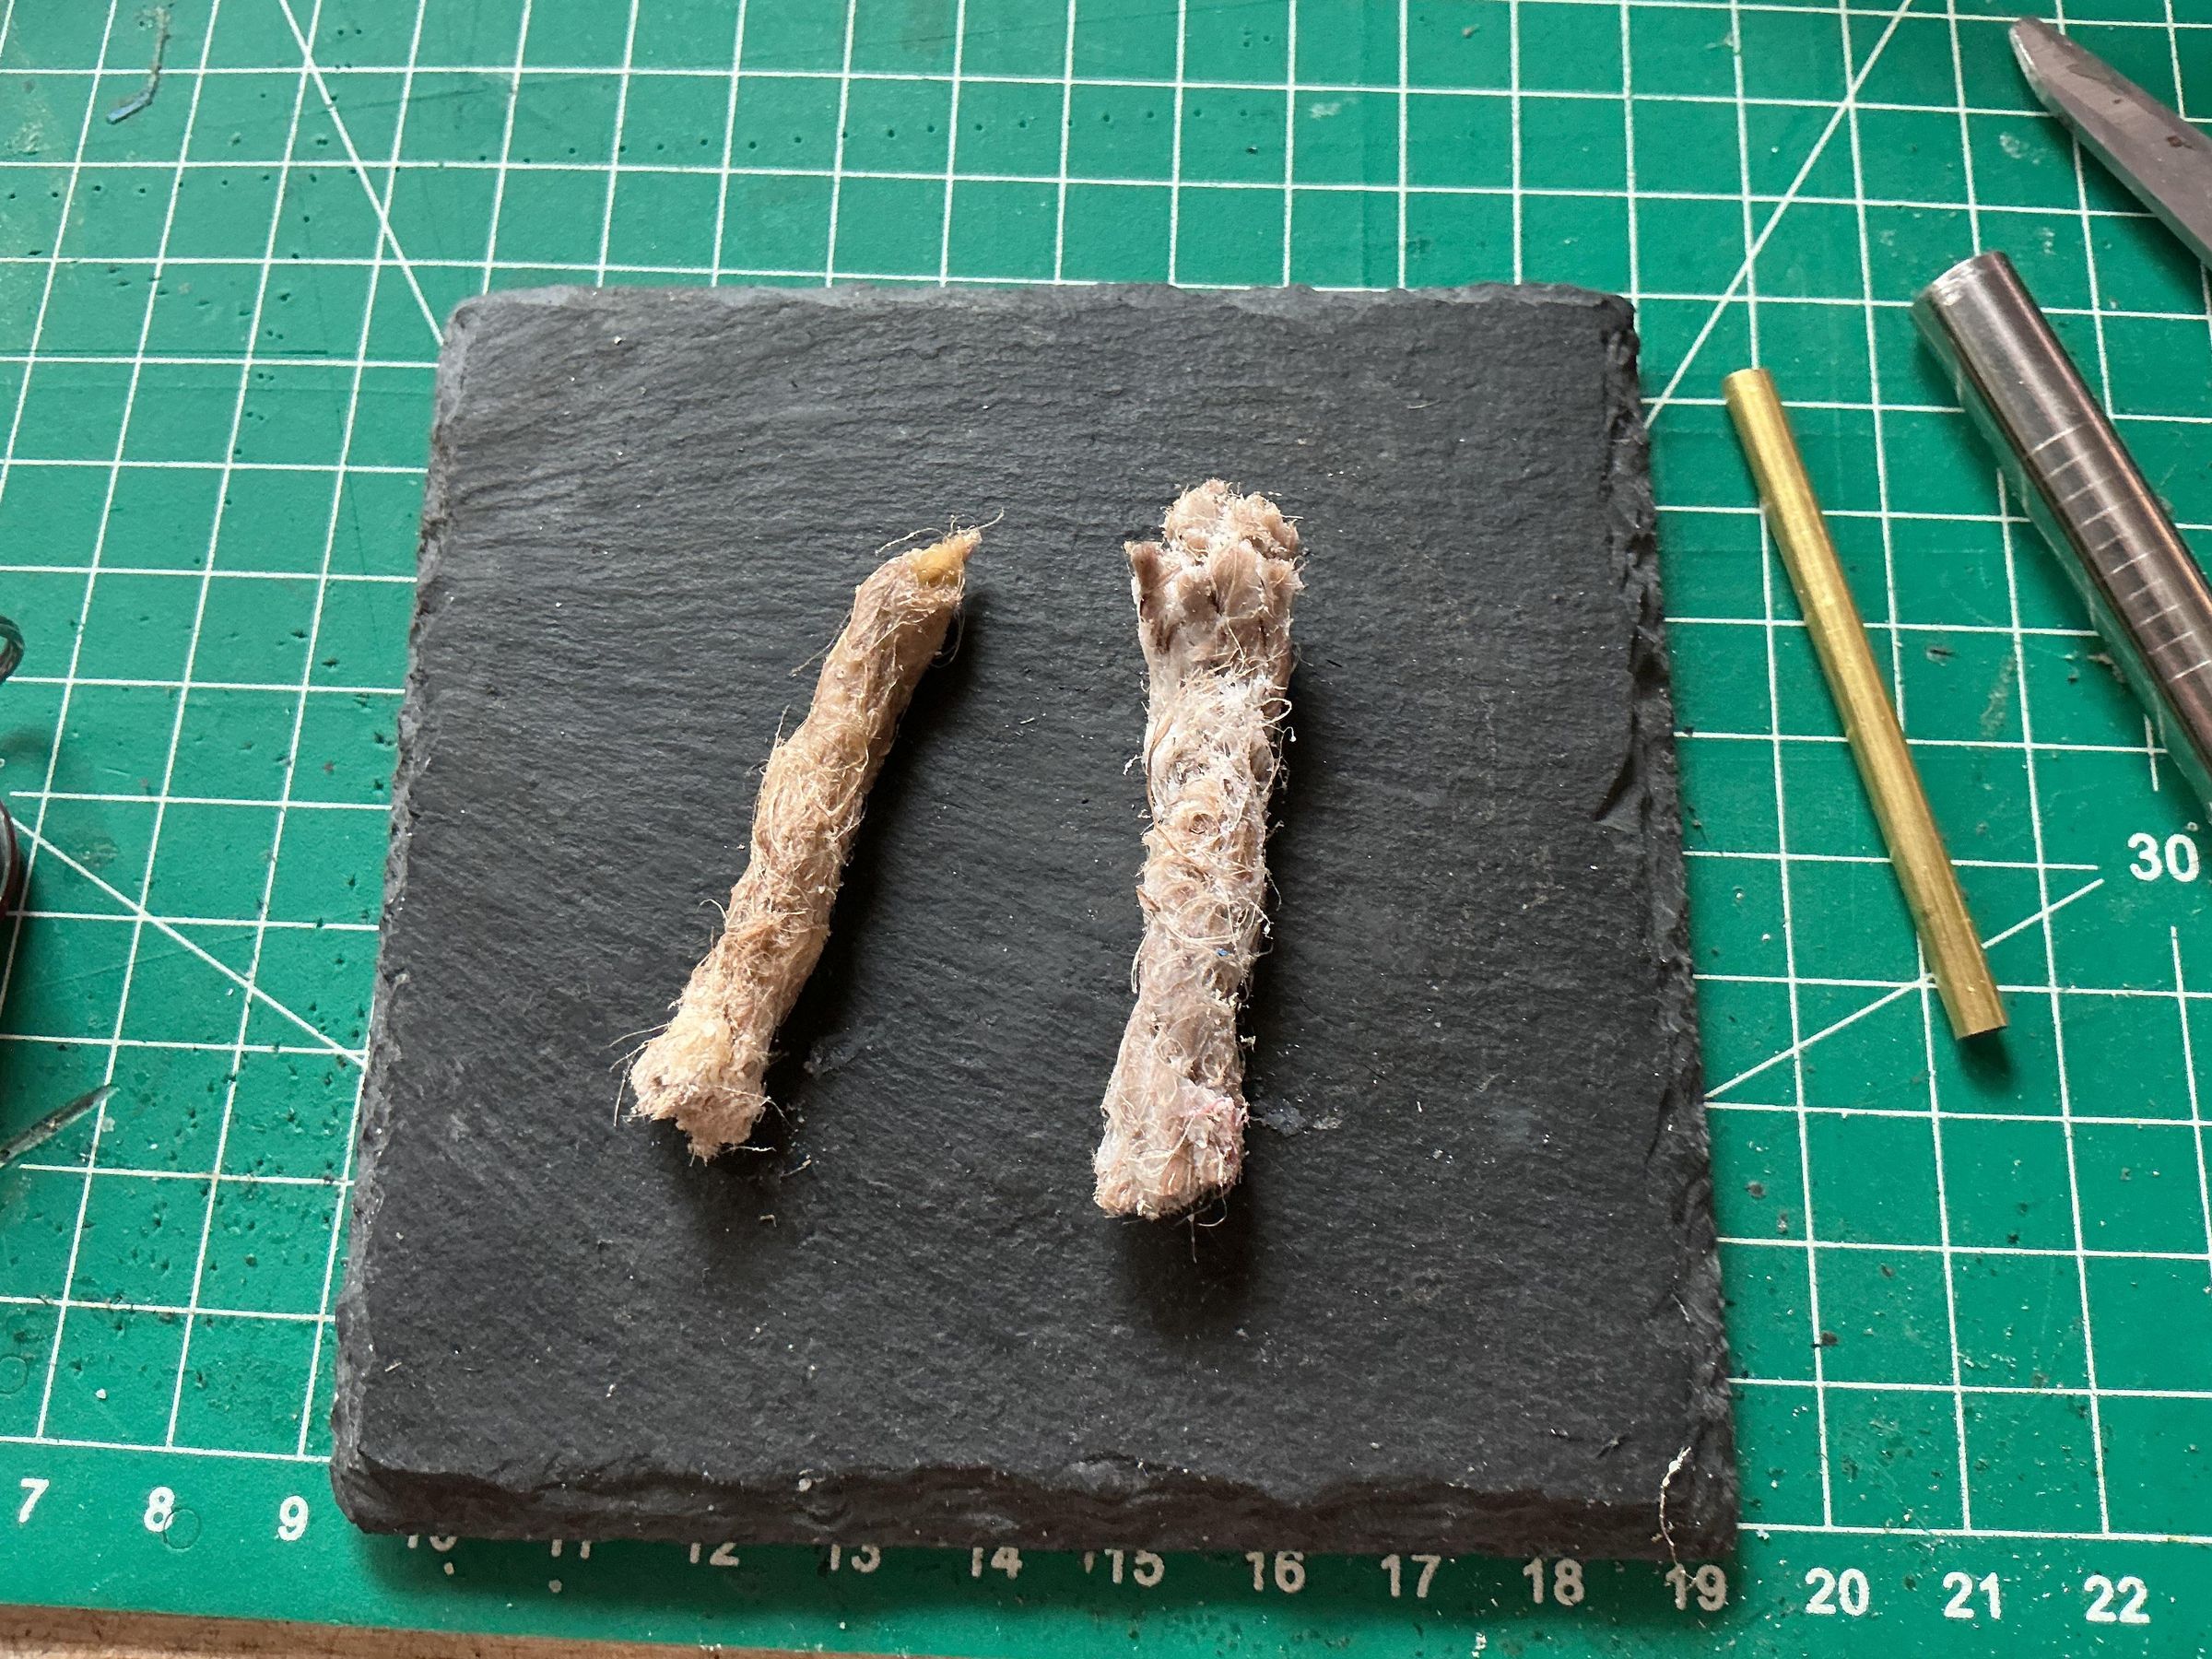
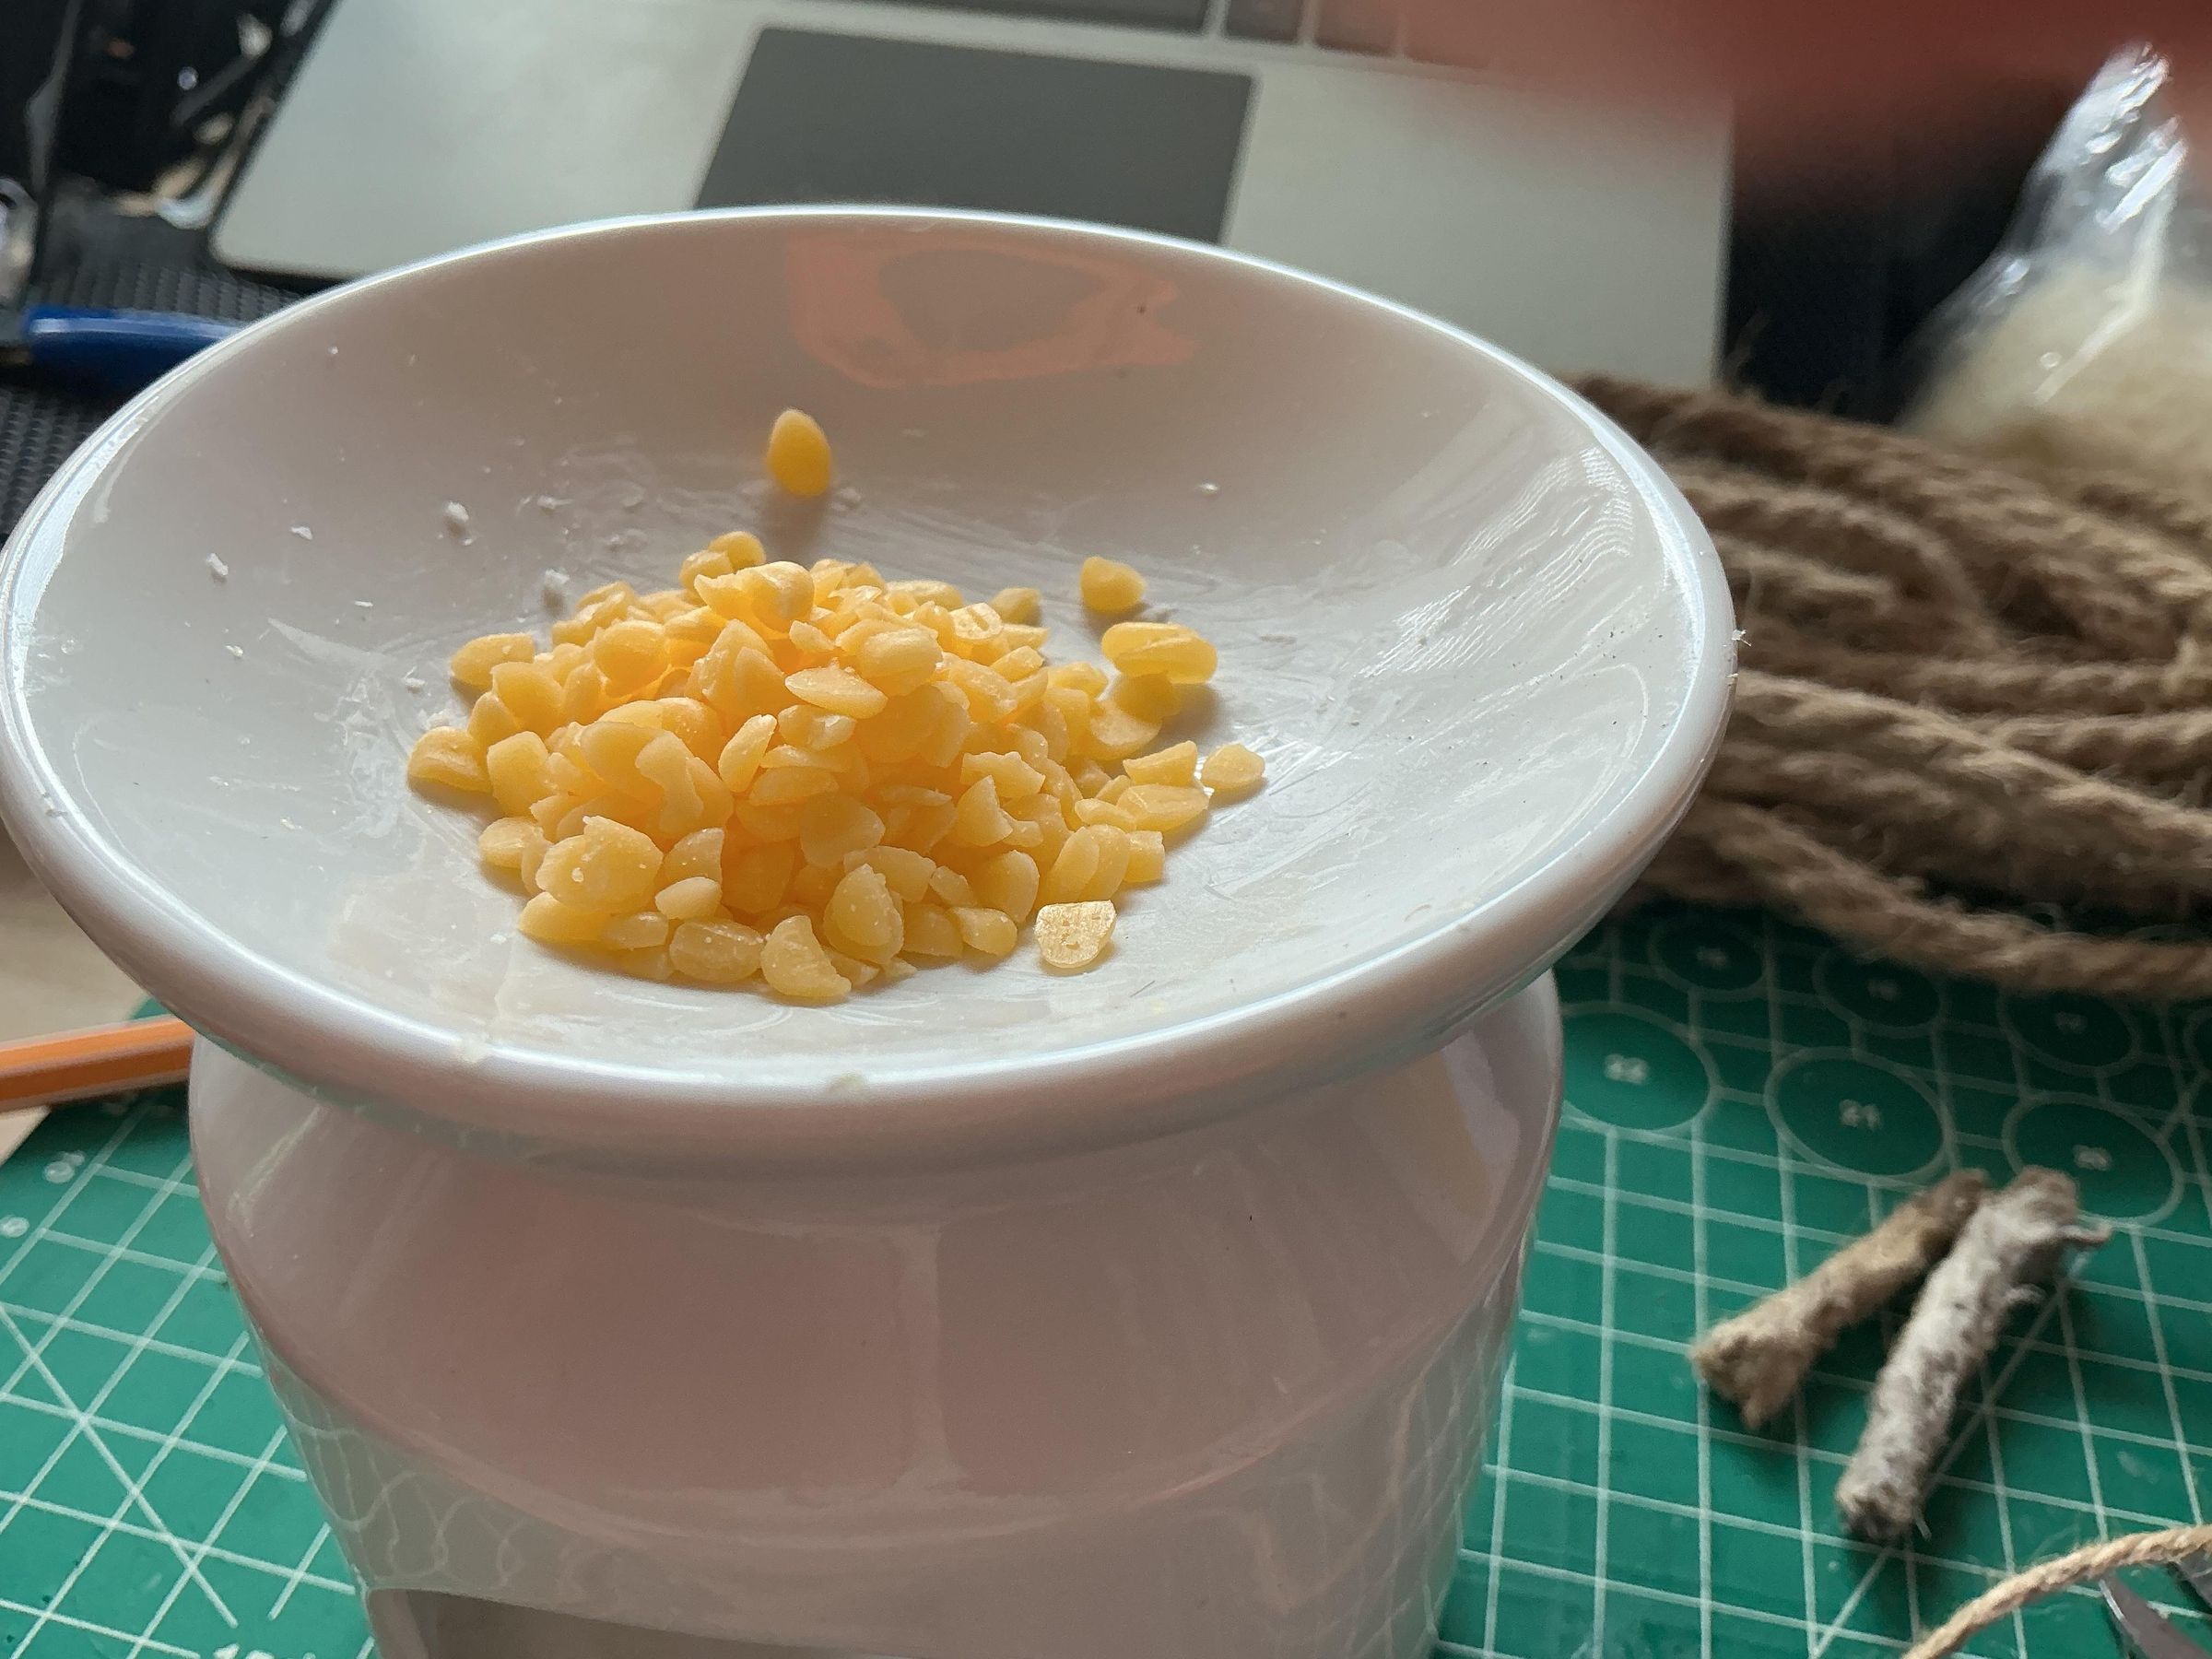
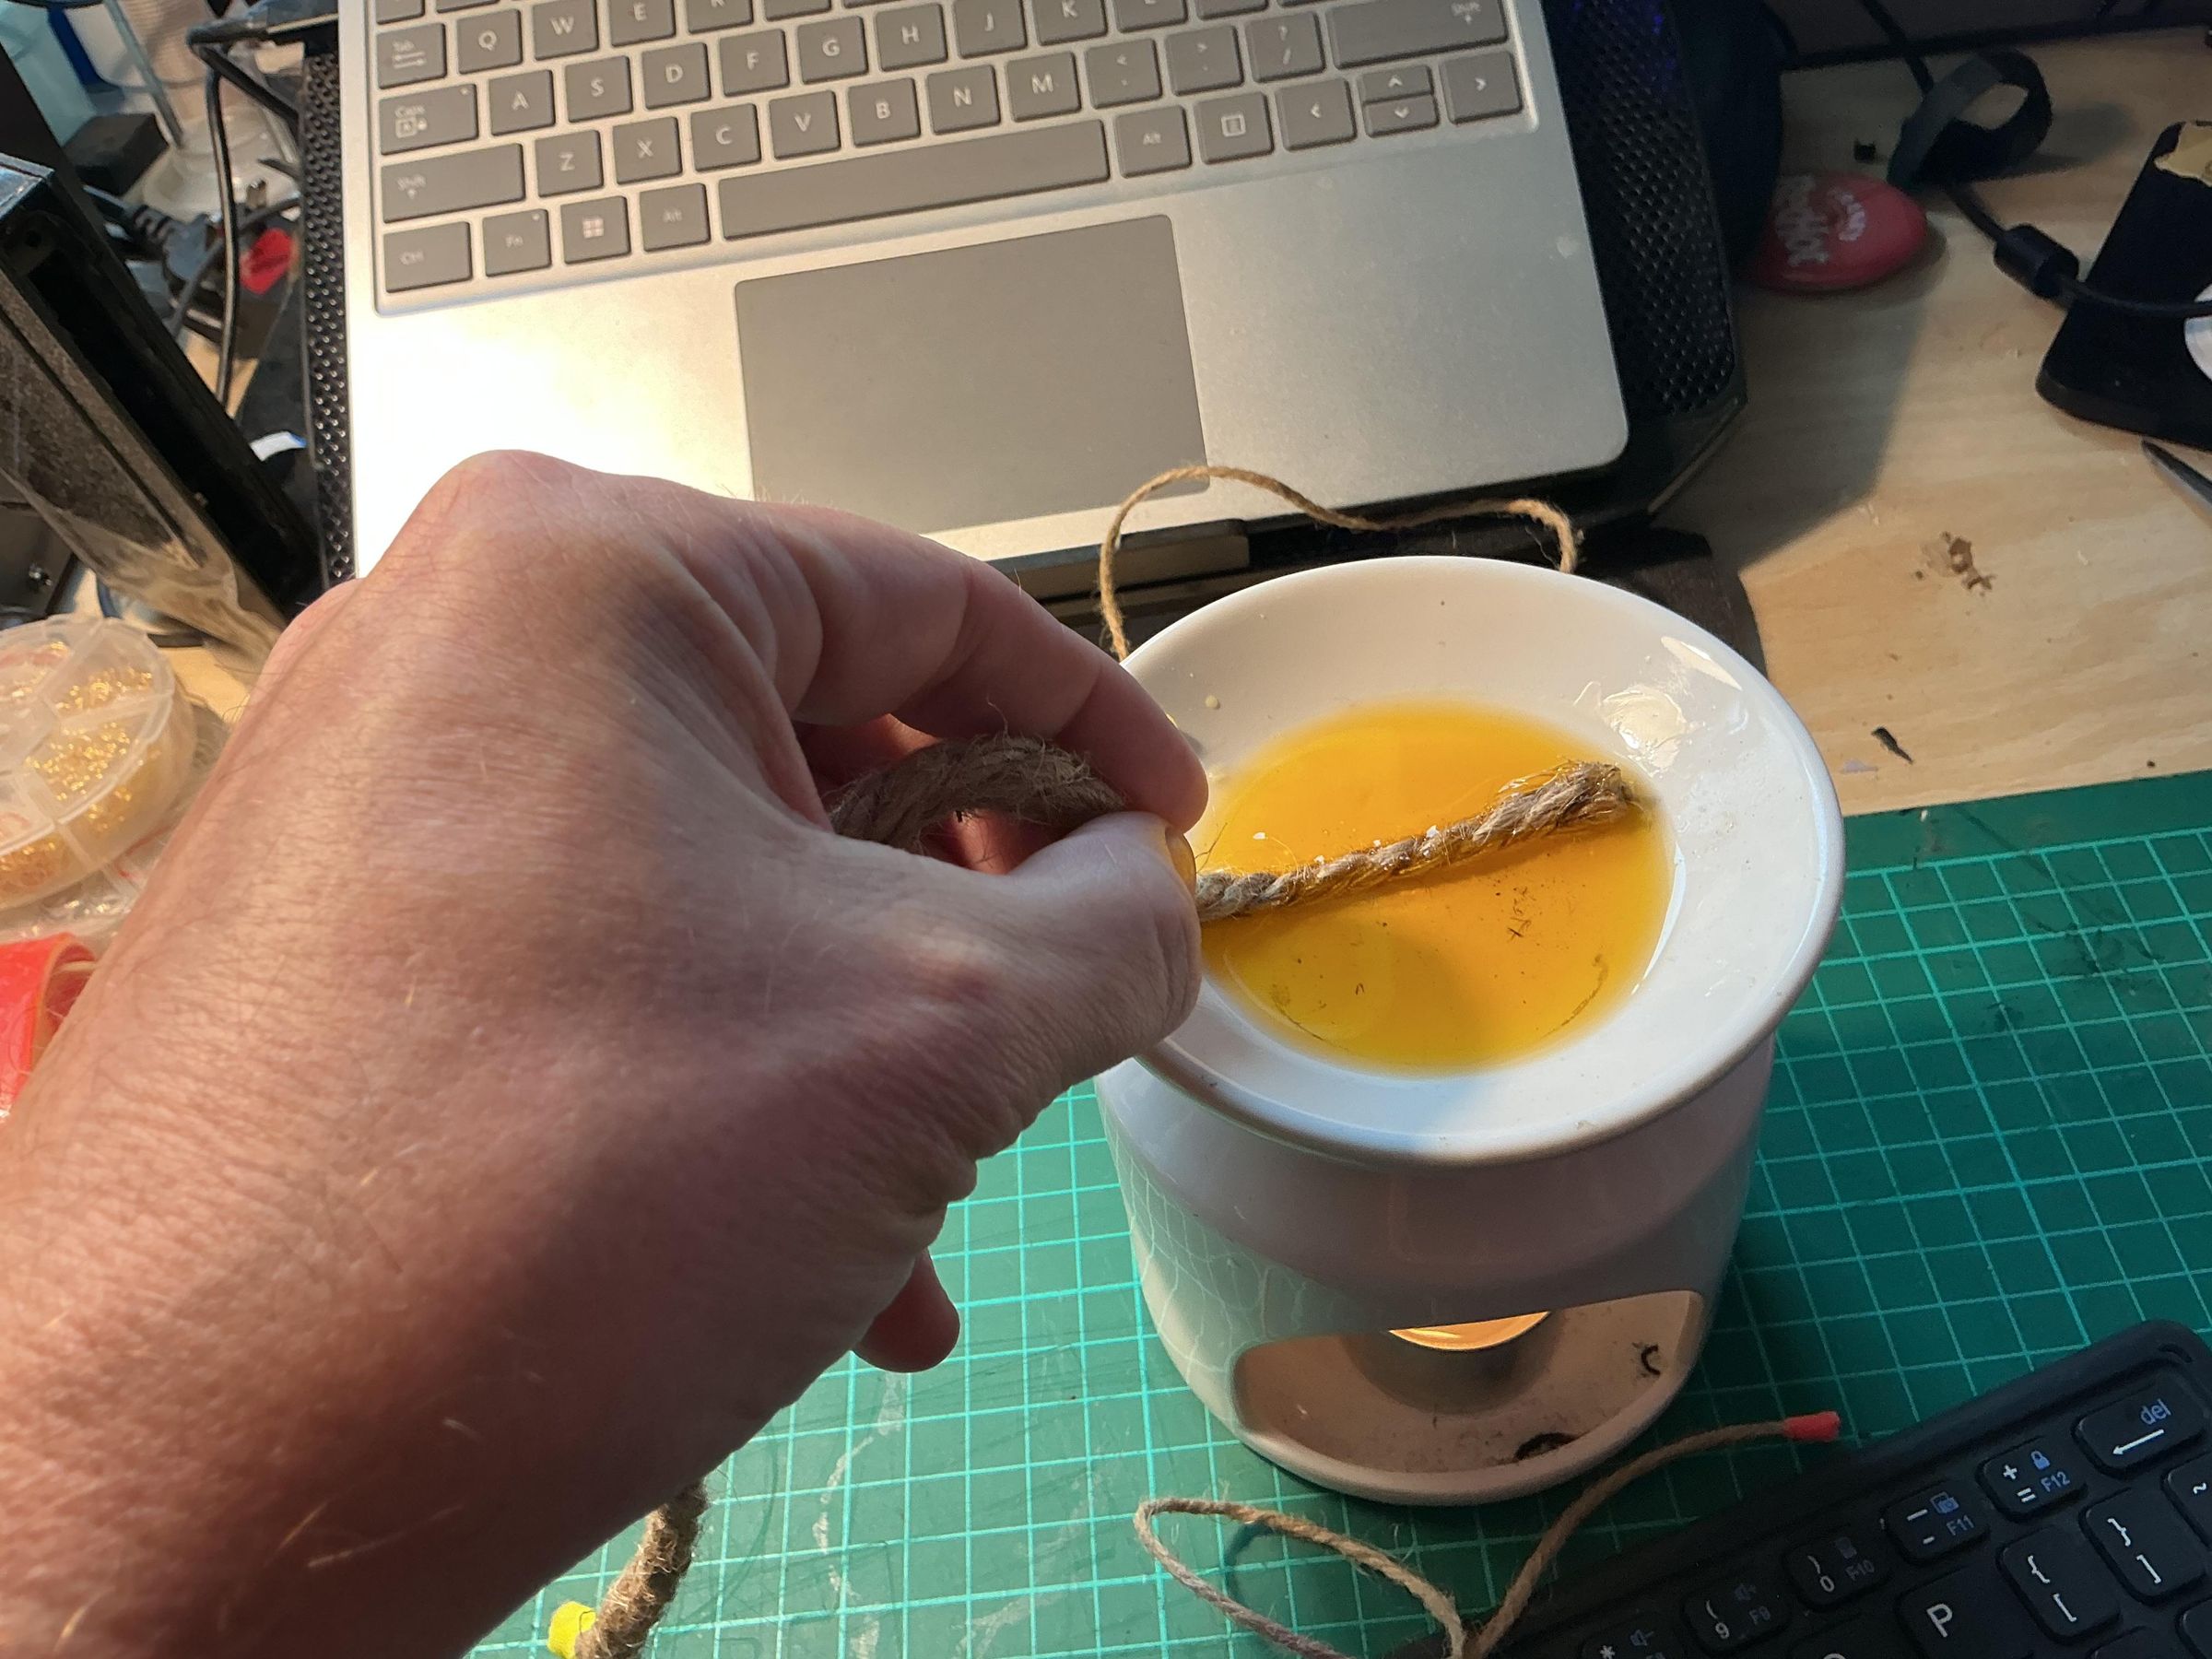
A wax coating protects and waterproofs the jute tinder, it also assists with its burning and burning speed.
Any wax will work but some are better, I tried three types to see which worked best:
- Bees Wax - Entirely natural, a high melting point and burns slowly and cleanly. Solidifies quickly and coats the rope well.
- Paraffin Wax - A petroleum by-product, great for candles as it holds fragrances well, but burns quickly and is very sooty. Takes a long time to set when heated and is a lot messier as a finish.
- Vegetable Wax - Derived from plant products, burns cleanly but I could not get this to set on the rope, it remained soft and almost wet to the touch after several hours.
I recommend the beeswax, it’s more expensive than the other two (you do not need very much) but is cleaner and easier to use, see the picture for the example of bee vs. Paraffin, the paraffin sheds wax freely into your pocket.
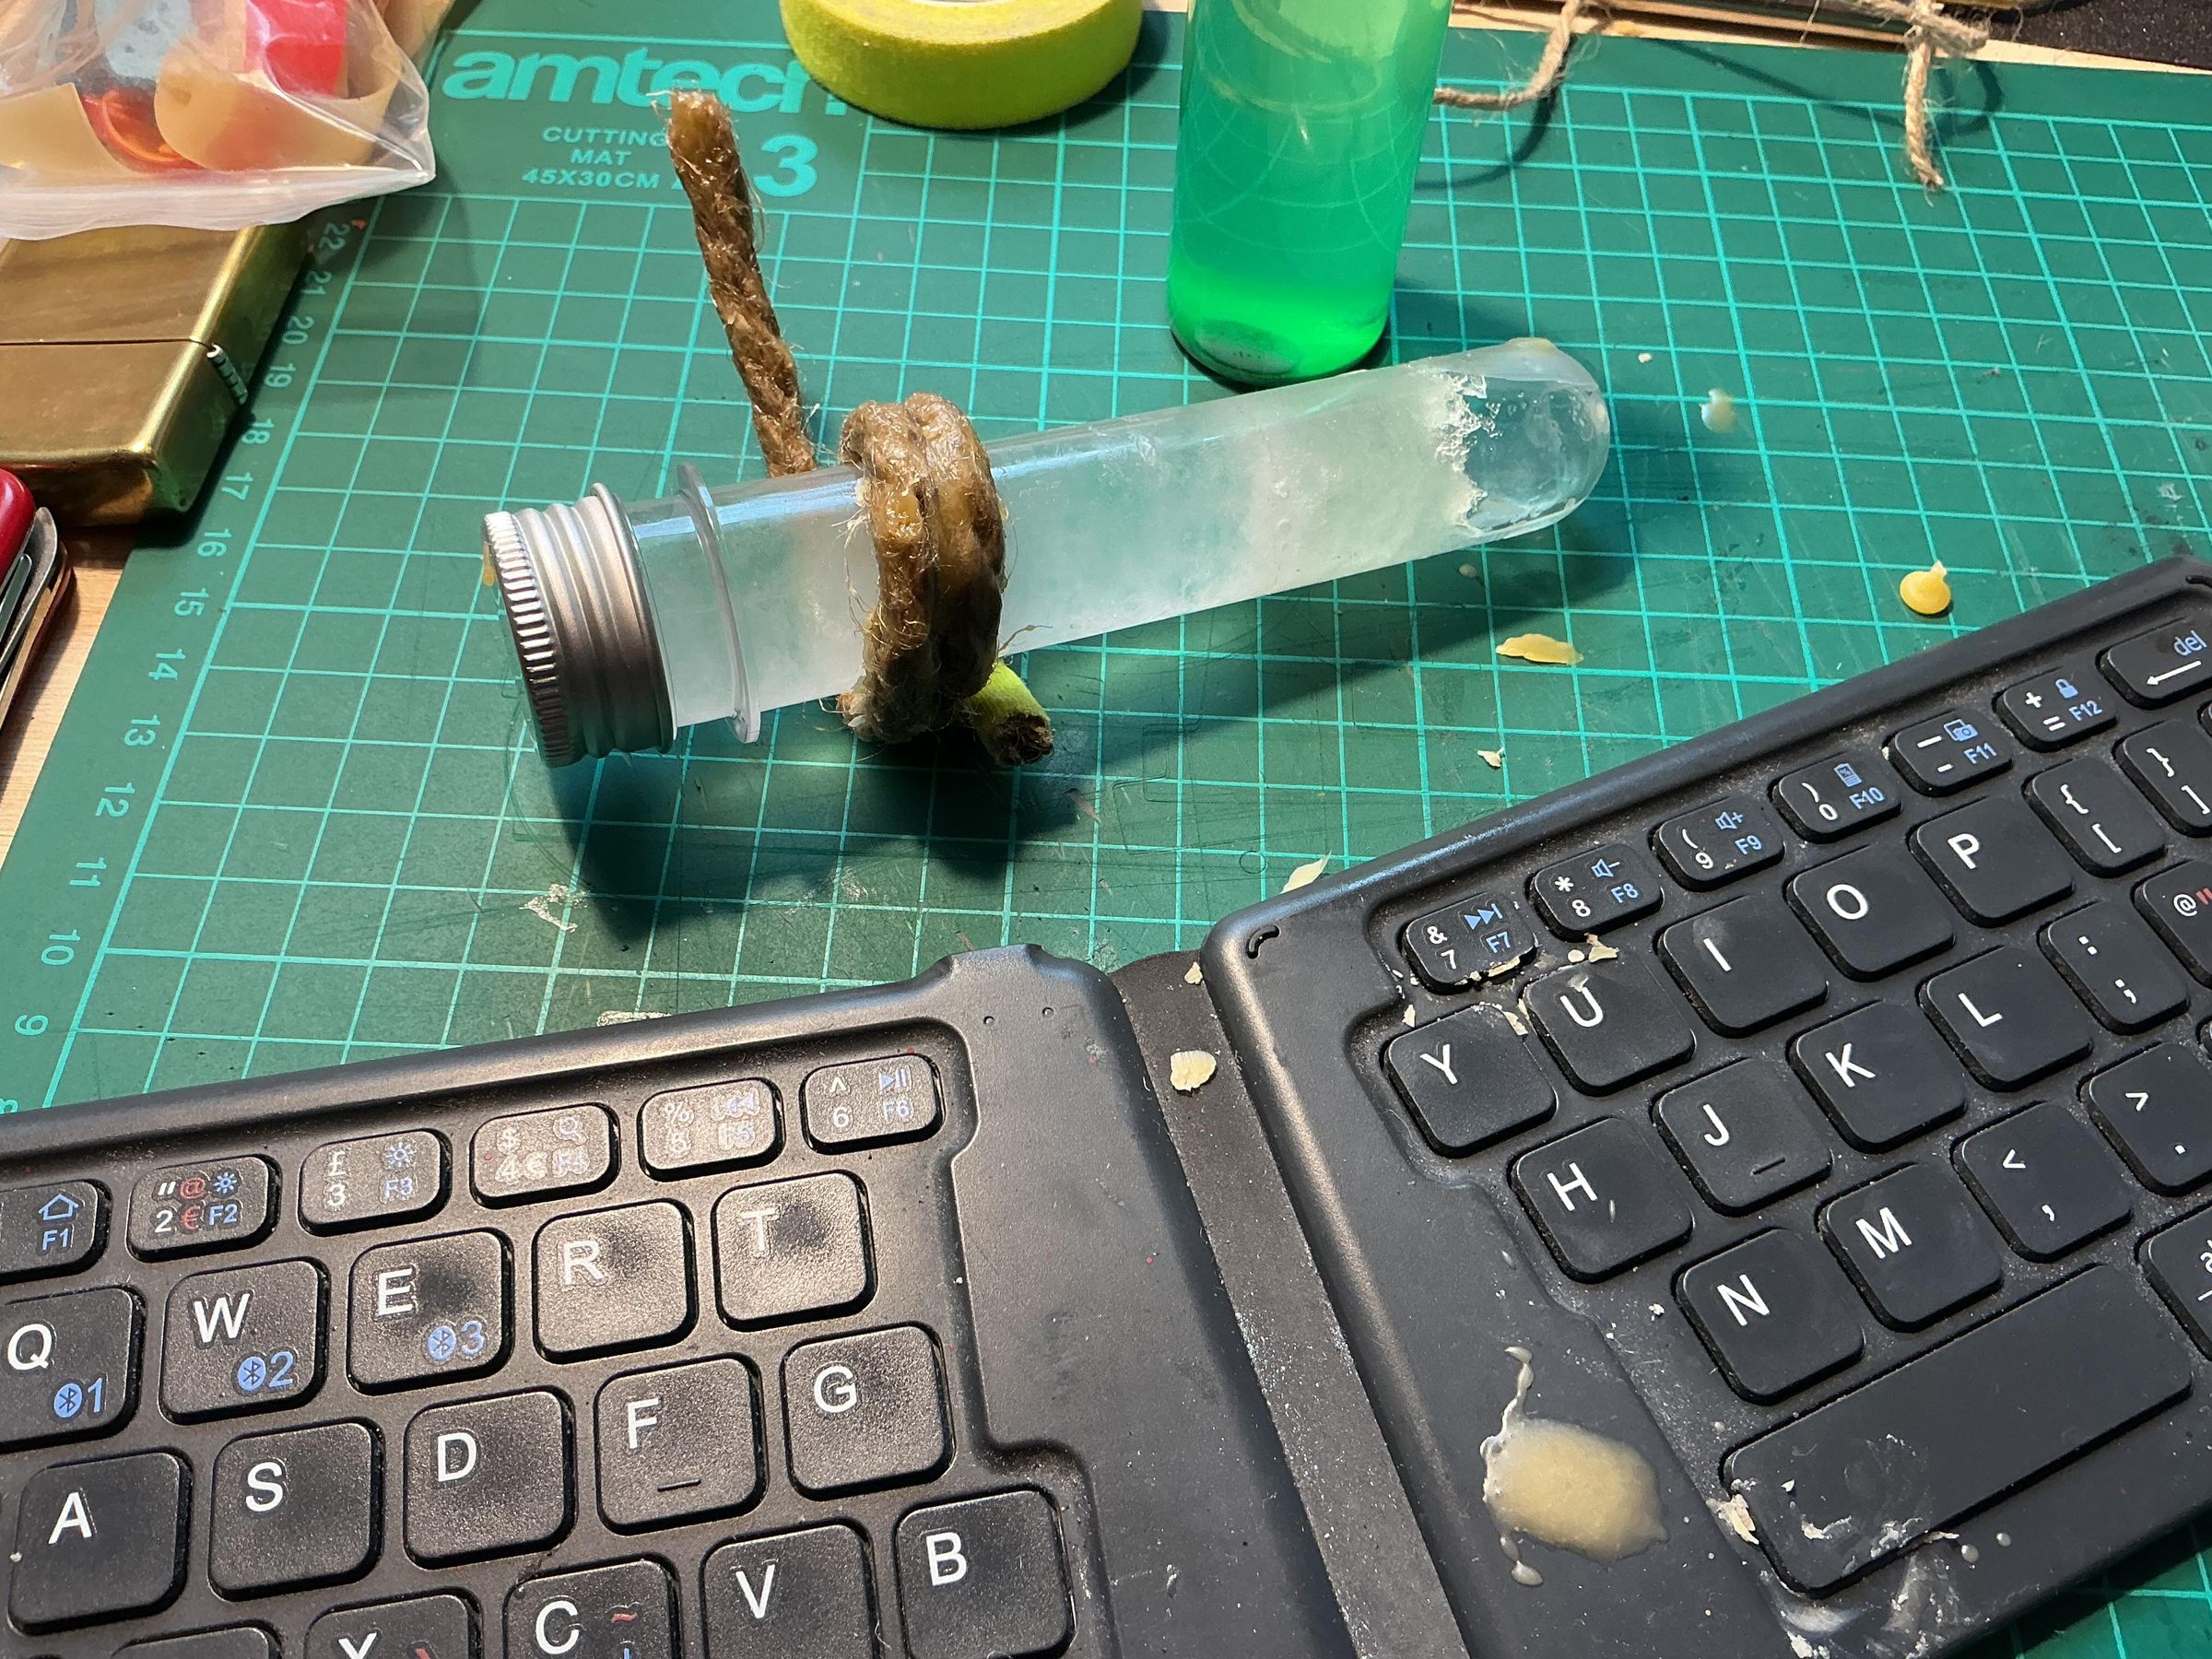
Heat the wax in your burner and slowly pull the rope/string through, I then wound it around a glass tube (any round object) so it’s tidy when dried, the bees wax cures quickly so work fast.
NOTE: Wax drips, it’s easy enough to clean up unless you get it on your keyboard - see picture, Doh!
Prepare the Handle / Holder
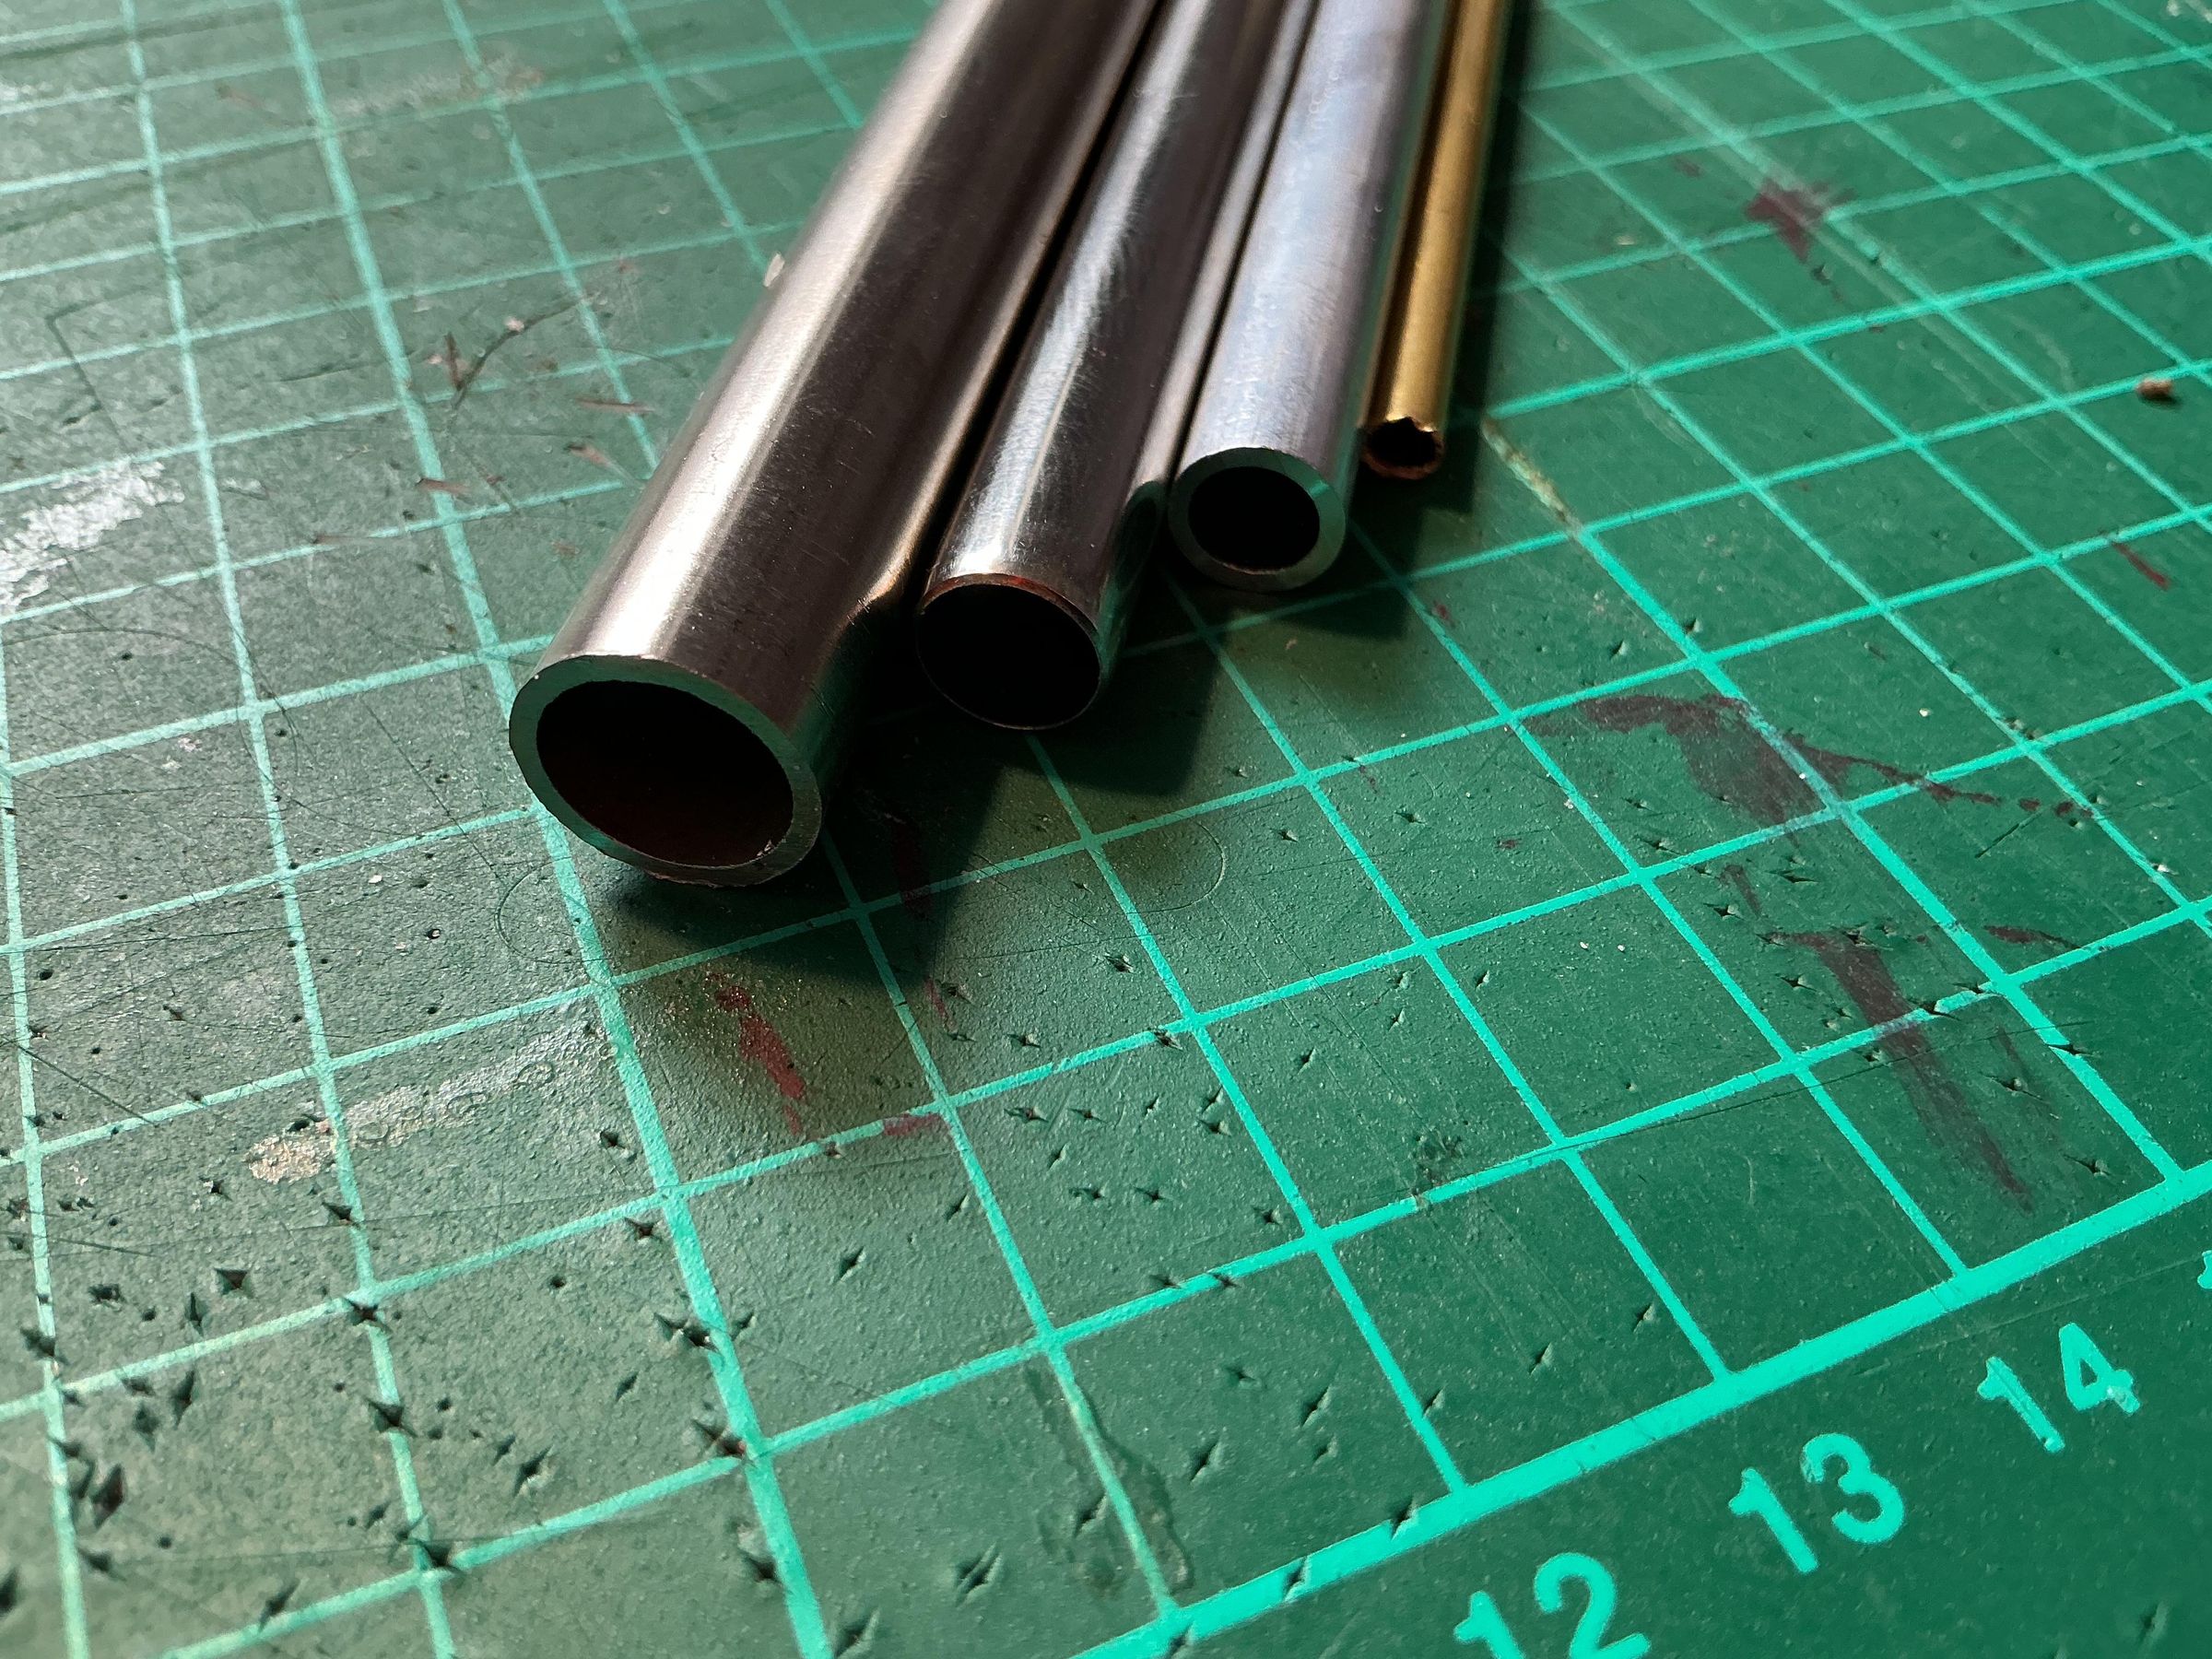
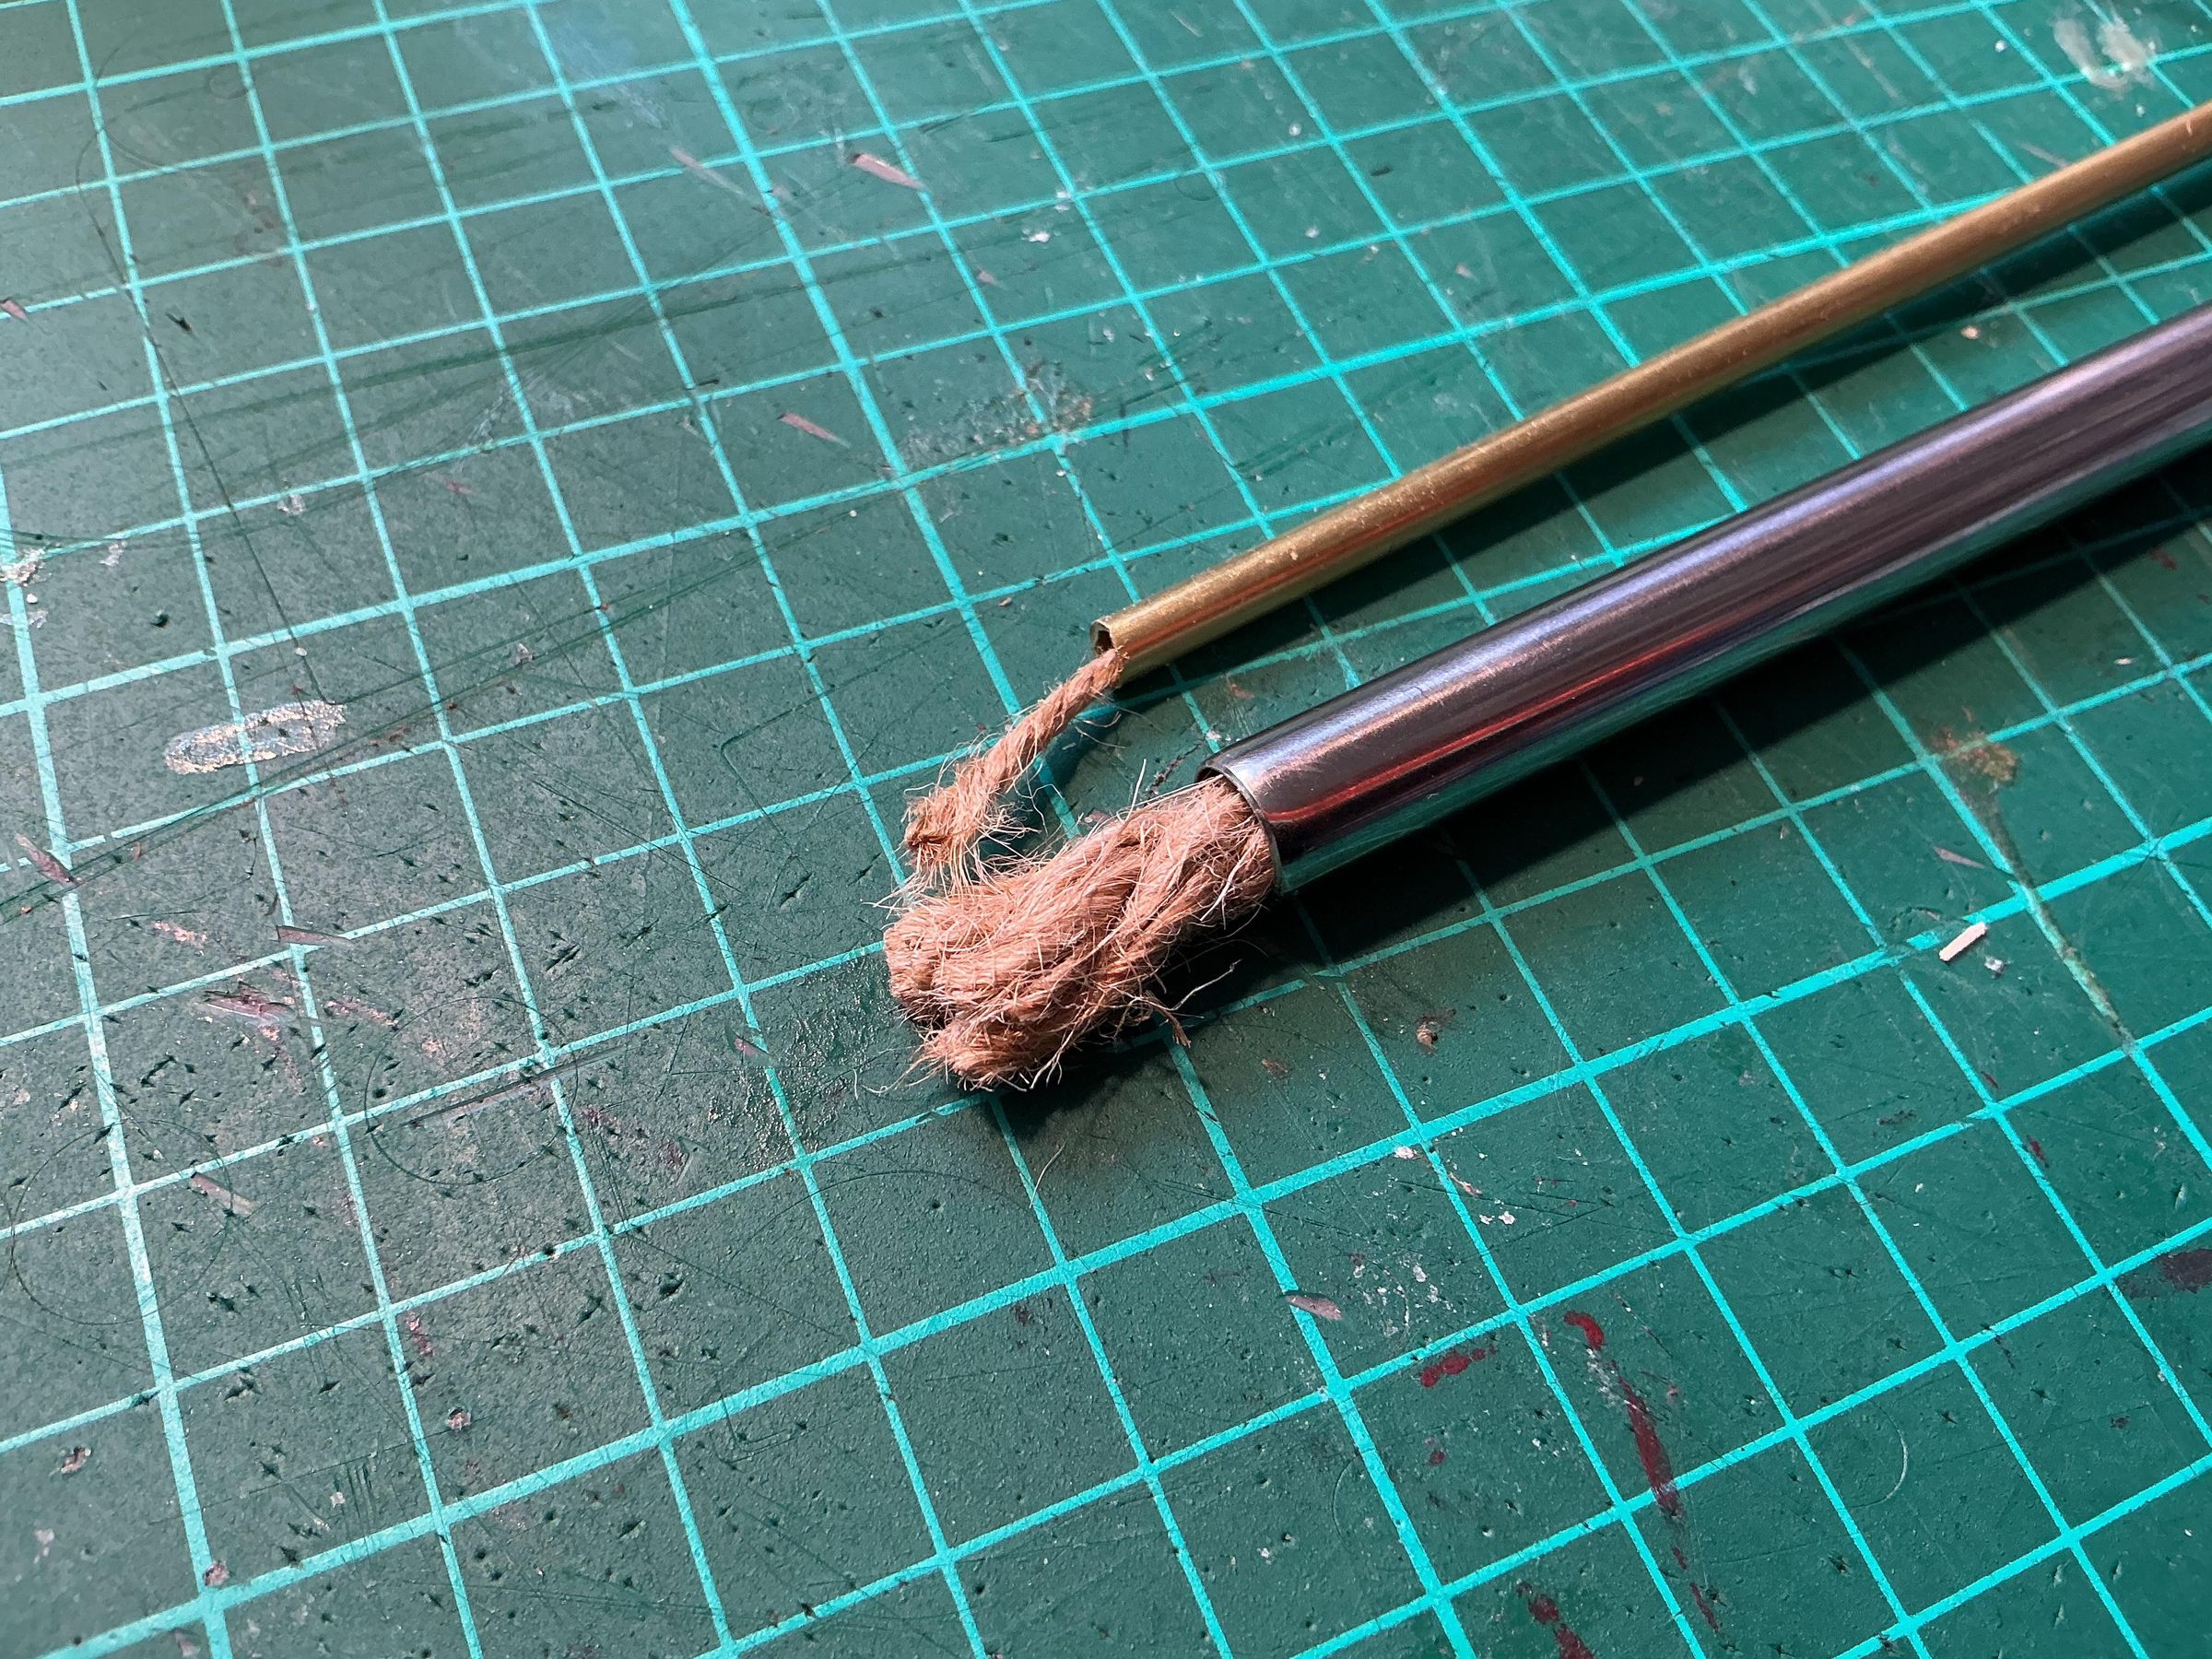
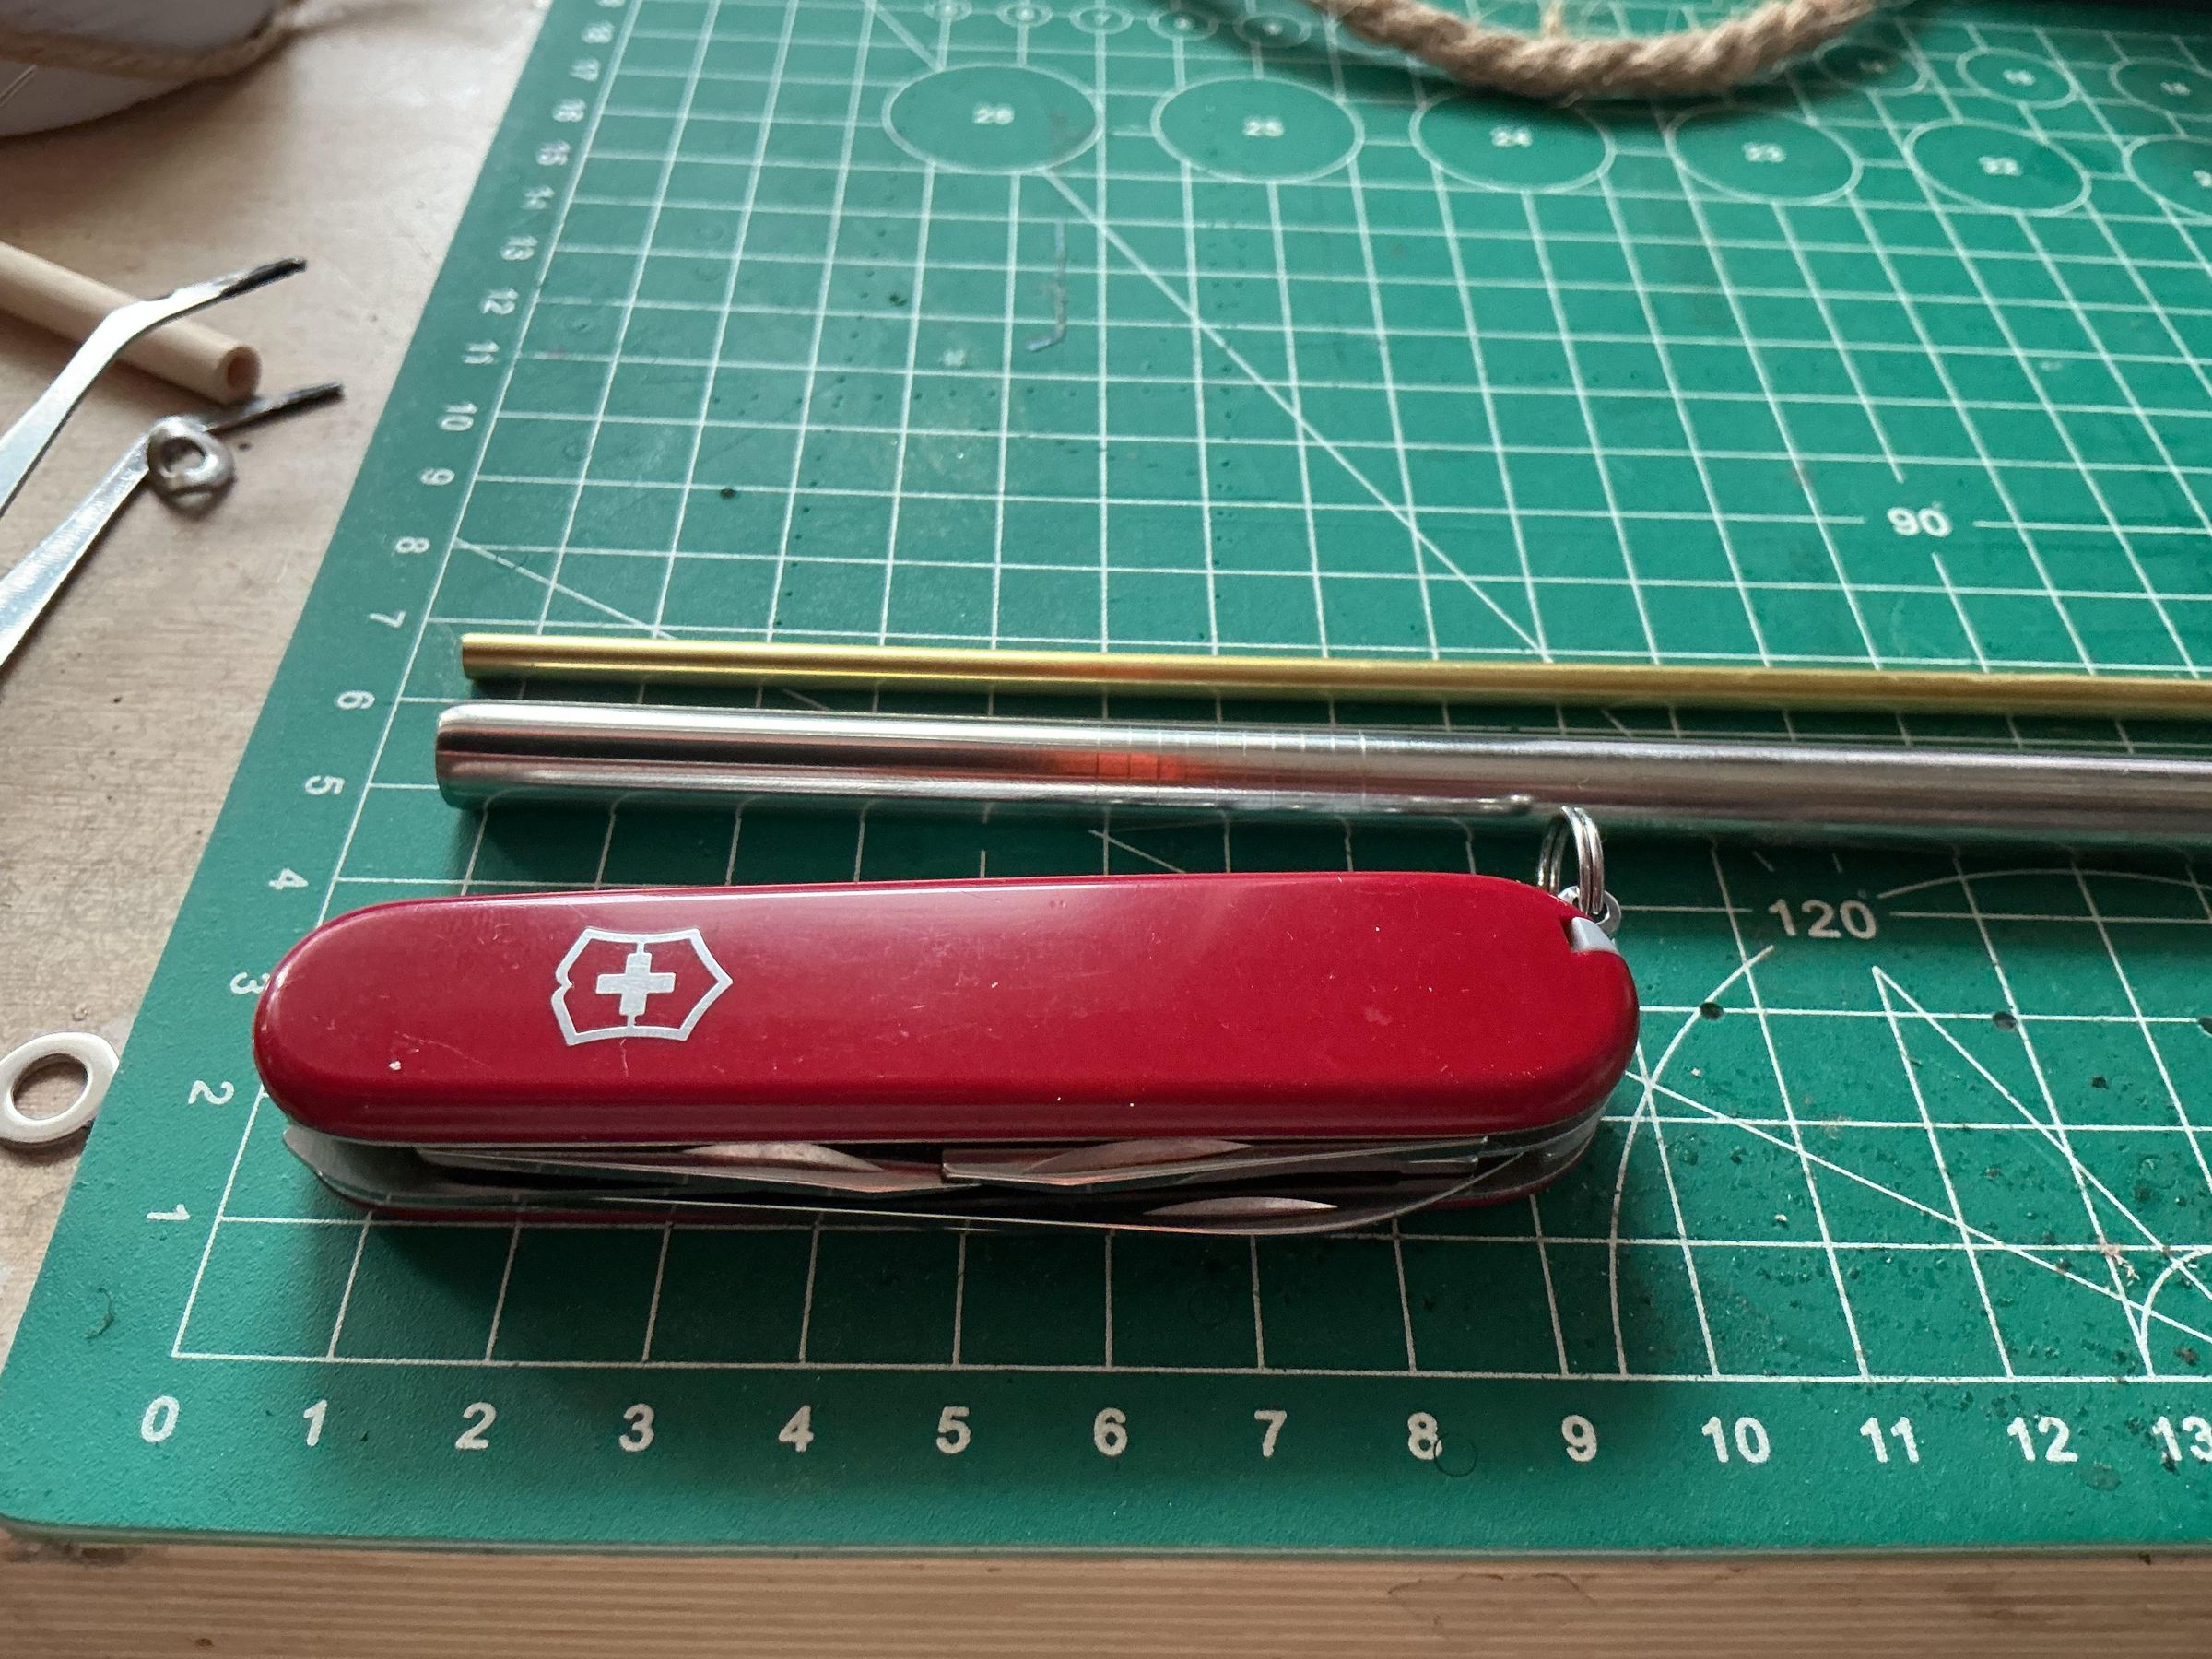
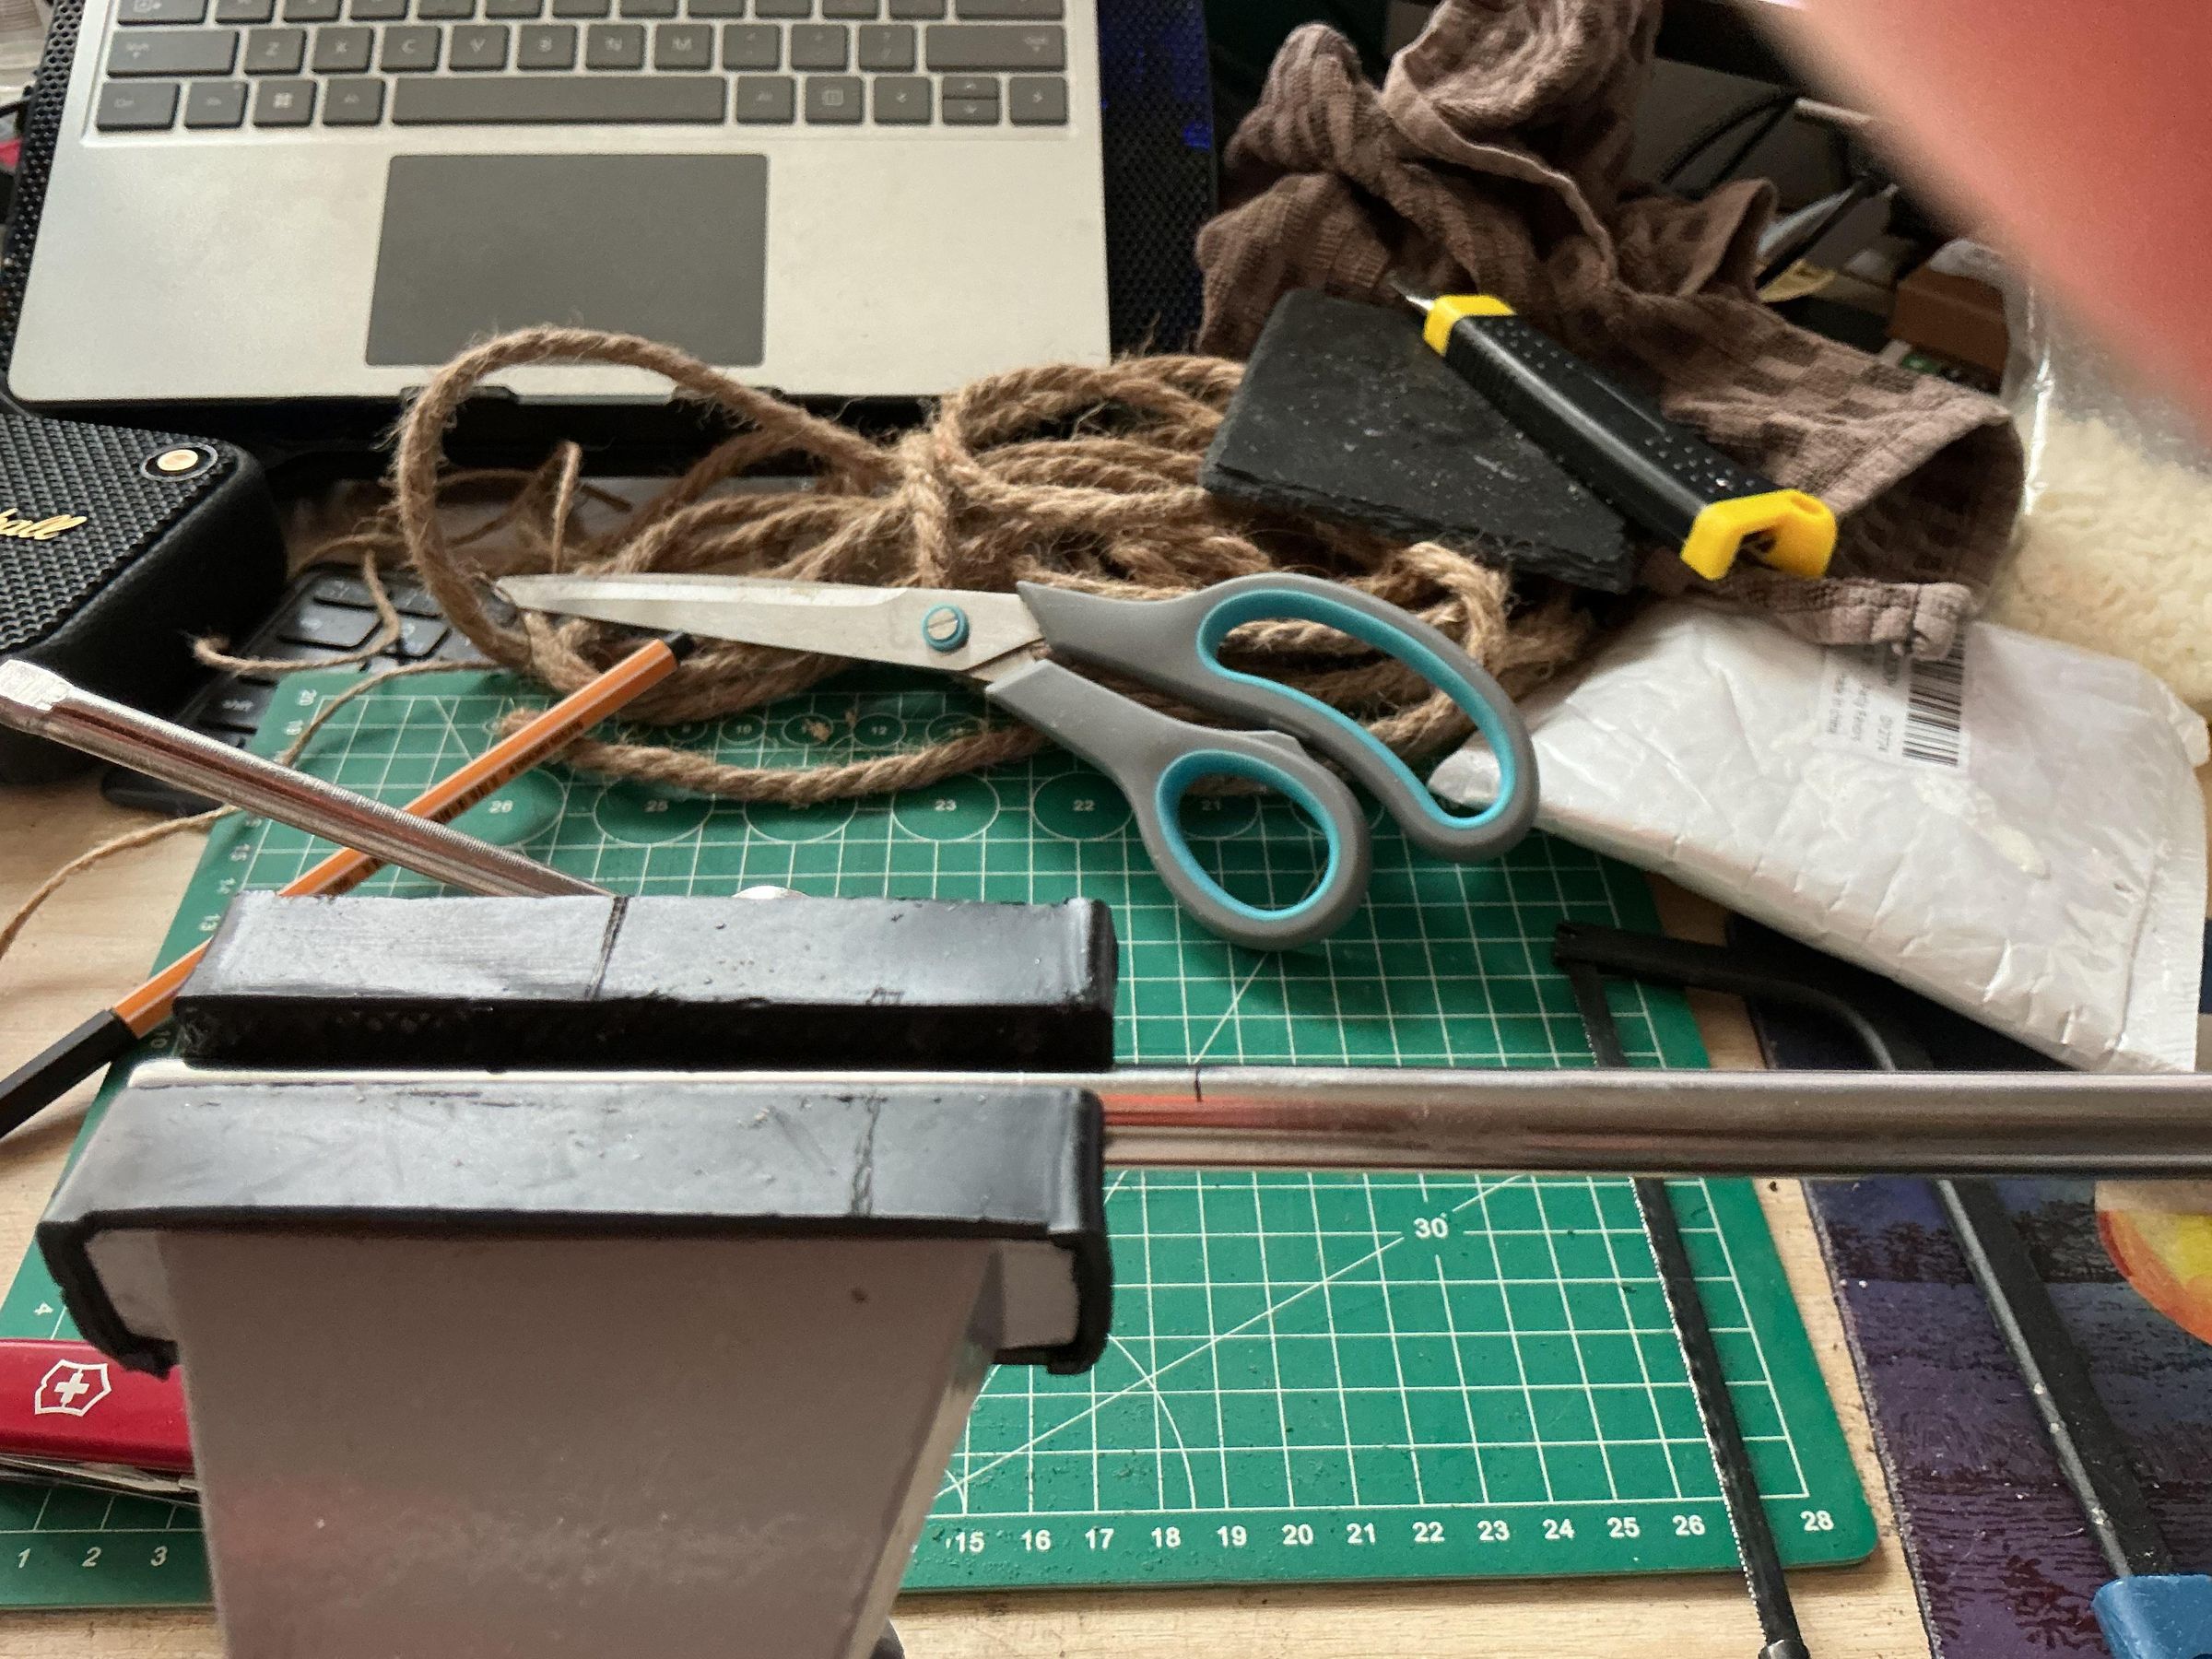
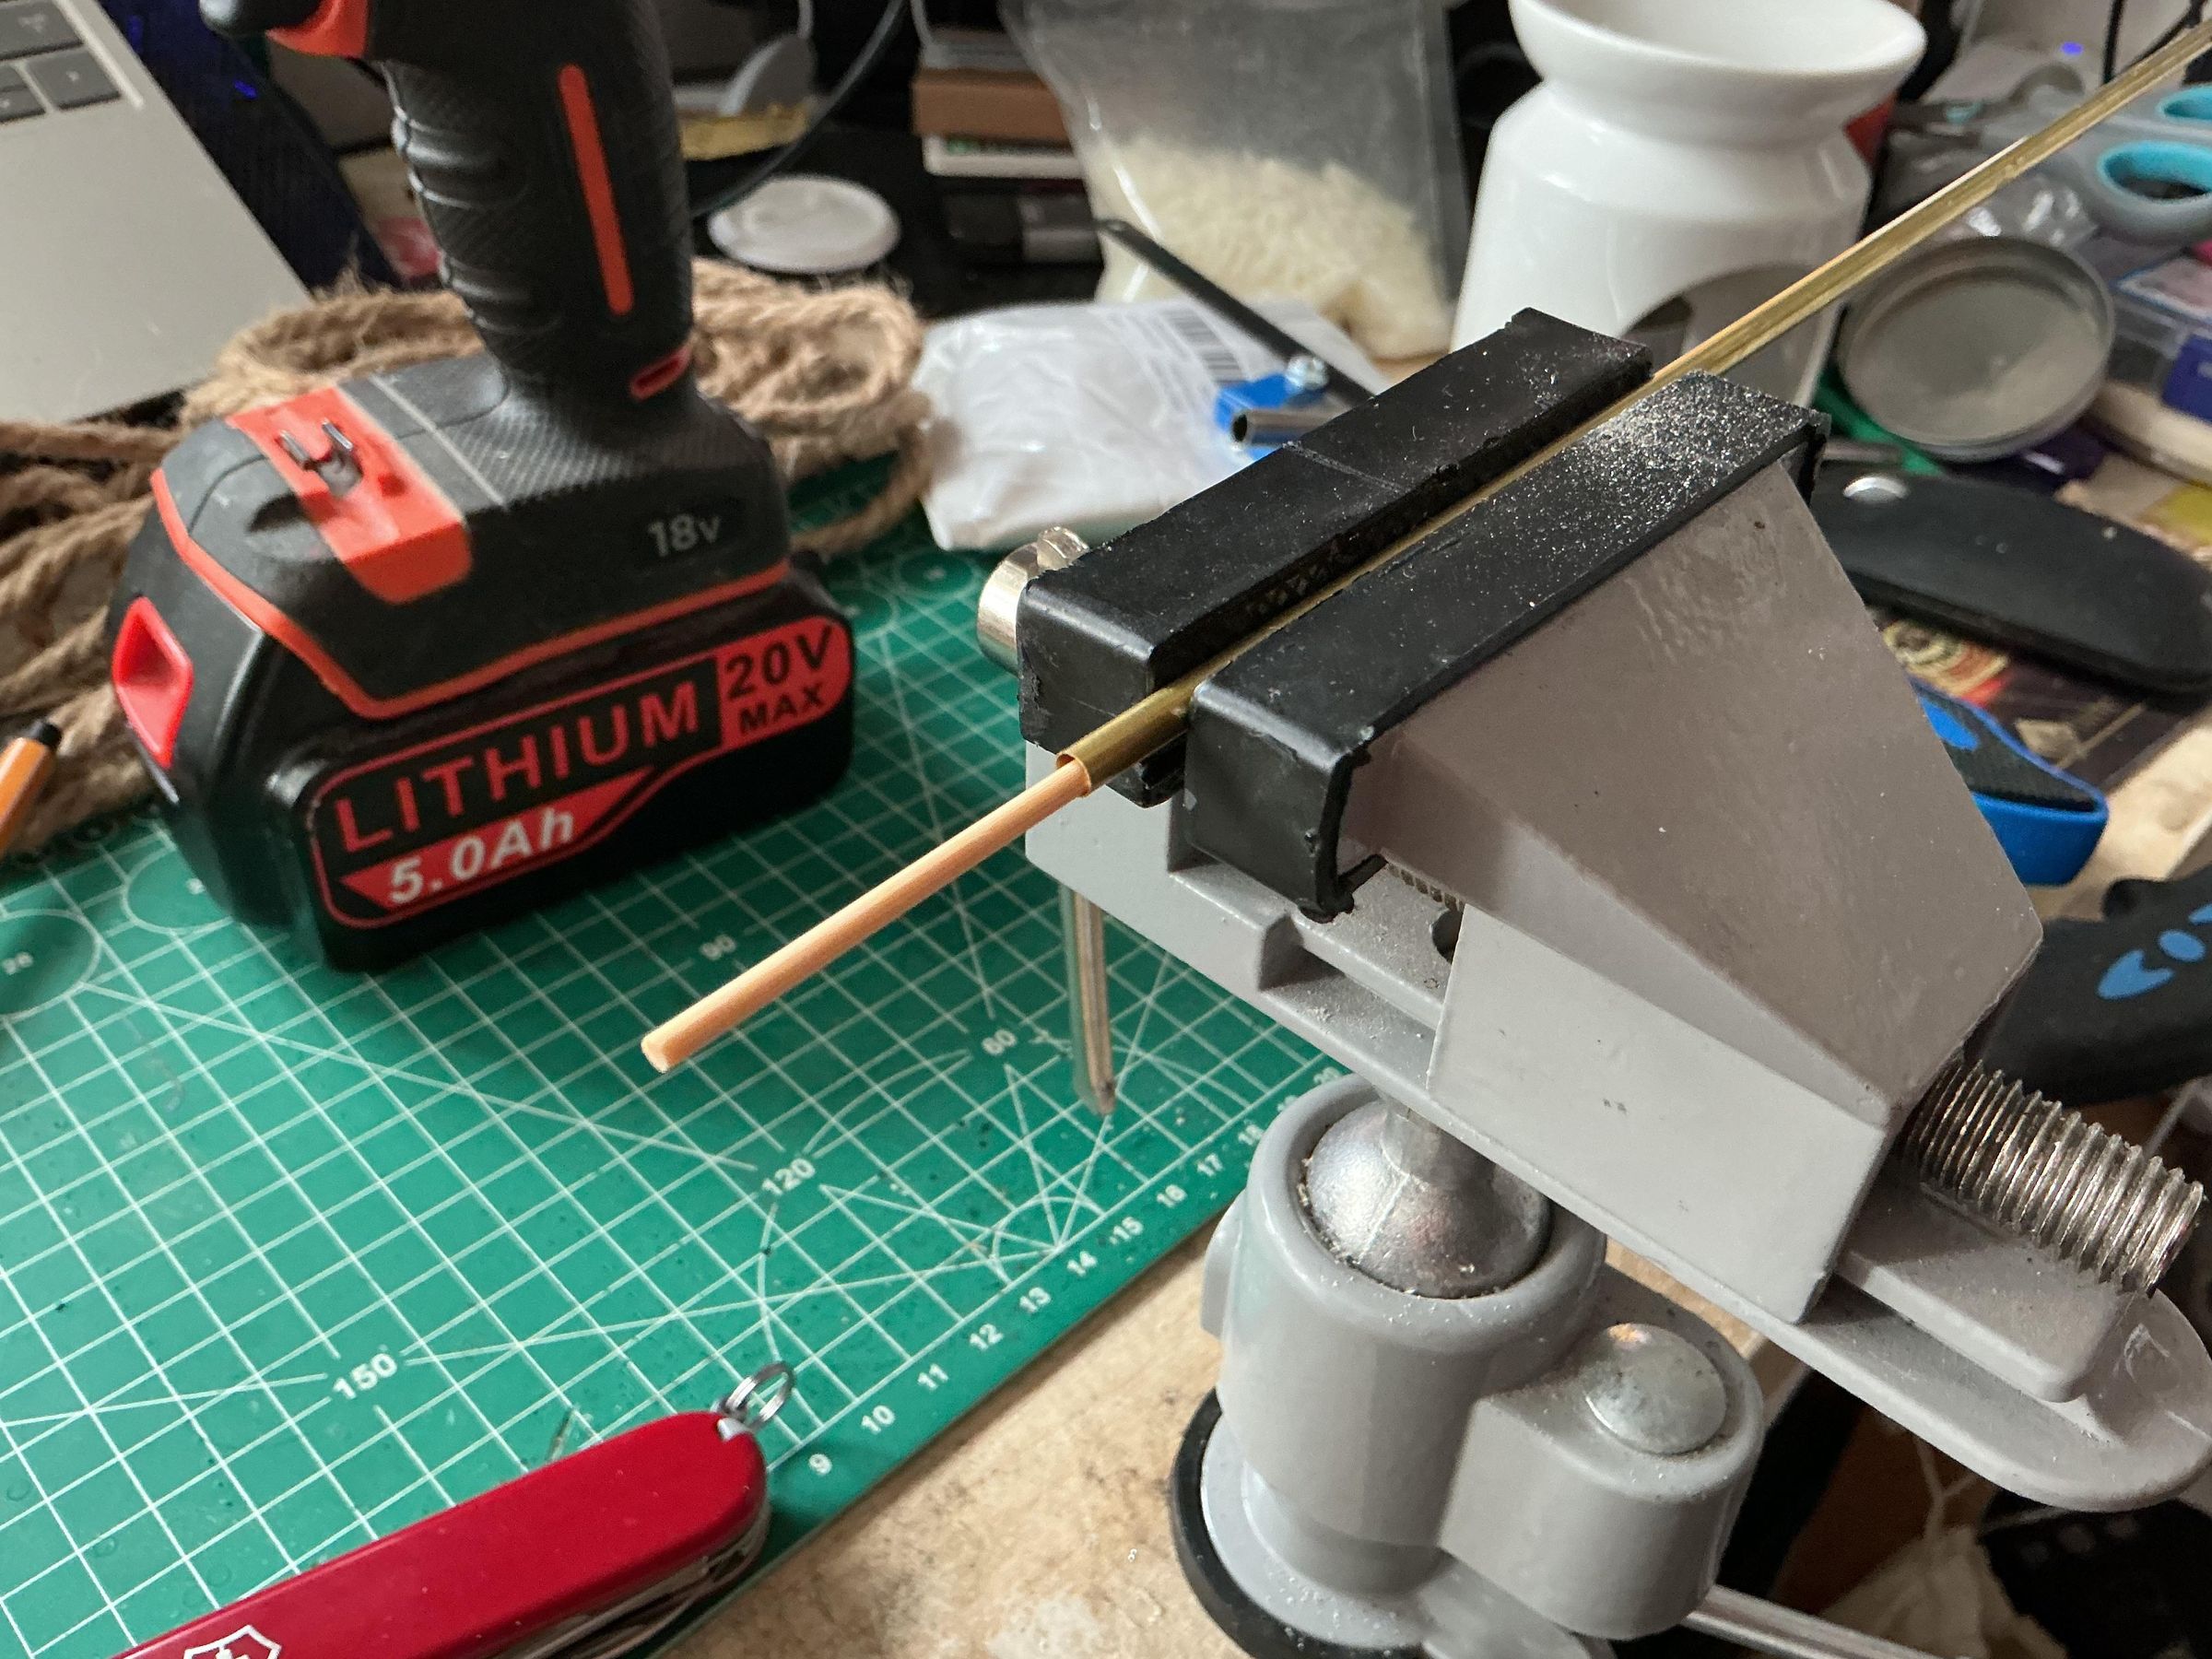
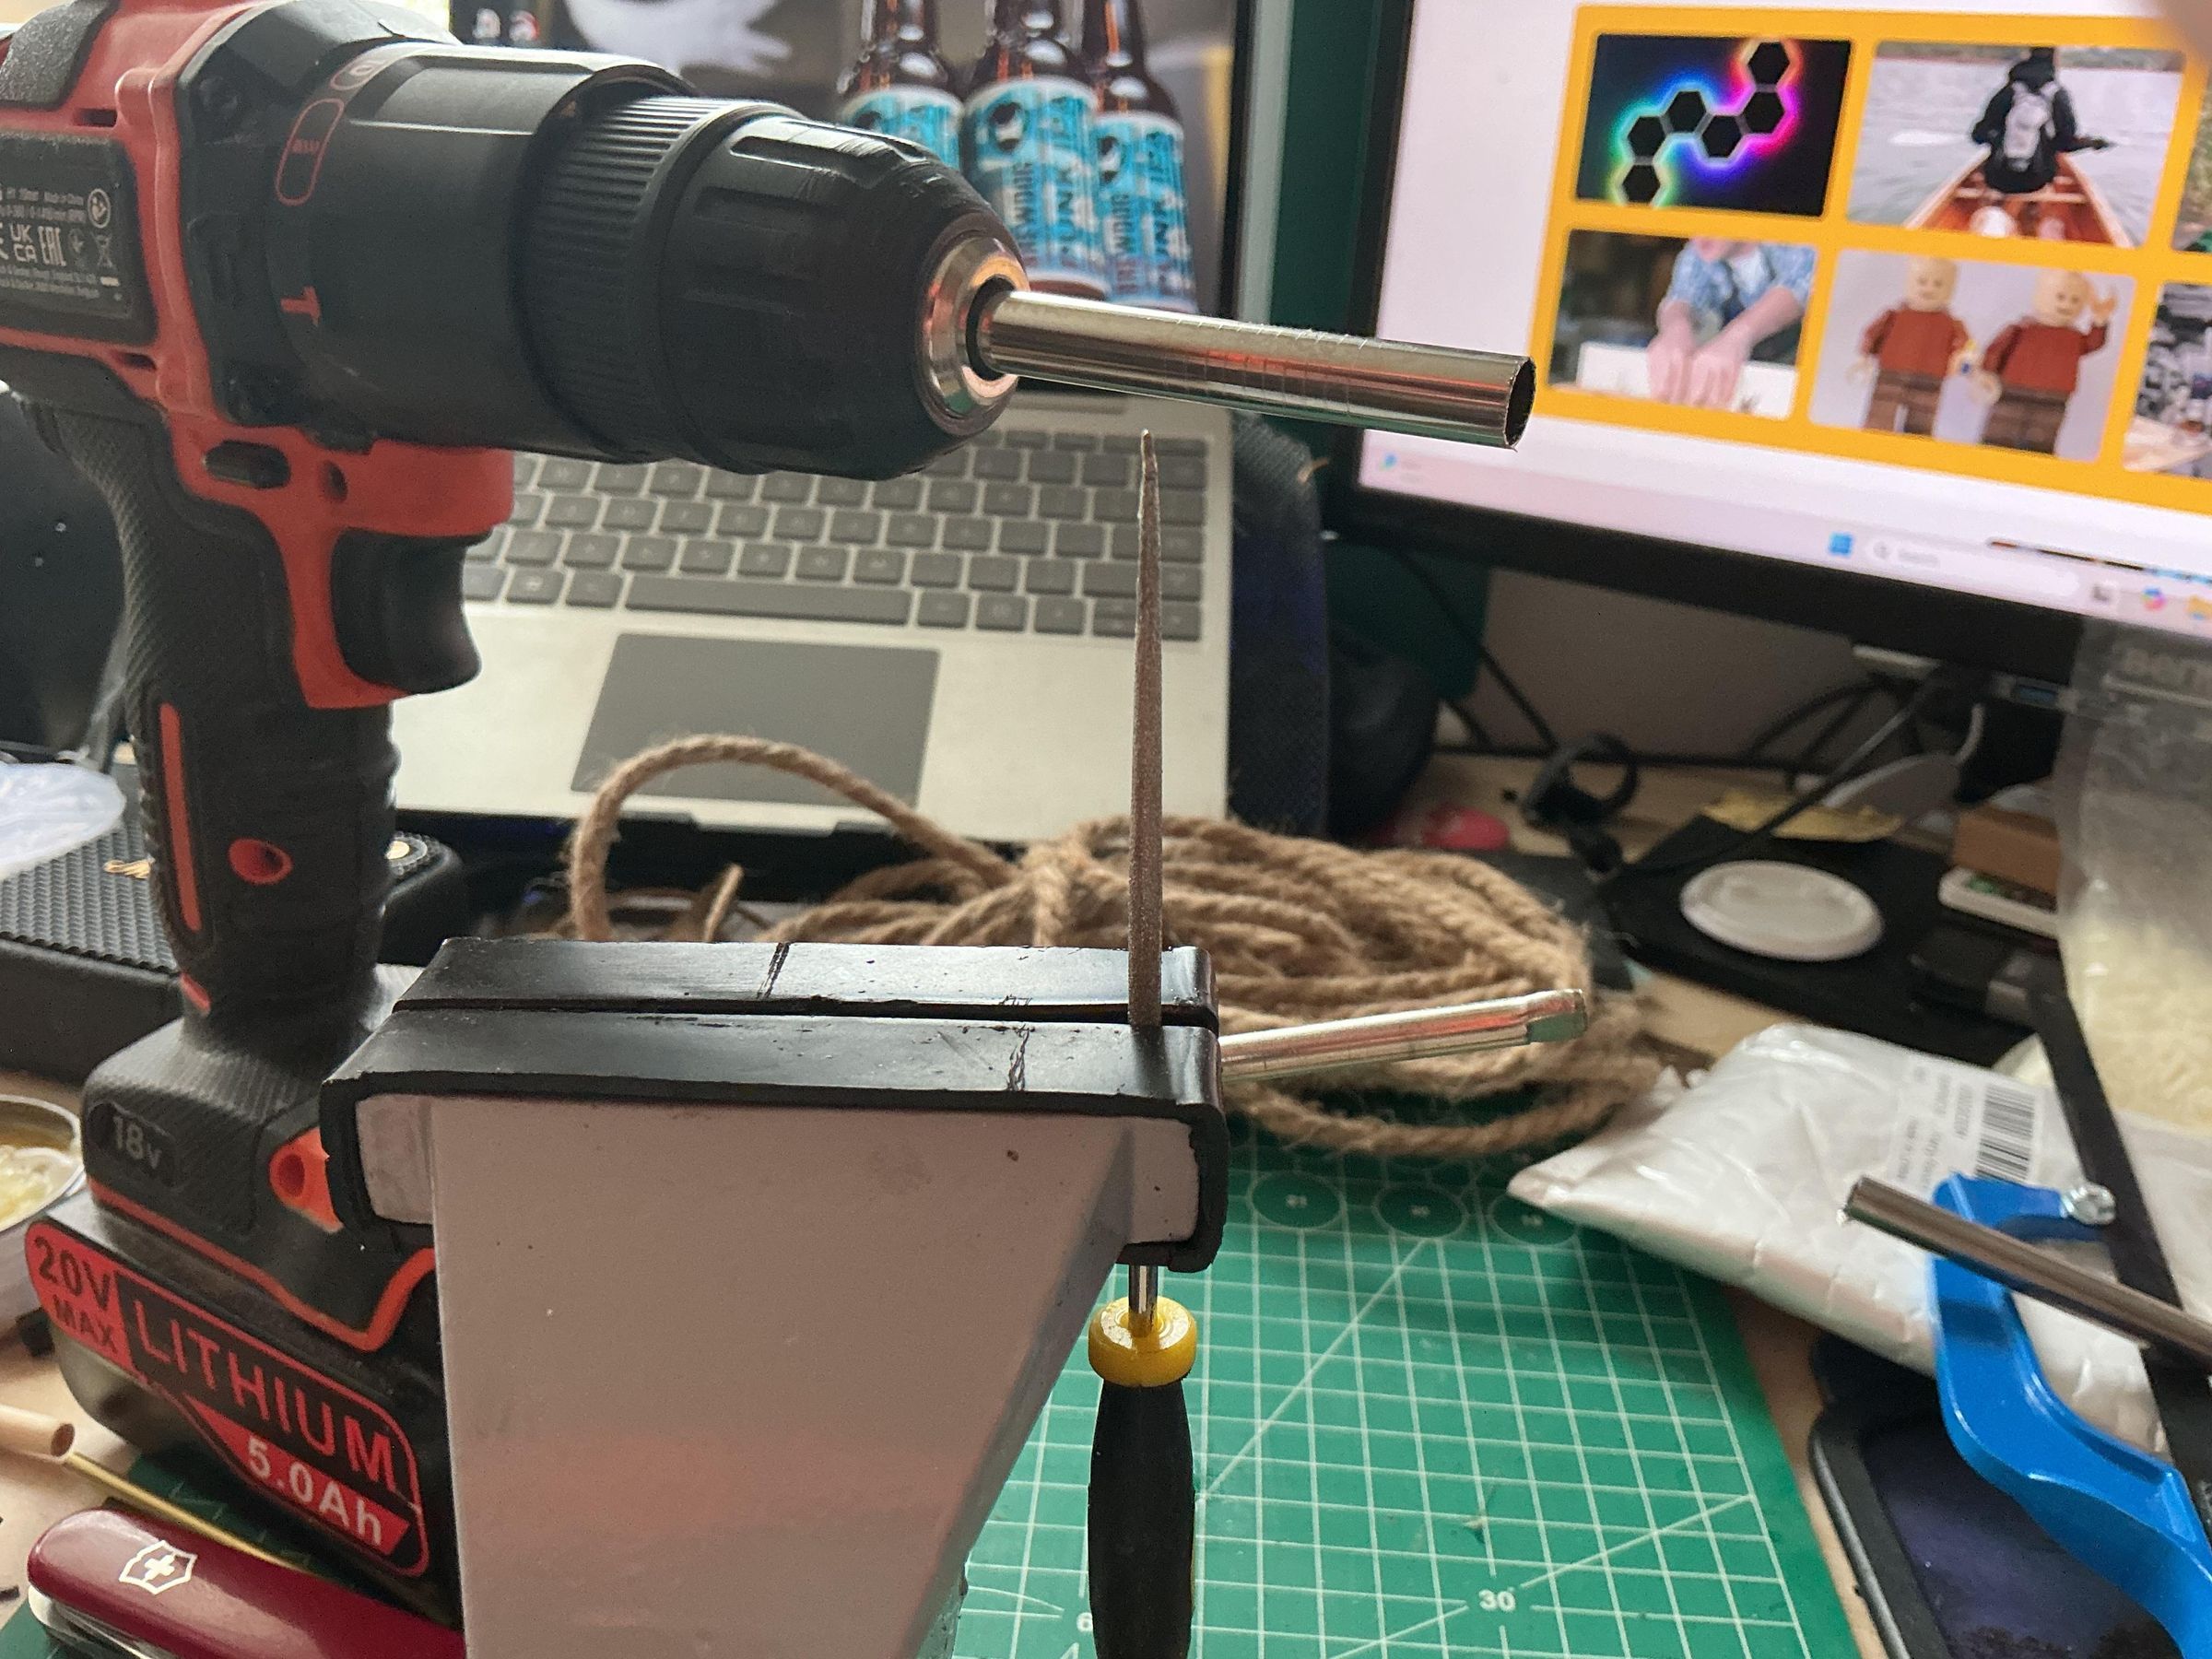
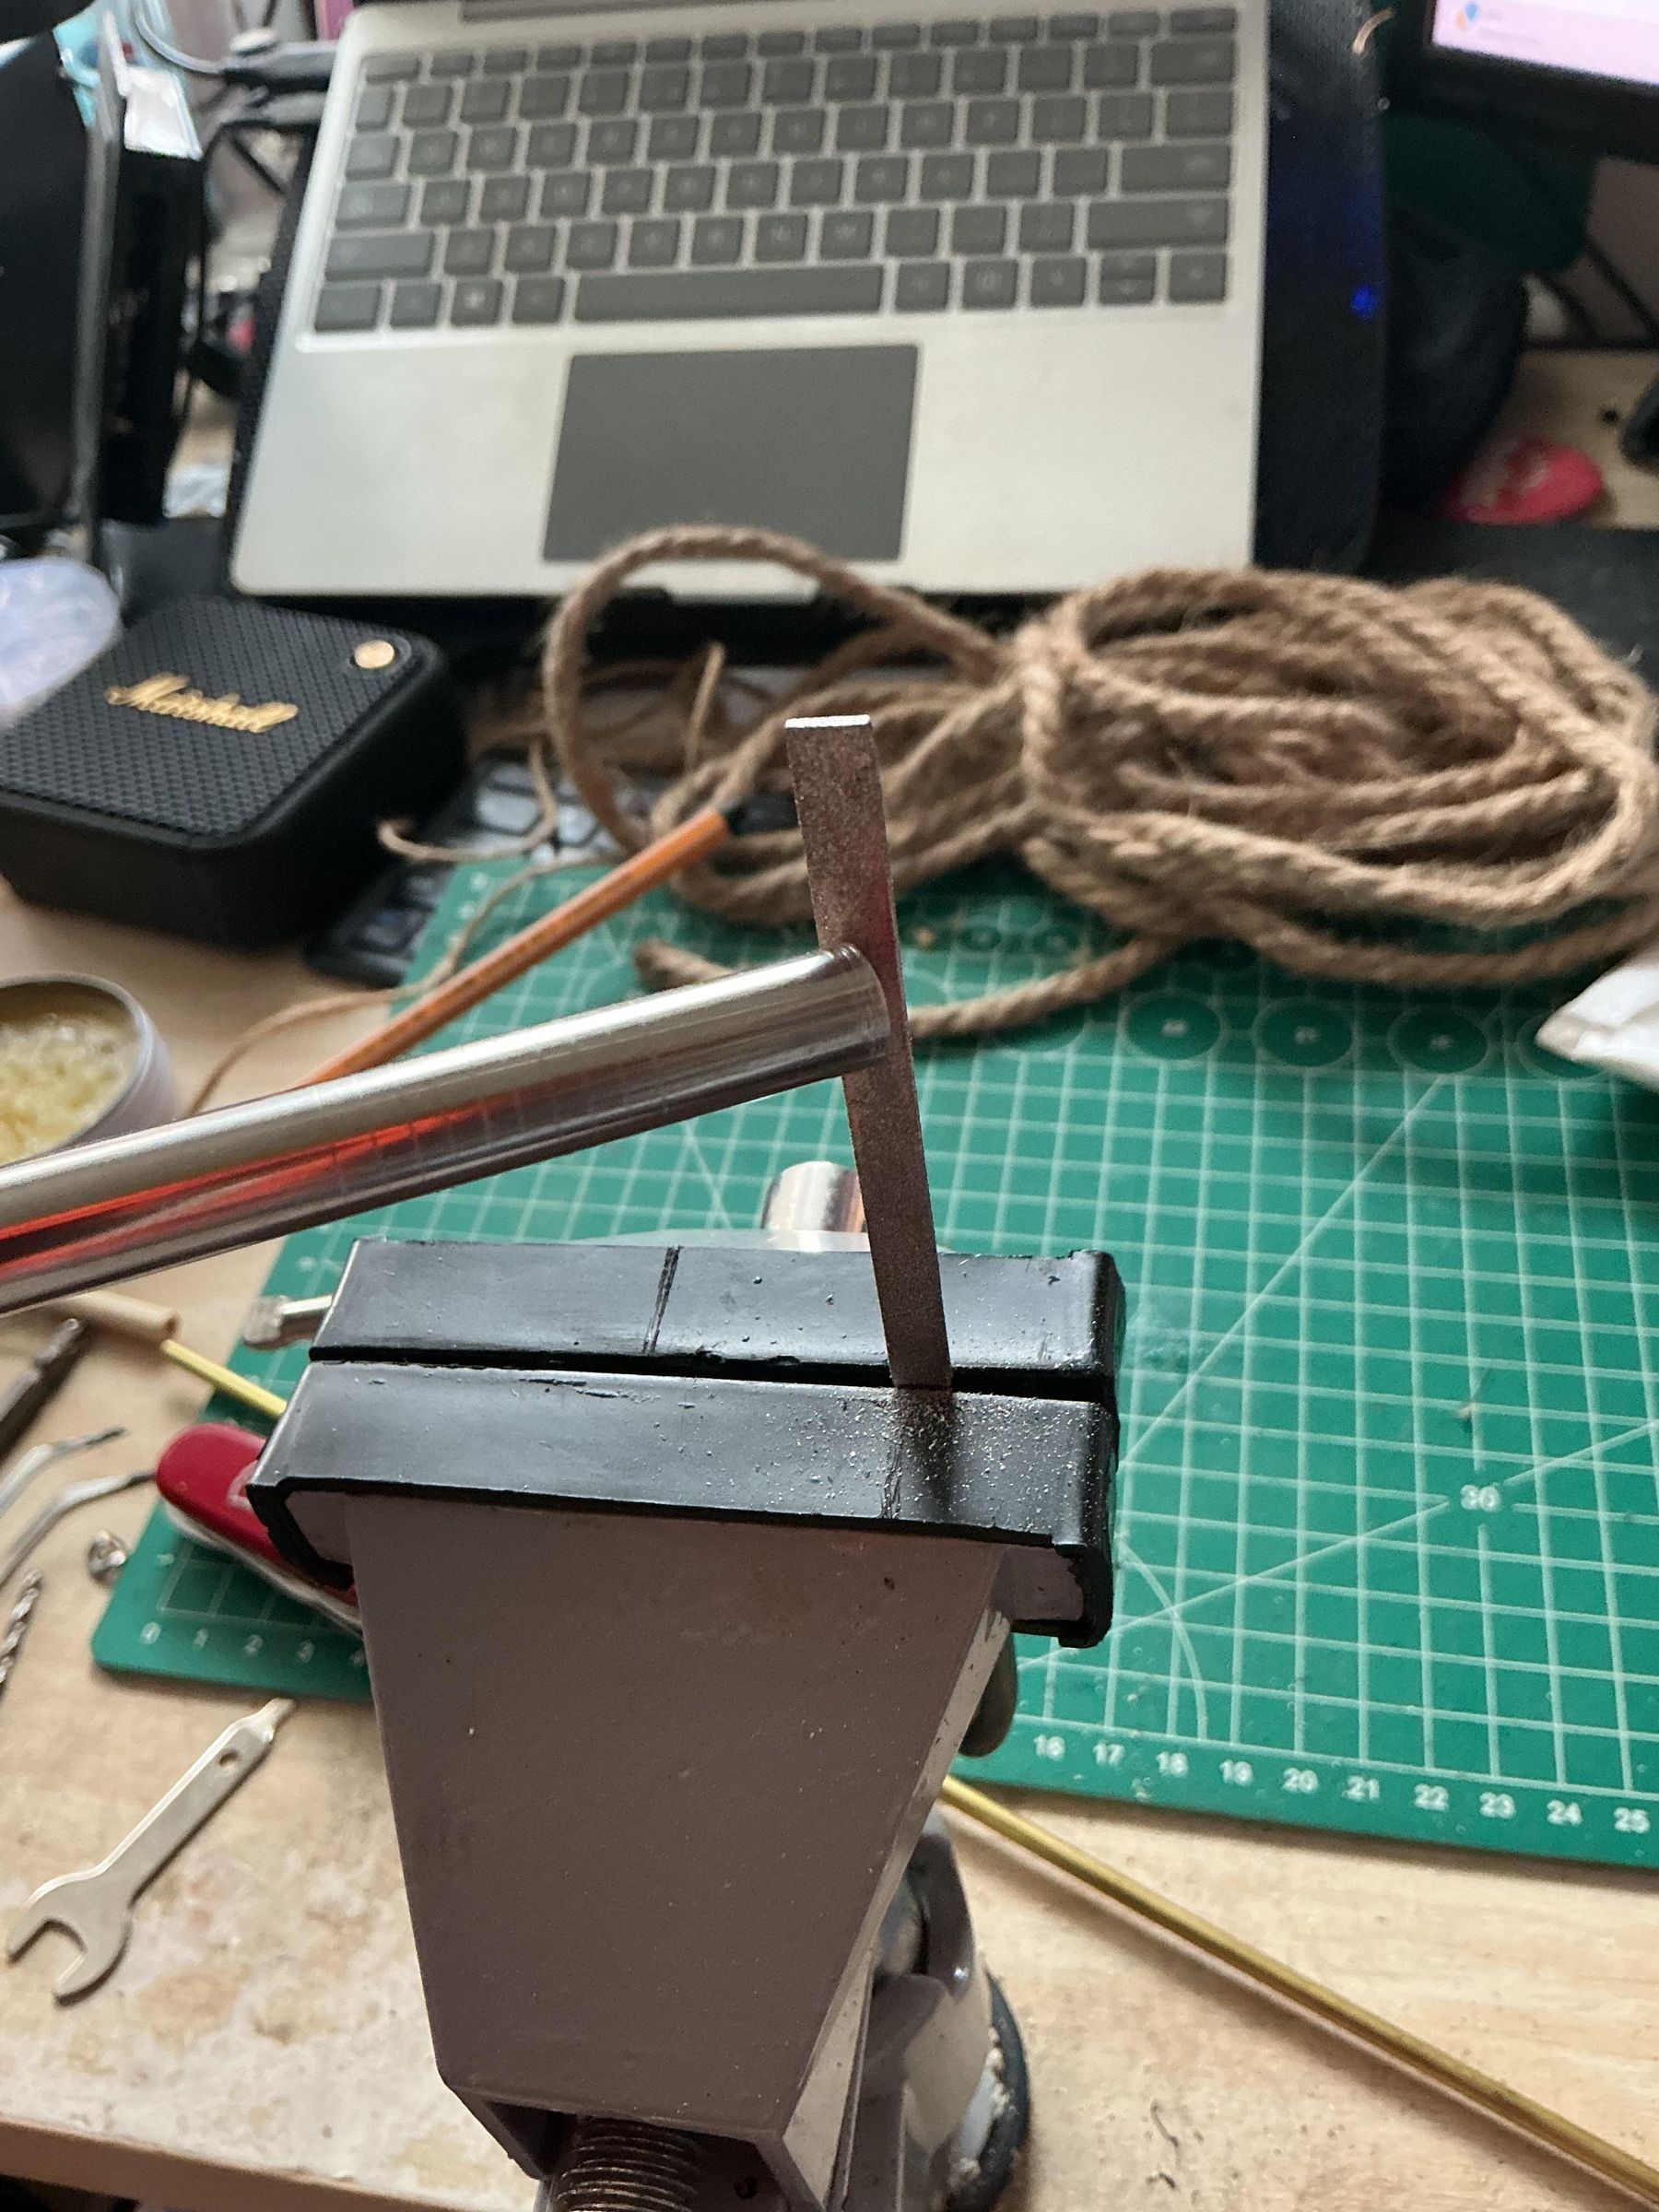
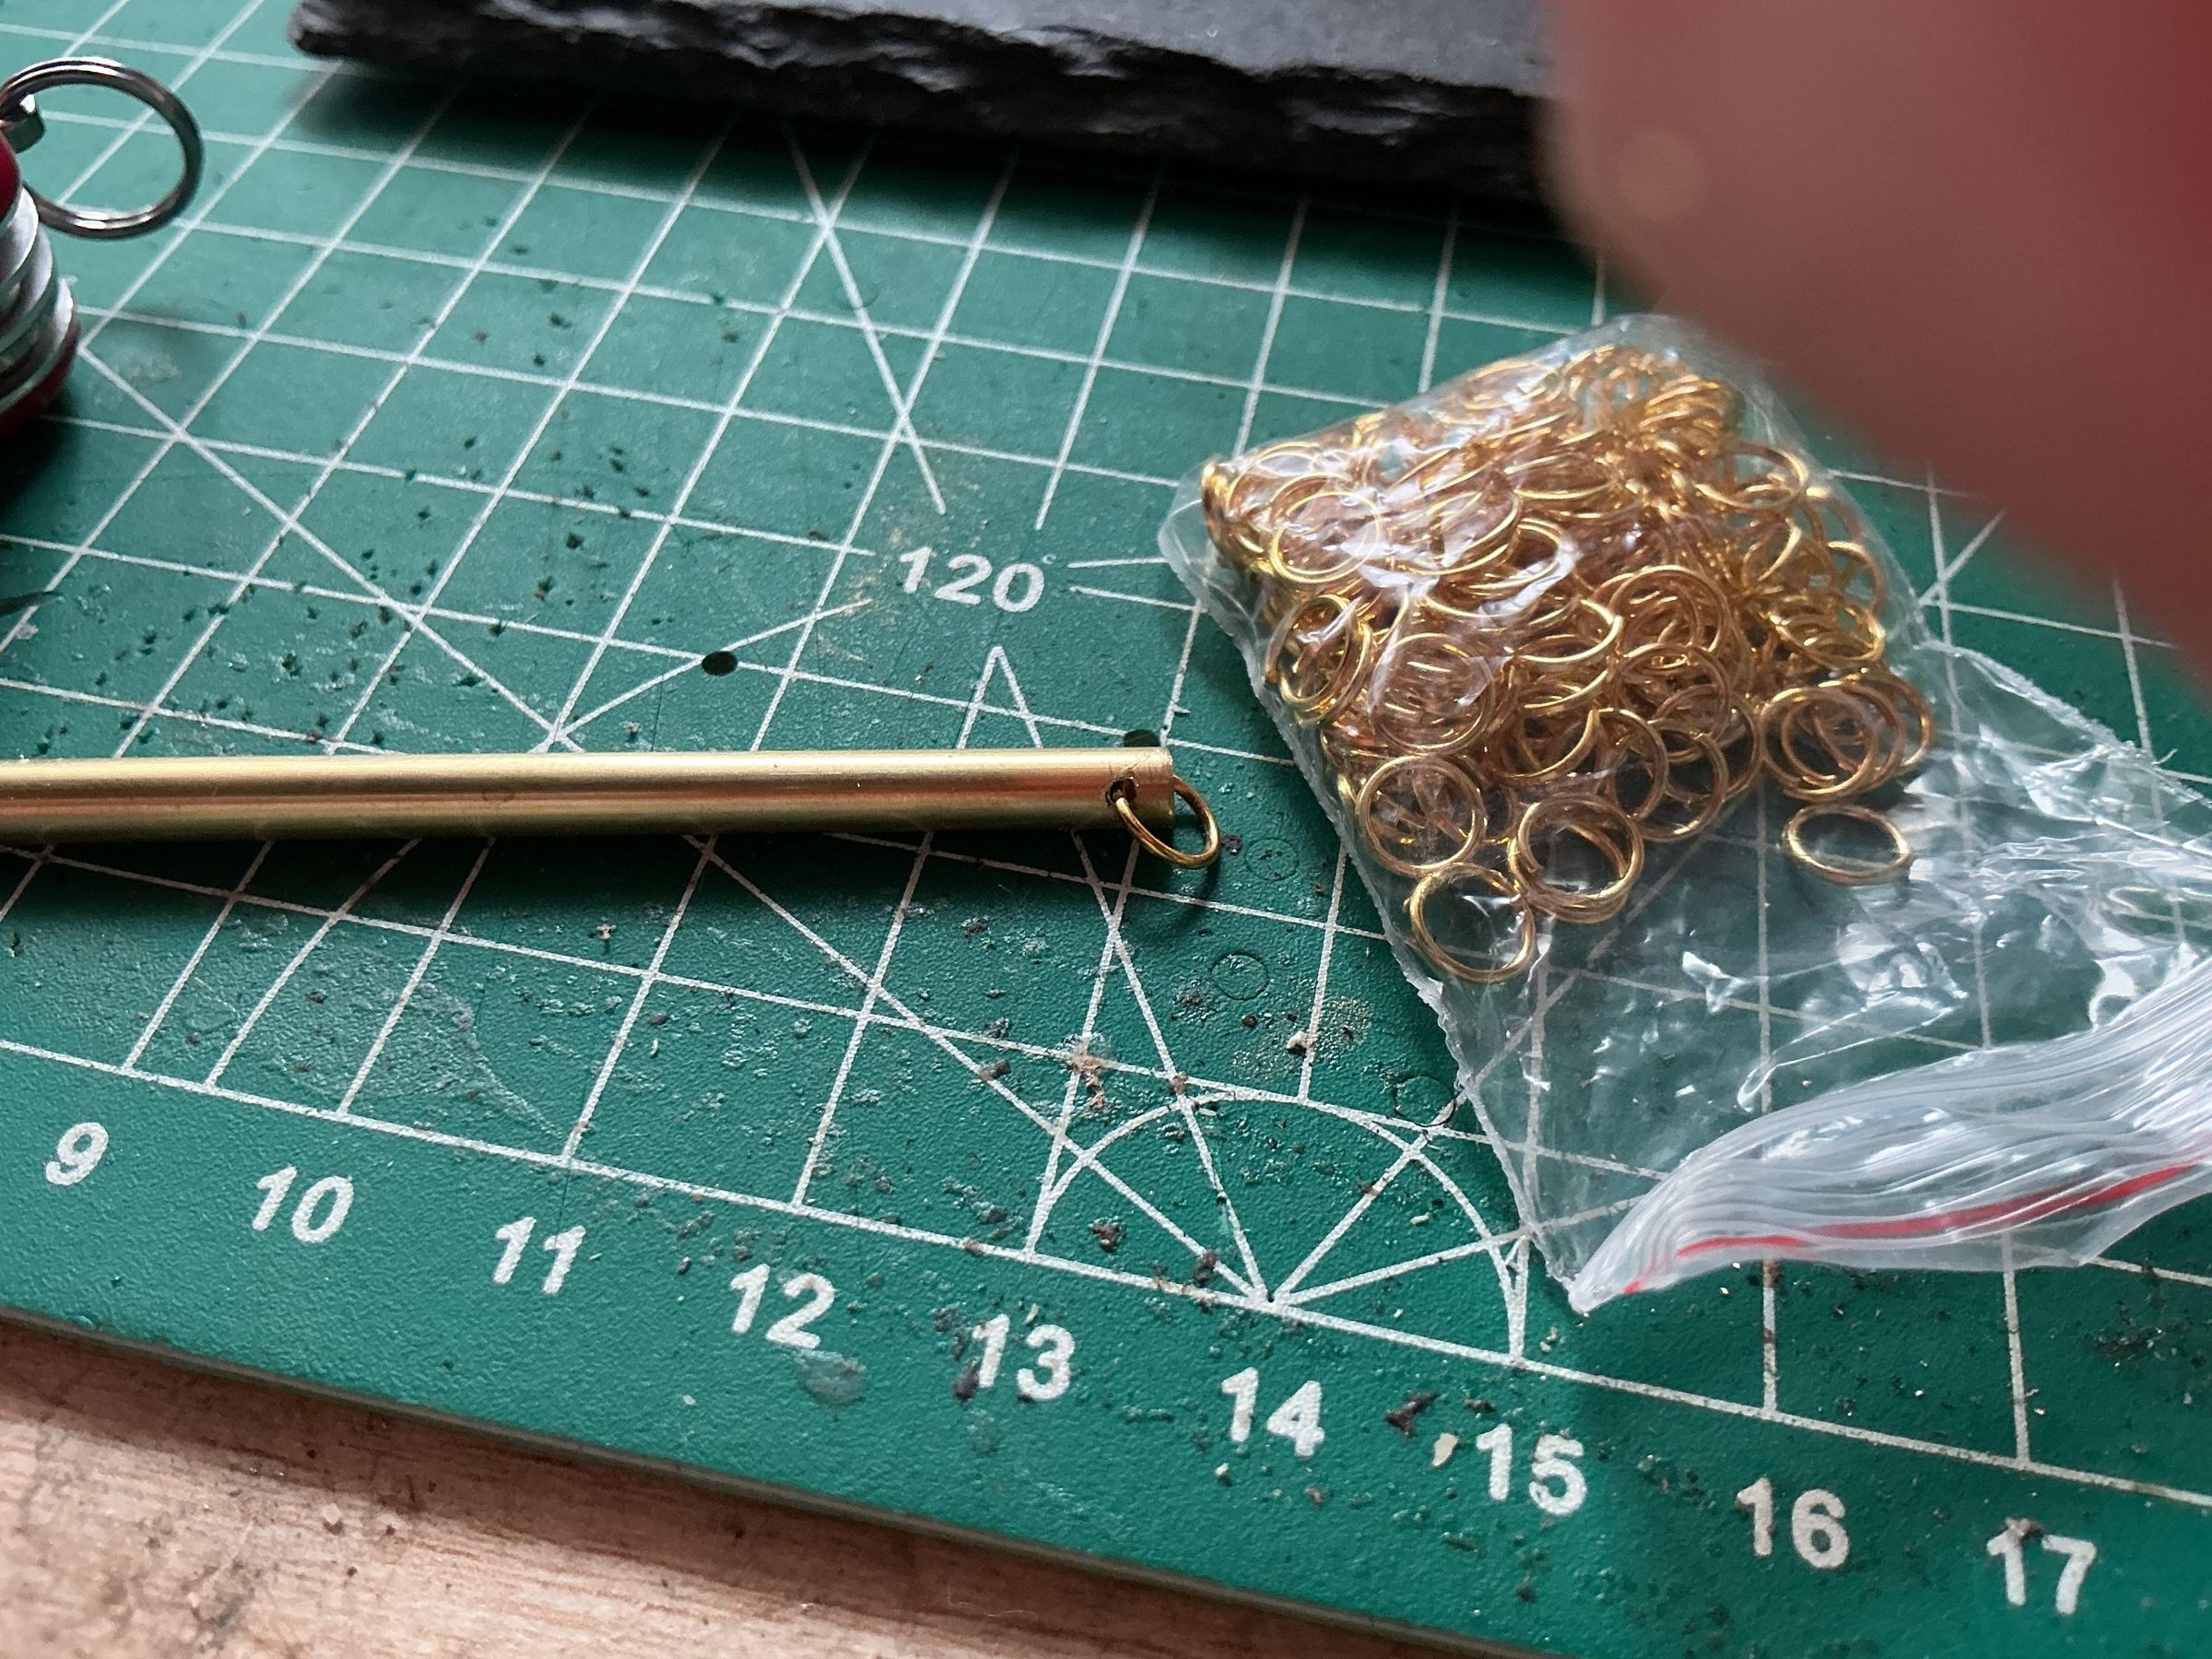
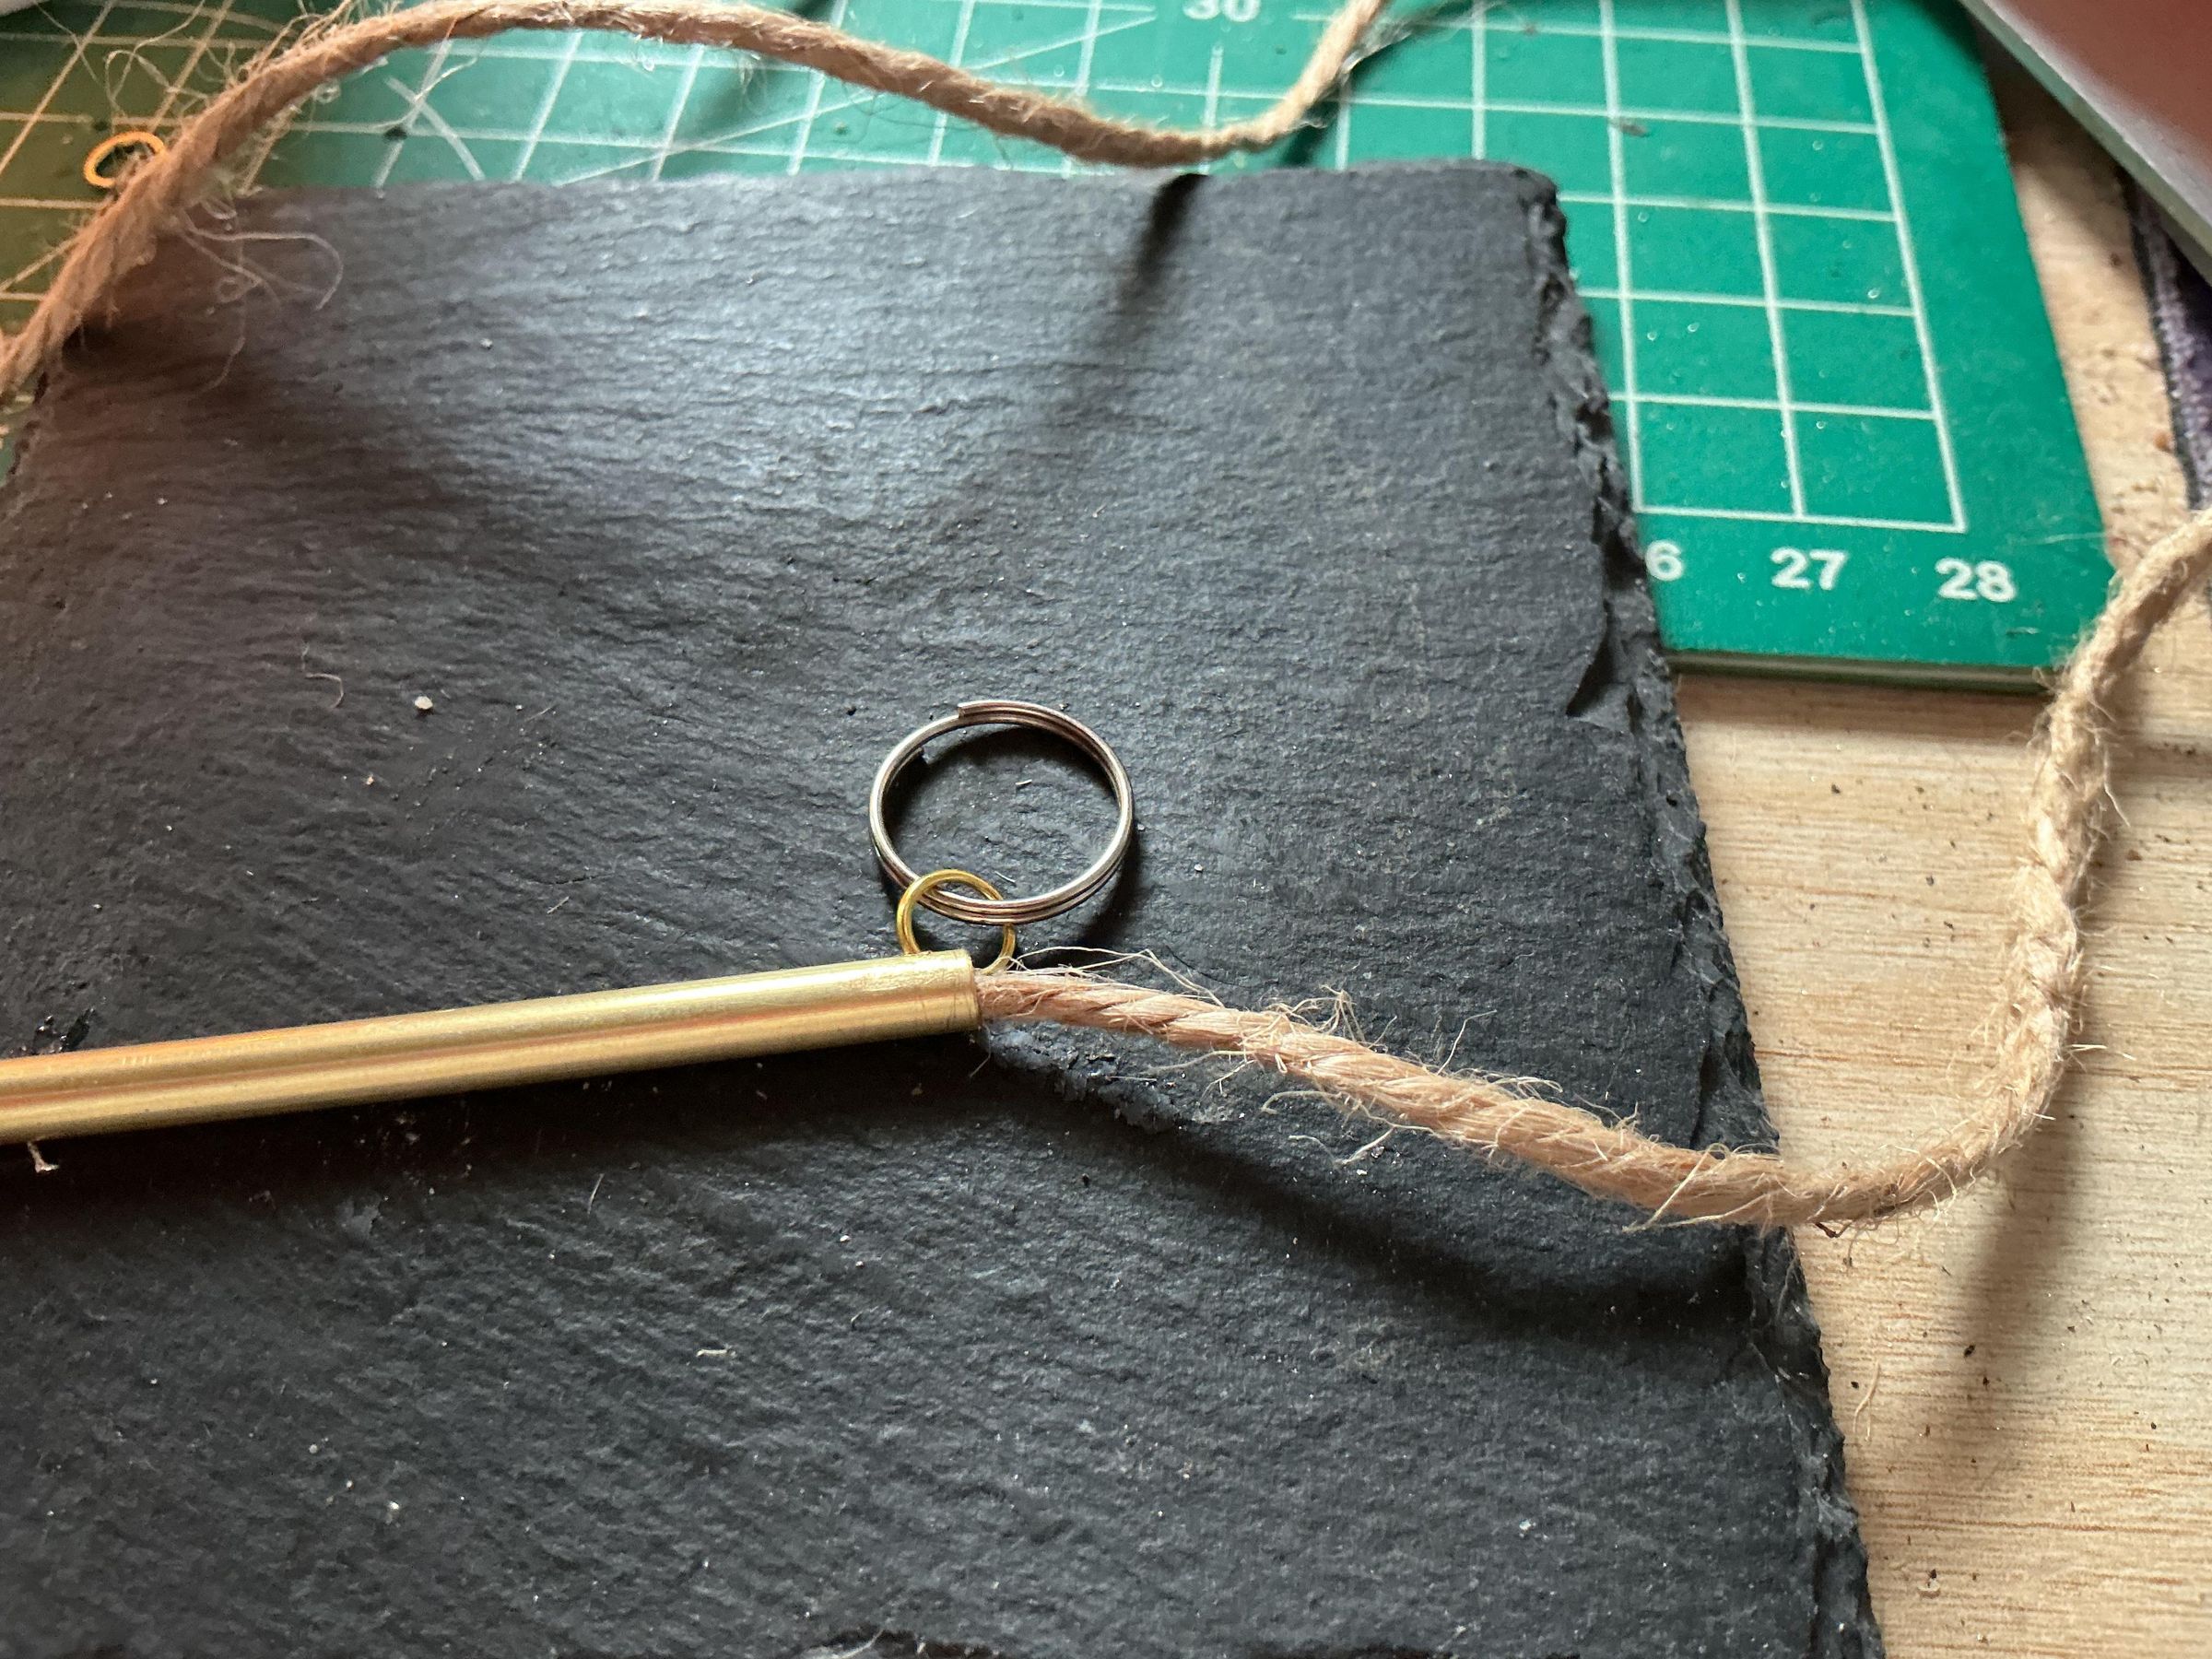
Preparing the tube/holder/ handle is straight forward, I found the hardest thing to be adding a keyring, you can easily skip that step.
First I chose the right size tube, it needs to be slightly wider than the width of the jute, the wax bulks it out and provides friction to keep it secure. I settled on a thin brass tube I had left over from another project and a stainless steel reusable drinking straw (they always sell them in packs of ten or more, how many drinks do they think I have?)
Measure and cut the tube to your preferred length, I wanted them to be about the length of my Swiss army knife to keep tidy. Wear gloves at this stage, metal splinters are very painful.
Using a hacksaw left rough edges with burrs, we don't want this, it'd tear pockets and shreds the jute. File the edges, TIP: Put the file into a vice and the tube into a drill then run it over the file at slowish speed, much easier than hand filing.
I used a small drill bit in a Dremel to make a hole in the brass tube, added a ring with a little solder and a key ring.
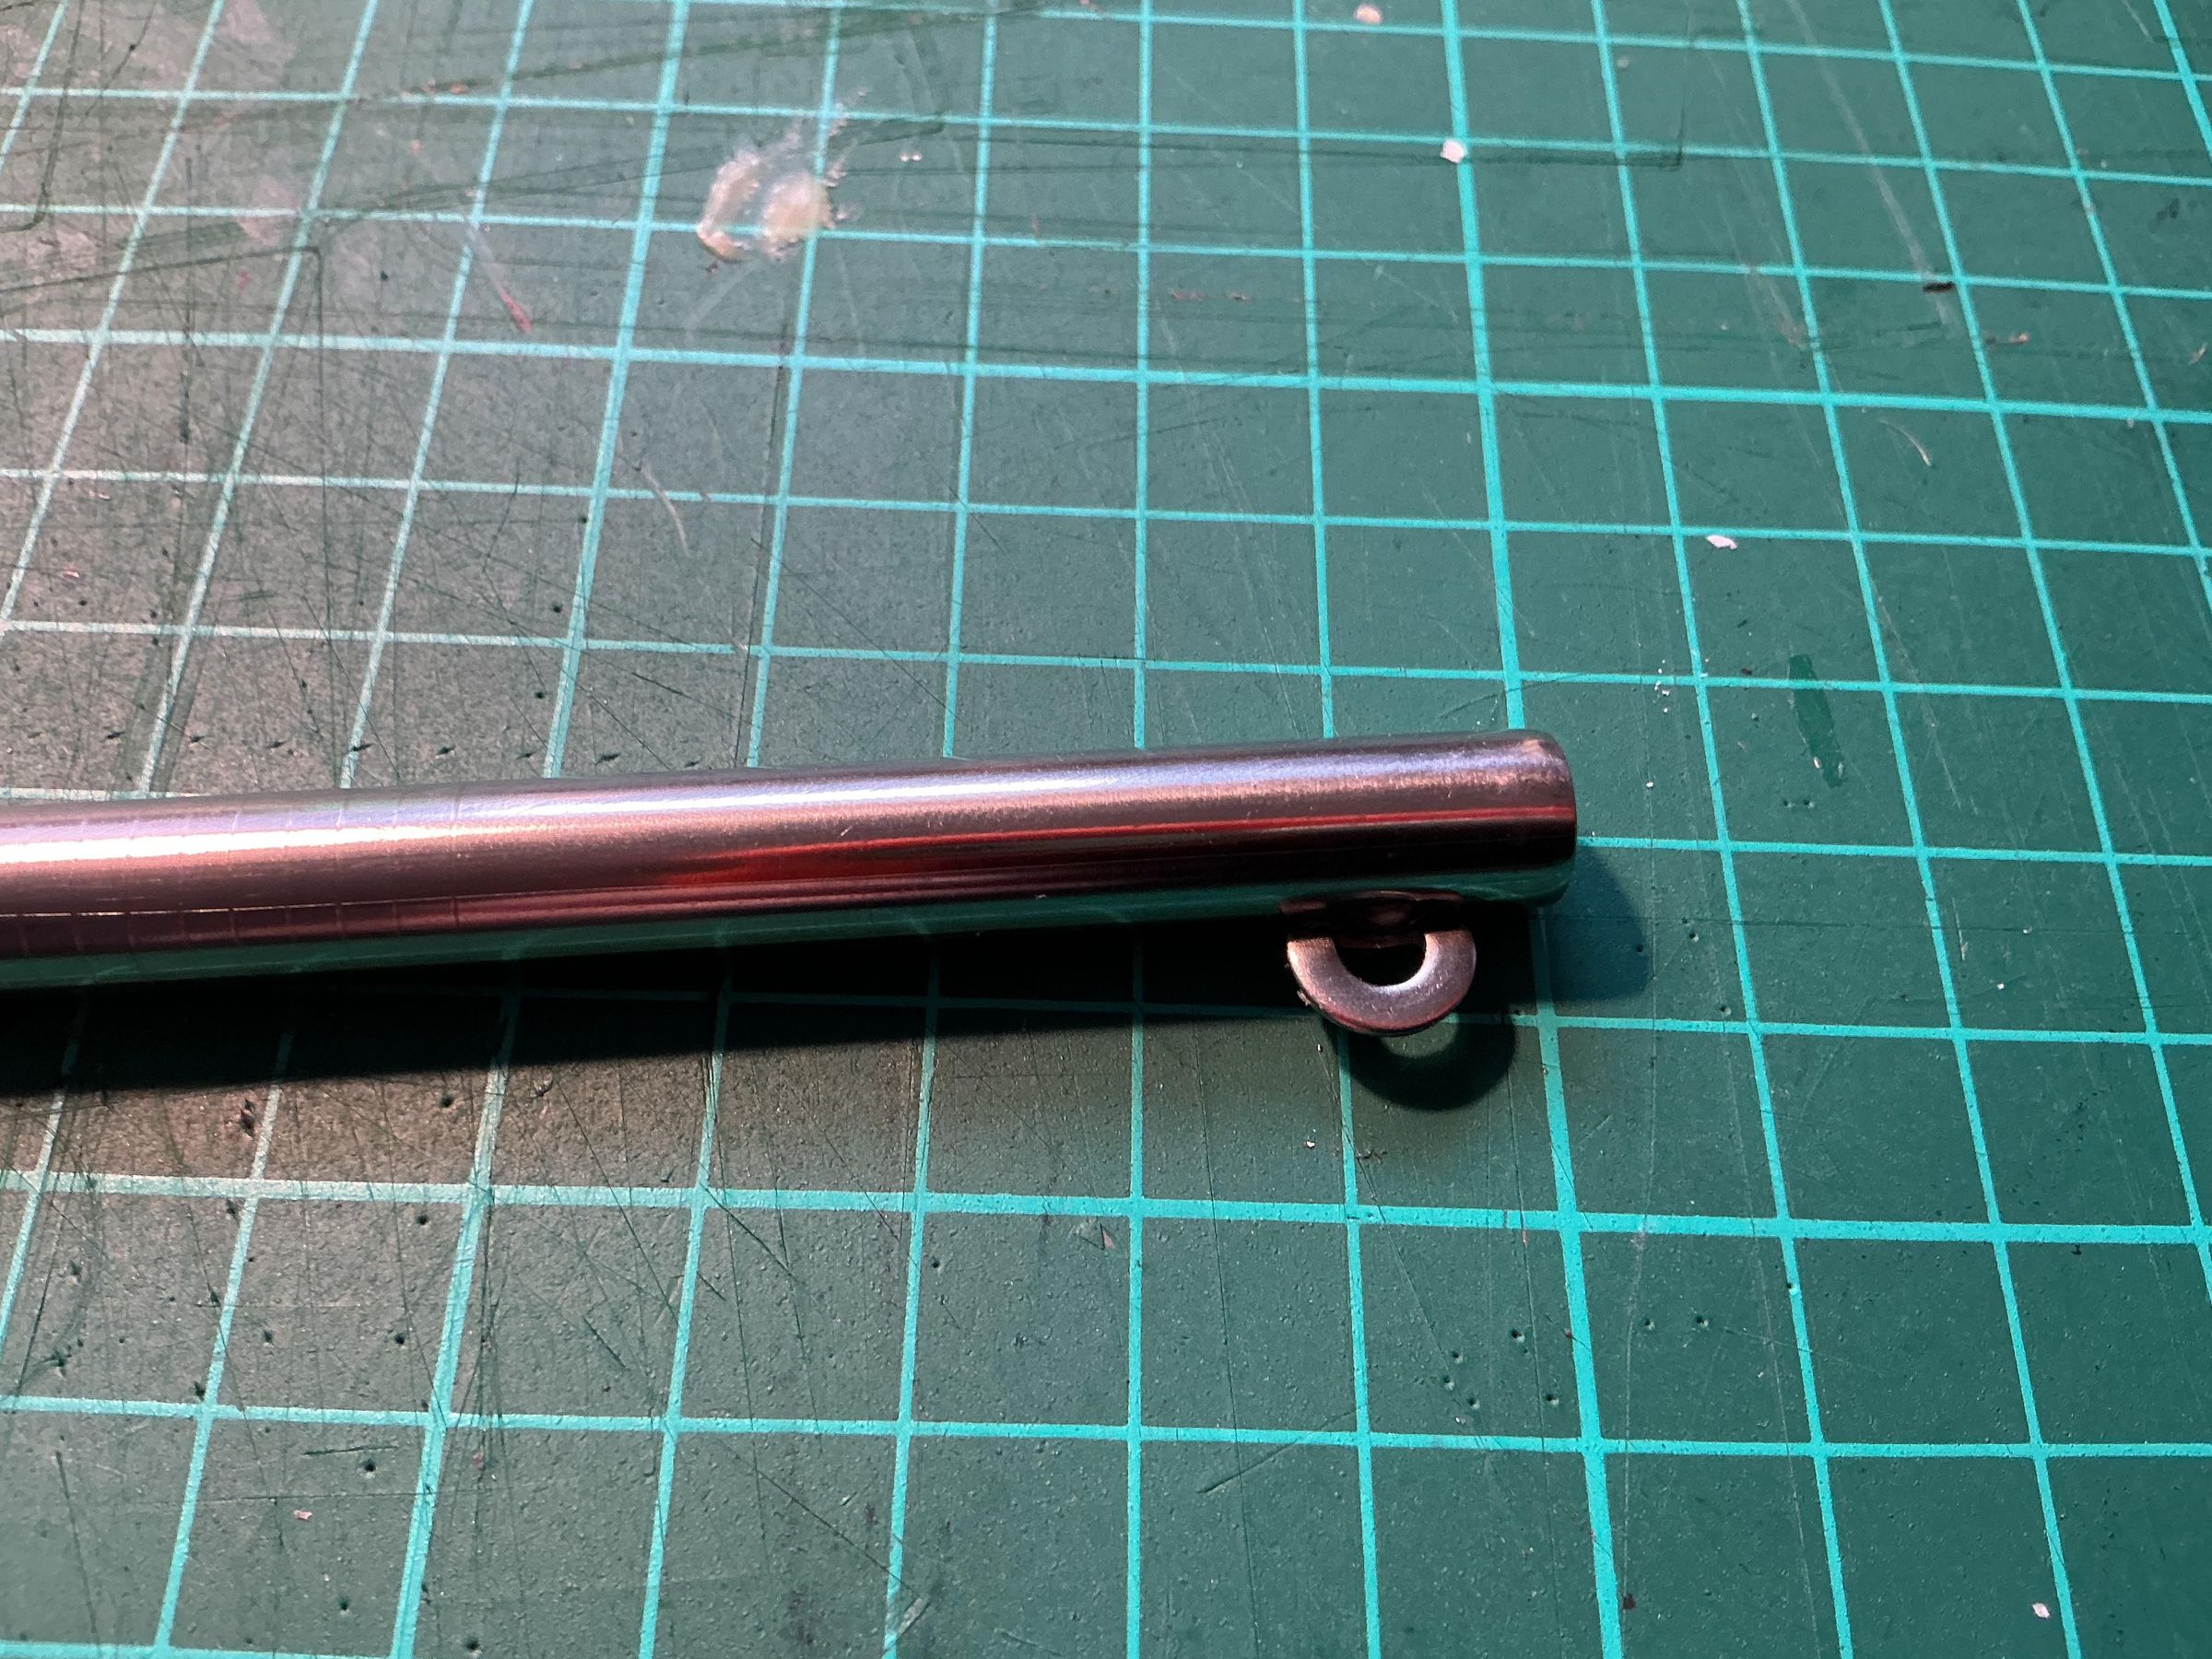
The stainless tube is more difficult, you'll struggle to get a drill though the outer layer, instead I roughed up a section with the file and used JB Weld, a metal epoxy, to secure a bent washer to attach a ring.
Put It Together and Create Fire!
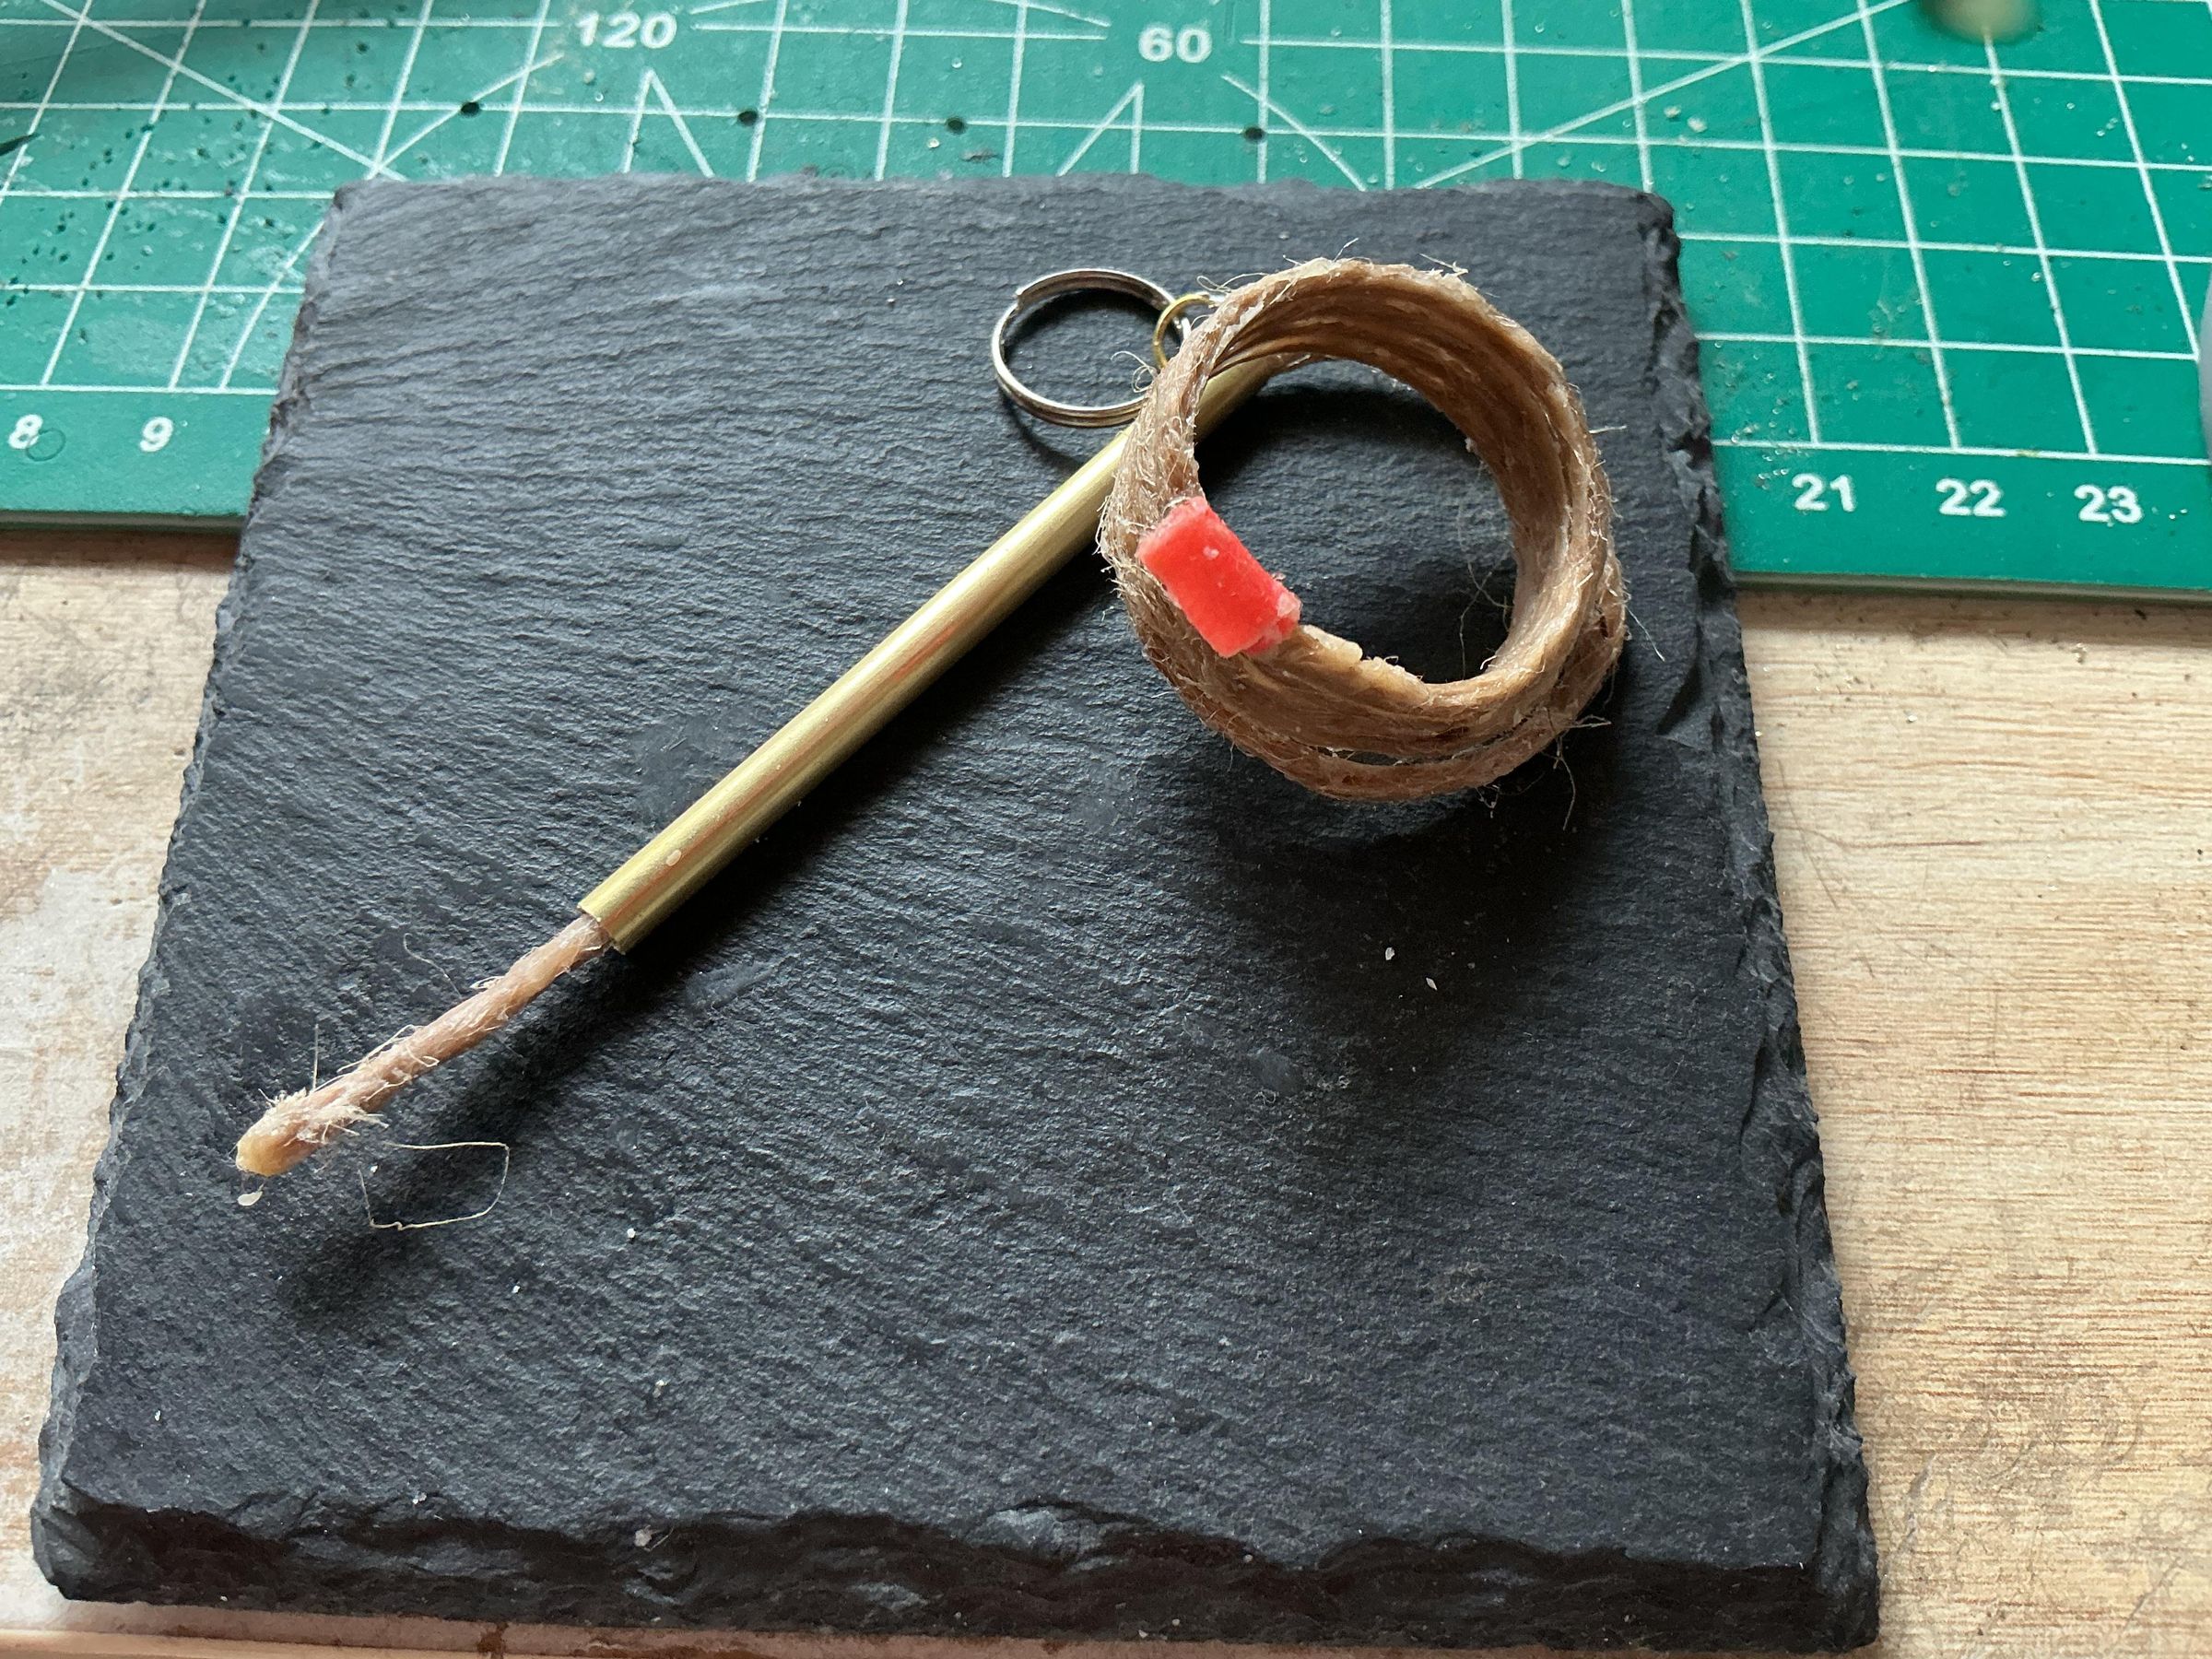
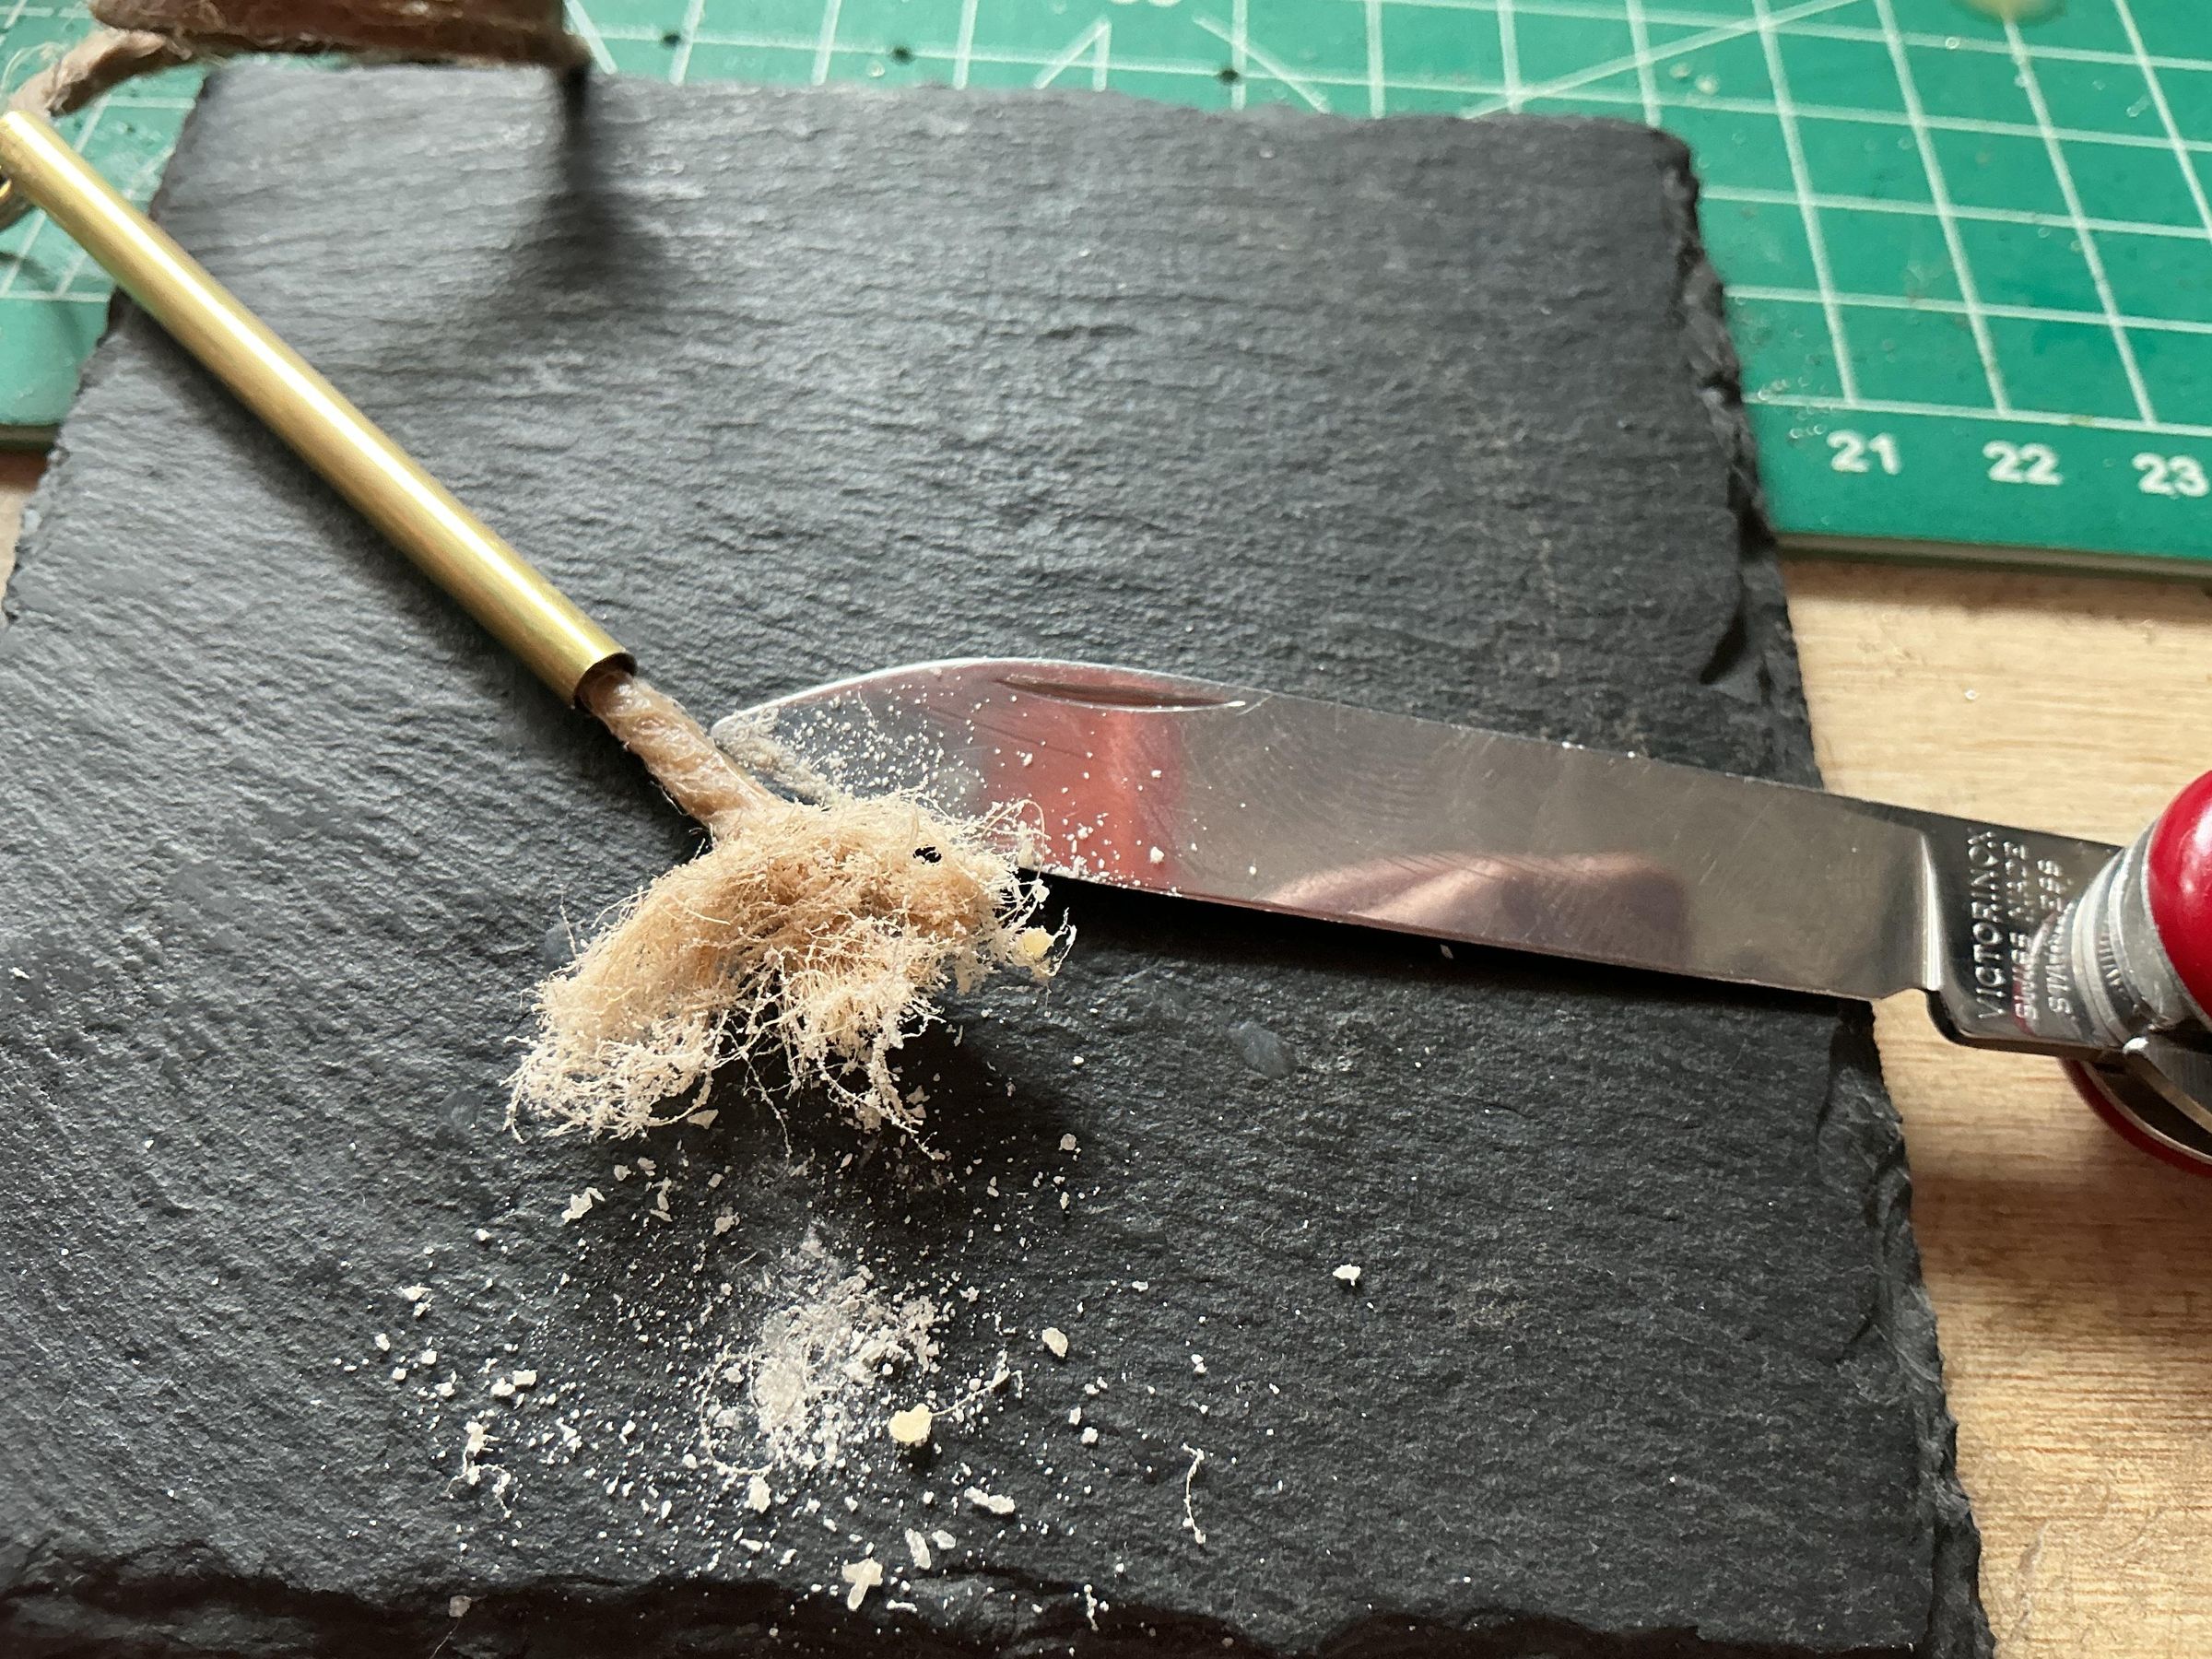
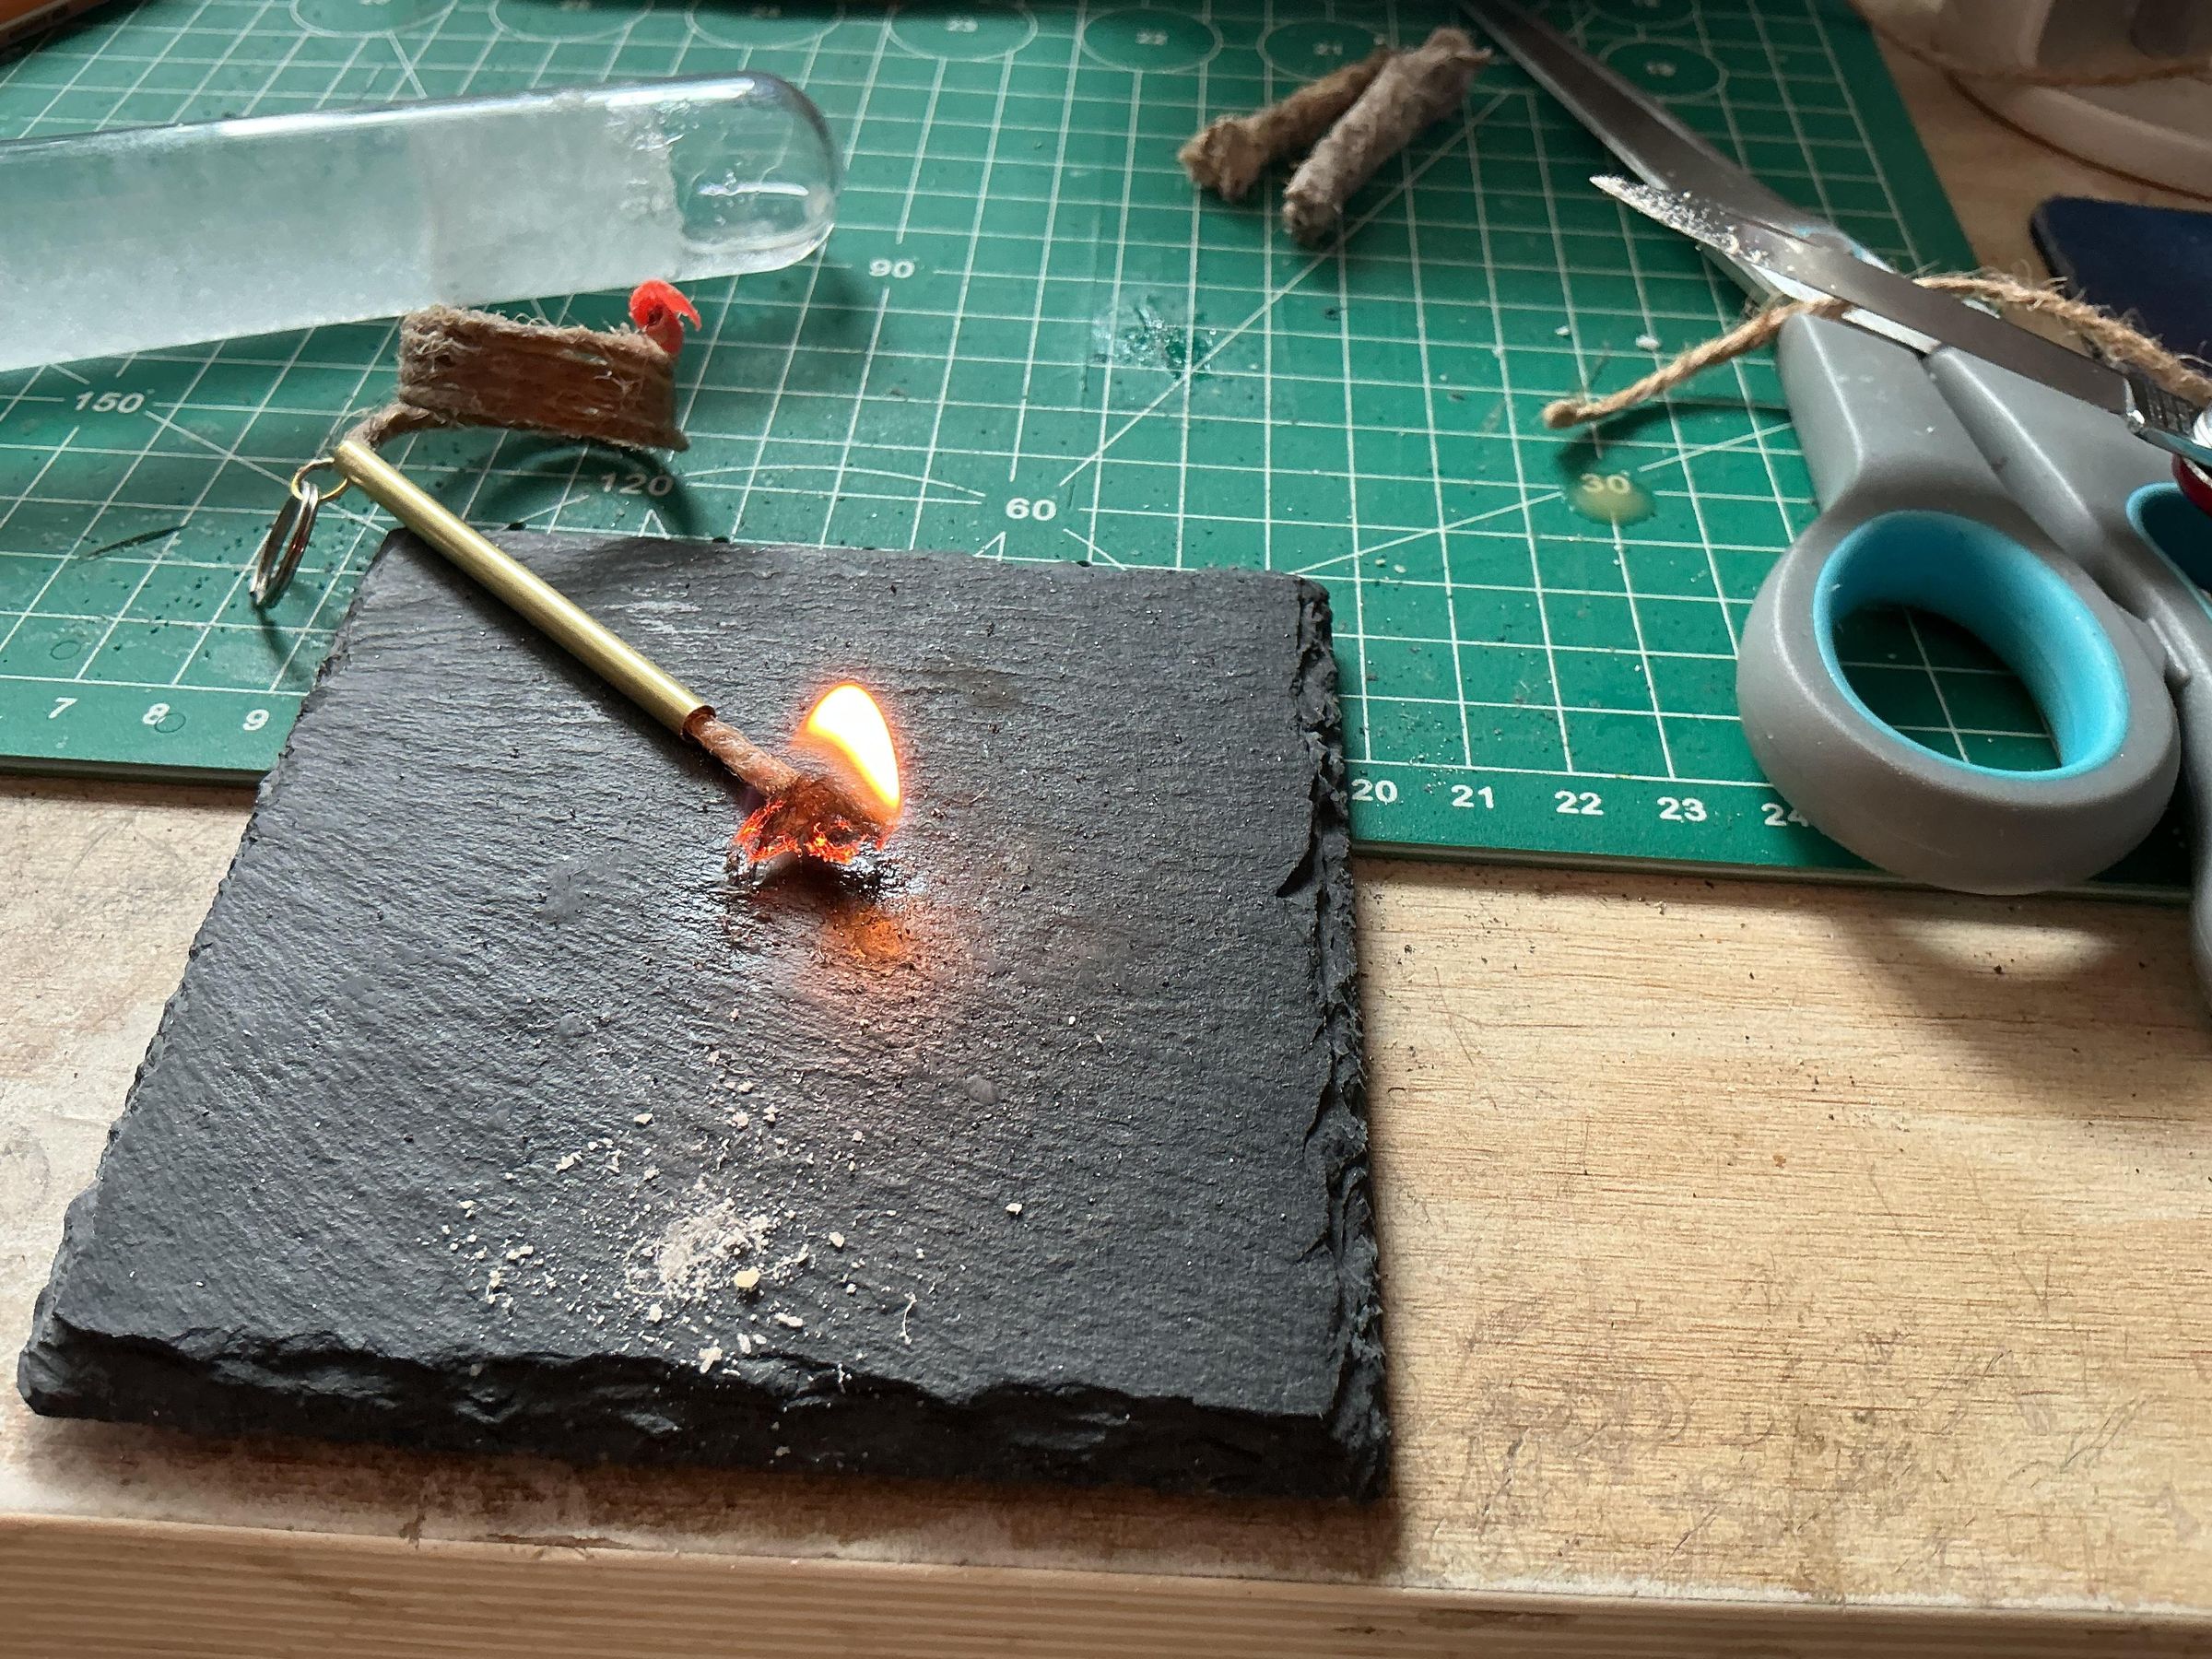
Thread the jute tinder through the tube leaving the coiled section at the keyring end. The tube will scratch some of the wax, this is good as it should be a good fit but move easily through the tube.
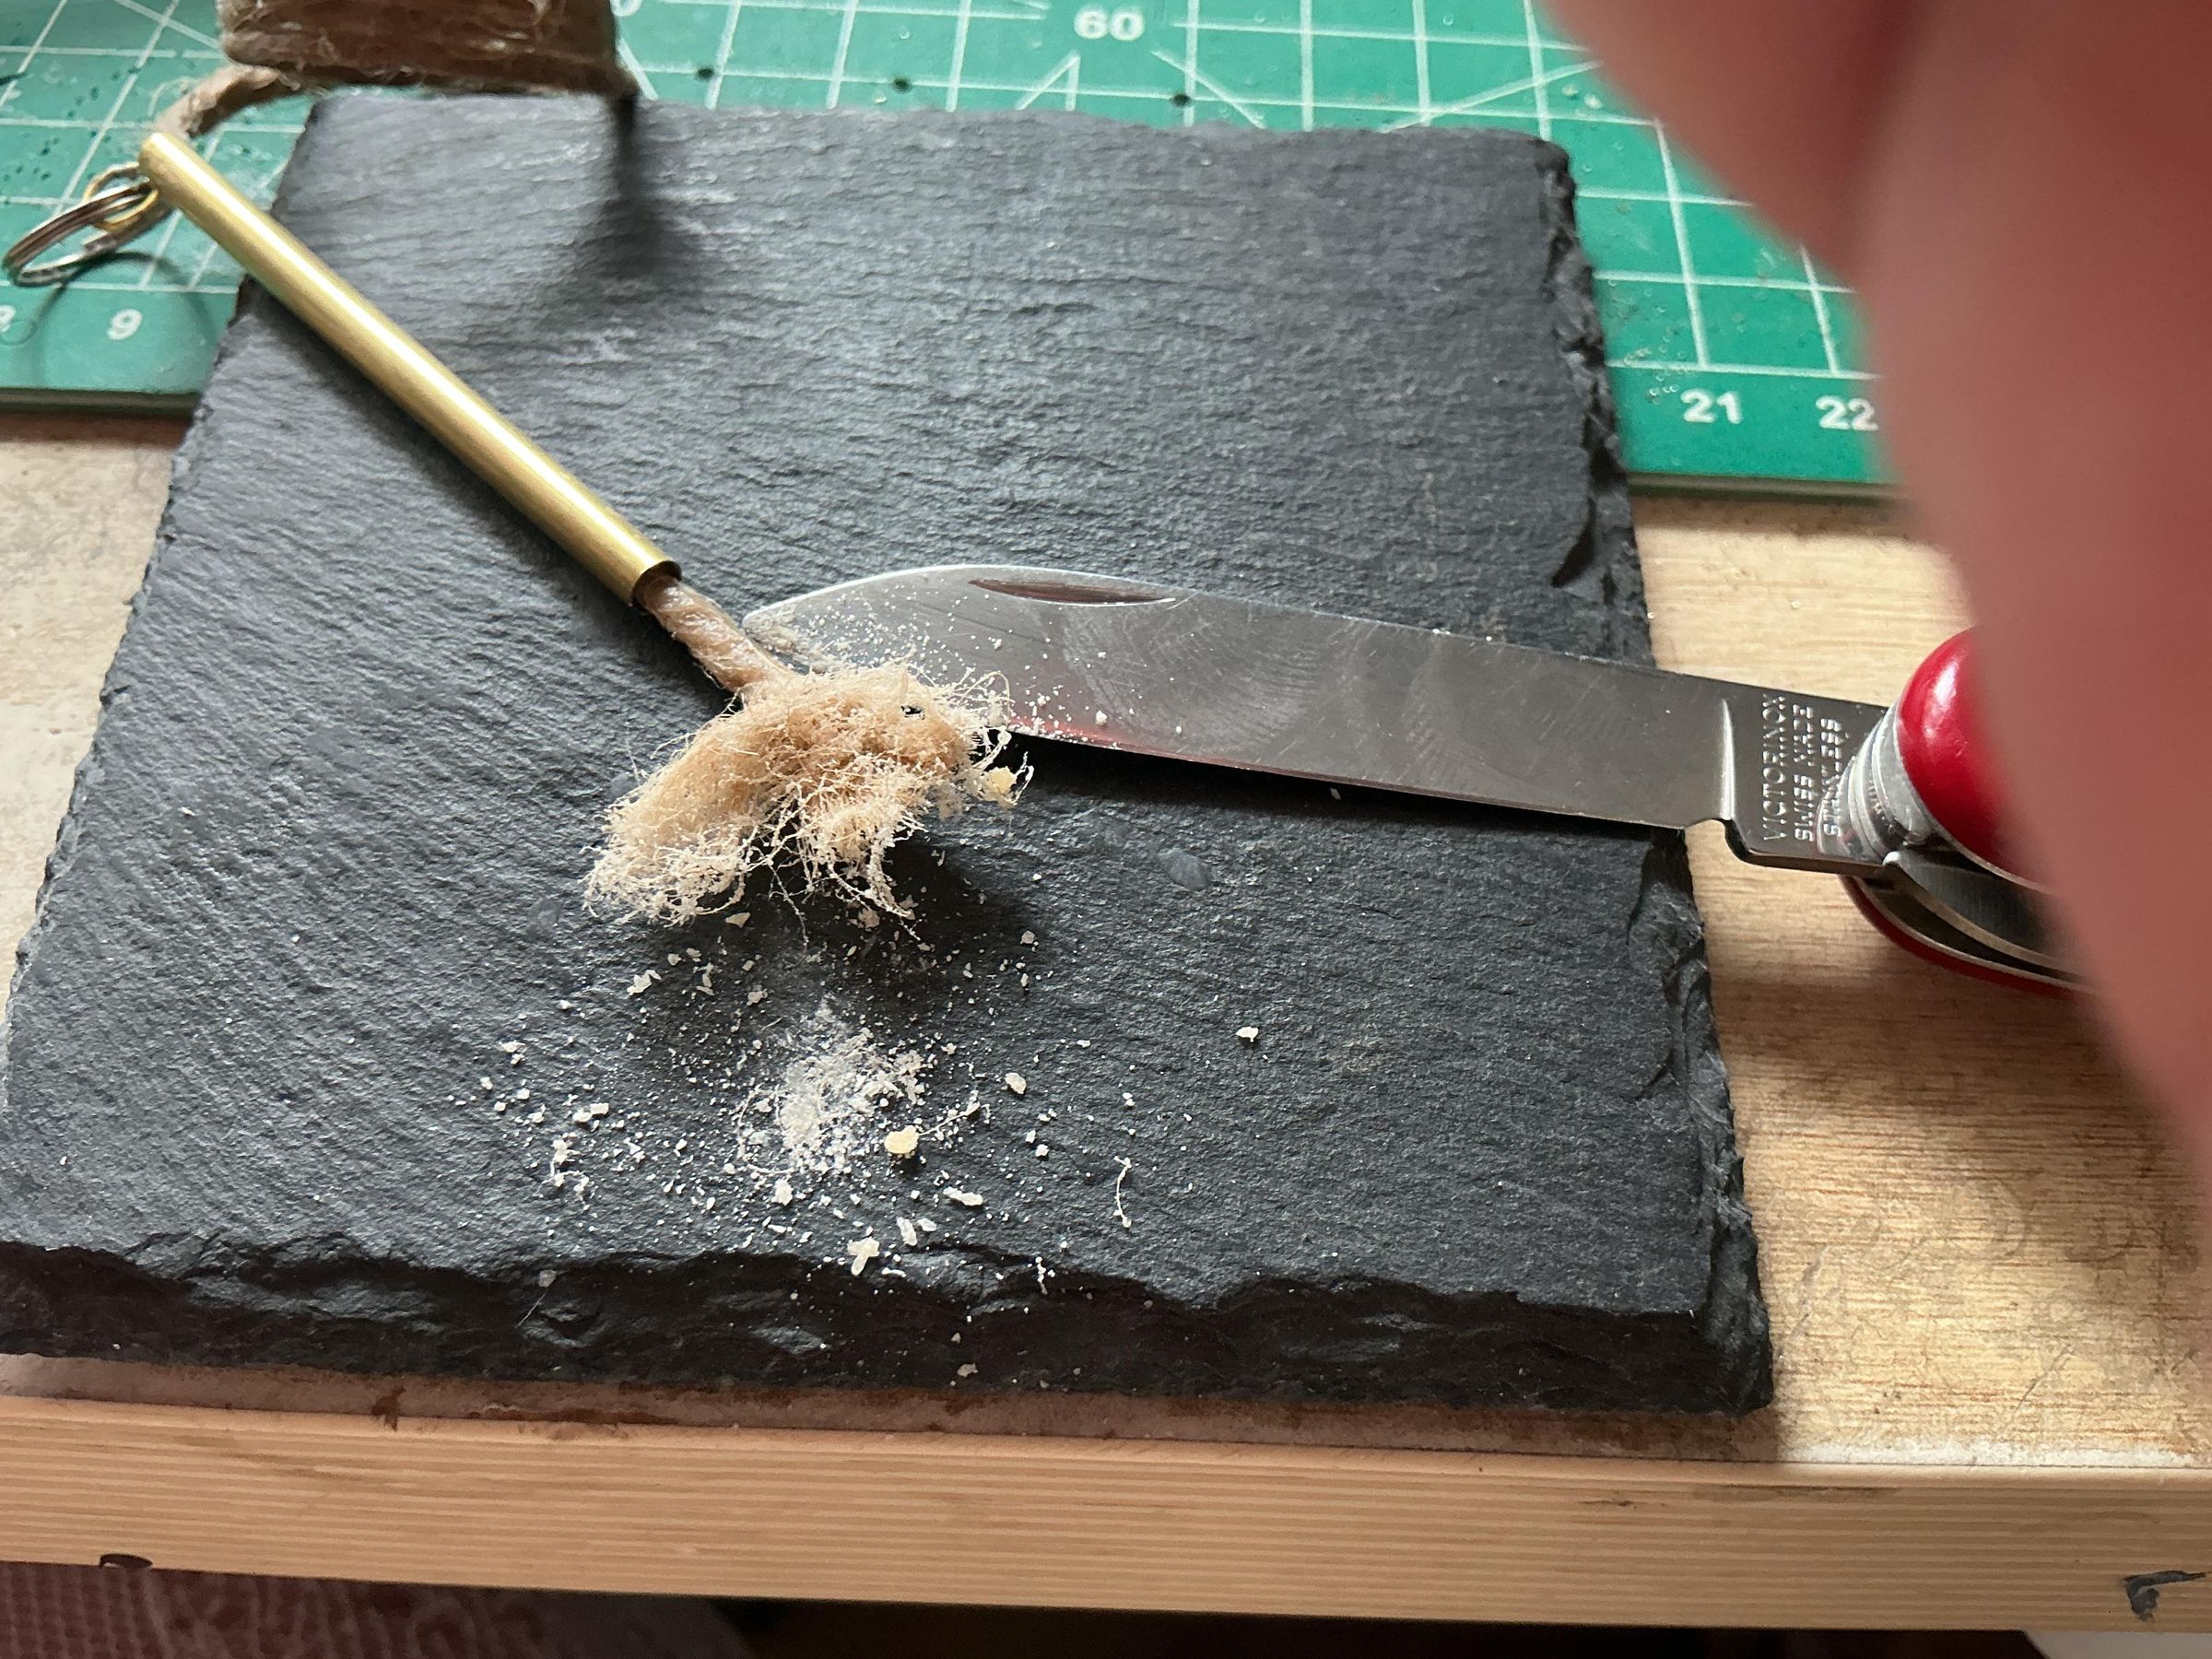
I had tested the burn during my wax experiments but decided to give it a whirl. To light the jute pull about an inch out of the holder, using your knife(or a pointy stick) gently shred the end of the jute and "fluff" it up to create lots of loose fibre, then apply your ignition, using my magnesium/ferro rod it never takes more than two or three attempts with a spark. It lights well and gets a good pilot flame very quickly.
NOTE: I tested this in my workshop, I'd always recommend doing this outside, I made sure that there were no flammable materials nearby and have several extinguishers in my workshop. It was also raining outside...
Field Test (garden)
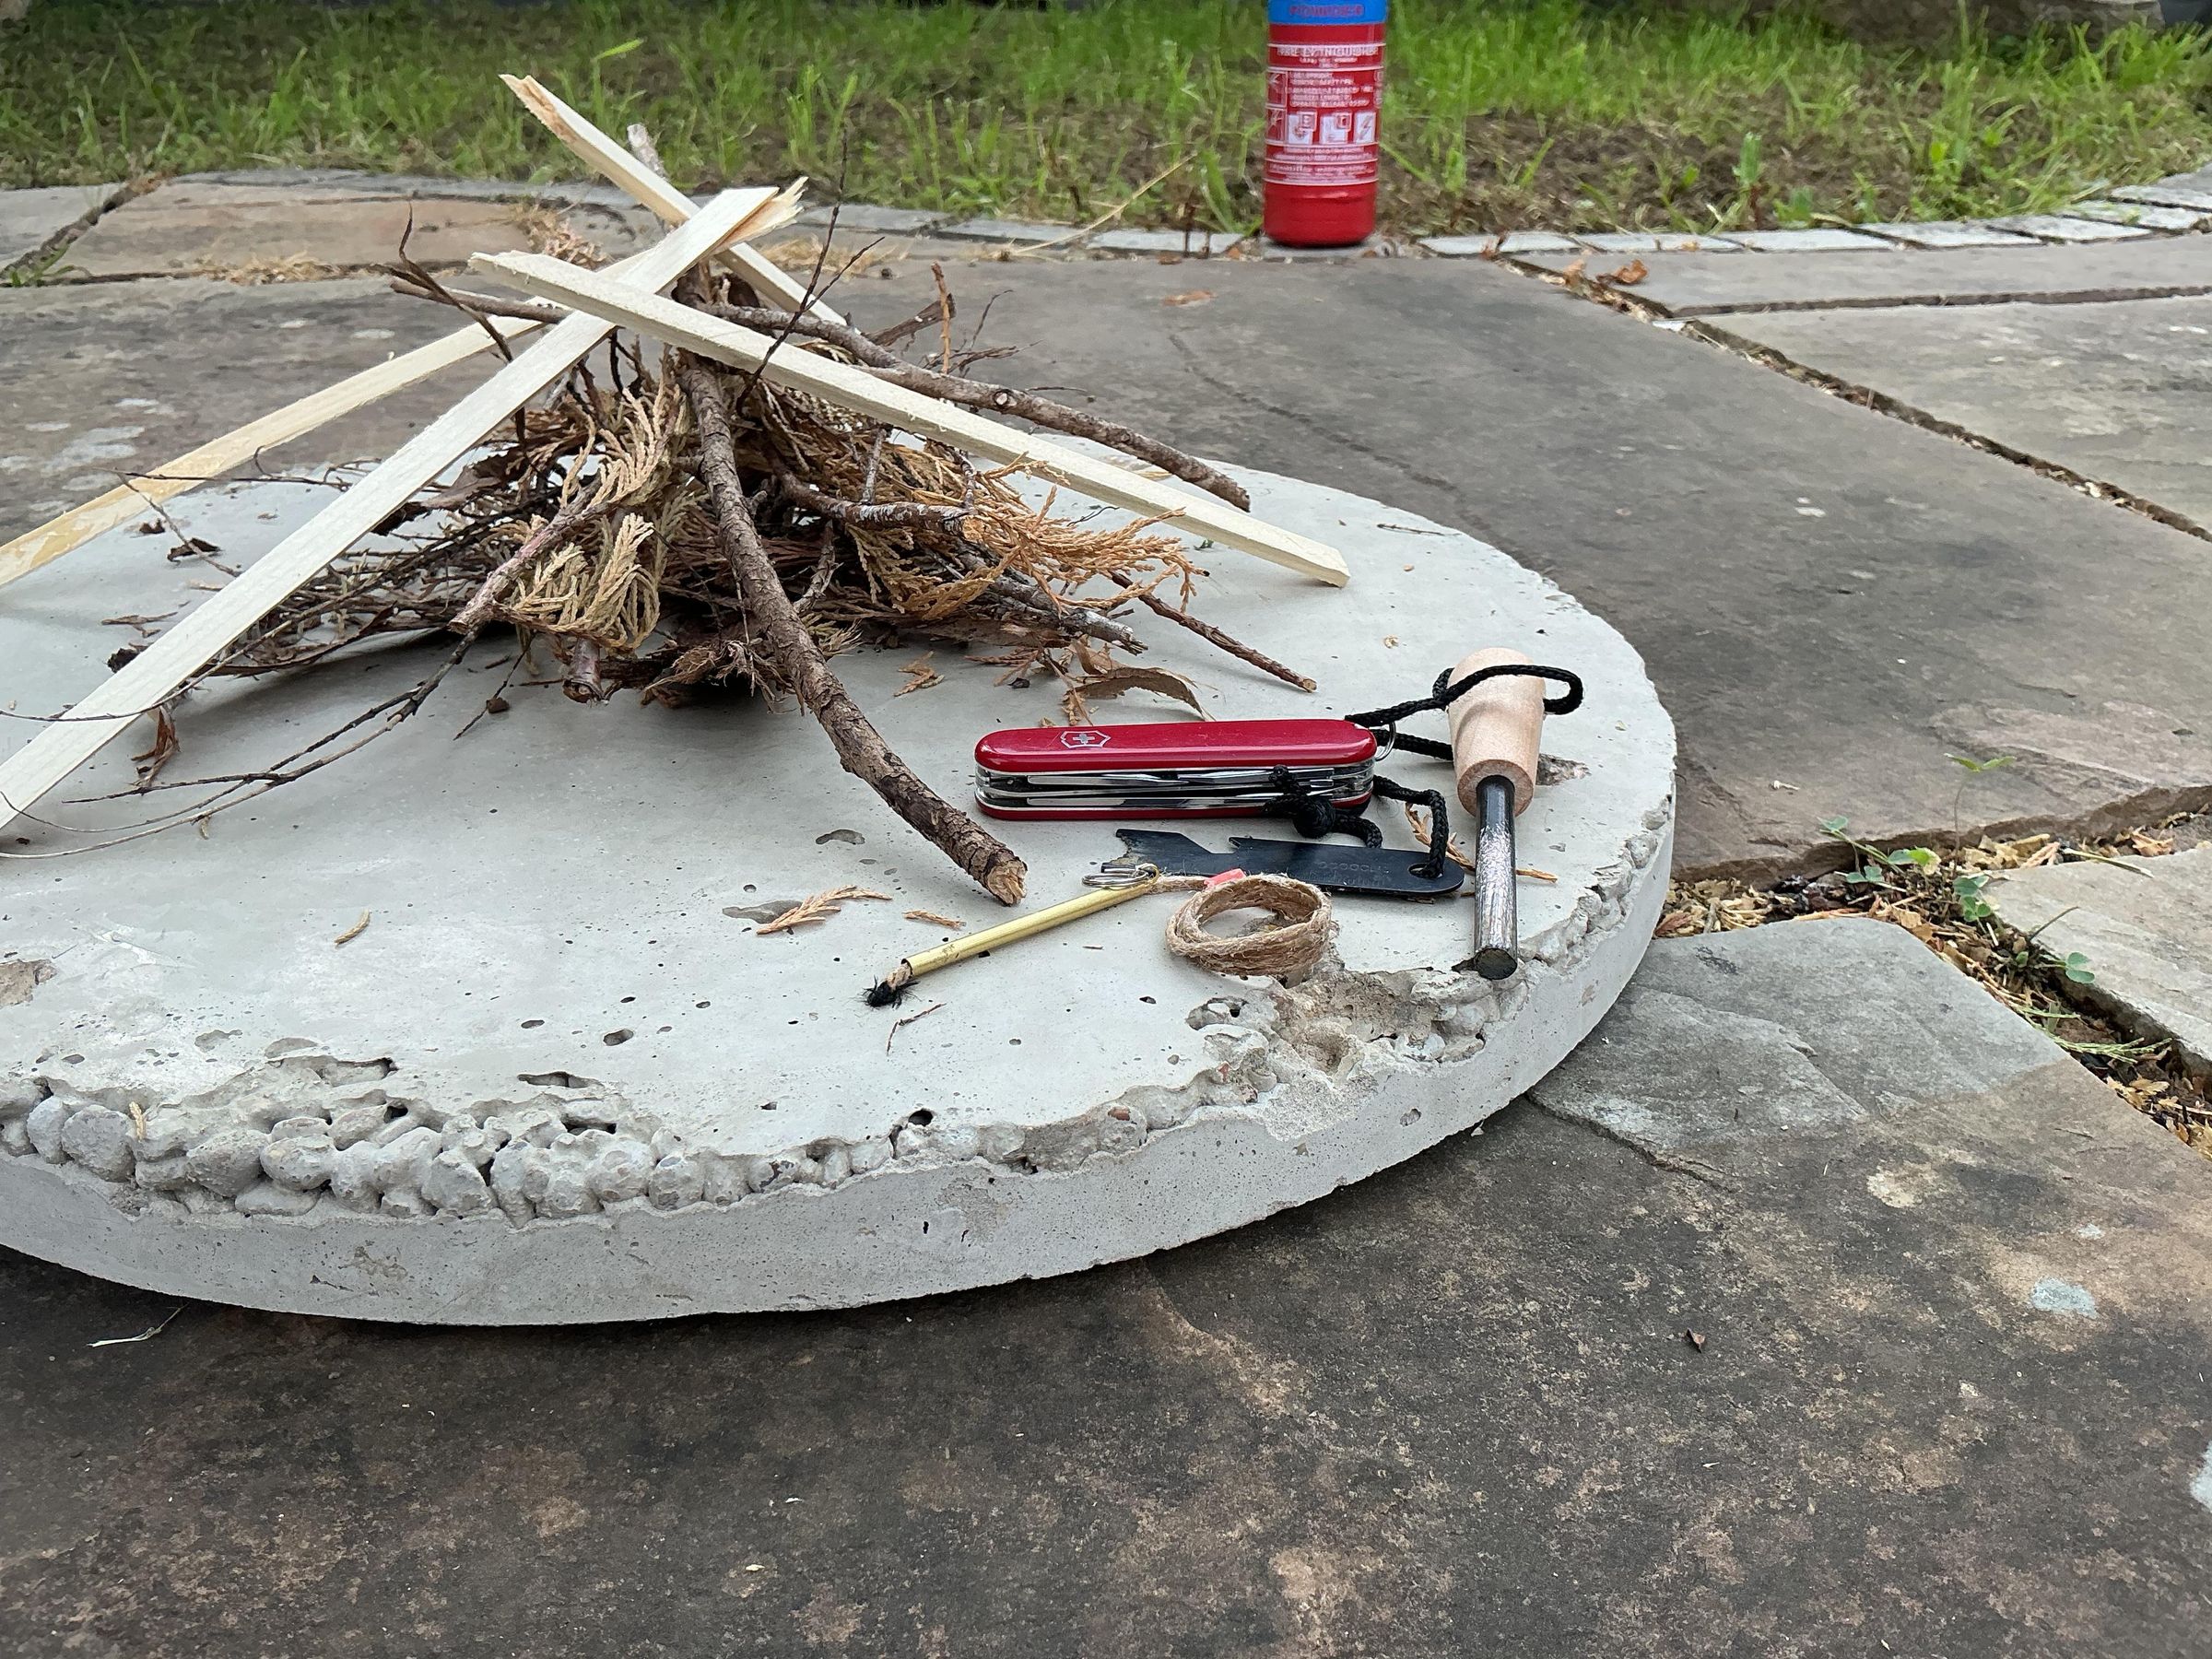
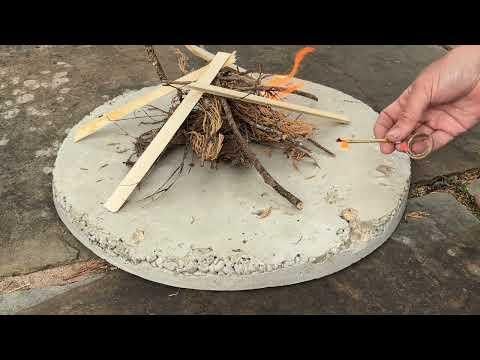
So time to take it into the wild (garden).
Making sure I set my fire in a safe place (it's August in the UK which is one of our possible hot times, sometimes) I've made a concrete/cement firebase so I don't ruin the patio (or my relationship) about 20inch/50cm across and about 20mm thick for my burning experiments.
I built a little campfire using some scrap and debris from the trees, I lit the tinder easily and the fire took hold in seconds, SUCCESS!
Final point, why two sizes? The small one I've used in the videos is perfectly capable of lighting most fires, however if you've got bigger fuel, small logs etc, the bigger one burns longer and wider to help get them going.
I hope this Instructable gives you some instruction to make your own or take bits away to turn it into your own project.