TinkerCAD Weed Barrier Stake Design Tutorial
by Uncrustabled in Outside > Backyard
178 Views, 1 Favorites, 0 Comments
TinkerCAD Weed Barrier Stake Design Tutorial
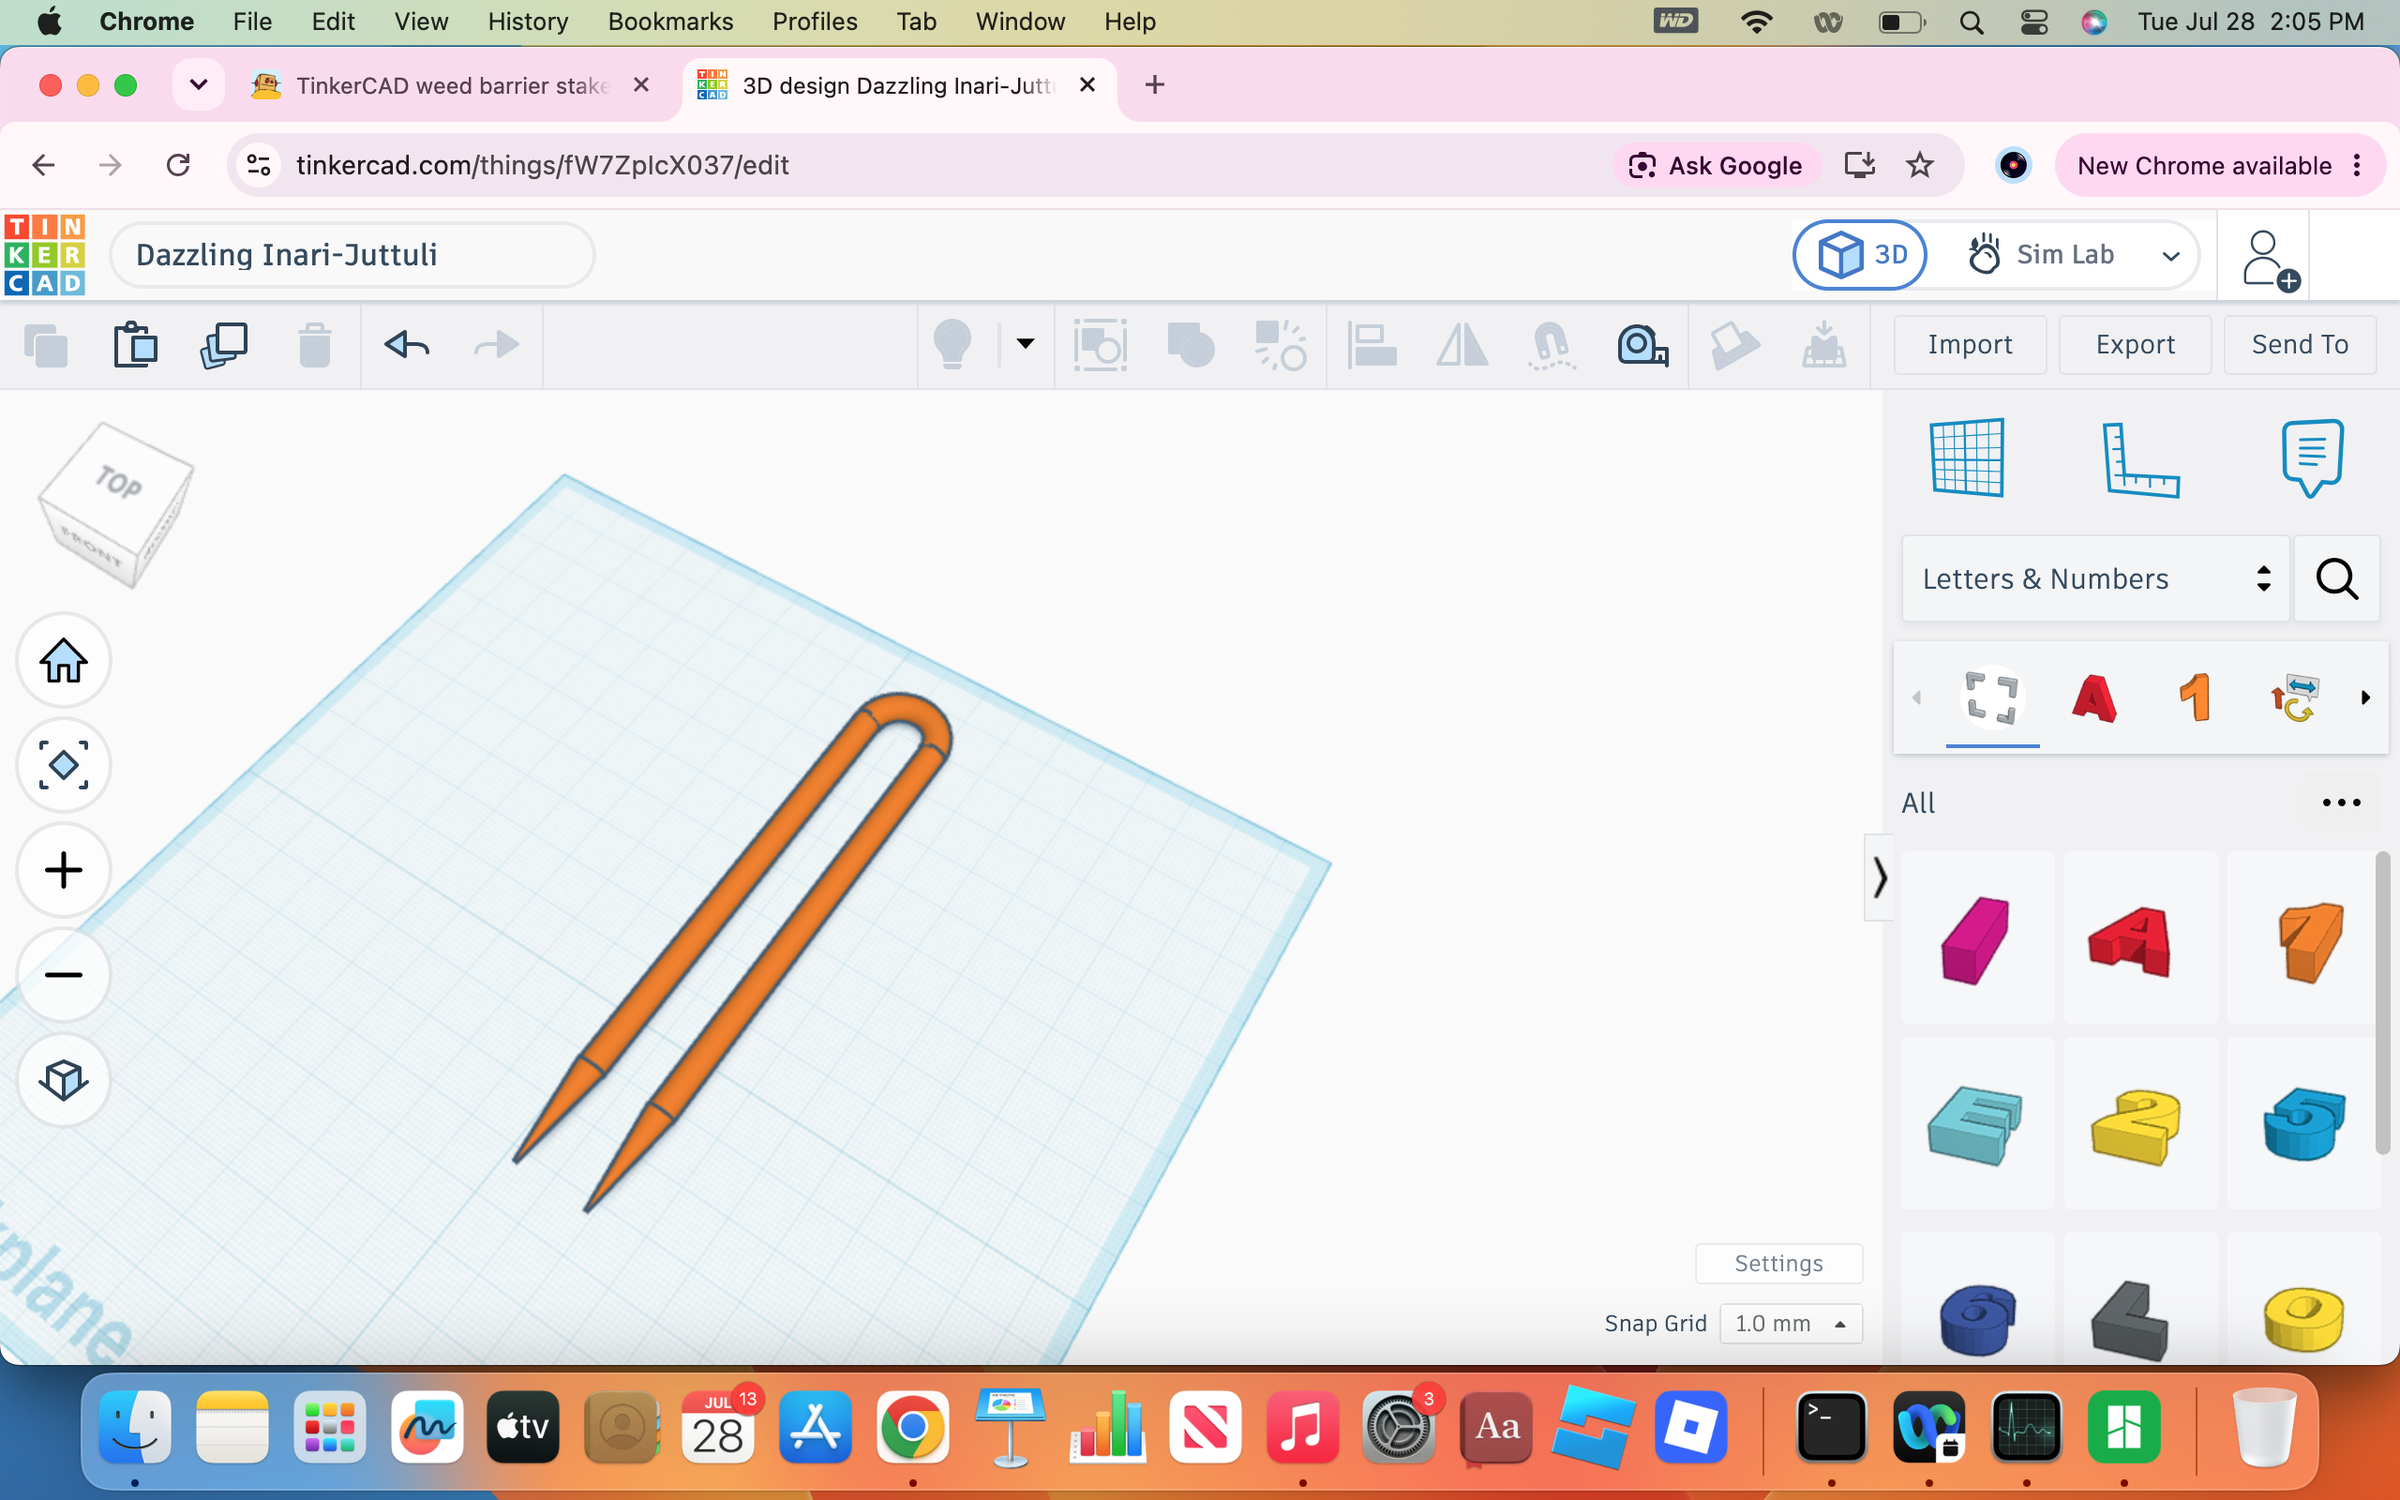
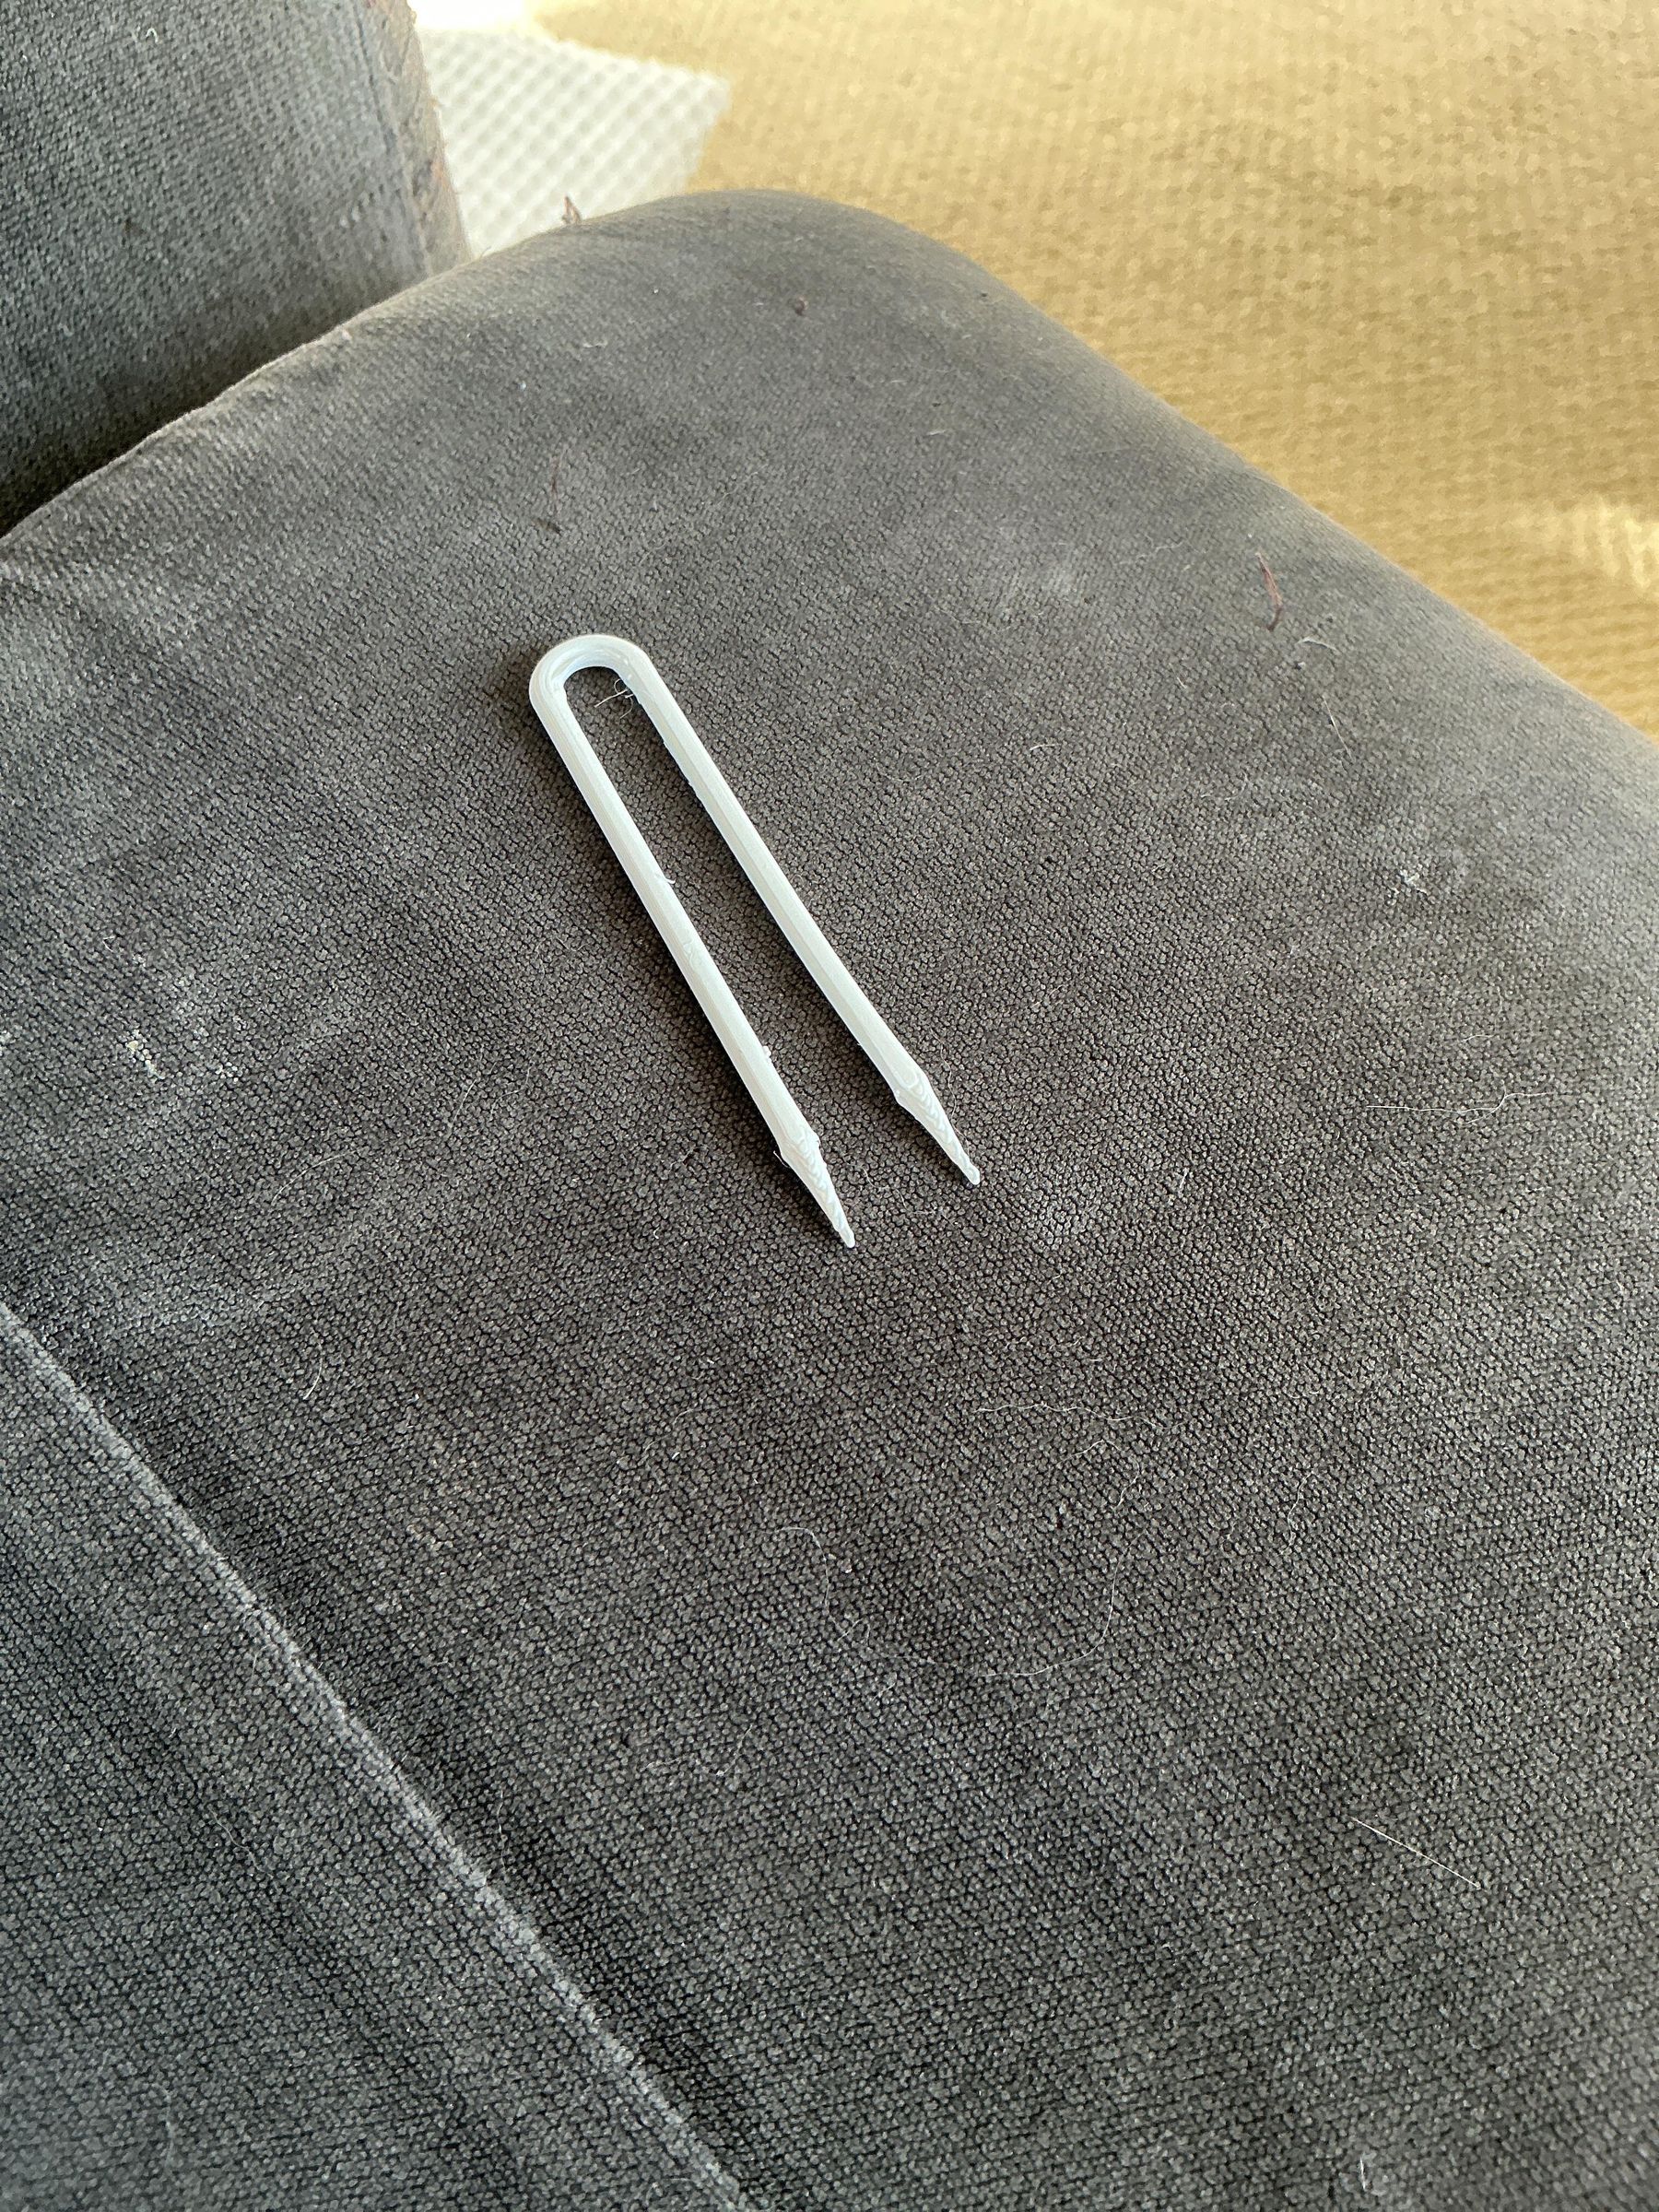
For my entry into the 2026 Backyard Contest, I created a tutorial to design and 3d print a weed barrier stake for your garden/flowerbed. I only have a non-enclosed 3d printer and PLA filament, so I wasn't able to print the stake in its optimal configuration. The best way to print it would be in ASA filament in a heated chamber to discourage warping. I am an eighth grader at Westwood Middle School. For privacy reasons I’d rather not share the location of my school, but I am a student.
Supplies
The tools required are:
- A computer, to design the stake and slice it for your printer
- An ideally enclosed 3d printer
- Ideally ASA or PETG filament
Make a New Workplane
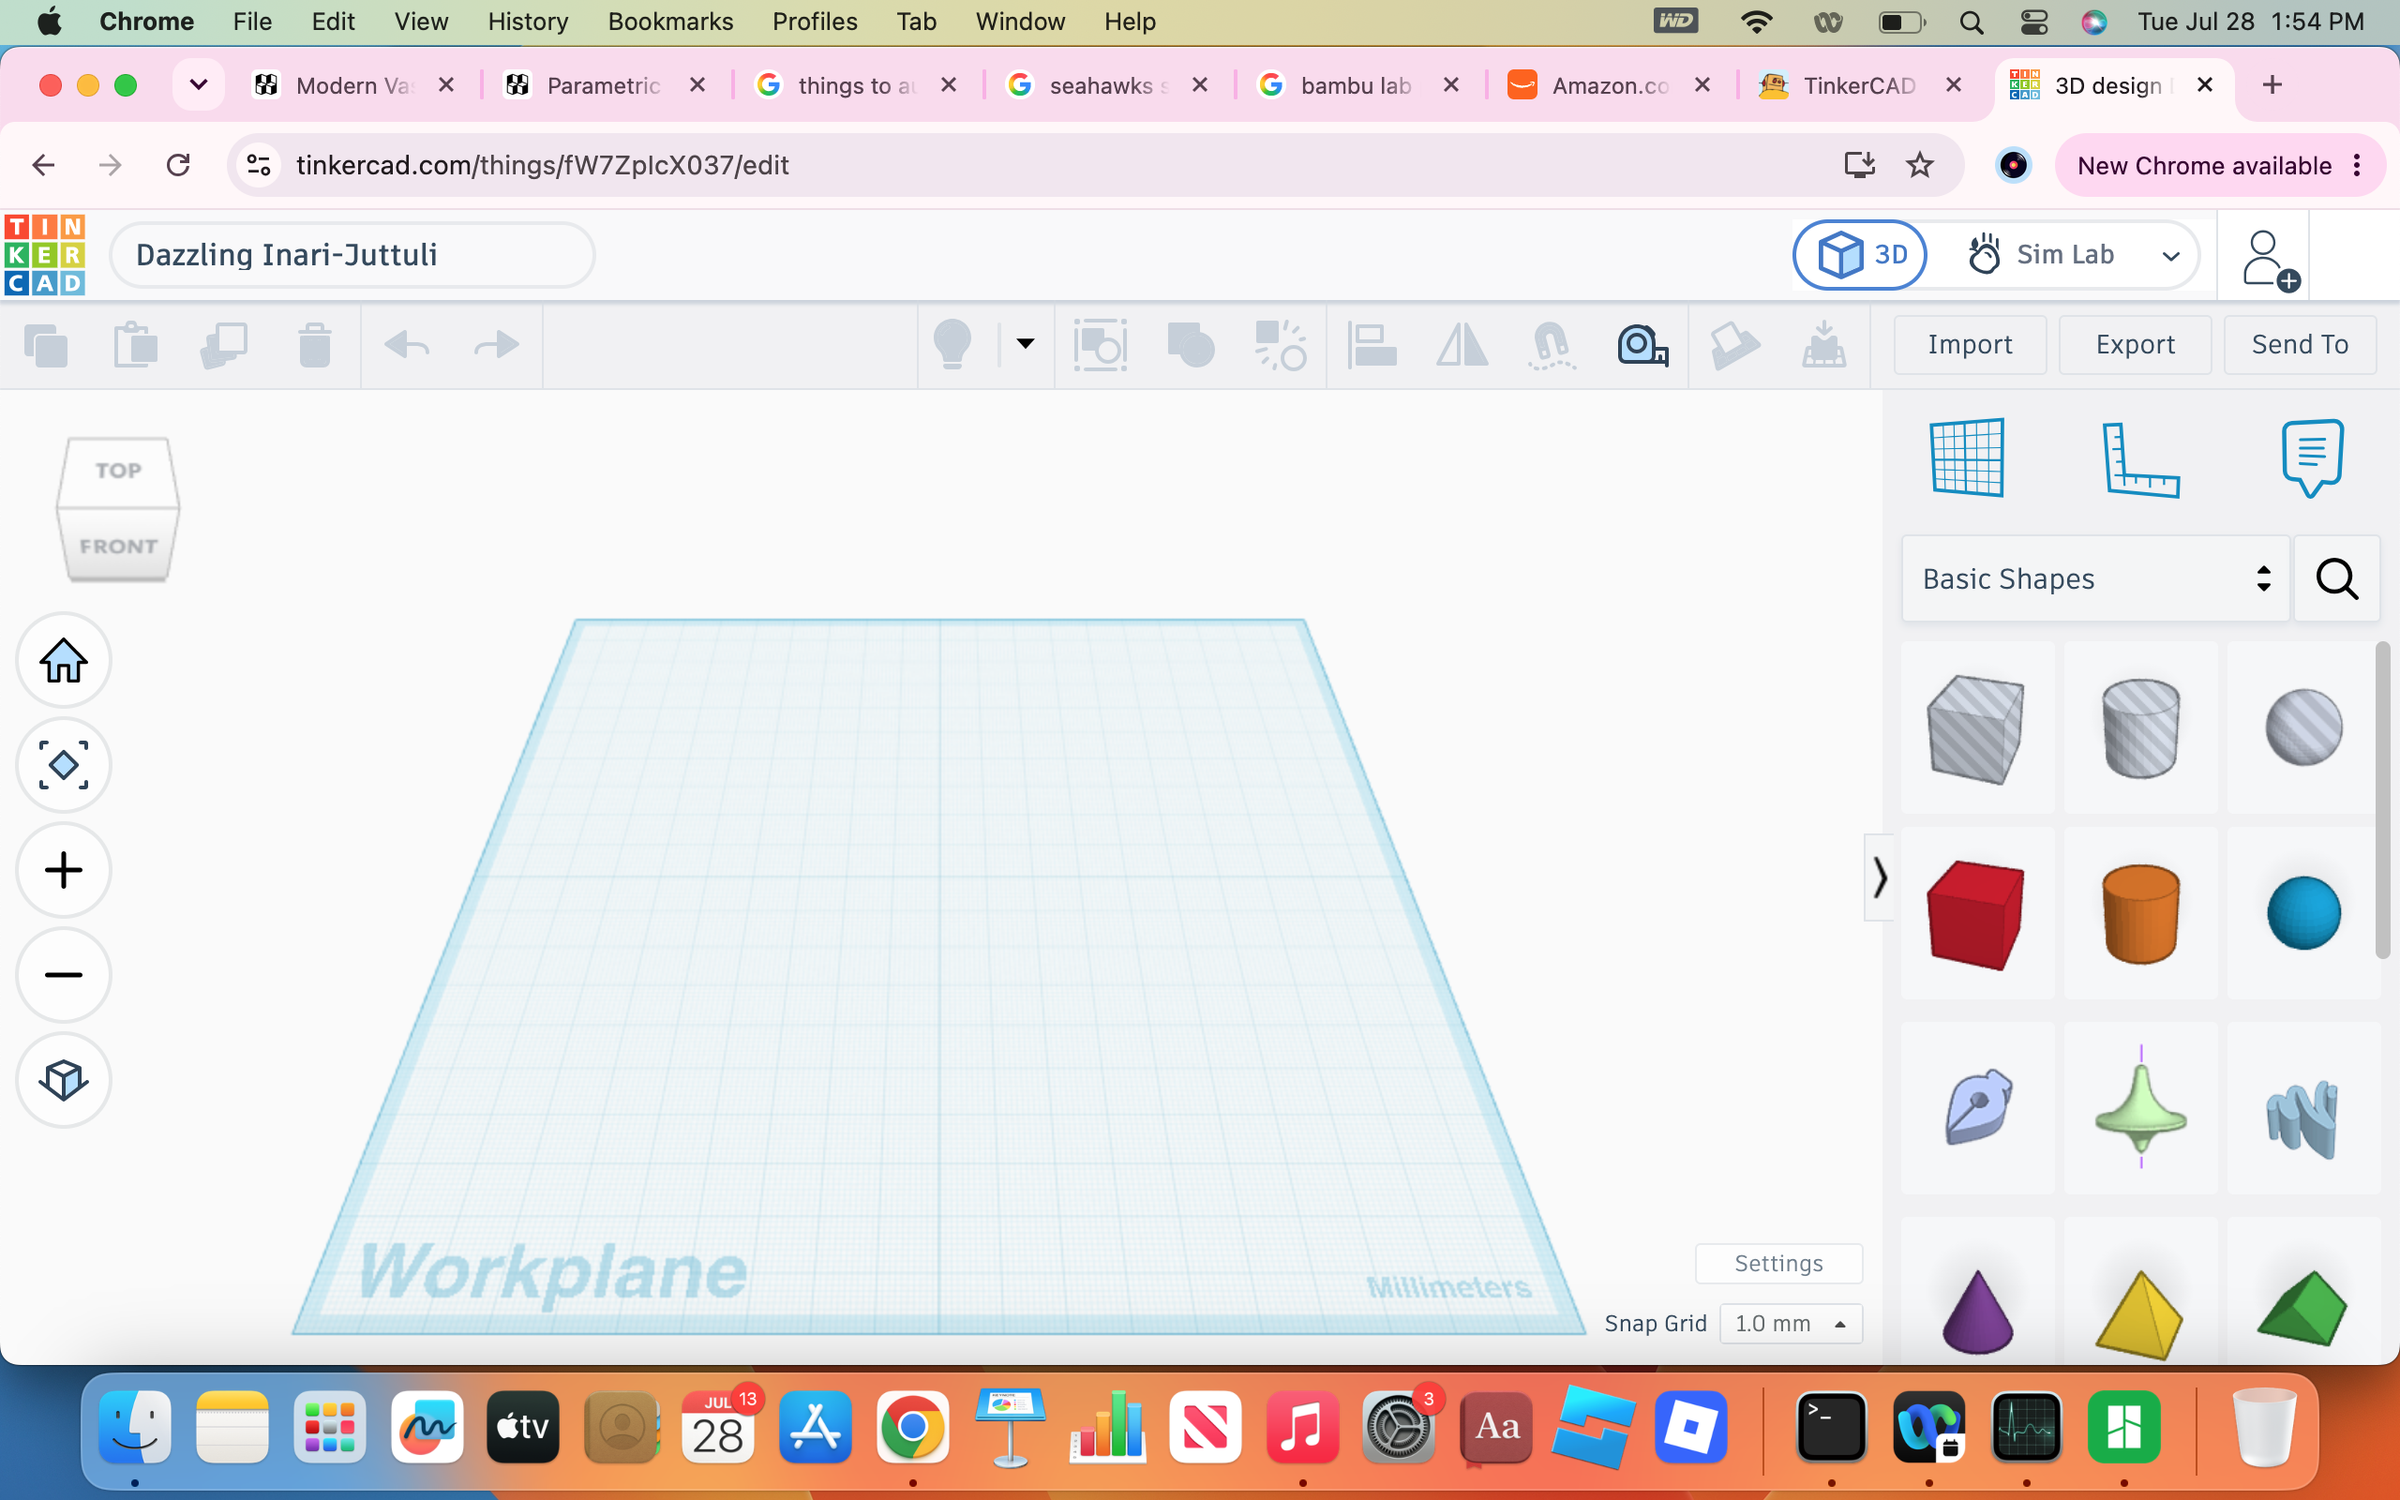
Create a new workplane in tinkercad or your favorite cad software.`
Add a Cylinder
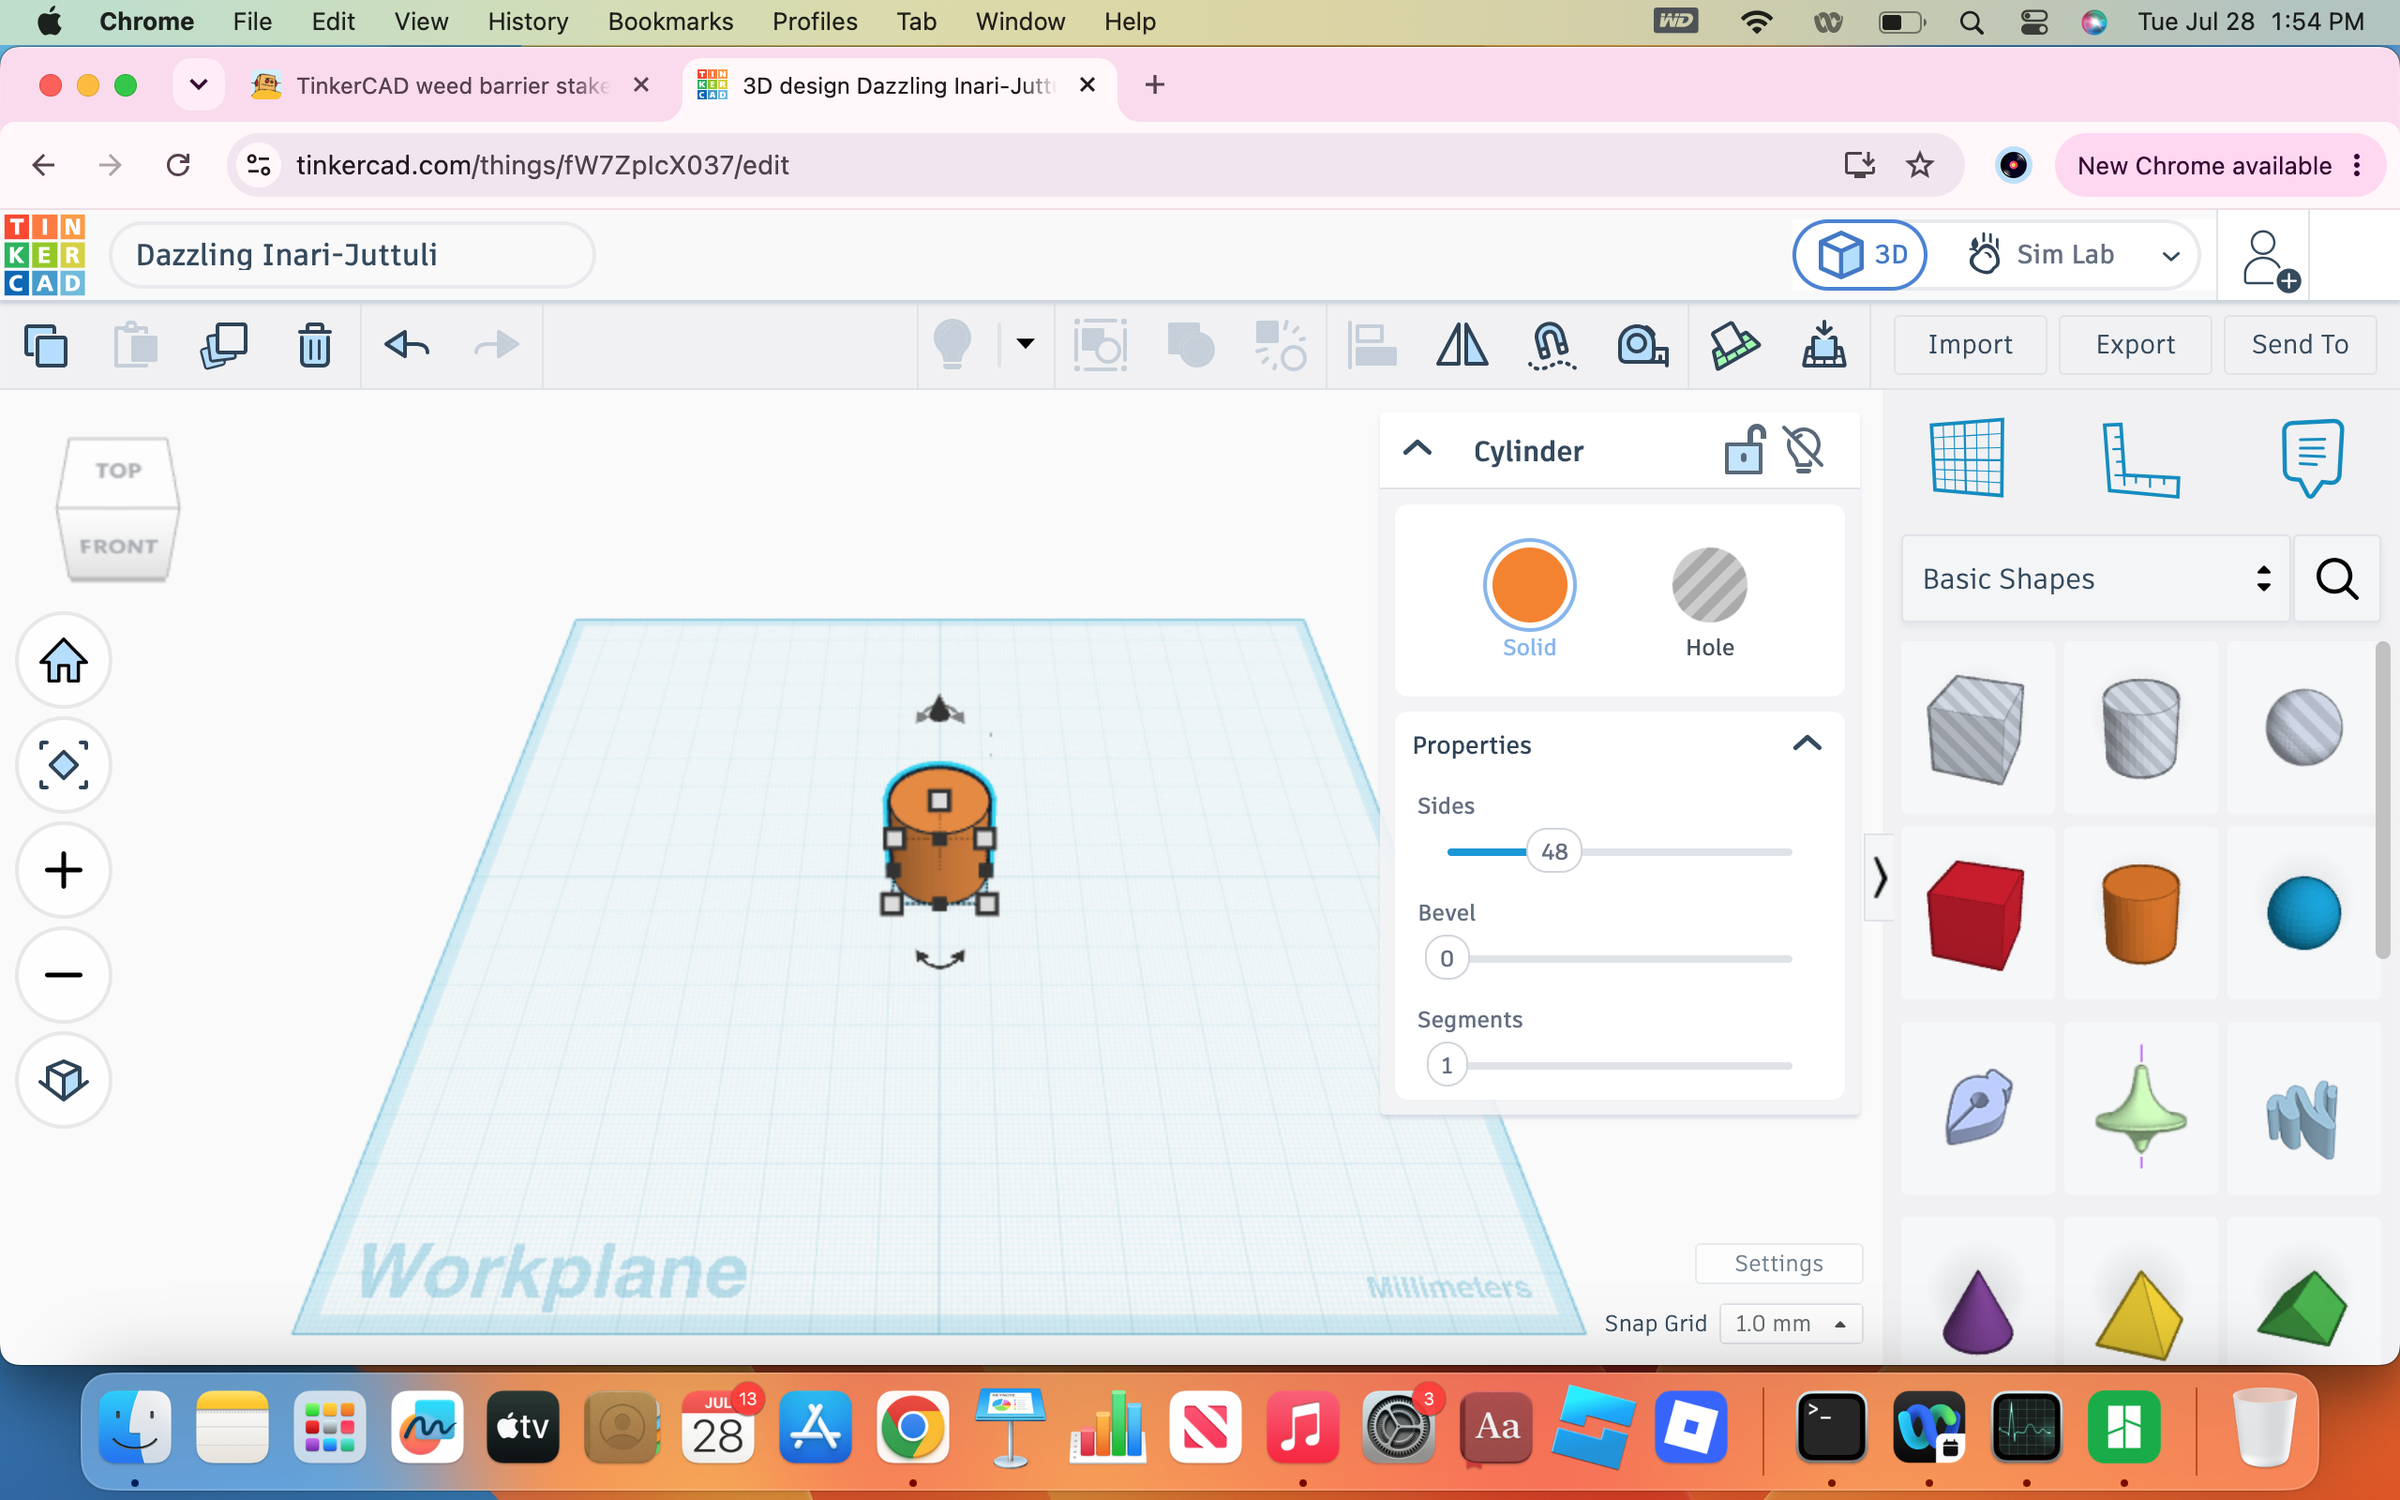
Drag a cylinder from the sidebar to the workplane.
Scale the Cylinder
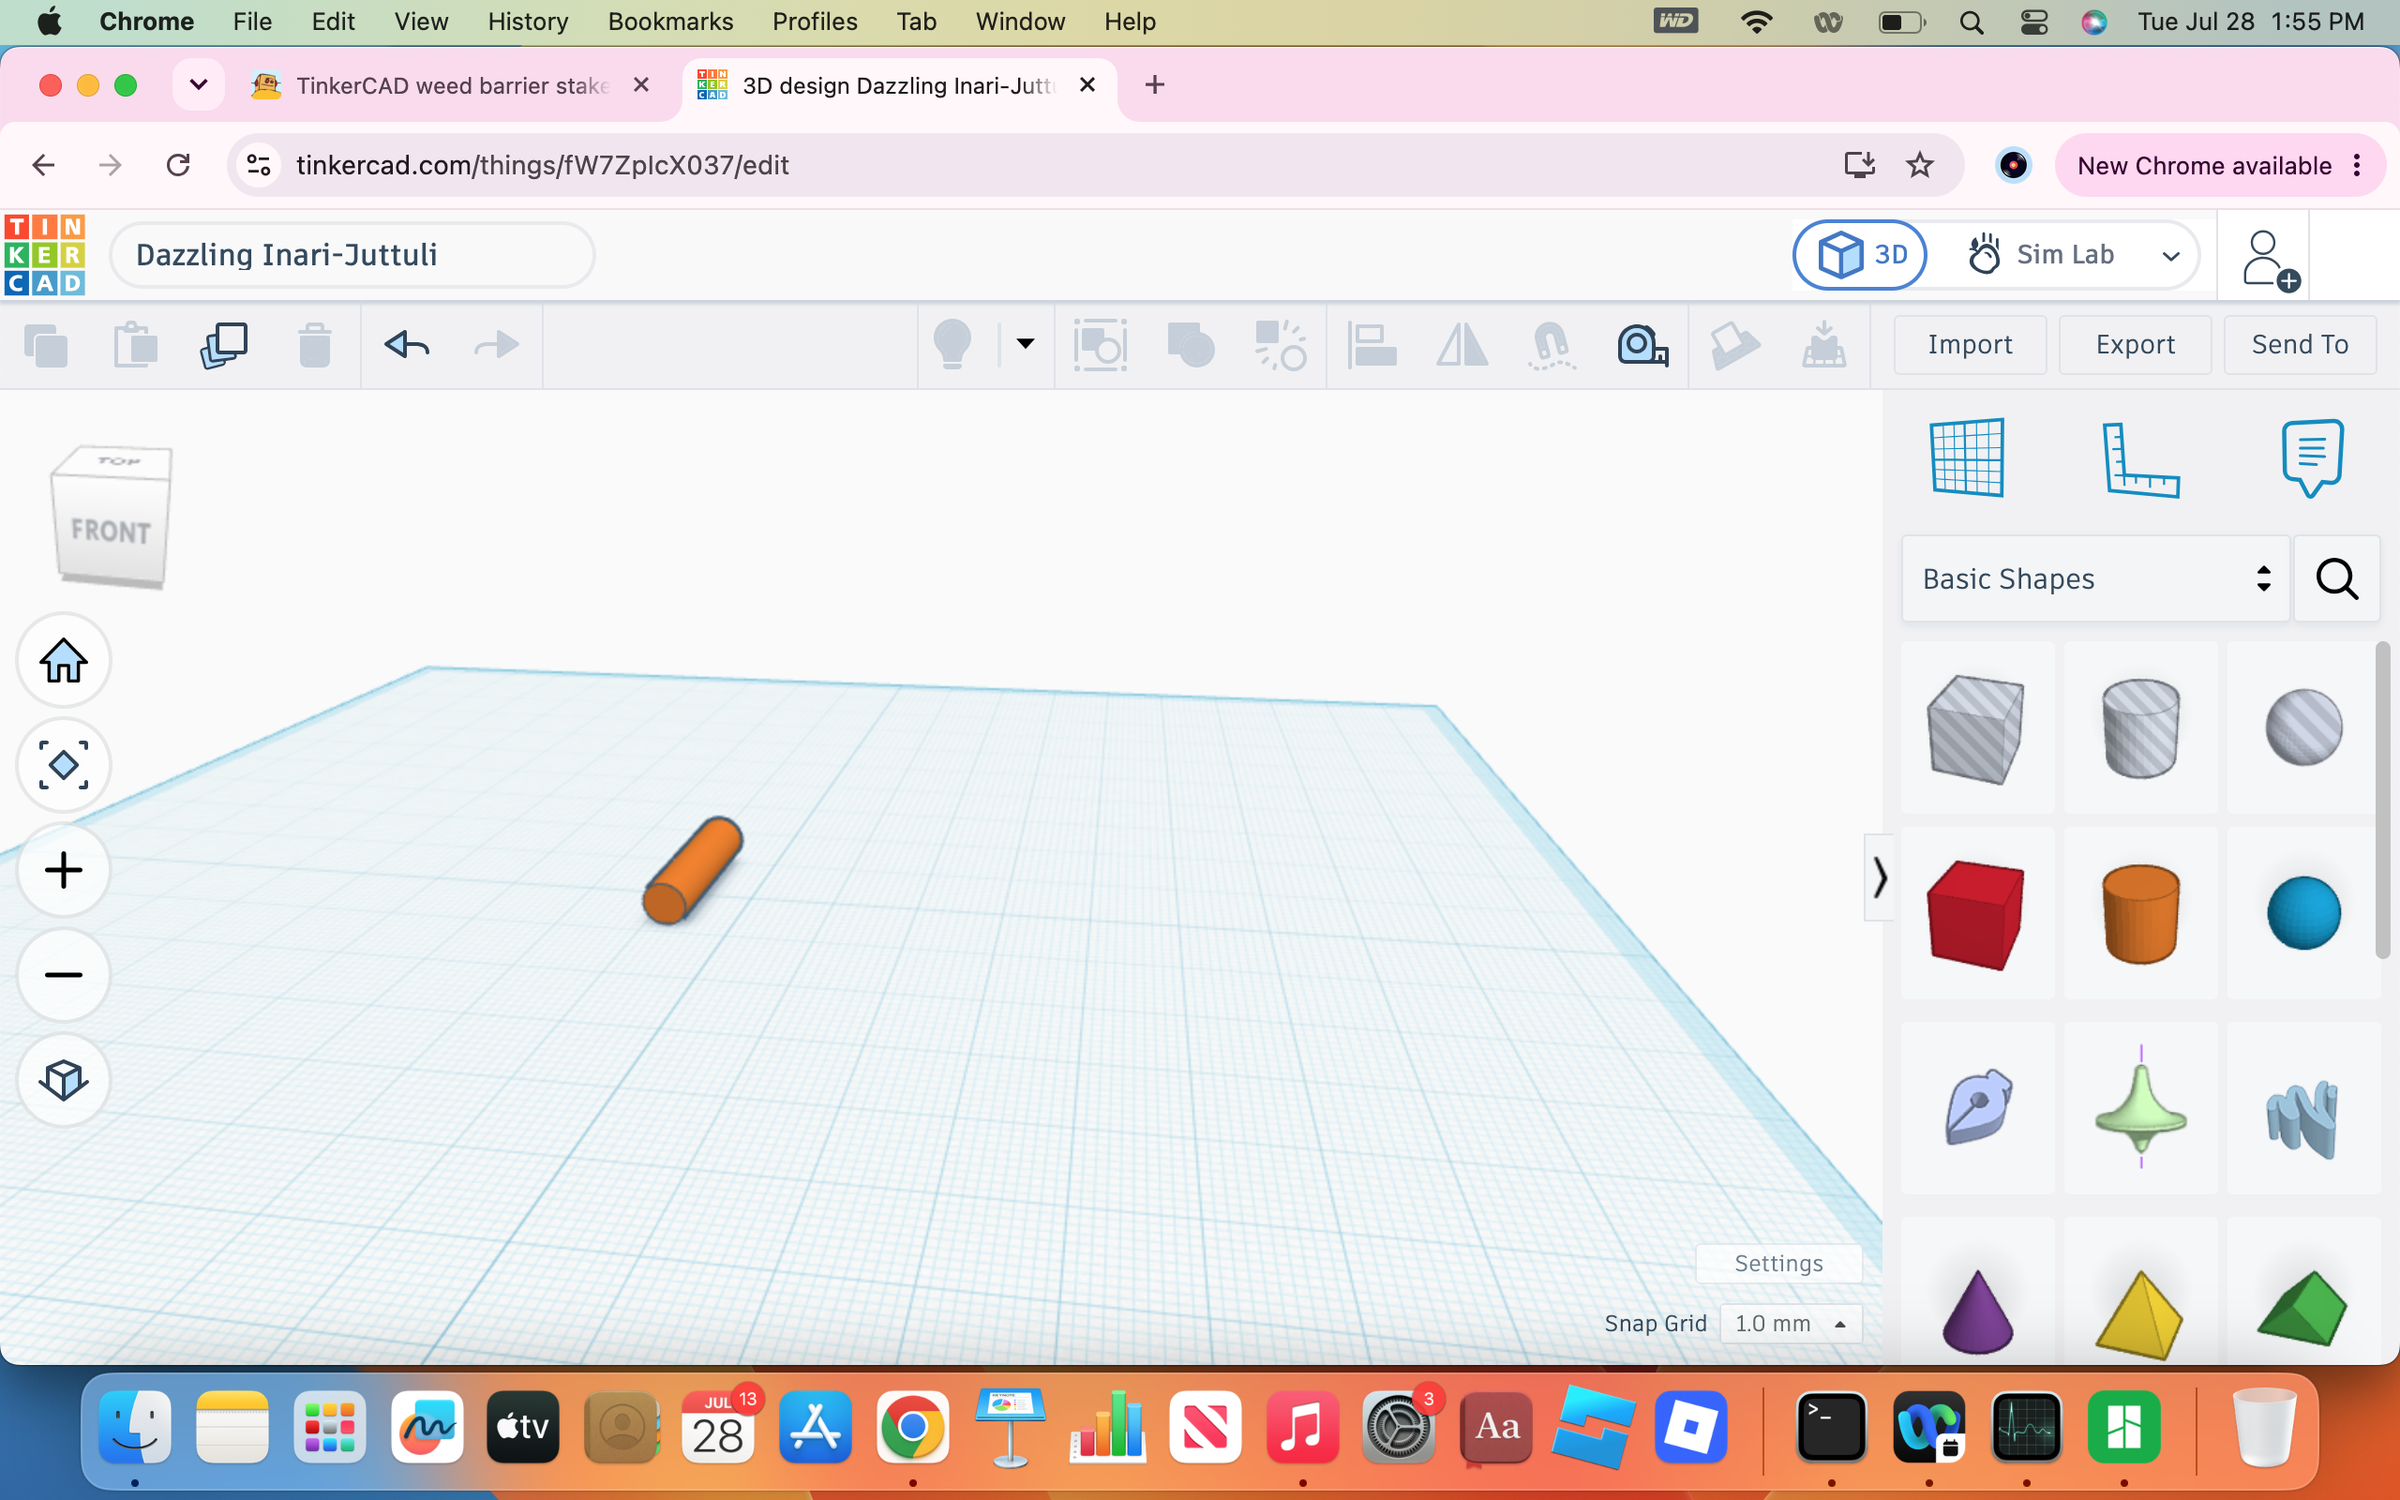
Rotate the cylinder and scale it to five millimeters in diameter, or your choice of diameter. This is a creative project, so feel free to experiment!
Scale the Cylinder Again
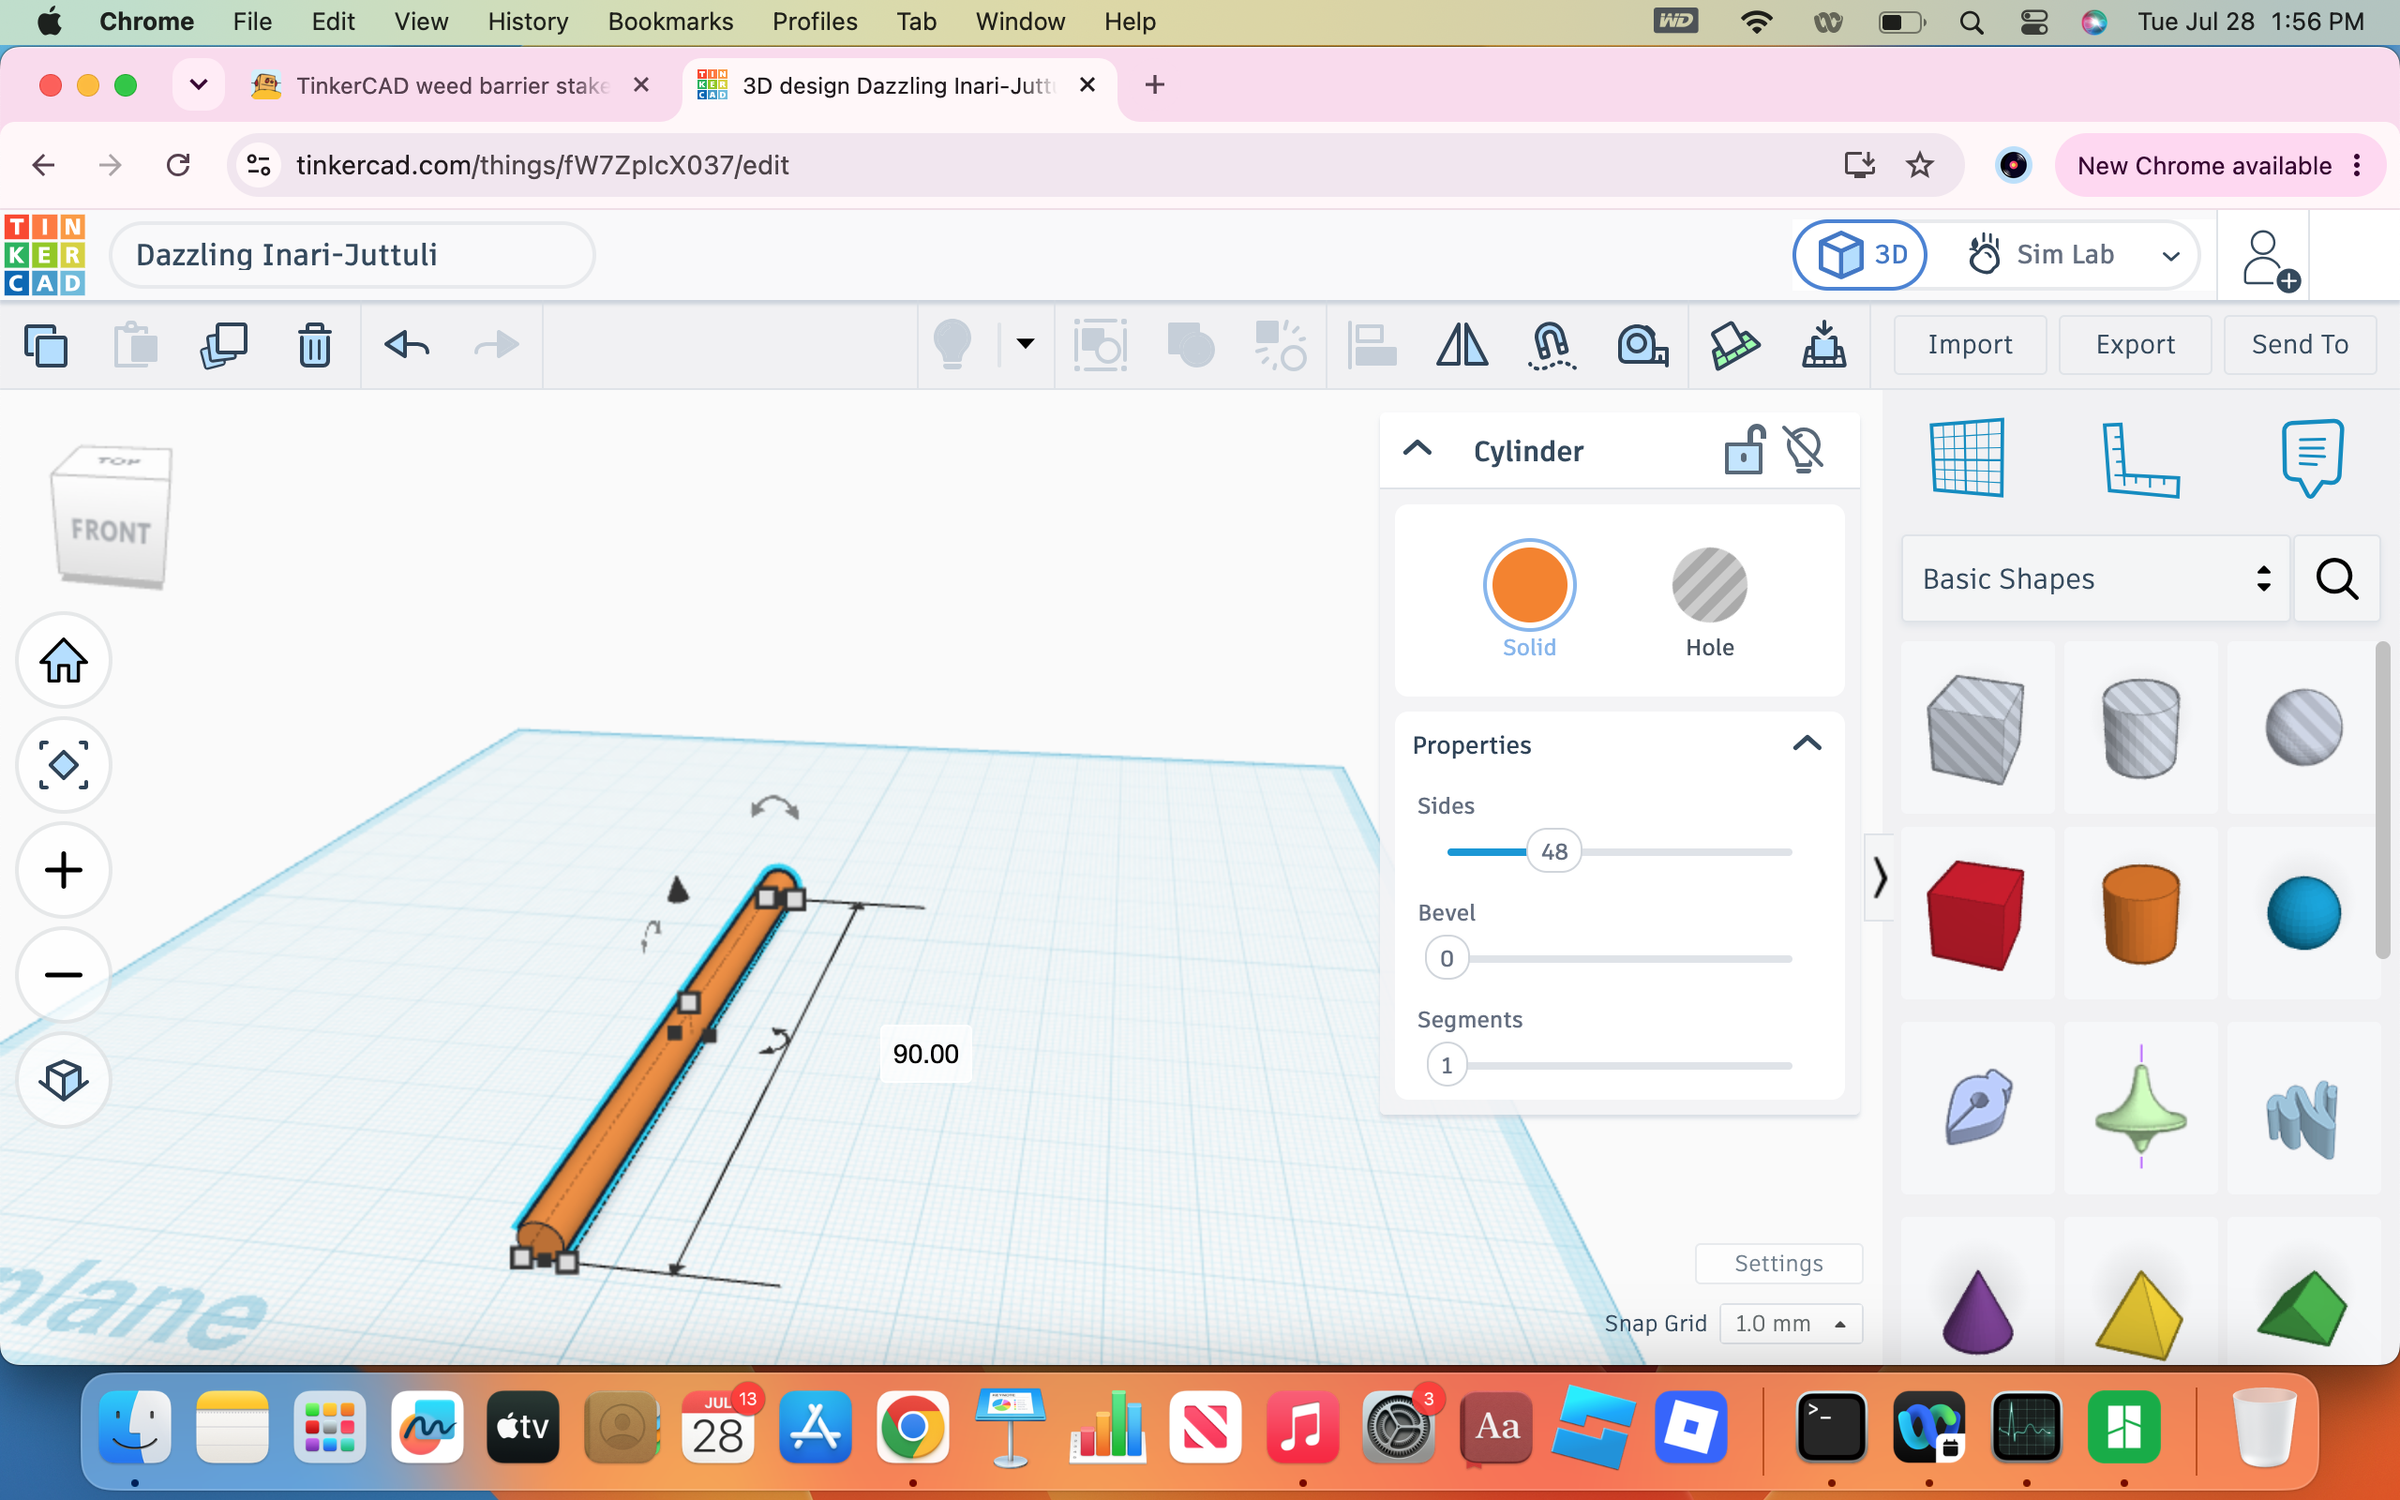
Lengthen the cylinder until you feel that it is long enough for your needs.
Add a Cone
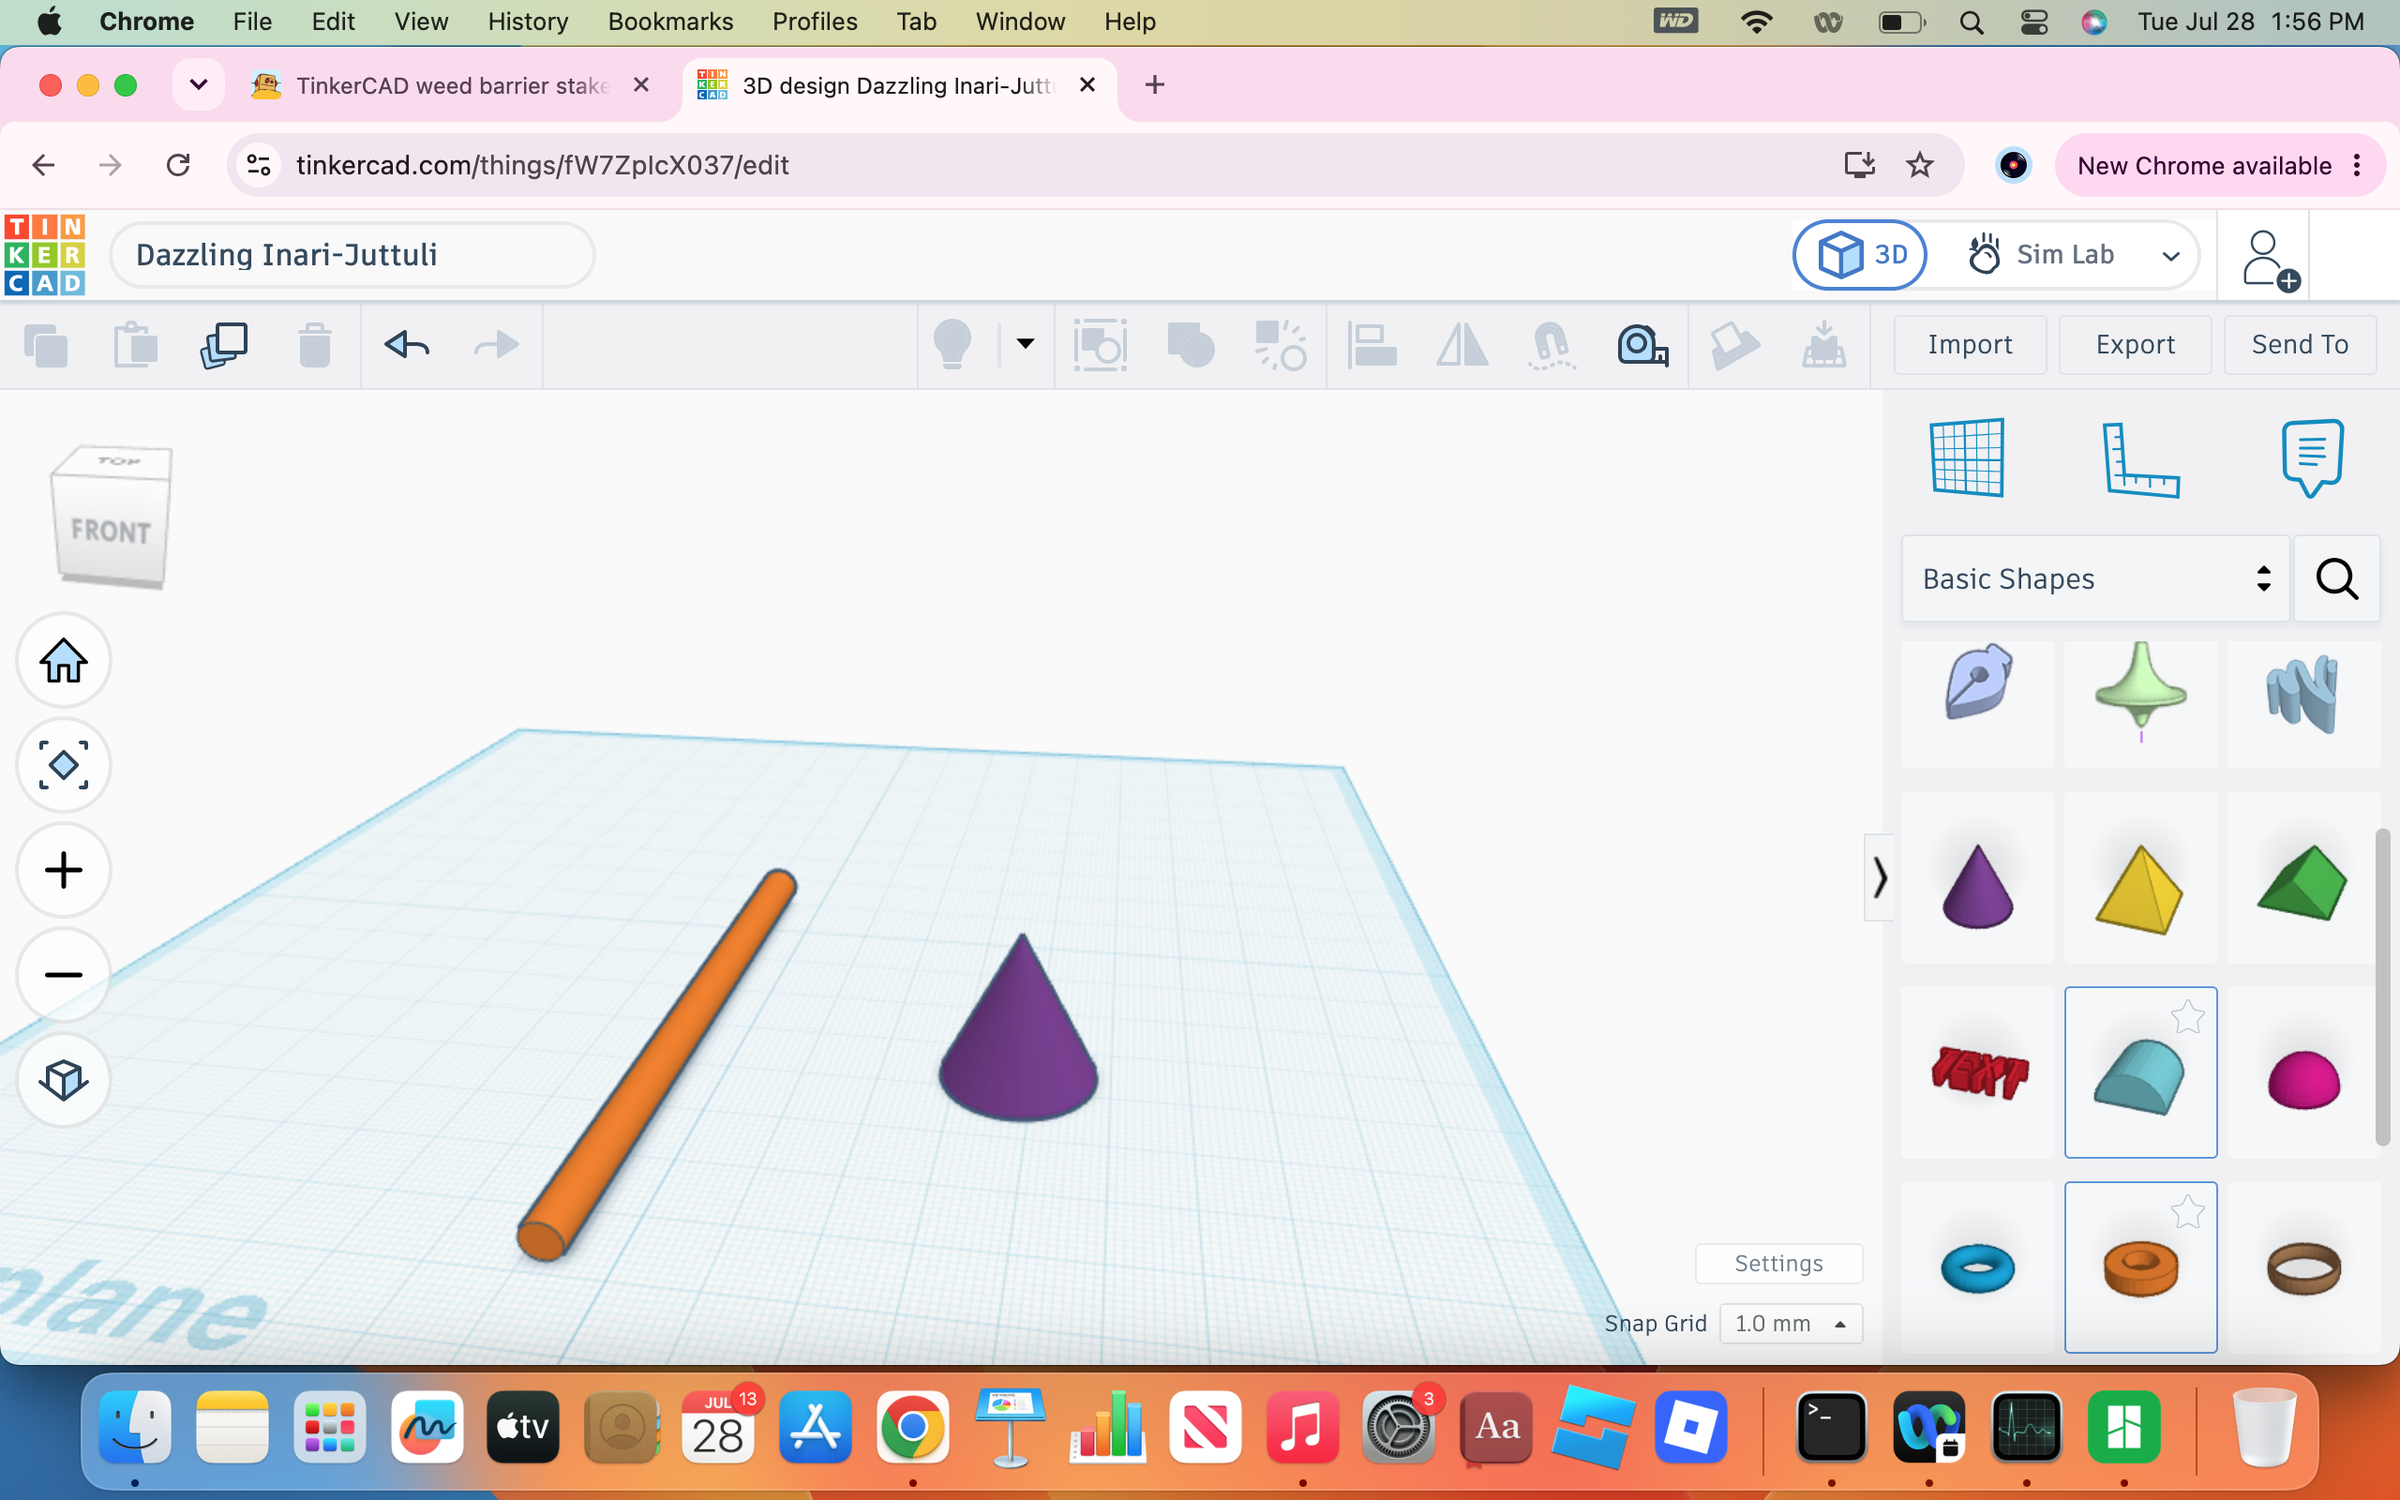
Add a cone to the workplane.
Scale the Cone
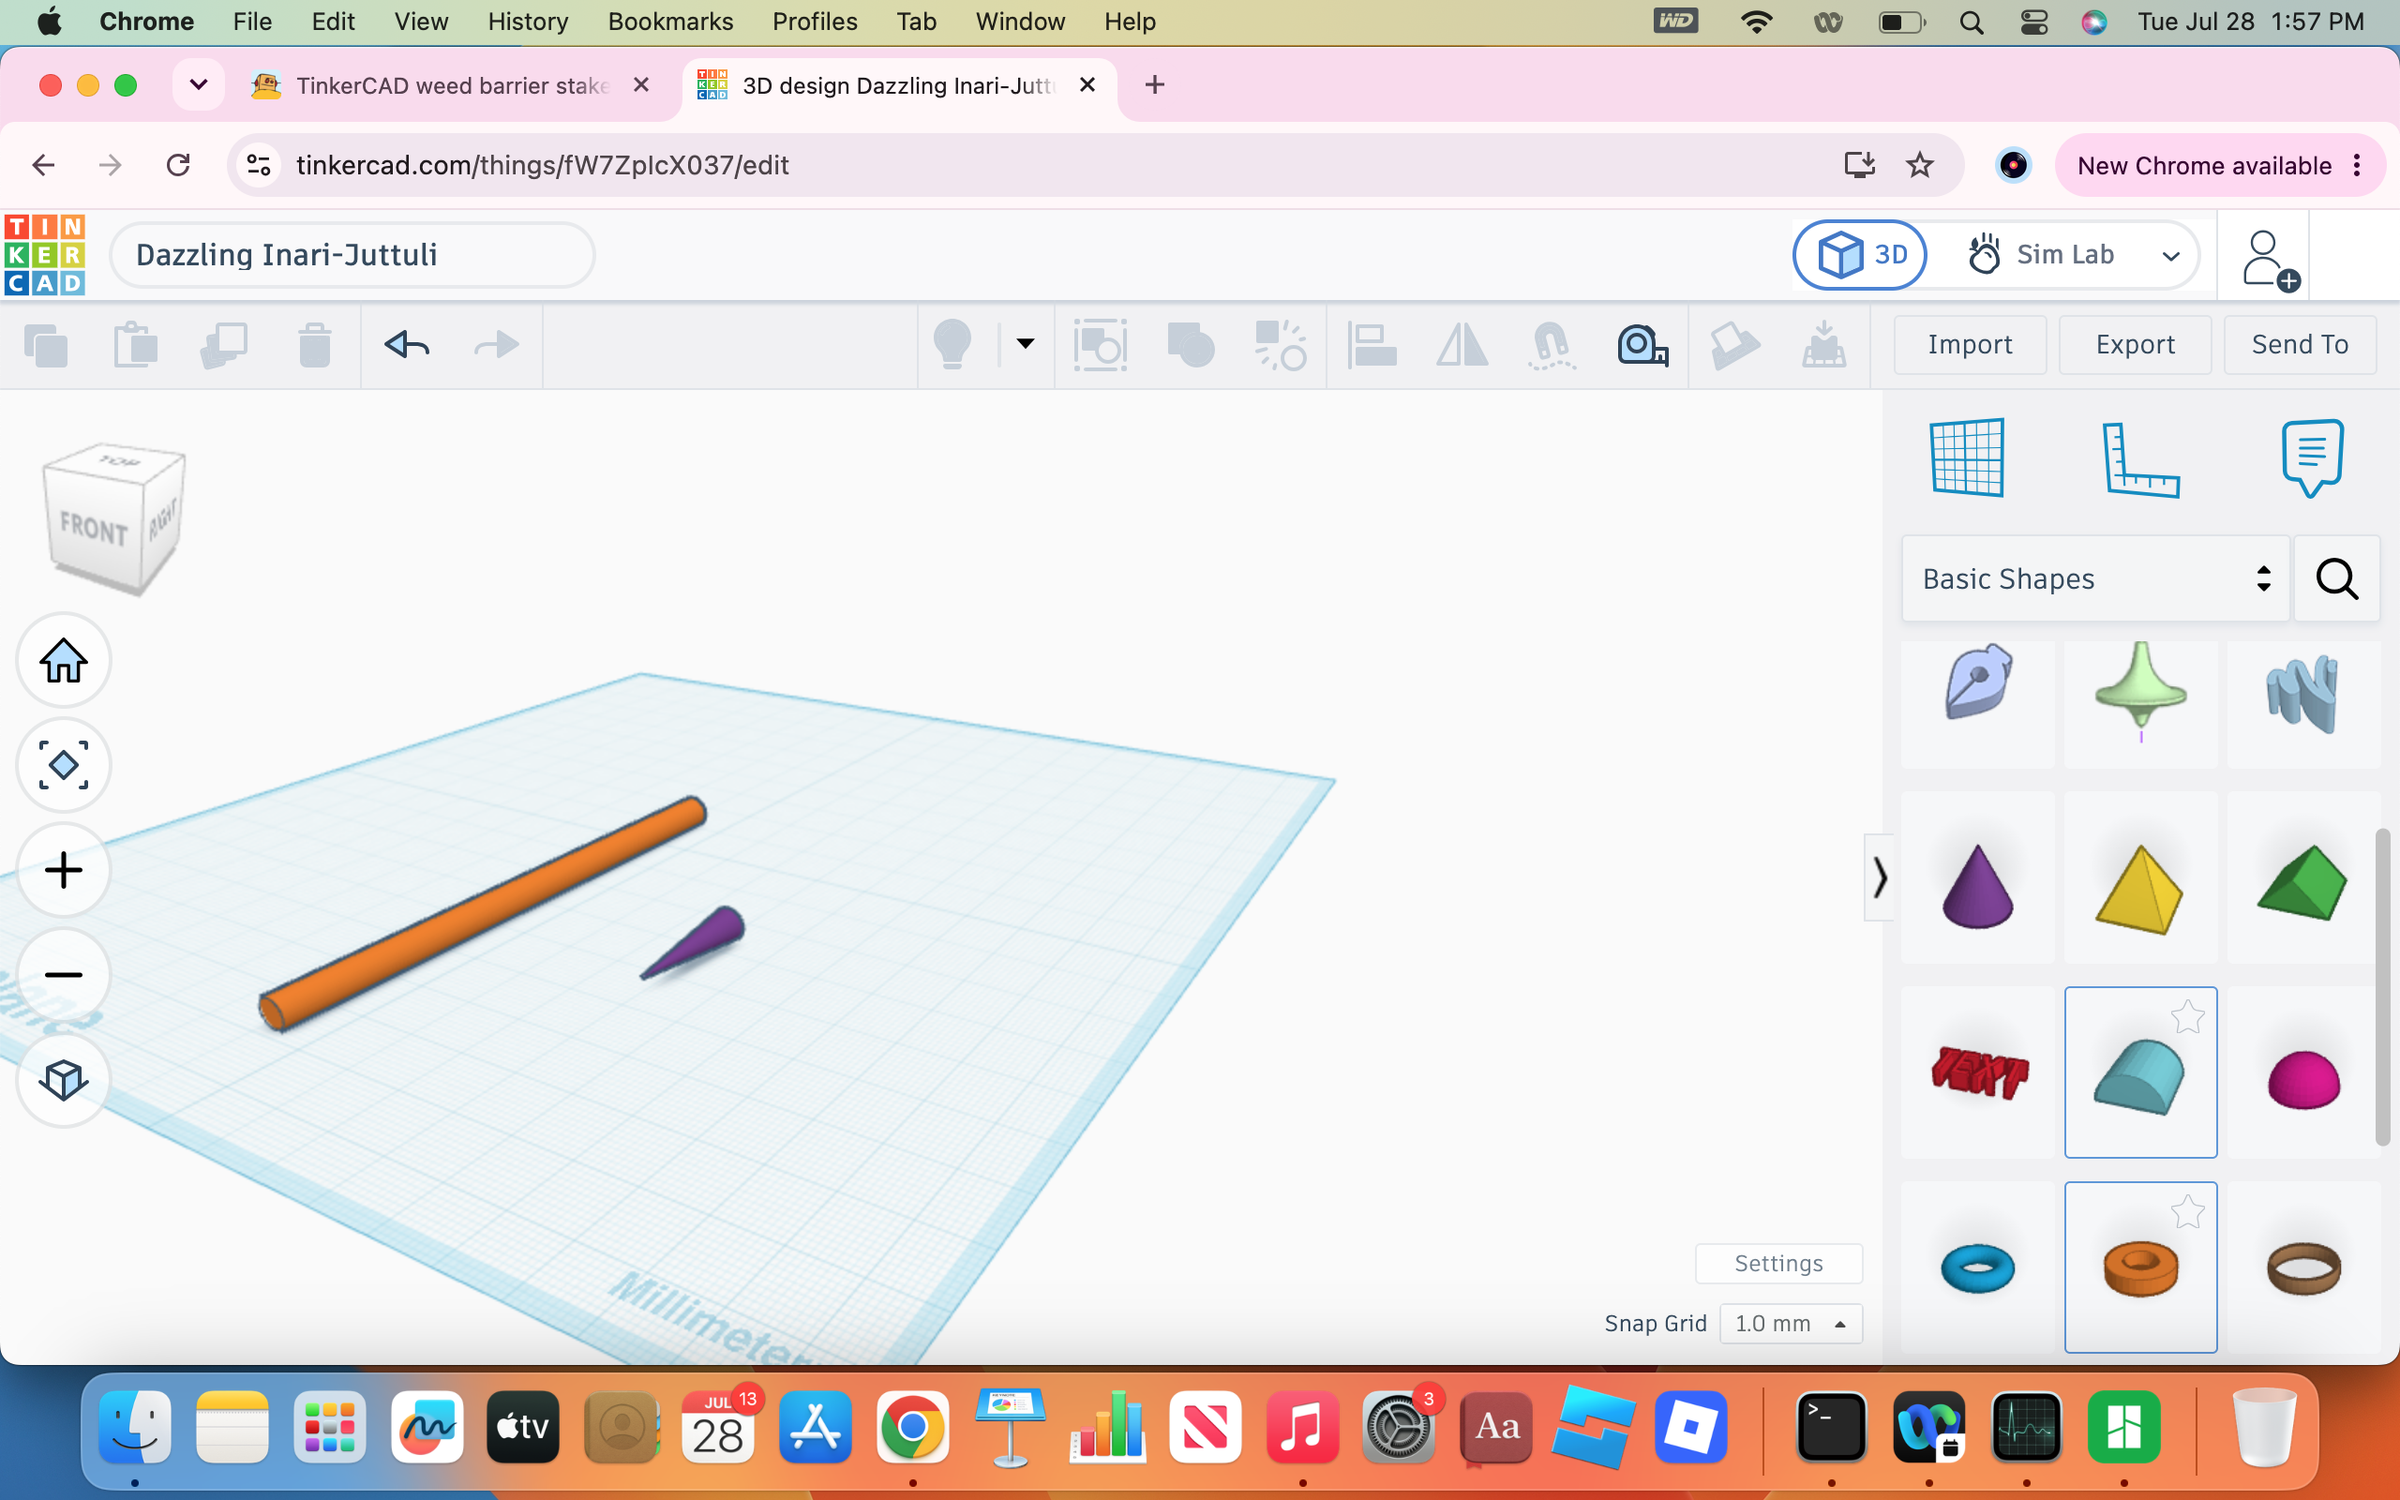
Turn it on its side and scale the face to five mm or whatever the diameter of the cylinder was.
Align the Cone
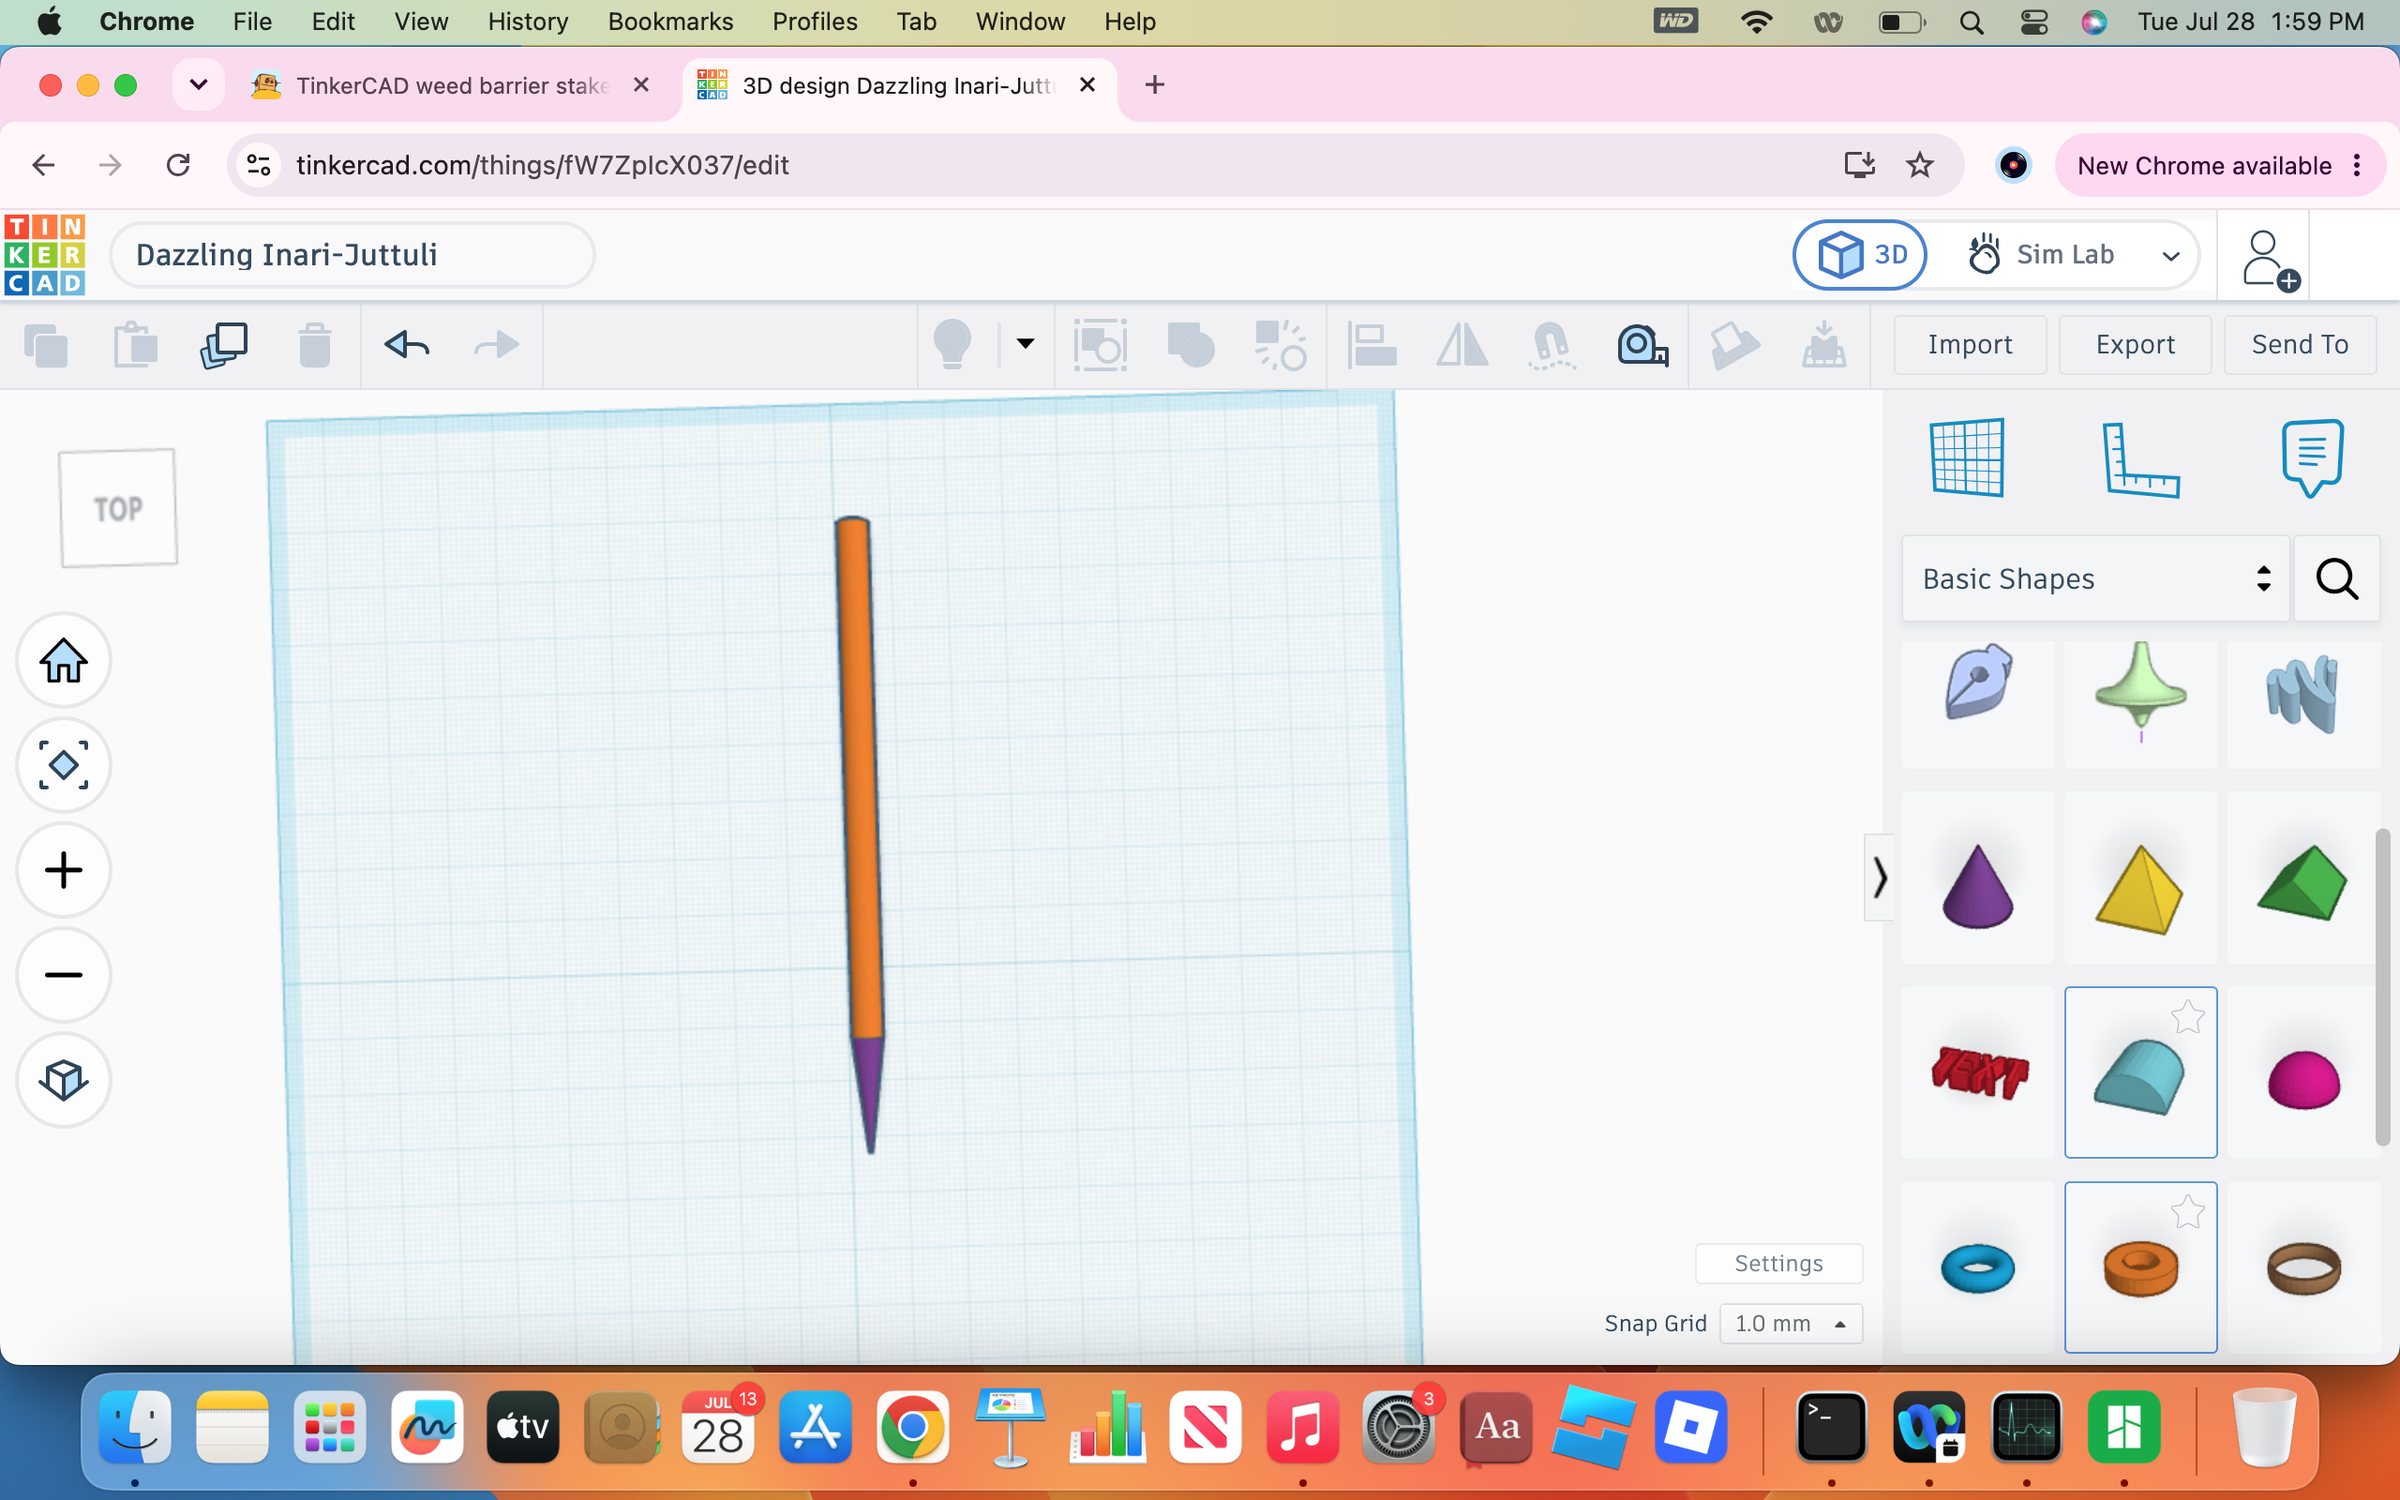
Align the faces of the two objects as best you can.
Combine the Objects
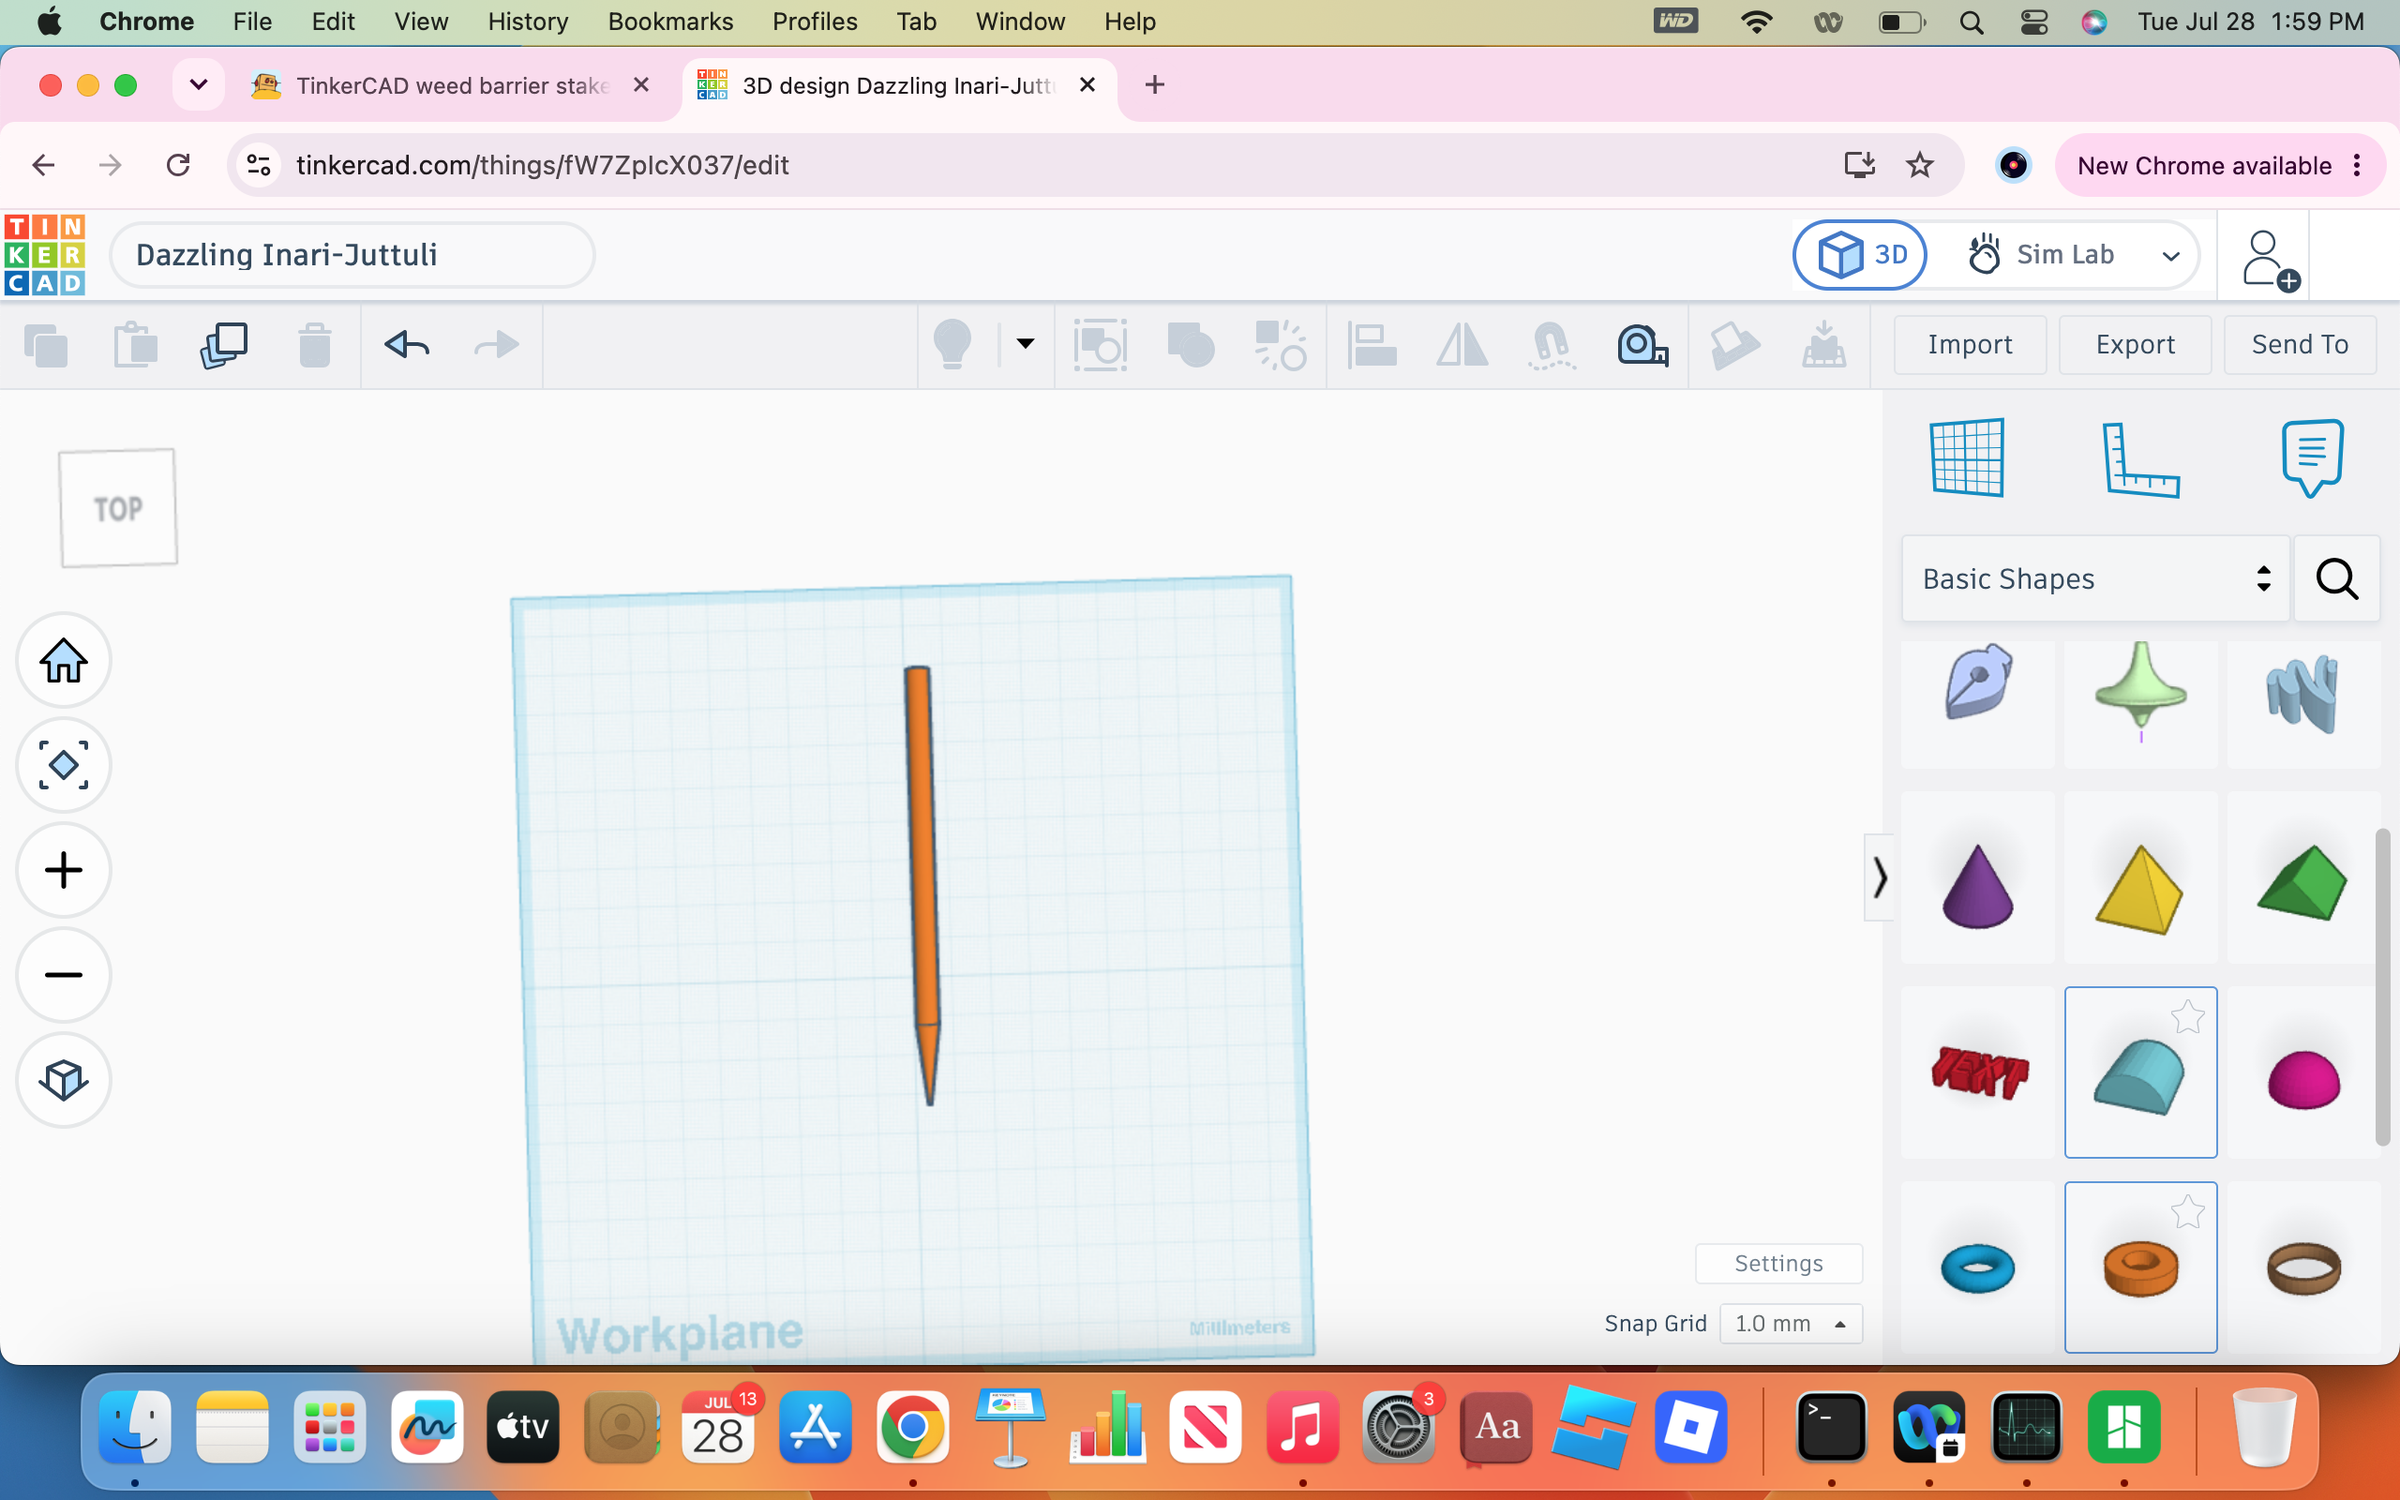
Drag to select both objects and hit "Union Group" on the top bar.
Duplicate the Object
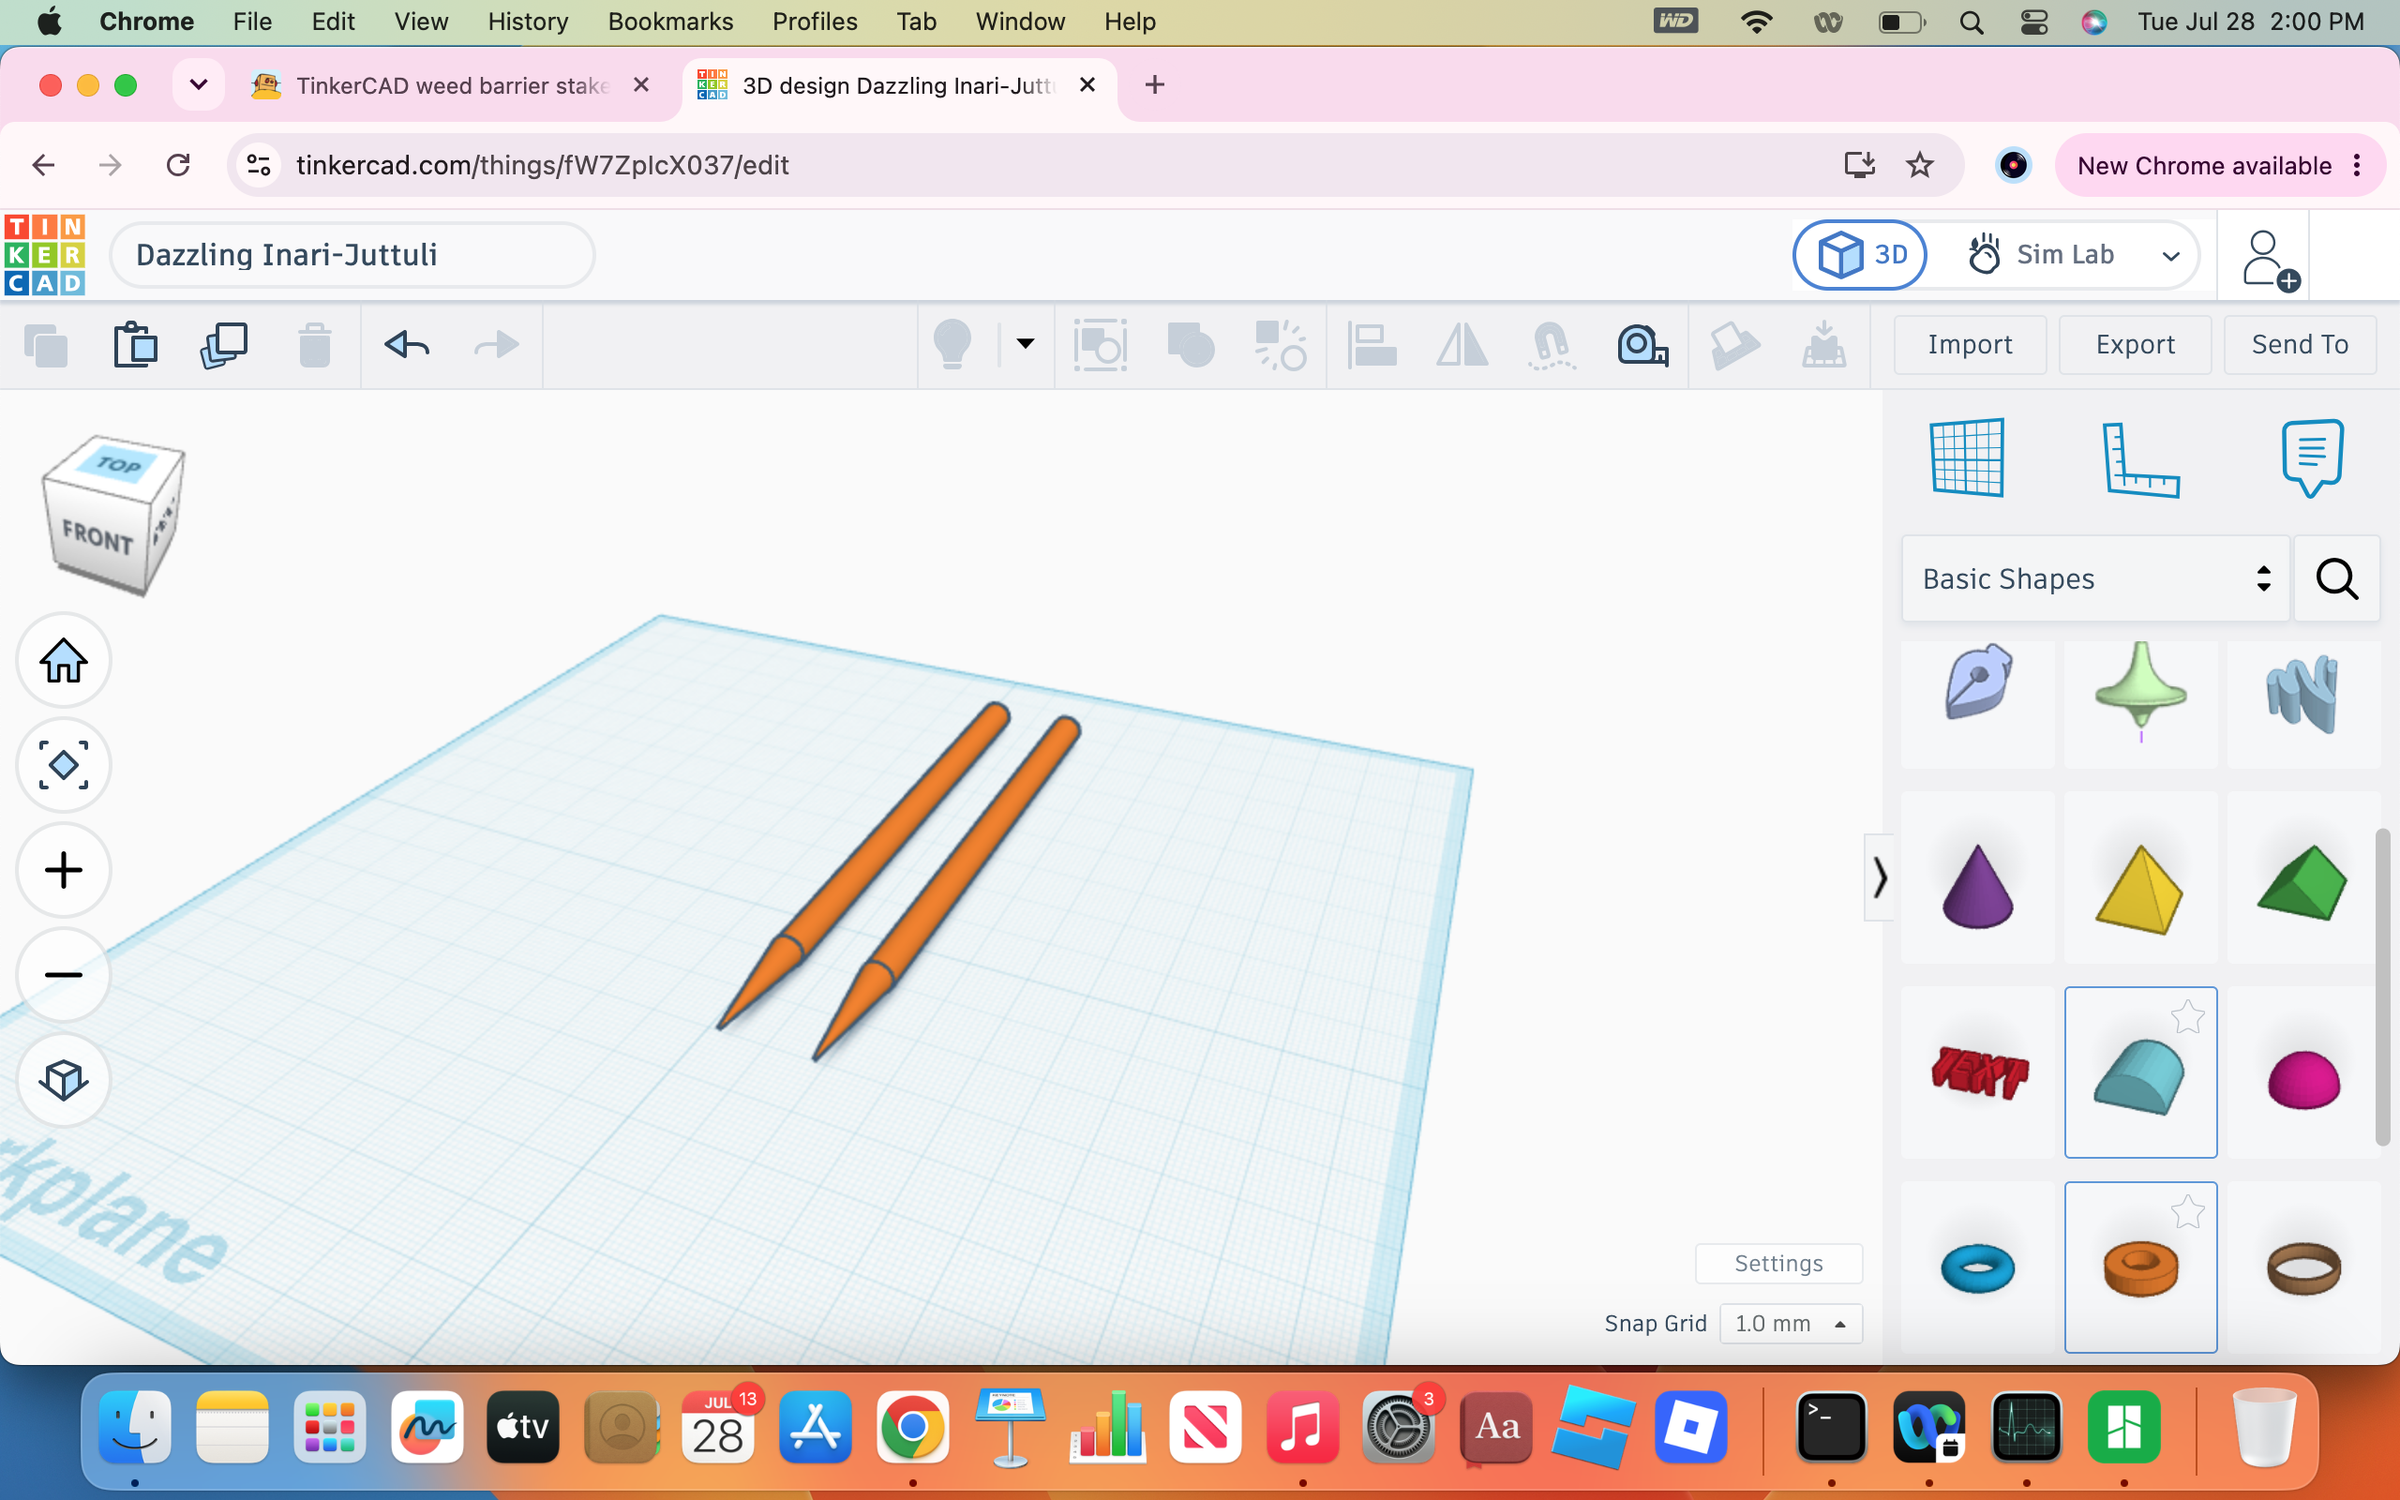
With your new object selected, hit control/command C and then ctrl/cmnd V to create a duplicate of the object. move it a little to the side of the first Cillicone. :)
Add a Torus
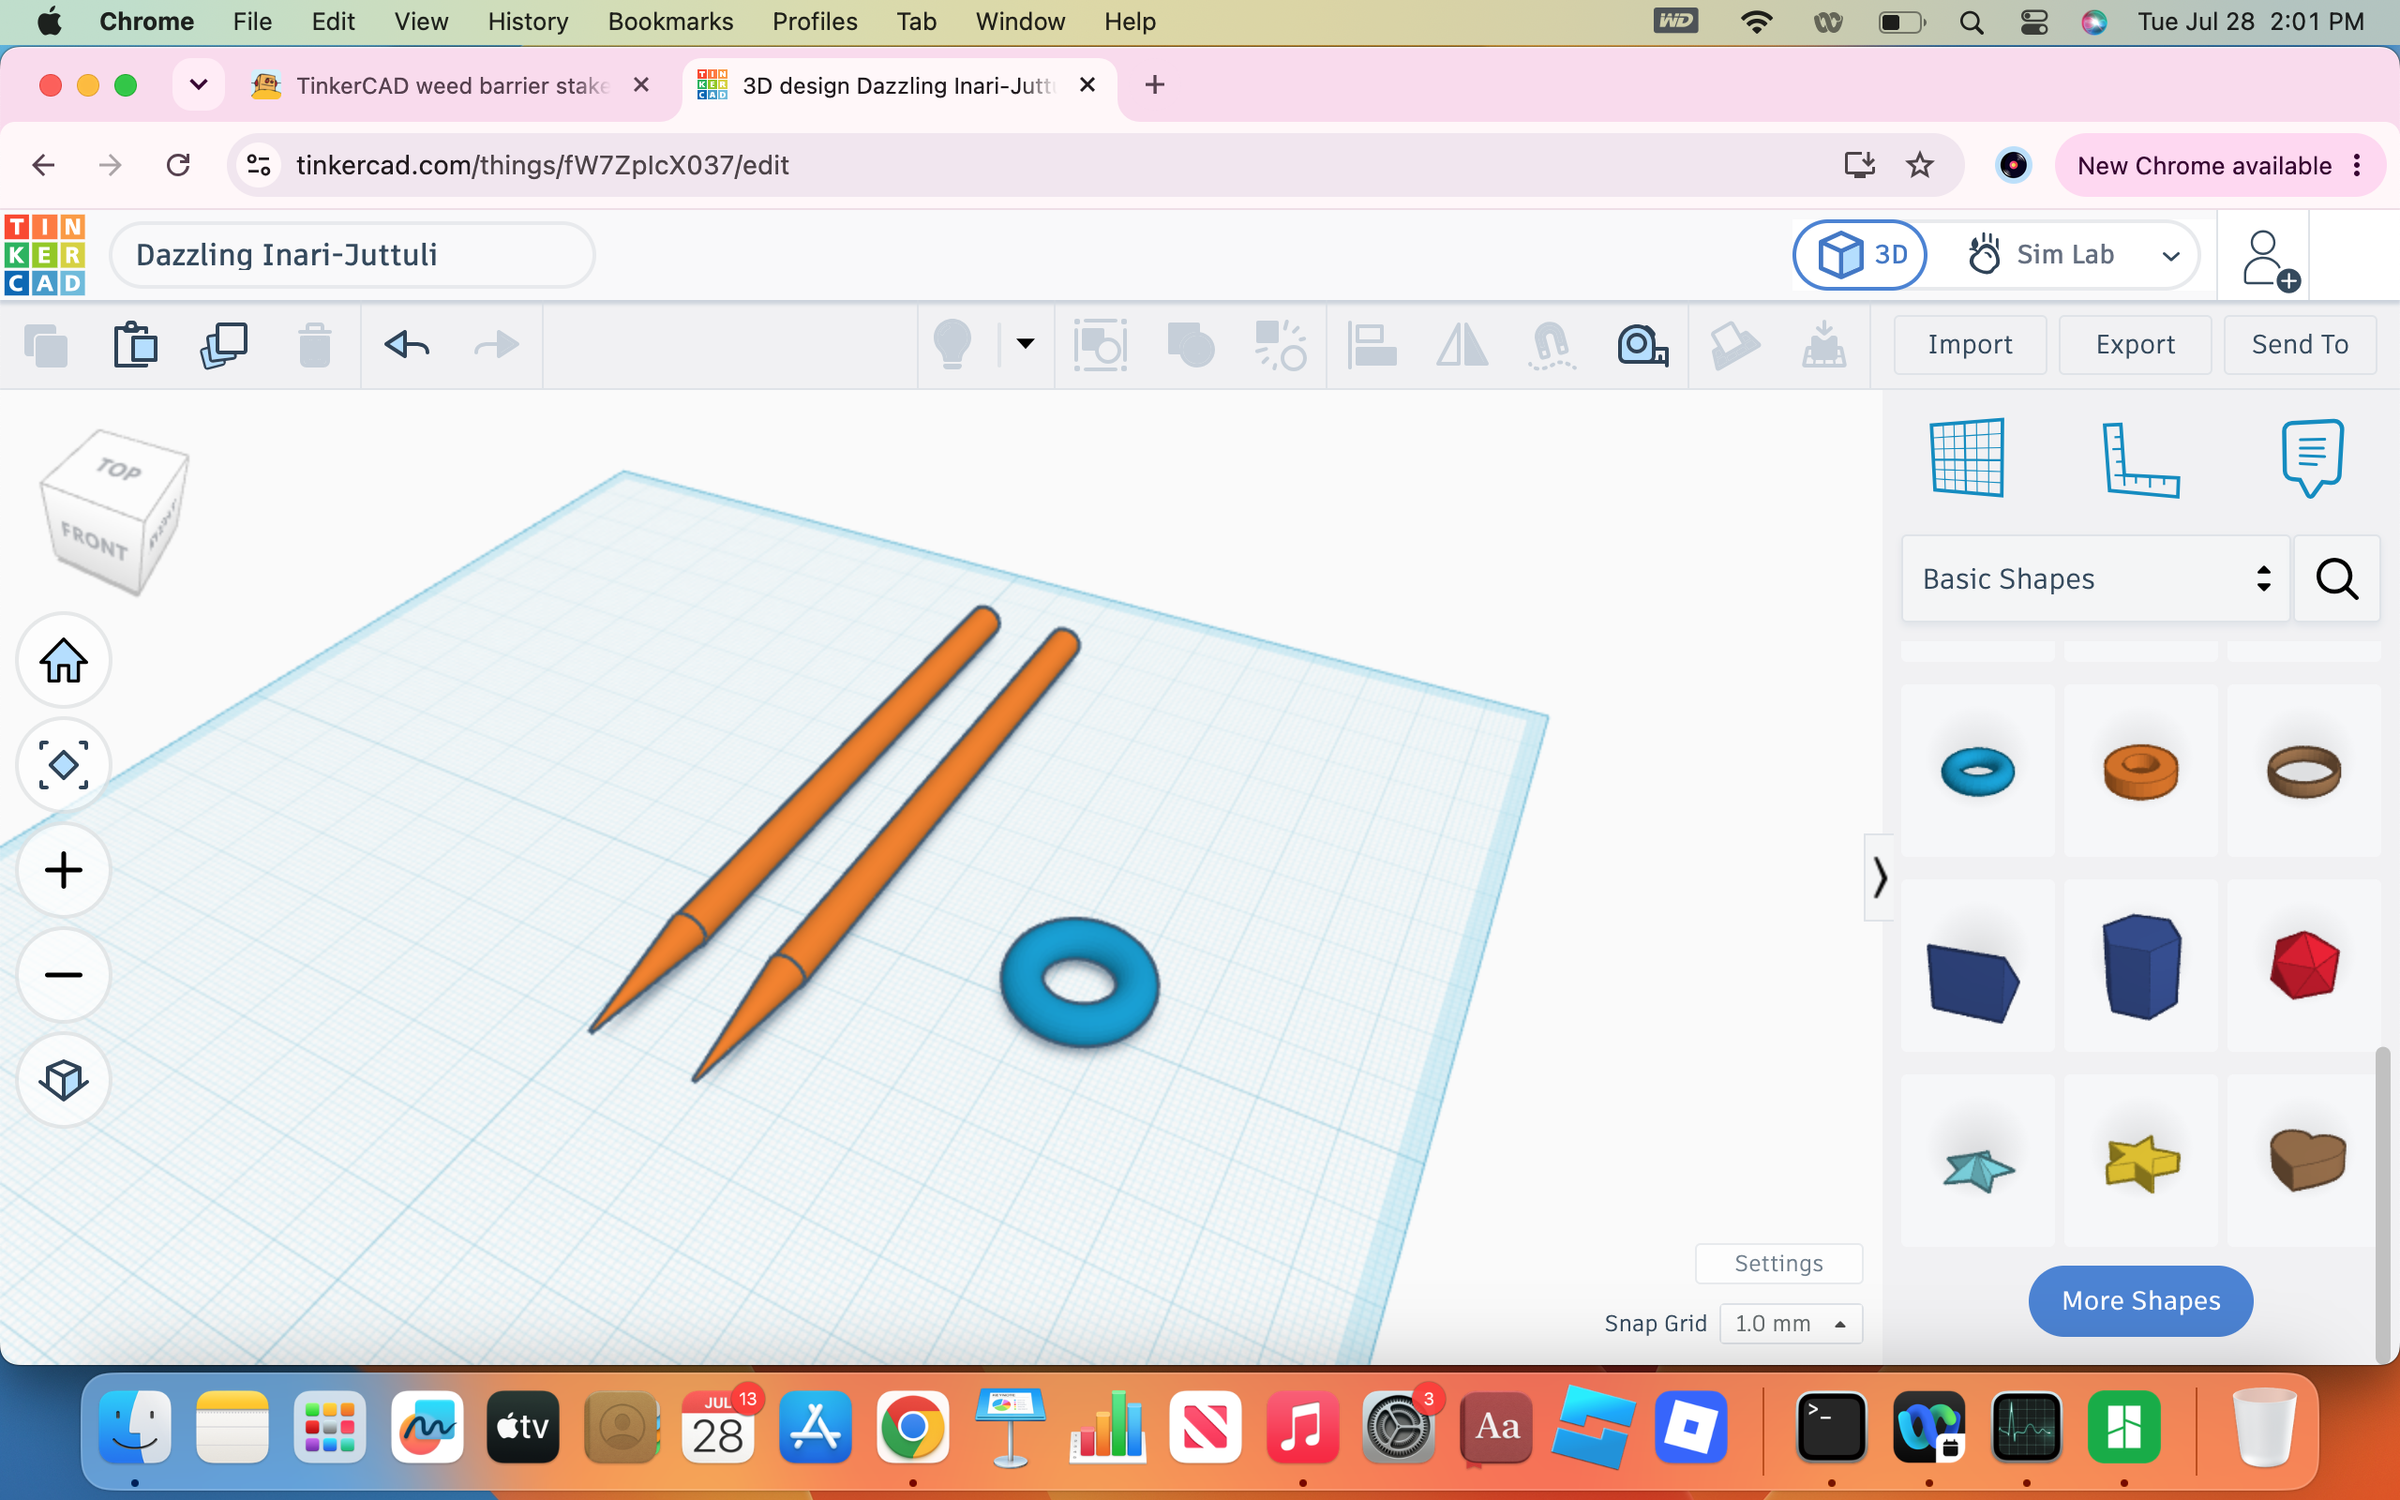
Add a Torus (fancy word for ring) to the workplane and scale to 5 mm or whatever the diameter of your Cillicone was.
Chop the Torus in Half
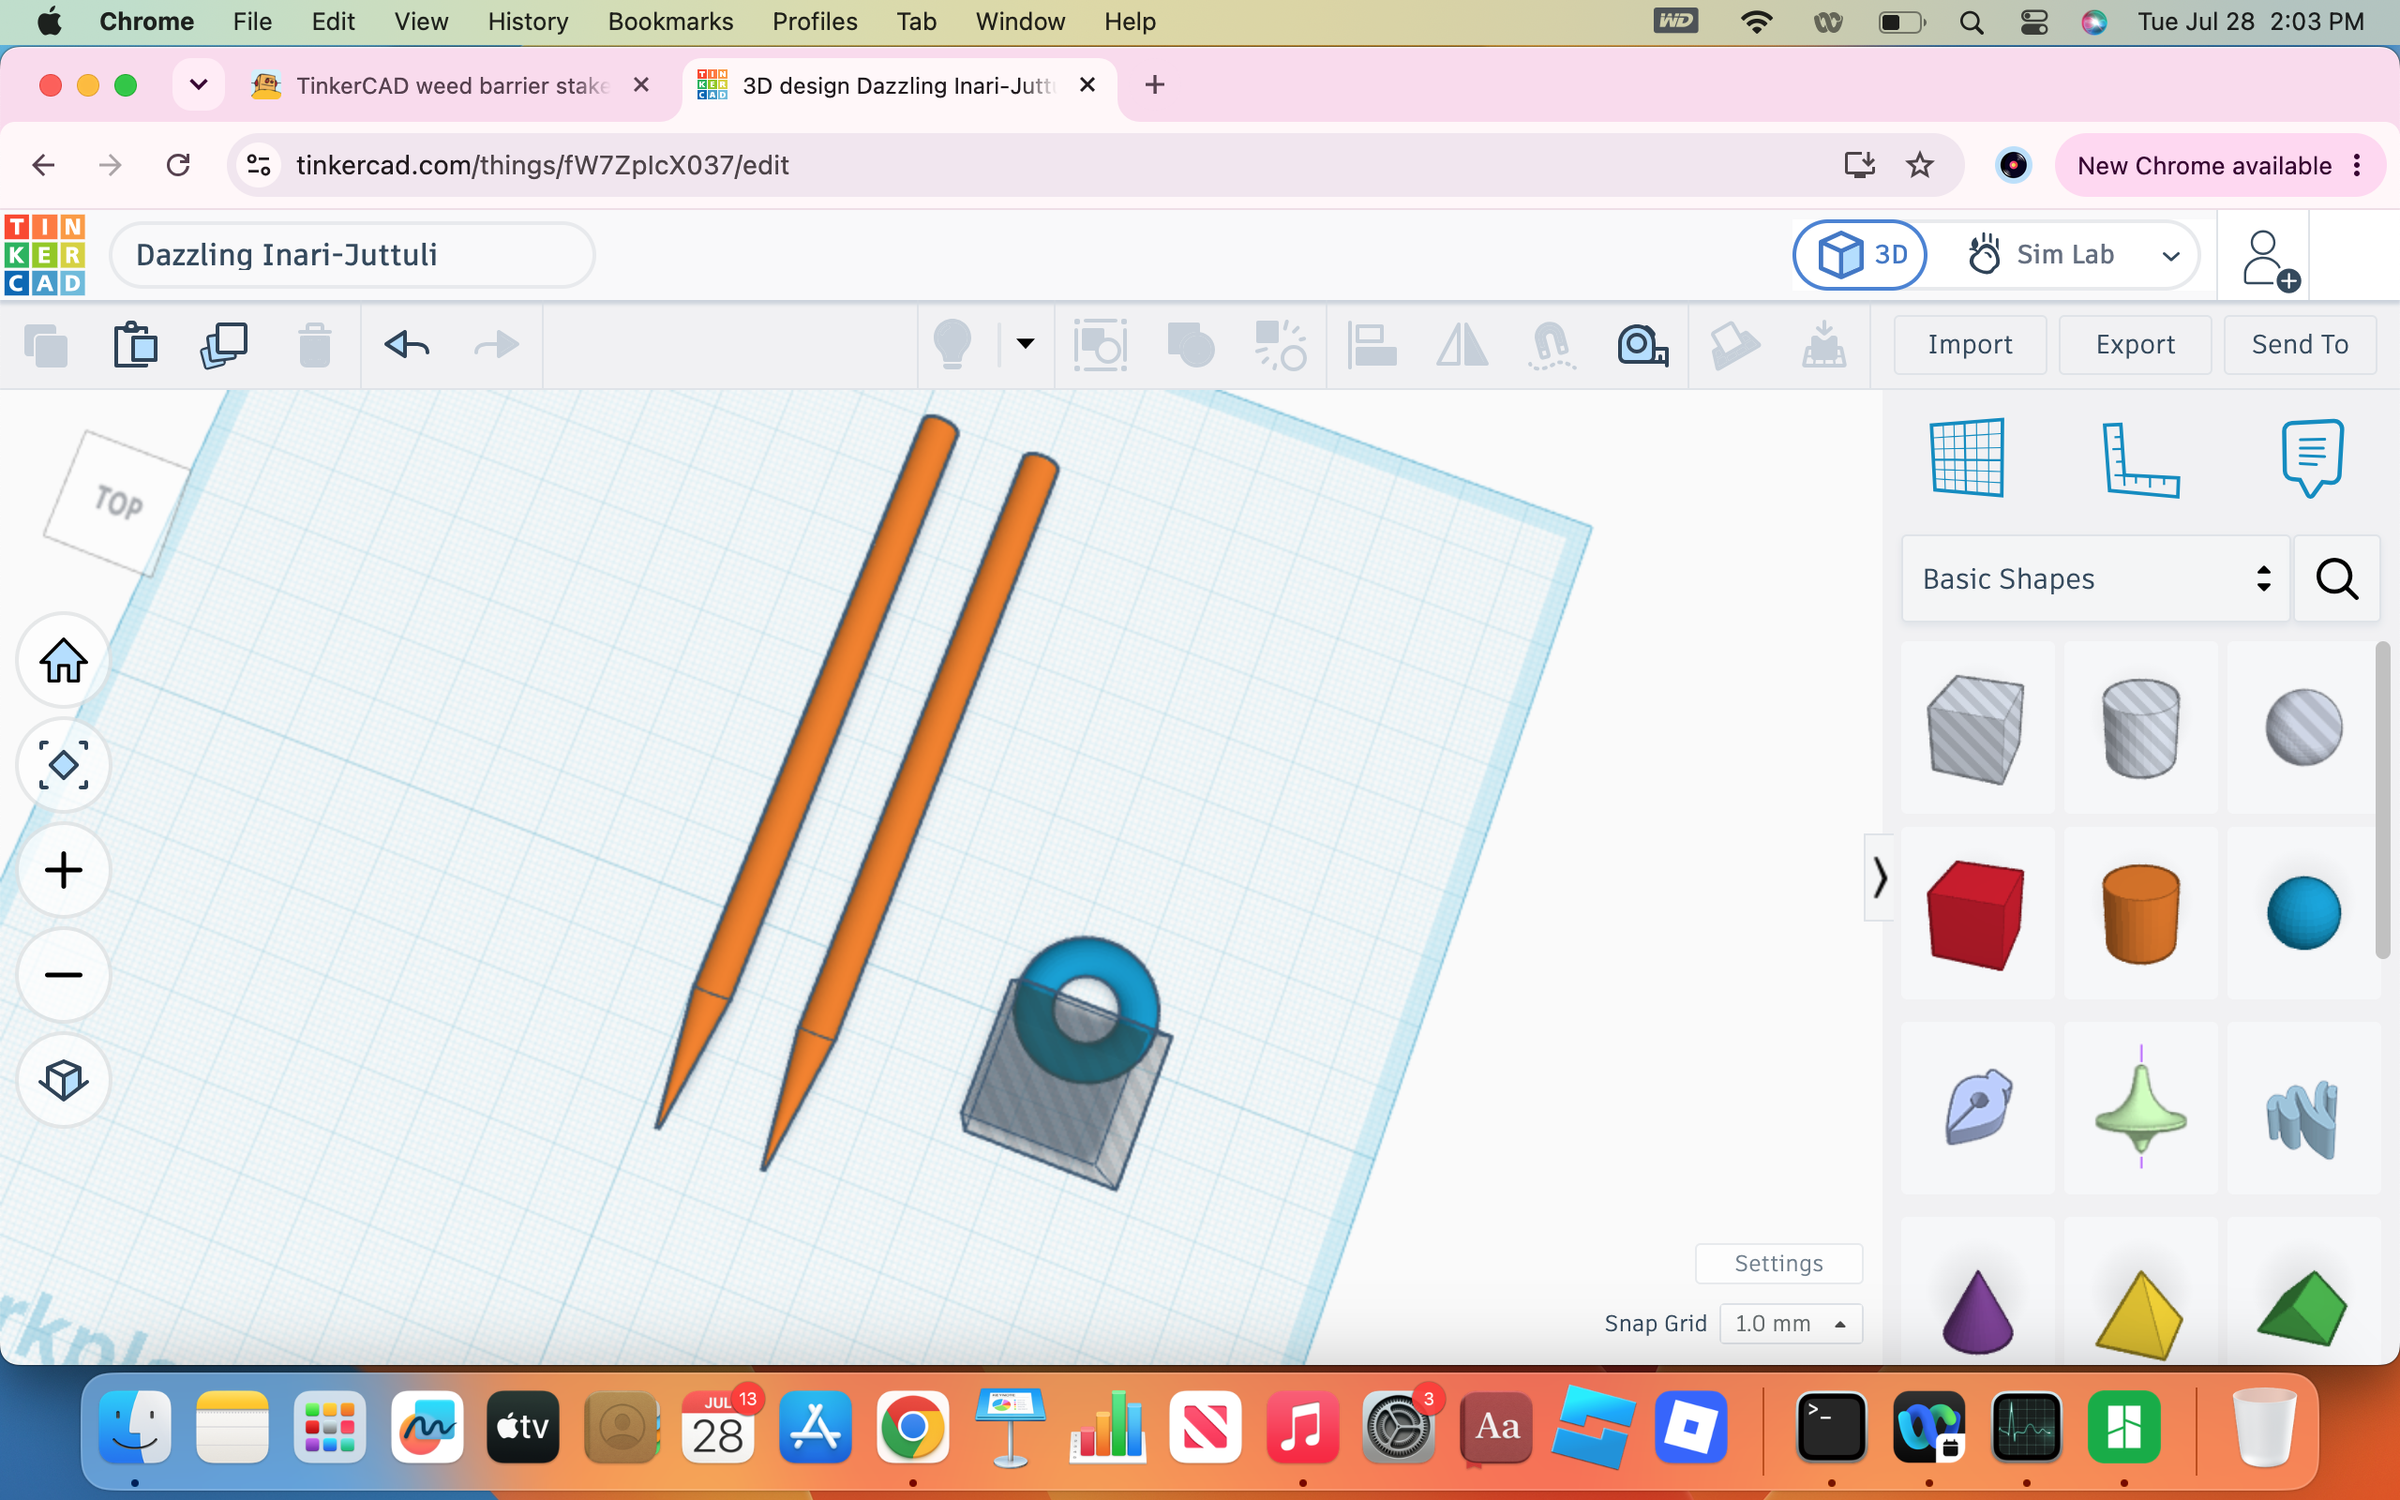
Add a cube negative to the workplane and position it to remove half of your torus. Then select both and union group it.
Align the Torus and Unify
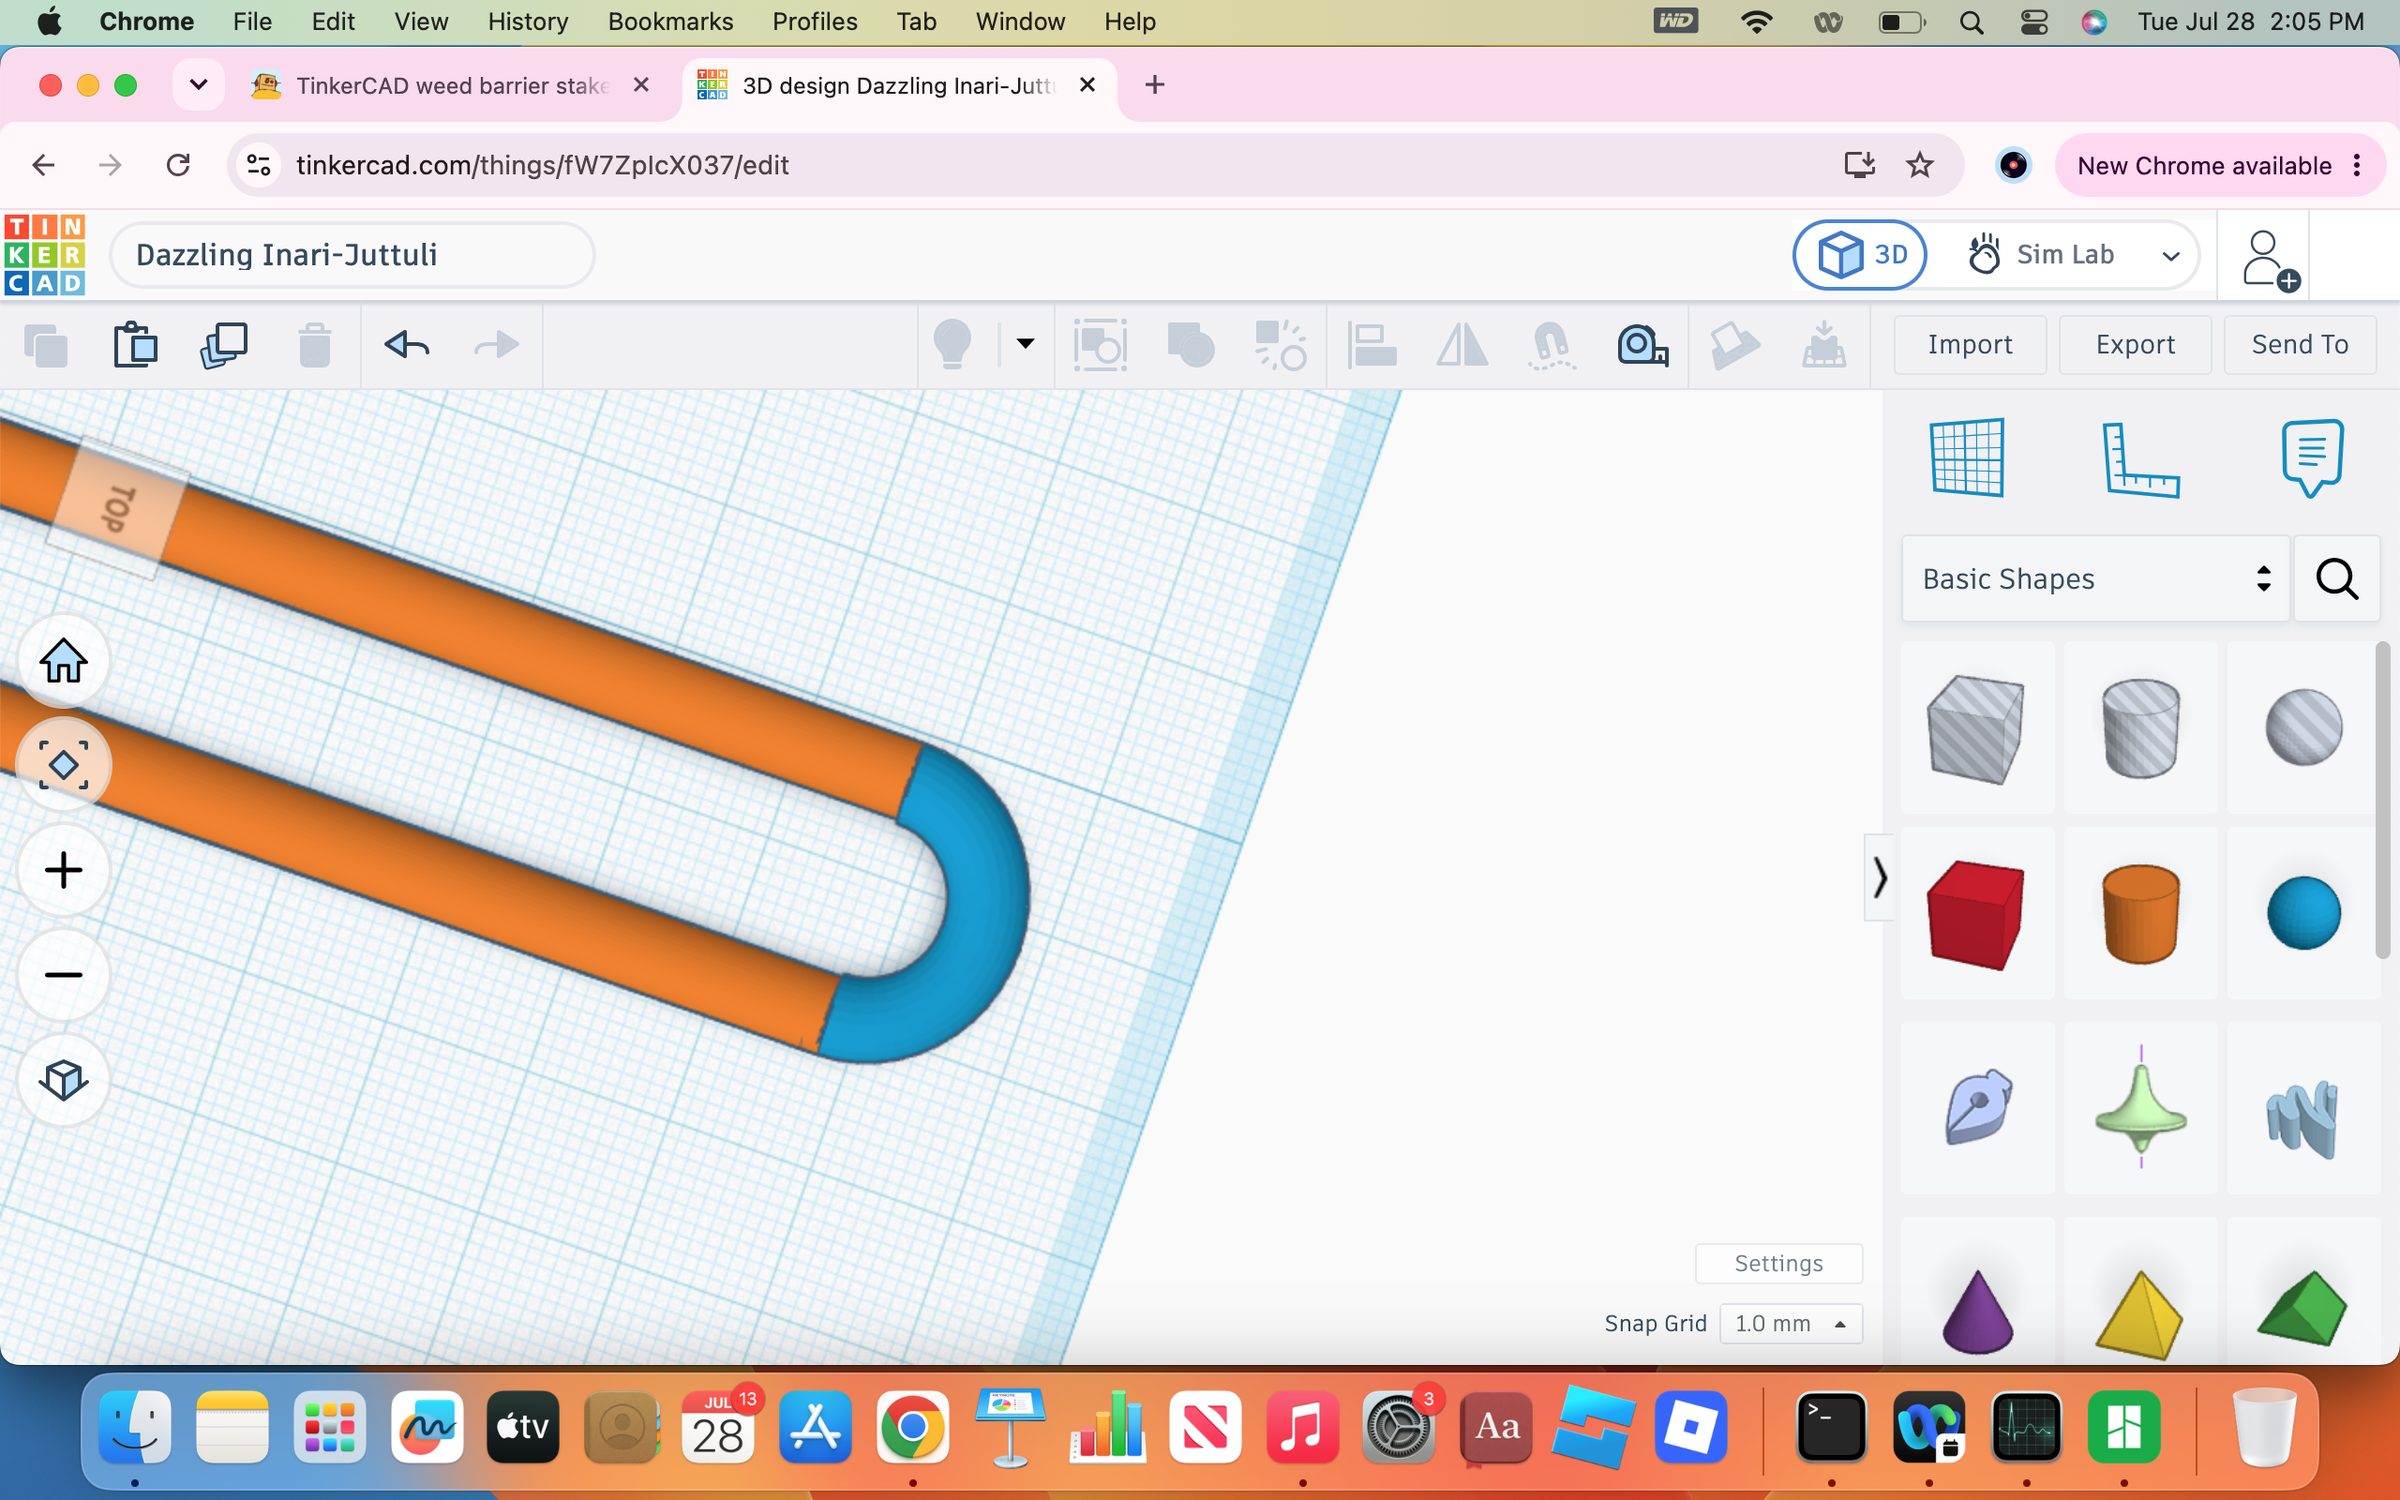
Position the half torus along the faces of the posts. You may have to slightly scale the objects to align them perfectly. Then, select all and hit union group.
Your Done!
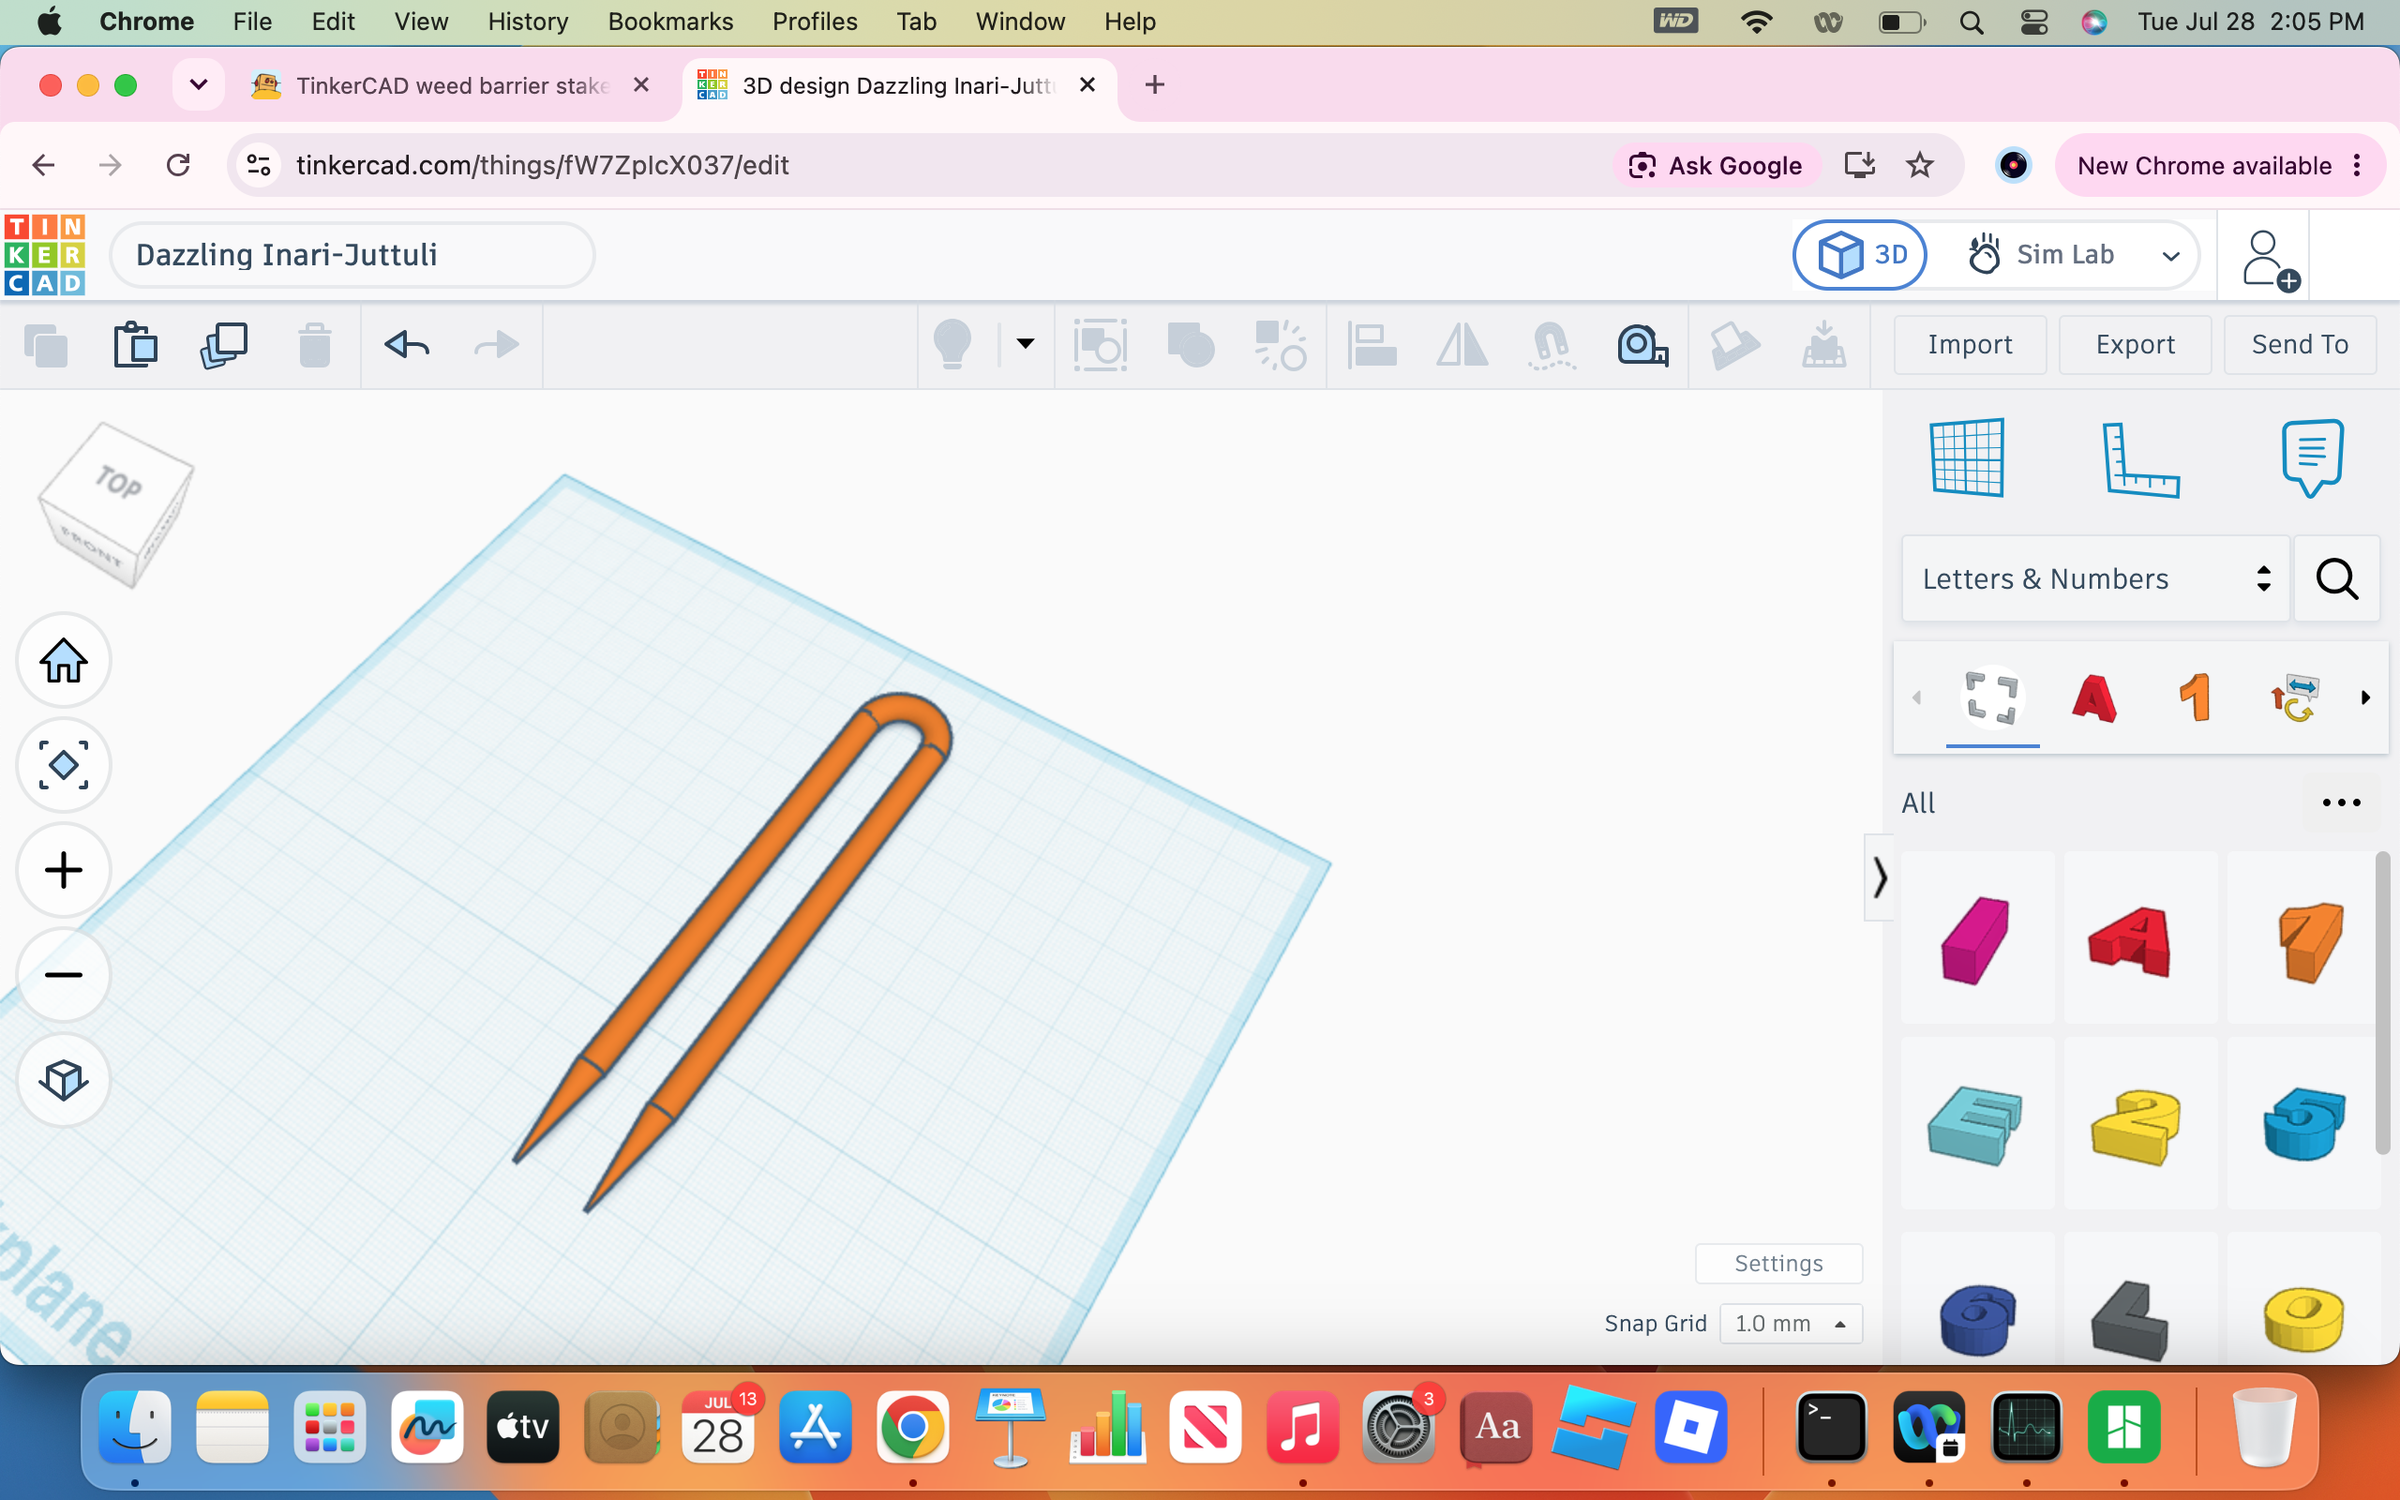
You're done! Congrats on completing this simple TinkerCAD tutorial, and pat yourself on the back for saving yourself a trip to the hardware store! You did it! Now all thats left to do is import it into your slicer and hit print!