Tinkercad in Tinkercad ∞ Zoom (Mashup)
by DA_BRINK in Workshop > 3D Printing
2224 Views, 2 Favorites, 0 Comments
Tinkercad in Tinkercad ∞ Zoom (Mashup)

I've always been a huge fan of Tinkercad and computers. It's amazing how you can design something on a computer in 2D, using a 3D design software, and get something 3D in real life. (If you print it.) That's why I decided to make this.
Tinkercad in Tinkercad. (More like, Tinkercad in Tinkercad in Tinkercad in Tinkercad in Tinkercad in Tinkercad. . .)
I chose to design the old classic computer because It'll give me a larger area to work with. Down below is the 3D model I designed.
It'll take awhile to load because of all the shapes. If it doesn't load then continue on and it should load once your done reading.
Left mouse button - rotate
Right mouse button + Shift - pan
Mouse wheel - zoom
Supplies
You will need. . .
- Tinkercad
- Tons of freetime
Monitor Frame


First, grab a rectangle and use a hole to make the frame and a DVD slot.
Use a double trapezoid to make the frame curve inwards.
Monitor Stand


Use 3 double trapezoids to make the back of the monitor.
Now, use three cylinders and one flattened cylinder to make the stand.
And now, use a trapezoid, rectangle, and a hole to give it more shape.
Workplane Background

Use a double trapezoid, a bit smaller than the monitor, and a rounded cube hole to make it hollow. The rounded cube doesn't have any corners so it will make it look more realistic.
Place it in the monitor and use some more holes to make it rounded.
Monitor Details


Use a cylinder and a rectangle to make little nobs for some details.
Use three cylinders and some holes, a bit smaller then the cylinders, to make it hollow.
Add them onto the monitor and now it's starting to take shape!
Workplane


Grab a rectangle and change the color a a translucent blue and use a hole to take out the center.
Now, get a square and make a grid using 144 of them. (A 12x12.) Add a bit of space between each square. It might take awhile but if you use the duplicate button, at the top left corner, it should take less time.
Use the text feature to type the word workplane and color it blue.
Add everything together and now you have the workplane!
Put it in the monitor and bring it up a bit so it looks like it's floating.
System Unit


Grab a rounded cube and stretch it out so it's a rectangle. Use some holes to make it more realistic.
Add a couple of buttons here and there and it's done!
Mouse


Use a cylinder and rectangle and some holes to make a mouse shape. This will be the top of the house.
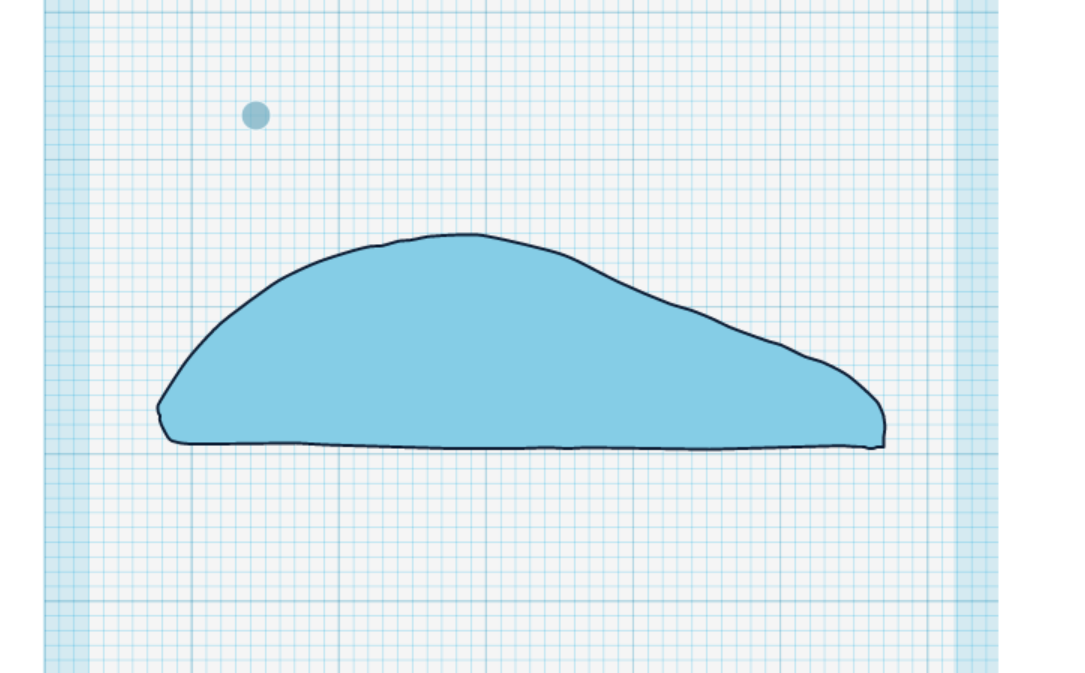
Use a scribble to draw a shape. This will be the side of the mouse.
Use the scribble and a rectangle to make a hole.
Add them both together to make the full shape.
Use some holes to make the buttons on the mouse.
Keyboard


Use a TON of double trapezoids and arrange them into the right positions. If your confused just look at your keyboard.
Use the text feature and make all the letters for the keys.
Add both of them together and you have the keys!
Use a rounded cube and stretch it out and flatten it so it's in the shape of a keyboard. Use some holes to make spaces for the keys.
Add everything together and you have a keyboard.
Wires


Add little cylinders to the back of each object.
Use some cylinders to make a wire shape.
It should look like a bottom right picture once you're done.
Infinate Zoom


Press "W" and place the workplane on top of the... workplane.
Duplicate the whole thing and it scale it down so it fits on the workplane.
You can do that as many times as you want. Just keep in mind the more you duplicate, the more shapes there are. And the more shapes there are, the more the system has to process each shape. So it'll become very laggy.
Finished

Tinkercad puts blue outlines on every object, probably for visibility, but sometimes it makes visibility worse. I used the Microsoft 3D Builder to see it in better detail. I think it looks great.
Here's the file if you'd like to download it.