Tiny Shop Press
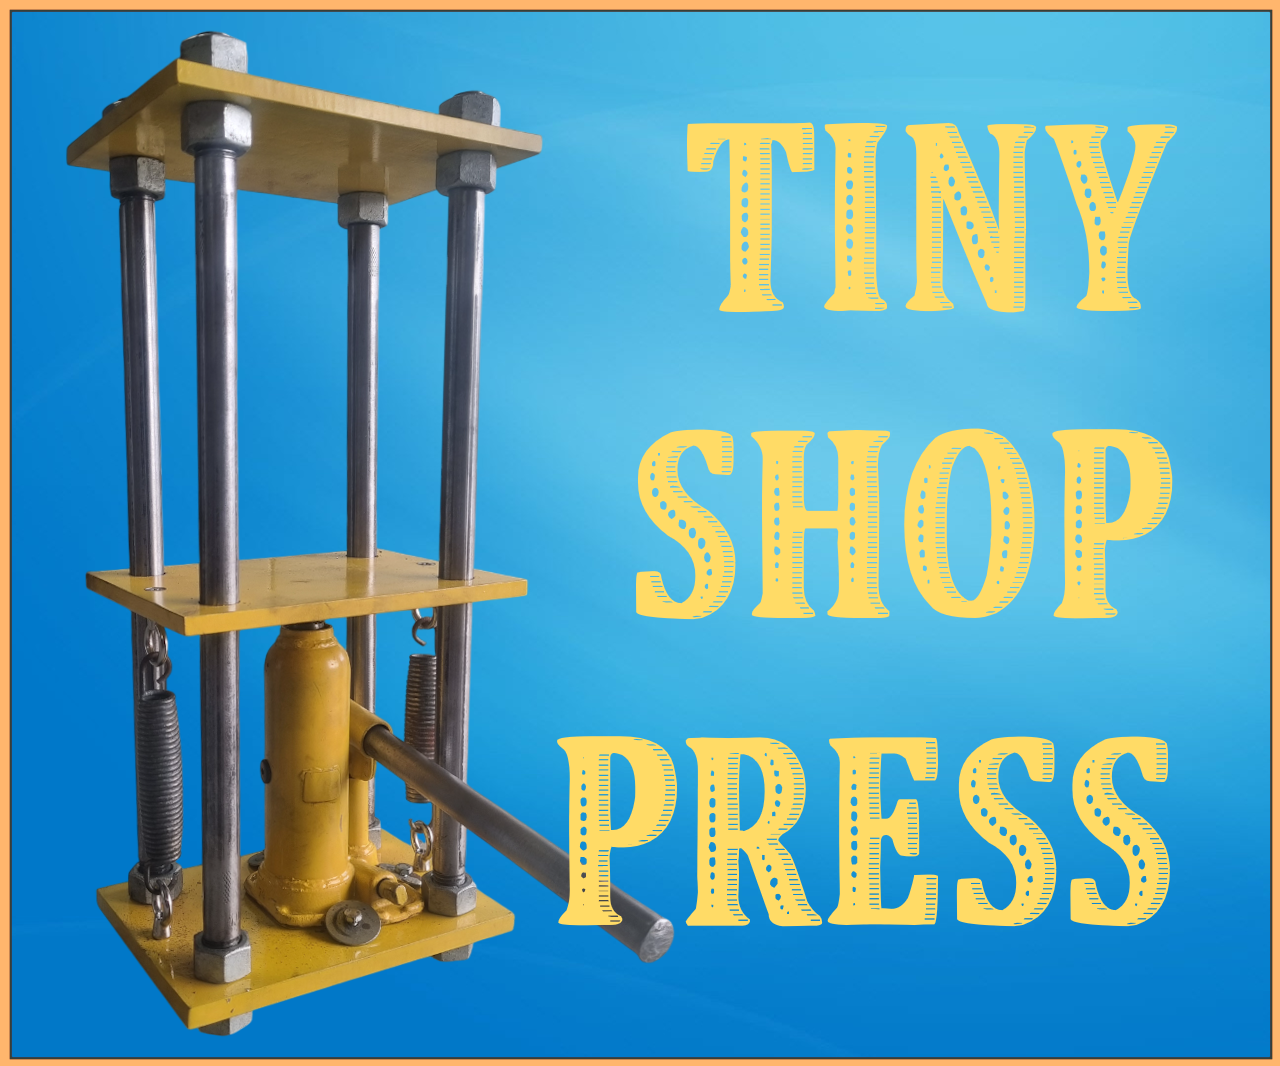

I've wanted a hydraulic press for a few jobs for a little while now. However, I just don't have the space to have a heavy press in my shed. The solution was to make a Tiny Shop Press that could be used on the bench top and packed away on a shelf when not in use.
I don't need 6 tons of pressure either, so I figured a little 2-ton bottle jack would be more than enough. My final design was a fraction of the size and weight while still having more than enough power for my needs.
Supplies

- Steel Plate (10mm thick)
- Round Bar (20mm)
- M20 Nuts
- Old Trampoline Springs
- M6 Bolts
- M6 Eye Nuts
- Penny Washers
- Bottle Jack
- Paint
- M20 Threading Die
- M6 Tap
- Drill
- Angle Grinder
Cut Out the Plate


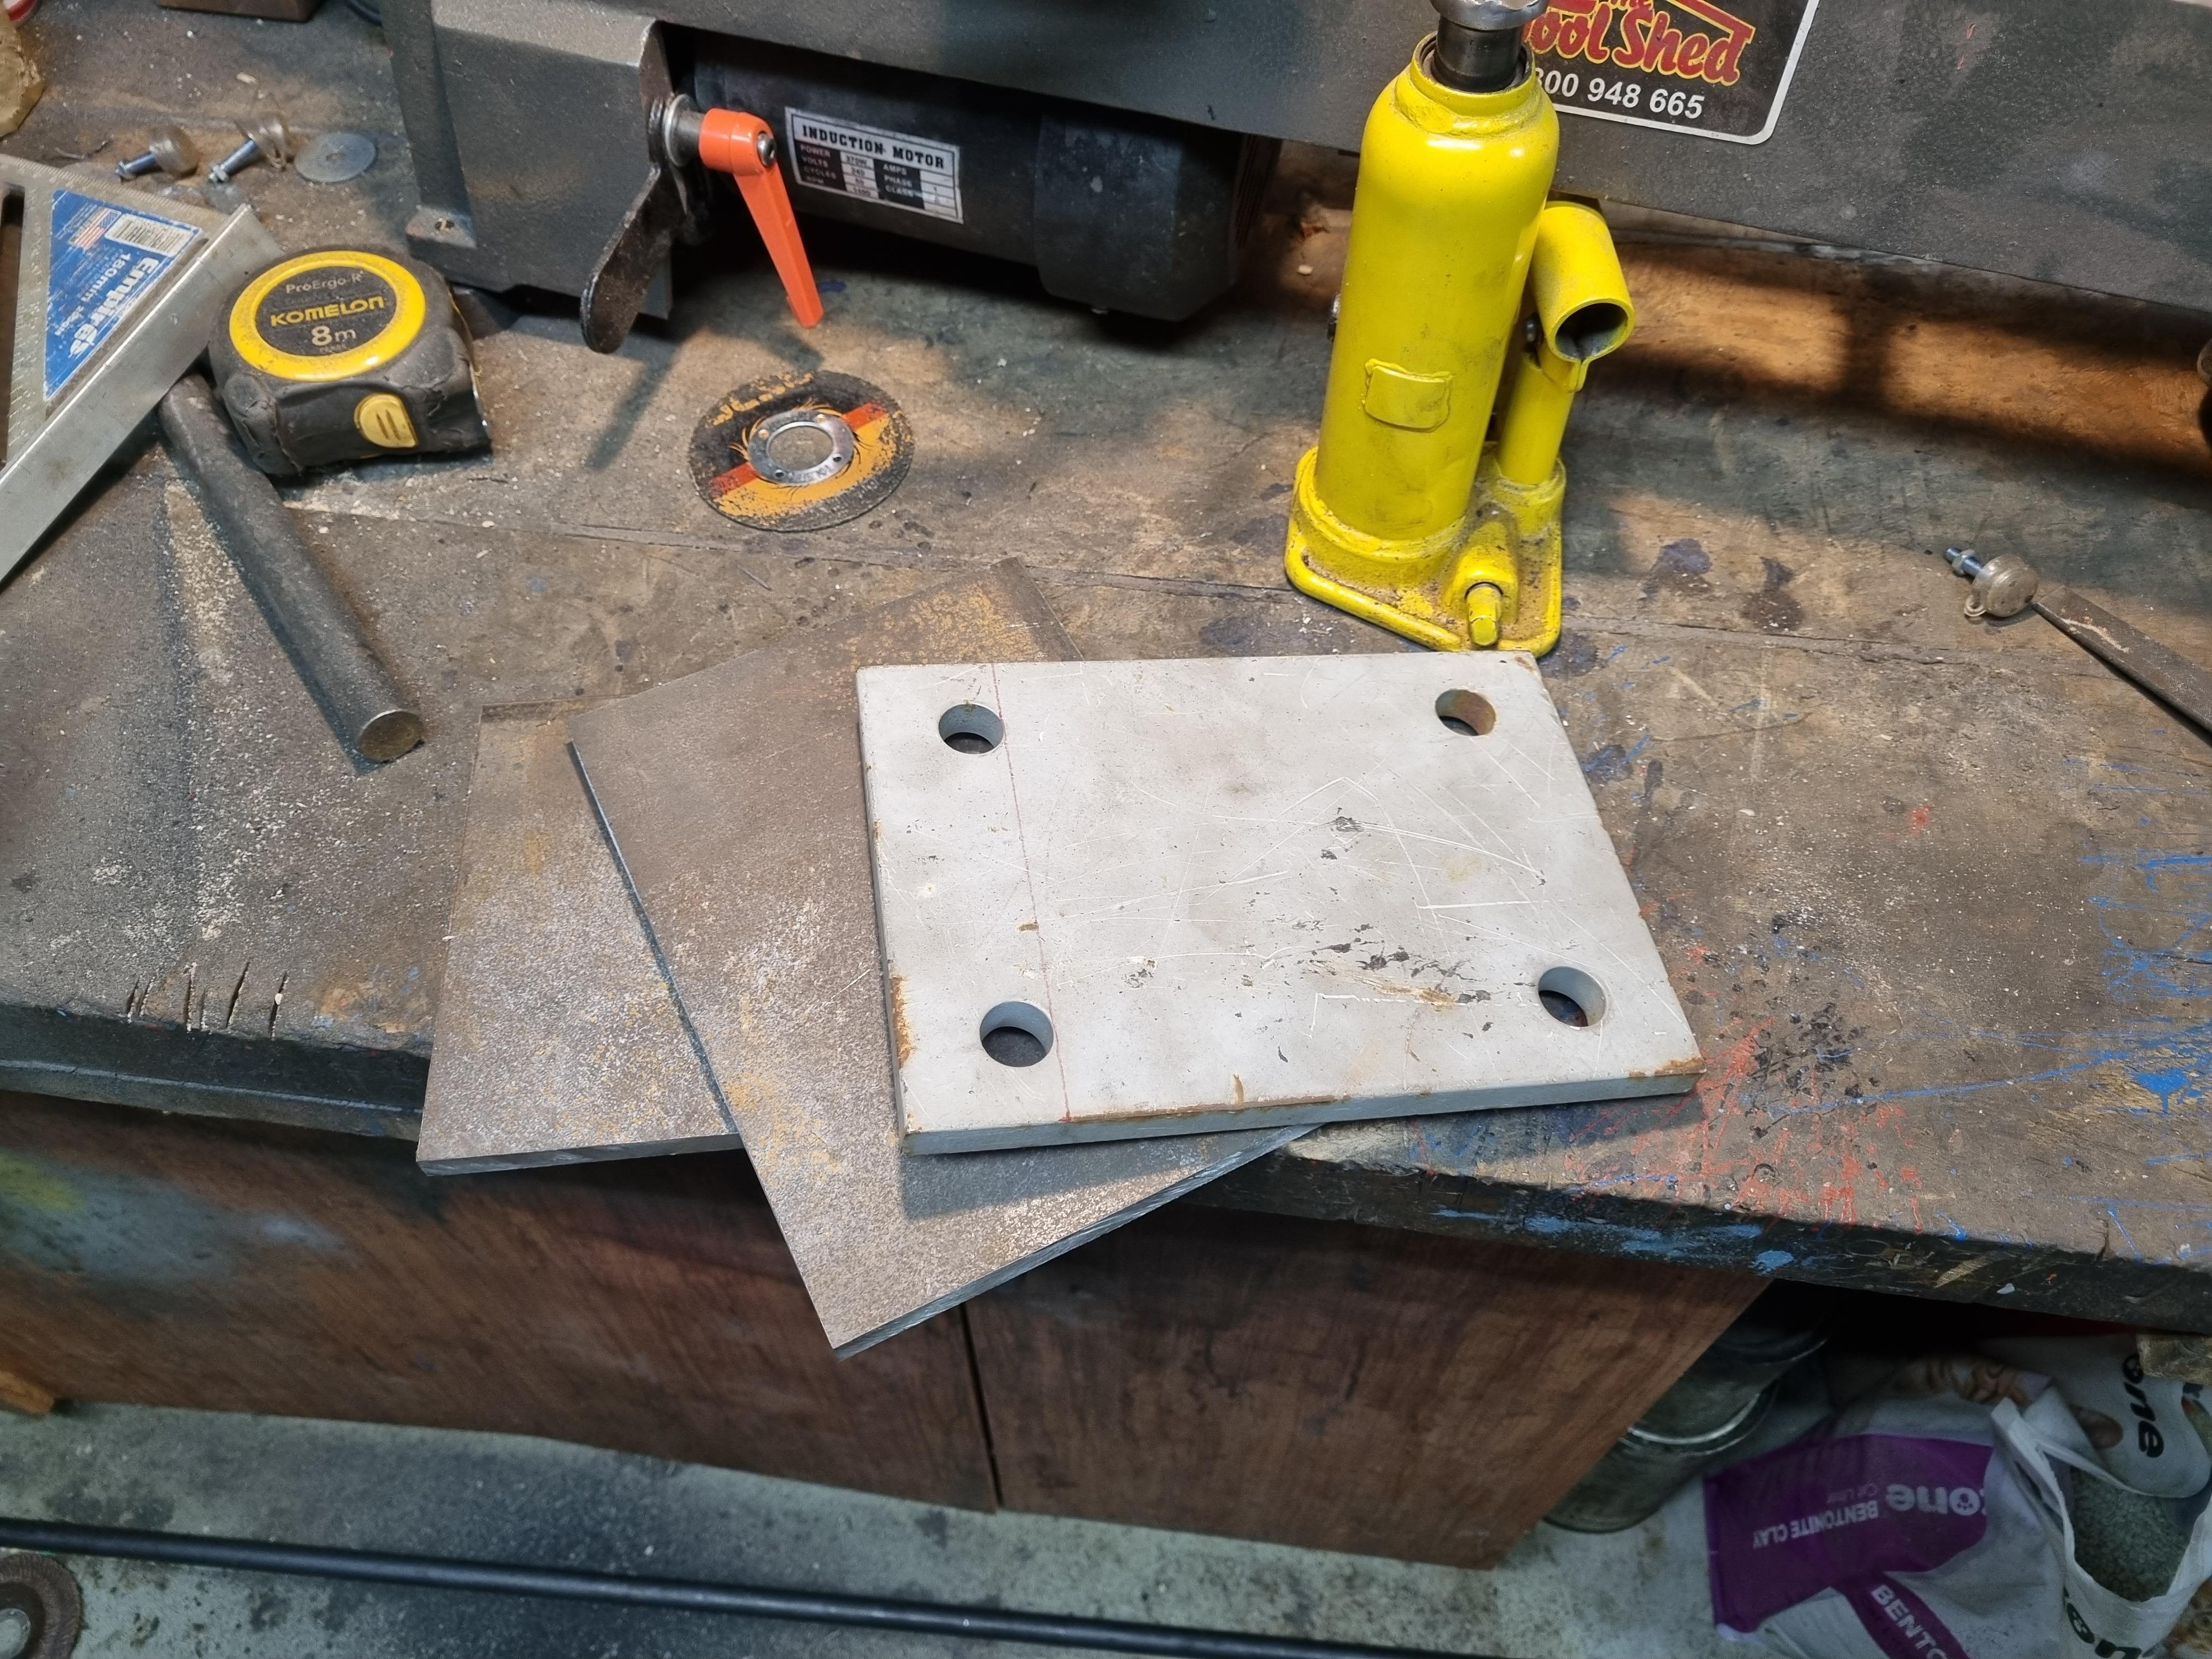
I had a piece of plate steel that already had some holes drilled in the corners. Since it was about the right size, I just had to trim it down slightly. I then used the angle grinder to cut two more pieces of plate to the same size.
There's not much you can't cut with an angle grinder and the right disc!
Guide Bar Holes


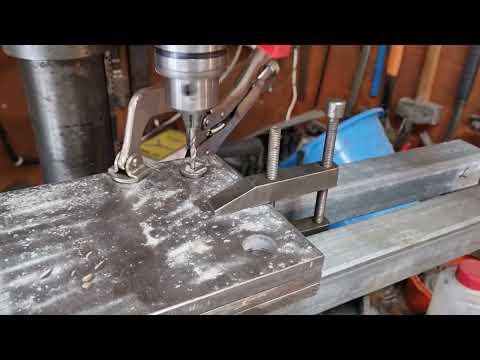
Next, I used a 20mm diameter drill bit to take make the holes in the plate the correct size to fit the round bar. I did things a little out of order at this stage and cleaned up the steel plates with an old flap disc, the first piece was covered in old paint and the other two had a lot of surface rust.
Once everything was cleaned up, I clamped the three pieces of steel plate together and marked one side with a punch so I could keep the parts aligned. I used an offcut of the 20mm bar with a hole in the centre to help align the drill bit for a pilot hole in the other plates.
Once I drilled the pilot hole in the correct location, I stepped through the drill sizes until I reached the final size of 20mm. I later went back and increased the size of the holes in the middle plate to 21mm as I needed that to slide freely.
Make the Guide Bars


Now cut four lengths of 20mm round bar to an equal length of 500mm long. I ground a small bevel on each end of the bars and secured them in the vice.
Using a threading die, cut an M20 x 2.5 thread onto each end of the bars. This threaded section needs to be about 50mm to 60mm long.
Test Fit


Throughout the build, I kept testing how it would go together, which was important since I weren't working from a plan but was making it up as I went along. I usually design my projects in advance, but I thought I'd just wing this one.
It's important to keep checking and adjusting your build as you go along. Often, the initial idea you have might not work in the real world, so don't be afraid to change things as you progress.
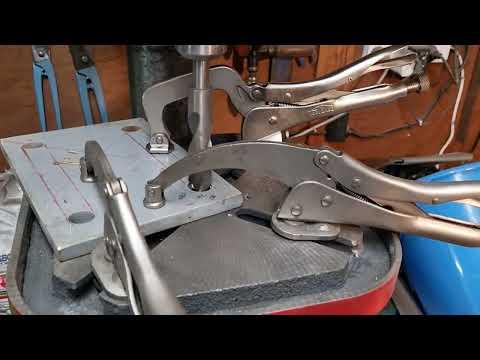
Mount the Jack


When mounting your jack, it's important to make sure you centre the hydraulic ram in the middle of the plate so it pushes all sides evenly. I started by marking the centre of the bottom plate and then aligning the centre of the jack to that.
Once I had the jack in the correct location, I traced around the base of the jack with a marker. Now you need to select at least three locations to secure the jack. I tried to space the bolt locations equally around the base of the jack and allowed about 5mm of clearance.
Once you have selected the locations, mark them with a centre punch and drill a 5mm hole. Then use an M6 tap to thread the three holes.
Whenever you drill or tap a hole there's a burr around the exit, you should remove this with a file or lightly sand it off with a flap disc.
Spring Mount Holes


Find the centre of the sides and come in about 15mm and mark this with a centre punch. Now drill a 6mm hole through the plate and countersink the opposite side. You need to do this on the bottom and middle plates, but not the top plate.
You can tell by the photos that I didn't decide to countersink this until after I had painted it, which was due to my not fully planning out this build before starting it.
Once again file or sand off any burrs.
Painting


This is a pretty obvious step and entirely optional. Whenever you are painting something, you need to make sure the surface is clean. Since I had been using cutting fluid while drilling and tapping the holes, I gave everything a quick wash down with some brake cleaner.
I gave the parts a few coats of paint and left them to dry. I then added a decal on the top and applied a clear coat.
Assembly


Start by securing the bars onto the bottom plate; you need a nut on both sides of the plate. Make sure you keep the amount of bar going through the plate the same on all four corners, as these will also act as feet for the press to sit on.
I used some large penny washers and bolts to secure the jack in place and tightened everything down.
The eyenuts can be bolted in place using some bolts that drop into the countersunk holes. This leaves a nice flush surface.
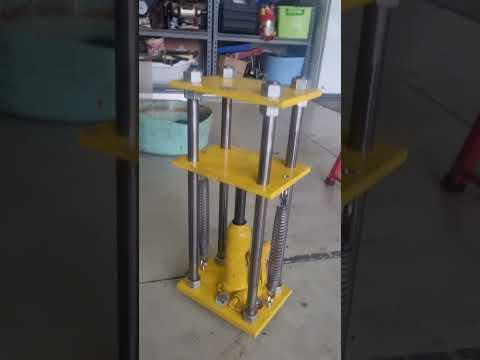
Once you have slid the middle plate in place, you can attach the springs to retract the press to the starting position. I used a couple of old trampoline springs. These are probably a little too stiff, but they were what I could find. The springs should just clip into the eyenuts you bolted in place.
Lastly, you can secure the top plate into position, similar to how the bottom plate was attached. A M20 nut on each side will make a very strong connection.
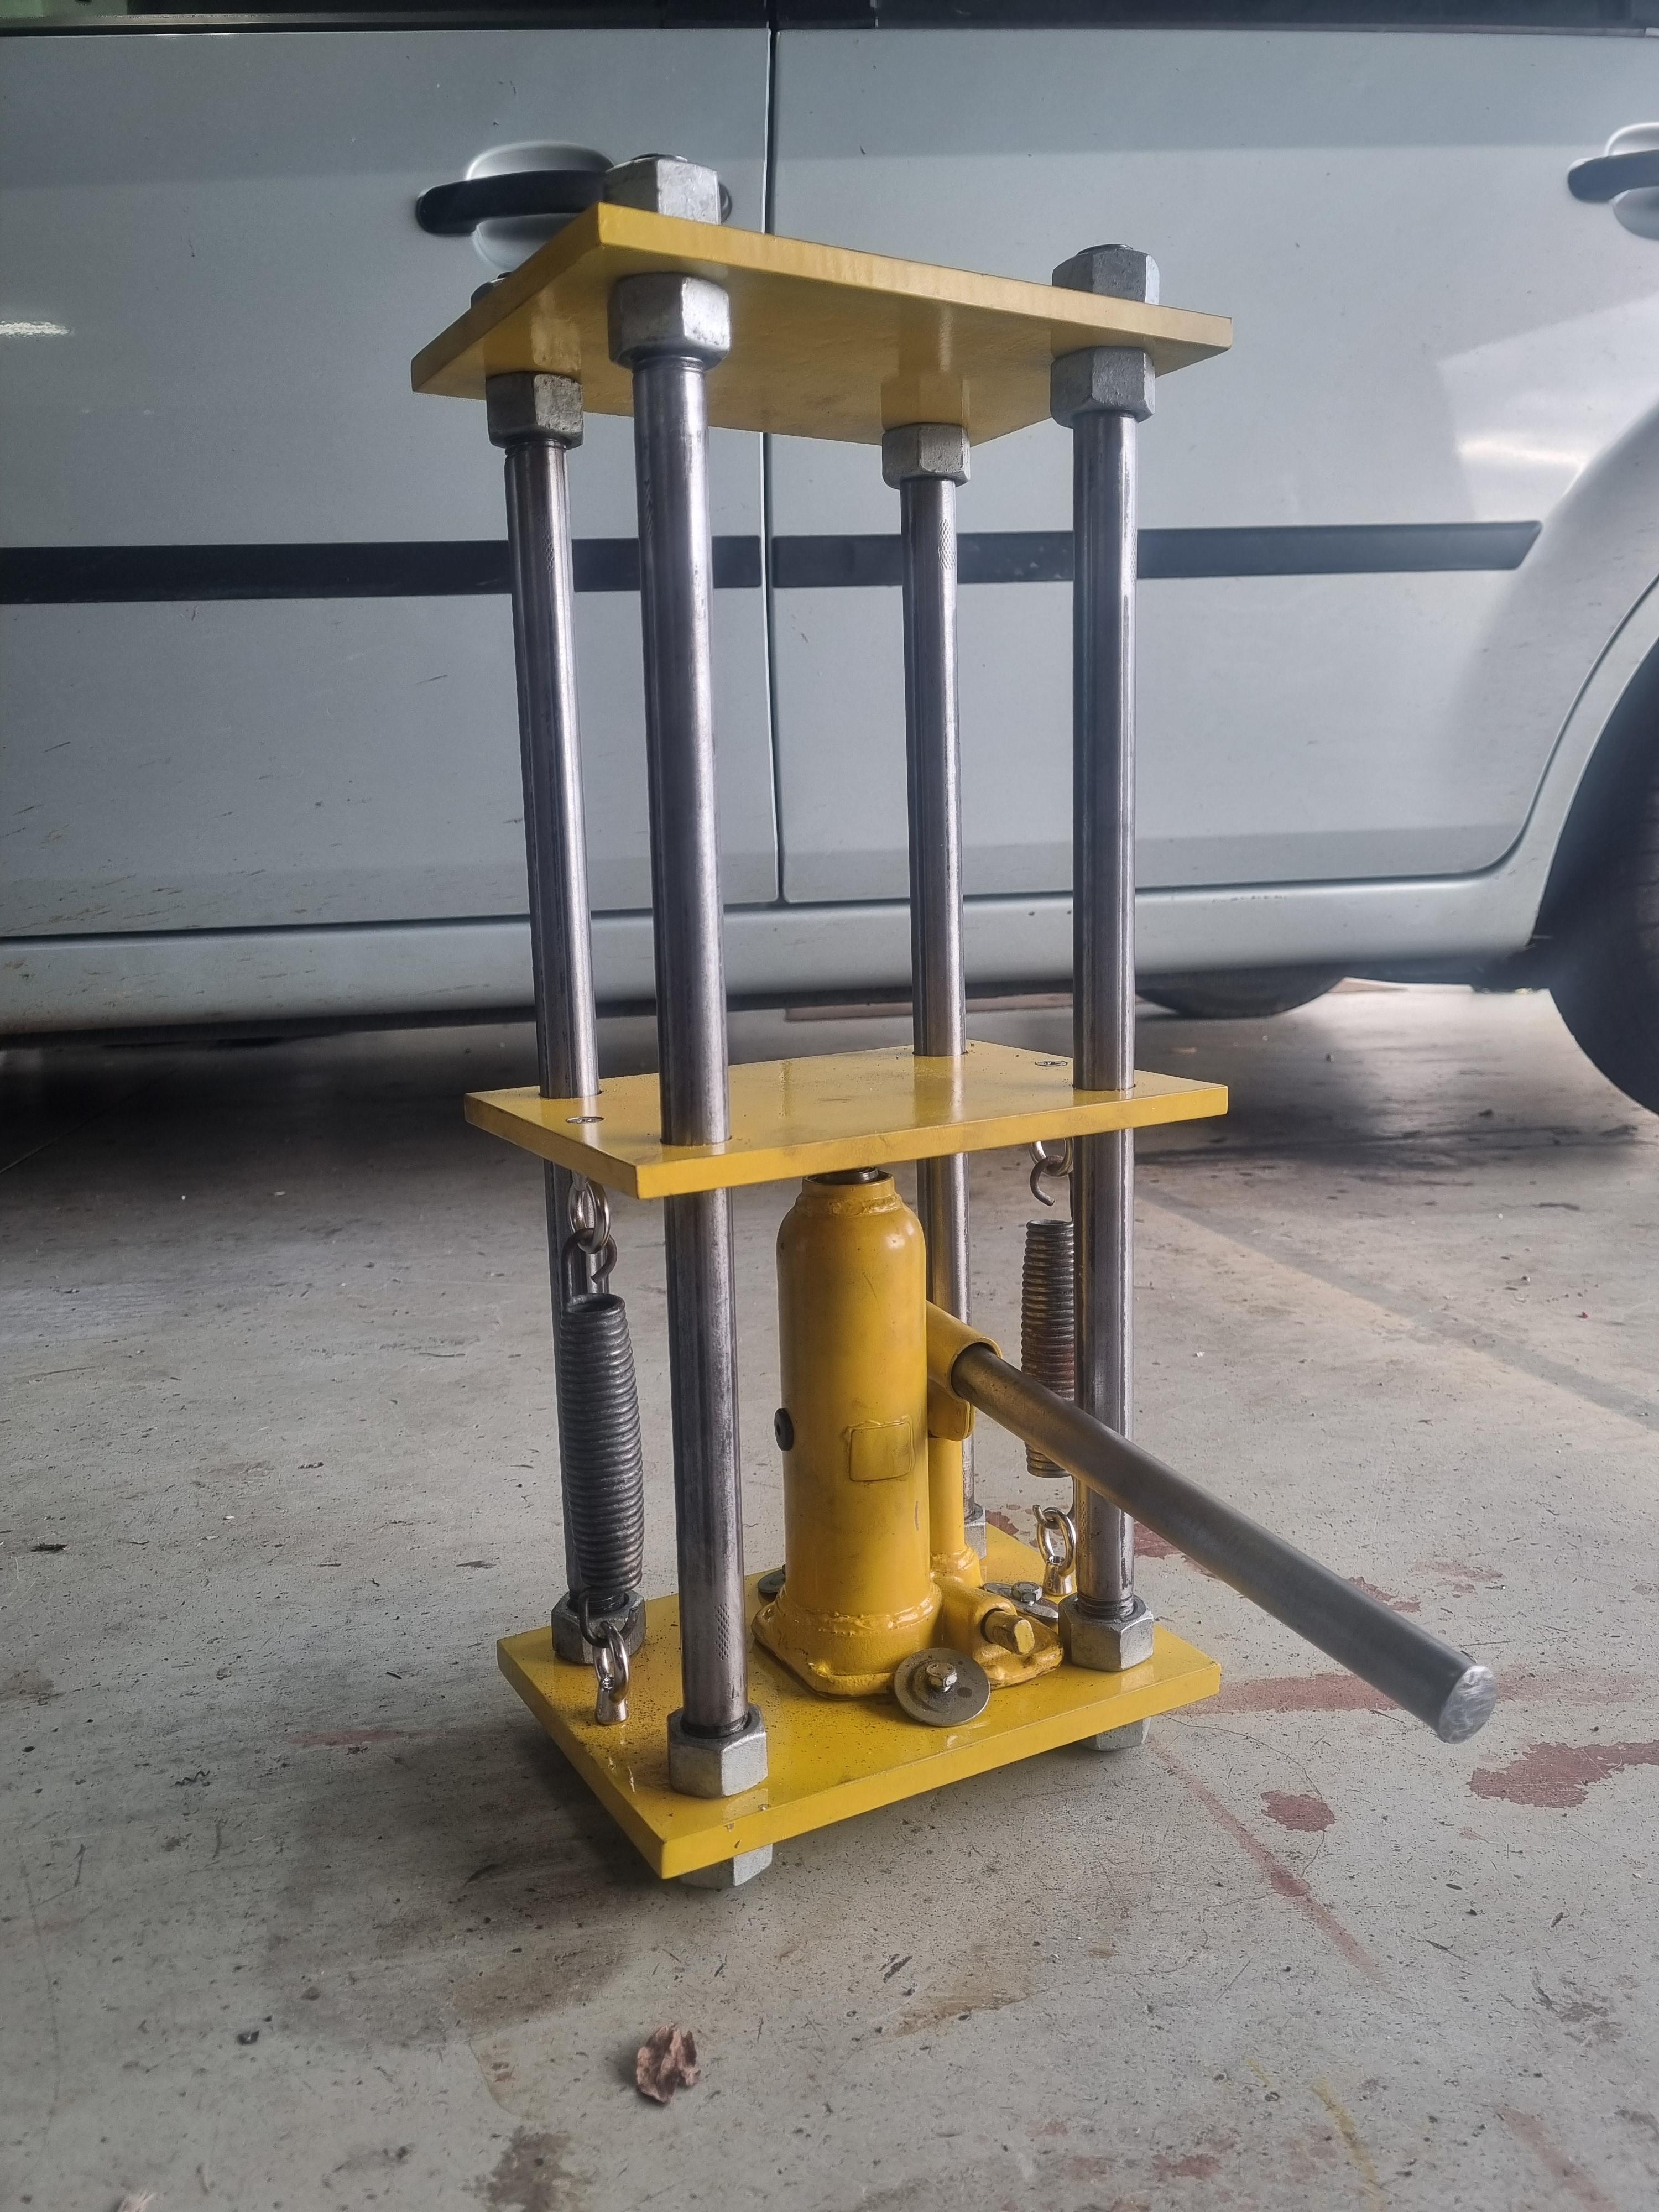
Final Looks


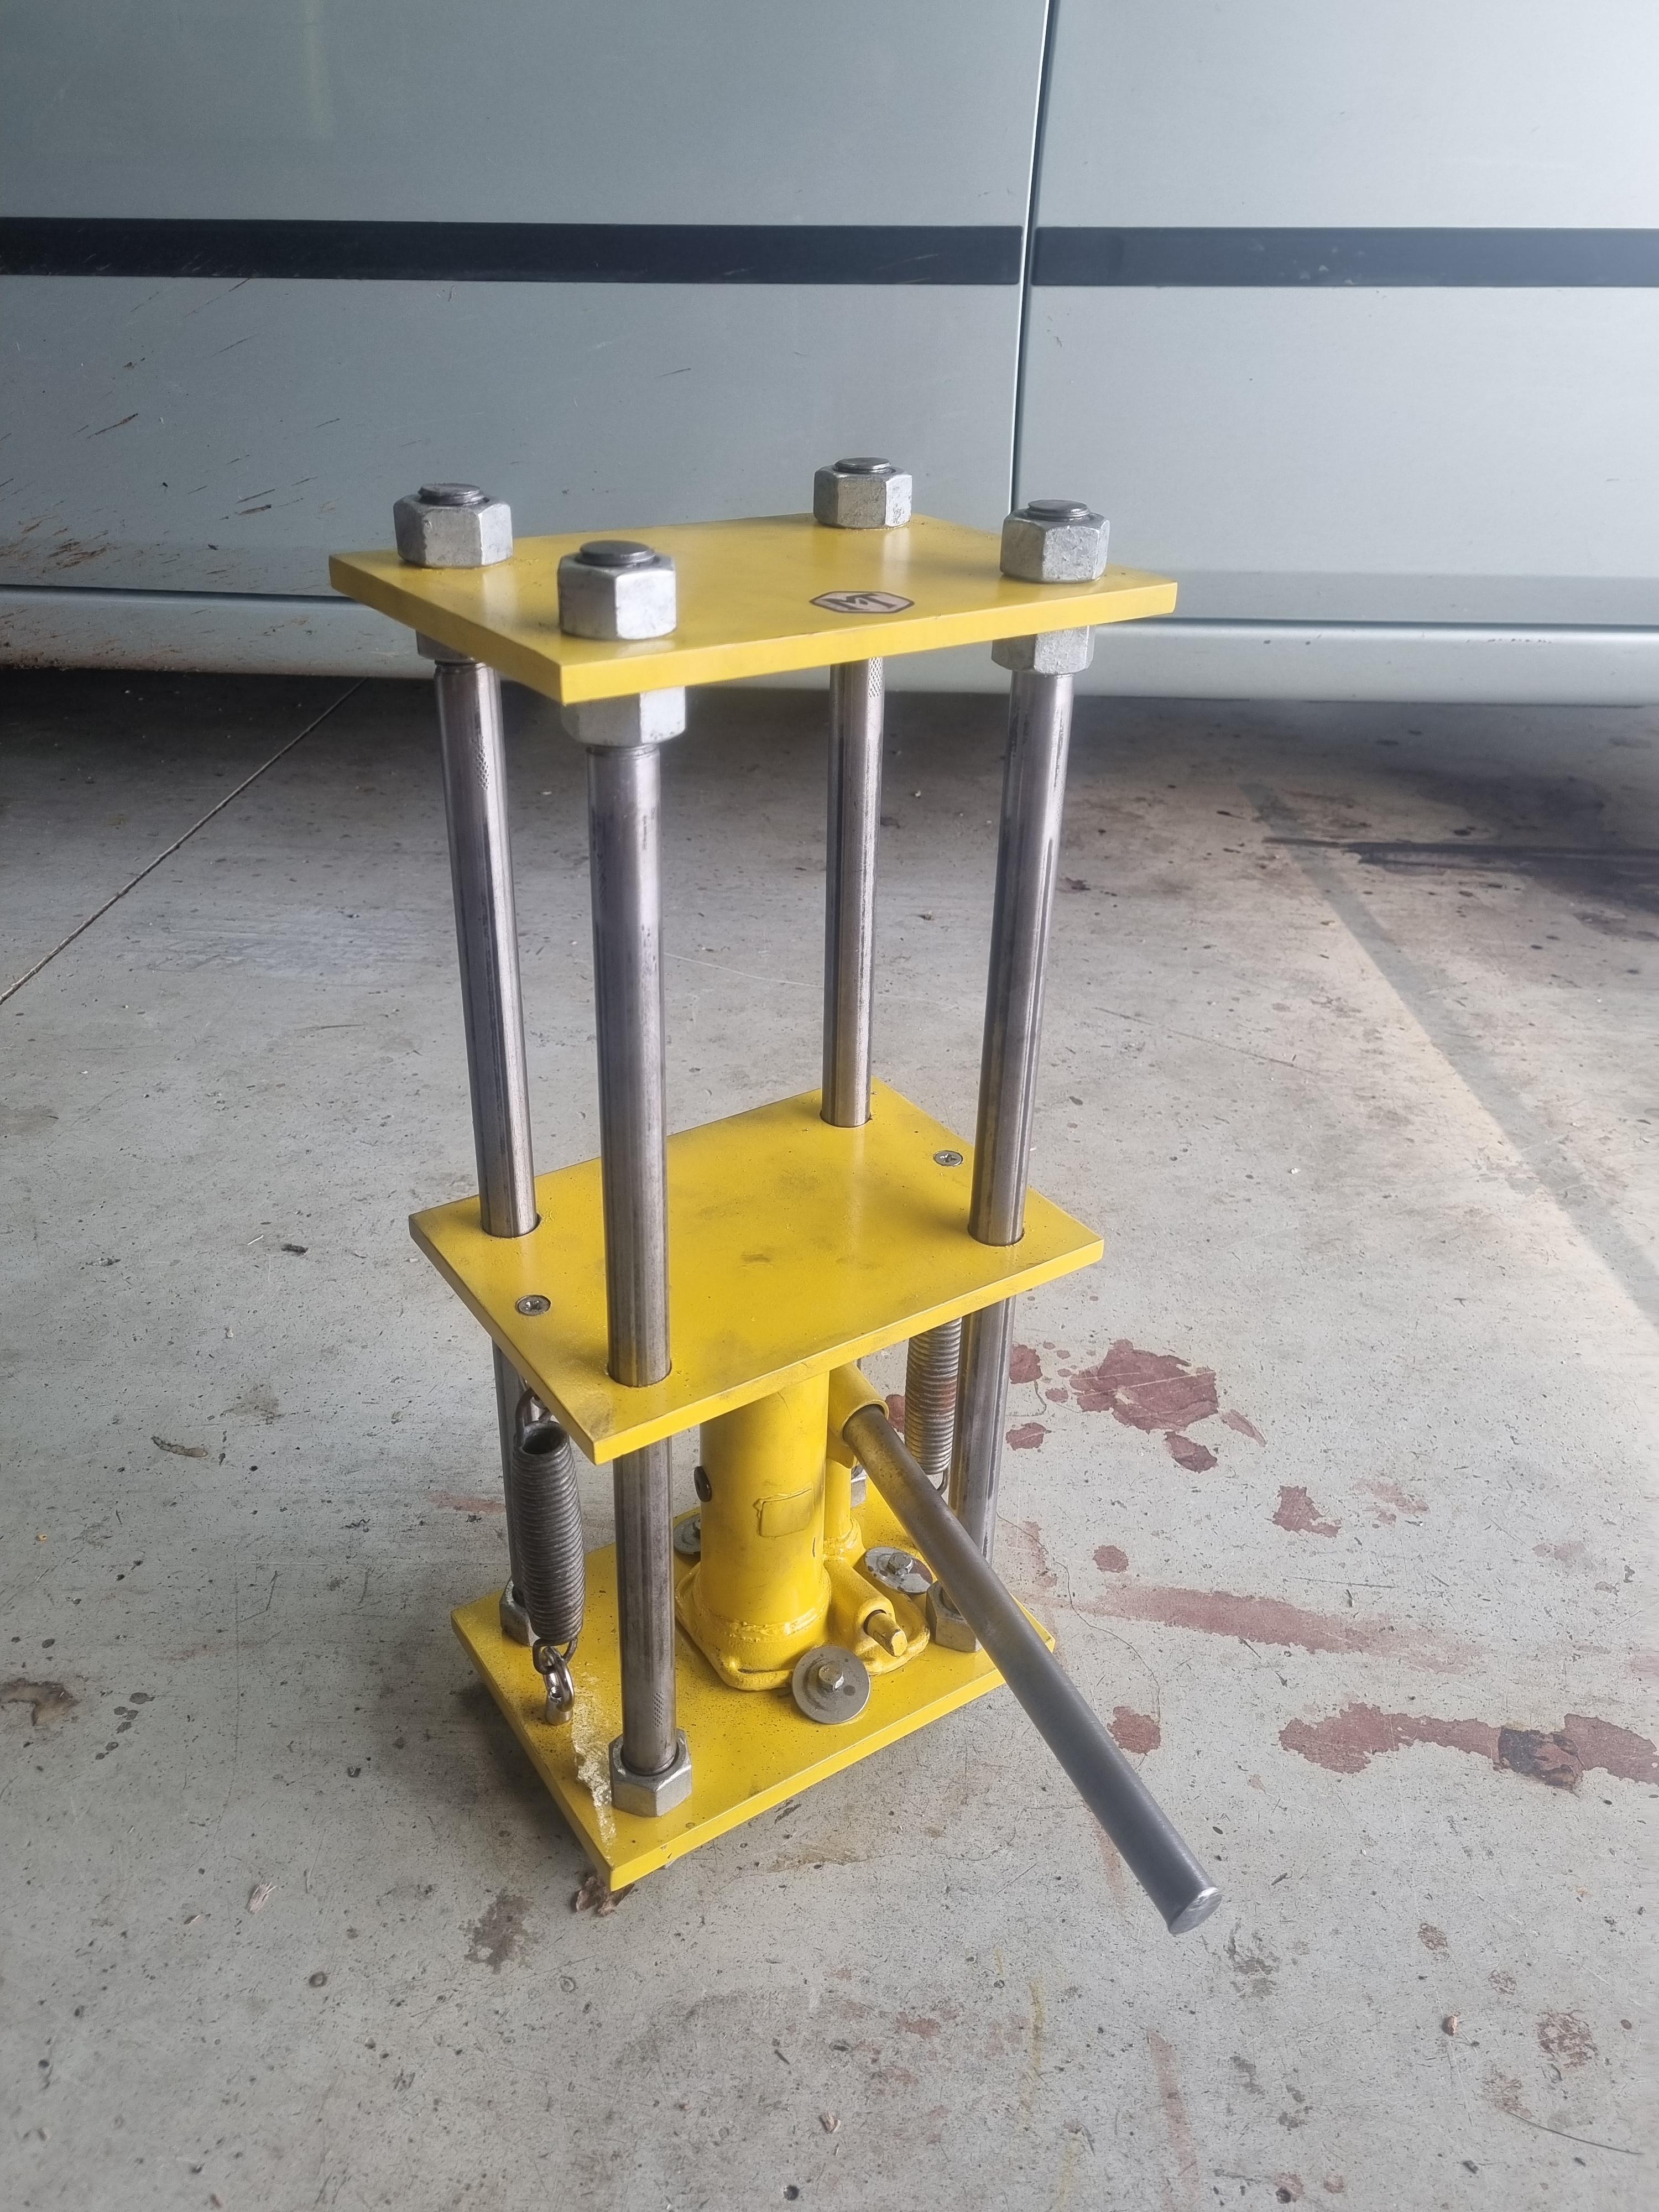


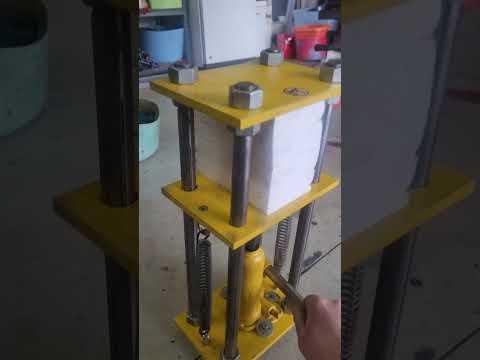
I'm really happy with how this turned out, and I'm sure it will come in very handy. I would like to get some lighter springs, but that's not an urgent need right now.
I have a few ideas on how to improve this if I ever build one again.