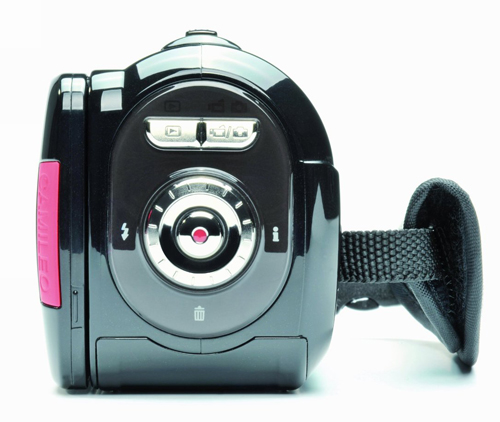
Toshiba Camileo X100 Calibration Menu Also P30 and H20
by vicvelcro in Circuits > Cameras
4392 Views, 0 Favorites, 0 Comments
Toshiba Camileo X100 Calibration Menu Also P30 and H20

Toshiba Camileo x100 Firmware and Diagnostic Menu
This allows you to hack an undocumented menu in the camera allowing you to calibrate the auto-focus, CCD noise light/shadow, LCD test, white balance, and possibly more.
I have been informed by others that this also applies to the P30 and H20 Toshiba cameras.
Before you begin, I suggest you have a fully charged battery, remove your memory card, clean your lens, and mount the camera on a tripod.
To view the firmware version and access the diagnostics menu:
1. The camera should be off. Power it on by opening the touch-screen. (This may work by simply using the power button)
2. Press the playback/still-shot button and release it.
3. Then, press the playback/still-shot button again but do not release it.
4. While still pressing the playback/still-shot button, move the zoom lever to the far right and hold both the playback/still-shot and zoom buttons until the firmware version is displayed.
5. From this firmware version screen, press the movie-mode button and hold it down while you move the zoom lever to the right.
You are now in a diagnostic service menu titled "PCBA Test Program". (My camera screen constantly flashes in and out, alternating between the menu and a black screen)
This menu offers the following options:
1. "Playback to LS" - press the Play to check the "Lens Shadow" - the noise matrix.
2. "Up to KLens" - press "Up" to calibrate the lens.
3. "Left to FastLCD" - press "Left" to check the LCD screen.
4. "Right to WB" - press "Right" to adjust the white balance.
5. "DPC" - press "Down" to select this option (remove your memory card and be sure you have nothing stored to internal memory - it will be erased)