Toy Biplane Animation

Hello! I'm a homeschooled senior in high school, and I've recently fallen in love with 3d modeling and animating. I'm currently taking a class on it, and I wanted to test/grow my skills through a (decently big) project! When I saw the "Make it Fly" competition, I knew I had to join.
Supplies
- For this project I used Blender, but any 3D software should work. To learn any software, it's helpful to know a good balance of Functionality & Technique. That's why I intentionally took a 3D modeling course before creating this, which helped me learn many concepts I otherwise would've missed. As for functional learning, Blender Guru's Donut Tutorial can do wonders for complete beginners, and this is what helped me learn all the basics of Blender.
- You'll also need a decent graphics card and a good computer to render all that beautiful biplane goodness. Although a solid PC setup is best, I got away with using a good gaming laptop (i7, Nvidia RTX 3050) instead. Investing in a good setup, especially if you want to take 3D modeling seriously, cannot be understated.
Conceptualization


The concept for this project came from two main inspirations, Toy Story and oddly enough that one test flight from How To Train Your Dragon. After coming up with a couple ideas based on the contest prompt, I settled with a short, simple animation that can be boiled to one sentence:
A children's toy biplane comes to life and takes flight, spiraling through the air and out a window.
After creating this premise, I looked up references of toy biplanes and imported them into Blender. Orthographic images specifically came in handy when it came to modeling the biplane itself since they can be traced over with shapes to form a model.
In order to create realism and an animation that popped, I applied textures to all of my materials. The sites I used for this project were Poly Haven and AmbientCG. Although there are others, I found these two to be the best for my needs.
Modeling the Biplane


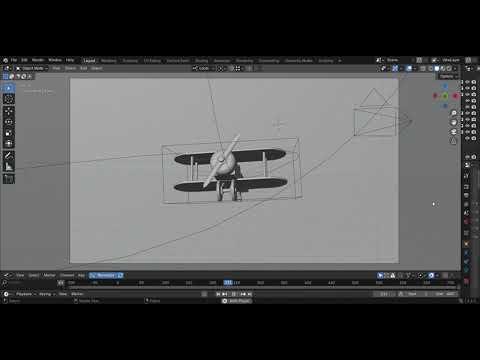
To start modeling the biplane I switched into orthographic view so I could see my reference straight on and also switched the outliner (I rarely use it while modeling) for the main reference so I could see it better.
Using the orthographic as a guide, I created a rough model by adding, moving and scaling each piece into place according to the references. Modeling comes with many problems, and this one was no exception. The fuselage (main body) took quite a few attempts to model one I was happy with. I couldn't seem to get the bevel right and I battled with what the cockpit should look like. Eventually though, after many revisions, I did end up with a pretty complete first model.
Texturing


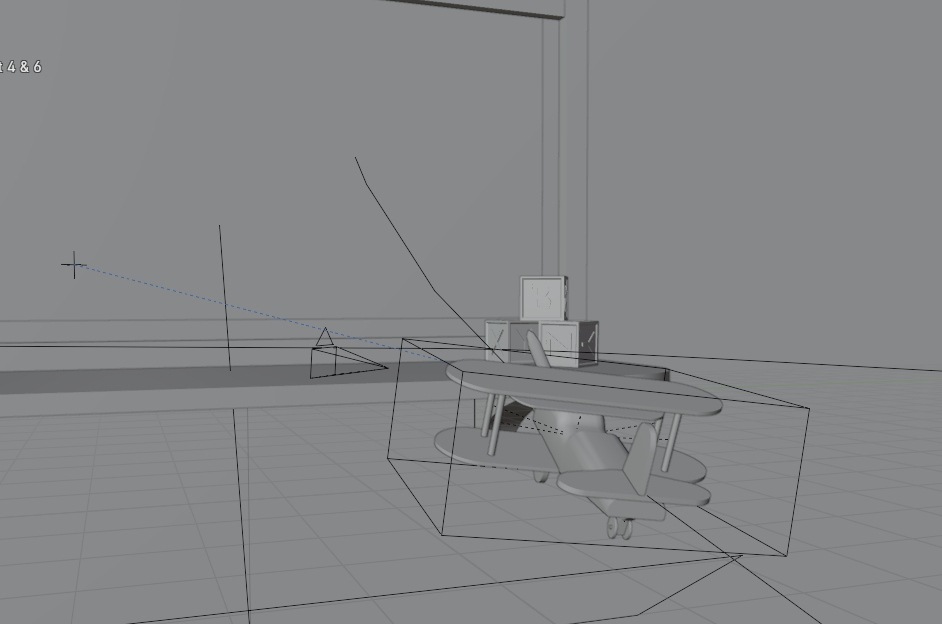
Before creating the rest of my scene, I wanted to finish up the biplane. Before adding textures, I added two empties for the biplane:
- An empty cube to parent all the other parts of the biplane. (for easier animating)
- An empty axis to act as the local rotation for the propeller. This was needed because I couldn't animate the local rotation of it directly (since it would change all 3 axis). I used a rotation constraint for this and linked the axis' rotation to the propeller's local rotation. It's a bit complicated, but this video explains it well. It is important to note that when an object is parented to another object (like the propeller) You need to change 'mix' in the local constraint settings to 'After original'. This revelation came from a quite long debugging session.
I downloaded multiple wood textures from the sites I mentioned above and also used my main reference to assign materials to the biplane. For the wheels and the propeller, I used redwood to accent and compliment the rest of the biplane. Dabbling a little into UV unwrapping, I rotated the grains of the fuselage and manually unwrapped some of the weirder shapes.
Creating the Scene


At this point I was pretty happy with the biplane, so I began work on the rest of the scene: going back to the main idea of a children's bedroom.
- Early models of the window included old-style grilles that I later removed for a more modern, simpler seamless design.
- Obviously I needed to model the actual bedroom walls, ceiling and floor. I used a noise texture to create some realistic drywall for the sides. The ceiling I changed to be white and I added a carpet texture for the floor. I also added a basic trim to help give the floor more detail.
- I modeled a shelf for the biplane to sit on, and support braces for under it. the Bevel tool came in clutch here.
- When I thought of other toys you could find in a children's bedroom, I immediately thought of alphabet blocks. These blocks became a practice tool for me, as I learned how to properly inset, use text, convert text to mesh, and decimating meshes all at once. After I made these blocks I simply duplicated, rotated and moved them around the shelf to fill in the space.
- As mentioned above, I had worked on the famous 'Donut Tutorial' earlier on. Because the walls were still empty, I used this opportunity to create a little easter egg by hanging it up on the wall.
- Finally, I wanted to create a dynamic glass window that shatters when the biplane hits it. I used this video to learn how to add physics and fracture the glass.
Setting Up the Animation


Once I had a pretty good scene, it was time to animate it. I set up a few goals I wanted to achieve and used them to lay out the path that the biplane would follow. These goals were:
- Multiple camera angles for different actions
- A Aileron roll (corkscrew) near the start.
- A barrel roll to gain speed.
- A shattered window at the end.
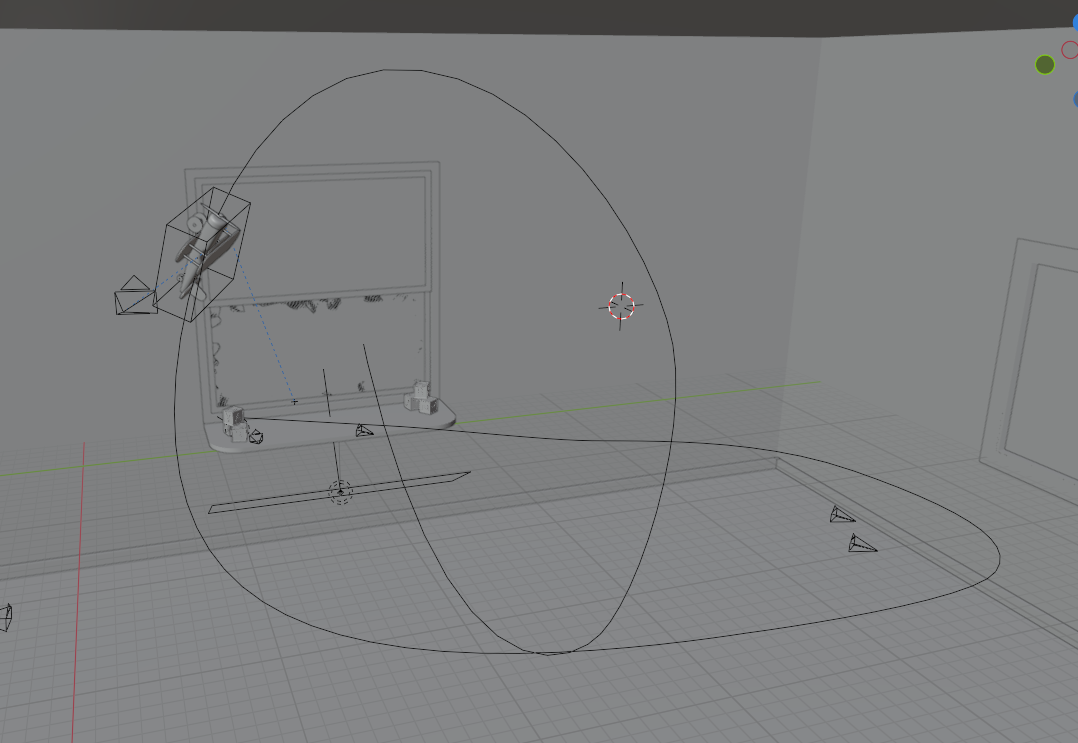
With these in mind, I created a follow path constraint and tied it to a Bezier curve. This was my first time doing it, so I'd recommend this video (by Kev Binge) since it helped me learn it: he gives a nice, in depth tutorial of the constraint and how it's used.
After creating a rough outline of the curve, I adjusted it a bit more to smooth it out. In the end I created a straightaway at the start, a long curve for the corkscrew, and a big loop that crashes into the window for the end.
Next, I animated the corkscrew. For this I just used keyframes to rotate the empty parent around during the long curve. After some constructive criticism from an aviation hobbyist I knew, I altered it to be a tad more realistic; adding more of a centrifugal force to it as it turns.
Once I had the first path laid out and animated, I hooked up a camera to the empty and let it run for its first test.
Rough Draft

After that first, tacky run-through I figured it was time to add more cameras. Among other shots I had in mind, I knew I wanted at least:
- A tracking shot of the biplane. (for this I just used the camera I already made)
- A glamor shot to intentionally showcase the biplane.
- A close-up of the corkscrew.
- An establishing shot.
After adding these, I added a few wider shots to show the entire scene. I also used some different shots to display the biplane's path more clearly.
Finally, It was time to render it out! For this I used multiple folders, each one for each camera shot I had (In total, I ended up with 7). I rendered each out as PNG's, and stitched it all together in blender's native editor (
Final Animation

Although you should be careful before rendering an entire animation, sometimes problems won't show up until you have. Once I had stitched together the whole thing and watched it all the way through, I found multiple more things I wanted to do:
- Create a depth of field for the close-up shots (1&2).
- Fiddle around a bit more with the wallpaper.
- Color grade some of the shots; they had become brighter/darker for whatever reason.
- The donut wall art looked really desaturated, I wanted to fix this
- Adding sound effects. (I used these three SFX for it. Wind-Up Aircraft Engine Breaking Glass)
- adding a fade-out.
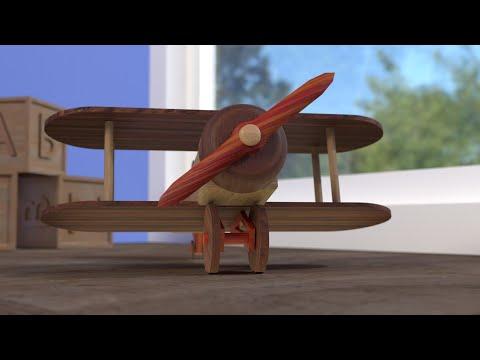
After fixing these, I re-rendered the animation for a final time. The output is displayed here, and although there are many things I could have continued fixing and changing for days on end, I think it came out well enough in my eyes.
This project was incredible, and I had a great time making it. Through the many challenges and obstacles I overcame I learned quite a lot; and I was able to significantly advance my skills in 3d modeling and animation, so I'd call that a successful project.
I'd like to thank you for reading through this Instructable. I hope you were able to learn something from this, and that your day brightened just a little bit more.