Toy Lawn Mower

I made this toy lawn mower as a Christmas gift for a friend's little boy who is about to turn 1 year old. His dad has been a close friend for more than twenty years, so this is a really special gift for his son. It's a little early for him, but he'll be able to have fun with it in a couple of months when he's walking on his own.
There's nothing difficult about this project. Even making the curved pieces of wood is not that hard, and it's fun to try if you've never done it before. I used a technique known as bent wood lamination to make the curved arms that attach to the wheels.
I made the lawn mower out of some left over pieces of wood that I had. It's made from maple, sipo, and oak dowels. Sipo is an African wood that has similar characteristics to mahogany. It has a nice reddish brown color that contrasts nicely with the maple.
If you like this project, please vote for it in the contests that I've entered: Wooden Toys, Homemade Gifts, and Epilog VIII. If you're on a computer, the voting button is up near the top of the screen. If you're on a mobile device, the voting button is down near the bottom. Thank you for your support!
Materials and Tools You Will Need
You can use whatever kind of wood that you want. You might want to substitute walnut for the sipo since it's probably easier to obtain. You could even make it all out of the same wood, but it would lose the interesting contrast. The materials I used are:
- A piece of maple that was about 36" long
- A piece of sipo that was about 36" long
- A piece of 1" oak dowel for the handles
- A couple of 1/2" dowels for the lawnmower "blades"
- A piece of 1/4" dowel for the pins (explained later)
- A piece of sipo large enough to make two 8" wheels
- A piece of walnut that can be cut up to make the clackers
- 3 pieces of 3/4" MDF that are about 18" x 30" to make the mold for the bent wood lamination
- Some cork to line the mold (I used 12" cork tiles)
- Some plastic wrap to protect the mold from the glue
- Lots of glue
- Finish (mineral oil or tung oil both work well)
The tools you will need are:
- Table saw
- Band saw
- Jointer (not absolutely necessary)
- Planer
- Drum sander (not absolutely necessary)
- Drill press
- 1/2" Brad point drill bit
- 5/8" Brad point drill bit
- 2" Forstner bit
- Random orbit sander
- Belt sander (not absolutely necessary)
- Router
- Flush trim router bit
- Sand paper
- Clamps
Watch the Video!

You can watch the video, or click through the steps to learn how I made the toy lawnmower.
Joint the Edges of the Wood


I started by jointing the edges of the wood prior to ripping the wood on the table saw. This helps to ensure that you have a straight edge to use against the table saw fence.
Rip the Wood Into Strips

Rip the wood into strips. In my case, I wanted to glue up the wood so that the arms that attach to the wheels would have a stripe down the middle, so I glue up two strips of maple with one strip of sipo going down the middle. You'll want to aim for an overall dimension of the glue-up strips to be about 1" x 3" x 36". You'll need two set of these because there are two arms that lead up to the handle.
If you don't want the stripe, you don't need to glue up the wood. Just cut two pieces that are about 1" x 3" x 36".
Joint and Plane the Faces


Joint one of the faces to ensure that the wood is straight and flat, and then plane the other side so that it's smooth. The dimension is not too important because we'll be resawing it into thinner strips later. You just want to aim for about a 1" thickness, but a little less than that is fine.
Glue Up the Wood

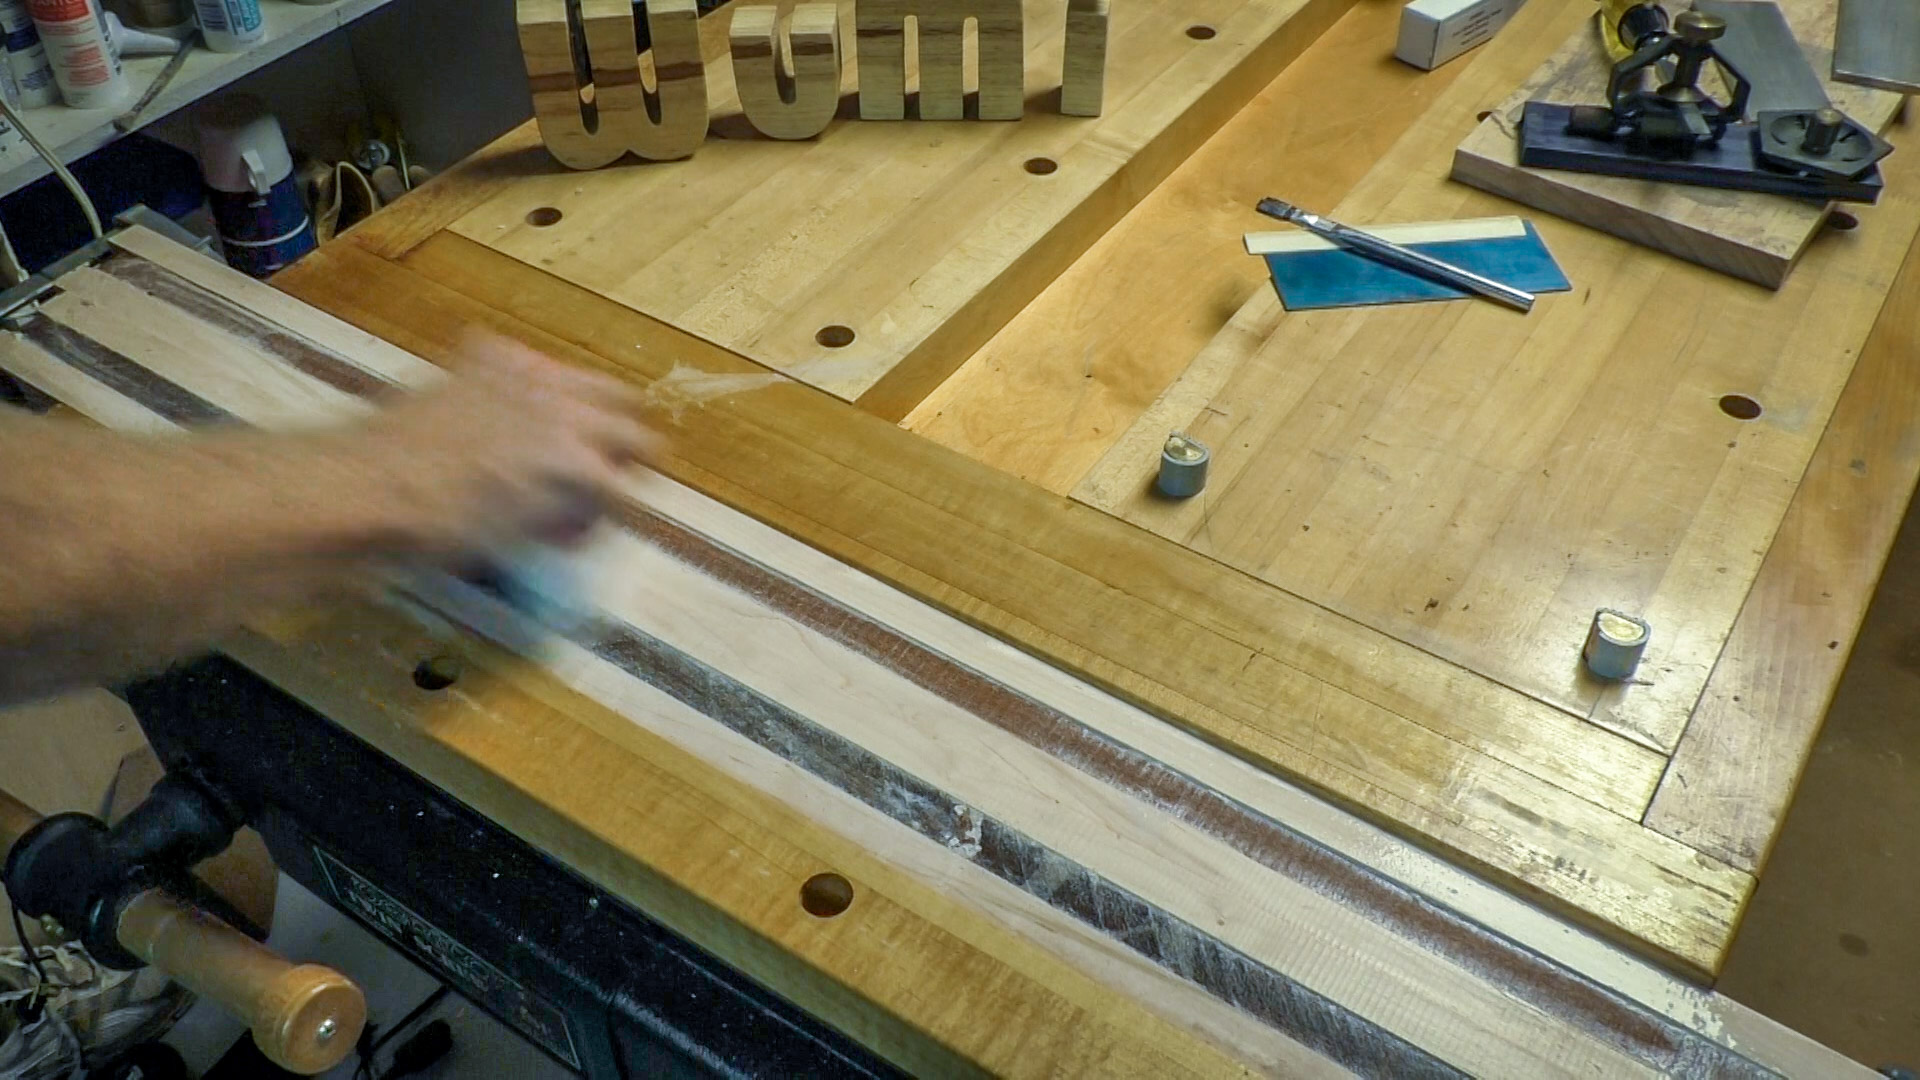
Assuming you're going with the stripe down the middle like I did, glue up the wood and clamp it for a few hours. I have a 30" vise, so I used that, and then just put small clamps on the ends.
Joint the Face After Glue-up

After the wood has been glued up, joint the face so that it's flat and straight.
Resaw the Wood

Now resaw the wood to get thin strips. You will want the strips to be around 3/16" or maybe even a little less so that the wood can be bent into the shape you need for the arms. I made 3 strips for each arm.
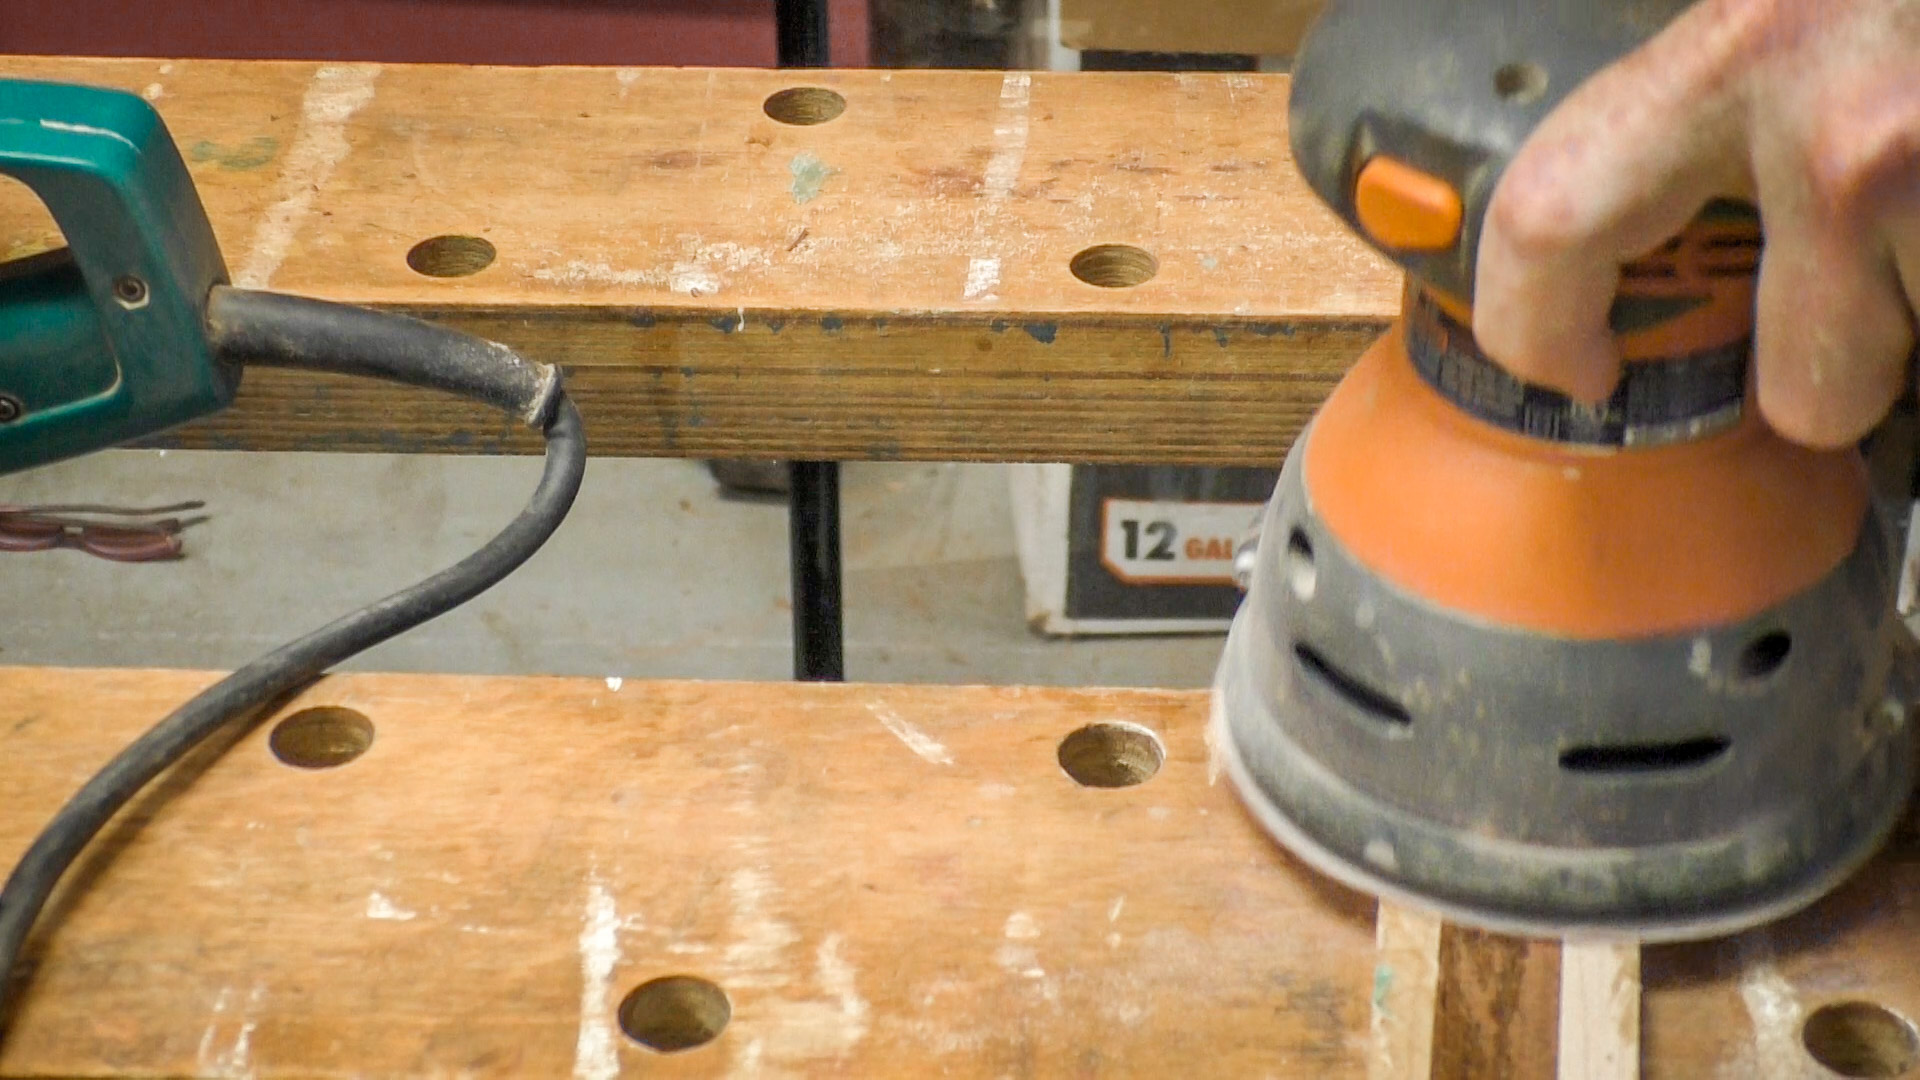
Sand the Strips

After resawing, you'll need to sand the strips so that they are smooth prior to gluing them up. If you have a drum sander, this would be an ideal time to use it.
If you have a planer, it's possible to use that to smooth the strips of wood, but the strips are so thin that you'll need to glue or tape the strip to another board so that it can be run through the planer. There are several videos available on YouTube about how to plane a thin piece of wood.
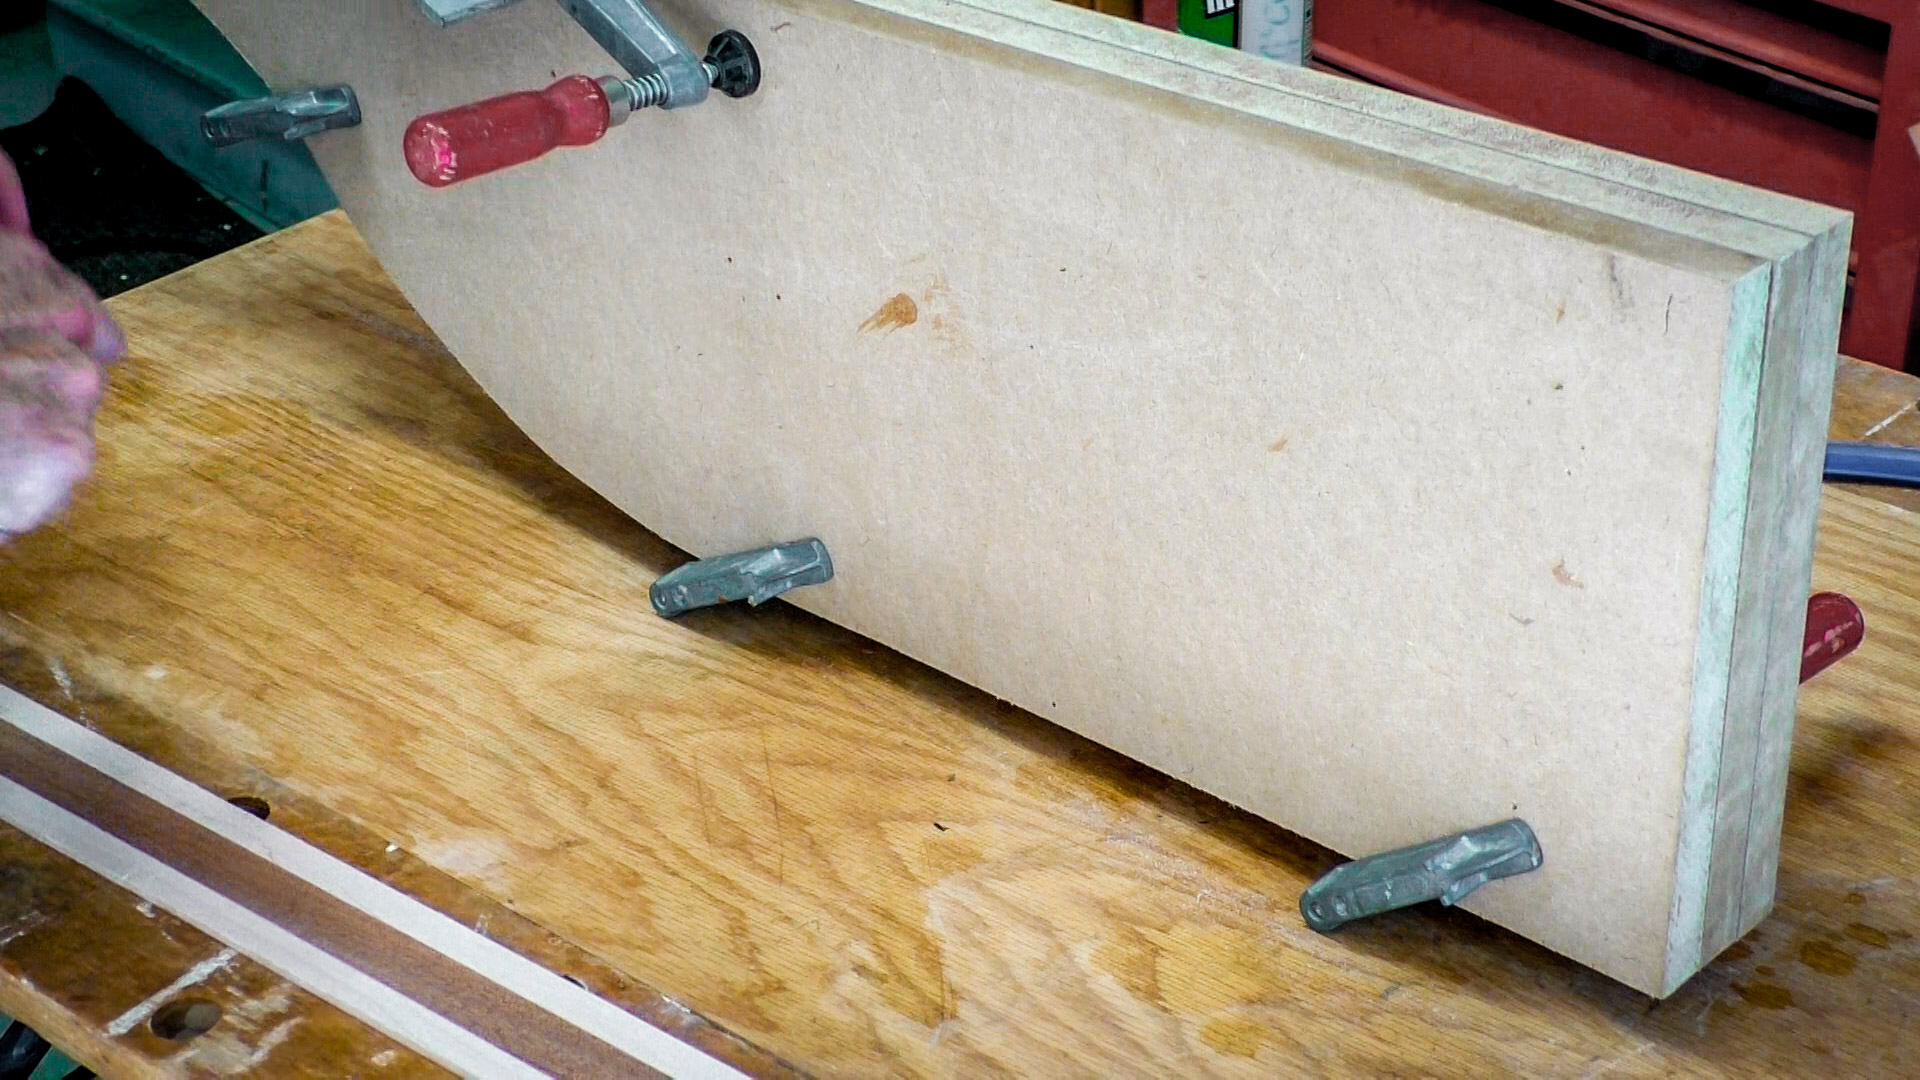
Prepare the Mold


Draw your curve onto a piece of MDF and then cut it out on the band saw. I've included a photo of the mold that I used to give you a sense of the dimensions. I've lined the mold with cork to accommodate any imperfections. You will need three pieces of MDF stacked together for the mold to be wide enough for the handle. Use this first piece that you cut on the band saw as a template for the remaining two pieces of MDF.
Use the band saw to cut out the curve on the other two pieces of MDF, and then use a router with a flush trim bit along with your template piece to make all three pieces of MDF have the same curve.
Glue Up the Mold

Now glue up the three pieces of MDF so that they are stacked. The total thickness will be about 2 1/4". After the glue has dried, apply a layer of cork along the edge of the curve. This will provide some padding for the glue-up to compensate for the fact that your curve is probably not perfectly smooth.
Glue Up the Strips of Wood
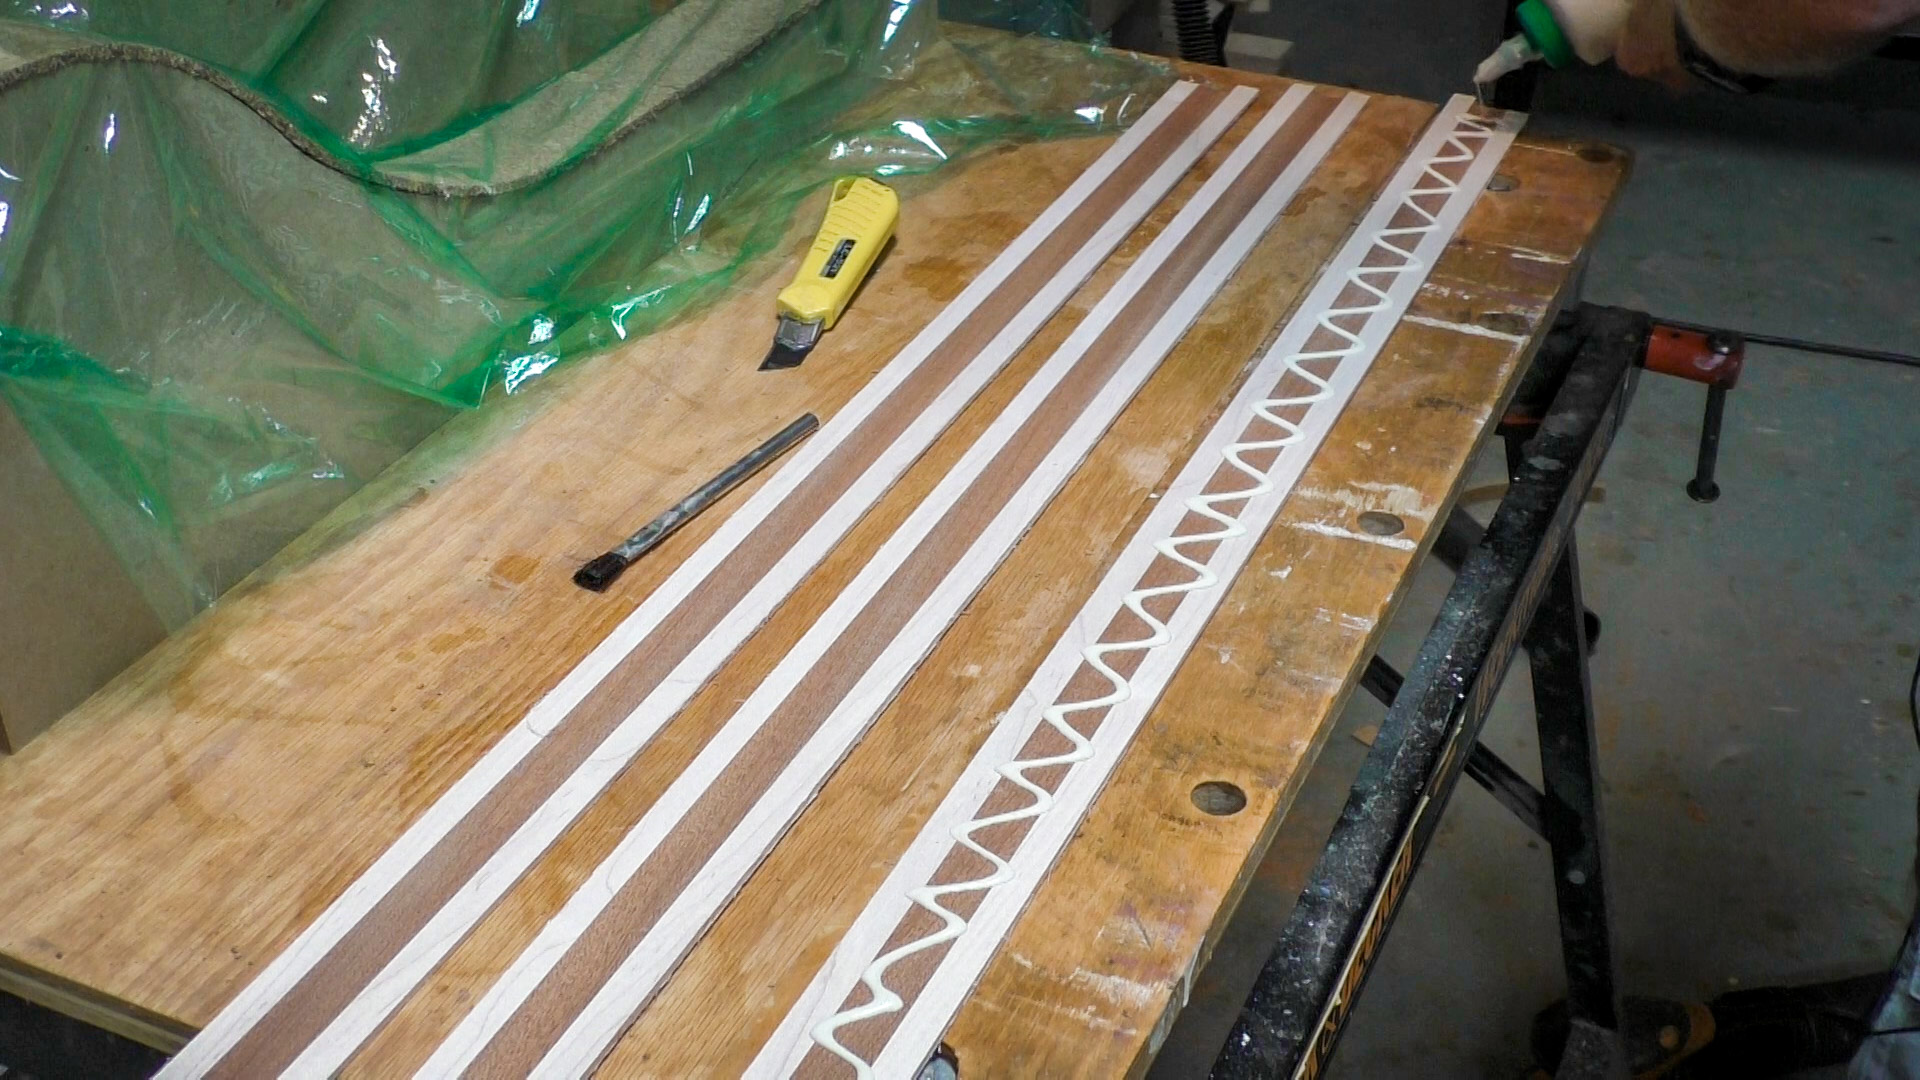
Line your mold with plastic wrap so that the glue will not stick to the cork.
Now apply glue to the three strips of wood and then insert them into the mold.
Clamp Up the Mold


This step is a little tricky to get the mold clamped tightly because the wood will have a tendency to move around and get out of alignment. You'll need to take care that the wooden strips remain fairly well aligned. You may benefit from a helper to hold things in place and help to tighten the clamps.
After clamping, let the glue cure over night.
Since you only have one mold, but two arms, you will need to repeat the glue-up for the other arm the next day and clamp it over night.
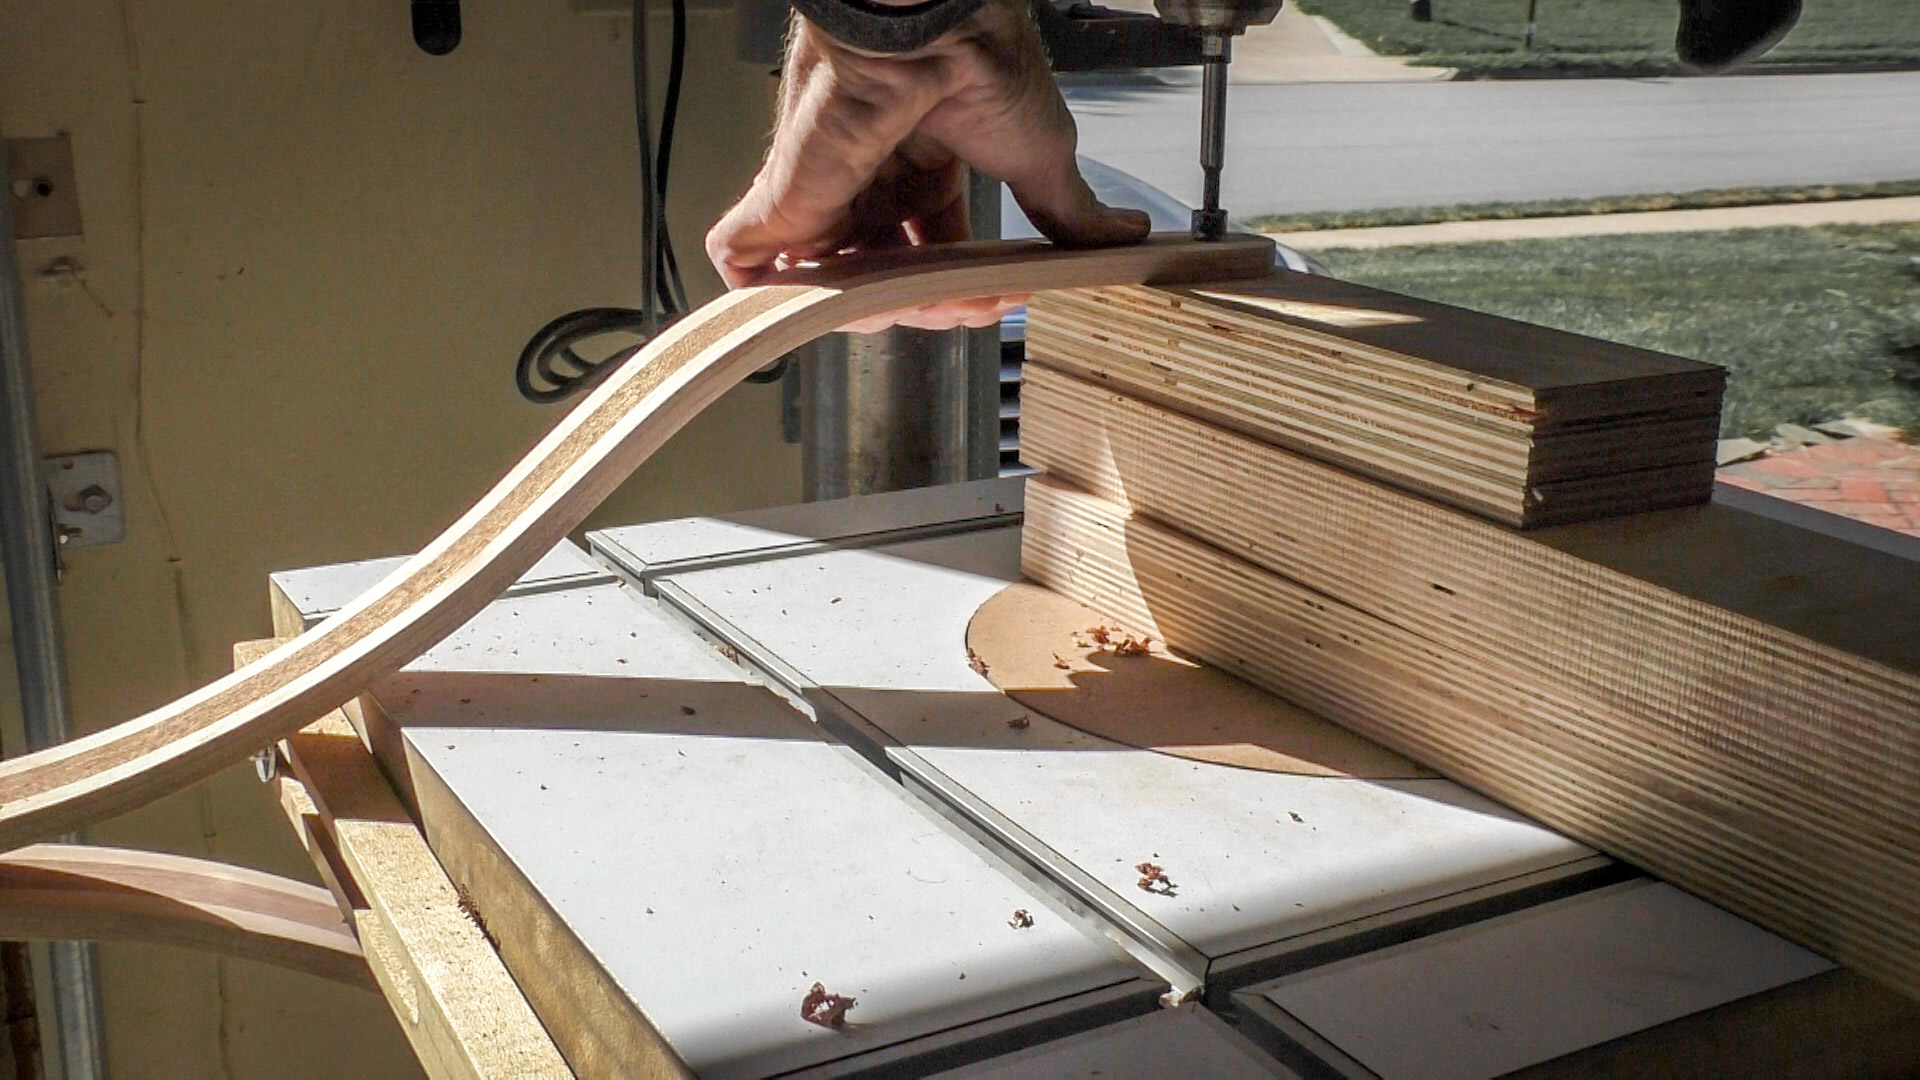
Prepare the Arms


After the glue has cured, your strips of wood will be permanently bent into the shape that you wanted to for the arms to attach to the wheels. The strips will look pretty rough at this stage, but it's fairly easy to clean them up with a sander.
Prepare the Clackers


I used some leftover triangular pieces of wood that I already had in my shop. These were left over pieces of walnut from my kitchen stools project and were ideal for the clackers. All I needed to do was to drill a 5/8" hole in one end. I used a 5/8" hole so that they would fit loosely over the 1/2" dowels.
Round the End of Each Arm
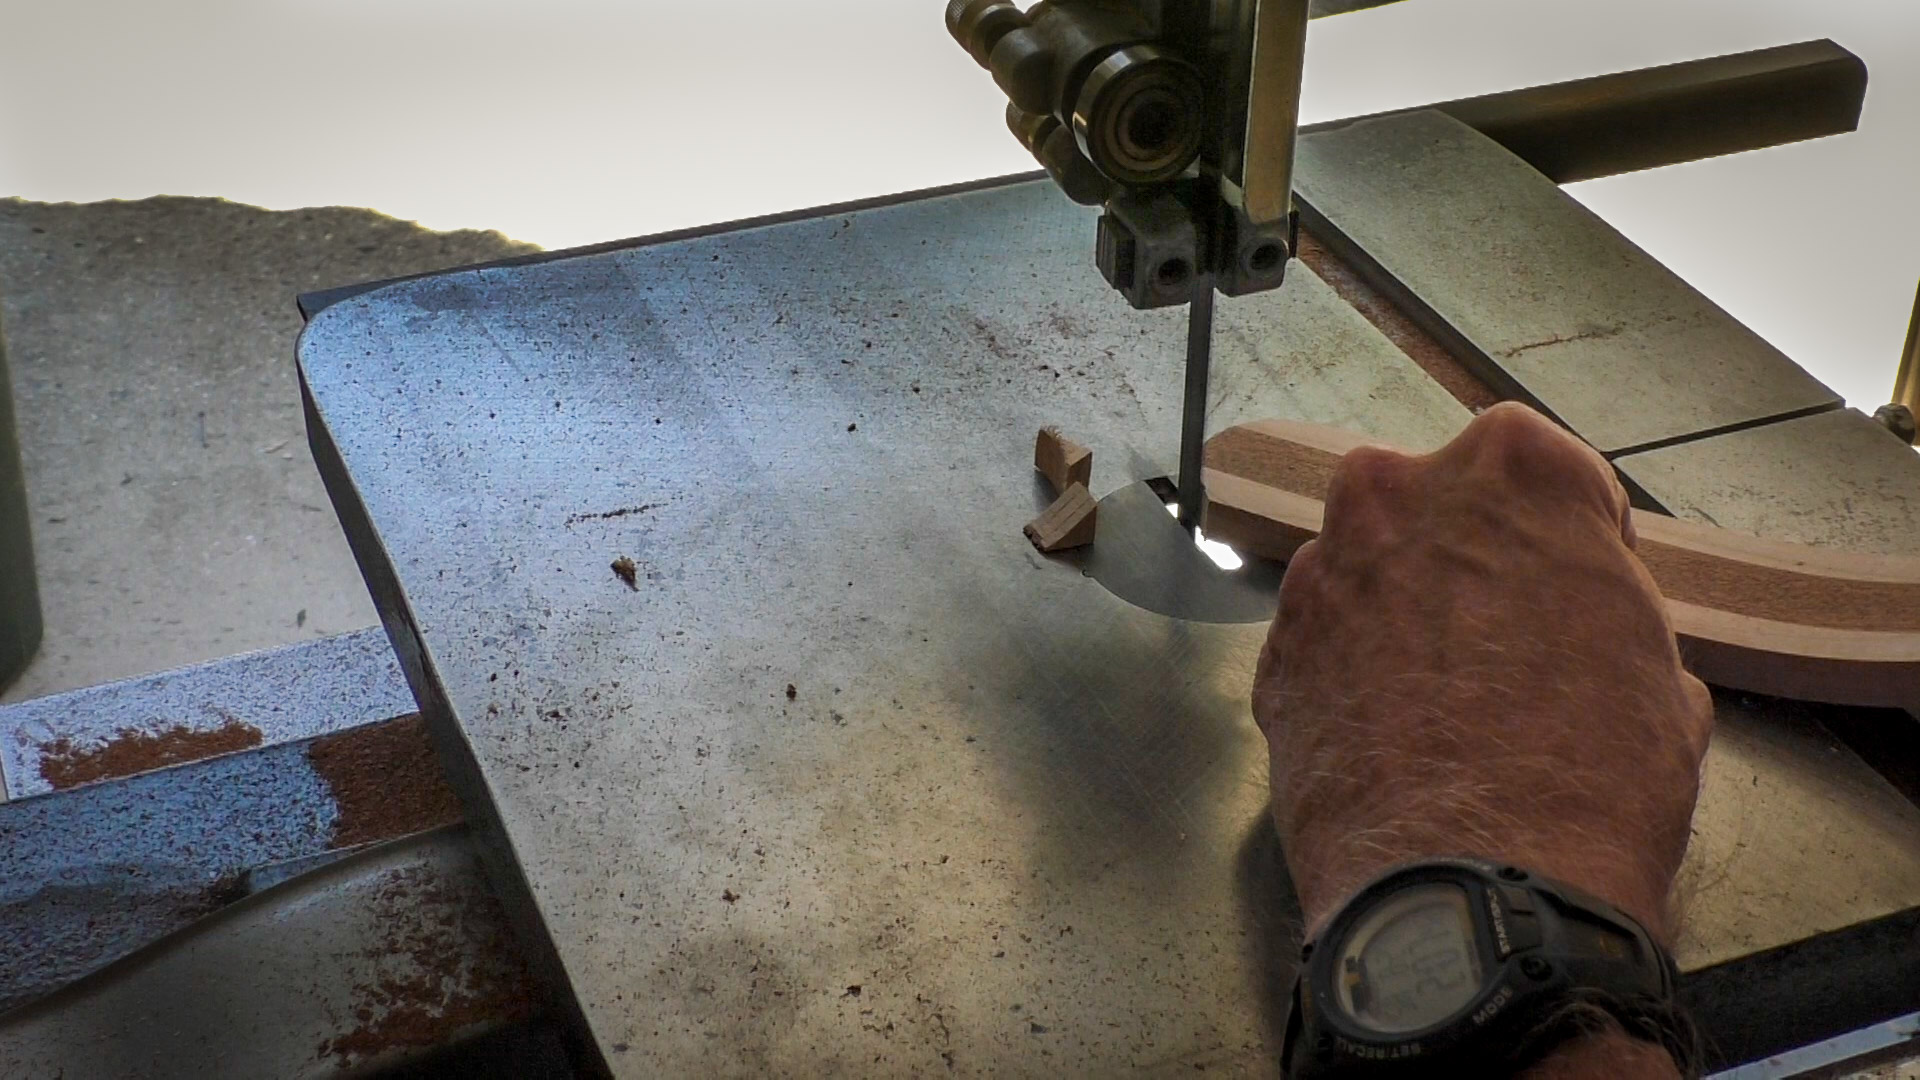
Using a band saw, round the end of each arm where it will attach to the wheel. Then clean it up using a sander.
Make Hub Caps

Cut the 1" dowel into two short pieces that are about 3/4" long. These will serve as the hub caps that go onto the ends of the little axles. Then use a Brad point drill bit to drill a 1/2" hole about half way into the piece of dowel so that a short piece of 1/2" dowel can be inserted.
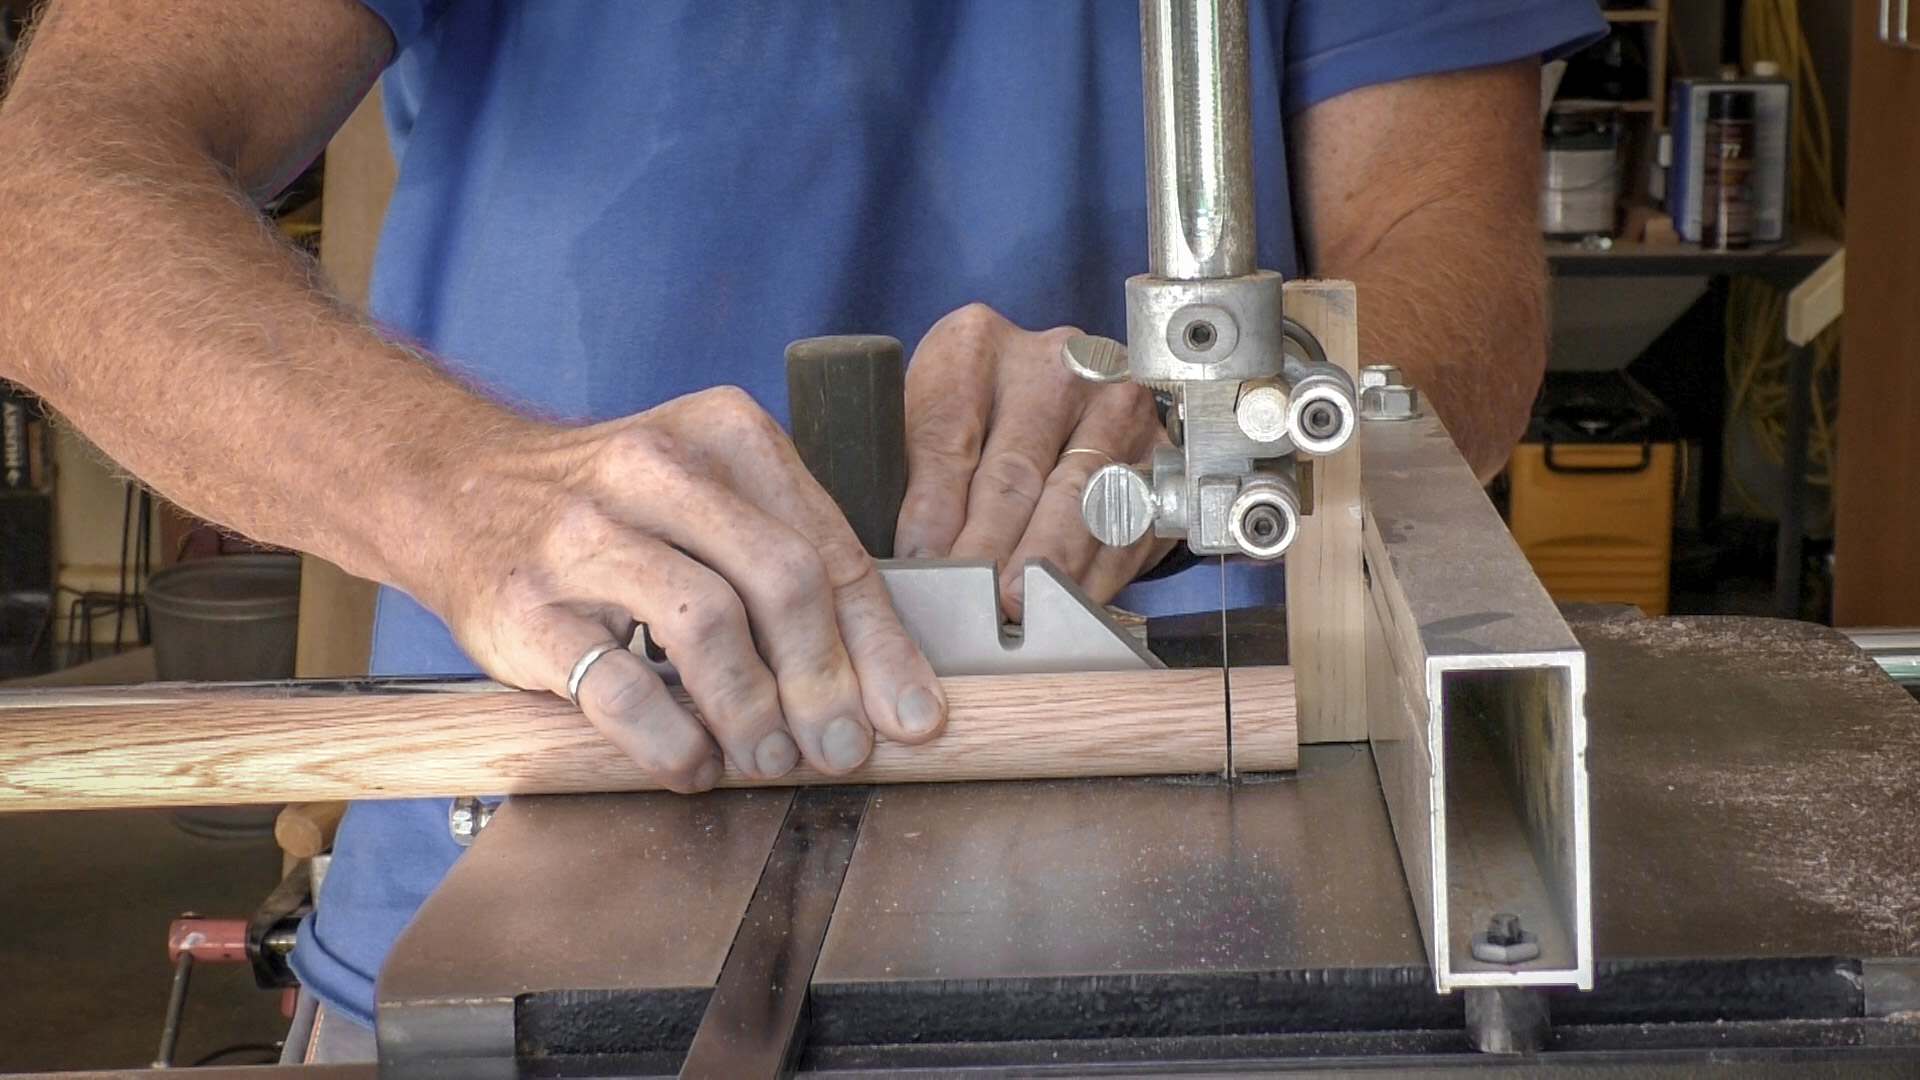
Cut the Wheels


Use a circle cutting jig on the band saw to cut out the wheels. If you've not done this before, it's pretty straightforward. All it takes is a piece of MDF with a 1/4" bolt inserted through it.
Place your wood on to the MDF and insert the bolt through a hole in the center of the wood. Set this on the band saw table and run the MDF through the band saw blade until you're about half way through. At this point, the bolt should be beside the blade, but 4" away from the blade. Clamp the MDF in place so that the bolt is 4" away from the blade (4" is the radius of the 8" circle you want to cut). With the band saw turned on, rotate the piece of wood about the bolt to cut out the circle. You should end up with a very clean cut and an almost perfect 8" circle. You can clean up any saw tooth marks with a sander.
Drill Holes Into the Wheels


You'll need to drill four 1/2" holes to hold the 1/2" dowels that will be used as "blades" to hold the clackers.
(Optional) Use a 2" forstner bit to drill additional decorative holes between the 1/2" holes as pictured. This will help to make the wheels a little bit lighter.
Then drill a 5/8" hole through the center of the wheel. This will provide a loose fitting hole through which you can insert the little axle.
Test the Fit


Now do a dry fit to test the fit of the dowels into the 1/2" holes. If the fit is too tight, you might need to sand the dowel a little bit. You'll need to assemble your two arms to determine how much space is available between the arms to attach the wheels. This will help you determine how long the dowels need to be. The dowels should be somewhere in the order of 10" long.
Drill Holes Into the Dowels for Pins


I drilled 1/4" holes into the dowels so that I could insert little pins to keep the clackers from moving from side to side. You'll need to cut short pieces of the 1/4" dowel (maybe about 1" long) so that they can extend through the 1/2" dowel. You will need 10 pins total. Two for each "blade" and one for each little axle. Then sand the ends to taper them a little.
Assemble the Wheel Housing

Prepare for glue-up and assemble the wheels, dowels, and clackers. Be sure not to forget the clackers because there will be no way to add them if you glue in the "blades" first. Then glue in the pins to keep the clackers separated.
Trim Off the Ends of the Dowels


If you have a dozuki saw or some other kind of flush trim saw, you can use that. If not, you can just sand off the ends of the dowels.
Prepare the Handles
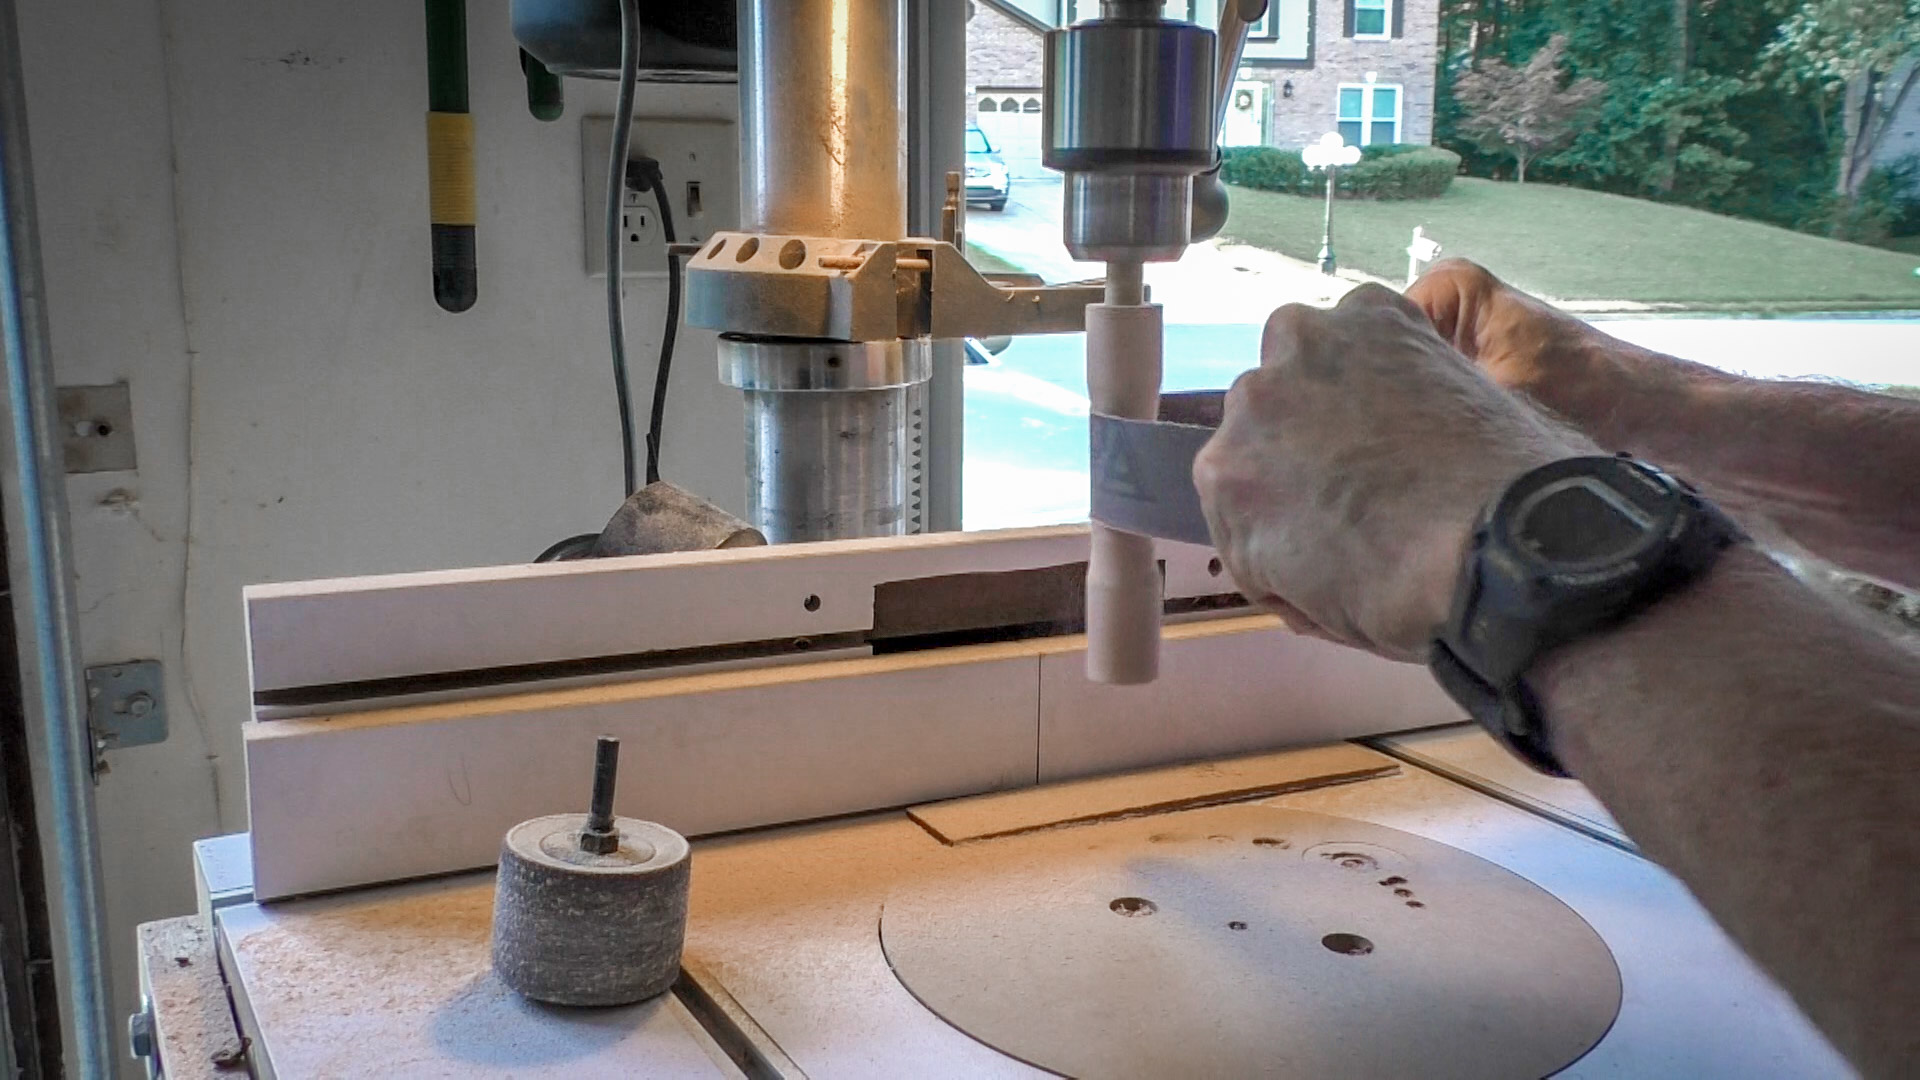


I used a 1" dowel to serve as the handles. If you have a lathe, then you'll likely want to use that to form the handles. I didn't have one, so I inserted the dowel into my drill press and used sandpaper to shape the handles. It wasn't the most efficient way to do it, but it got the job done.
Then I used my belt sander to round over the ends of the handles. They actually turned out pretty well.
Trim the Ends of the Arms


Using the band saw, trim the ends of the arms and round them over nicely.
Drill Holes for the Axles
Drill a 5/8" hold into the end of each arm at the point when they will meet the axle/center of the wheel.
Put It All Together


Now attach the arms to the wheels by inserting the little axles through each arm. Then attach the handles at the other end. I attached the handles by inserting a 1/2" dowel into the end of the handle, and putting the 1/2" dowel through the end of the arm. In the second photo, you can see a close-up of how the pins are inserted into the 1/2" dowel to hold things in place.
The Final Product


Here is the finished toy lawn mower. It's going to be a lot of fun in the summer!
Click to play the video and you can follow along as I build the toy lawn mower.
If you like this project, please vote for it in the contests that I've entered: Wooden Toys, Homemade Gifts, and Epilog VIII. If you're on a computer, the voting button is up near the top of the screen. If you're on a mobile device, the voting button is down near the bottom. Thank you for your support!