Transforming Raspberry Pi Into a Remote Control
by leon-anavi in Circuits > Raspberry Pi
18787 Views, 69 Favorites, 0 Comments
Transforming Raspberry Pi Into a Remote Control


In the era of Internet of Things (IoT) old electronic devices are outdated. In this tutorial you will learn how to bring back life to them using Raspberry Pi and the $9 add-on board from the IndieGoGo crowdfunding campaing of ANAVI Infrared pHAT.
This tutorial provides a video and step by step instructions for scanning remote control and sending IR commands from your Raspberry Pi using the free and open source software LIRC. In this particular case I am going to control my 20-year-old SONY GR7 mini HiFi system. you may use the same approach for any other HiFi system or TV.
Please note that remote controls of the air conditioners are more complex and will be covered in another tutorial. Subscribe to my YouTube channel to make sure you will not miss it.
ANAVI Infrared pHAT is an open source hardware add-on board compatible with all models and versions of Raspberry Pi with 40 pin header, including Raspberry Pi Zero, Zero W, 3, 2, B+ and A+.
Getting Ready
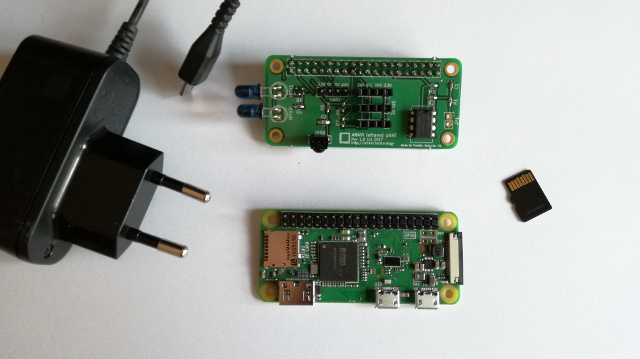
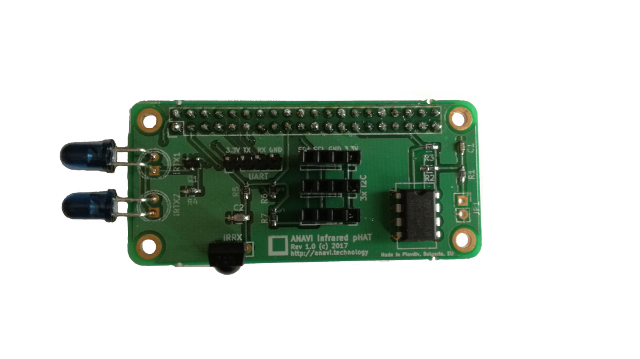


For this tutorial you need the following hardware components:
- ANAVI Infrared pHAT
- Raspberry Pi (any model or version with 40 pin headers such Zero, Zero W, B+, 2 or 3)
- microSD card with Raspian GNU/Linux distribution
- USB power supply
Assembling the Hardware
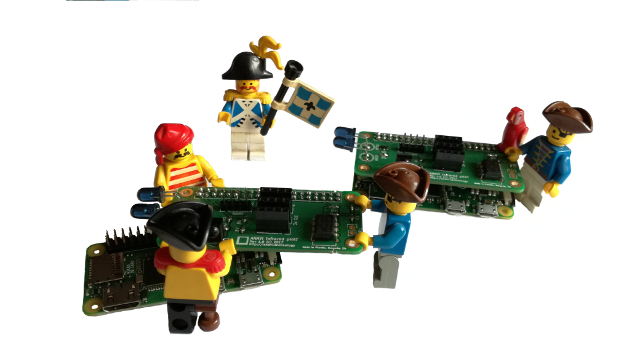


Getting started with ANAVI Infrared pHAT is super easy. You just need to plug it on top of the 40 pin header of your Raspberry Pi. It is like a child's play.
After that plug the microSD card with the Raspbian GNU/Linux distribution and turn on your Raspberry Pi.
Installing the Software

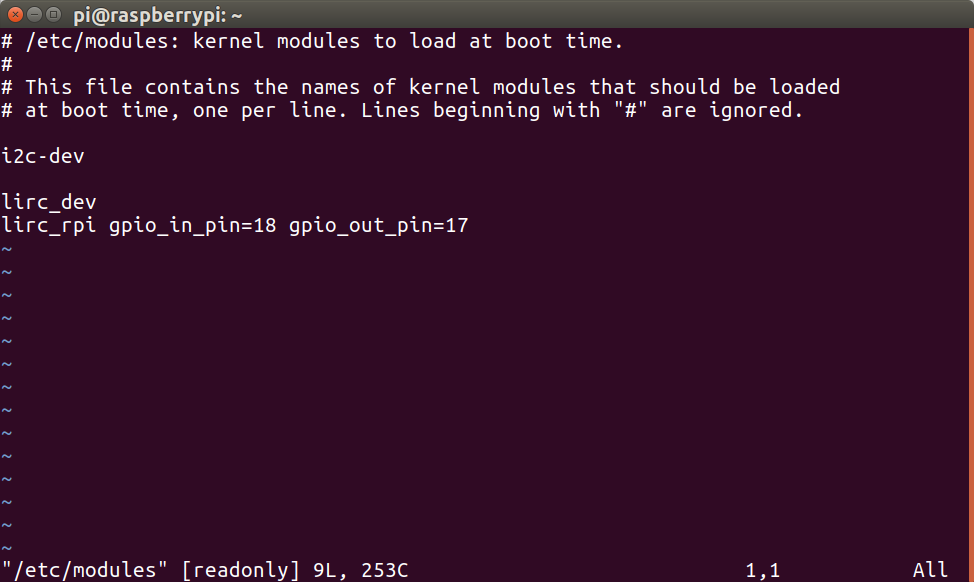

Open a terminal on your Raspberry or just login via SSH and perform the following steps to enable the infrared receiver and transmitter:
- Install LIRC
sudo apt-get update
sudo apt-get install -y lirc
- Edit /etc/modules and add the IR pins by adding the following line to the end of the file:
lirc_dev
lirc_rpi gpio_in_pin=18 gpio_out_pin=17
- Configure /etc/lirc/hardware.conf in a way to match:
# /etc/lirc/hardware.conf
#
# Arguments which will be used when launching lircd
LIRCD_ARGS="--uinput"

#Don't start lircmd even if there seems to be a good config file
#START_LIRCMD=false

#Don't start irexec, even if a good config file seems to exist.
#START_IREXEC=false

#Try to load appropriate kernel modules
LOAD_MODULES=true

# Run "lircd --driver=help" for a list of supported drivers.
#DRIVER="UNCONFIGURED"
DRIVER="default"

# usually /dev/lirc0 is the correct setting for systems using udev
DEVICE="/dev/lirc0"
MODULES="lirc_rpi"

# Default configuration files for your hardware if any
LIRCD_CONF=""
LIRCMD_CONF=""
- Edit /boot/config.txt and configure kernel extensions by adding the following line to the end of the file:
dtoverlay=lirc-rpi,gpio_in_pin=18,gpio_out_pin=17
- Reboot Raspberry Pi:
sudo shutdown -r 0
Scanning the Remote Control
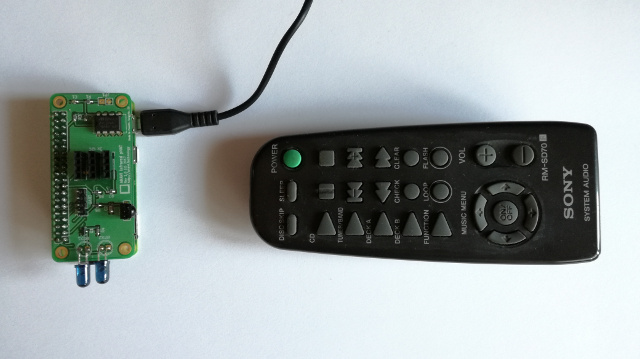


Follow the steps below to create LIRC configuration file and test the infrared transmitter:
- Stop LIRC systemd service:
sudo systemctl stop lirc
- List all available names for buttons supported by LIRC:
irrecord --list-namespace
- Type in the following command to create new LIRC control configuration file and follow the on screen instructions to scan a remote control:
irrecord -d /dev/lirc0 ~/lircd.conf
Example configuration output:
Now enter the names for the buttons.

Please enter the name for the next button (press <ENTER> to finish recording)
KEY_POWER

Now hold down button "KEY_POWER".

Please enter the name for the next button (press <ENTER> to finish recording)
KEY_VOLUMEUP

Now hold down button "KEY_VOLUMEUP".

Please enter the name for the next button (press <ENTER> to finish recording)
KEY_VOLUMEDOWN

Now hold down button "KEY_VOLUMEDOWN".

Please enter the name for the next button (press <ENTER> to finish recording)

Successfully written config file.
- Backup the original LIRC configuration file:
sudo mv /etc/lirc/lircd.conf /etc/lirc/lircd-backup.conf
- Load the new configuration file:
sudo mv ~/lircd.conf /etc/lirc/lircd.conf
- Launch LIRC systemd service again:
sudo systemctl start lirc
Sending IR Commands
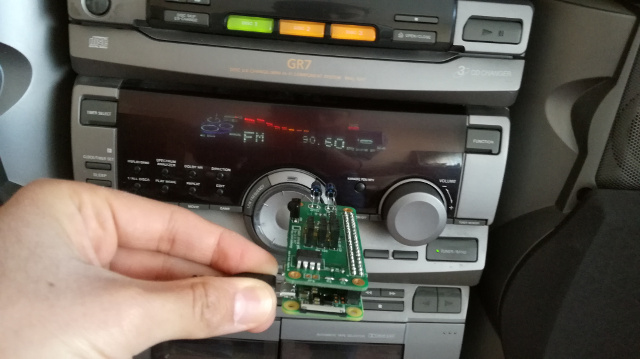
Point the infrared transmitters on the ANAVI Infrared pHAT to the consumer electronic device and send commands using LIRC. In my case I can turn on and off my old SONY GR7 mini Hi-Fi system with the following command:
irsend SEND_ONCE /home/pi/lircd.conf KEY_POWER