Trilobite Knot

This knot is based on the trilobite knot presented in "Decorative Fusion Knots" by J. D, Lenzen.
The original version used paracord and the ends were melted.
I had to make changes so that natural material can be used.
You will need a hemostat (forceps, needle nose pliers)
.JPG)
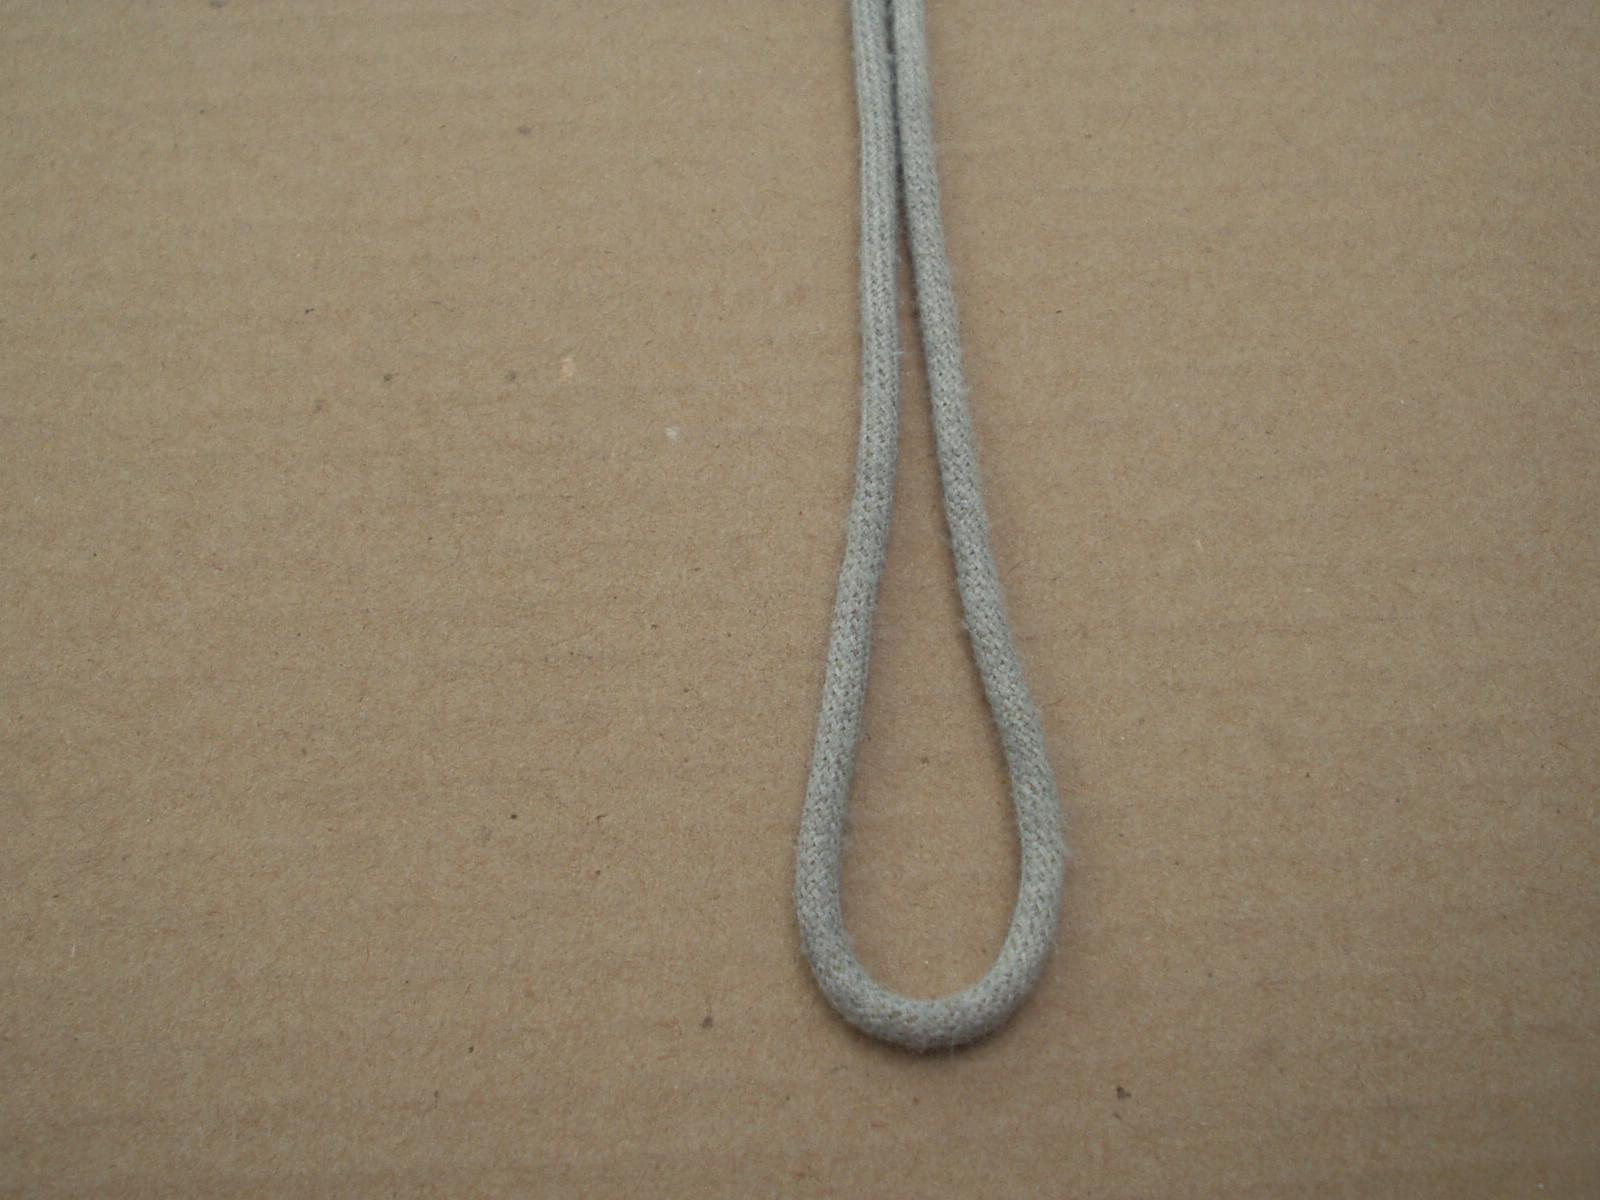
Middle your cord to make the loop for your trilobite.
.JPG)
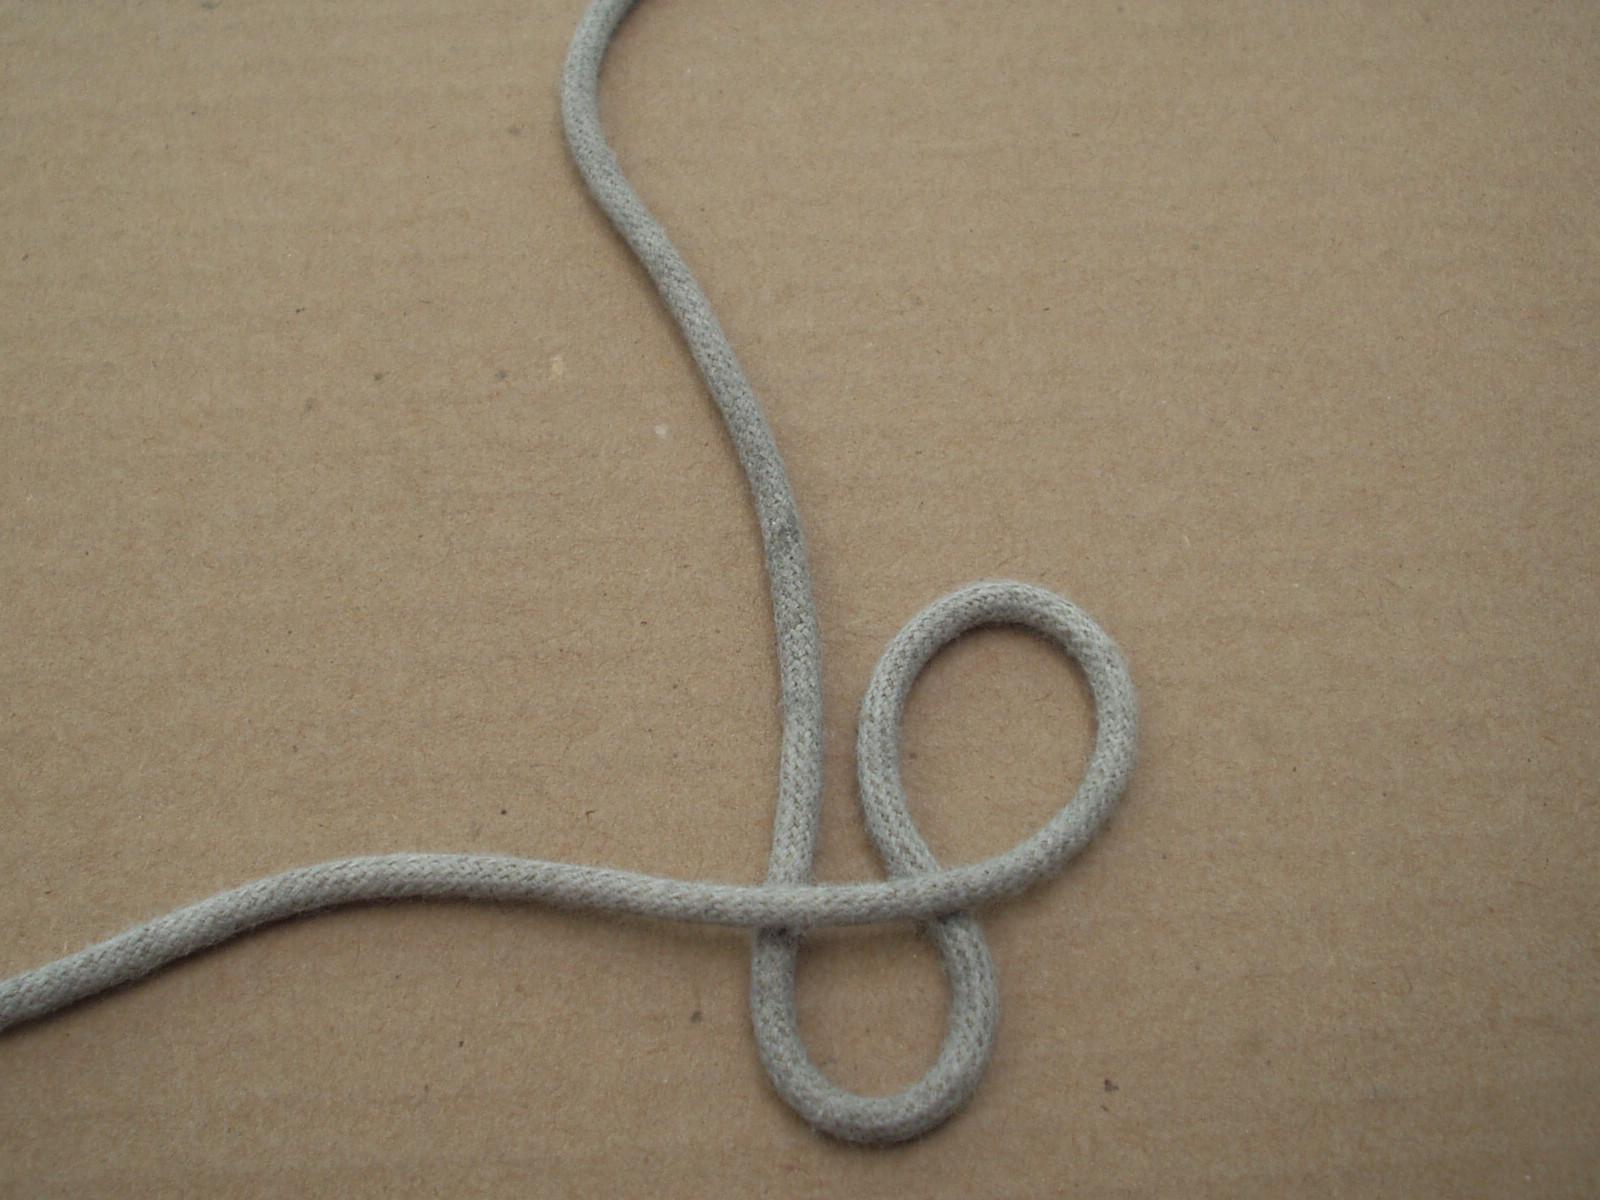
Bring the right hand end over the loop forming a small bight.
.JPG)
Bring the other over, under the loop and up through the bight.
Tie the First Segment

Each segment consists of three motions
First motion: Bring right hand end R around the bight.

Second motion: Bring Left hand end L over, under two and over.

Third motion: Bring R over two and under one.
.JPG)
Repeat motion one.
.JPG)
Repeat motion two.
.JPG)
Repeat motion three.


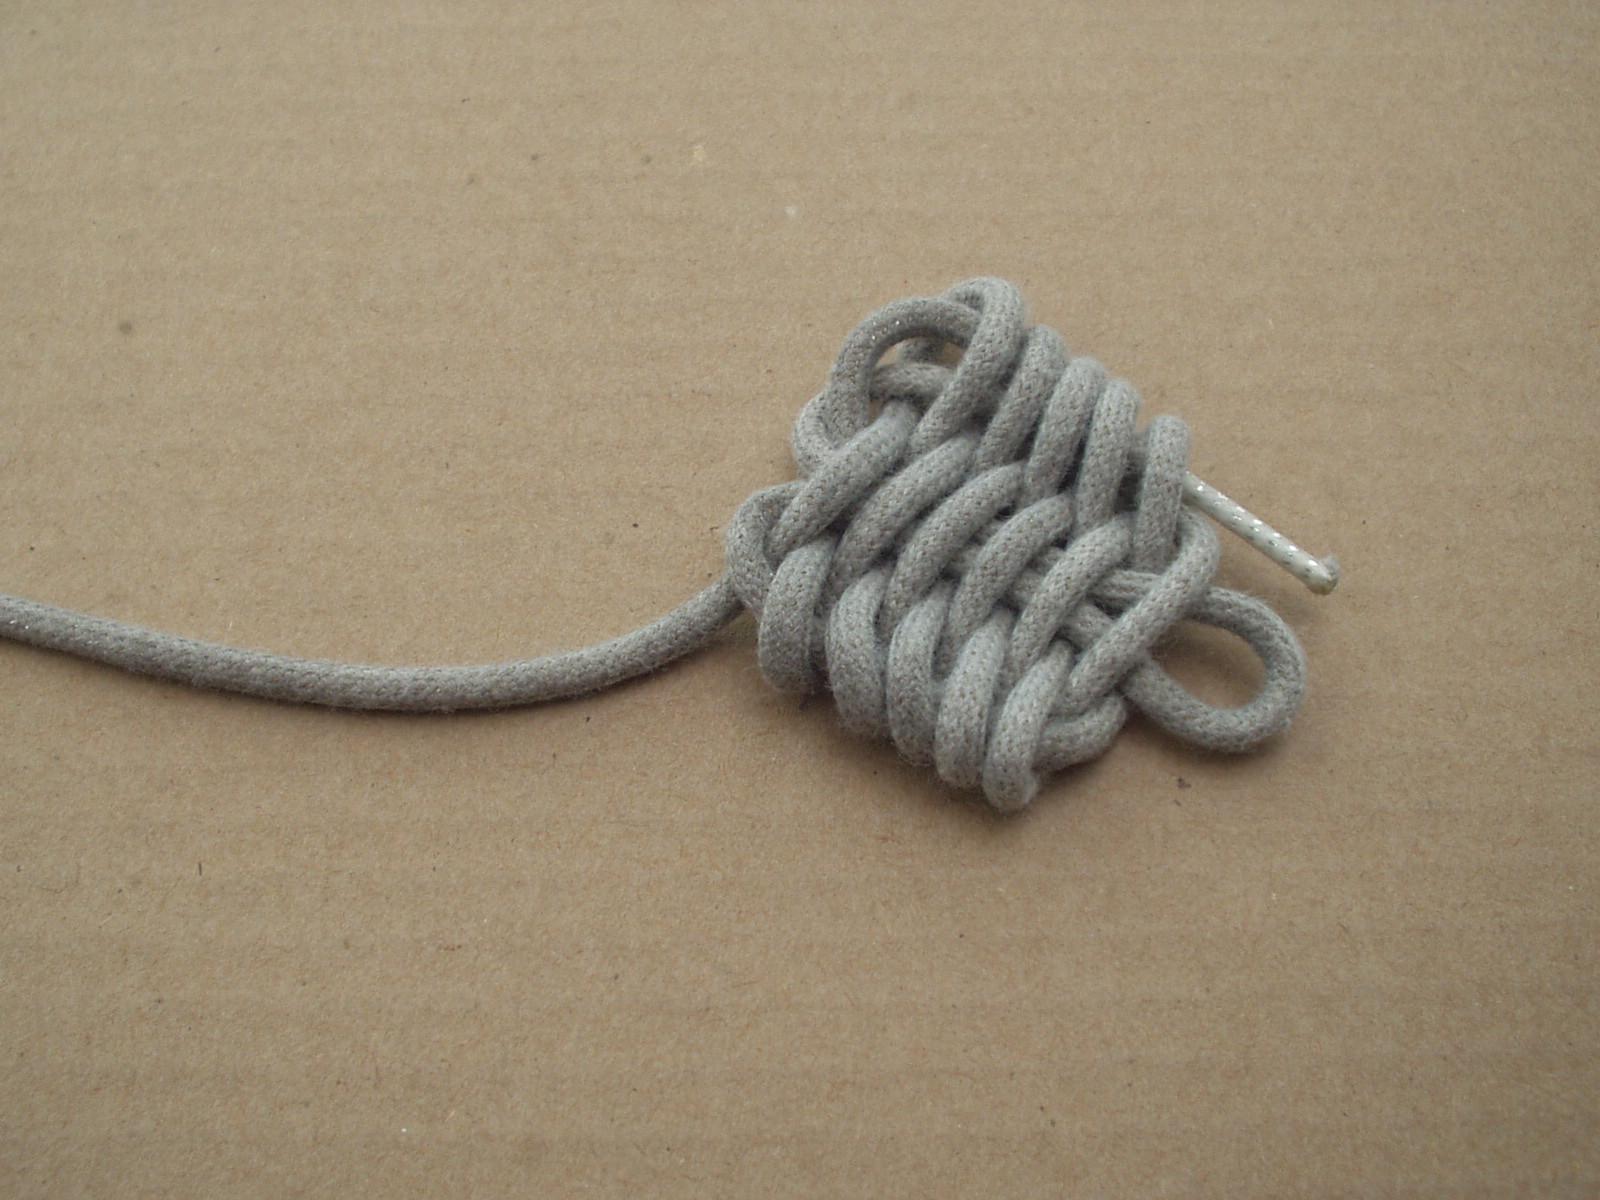
Continue in this manner until desired length is met.

.JPG)
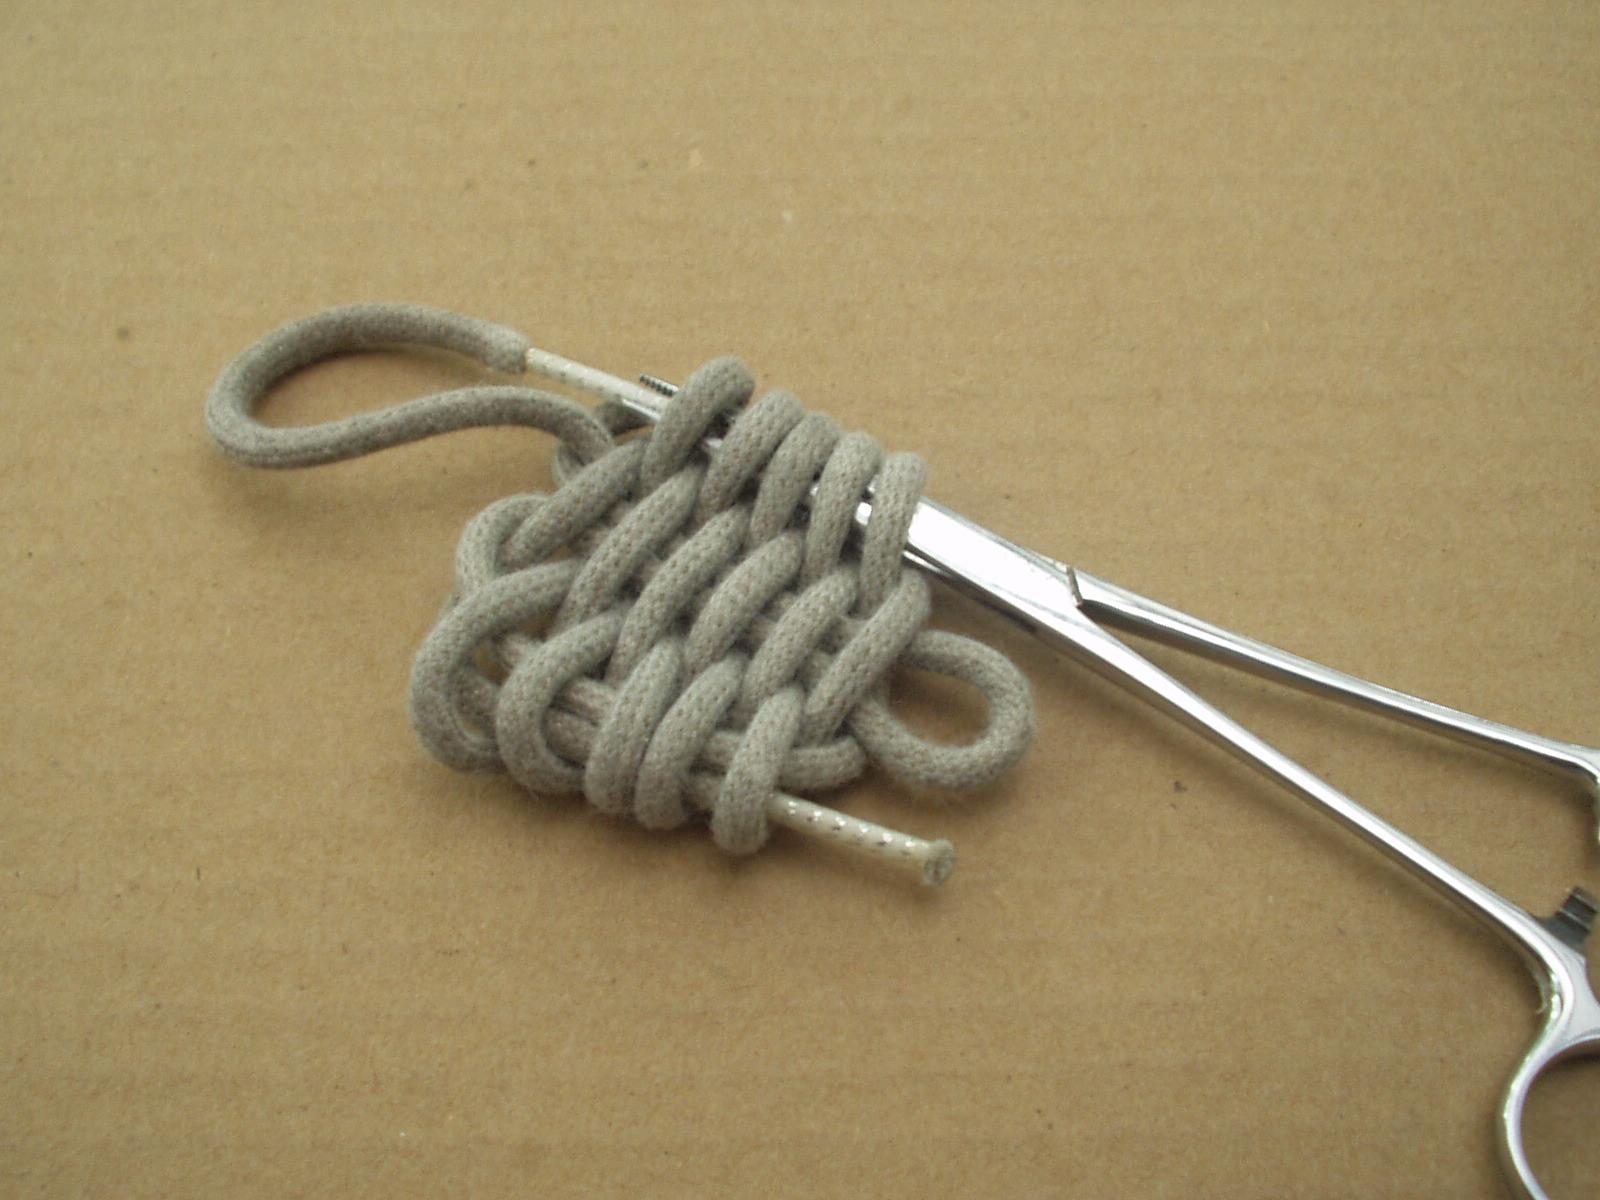
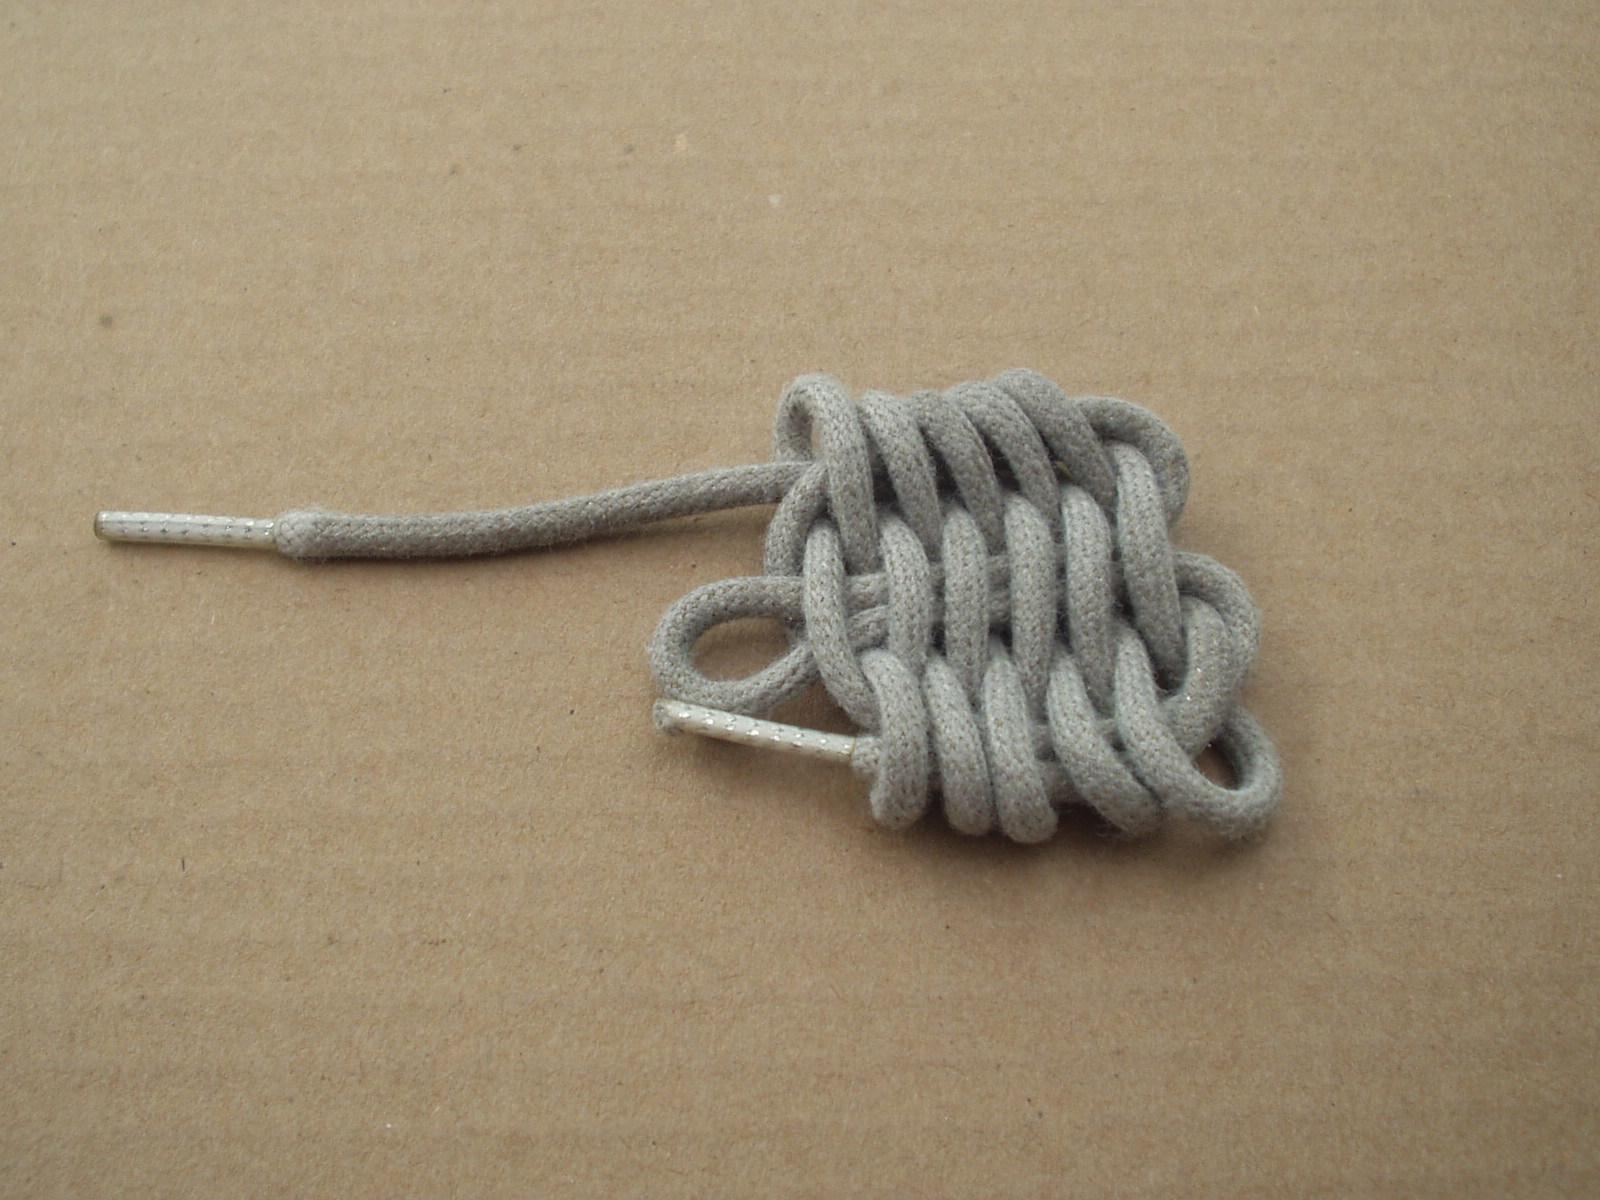
Wit hemostat grab an end and pull it through the loops on one side
.JPG)
.JPG)
Flip the knot over and repeat with the other end.
Tightening the Knot

.JPG)
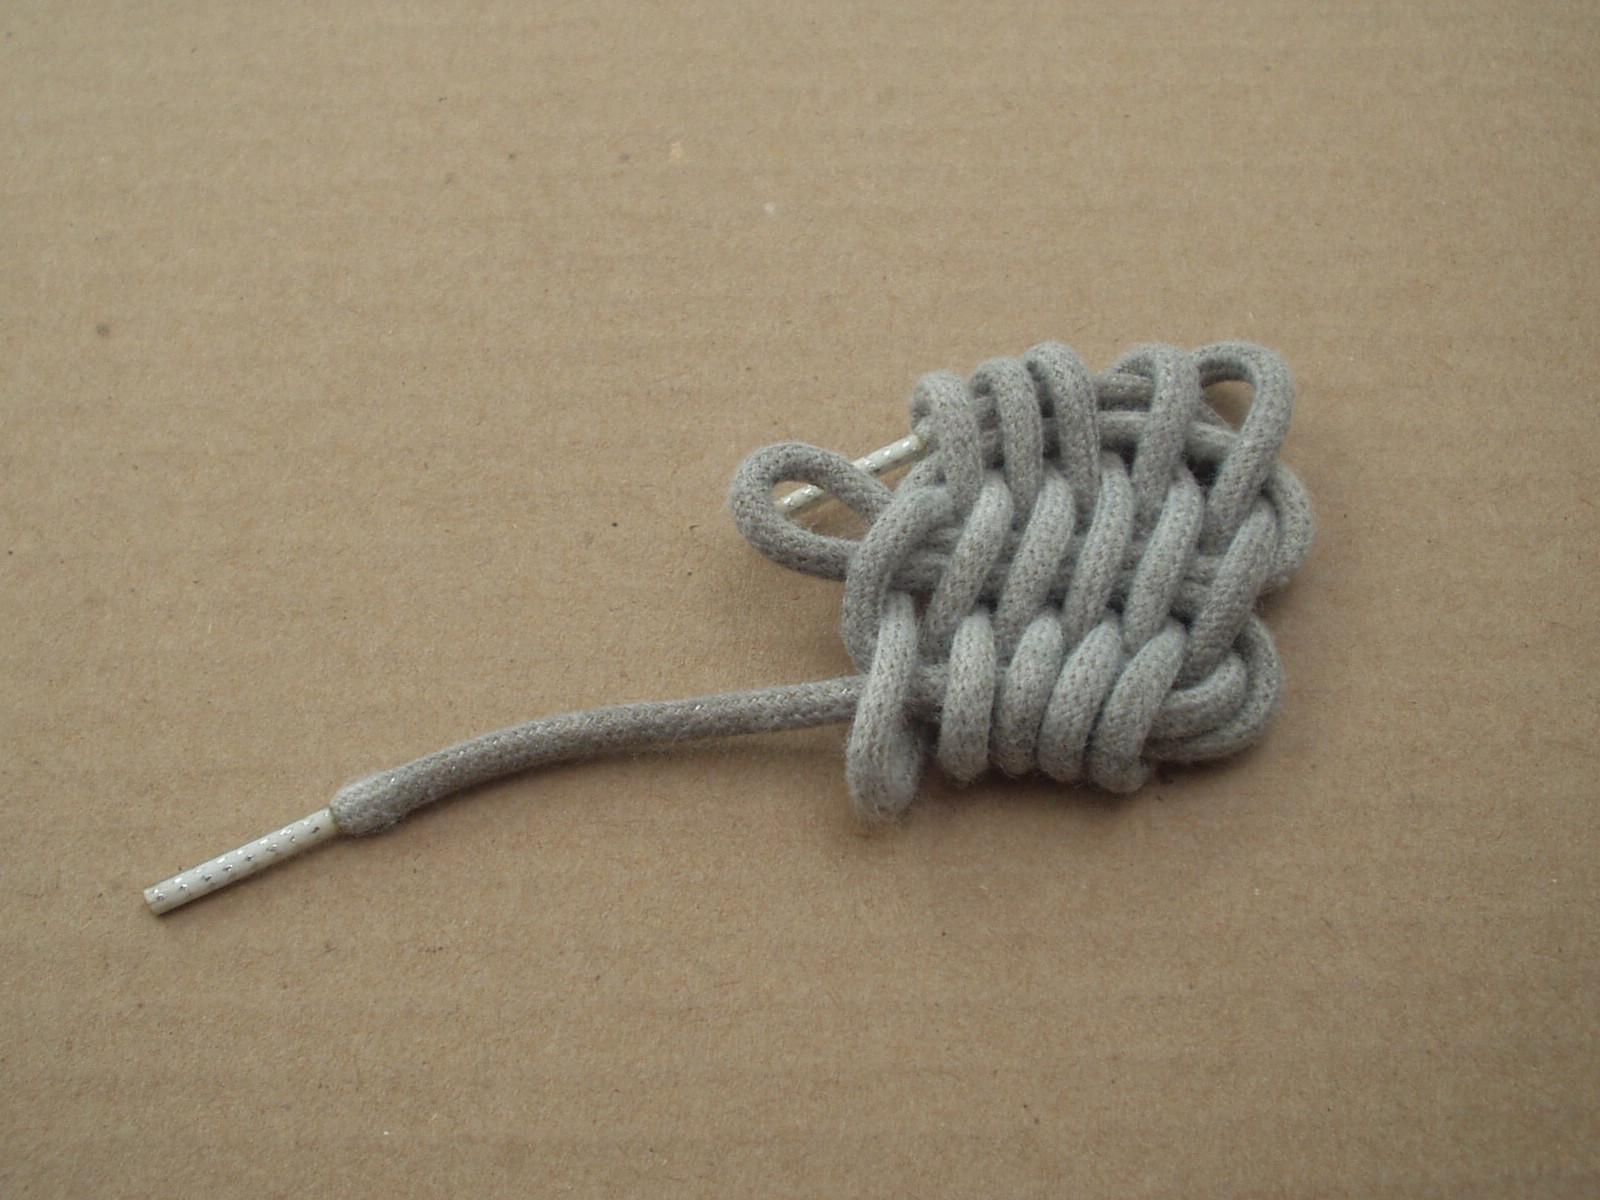
This is a gradual process DO NOT try to take all the slack out in one go. It takes several rounds if tugging.
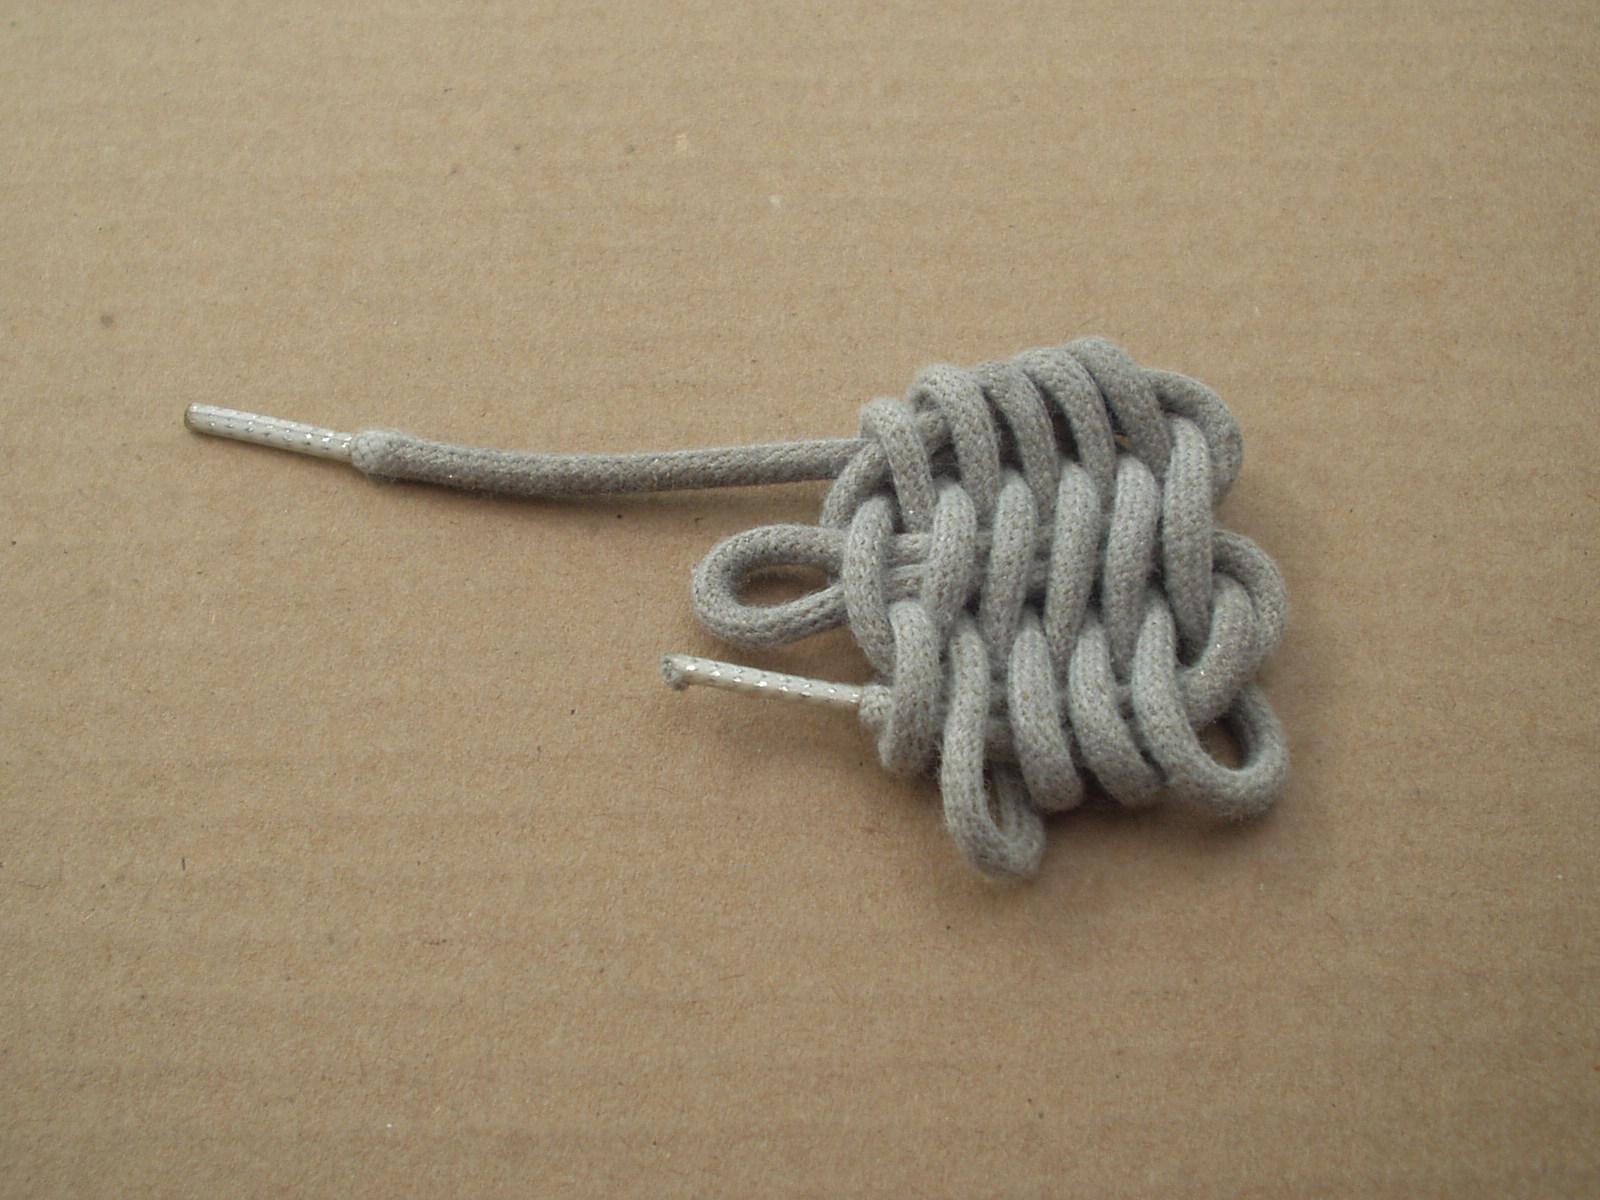
Start on either side and pull on the bight nearest the loop.
.JPG)
Flip the knot and tug un the second night (takes out the slack from bight one).
.JPG)
Flip the knot and tug on the next bight

Flip and repeat.

Flip and repeat.

Continue in this manner until the slack from the last bight is removed. Red X

That will lead to one of the ends. Pull on this end to complete the first round of tightening.
Repeat this process several times until all the slack is removed.