Turn a Photo Into a Printable Perler Bead Pattern
by Taylorweiba in Craft > Embroidery
36 Views, 0 Favorites, 0 Comments
Turn a Photo Into a Printable Perler Bead Pattern
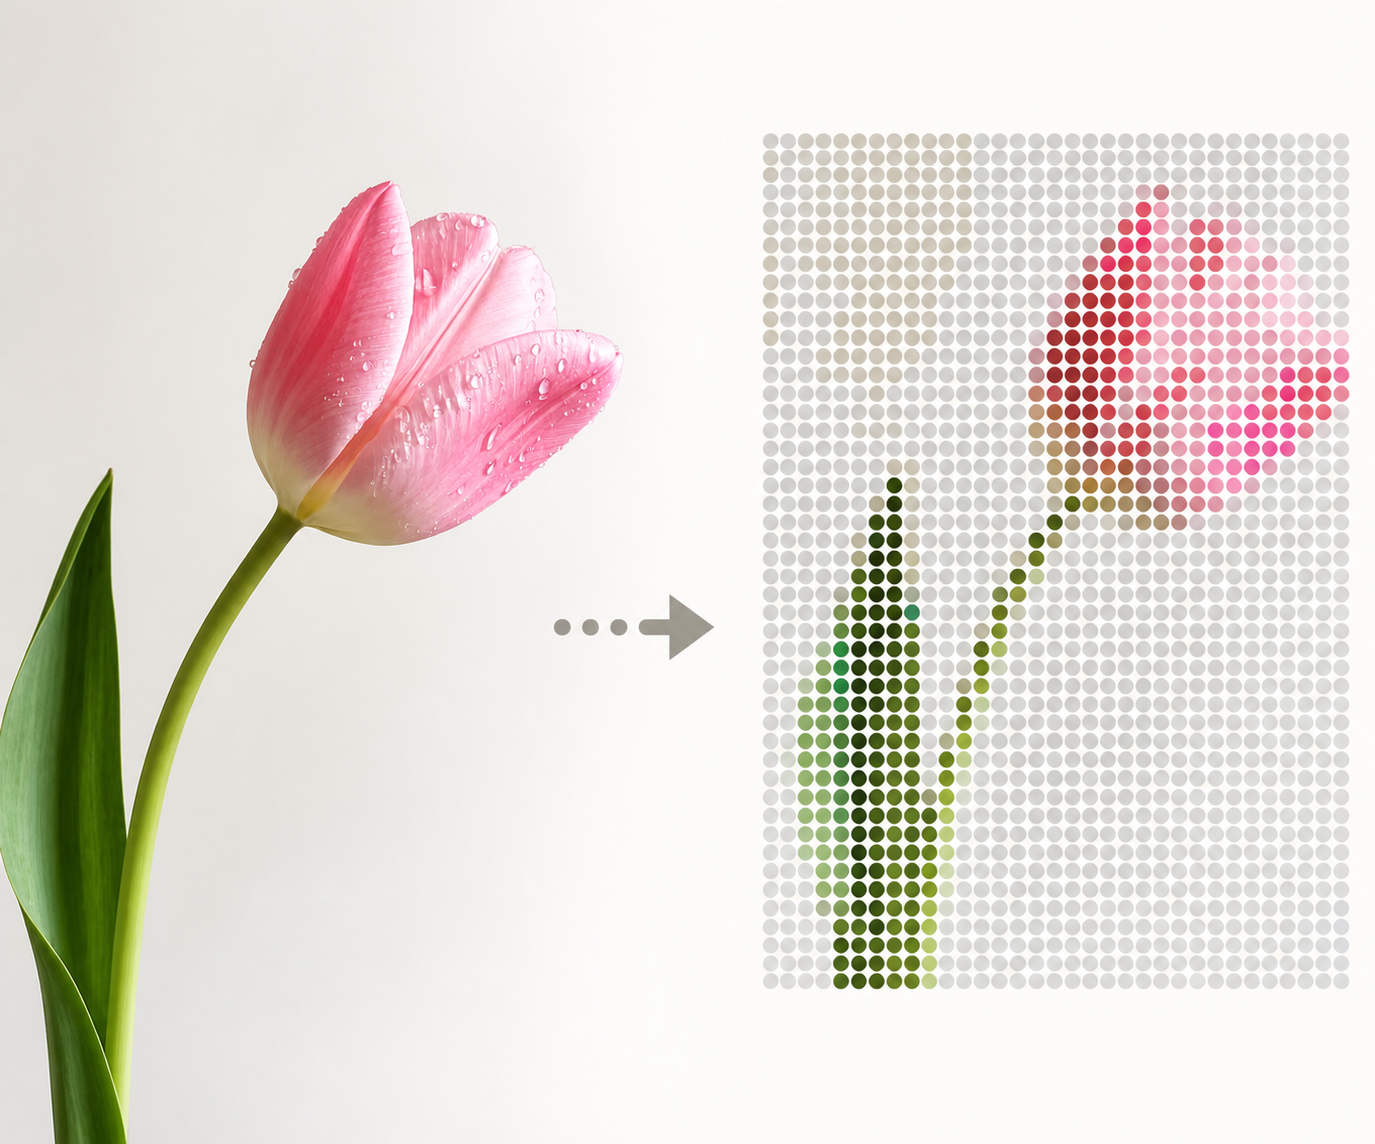
I wanted to turn a flower photo into a bead pattern that I could print and follow without drawing every square by hand. In this project, I converted a pink tulip photo into a color-matched Perler bead grid and exported a labeled pattern with a bead-count list.
This method works best with an image that has one clear subject, strong contrast, and a simple background. You can use the finished pattern as a digital reference or print it before placing any beads.
The project below covers the complete digital workflow: preparing the photo, choosing a grid size, simplifying the colors, checking the pattern, and exporting the final chart.
Supplies
Required:
• A computer, tablet, or phone with a modern web browser
• A photo or illustration that you own or have permission to use
• An internet connection
• A PDF viewer or printer if you want a paper pattern
Optional for making the physical design:
• 5 mm fuse beads in the colors shown in the exported bead list
• One or more square pegboards
• Tweezers
• Ironing paper or parchment paper
• A household iron
• A flat, heat-safe work surface
Safety: An adult should handle the iron. Follow the instructions supplied with your bead brand and pegboard.
Choose and Crop the Source Photo
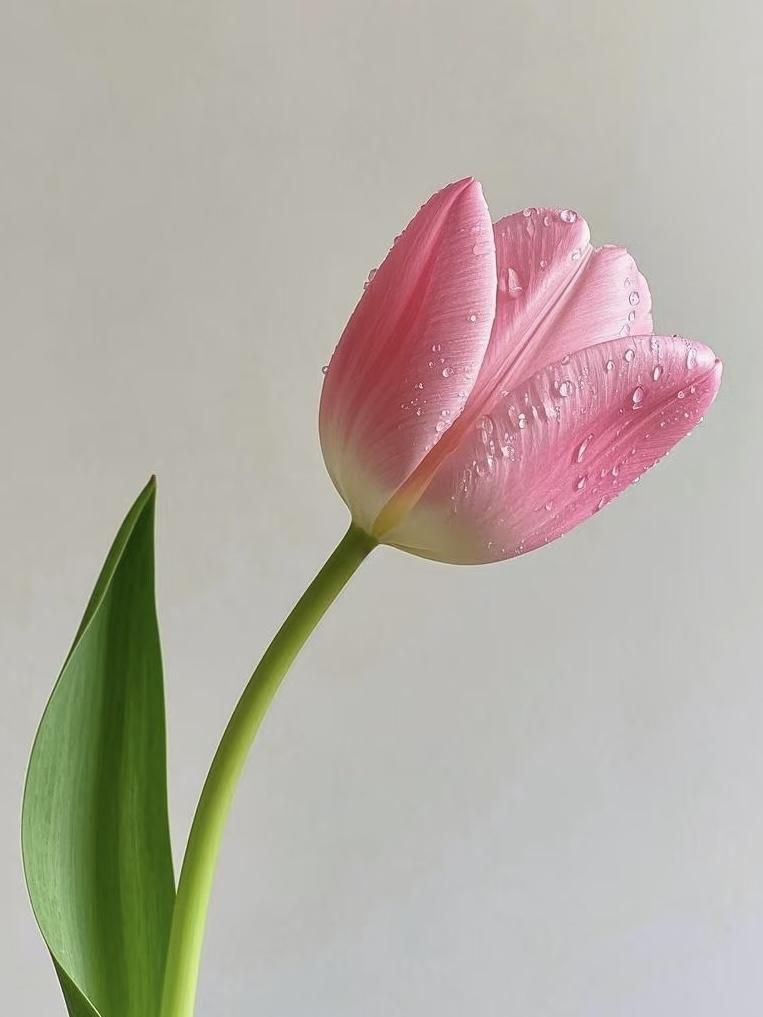
Start with an image that has one obvious subject and a clean outline. A simple flower, pet, icon, or original illustration is easier than a crowded landscape.
Crop away unnecessary empty space before converting the image. Imagine looking at the photo as a tiny thumbnail: if the subject is still recognizable, it is probably a good candidate for a bead pattern.
For this project, I used a close-up photograph of a pink tulip. The pale background keeps the flower easy to separate from the surrounding area.
Upload the Image and Create the Bead Grid
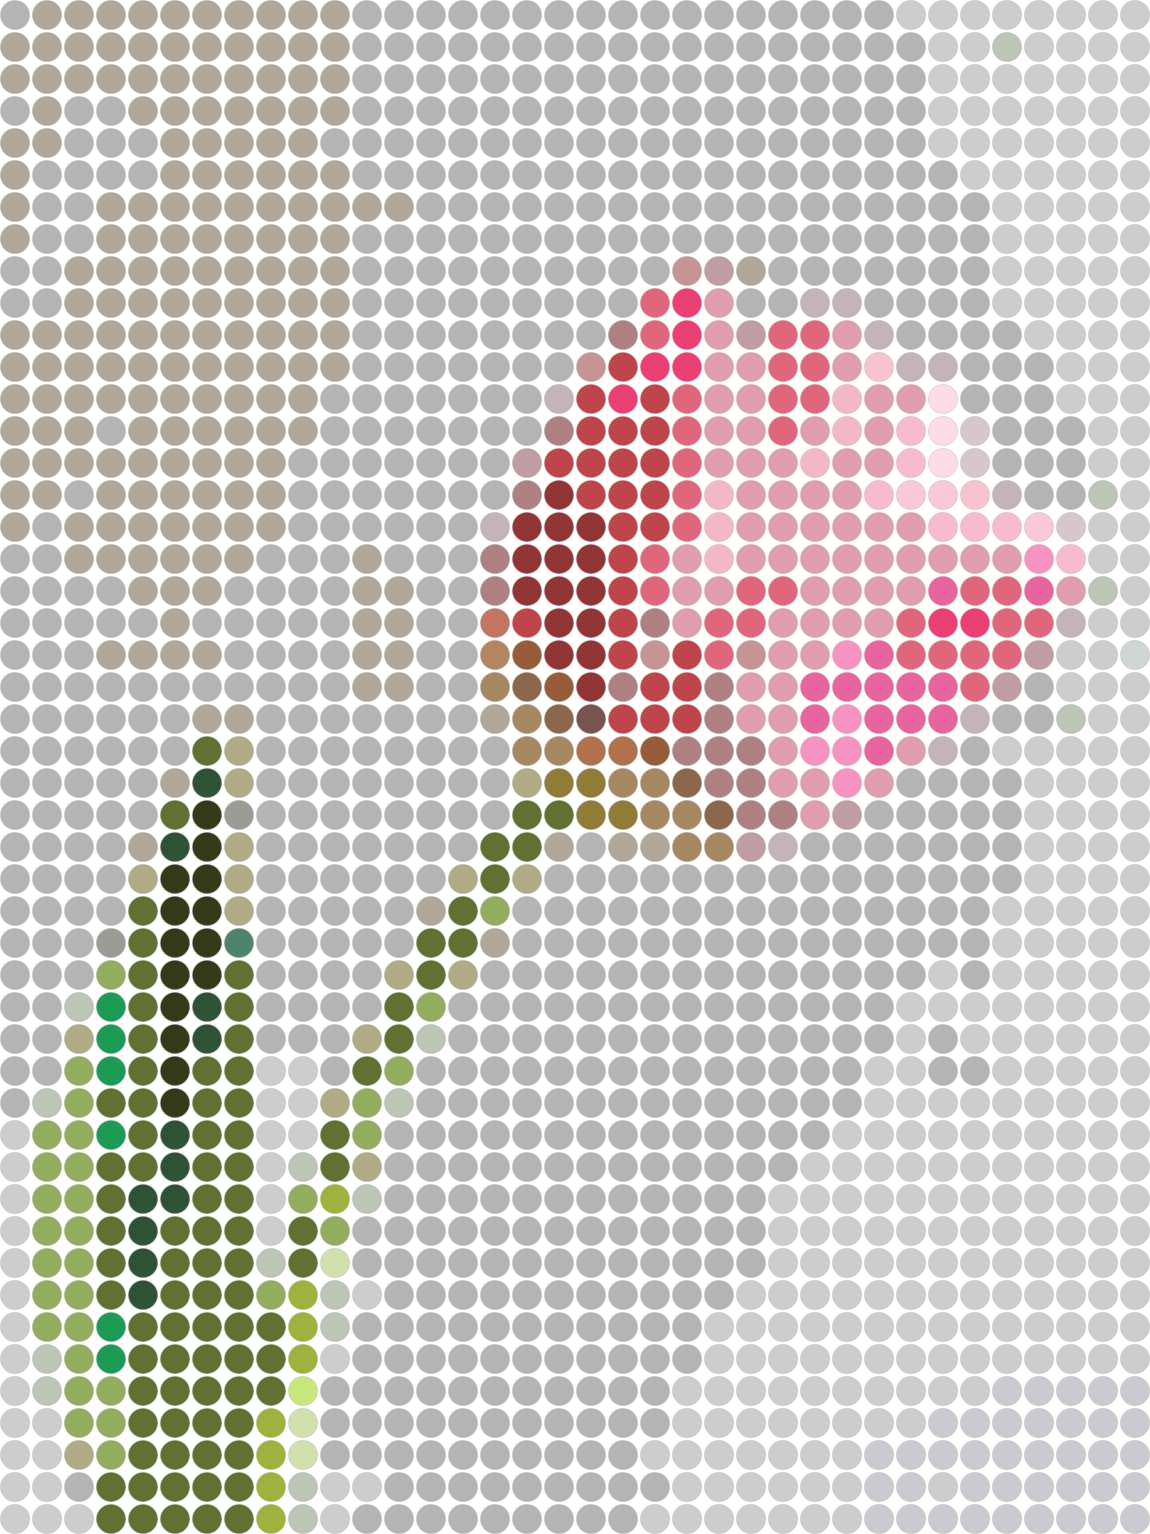
Open the free browser-based Perler bead pattern maker to convert your photo into a bead grid.
Upload the cropped image and choose a starting grid width. For a simple image, begin around 30–40 beads wide. Detailed photos usually need a larger grid to keep important features recognizable.
Compare the original image with the bead preview. At this stage, focus on the overall shape and main color areas rather than tiny details.
Simplify the Grid and Check the Colors
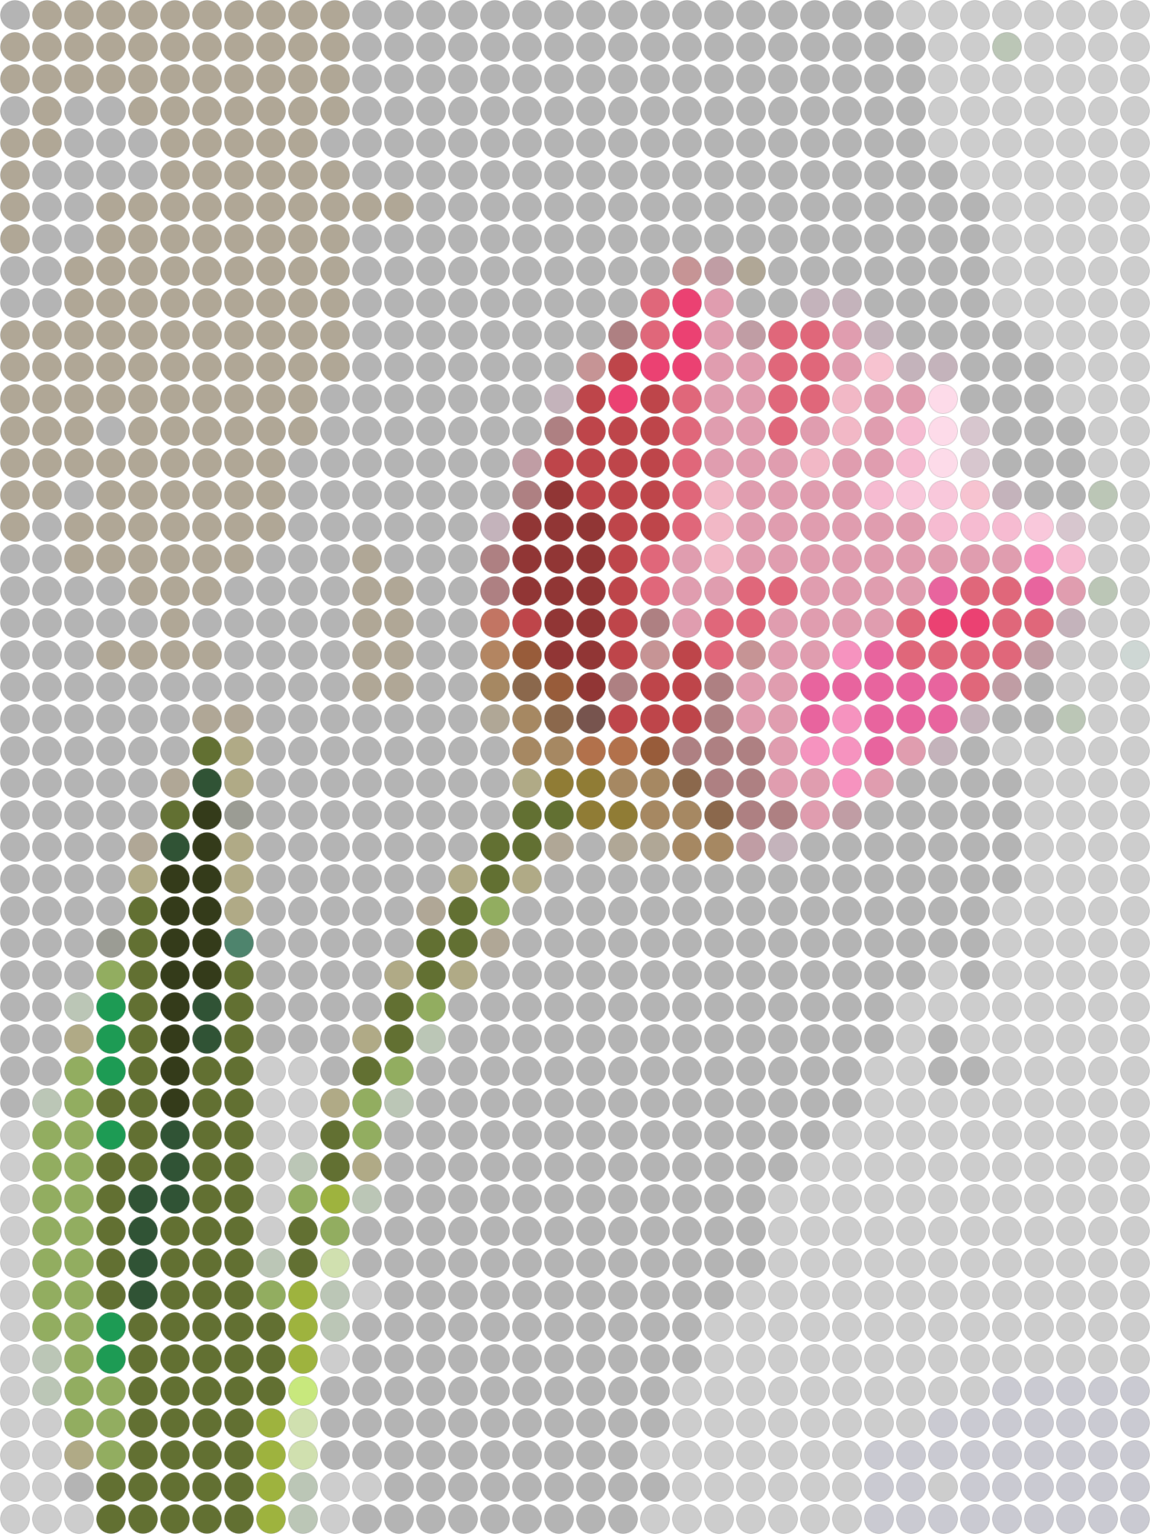
Try more than one grid width and keep the smallest version that still preserves the shape of the flower. A grid that is too small loses edges and thin lines, while an unnecessarily large grid can require thousands of extra beads.
Next, reduce the color palette until the pattern is practical to build. Look for isolated single beads, several nearly identical shades, and background colors that use more beads than the subject.
If the background is not part of your intended design, remove it before exporting. Cleaning the background usually saves more beads than reducing the flower itself.
Export the Printable Pattern and Bead List
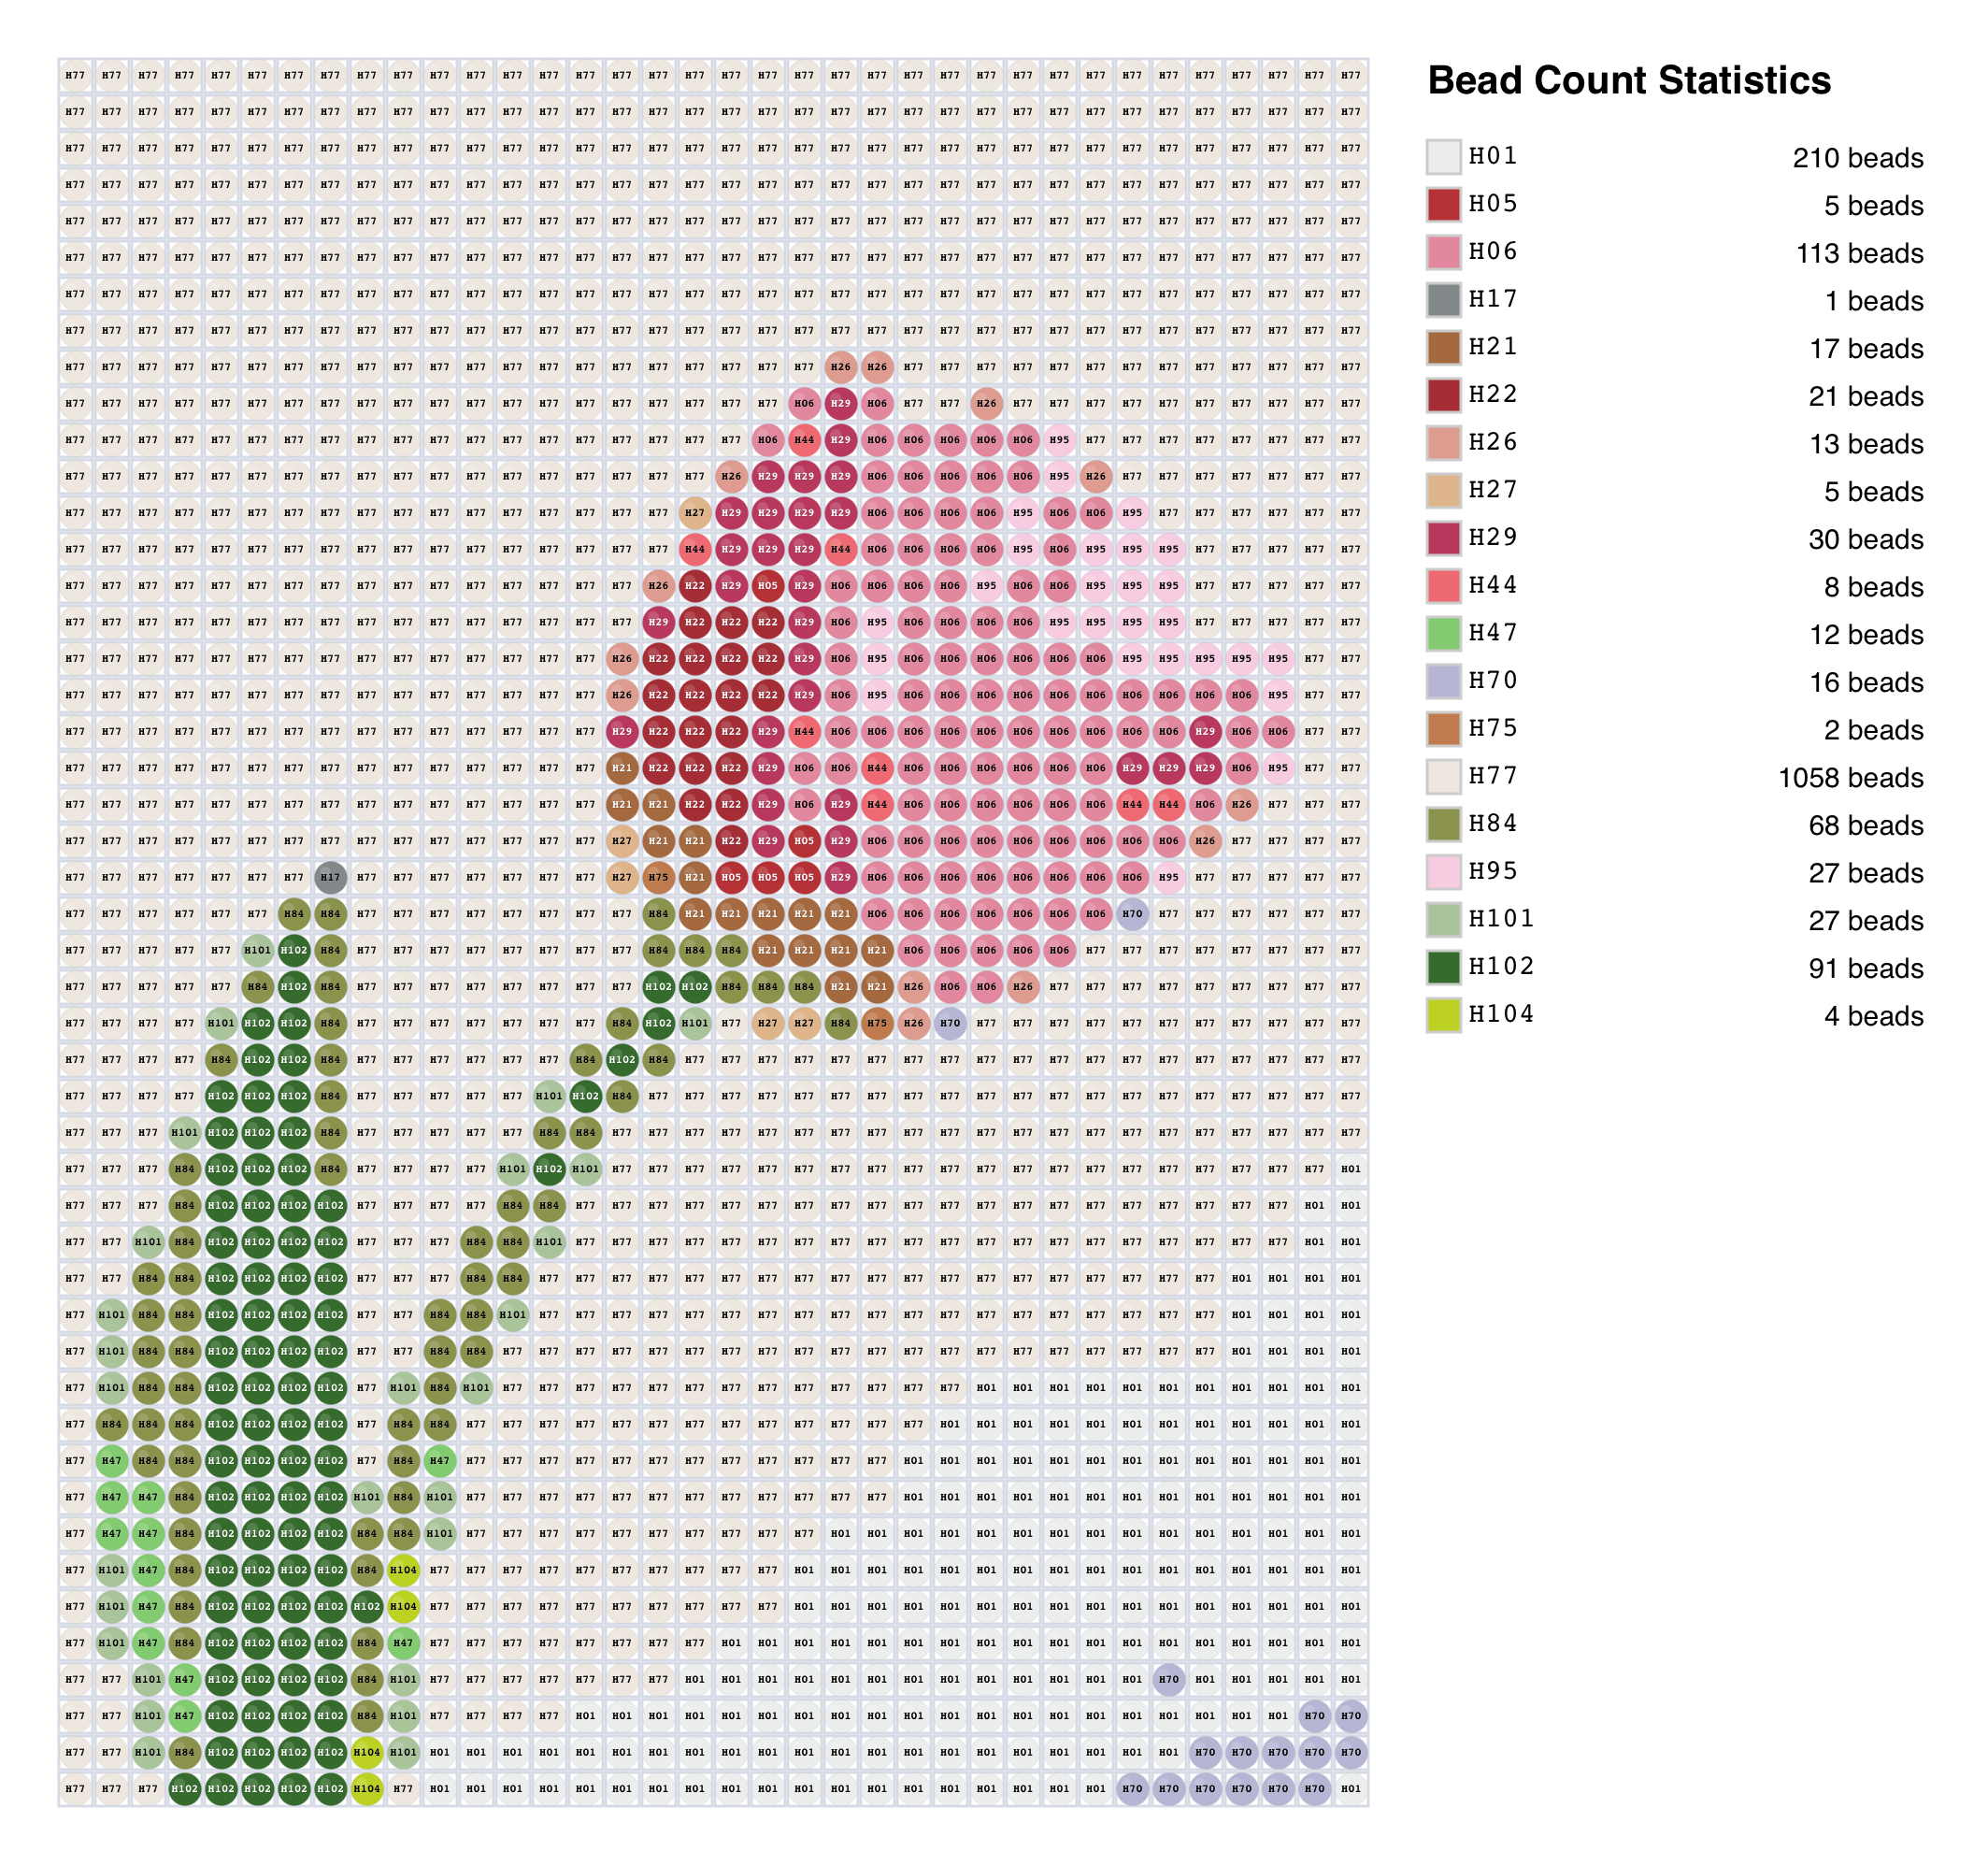
When the preview is clear, export the labeled pattern. The finished sheet should show the position of every bead, the corresponding color code, and the quantity needed for each color.
Before starting the physical project, check the grid width and height, total bead count, number of colors, and whether the pattern will require more than one pegboard.
I like to save both a clean preview and the labeled chart. The preview makes the overall design easier to understand, while the chart is more useful when placing individual beads.
The printable pattern is now ready to use. The same workflow can be used for flowers, pet photos, simple decorations, and original pixel art.