Tutorial on Making Tent Lights Using Laser Cutting and Engraving
by leonchen219 in Workshop > CNC
476 Views, 3 Favorites, 0 Comments
Tutorial on Making Tent Lights Using Laser Cutting and Engraving
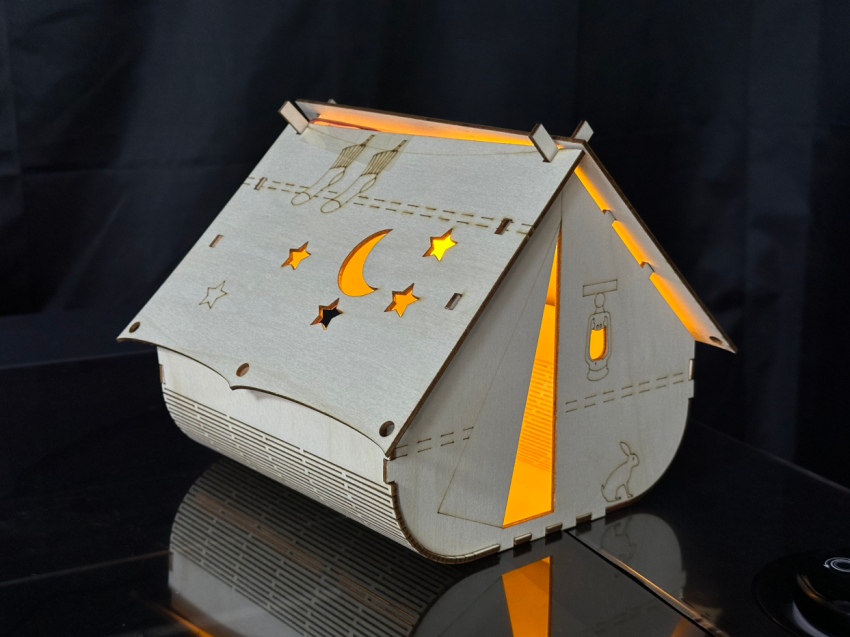
I recently downloaded a free design template from Chanelink, and the finished product turned out even more stunning than I expected. Today, I’d like to share this super cool DIY project with you: a tent-shaped lamp made with a laser cutter. It can both engrave patterns and cut out intricate shapes—the final result is absolutely amazing! Below, I’ll briefly walk you through the process.
Supplies
Materials and Tools:
· Laser cutter
· 3mm wood board
· LED strip lights
· Wood glue/super glue
· Design software (e.g., AutoCAD, Illustrator, CorelDRAW)
· Wires and plugs (for connecting the LED strip lights; battery-powered versions can also be used)
Adjust the Drawing
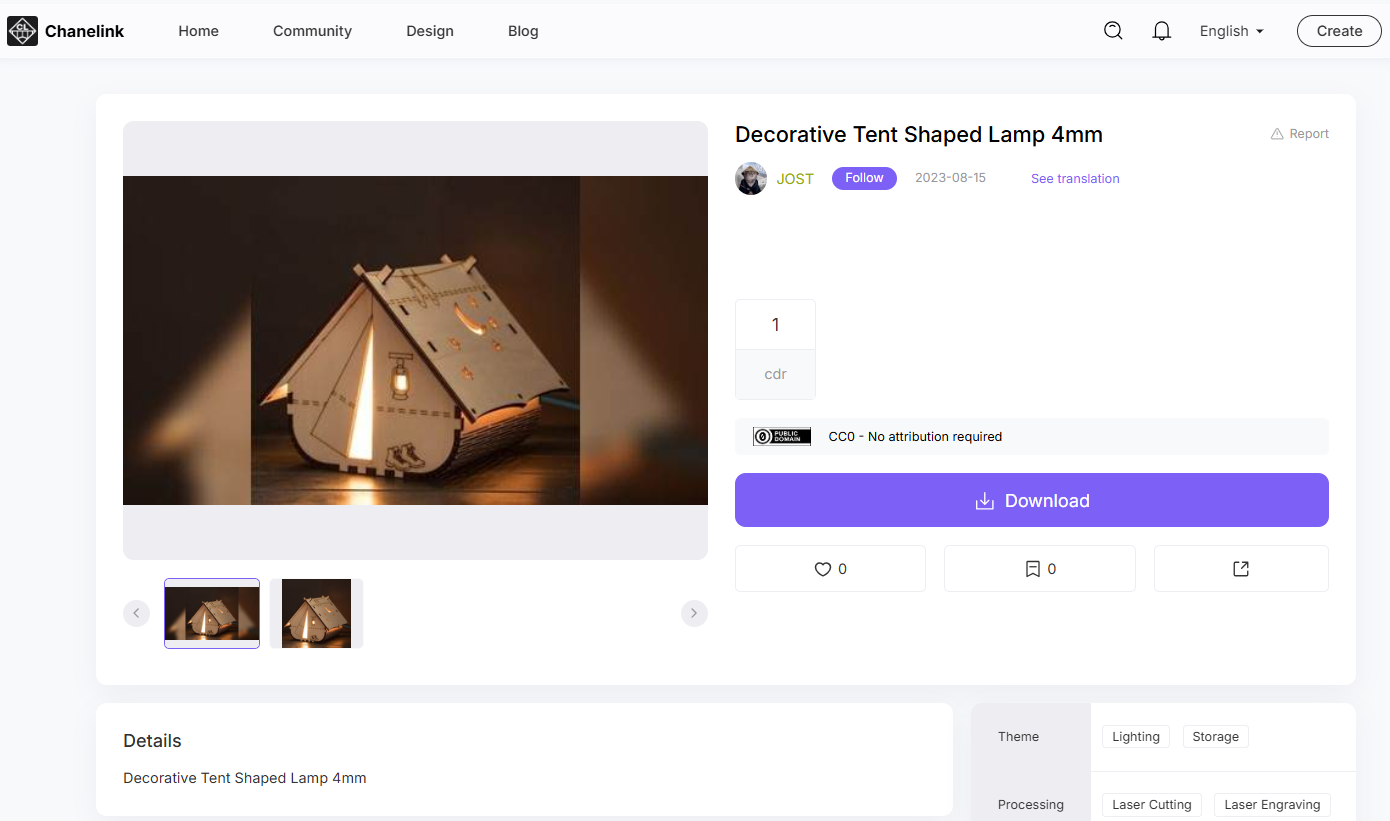
You can import your own designs or downloaded drawings into your preferred machining software and adjust the dimensions of the slots according to the actual thickness of the material you’re machining.
Laser Cutting
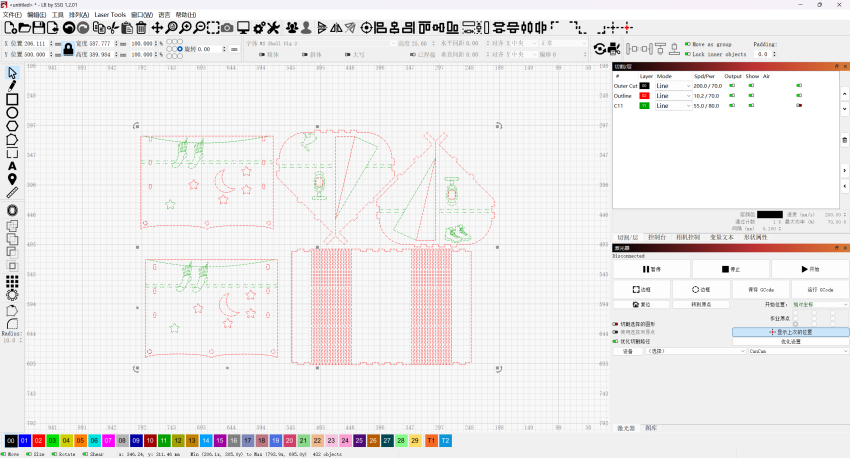
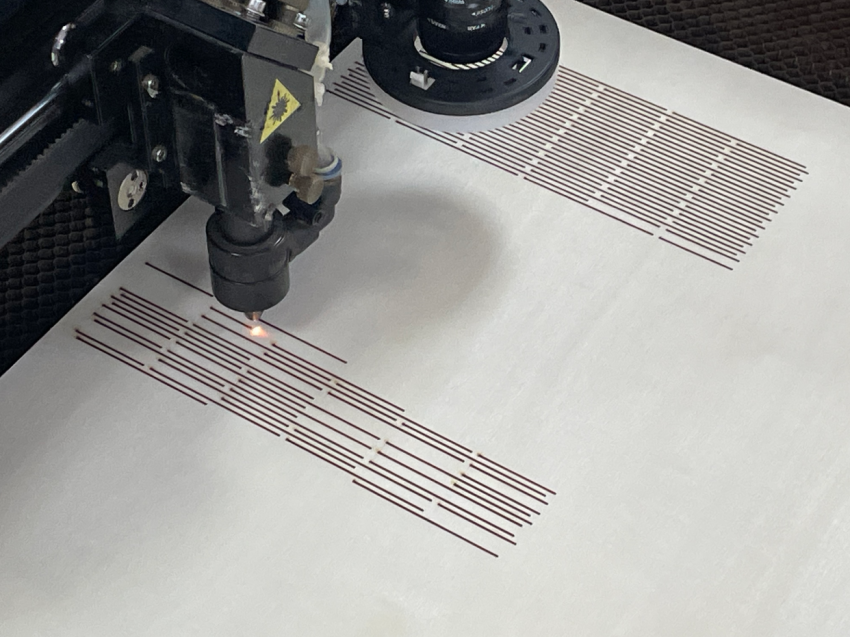
Import the design file into the laser cutter and adjust the parameters according to the thickness and material of the sheet.
Processing parameters (for reference only):
Engraving speed: 55 mm/s
Engraving power: 70%
Cutting speed: 10 mm/s
Cutting power: 100%
When laser cutting, the process can be carried out in two stages: first, cut out the outline of the tent; second, engrave the decorative patterns.
Reminder: Please exercise caution during operation, as the laser machine is particularly prone to producing sparks whilst in operation; ensure the surrounding environment is safe.
Assembling Tent Lights
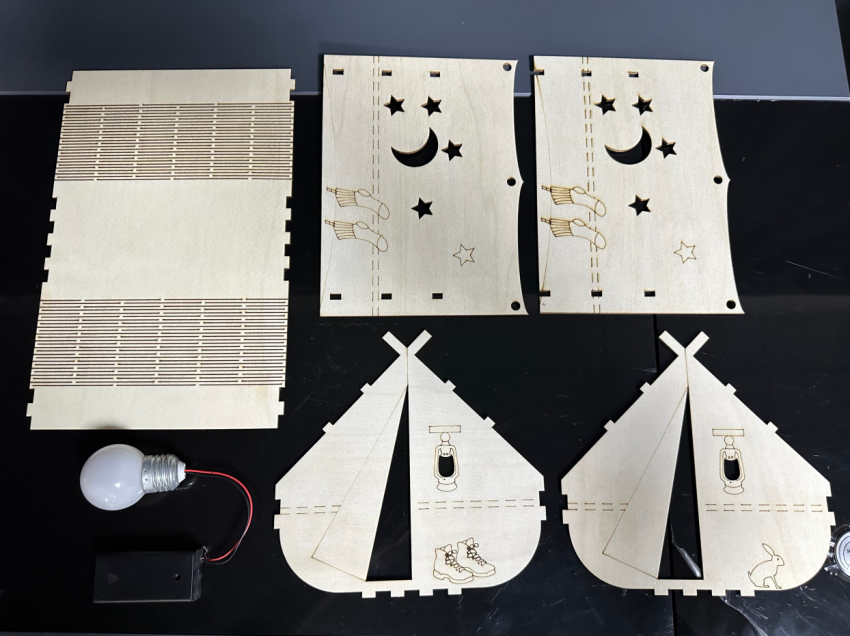
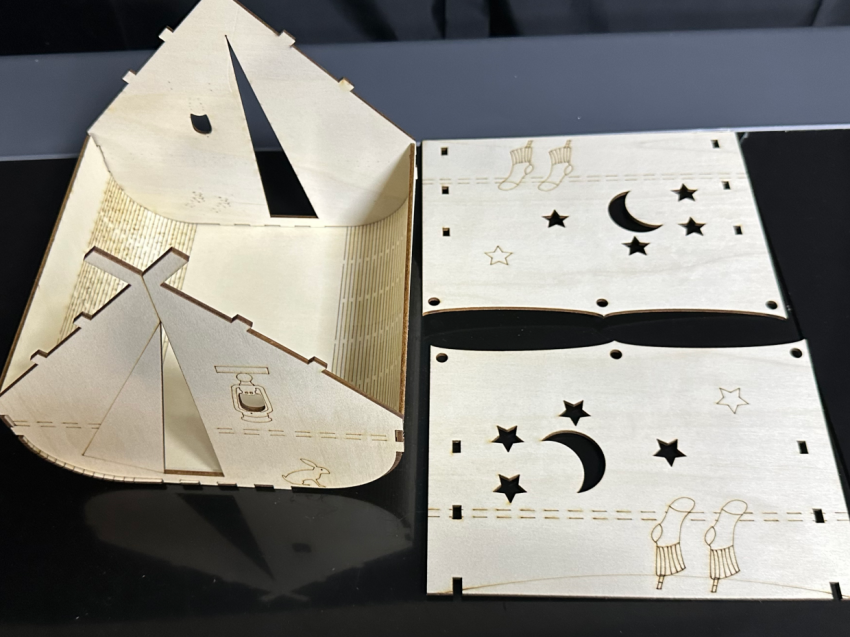
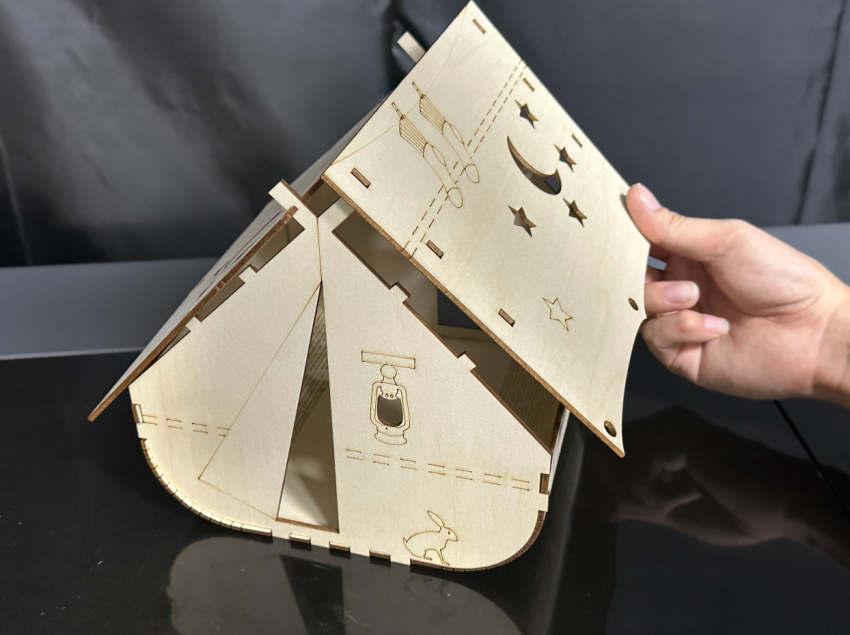
Once the laser cutting is complete, carefully remove each component. You will now have all the panels for the tent, and the next step is to assemble them.
If the joints are not secure, you can use wood glue or strong adhesive to stick the panels together, taking care to ensure that all corners are aligned. For added stability, you can secure them with small nails.
When assembling, remember to wrap the LED strip around the inside of the tent to ensure that each panel is evenly lit. Connect the wires properly, check that the strip is working correctly, and only then close the tent.
Debugging and Refinement
Make sure the power connection for the light strip is correct, then plug it in to test the lights. If all goes well, you’ll be able to see a beautiful tent light display.
If required, you can add a simple battery compartment to the light display to make it easier to move and position.
Finished Product Showcase:
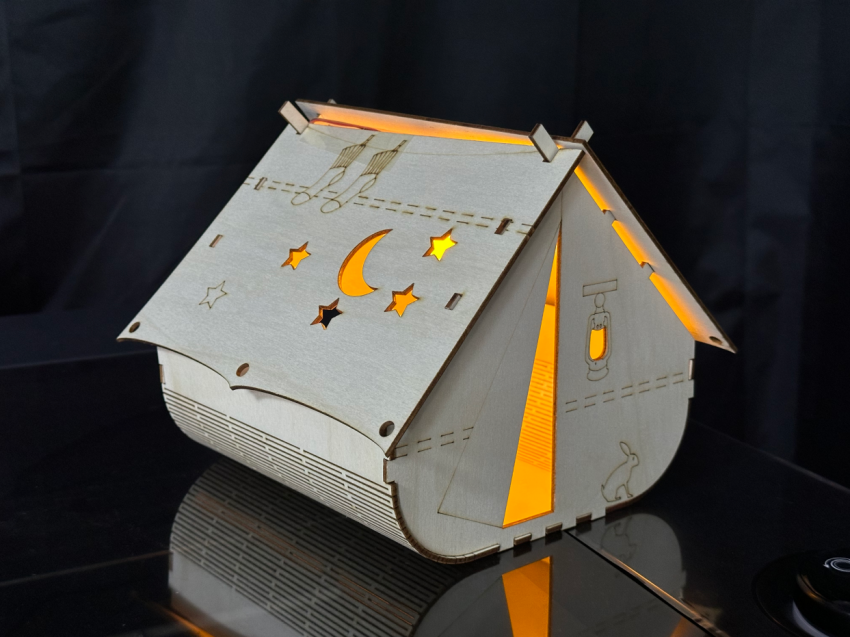
This tent-shaped light fixture looks absolutely brilliant! The laser-cut patterns are intricate and unique; particularly when the lights are switched on at night, the way the light shines through the entire tent creates a truly magical atmosphere, as if you’ve brought the starry sky and a touch of romance into your home. It’s perfect for the bedroom, the living room or as festive décor!