Two Ways to Make Organic Apple Cider Vinegar in a Mason Jar
by Organikmechanic in Craft > Mason Jars
5645 Views, 75 Favorites, 0 Comments
Two Ways to Make Organic Apple Cider Vinegar in a Mason Jar


The North West of Normandy, where we live, is famous for its apples and its dairy farming. With the milk it makes its World famous raw milk cheeses, such as Camembert and Brie and with its many varieties of apples it produces; tarts, sweets, cider, pommeau (apéritif) and calvados (spirit). As we can buy organic cider for $1 equivalent a bottle it seems crazy to use the apples from our trees to make it, so we save them for eating raw, making cakes and pies and also for fermenting apple cider vinegar.
Why Use A Mason Jar?
Our Mason jars are large (1 gallon - 5 litres) and are recuperated from our local organic shop and have previously been used to store olives. The wide opening of the neck lends itself perfectly both to adding coarsely chopped ingredients and removing the pulp after fermentation has ceased. In addition the rubber seal around the glass lid and the metal closure means that the contents are secure for storing once the vinegar has been made.
Supplies
I large Mason jar - washed
1 elastic band
Unbleached paper coffee filter or piece of muslin
Nylon coffee filter from a coffee machine
Sharp knife
Slotted spoon
Sieve
Dark glass bottles (ex beer bottles with ceramic snap tops are great but wine bottles and corks are good too)
Large brown paper bag - I use bags recuperated from a cooking pan retailer.
For Method One:
5-6 bottles of rough organic farm cider - must be unpasteurised. The one I use is 3 - 4% alcohol.
For Method Two:
At least 20 organic apples - these can be old and wrinkly and if you can get various varieties then your vinegar will be fuller tasting.
A little raw organic sugar - 3-4 tablespoons
Water
Method One - Really Easy


Pour the cider into the jar.
Open out coffee filter and separate (one half is enough for one jar) or use a cloth.
Place over mouth of jar.
Secure in situ with the elastic band.
Cover with a brown paper bag (this keeps the colour fresh)
Leave until ready - this will depend on the alcohol content of the cider. Mine usually takes around 6 weeks.
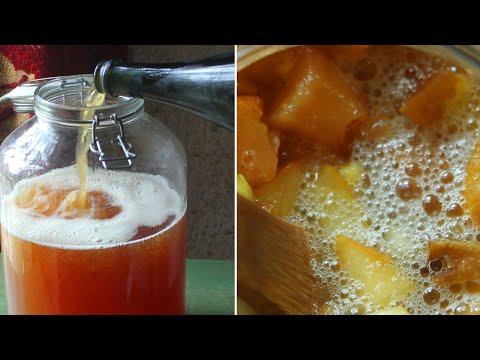
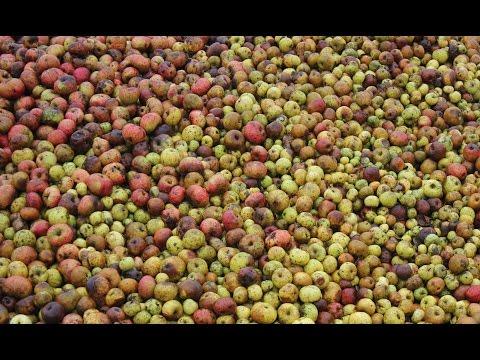
The above film shows us helping to make this cider on our local organic farm, if you are interested - it takes you through from collecting the apples to the start of the fermentation process.
Method Two - More Fun and a Lot Cheaper - Part One: Apples to Cider


Wash apples in cold water and cut out any obvious bad bits.
Coarsely chop into pieces about as big as your thumb to the first joint.
Fill jar with apples leaving about 1½" space at the top.
Add water until apples are covered. In the first jug of water dissolve the sugar.
Place the filter or cloth over the mouth of the jar.
Secure in place with the elastic band.
Cover with a brown paper bag.
Keep on a worktop or table in the kitchen.
Stir the content of the Mason jar once a day.
Fermentation should start within 24 - 48 hours - you will see bubbles rising through the crust of apples at the top of the jar.
The apples floating on the top will become compressed as fermentation continues, so the stirring is important to ensure that the gas easily escapes by breaking the crust. If left, the pulp will start to ooze out of the top of the jar due to the build up of pressure. Sometimes at the start of fermentation you may need to stir the jar twice a day to prevent this from happening.
Fermentation usually ceases after 2 - 3 weeks.
At this point lift out the floating crust/pulp that is on the surface, with a slotted spoon.
Method Two - Part Two: Cider to Vinegar


Cover and leave for a further 2 weeks.
Strain through sieve.
Wash out jar or if you have another jar, pour it into that.
Leave.
After several weeks the strands of enzyme aka the good stuff in the vinegar will become more visible as they form into a glutenous layer known as the 'mother'.
Once the mother has formed you can start to taste the vinegar to see if it is to your liking. If you do not find it acidic enough then you should leave it on the mother for another week at least and keep tasting until you find it suits your palette.
Usually after two months the mother will sink and effectively 'die' but new strands will begin to form. You should not leave it this long however, before straining and bottling. I strain the vinegar through a nylon mesh coffee filter. This can be a slow process because of the fine particulates in the vinegar. We like our vinegar with body, the cloudiness for us is the sign of a nutritious vinegar.
Put into clean bottles.
Enjoy this great food, medicinal and beauty product!