Mobile Media Server (Pi Zero 2W)
by portalman1994 in Circuits > Raspberry Pi
542 Views, 4 Favorites, 0 Comments
Mobile Media Server (Pi Zero 2W)
)
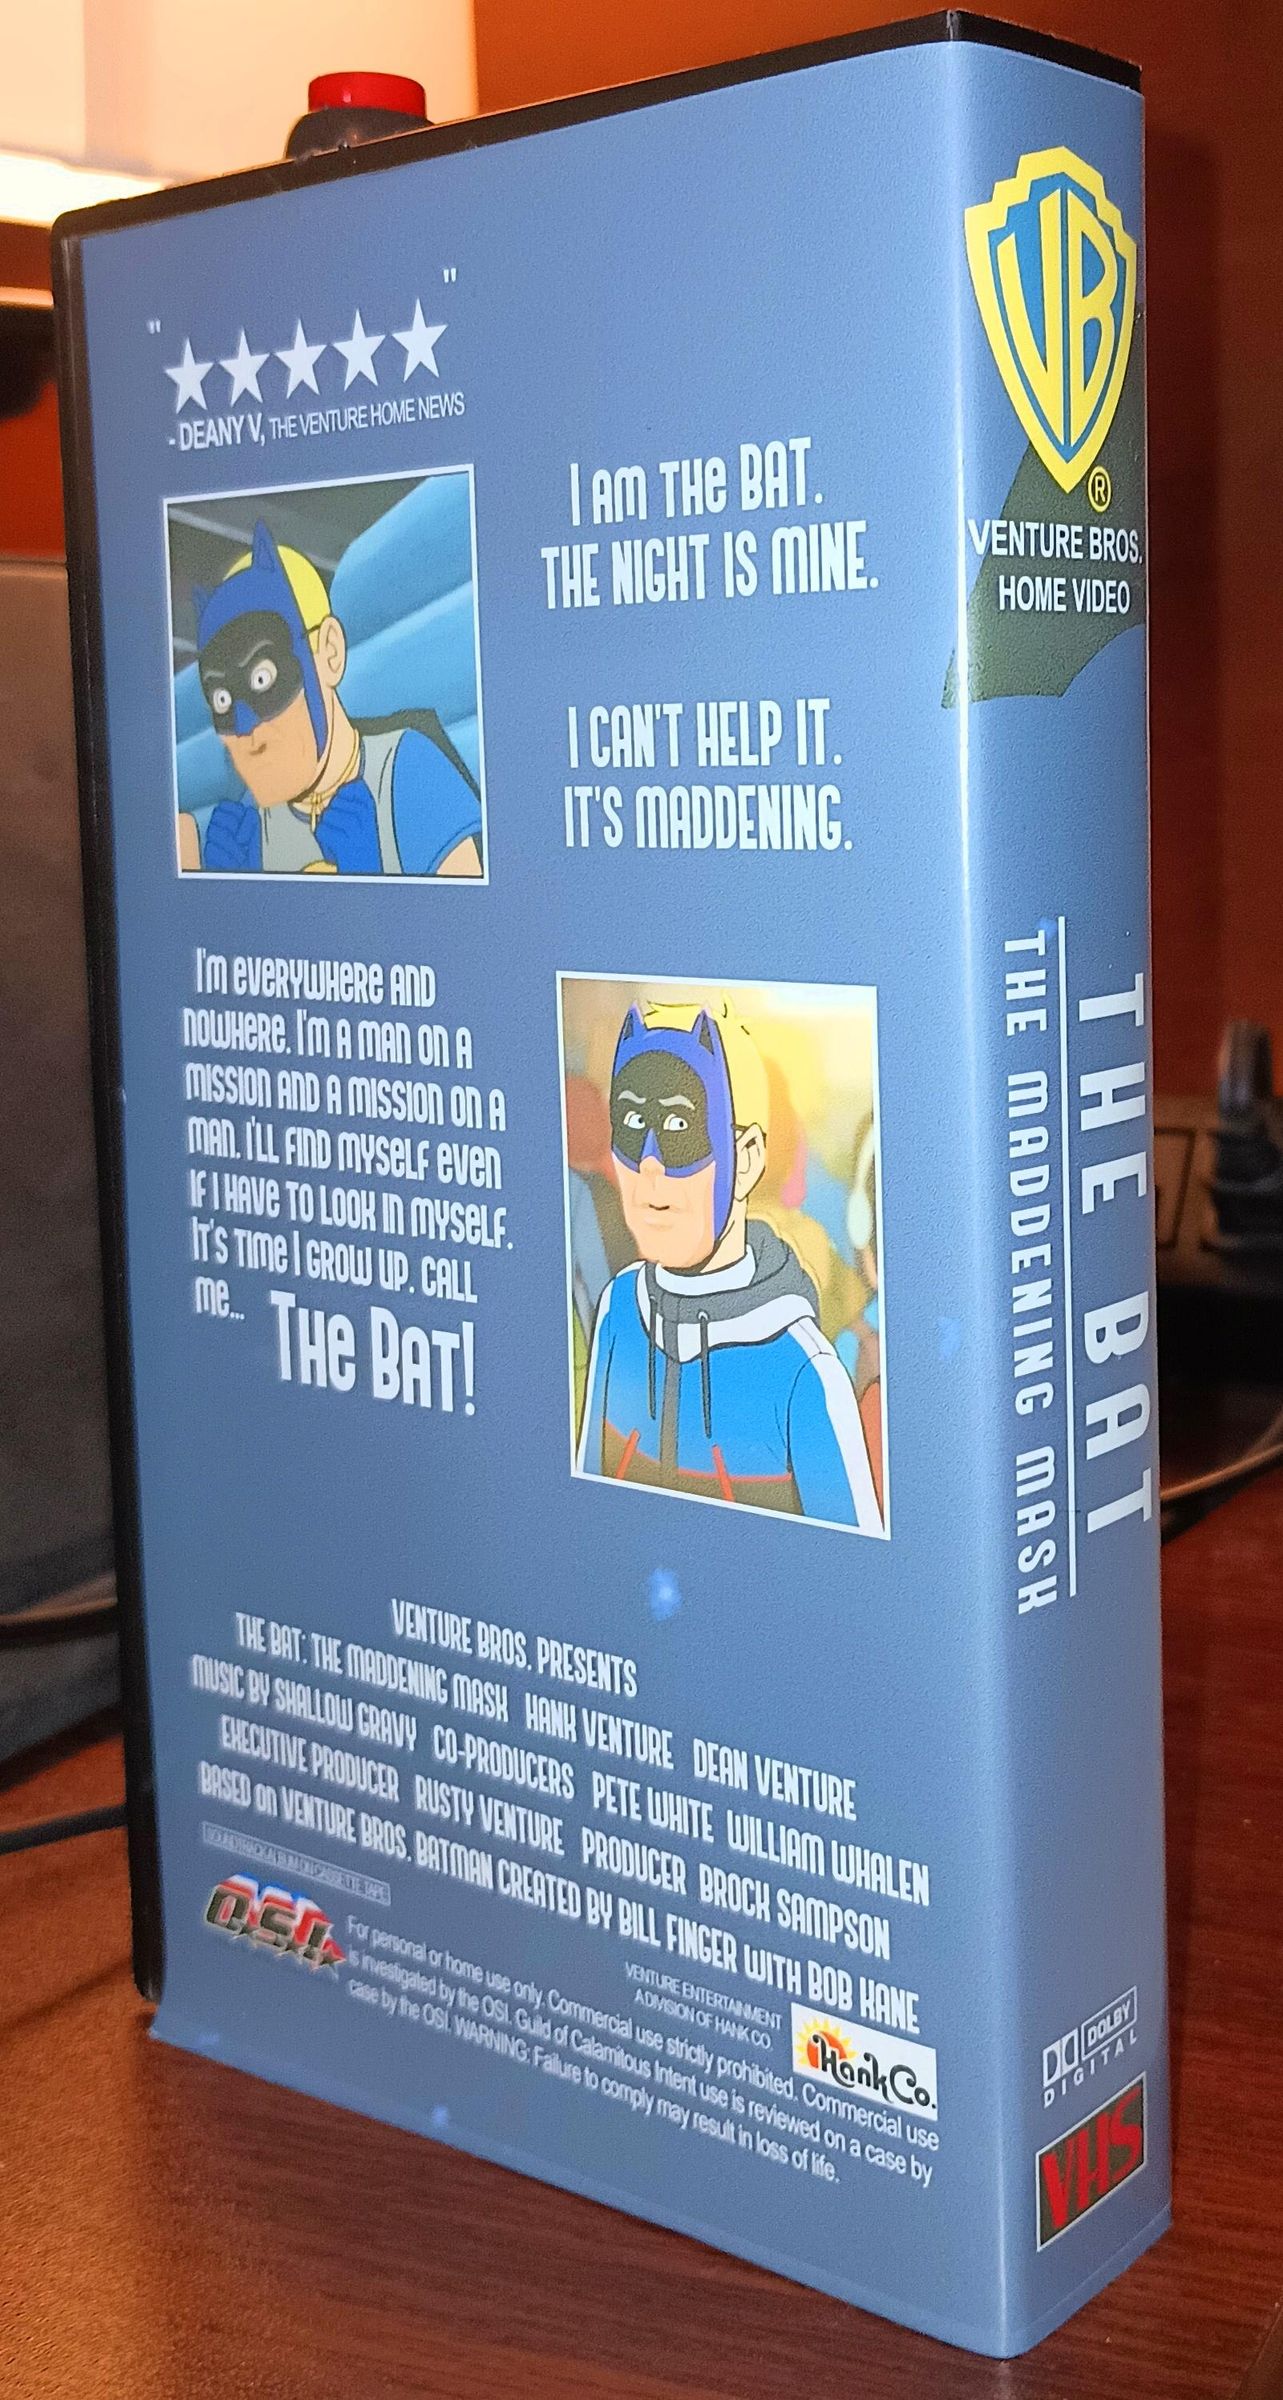
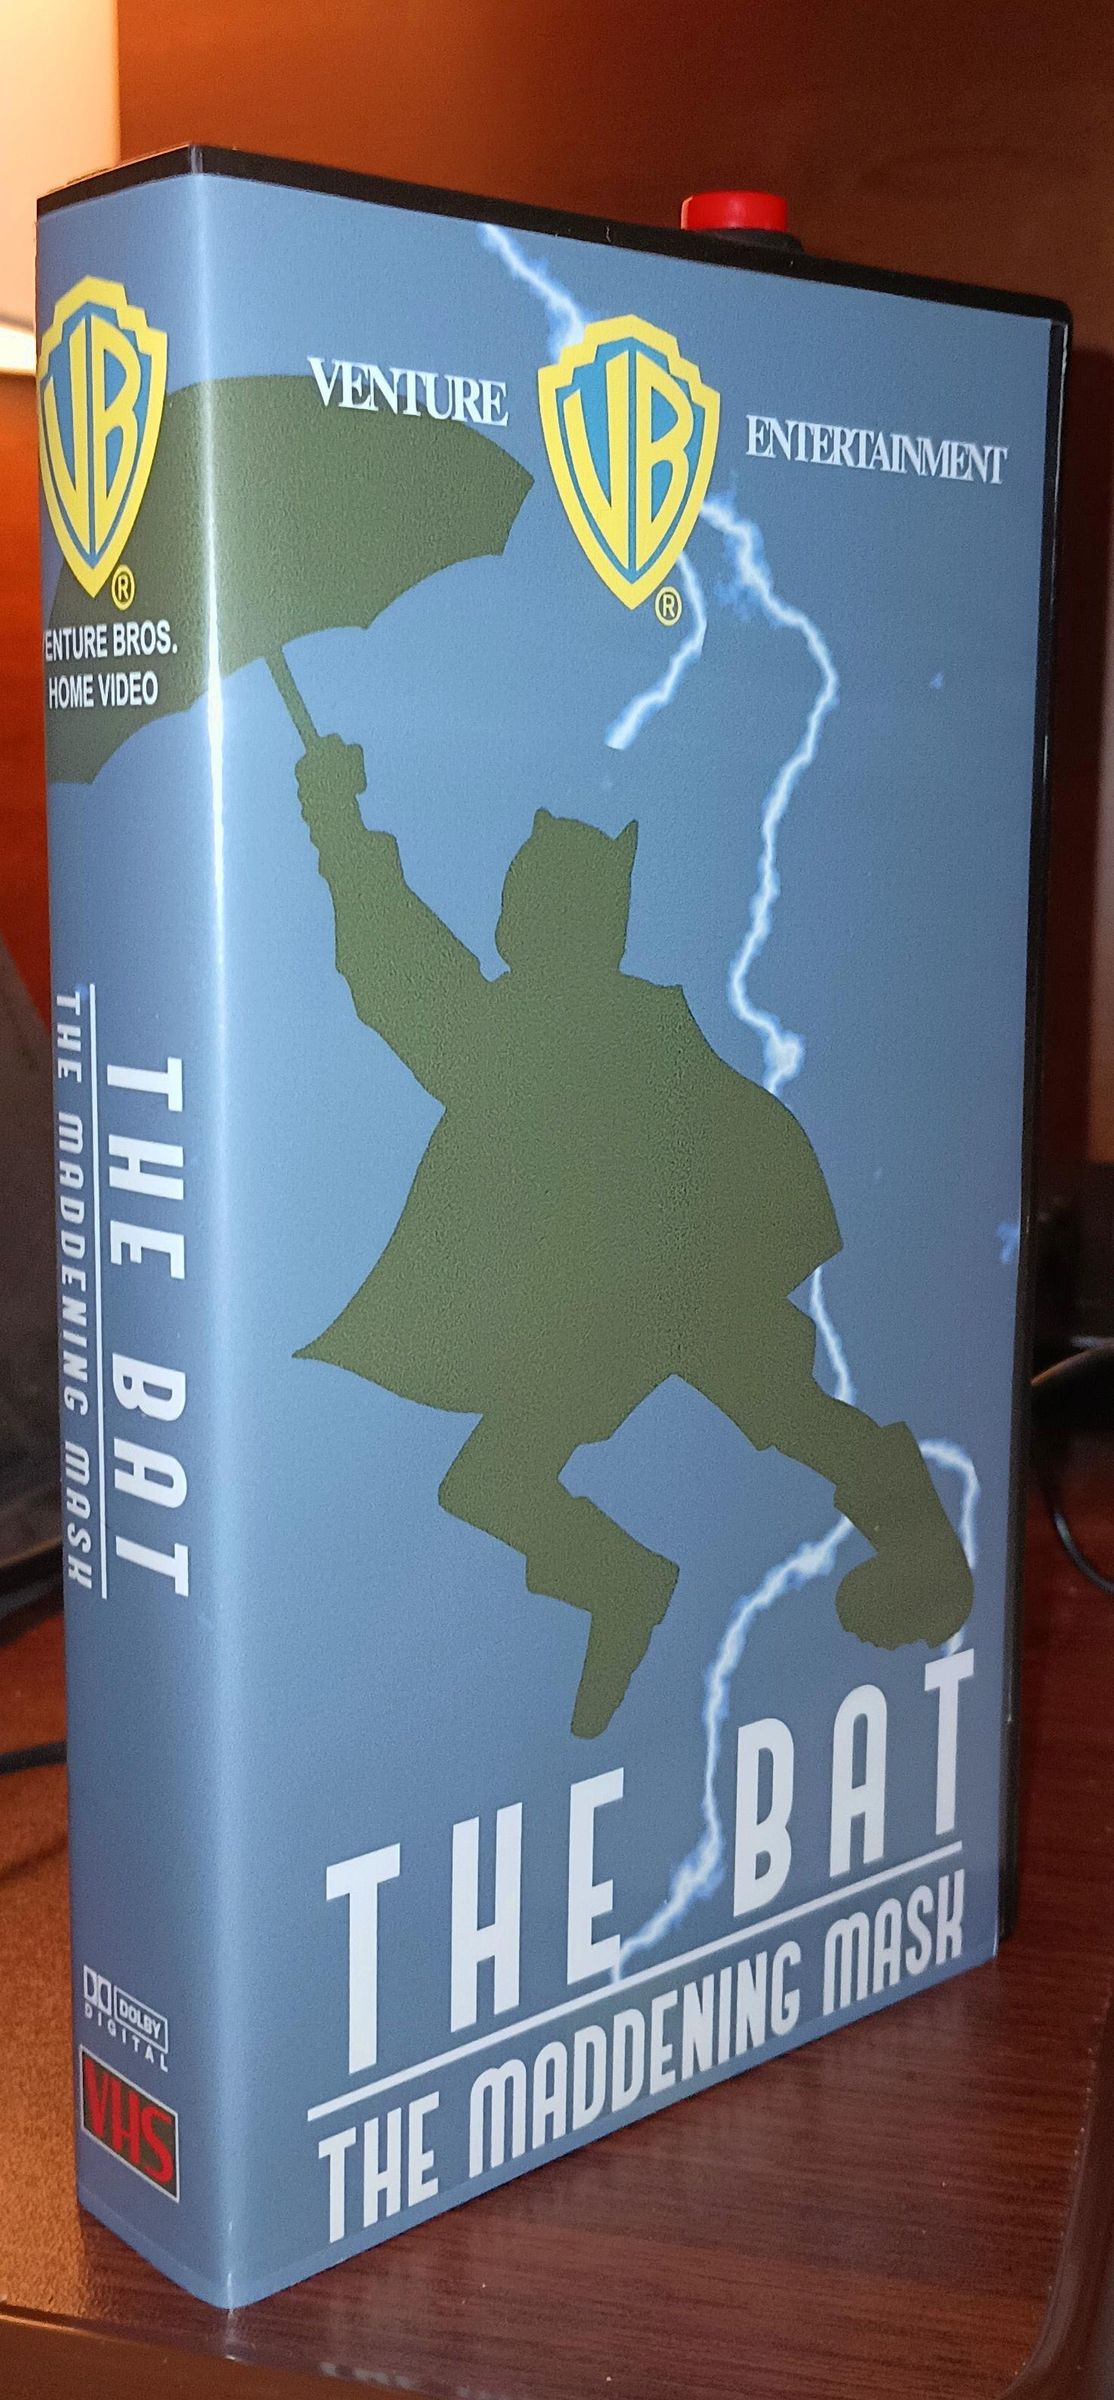
Remember when a bulky hard plastic VHS case meant you had exactly one movie for a trip? Let's turn that nostalgia into a modern, travel-ready entertainment hub.
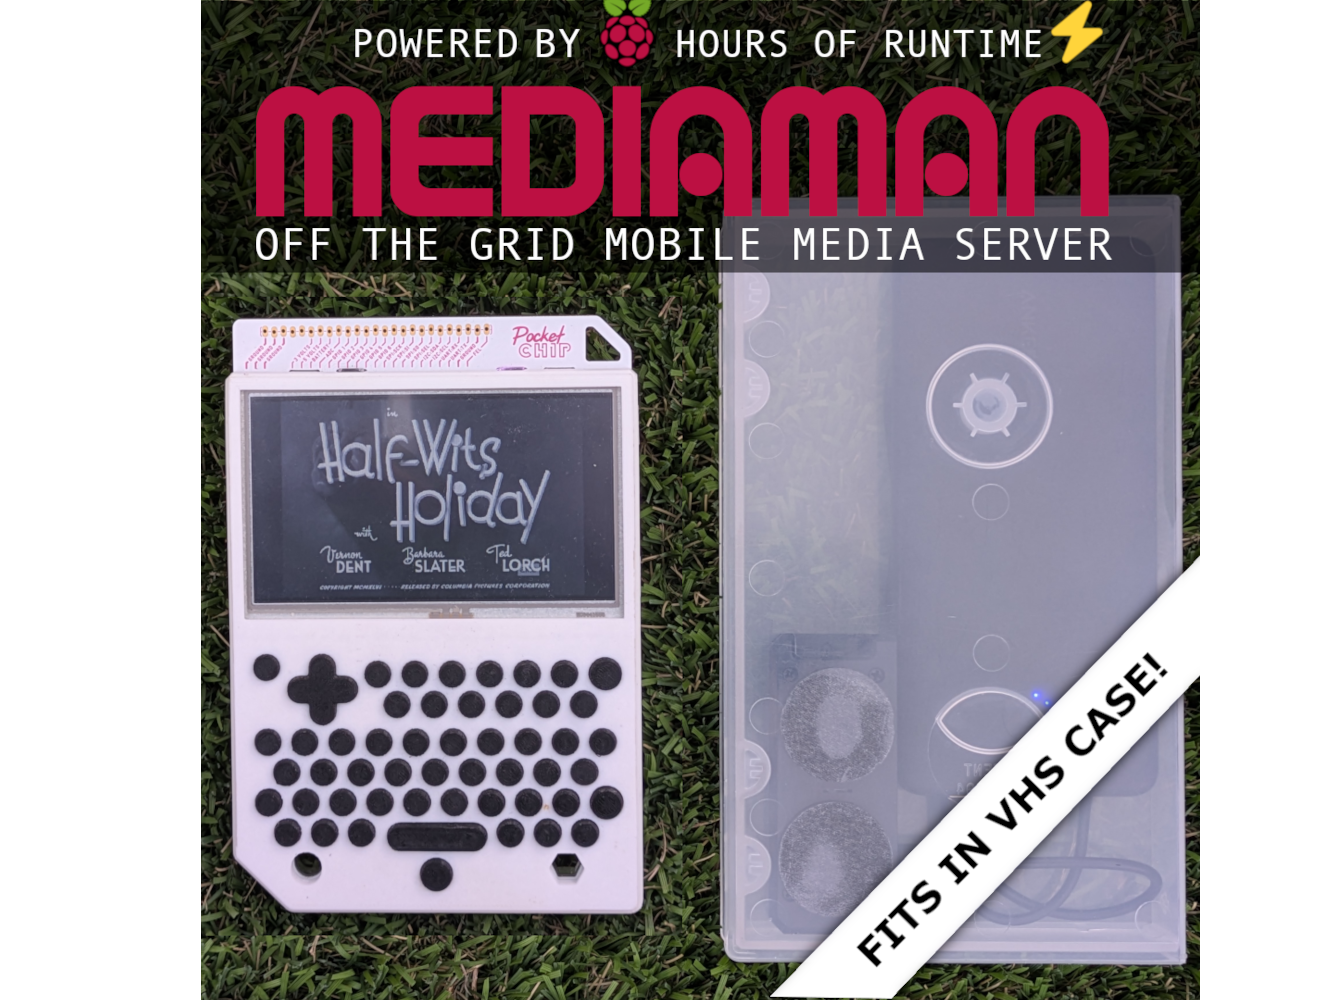
This project transforms a vintage VHS case into a completely self-contained, battery-powered portable media server. Running on a Raspberry Pi Zero 2 W and fueled by a 10000mah Anker power bank, this headless server creates its own local Wi-Fi network. It allows multiple devices to stream your entire library simultaneously while you are completely off the grid—perfect for camping, or long drives.
We will tackle both hardware and software in this guide. For the hardware, you will modify the plastic case to house the components. For the software, we will run an interactive whiptail-based Bash utility—the Setup Plex Wizard—to automate the headless configuration.
For the uninitiated, I've made another Instructables guide on encoding media and transferring media to the Pi called Optimize Media for the Pi Zero 2W.
Note: Updated 08-16-2026. Previous guide iteration can be viewed as a PDF: archive.org
Supplies
Materials and Components
- Raspberry Pi Zero 2W — Tip: Check rpilocator.com to find stocked Pi Zero 2W boards for around $15–$22 USD (July 2026).
- Argon Pi Zero 2W Case or Flirc Case — Keeps the Pi passively cool inside the enclosure without needing a fan.
- MicroSD Card (32GB or larger recommended) — For the operating system and media library. Tip: Compare price-per-gigabyte options on diskprices.com.
- USB Drive (16 GB or larger recommended) — For transferring media from your computer to the Pi.
- 10000mAh Anker Power Bank — Portable battery to run the media server on the go.
- Micro-USB Cable — Connects the Anker power bank to the Pi Zero 2W for power.
- USB-C Cable — Needed to recharge the Anker power bank.
- Micro USB OTG Cable — Needed to connect the USB drive to your Pi (Transfer media to micro SD card).
- Plastic VHS Case — Serves as the housing for the Pi Zero 2W and power bank. Note: Look for these at thrift stores like Goodwill, Salvation Army, or Half Price Books. Avoid brittle clamshell cases (vintage Disney tapes)—they are too small for the components and snap easily when cut.
- Adhesive Pads / Double-Sided Tape — To secure the power bank and Argon case inside the VHS shell so components don't rattle around.
- Mobile Device, Streaming Device, or Computer — Your playback screen for when you're traveling or camping. Also needed to initially configure the Pi over SSH.
Raspberry Pi Imager
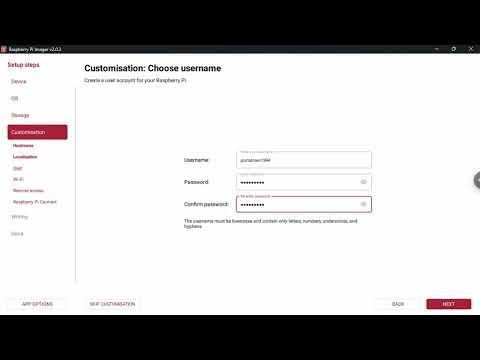
Before you begin, download and install the official Raspberry Pi Imager application on your computer.
Watch the short video above to see the exact process for flashing the micro SD card. Because our media server is "headless" (meaning it won't be plugged into a monitor or keyboard), pay close attention to the OS Customization settings in the video.
Once Raspberry Pi Imager finishes writing and verifying, you may remove the micro sd card.
Assemble the Argon Case
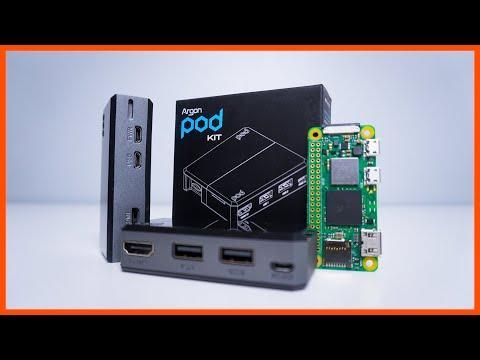
It's time to assemble the Argon case which will act as a heatsink for the Pi. I don't recommend doing this project without an Argon or Flirc case.
Please refer to the YouTube video on how to assemble the Argon Pi Zero 2W Case. Start video at 1 minute and 59 seconds. You only have to follow until 4 minutes and 30 seconds. Be sure to pay special attention to the thermal pad installation.
Once the case is assembled, your Pi is protected and passively cooled.
Setup Pi & SSH
Setup Pi
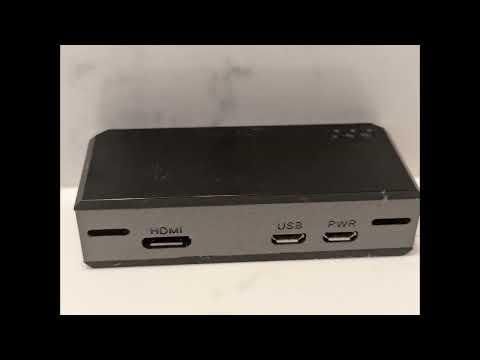
The first video above demonstrates how to insert your micro SD card and get the board wired up to the Anker power bank for its first boot. While doing this, pay close attention to the “PWR” micro-USB port and how to insert the micro SD card.
SSH
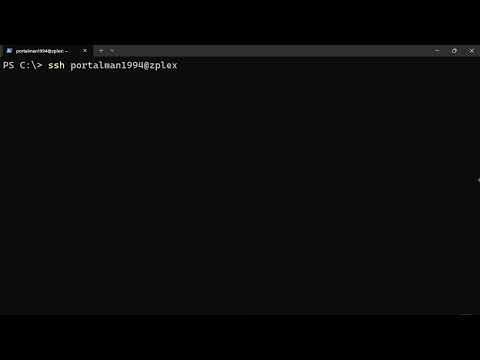
The second video above demonstrates how to access your Pi remotely via SSH (secure shell). Note: Replace username with your username for the Pi and hostname with your hostname for the Pi. If the hostname alone won't allow you to connect: try adding .local to your hostname.
Download & Launch the Wizard
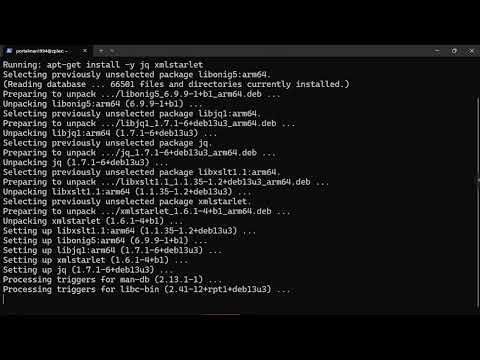
The video guides you through how to launch the script and the explains the initial checks when the wizard is first run on a Pi Zero 2W. The commands from the video are included below.
Download the Wizard
I have made a whiptail shell script for the uninitiated. Feel free to browse the files and the code on GitHub. Download the script to the Pi by entering the following command:
Make the Wizard Executable
Change the mode of setup_plex_wizard to executable:
Launch the Wizard
Run the script with sudo permissions:
Wizard: Part I
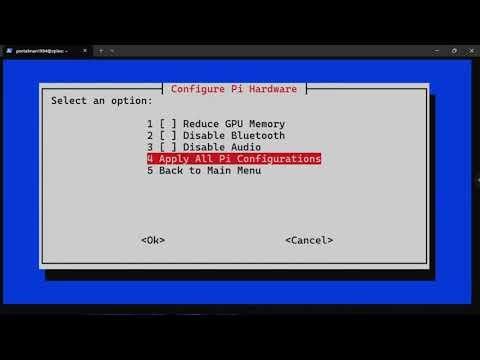
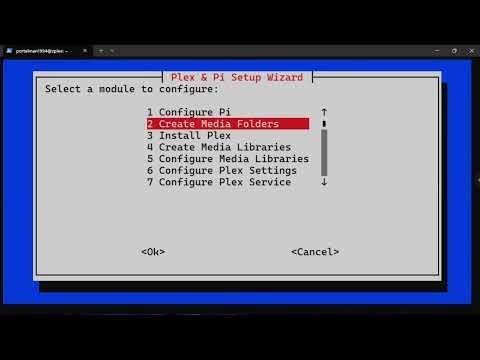
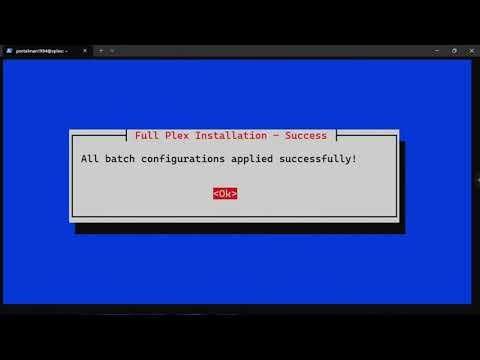
The videos above walk you through the first three options in the script. They are highly automated, but here is exactly what they are doing behind the scenes:
- Configure Pi: Optimizes the Raspberry Pi Zero 2W hardware for headless media server use by reducing GPU memory allocation to 16MB, disabling onboard Bluetooth, and disabling the onboard audio interface — all via edits to /boot/firmware/config.txt. Each setting can be applied individually or all at once.
- Create Media Folders: Creates the directory structure Plex will use for media storage: a USB mount point at /mnt/USB, a Movies folder at /mnt/media/Movies, and a TV Shows folder at /mnt/media/Shows. Directories can be created individually or all together.
- Install Plex: Adds the official Plex APT repository (with GPG fingerprint verification) and then installs the plexmediaserver package from it. Both steps can be run individually or as a full installation sequence.
Once the installation finishes, you can exit the script. Do not close your terminal just yet, but get ready to move over to your web browser for the next step!
Claim Plex Server
The UserCredentialReset script by Plex employee ChuckPa can be used to claim a plex server by using a token generated by account.plex.tv/claim. Follow the provided steps by accessing your Pi via SSH.
Download the Script
Make the Script Executable
Launch the Script
Copy the Token
On your computer's web browser, copy the token from account.plex.tv/claim
Paste the Token
In your SSH session, paste the token into the script's claim prompt (right click and select paste)
Confirmation
The script will print out your Plex username and email (confirmation which account PMS is claimed). The script will then exit.
Wizard: Part II
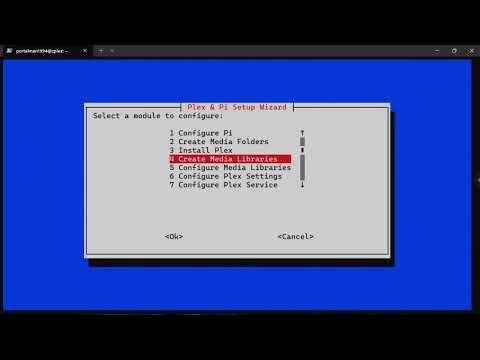
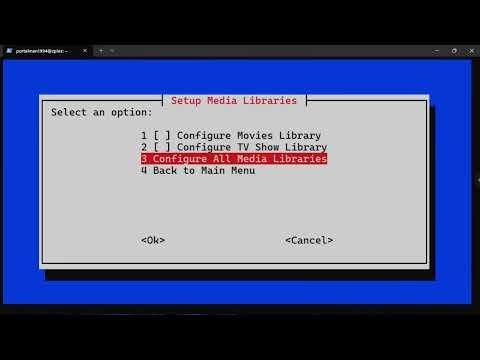
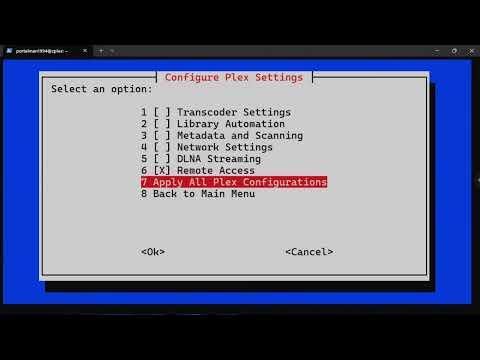
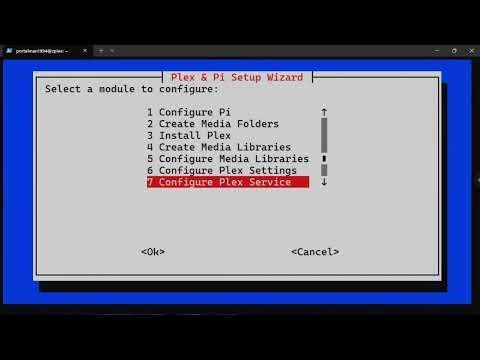
Now that your server is officially claimed, head back to your terminal window. We are going to use the next four options in the Setup Plex Wizard to optimize the software for our low-power, portable setup.
Restart Plex
Run the following command presented by Create Media Libraries if the NFO metadata agent is not available:
The videos above demonstrate exactly how to navigate each menu option. Here is a quick breakdown of what the script is automatically configuring for you:
- Create Media Libraries: Uses the Plex local API to register new Movies and TV Shows library sections in Plex, pointing them at the media folders created in step 2. Requires the server to already be claimed (a Plex Online Token must be present).
- Configure Media Libraries: Applies performance-oriented library preferences to existing Movies and TV Shows sections via the Plex API, disabling things like artwork localization, BIF generation, credits/ad marker generation, and voice activity analysis.
- Configure Plex Settings: Tunes six categories of Plex server preferences through the API for a low-resource Pi Zero environment: transcoder limits (remux-only, ultrafast H.264 preset), Butler maintenance scheduling (narrow 1-hour window, heavy tasks disabled), metadata/marker generation (all set to "never"), network settings (GDM/relay/webhooks disabled), DLNA (enabled with direct-play-only and 24-hour lease), and remote access (publishing to Plex Online disabled).
- Configure Plex Service: Writes a systemd drop-in override file that caps Plex's RAM usage (45% soft / 65% hard limit) and CPU usage (52% quota, idle scheduling priority), then reloads systemd and restarts the service to apply the constraints.
What About Media?

For the uninitiated, I've made another Instructables guide on encoding media, NFO metadata generation and transferring media to the Pi called Optimize Media for Pi Zero 2W : 5 Steps - Instructables.
Wizard: Part III
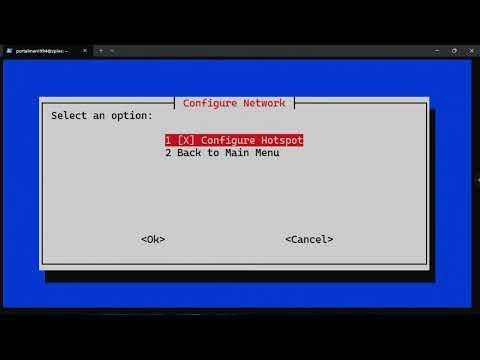
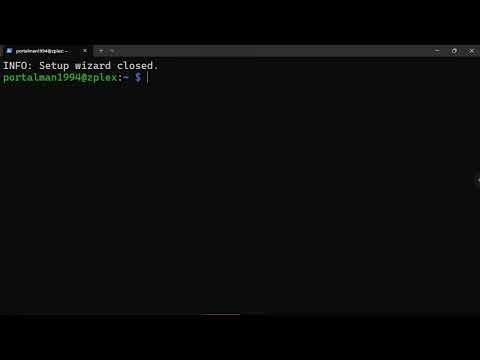
The videos above demonstrate exactly how to navigate each menu option. Here is a quick breakdown of what the script is automatically configuring for you:
- Configure Network: Creates a NetworkManager Wi-Fi hotspot profile on wlan0 using credentials you enter interactively. The profile is set to auto-connect on boot with priority 99, running in AP mode on channel 6 with a shared IPv4 subnet at 192.168.50.1/24.
- Exit Wizard: Closes the whiptail interface, clears the terminal, logs the session end, and exits the script.
Once you exit the wizard, your portable media server is almost configured on the software side! You’ll need to reboot the Pi by running the following command:
Access DLNA Server
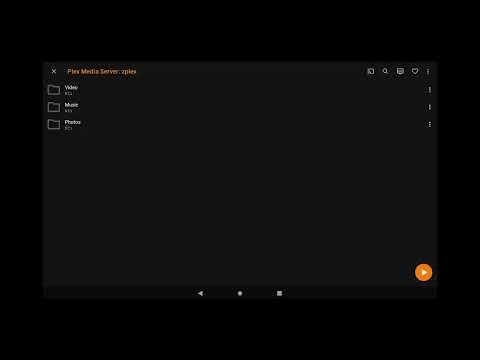
The included video walks you through accessing the media on your Pi with VLC.
Note: You'll have to connect to the Pi's hotspot you configured in order to access the media.
Stream the Media on the Pi
Configure the devices' (TV, phones, tablet, laptop, desktop, streaming stick, gaming consoles) WiFi settings to connect to your Pi's hotspot. You can use built-in software on the device or use VLC if available from the device's app store.
What is VLC?
"VLC is a free and open source cross-platform multimedia player and framework that plays most multimedia files as well as DVDs, Audio CDs, VCDs, and various streaming protocols." Source: "VLC Home Page"
VHS Case


Once you've verified everything works, we can begin to place the Pi and the powerbank in a VHS case. Use the video in this step as a guide for placement of the components in your own VHS case.
Arrange Pi and Powerbank
Determine the best placement for your powerbank and Pi. You want enough room to be able to charge the Anker powerbank and Pi. And you want to be able to access all Pi ports easily.
Use Adhesive Pads
Place the strips in the case where the Pi and Anker powerbank will be placed. Place the Pi and powerbank on the adhesive strips.
Optional: Print Case Graphic
I have made a custom Venture Bros. VHS graphic which is available on the Archive. Download the PDF version of the VHS graphic. You can use an inkjet printer or a photo service (8.5x11) for printing the VHS graphic.
Here are the recommendations for printing the VHS graphic on an inkjet printer:
- Print on HP brand glossy paper.
- Choose Best for quality setting.
You will have to cut the white borders from the printed graphic, so the graphic will fit in the case.
SSH on the Go
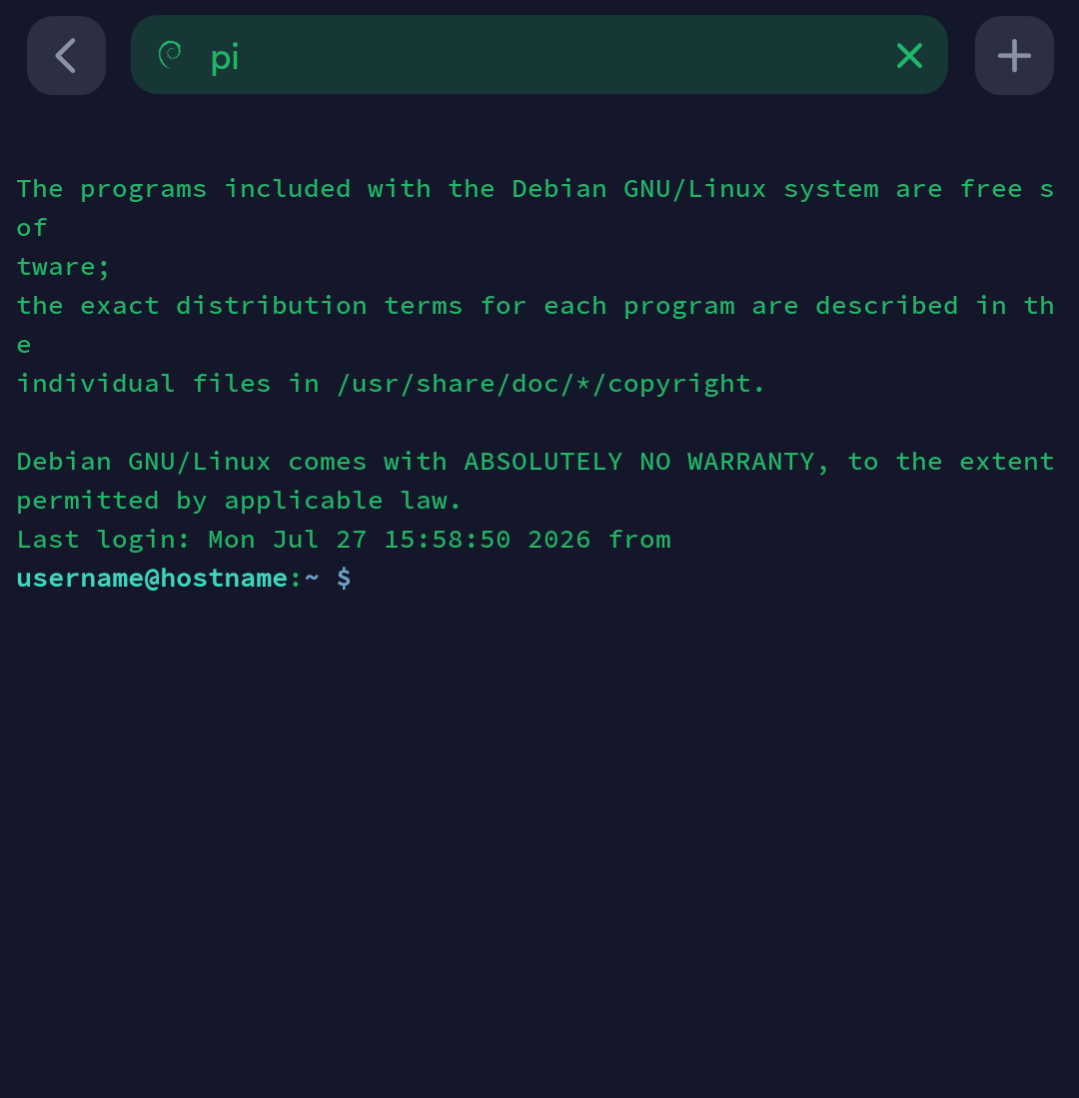
Prerequisites
Ensure your Pi is broadcasting its hotspot and your phone or portable device is connected to the hotspot. Follow this step on your phone.
Install
Terminus is an SSH client for iOS and Android that will allow you to access your Pi and tweak Pi settings. Granted the Pi is nearby (~20 feet) and is broadcasting its hotspot. Install Terminus for your OS:
Configure
Follow along with the SSH with a password guide from Terminus documentation.
Once you have configured and tested the SSH connection, you can exit the app.
Time to Go Mobile
To set up media streaming while traveling, simply turn on your Pi — your target devices (like TVs, streaming devices, laptops, or tablets) will automatically connect or can be manually joined to the Pi's hotspot. Once connected, use DLNA for broad cross-device compatibility, streaming media via your device's built-in software or a free multimedia player like VLC. Enjoy!
Note: Most modern televisions and streaming devices include a built-in media player with the ability to access DLNA servers. Google or search for your Television's model number to find the steps to use the built-in media player.
I'll look into adding a small solar panel into the project (08-10-2026).