VOICE BOX: MIDI SYNT CONTROLLER
by fablab cagliari in Circuits > Microcontrollers
1549 Views, 9 Favorites, 0 Comments
VOICE BOX: MIDI SYNT CONTROLLER

A MIDI synt controller box is a box that's main purpose is to play sounds on another device like a computer or synth module. The box itself doesn't generate any noise on its own at all, if they do it's very limited. MIDI controllers range from little tiny things that are pretty cheap to make all the way up to massive full sized monsters with weighted keys and gobs of little knobs and sliders for doing cool tricks with your synths. The point is you already have sounds somewhere else that you want to use and don't want to spend money on something with new sounds that you will never use. You just want something good at sening out MIDI messages. You can order these online or buy them at local music stores. Now-a-days if I was starting out with a goal of only recording music on my computer (no live playing) I would consider this kind of keyboard.
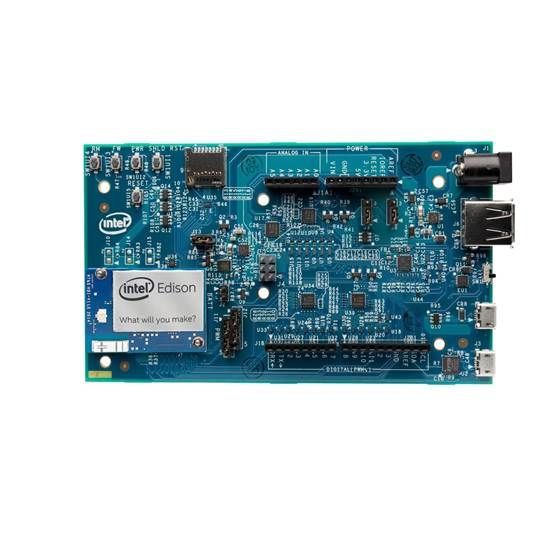
Thanks to the Intel Edison power and the ability to run nodejs inside we created a box that can record sounds and play them. Have fun to sample your voice and play it or send it in a loop. Use the potentiometers to change the volume and rate.
Set Up Intel Edison

1. Flash the firmware and install the software by following the tutorial from the Intel website.
2. download XDK IoT version from the Intel website
3. Connect the card with two USB cable to the PC and power it externally
4. Click on the tab serial terminal, select FTDI port from the select input and press the connect button, then in the terminal, type:
1. "configure_edison -wifi"
2. Select the network to connect
3. Enter the password of the wifi and wait for the system show the IP address of Edison
5. Disconnect the USB cables
6. If is the first connection install both the MRAA & UPM Library on the board.
7. Go to intel XDK IoT tab and select "add manual connection" from "iot device" select input
8. Insert the Intel Edison IP address and credentials to connect XDK to the board
9. From now you can upload our script and execute them on the board
10 Download the software from: https://github.com/Vulkan83/VoiceBox and open it with XDK
11 Upload it on the board
useful links
getting started with edison (windows): https://software.intel.com/en-us/get-started-edis...
getting started with edison (linux): https://software.intel.com/en-us/get-started-edis...
getting started with edison (MacOS): https://software.intel.com/en-us/get-started-edis...
Download XDK: https://software.intel.com/en-us/get-started-edis...
Create and Cut the Box Parts


To get the box you just need to print the chart or cut with a laser cutting.
To create the box I used this site: http://www.makercase.com/
Downloads
Get the Components

To complete this project you need:
- 5 buttons
- 1 red LED
- 1 green LED
- 2 potentiometers
- 8 300k resistor
Assembly the Eletronic Parts and the Box


Now that you have all the parts ready to assemble everything.
Not knowing welded I used simple jumper and electrical tape.
Upload the Software


After loading the VoiceBox software the Edison software open your browser and type the IP card in the address bar by specifying port 3000.
(Example = http://192.168.1.100:3000).
If done correctly you should see the dashboard to manage Sound and Start the voice registration