Vintage Airplane Model From Scratch + Animation
by Nesma Mavrakis in Design > Animation
1050 Views, 9 Favorites, 0 Comments
Vintage Airplane Model From Scratch + Animation
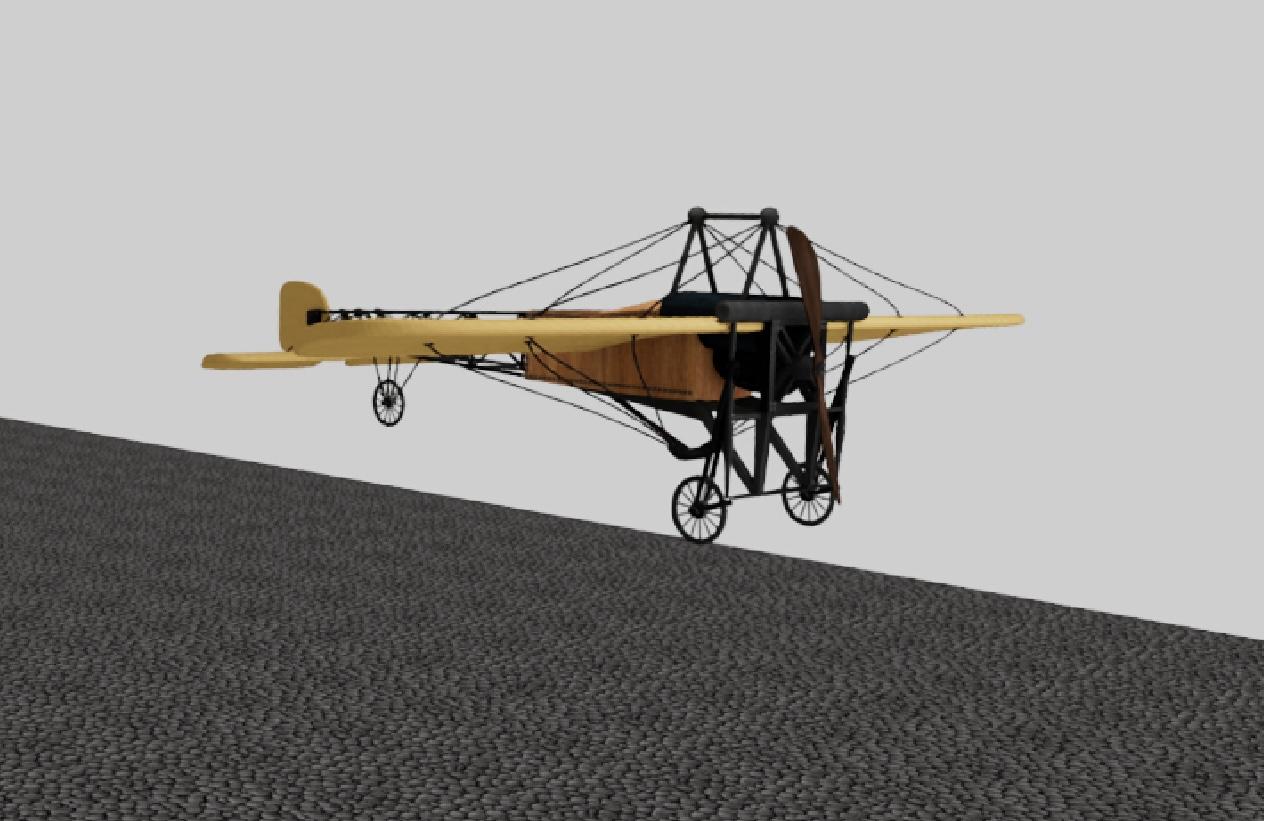
Hello! My name is Nesma Mavrakis and I'm a beginner in modeling and animating. I'm here to showcase how I modeled and animated a vintage airplane. When you think of "Make It Fly" the first thing that comes to your mind is the modern airplane in an airport. I wanted to spice things up a bit and decided it would be more interesting to make a vintage airplane instead.
Supplies

- Accsess to Autodesk Maya
- Reference images
- Adobe Premiere Pro or any kind of video editing software
Reference Images
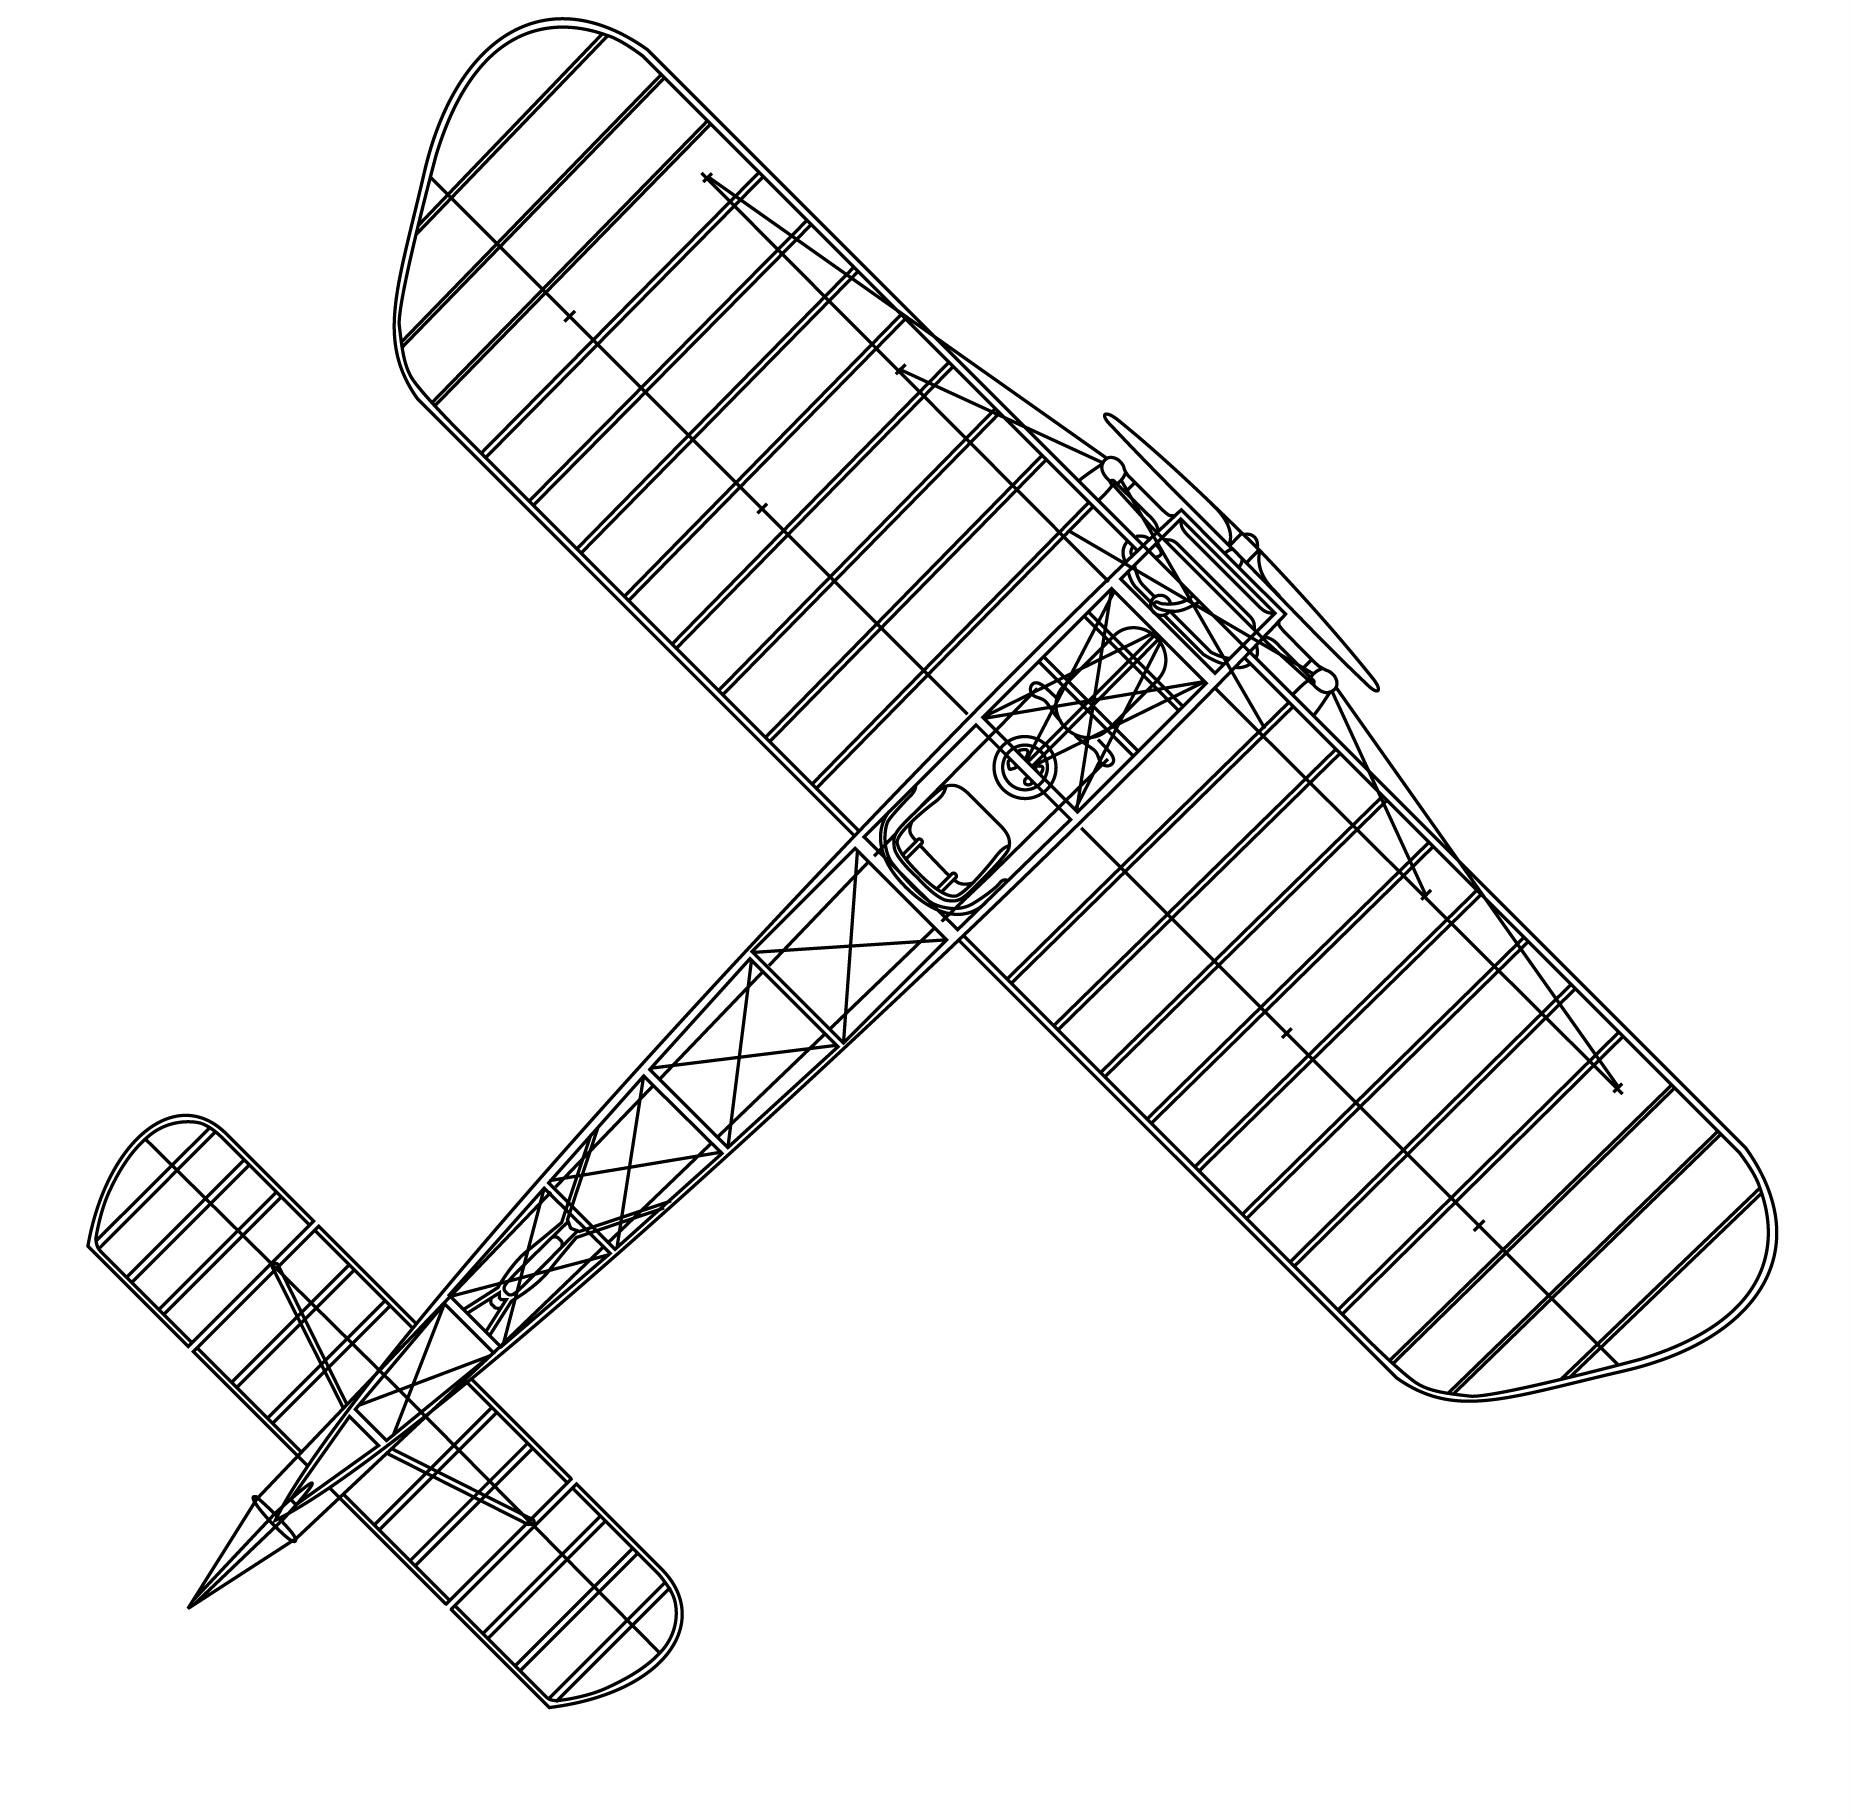
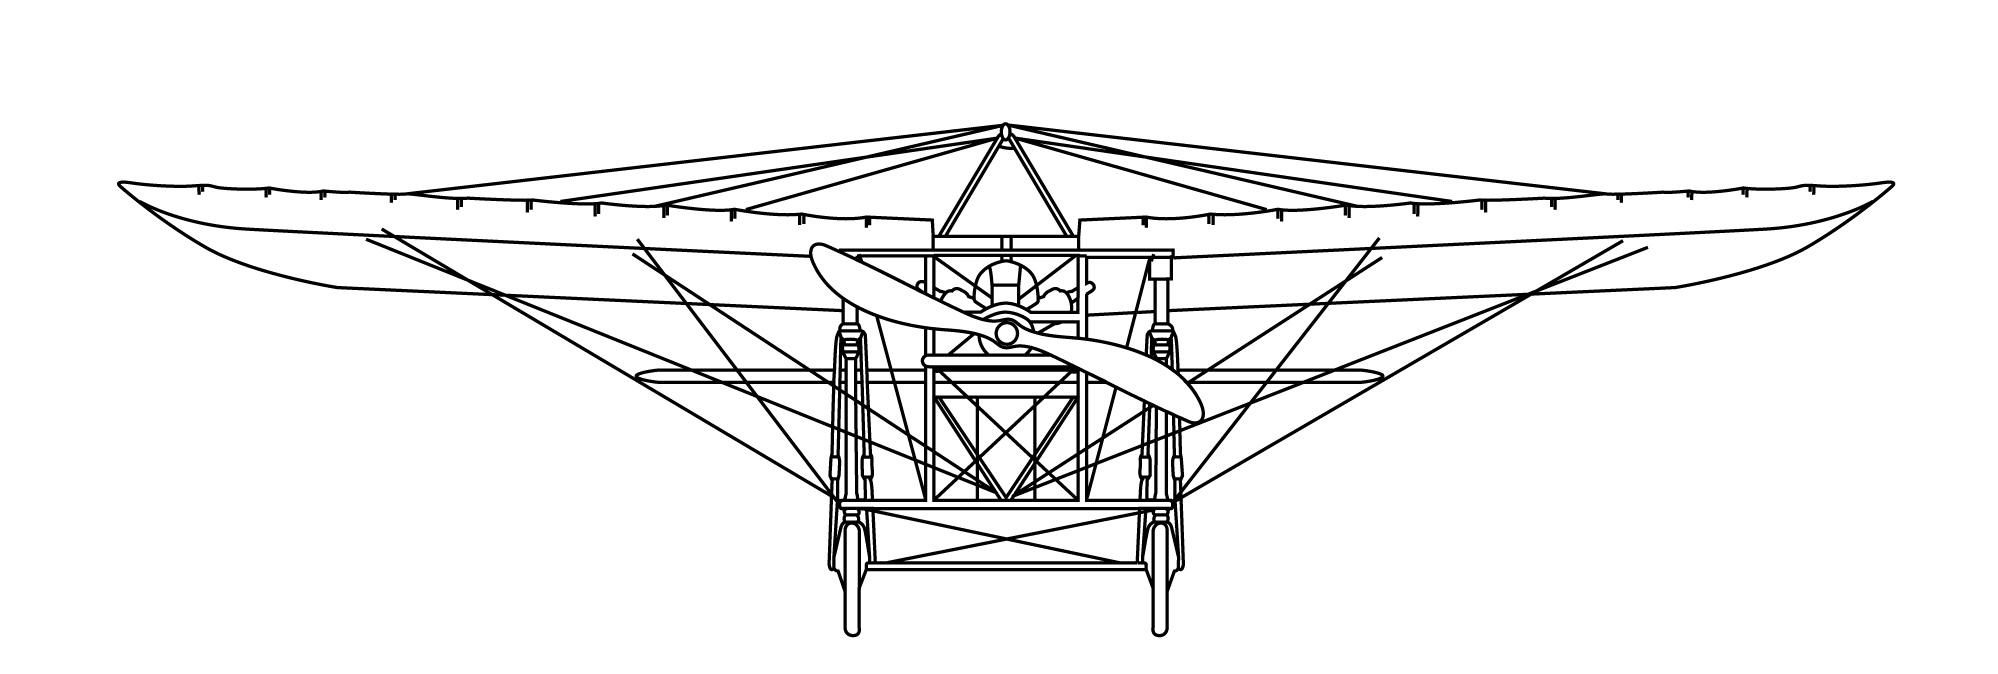
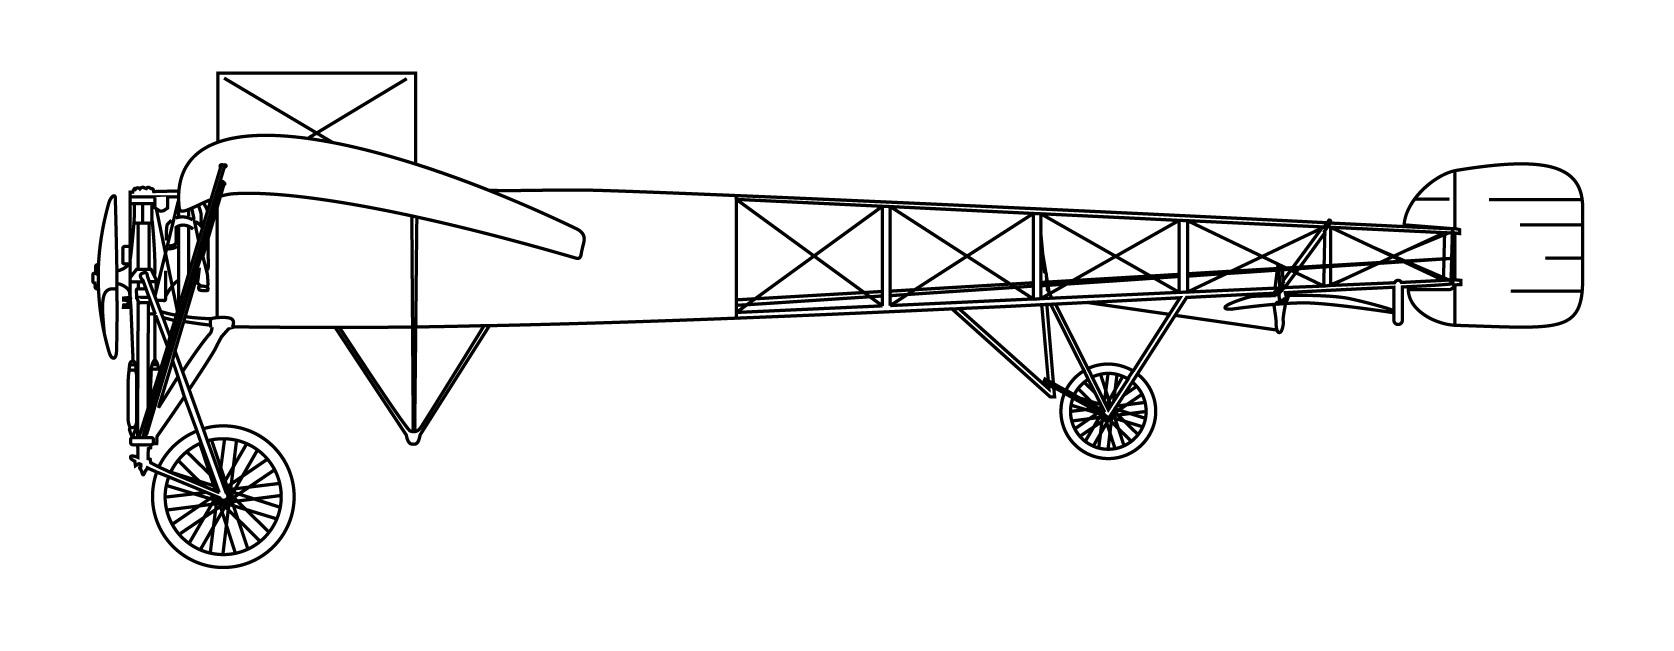
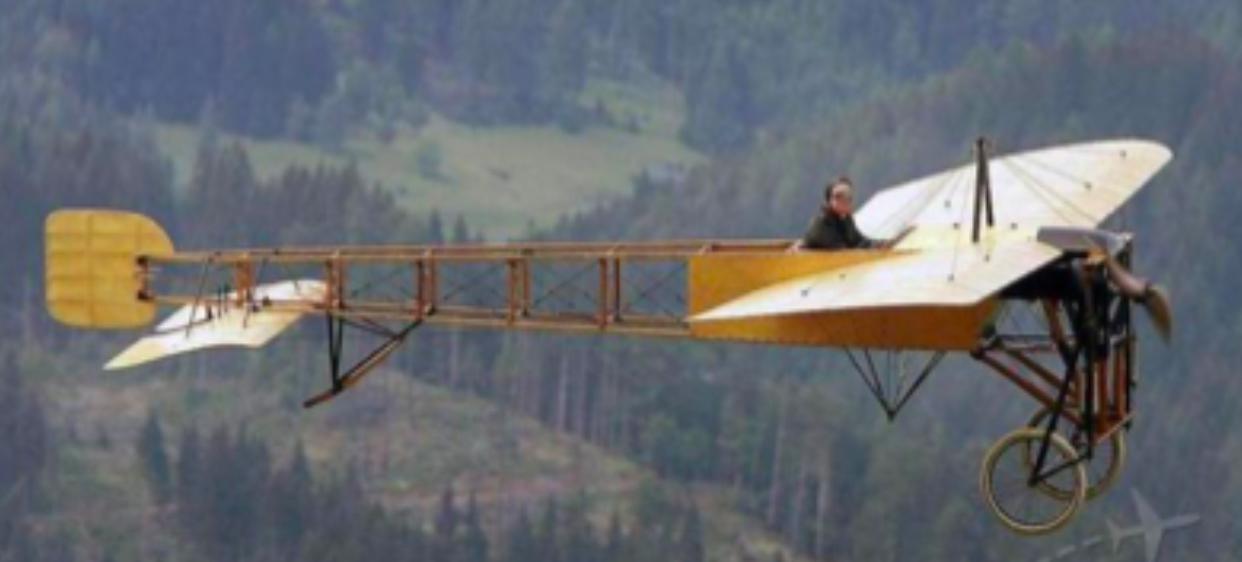
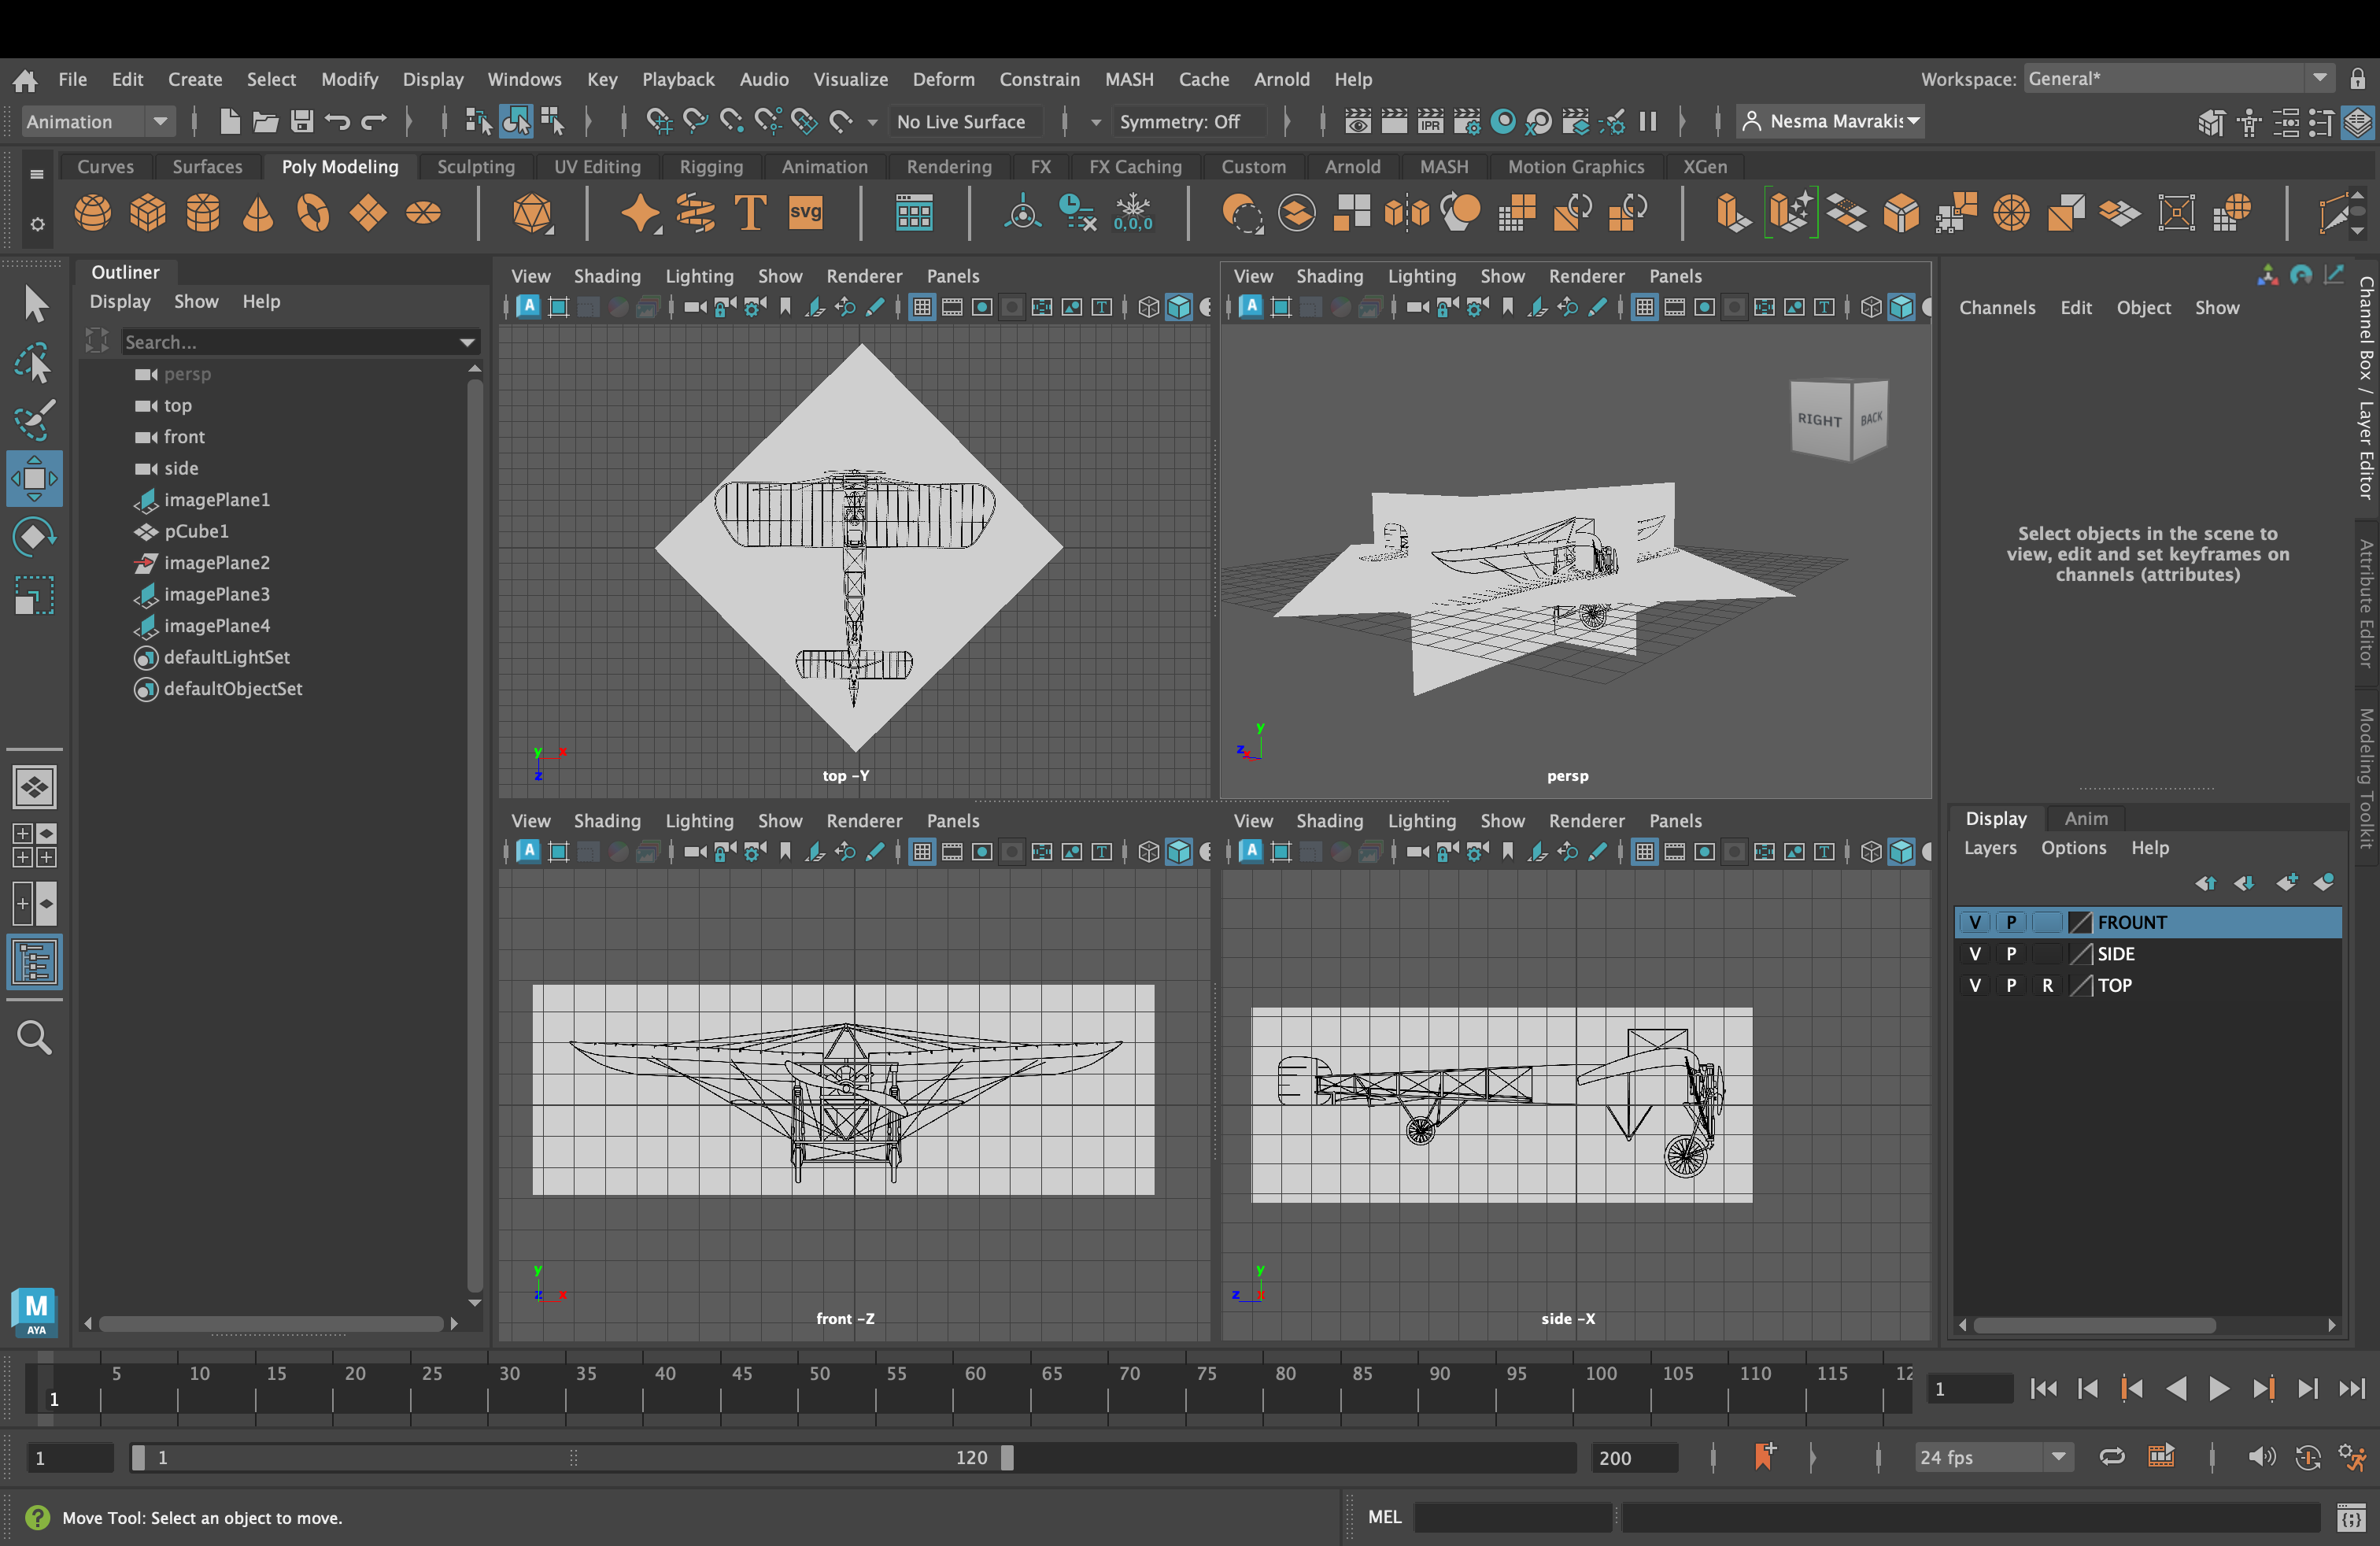
If you're going to make a 3D model, it's always helpful to have reference images to go off of. So I scoured the internet to find a unique vintage airplane because I like to be different. I also found its drawing layout. These can be imported into Maya and make the modeling process easier.
Modeling and Details
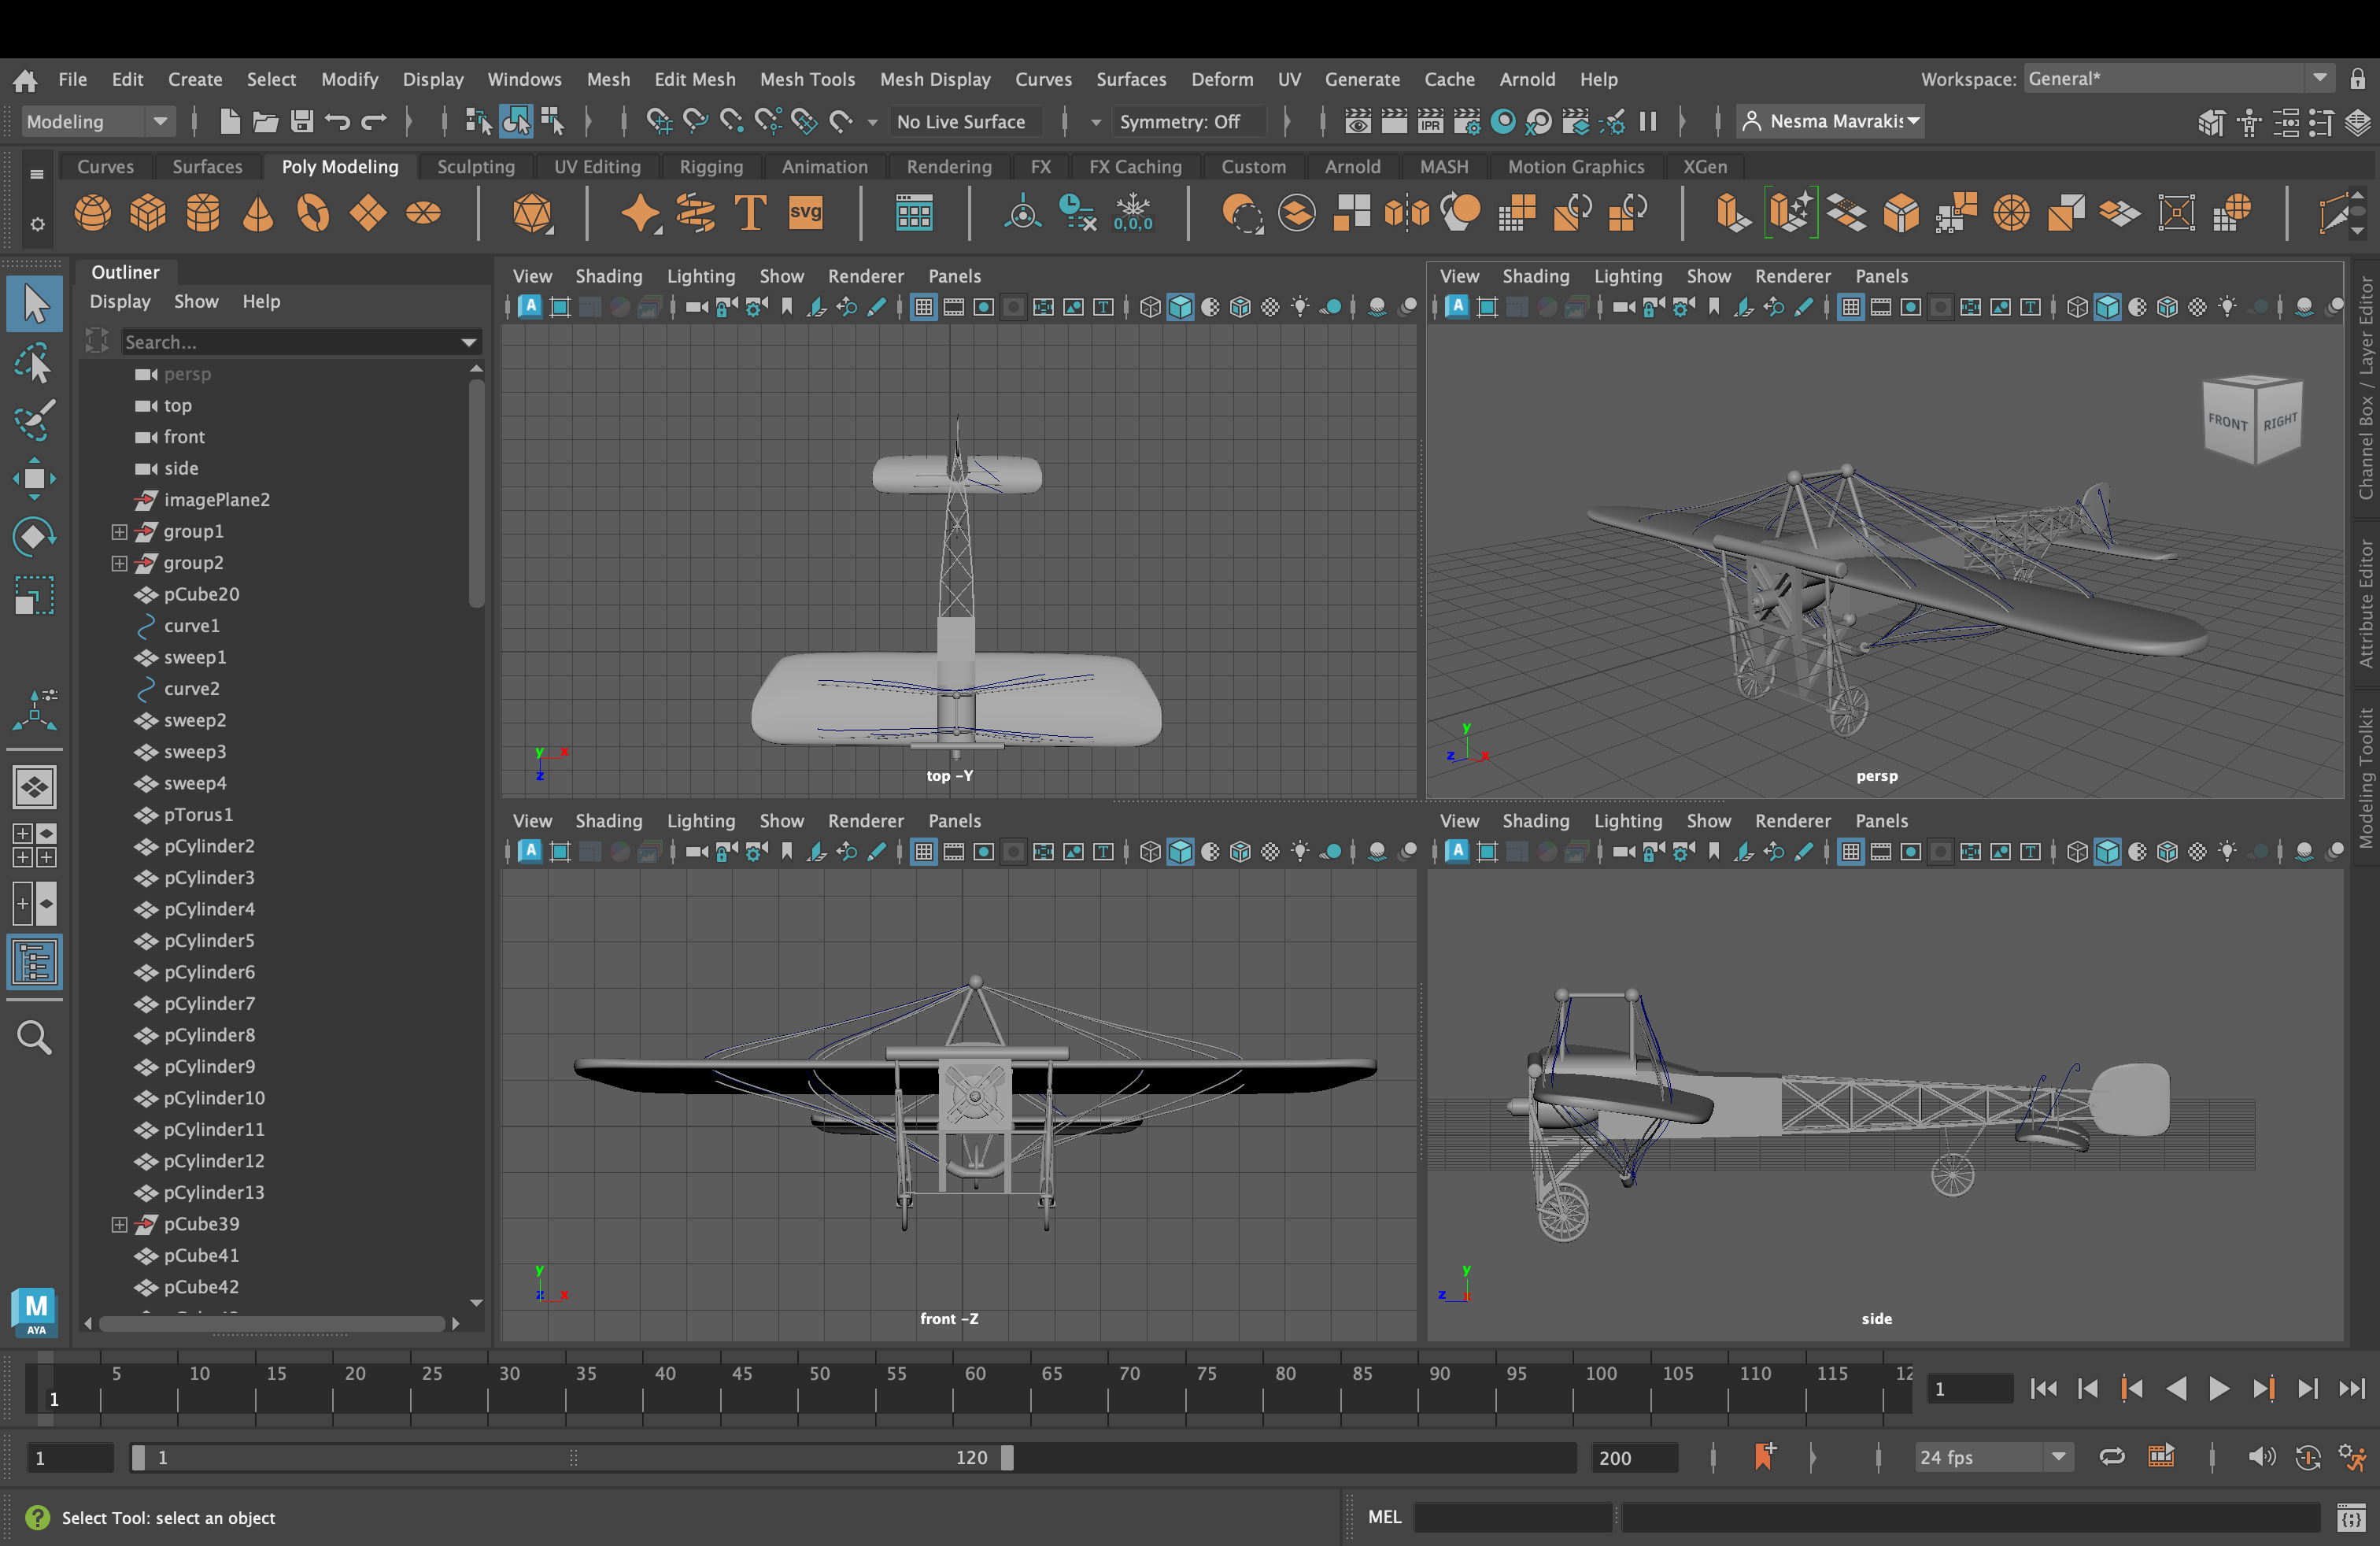
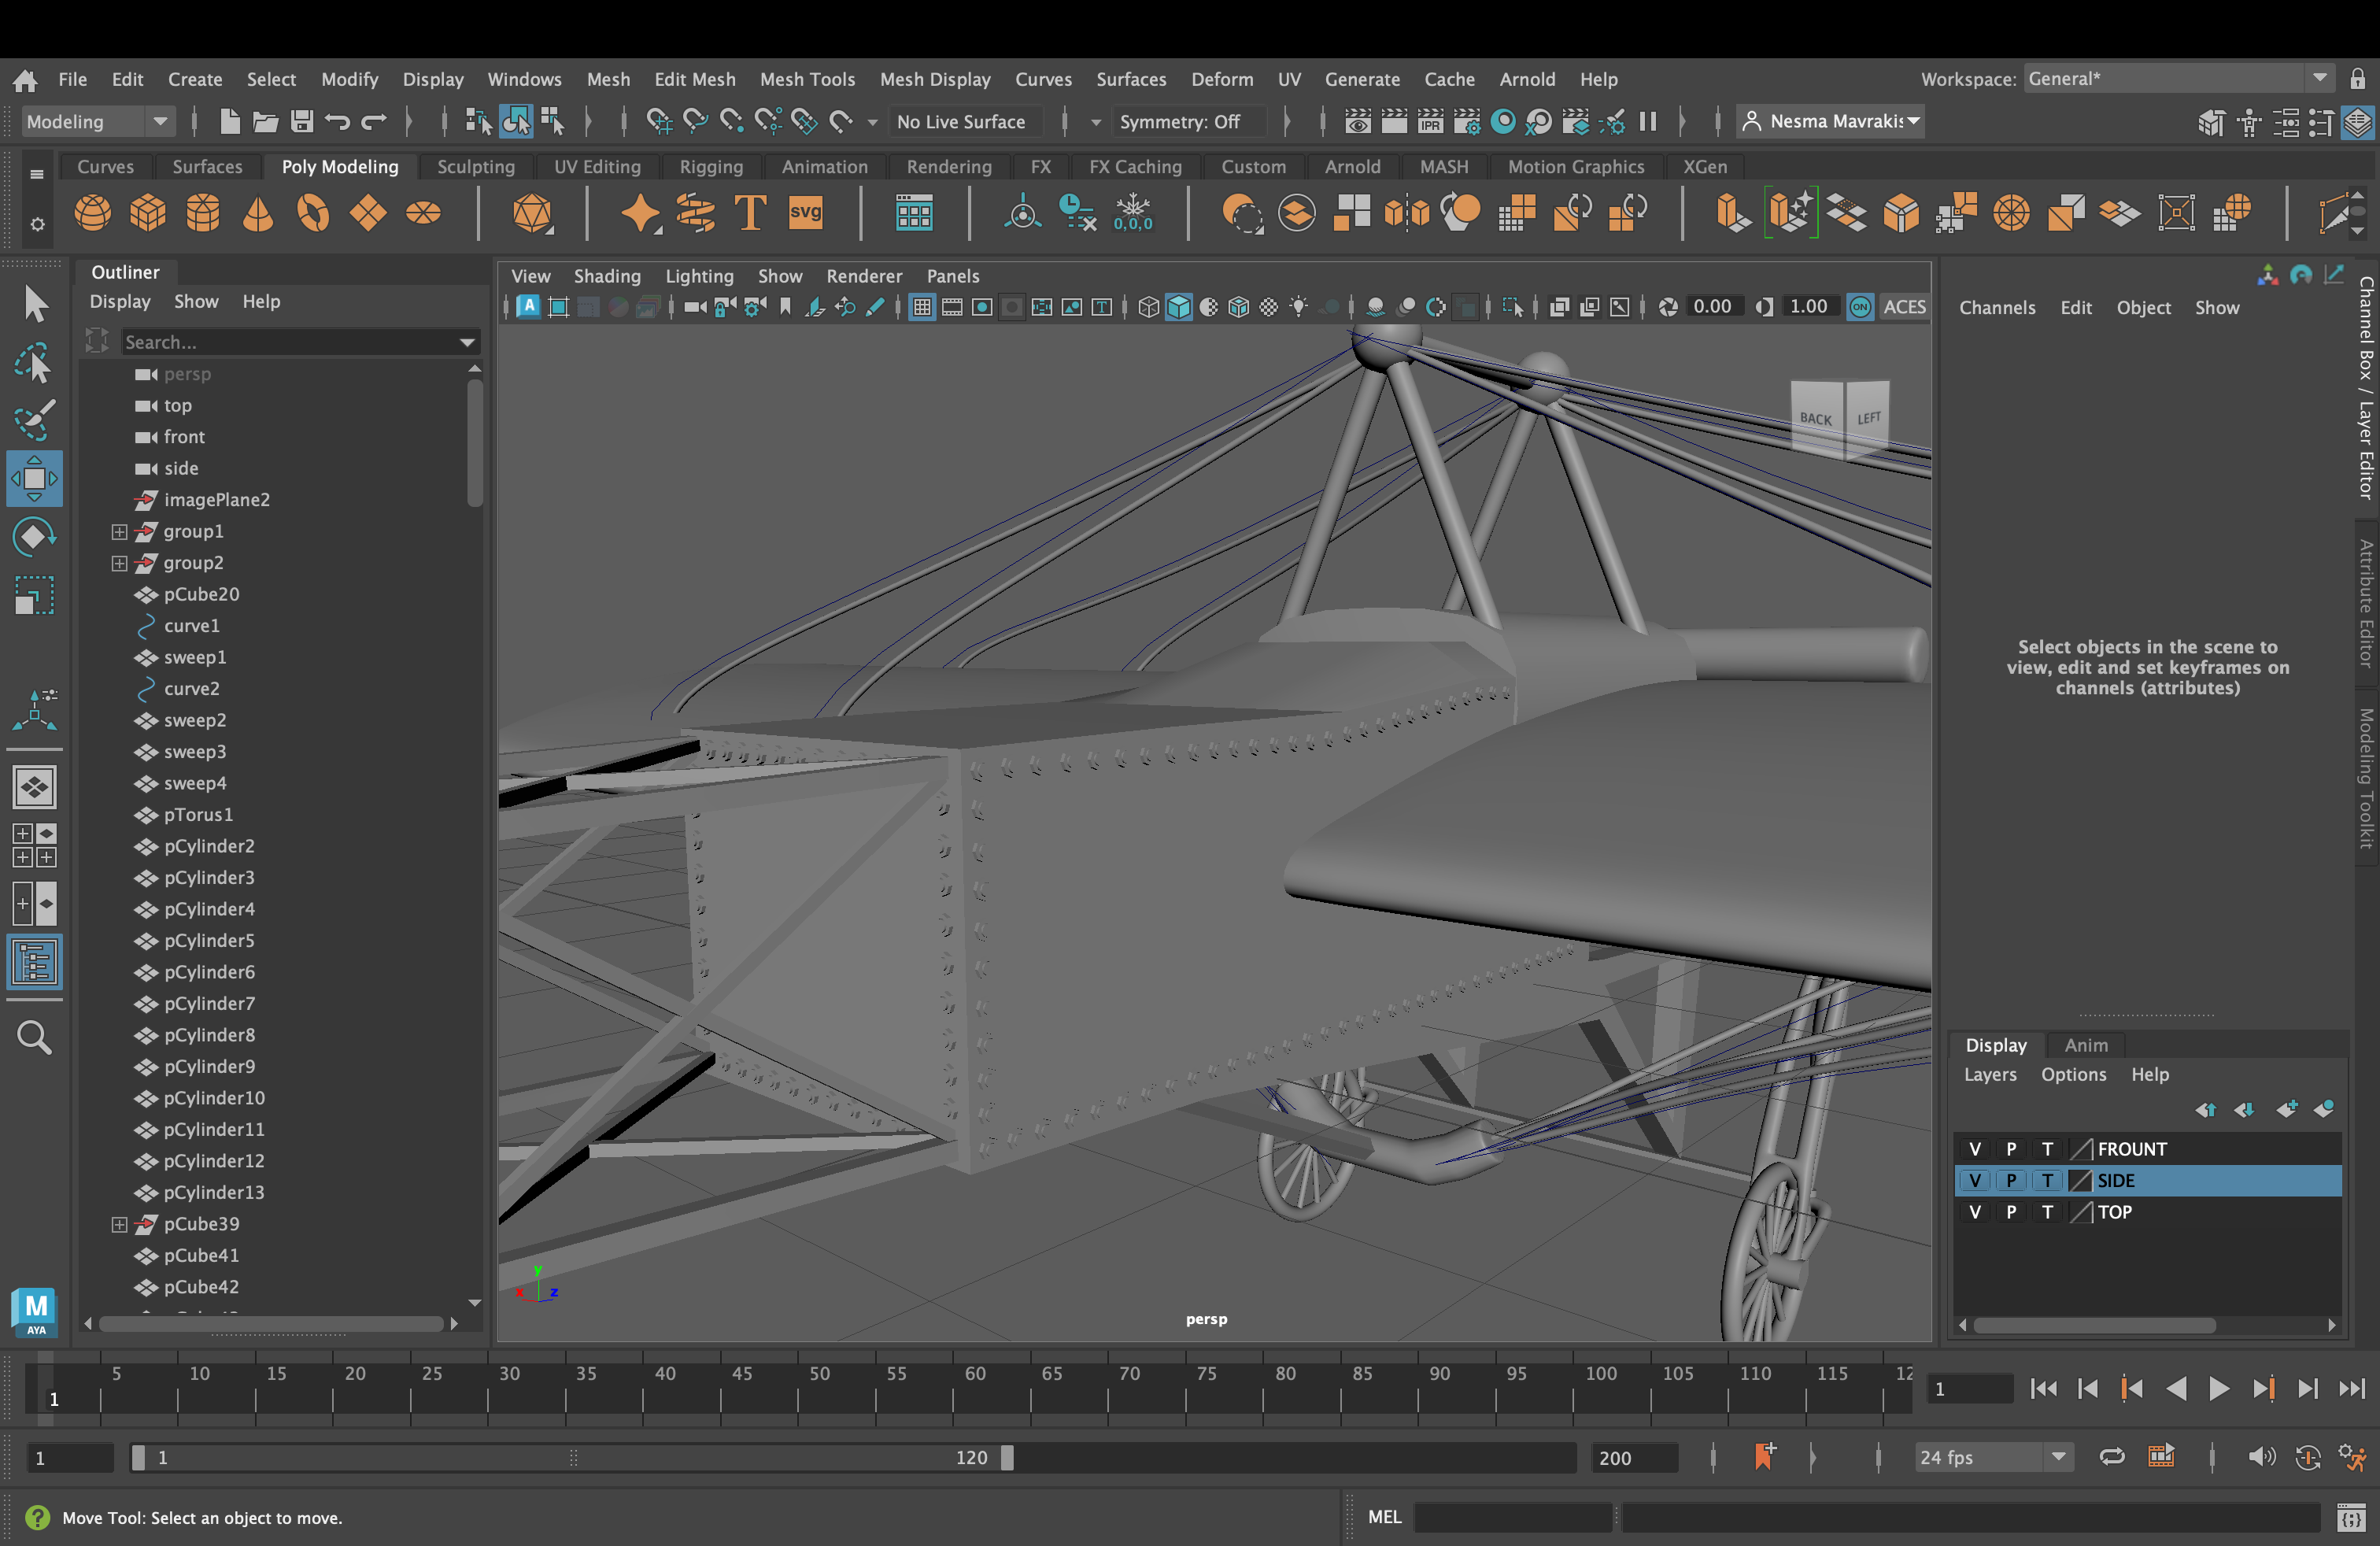
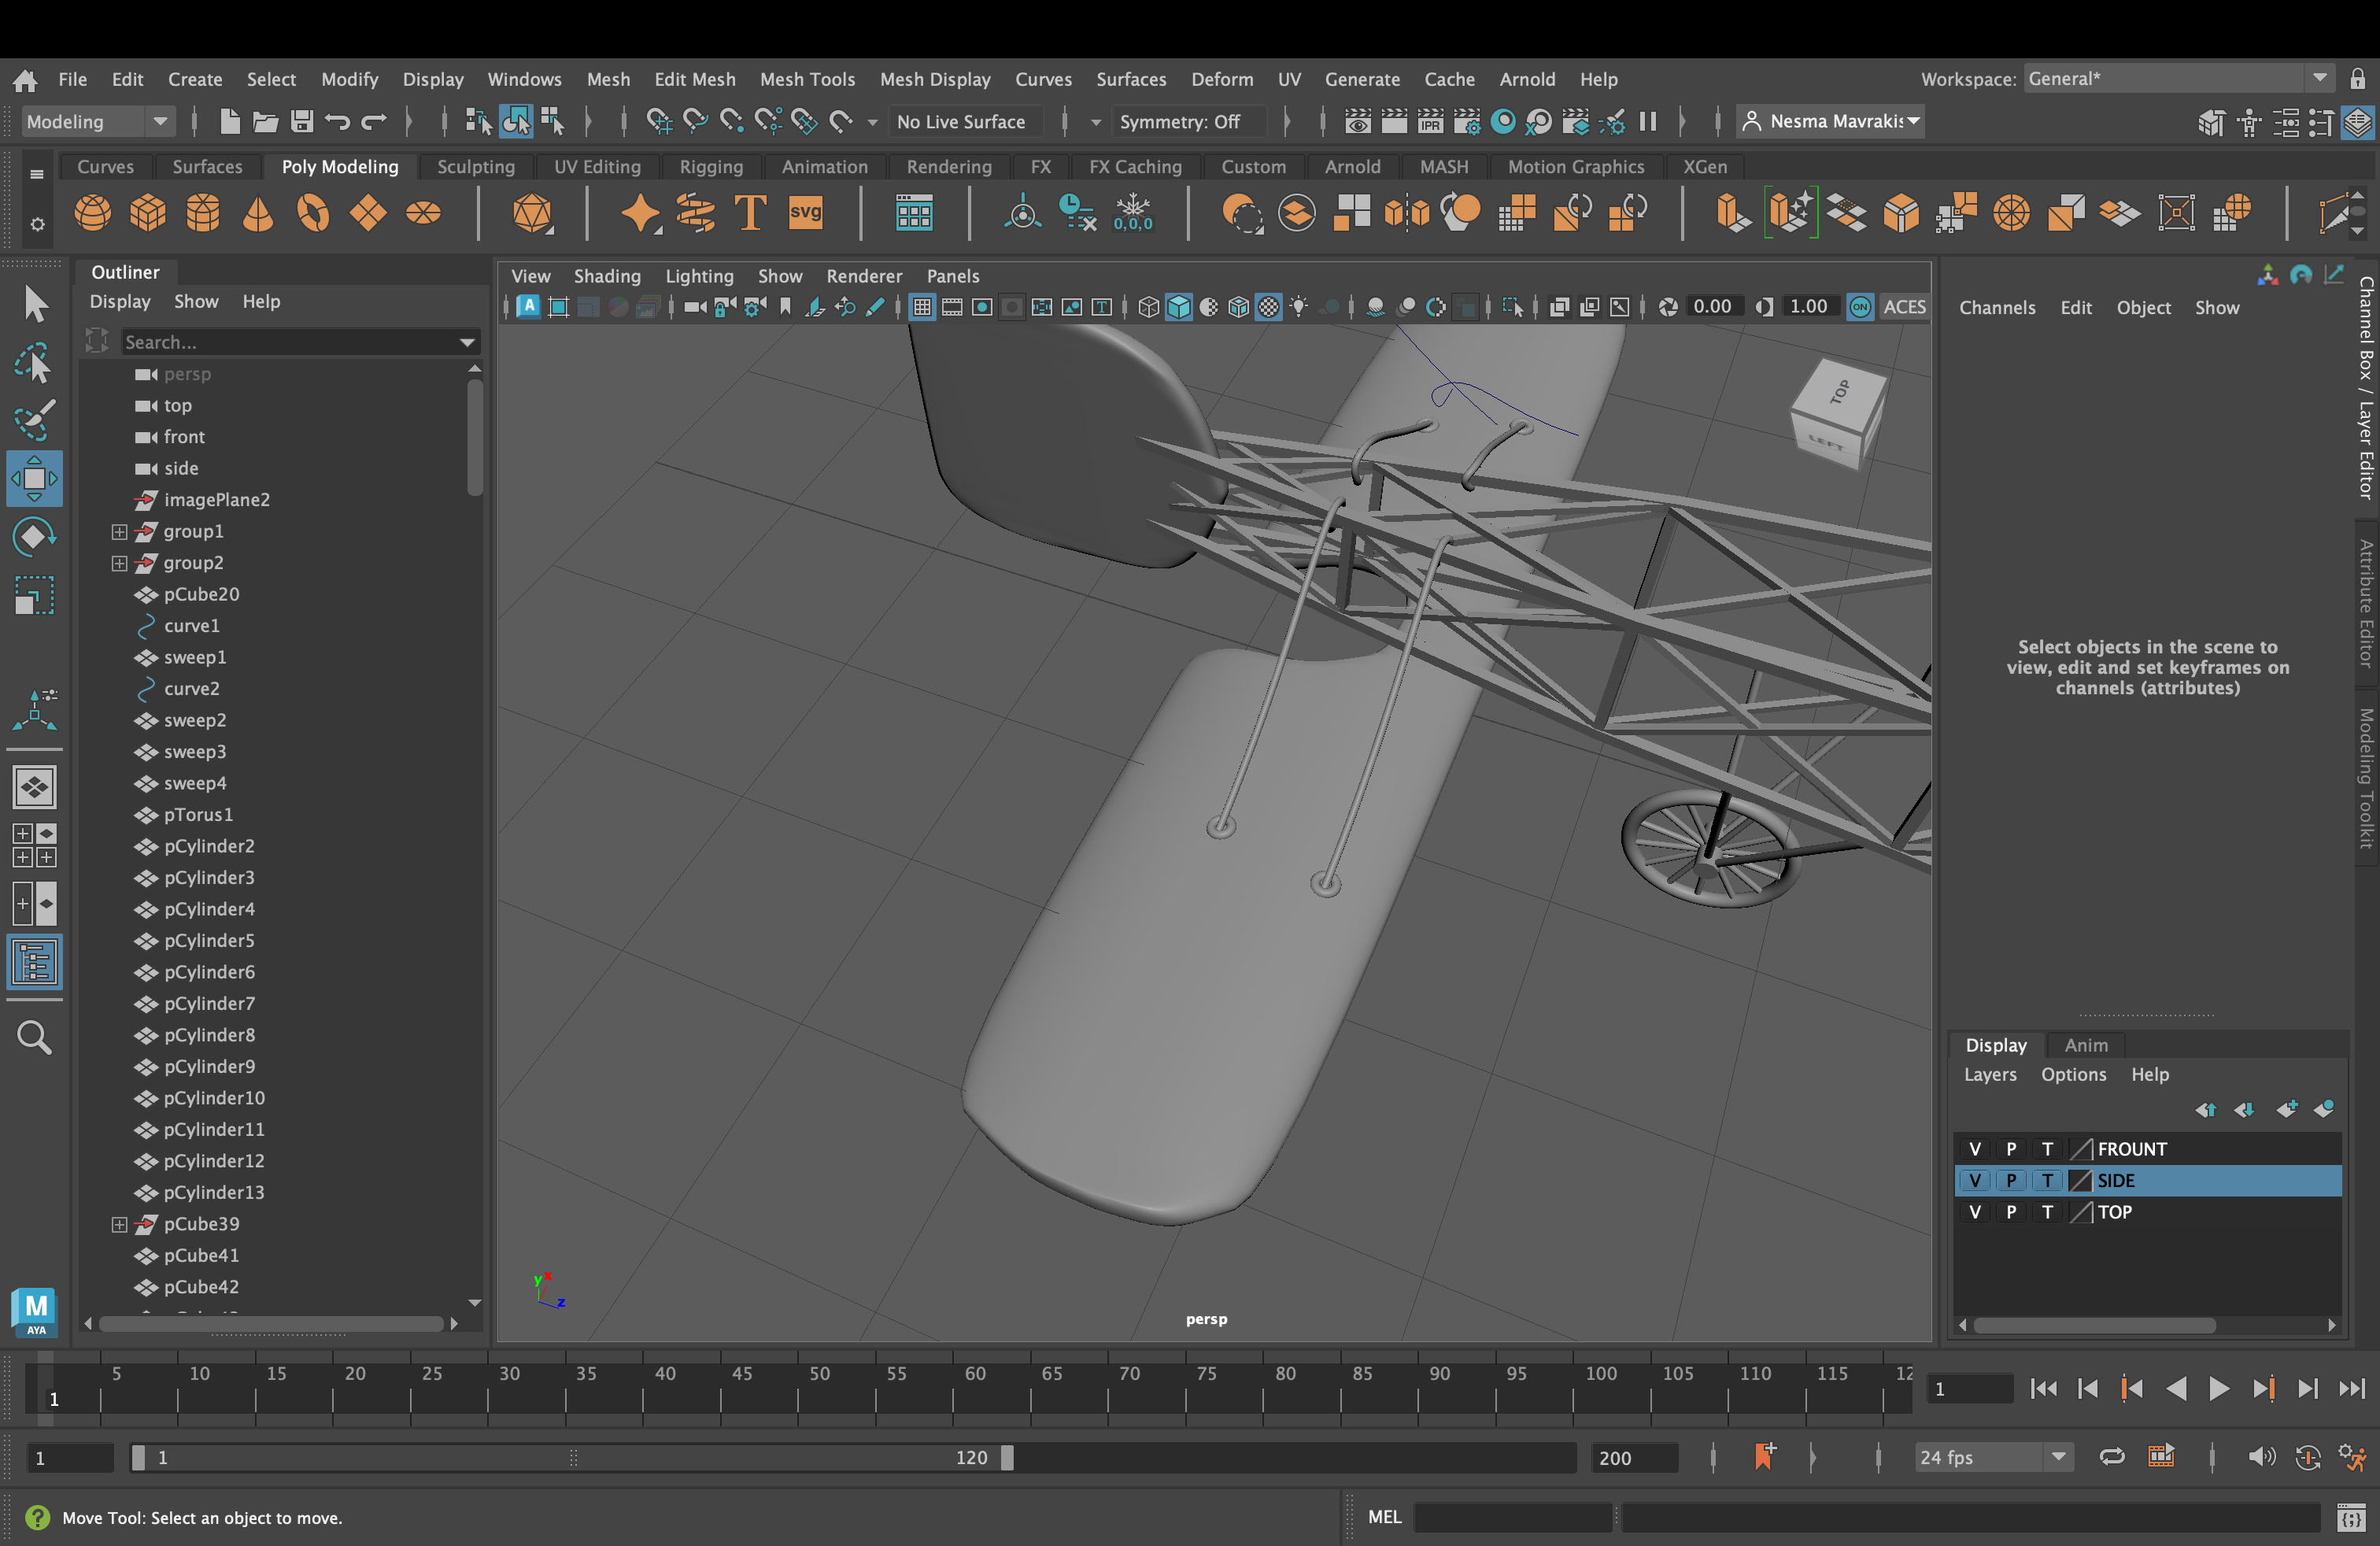
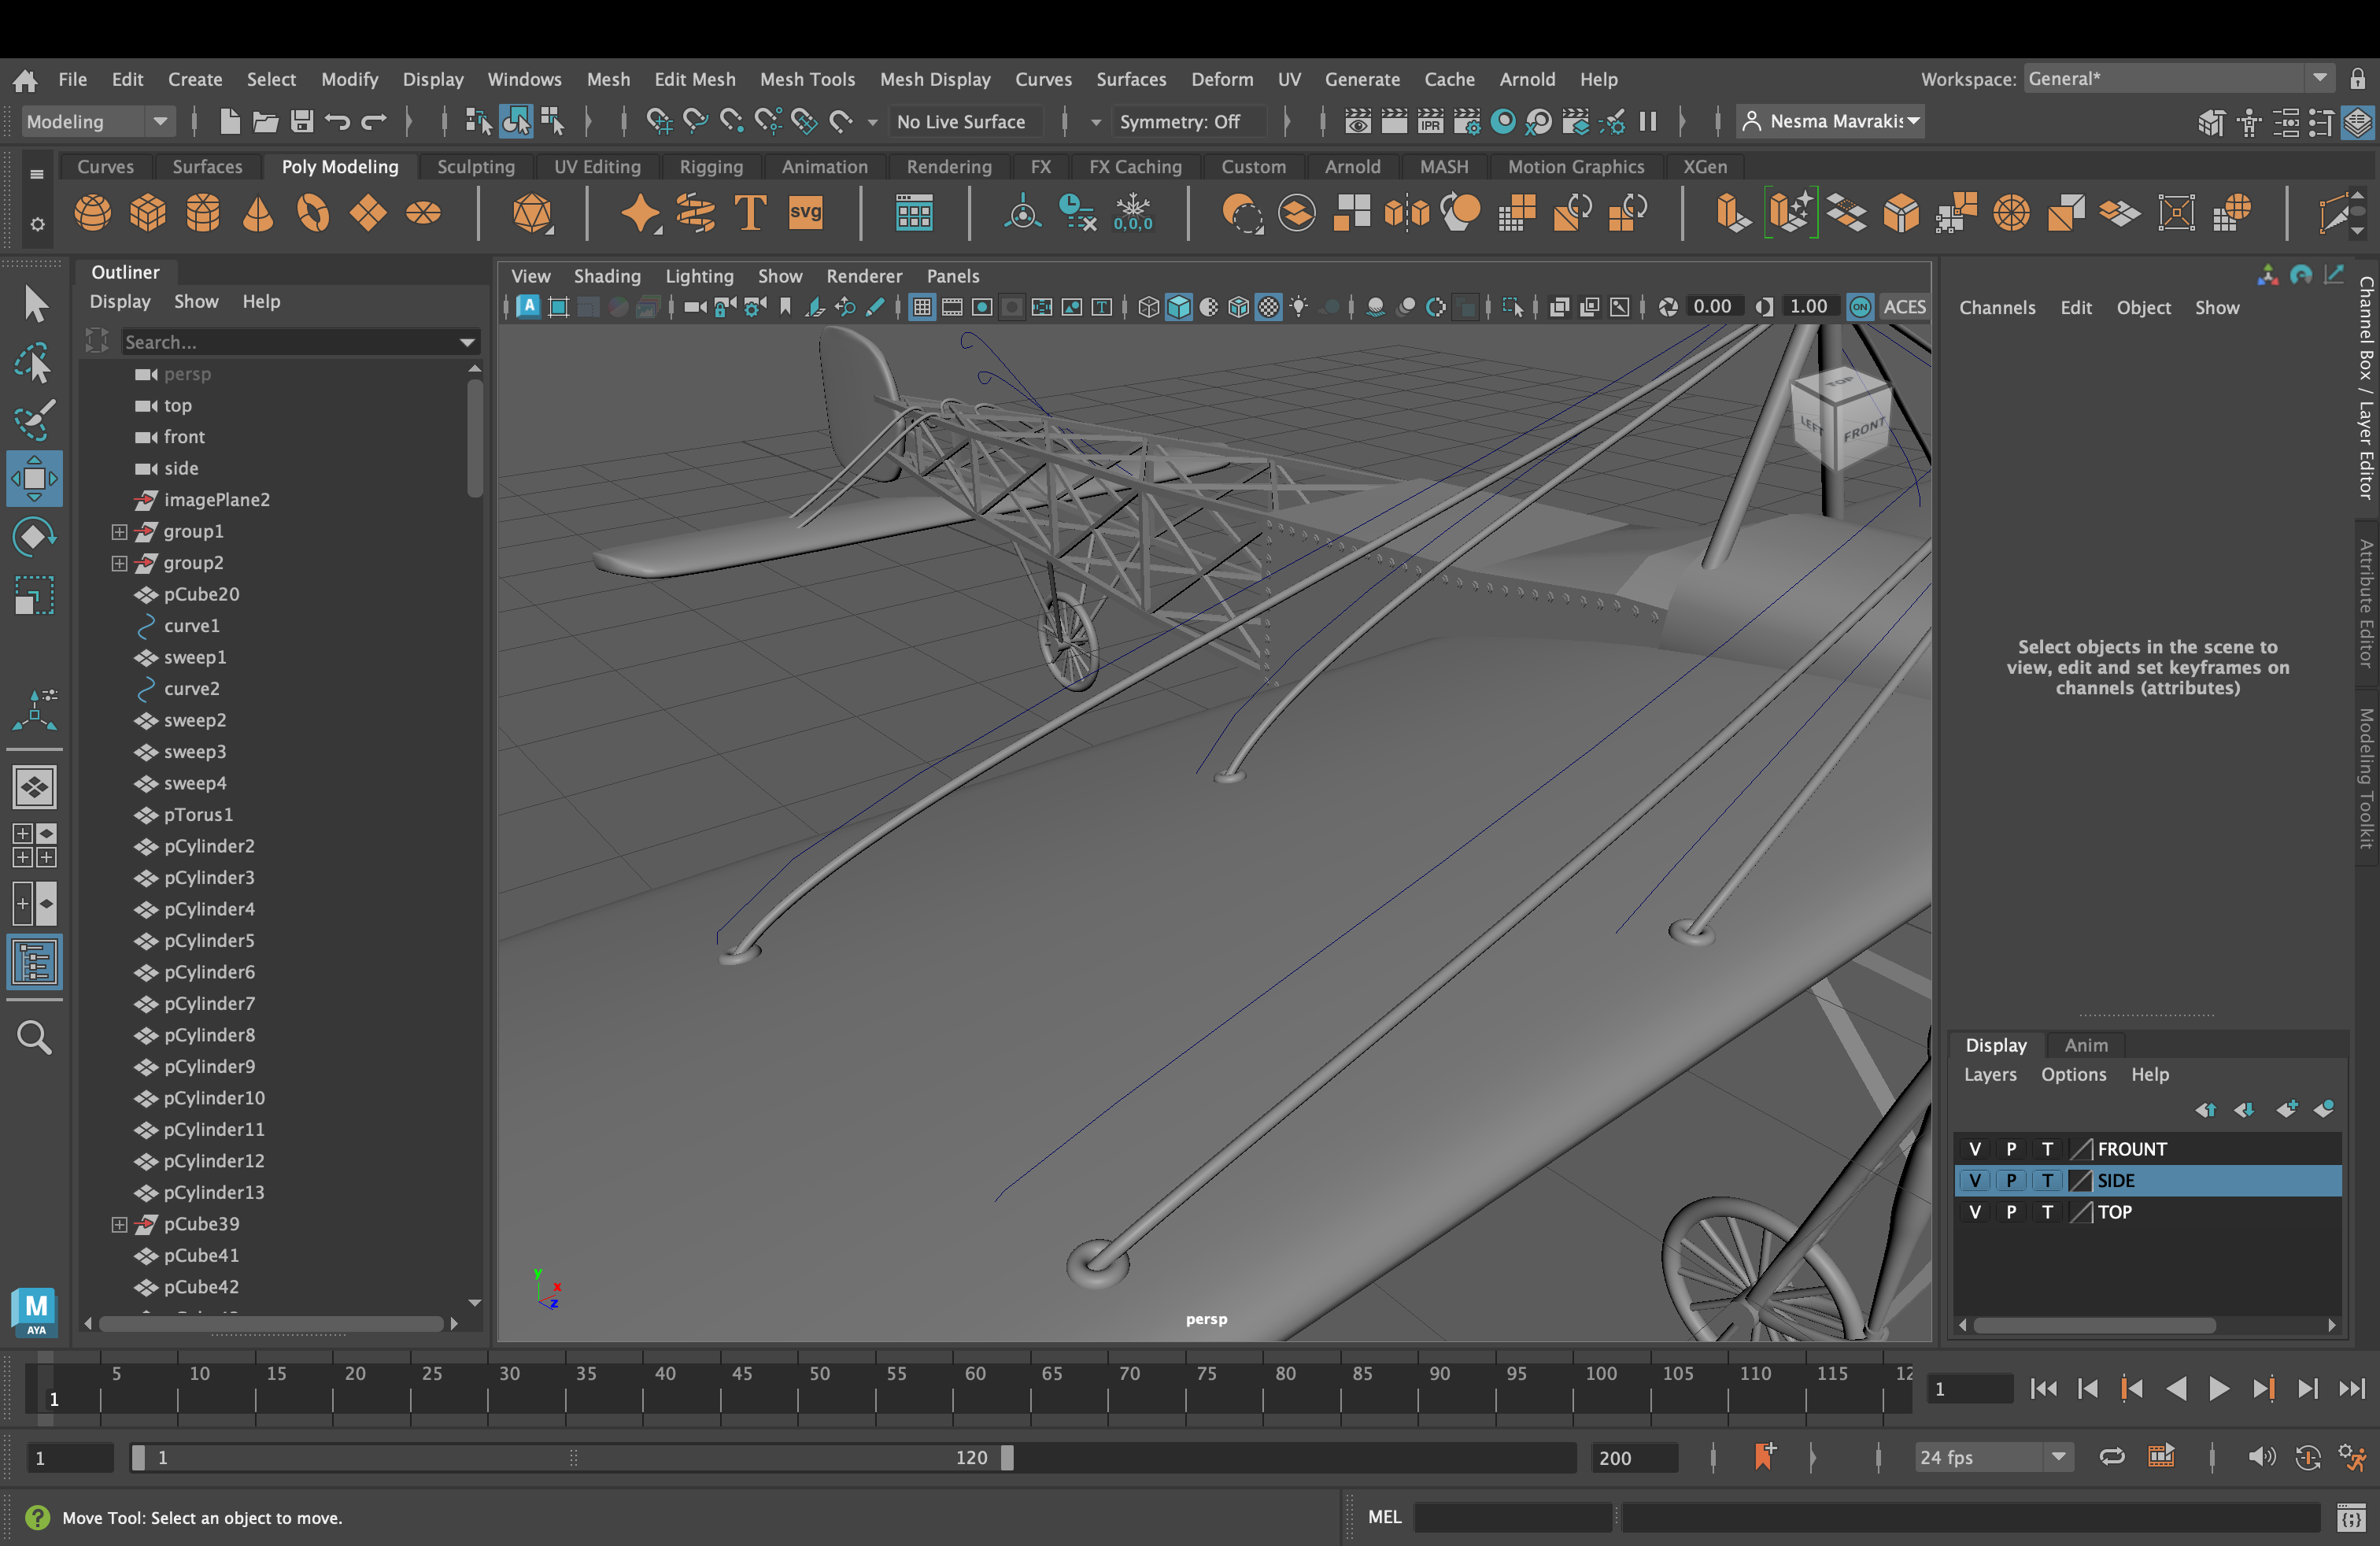
(Click More Images)
I set up the drawing reference images in Maya and had my phone on the side with the real pictures of the airplane and excitedly began modeling. I wanted to make it look like it could fly if I were to build it in real life. I made many parts of it smooth, such as the wings, tail, and propeller, so it doesn't look blocky.
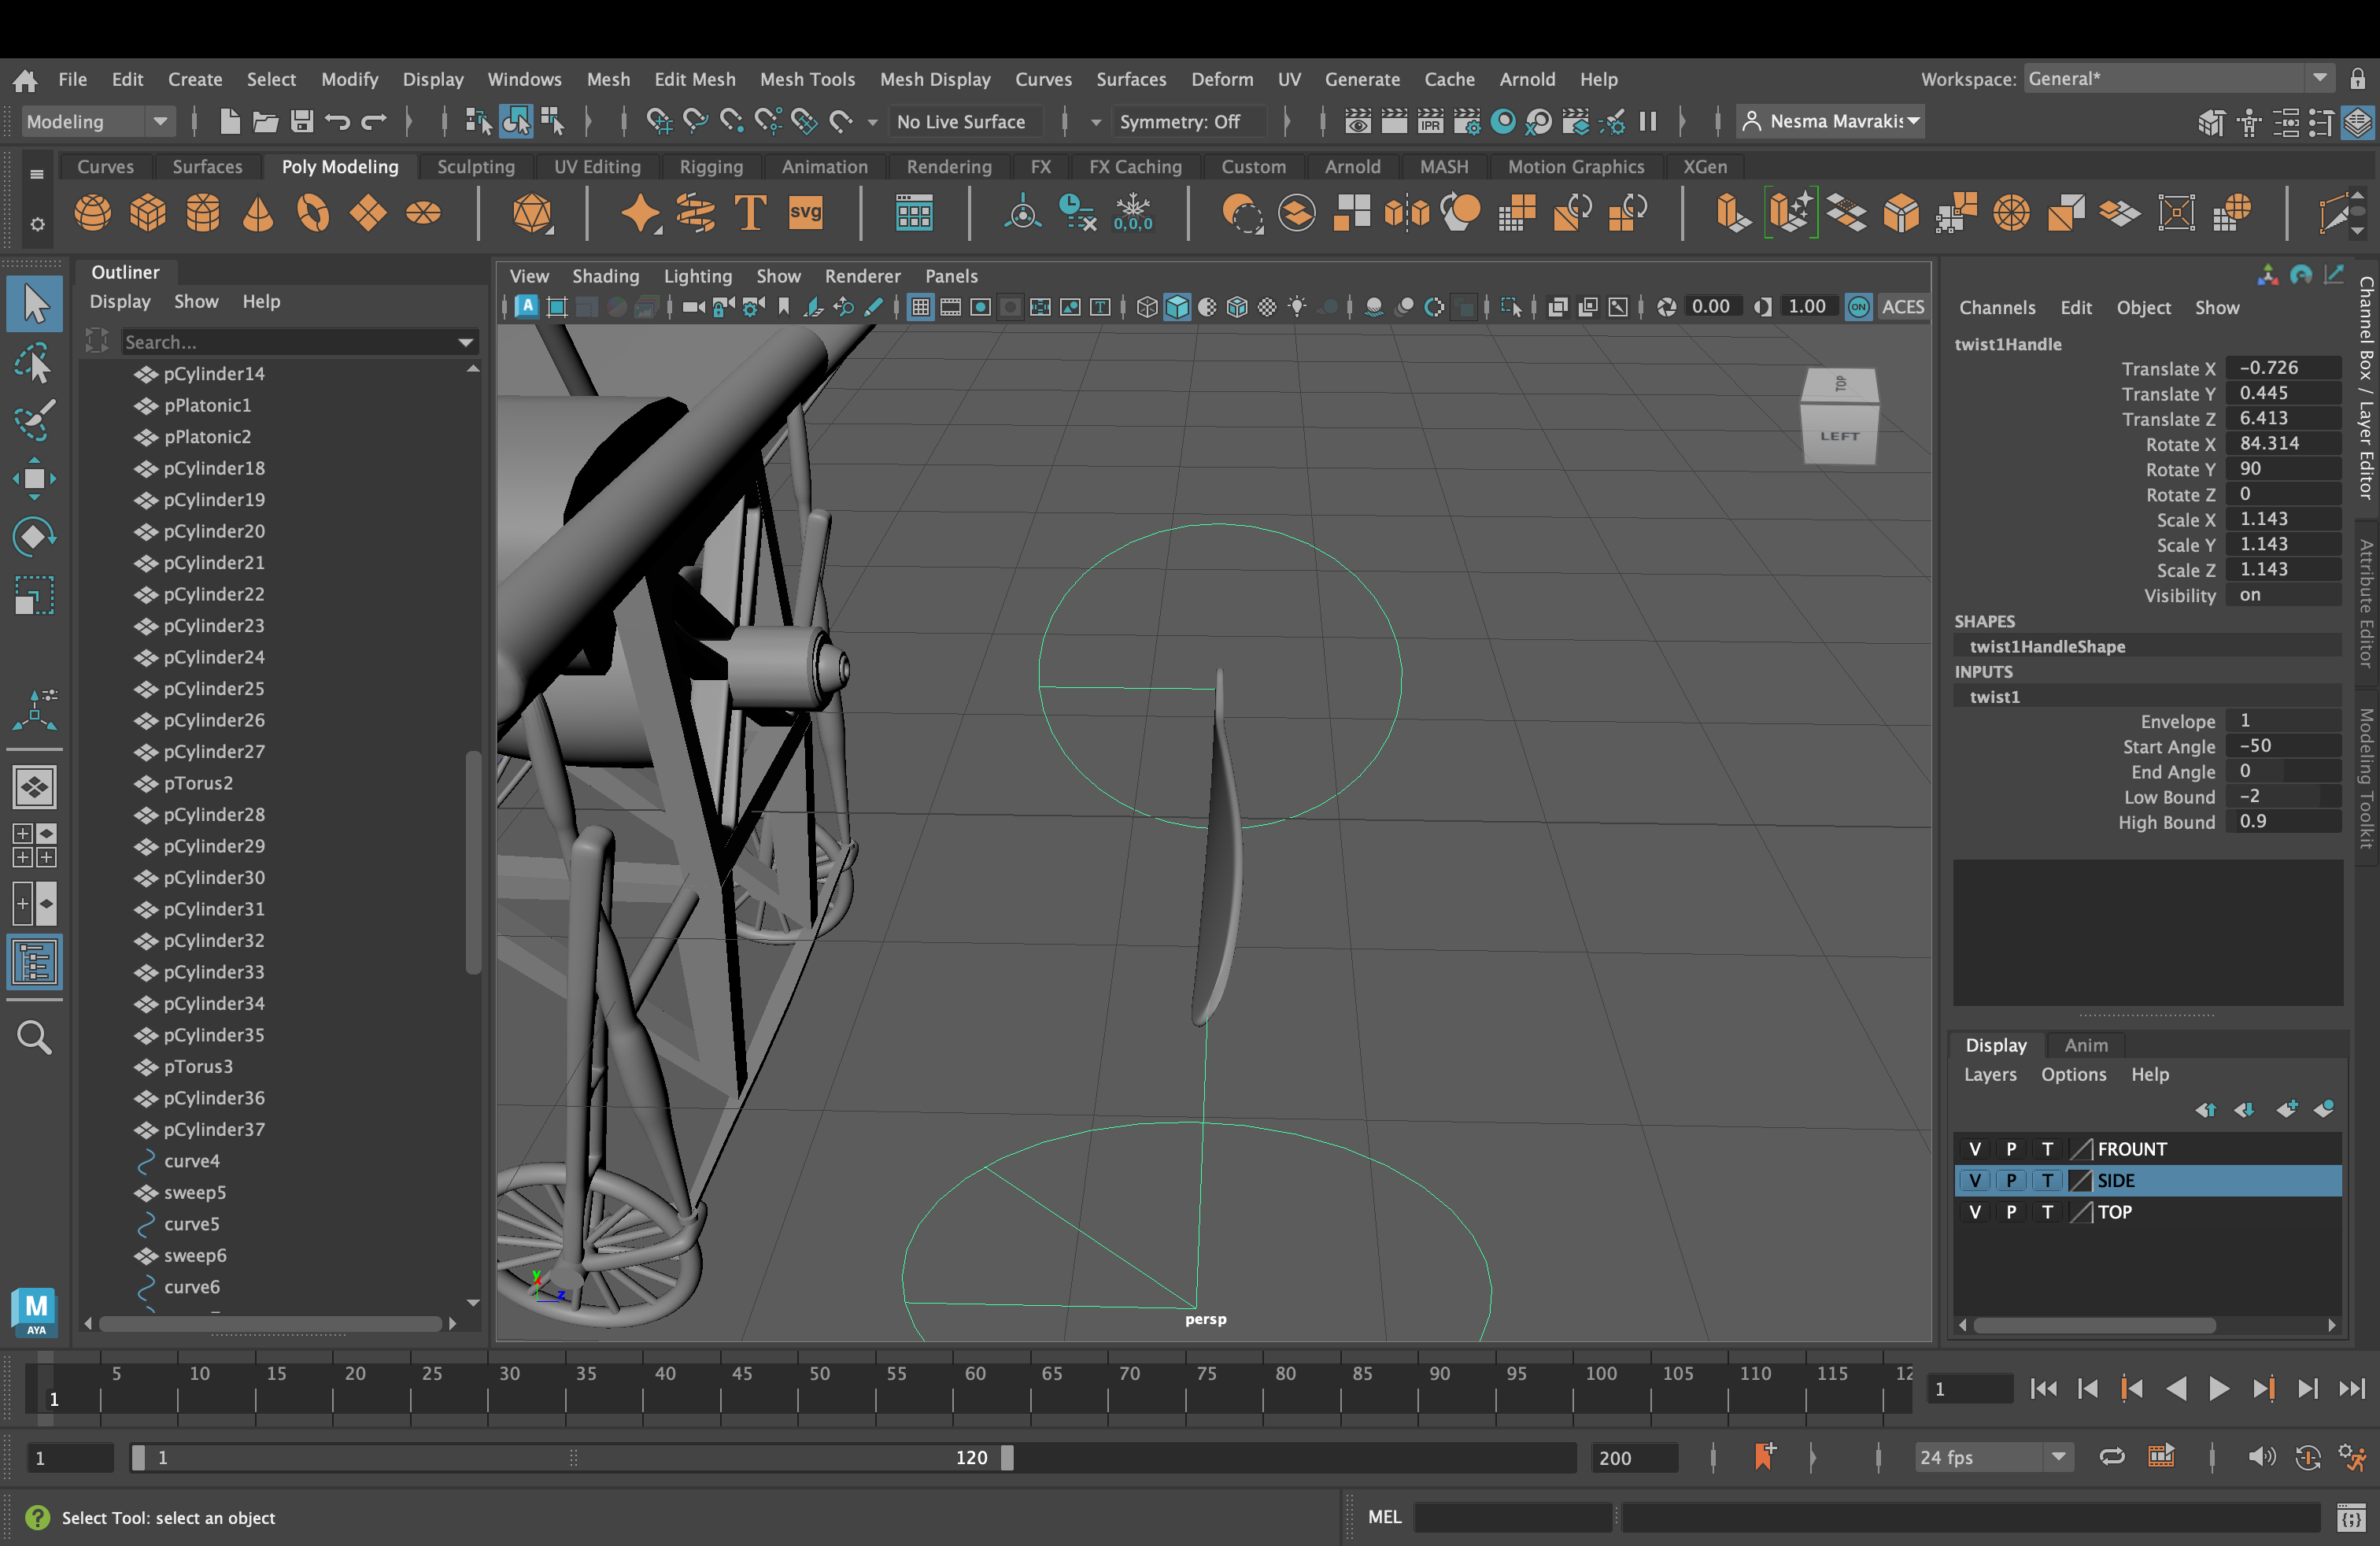
I couldn't have the propeller be flat! That wouldn't be very realistic! So I used the Twist handle to give it the twist that real propellers have. And how is someone supposed to control the airplane's direction? With wires of course! So I used curves to make the precise shape and curvature of a wire.
Lastly I added the final details. I put rivets on the sides of the main body of the airplane and made the wire that controls the wings look like it goes through the holes in the wings.
Textures
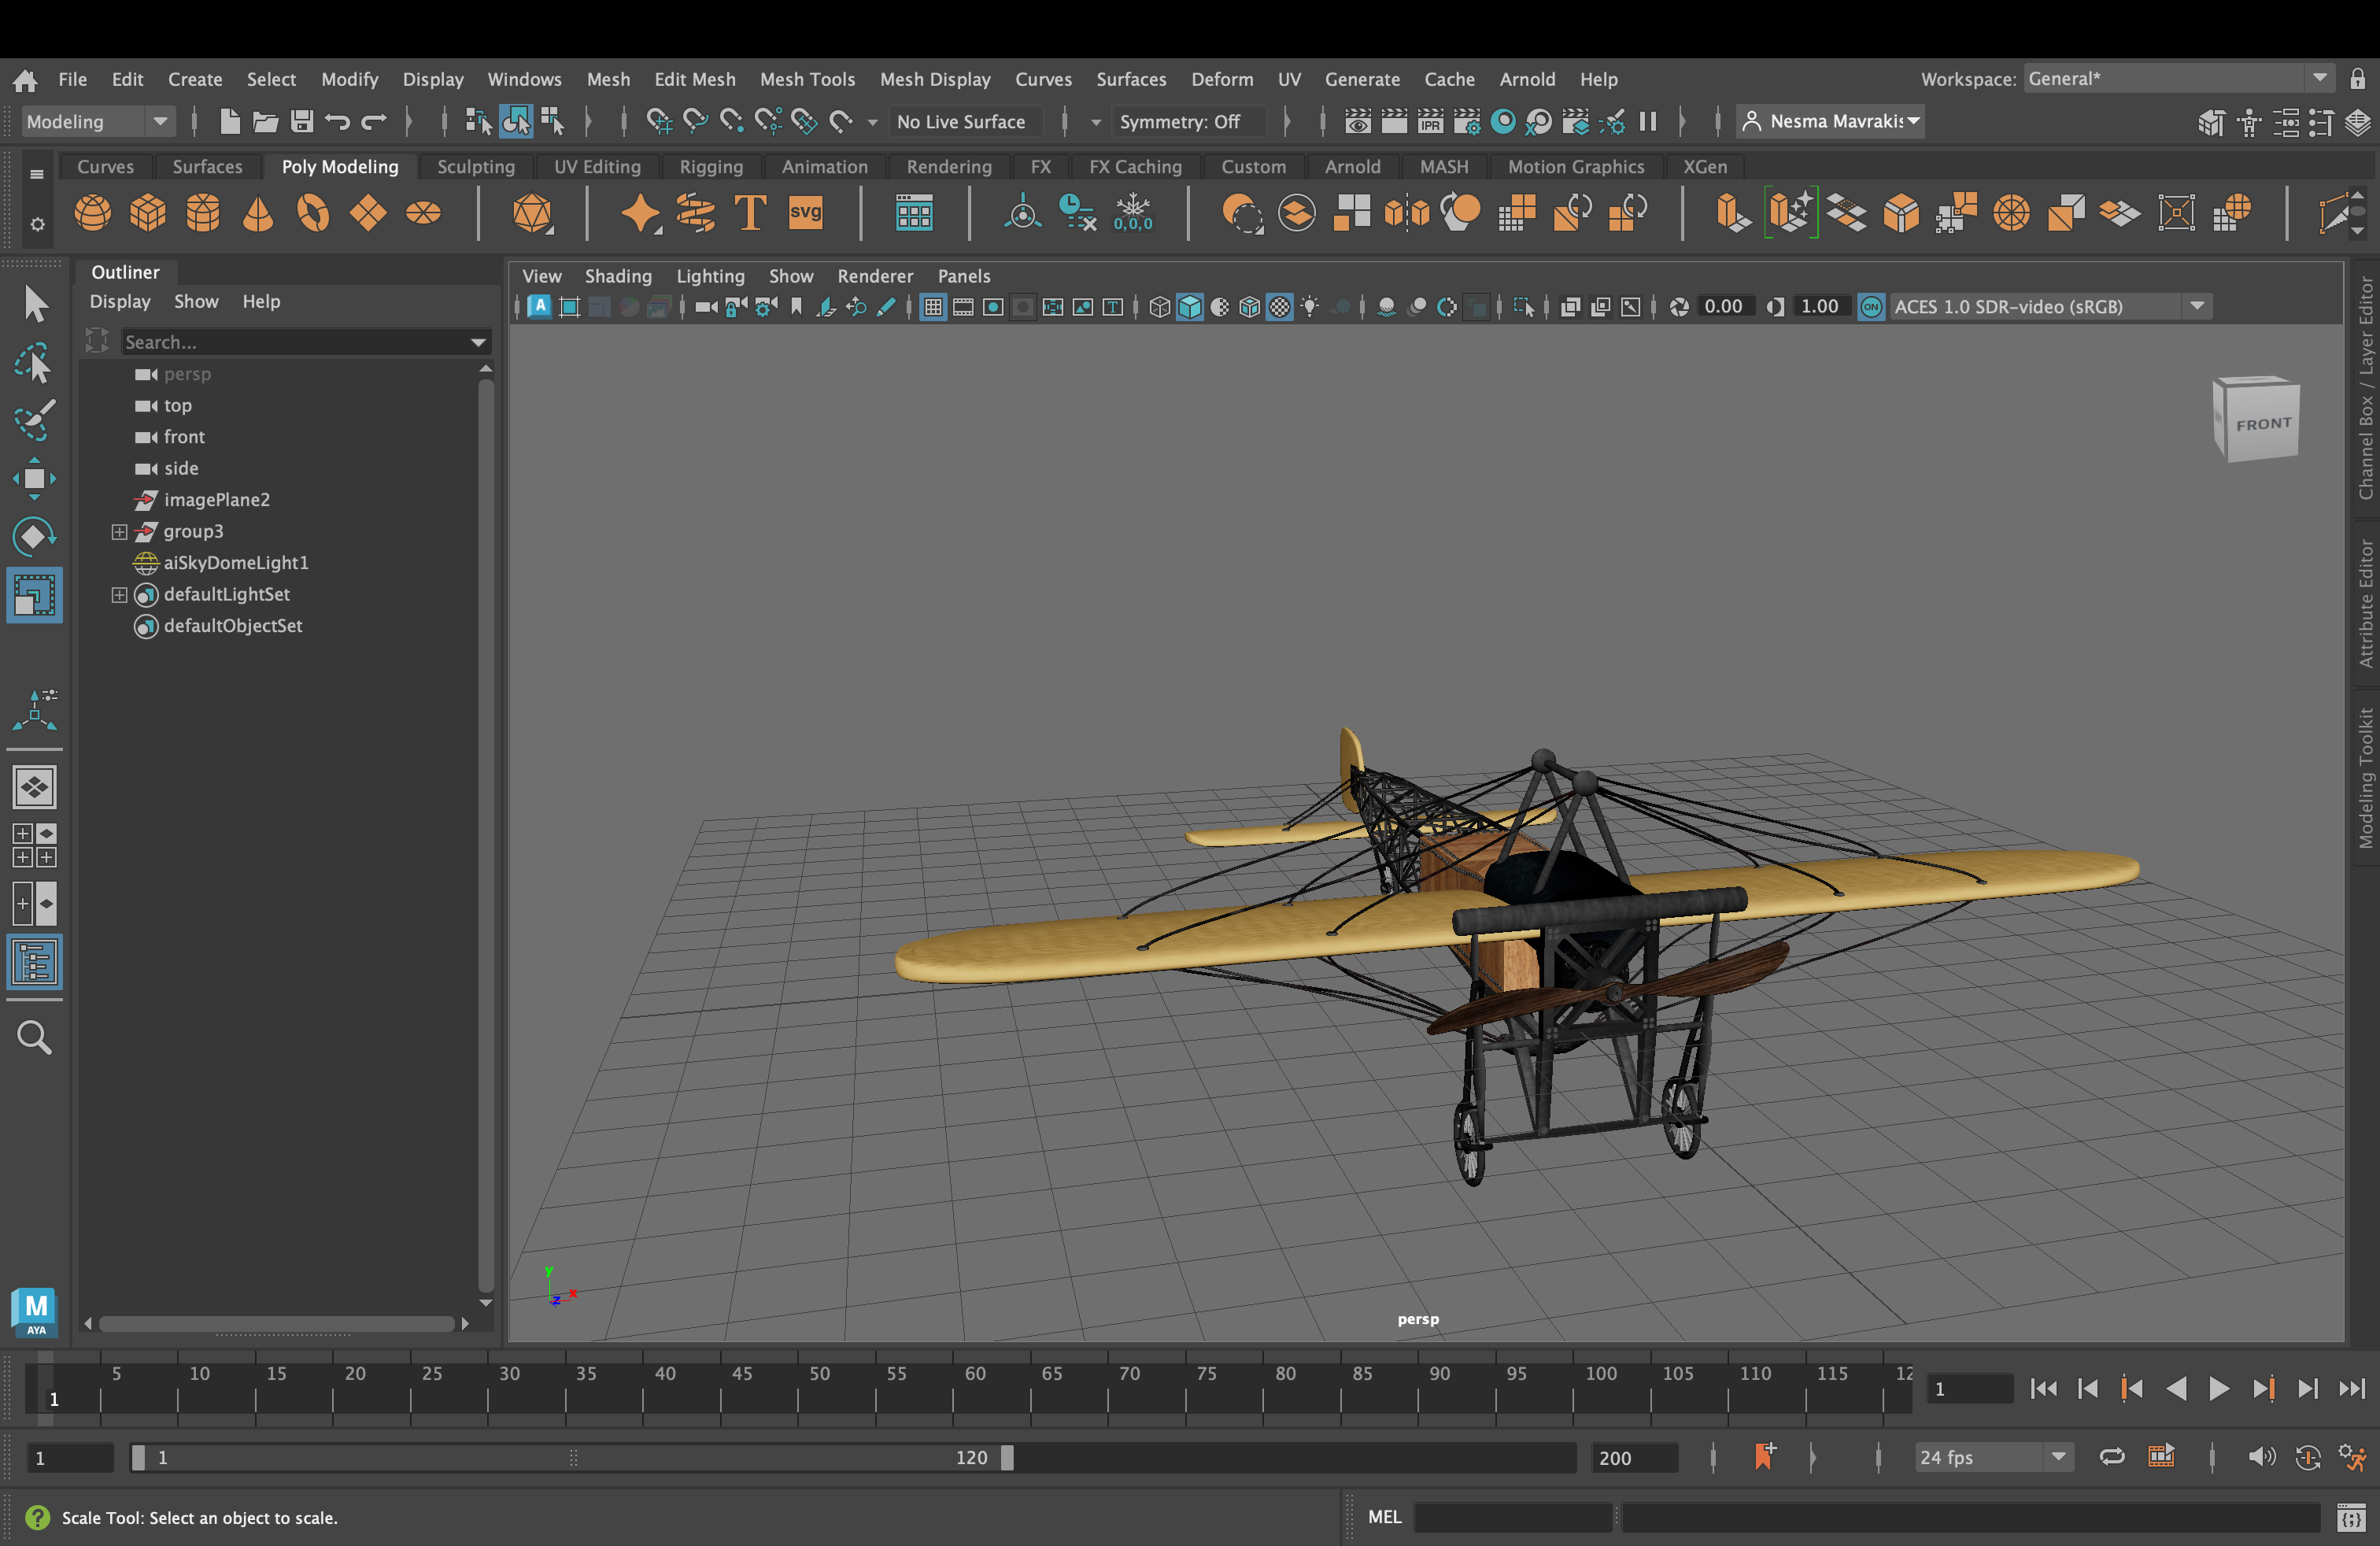
Once I was done making it, I added textures of metal and wood from the Internet. This adds to the realism and makes it look more like a real airplane and less like a grey blob. I used standard Lamberts with the files attached to them and edited the UVs.
The Scene
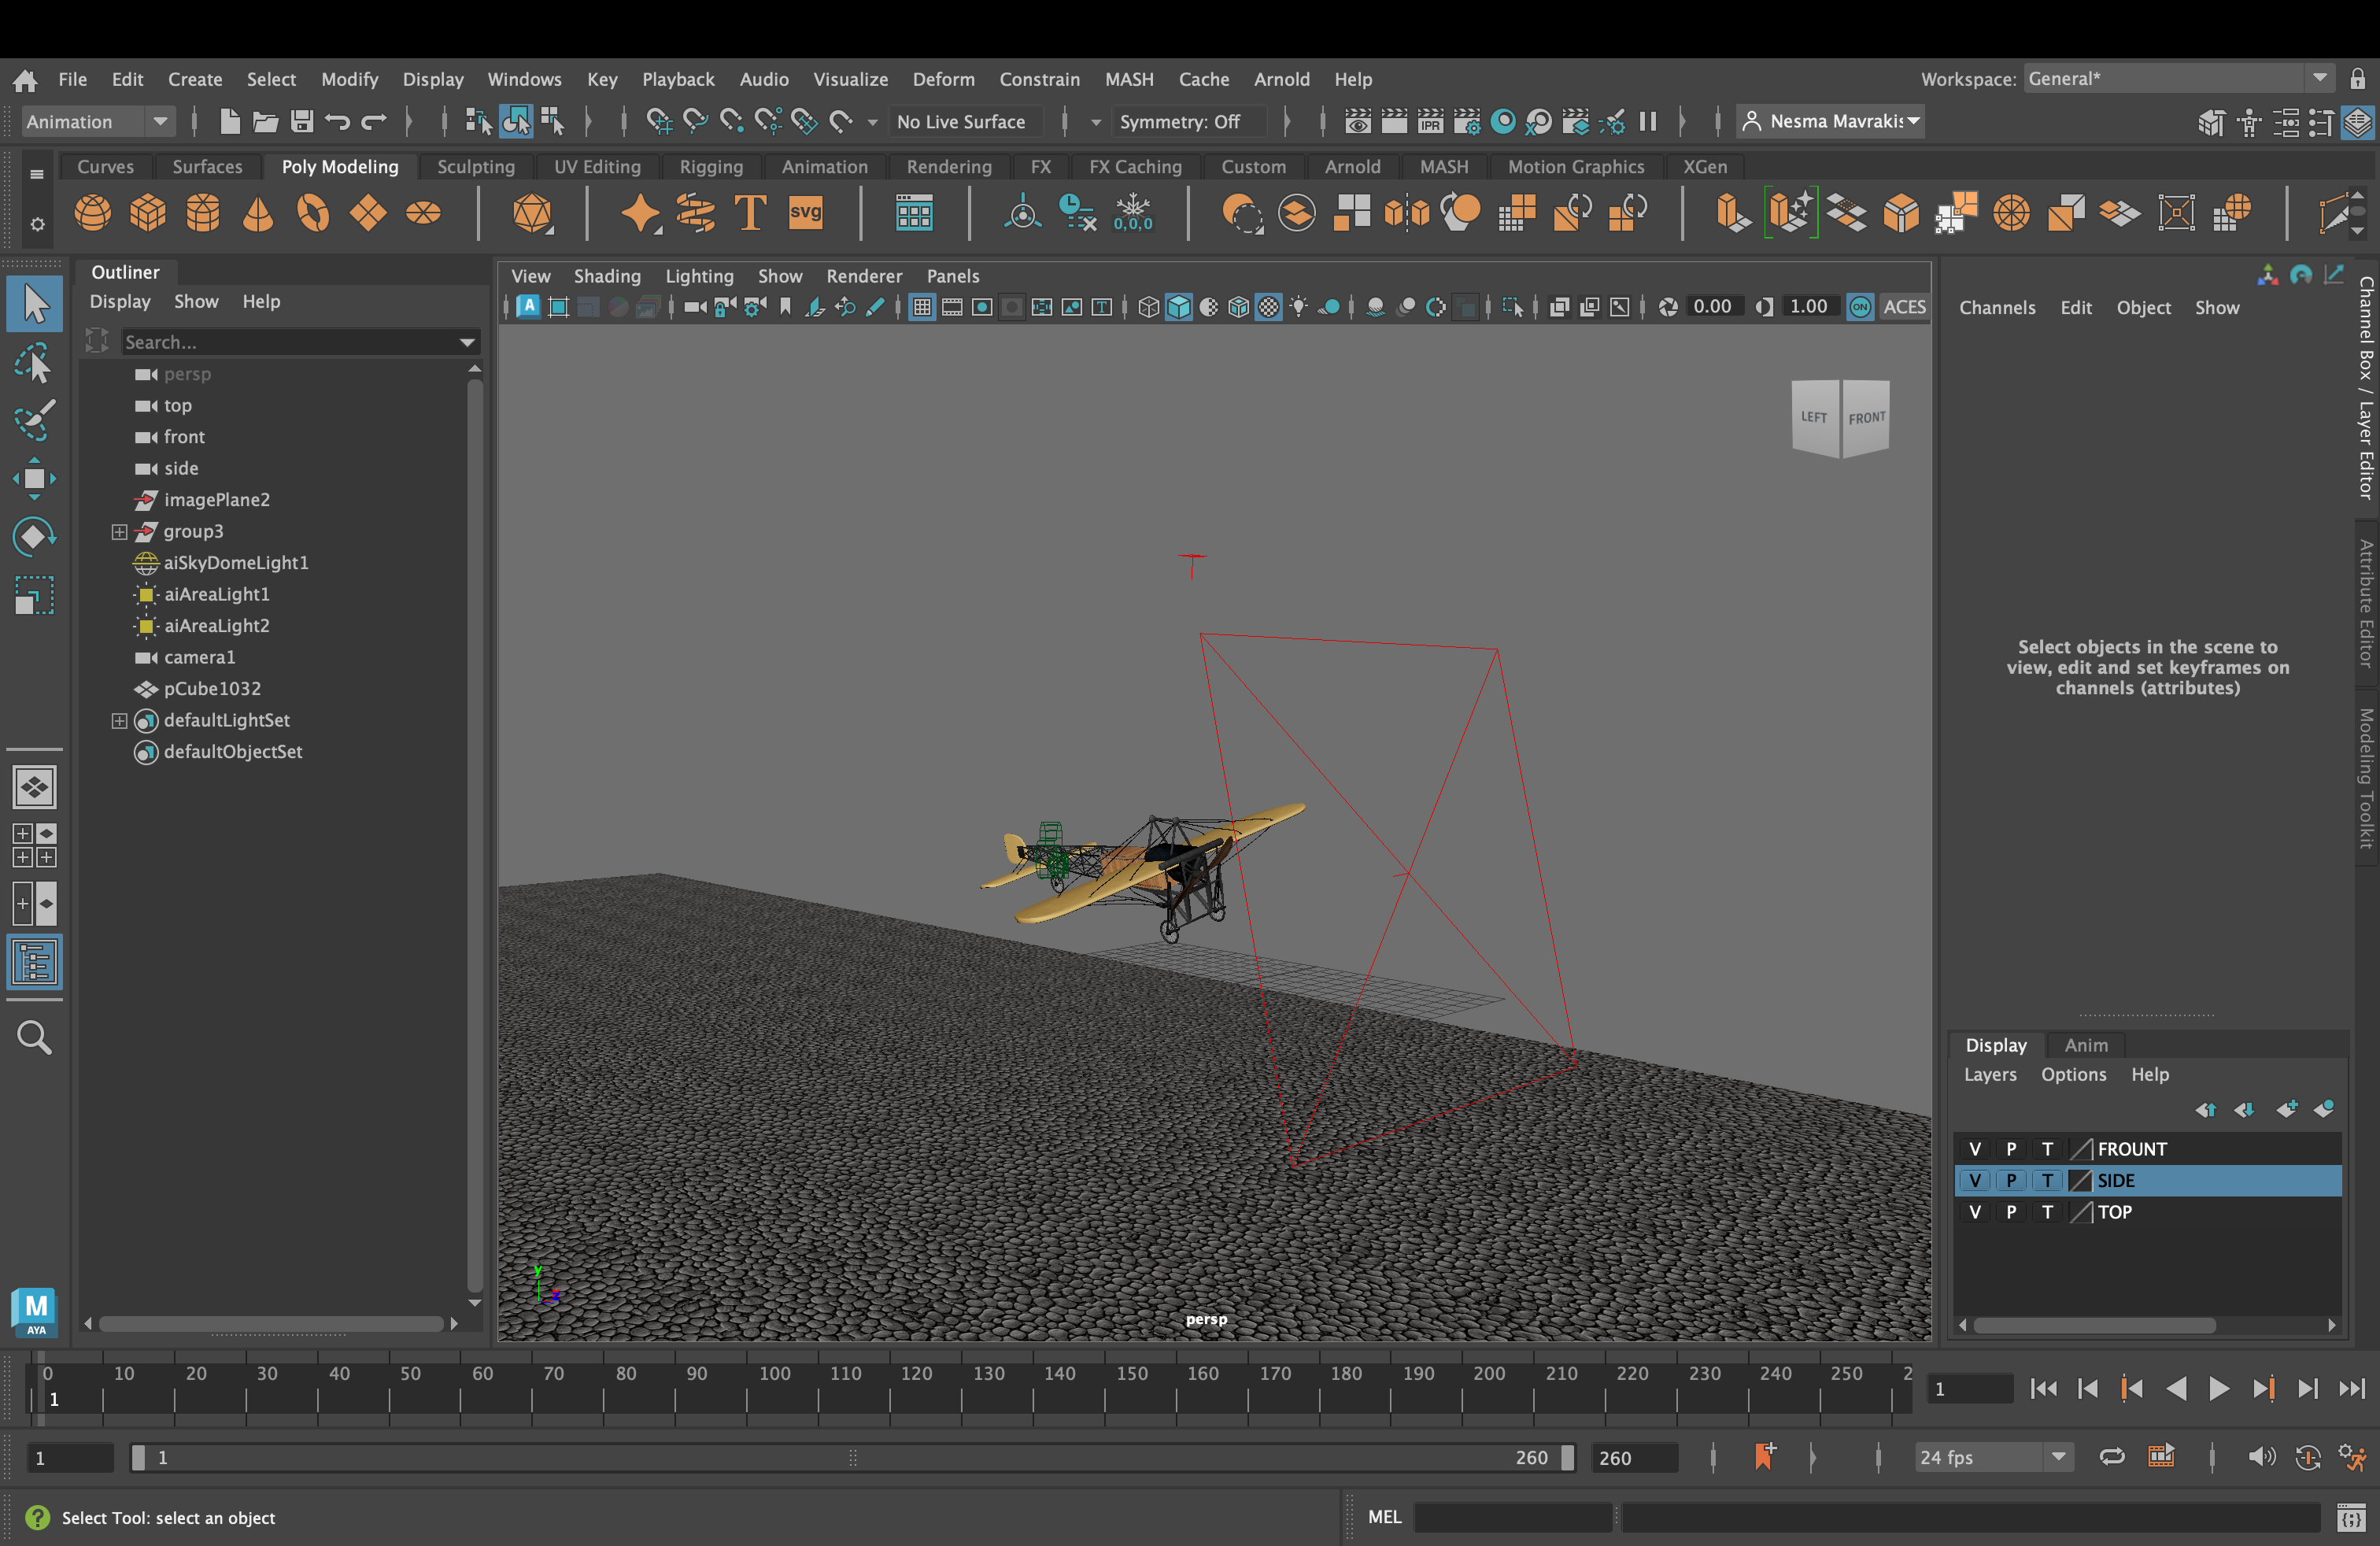
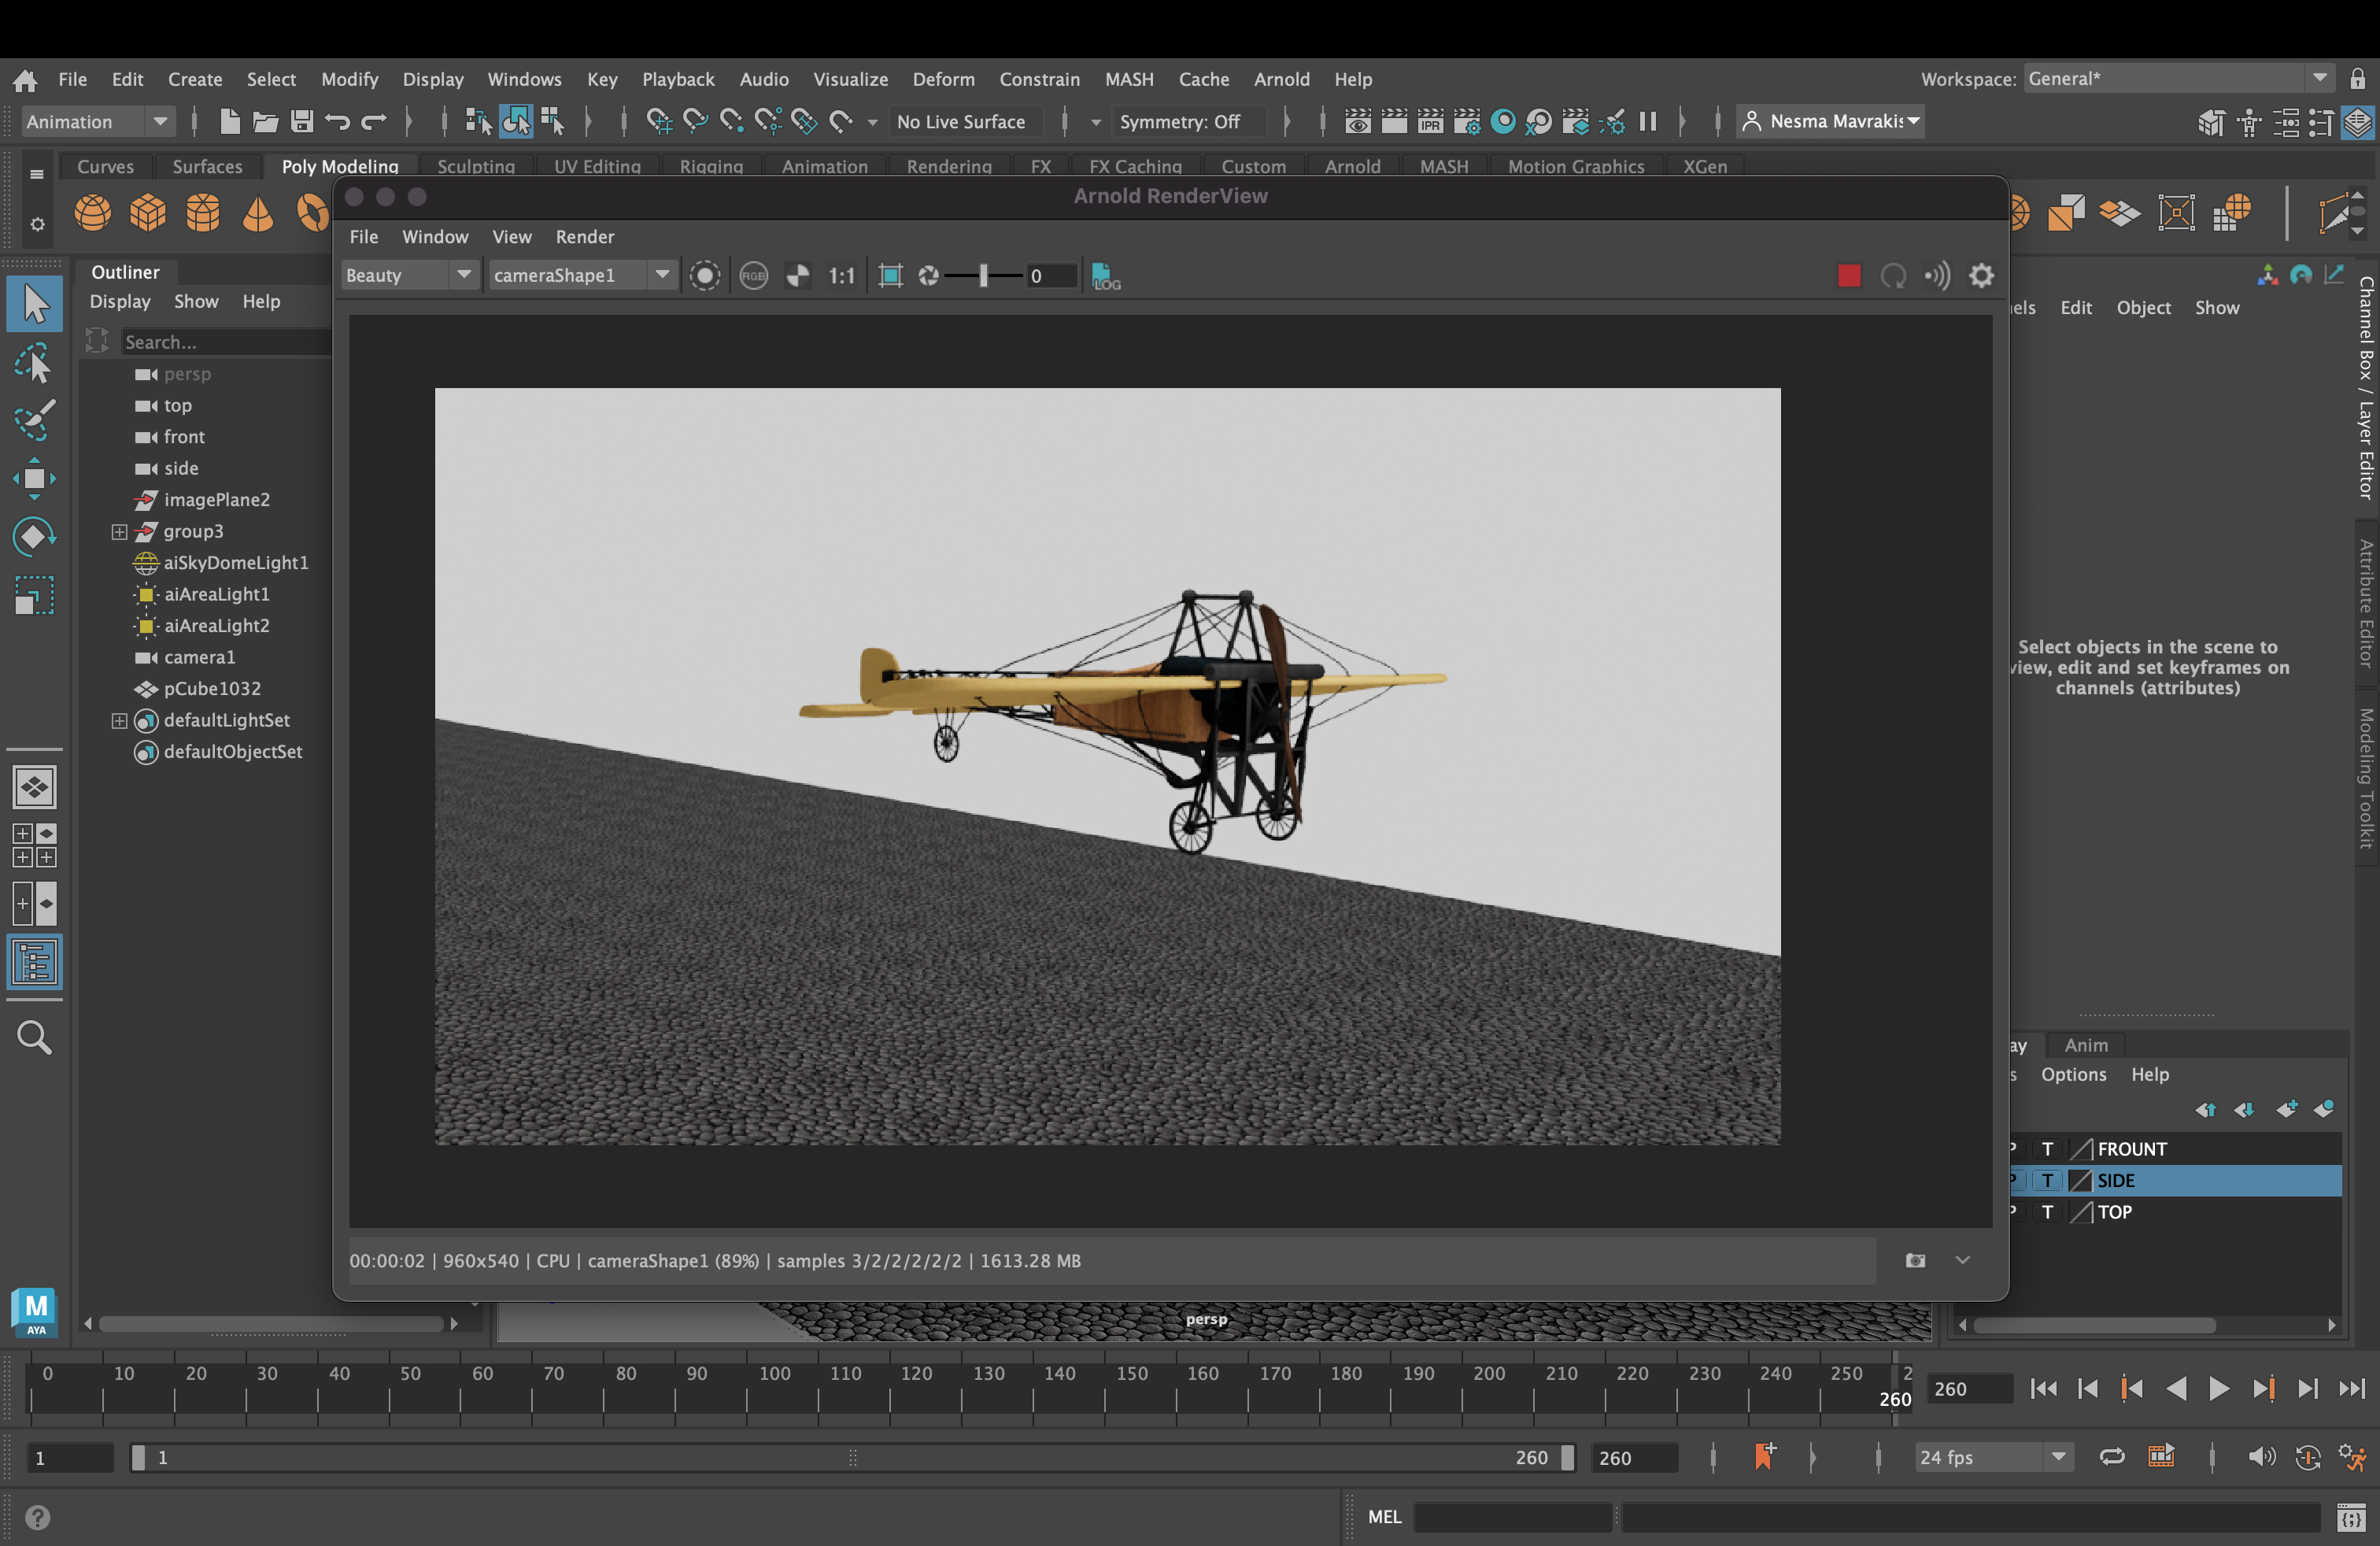
Then I got the camera and lights ready for rendering. Every once in a while I make sure it looks good in the render preview. Some parts of the plane looked dark and you couldn't see the details with just the skydome light. So I added some area lights to fill those shadows.
I thought it would be neat if I were to add some scenery so the plane isn't flying in space. I made the ground move to make it look like the airplane was moving forward for special effects.
Animation!
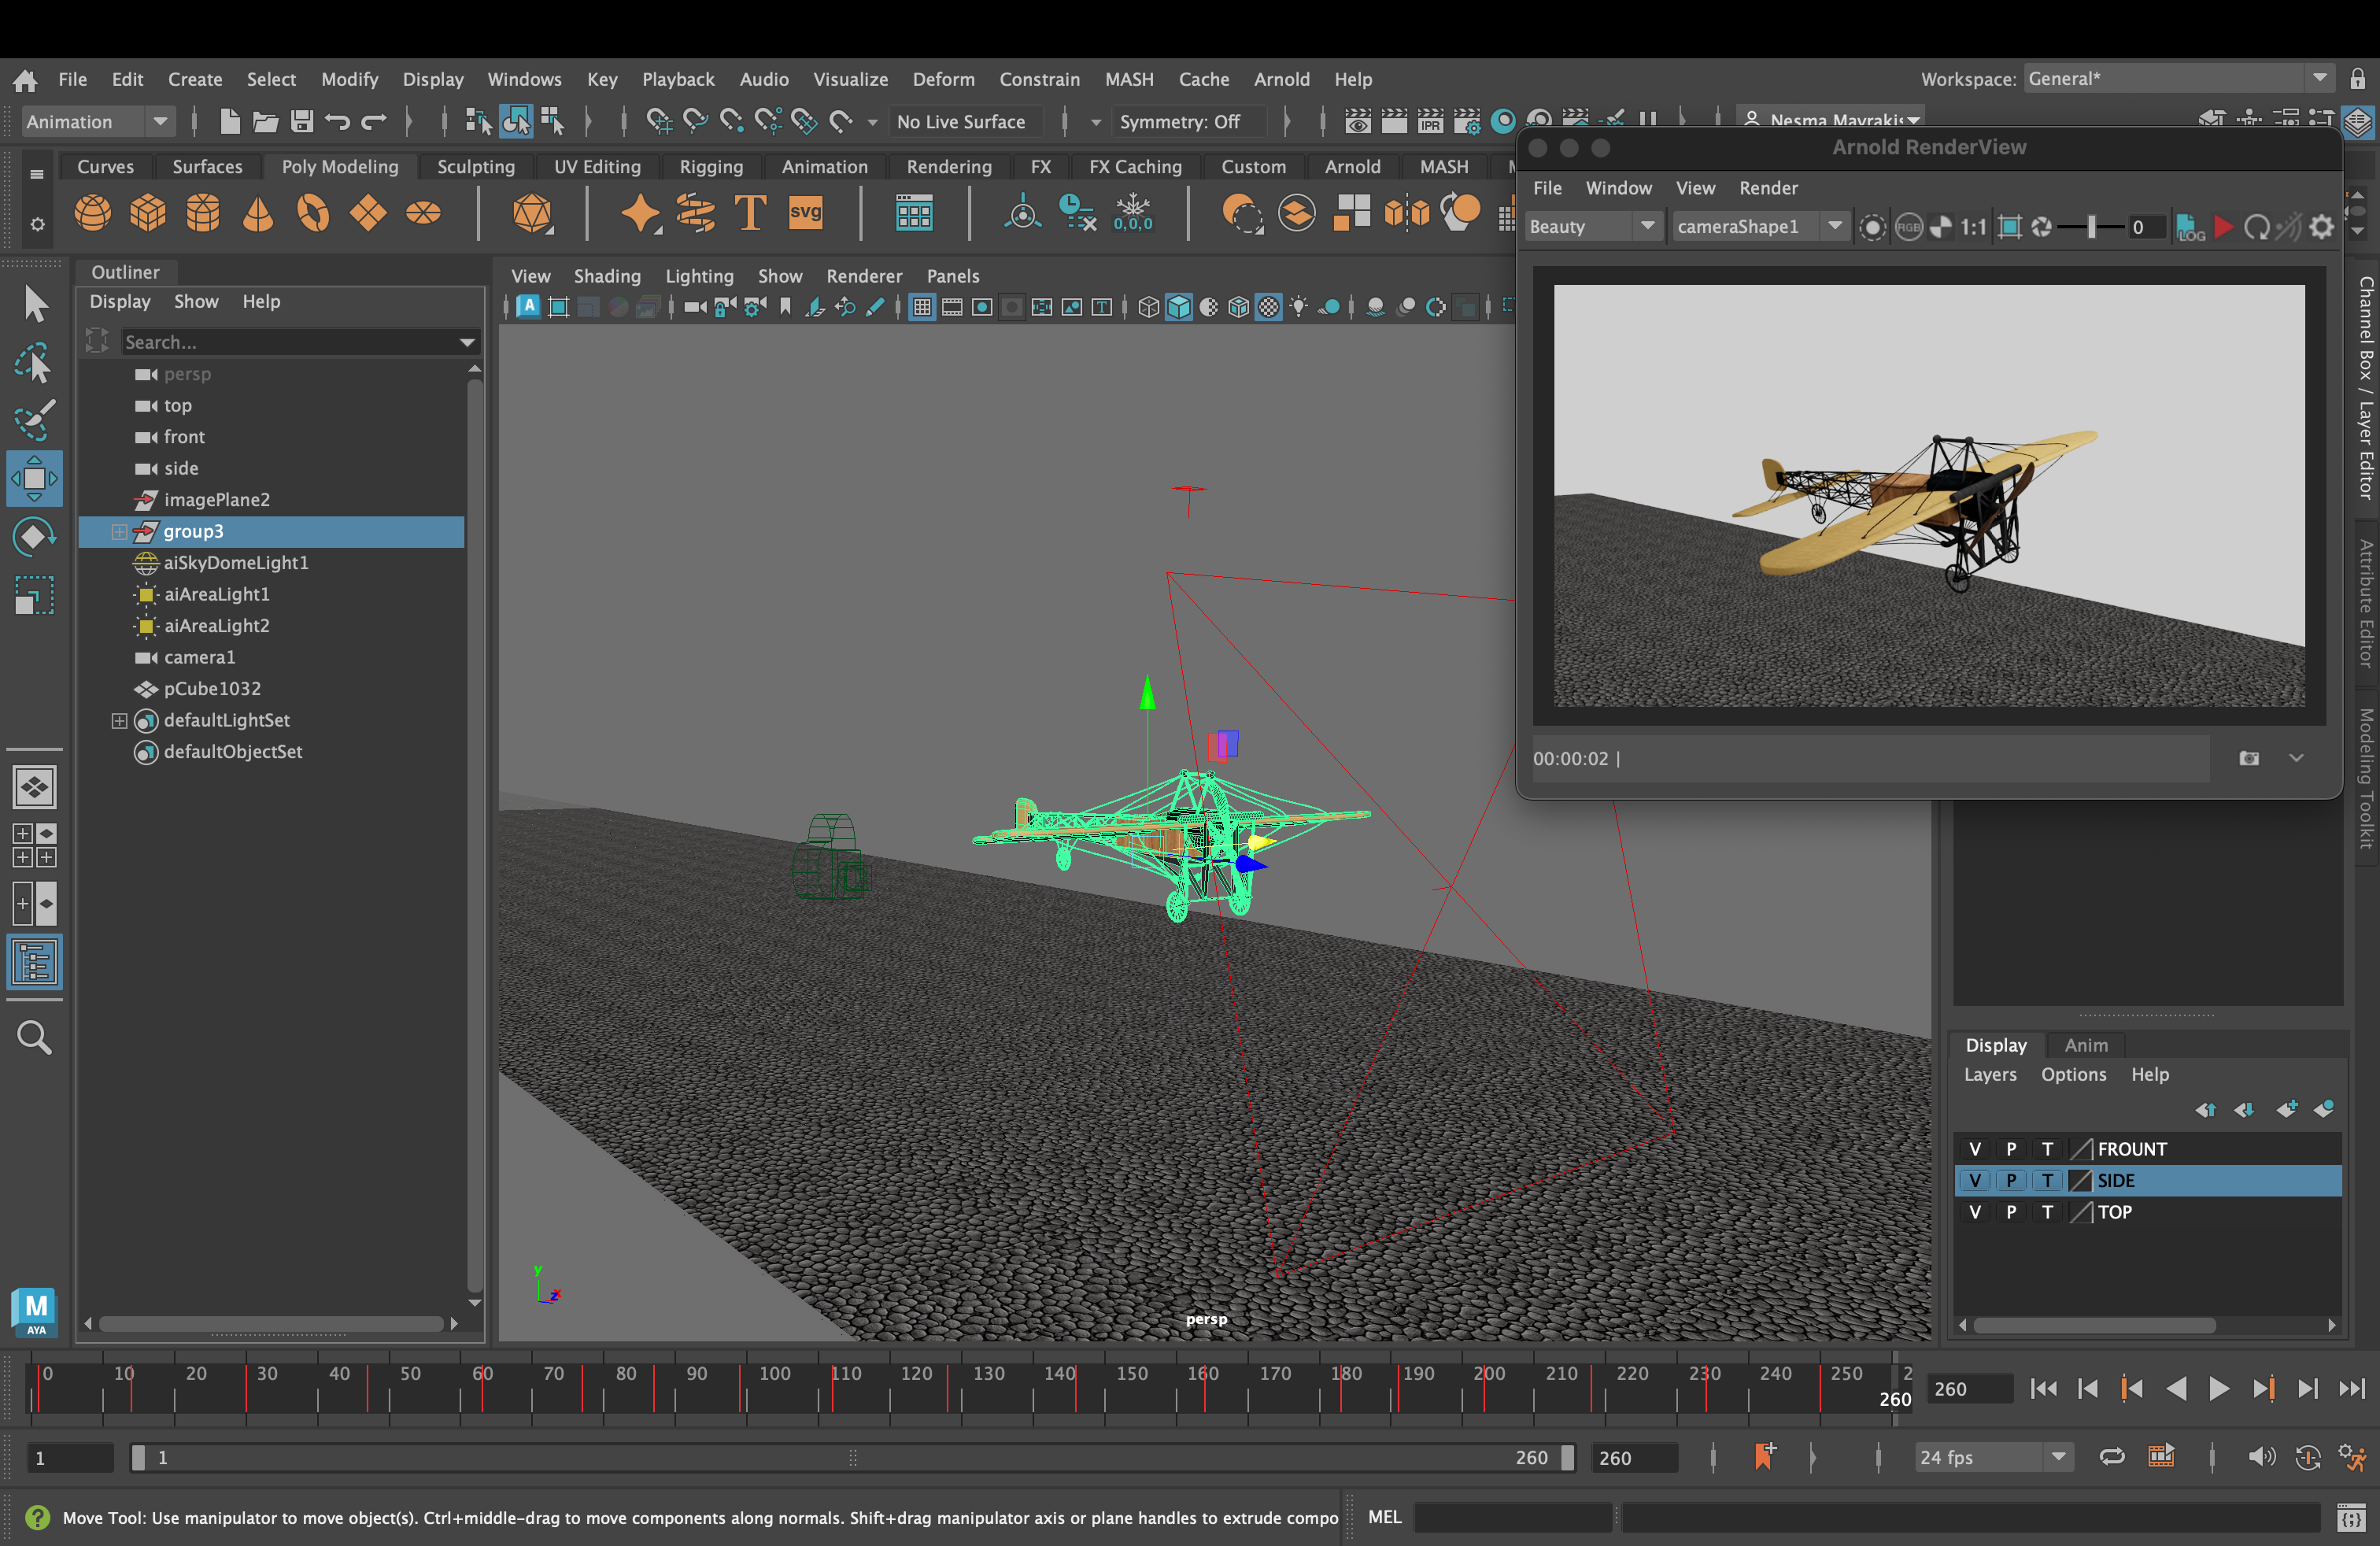
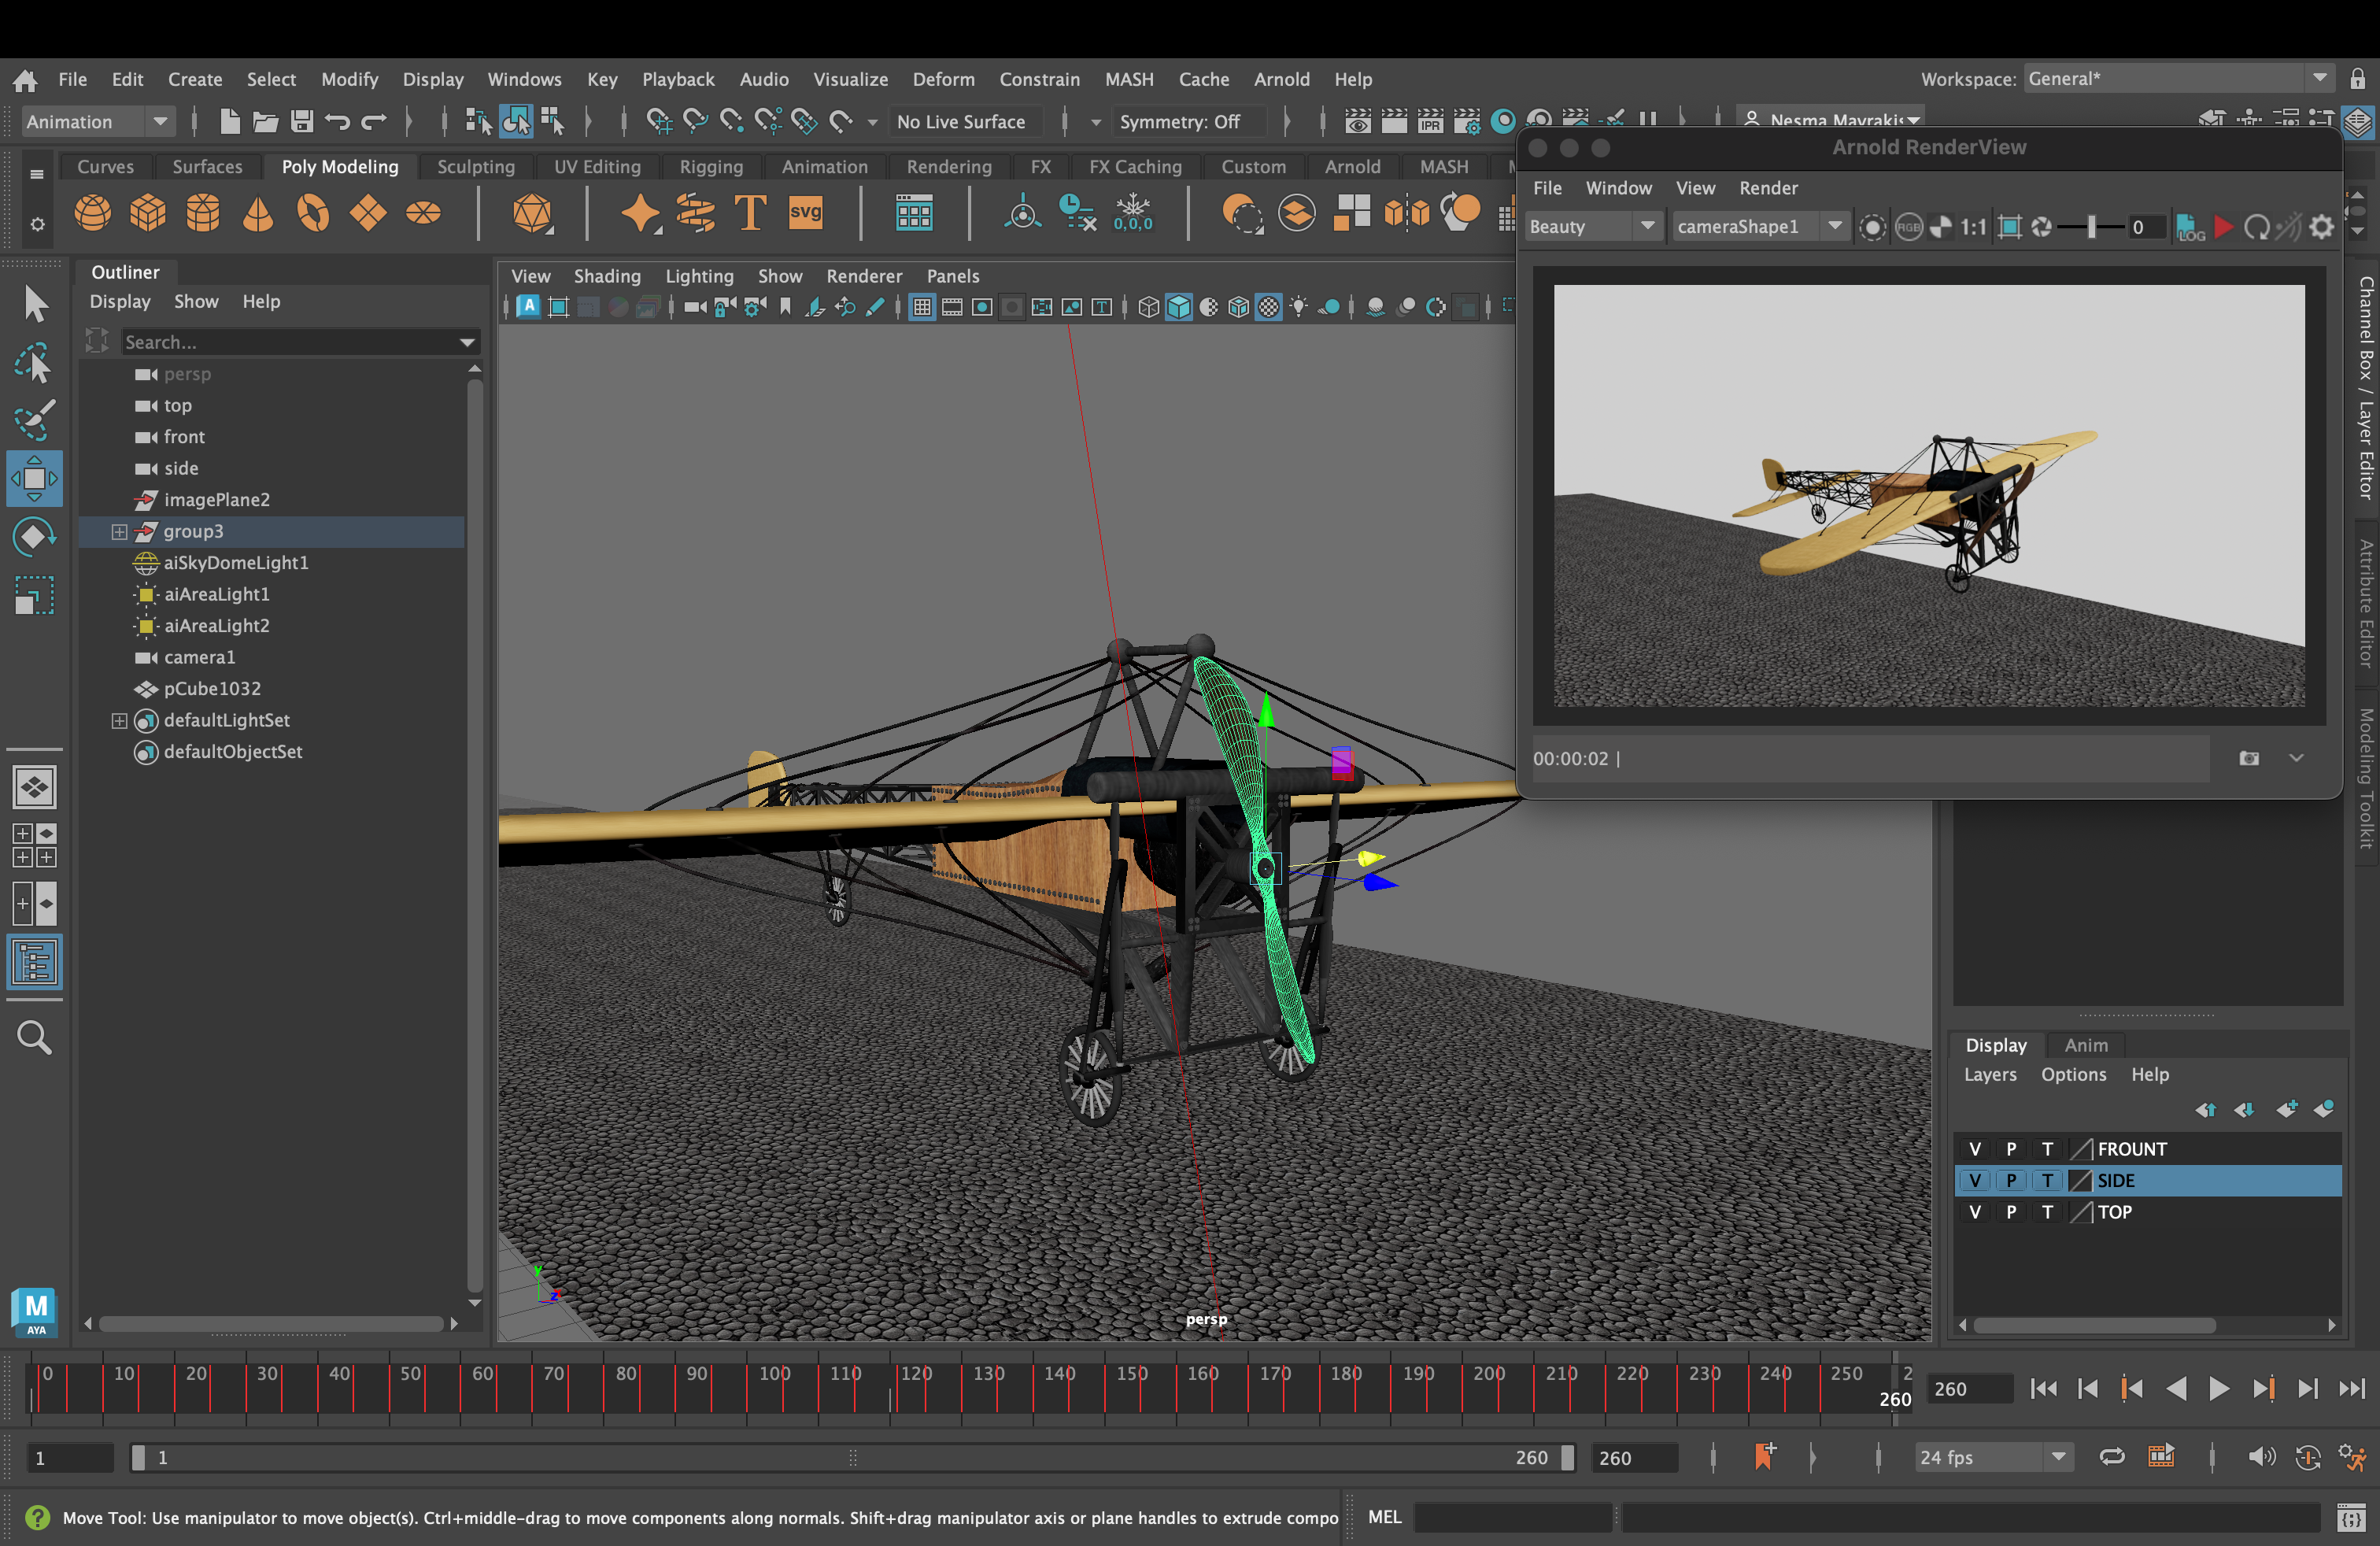
Everything was ready for the flying animation! I took all the parts of the airplane and made them into a group so I can animate the propeller moving as well. I animated the whole plane first, then the propeller.
Rendering
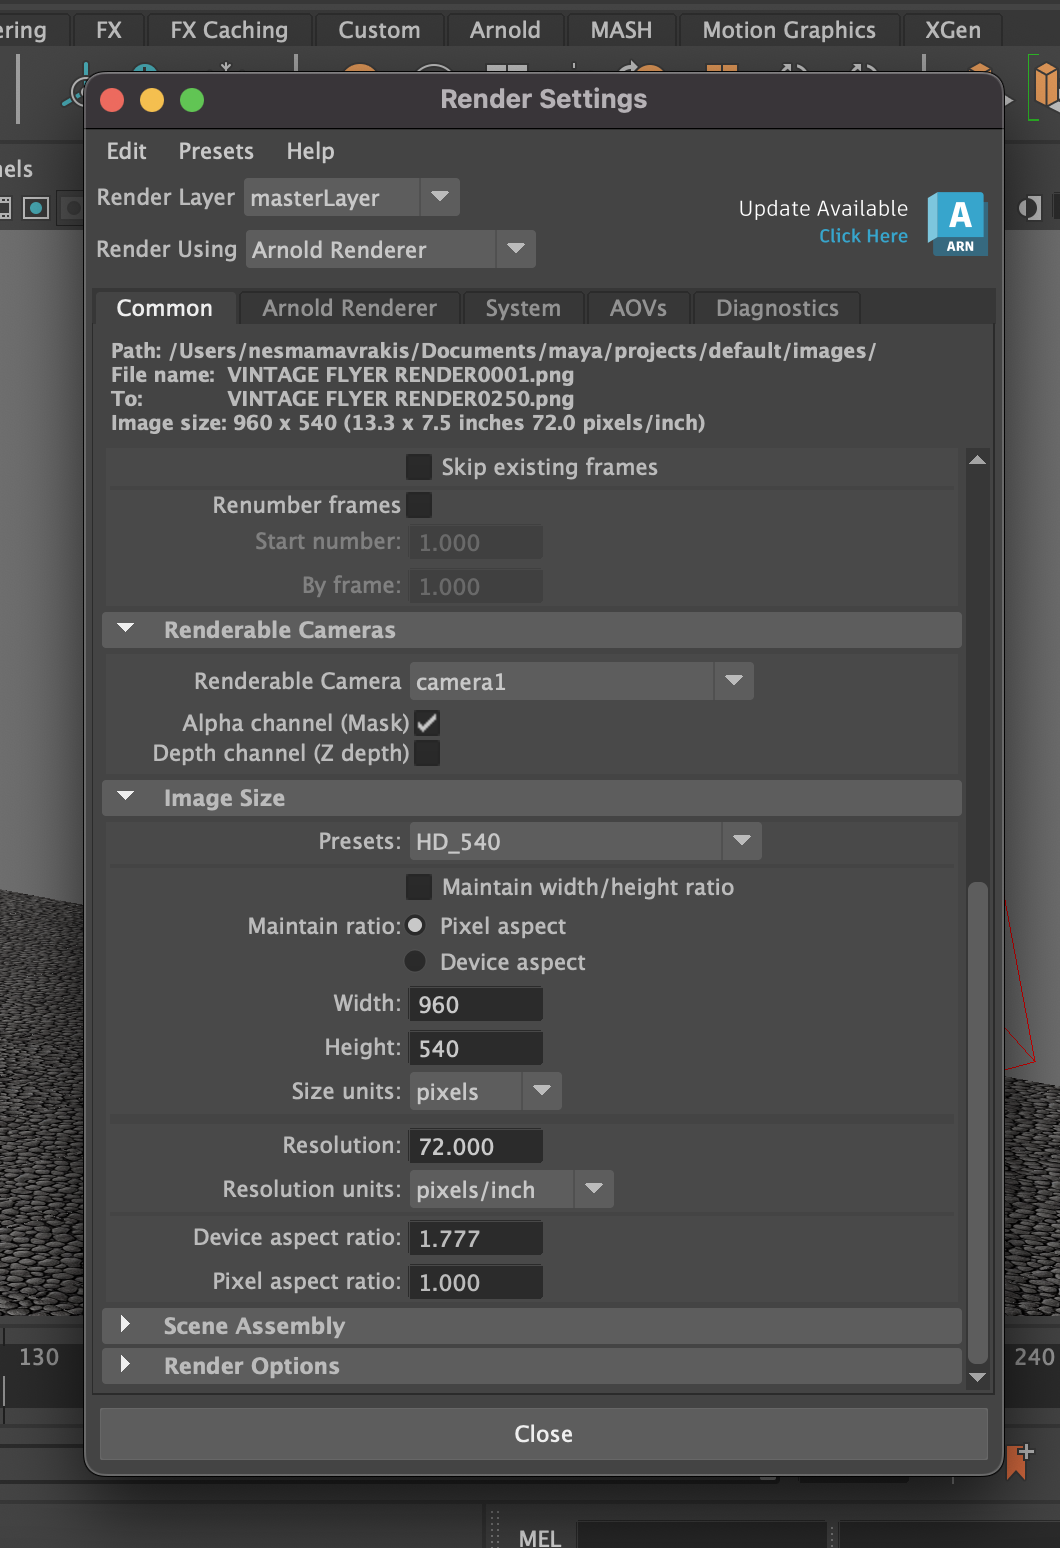
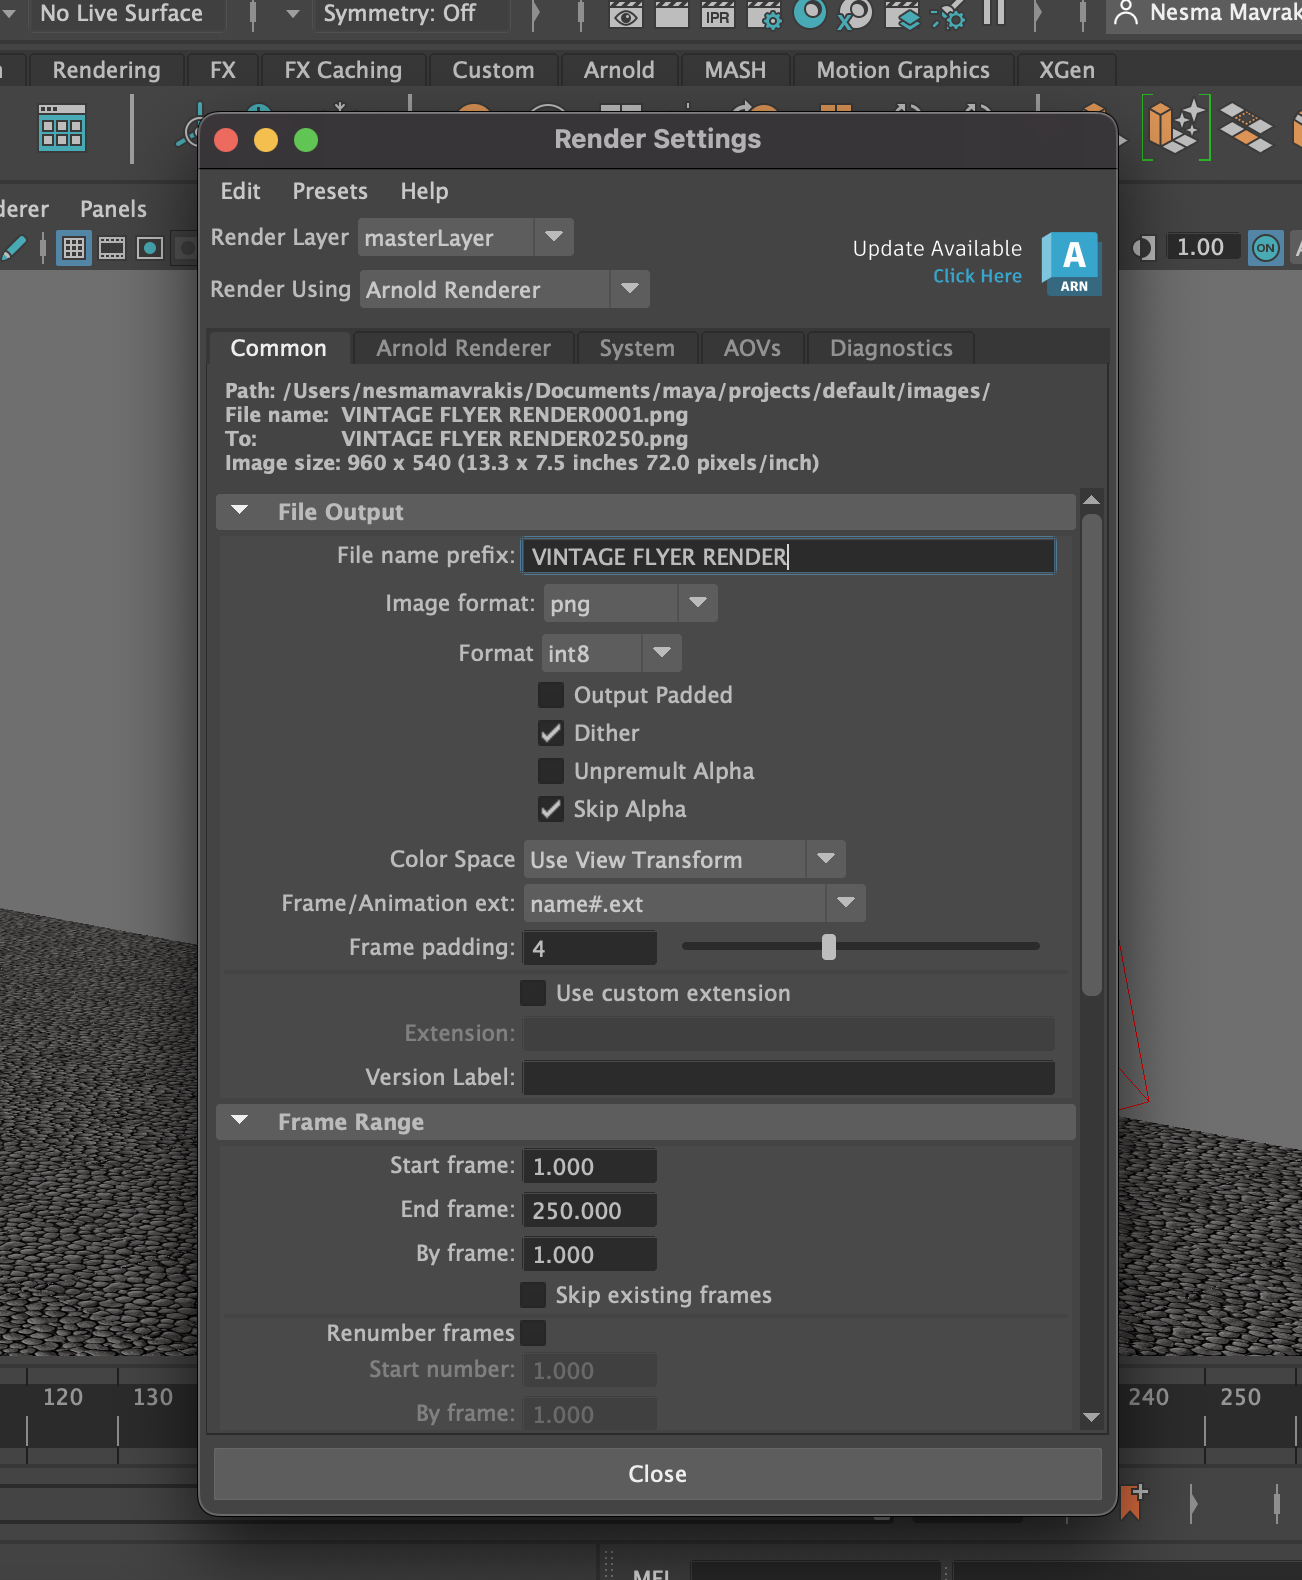
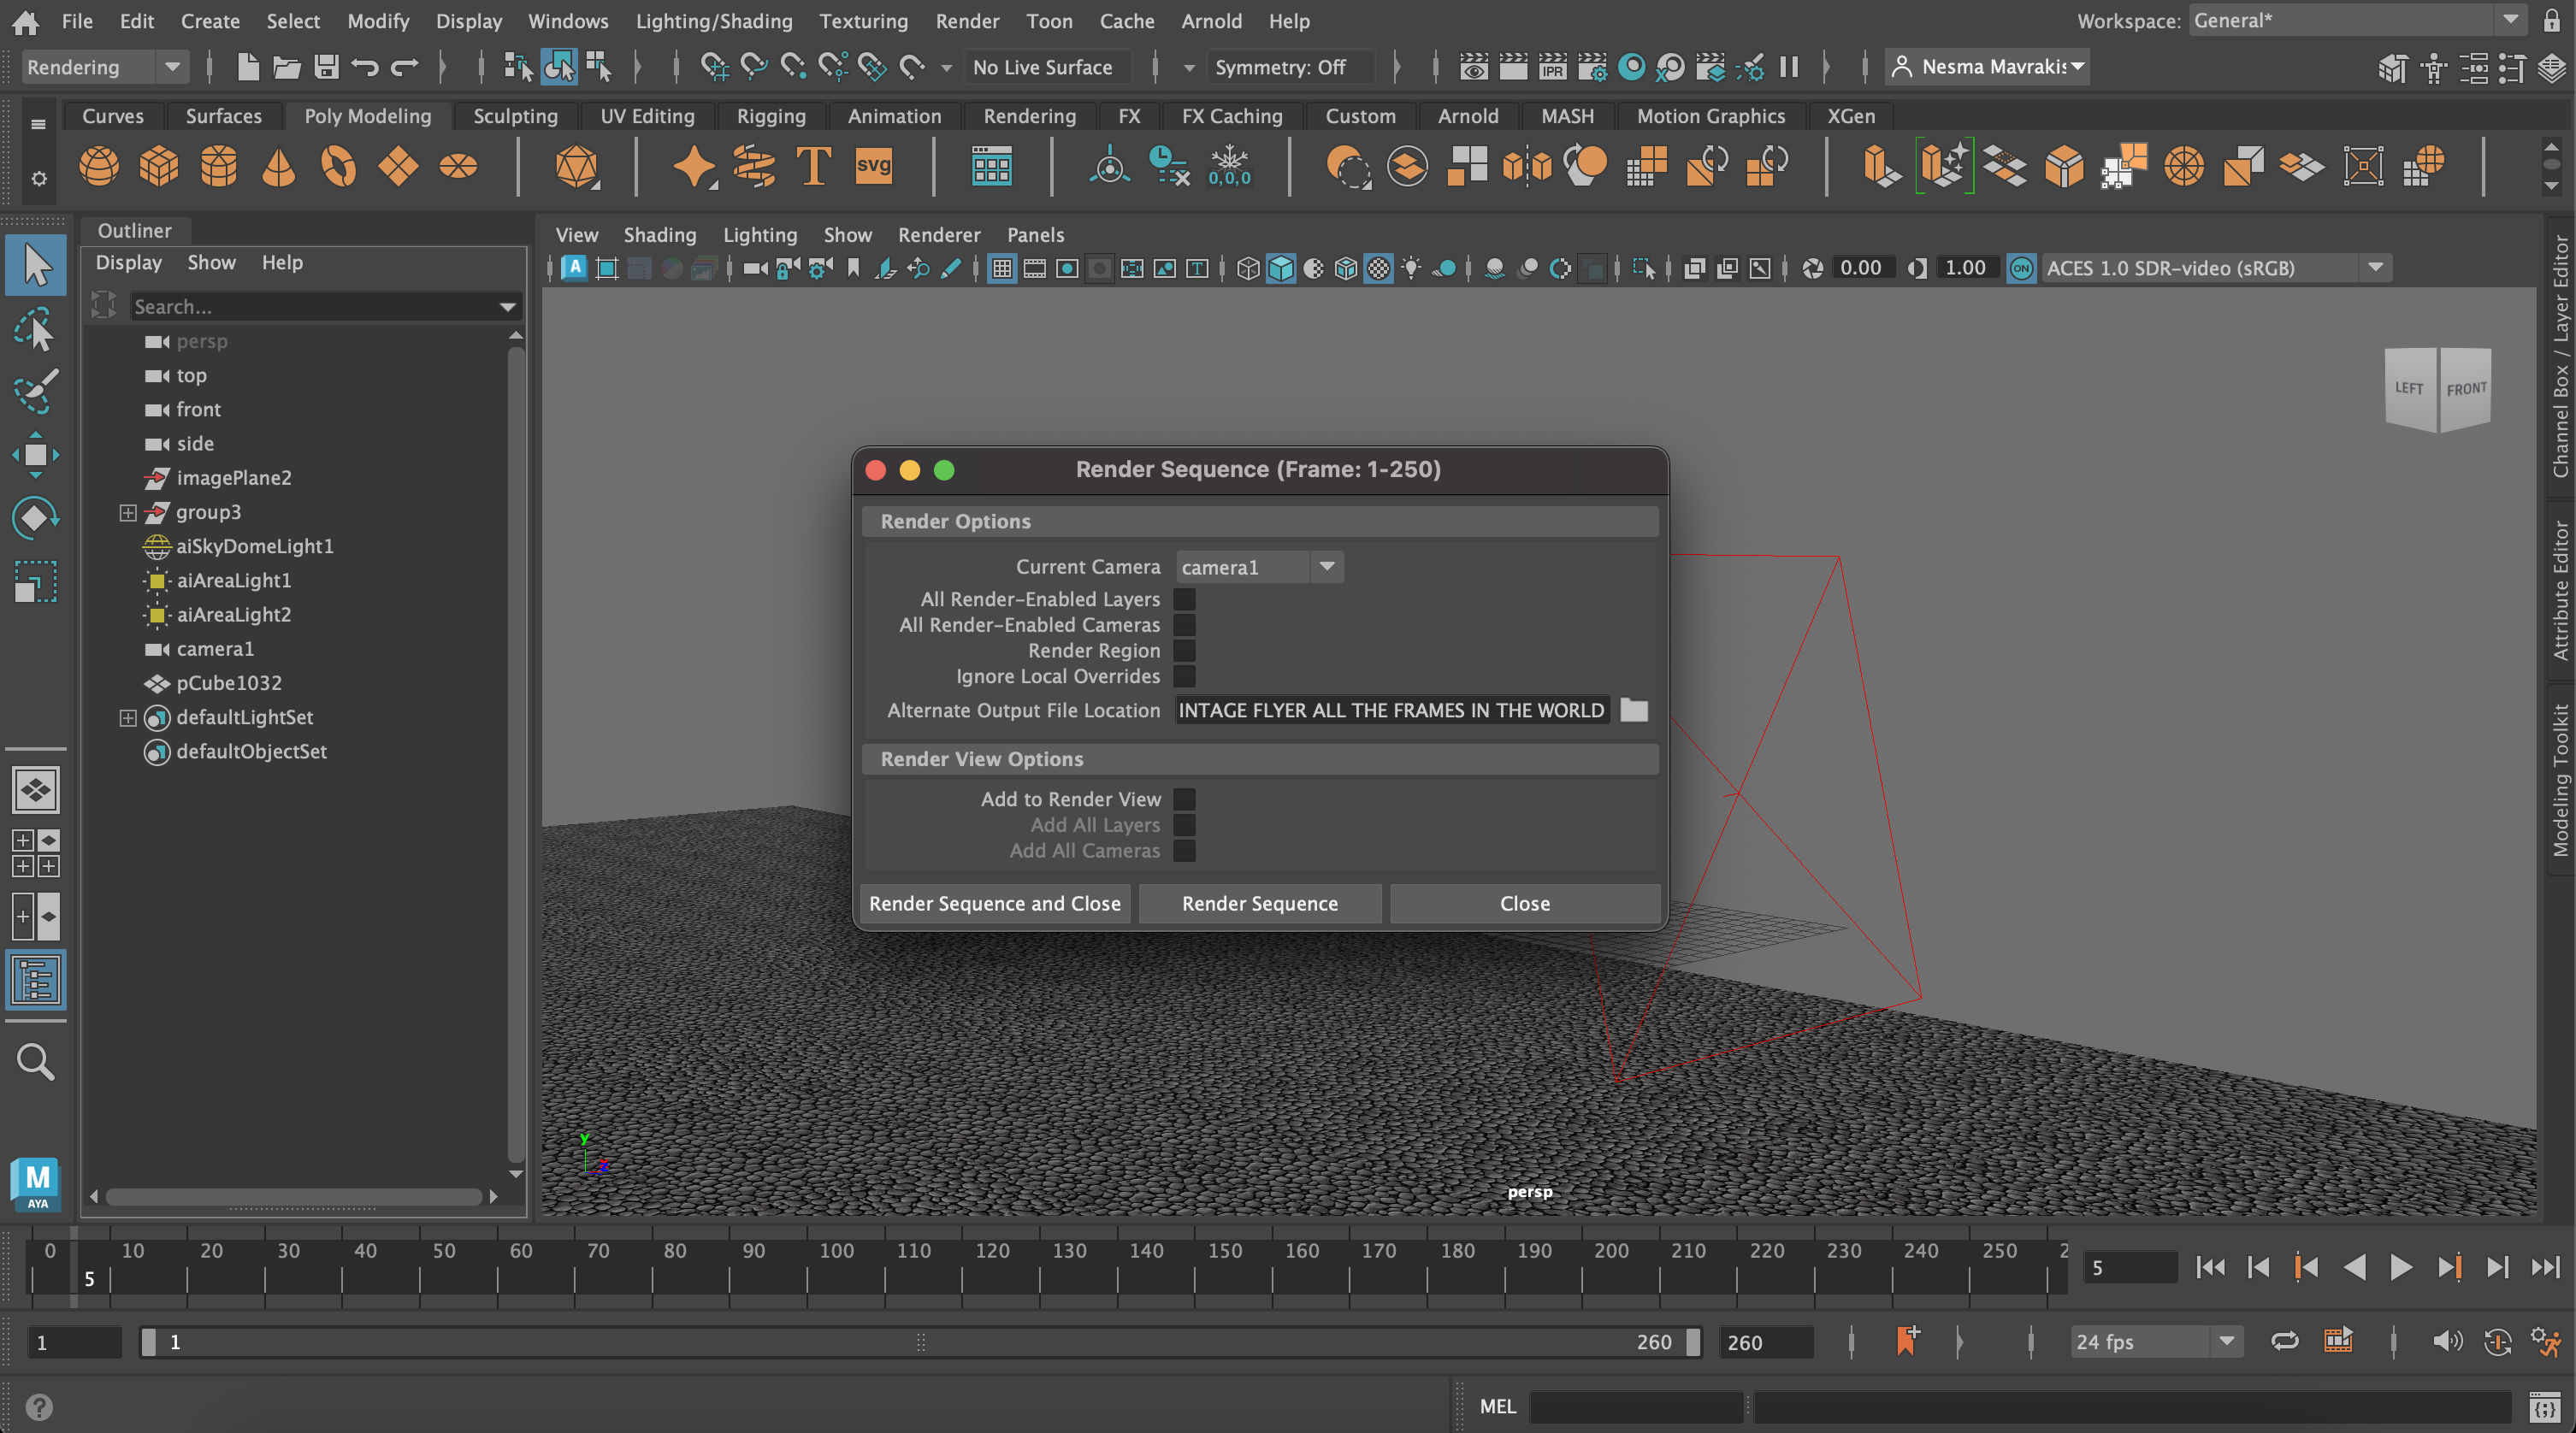
Then I rendered the sequence with these settings. The sky will be white instead of blue, but I never planned this to be perfect. I just need something simple to showcase my model and animation.
Put the Animation Together

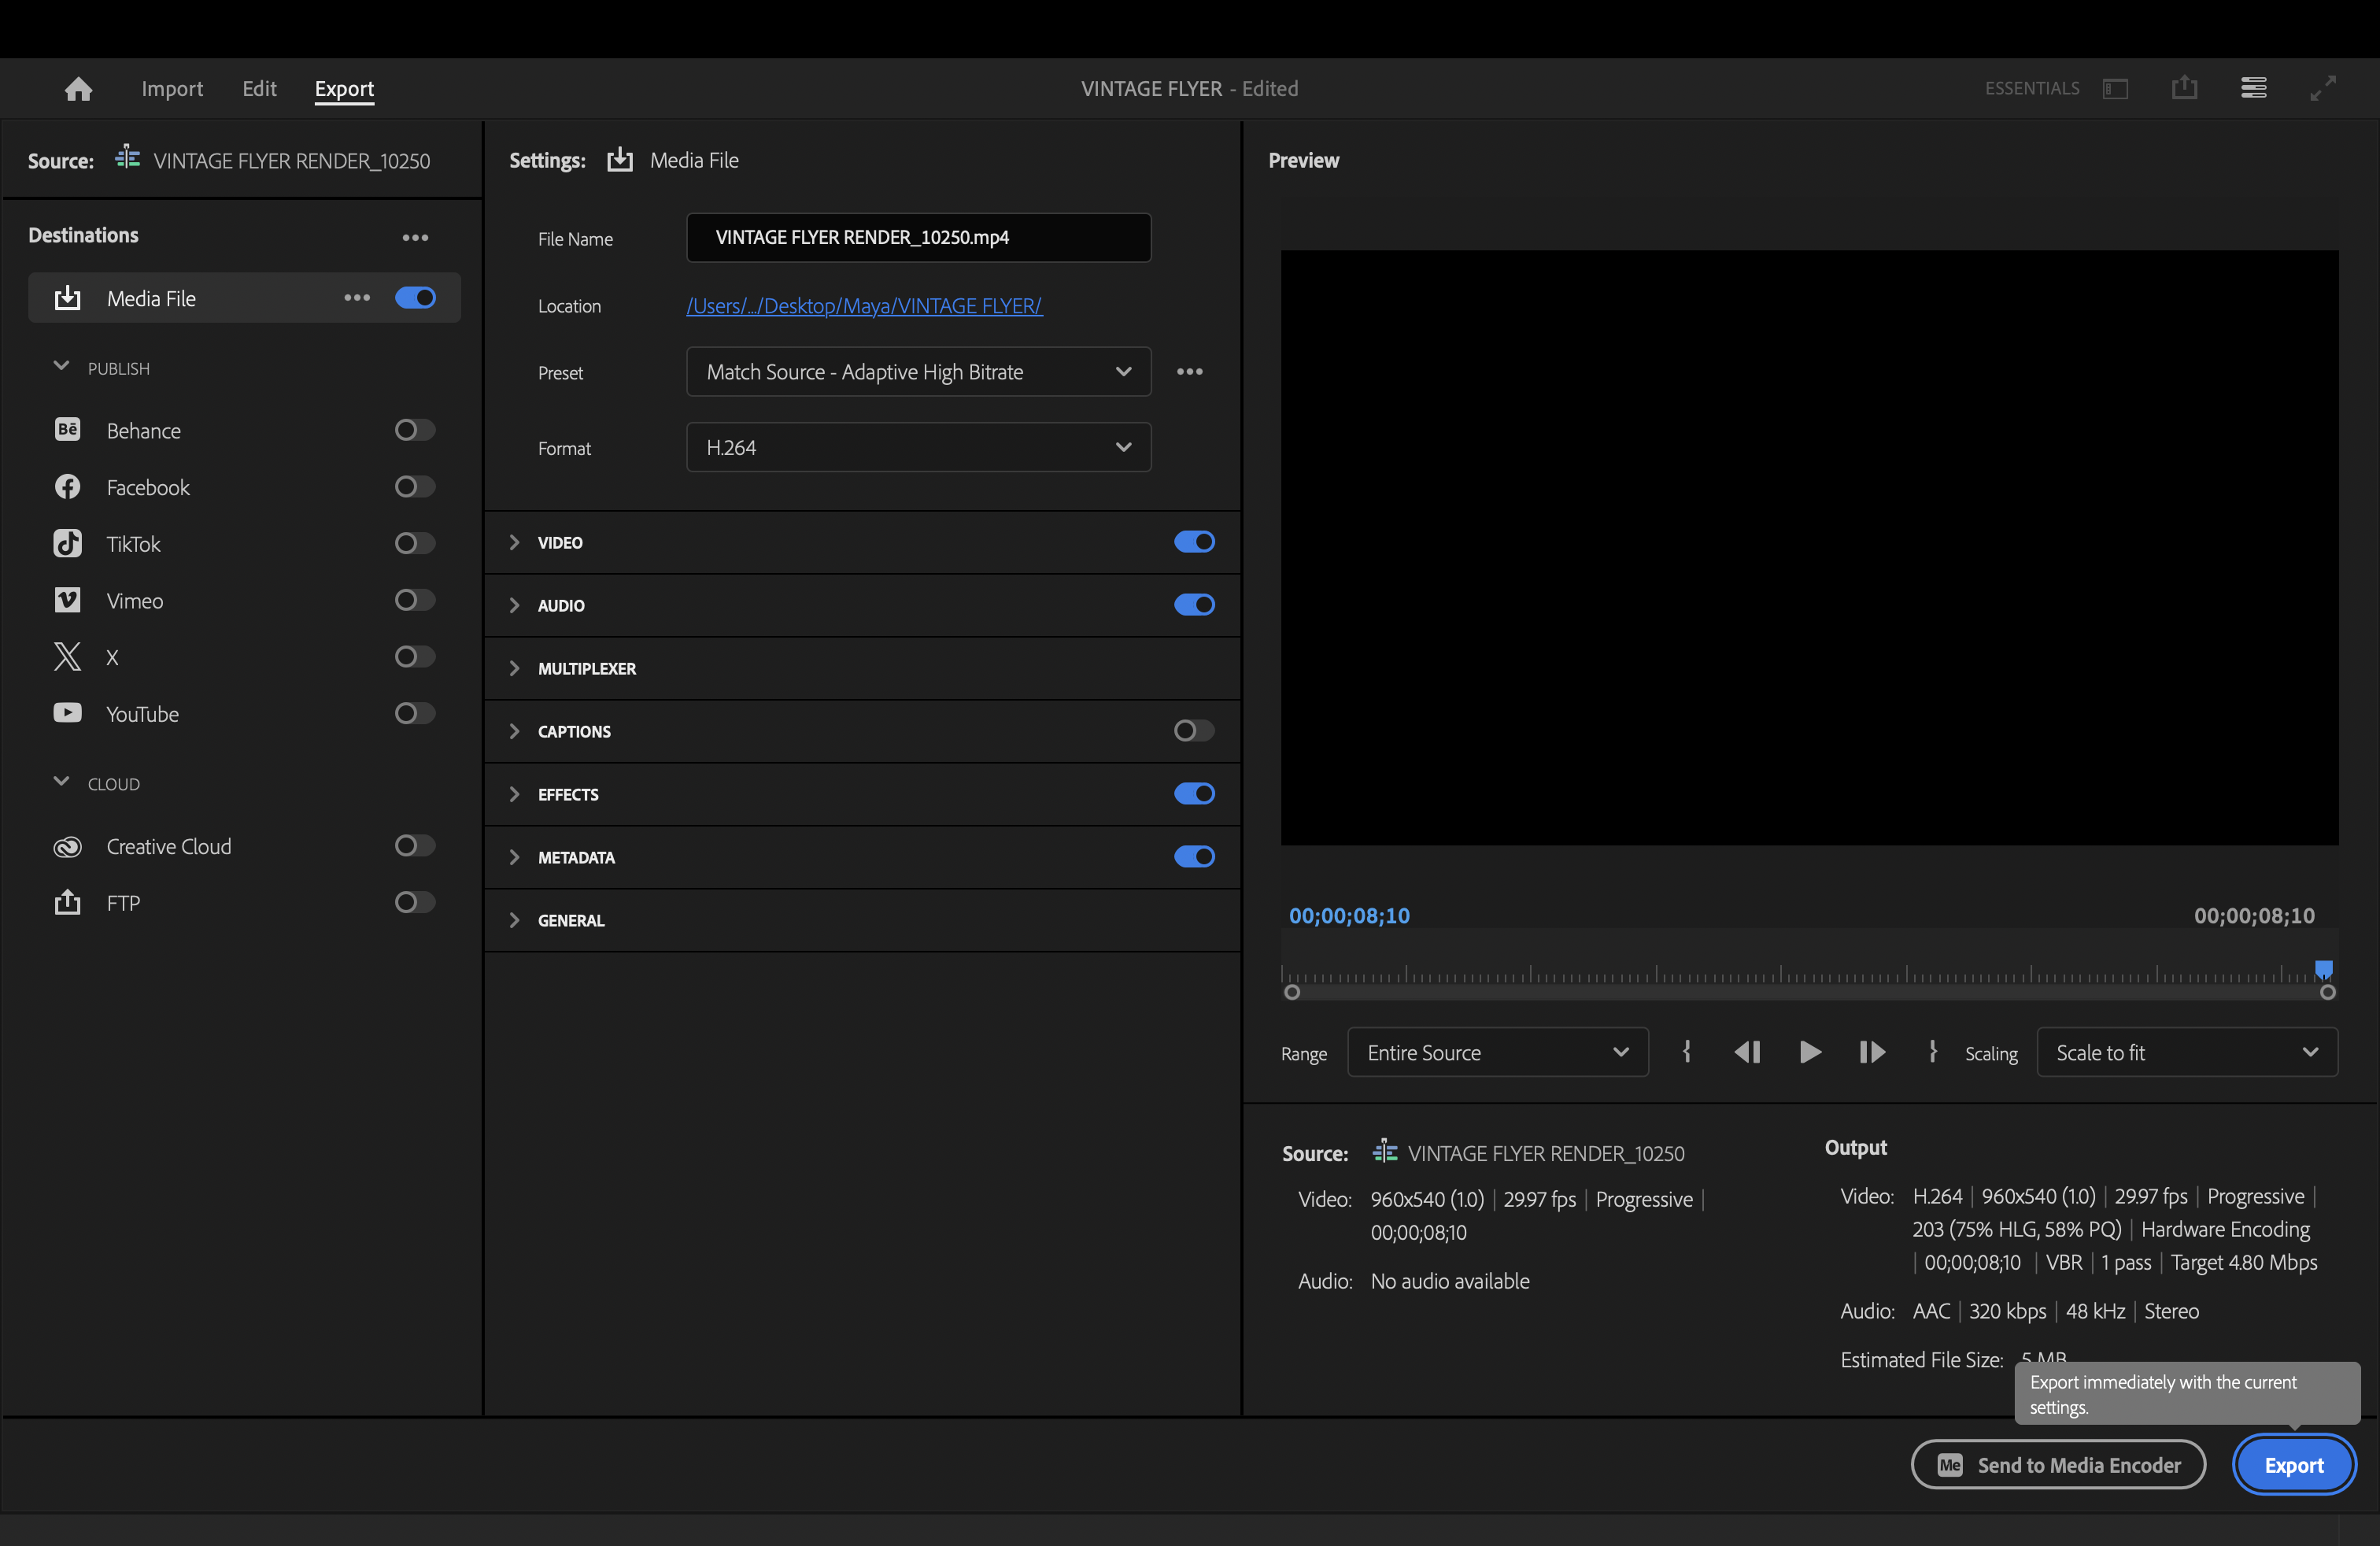
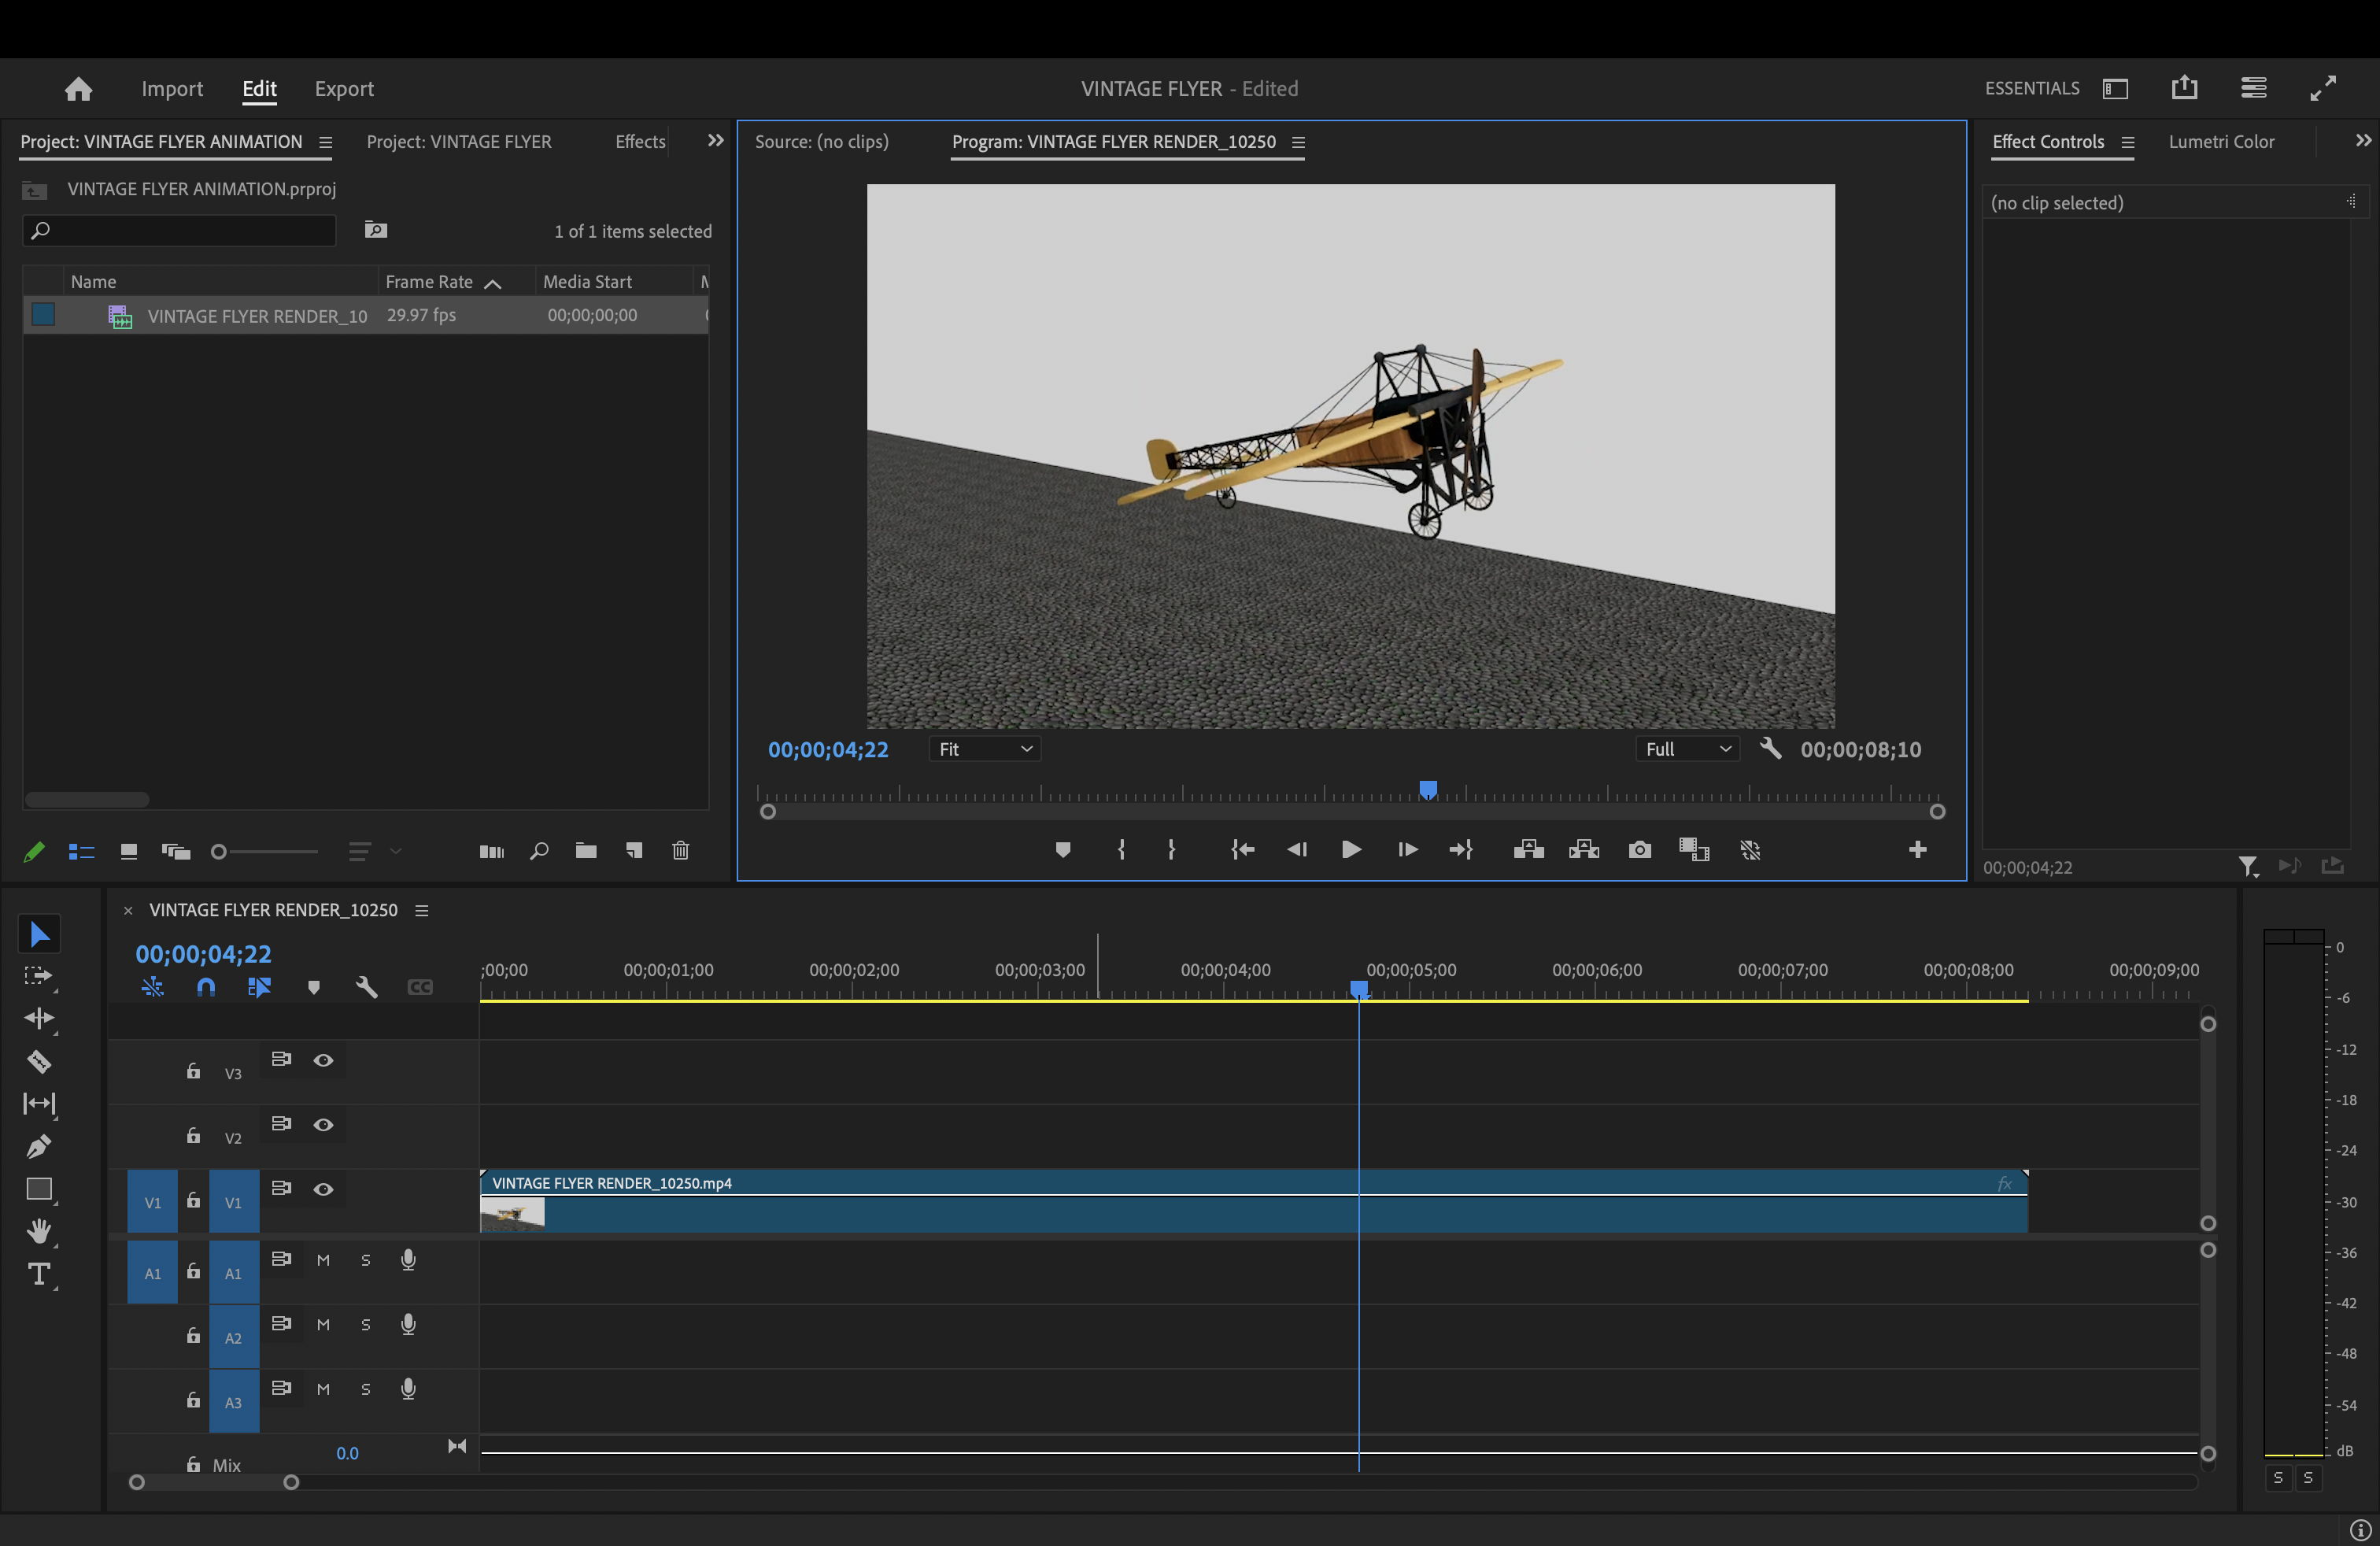
I took all the fames and but them into Premier Pro to make them into a video. Then I exported that video so that I can put it into a new project. When you do this, you can add video effects and transitions to make it look smoother.
Sound Effects!
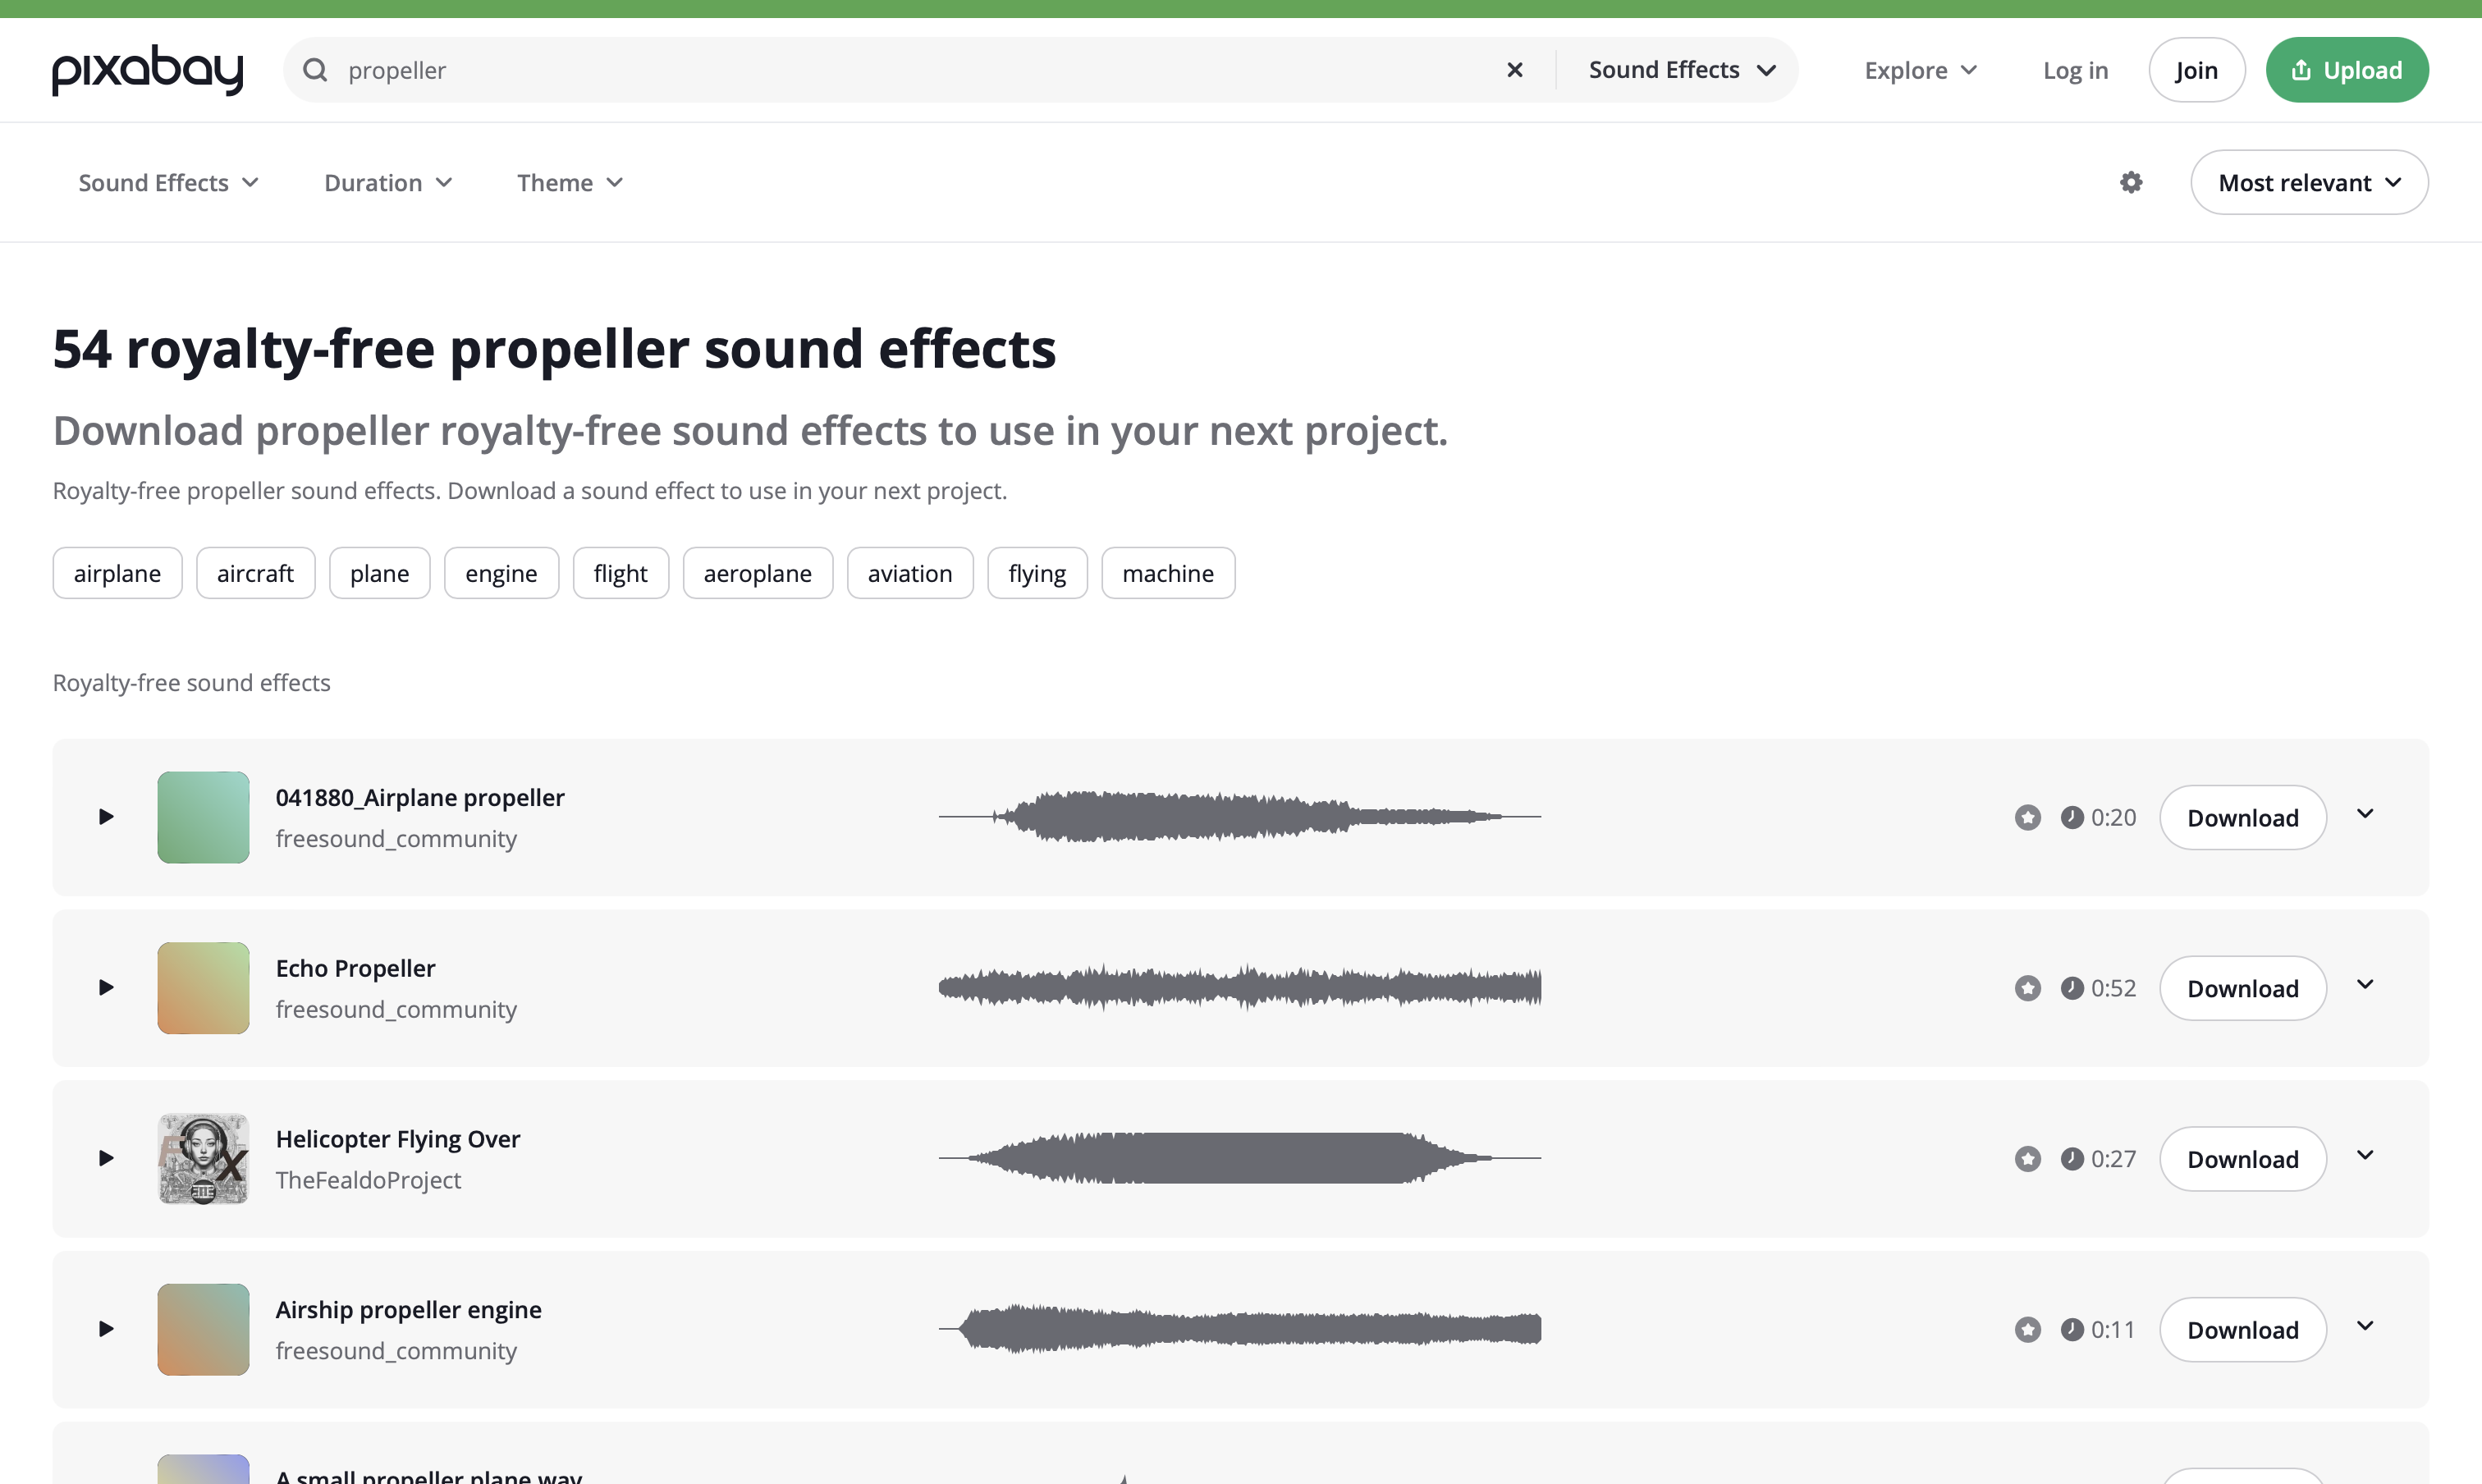
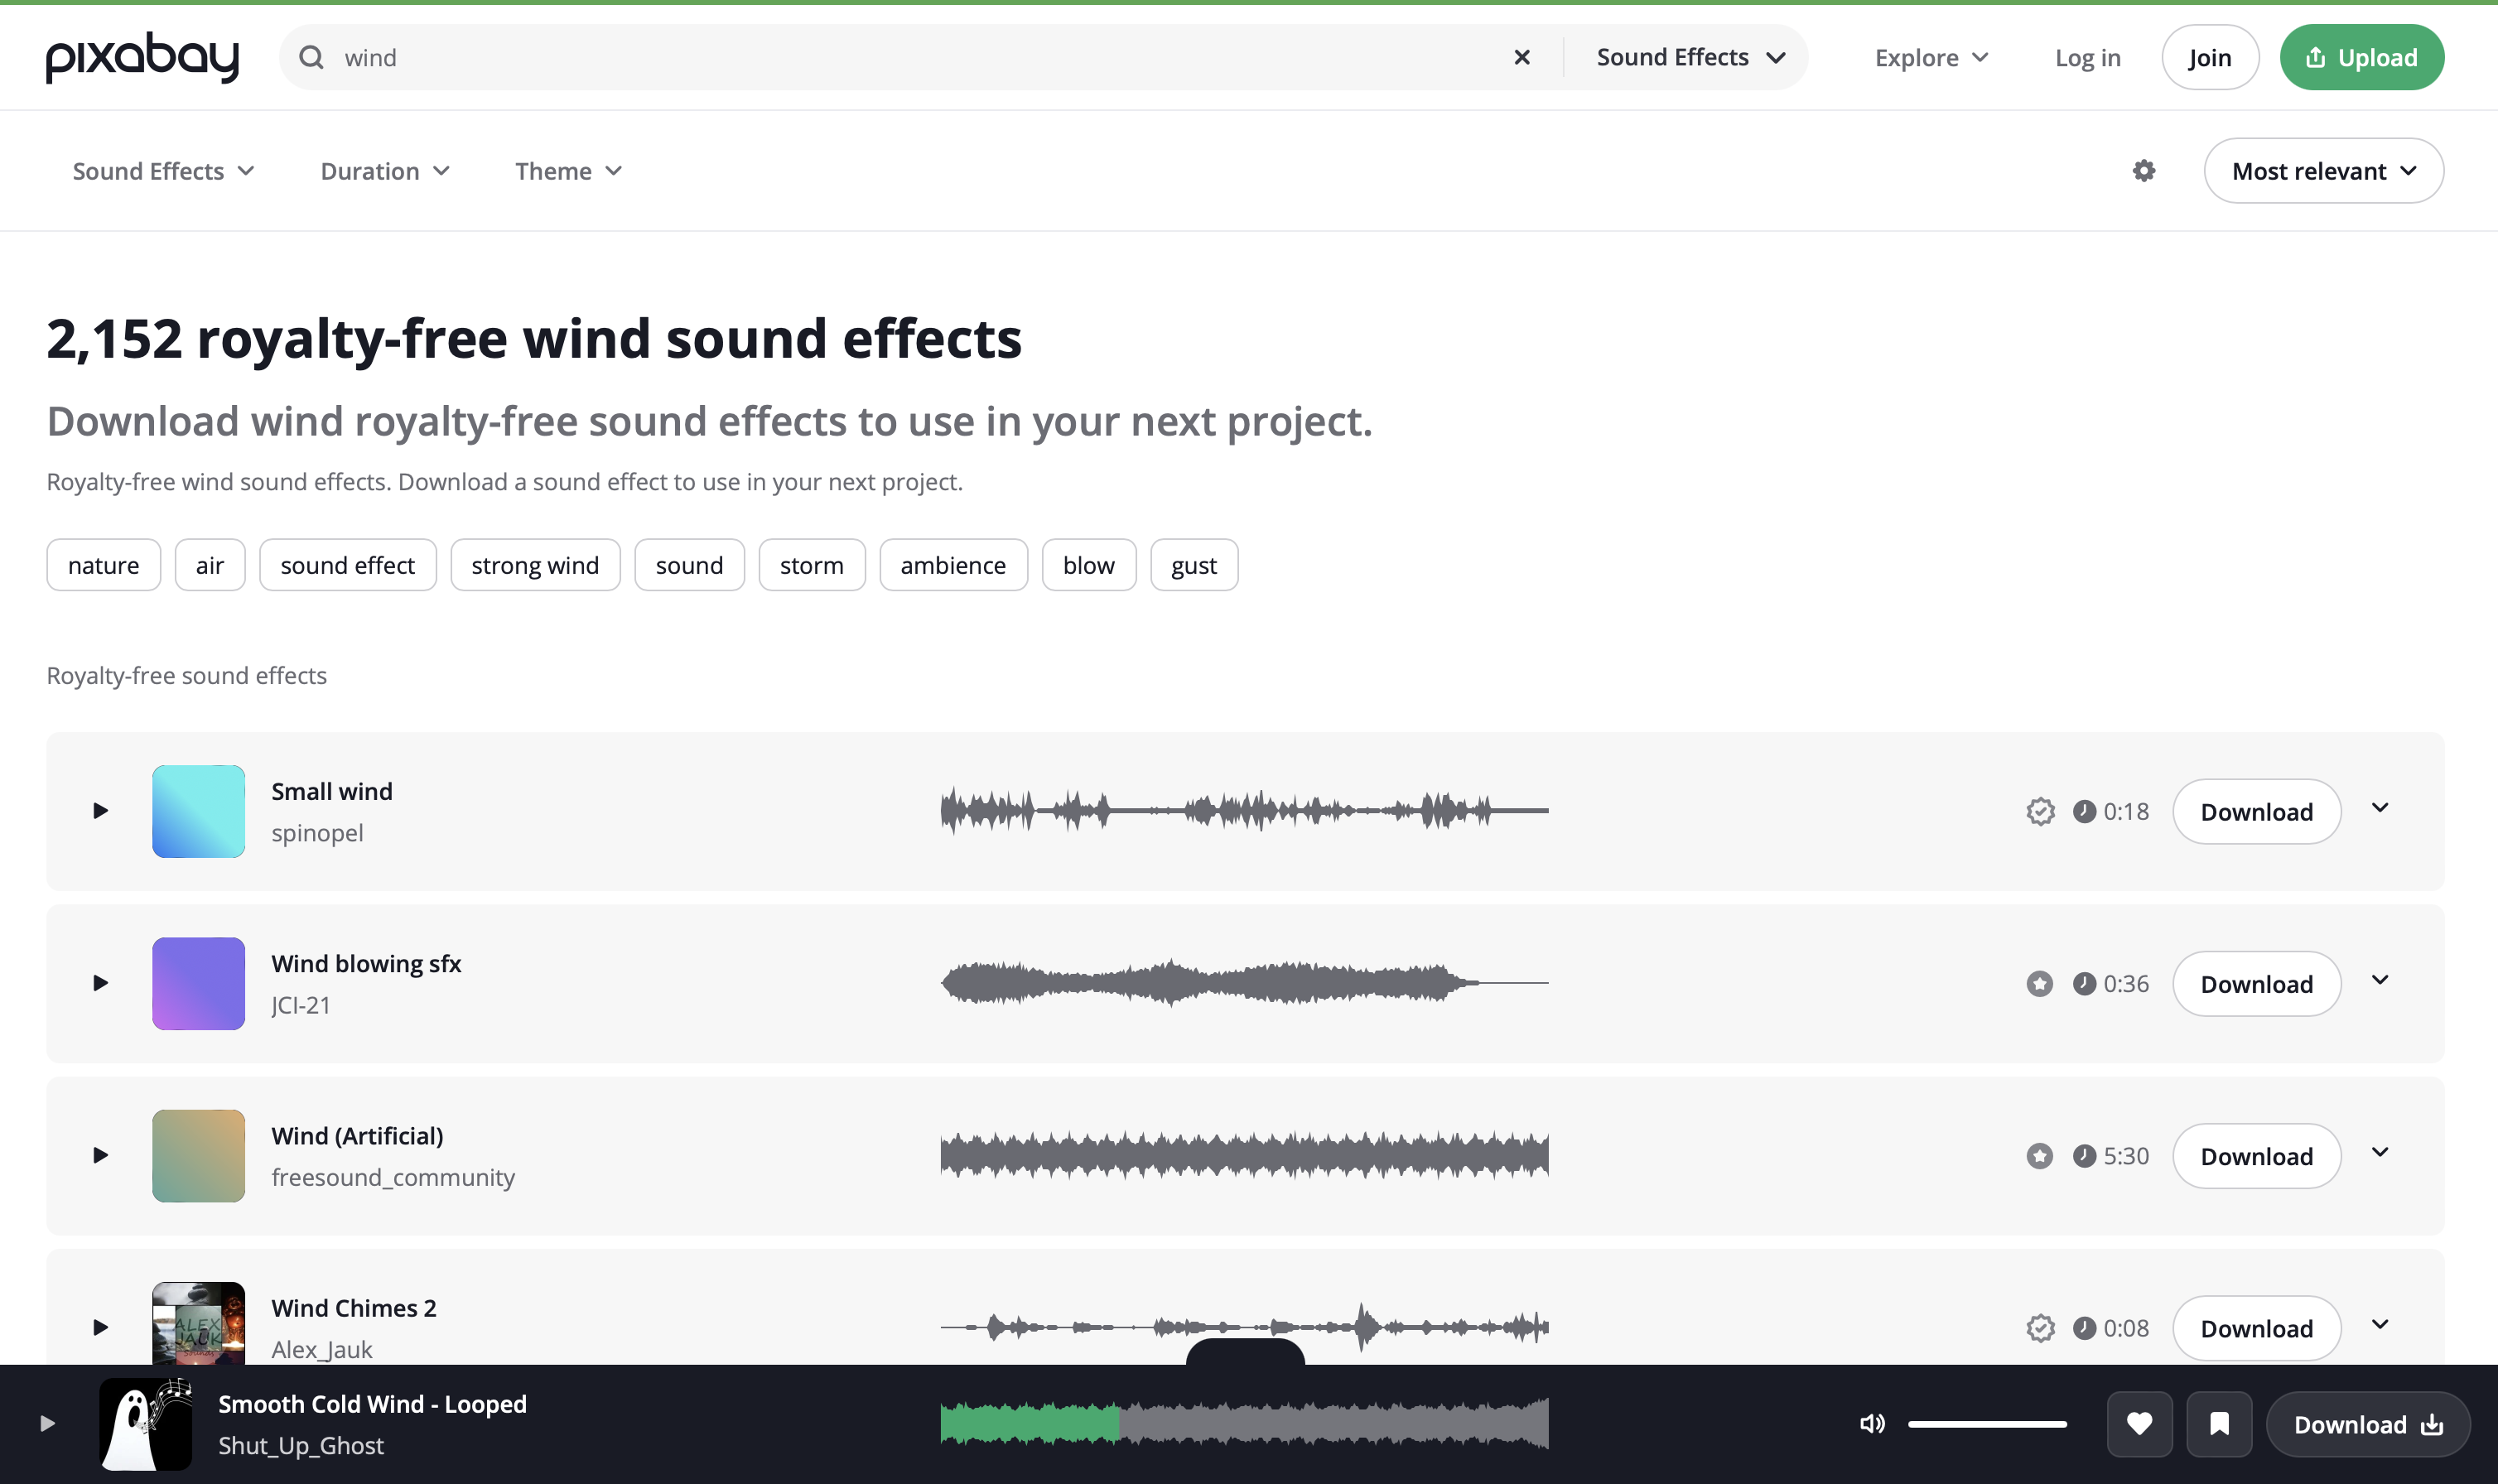
With every animation project I do, it's a MUST to have sound effects. It really brings life to the animation! The website my class uses for royalty free music and sound effects is called Pixabay. From here I searched for propeller and wind sounds.
Editing... and Complete!
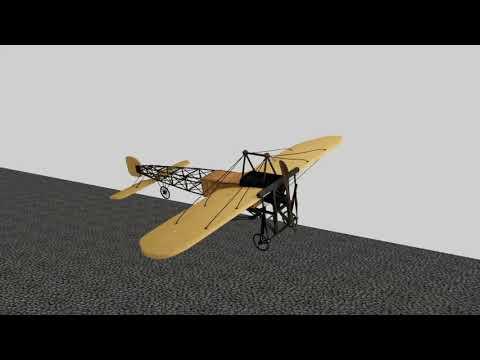
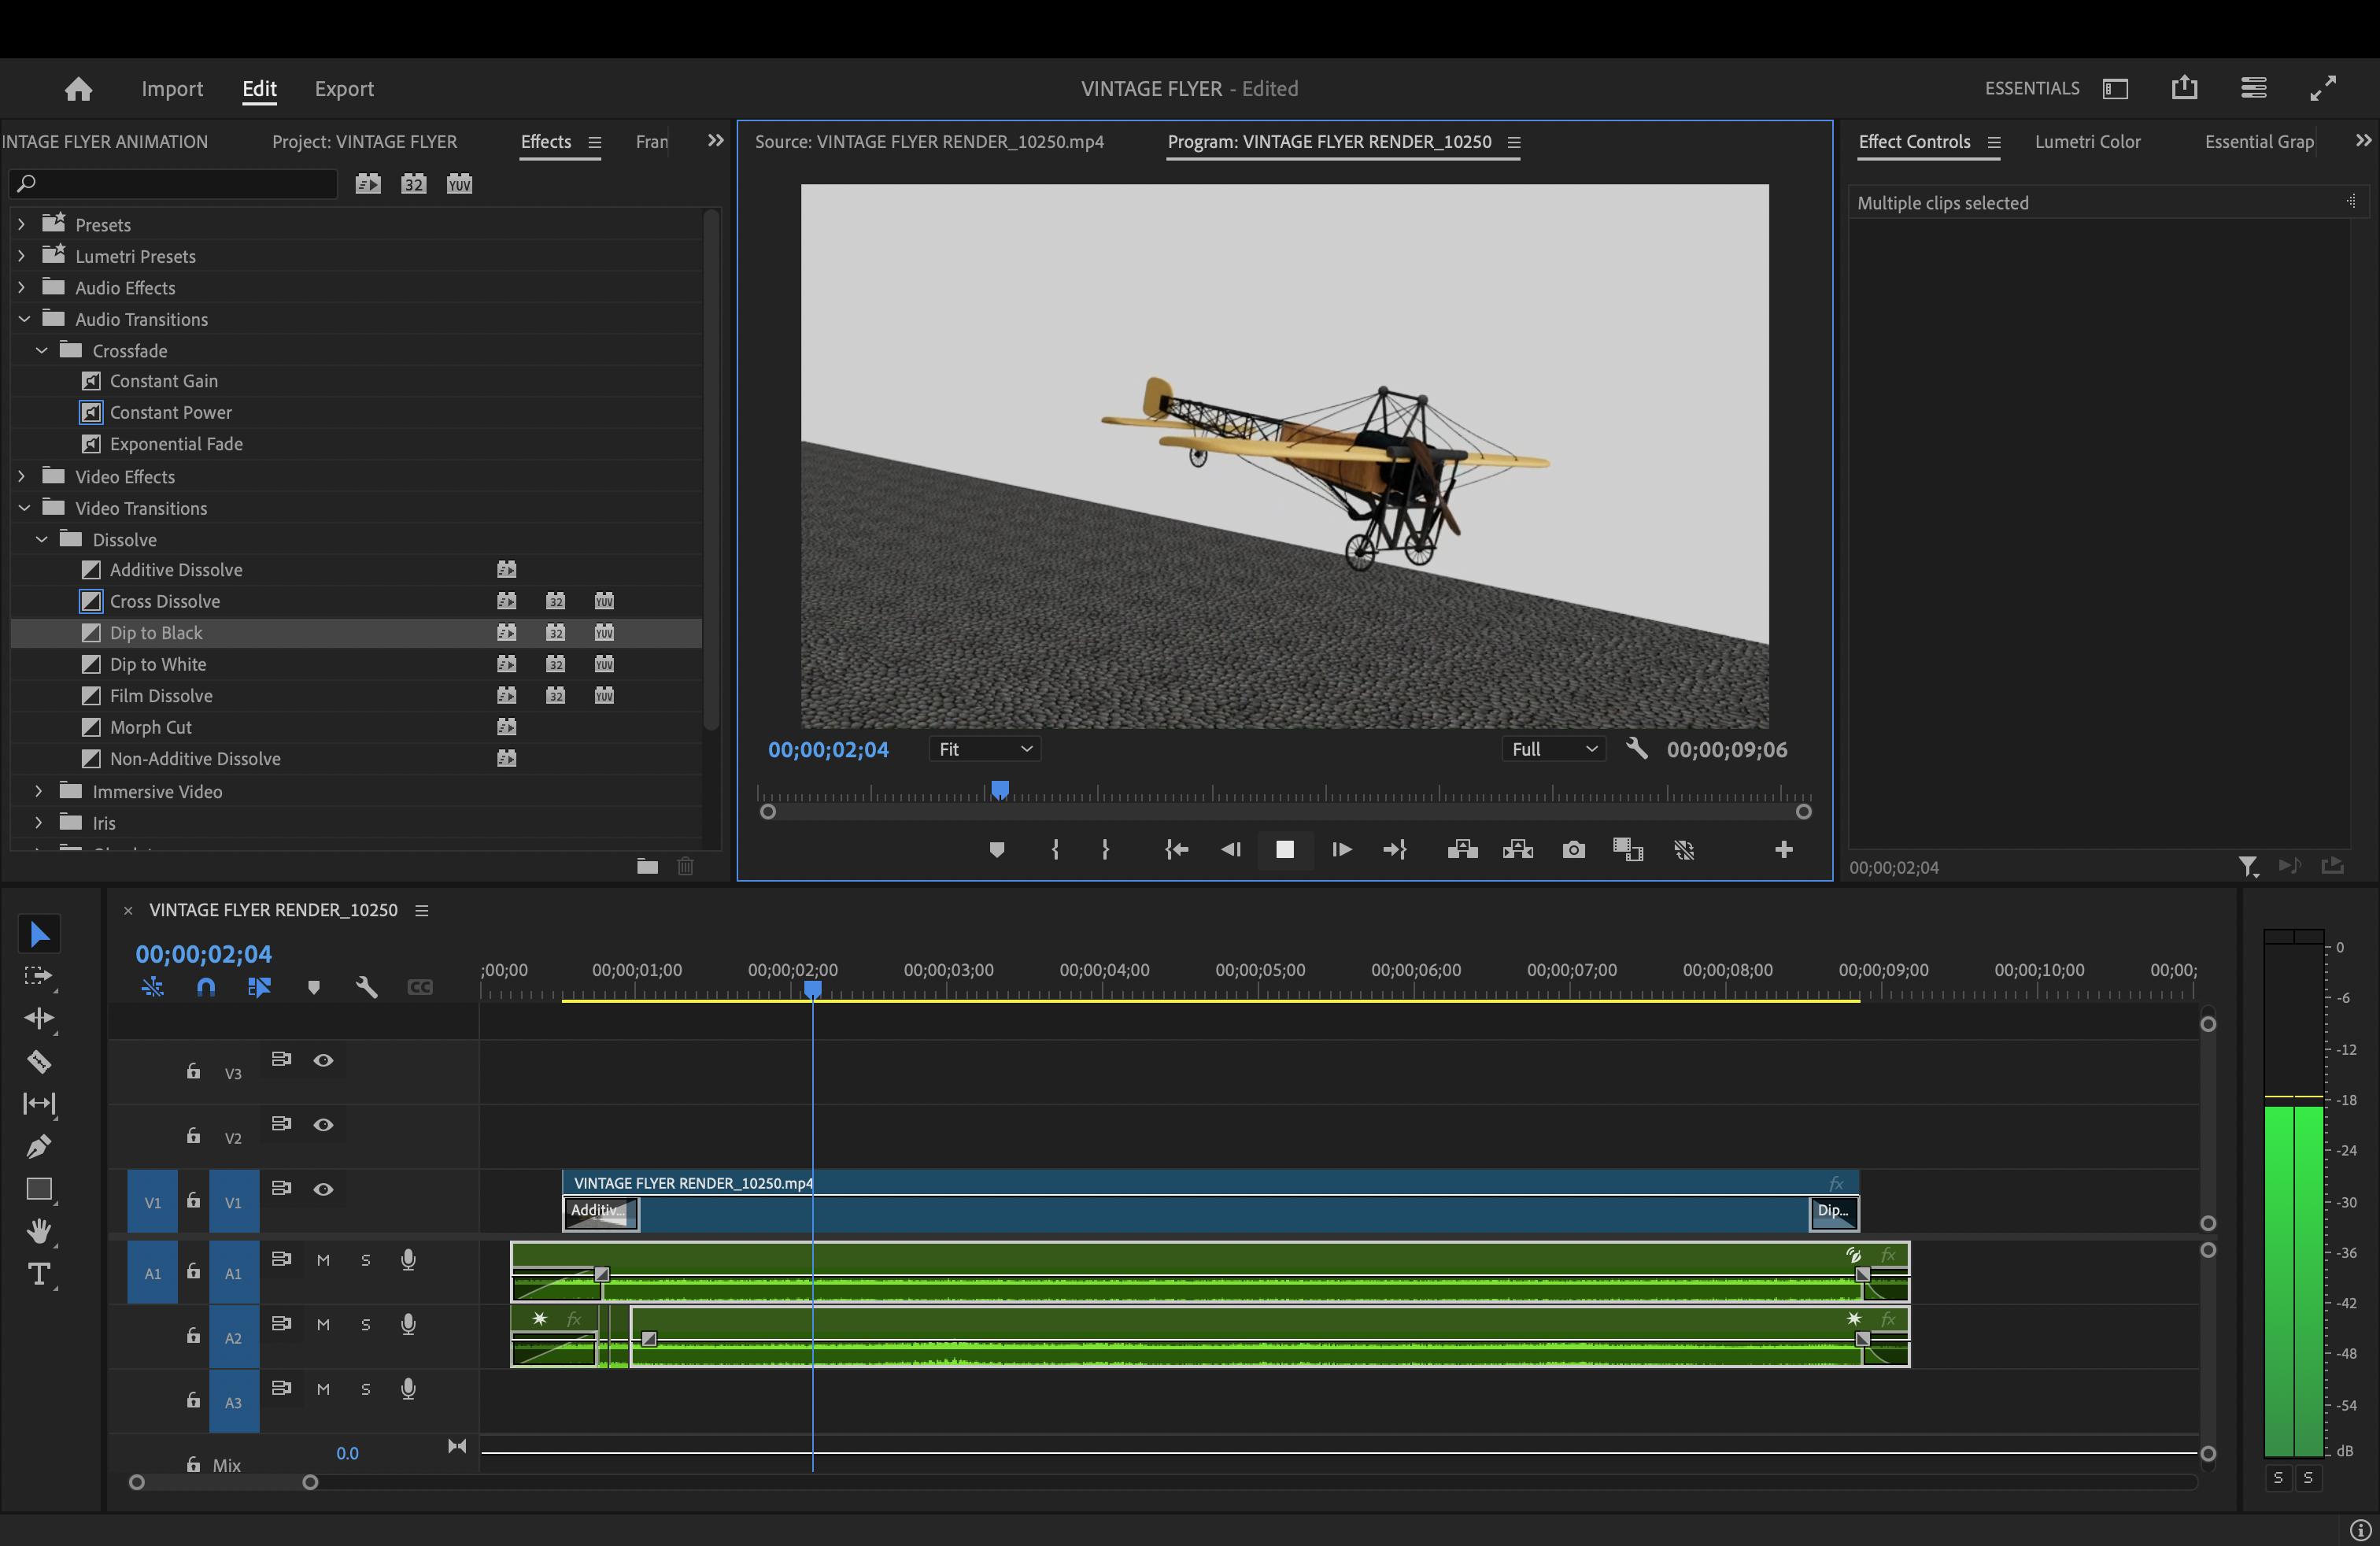
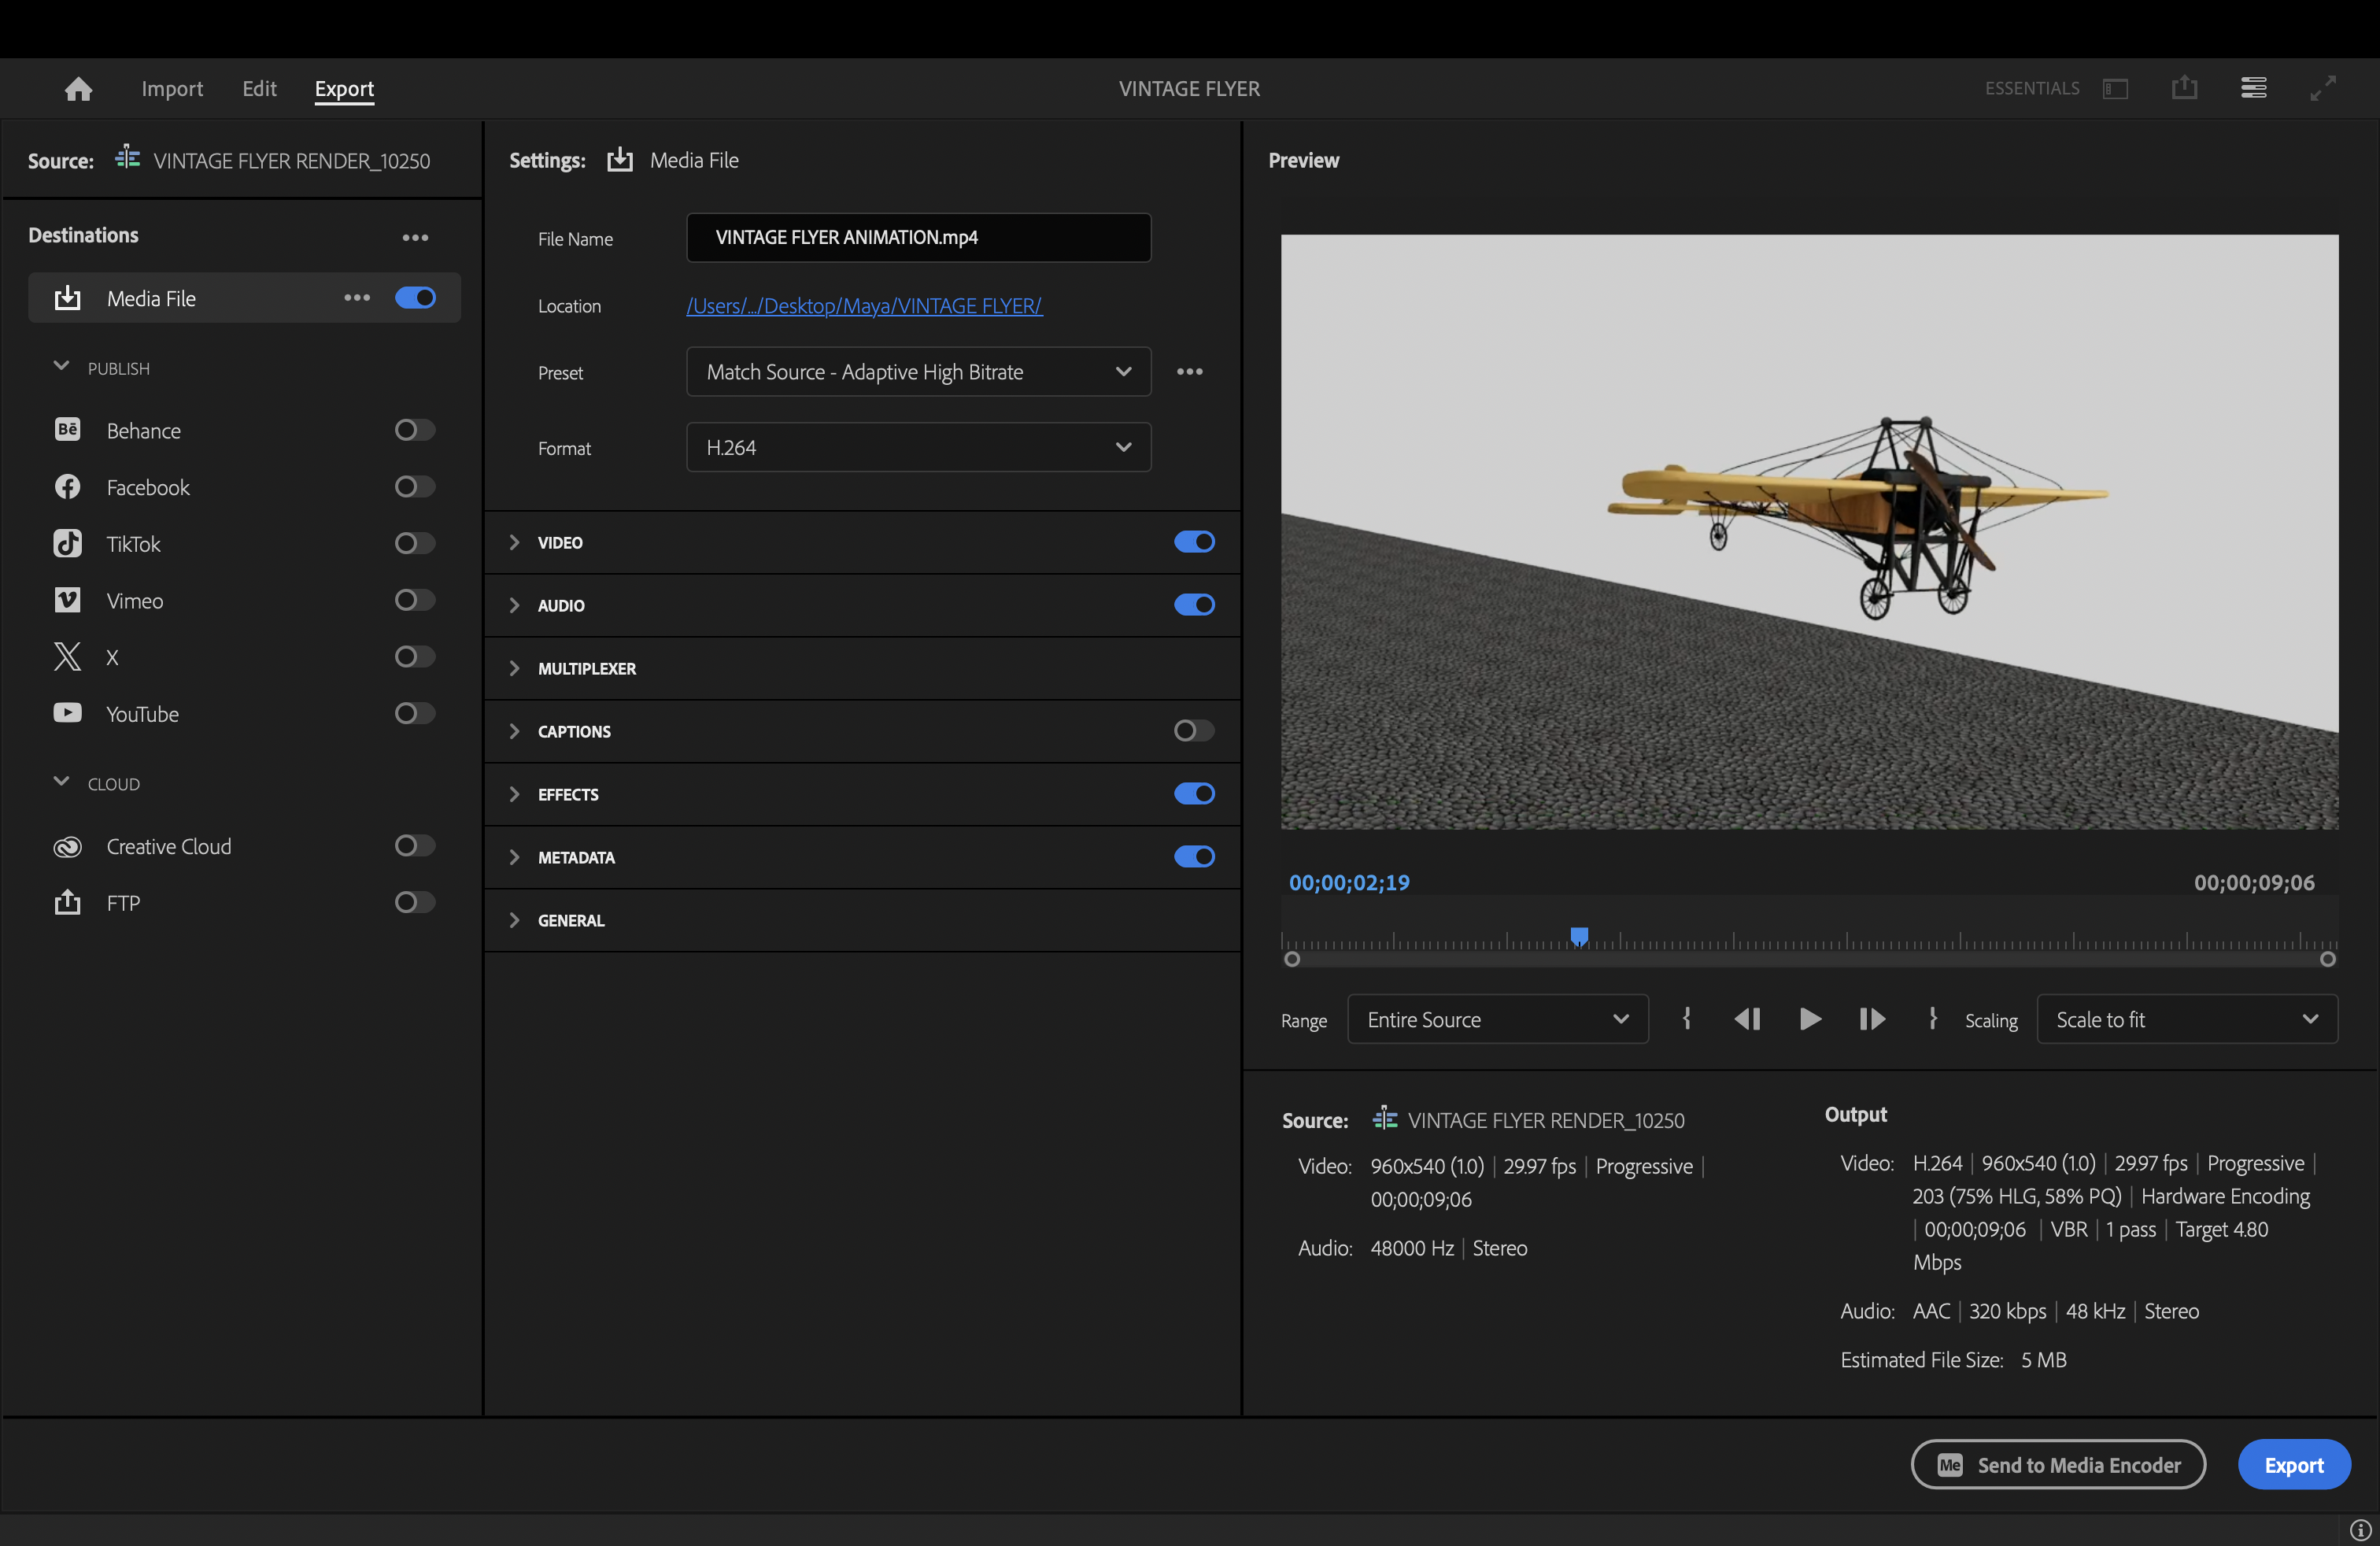
I imported the sound effects into the Premier Pro project and lined them up with the animation. Then I added transitions to the video and sounds to smoothly transition in and out.
And BAM! There's my model vintage airplane animation!
If the video doesn't work, try the YouTube link!
https://youtu.be/8jXVFJLDmCE