"Vintage Manuscript Crafting:
by Dark_Zombie in Craft > Books & Journals
1004 Views, 19 Favorites, 0 Comments
"Vintage Manuscript Crafting:


I would like to tell you the story that led me to do this. I've always been drawn to medieval times and love collecting old things. One day, while watching a movie, I saw a vintage manuscript and was instantly inspired to make one myself. When I heard about a contest, I thought it was the perfect opportunity to share my creation with others who appreciate vintage items like mine. So, I decided to create and share this vintage manuscript with everyone.
So in this project, we create a vintage manuscript inspired by a movie scene, and this is a simple guide that will help you print the manuscript, make it look old with coffee, burn the edges gently, and craft a wooden cover with a 3D printer. After drilling holes and binding it with rustic thread, we have a beautifully aged manuscript that's both nostalgic and unique.
Supplies

- Papers
- Coffee
- Water
- Brush
- Lighter or candle
- 3D printer with wooden filament
- Jute thread
- Hole puncher or drill
- Candle
Print and Cut the Paper
1. Print your manuscript.
- Arrange the three paragraphs on an A4-sized sheet neatly, and print your manuscript with ample spacing between lines and paragraphs to enhance readability and aesthetic appeal.
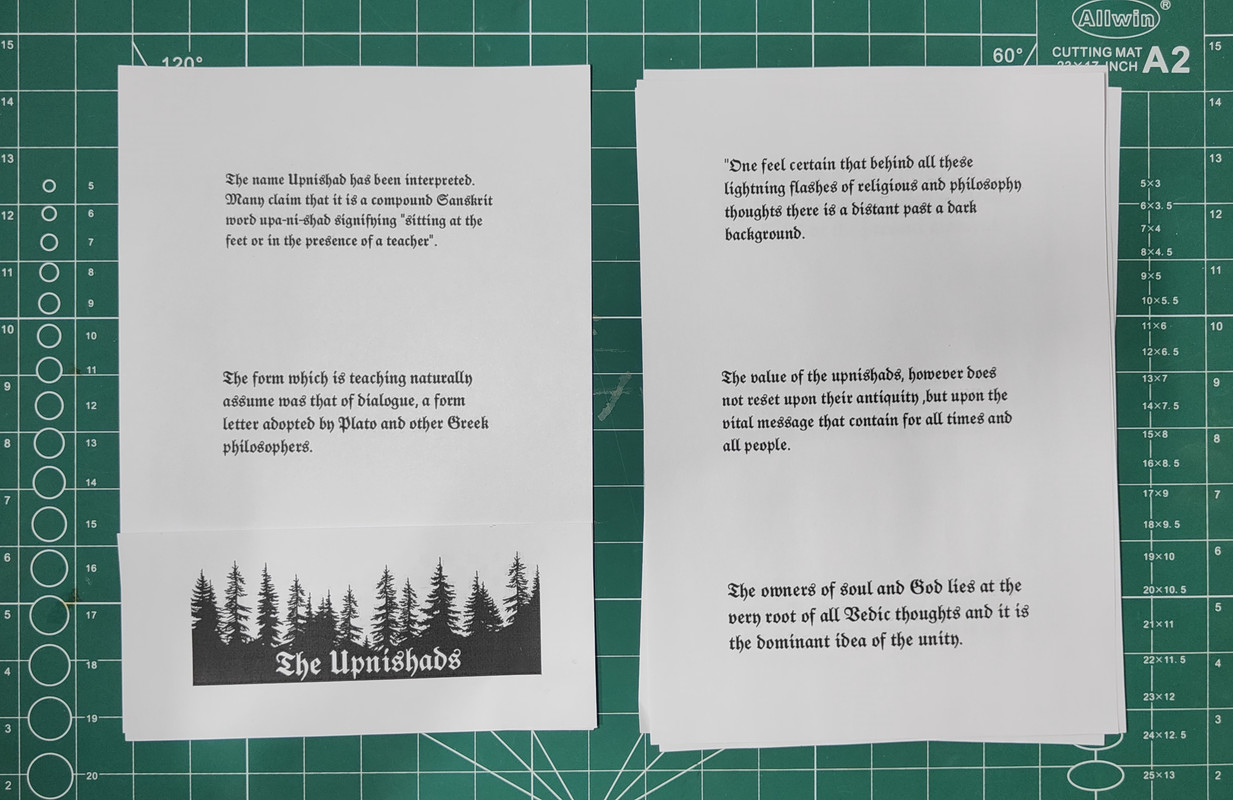
2. Cut the paper into three equal-sized paragraphs.
- Carefully use scissors or a paper cutter to divide the printed sheet into three equal sections, ensuring each paragraph maintains its integrity and spacing.
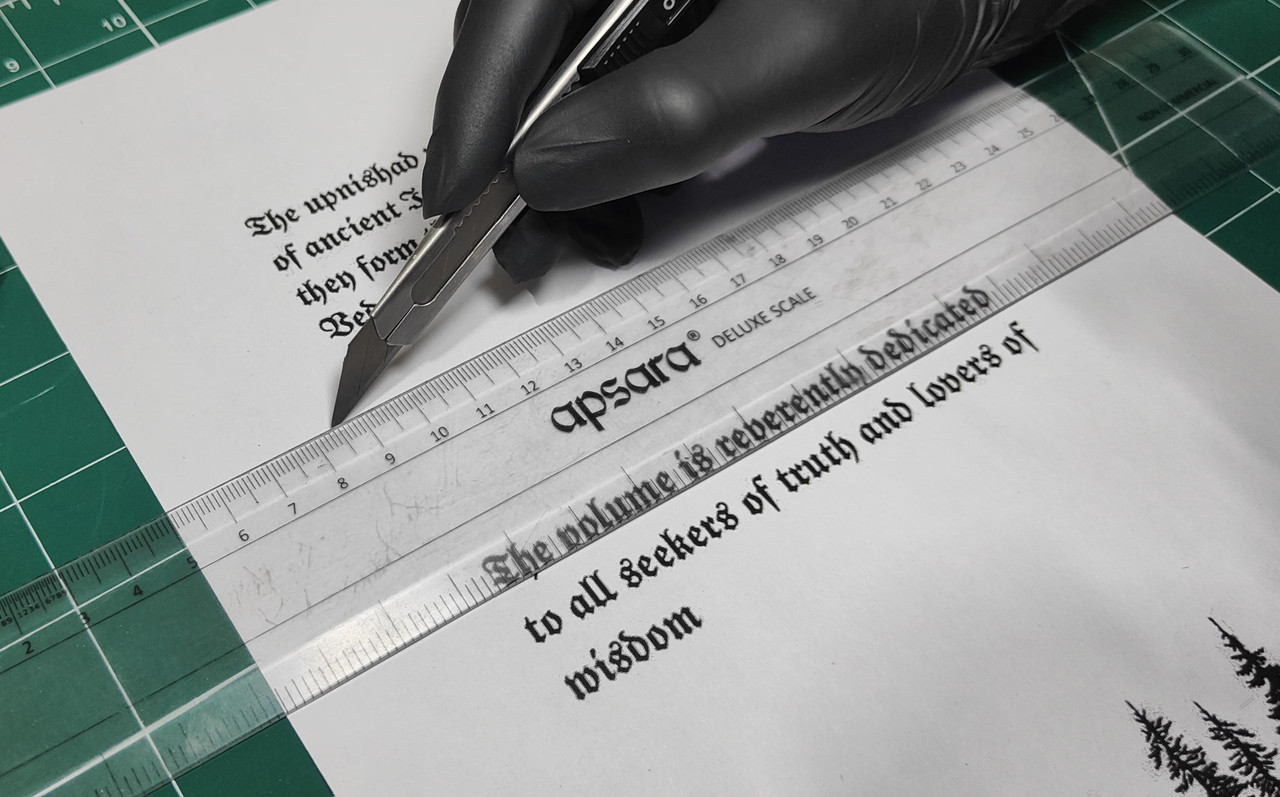
This step ensures that your manuscript is presented in an organized and visually pleasing manner, setting the stage for the subsequent vintage transformation.
Make the Paper Vintage
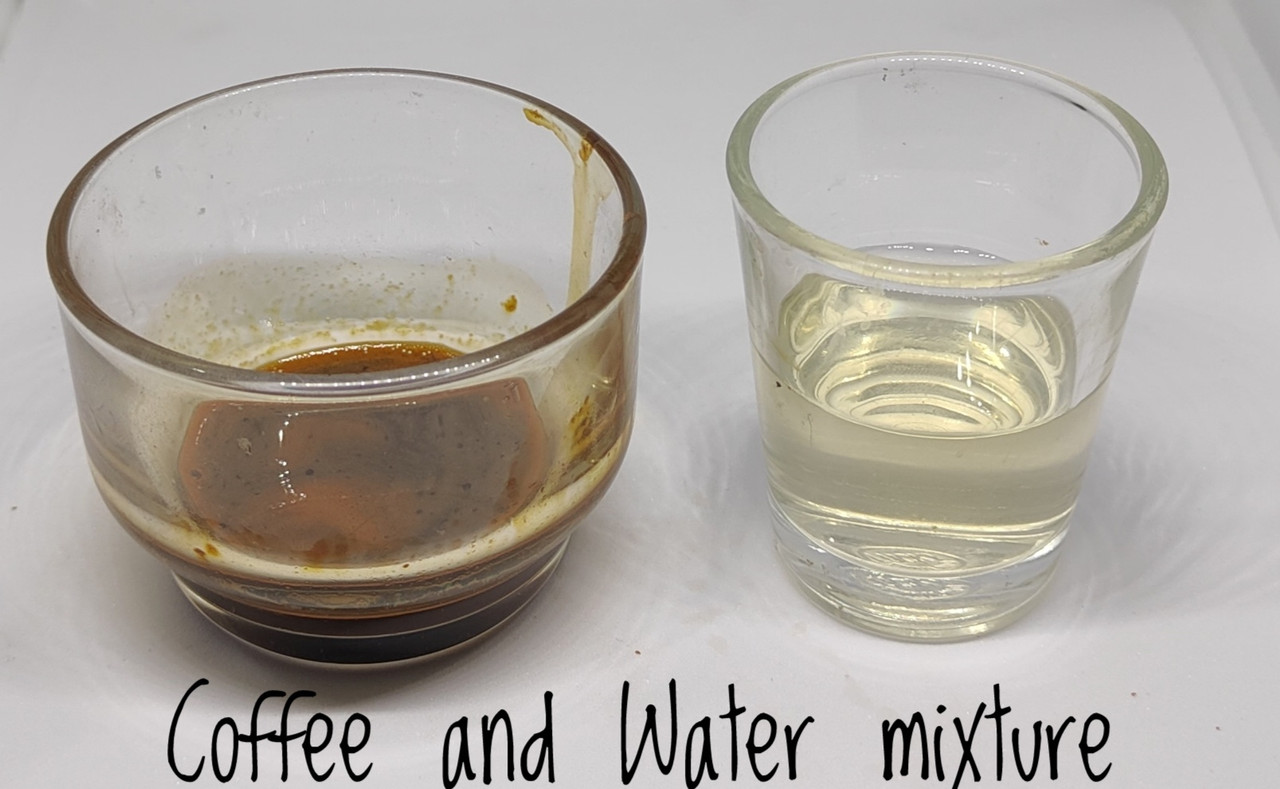
1. Prepare the Coffee-Water mixture.
- Mix coffee grounds with water in a small bowl to create a diluted solution. Ensure the mixture is not overly wet or bold, aiming for a subtle vintage effect.
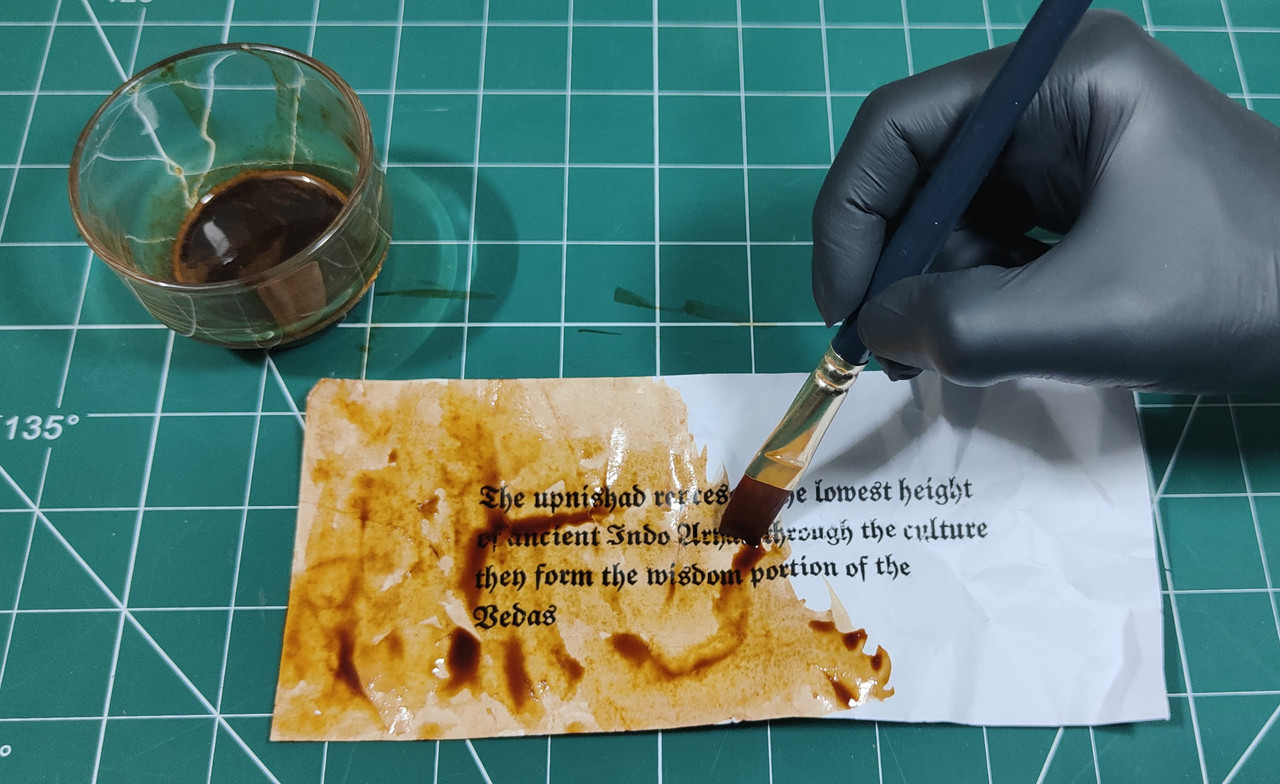
2. Apply the mixture to the paper.
- Using a brush, lightly and carefully apply the coffee-water mixture onto the paper. Stroke the brush gently to achieve an even coating, focusing on areas where an aged look is desired.
3. Allow the Paper to dry.
- After applying the mixture, place the paper in a dry area or under sunlight to allow it to dry completely. Avoid exposing the paper to excessive moisture or heat, as this may affect the final result.
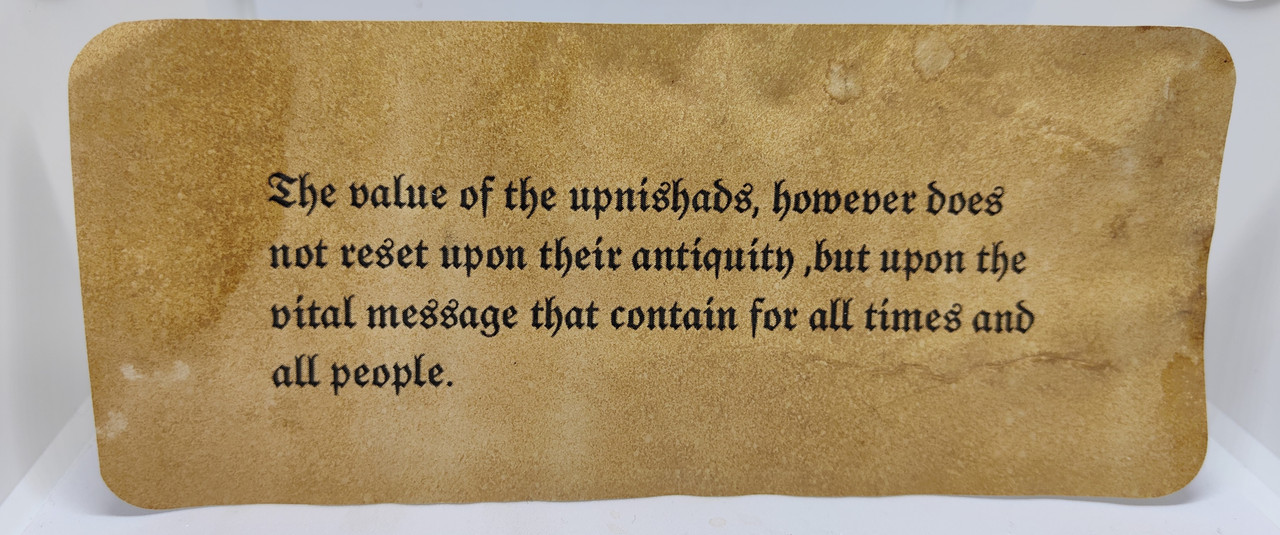
Following these steps will create a subtle vintage appearance on the paper, adding character and charm to your manuscript.
Burn the Paper Edges


1. Prepare for burning.
- Very carefully, using a lighter or candle, burn the edges of the paper. Ensure that the flame does not come too close to the paper to avoid excessive burning.
2. Exercise Caution
- If you are a teenager or younger, it's crucial to have the guidance of your parents or another responsible adult during this step. Safety is paramount, so perform the burning in an open area away from dry grass or flammable materials.
3. Control the Burn
- Control the burning process by moving the flame along the edges of the paper lightly. The goal is to create a subtle, aged effect without damaging the paper or causing it to catch fire.
By following these precautions and exercising caution, you can achieve the desired vintage look for your manuscript without compromising safety.
Create the Hardcover


1. Use the STL file.
- Using our STL file, proceed to print the hardcover using a 3D printer. Ensure that the hardcover's dimensions match your pages' size for a perfect fit.
2. Consider alternative materials.
- Alternatively, you can use a laser cutting machine to create the hardcover from a suitable material, such as cardboard. Ensure that the dimensions match the size of your pages and cover appropriately.
3. Size Alignment.
- Verify that the size of the hardcover aligns perfectly with your printed pages to ensure a cohesive and professional finish for your vintage manuscript.
By following these steps and ensuring size consistency between your pages and the hardcover, you'll create a visually appealing and cohesive manuscript that embodies the charm of a bygone era.
Downloads
Prepare the Manuscript

1. Drill Holes Carefully
- Using a hole puncher or drill, carefully create holes along the side of the paper. Ensure that the size of the hole is appropriate for the thread you'll be using, neither too big nor too small.
2. Alignment and Placement
- Ensure that the holes align perfectly with the binding area of the hardcover. This alignment is crucial for a secure and neat binding.
3. Exercise Caution
- If using a drill, handle it with care and precision to avoid damaging the paper or the hardcover. Work slowly and steadily to achieve the desired results.
By following these steps and paying attention to hole size, alignment, and careful use of tools, you'll prepare your manuscript for binding with the hardcover seamlessly and professionally.
Assemble the Manuscript


1. Choose a suitable thread.
- Select a thread that complements the vintage look of your manuscript. While jute thread is a popular choice, you can also use other types of thread that give a rustic or aged appearance.
2. Tie the Thread loosely.
- When binding the manuscript, tie the thread a little loosely. This allows the pages to open easily and gives a natural flow to the reading experience.
3. Maintain a vintage aesthetic
- Ensure that the thread's color and texture enhance the vintage aesthetic of your manuscript. A slightly weathered or faded look can add to the overall charm.
By following these steps and selecting the right thread while tying it loosely, you'll achieve a visually pleasing and functional binding for your vintage manuscript.
Well Done!


Now that your manuscript is ready, share it proudly or use it as a unique addition to your collection. The combination of traditional techniques and modern methods has allowed you to create a piece that stands out and tells its own story. Well done on a job well executed!