WALL-E Clock & Lamp
![WALL-E Alarm Clock and Lamp - TUTORIAL [ENG SUB]](/proxy/?url=https://content.instructables.com/FGG/B5NA/LV0YU1MH/FGGB5NALV0YU1MH.jpg&filename=WALL-E Alarm Clock and Lamp - TUTORIAL [ENG SUB])
That cute wall-e will give you time, a bit of light and a lot of love.
As you'll see, I integrated a resistive touch screen. It's not our smartphones' touch screen, which are capacitive screens. This one consumes very little energy (convenient to save battery). The downside is that it's a little less responsive, less fluid, but for this, it is more than enough.
Features:
- Clock
- Alarm clock
- Lamp
That's simple and very cute.
Normally it's pretty easy to make it but you'll need to be patient.
Supplies


I sell all components in my website: https://jeje-linge.fr/en/products/alarm-clock-and-wall-lamp
The battery: https://a.co/d/3ZW8Pab
Downloads
Assemble Wheels


Assemble the right and left wheels with the tracks.
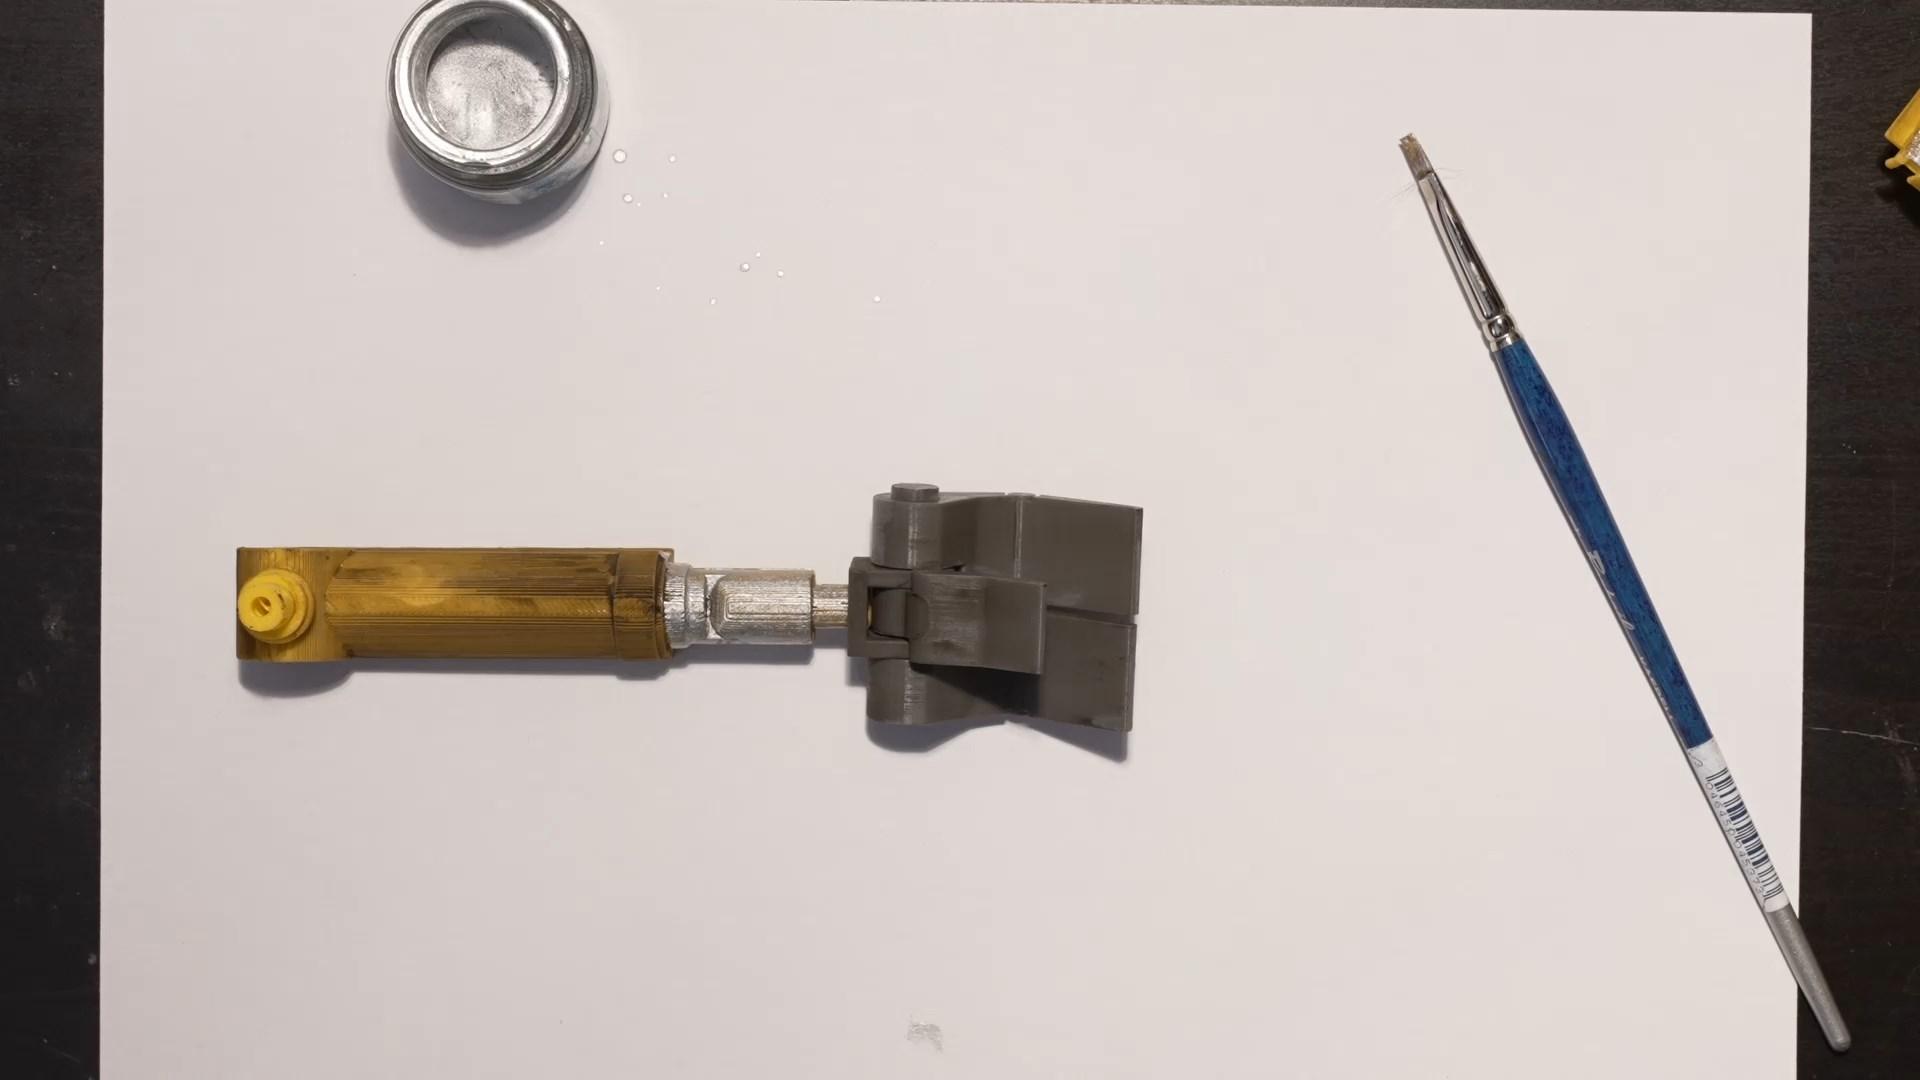
Assemble Arms

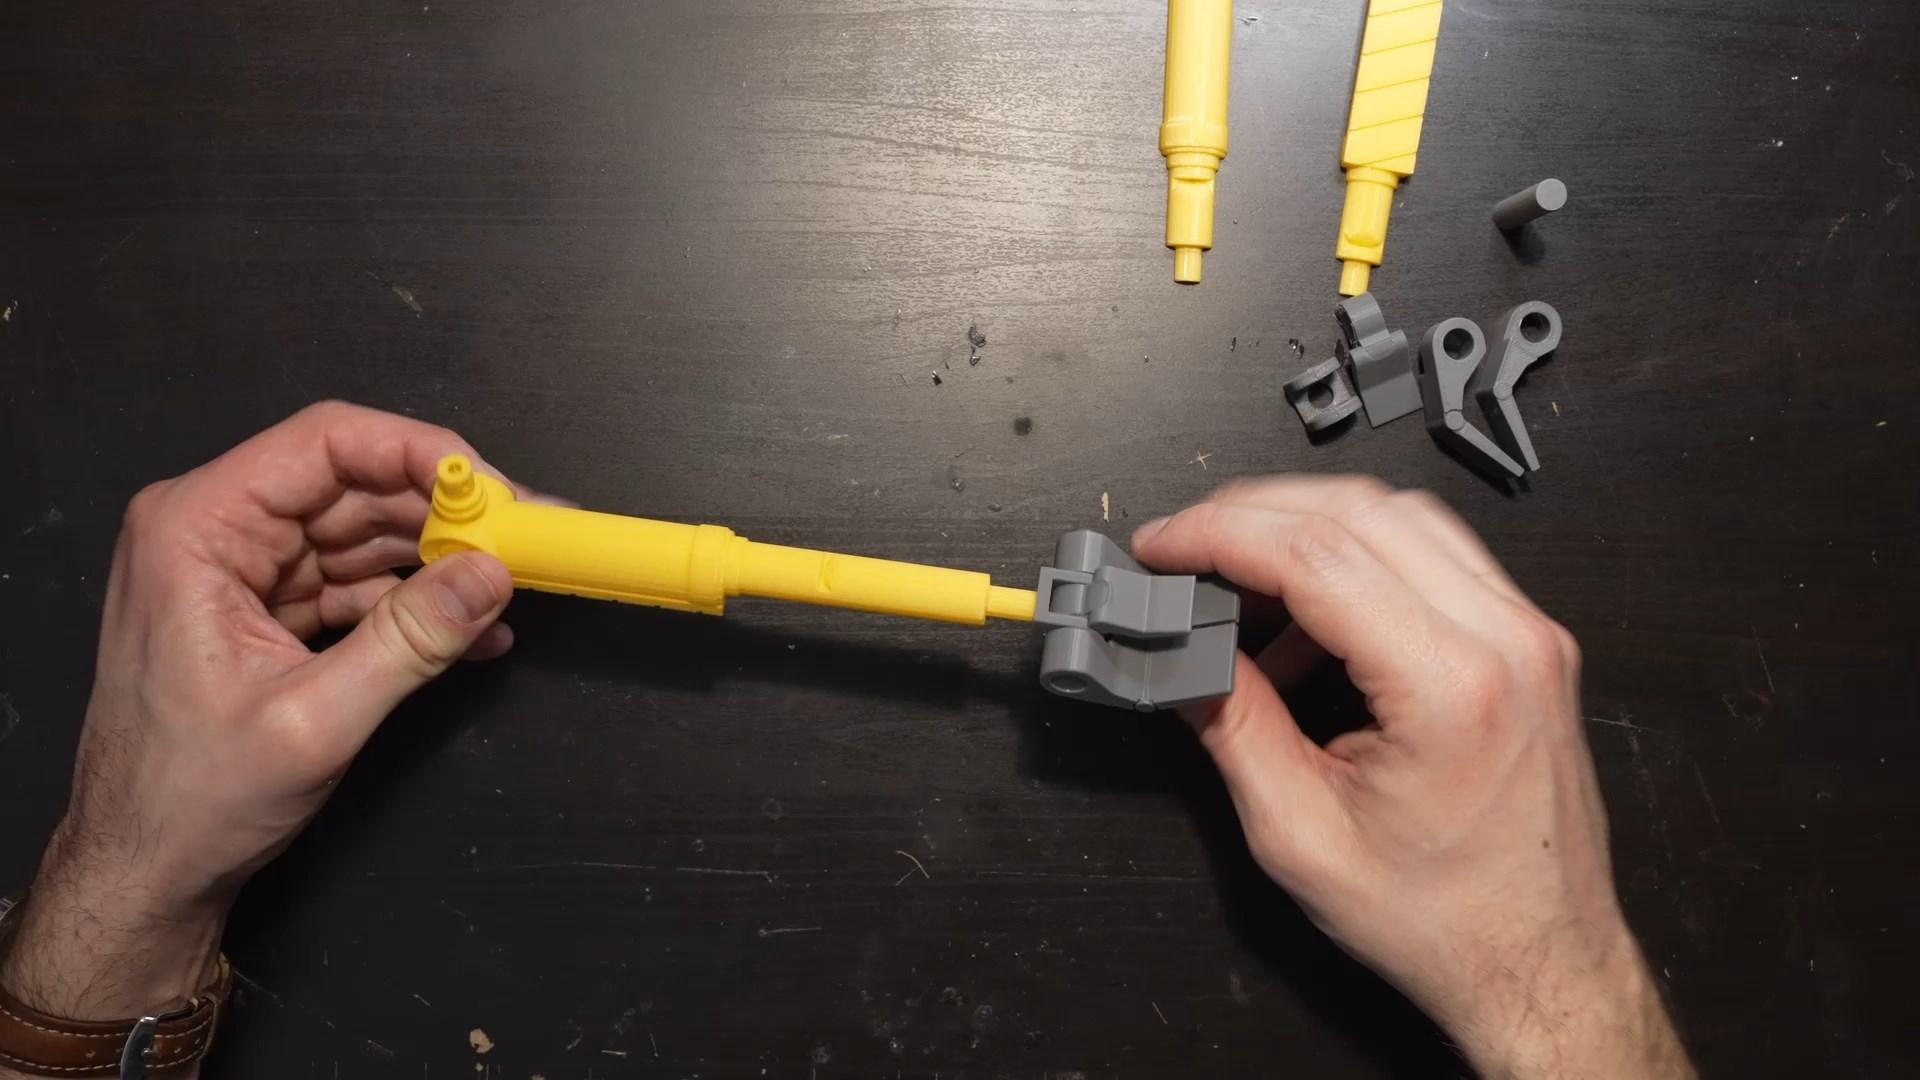
Assemble the right and left arms.
I preferred a long arm to carry the bulb, and a shorter arm for the rest.
But you can make two long arms two short ones... As you want.
Painting Part 1

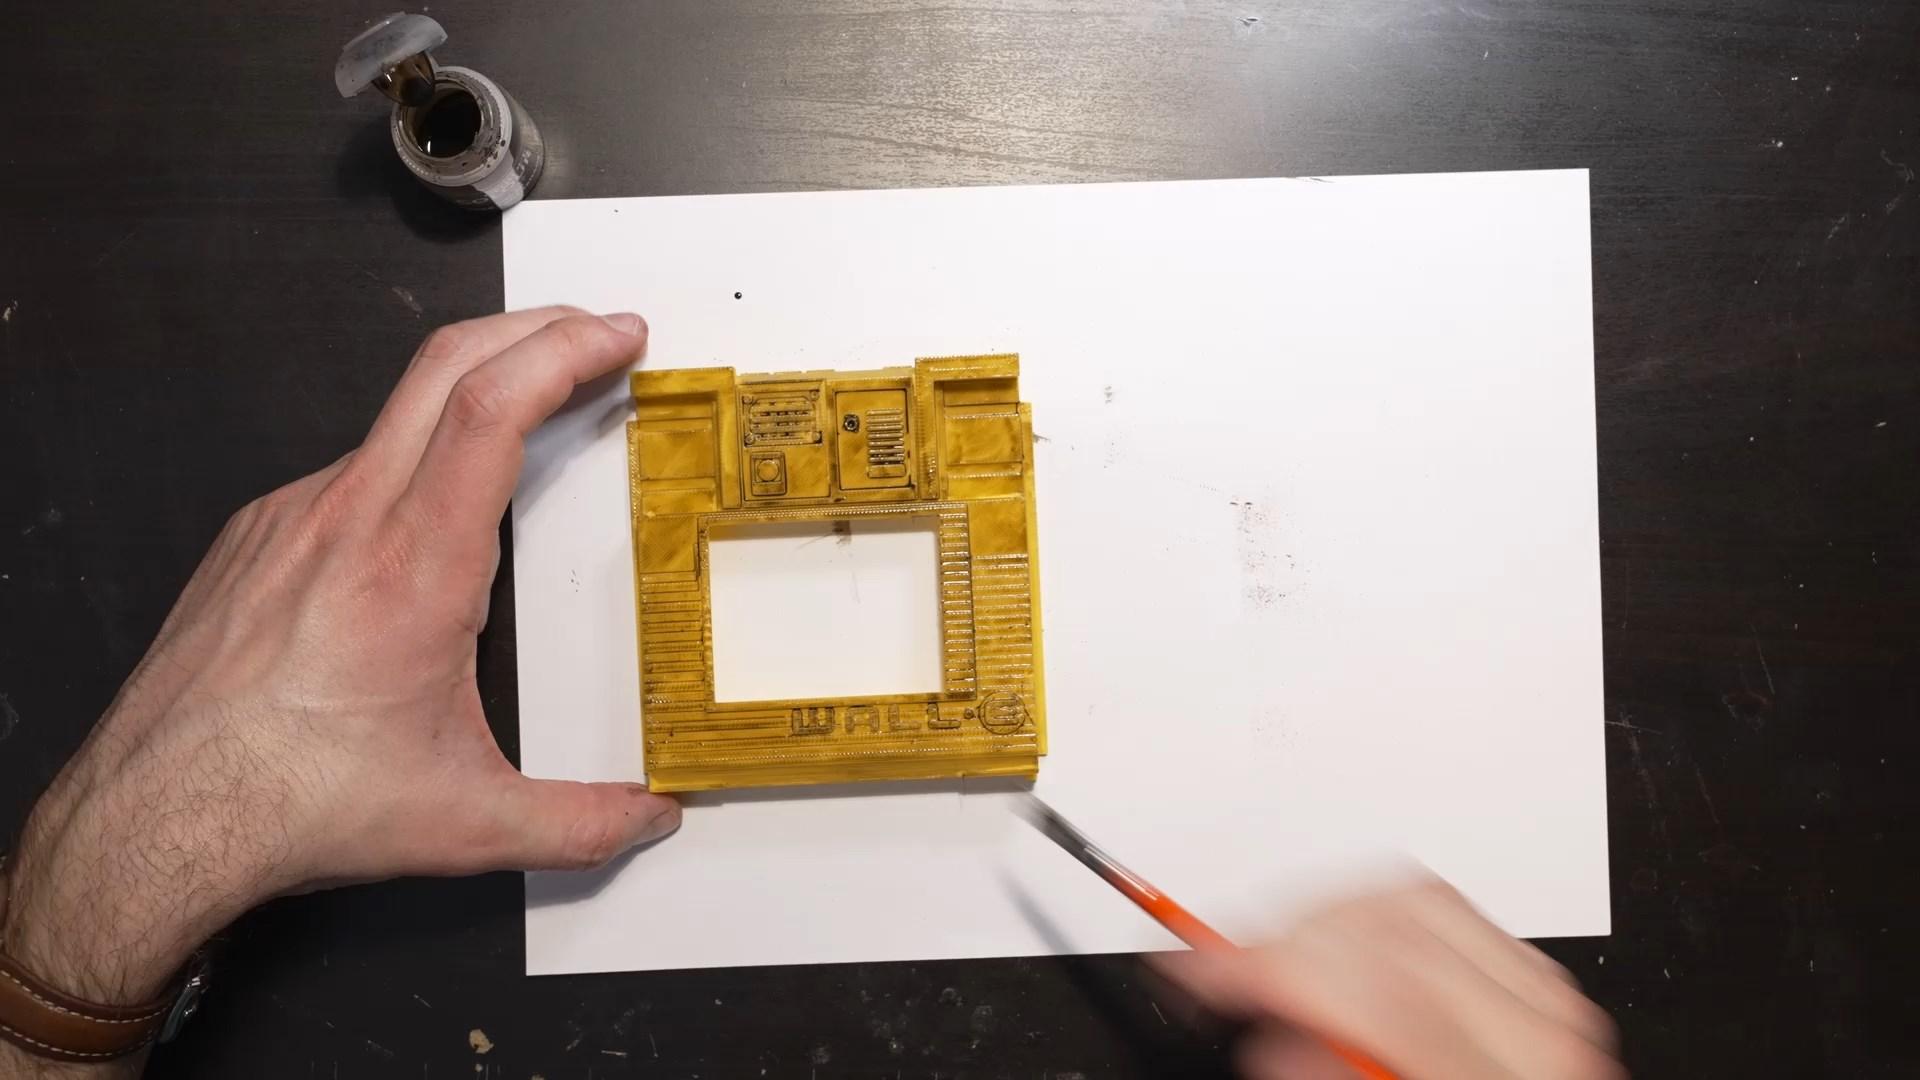
I'll start by putting a bit of grey wash on all the pieces.
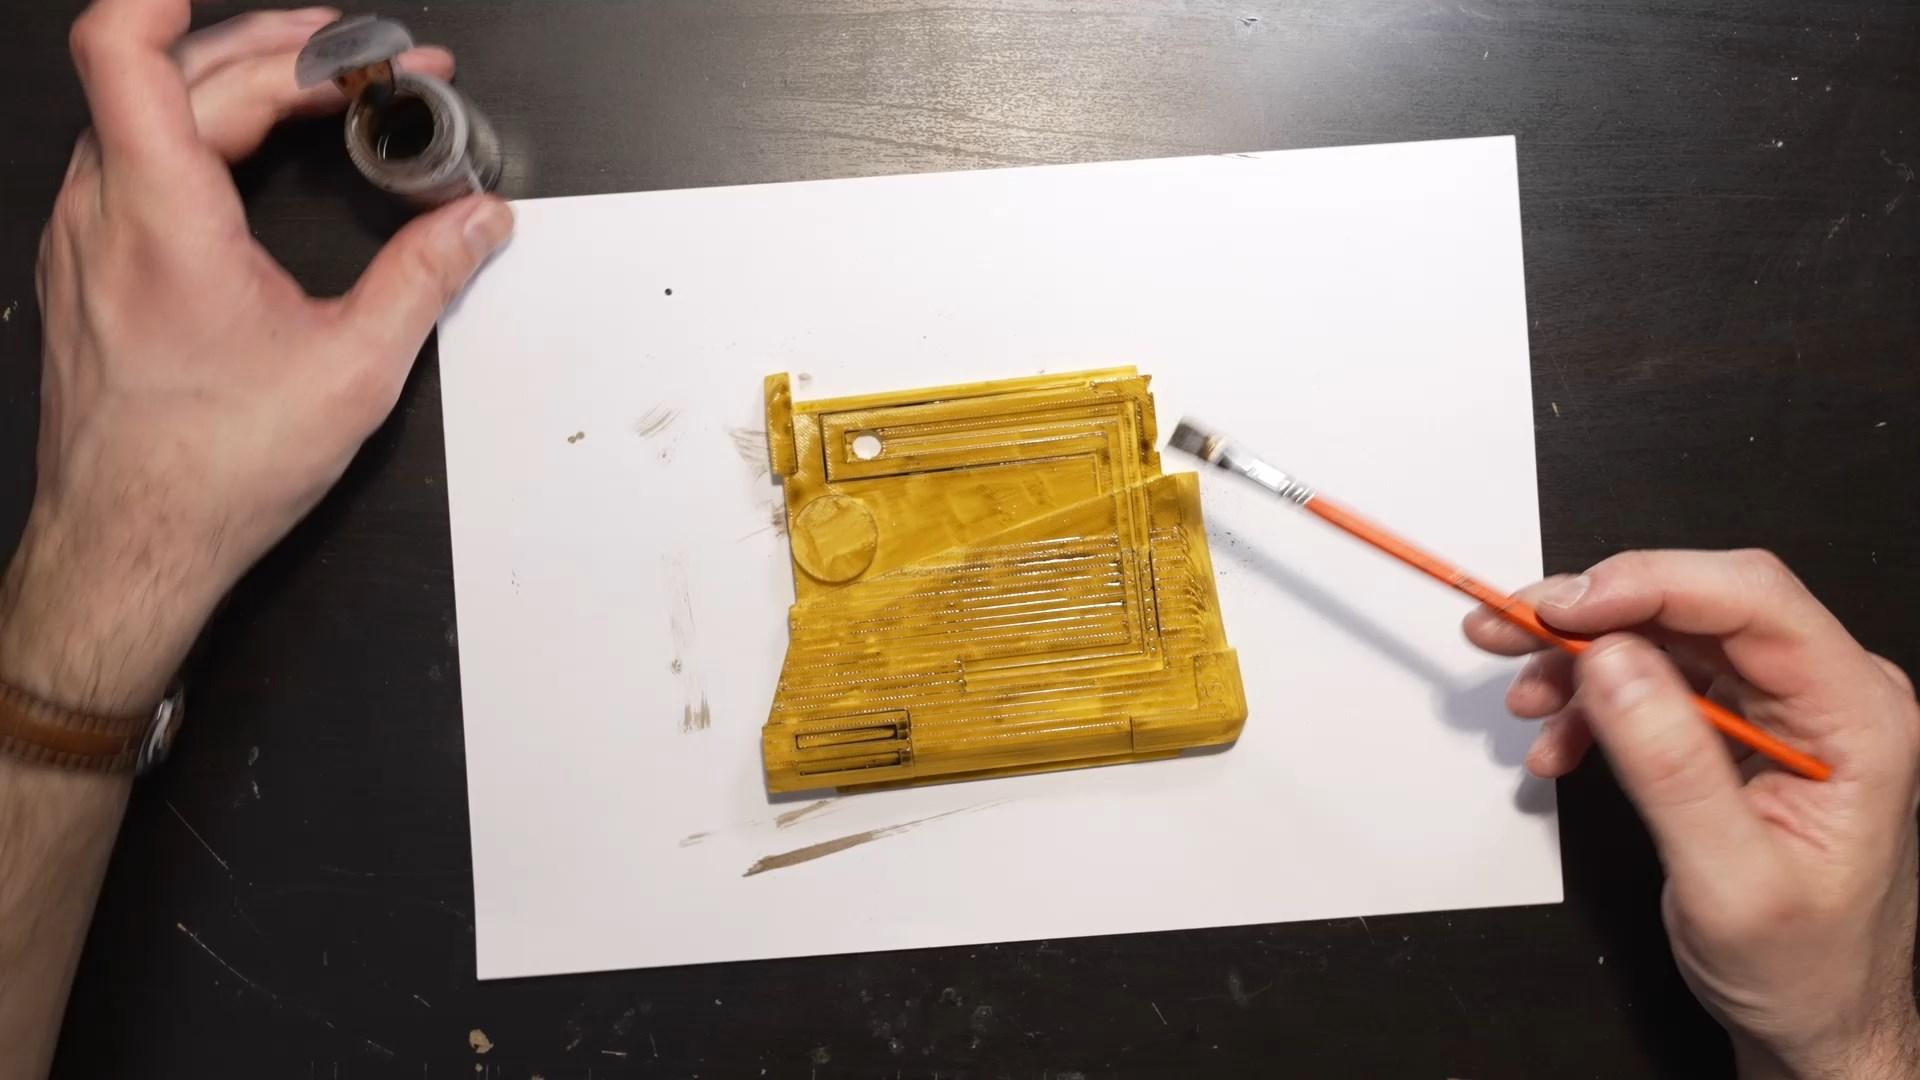
Painting Part 2


Then use grey and brown paint, to give a slightly rusty appearance.
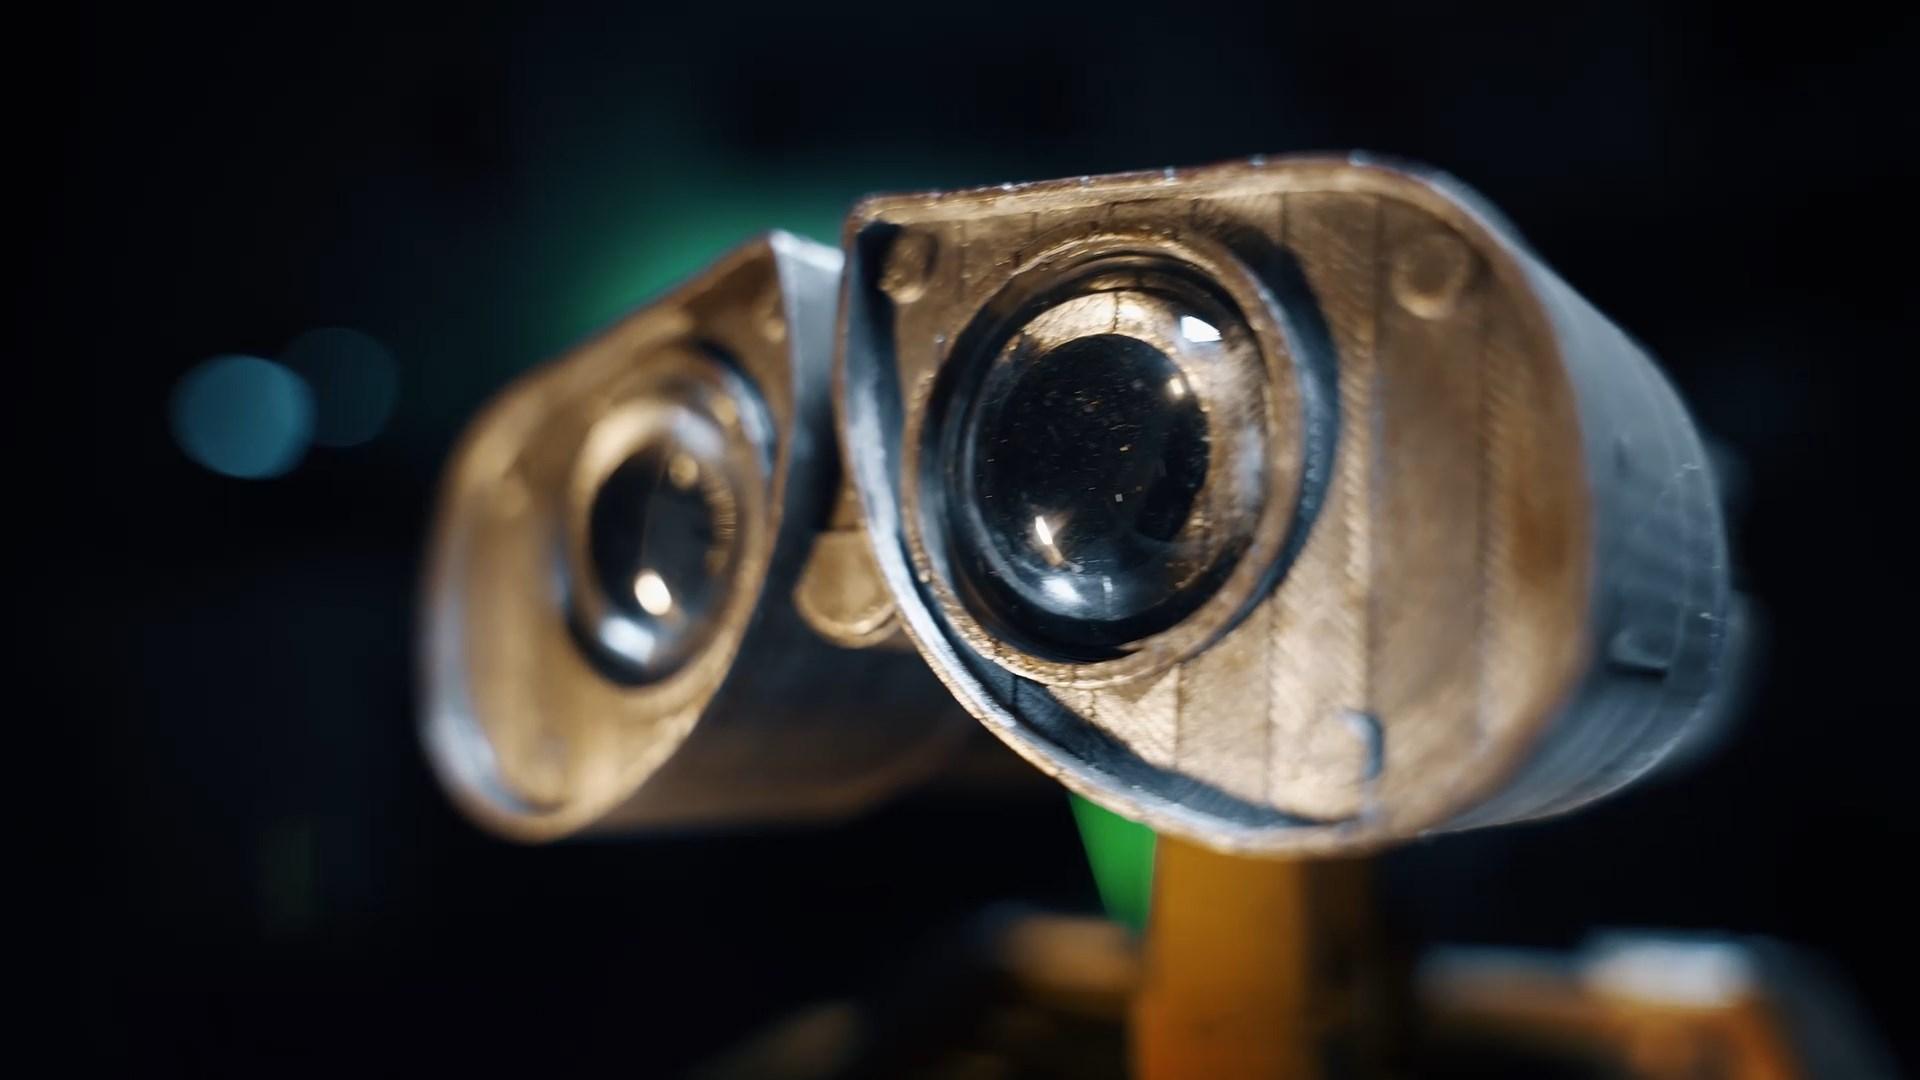
Lens in the Eyes

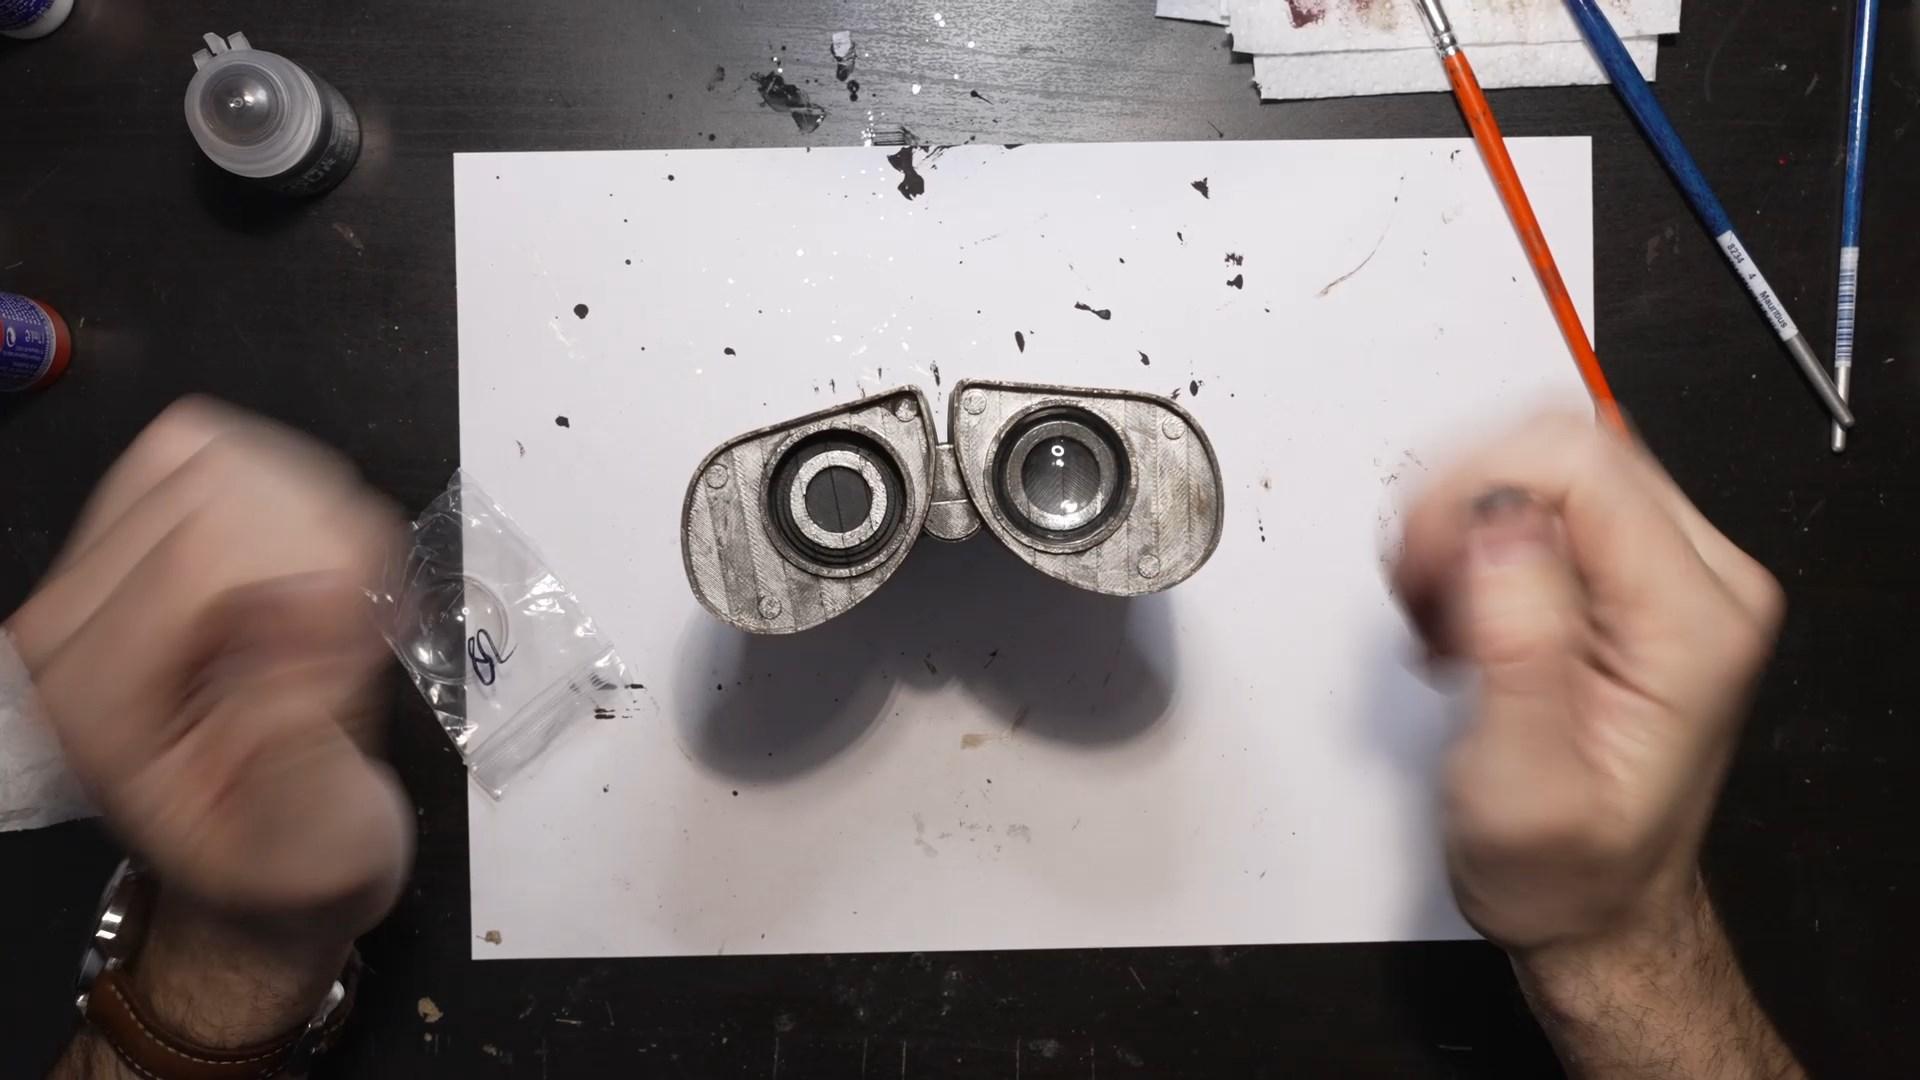
For the eyes, I'll add something that is not obligatory, but I think it gives a bit of style, it's small lenses (29mm).
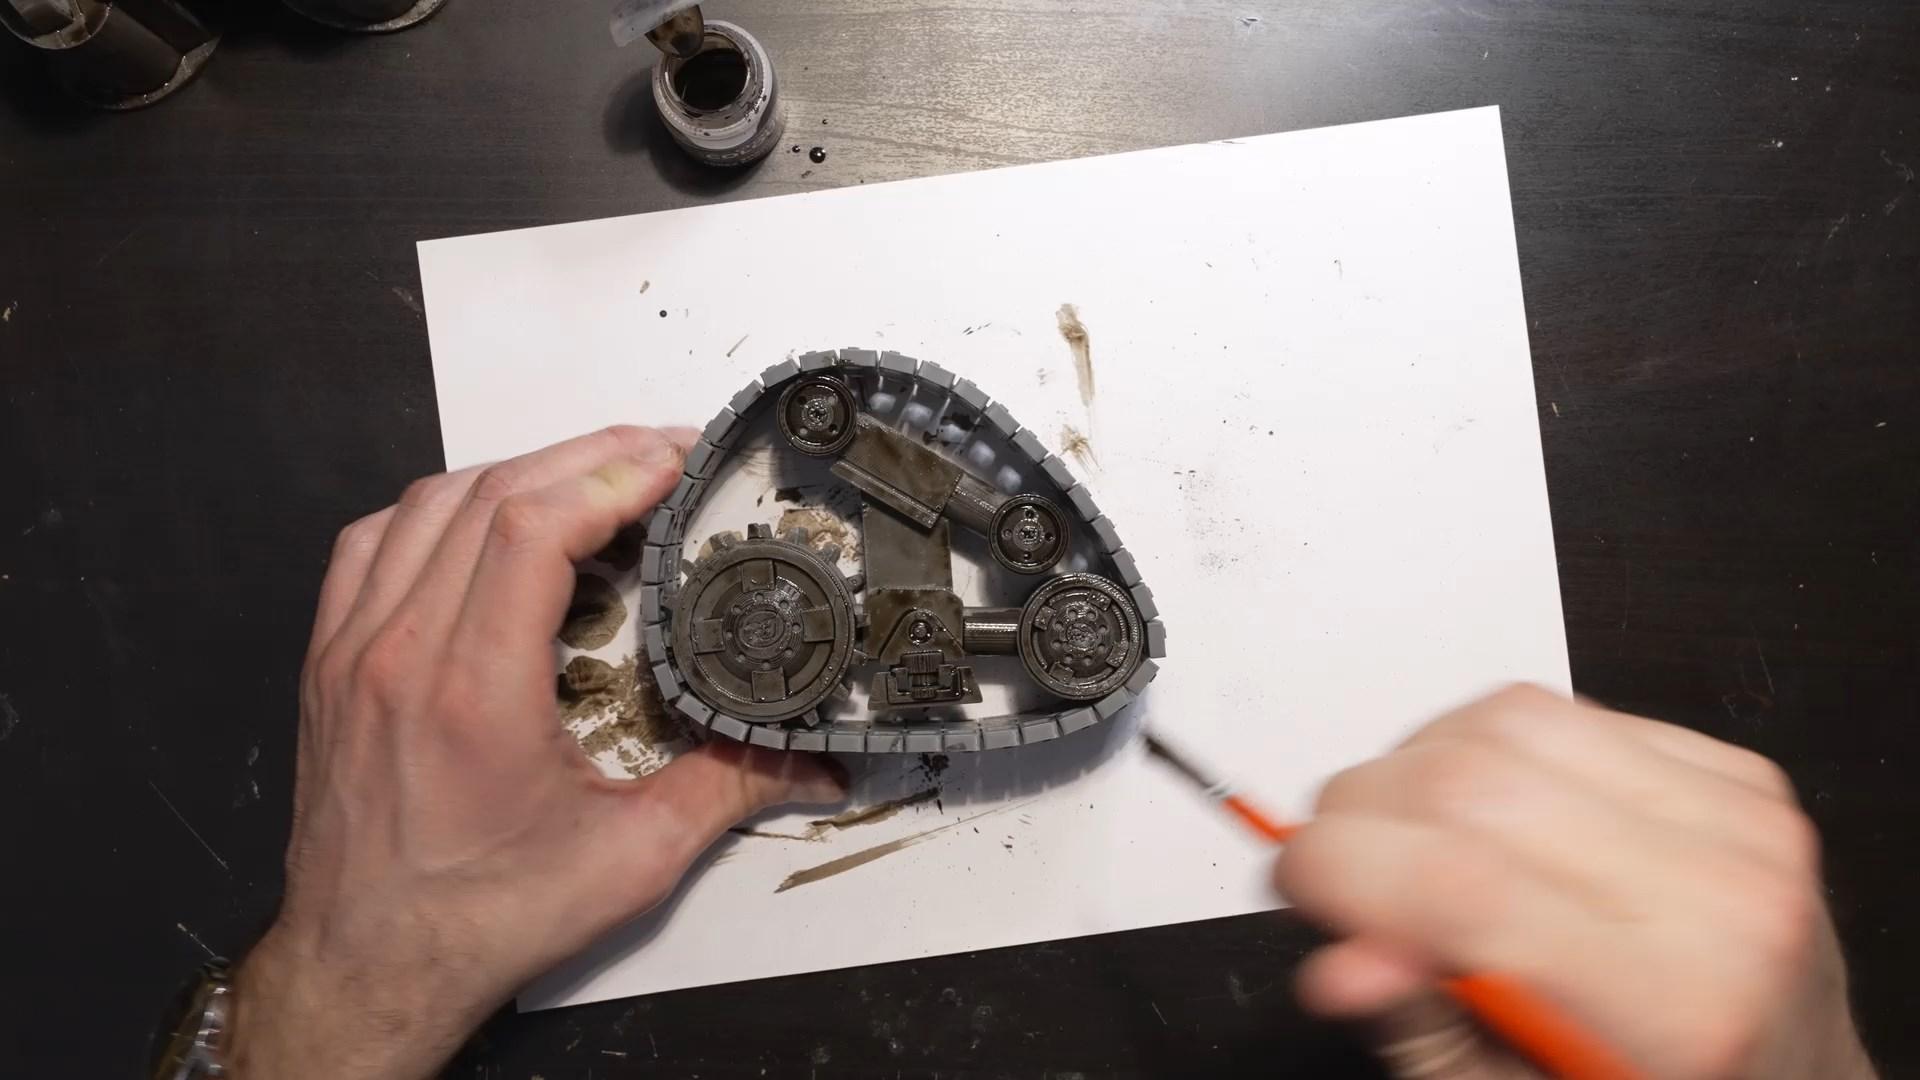
Glue the Wheels


Assemble the wheels to the lower piece.
Pay close attention, the big wheel, which go to the back.
2.8 Touch Screen
.jpg)

I use wires with female connectors, because it's simpler than soldering.
We're not using the T_IRQ.
The T_DO, T_DIN and T_CLK will be solder direclty to the SDO, SDI and SCK
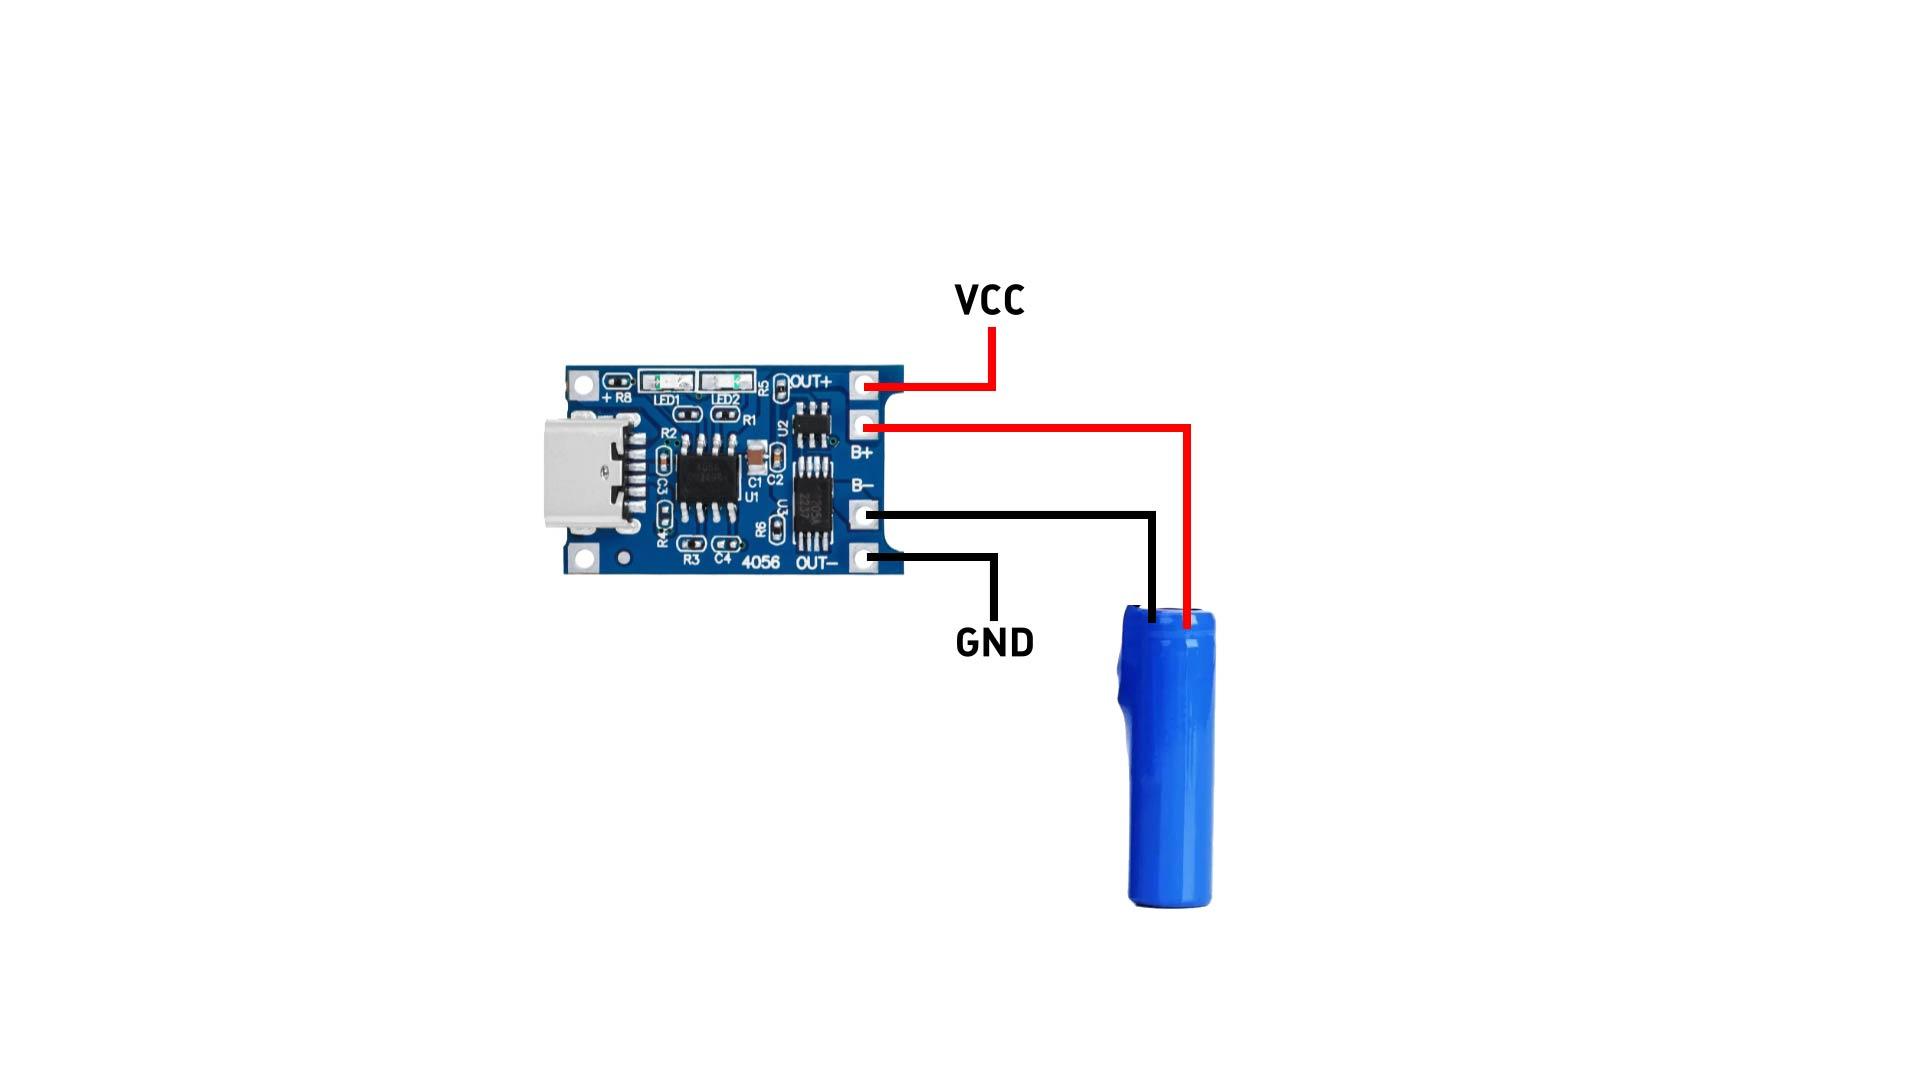
Power Board
.jpg)

It will power the entire system.
Wire a 18650 battery to it.
RTC Module
.jpg)

The RTC module will allow you to have a reliable clock.
Don't put a battery at the back, it's useless.
MP3 Module
.jpg)

Don't forget to put the MP3 files on the microSD card.
Relay and Bulb
.jpg)

On the D+, put a red wire which will then go to the VCC.
On the D-, put a black wire which will go to the GND.
On the IN input, which controls the relay, to know if it is open or closed.
The Bulb
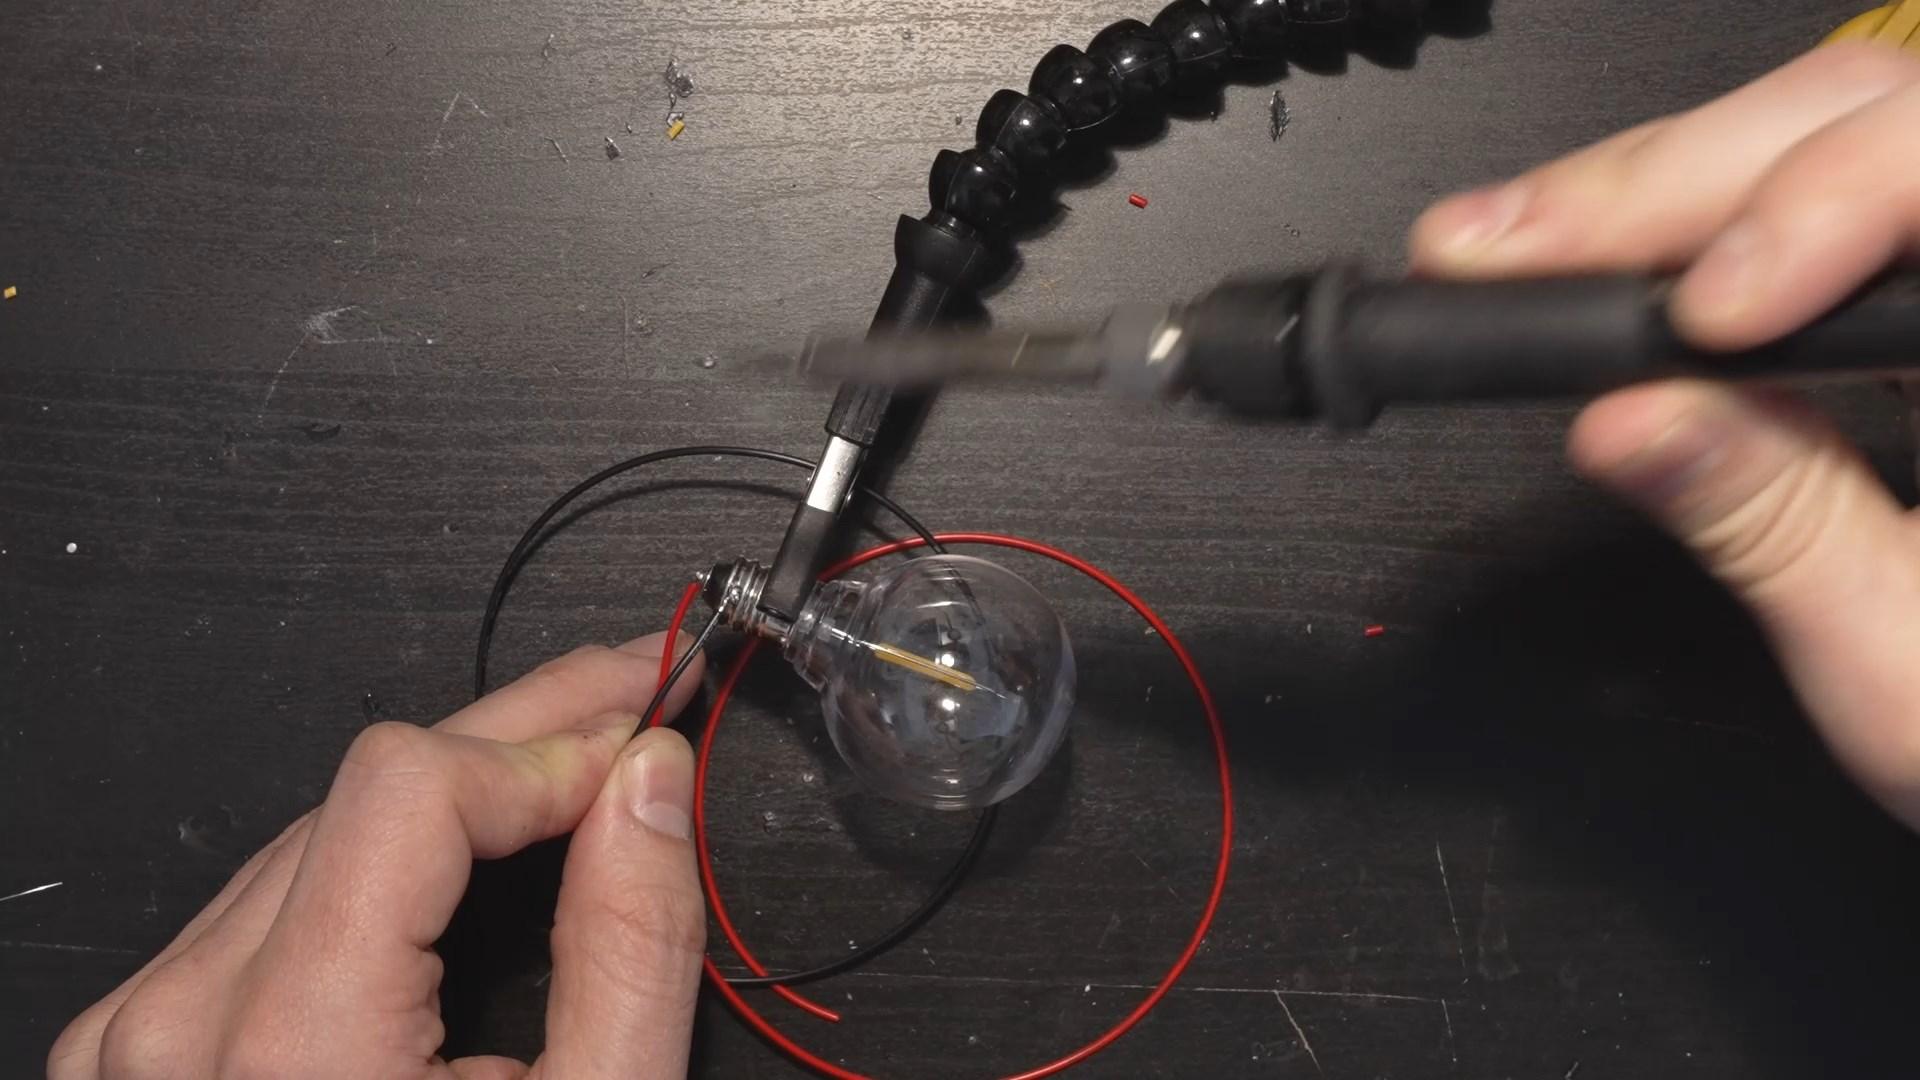

Solder a black and red wires on the bulb.
If the tin doesn't stick well enough, you can sand the connectors a little bit.
Voltage Divider Bridge
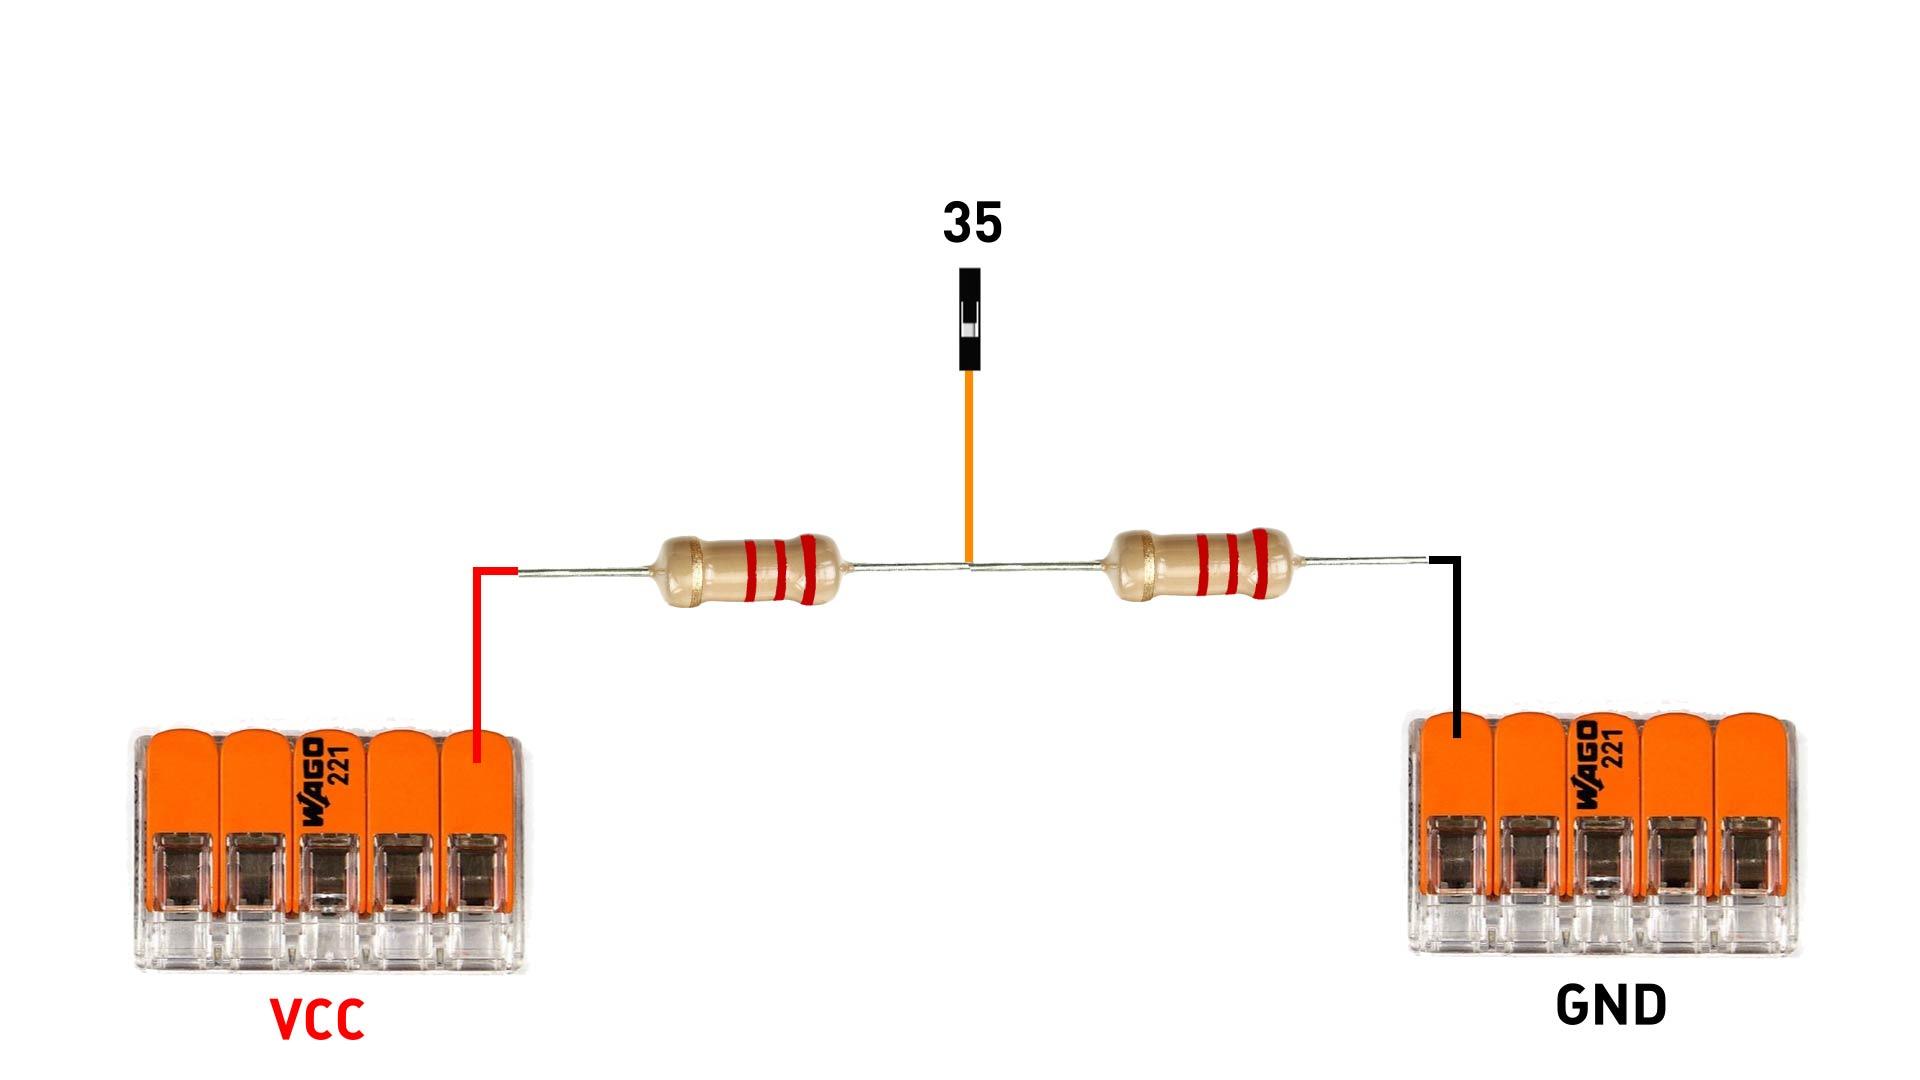.jpg)


Solder 2 resistors together and add a wire in the middle for the tension to be divided.
This will give you an idea of the state of charge of the battery.
Connect Modules
.jpg)


Connect every module to the ESP32.
Do not wire the battery to the GND Wago to avoid powering the whole thing.
What do first is connect the ESP to the PC and send the program.
MP3 Files

Put your micro SD card into your PC and send the MP3 files on the micro-SD card.
Keep the MP3 folder don't put the files in the root.
Send the Code
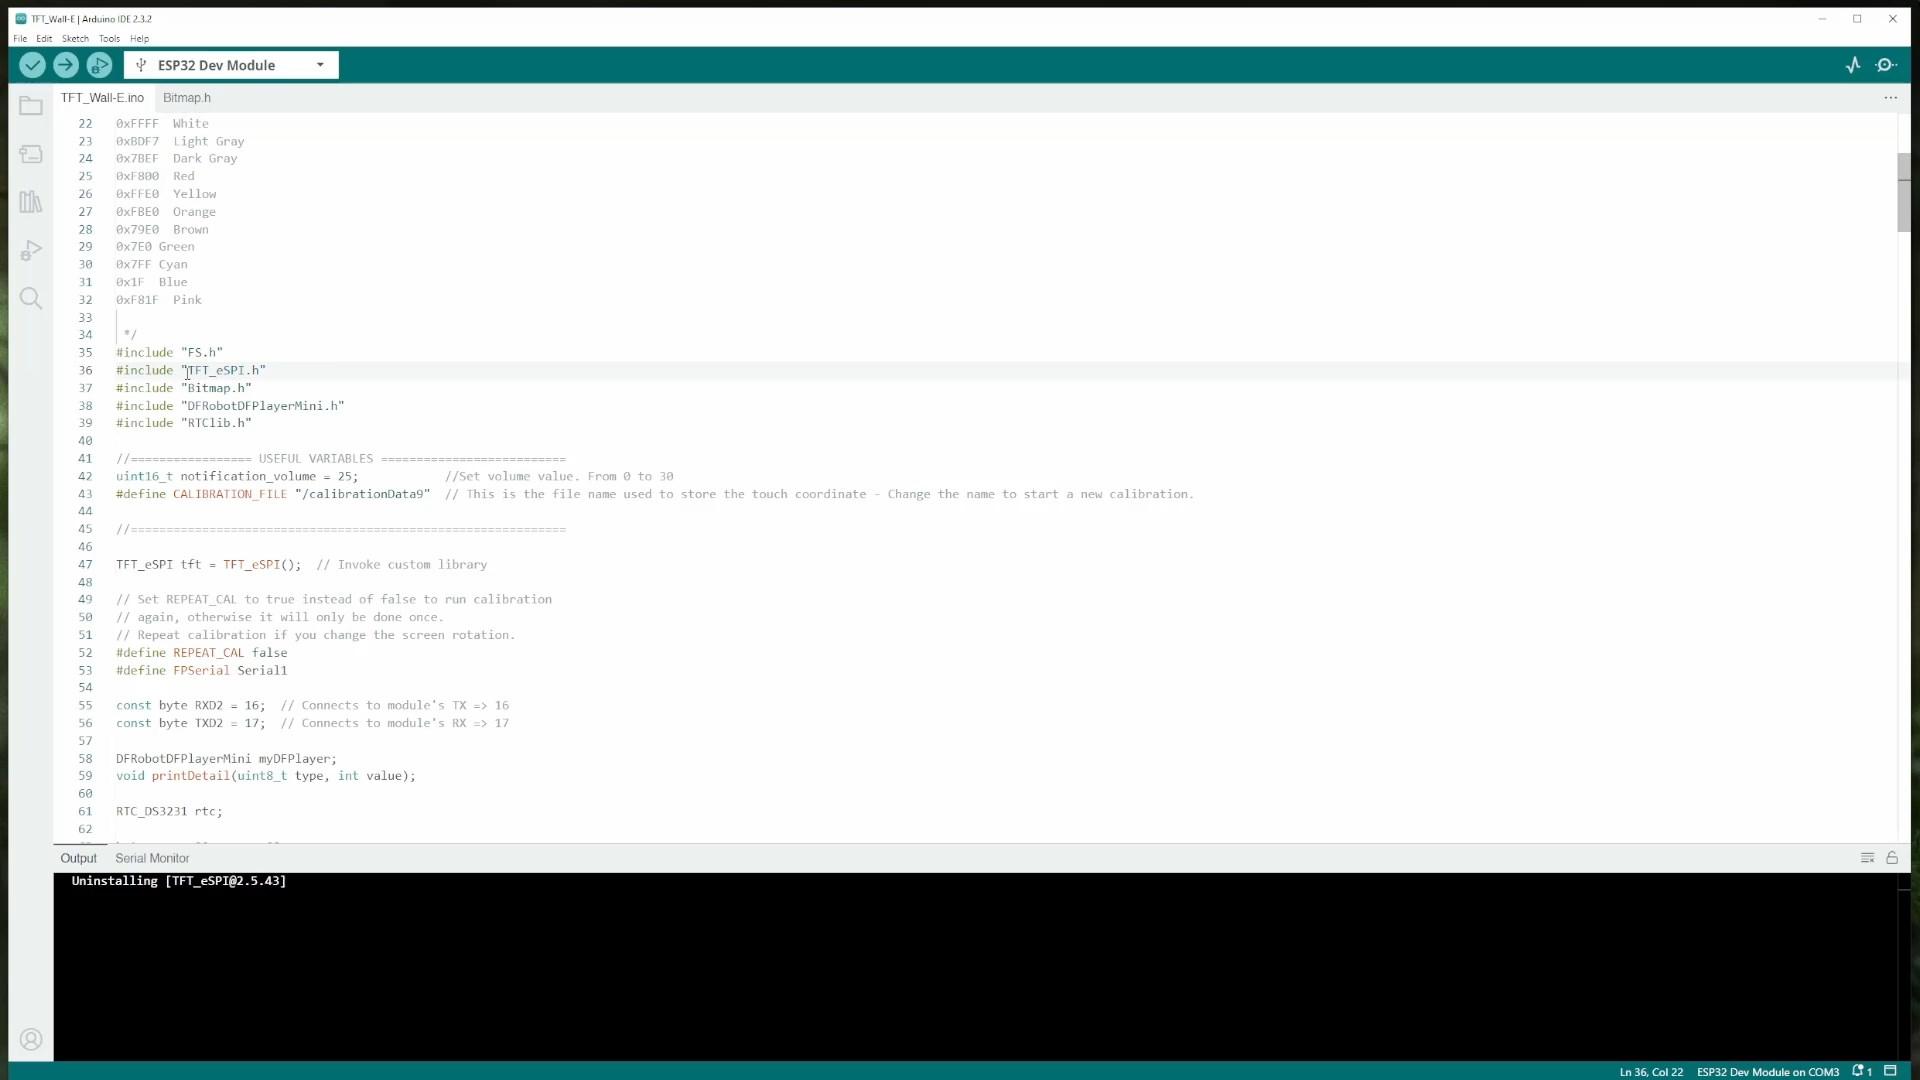

Install the TFT_eSPI library.
Once the library is installed, you go to your documents, then in Arduino, Libraries and you should see it appear here.
In this folder, you have a file called User_setup.h
Open it in a text editor.
We're simply going to uncomment the lines (see picture)
Touch_CS we'll replace 21 by 5.
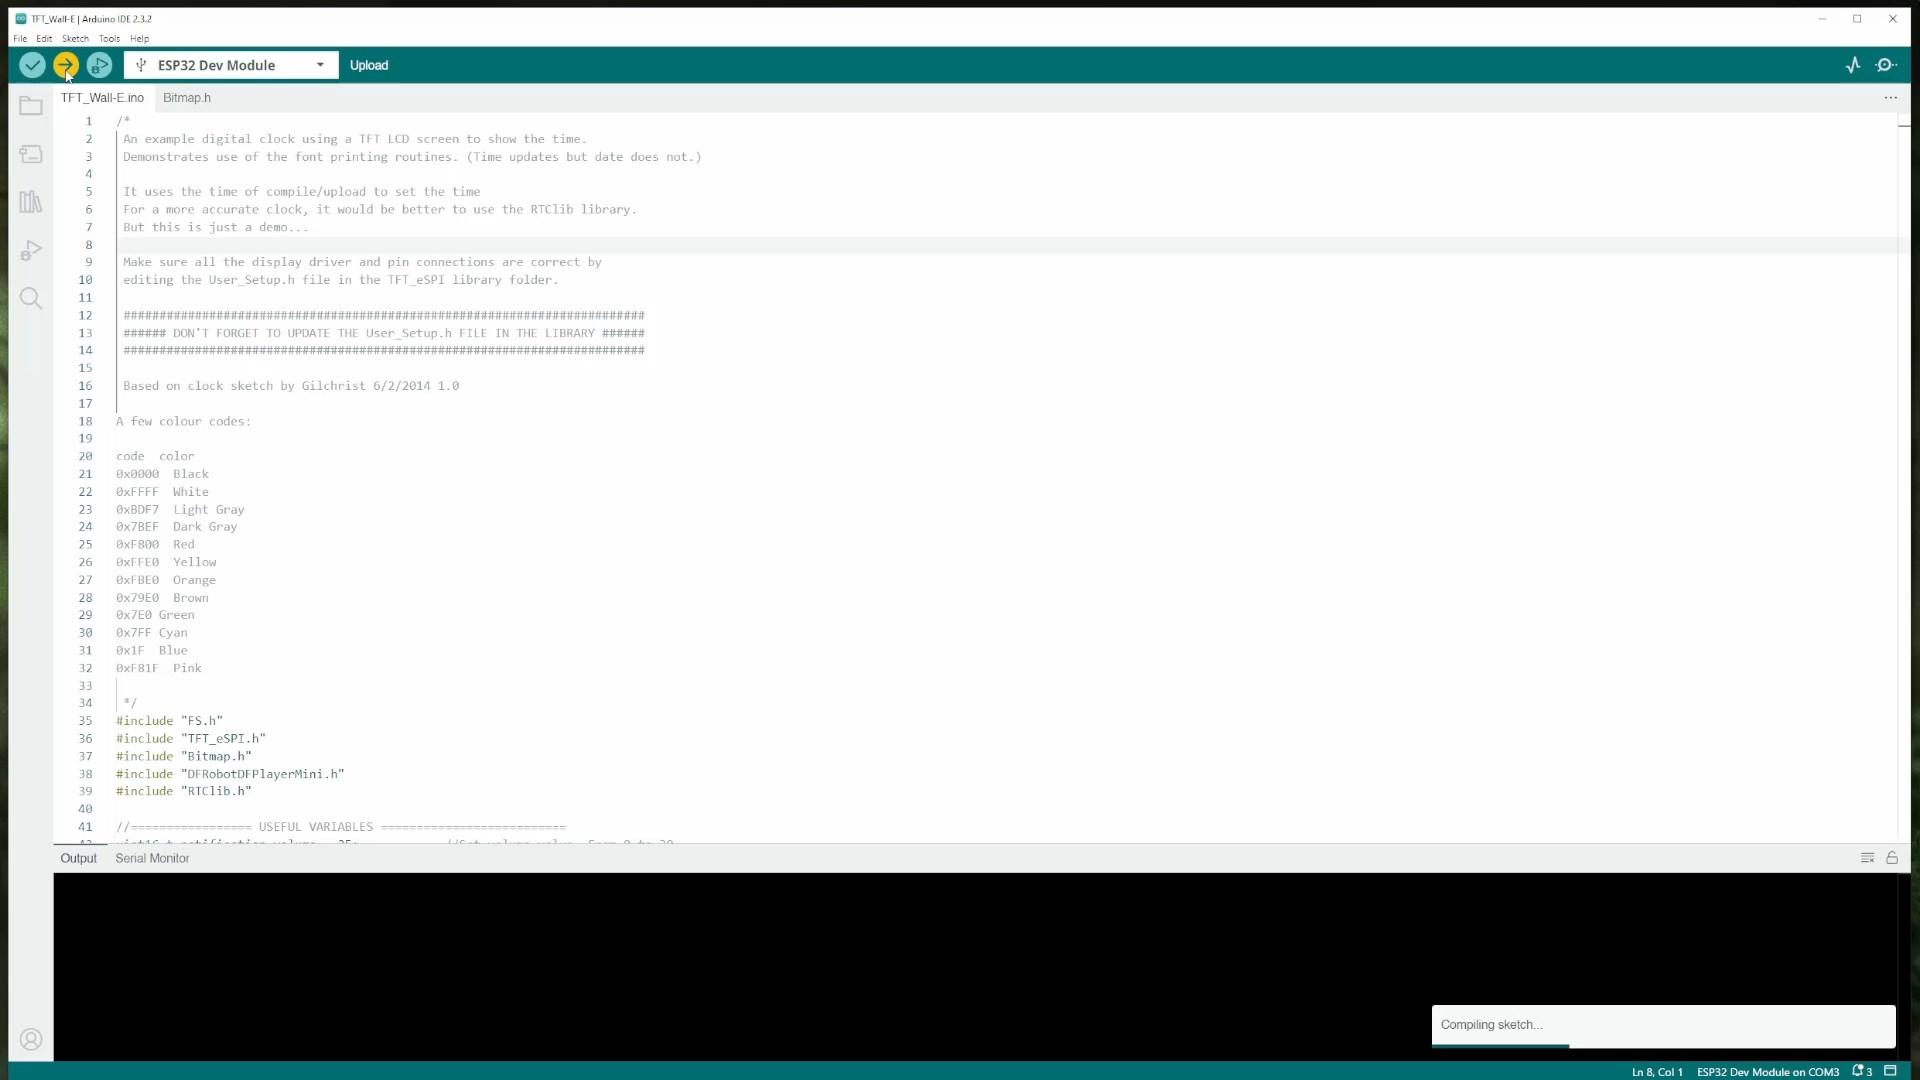
Go back to the Arduino IDE and click on upload.
Download the code here : https://github.com/jejelinge/WALL-E
Touch Screen Calibration


First thing to do, insert the micro SD card in DFplayer with the MP3s on it.
Your screen should be in calibration mode, and asking you to touch the four corners.
You can now connect the battery.
Put Screen and Speaker

First put the screen in the front part.
On the back, put the speaker.
Power Board


Once the speaker's on, put the small power board in the hole of the back part.
Assemble Sides


Take the sides and glue them.
Assemble Arm and Bulb


Take the light bulb arm, and the light bulb.
Pass wires one after the other through the arm.
Then, pass the wires through the hole, and force the arm in.
Assemble Second Arm

Put the second arm in the same way.
The Head


And finally, we put the head.
Waaall-eeee