Wakandan Heart-Shaped Herb Night Lamp
by Icreate in Craft > Cardboard
109 Views, 0 Favorites, 0 Comments
Wakandan Heart-Shaped Herb Night Lamp
Project Covers
- Handmade Craft & Model Making
- Basic LED Electrical Circuit
- Painting & Color Blending
- Use of waste material
1. What I Made
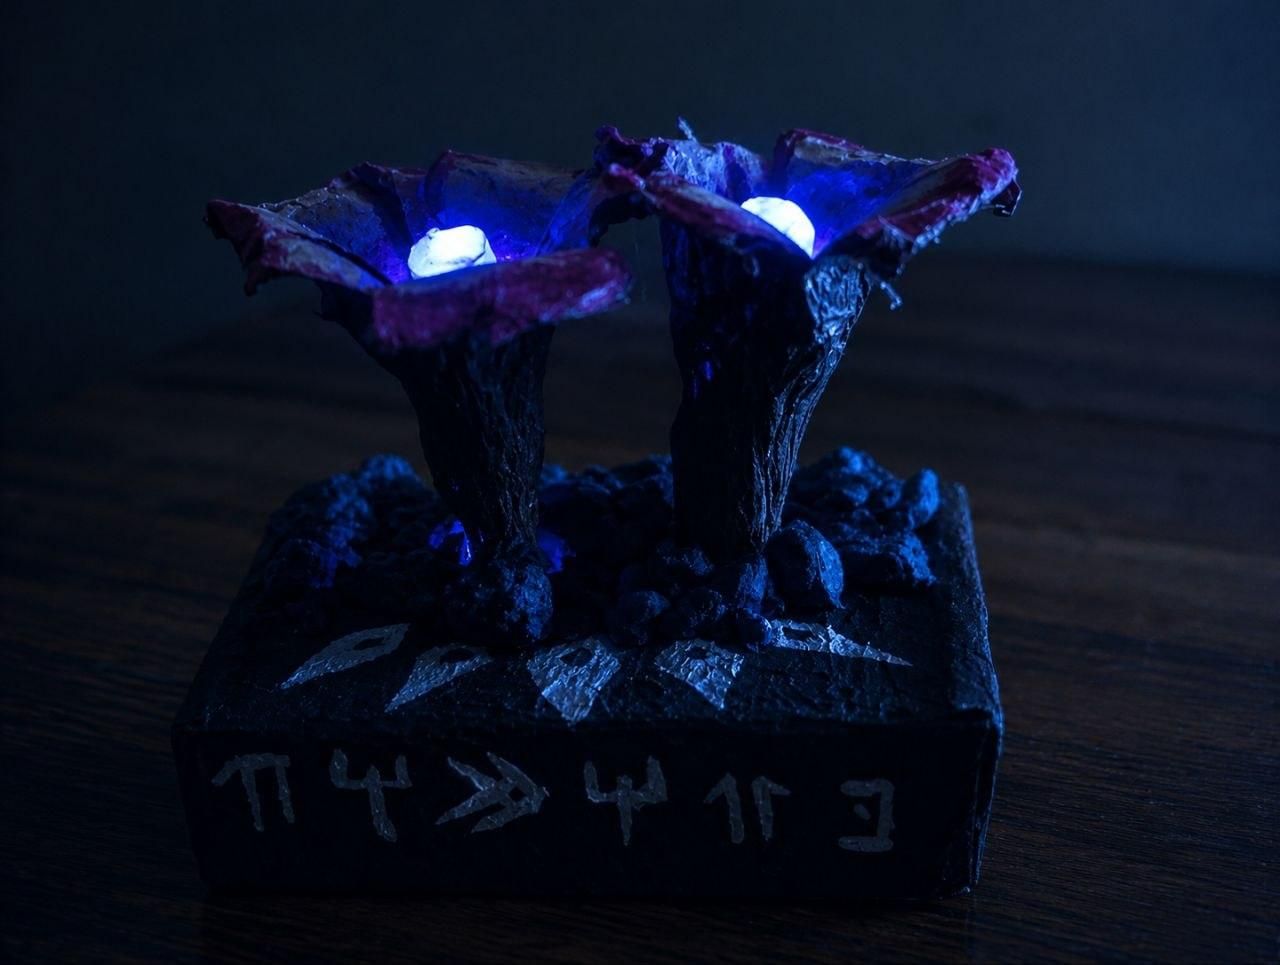
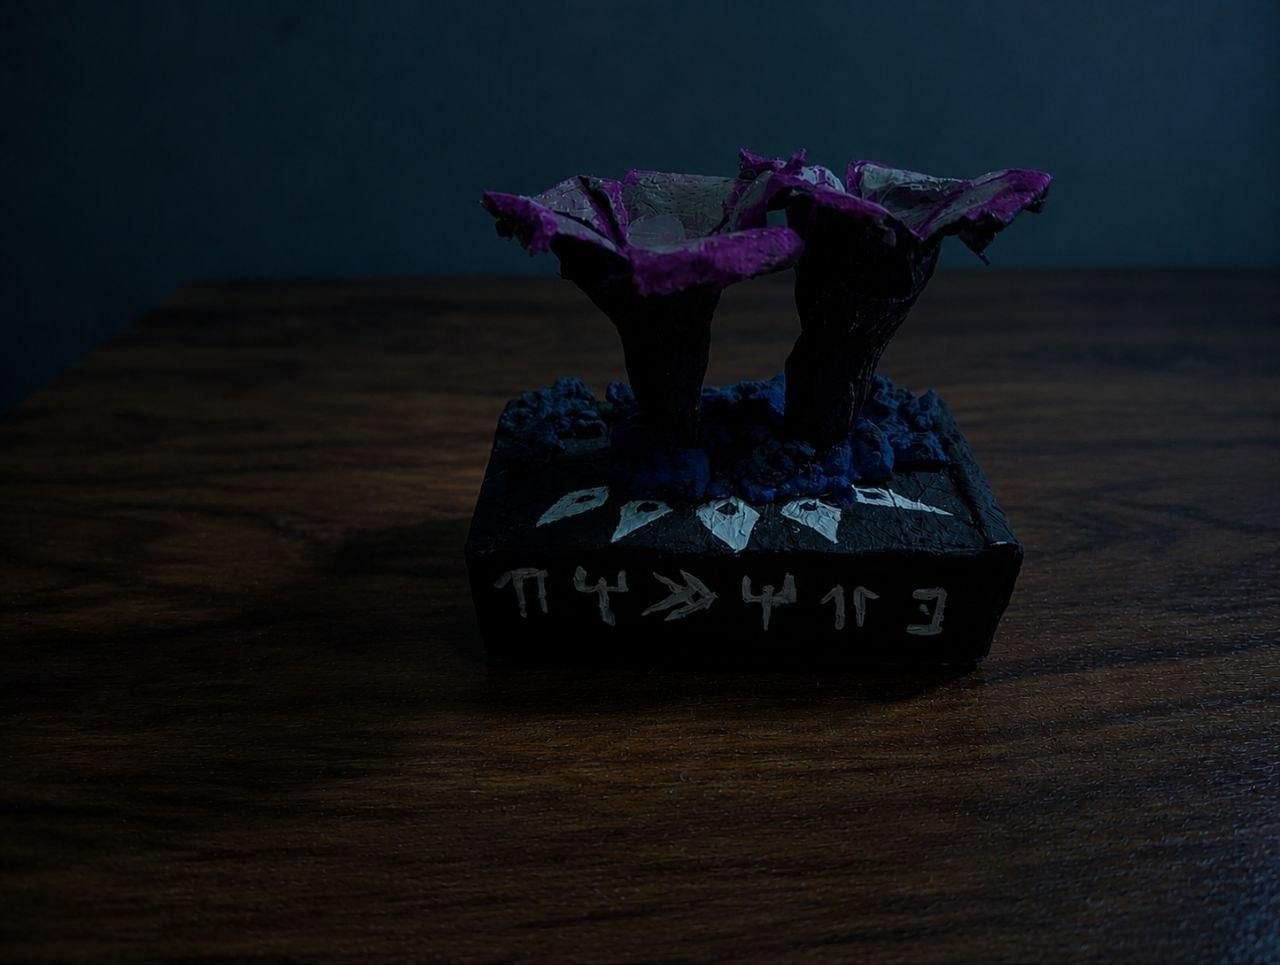
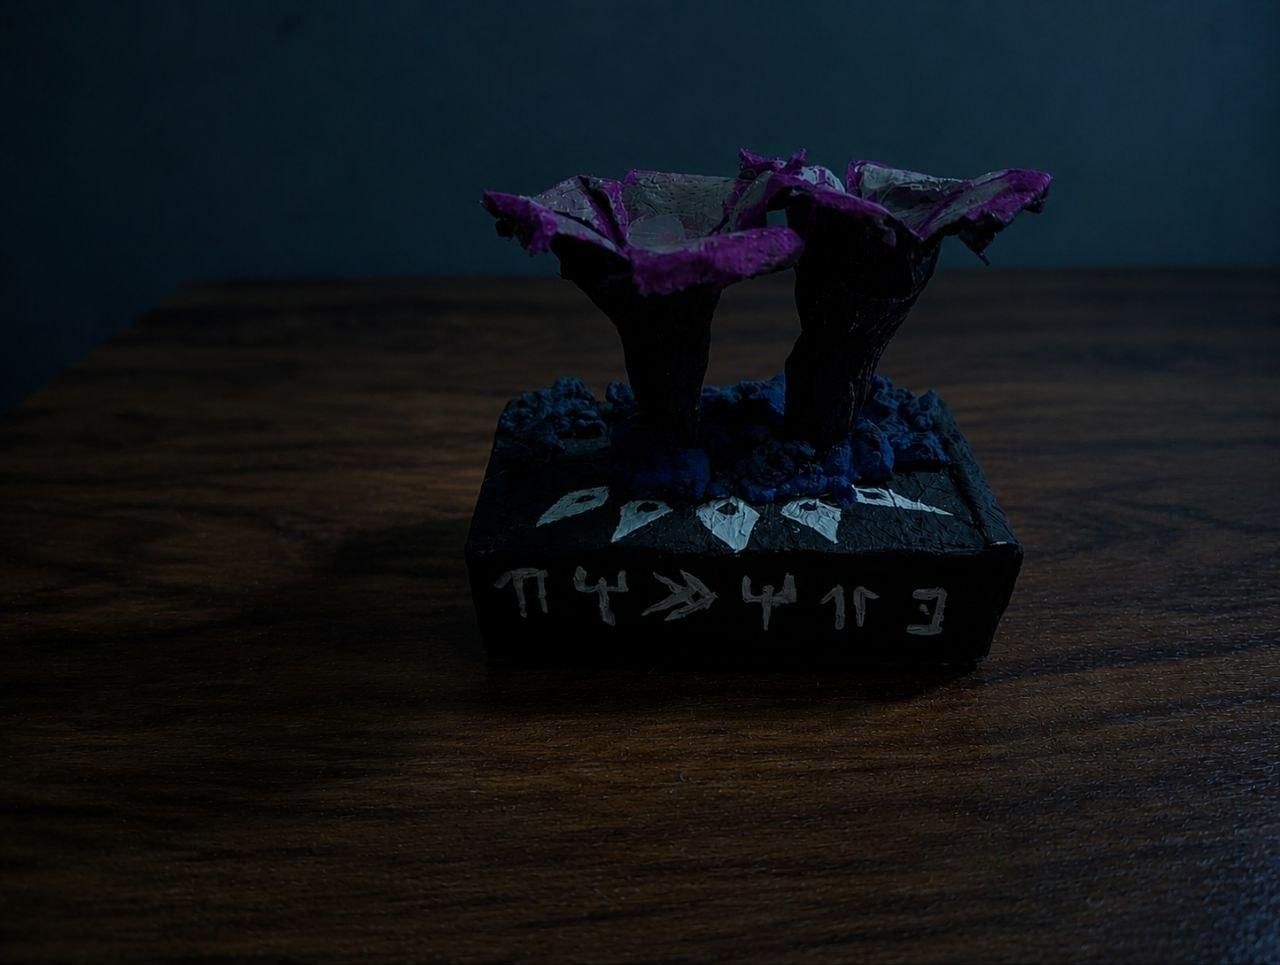
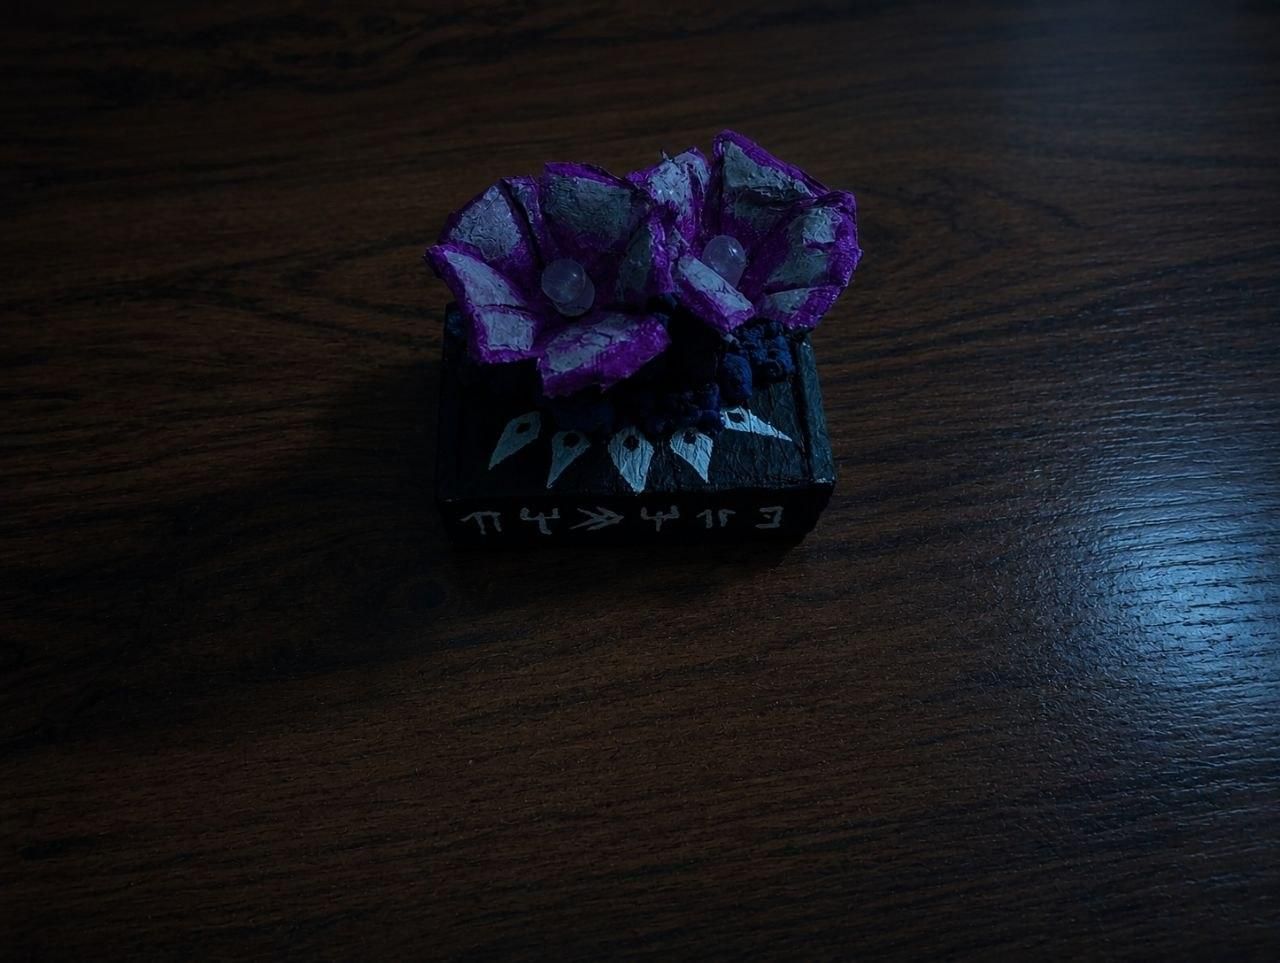
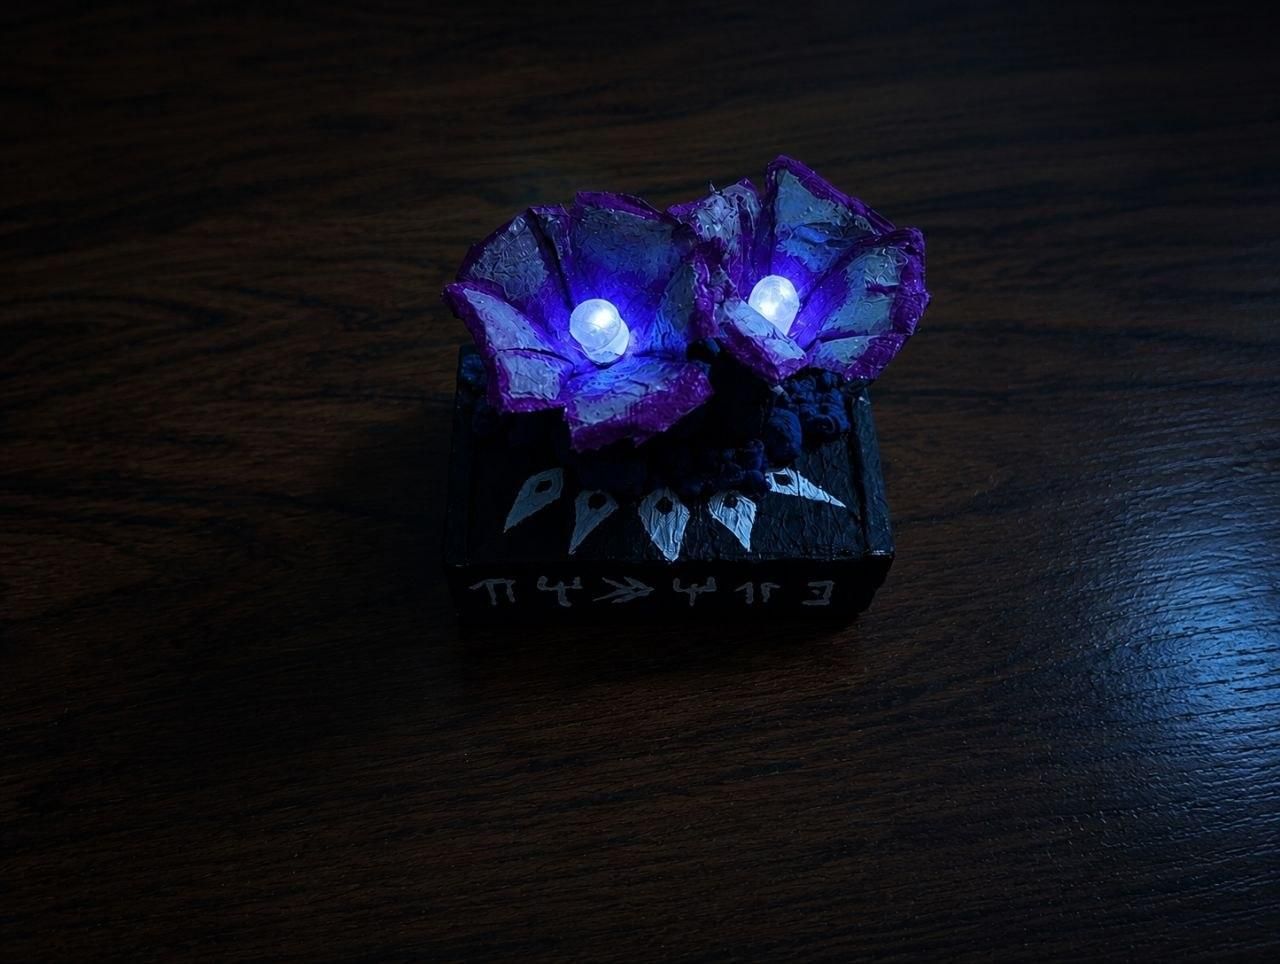
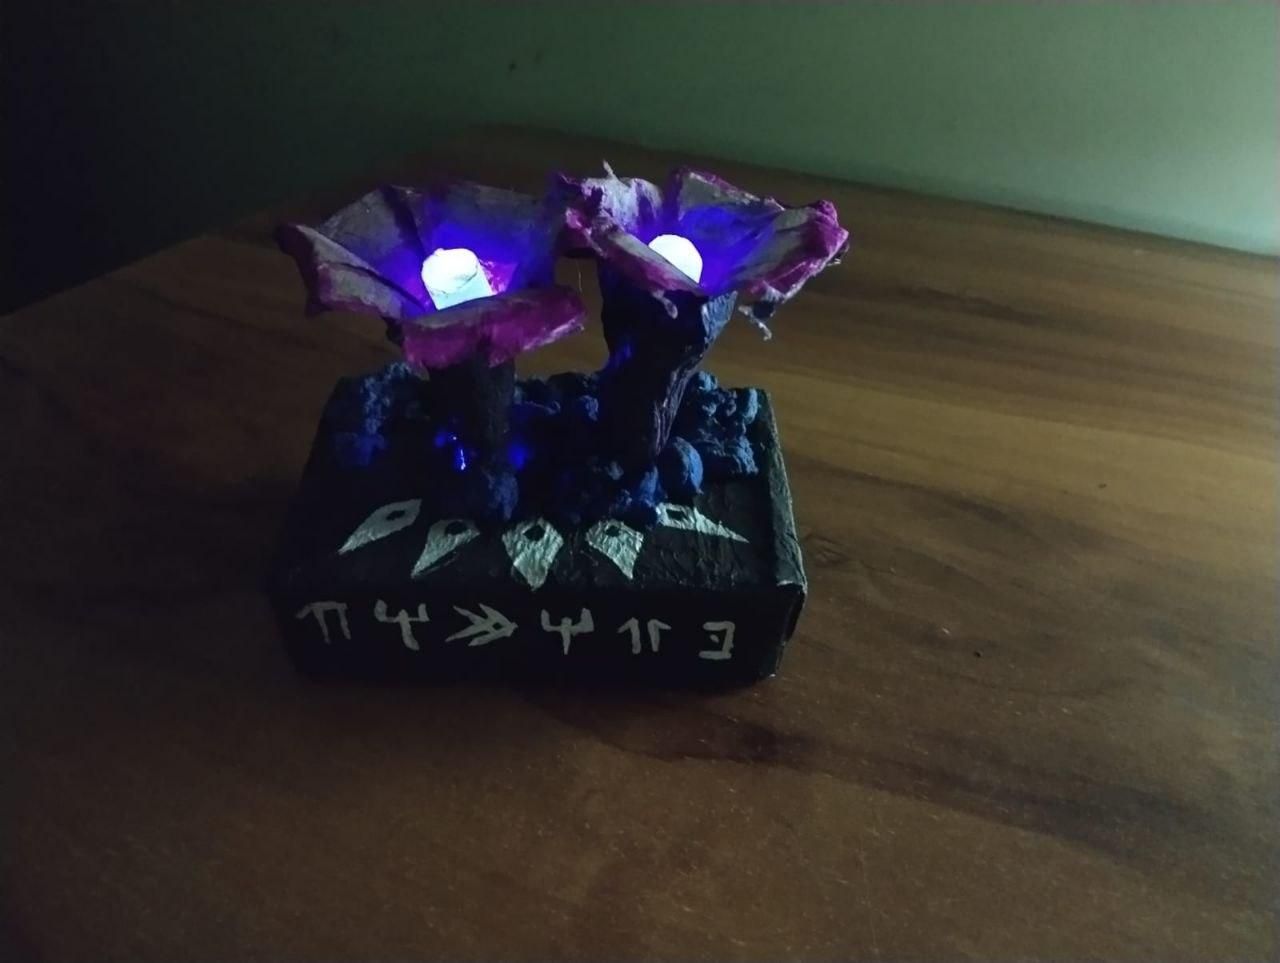
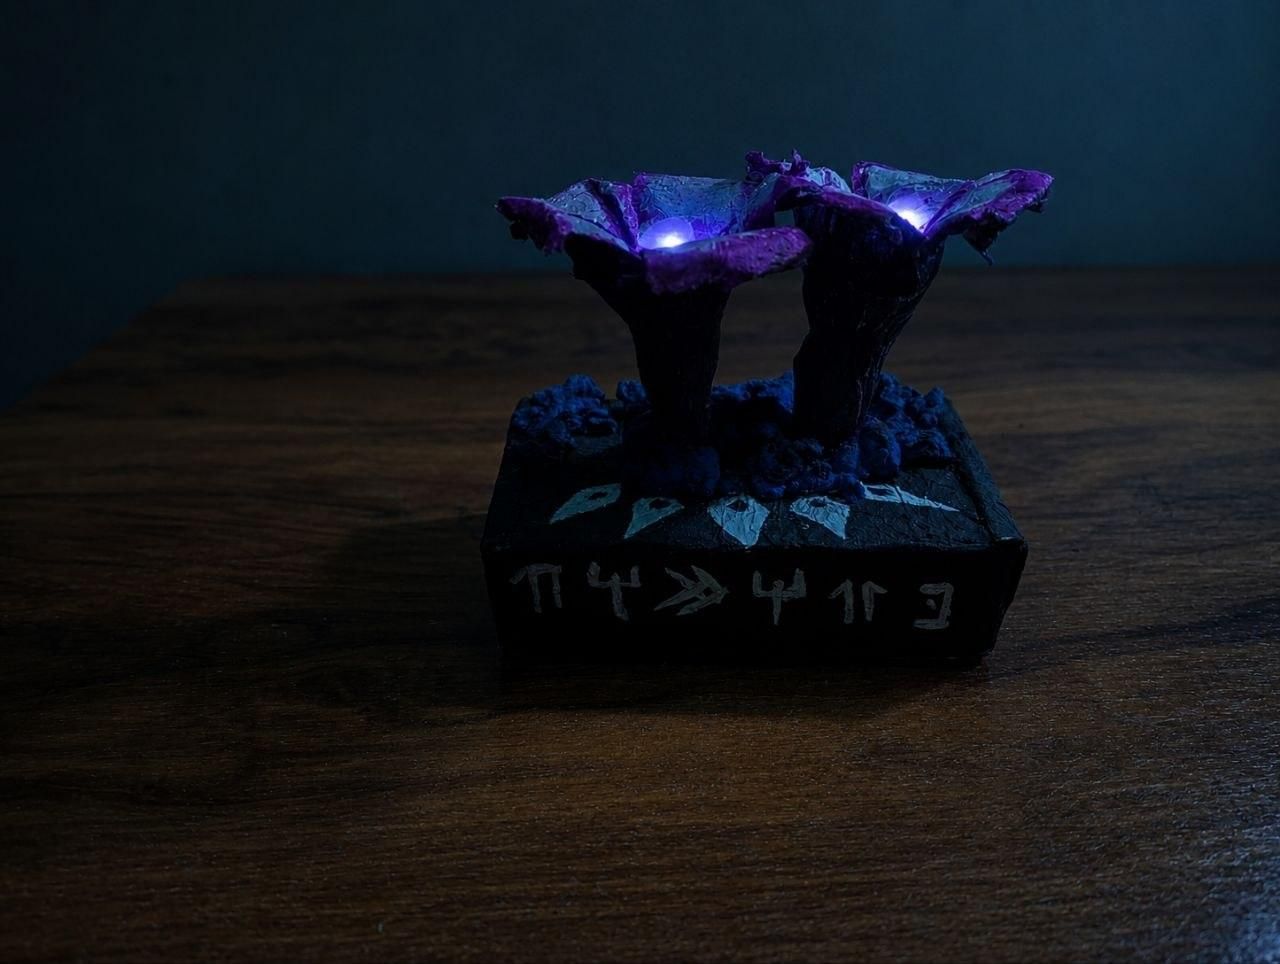
I created a handmade Heart-Shaped Herb Night Lamp inspired by Marvel's Black Panther. It features glowing LED flowers, blue Vibranium rocks, and Wakandan-themed decorations.
2. Inspiration
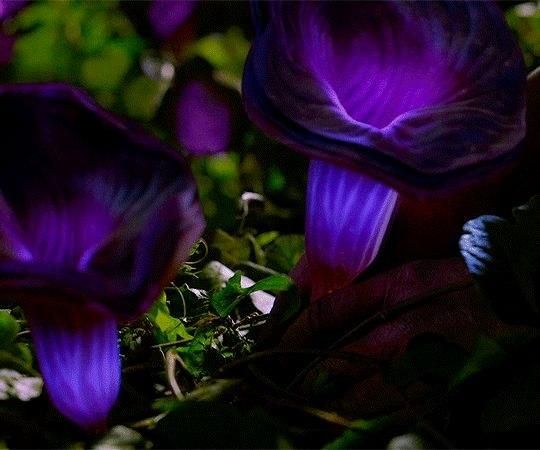
This project is inspired by the Heart-Shaped Herb from Black Panther, the sacred plant that gives the King of Wakanda the powers of the Black Panther.
3. Why I Made It
I made this project because I love Marvel and wanted to pay tribute to King T'Challa and Chadwick Boseman. It also reflects my passion for creating unique handmade decorative art.
Supplies
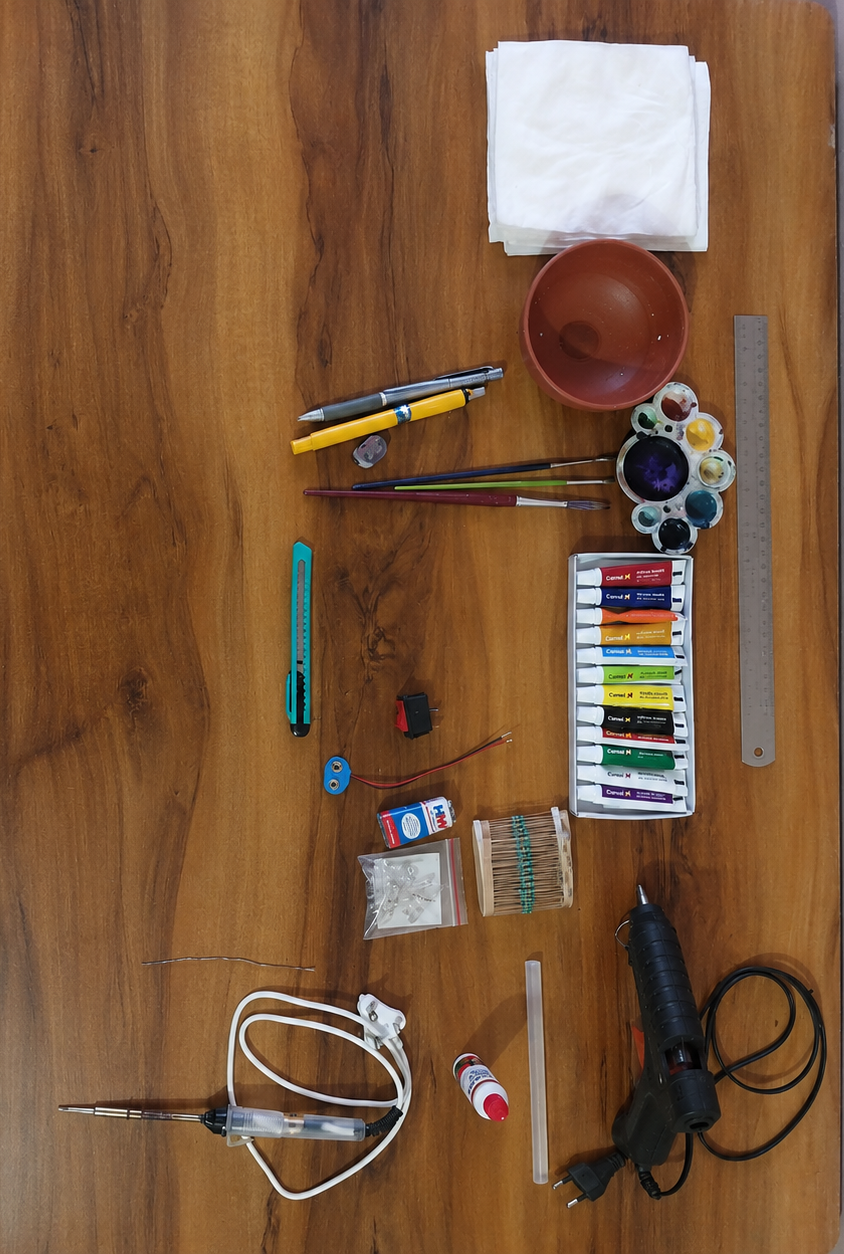
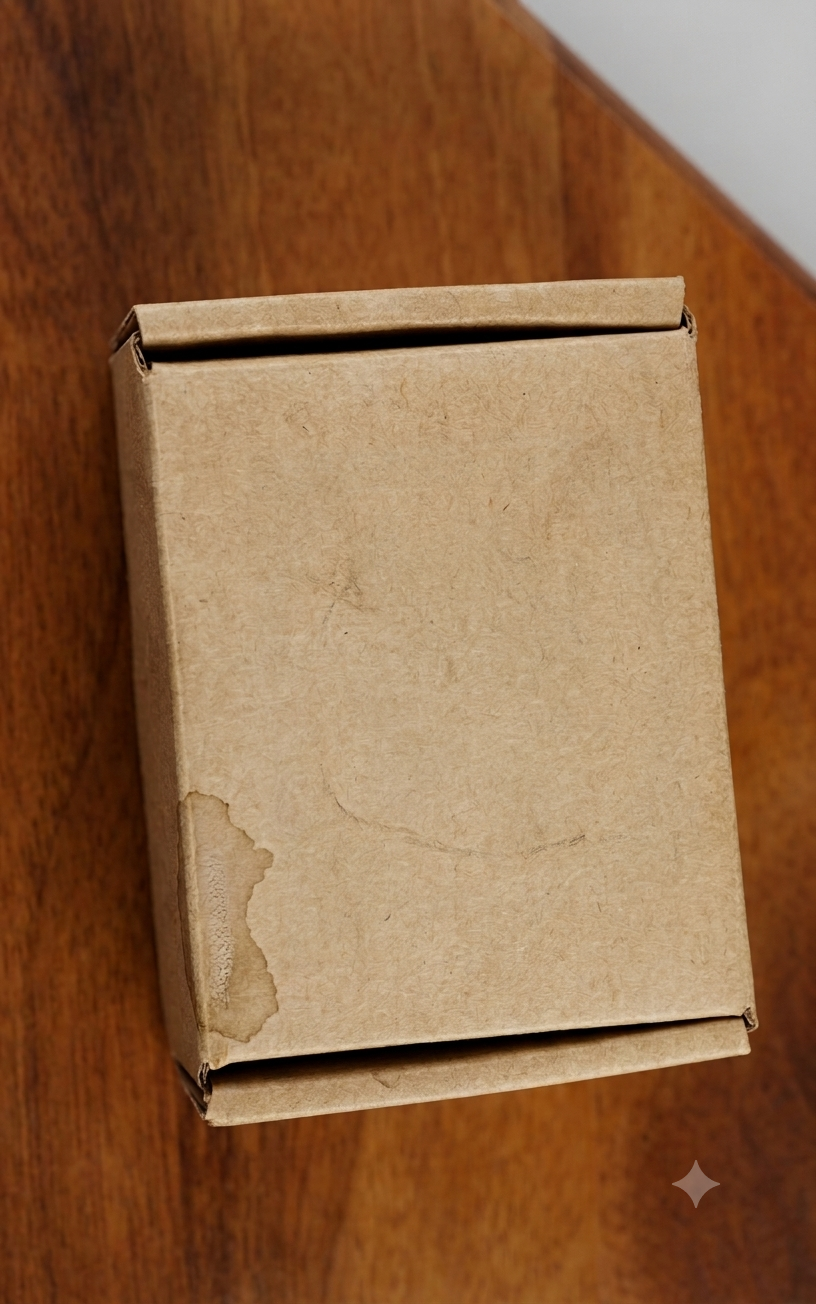
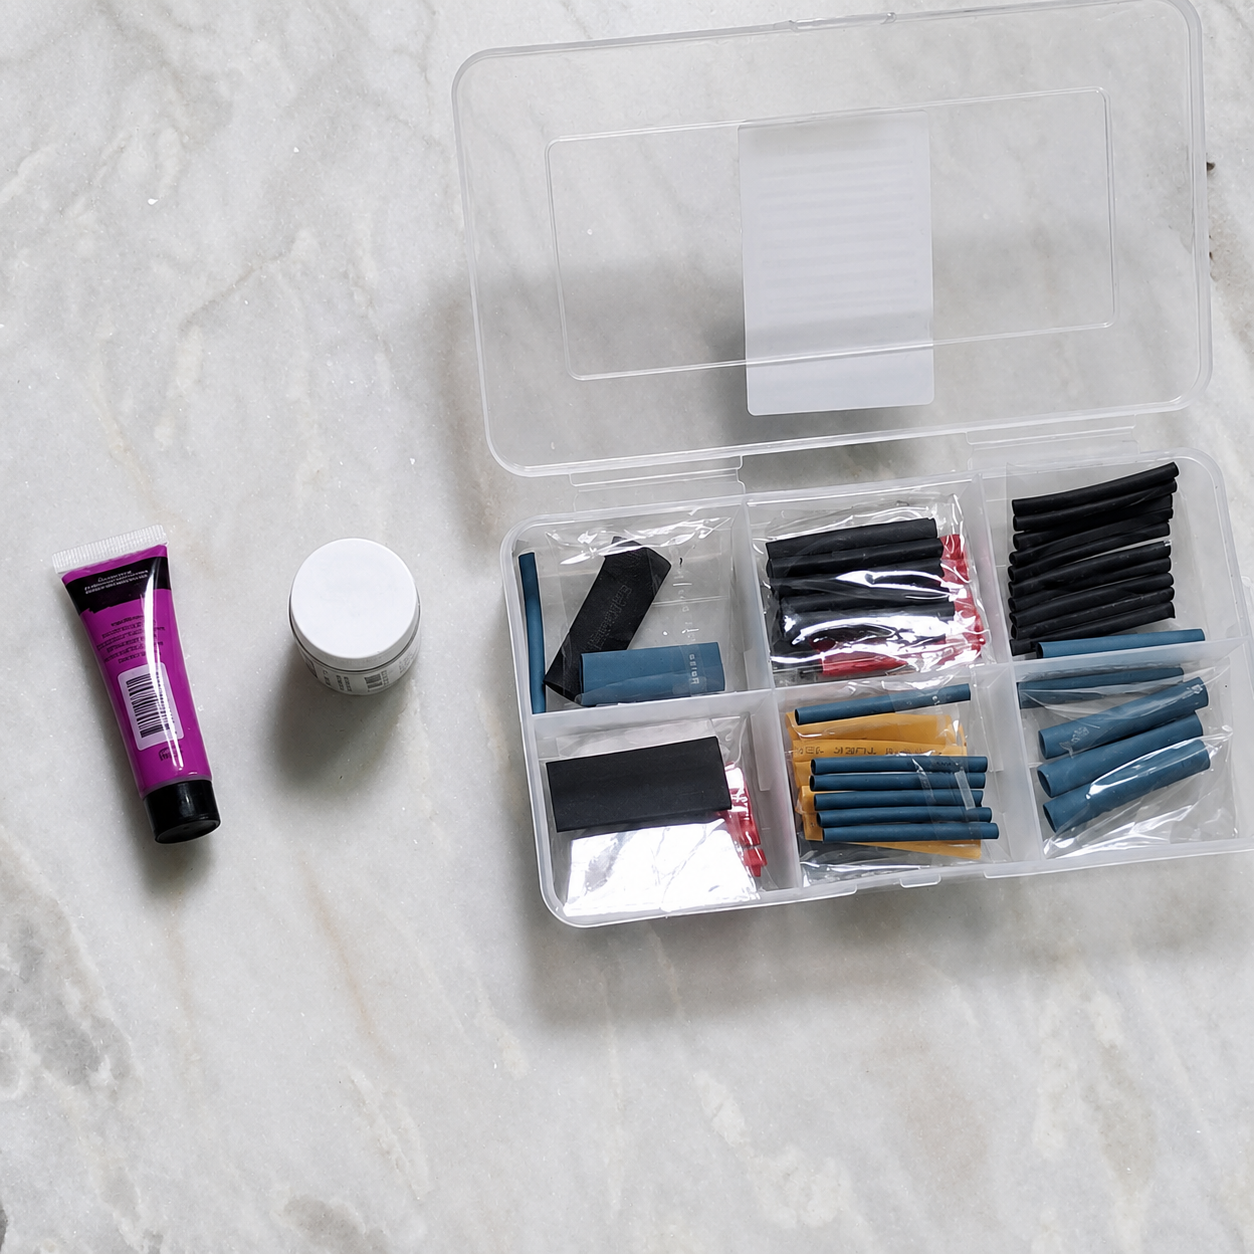

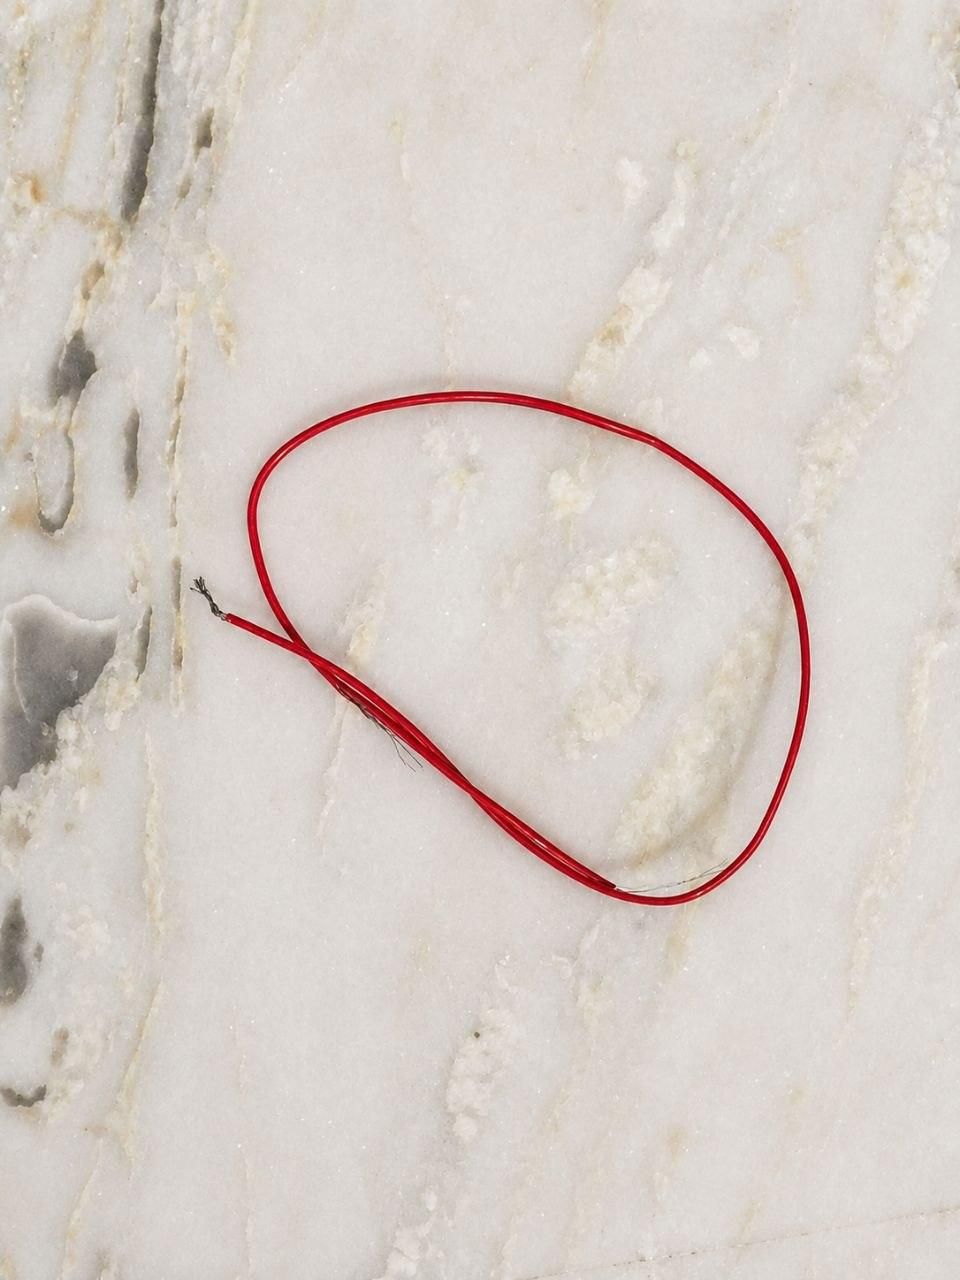
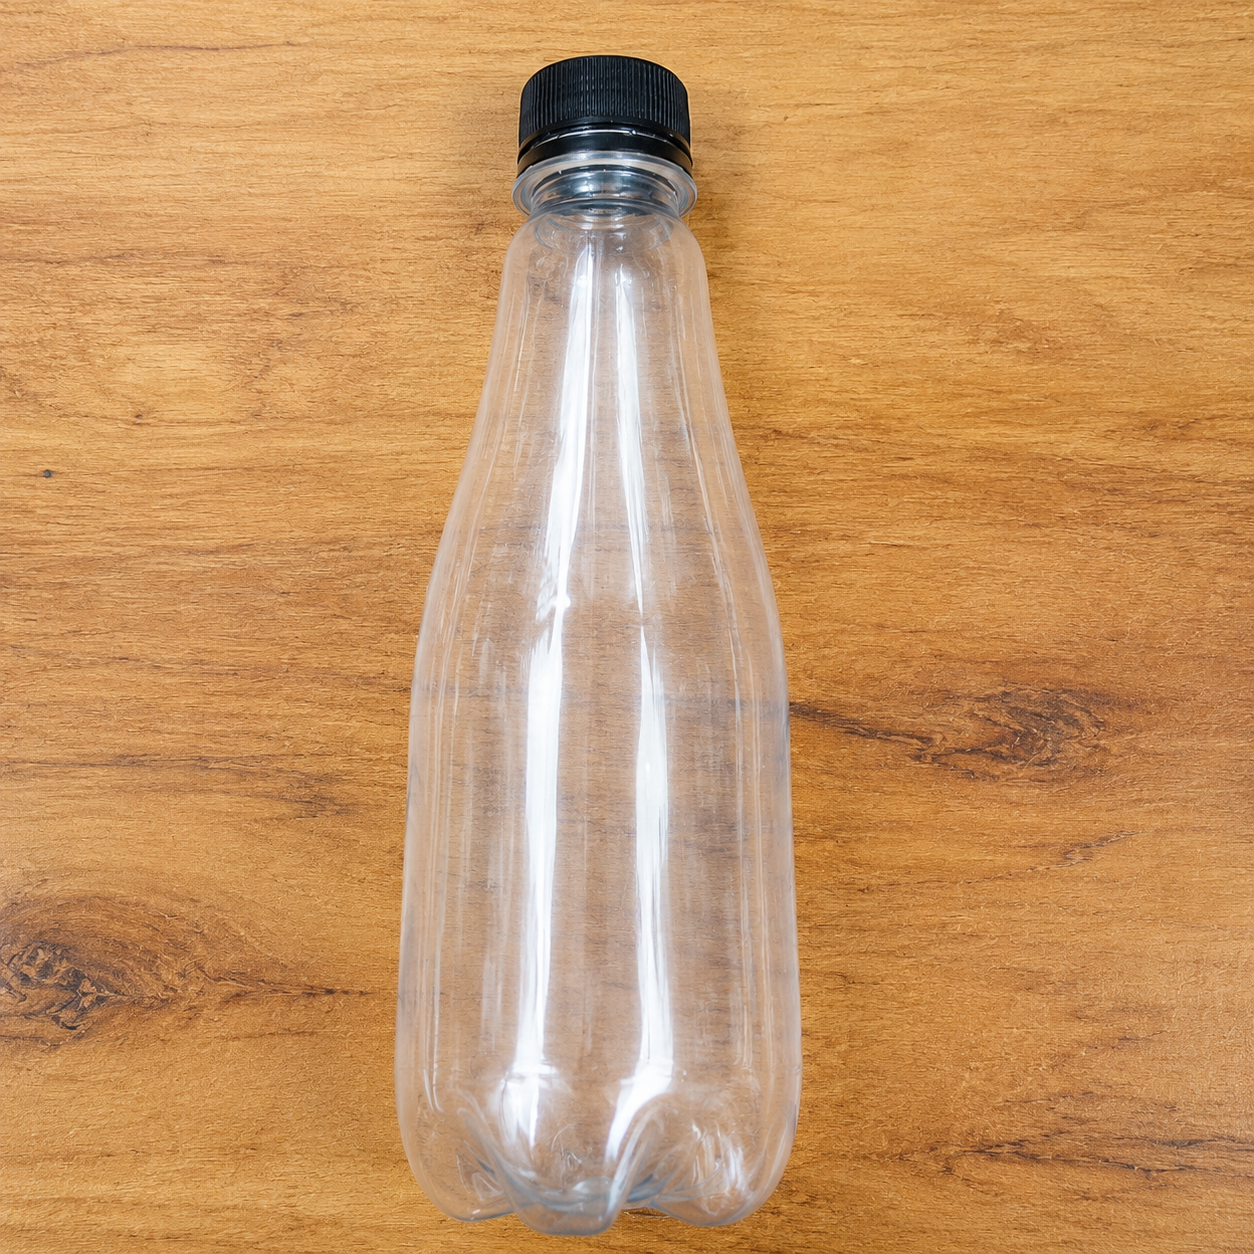
MATERIAL USED:
- White tissue papers / napkins
- Small bowl
- Metal ruler
- Pencil and eraser
- Paint palette
- Paint brushes (3)
- Acrylic paint tubes (multiple colors)
- Utility knife / cutter
- 9V battery clip connector
- Rocker switch
- 9V battery
- UV LEDs (395NM)X2
- Hot glue gun
- Glue stick for hot glue gun
- glue bottle
- Soldering iron and wire
- Small piece of wire
- White acrylic paint
- Purple glow paint
- Copper wire
- Heat sleeves
- Plastic bottle
Cut the Top Part of the Bottle for Shaping the Flower
Step 1:
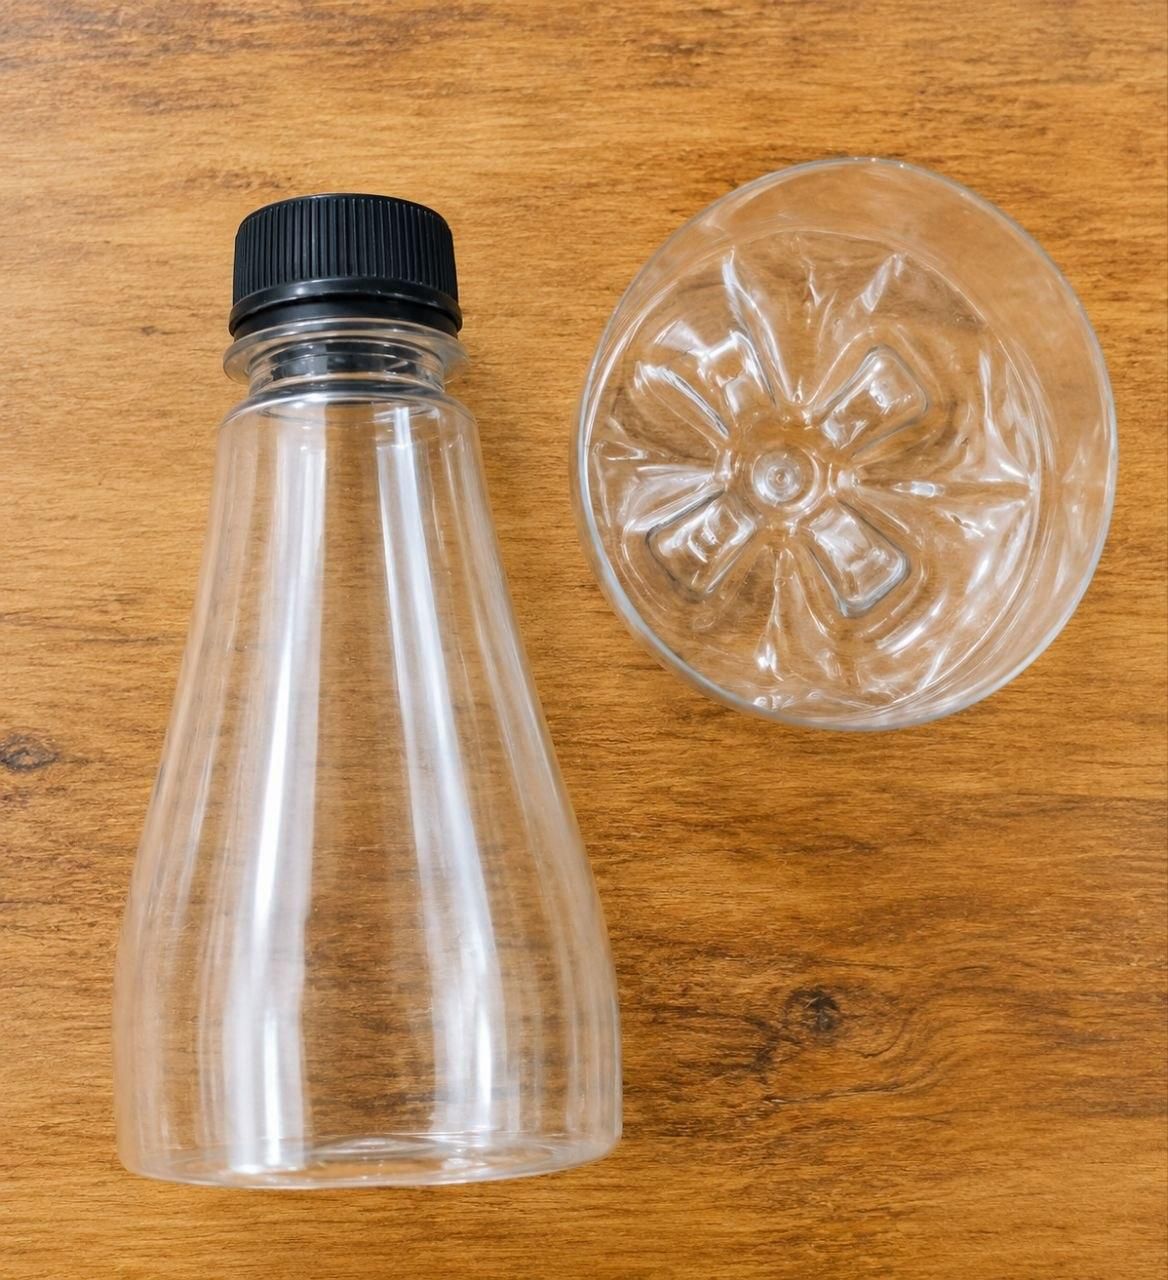
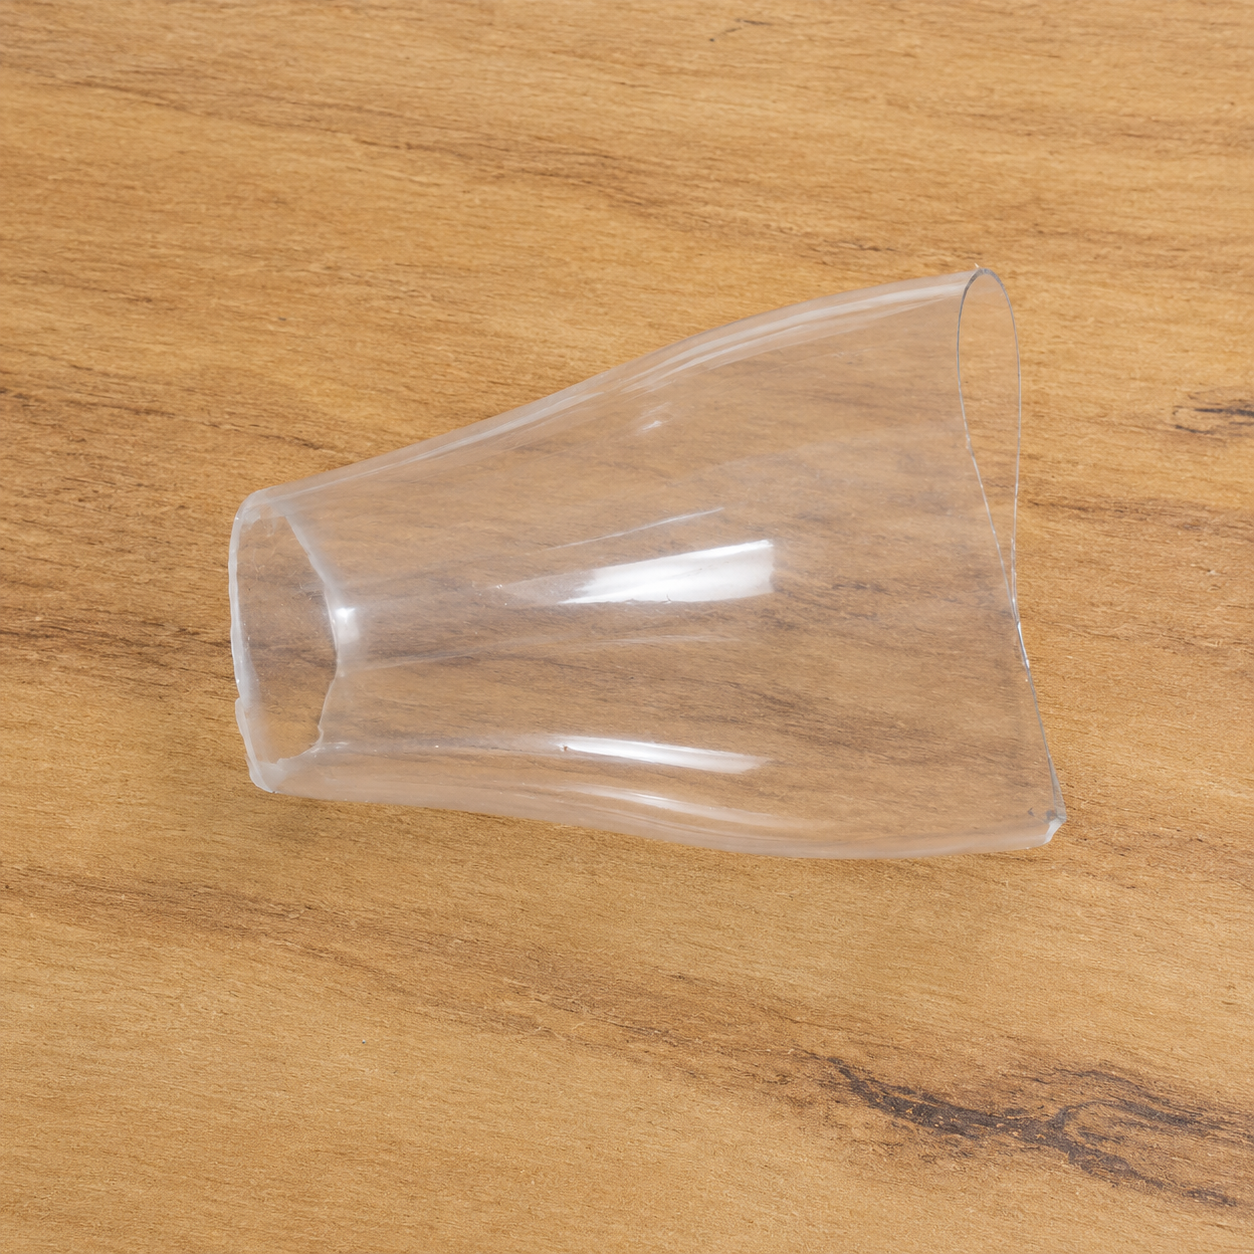
Using a sharp utility knife or scissors, carefully cut off only the top section of the plastic bottle, including the neck and cap area. This top portion will serve as the mold for shaping the flower in the next steps. Make the cut as smooth and even as possible so the mold maintains a symmetrical shape and is easy to work with. If the cut edge is rough or sharp, trim or sand it lightly to make it safe to handle and ready for shaping the flower.
Prepare the Glue and Water Mixture
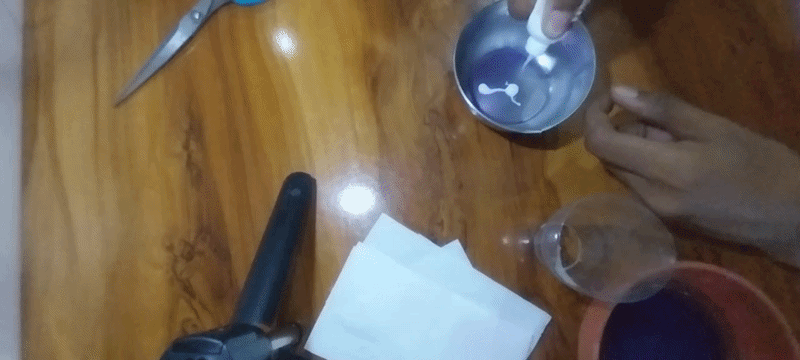
Step 2:
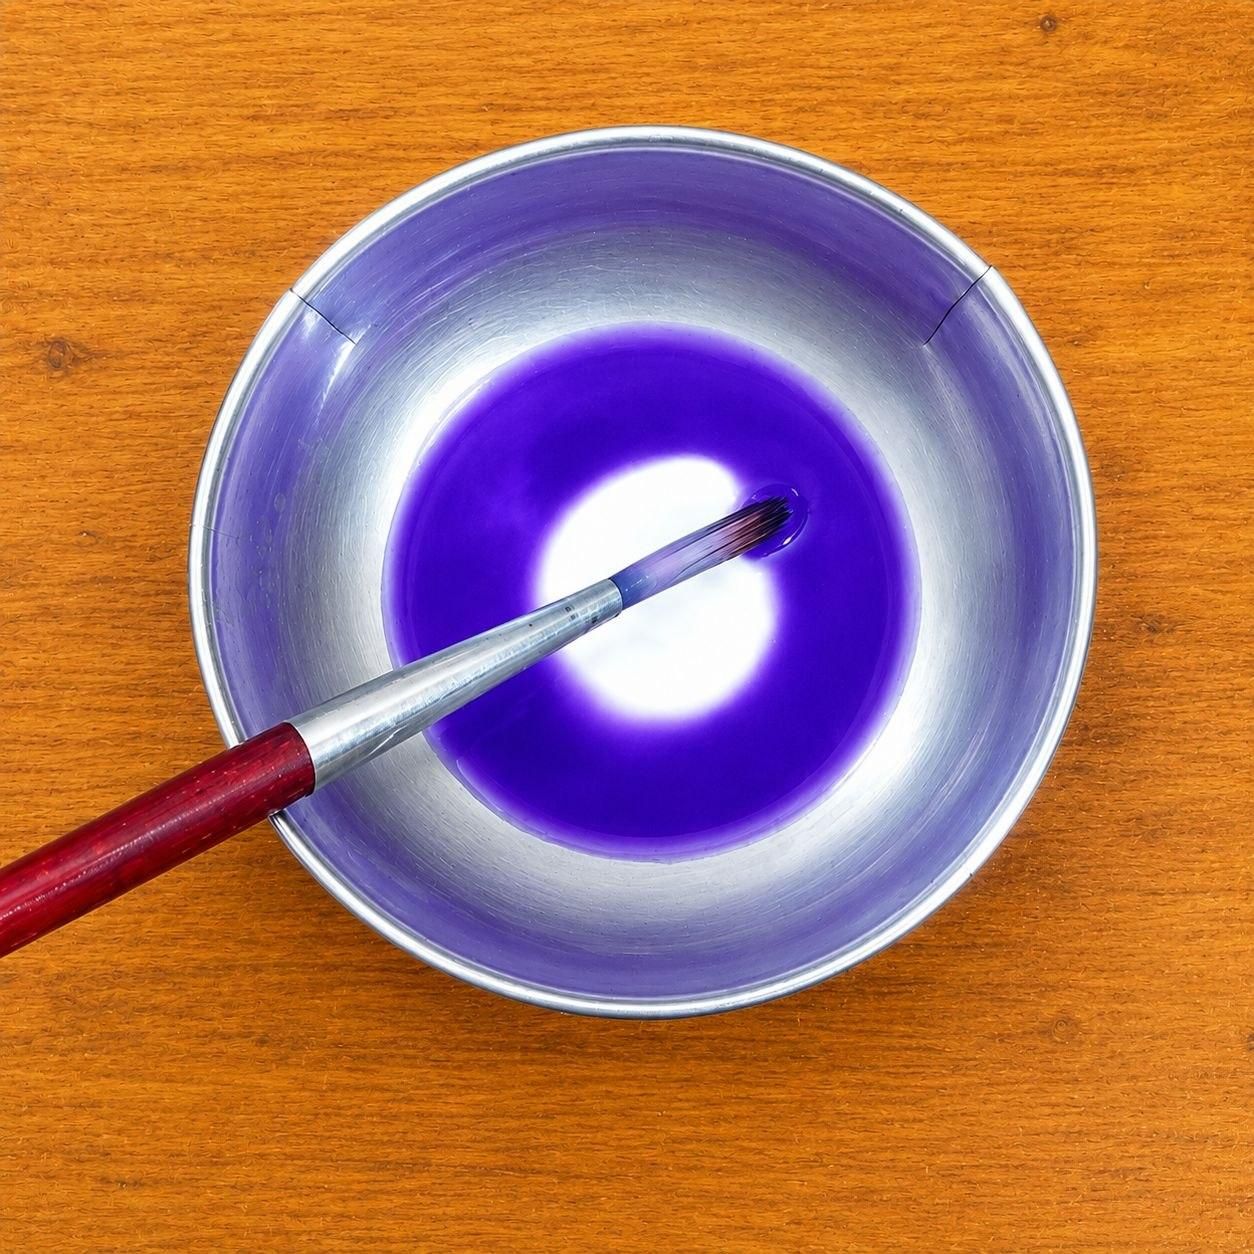
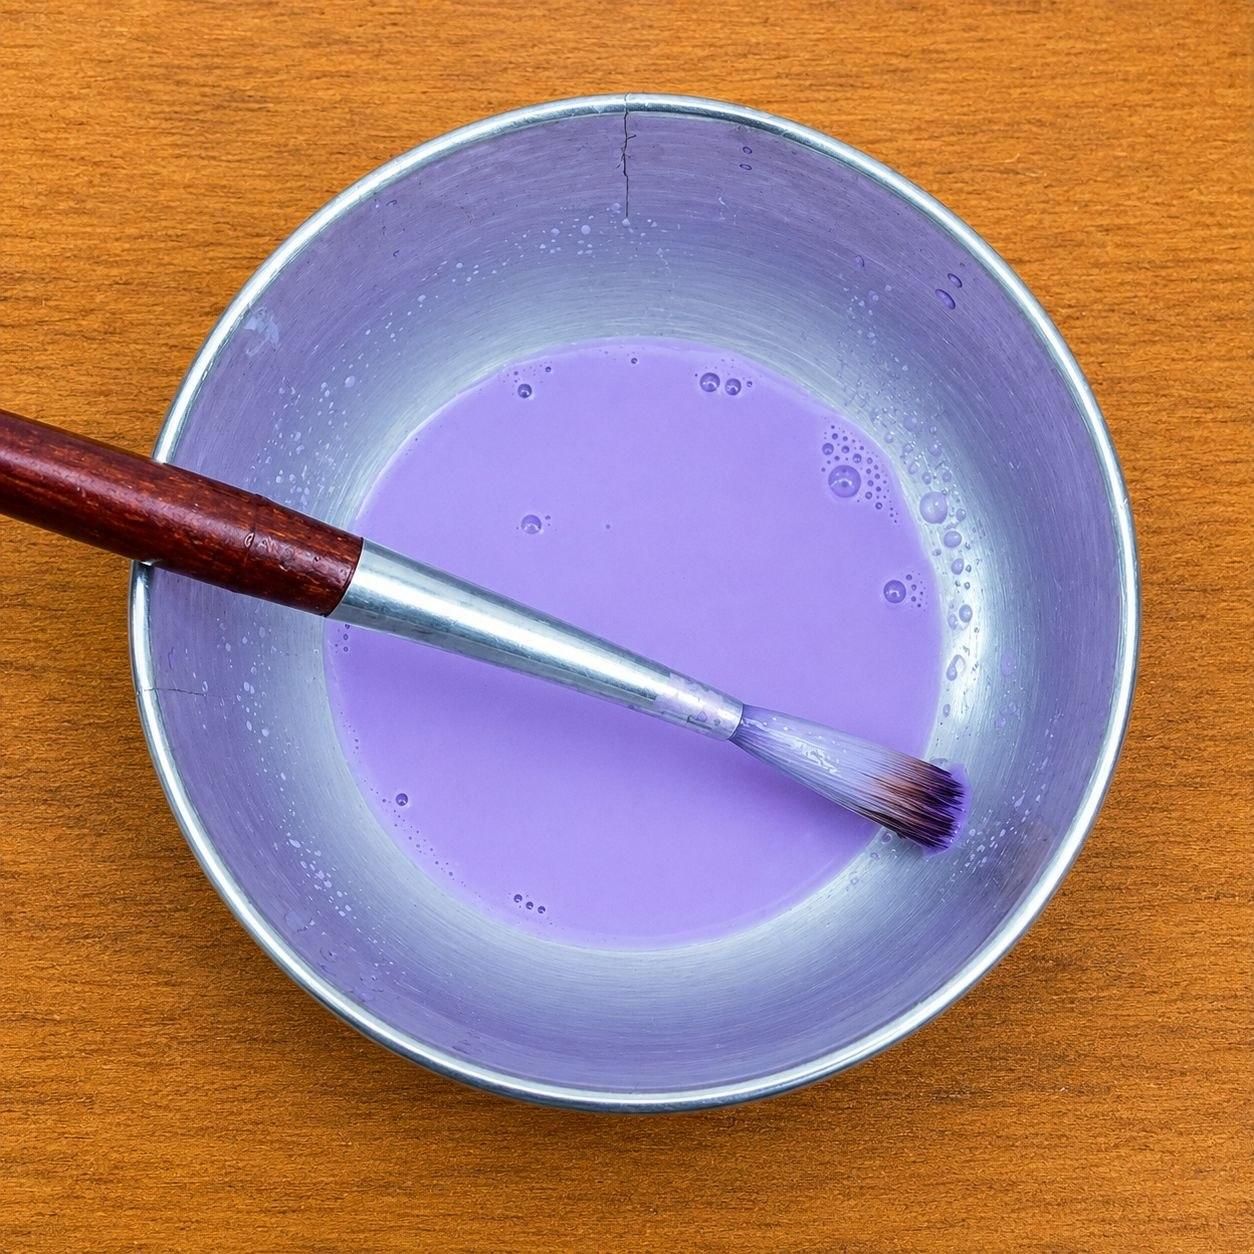
In a small bowl or container, mix white glue and water in a 1:1 ratio (equal parts glue and water) until the mixture becomes smooth and well combined. Cut or tear the tissue paper into small pieces, then dip each piece into the glue mixture, ensuring it is fully coated. Remove any excess glue before applying the tissue to the plastic bottle mold in the next step.Also adding coloured water acc. to theme
Apply the Glue and Water Mixture With Tissue Paper
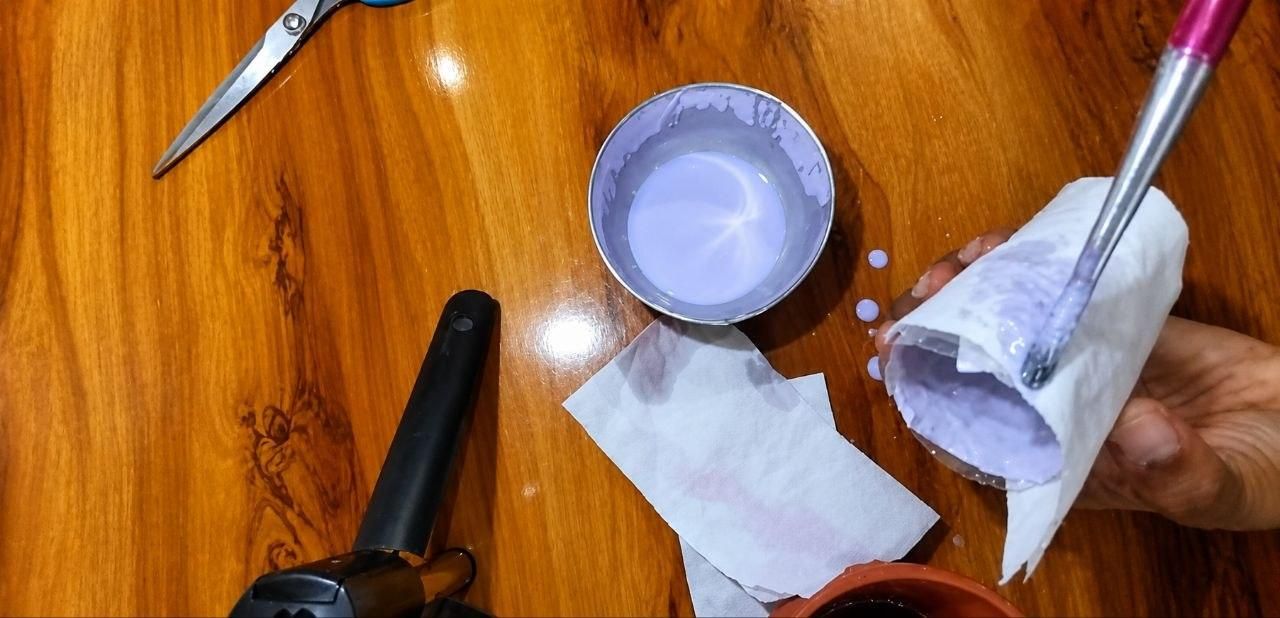
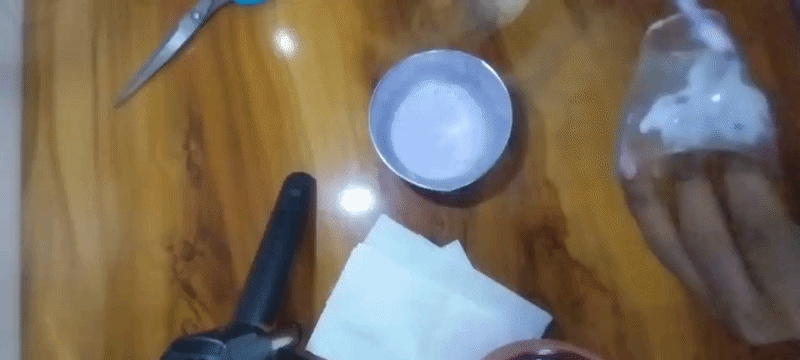
Step 3:
Dip a paintbrush into the prepared 1:1 glue and water mixture, then apply a thin layer of the paste onto the plastic bottle mold. Place a piece of tissue paper over the glued surface and gently brush more paste on top until the tissue is completely soaked and firmly attached. Repeat the process, slightly overlapping each tissue piece, until the entire bottle mold is fully covered with an even layer of tissue paper.
Apply the Flower Paint on the Mold
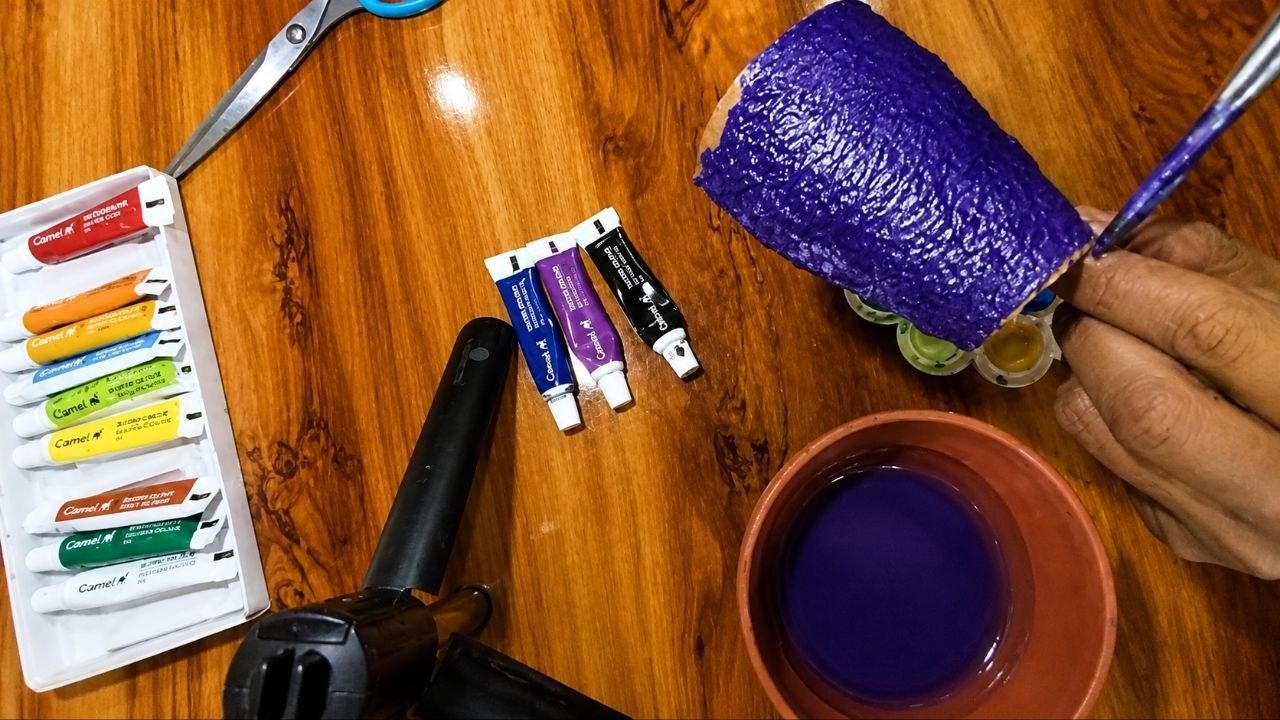
Step 4:
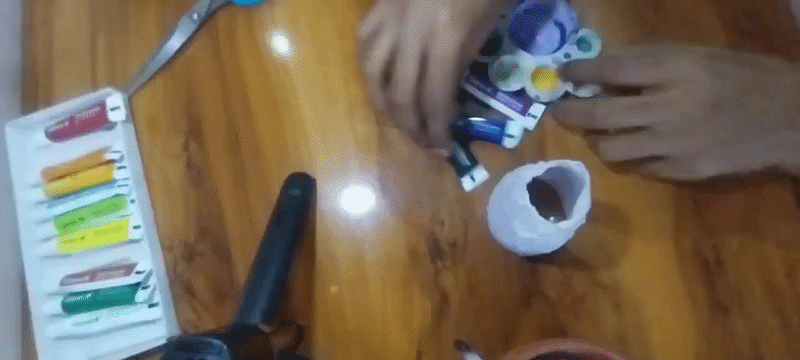
Prepare the flower paint by mixing 2 drops of purple paint, 1 drop of black paint, and 1 drop of dark blue paint until you achieve a rich, deep-colored shade. Using a paintbrush, apply an even coat of the mixed paint over the entire tissue-covered bottle mold, making sure all areas are fully covered. Once the paint has been applied, leave the mold undisturbed until it is completely dry before proceeding to the next step.
Cut the Flower Sheet From the Mold
Step 5:
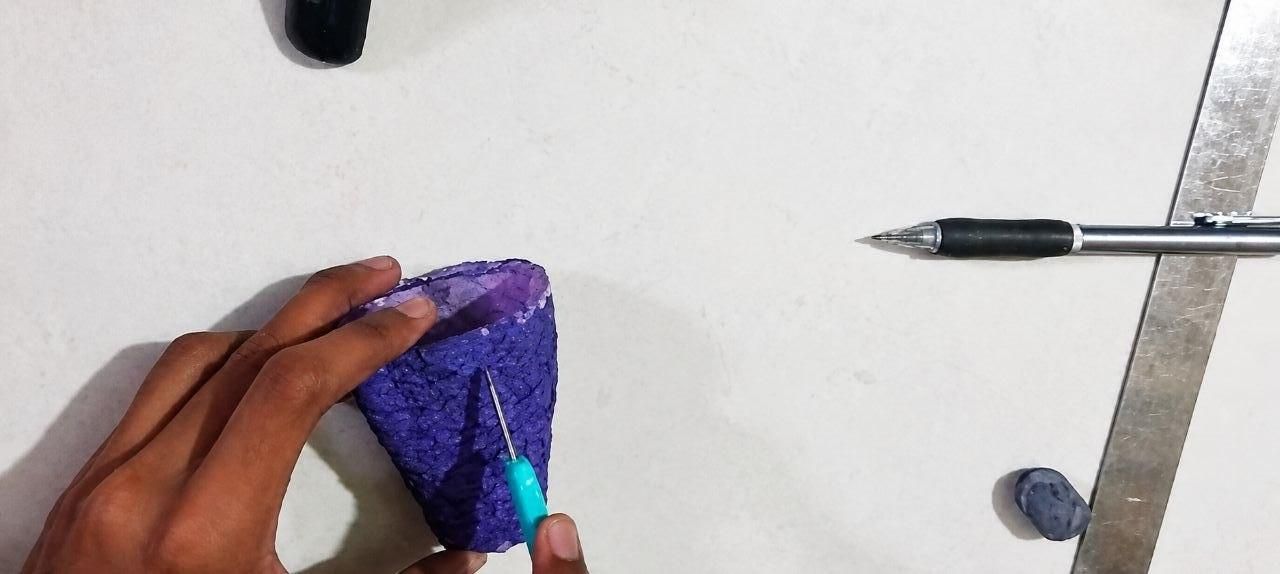
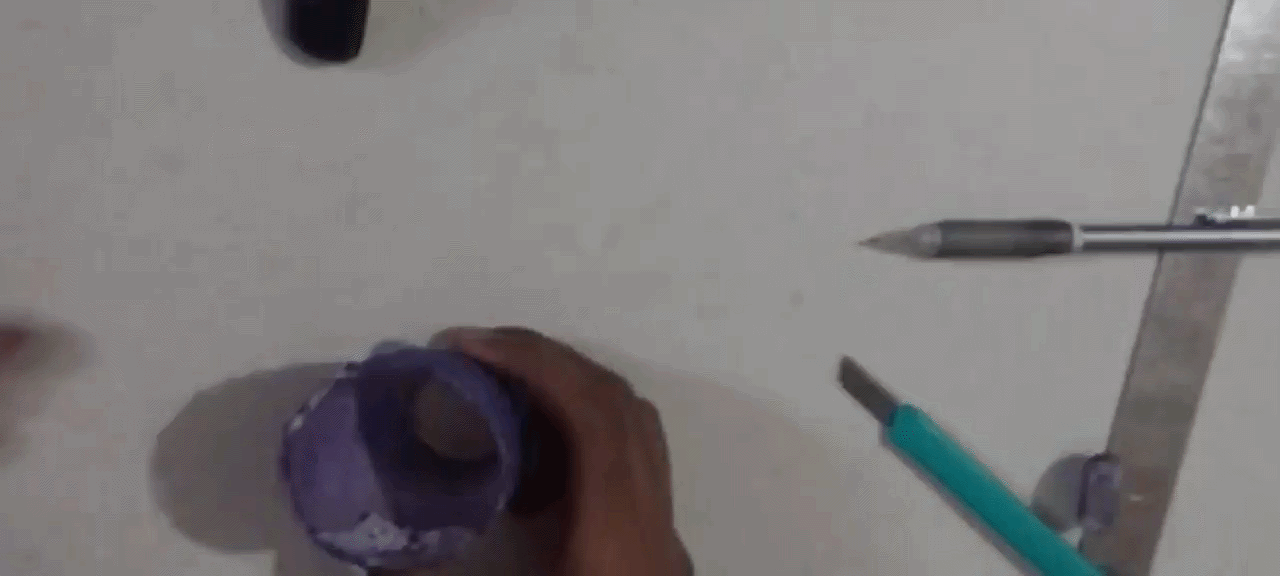
Once the painted tissue layer is completely dry, carefully remove it from the plastic bottle mold. Using scissors, trim the edges if necessary and cut the dried sheet to separate the flower shape from the mold. Handle the sheet gently to avoid tearing, ensuring the flower maintains its shape and is ready for the next stage of the project.
Make the Tissue Clay and Shape the Flower
Step 6:
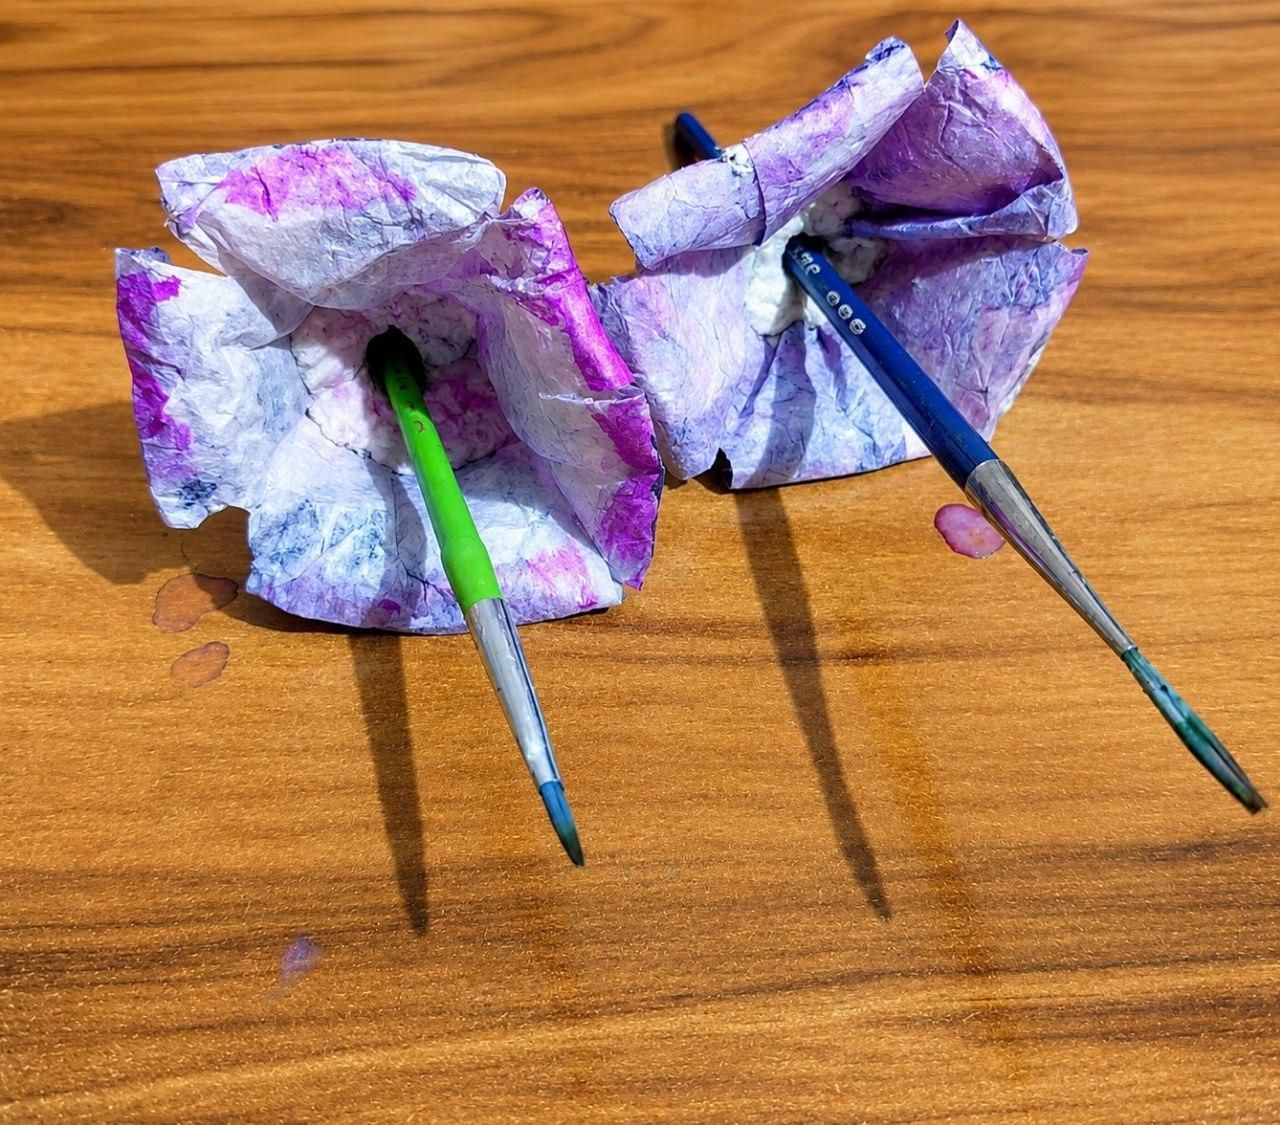
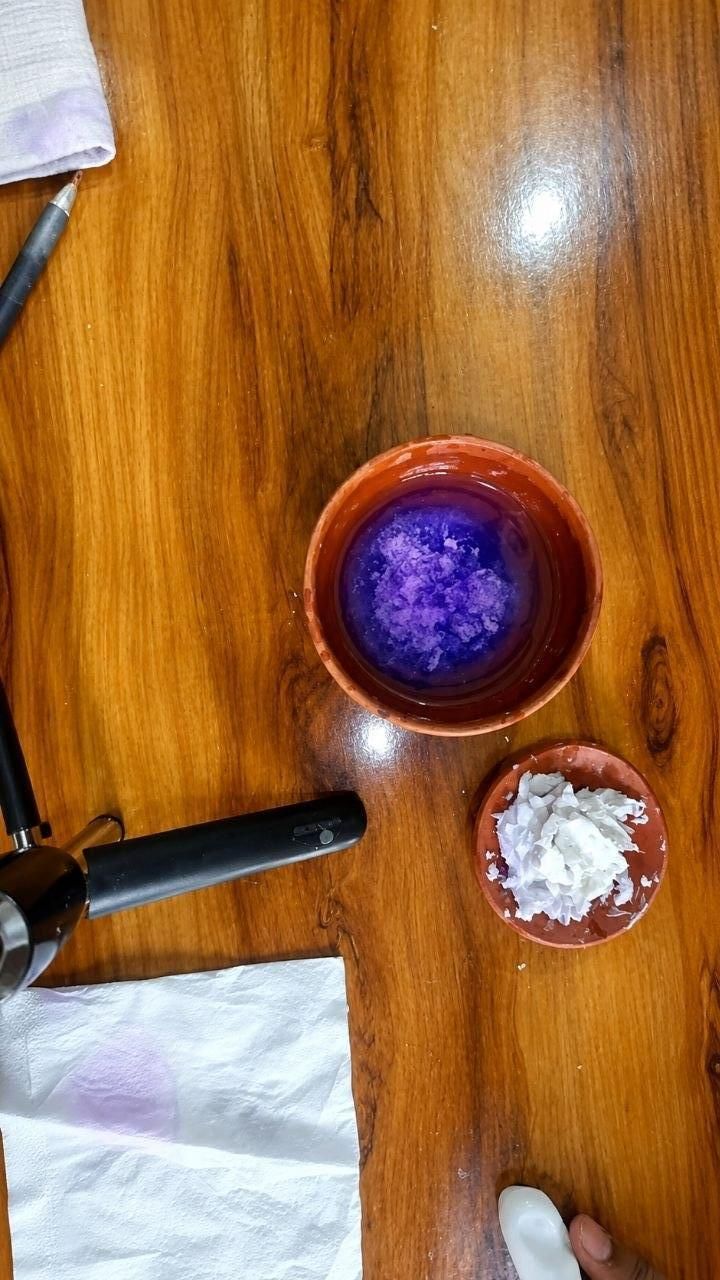
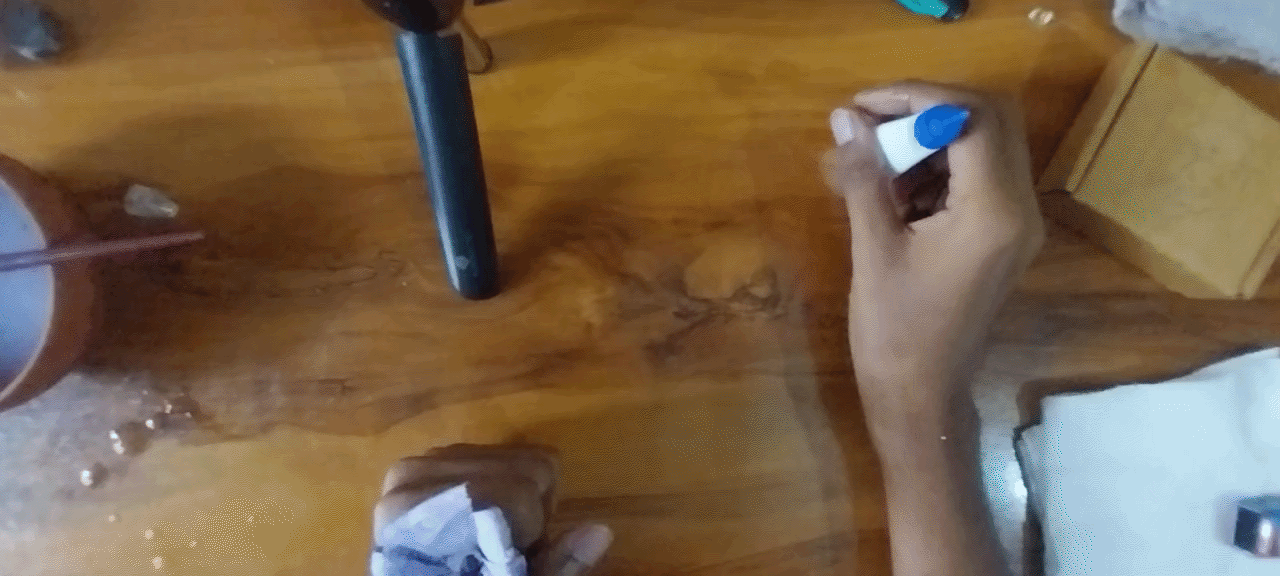
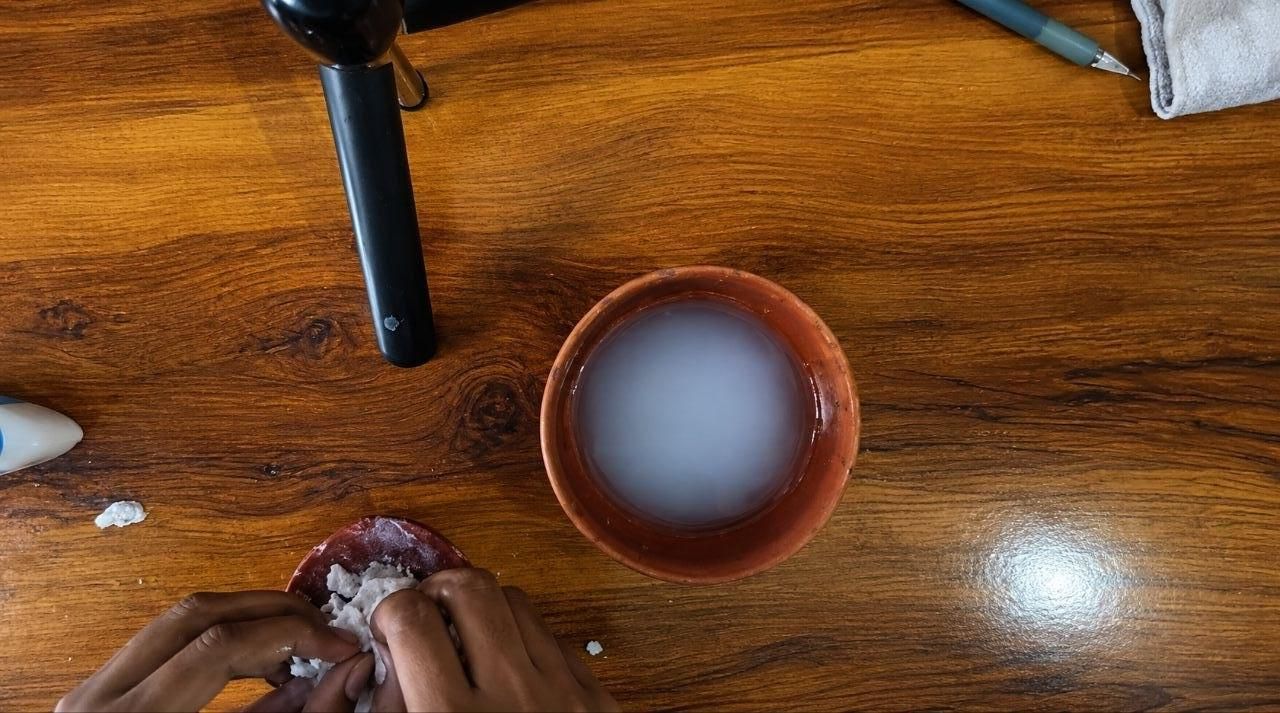
Prepare the tissue clay by mixing torn tissue paper with white glue and water in a 1:1 ratio until it forms a soft, smooth, and moldable clay. Fill the inside of the dried flower sheet with the tissue clay, then gently shape it using your fingers. Use the back end of a paintbrush to press into the center of the flower, creating a hollow space large enough to fit the LED light. While shaping, use the paintbrush as a support to give the flower a natural curved form. Pinch the base of the flower with your fingers to form the stem, and use scissors to cut small triangular notches between each petal to separate them and create a more realistic flower appearance. Once the desired shape is achieved, leave the flower to dry completely before moving to the next step.
Cover the Cardboard Box With Tissue Paper and Paint It
Step 7:
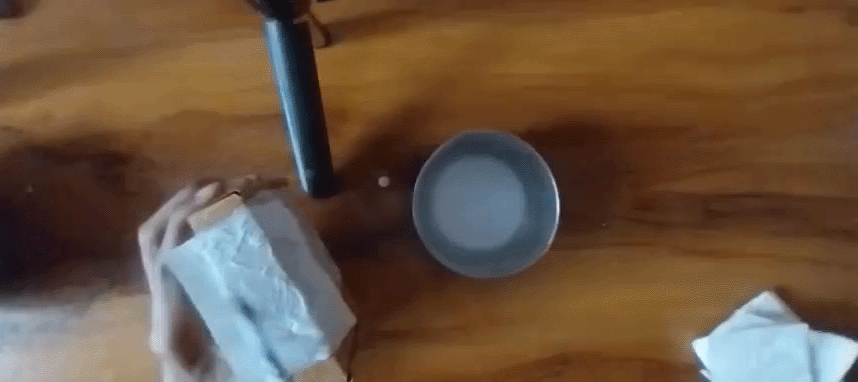
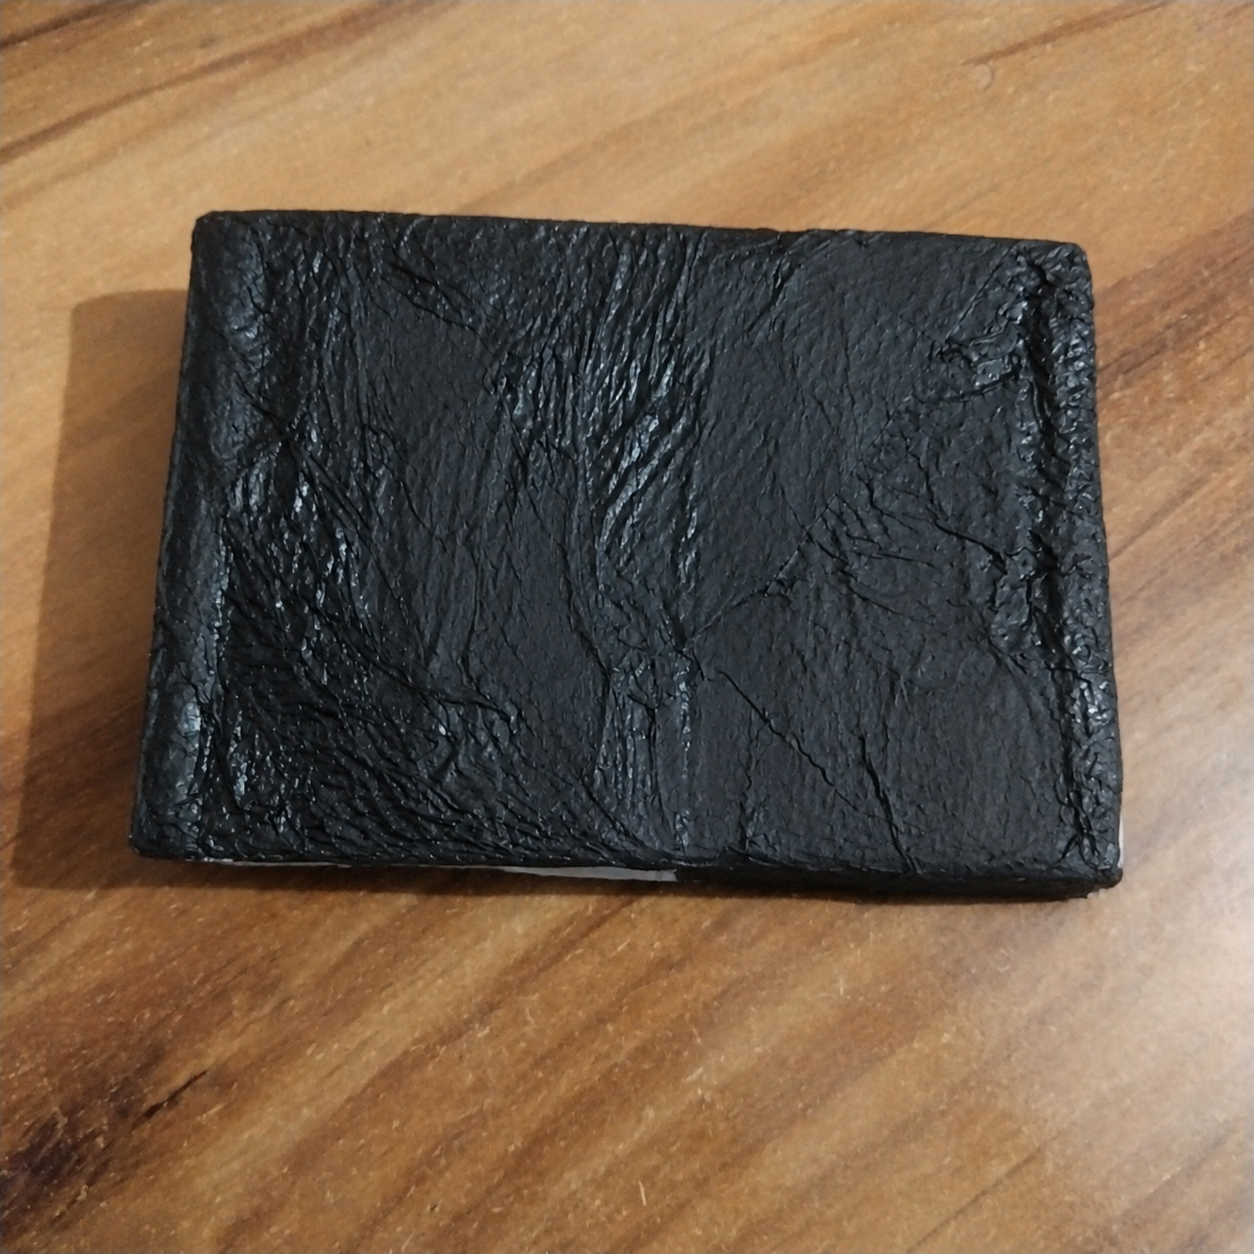
Prepare the same 1:1 glue and water mixture used in the previous steps. Using a paintbrush, apply a thin layer of the mixture onto the cardboard box, then place pieces of tissue paper over the surface. Brush another layer of the glue mixture on top until the tissue is fully soaked and firmly attached. Continue this process until the entire box is evenly covered with tissue paper. Allow it to dry completely, then apply an even coat of black paint over the entire box. Leave the painted box to dry thoroughly before moving on to the next step.
Assemble the Electrical Circuit
Step 8:
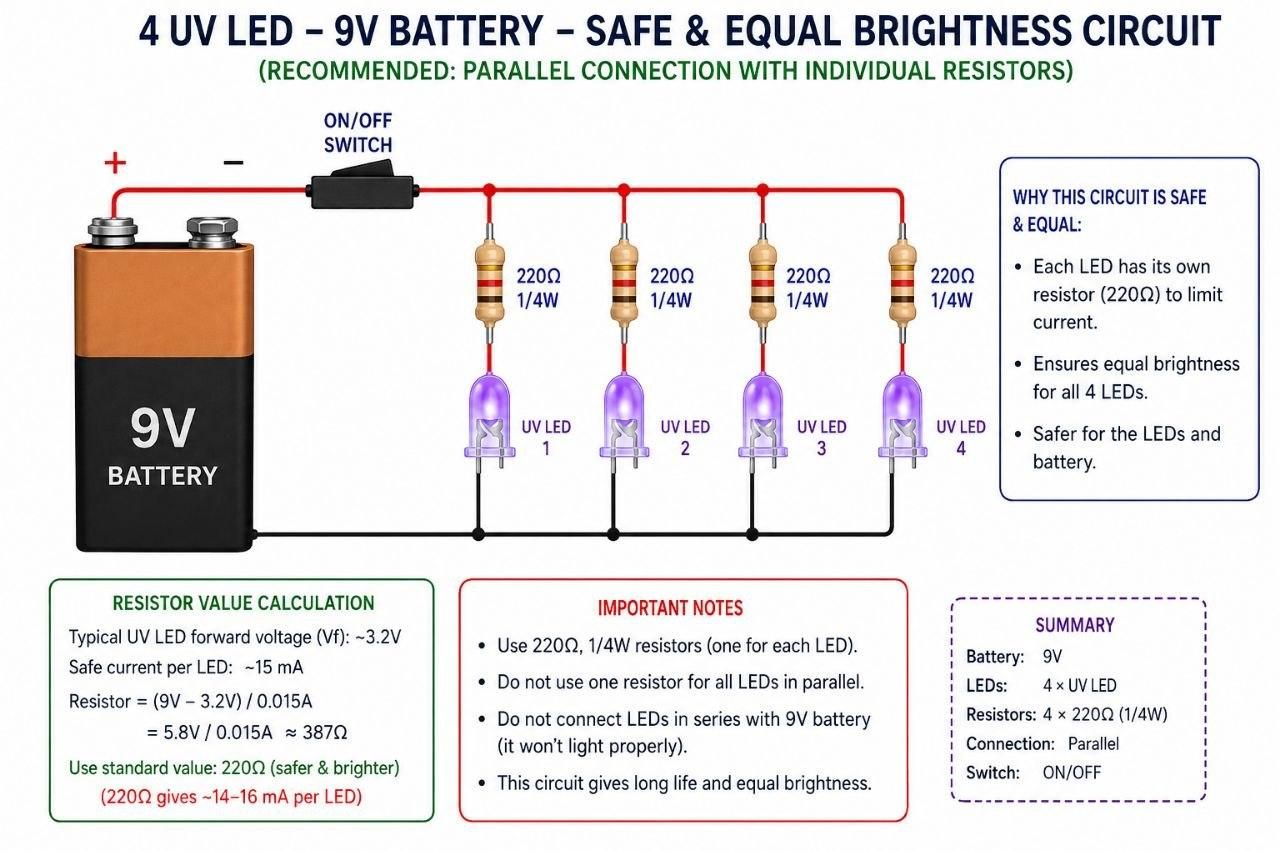
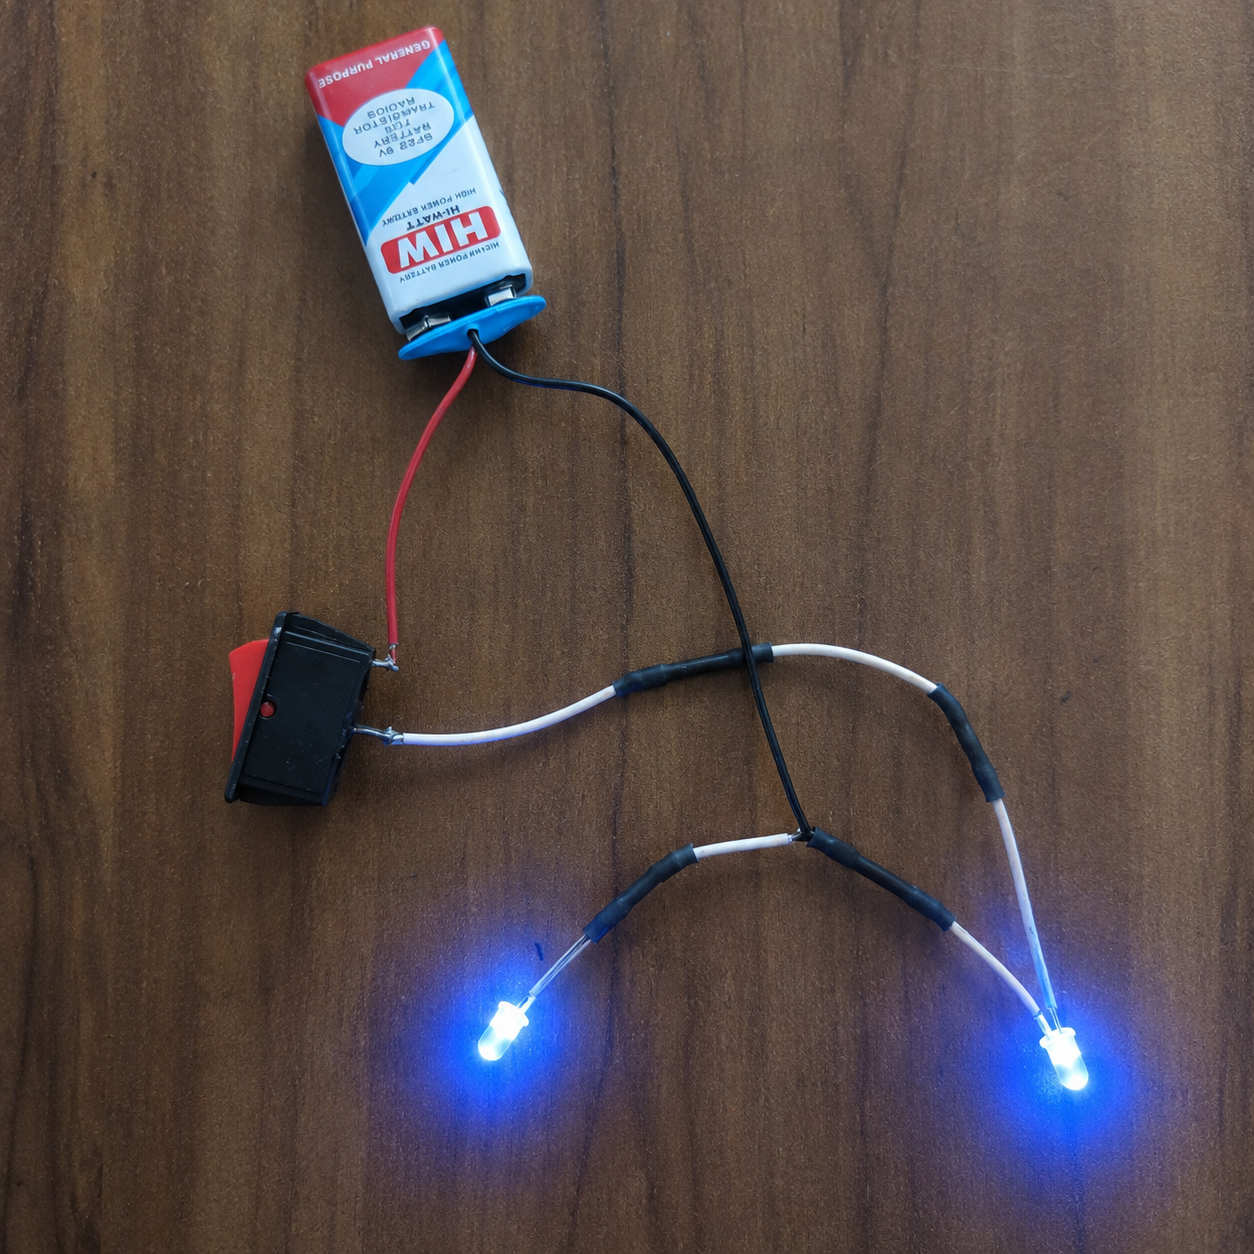
Assemble the electrical circuit according to the wiring diagram. Connect the positive terminal of the 9V battery to the ON/OFF switch. From the switch, connect the output to two separate 150 Ω resistors, with each resistor connected to the positive terminal (anode) of one LED. Join the negative terminals (cathodes) of both LEDs together and connect them to the negative terminal of the battery, forming a parallel circuit. This configuration allows each LED to receive the appropriate current through its own 150 Ω resistor, ensuring safe operation, uniform brightness, and improved durability of both the LEDs and the battery. After completing all the connections, turn the switch ON to verify that both LEDs illuminate properly.
Cut the Box Opening and Make Holes for the LED and Switch
Step 9:
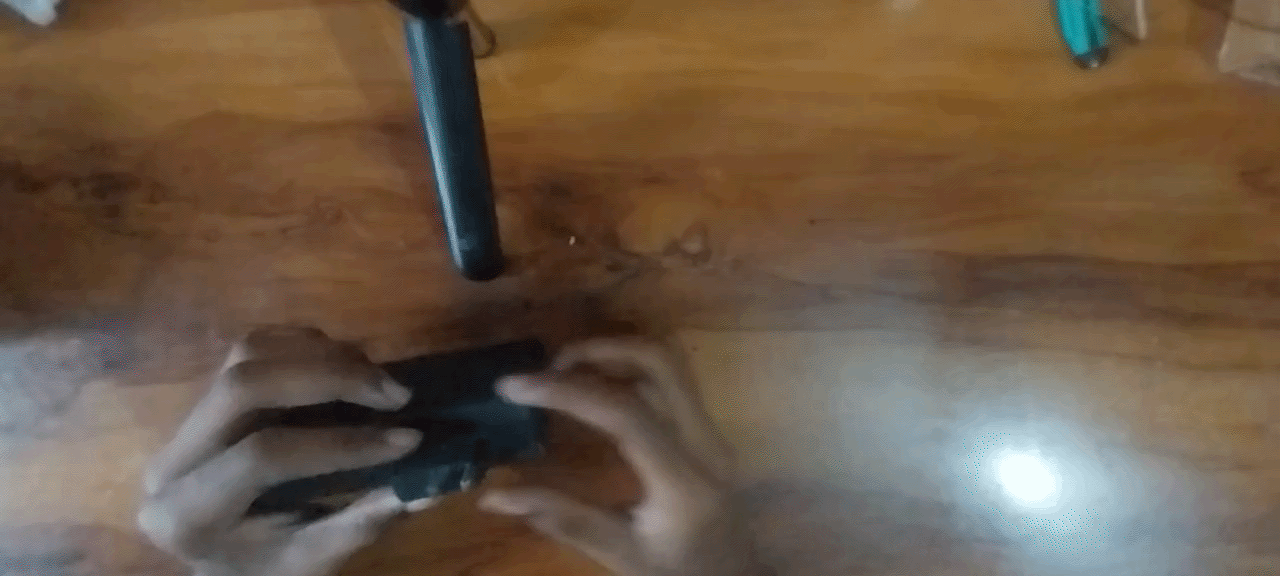
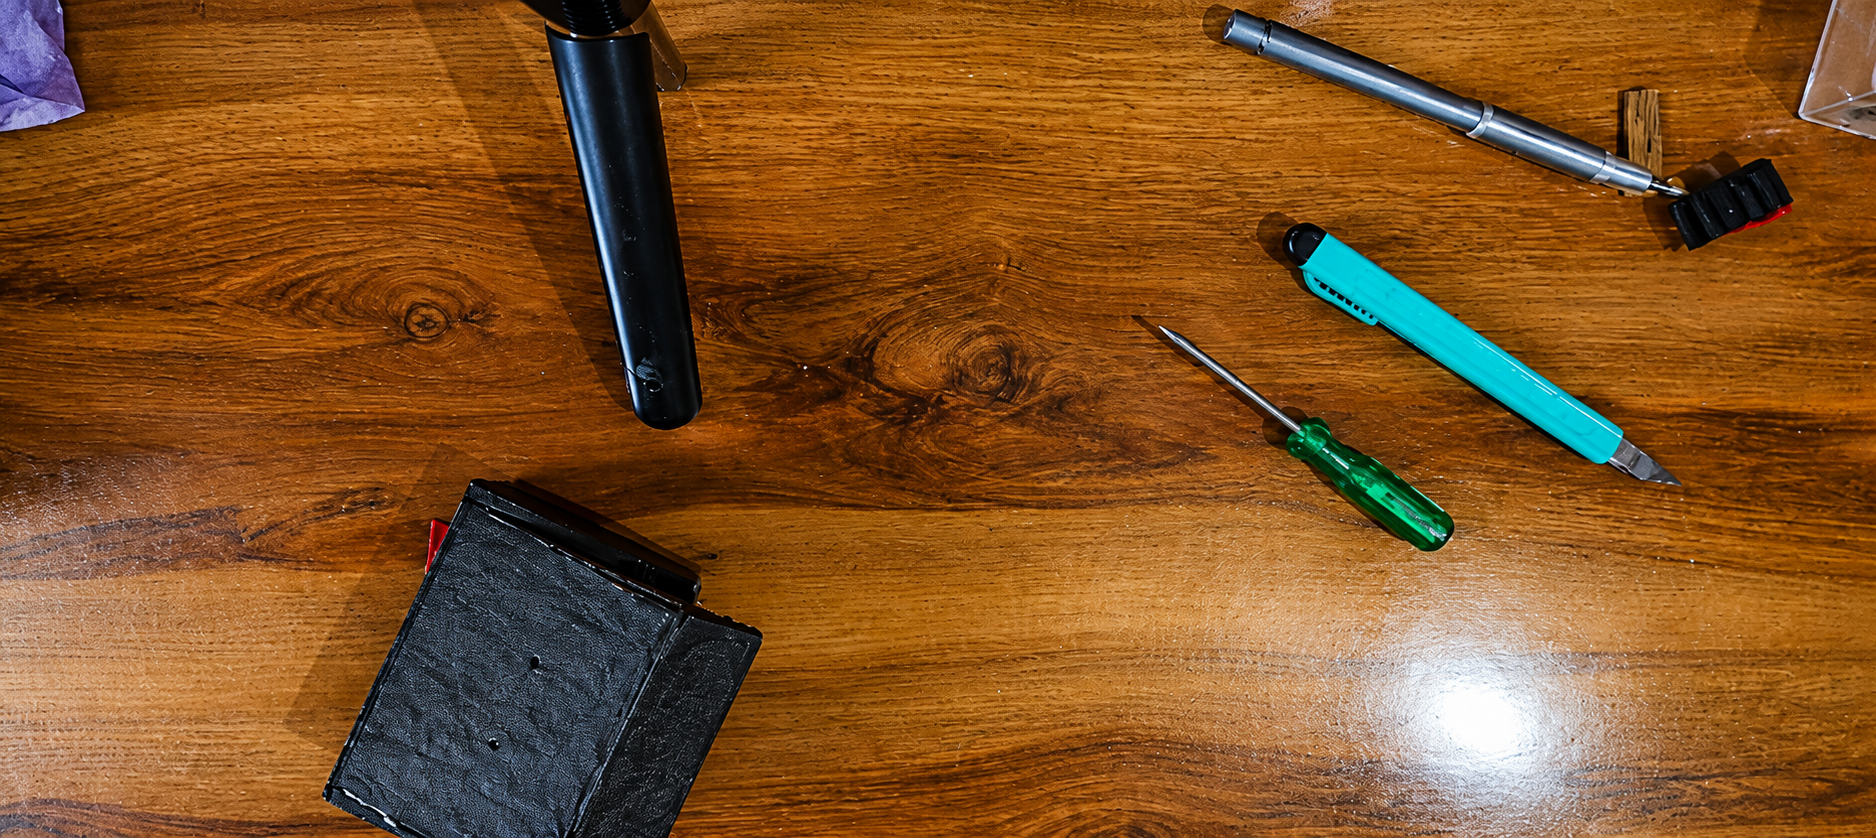
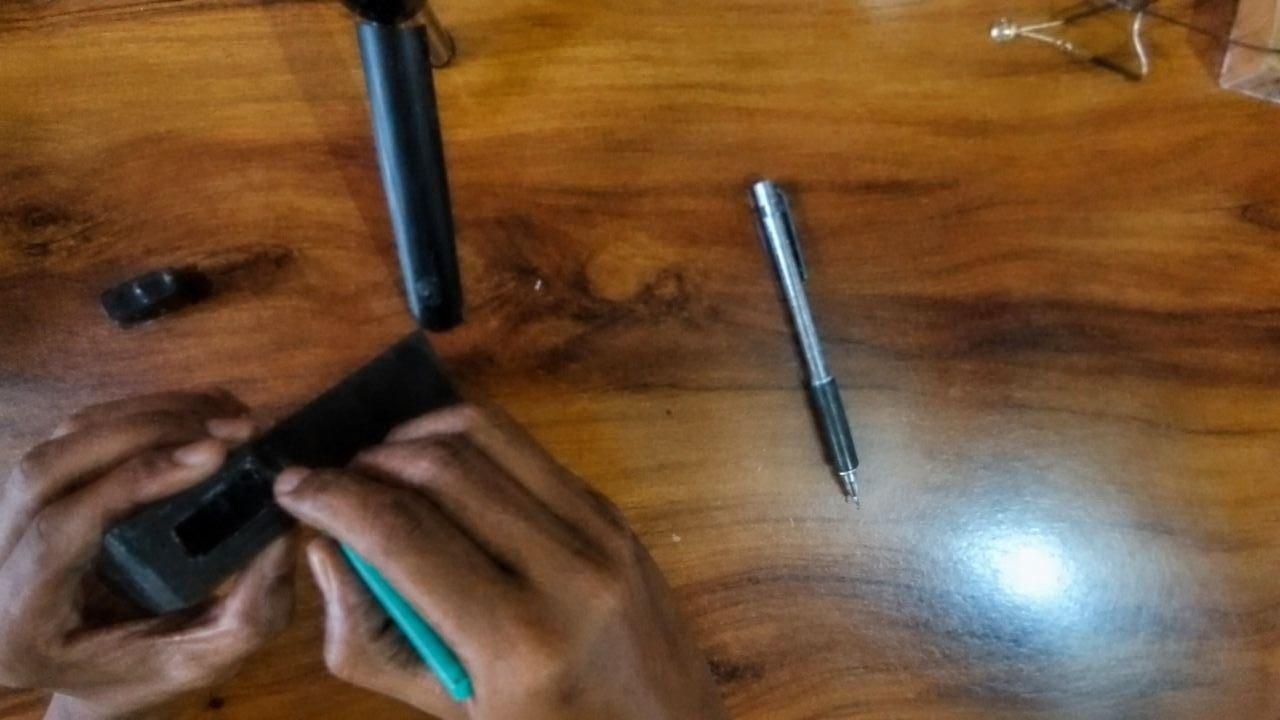
Using a utility knife or craft knife, carefully cut open the original opening side (lid) of the cardboard box so it can be accessed from the inside. Next, use a hole punch, awl, or pointed tool to make small holes for the LEDs and an appropriately sized opening for the switch. Ensure the holes are neat and correctly positioned so the LEDs and switch fit securely. Remove any rough edges before installing the electrical components.
Install the Switch, Battery, and LEDs
Step 10:
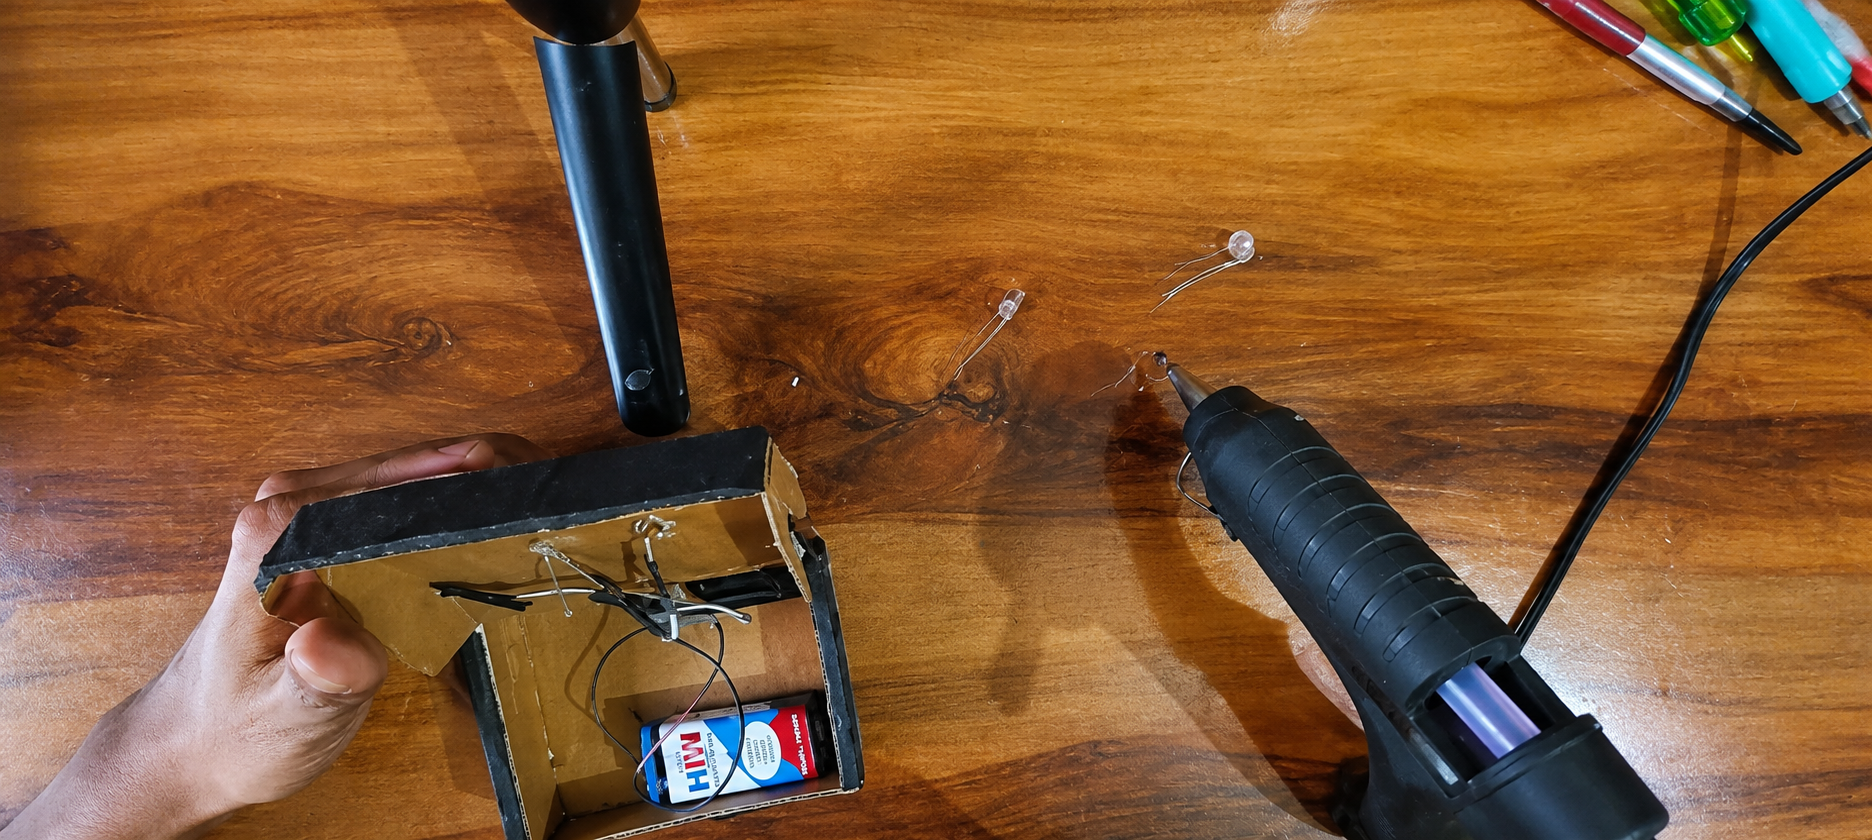
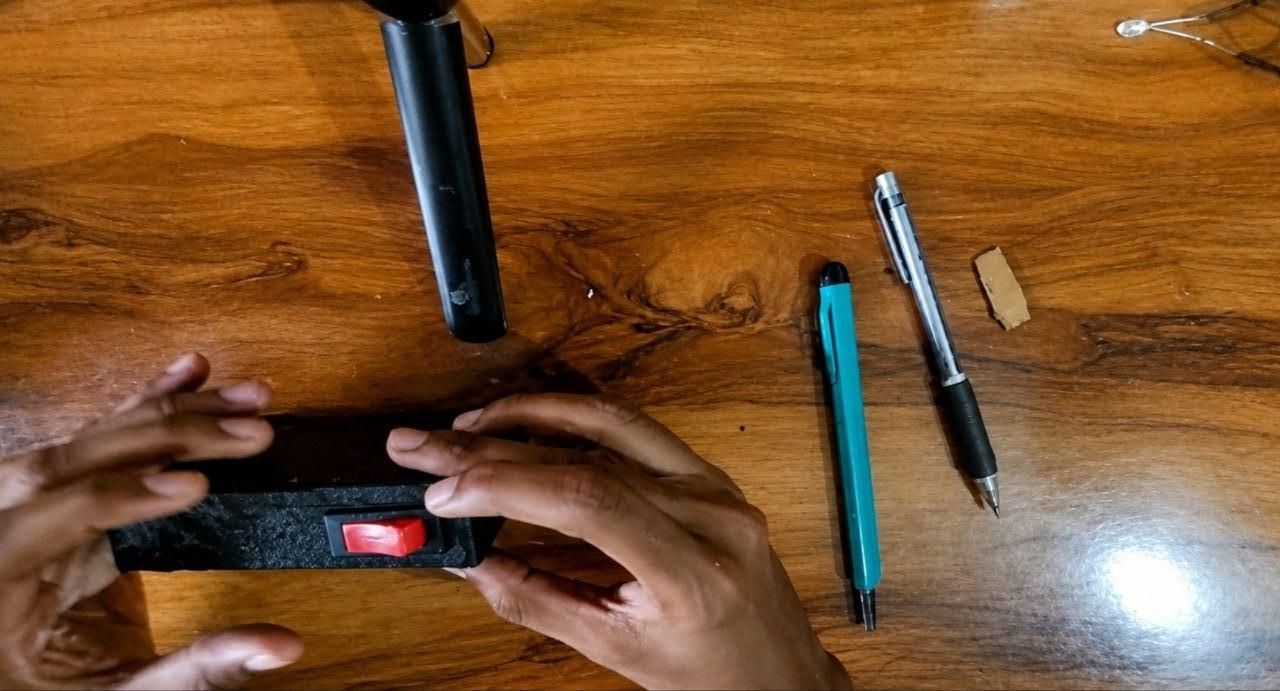
Insert the ON/OFF switch into the switch opening and secure it firmly in place using hot glue. Next, position the 9V battery inside the cardboard box and fix it securely with hot glue to prevent it from moving. Finally, insert the LEDs into their respective holes, ensuring they are properly aligned, and secure them with hot glue from the inside of the box. Allow the glue to cool and harden completely before testing the circuit.
Attach the Flower to the LEDs
Step 11:
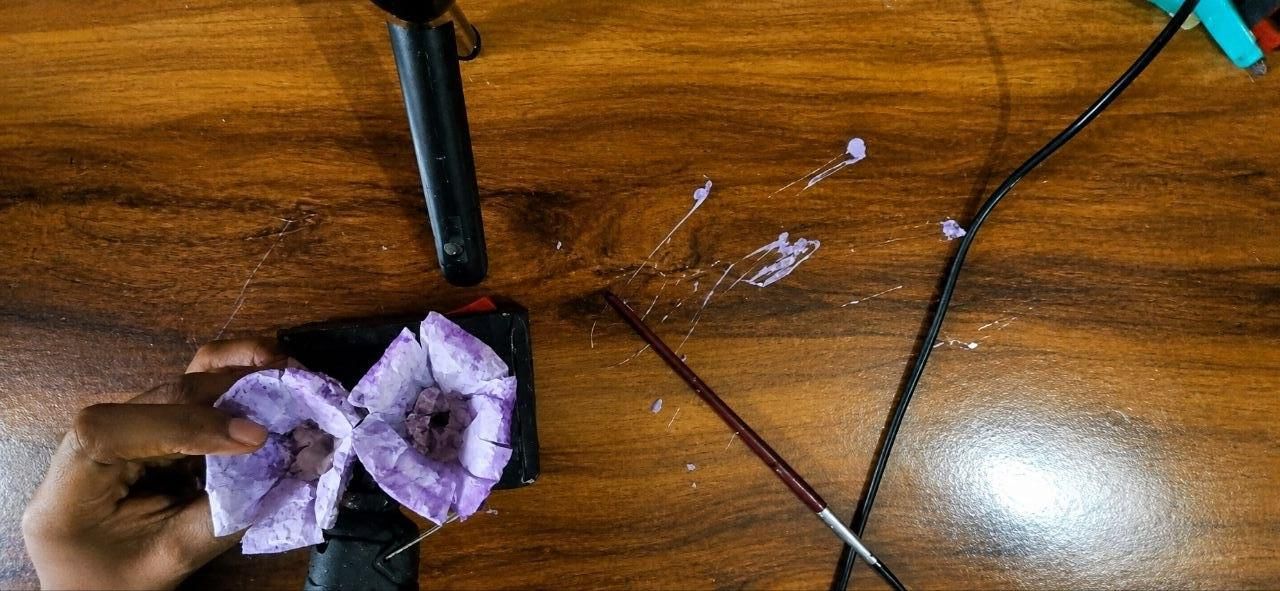
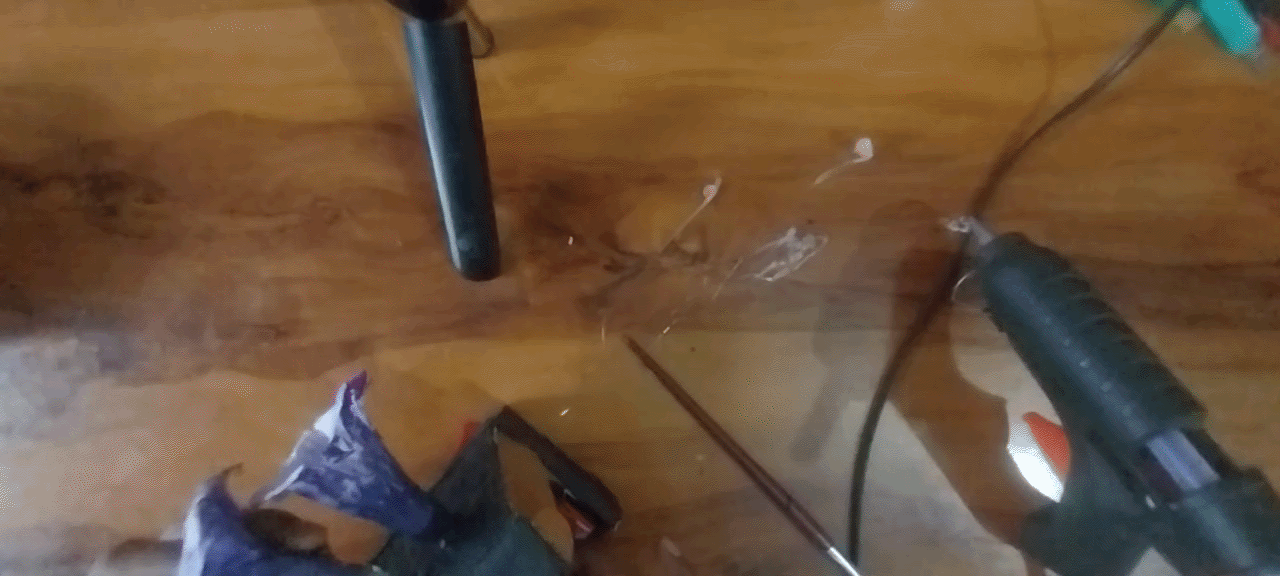
Apply a small amount of hot glue around the base of each LED, then carefully place the handmade flower over the LED. Hold the flower in position for a few seconds until the glue sets securely. Ensure the LED remains centered inside the flower so the light is evenly distributed through the petals. Repeat the same process for all flowers, making sure each one is firmly attached and properly aligned.
Paint the Flower White(acrylic) and Apply Glow Paint
Step 12:
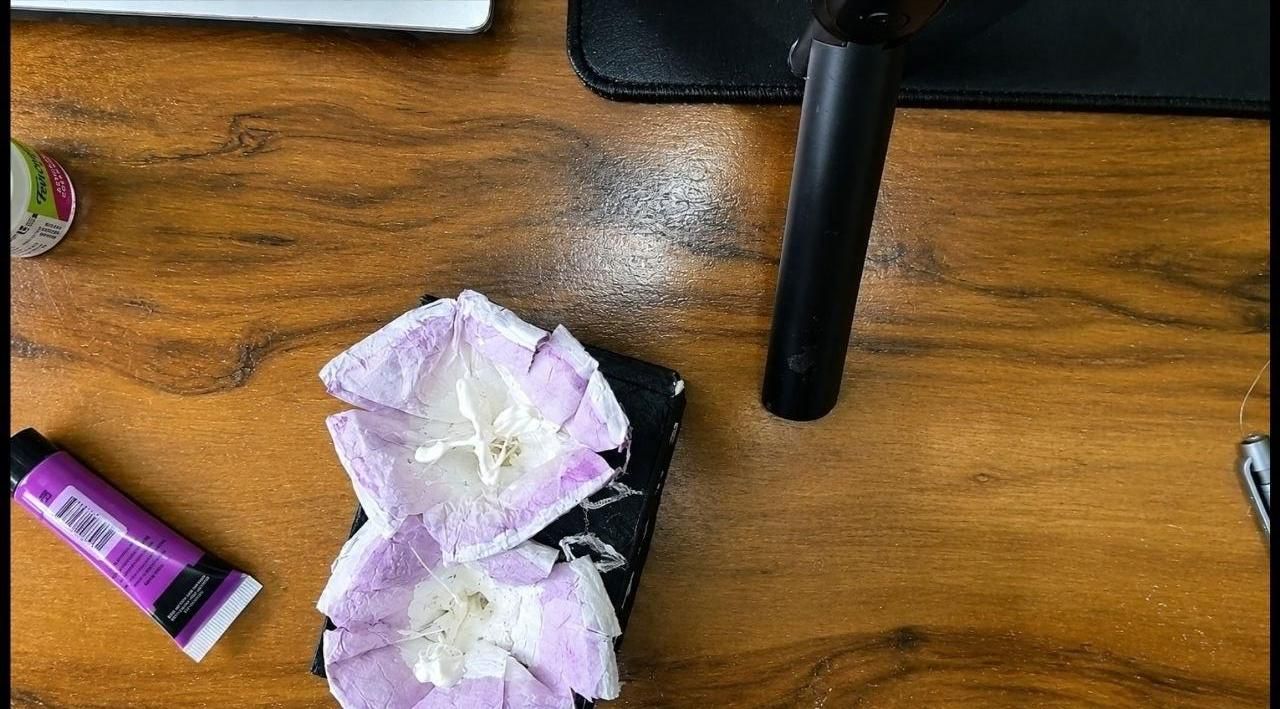
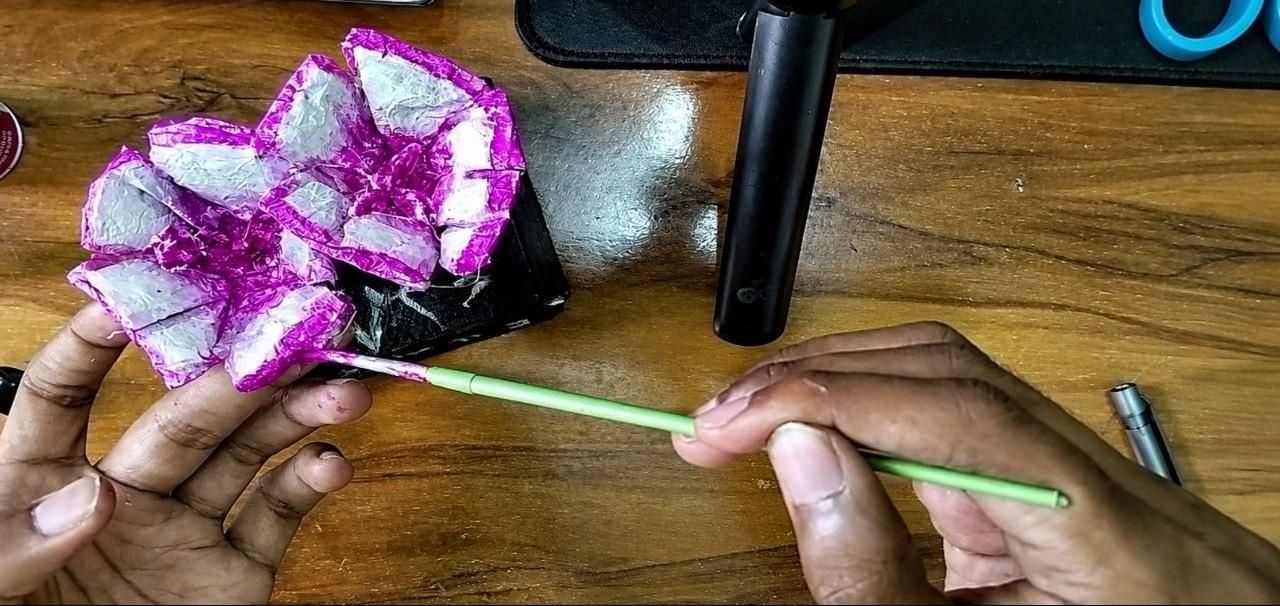
Using a fine paintbrush, carefully paint the petals and the center of each flower with the desired colors, ensuring an even and smooth finish. Allow the paint to dry completely before applying a thin coat of purple glow paint over the petals and the center. The glow paint enhances the flower's appearance by creating a richer purple color contrast during the day and producing a glowing effect in low-light conditions. Leave the flowers to dry thoroughly before handling them or turning on the LEDs.
Glue the Flower Center and Copper Wire
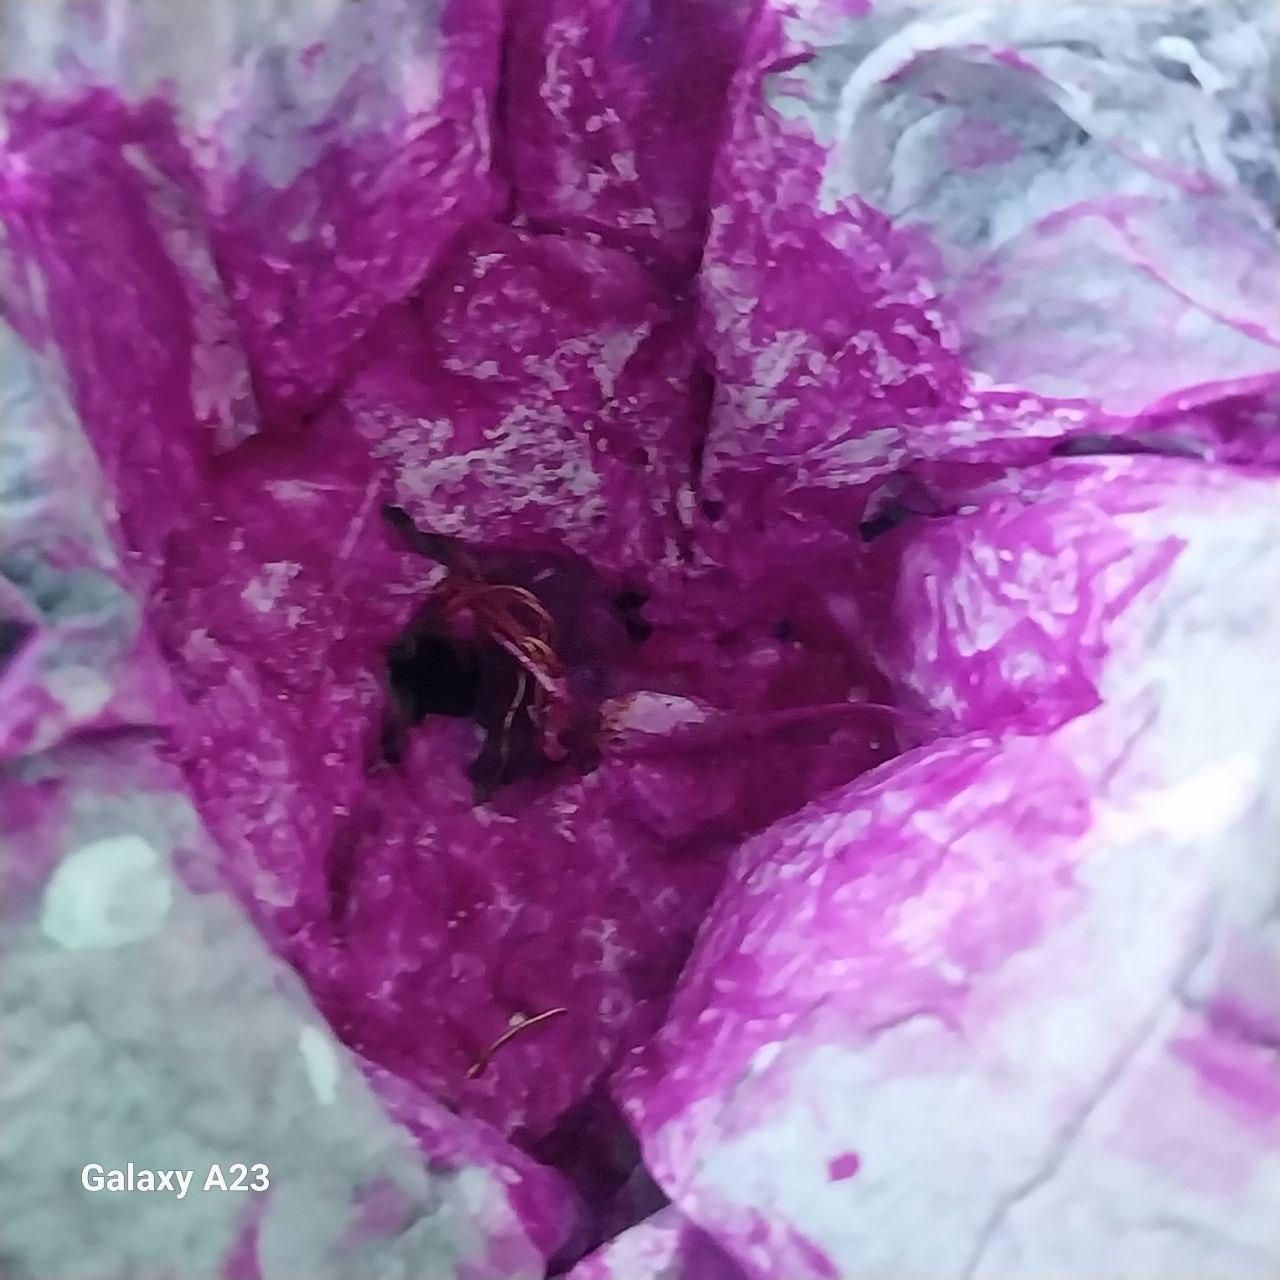
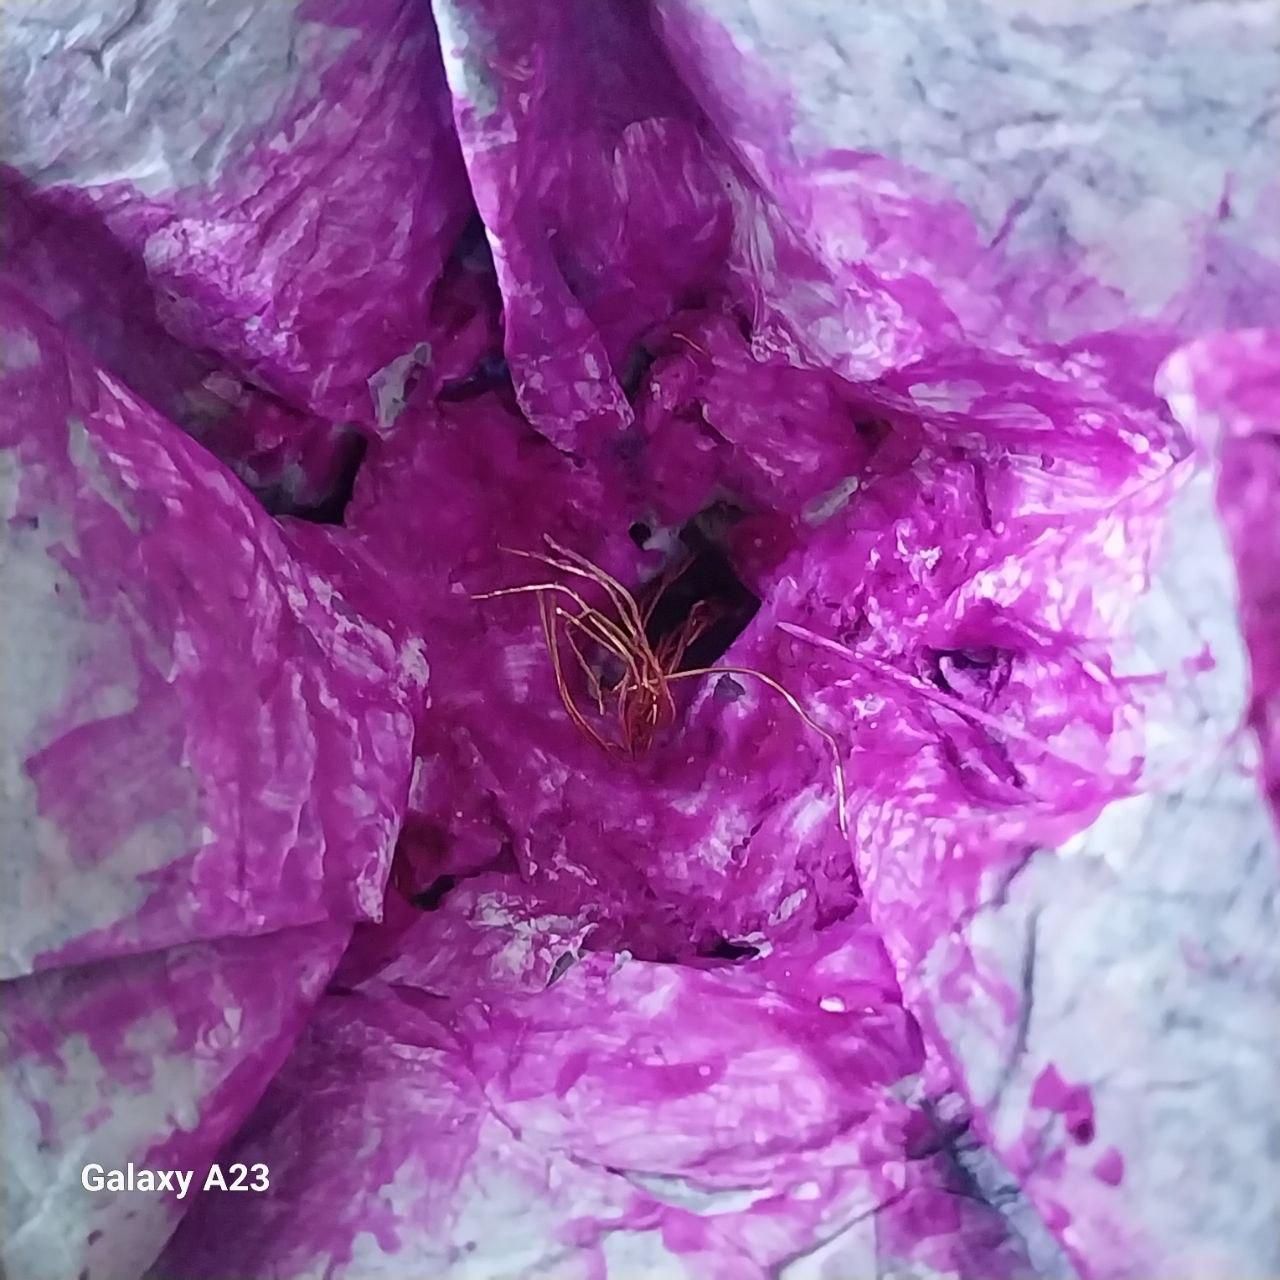
Step 13:
Apply a small amount of hot glue to the center of the flower and firmly attach the flower center in place. Next, insert short pieces of copper wire into the center of the flower, allowing them to extend slightly outward to resemble natural flower stamens. Adjust the wires to spread evenly for a realistic appearance, then allow the hot glue to cool and harden completely before moving to the final assembly.
Add the Glowing Center(glue Stick Peices) and Paint the Wakanda-Inspired Design
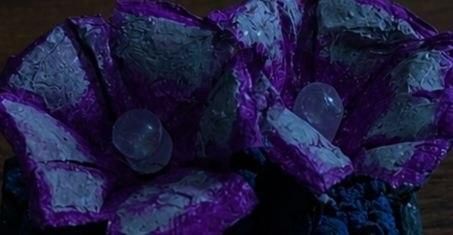
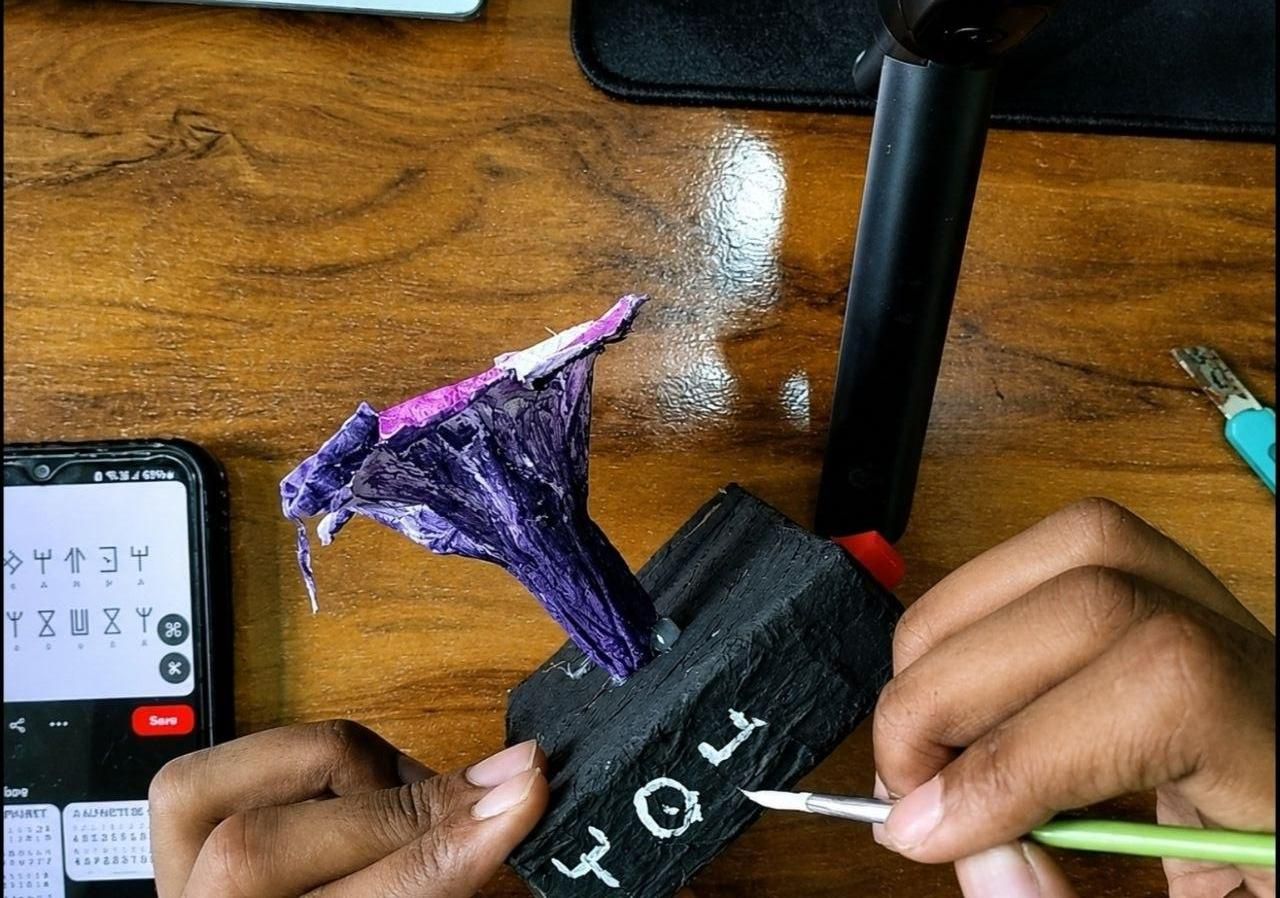
Step 14:
Using hot glue, create a small transparent cylindrical piece and allow it to cool completely. Insert the hot glue cylinder into the center of the flower, positioning it between the copper wire strands. The transparent hot glue acts as a light diffuser, allowing the UV LED to pass through it and produce a brighter, more vibrant glow, giving the flower a more Wakanda-inspired appearance. Once the flower is fully assembled, use white acrylic paint and a fine paintbrush to carefully paint the Wakanda-inspired patterns and details on the petals. Allow the paint to dry completely before switching on the LEDs to reveal the enhanced glowing effect and finished design.
Create the Vibranium Rock
Step 16:
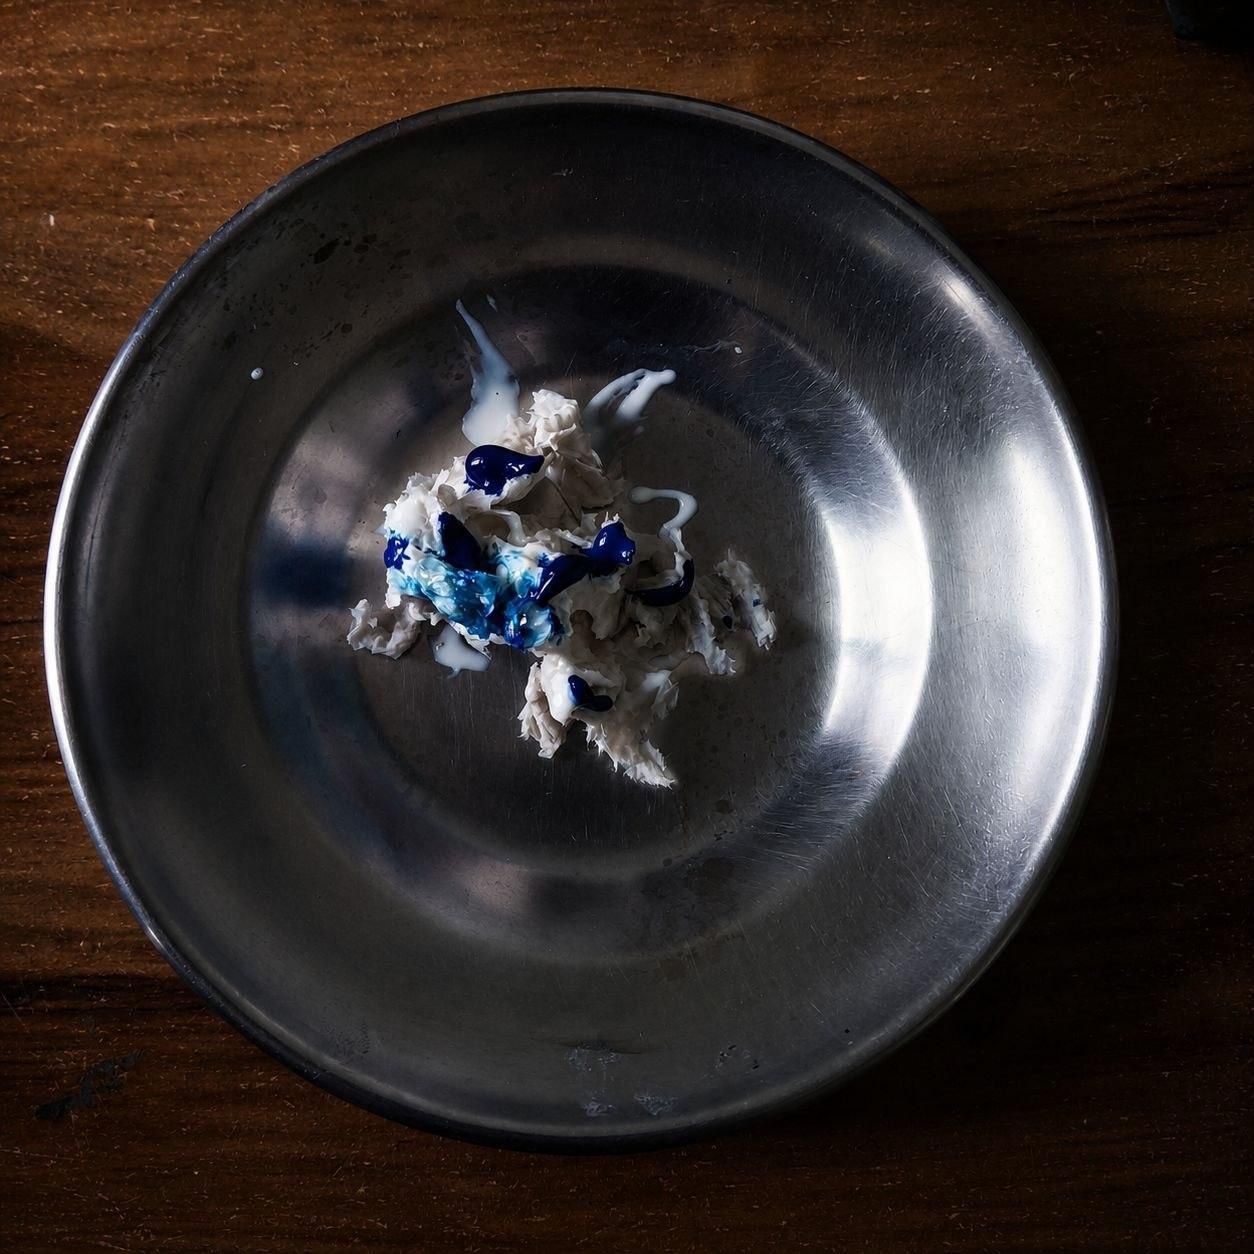
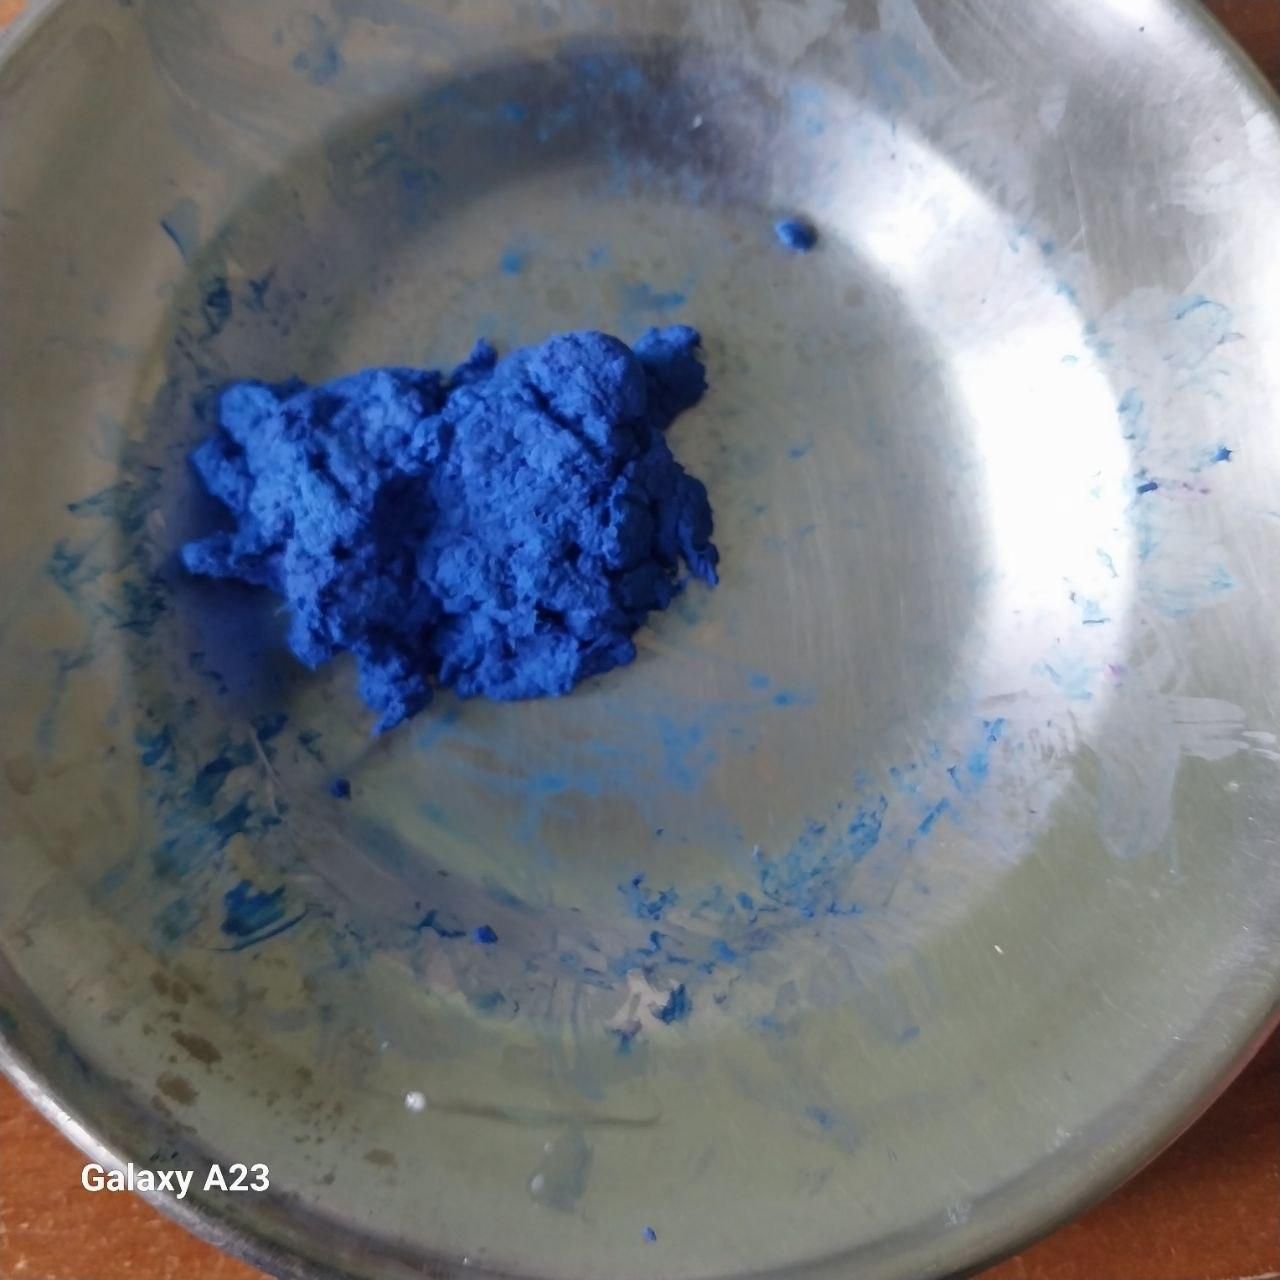
Using the same tissue paper and tissue clay (prepared with a 1:1 glue and water mixture), sculpt a Vibranium-inspired rock along with the project background. Shape the rock to resemble a natural crystal formation and allow it to dry completely. To achieve the signature Wakanda-style Vibranium color, mix 1 drop of light blue paint, 1 drop of dark blue paint, and 1 drop of purple paint, then mix the mixture like a dough evenly using hands . Position the finished rock around the base of the flowers to create a realistic landscape. In addition to enhancing the overall appearance, the Vibranium rock also conceals the hot glue and wiring, giving the project a cleaner, more professional finish while strengthening the Wakanda-inspired theme.
Add Hot Glue Feet to the Bottom of the Box
Step 17:
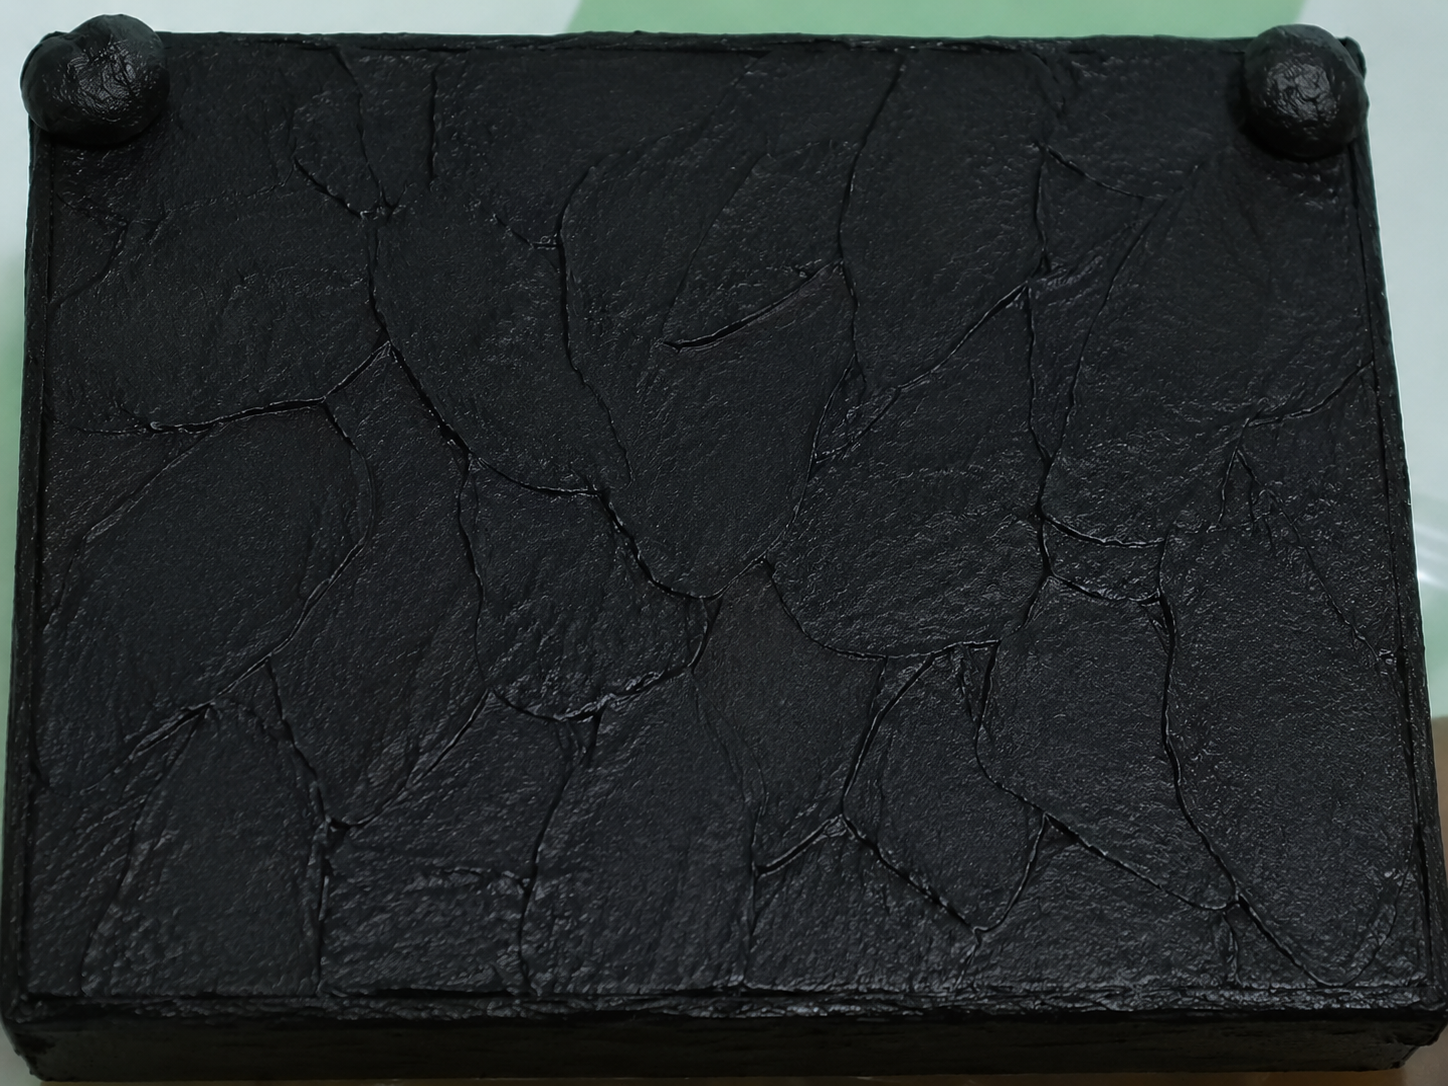
Using a hot glue gun, create four small glue dots or cylindrical feet on the underside of the cardboard box, positioning one near each corner. Allow the hot glue to cool and harden completely before placing the project on a flat surface. These raised feet slightly elevate the box, improving its stability and giving it a cleaner, more professional appearance. The elevation also prevents the bottom of the box from sitting directly on the surface, similar to the rubber feet found on laptops.
Final Outcome
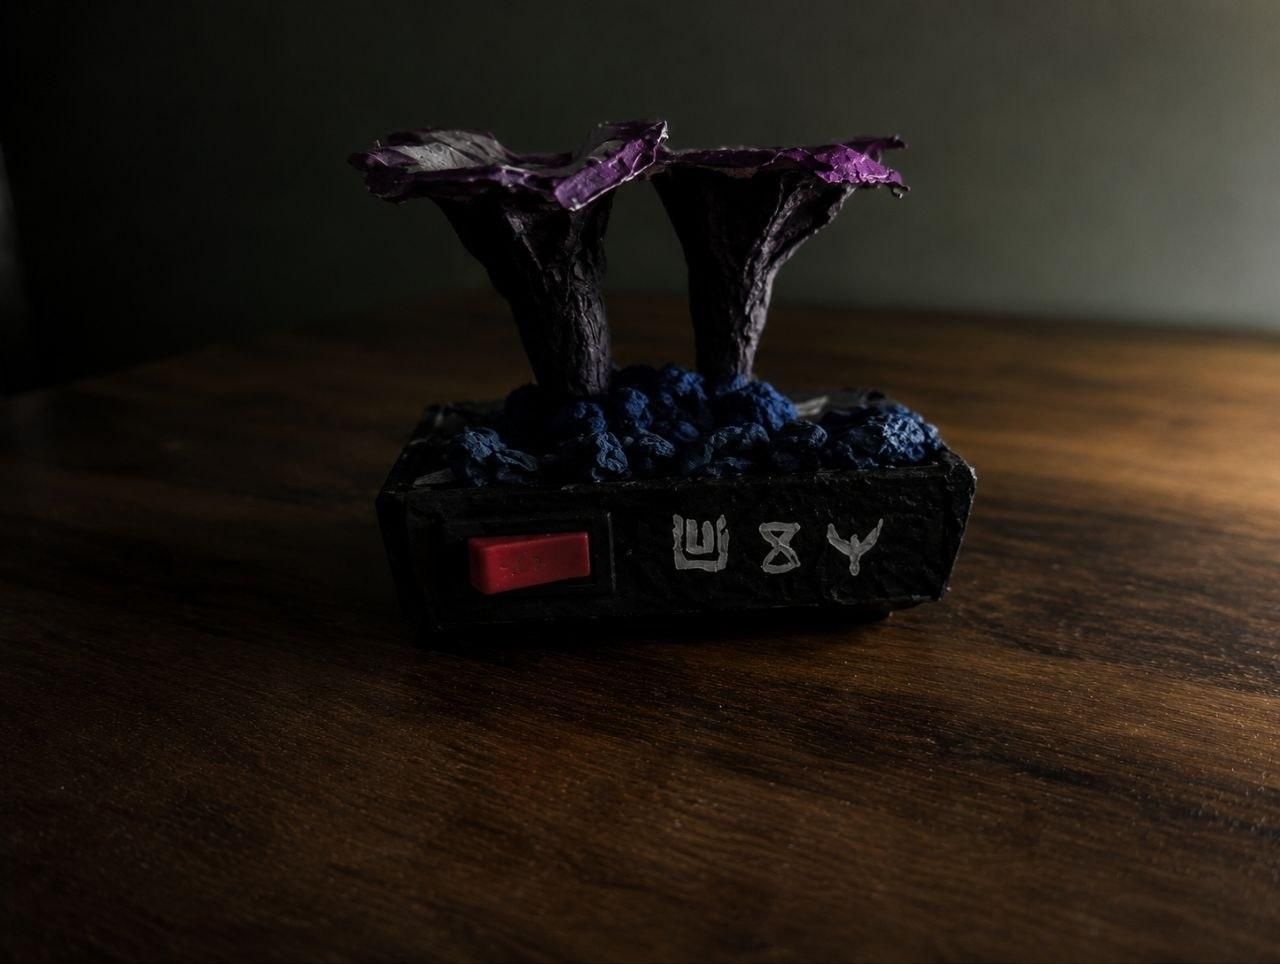
Final Outcome
The completed project successfully combines art, craft, and electronics to create a Wakanda-inspired glowing Vibranium Flower Lamp. The use of recycled materials, tissue art, LEDs, and a custom-designed electrical circuit demonstrates creativity, sustainability, and practical application of basic electrical principles. The finished model provides an attractive illuminated display while showcasing innovative design inspired by nature and futuristic technology.