War Dragon - Character and Environment Creation
by MrWingly in Design > Animation
505 Views, 4 Favorites, 0 Comments
War Dragon - Character and Environment Creation

Hello everyone!
My name is Matthew Leung, a 3D Animation student in NYC! I specialize in character creation and love to bring my creations to life in a video form. Here is my entire pipeline from character creation, texturing, rigging, animating, environment design, and how to cleanly put everything together!
Supplies
Drawing Software - (Procreate, Photoshop, Krita, etc.)
Modeling Software - (Autodesk Maya, Blender, Cinema 4D, etc.)
Sculpting Software - (Mudbox, ZBrush, Blender, Nomad Sculpt, etc.)
Texturing Software - (Substance Painter, Mari, 3D Coat, etc.)
Rendering Software - (Autodesk Maya, Blender, Unreal Engine 5, etc.)
Compositing Software - (Nuke, After Effects, Davinci Resolve, etc.)
References

The first and most important step of this entire process is to find a reference that you would enjoy taking to completion. If there is no passion in it, it is extremely hard to push yourself to finish.
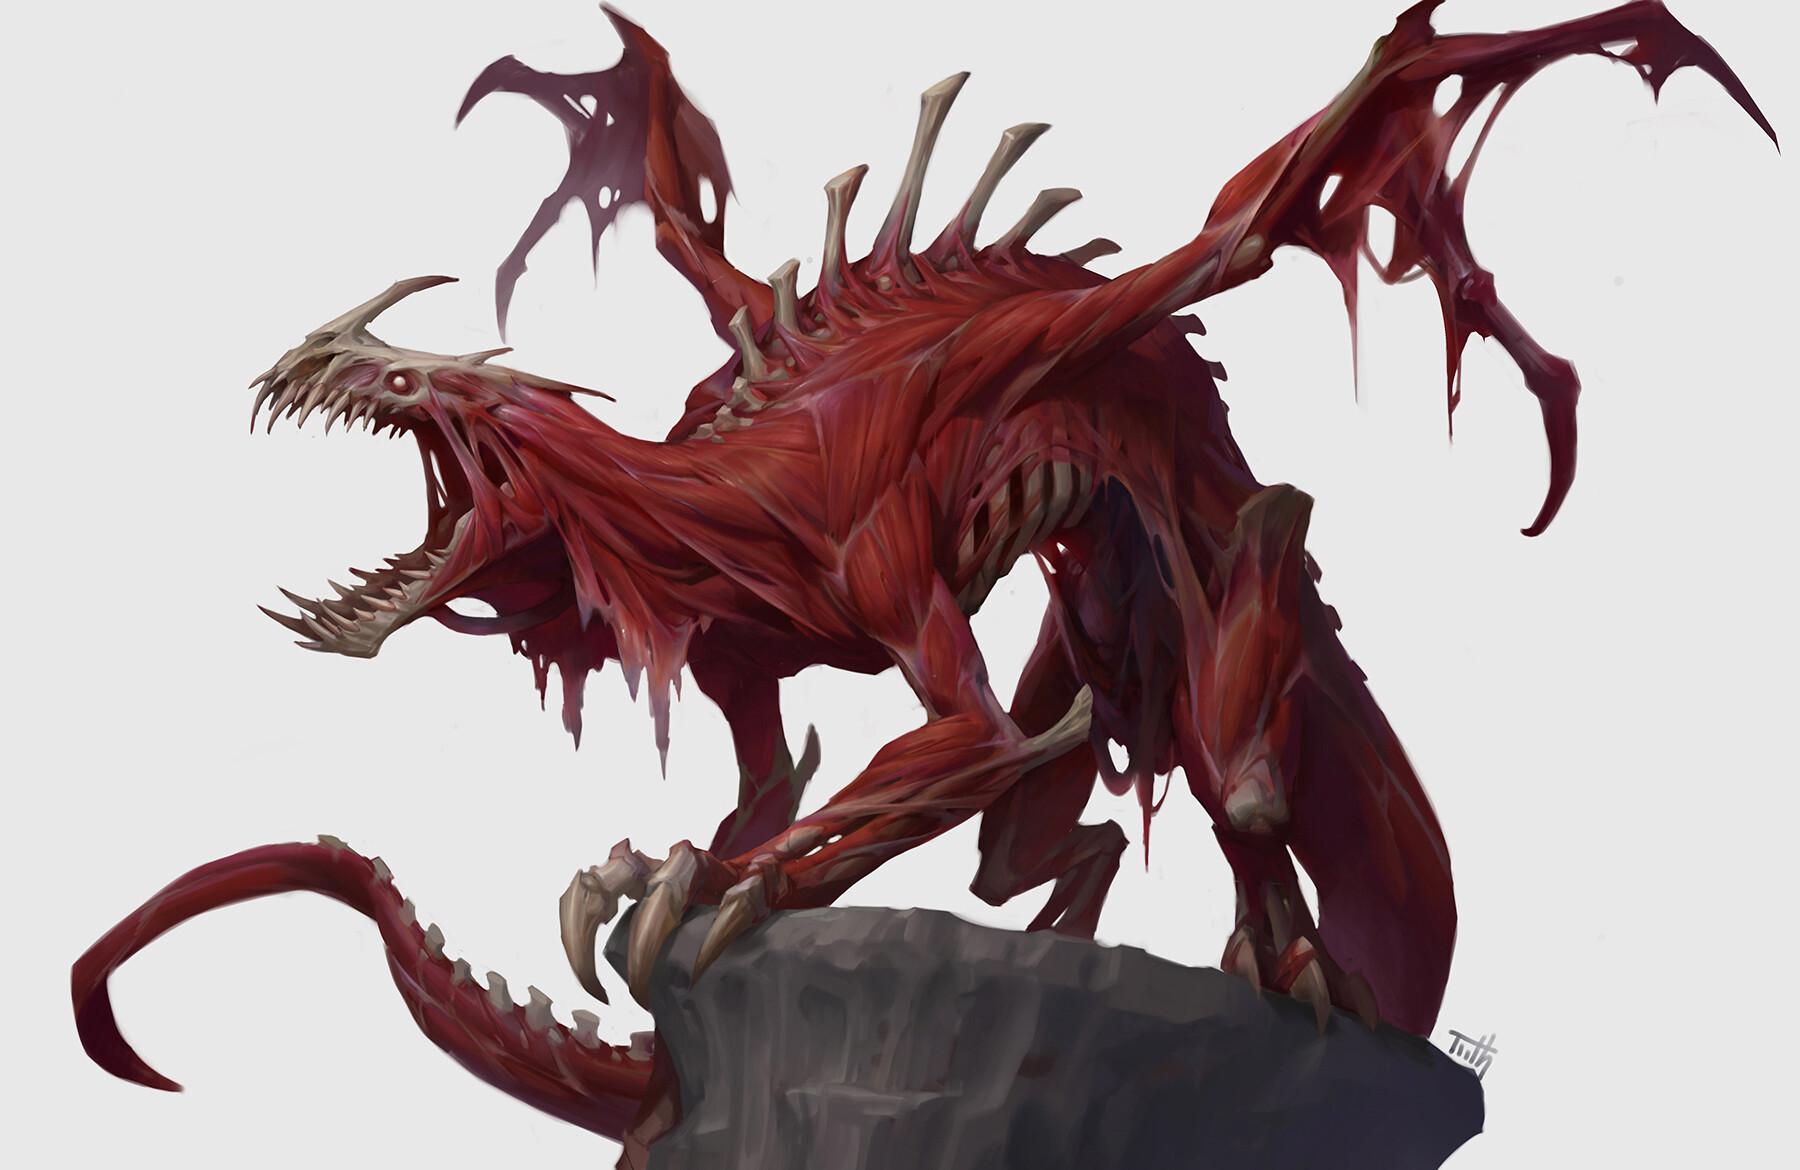
For this specific project, I used this reference by a very talented 2D Character Artist, Tooth Wu, on Artstation. You could also design your own character but it is always recommended to have a 2D concept to reference before the sculpting stage.
Sculpting


Now its time to sculpt your reference!
This is my favorite step. I personally used ZBrush to sculpt out this dragon but there are many other great programs such as Mudbox, Blender, or Nomad Sculpt which you can utilize to get the same results. This is a high-poly rendition so there is no need to worry about poly count for now, just make it as eye-pleasing as possible.
Important Tip:
It is recommended to try to keep everything as symmetrical as possible as this will make everything down the line twice as easy since you only have to worry about one side. In my case, this started off as just a practice sculpt and I did not have any plans on moving forward with the pipeline so I sculpted it with its tail unsymmetrical. This proved to be quite the pain further down the line so if you have plans to not only sculpt, but to retopologize and animate, make sure you have symmetry in your model!
Retopology


Once you have finish your high-poly sculpt of your character, it is time to retopolize so it can be textured and animated! This is the most time-consuming and tedious step so make sure to have some music playing in the background so your mind does not go numb.
Firstly begin by importing your high-poly sculpt into your 3D program of choice, I personally used Autodesk Maya as their retopology tools are unmatched.
There are many different workflows to retopology but almost all workflows utilize Maya's Quad Draw Tool.
To start off, you must first make your high-poly a Live Surface so you can begin placing faces on top. Then by using quad draw, carefully place each face while keeping in mind proper edge flow and topology knowledge. After many many hours of tedious work, the lowpoly model is finally complete!
Important Things to Keep in Mind:
- Quad,Quad,Quads: Try your best to make all of your mesh have four-sided faces. Tris (3 Sides) are sometimes acceptable but NGons (5+ Sides) are a no no.
- Patience: Many people often rush this step however that will affect all of the pipeline down the road. This step is crucial down the road for Texturing and Rigging so try your best
- Edge Flow: Edge flow is extremely important in places where our bodies are bent a lot, such as the armpit, elbow, fingers. It is super important to have the knowledge of where to put extra loops and how to have that clean deformation when it is eventually animated.
UVs


Now its time to UV your lowpoly model so it can be textured. I used Autodesk Maya for this step.
Make cuts on the mesh to where the uv shells should be separated. To have higher detail in the final product, I used multiple UDIMS so the texture looks much cleaner and higher quality.
Texturing


This is one of the most rewarding stages of this pipeline where we see all of our hard work pay off. We can now essentially make our low-poly model look exactly like our high-poly.
We will be importing both our low and high poly model to our texturing program of choice. I personally used Substance Painter. First off, we need to bake our high poly model to our low poly model. This gives our low poly model a set of texture sets for ambient occlusion, normal maps, position, curvature, and etc. This essentially "bakes" the high poly information onto the low poly model, giving it the detail of the high poly model.
The next step is all up to your creative freedom. Combine a bunch of different materials to make your character feel "alive". Remember, to achieve perfection in 3D is to aim for imperfection.
Rigging

Now its time for rigging! Many people dread this step but once it is complete, the satisfaction of seeing the character you worked so hard on being able to move is unmatched.
I used Autodesk Maya for this step. Rigging is a whole other topic which is too long to cover everything but I essentially rigged with Advanced Skeleton and weight painted with NgSkinTools both of which are free plugins for Maya.
Once your rig is done, congratulations you can now animate your character!
Environment : Planning & Modeling


Sadly, we cannot go straight into animation as we do not have a set to place our character. We'll first have to repeat all of the steps we did for our character but now with our environment. I prefer creating the environment after the character is done so I can get a sense of what vibes my character gives off and what kind of environment would best complement my character's atmosphere.
First, is finding reference, sketches, etc. You could either build your own environment or reference one. For this project I made my own sketch of what I thought would be a cool environment for my dragon.
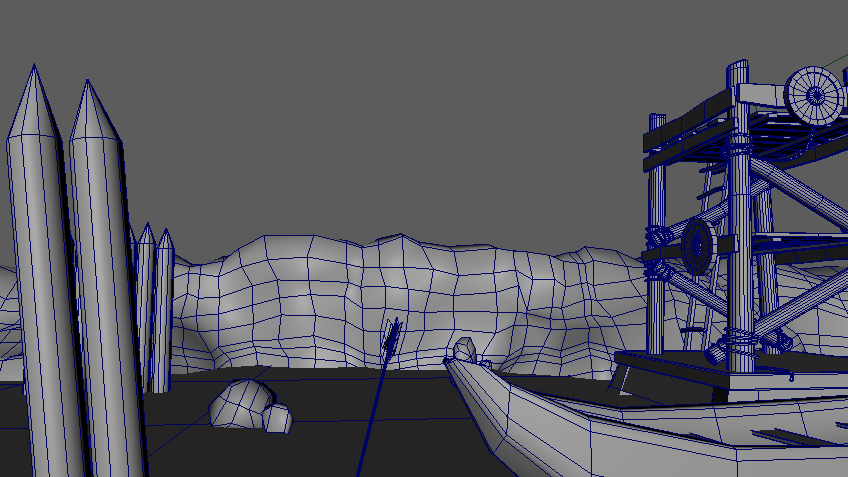
Second, is modeling. Make all of the props in your environment and the general landscape. I repeated steps 2 and 3 for the more organic shapes such as the mountain and rocks. I sculpted a rocky landscape which I then took into Maya to retopolize.
Environment : UV and Texturing


Now its time to repeat steps 4 and 5 but for our environment.
Cut and UV all of your objects and arrange the UVs in a UDIM format for more detail. Import to your Texturing Software and bake the high-poly mesh to the low-poly version.
You're done with your environment! We can now move on to animation!
Animation

Now its time for the long-awaited animation!
Put everything together and import your rig into your environment scene. Set up your camera and animate!
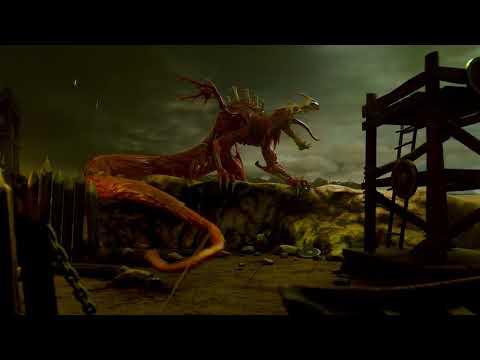
(attached below is a playblast of my animation if you'd like to see)
Downloads
Lighting and Rendering

Now for one of the most important steps, lighting and rendering.
Import your environment and your animation into your preferred rendering program. I personally used Blender for this step. Set up all your lights and backdrops. Using rim lights and backlights to emphasize your subject makes your final product feel much more professional and clean. Use volumetrics to give it a moodier atmosphere. Make sure to always add motion blur to give it a more professional final product. Hit render, grab a snack, and wait for it to finish.
Compositing and Color Grading


Now for the last and final step, compositing and color grading.
Transfer your rendered frames into your compositing program of choice. I personally used Nuke. Make sure to color-grade your video to make the color pop out more. Notice the before and after and how much of a difference this step affects. Add in additional effects such as ember, atmospheric smoke, etc and you are finally done!
Completion

After adding sound effects and exporting the final video, grab your comfiest socks, snuggle into your bed, and hit post. Make sure to give yourself a quick pat on the back, do a little dance, and most importantly move on to your next character and environment >:).