Warming Cat Bed
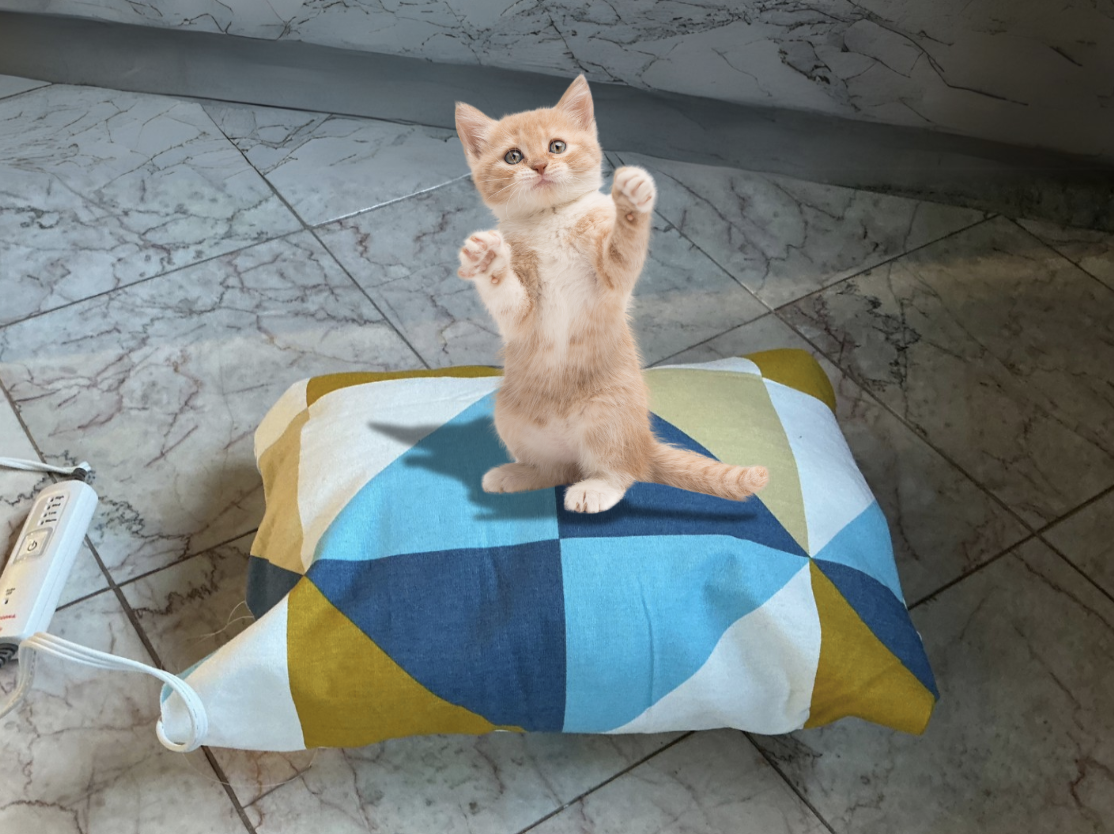
If you're a cat lover, you know how much cats enjoy cozy spots to curl up and nap in. But what if you could make their favorite resting place even more comfortable and inviting? Meet the warming Cat Pillow—a cozy, soft, and perfectly snug haven that will have your feline friend purring with delight. Whether it's a cold winter day or your cat just loves to be extra cozy, this DIY project is the perfect solution to keeping your pet comfortable, no matter the season.
In this tutorial, I'll walk you through the process of making a heated pillow designed specifically for your cat's comfort. The heating pad inside the pillow ensures that your furry companion will always have a warm spot to relax, helping them stay comfortable even on the chilliest days. This project is simple enough for beginners and customizable to fit your cat's unique sleeping style and likings.
With some basic materials and a love for your furry friend, you’ll be able to create a soft, heated pillow that’s safe, efficient, and perfect for your pet’s napping needs. So, if you’re ready to spoil your cat with the ultimate cozy spot, let's get started on this warm and fuzzy DIY project!
Supplies
- Fabric
- heating pad
- stuffing
- Sewing machine
- thread
- button
Select a Fabric
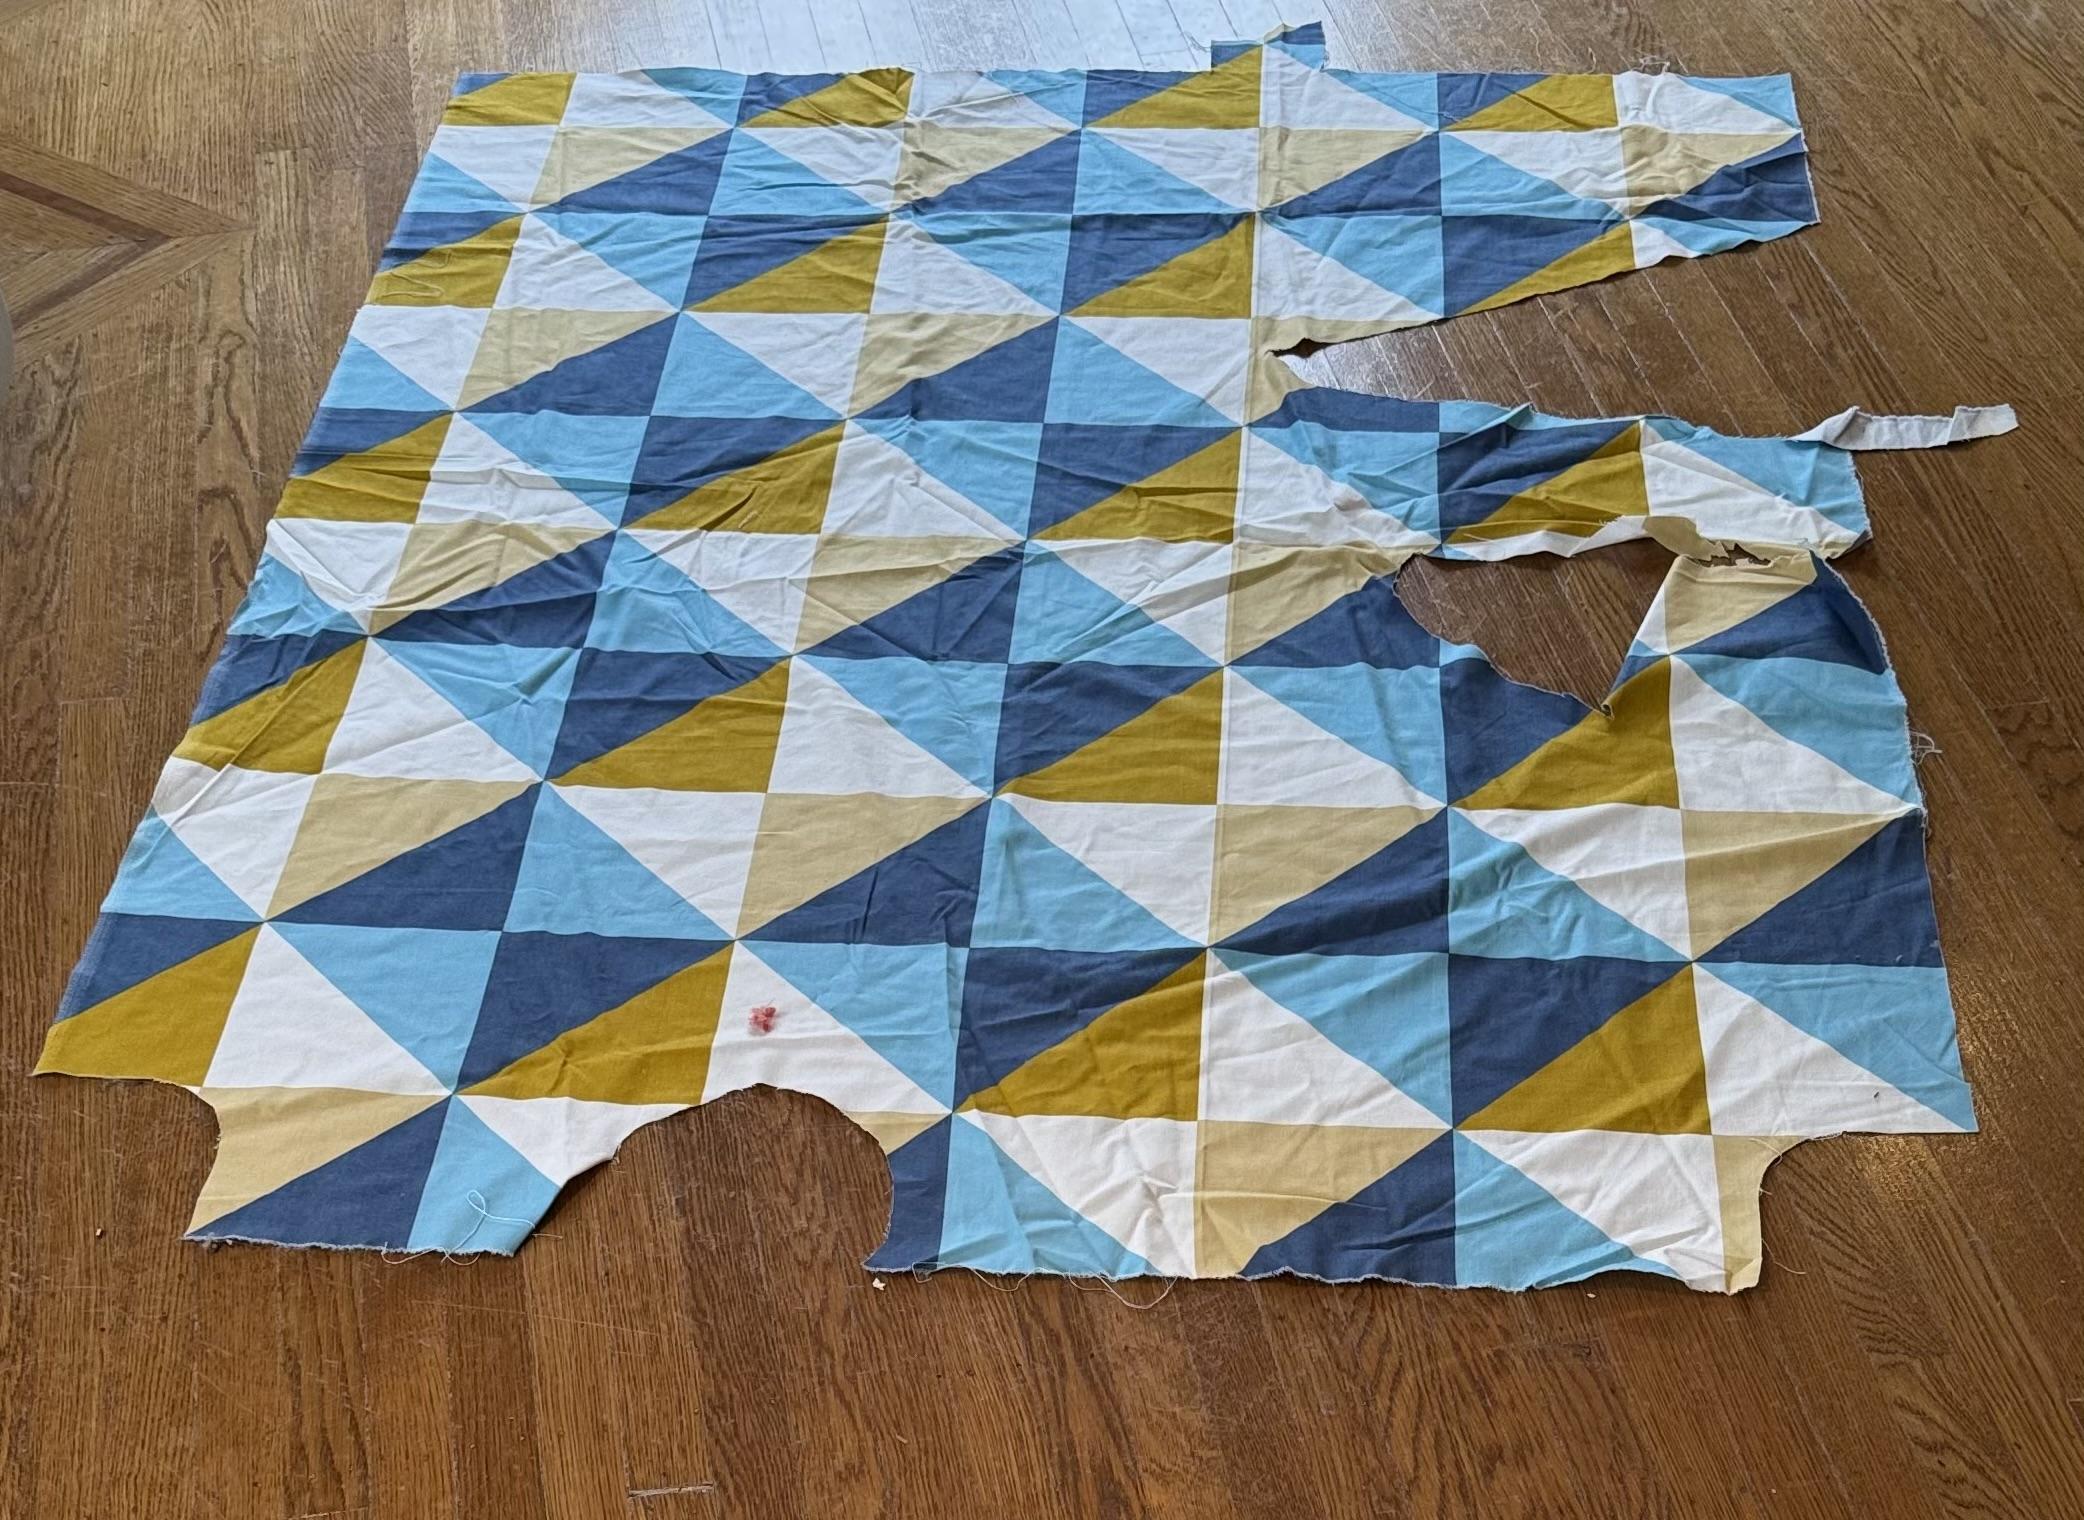
When choosing a fabric for a cat bed, comfort and durability are key. Soft fabrics like fleece or faux fur provide warmth and coziness, while sturdy materials like microfiber or canvas can withstand scratching and wear. Opt for machine-washable fabrics, such as cotton or polyester, to make cleaning easier. Breathable options like cotton help regulate temperature, keeping your cat comfortable. Non-toxic, eco-friendly fabrics like organic cotton are ideal for safety, especially since cats may chew or lick their bed. For added convenience, consider water-resistant fabrics if accidents are a concern. Lastly, pick a fabric that complements your home’s style while ensuring your cat enjoys a cozy, long-lasting spot to relax.
Fold and Cut the Fabric
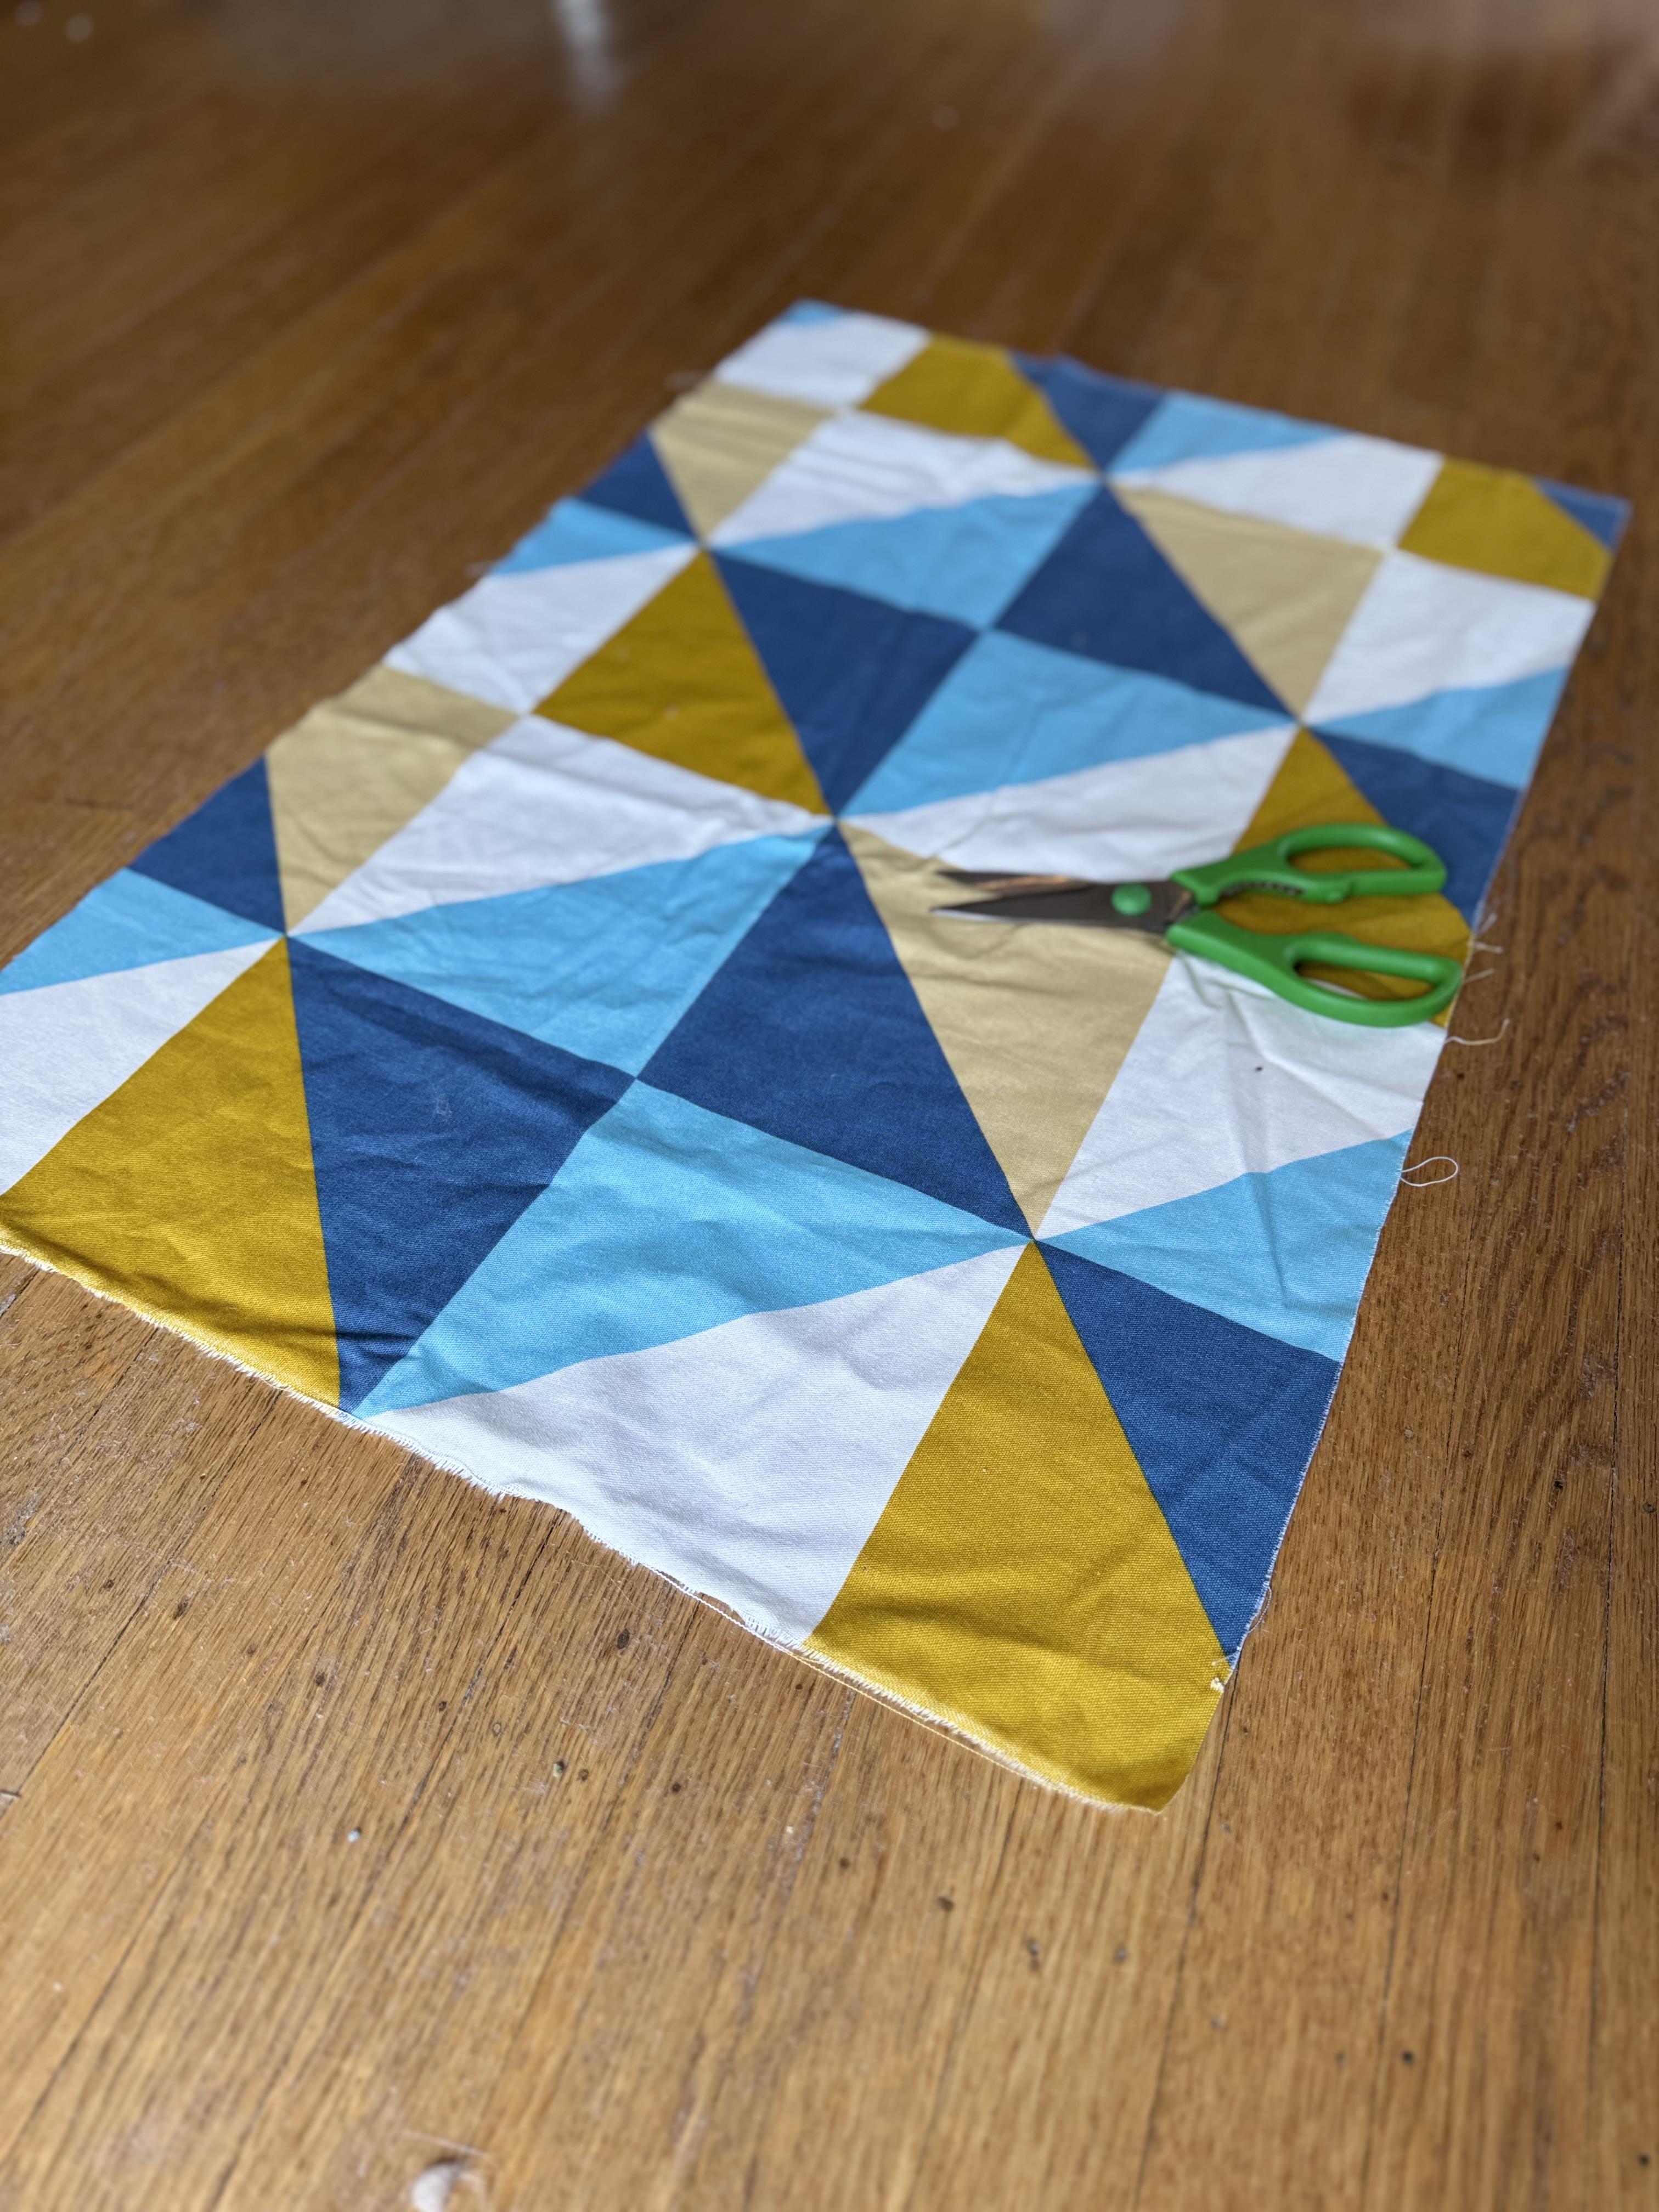
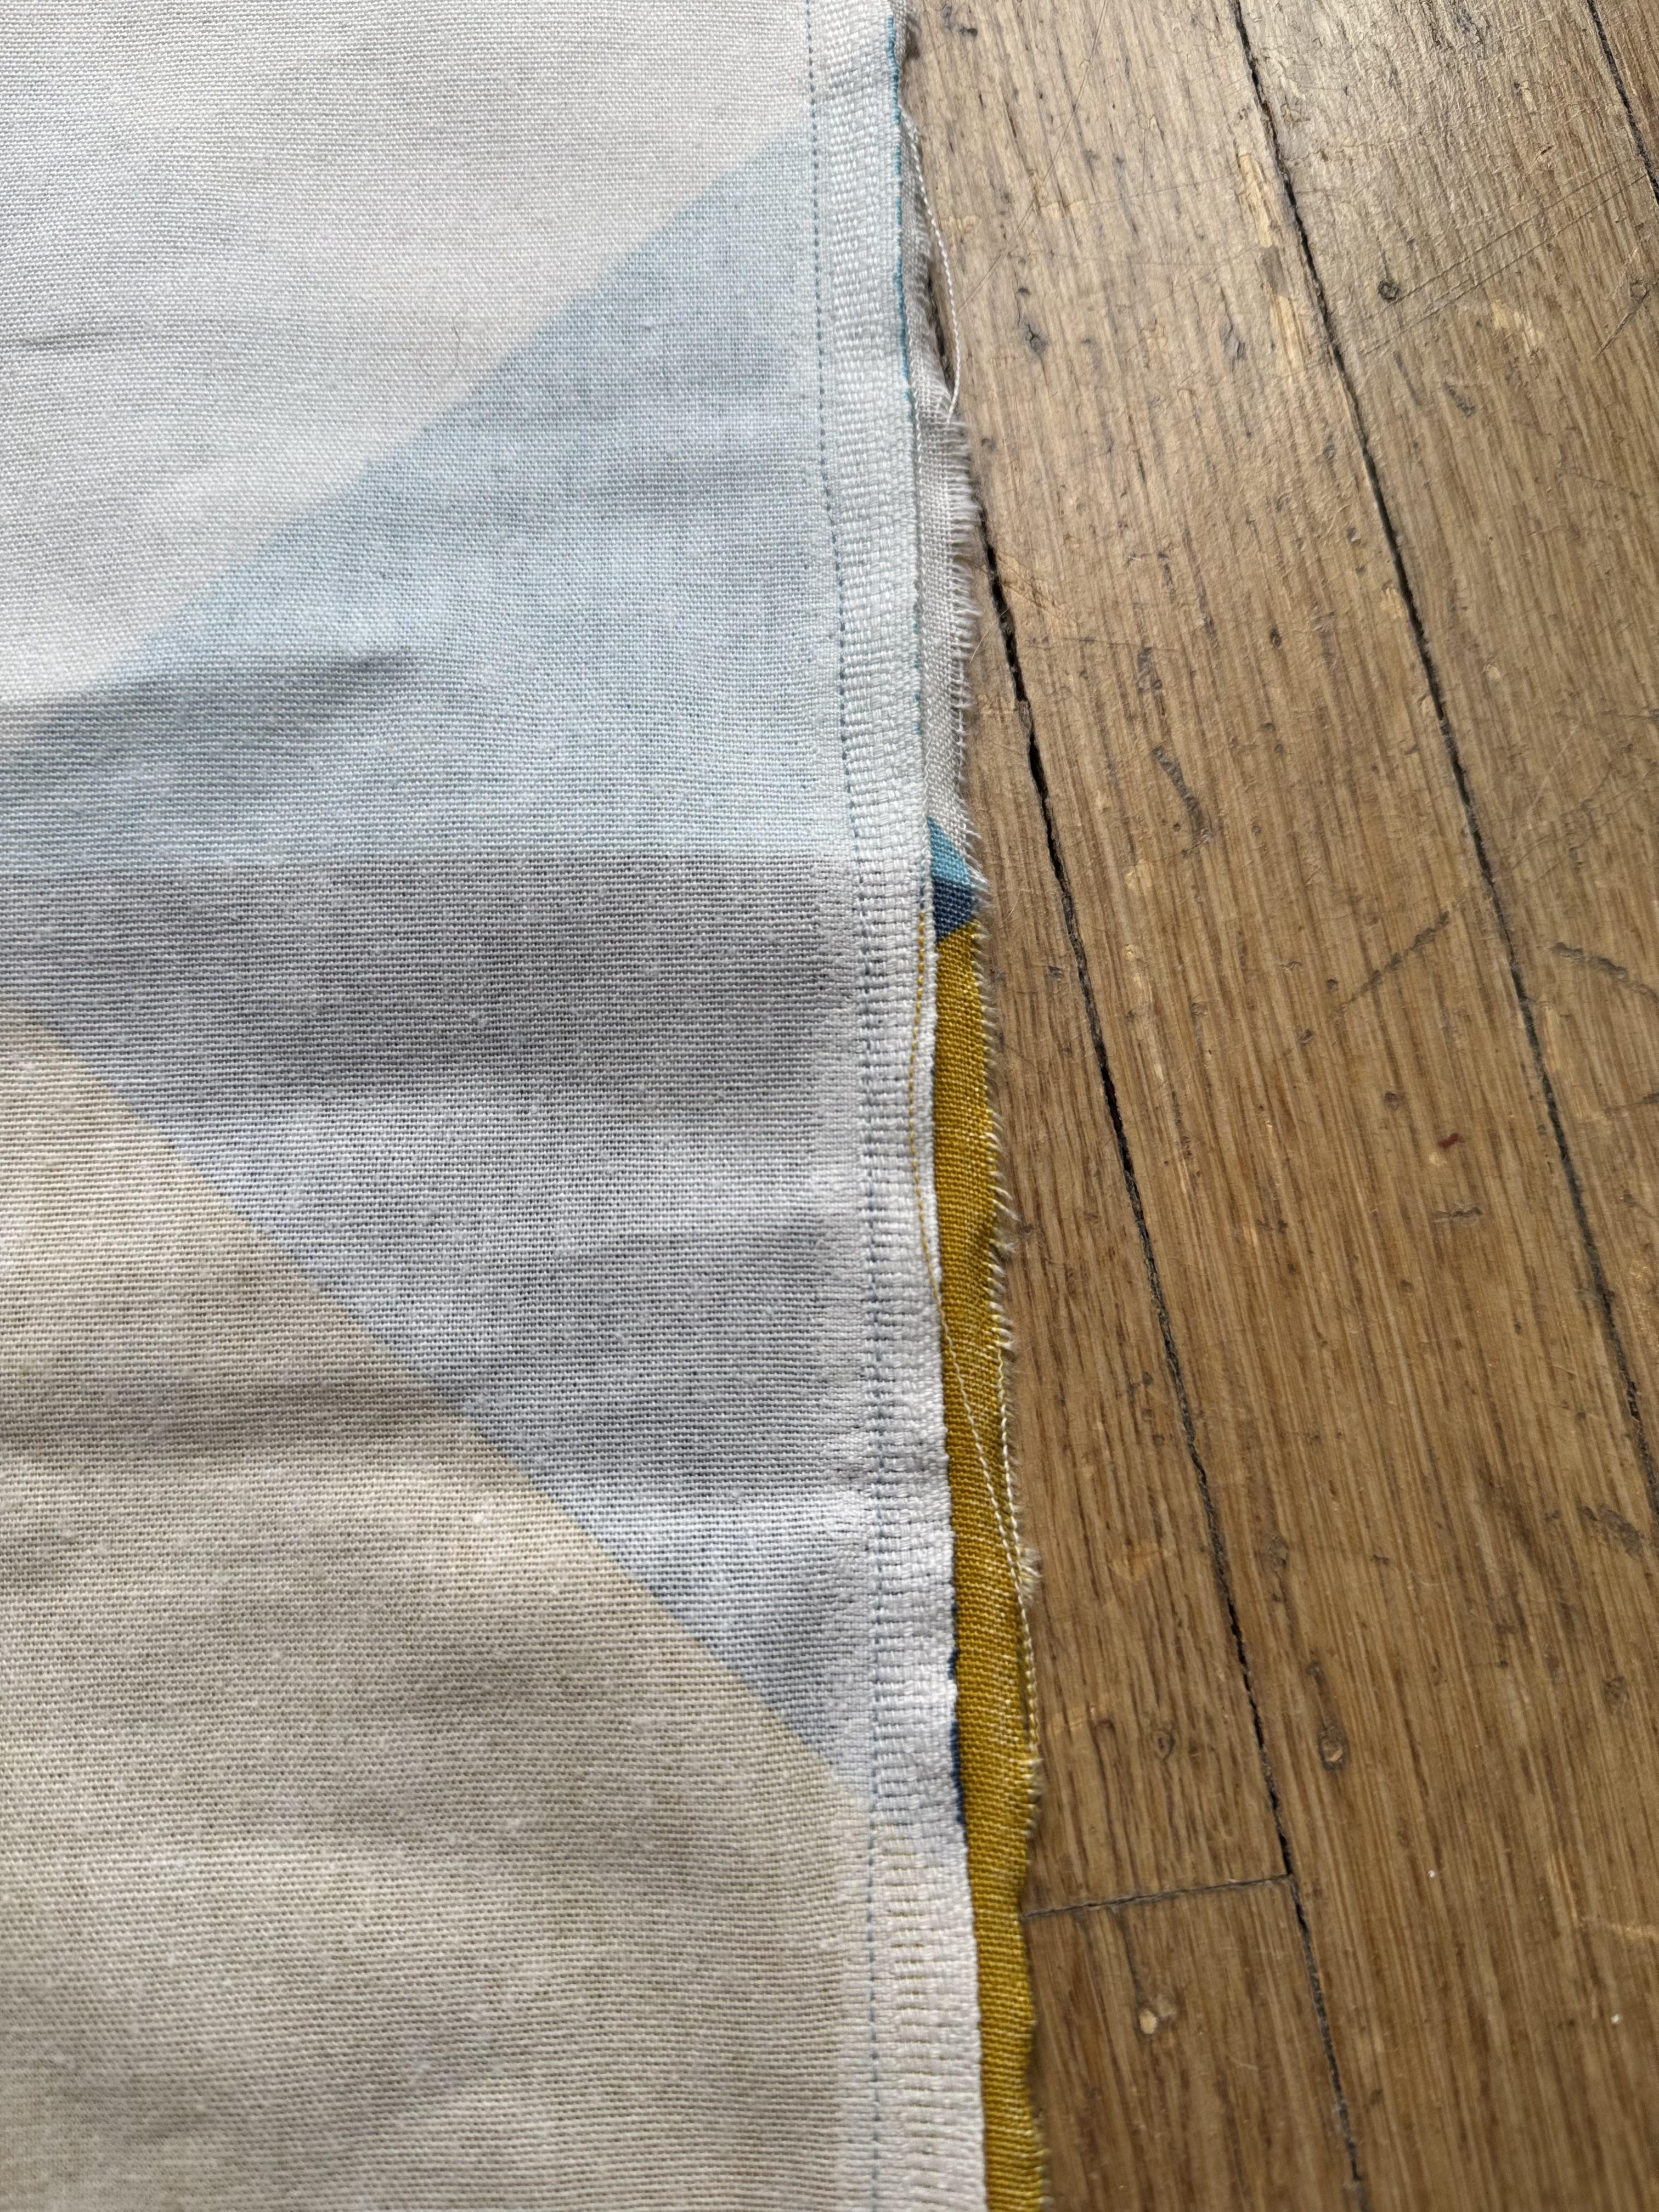
Begin by aligning the selvage edges of your fabric and folding it in half lengthwise, making sure the selvage edges are perfectly matched. Pin or clip the fabric along the fold to secure it in place. After that, measure and mark the desired dimensions of your project, ensuring to add a ½" seam allowance on all sides for clean finishing. Use fabric chalk or a fabric marker to mark the cutting lines clearly. Once your fabric is marked, use a sharp pair of scissors or a rotary cutter to carefully cut along these lines, cutting both layers of fabric simultaneously to save time. After cutting, take a moment to trim any uneven edges for a neater and more symmetrical finish. If desired, you can finish the raw edges with a zigzag stitch or serger to prevent any fraying, ensuring your fabric remains tidy and durable. This method guarantees clean, precise cuts, perfect for any fabric project you’re working on.
Sewing the Fabric
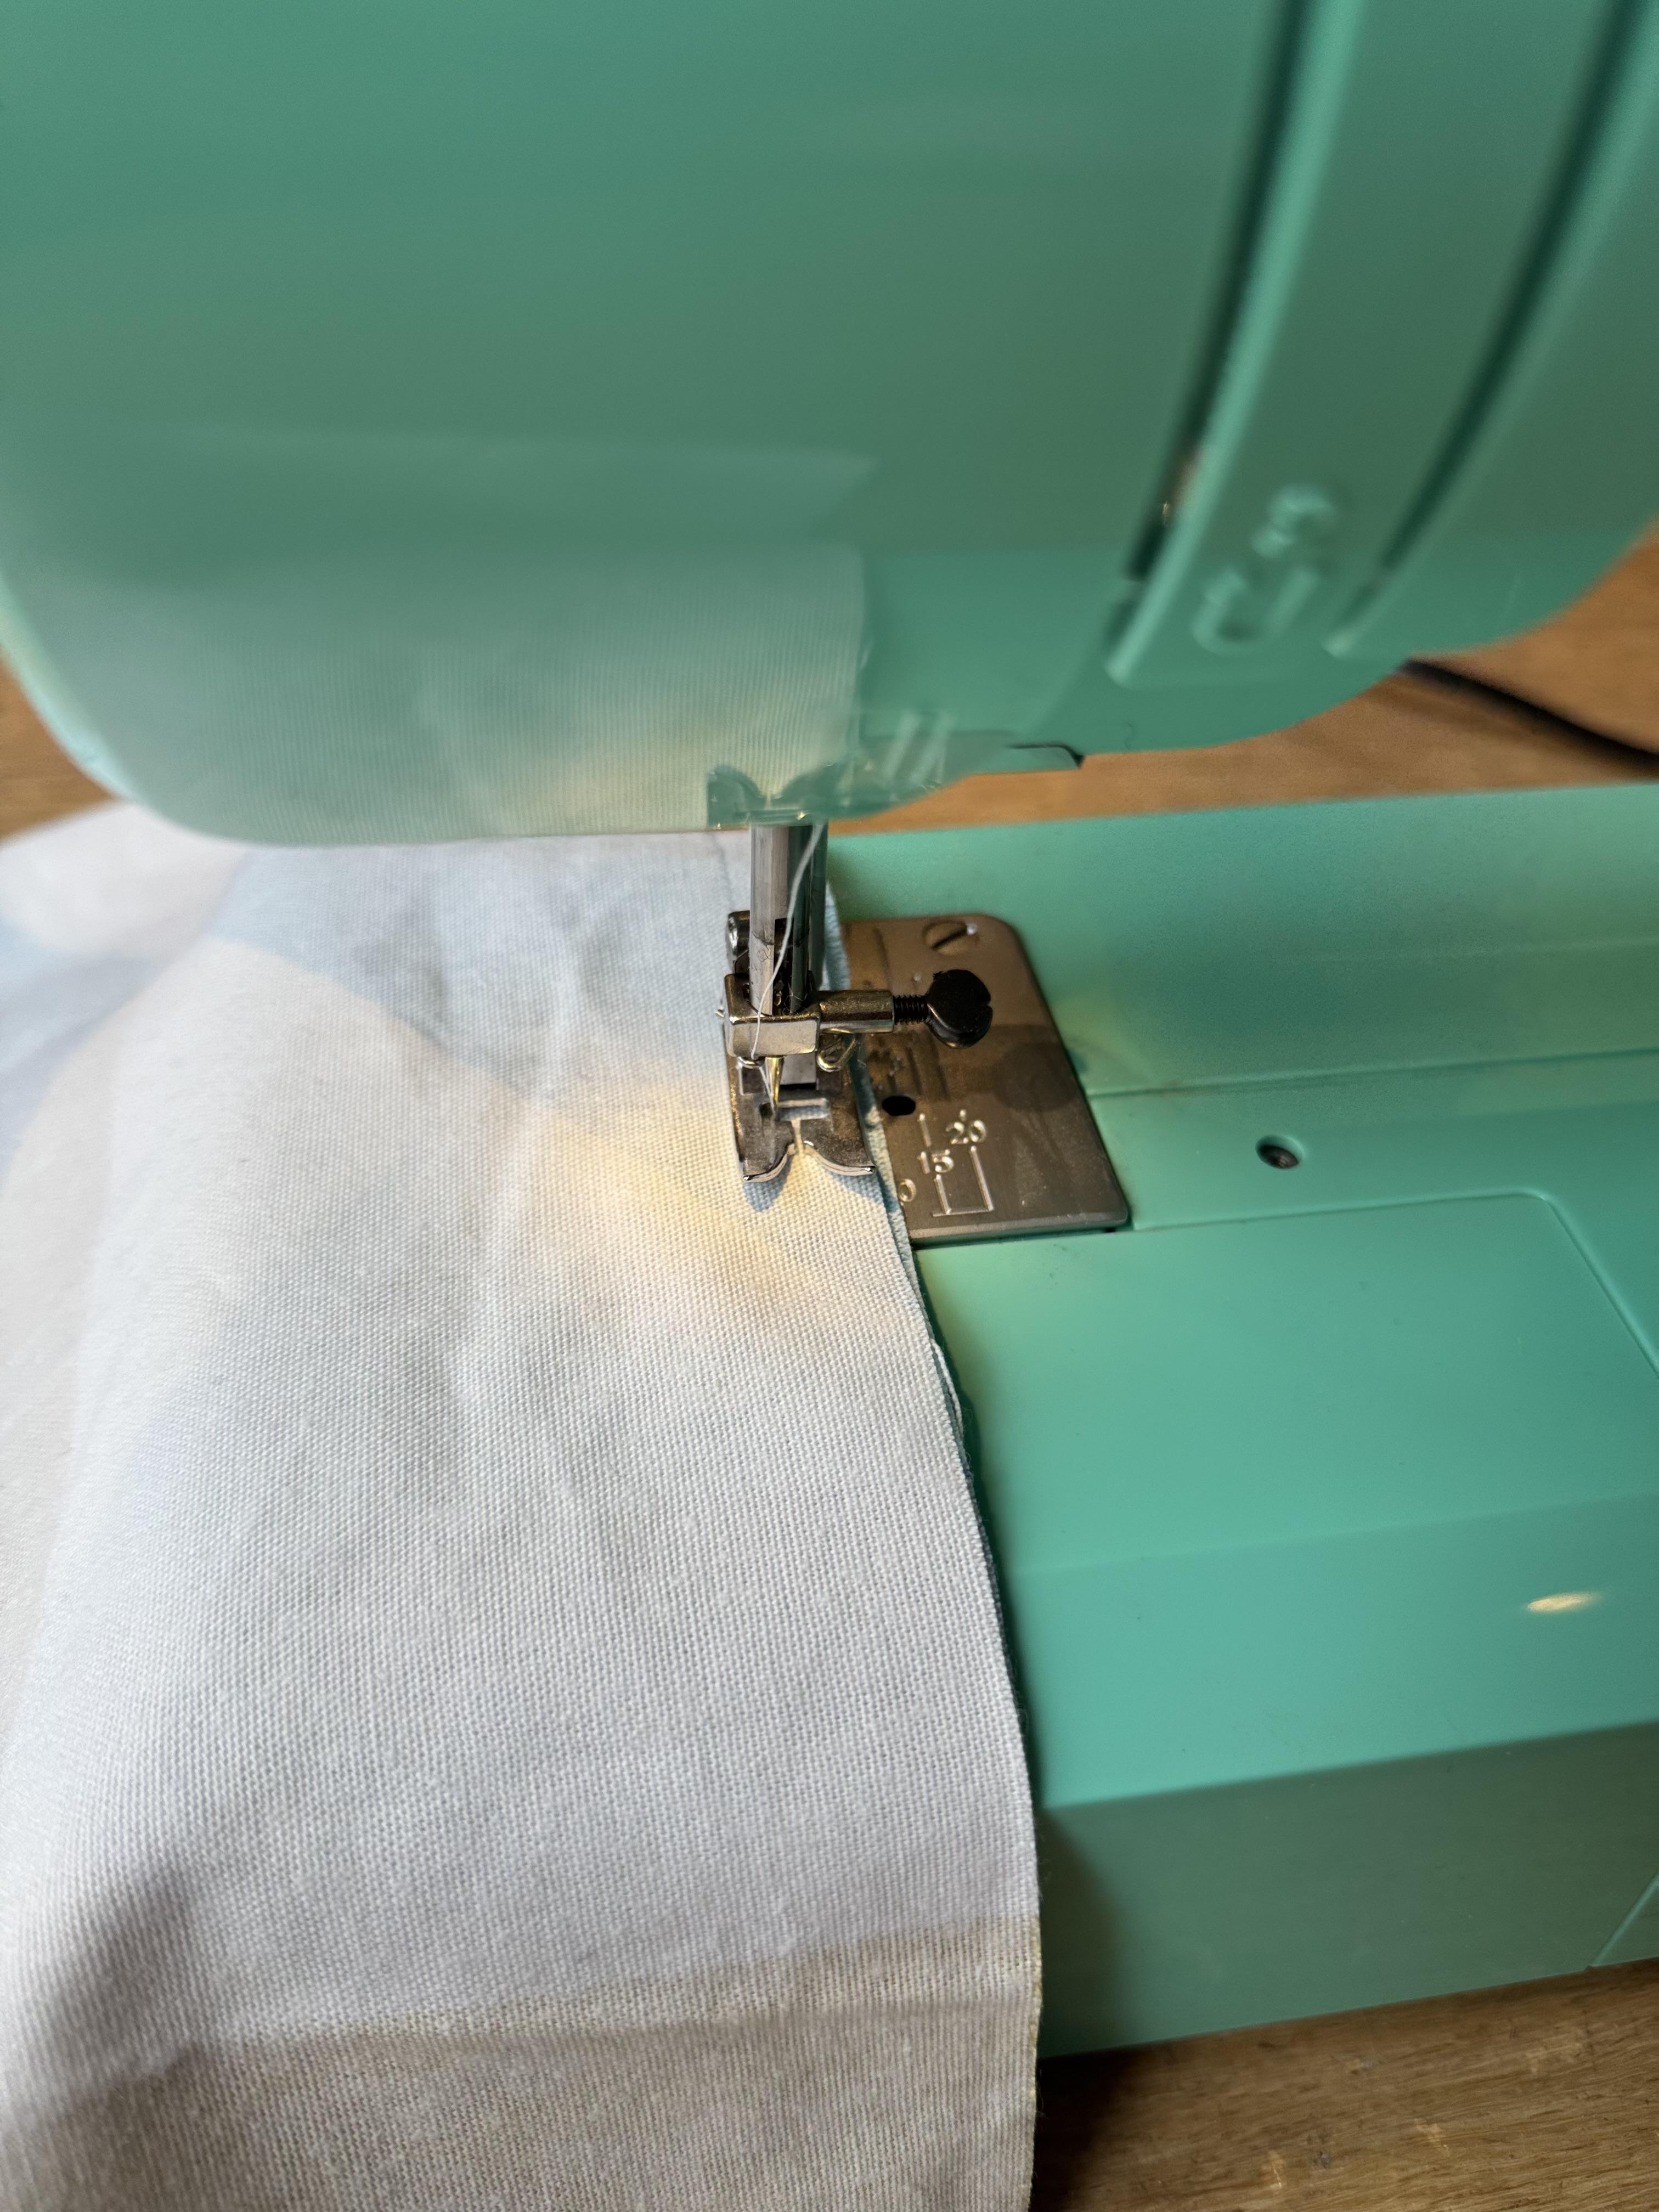
When sewing a cat bed using a sewing machine, it's important to start with strong, durable polyester thread, especially if you plan to wash the bed often or use heavy fabrics. Polyester thread is more resistant to wear and tear than cotton, making it ideal for this type of project. If you're working with thicker fabrics or adding padding like foam or batting, using a walking foot will help feed multiple layers evenly through the machine, preventing shifting or bunching. Be sure to adjust the stitch length to a medium or slightly longer setting (around 2.5 to 3 mm) for strong seams, as this will help the bed hold up through frequent use and washing.
As you sew, take your time around curves, especially when stitching the edges of the bed. Sewing slowly will help you achieve even stitches and avoid puckering or crooked seams. To keep layers from shifting while you work, pin or baste them together, ensuring that everything stays aligned for neat and straight seams. Always backstitch at the beginning and end of each seam to secure the stitches, particularly in areas that will experience stress, like where the sides meet the base. After sewing, press your seams with an iron to create crisp, professional-looking lines, especially if you're adding a higher rim to the bed. These tips will ensure your cat bed is comfortable, durable, and built to last.
Flipping the Fabric
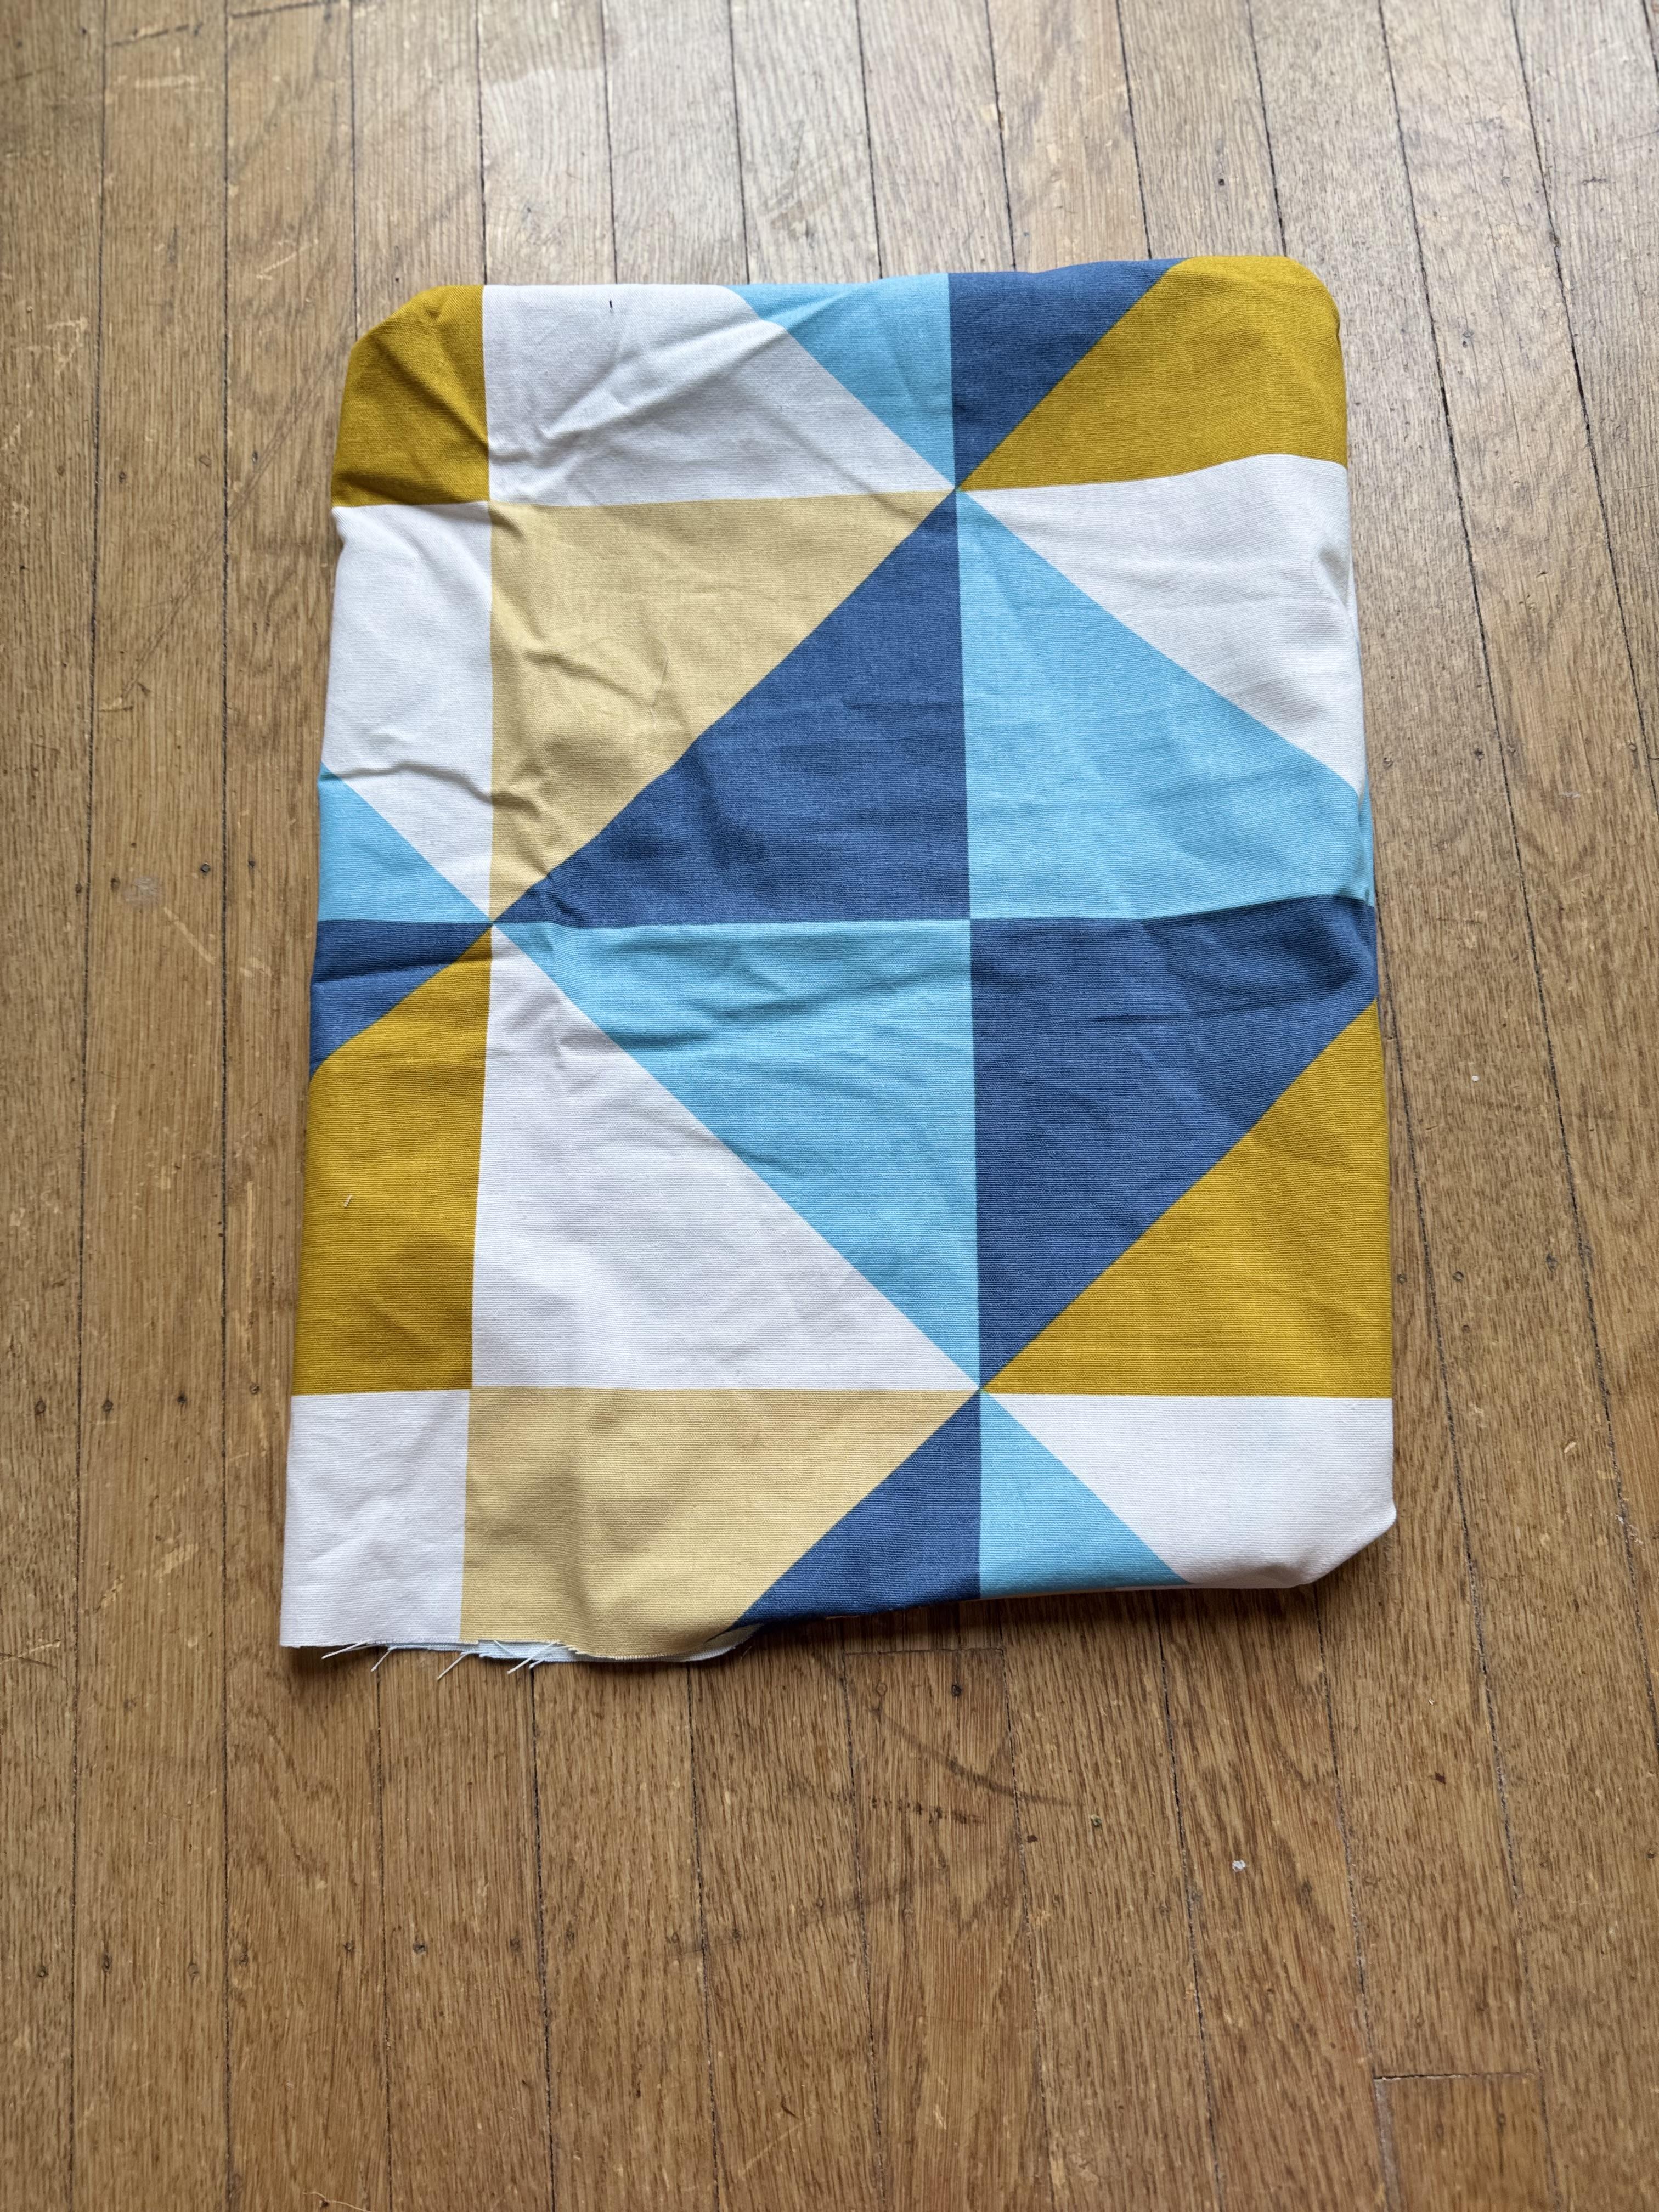
The pinch and pull method is a simple and effective way to flip fabric inside out, especially for larger items like bags, pillowcases, or garments. To start, ensure your fabric is sewn with the right sides together and that you've left an opening for flipping. Begin by locating one corner or edge of the fabric and gently pinch both layers at that point. Once you have a firm grip, slowly pull the fabric through the opening, working carefully to avoid bunching or stretching. As you pull, alternate between different sections of the fabric to prevent twisting, and continue pulling until the entire piece is flipped. For corners and edges, use your fingers or a blunt object like a chopstick or knitting needle to push out the corners and create sharp, clean lines. This method works best with lighter, non-stretch fabrics, and requires patience to ensure a smooth flip.
Adding the Heating Pad

To add a heating pad to a homemade cat bed, start by choosing a heating pad designed for pets, preferably one with a low-voltage setting and an automatic shut-off feature. Once you’ve selected the right pad, create a pocket or layer within the bed to safely insert it. You can sew a pocket into the center or side of the bed, or simply layer the heating pad beneath a soft fabric section. If you plan on making the cover removable, consider using a button or velcro so the heating pad can be easily taken out for washing. Finally, sew up any remaining seams to close the bed, ensuring the heating pad is securely contained but still removable if needed. This method will provide your cat with a cozy, warm spot to relax.
Stuffing
.jpg)
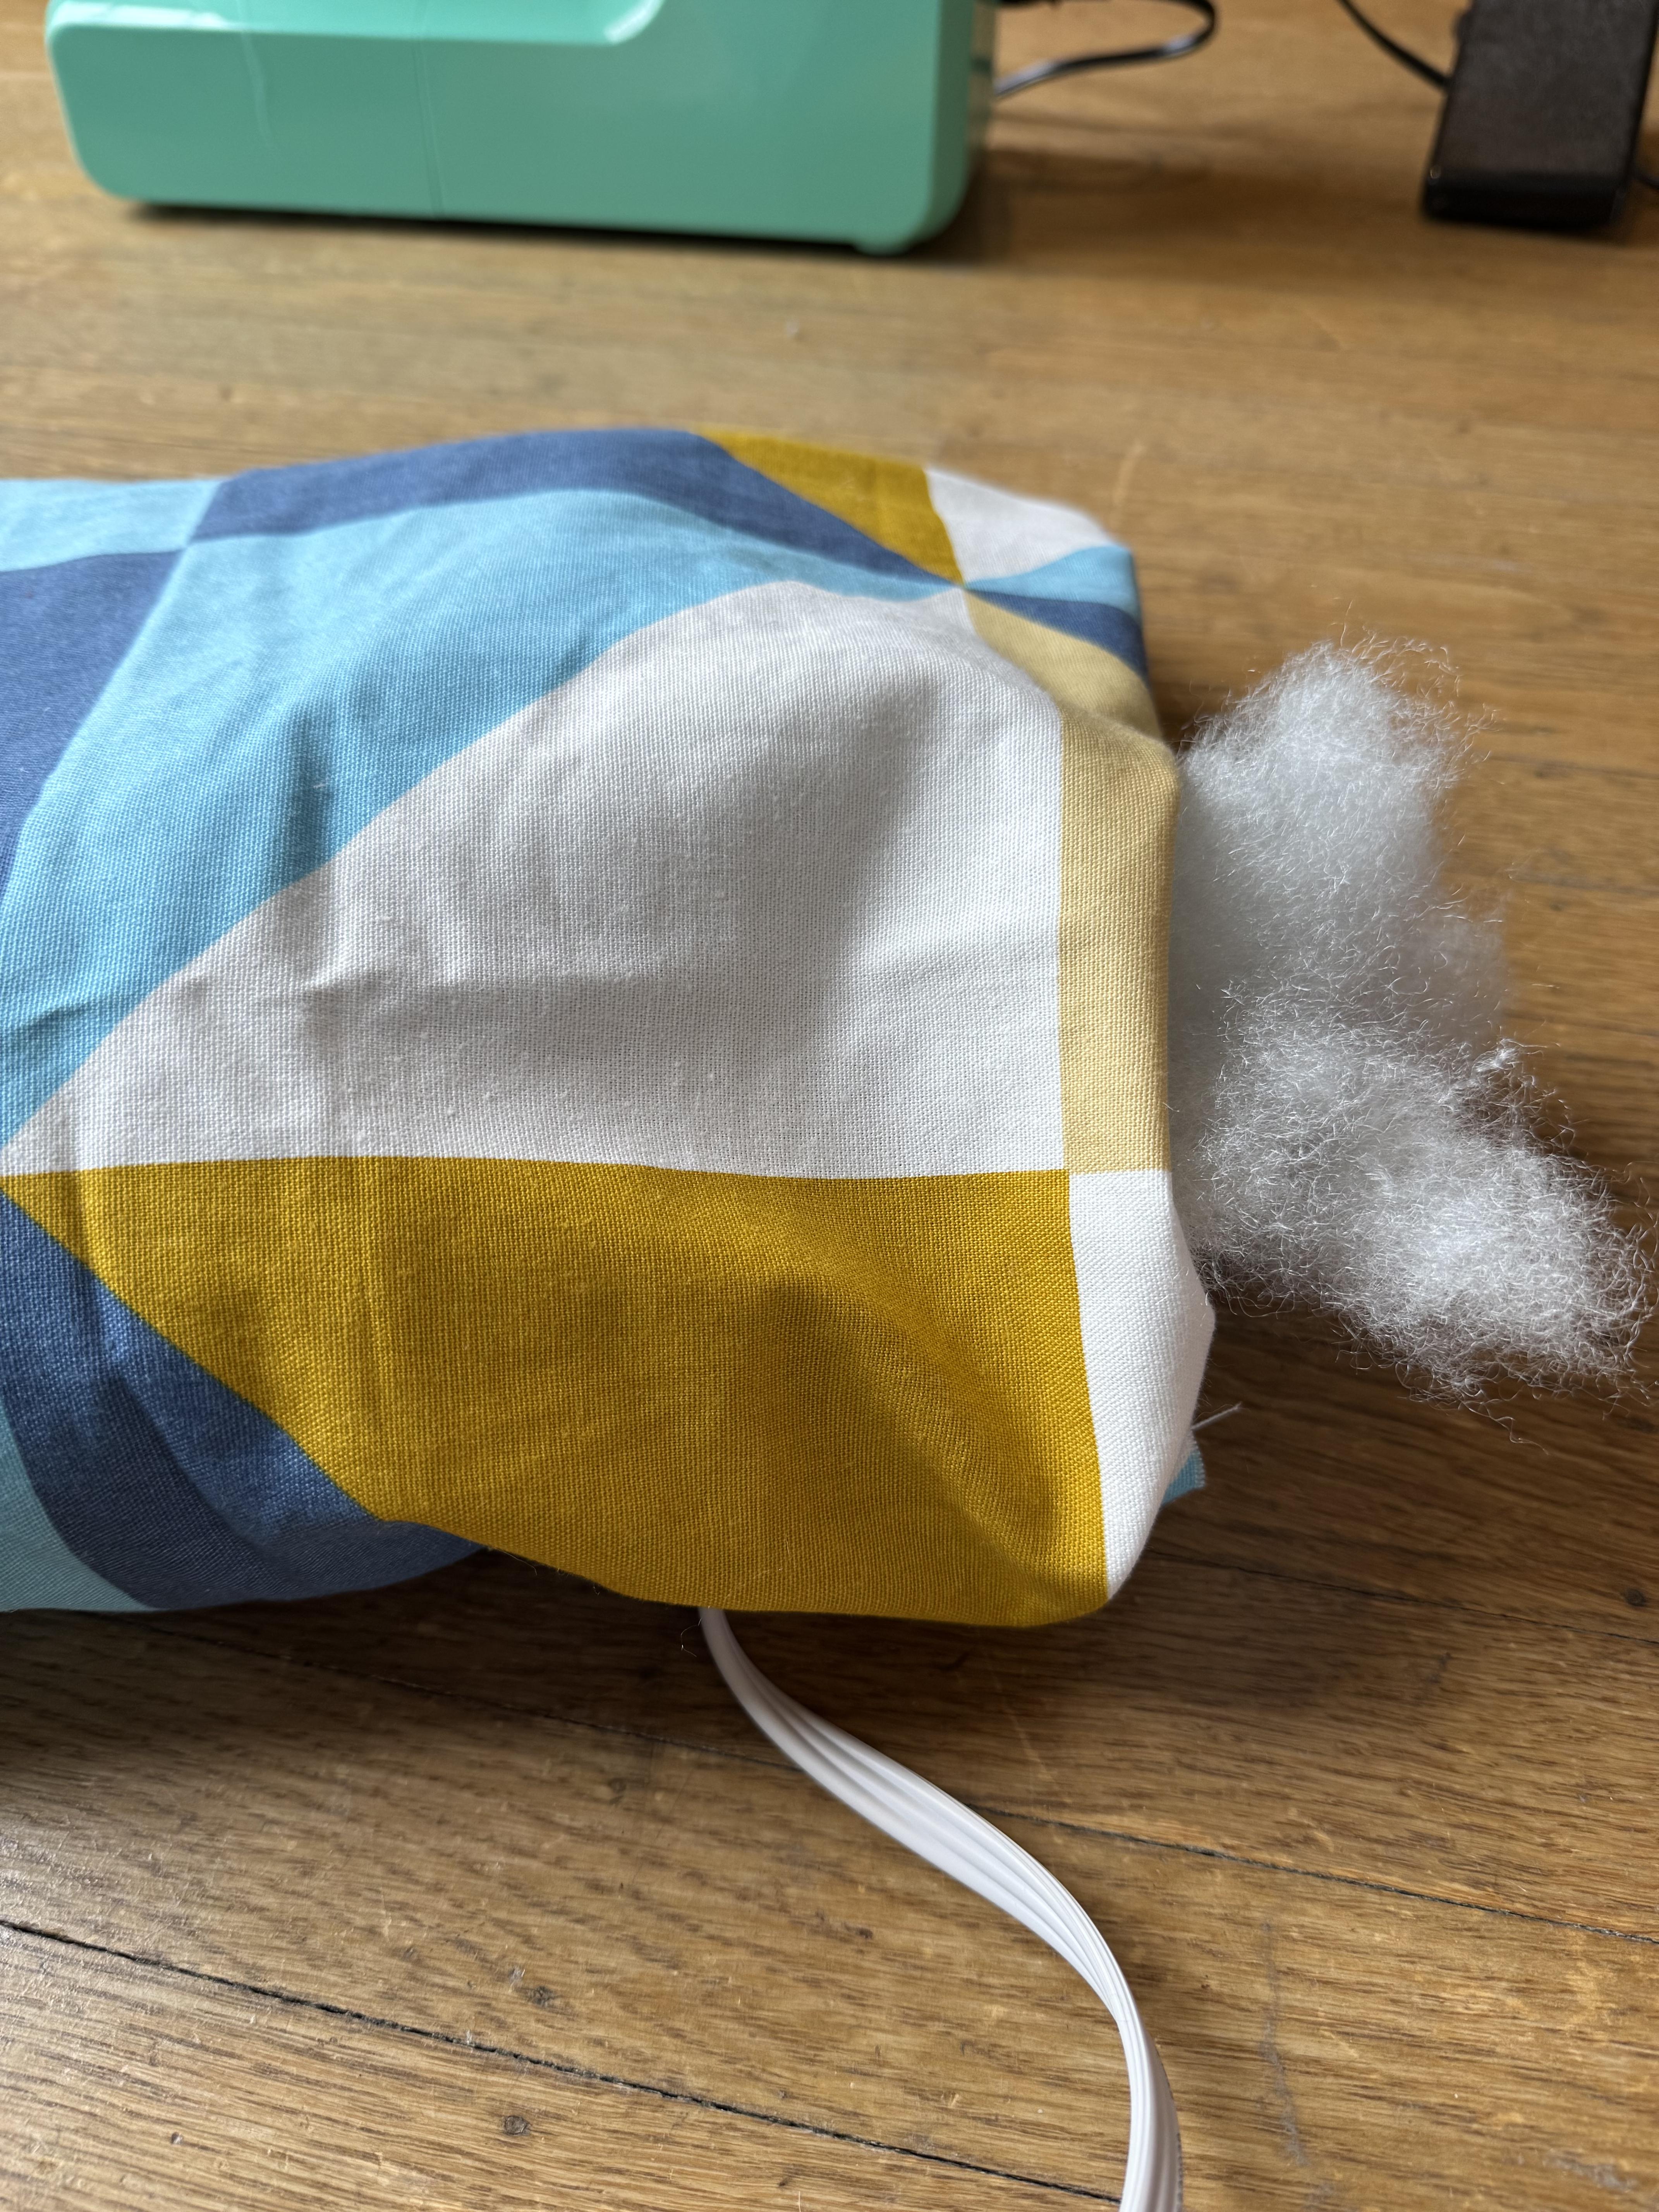
To make a cozy homemade cat bed, start by choosing a filling material. Polyester fiberfill is soft and affordable, while shredded foam or memory foam offers more support, especially for older cats. Recycled fabric scraps or natural options like cotton and wool are eco-friendly choices.
When stuffing the bed, add small amounts of filling at a time on top of the inserted heating pad, ensuring it’s evenly distributed. Fluff and shake the bed as you go to prevent clumping. Adjust the firmness based on your cat’s preference, packing more filling for support or less for softness.
Test the bed for comfort by pressing down on different areas to ensure it’s evenly filled. This will create a soft, supportive bed your cat will love!`
Adding the Button
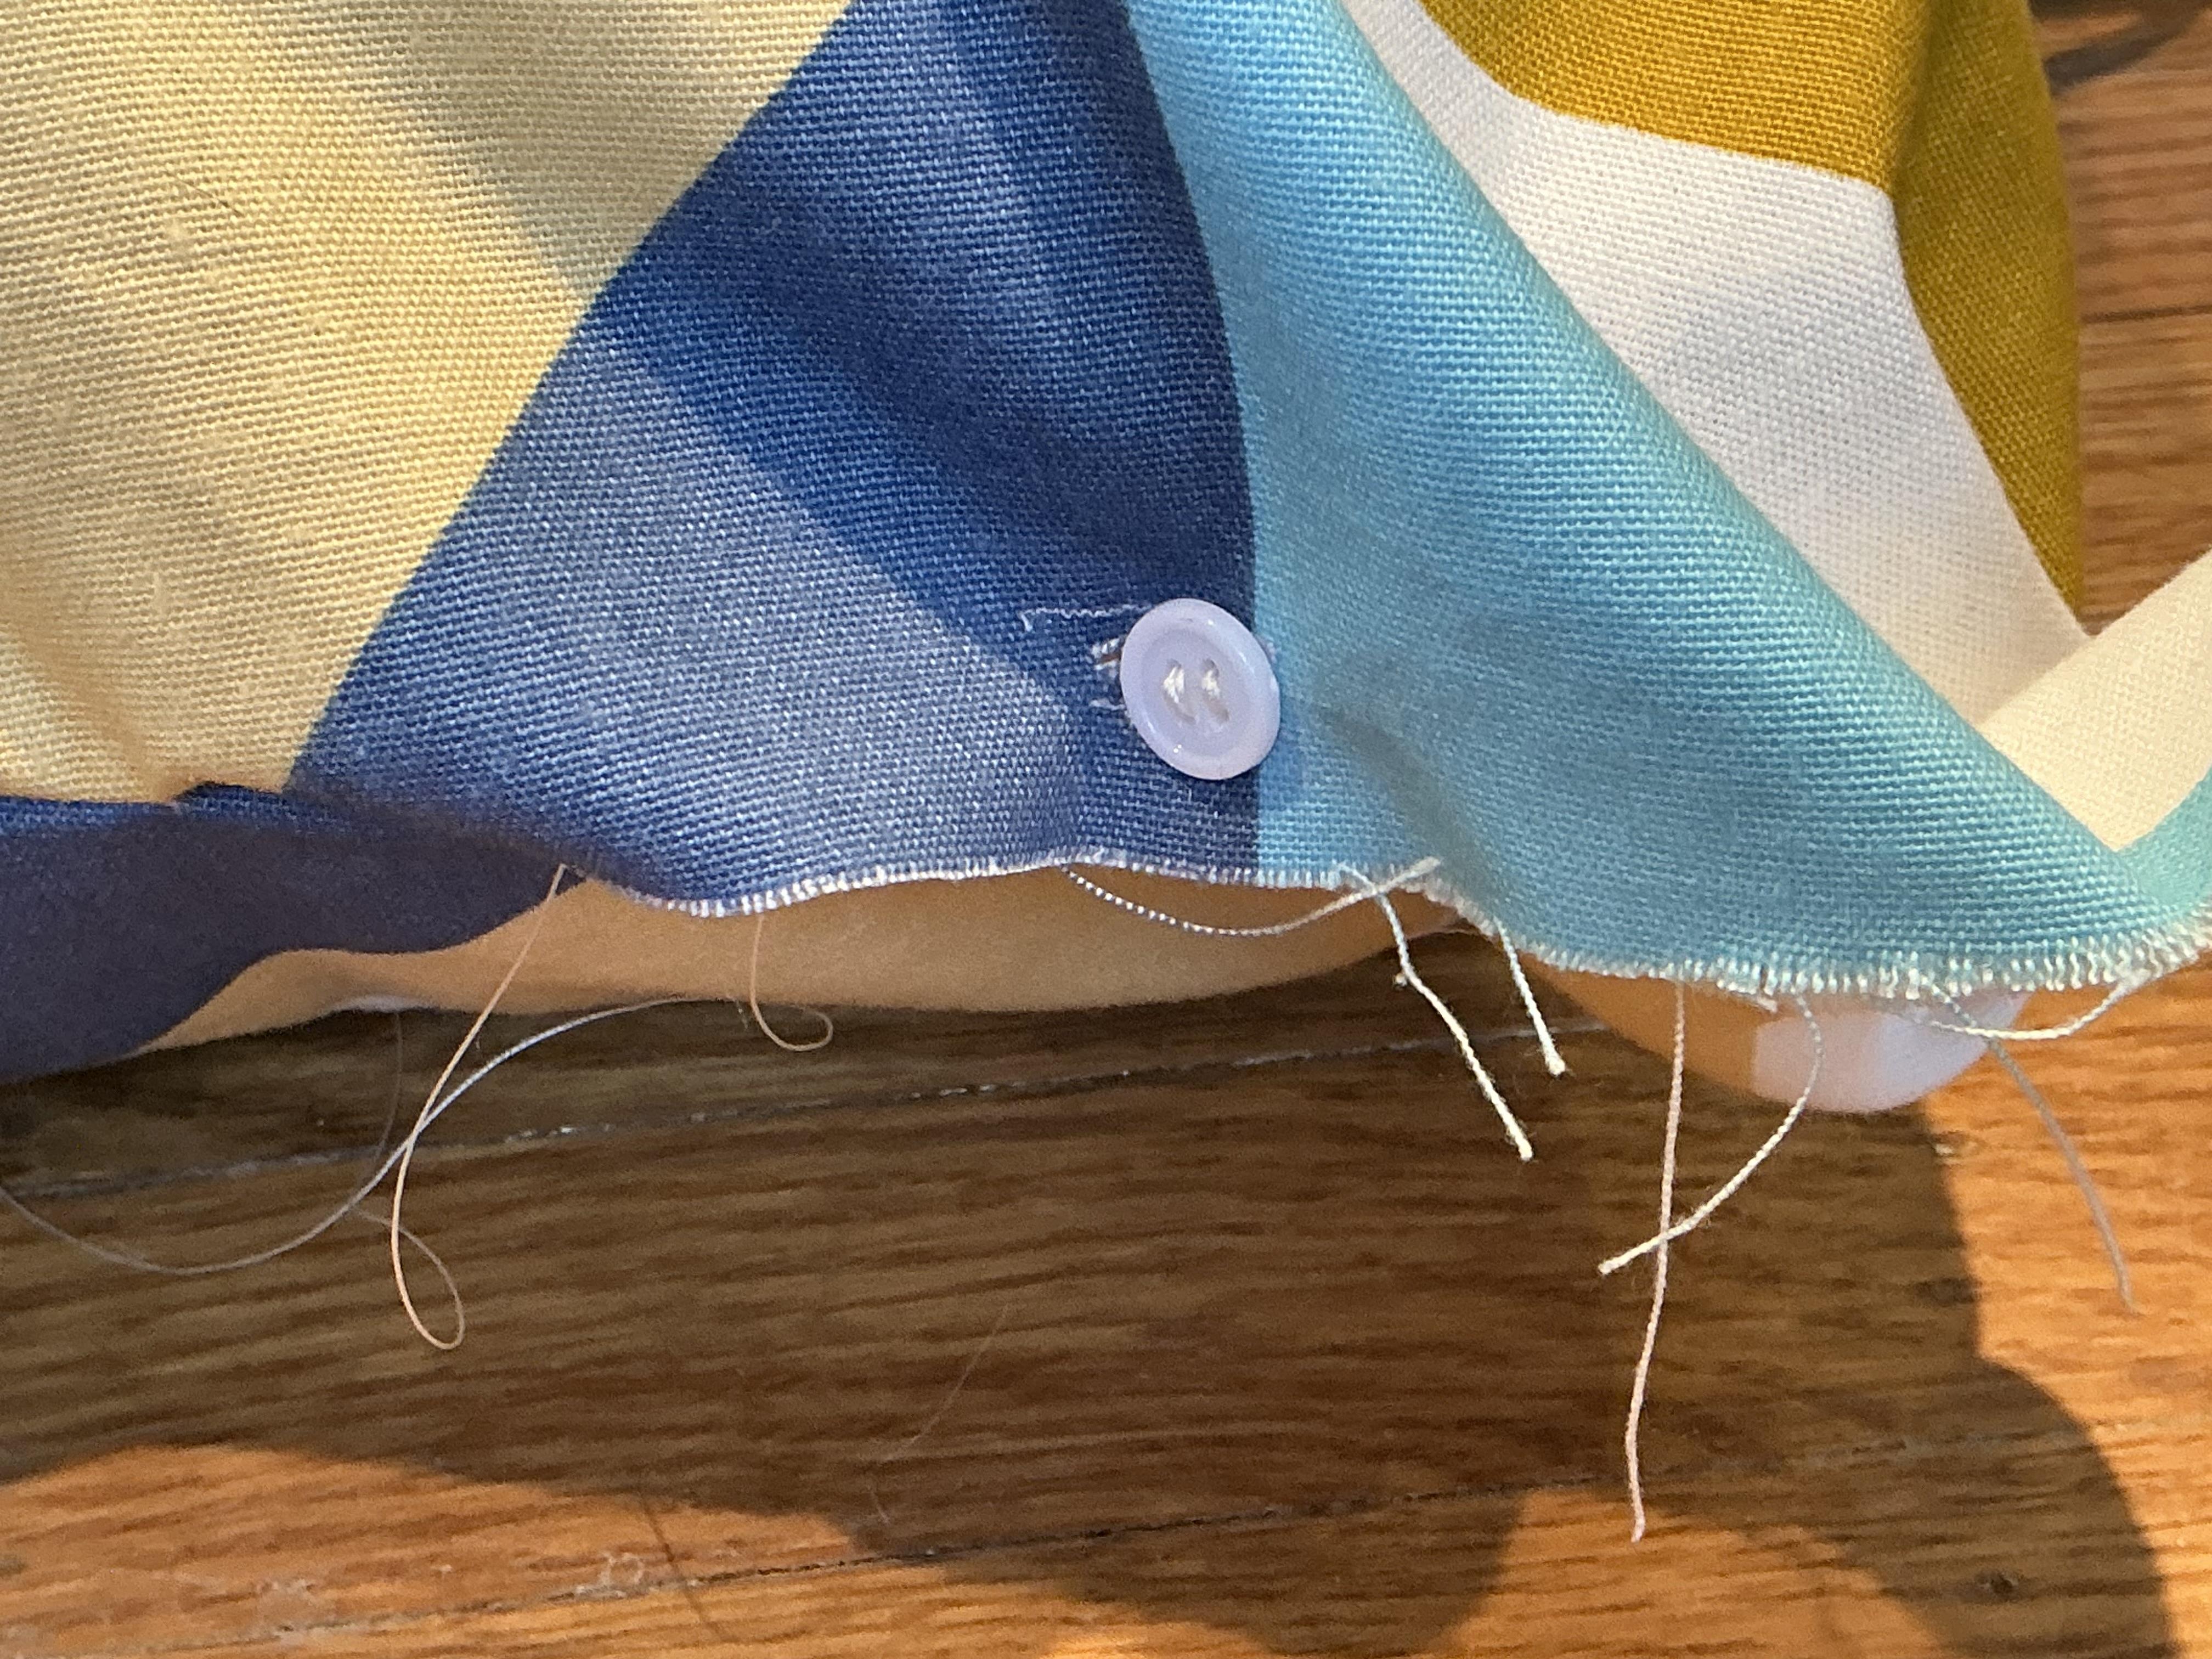
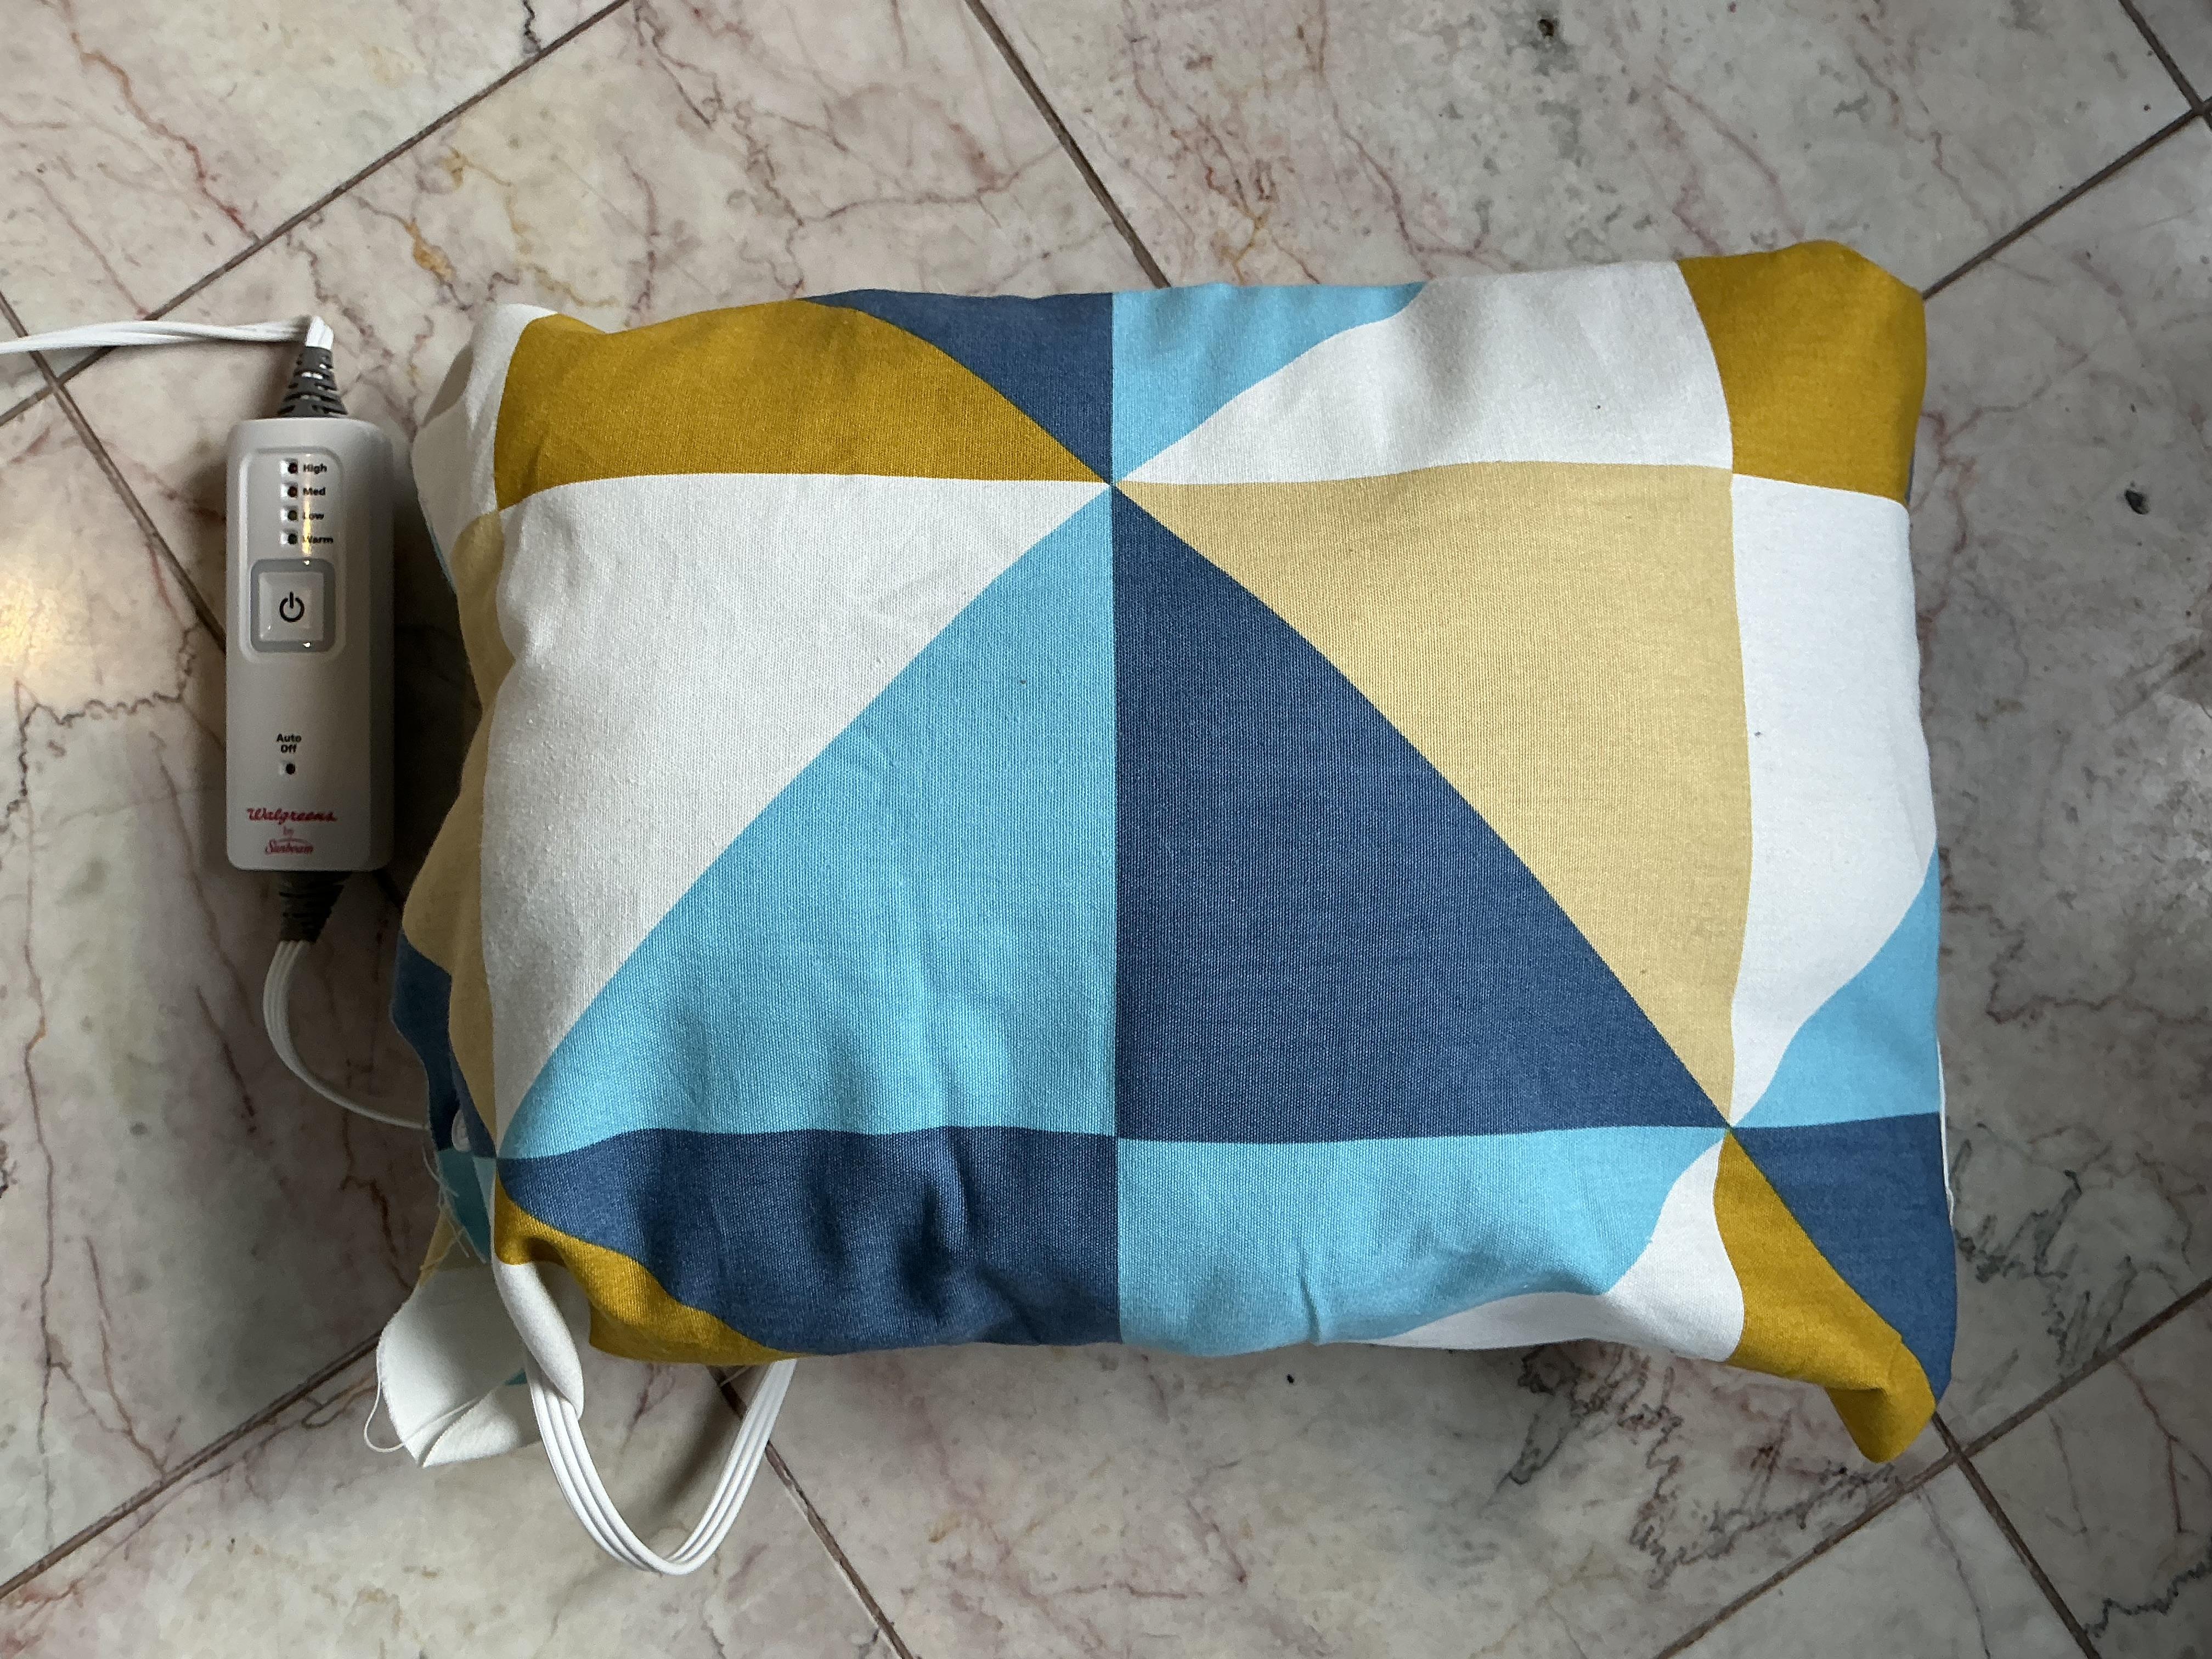
Add a final buttonhole and sew on a button to securely close the opening left for inserting and removing the heating pad. This allows you to easily open and close the bed for cleaning, while ensuring the heating pad stays in place during use. Be sure to position the buttonhole at a convenient spot and reinforce the stitching to prevent wear and tear over time, especially with frequent insertions and removals.