Week 1: 2.5D Ornamental Extrusion From Rhino / Grasshopper
by kevinclancy in Teachers > 3D Design
546 Views, 1 Favorites, 0 Comments
Week 1: 2.5D Ornamental Extrusion From Rhino / Grasshopper


2.5D Ornamental Extrusion generated with Rhino / Grasshopper
Supplies

- Rhino 6 for Mac
- Grasshopper (with Pufferfish V3.0 extension)
- Professor Jacobs' Tutorial and Source Code
- Ultimaker Cura Slicer
- Blender for Shader Rendering
Following Rhino / Grasshopper Tutorial
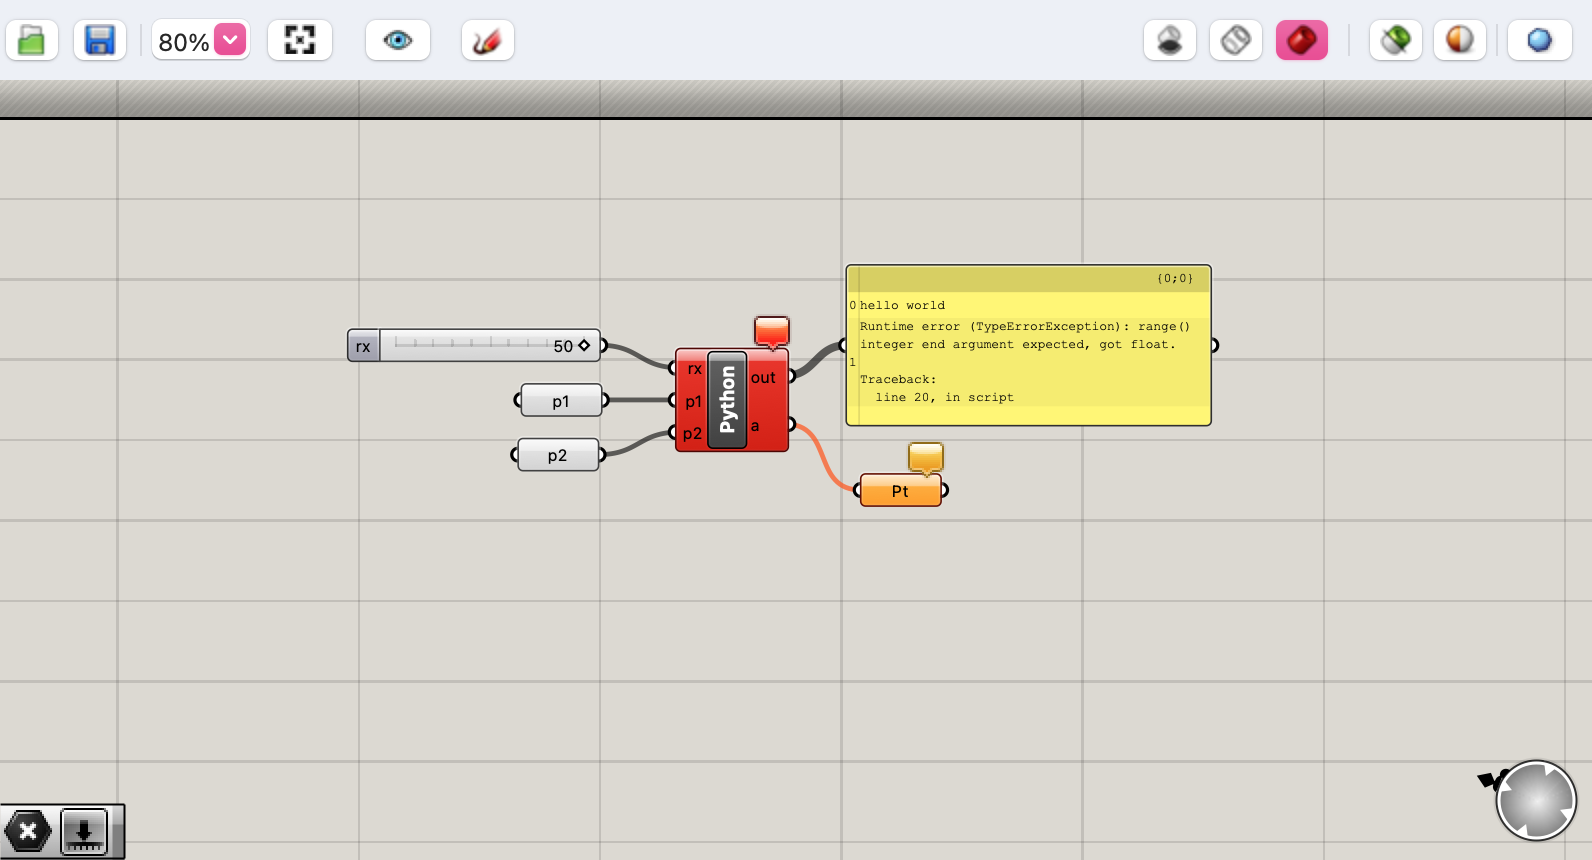


This initial exercise was frustrating and challenging for me, as it was my first time using Rhino, Grasshopper, or Python. Following the ethos of Codeable Objects reading, I found the Grasshopper user interface to be clunky, frustrating, and intimidating, but it got progressively better as I completed the assignment. I was stuck for quite some time on this error message in the Python node, that the editor was expecting and integer and getting a float. At first I thought it might have to do with the decimal values of my initial Rhino settings, then I tried to get rid of decimals points in the tutorial source code, then I finally found the input parameter for "rx" by right clicking on the Python node, and set it to "int". At this point, I started to get the desired parametric grid behavior, and was able to continue following the tutorial.
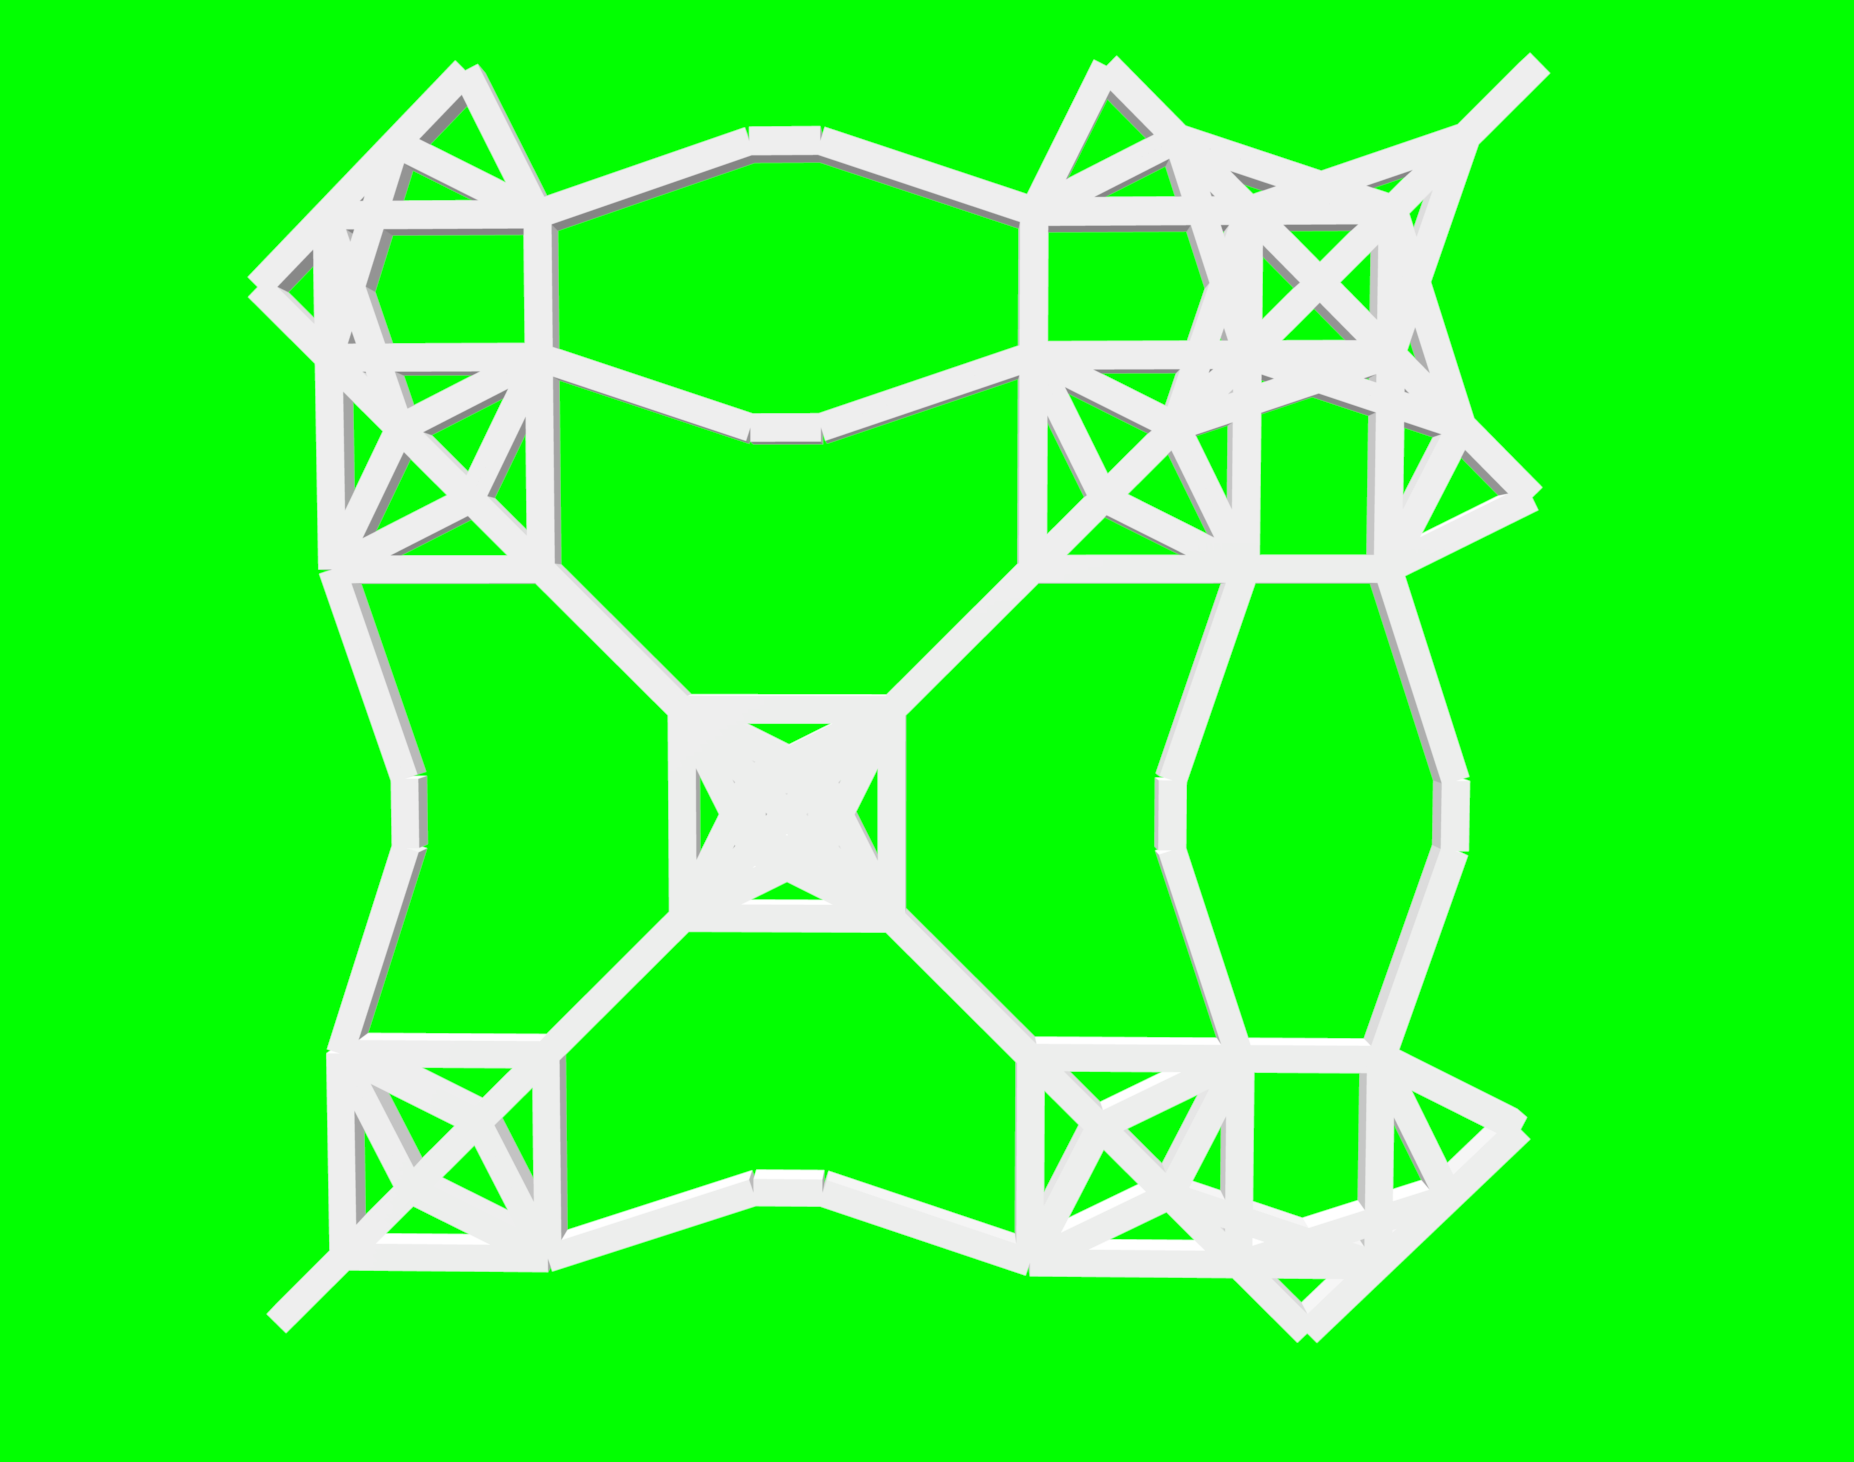
Exploring Parametric Design With Grasshopper Sliders


Here are some of my initial 2D designs from tweaking the parameters of the sliders. I liked oscillating between minimal and complex designs. As I added more nodes and operations to Grasshopper, my laptop took a long time to compute the operations (lots of spinning beach ball of death). I read the tutorial step, "boolean and extrusion operations are performance intensive so you may want to temporarily deactivate the components while you settle on a final pattern with your curves", but it took me a while to figure out how to deactivate nodes and to undo connectors. As a result, I exported the first shape I could successfully generate for fear of my laptop crashing. Once I had an initial test exported, I went back to attempt to generate more interesting and satisfactory designs.
Once I learned how to disconnect nodes, I was able to refine my pattern before passing it through the computationally intensive offset curve, extrusion, and boolean functions. At this point, I was able to get a lot more immediate feedback and control, and it became enjoyable from an aesthetic and creative perspective. It also took me some time to figure out how to extrude, but I eventually watched a YouTube tutorial, which cleared it up. I had trouble throughout following written instructions, and had to fill in gaps with YouTube tutorials. This reinforced that I learn much better from video tutorials.
Exporting STL Files


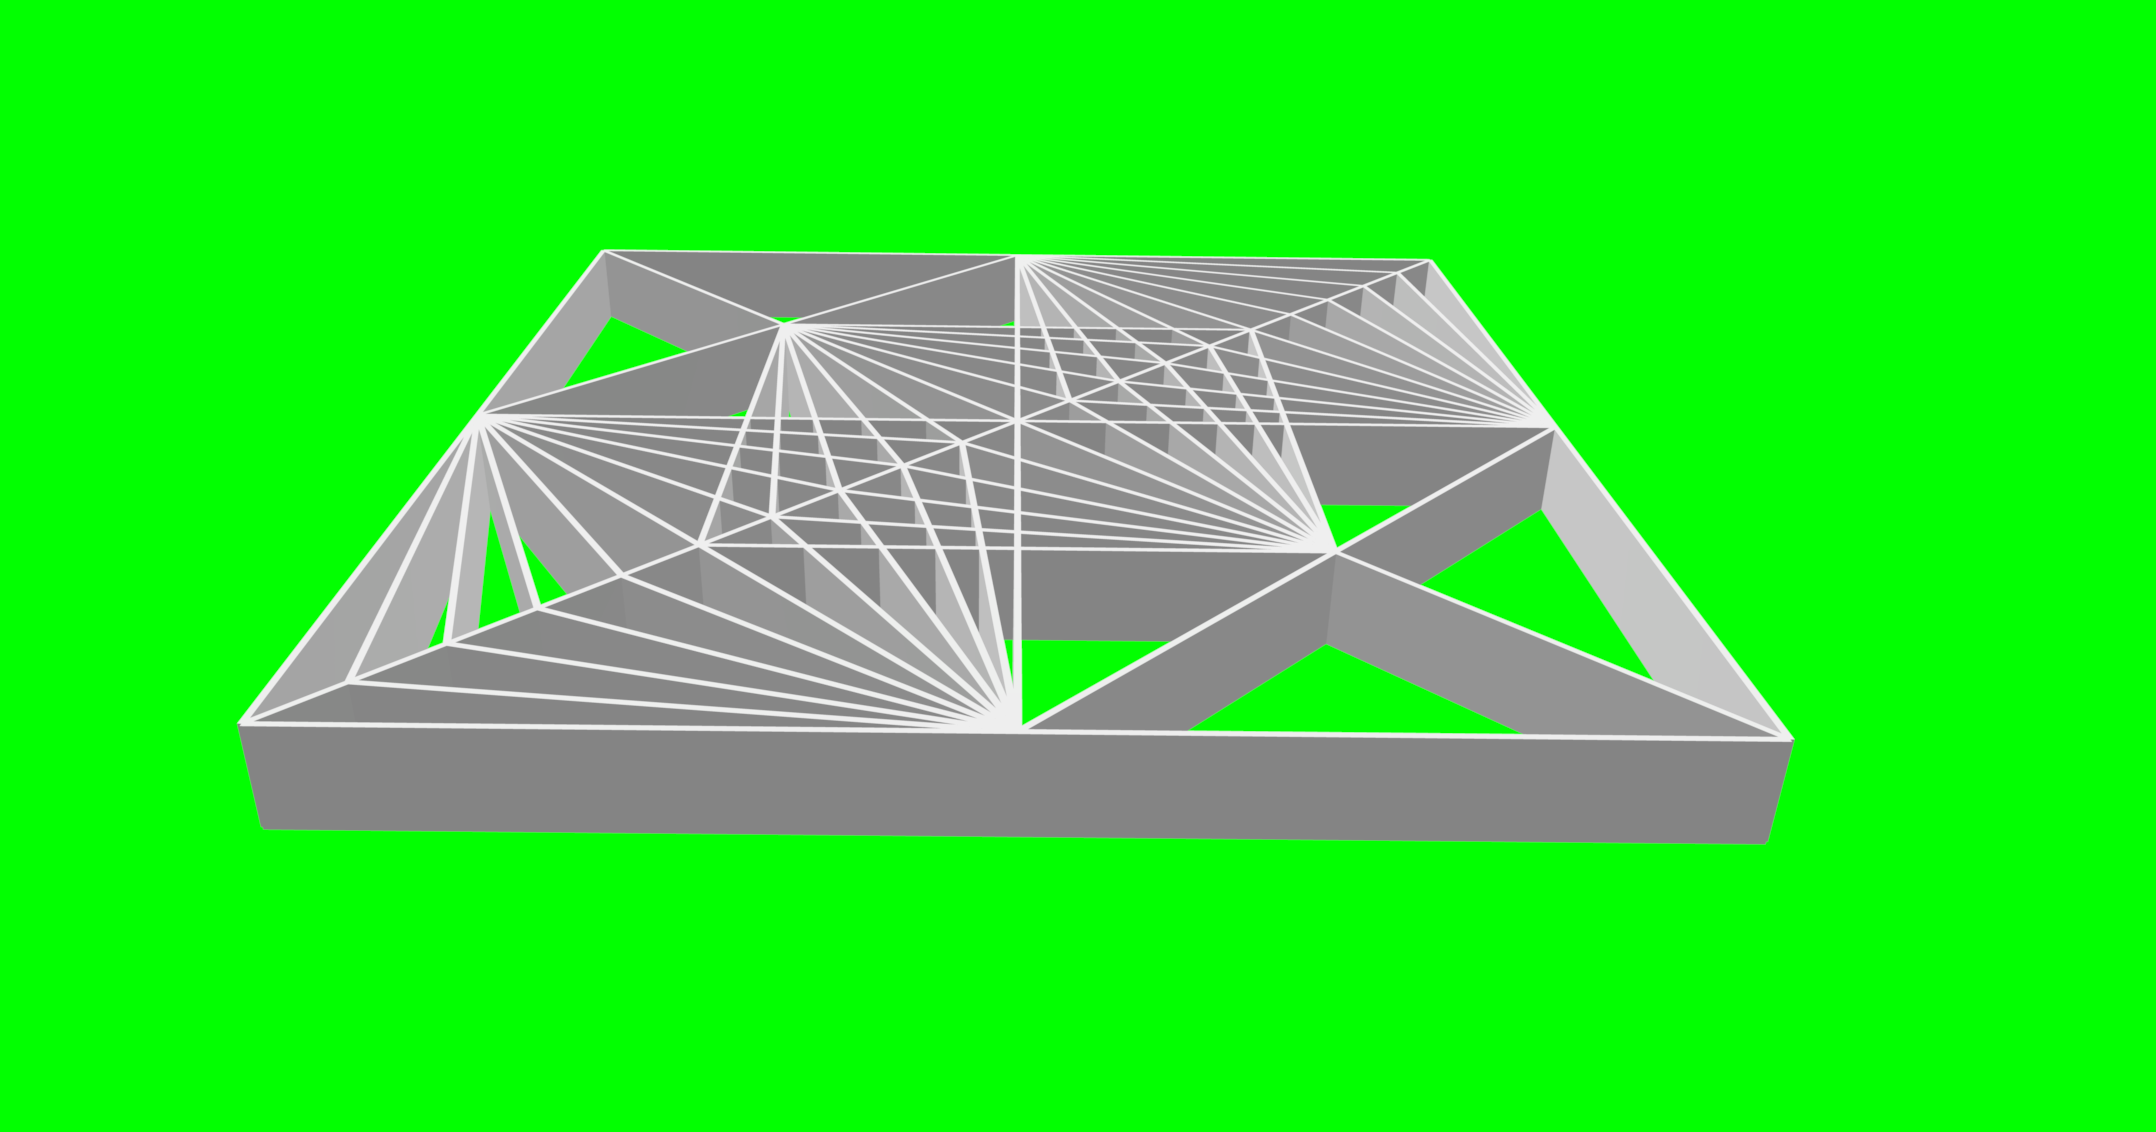


The first design is the initial STL test I was able to successfully export. I wasn't happy with the design, but I was afraid of my laptop crashing because of all the buffering, and wanted to make sure to export something. The second design is a more refined model I was able to export after adjusting the parameters. Disabling the processing intensive nodes was crucial to really exploring the parameters in a creative way. The third design is an additional model created after further exploring the parametric design sliders. I have attached the STL files below.
Slicing in Ultimaker Cura


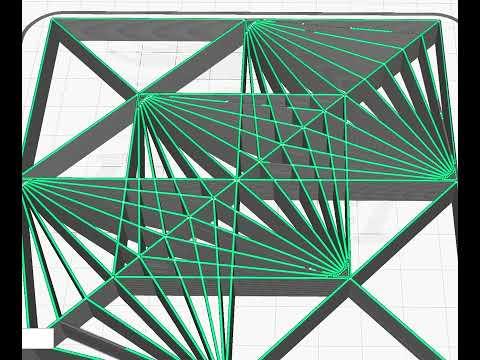


I successfully imported my STL file and sliced it in Cura. I used "Lightning Infill", which I'm excited to explore this quarter, but my model walls are so thin that it doesn't really show up yet. When it comes time to print, I wonder if I should use a brim or not. I can further adjust the slicing settings depending on the balance between quality and time.
I have been inspired by architectural concrete "breeze blocks" since arriving in California, and I'm excited to see how these parametric designs could generate 3D prints, which could then be cast into more structural forms. I see potential for these as modular blocks for my sculpture and installations.
I added a second sliced model as an additional design at the end.
I really enjoy the preview function of Cura for visualizing a print in advance. I'm very interested in the mathematically generated support and infill patterns of the slicer, and am interested in learning how to export these structures to manipulate as models for prints. Often, I am just as interested in the generated supports and infill as the model itself. I'm interested in exploring intentional glitches within the software itself.
Generating Stills and Screen Captures in Blender


After screen capturing the STL files in Preview, I decided to bring the model into Blender to explore material shaders and lighting. This stage helps me to think through the materiality of filament, scale, lighting conditions, and how the models would exist in physical space.