WildQuest


I’m making this board game inspired by the Jumanji movie. I’m not skilled enough to make an exact replica, but I’m trying to create something similar to it. I do a lot of online shopping, so I end up collecting quite a lot of cardboard boxes. I’m going to recycle that cardboard and use it to make a mini version of the Jumanji board game.
Downloads
Supplies


Materials Required ✂️
Oops! I forgot to include pictures of the pencil, eraser,scale and sharpener in the materials section. Anyway, we’ll need them to make the basic structure. They may not be included in the photo, but they’re very important for this craft!
Here’s the list of materials we’ll need:
1) Pencil
2)Eraser
3)Sharpener
4)Acrylic paints
5)Colour palette
6)Thin brush
7) Thin black liner
8)Black sketch pen
9)Toothpicks
10)Black tape
11)Double-sided tape
12)Transparent tape (we might need it, so
it’s better to keep it handy!)
13)Two medium sized cardboard boxes
14)Plain sheet of paper 3-4
15) Scale
Folding and Marking the Paper 📄


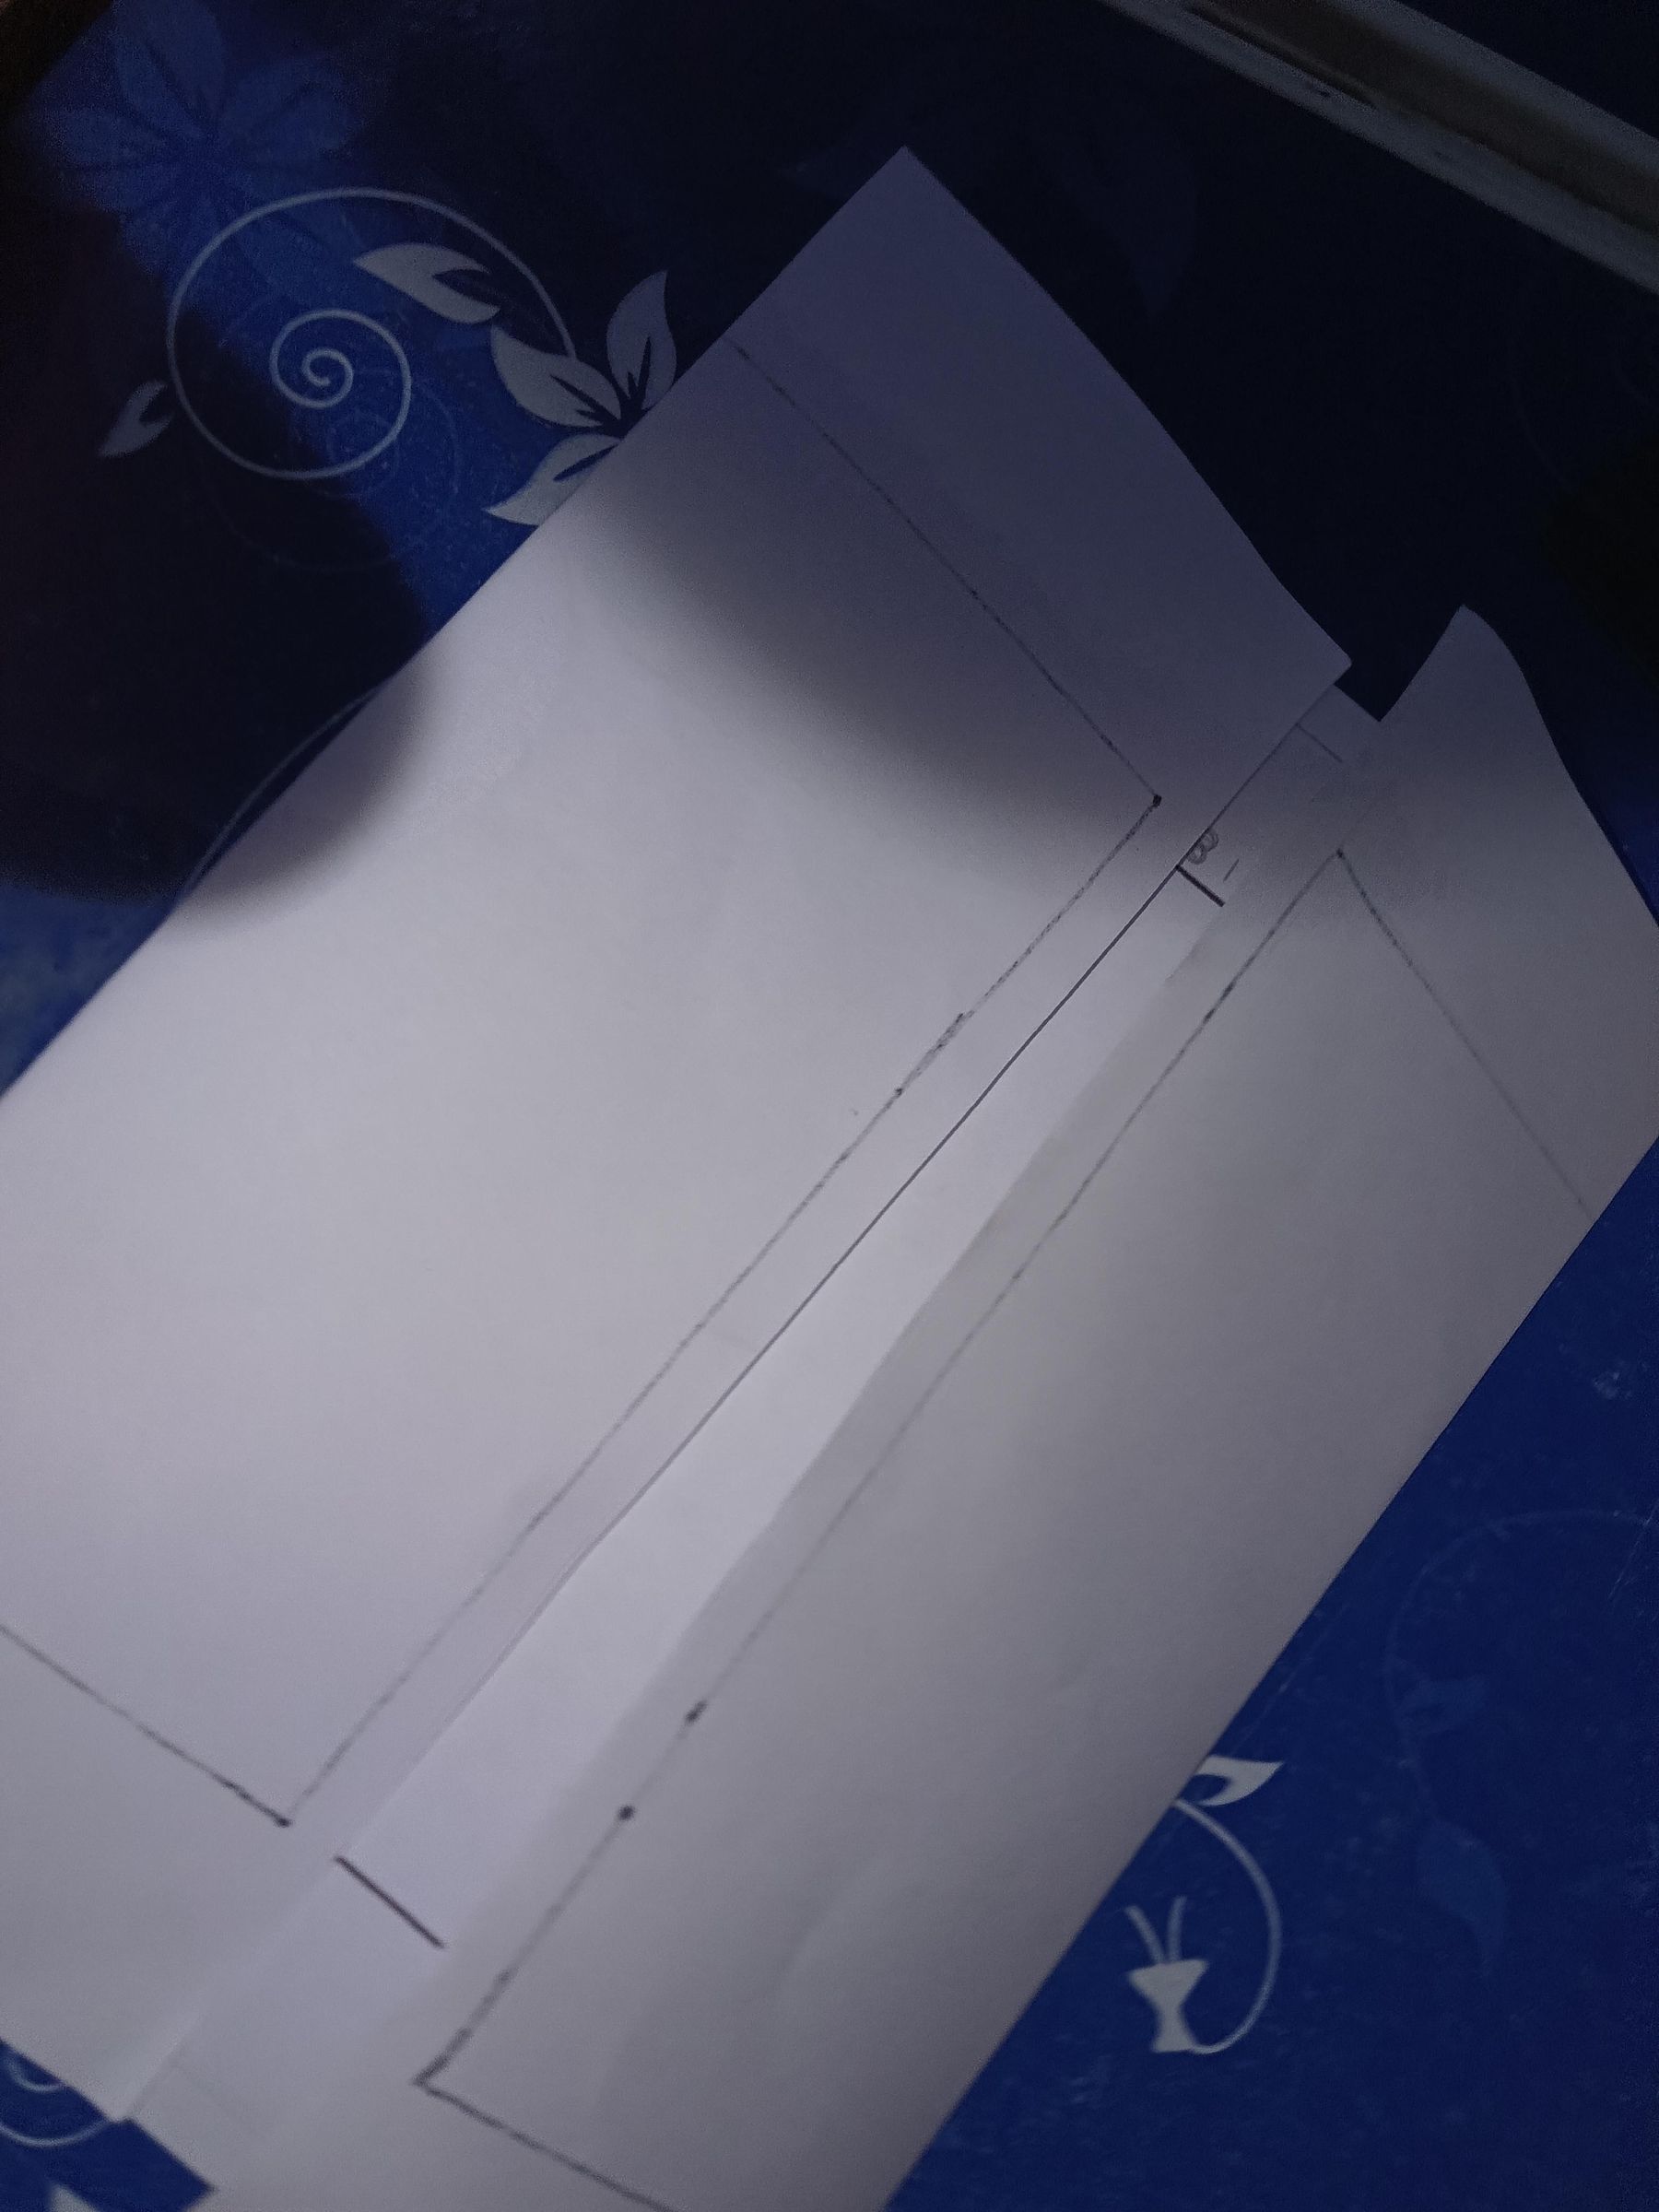

First, I took an A1-size sheet of paper and measured it according to the width of my cardboard. Then, I drew lines to mark the dimensions.As shown in the picture, the rectangle outlined in black sketch pen represents the size of my board game.First, fold the paper in half to create a line down the middle. Then, fold both sides of the paper inward toward the centre line, as shown in the pictures for better understanding.Once you have made the two folds, trace the crease lines with a black sketch pen to make them more visible.
Writing the Title and Details


Next, I started writing the text, just like it appears on the original Jumanji board. This part was quite challenging for me, but we should never give up! We should always keep trying and give our best, no matter how difficult something seems.Next, I placed a piece of tape in the centre to create a circular shape. Then, I drew leaf-like structures around it to give the board a jungle-inspired look, just like the original Jumanji board.
Painting the Jungle Leaves 🍃🎨

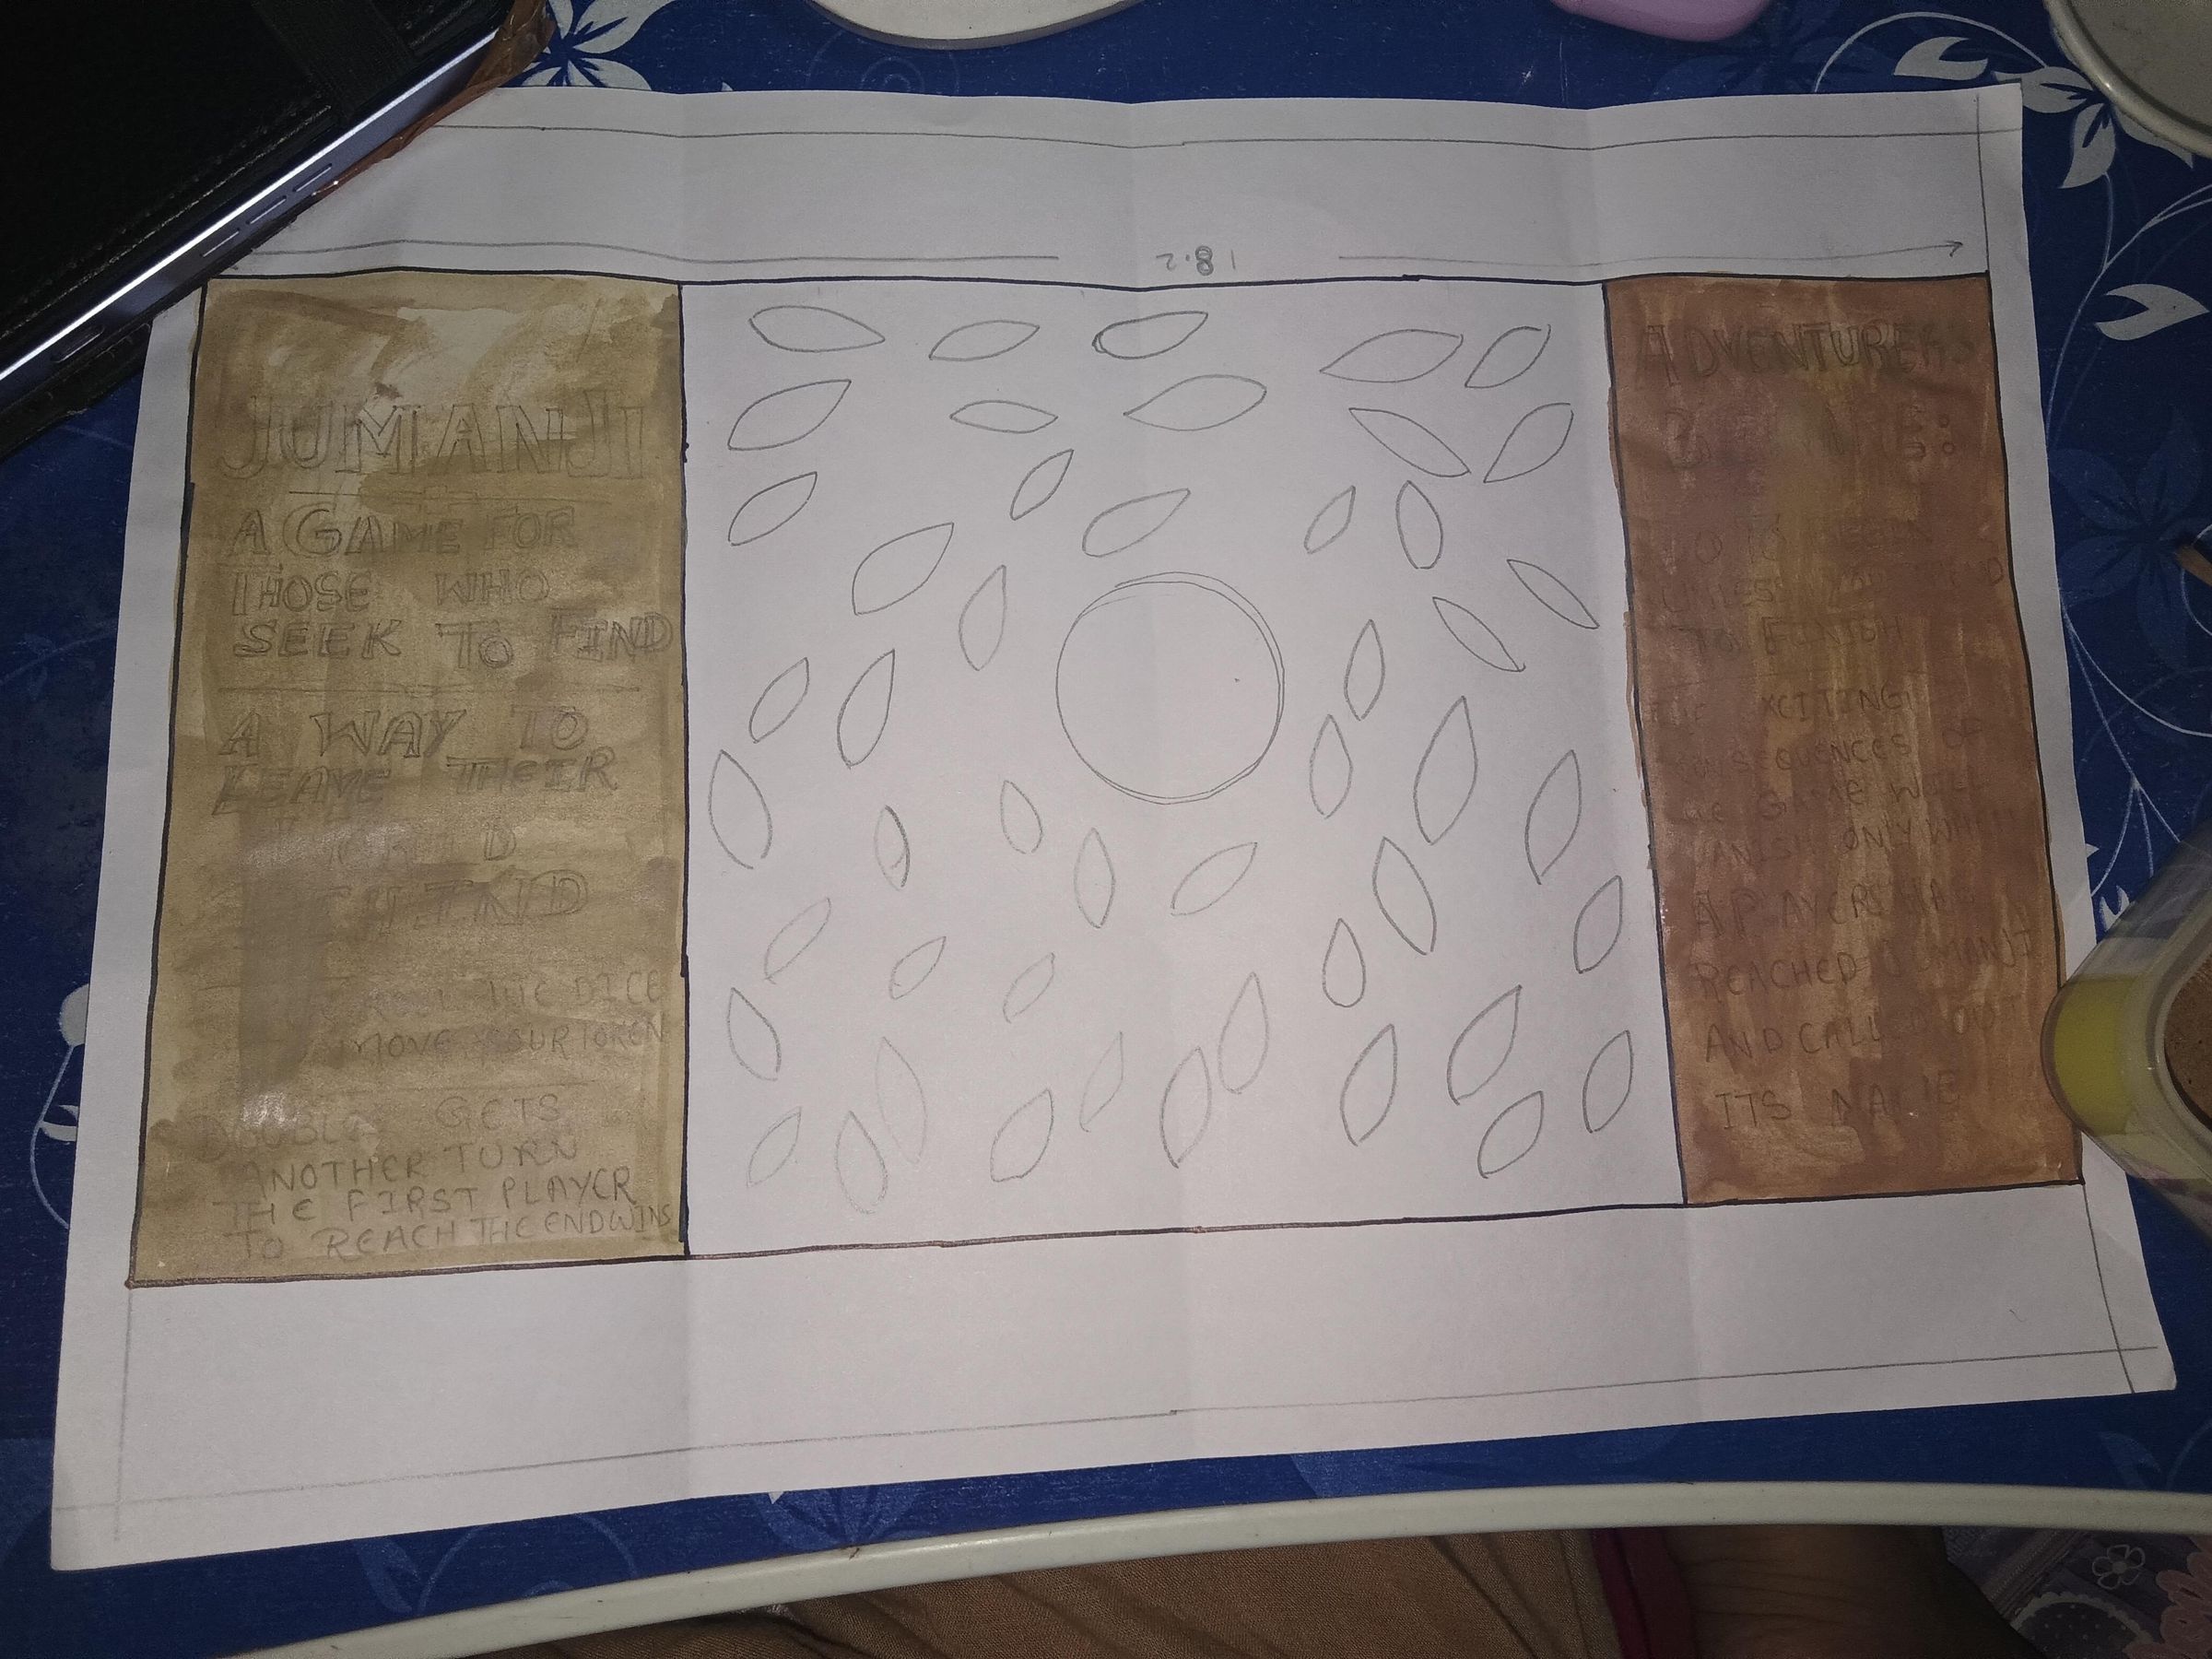


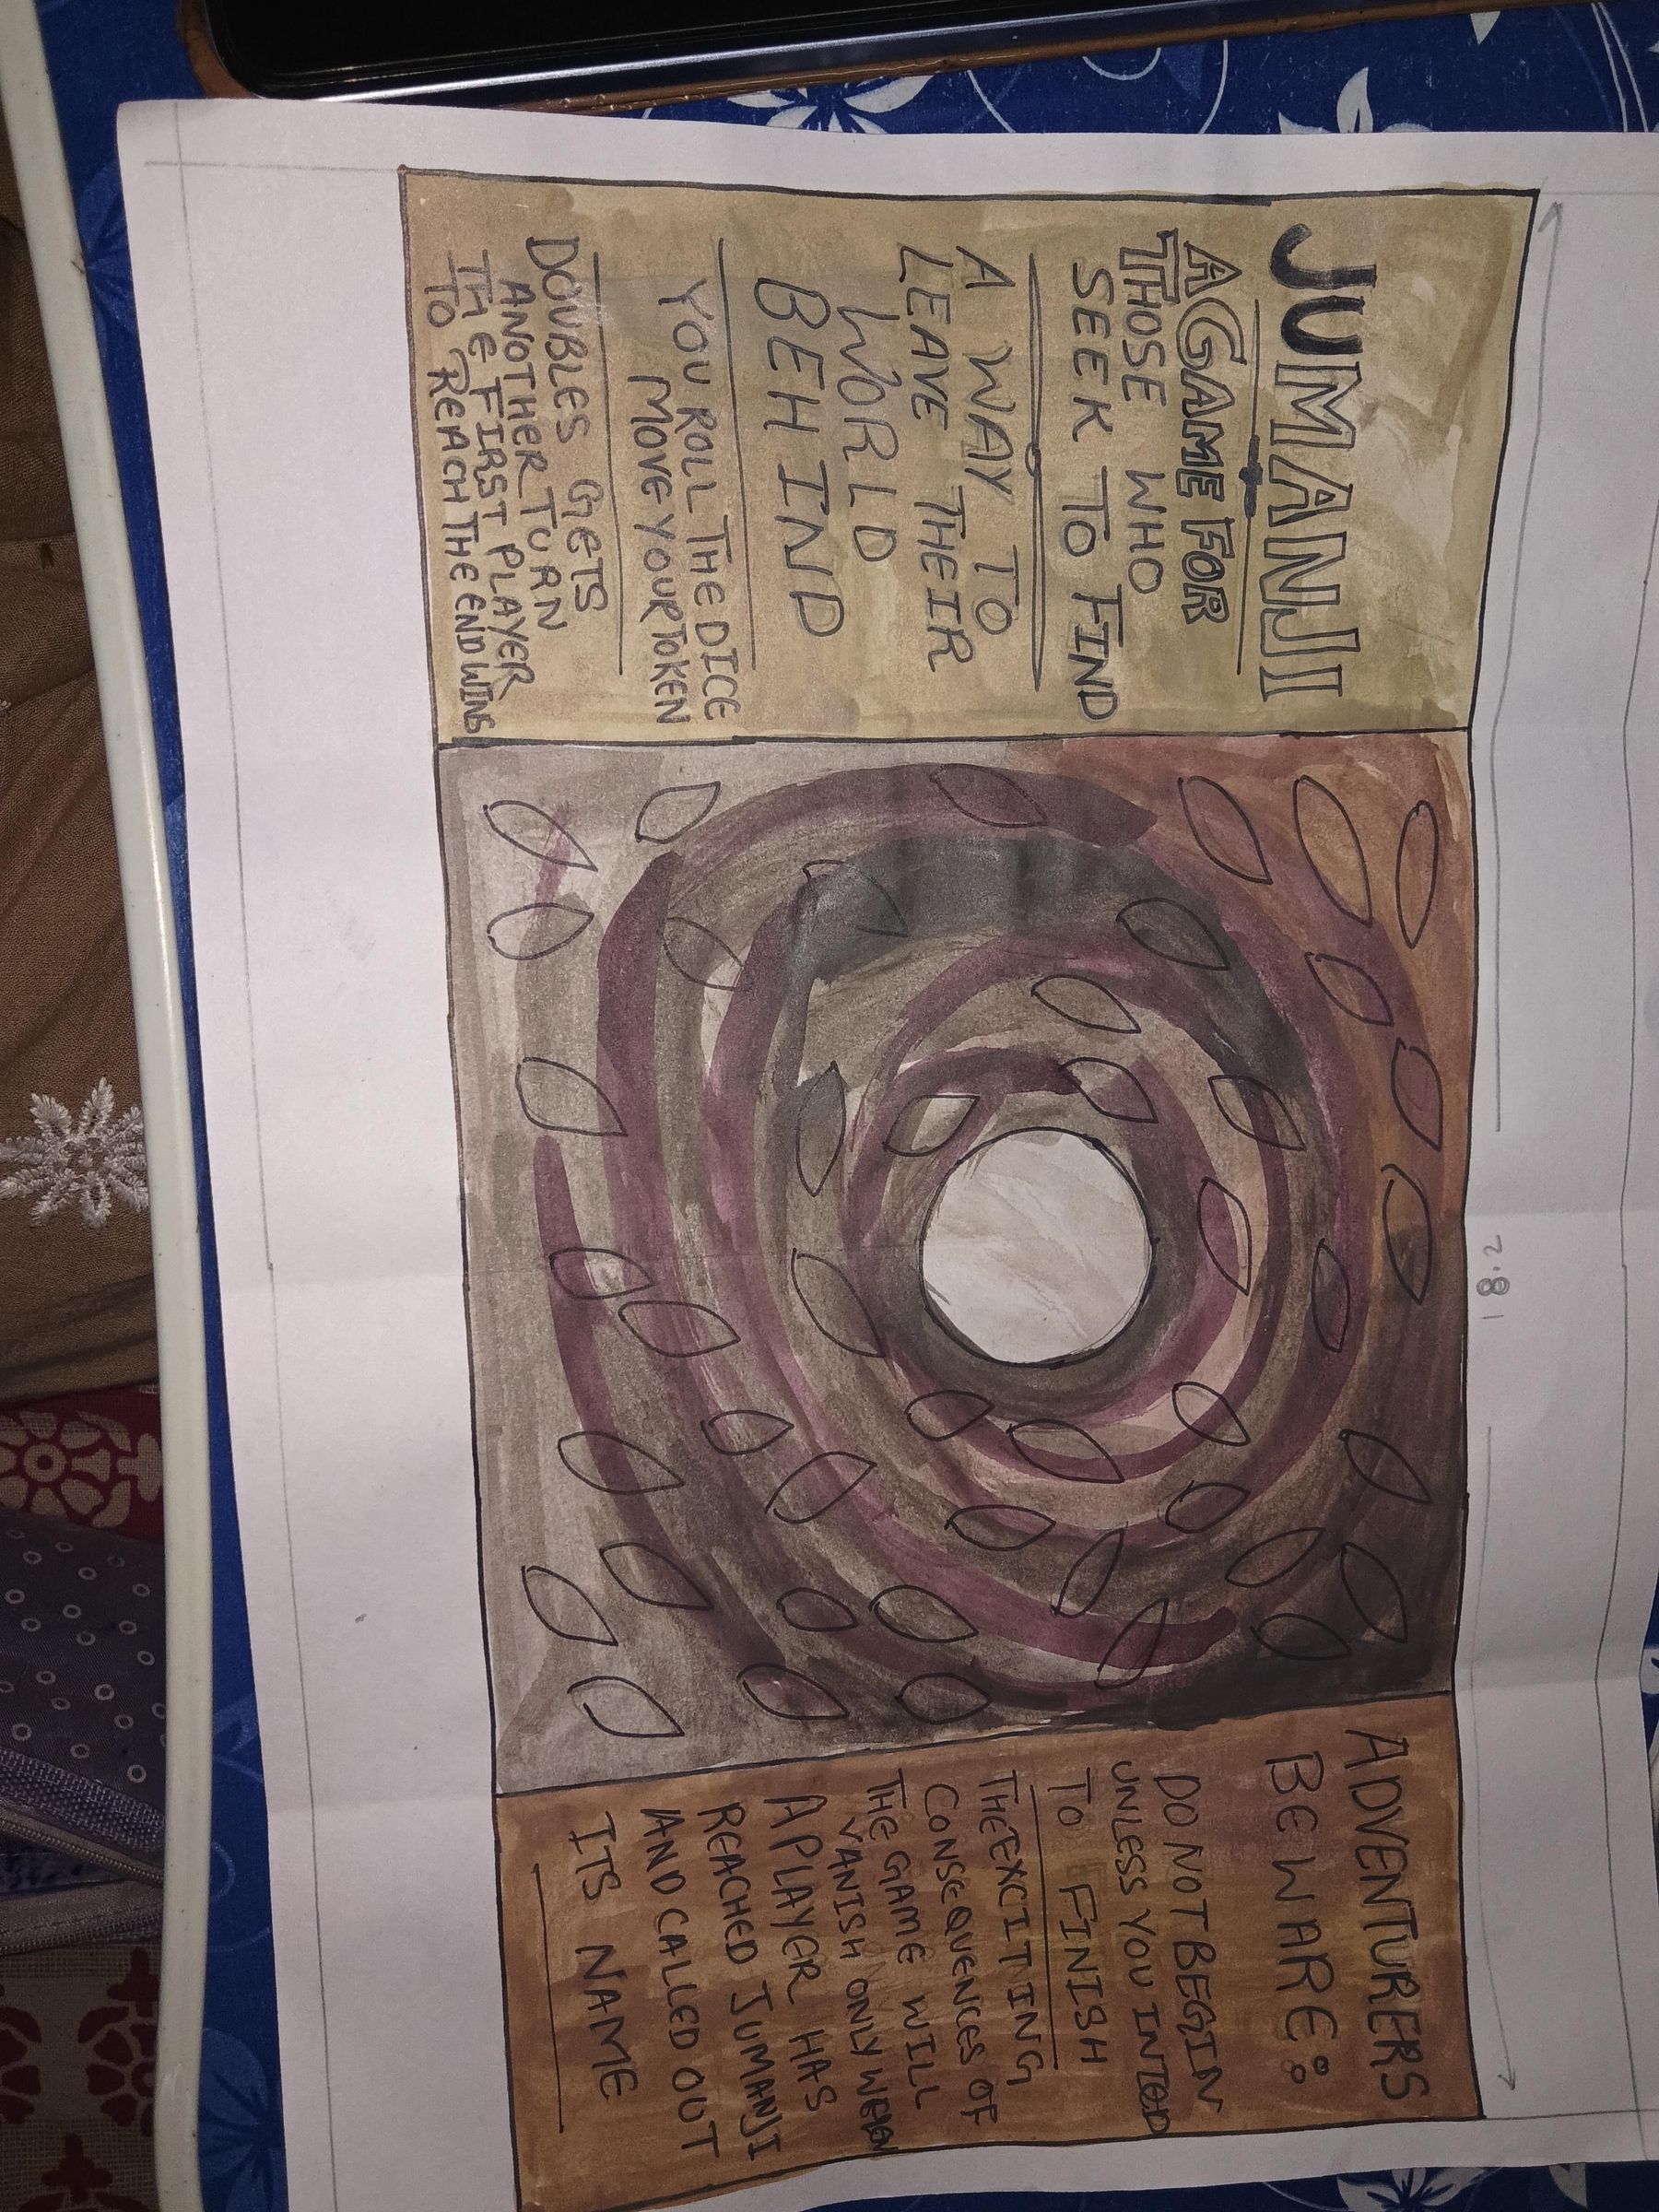


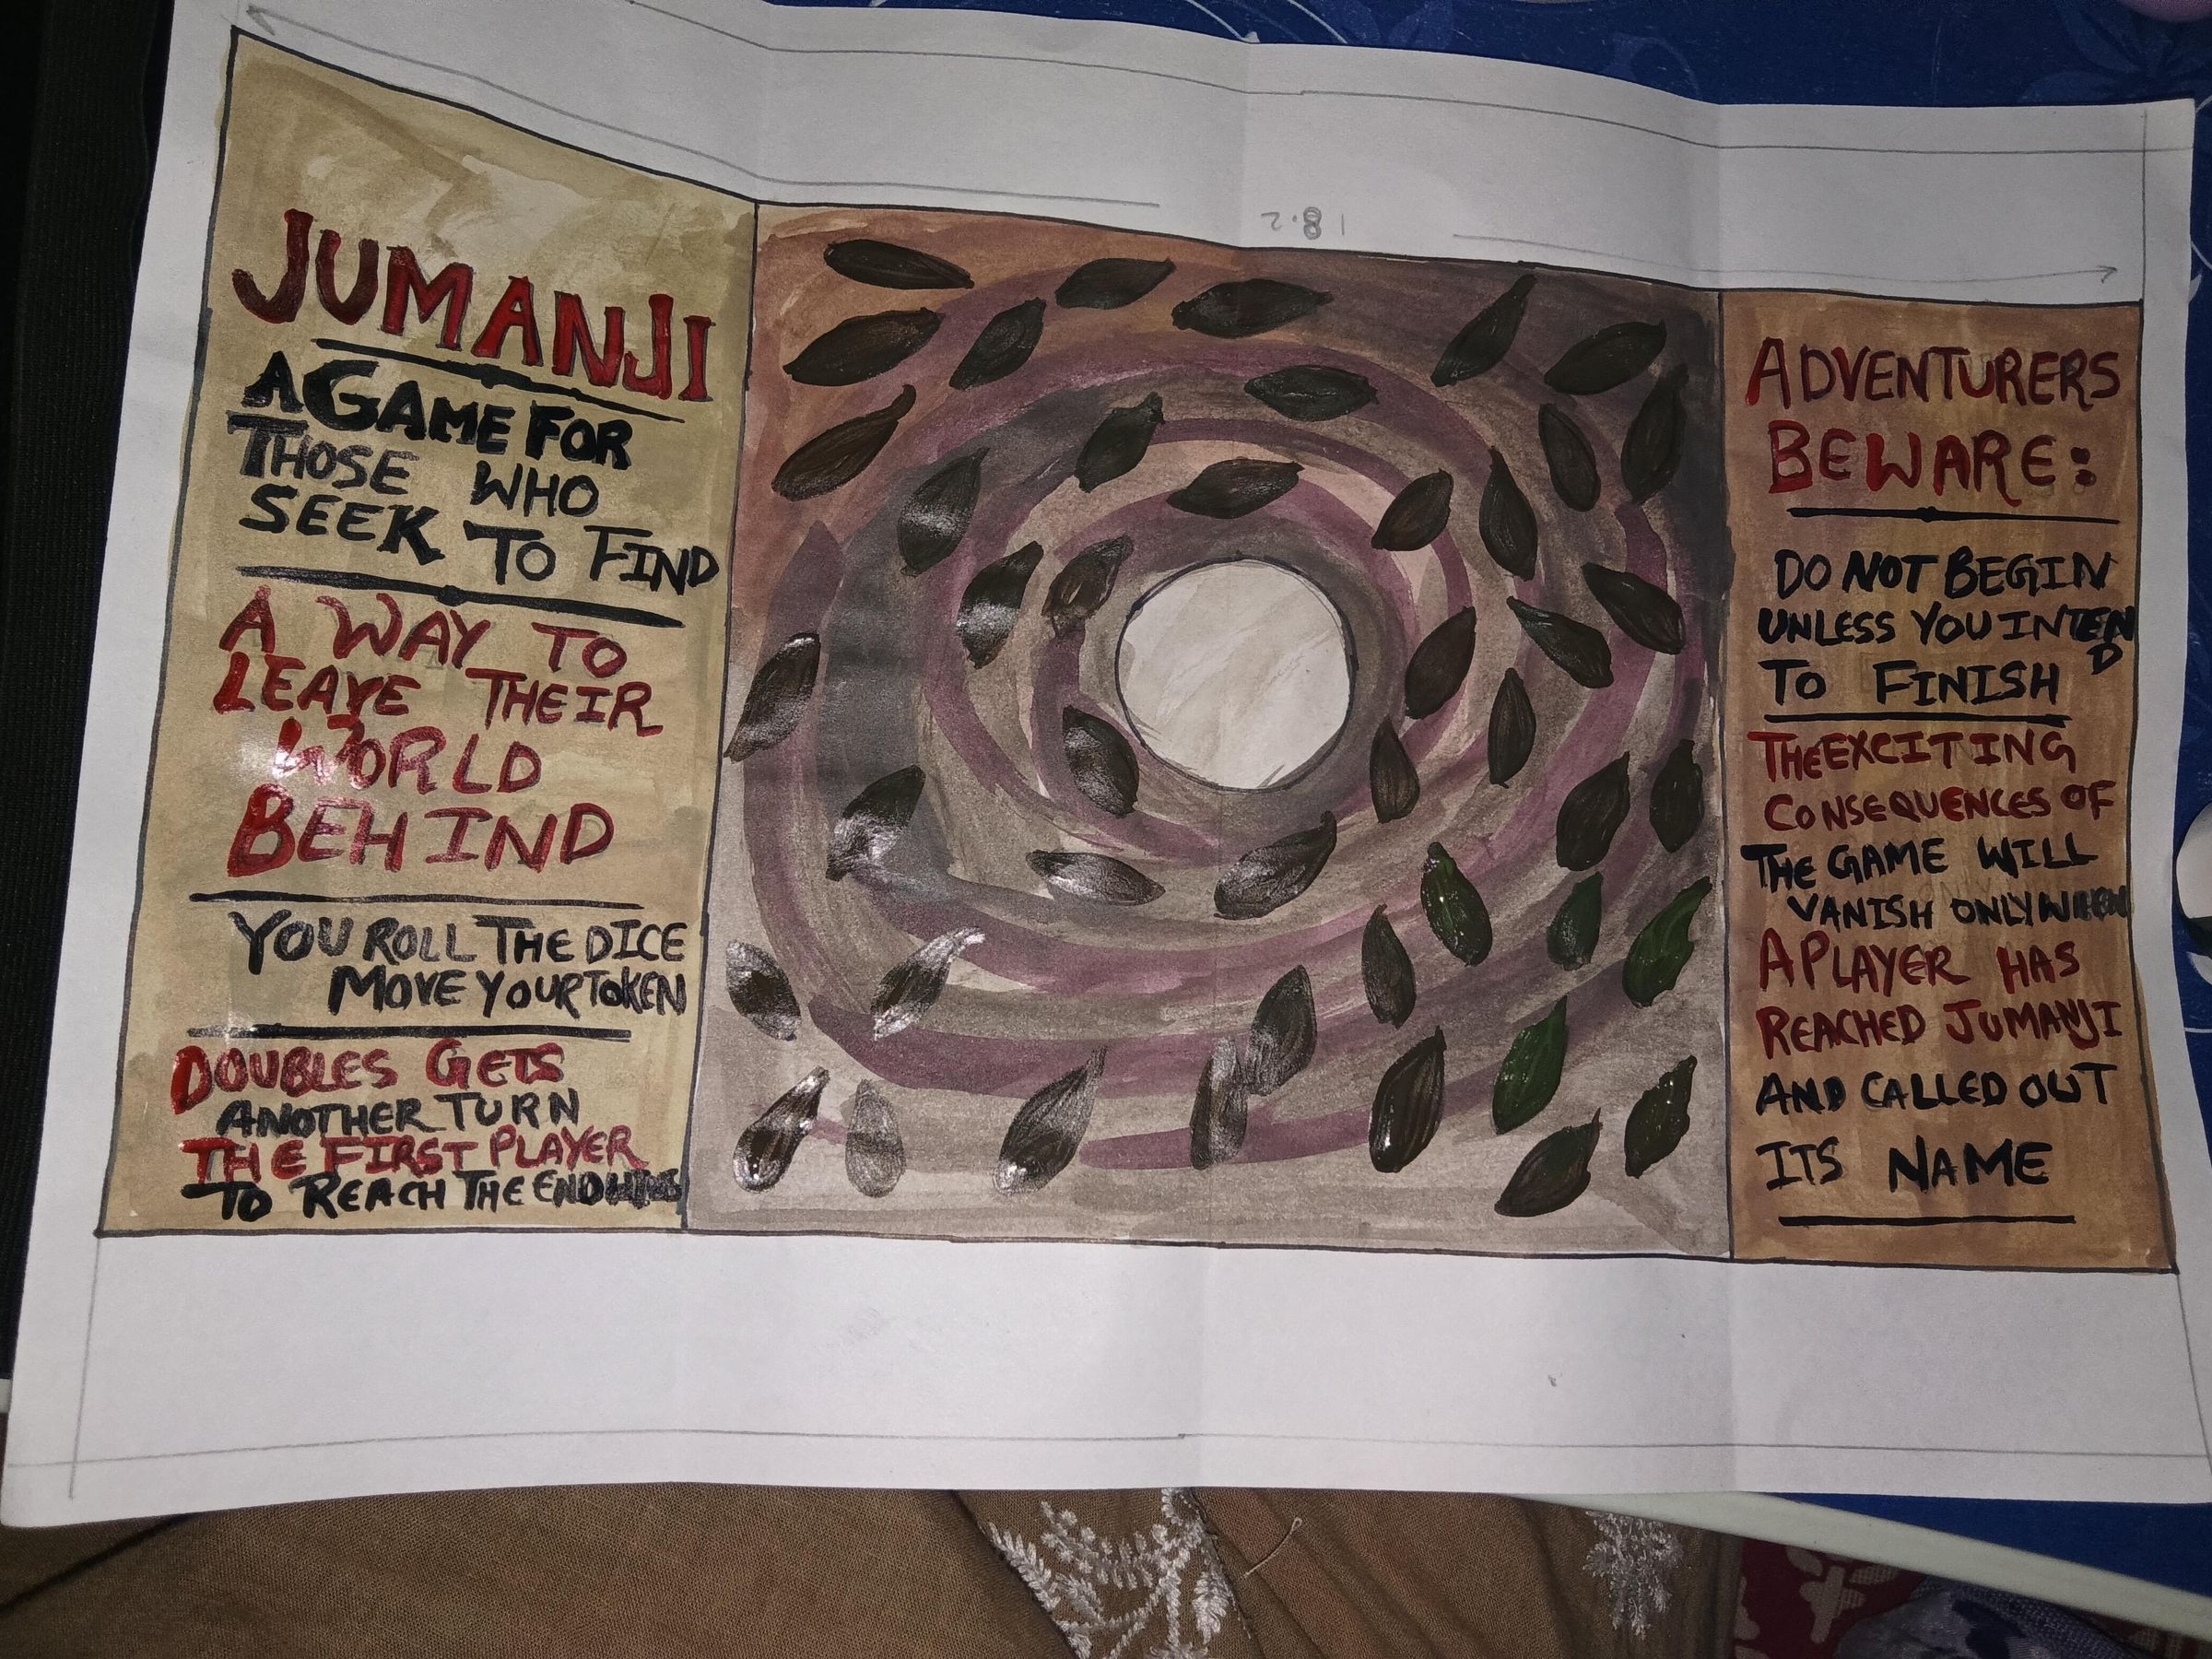
I’m a hostel student, and I’m working on this craft late at night while my roommates are sleeping. Meanwhile, I’m still awake, following my passion and bringing my ideas to life! I’m using a lamp because I can’t turn on the room lights. And look at all the insects attracted to the light! 😂 That’s why I took the picture in the dark.
For the coffee-brown colour, I mixed equal amounts of white and yellow, along with a very small amount of red and black.
For the leaves, I first created a natural green shade by mixing equal amounts of reddish-brown and green. Then, I applied a layer of light green over it and added a little yellow for shading to give the leaves more depth and a natural look.
Downloads
Cutting and Preparing the Game Pieces ✂️🎨


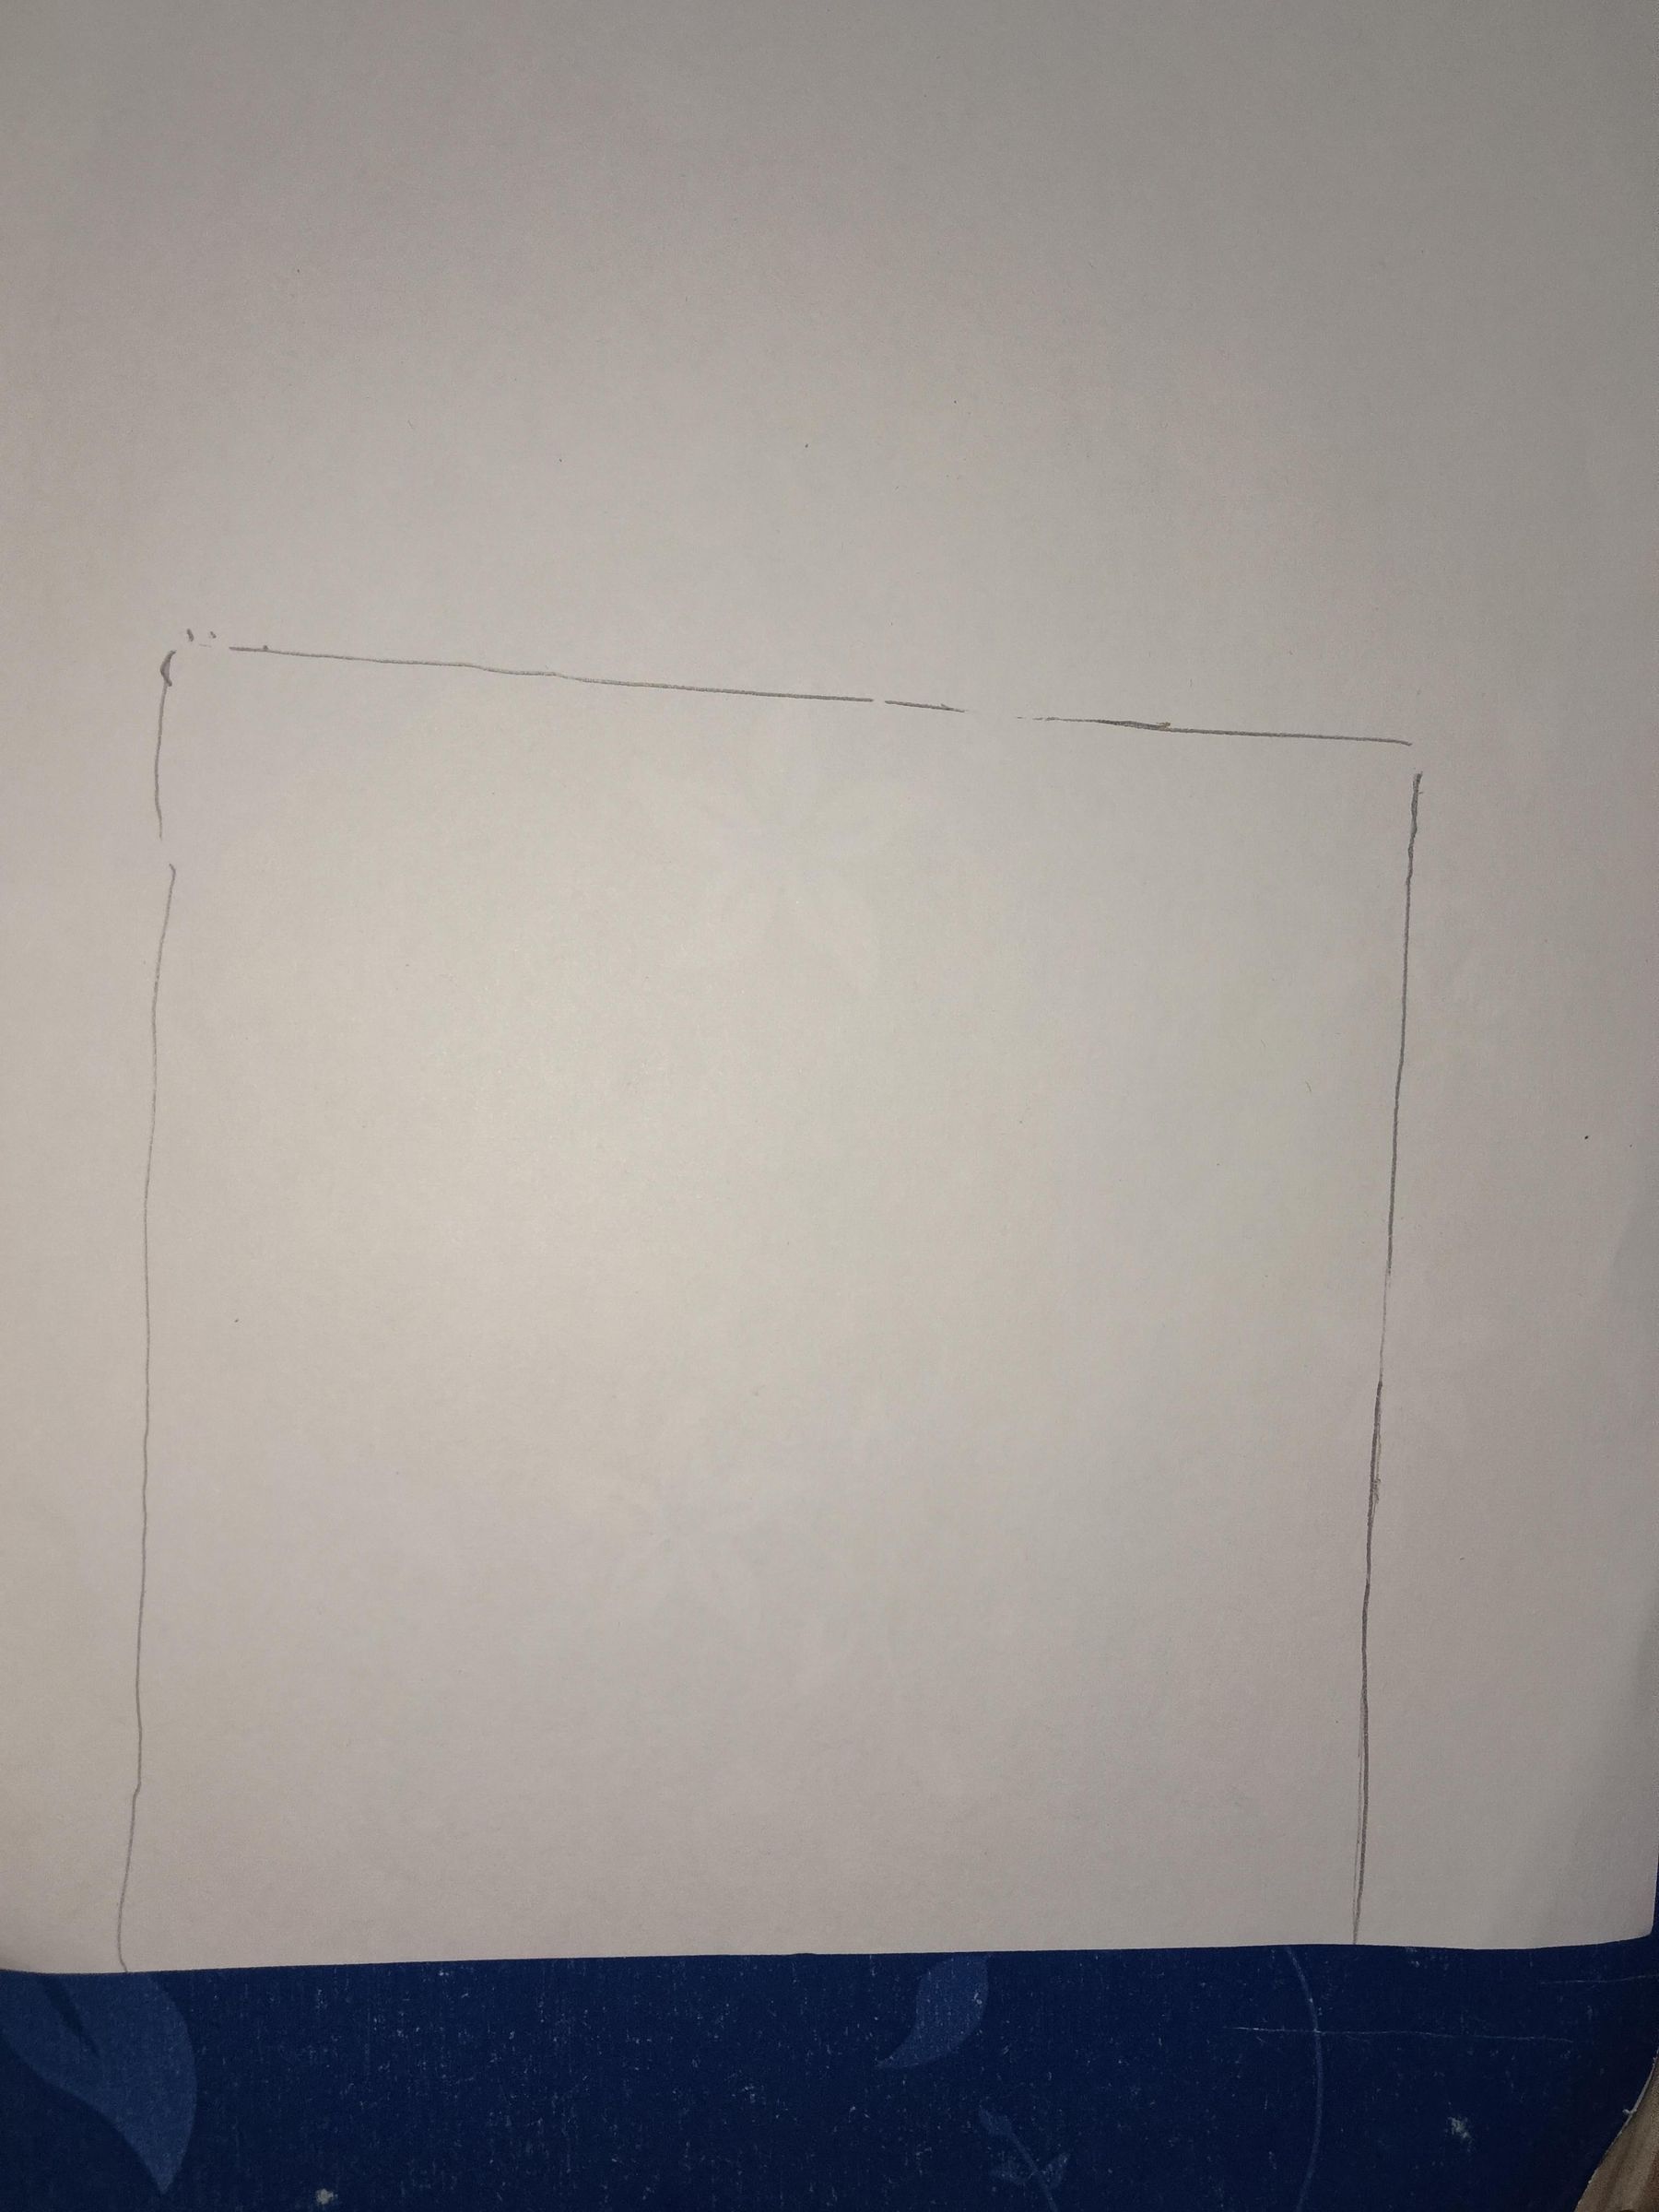


Now, we’ll cut out all our drawings. I’ve also sketched the main interface of the game board.
I used acrylic paints for painting. If you don’t have acrylic colours, you can try mixing paint with Fevicol to achieve a finish similar to acrylic paint.
Once my paintings were ready, I cut the cardboard pieces according to their shapes and sizes.I’ll stick my drawings onto these cardboard pieces to make them sturdier and give them a proper 3D look.
Making Cardboard Hinges 🚪


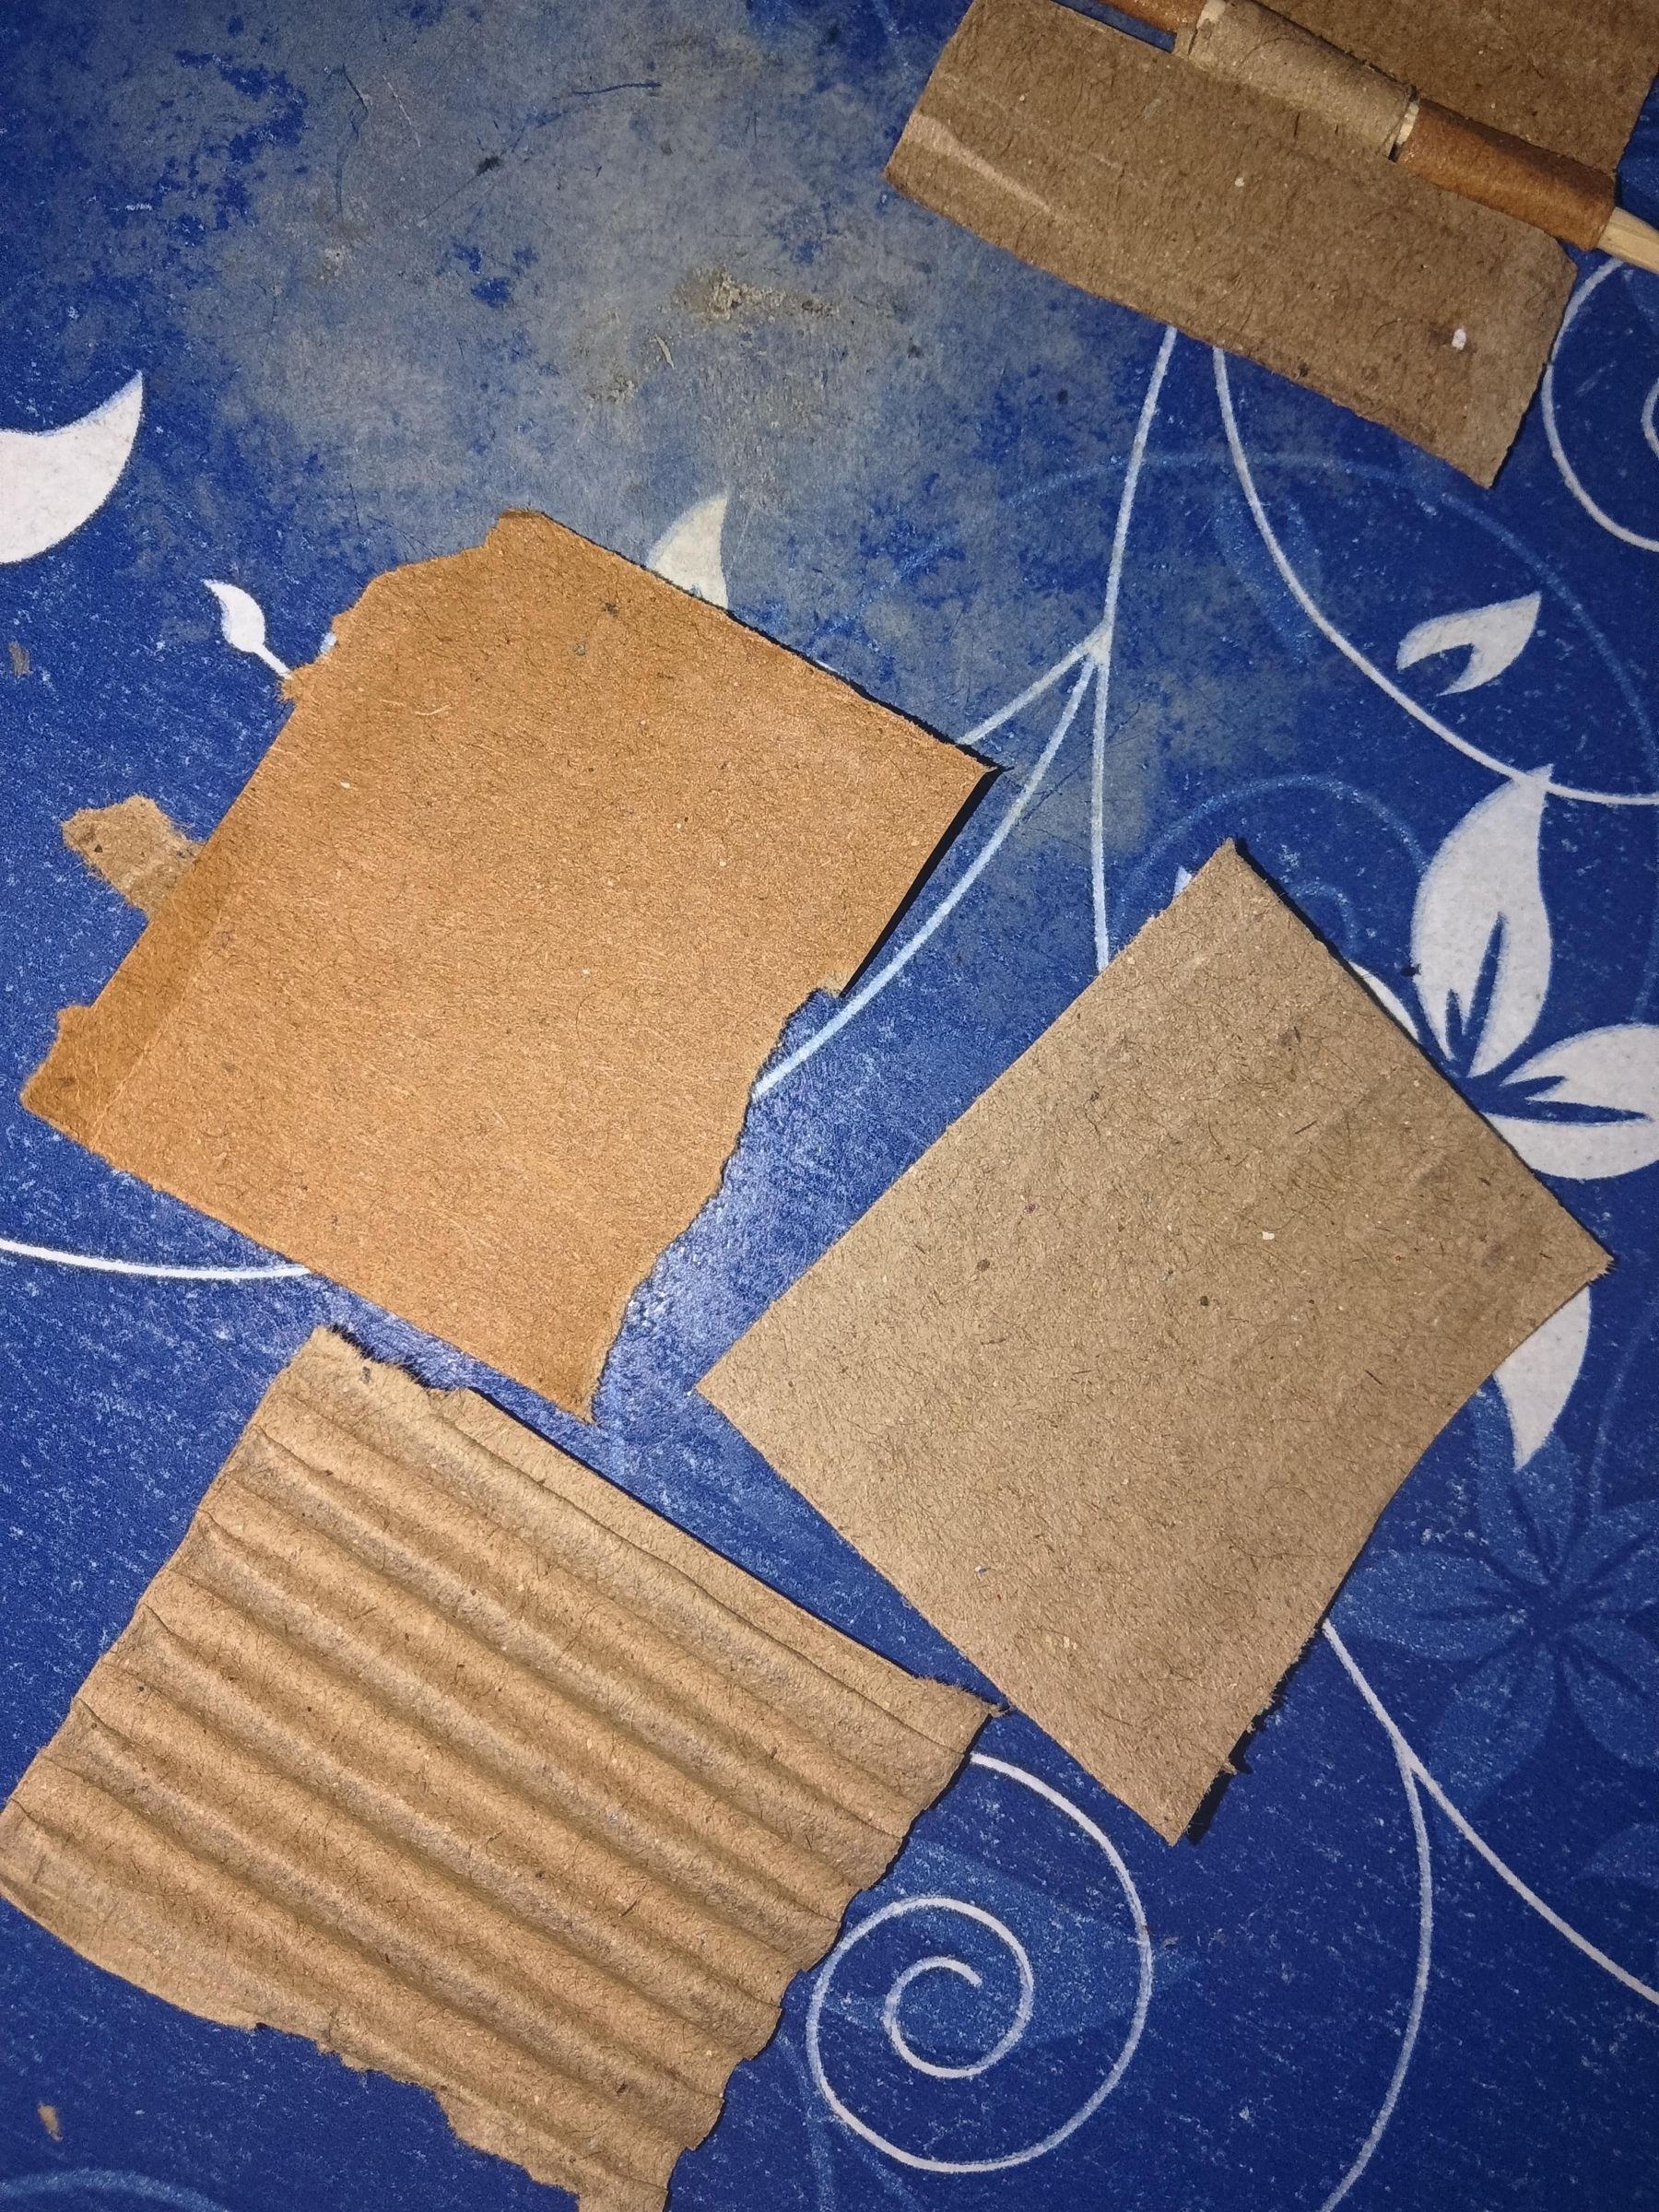

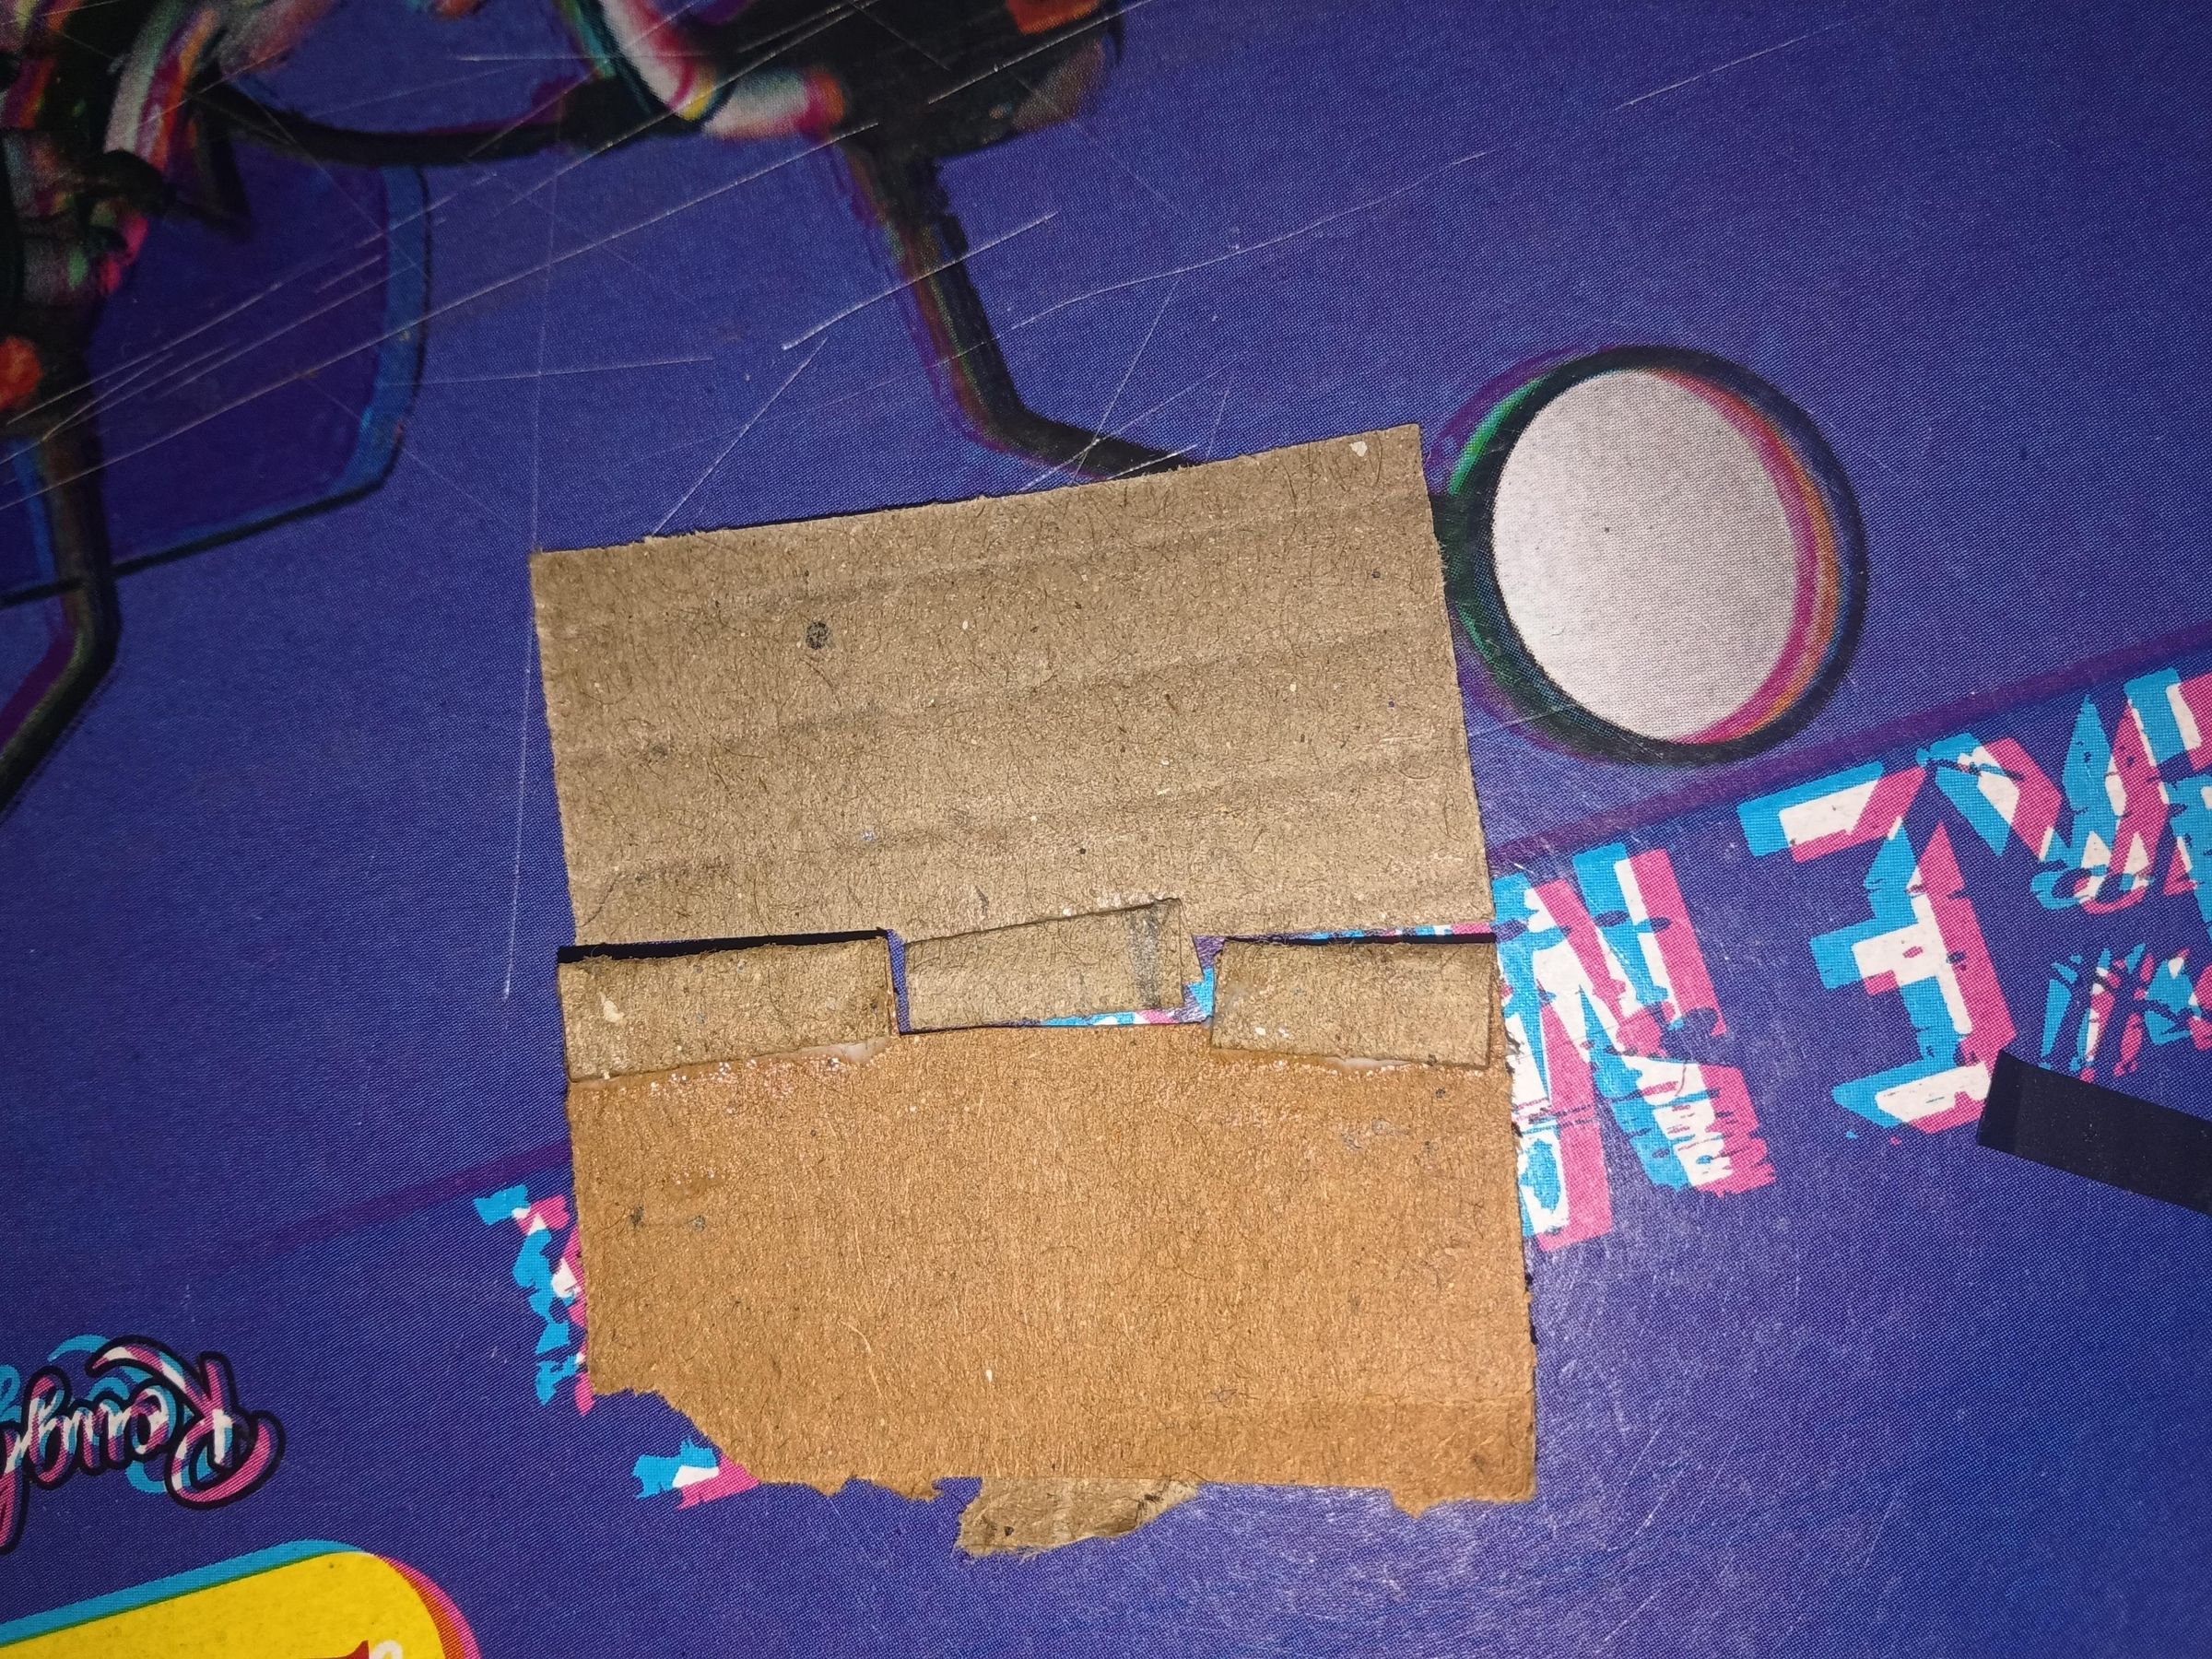
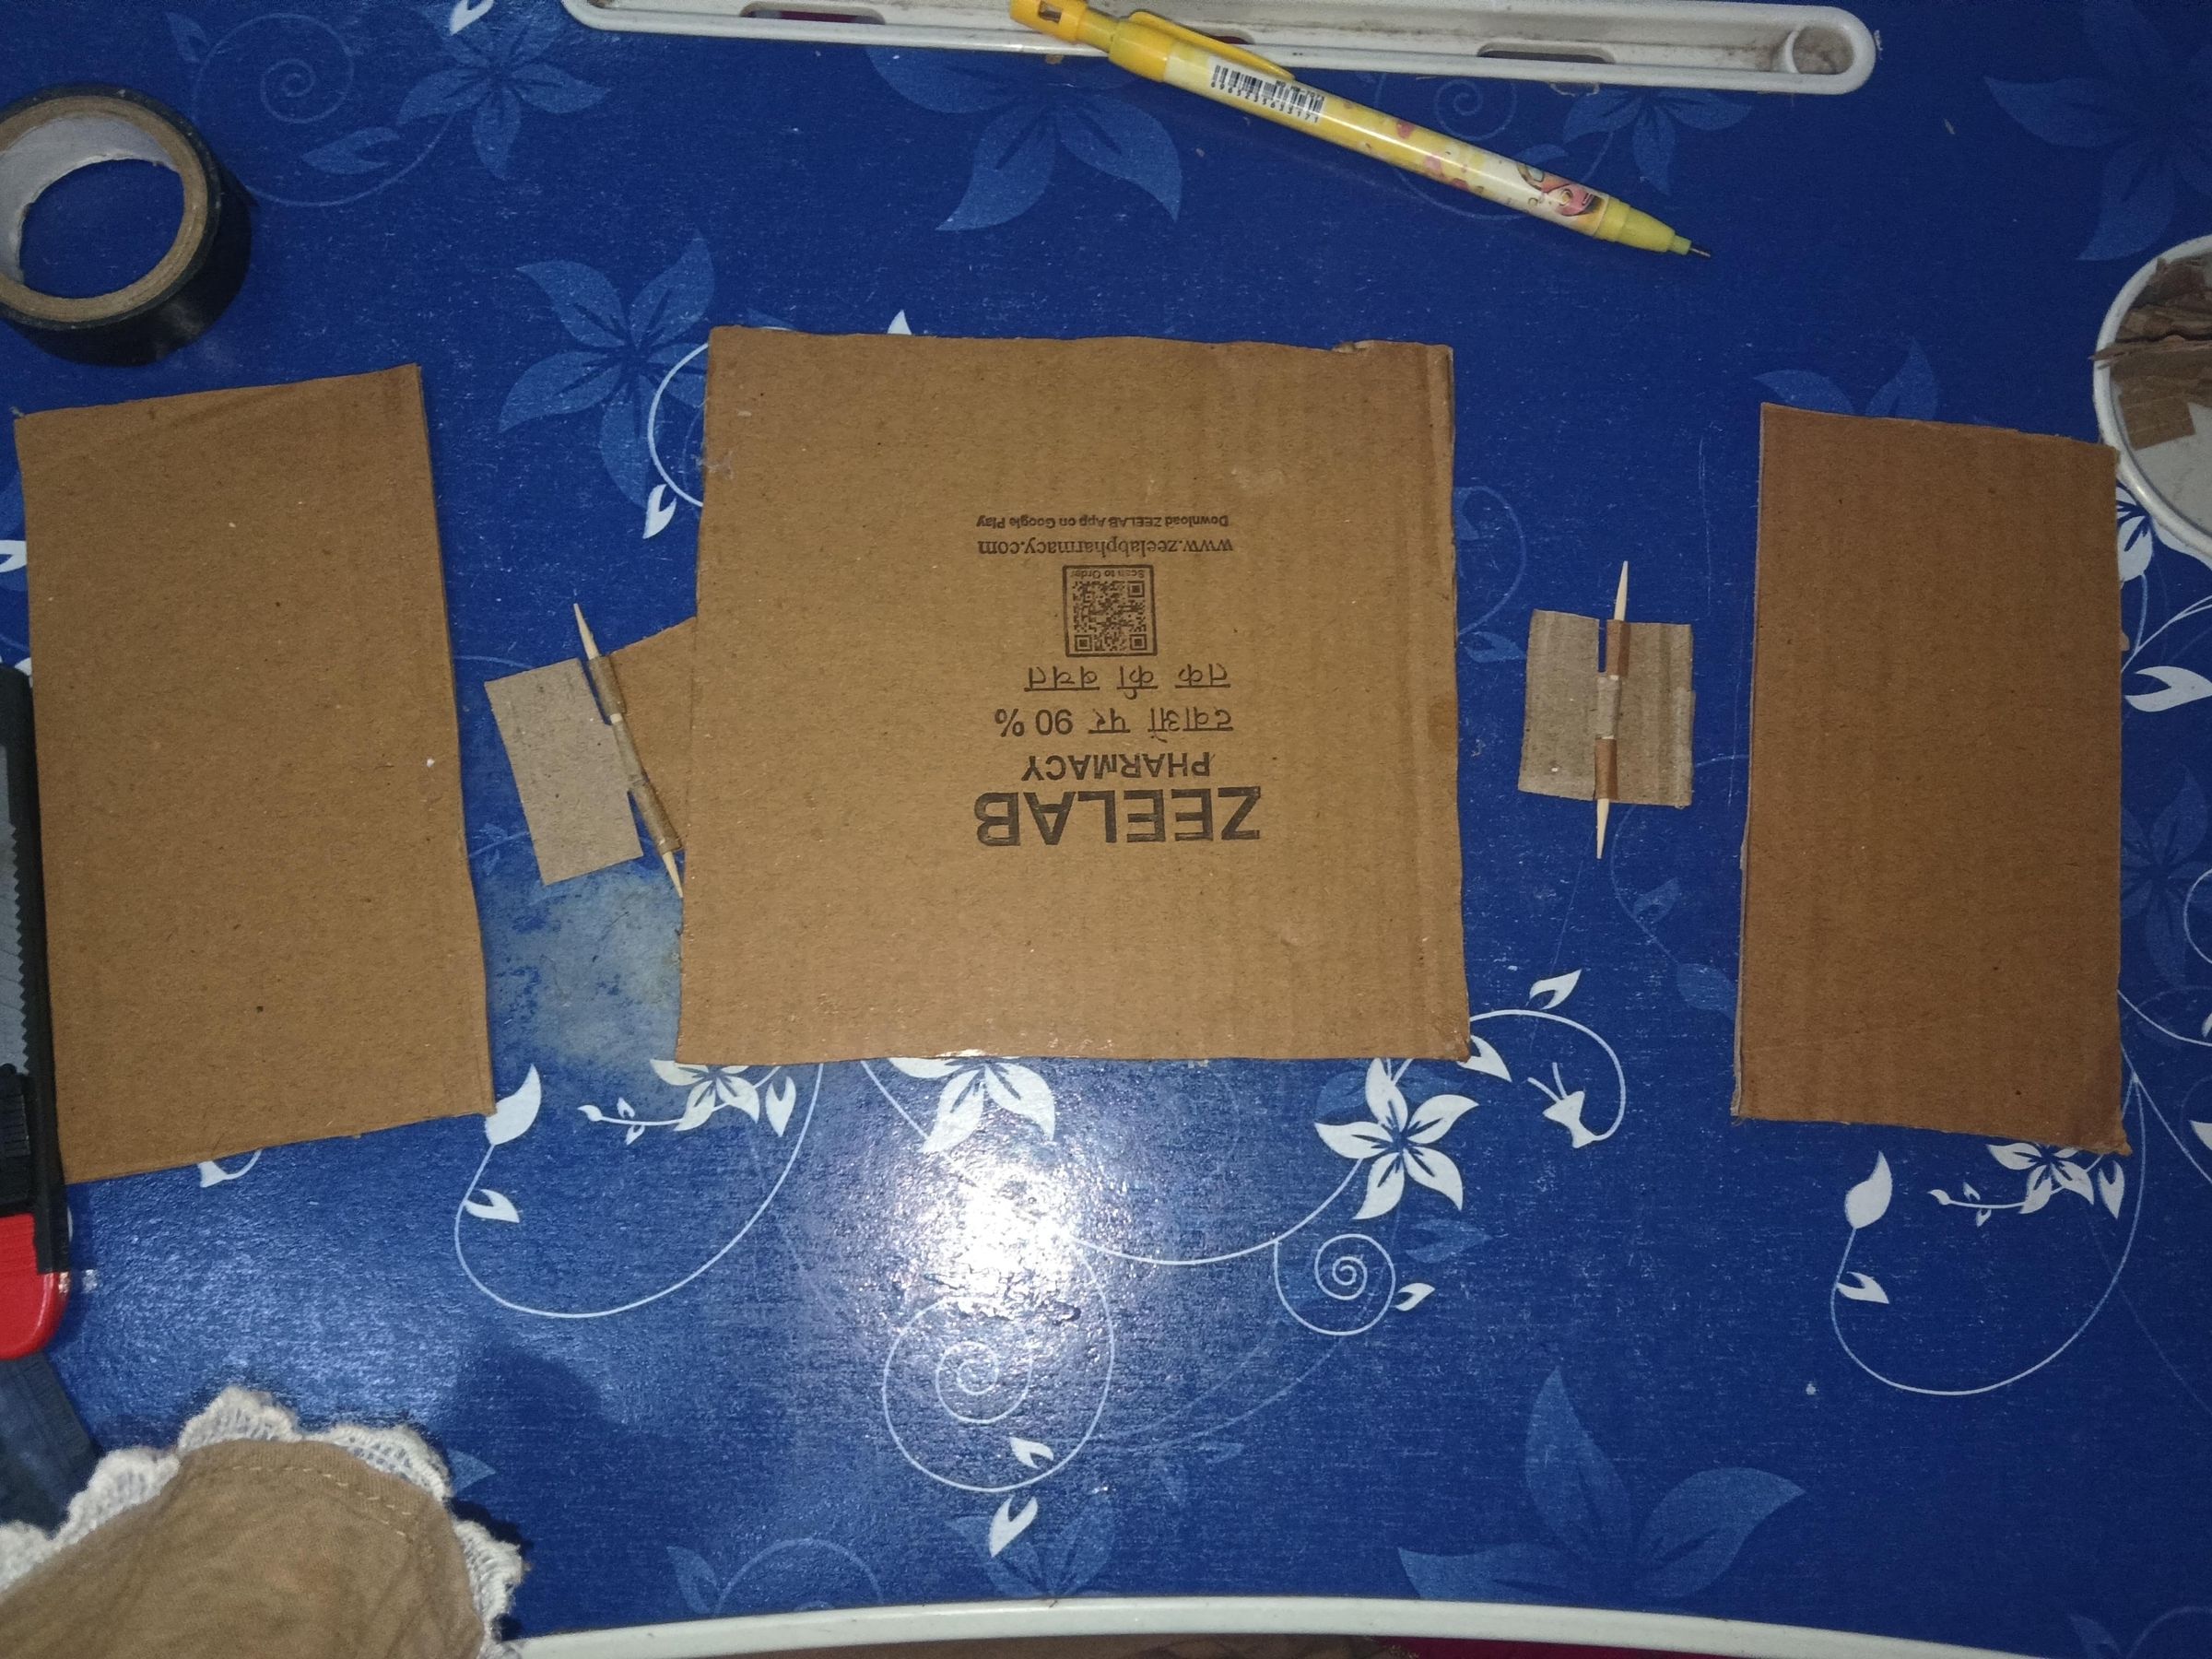

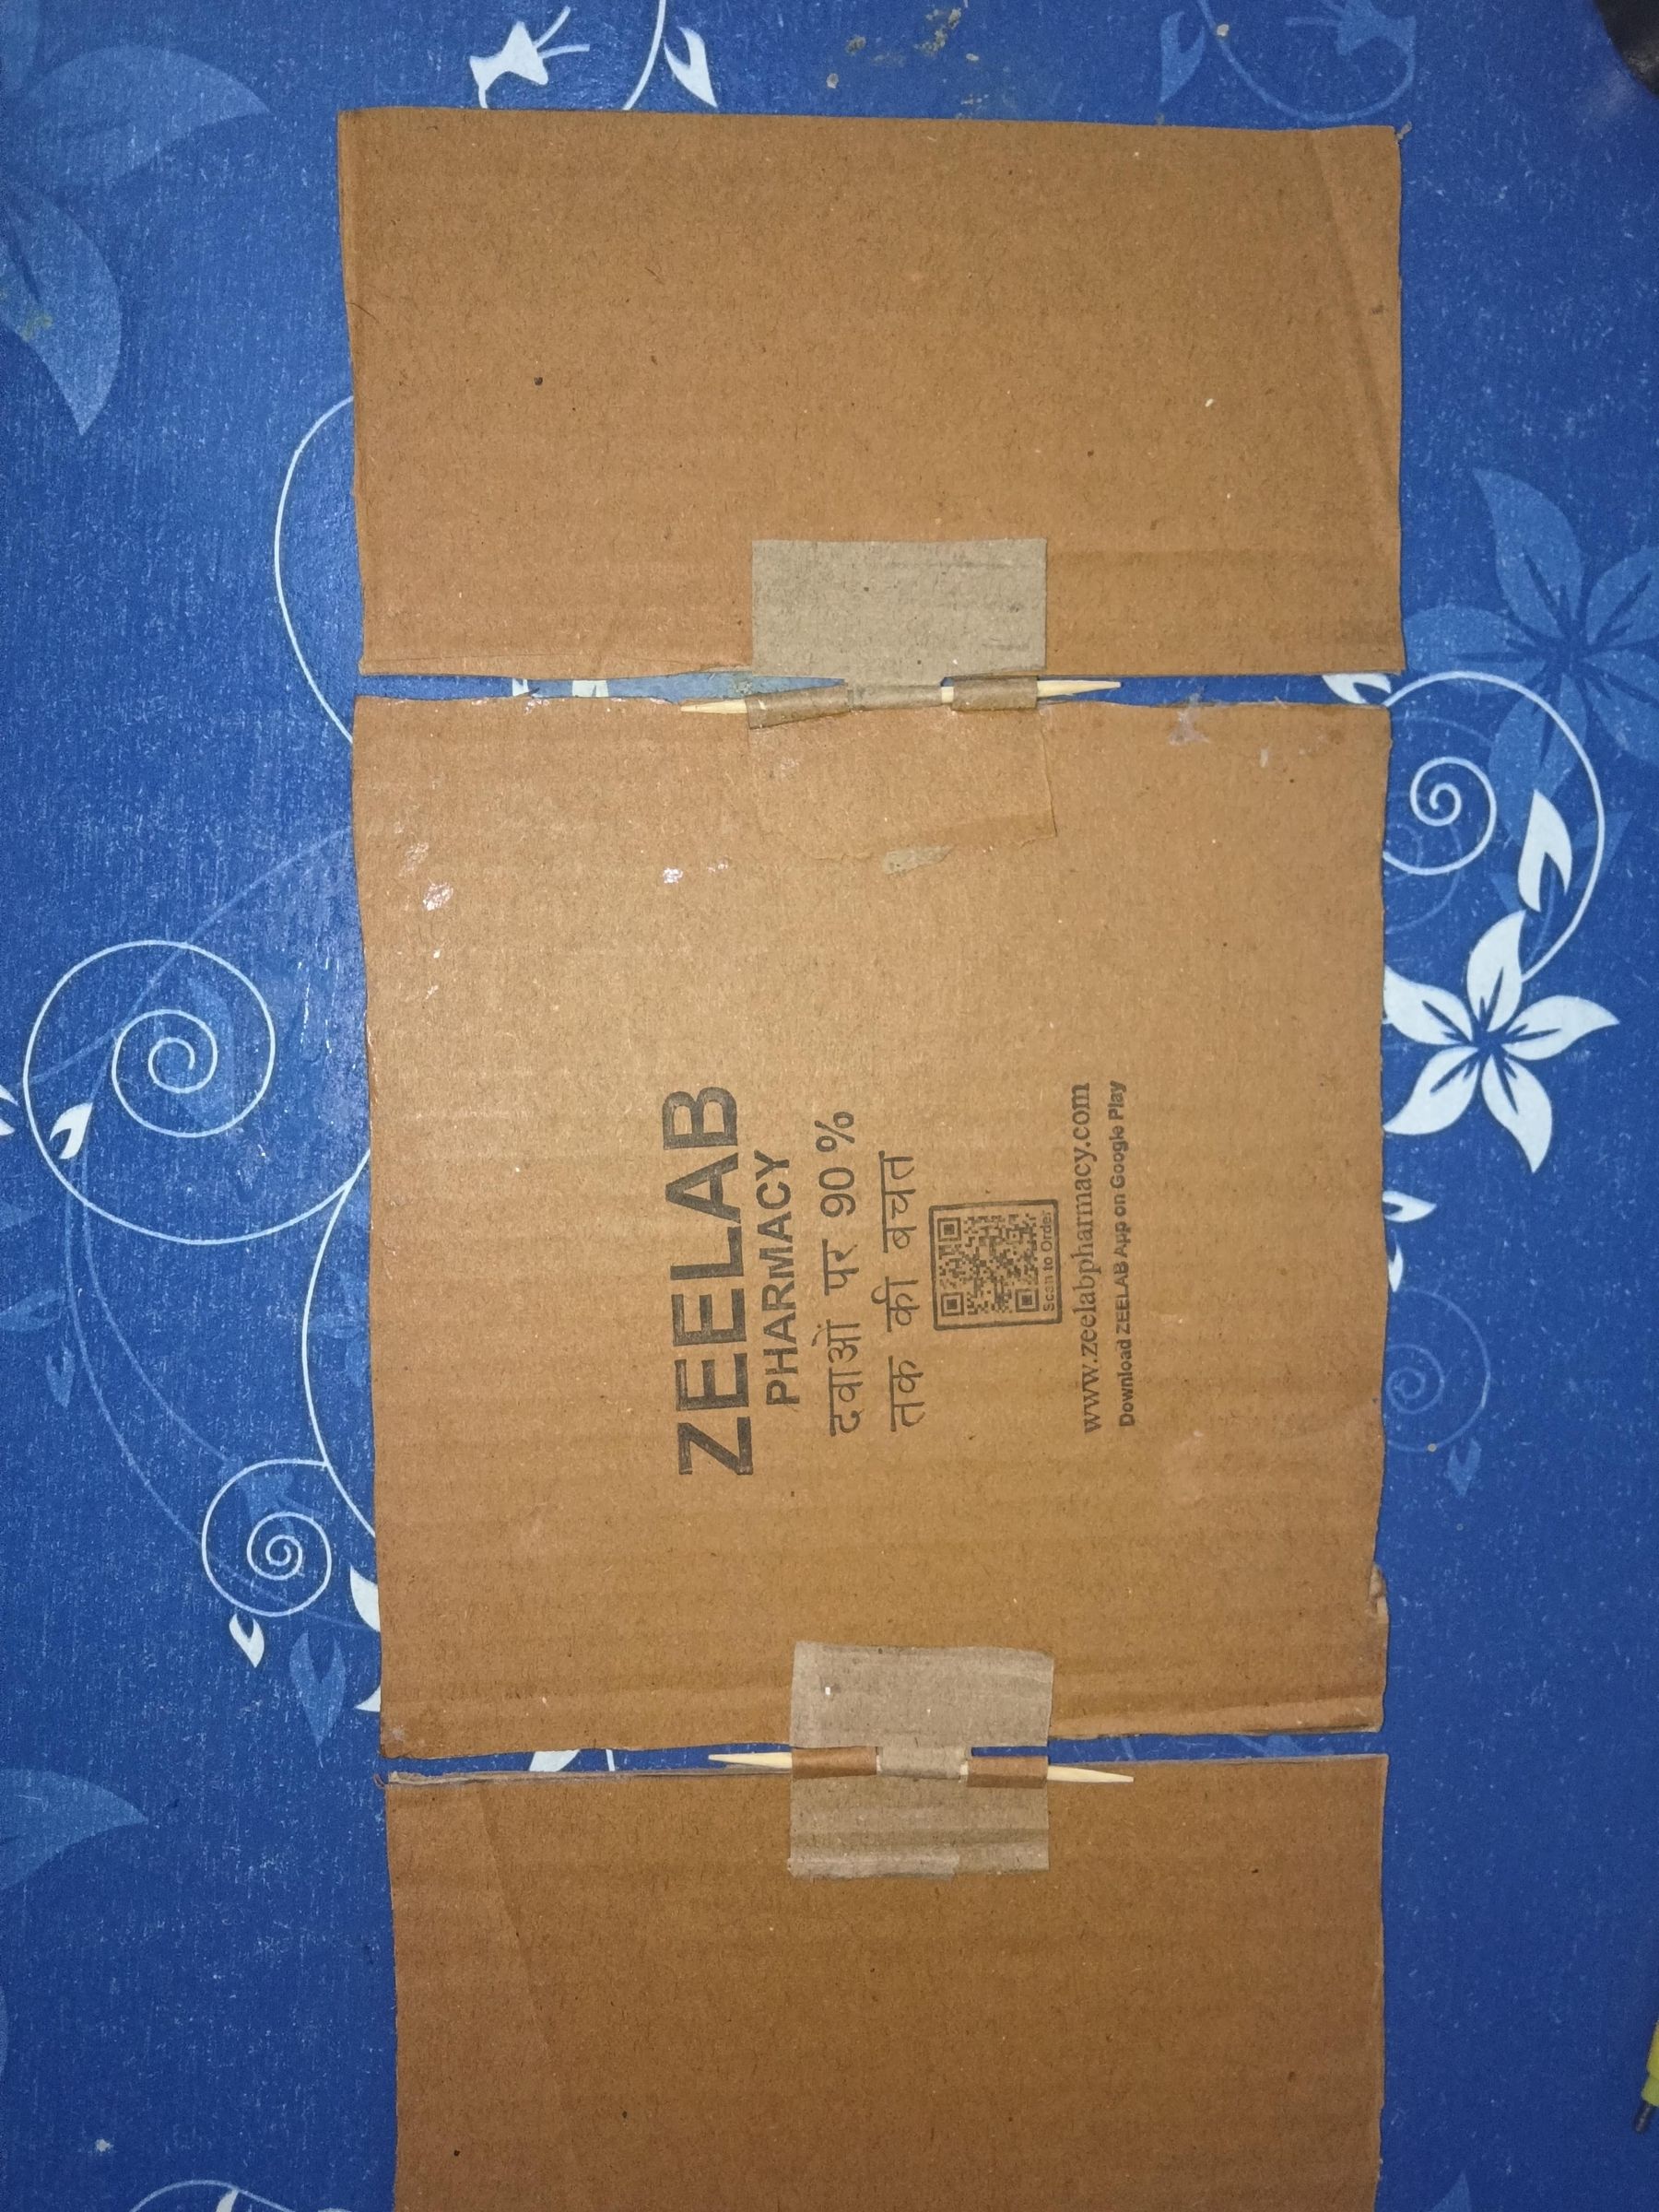
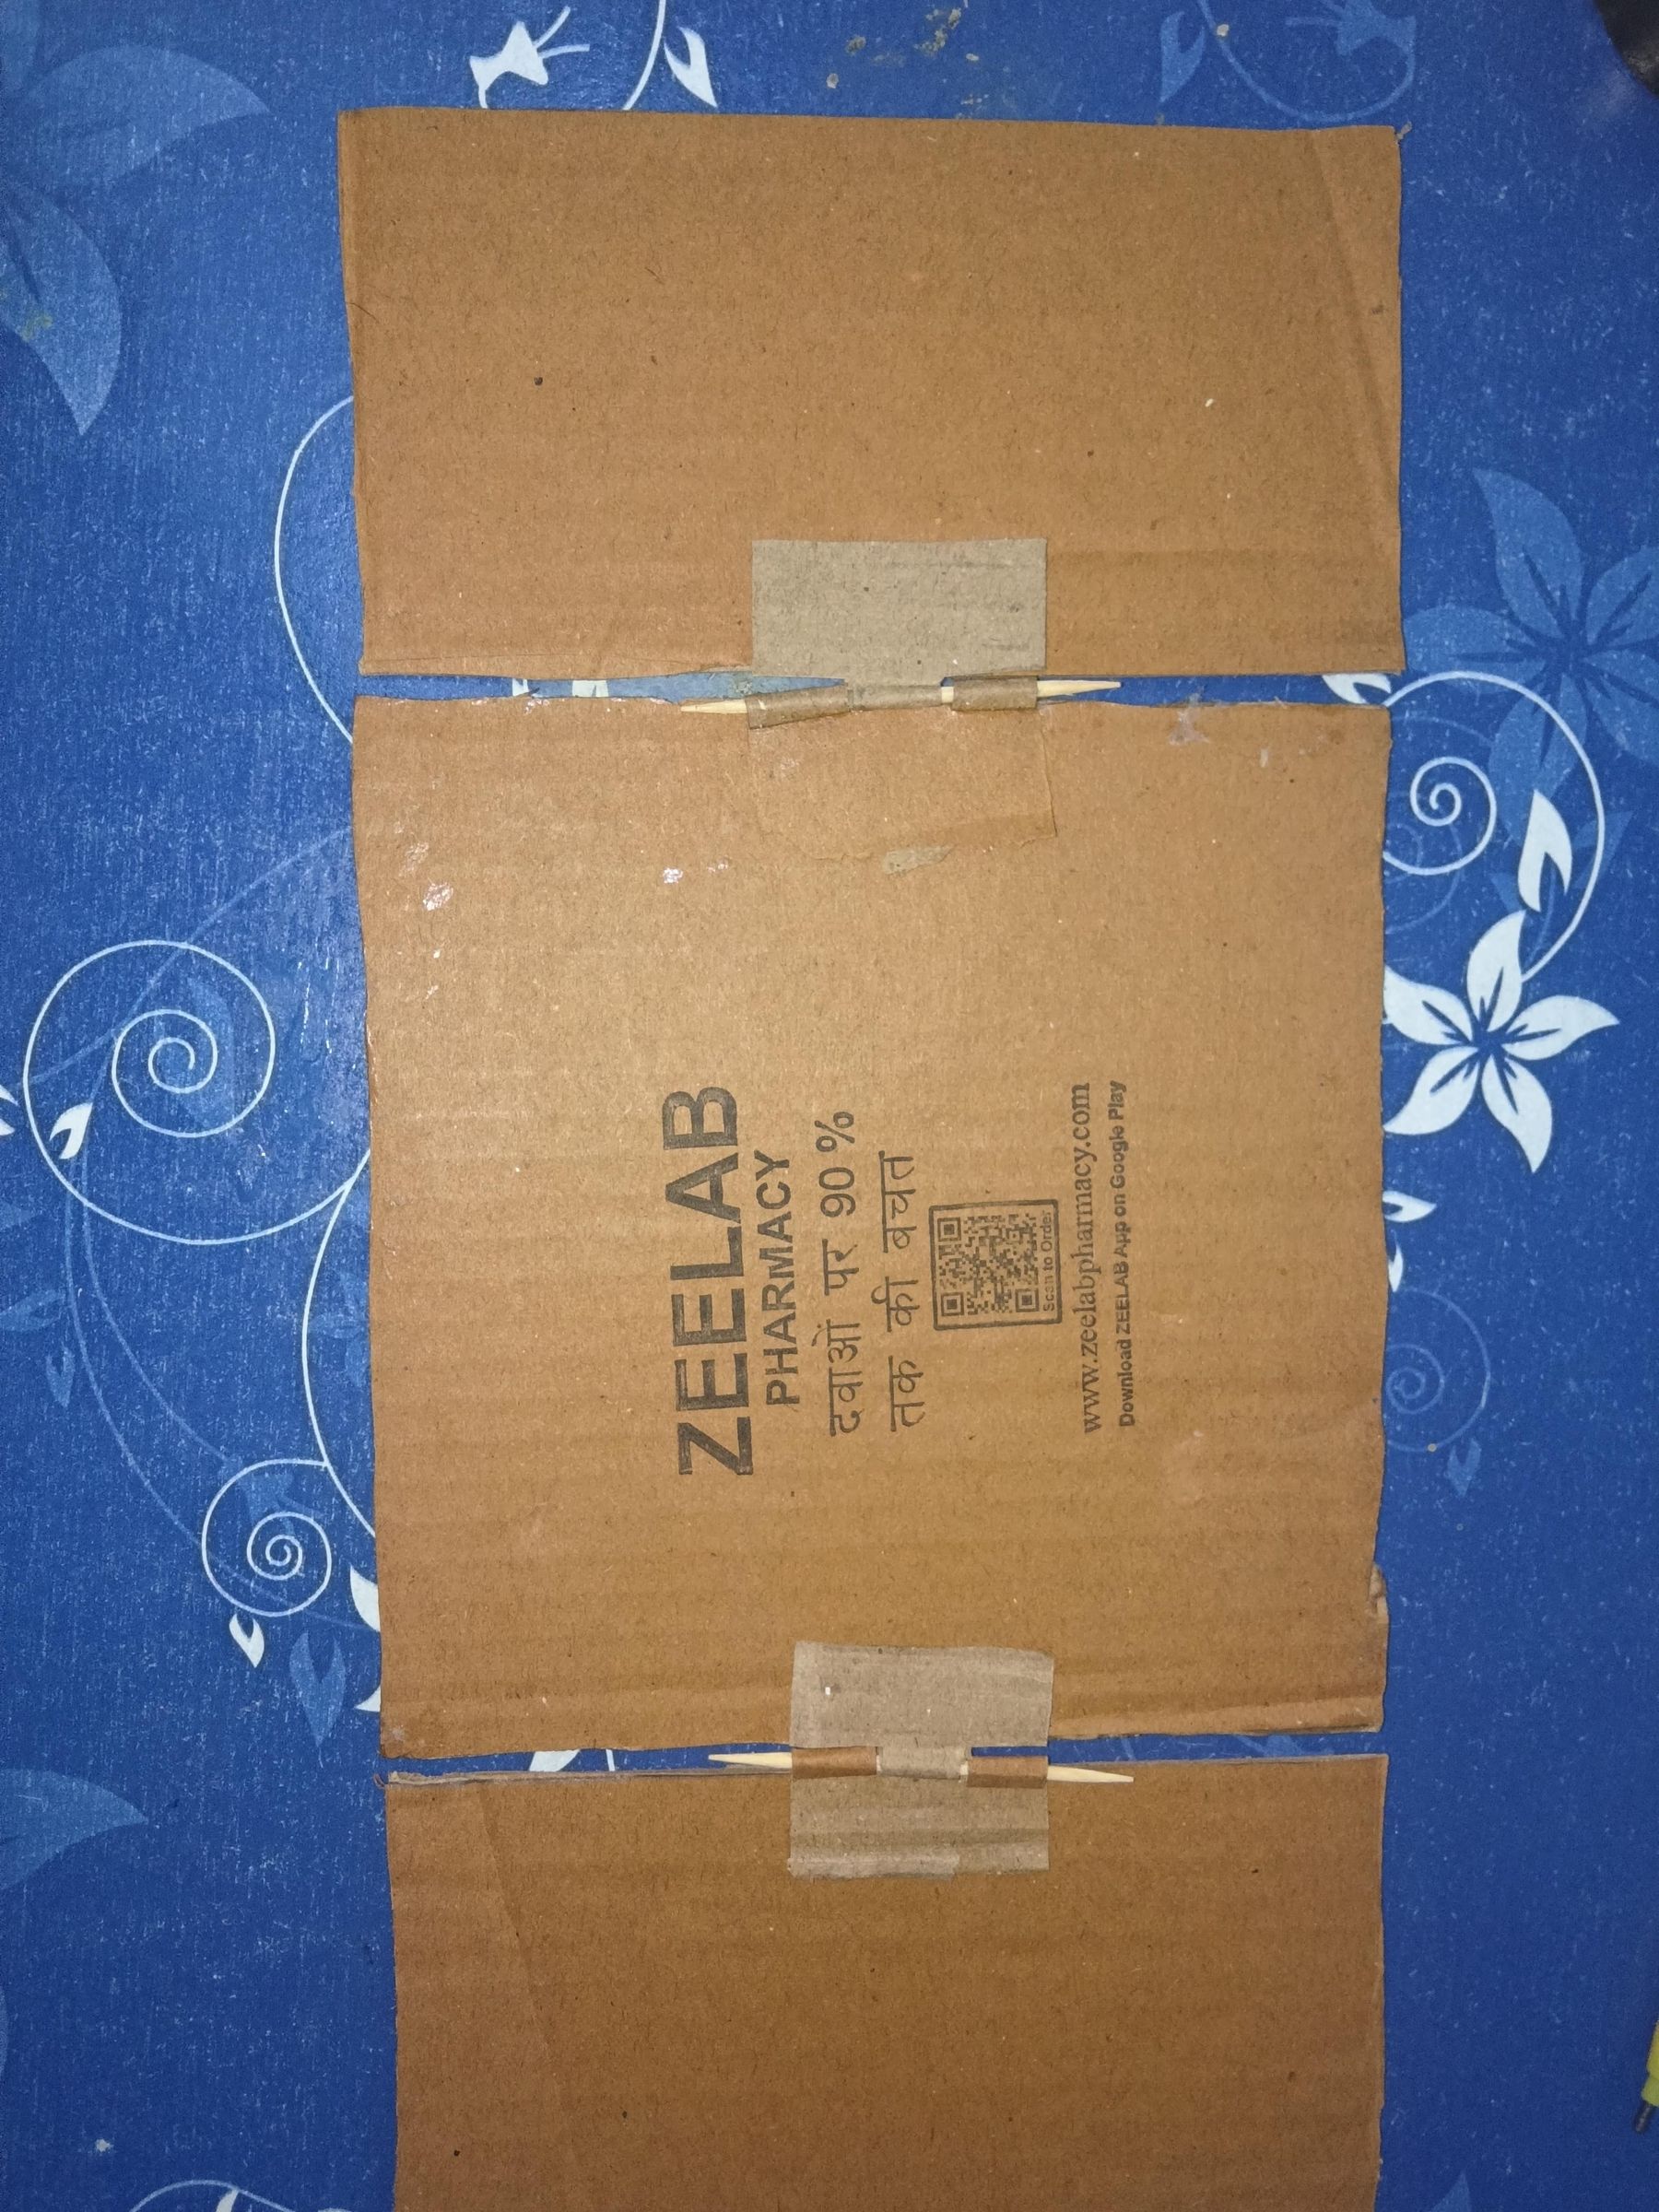


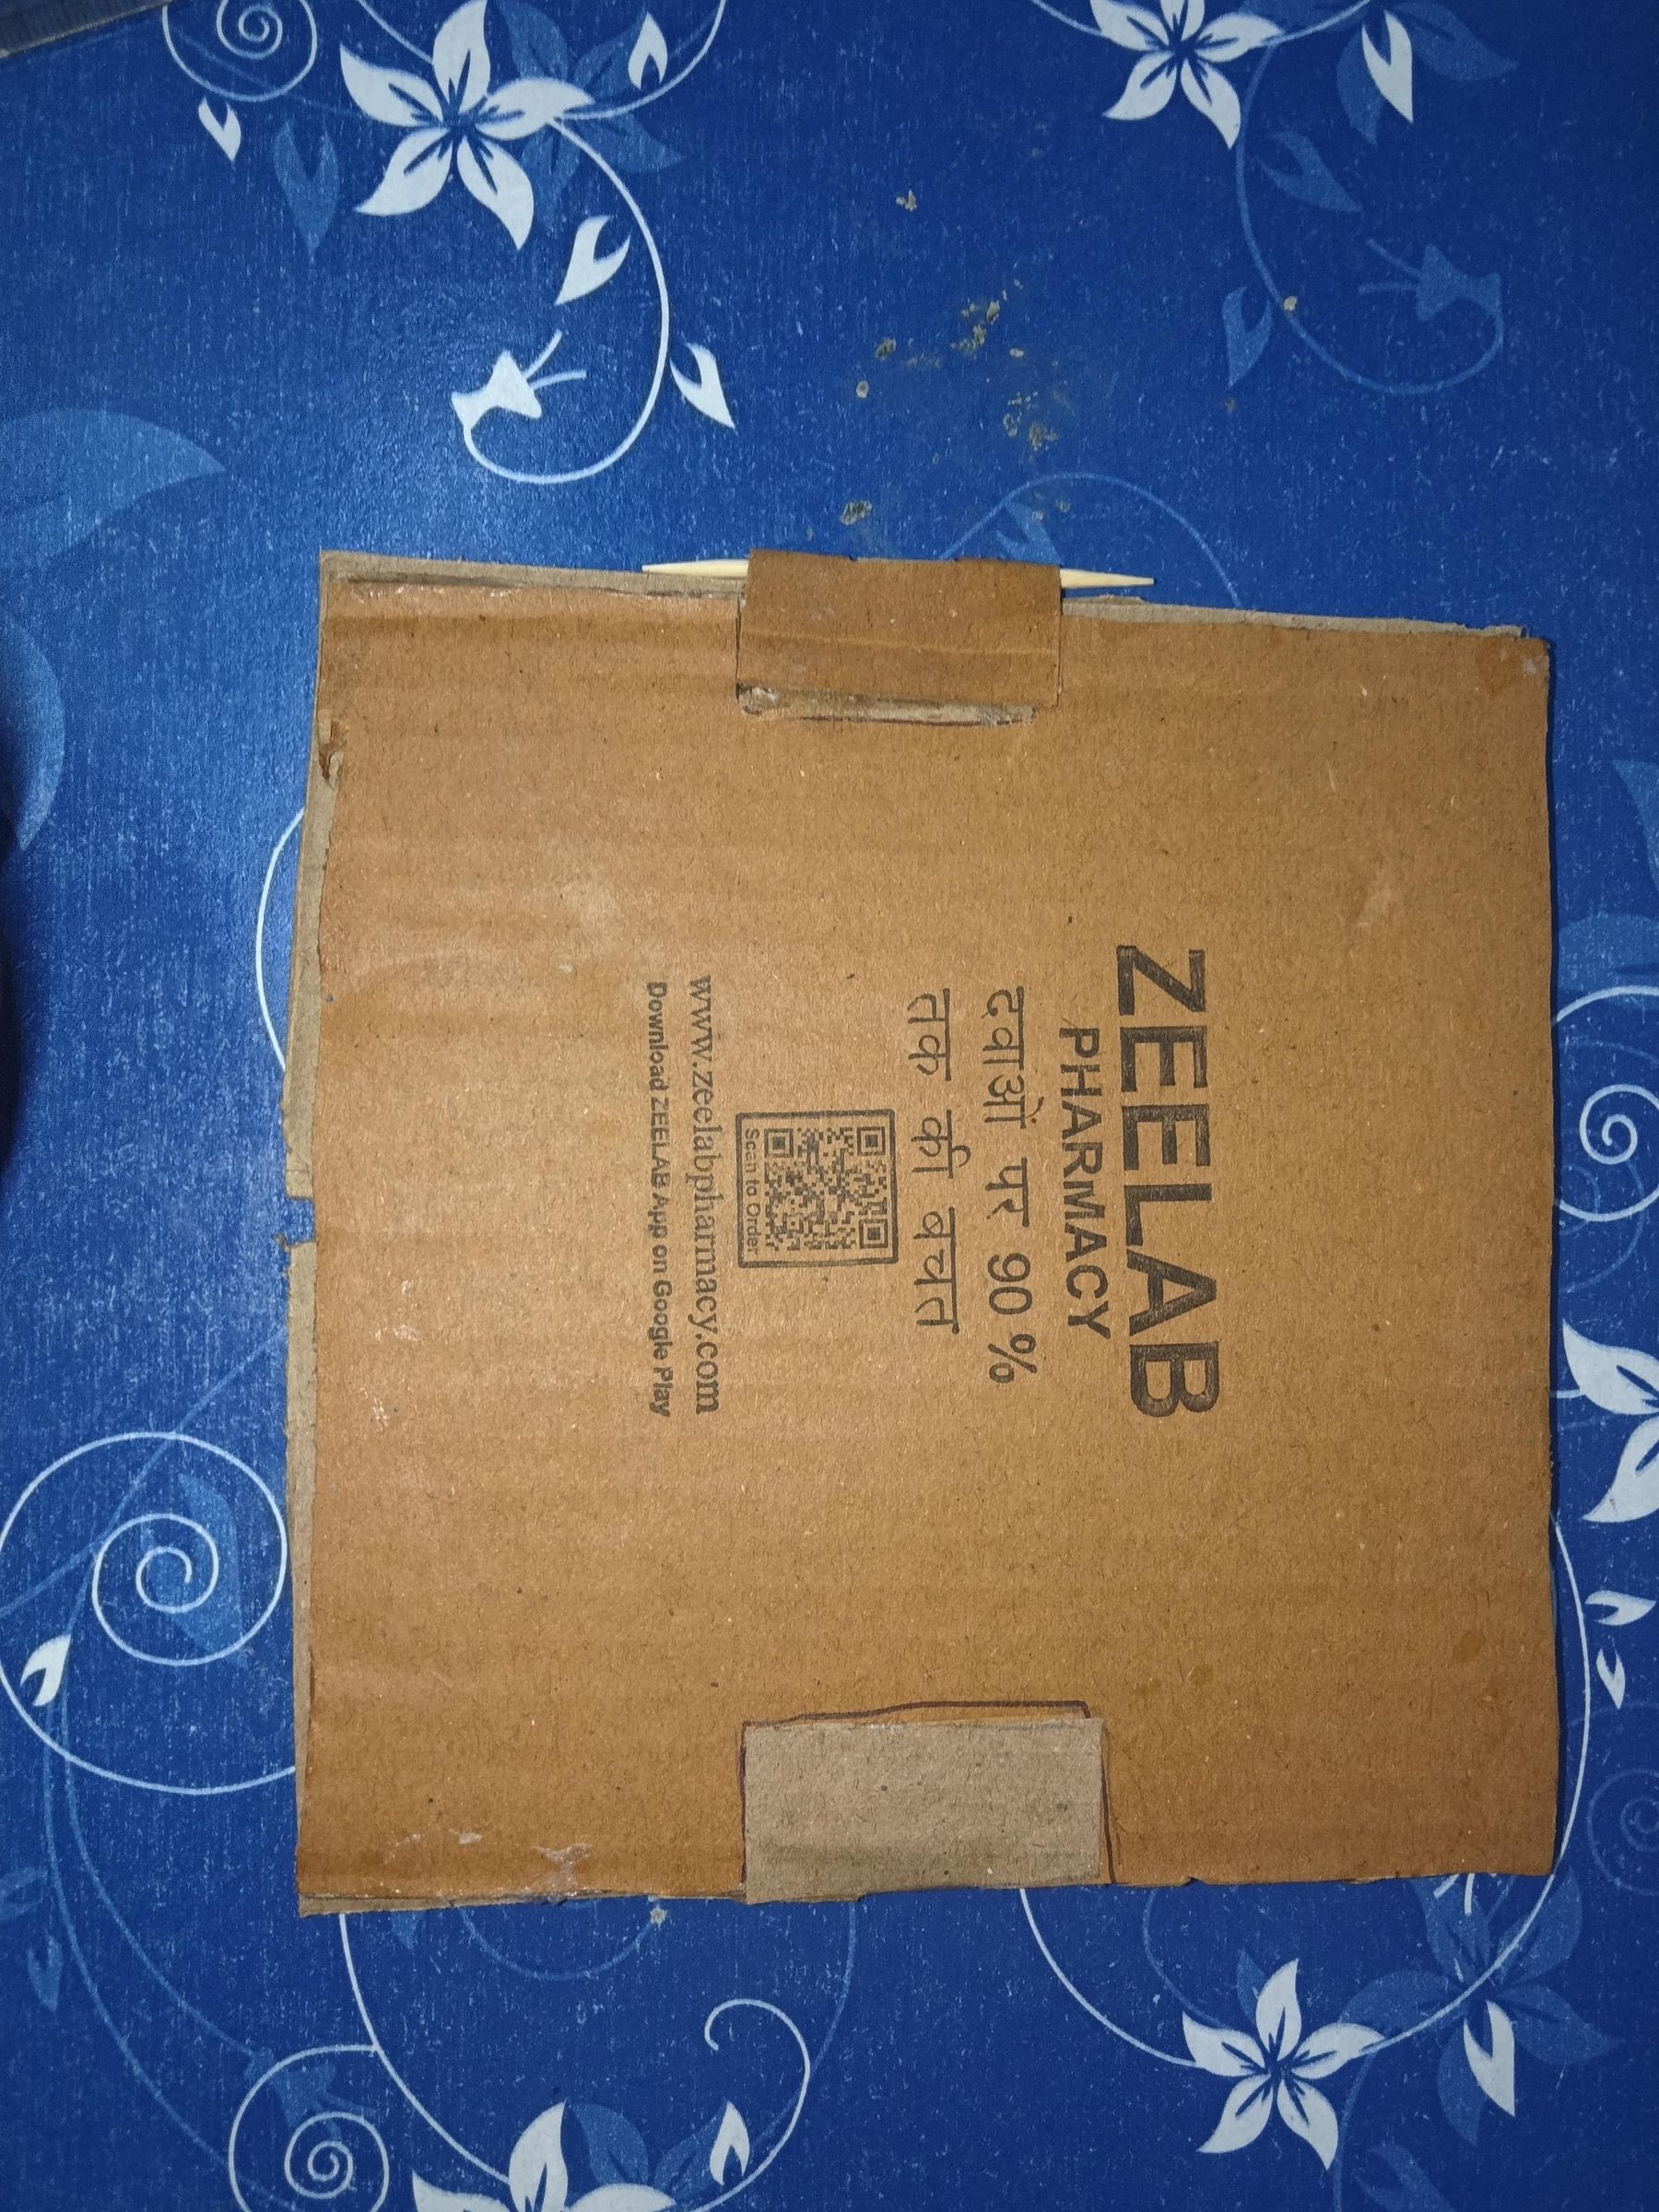


Now, we’re going to make hinges, just like the ones used on doors. Hinges help doors open and close while keeping them securely attached.
To make these hinges, I took some cardboard and peeled off its outer layers to get the thinner layer underneath. Then, I cut it into strips, rolled them up, and secured them with Fevicol. I also used a toothpick to help create the hinge mechanism.
And just like that, we’re creating our own DIY cardboard hinges! ♻️✨
Final Decoration and the Finished Board Game! 🎲🌿


For the final step, I thought the outside of the board looked a little too plain, so I decided to decorate it as well. I painted the outer surface brown and glued on the cutouts I had prepared earlier.
To make it look even better, I attached thin strips of cardboard along the borders to give the board a more finished and structured look. I liked the natural cardboard finish of the borders, so I decided to leave them unpainted.
And that's it! 🎉 Our recycled-cardboard, Jumanji-inspired board game is finally ready!
Now, all we need is one dice and four tokens, and we're ready to play! ♻️🎲
Who knew old cardboard boxes could turn into something this fun? Sometimes, all you need is a little creativity, patience, and the courage to try something new!