Wind Jelly Fish Light
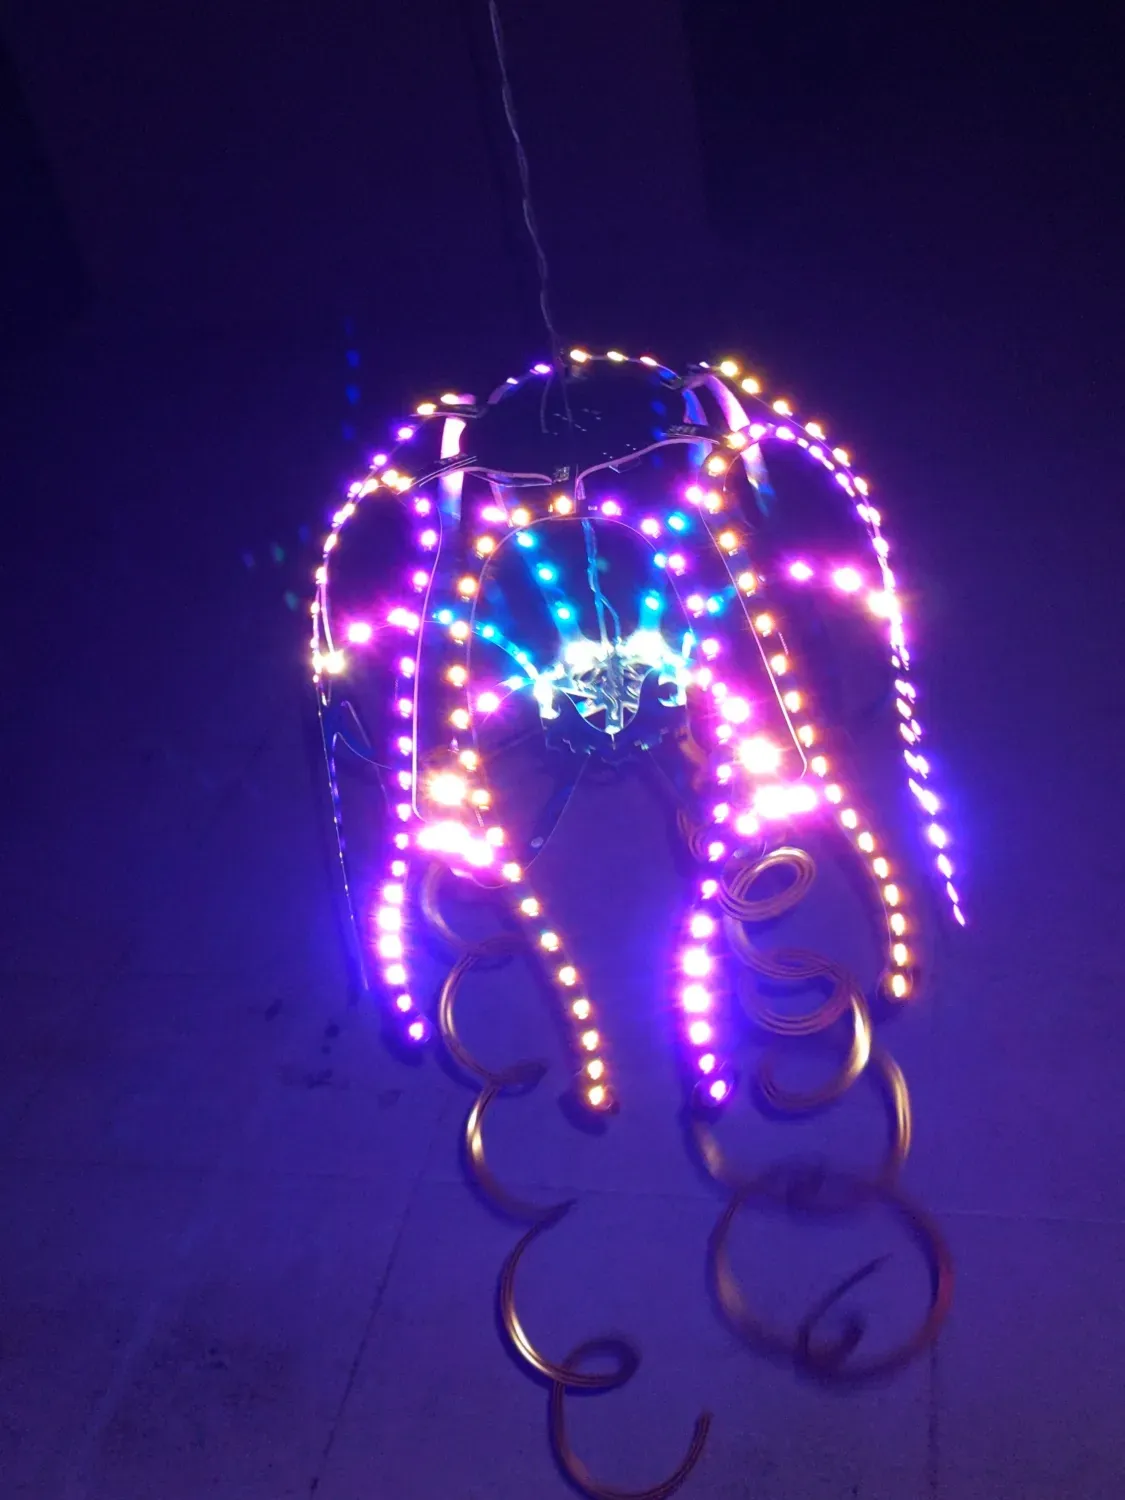
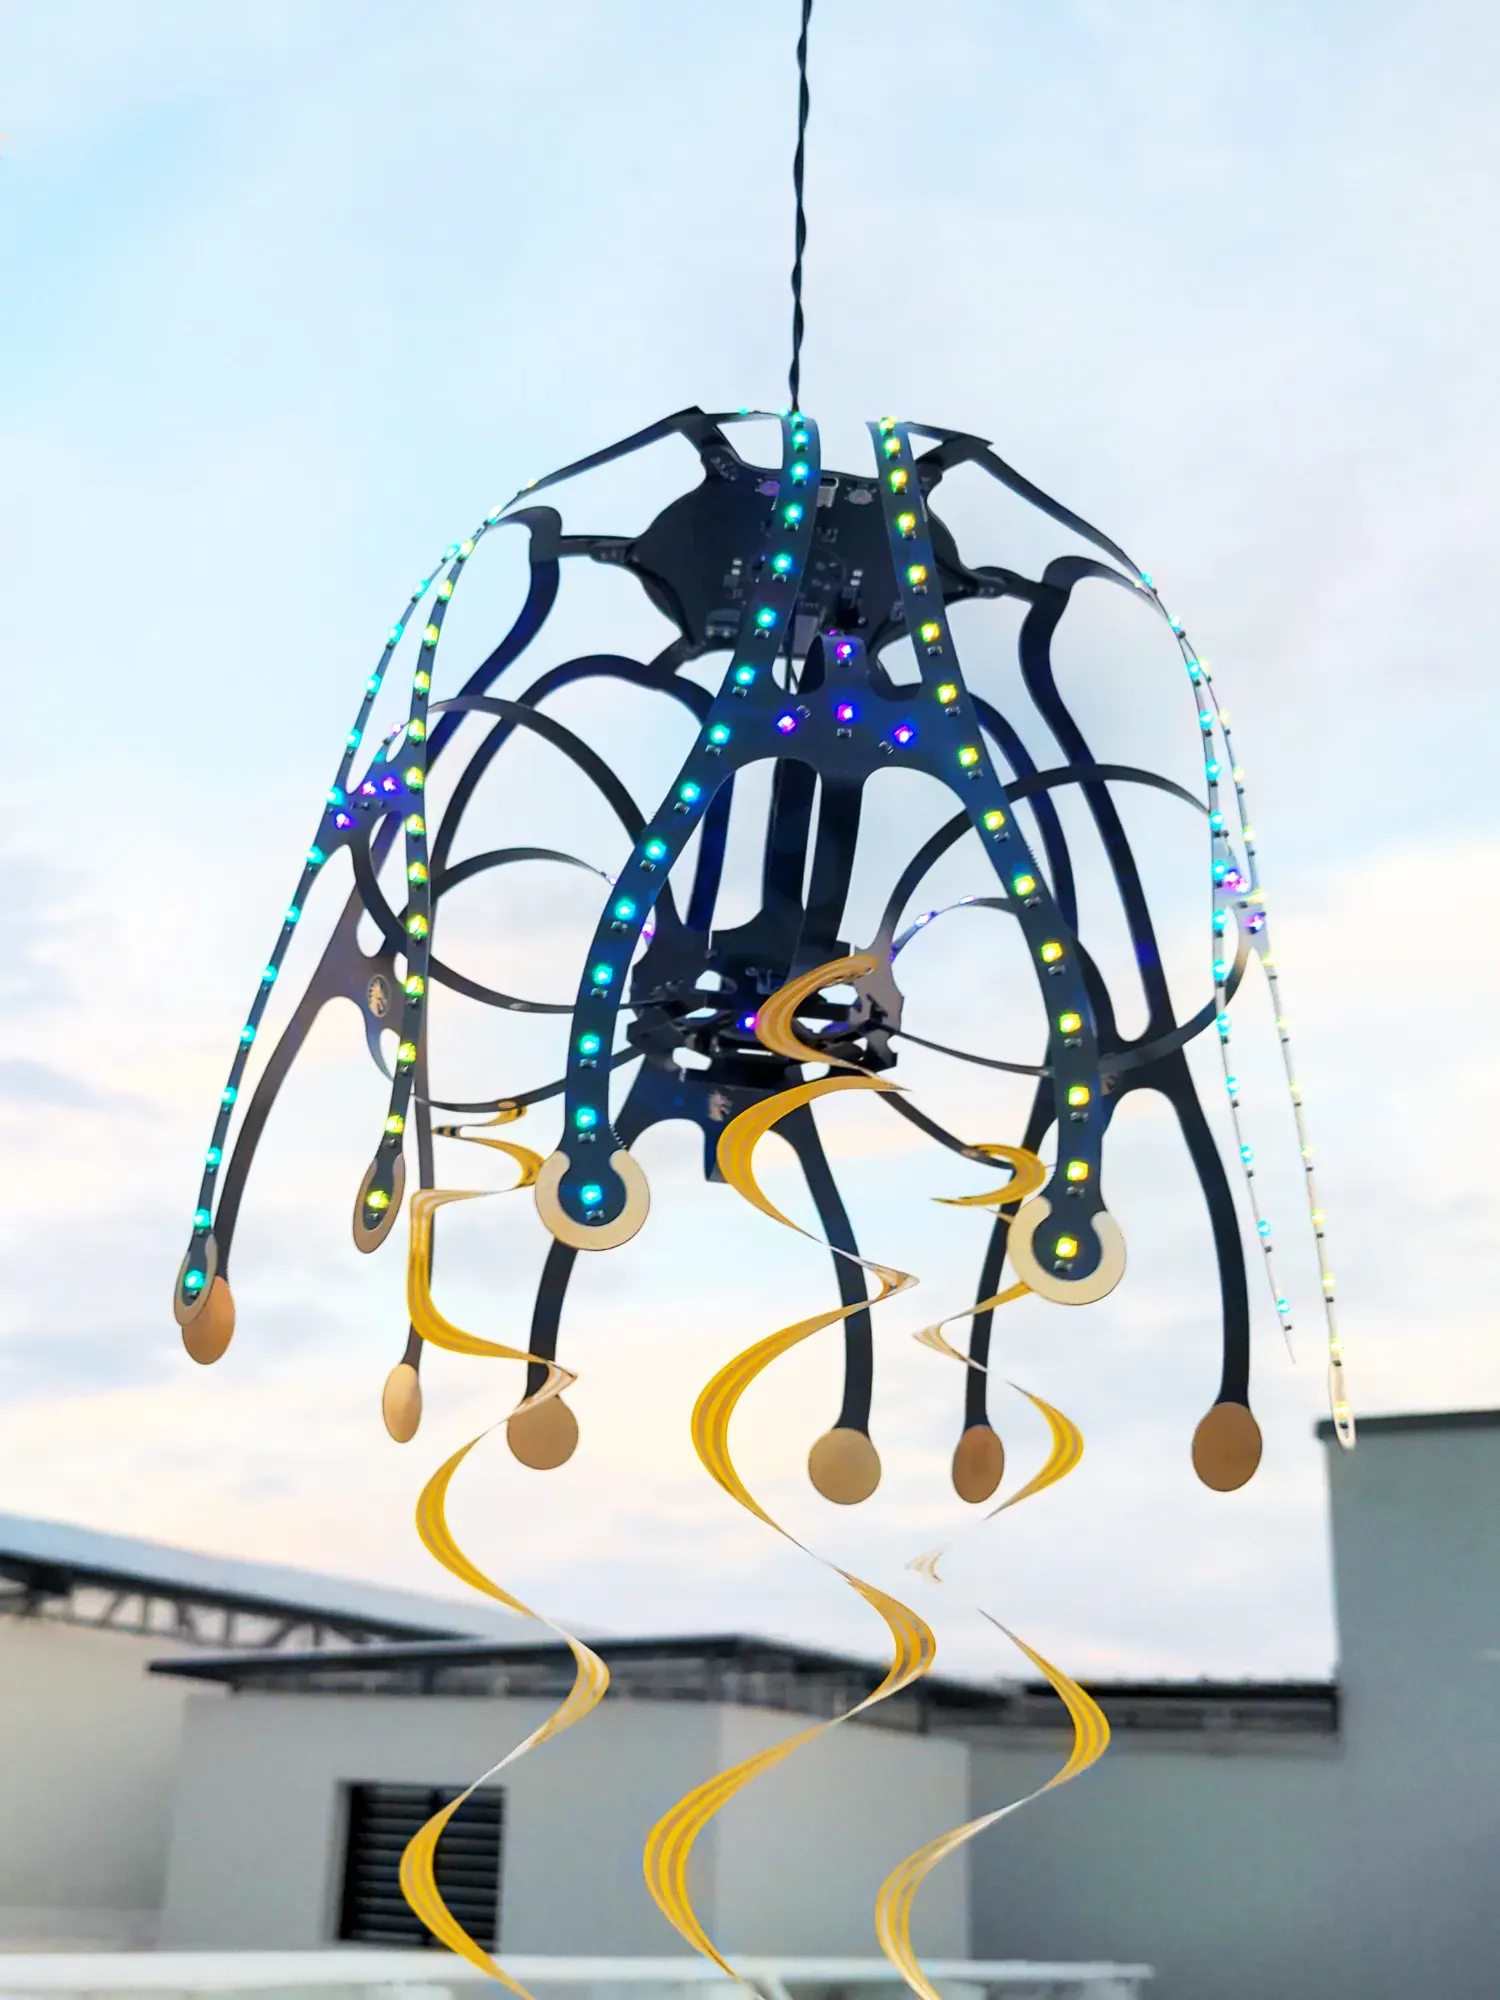
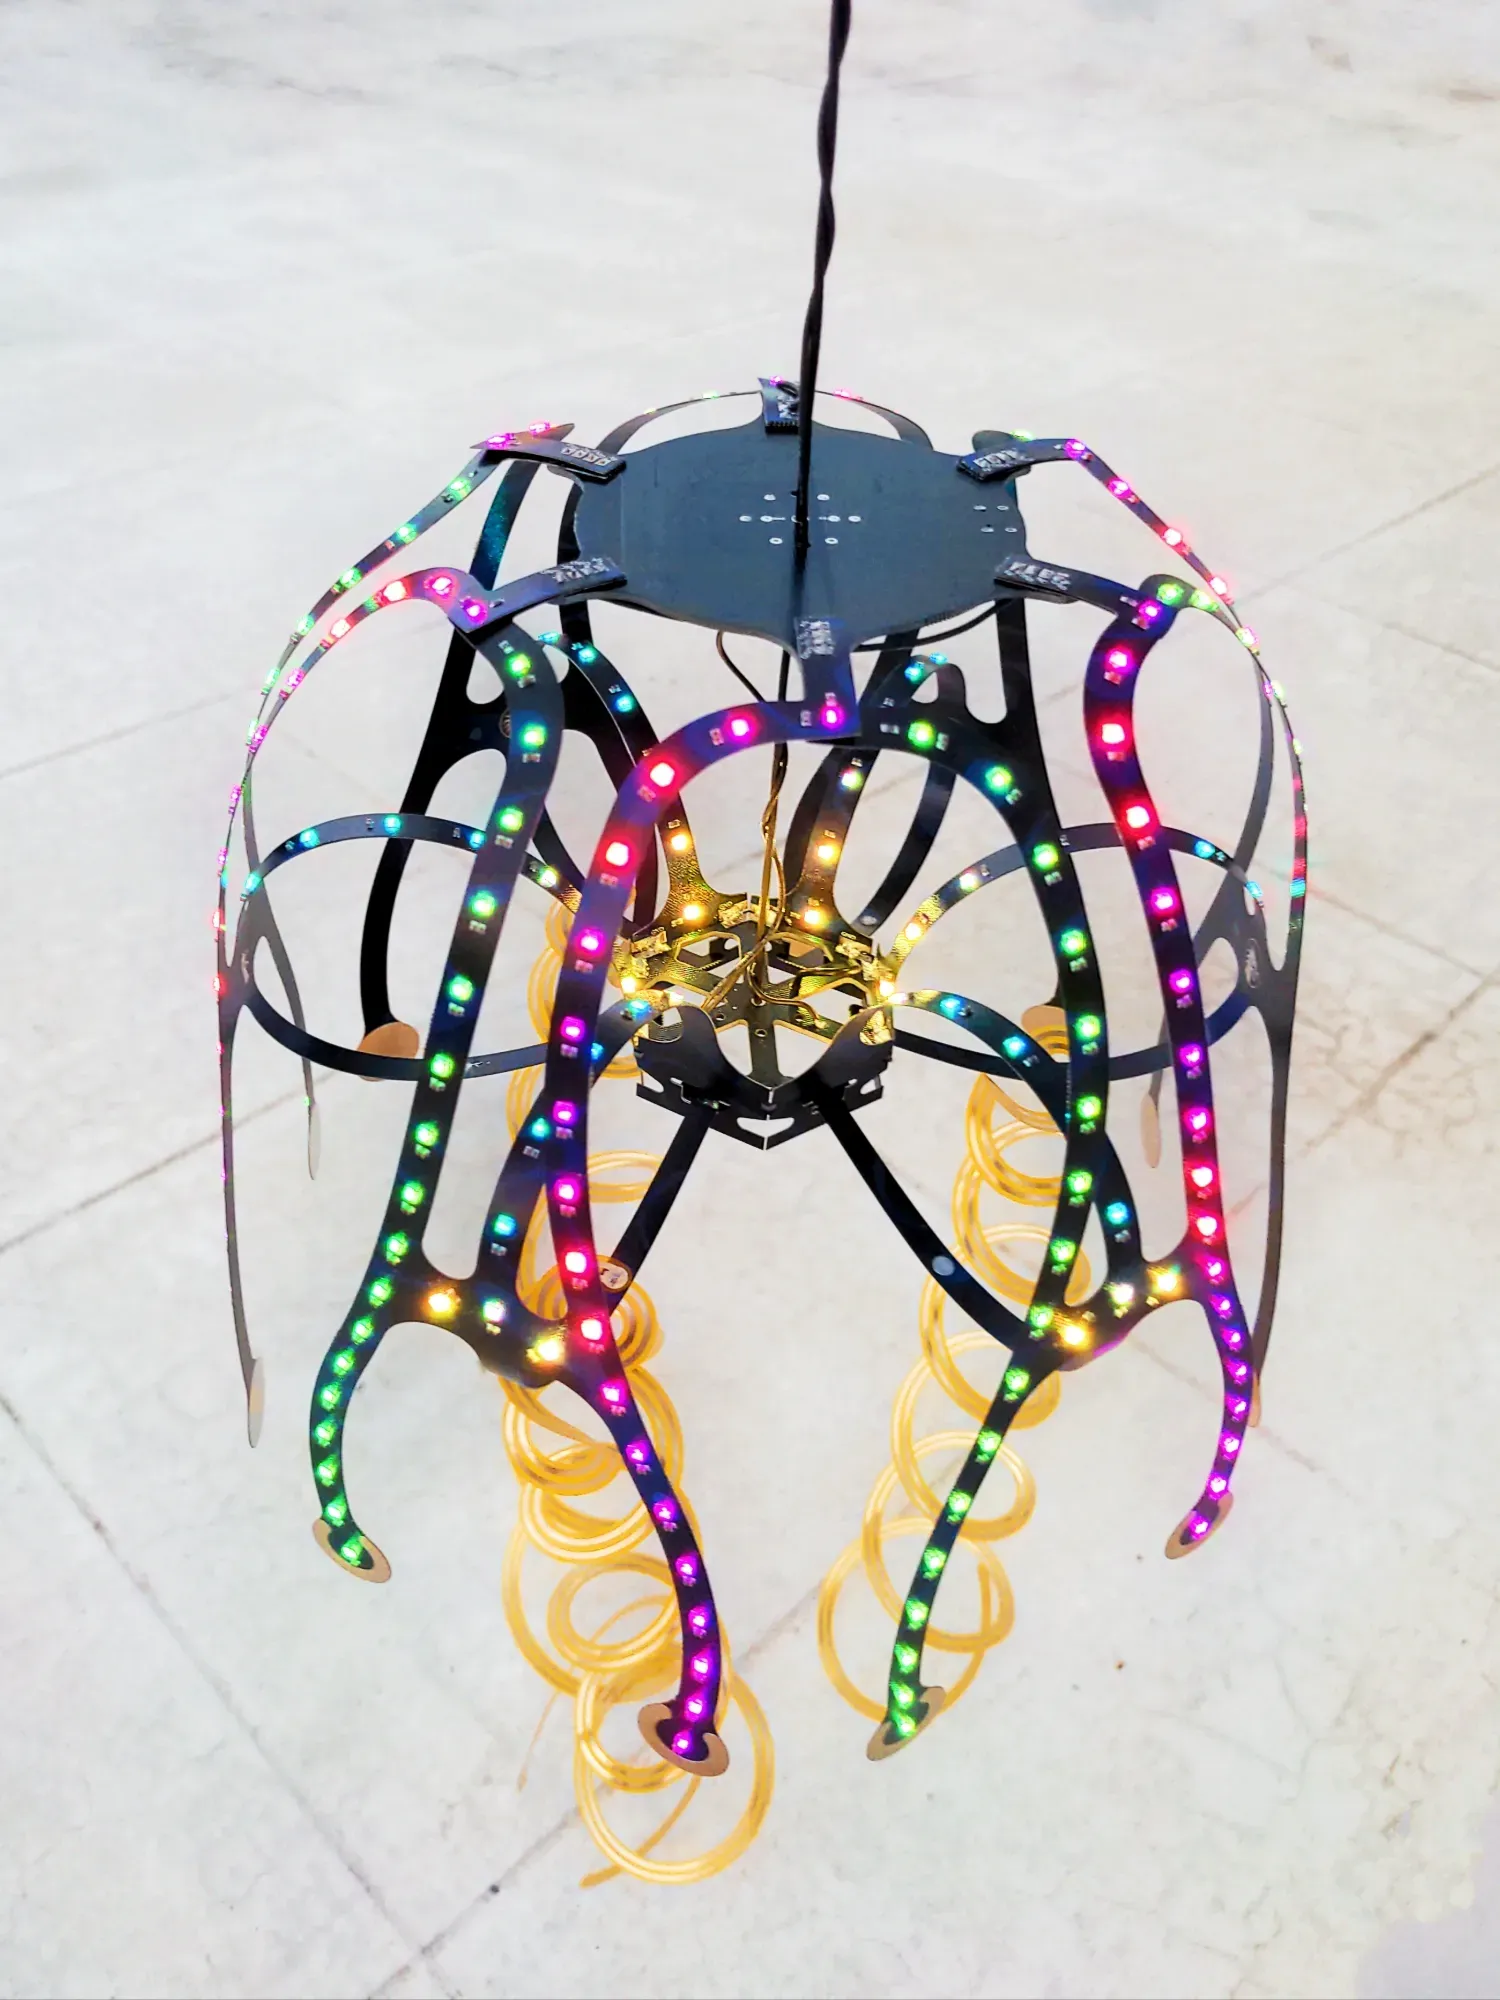
I've always wanted to create a beautiful Jellyfish. If we talk about real jellyfish, they are fascinating creatures that gracefully drift through the ocean, carried effortlessly by the water currents. Many people find peace and comfort in their whimsical movements and mesmerizing appearance.
That inspired me to create something unique, a Wind Jellyfish that dances gently in the breeze instead of floating in the sea. 🌬️✨
One of the most magical things about ocean jellyfish is their incredible colors. As they rise through the water, their bodies shimmer with stunning shades that resemble a beautiful rainbow. 🌈
So, I thought, why not bring that magic to my Wind Jellyfish? By adding colorful lights, I can recreate the enchanting glow of real jellyfish and make it shine brilliantly in the air. The result is truly breathtaking and looks absolutely amazing! 💡
Without further ado, let's take a look at how I made this beautiful creation. 😊
Supplies
- PCB Frablication service
- PCB Assemble Service or You Can Assemble PCB by Your Self (PCB Bill of Material you can download)
- Soldering Iron & Solder Wire
- Powersuply
- Circuit Wire
- Wire Cutter
- Cardboard (Not Necessary)
- A4 Sheet
- Printer
Designing the Jellyfish Body
.jpg)
.jpg)
.jpg)
.jpg)
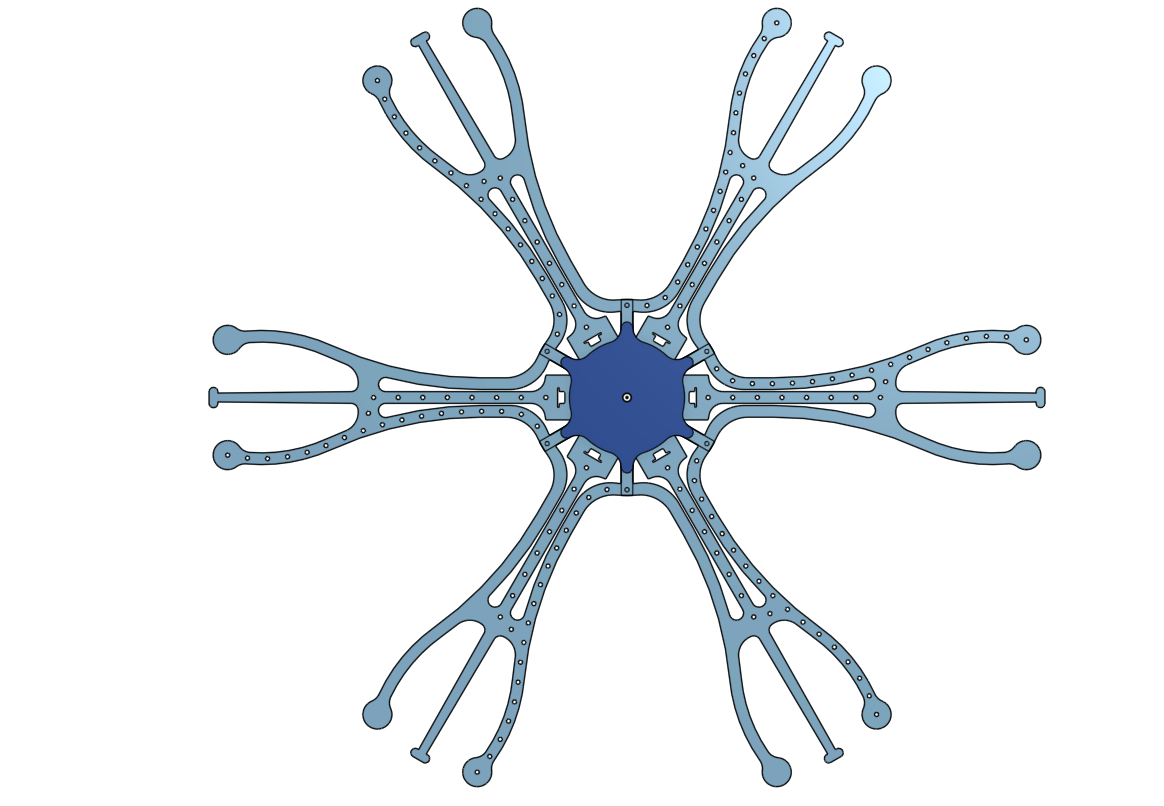
Before we begin, the first step is to design the body of the Wind Jellyfish. To do that, I needed to create an accurate CAD model of the jellyfish shape.
For inspiration, I used several beautiful jellyfish images that I found online. In particular, I came across some amazing designs made from thin sheets of paper that perfectly captured the elegant form of a jellyfish. You can see these references in Photos 2, 3, 4, and 5.
Using these reference images, I recreated the design in my CAD software. The final CAD model can be seen in Photo 1.
(2,3,4,5reference images used for this design were sourced from the internet.)
Creating a Cardboard Prototype
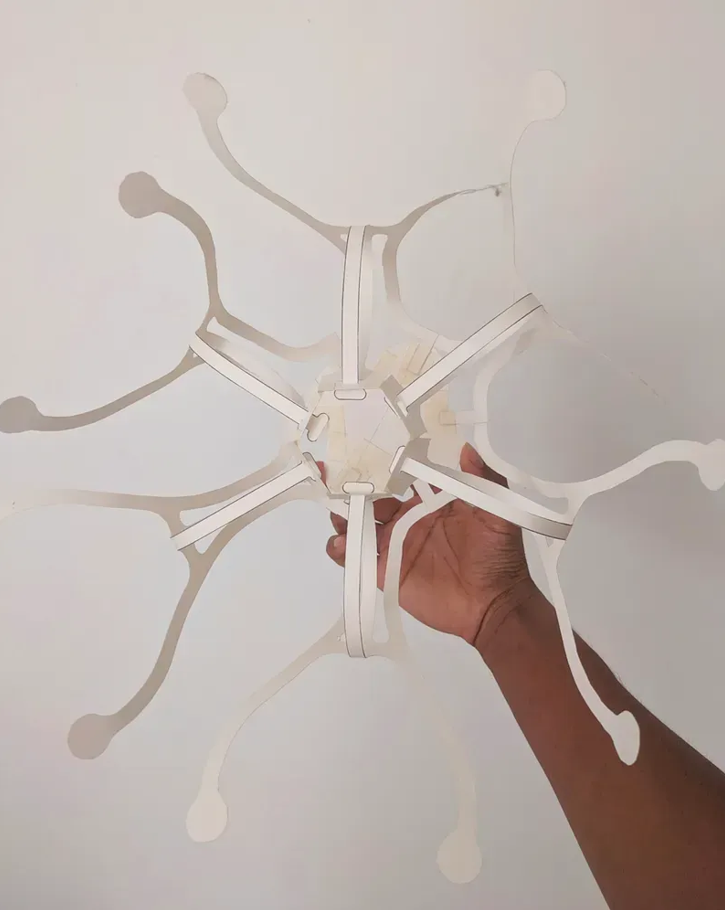
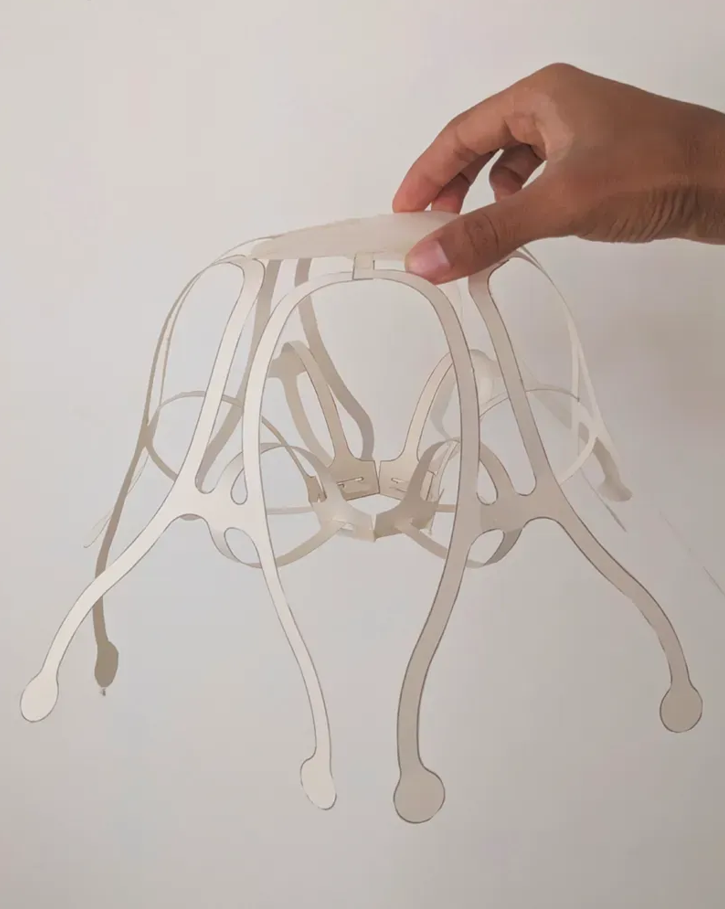
Before manufacturing the PCB, I wanted to make sure that the CAD design was accurate and that all the proportions looked right. To do this, I printed the CAD model on A4 paper, attached it to a piece of cardboard, and created a quick prototype.
This step helped me verify whether the overall design would work as intended before spending money on PCB fabrication. After all, it's always better to catch design issues early than to discover them after the boards have been manufactured! 😊
This step isn't absolutely necessary for everyone, especially since I've already tested the design myself. However, I wanted to include it here because it may give you some ideas and could be helpful if you'd like to try building your own version.
PCB Designing
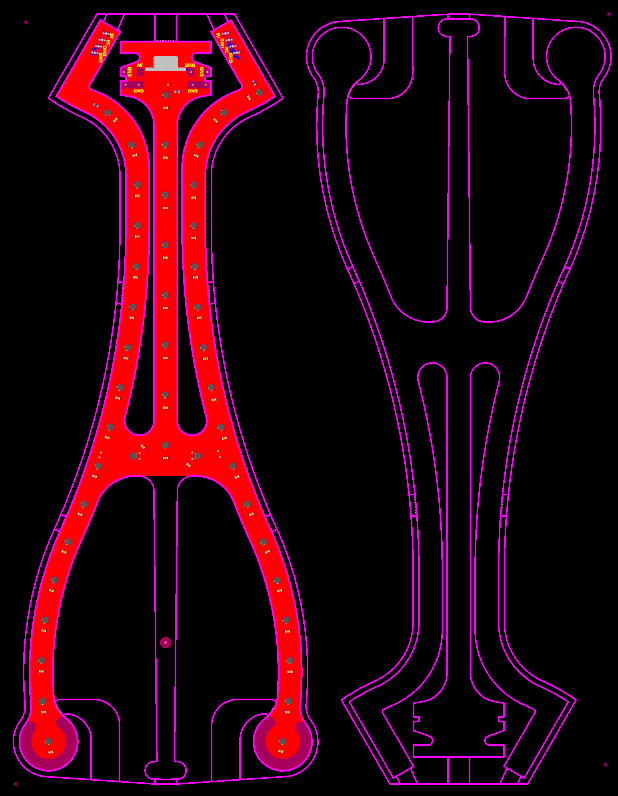
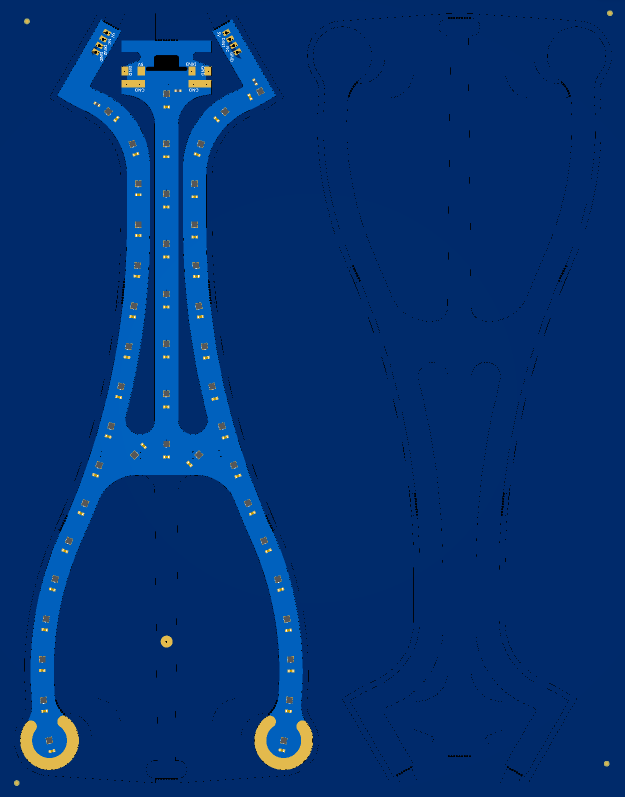
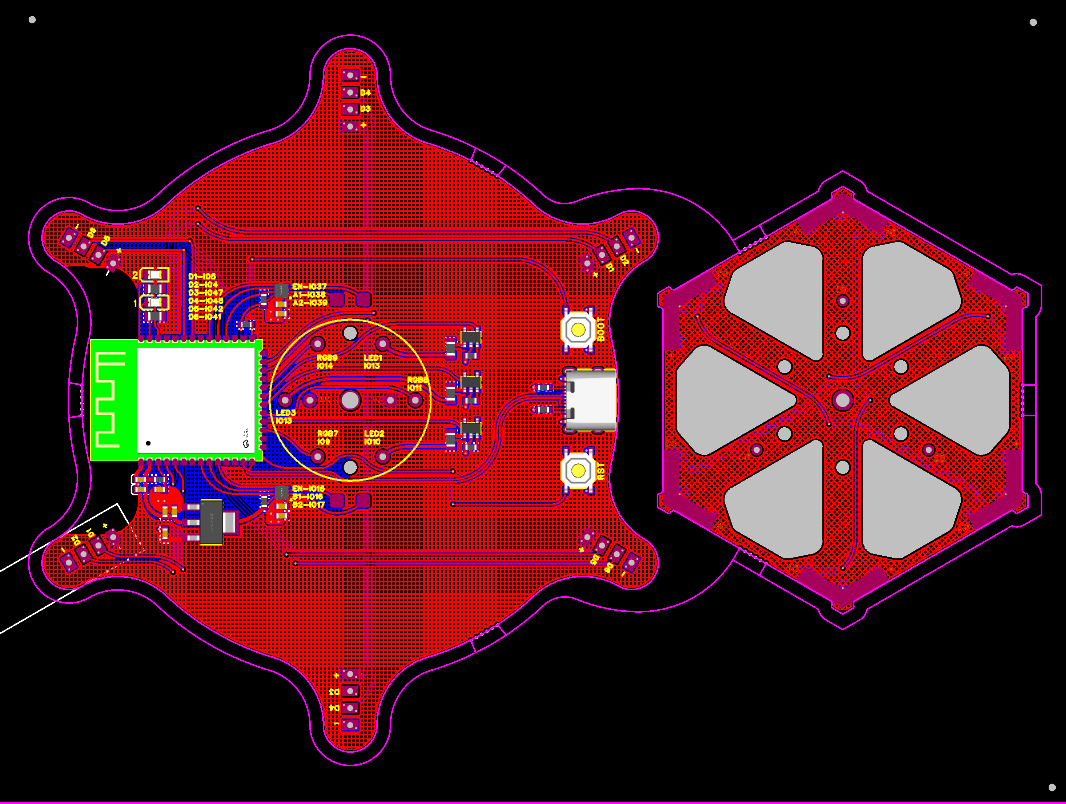
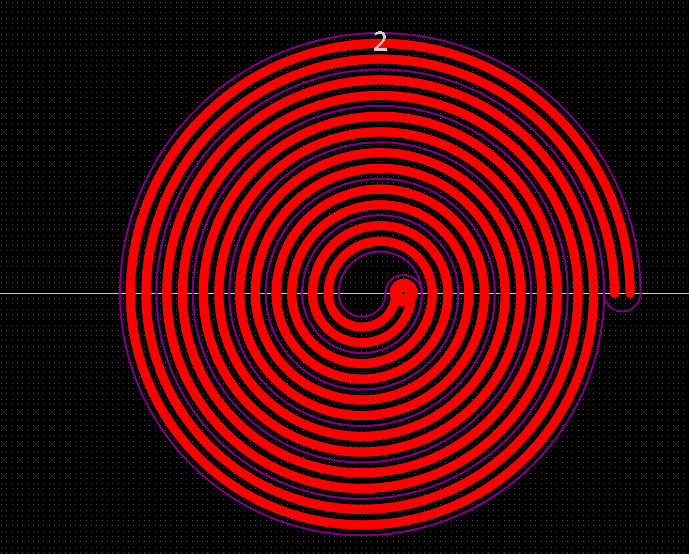
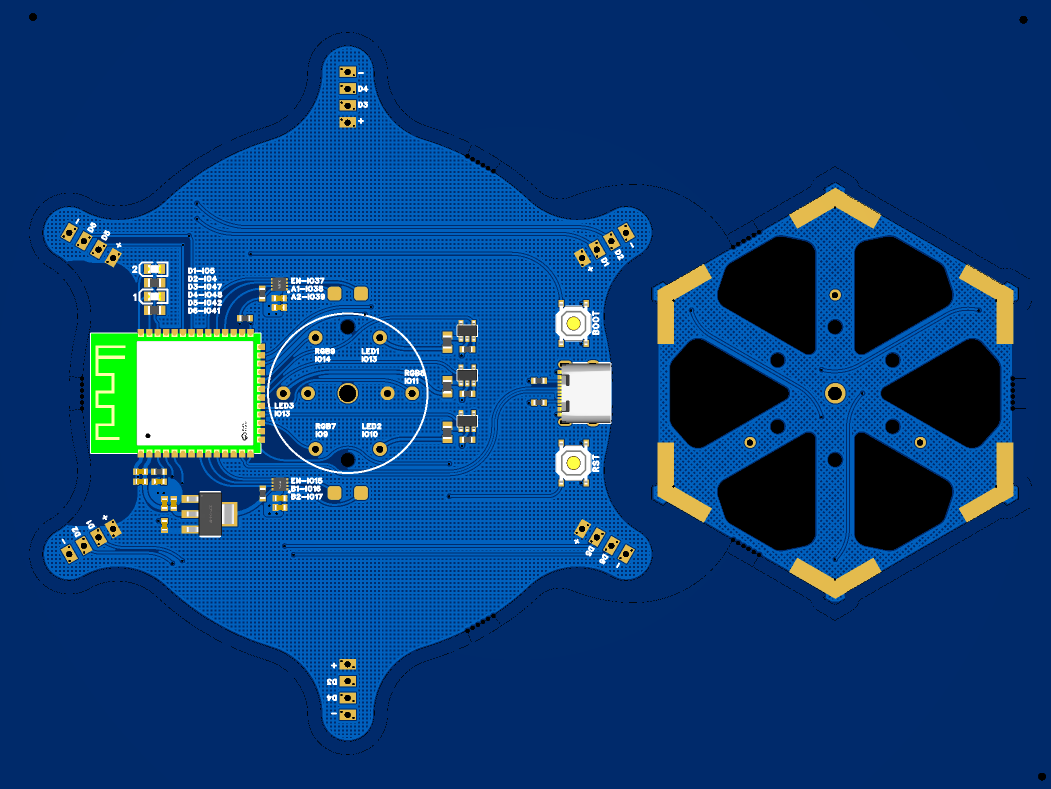
Since I had already tested the prototype, I was confident enough to move forward with the PCB design. I've included several photos so you can take a closer look at the finished PCB layout.
Your next step is to have the PCBs manufactured using a PCB fabrication service. You'll also need to order the required electronic components for the project. I've provided a download link containing all the necessary project files, including the PCB design files and the Bill of Materials (BOM).
If you're not comfortable assembling the PCB yourself, don't worry! Many PCB fabrication companies also offer PCBA (PCB Assembly) services. In that case, they will manufacture, assemble, and deliver the completed boards directly to your doorstep. 📦✨
Flexible PCB
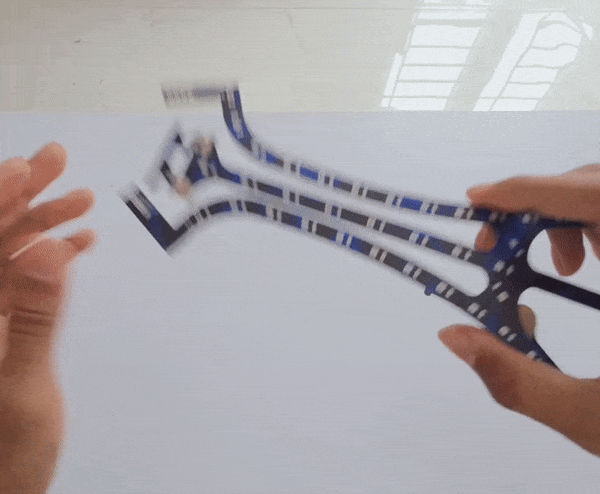
Here are the PCBs that I ordered for the project. I've included a small GIF so you can see just how flexible they are!
When ordering your PCBs, I highly recommend using a 0.4 mm PCB thickness for the jellyfish body sections. This allows the tentacles and outer body parts to bend naturally, giving the Wind Jellyfish a much more realistic appearance. The main control board, however, doesn't need to flex, so a standard PCB thickness will work perfectly fine.
For this project, I ordered the boards in both white and black finishes. While both look great, I personally think the black PCBs look the best and give the finished Jellyfish a more premium appearance. 🖤🪼
Now that we have our PCBs ready, it's time to move on to the fun part assembling everything together!
Assembling the Jellyfish PCB
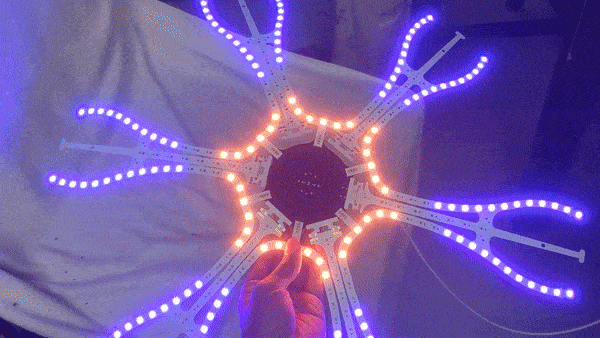
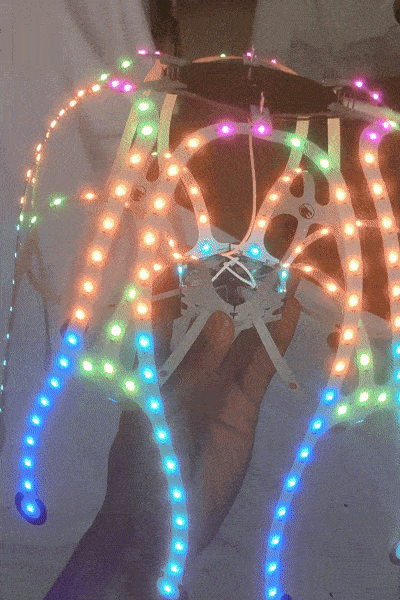
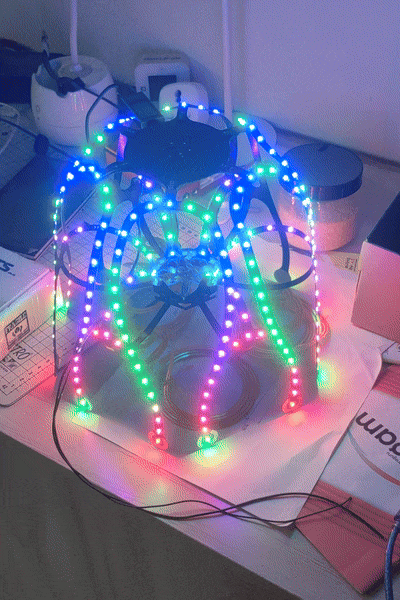
This is the fully assembled Jellyfish PCB! At first glance, it might look a little complicated, but it's actually quite straightforward once you have the boards in front of you.
Each PCB includes markings and guidelines that make the assembly process much easier, so I highly recommend having the physical boards on hand while assembling the project.
After assembling everything, I uploaded the firmware to the ESP32 and powered it up for the first time and the result was absolutely stunning! ✨🪼 I've included some photos so you can see it for yourself.
I tested the Jellyfish using both white and black PCB versions. As you can probably tell, the black PCB looks significantly better. The rainbow lighting effects stand out beautifully against the dark background, giving the Jellyfish a truly magical appearance. 🌈
For the firmware, I chose to use WLED, which makes controlling the lighting effects incredibly easy. I've included a link below where you can download WLED and learn more about it.
The Finished Wind Jellyfish
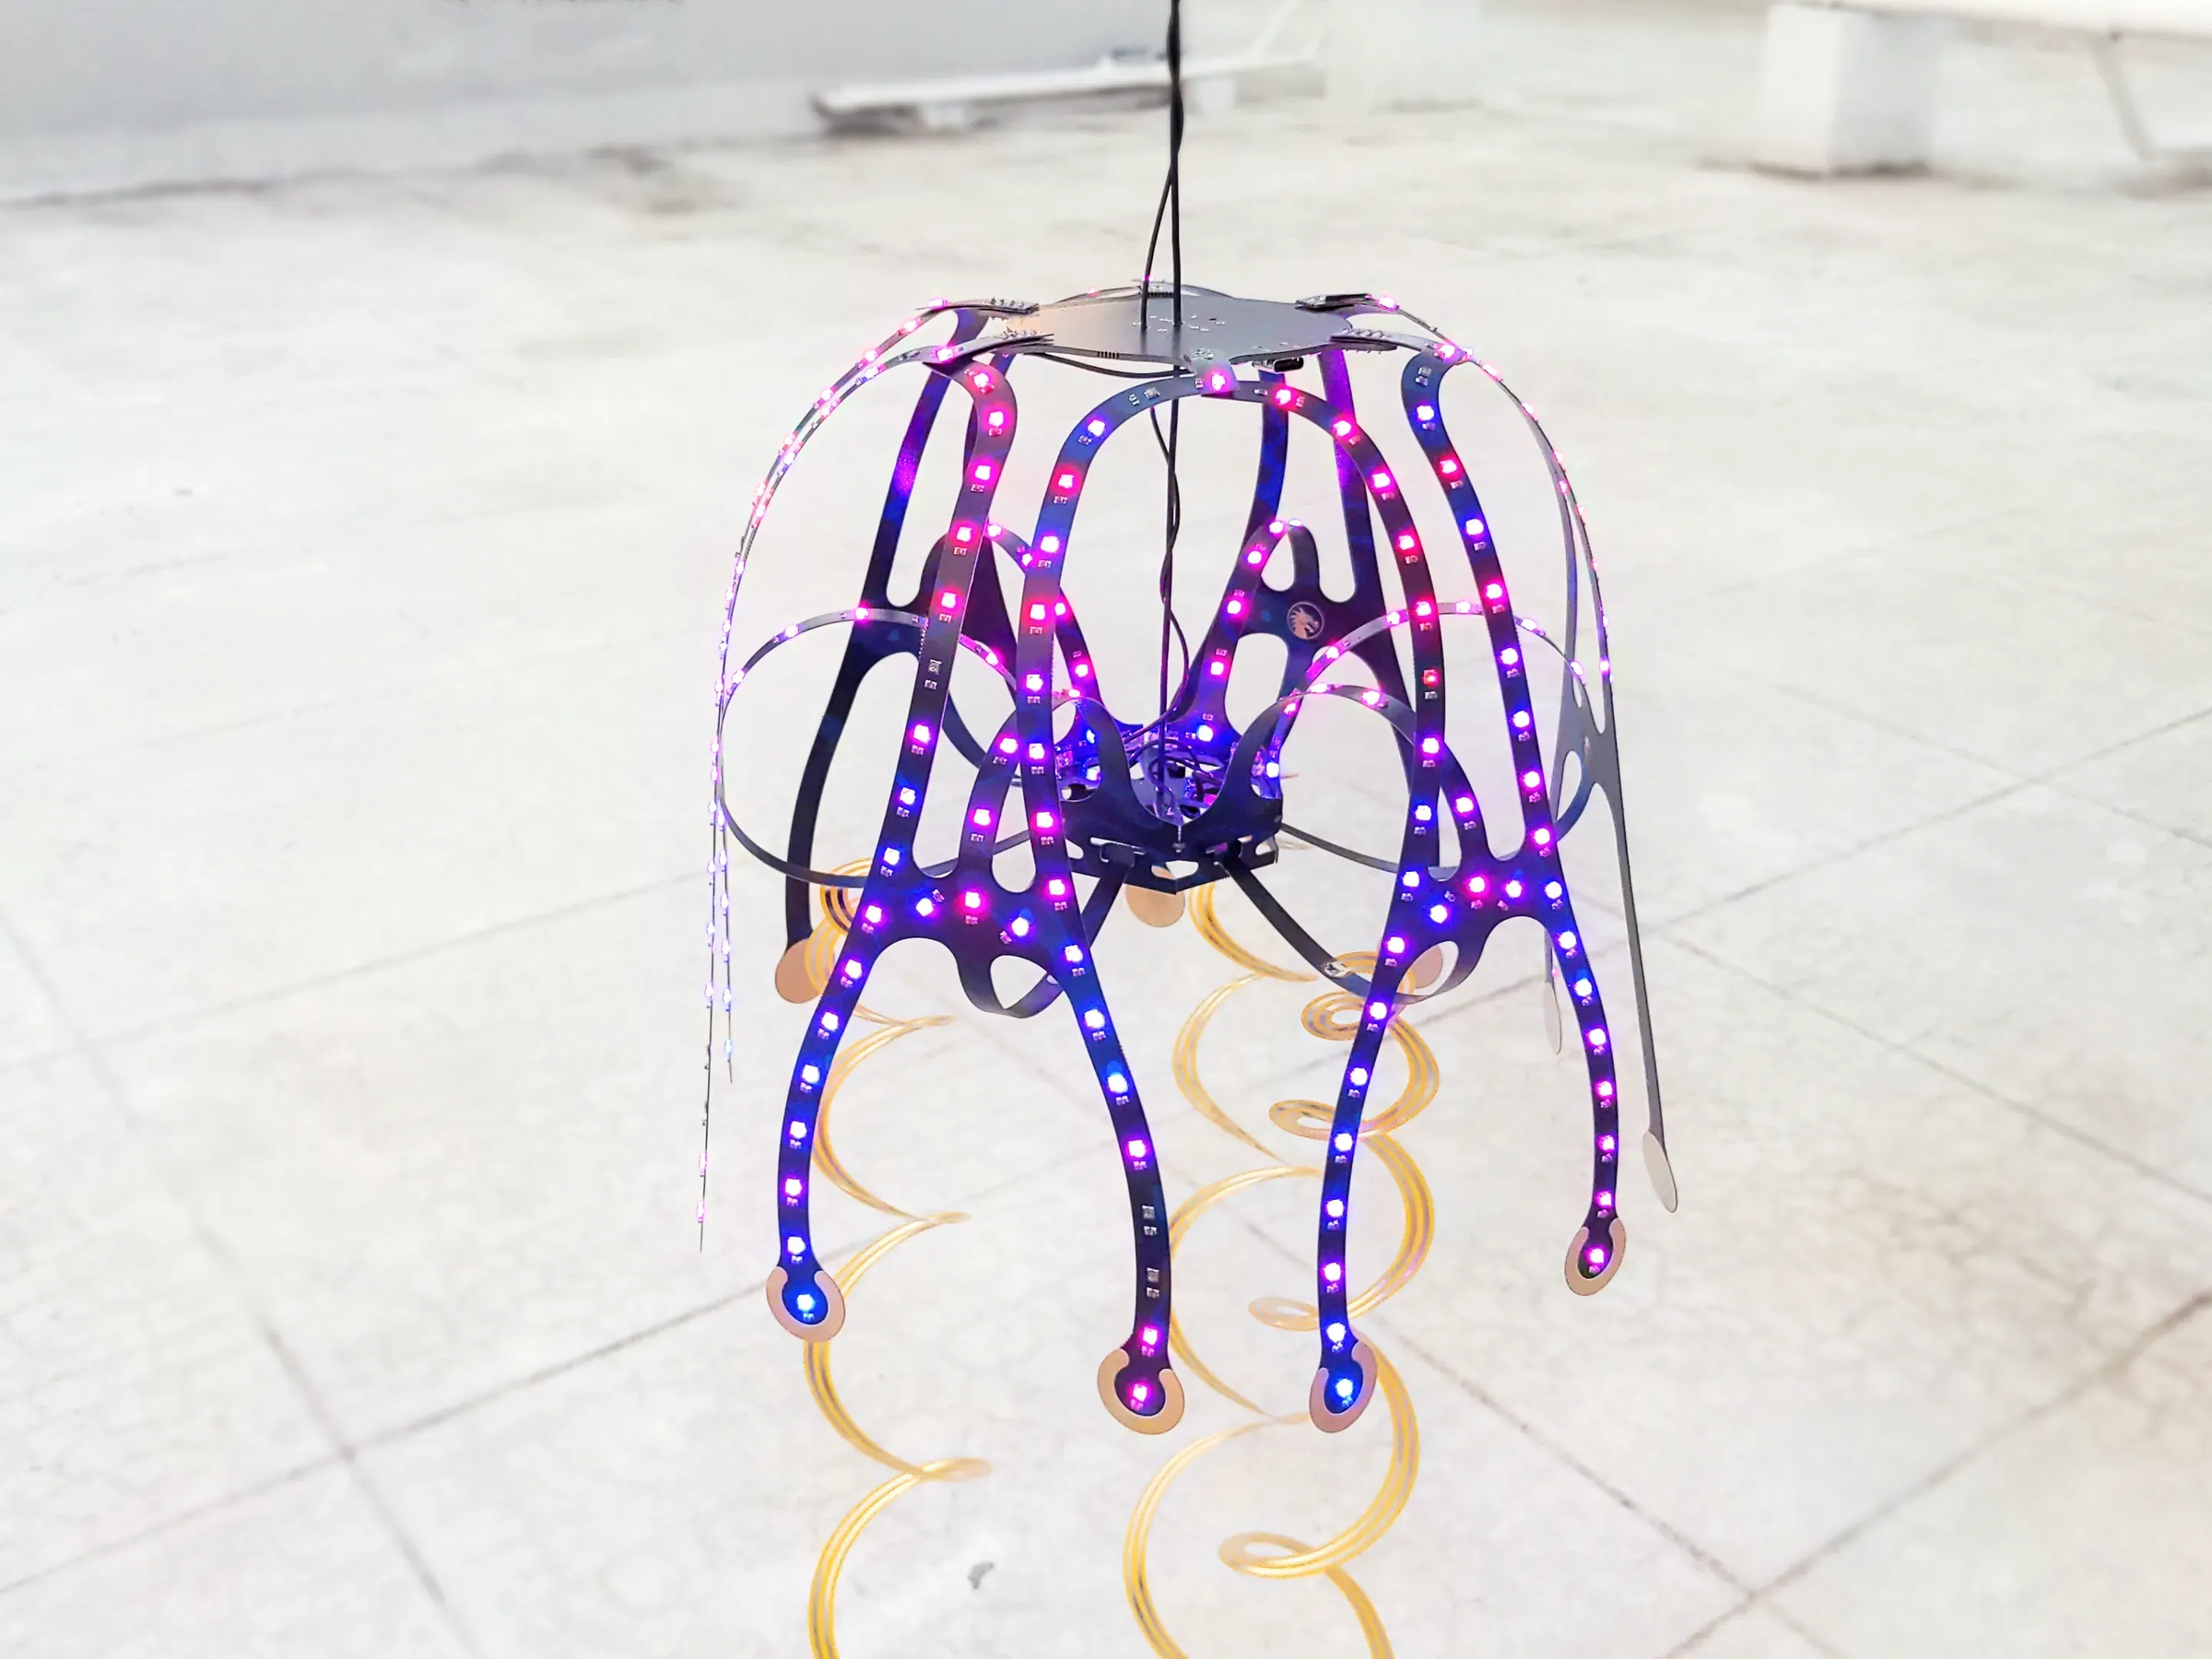
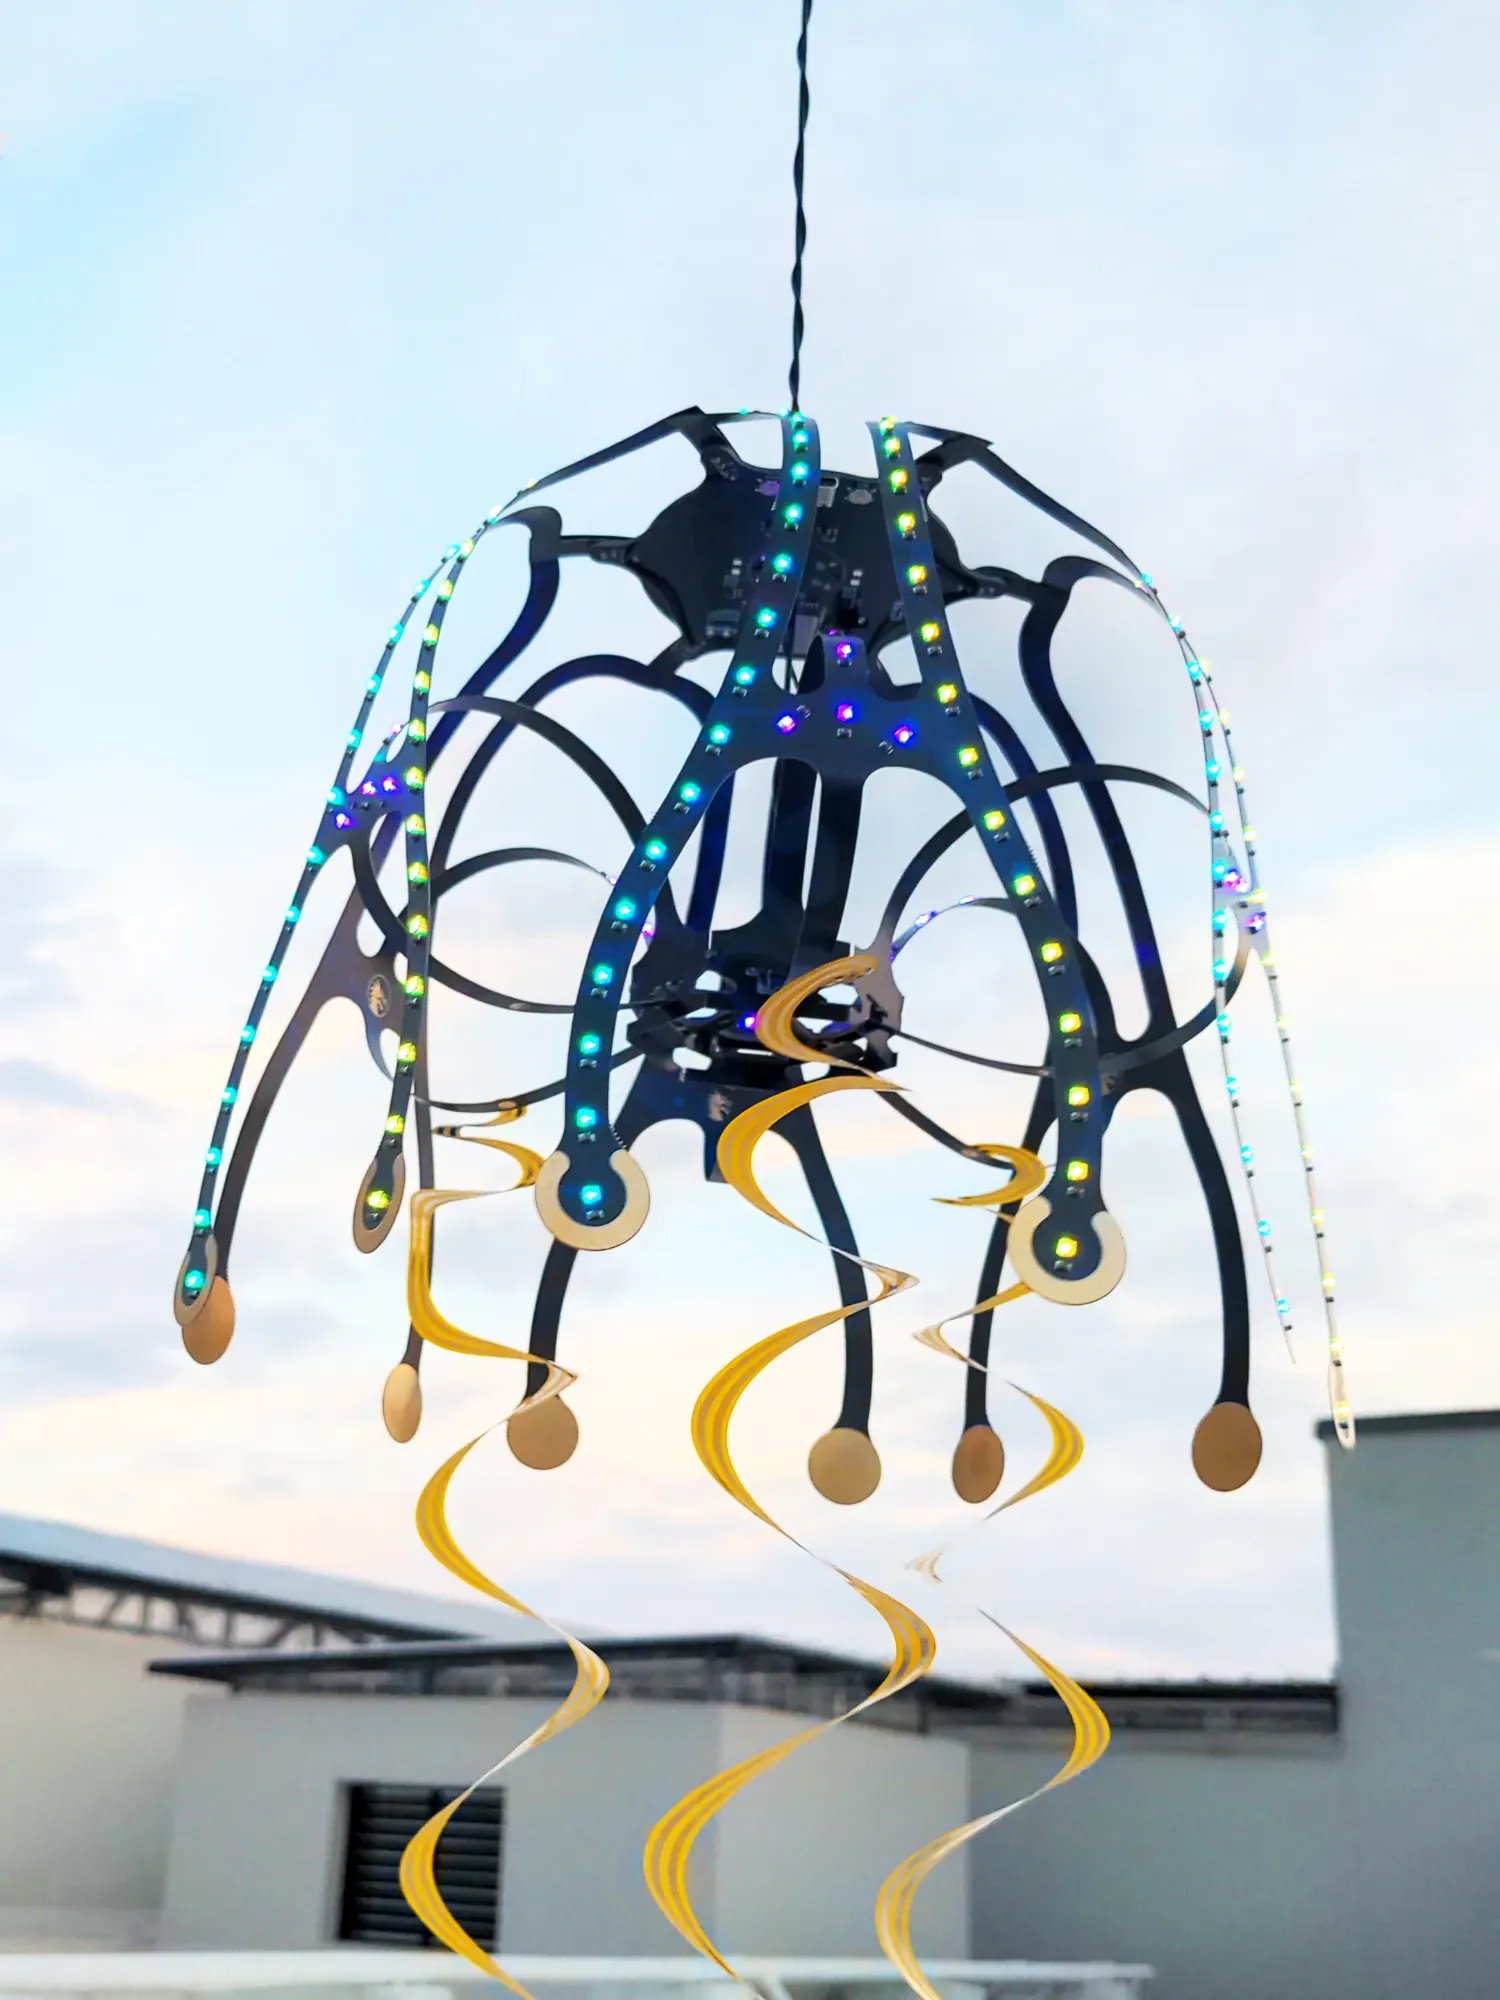
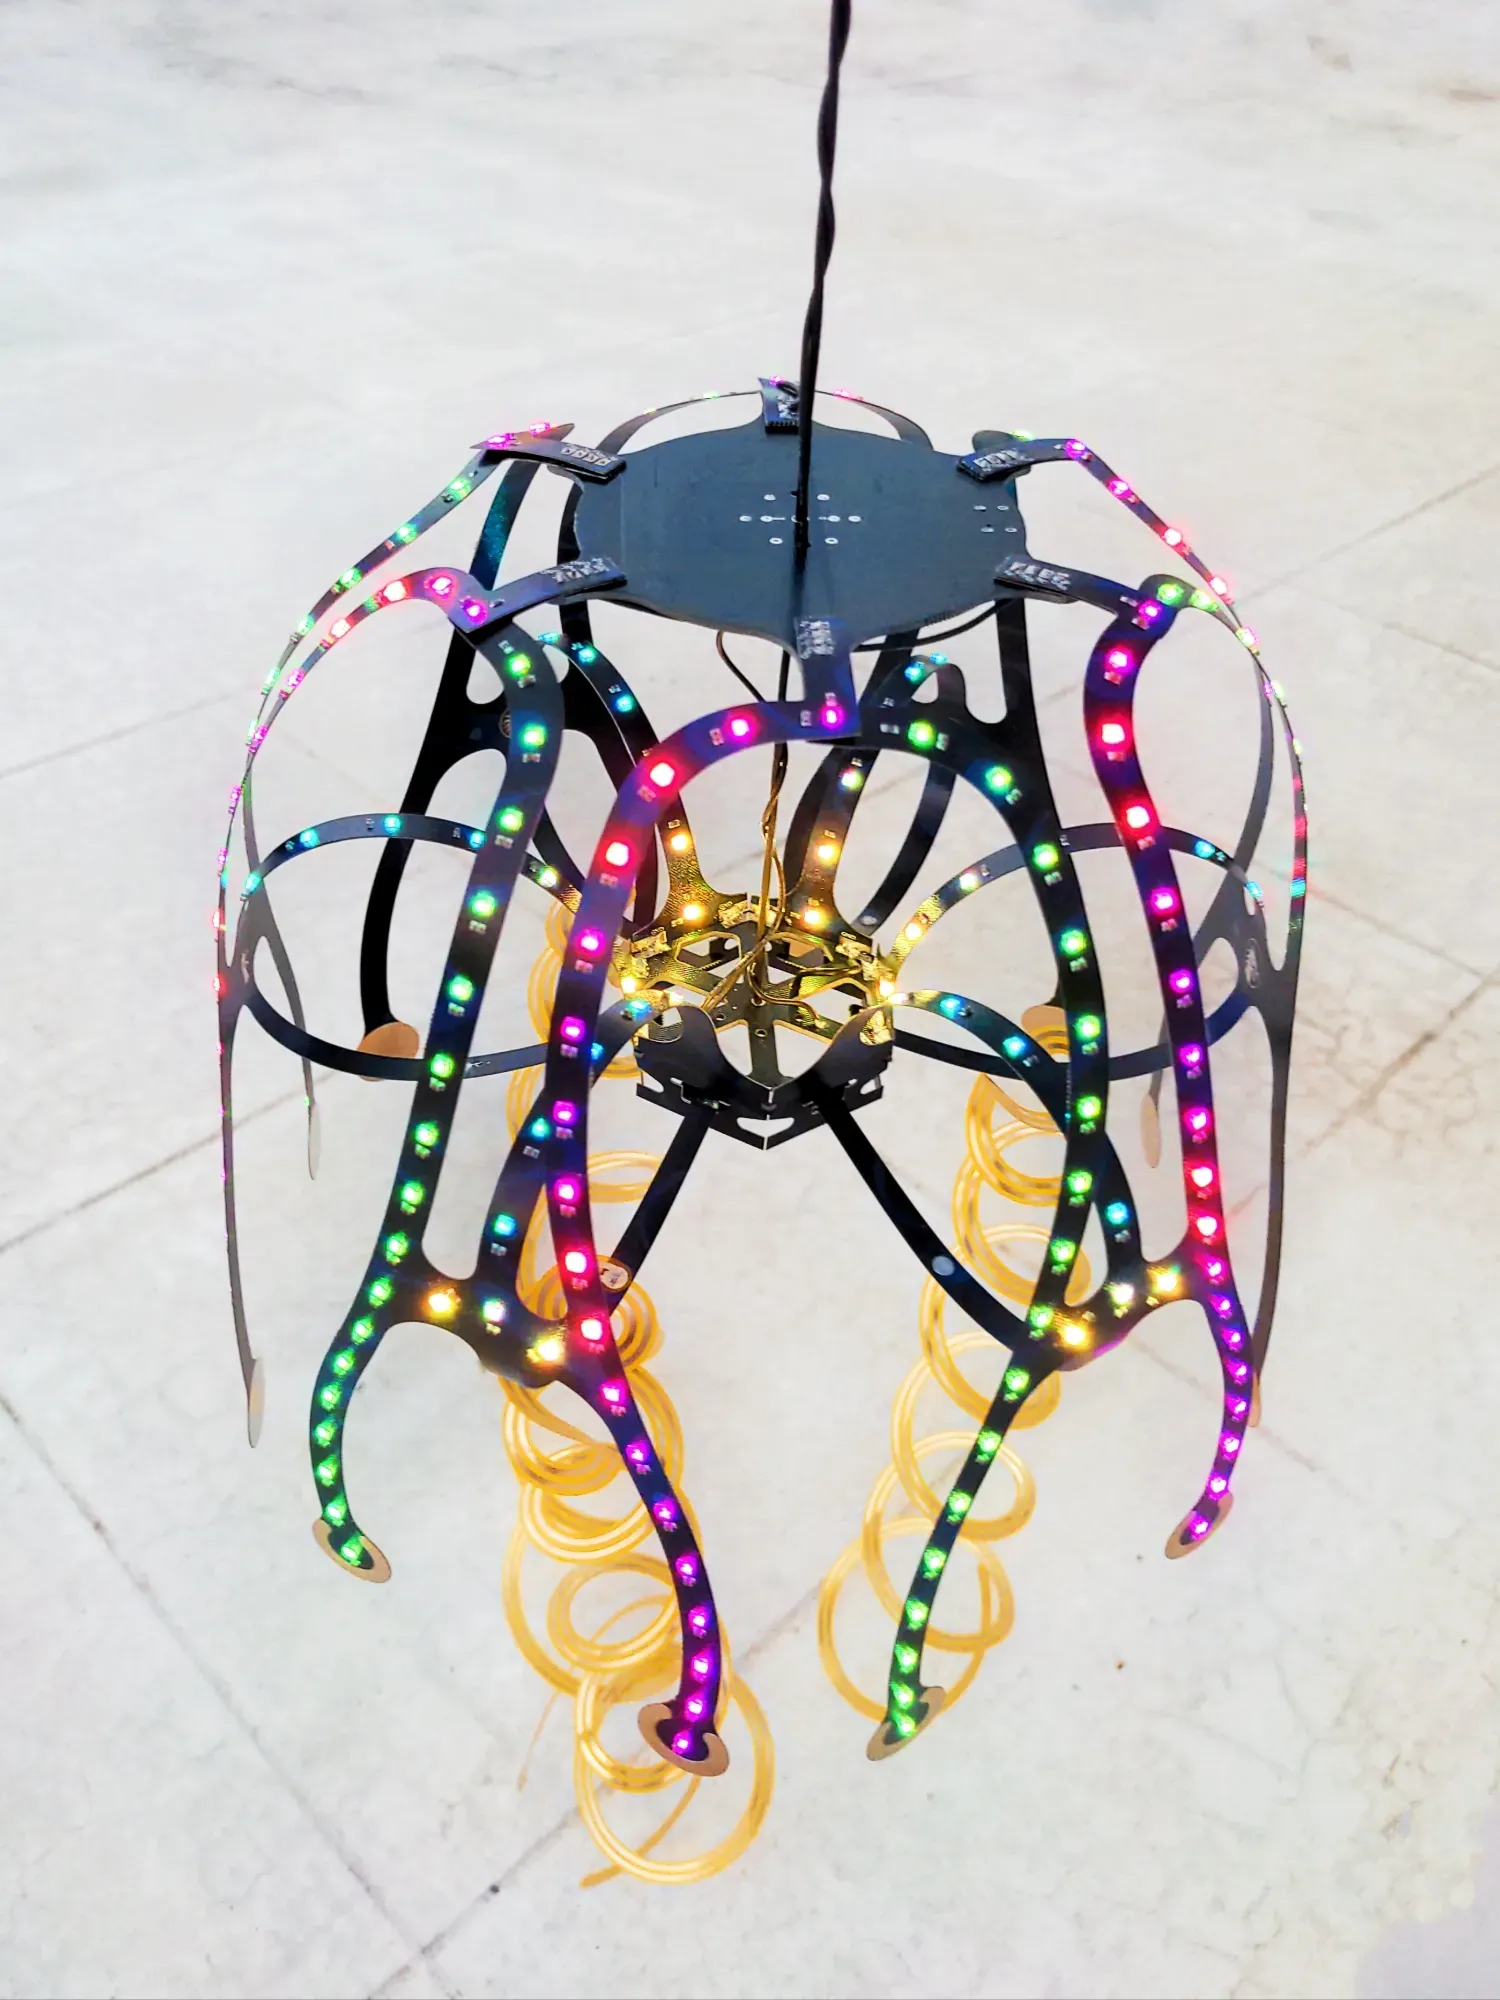
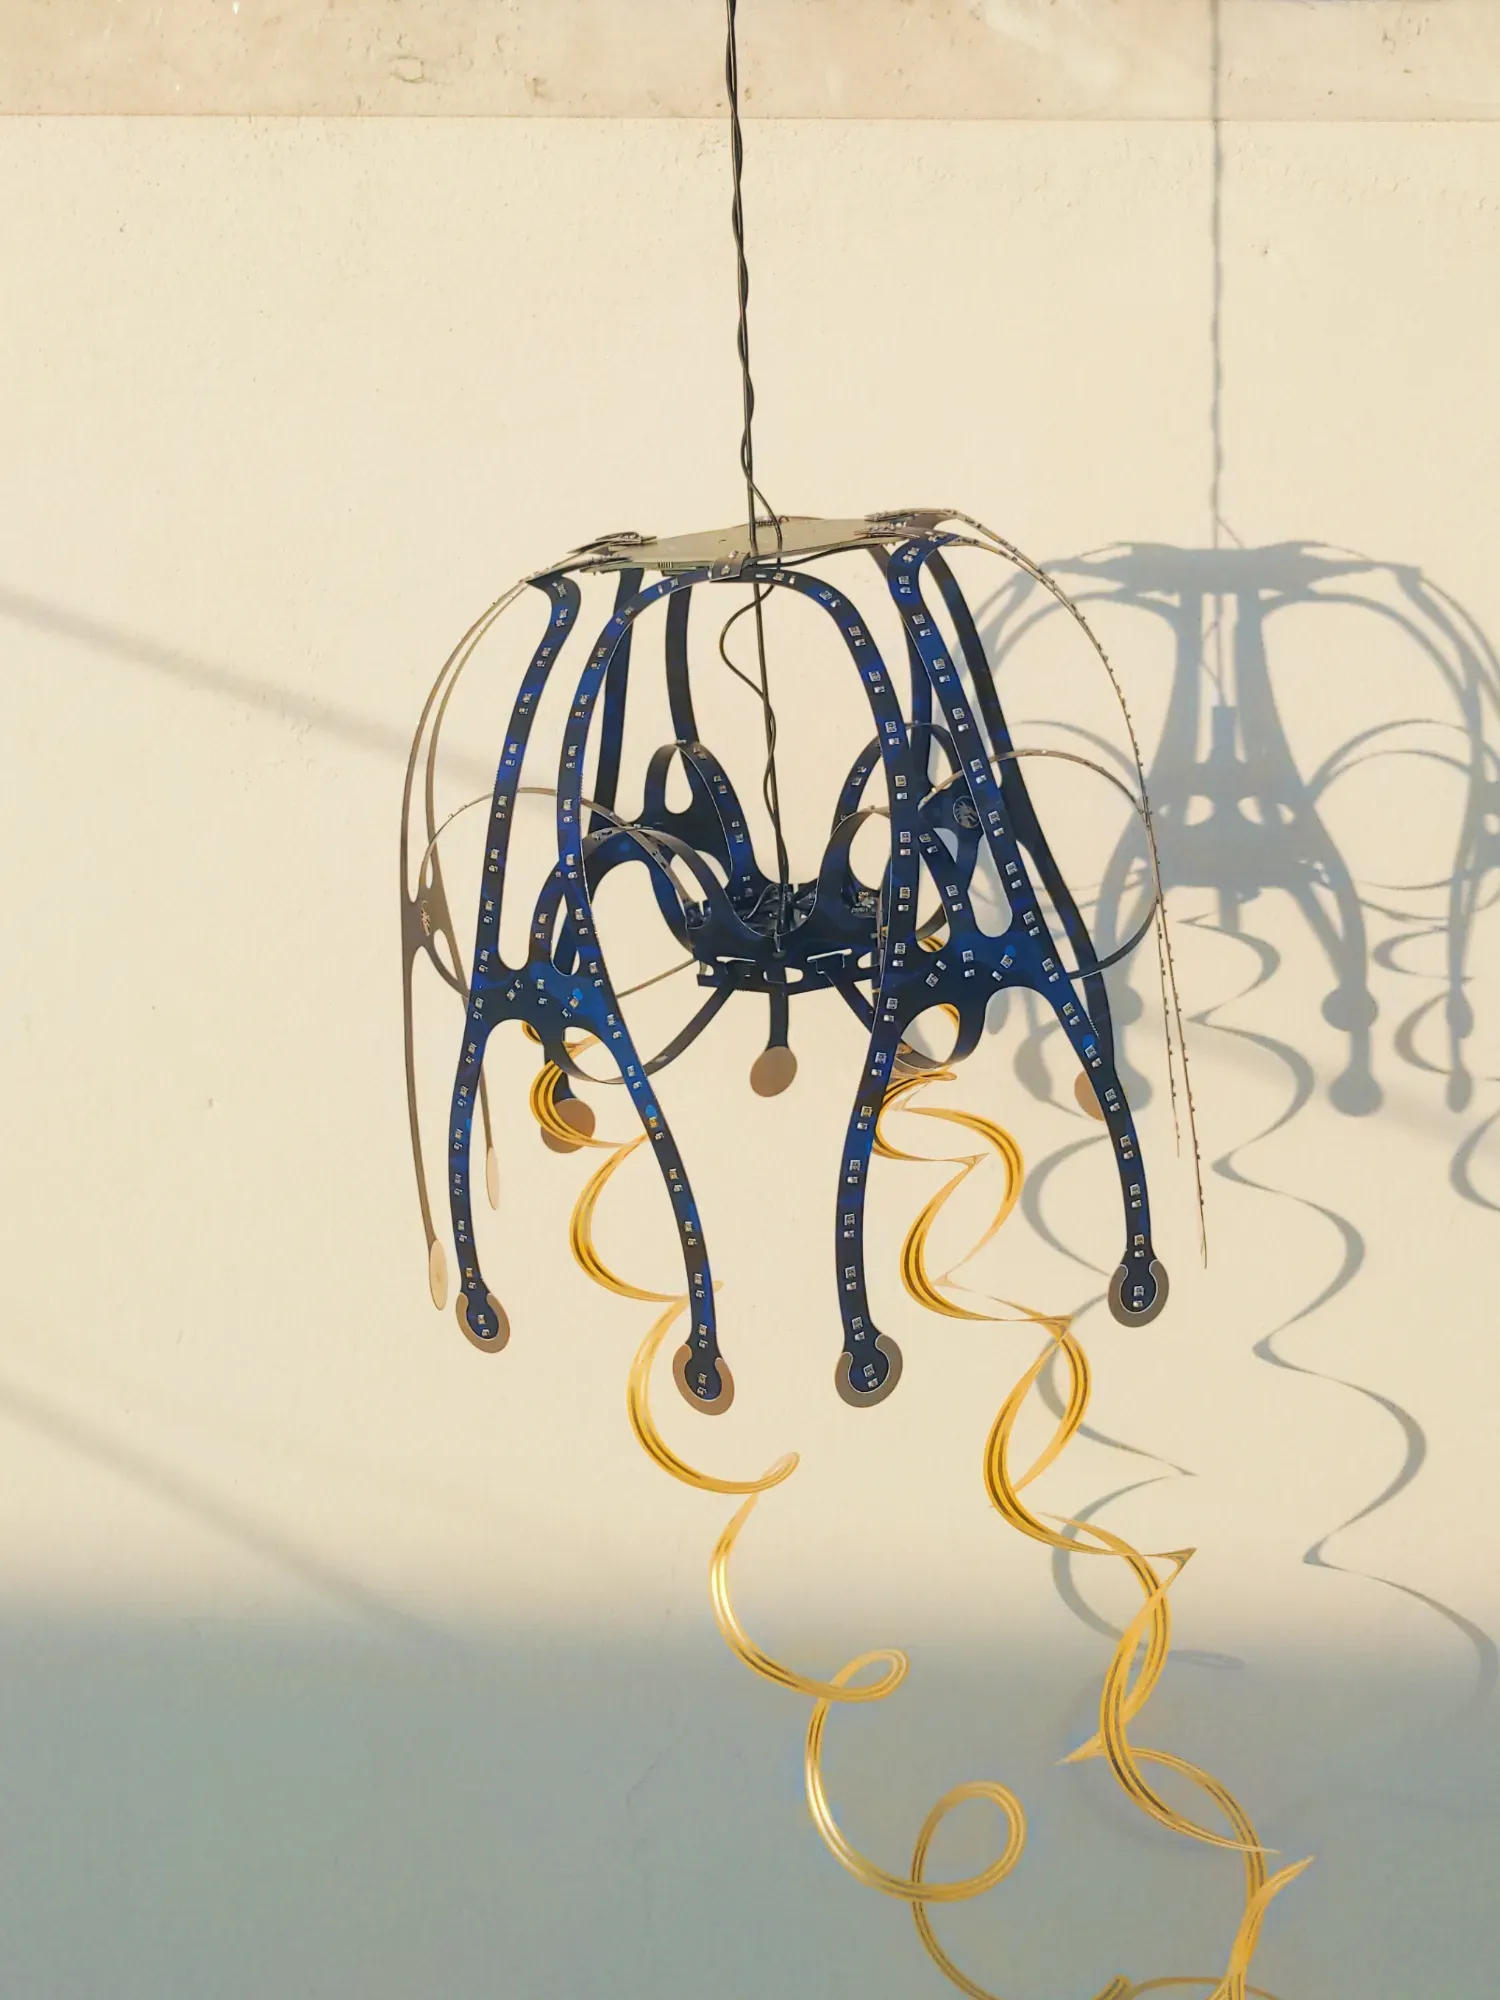
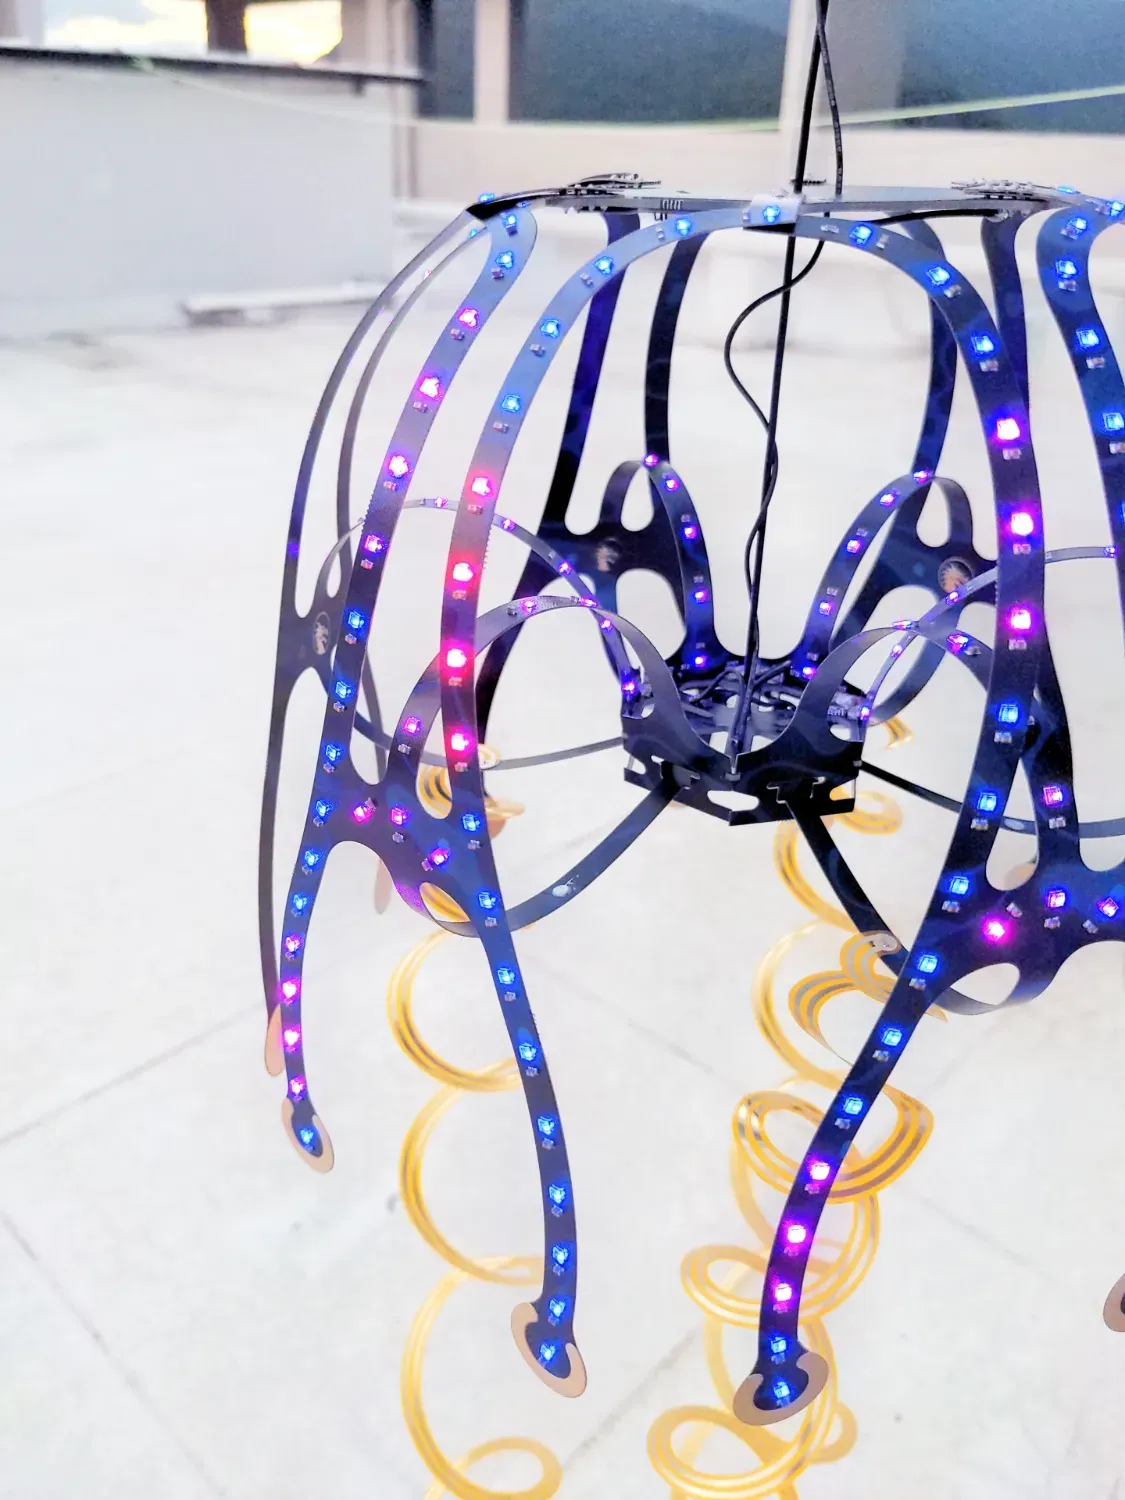
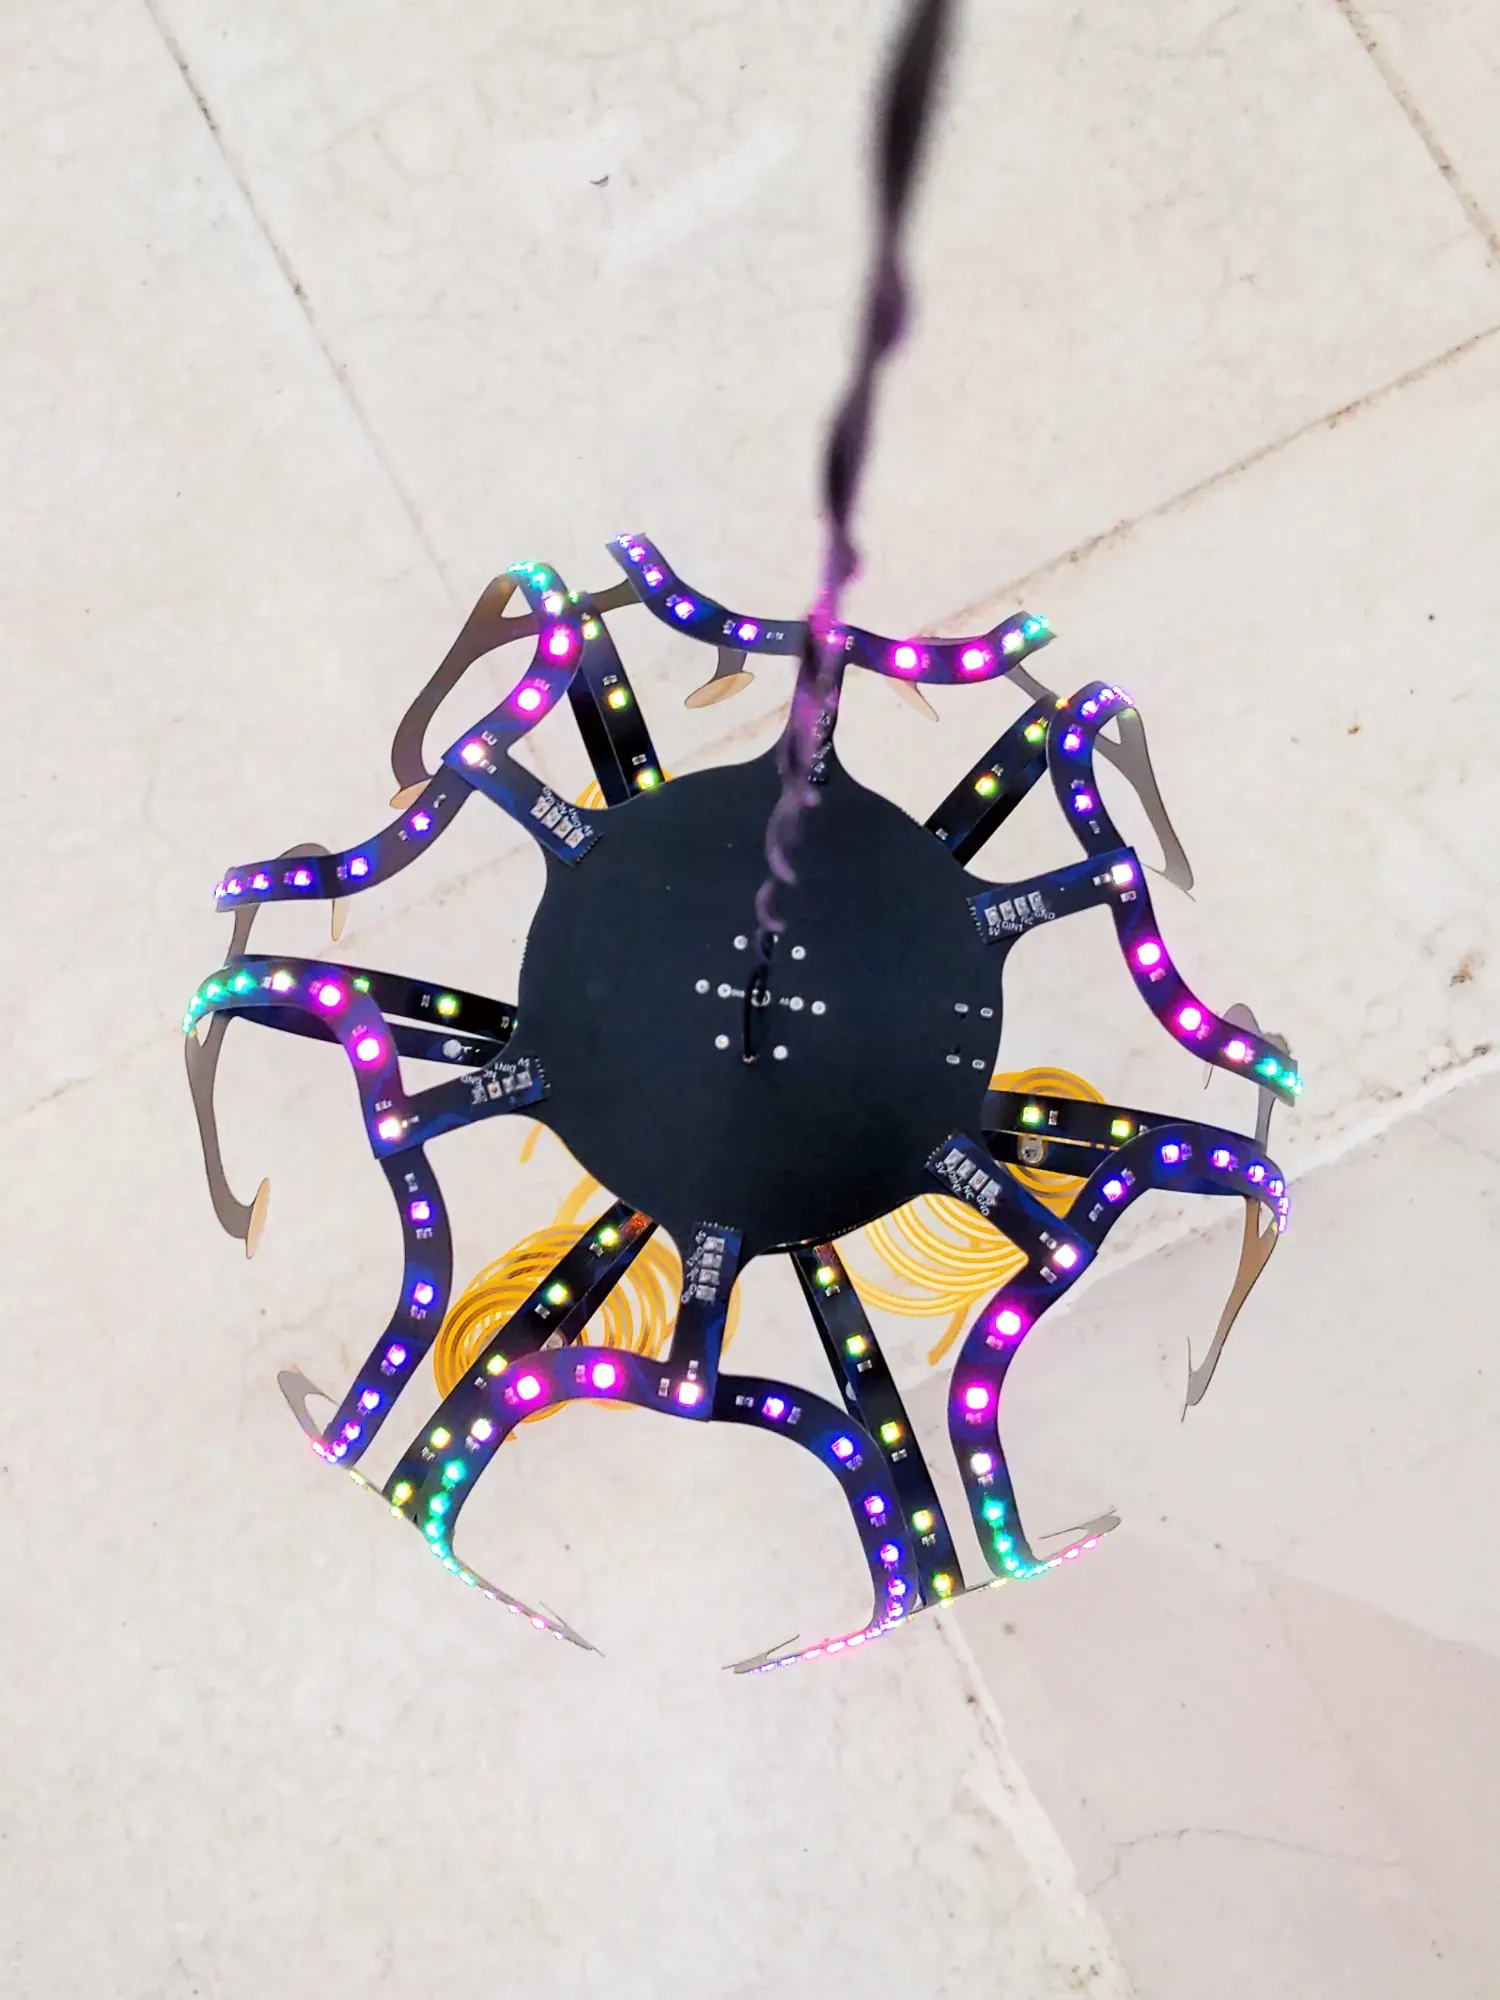
To finish the project, I attached a small wire at the top so it can be easily hung and allowed to sway naturally in the wind. After many design iterations and countless hours of work, seeing the final result was incredibly rewarding.
These are some photos I captured one evening, and they truly don't do it justice! The Wind Jellyfish looks beautiful even during the daytime, gently dancing in the breeze while displaying its vibrant colors.
One of my favorite things about this project is how lifelike it feels. As it moves with the wind, the flowing lights create a mesmerizing effect that makes it seem almost alive. 🌈💨
I've also included some nighttime photos below so you can see how it looks after dark. That's when the Wind Jellyfish really comes to life the colorful LEDs glow brilliantly, creating a magical and eye catching display.
See It Come to Life!
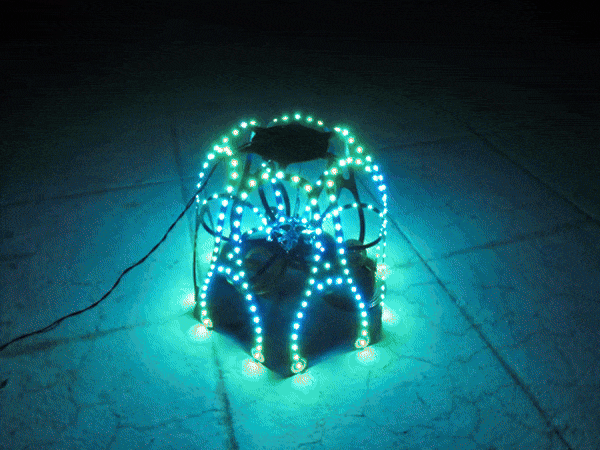
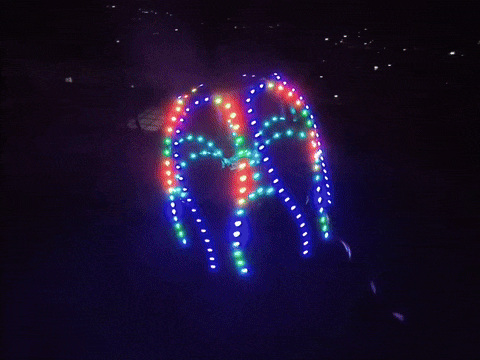
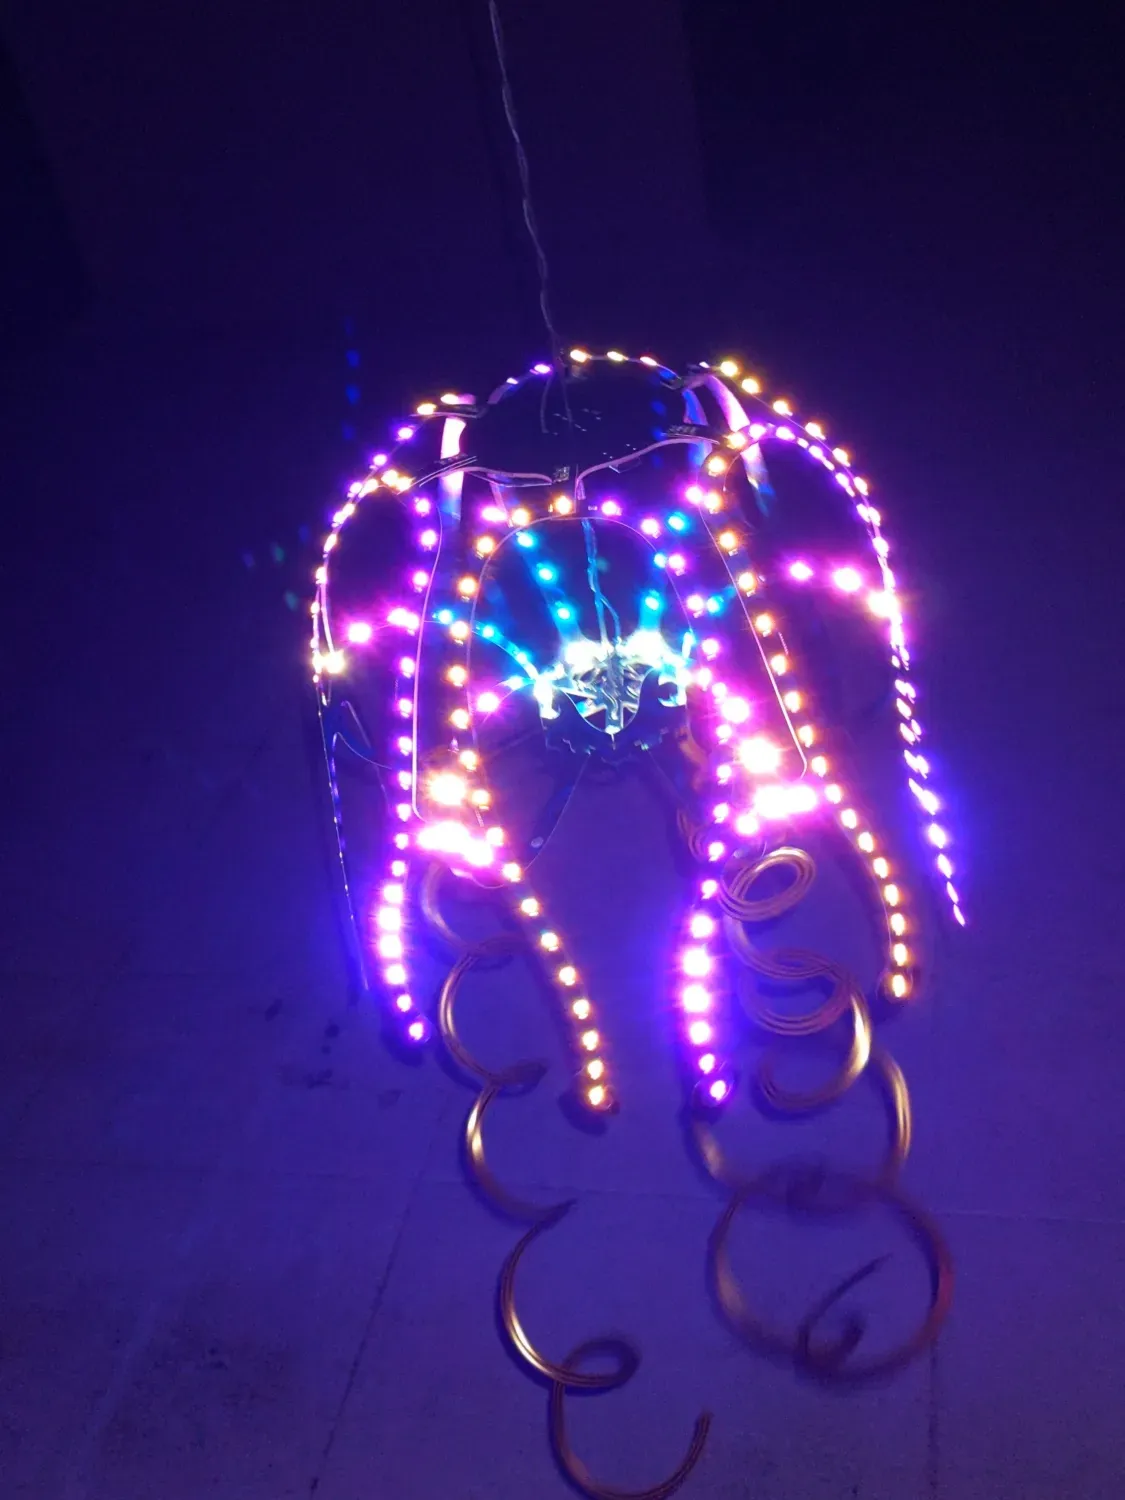
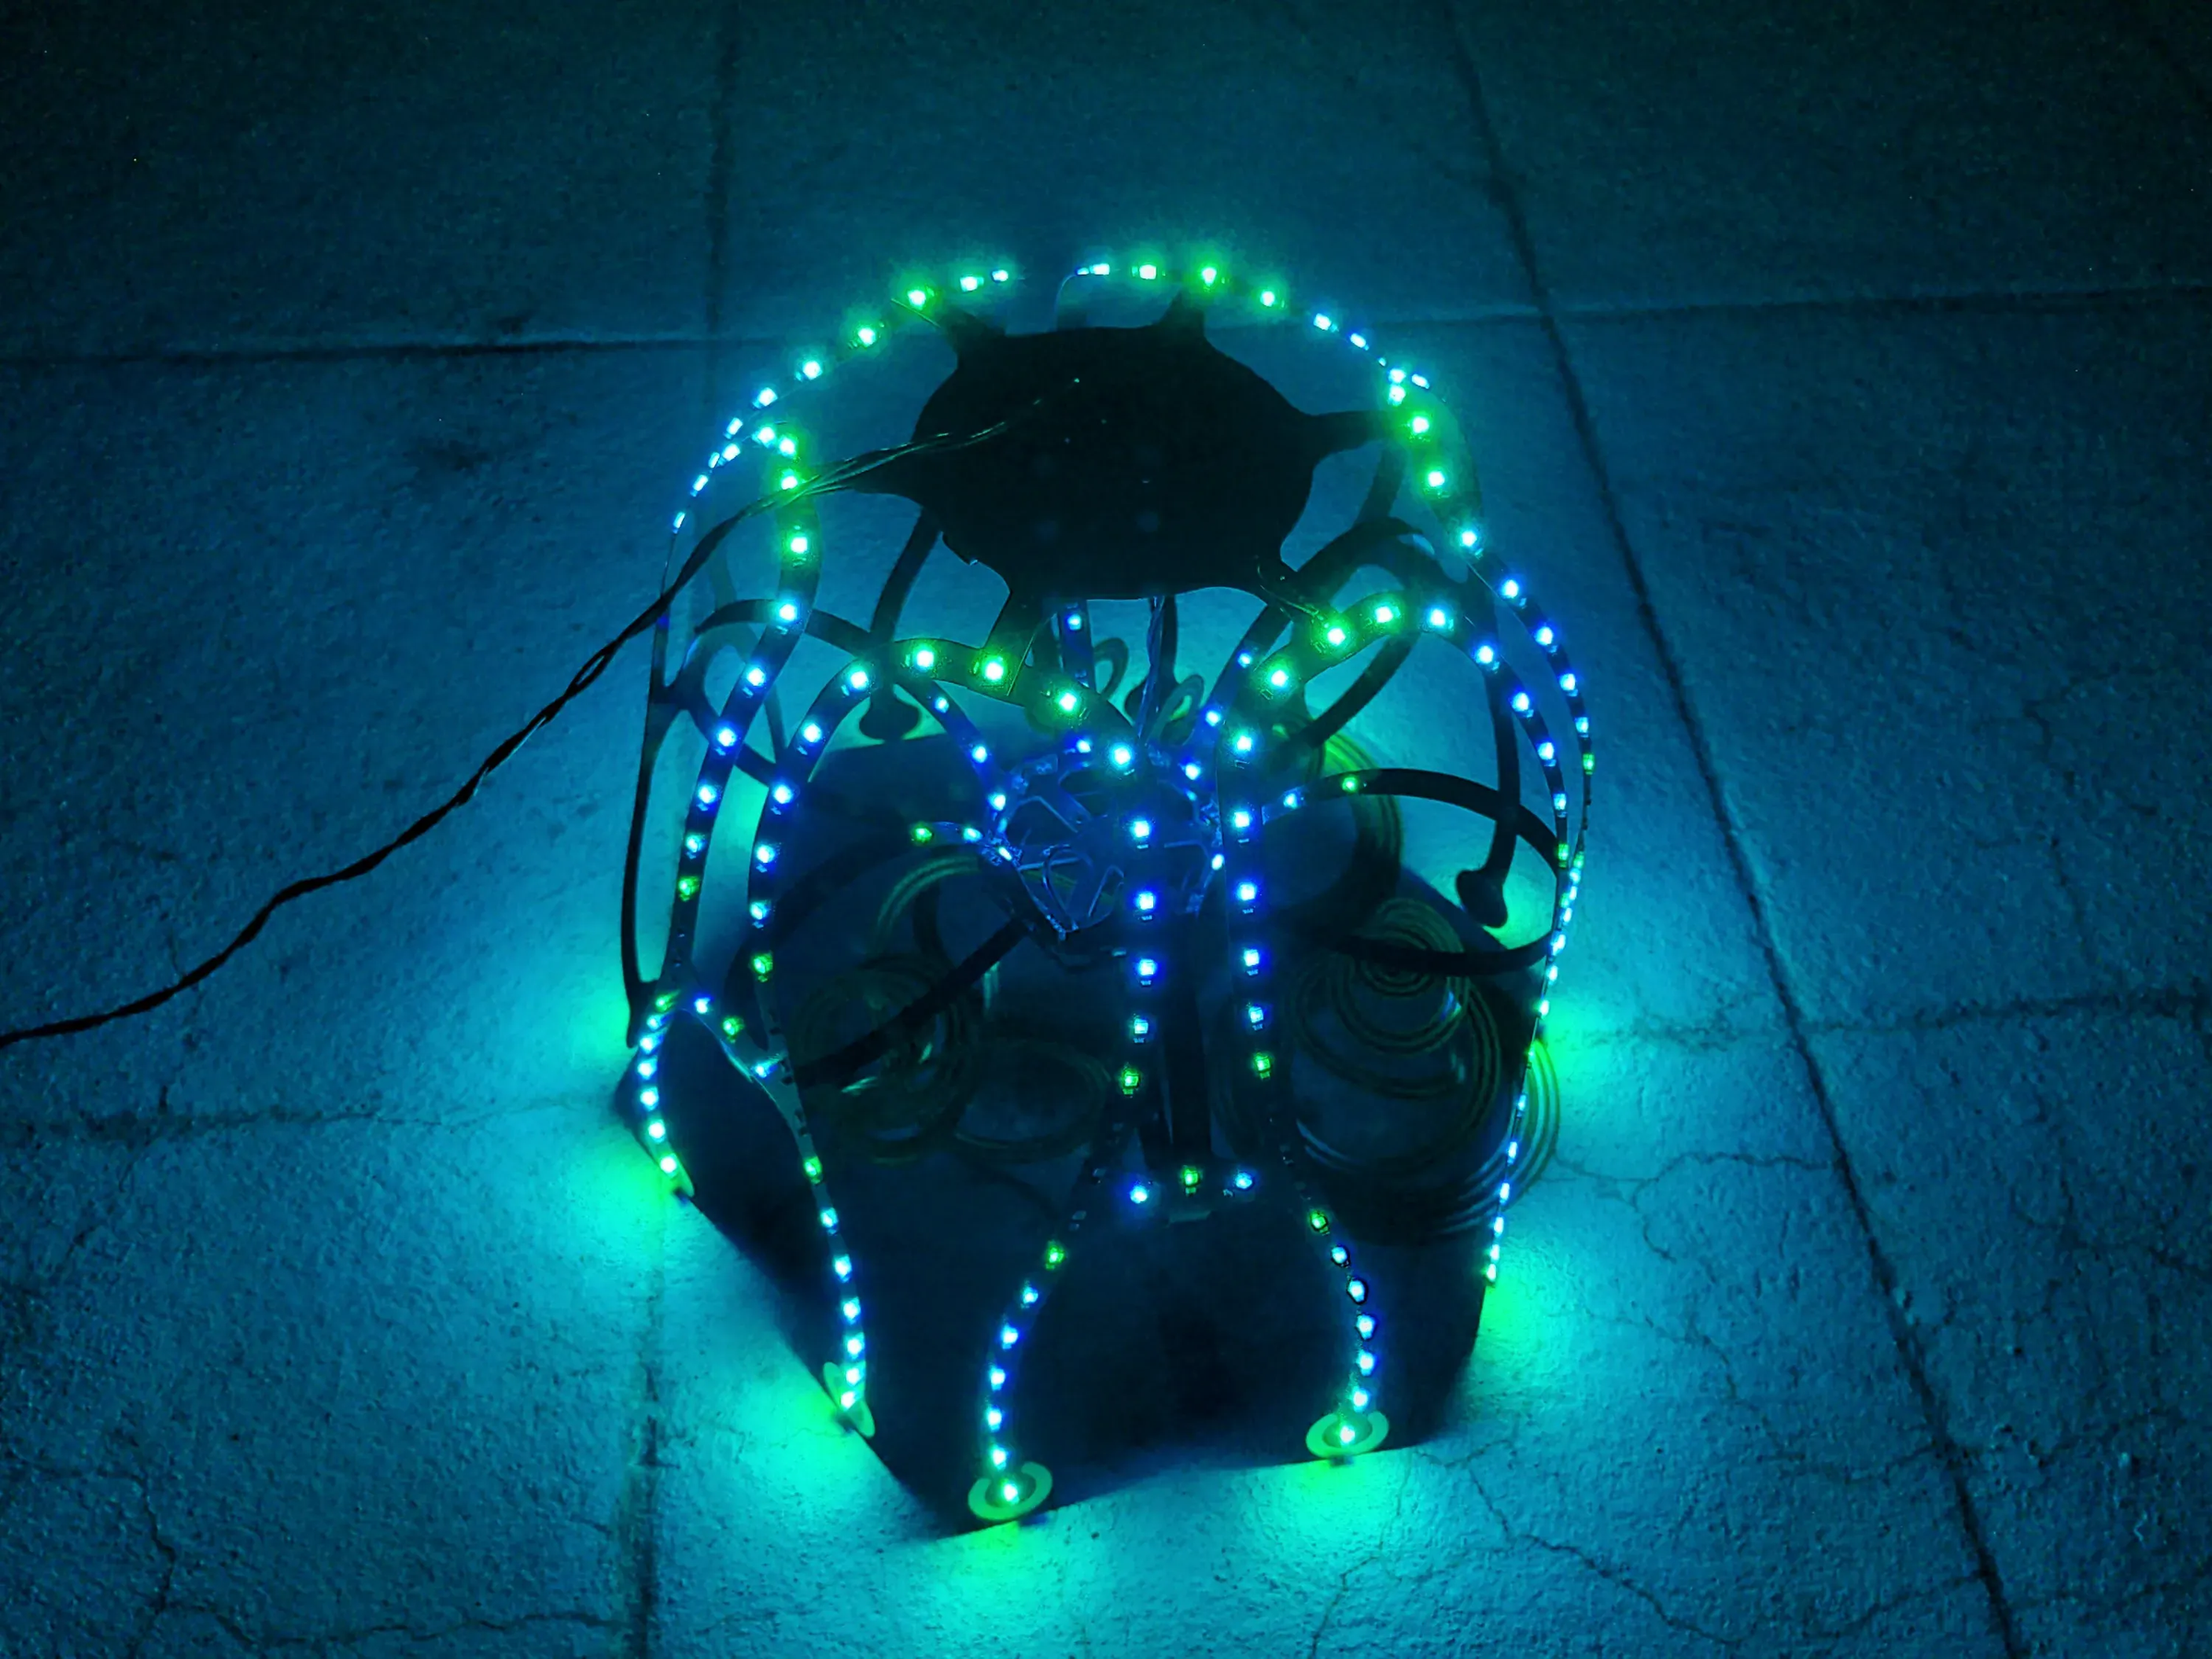
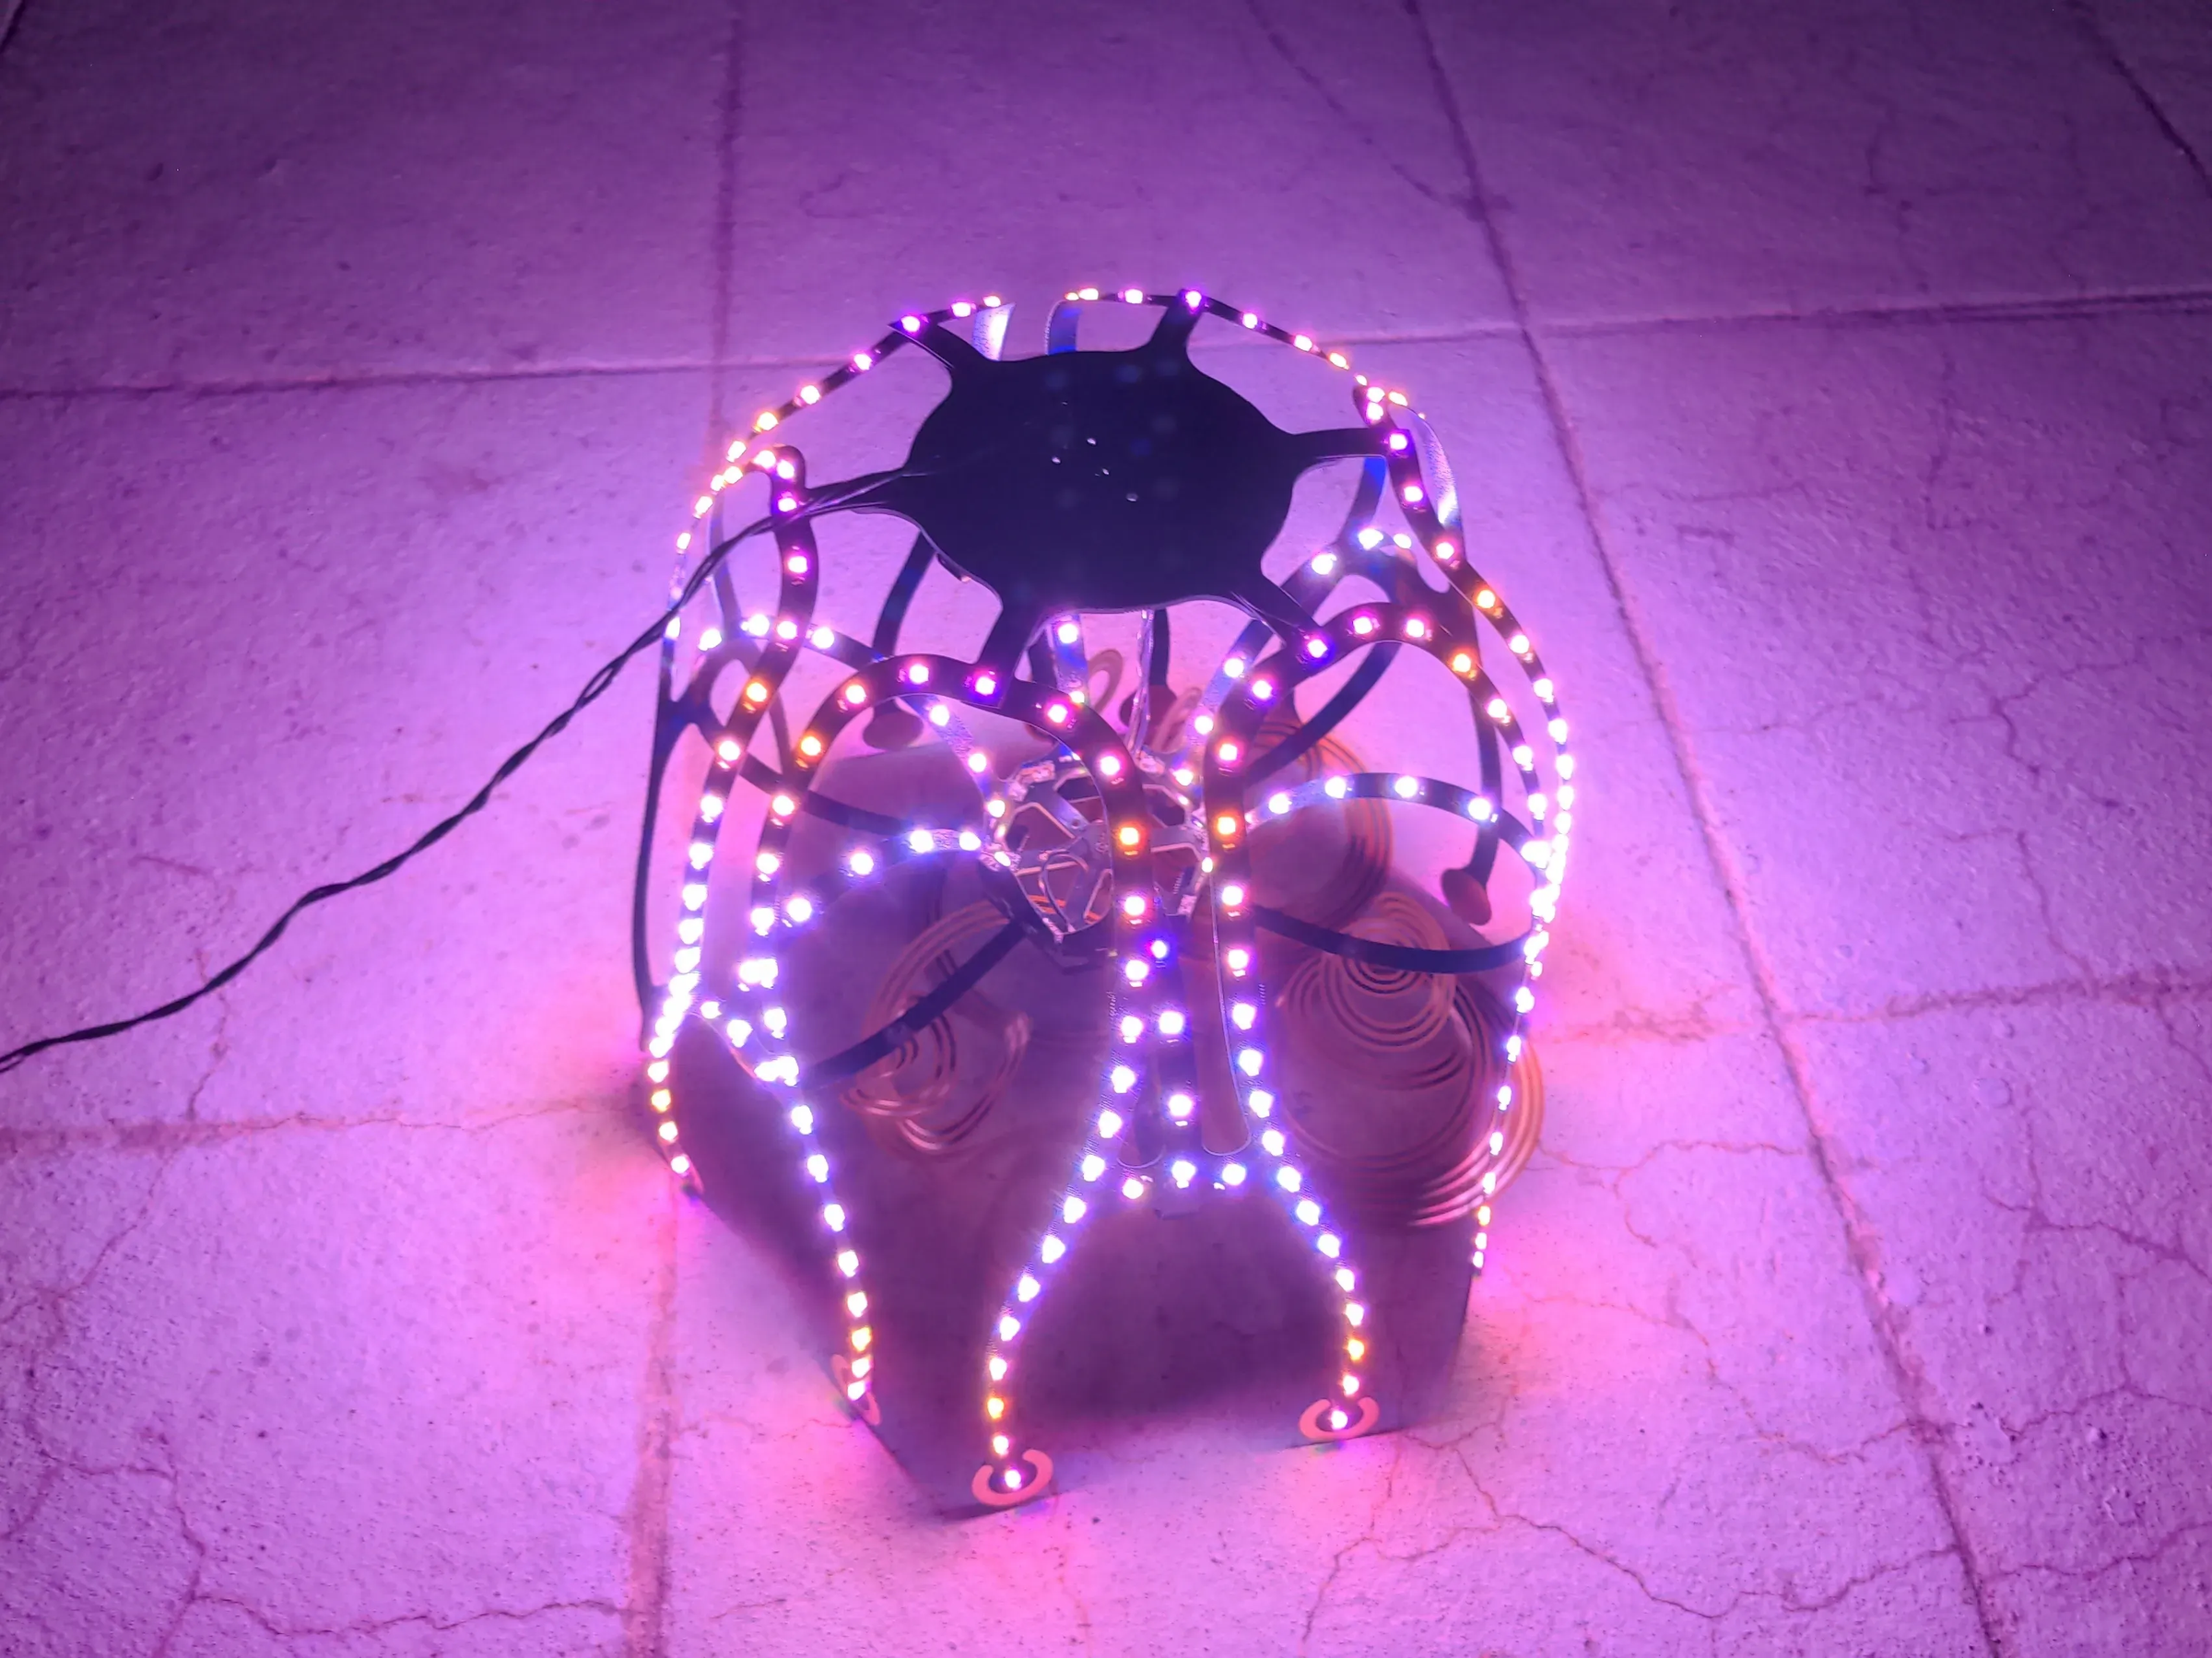
Take a look at how beautiful the Wind Jellyfish looks at night as it gently floats in the breeze.
Its glowing colors can be seen from quite a distance, making it a truly eye catching decoration. Watching it sway in the wind creates a magical atmosphere that's hard to describe you really have to see it in person!
I hope you've enjoyed this project as much as I enjoyed creating it. If you decide to build your own Wind Jellyfish, I'd love to see your version.
If you have any questions, need help during the build process, or just want to share your results, feel free to leave a comment or send me a message. Happy making! 😊