Wolverine Claws: DIY Retractable Claws
by shobhit130905 in Craft > Costumes & Cosplay
876 Views, 3 Favorites, 0 Comments
Wolverine Claws: DIY Retractable Claws
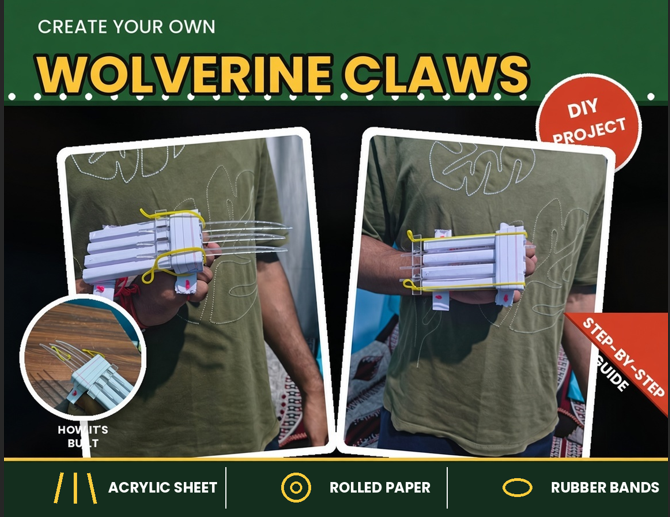
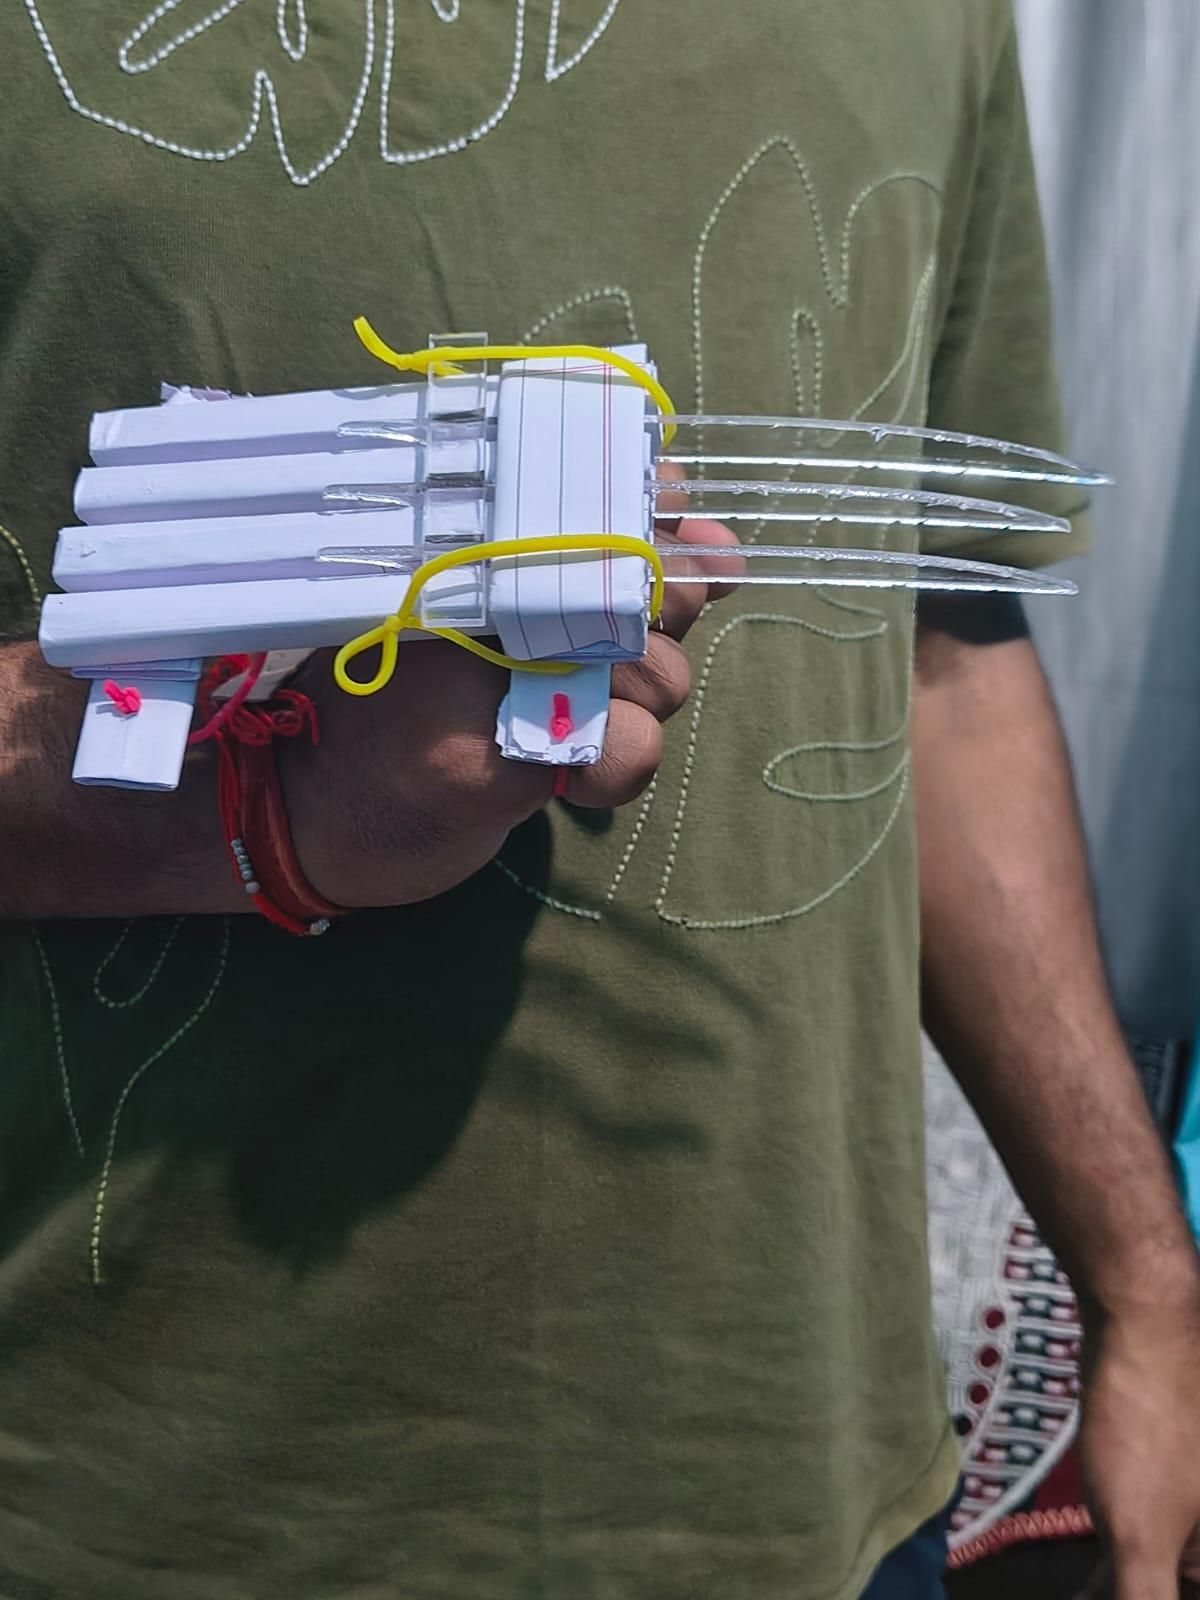
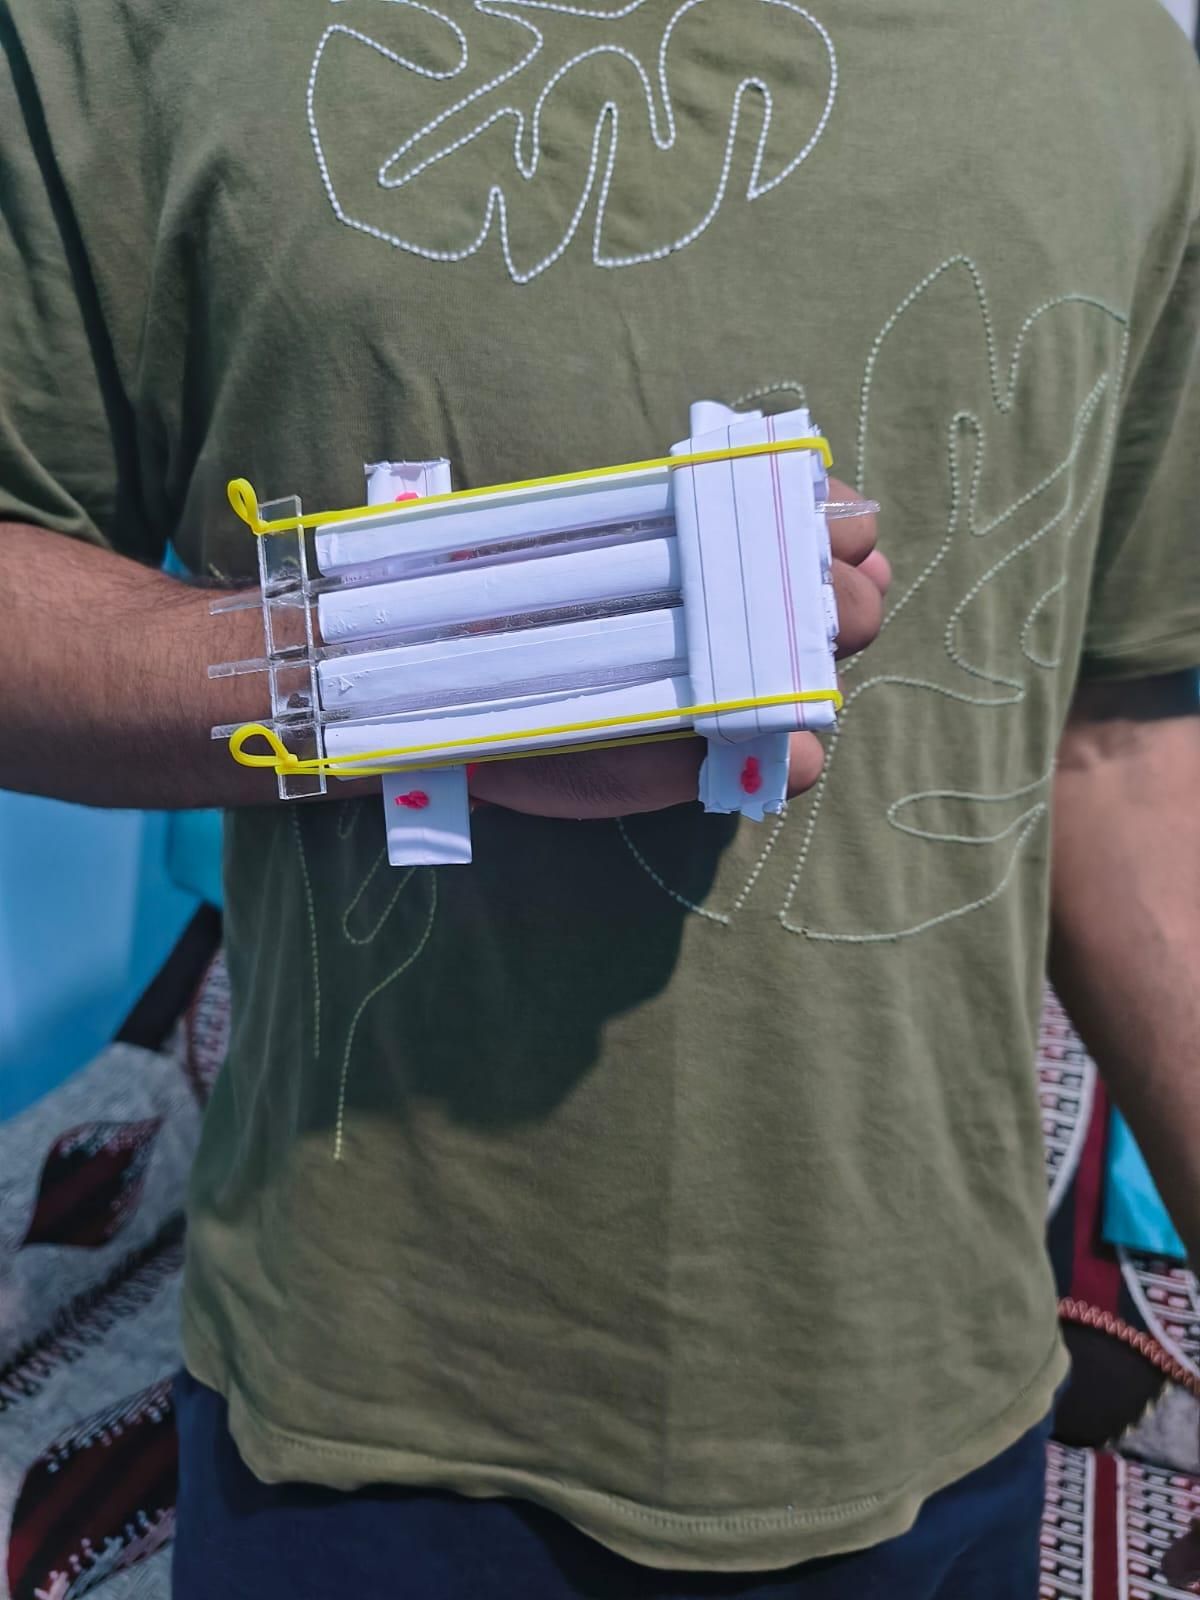
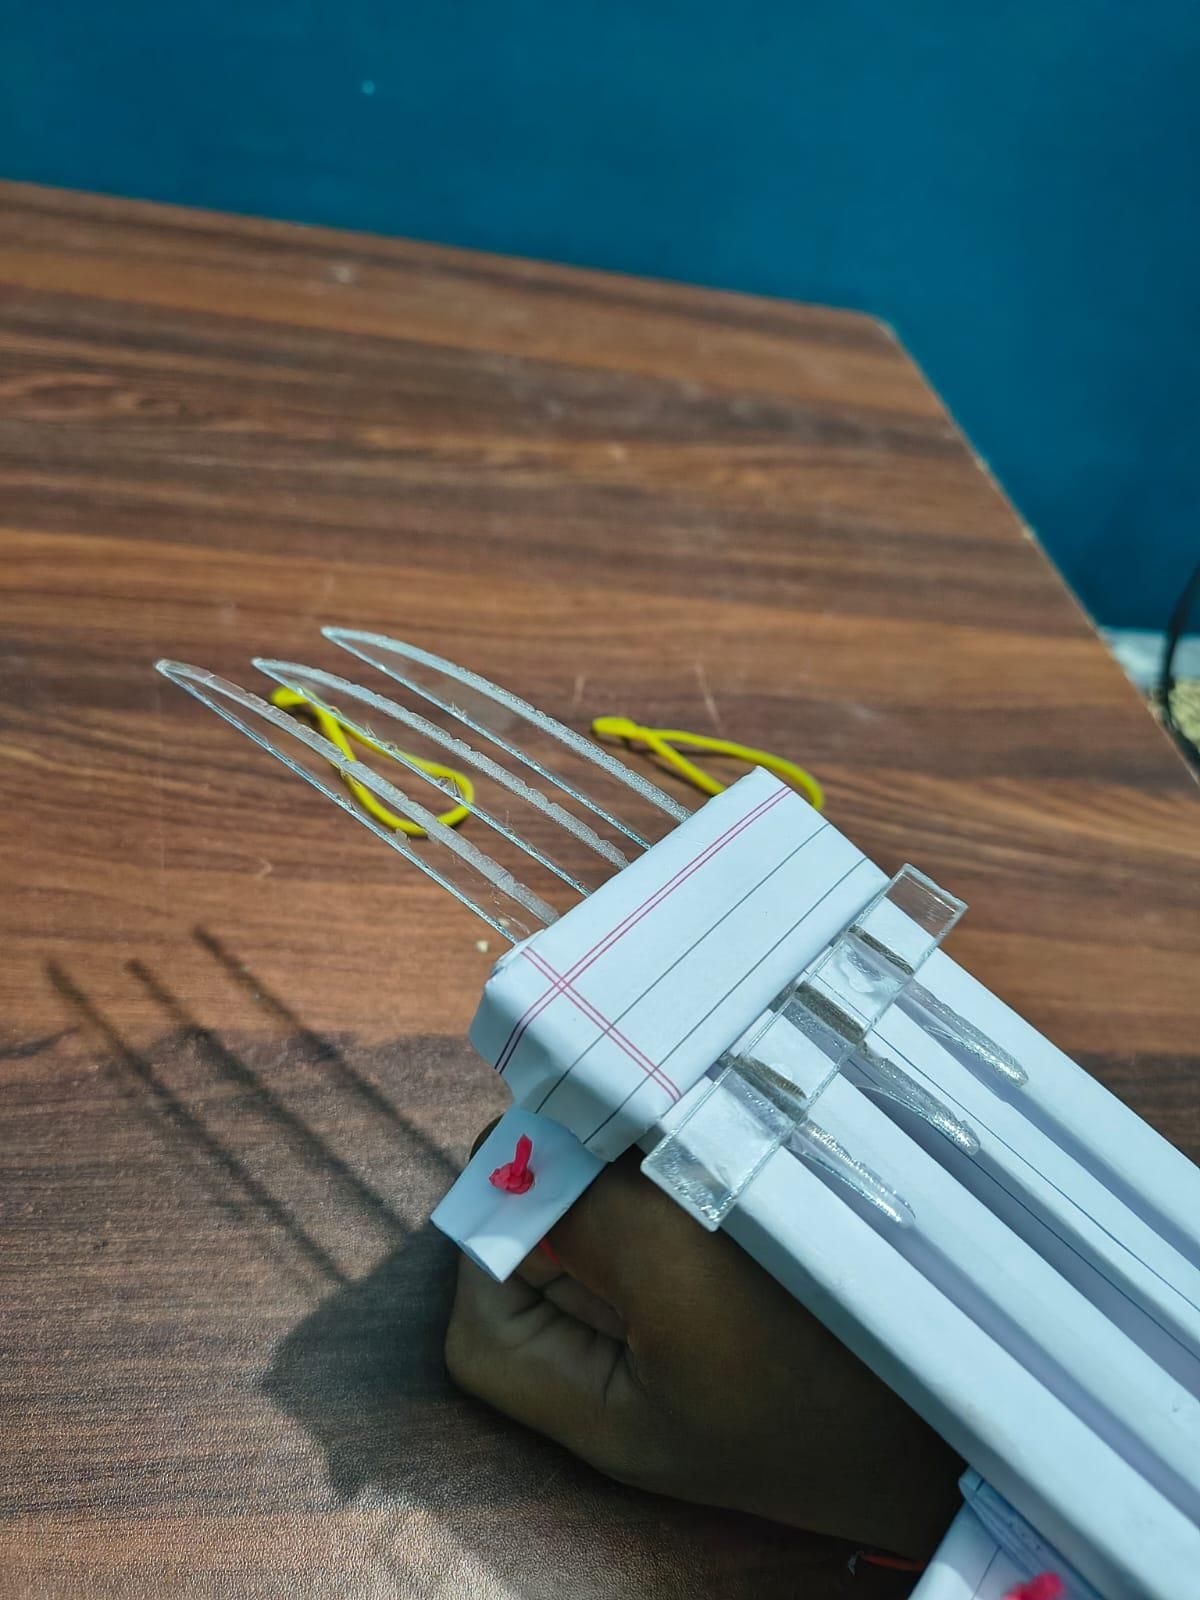
Ever wanted to build your own Wolverine-inspired retractable claws without expensive electronics, 3D printers, or specialized machinery?
For this project, I created a pair of Wolverine-inspired mechanical claws using inexpensive and easily available materials. The main goal was to keep the build simple, lightweight, repairable, and as independent from conventional powered tools as possible.
Instead of relying on motors or complicated electronics, the claws use a simple mechanical/retractable mechanism. Most of the construction can be done using basic hand tools and repurposed materials.
The final result is a wearable prop with three claws that can be extended and retracted manually.
Supplies
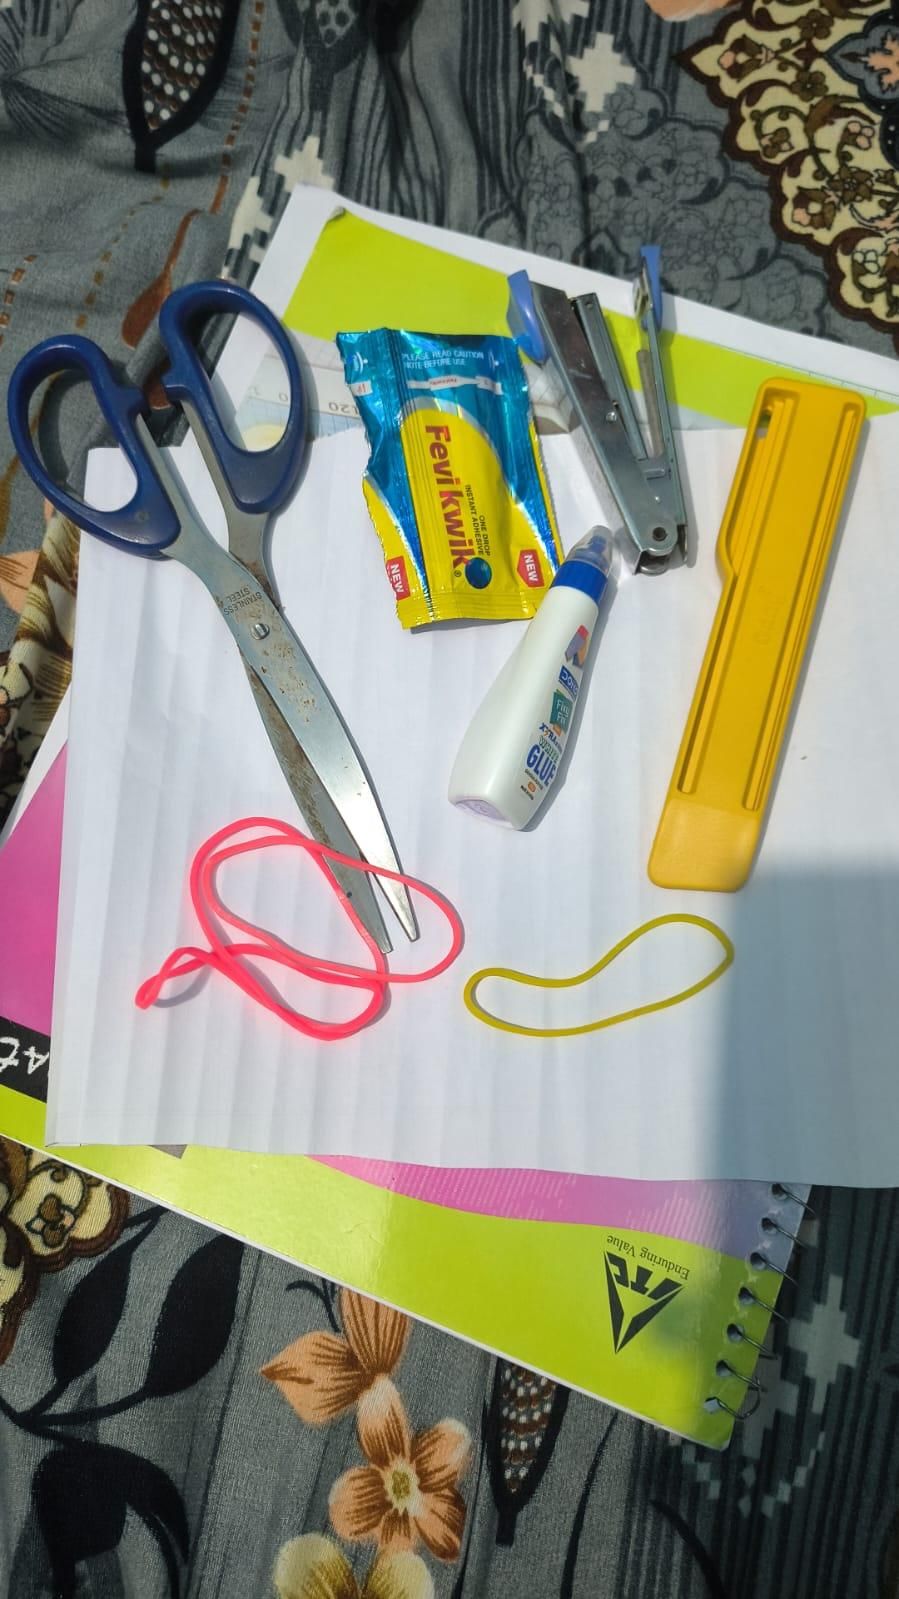
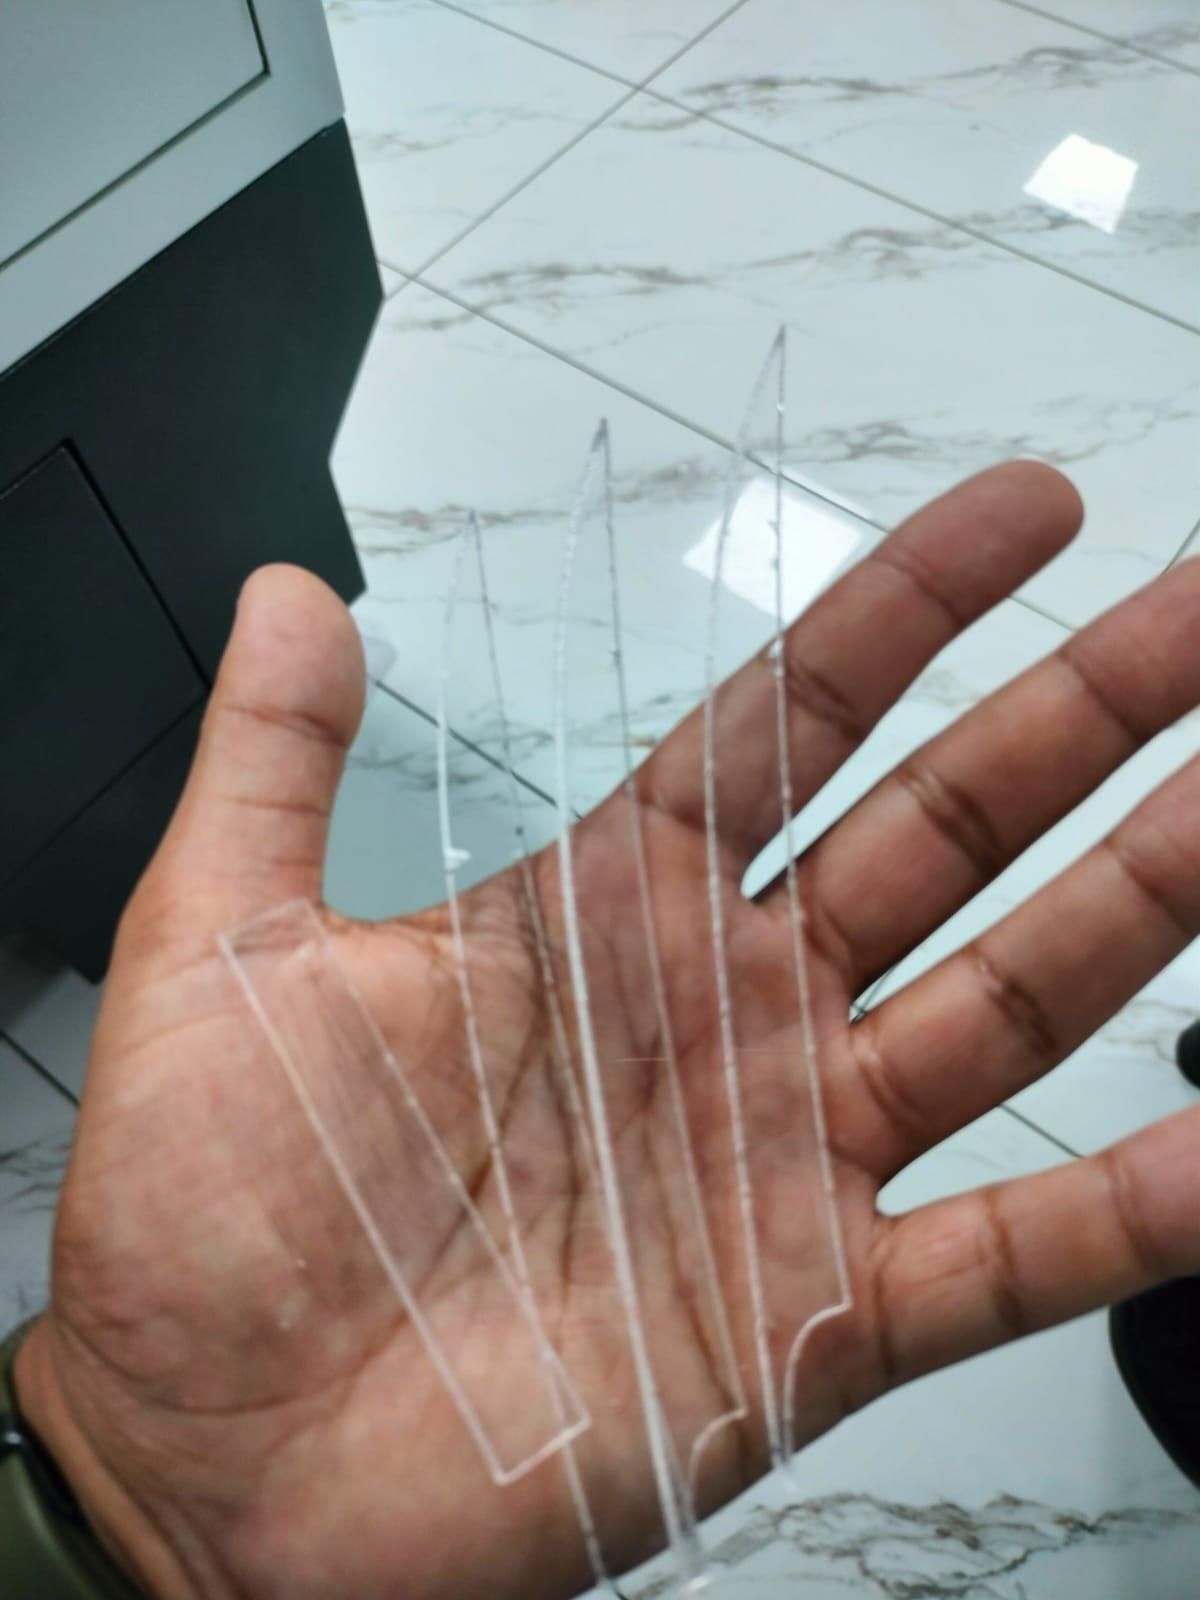
Materials
- Acrylic sheet (clear) — thin enough to be rigid but still easy to laser-cut into a tapered blade shape
- Paper (a few sheets — plain or slightly stiff paper works well for rolling into tubes)
- 3-4 rubber bands (size depends on your hand)
- Glue or tape (to hold the rolled paper tubes closed and to fuse the tubes together side by side)
- A thin rod, pencil, or skewer (optional) (to roll the paper tubes around)
- Hole punch or a pin/needle (for the strap holes)
Tools
- Laser cutter (with acrylic-safe settings)
- Design software for your cut file (e.g., Illustrator, Inkscape, or your laser cutter's native software)
- Scissors or craft knife
Design and Laser-Cut the Blades
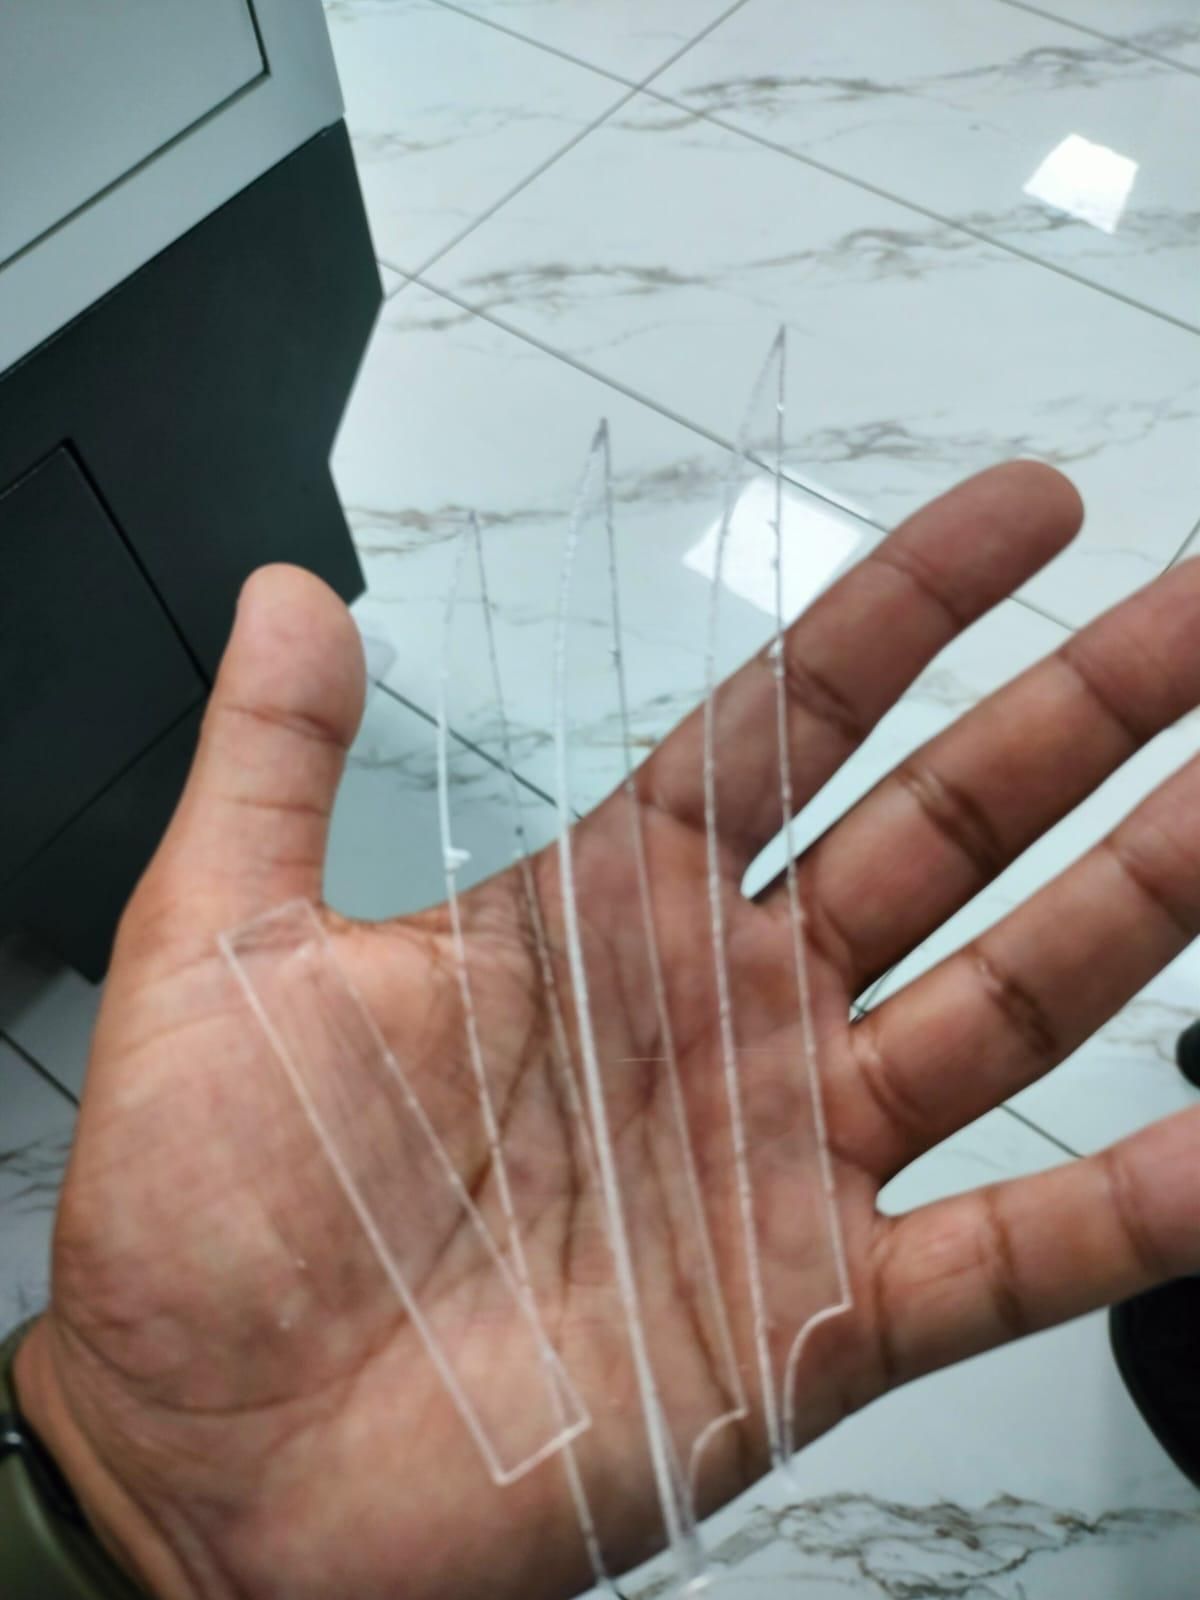
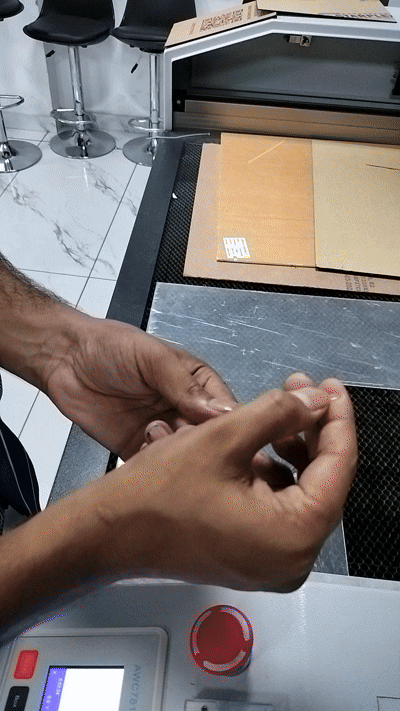
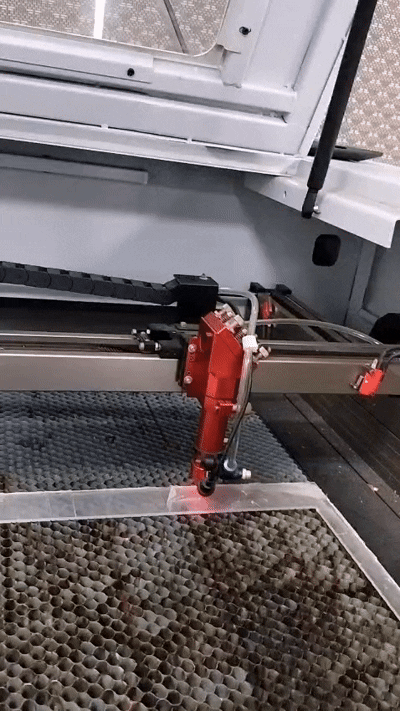
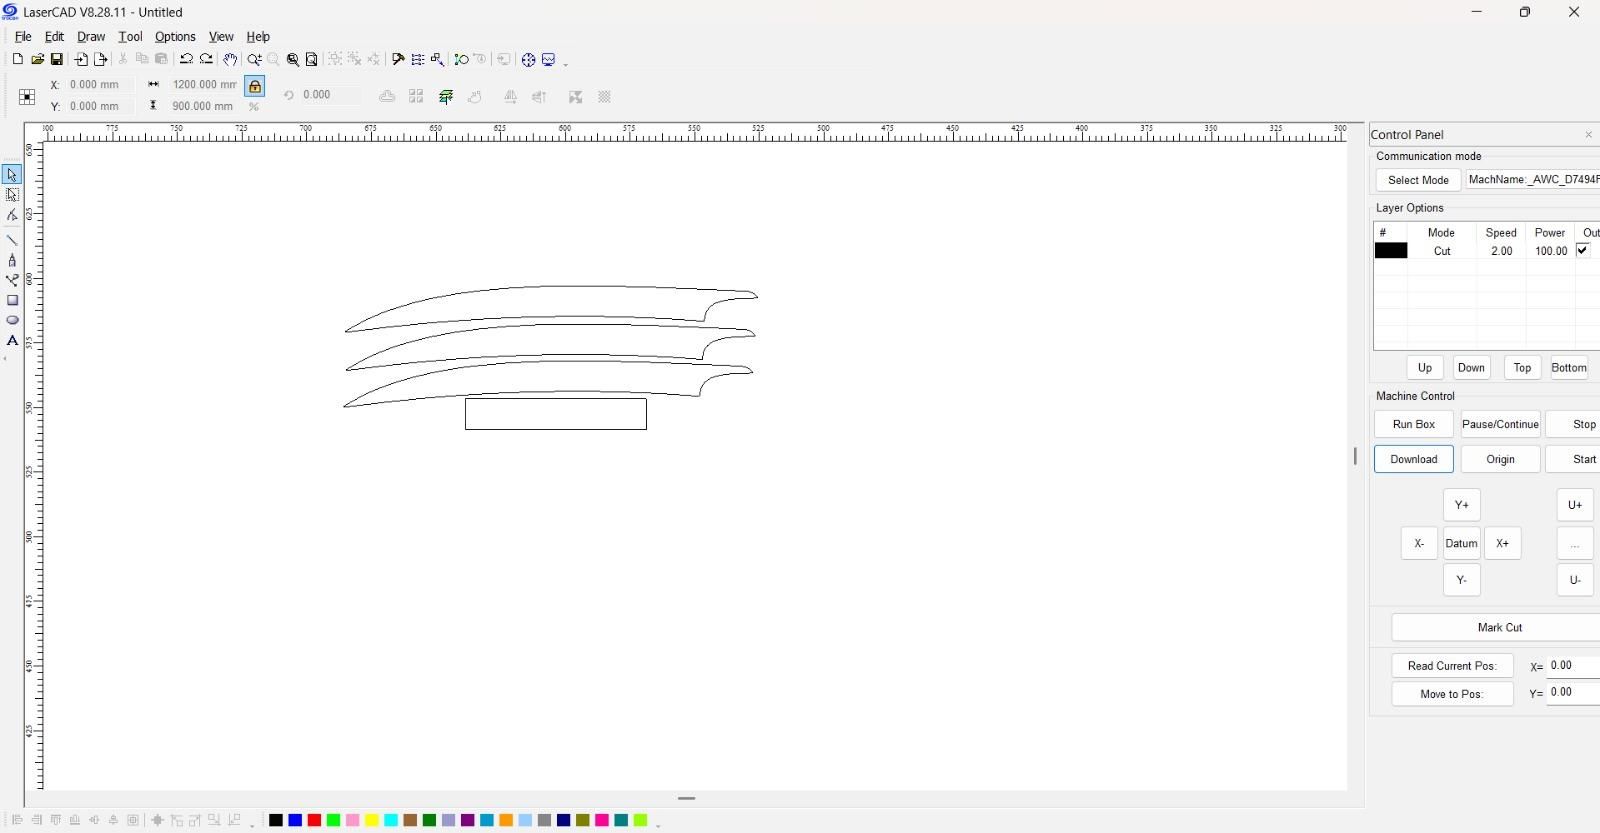
Design a set of tapered, pointed claw-blade shapes — three (or more) per hand, sized in a fan so they'll sit naturally across your knuckles, similar to a classic claw silhouette.
I focused on:
- Overall claw length
- Width of the base
- Curvature of the claw
- Symmetry
- Spacing between multiple claws
Give each blade a small rectangular tab at its base — this is what anchors the blade inside its paper tube later, so don't skip it.
Once the first claw shape was finalized, Laser-cut the design out of your acrylic sheet, then peel off any protective film.
Roll the Paper Tubes
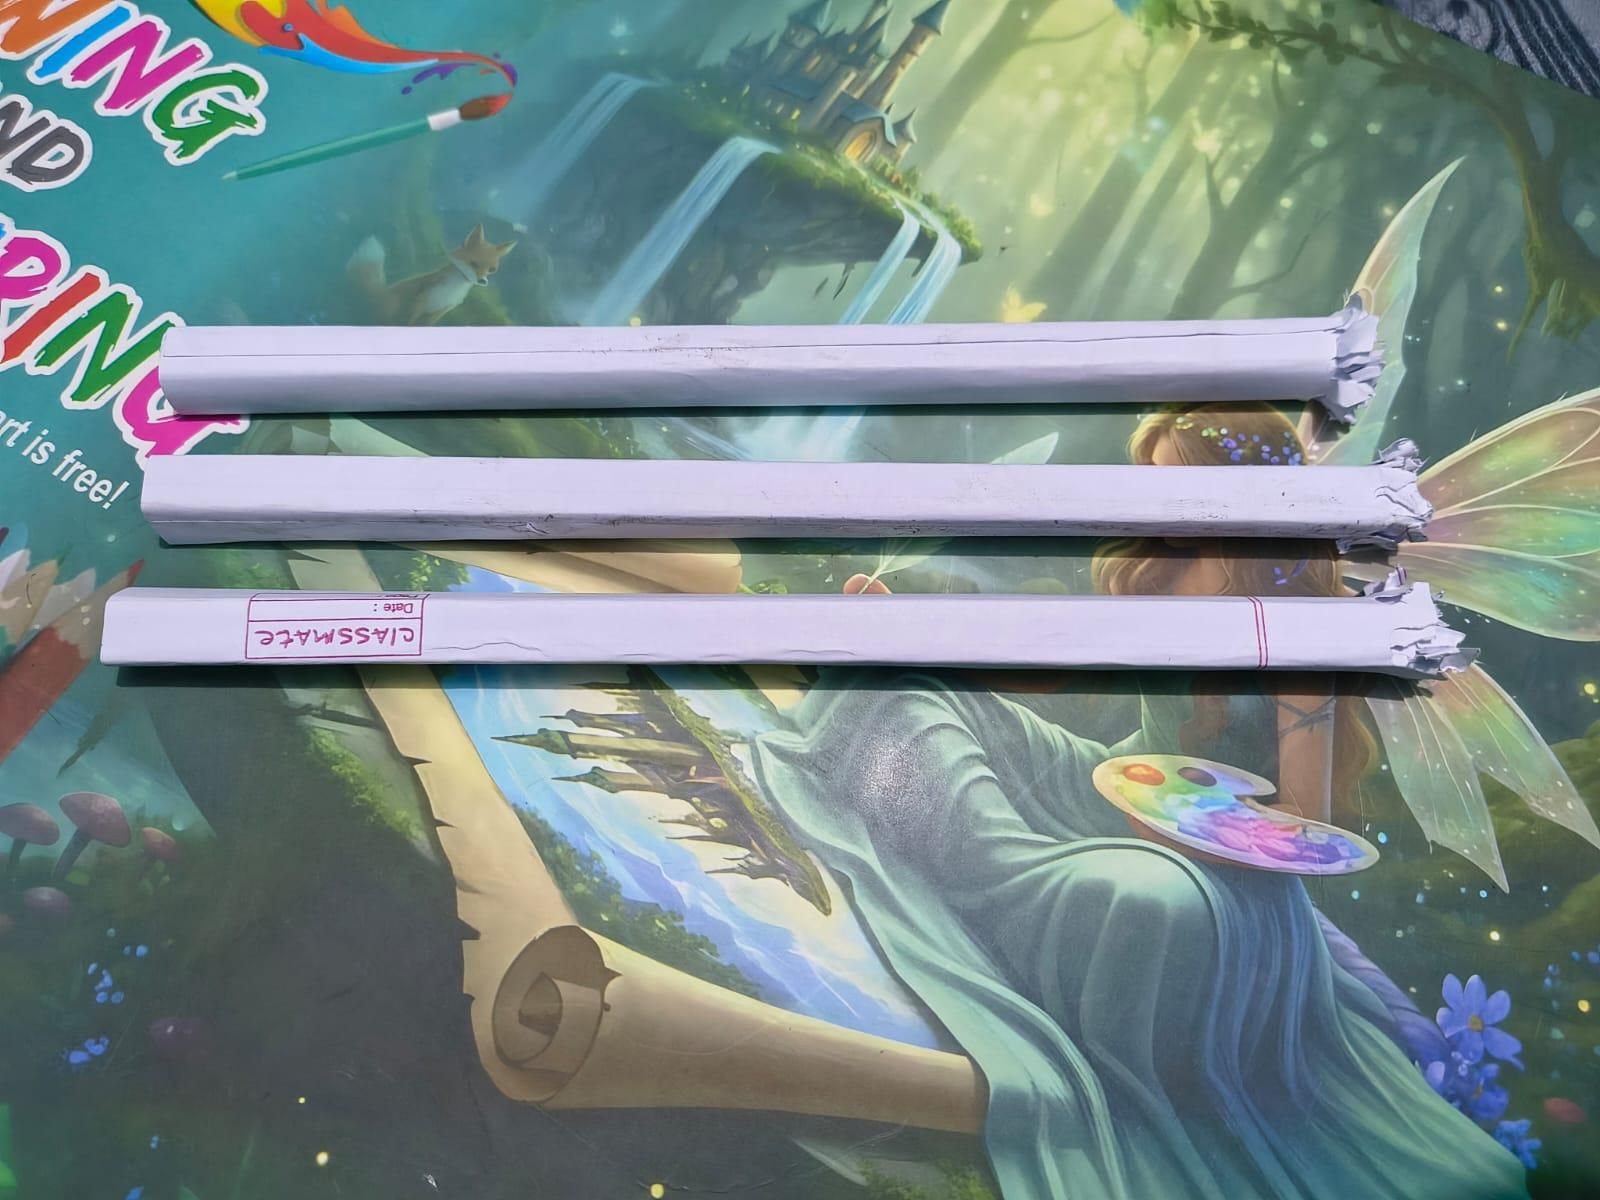
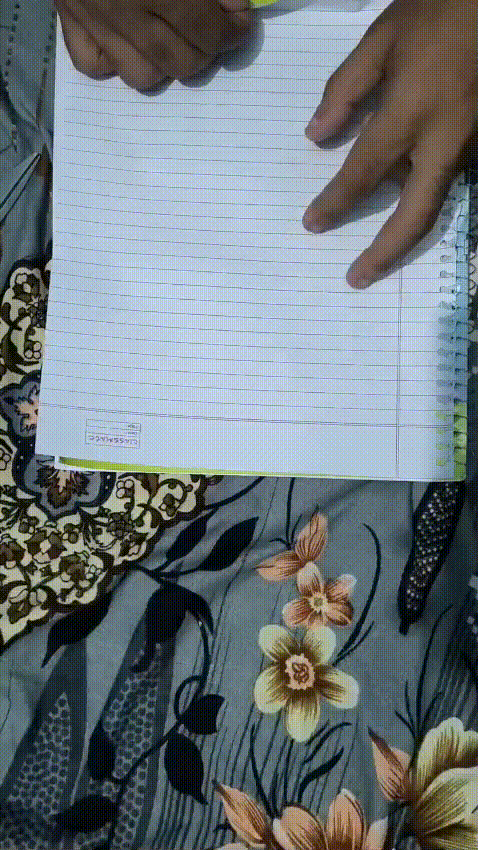
Tear or cut your notebook paper into long strips (the ruled lines actually make it easy to cut nice, even strips — you can use them as a built-in guide). Roll each strip tightly around your pencil or rod to form a thin tube, then glue or tape the seam so it holds its shape. Slide it off the rod once set.
Make one tube per claw. Each tube should be just snug enough to grip a blade's mounting tab, so paper thickness matters — too thin and it'll be floppy, too thick and the blade won't seat properly.
Insert the Blades Into the Tubes
.gif)
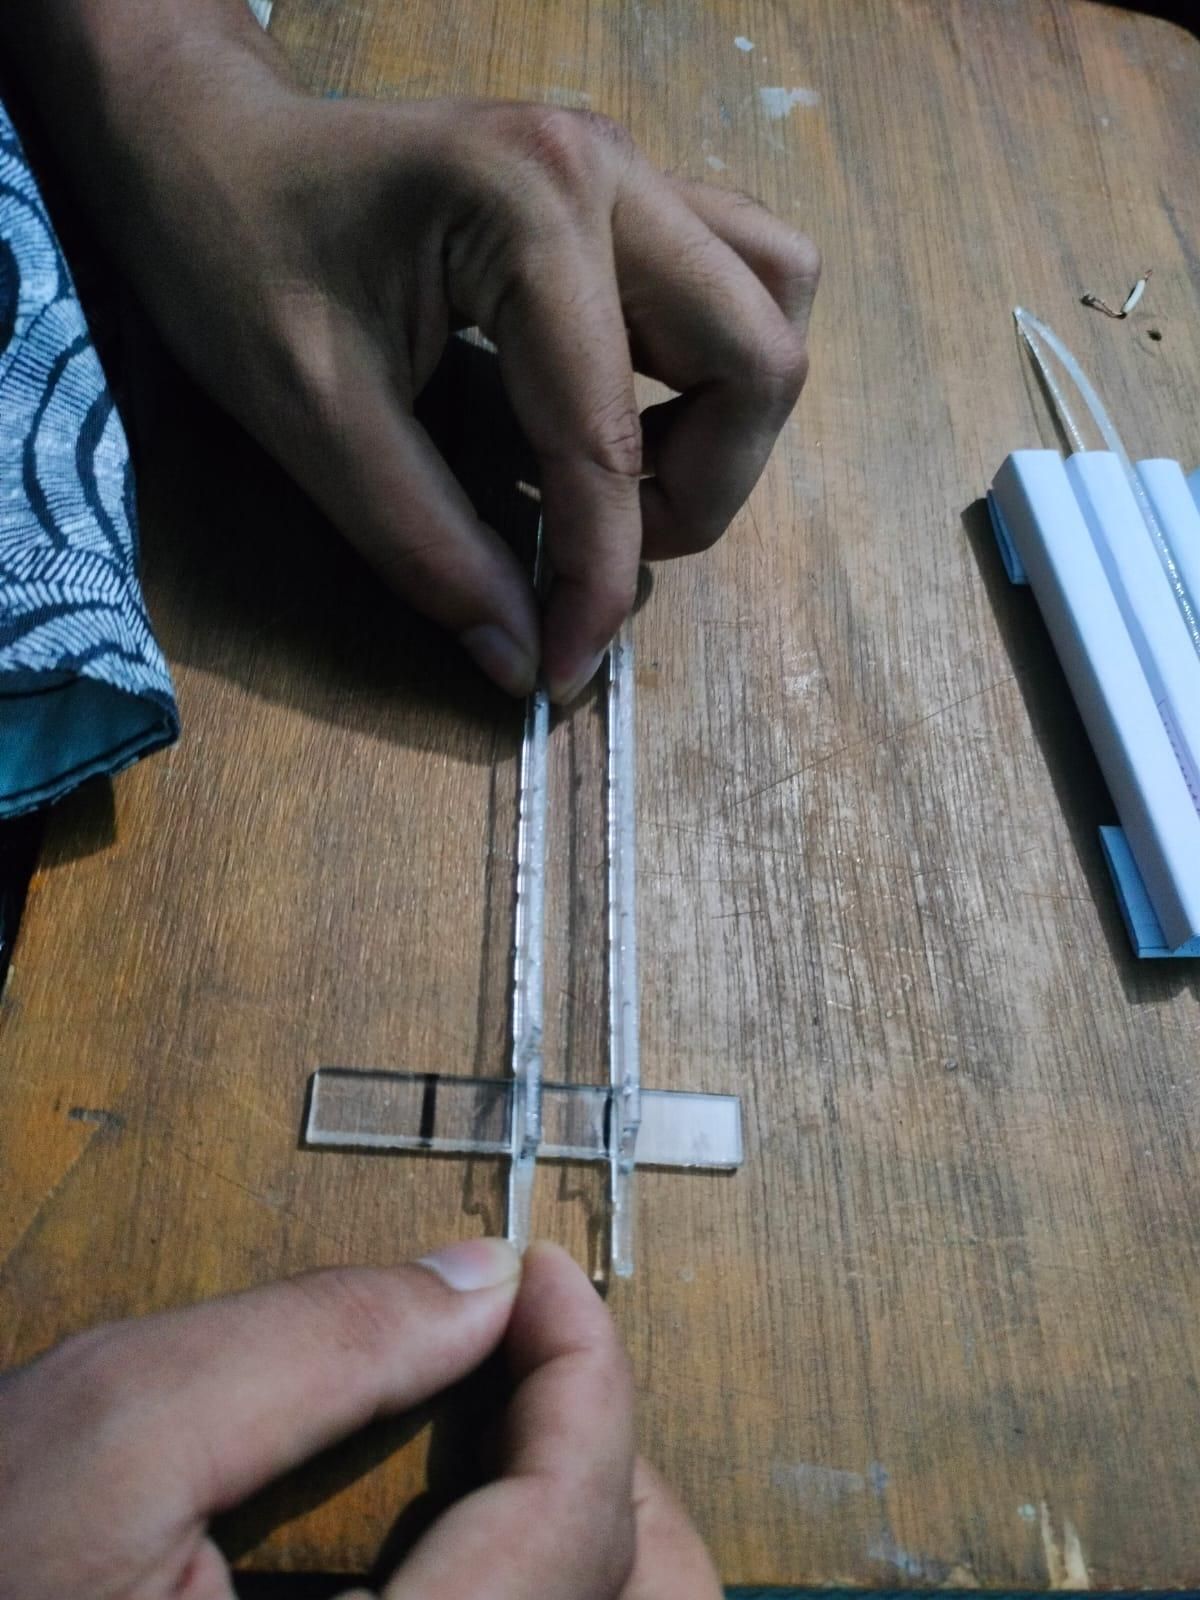
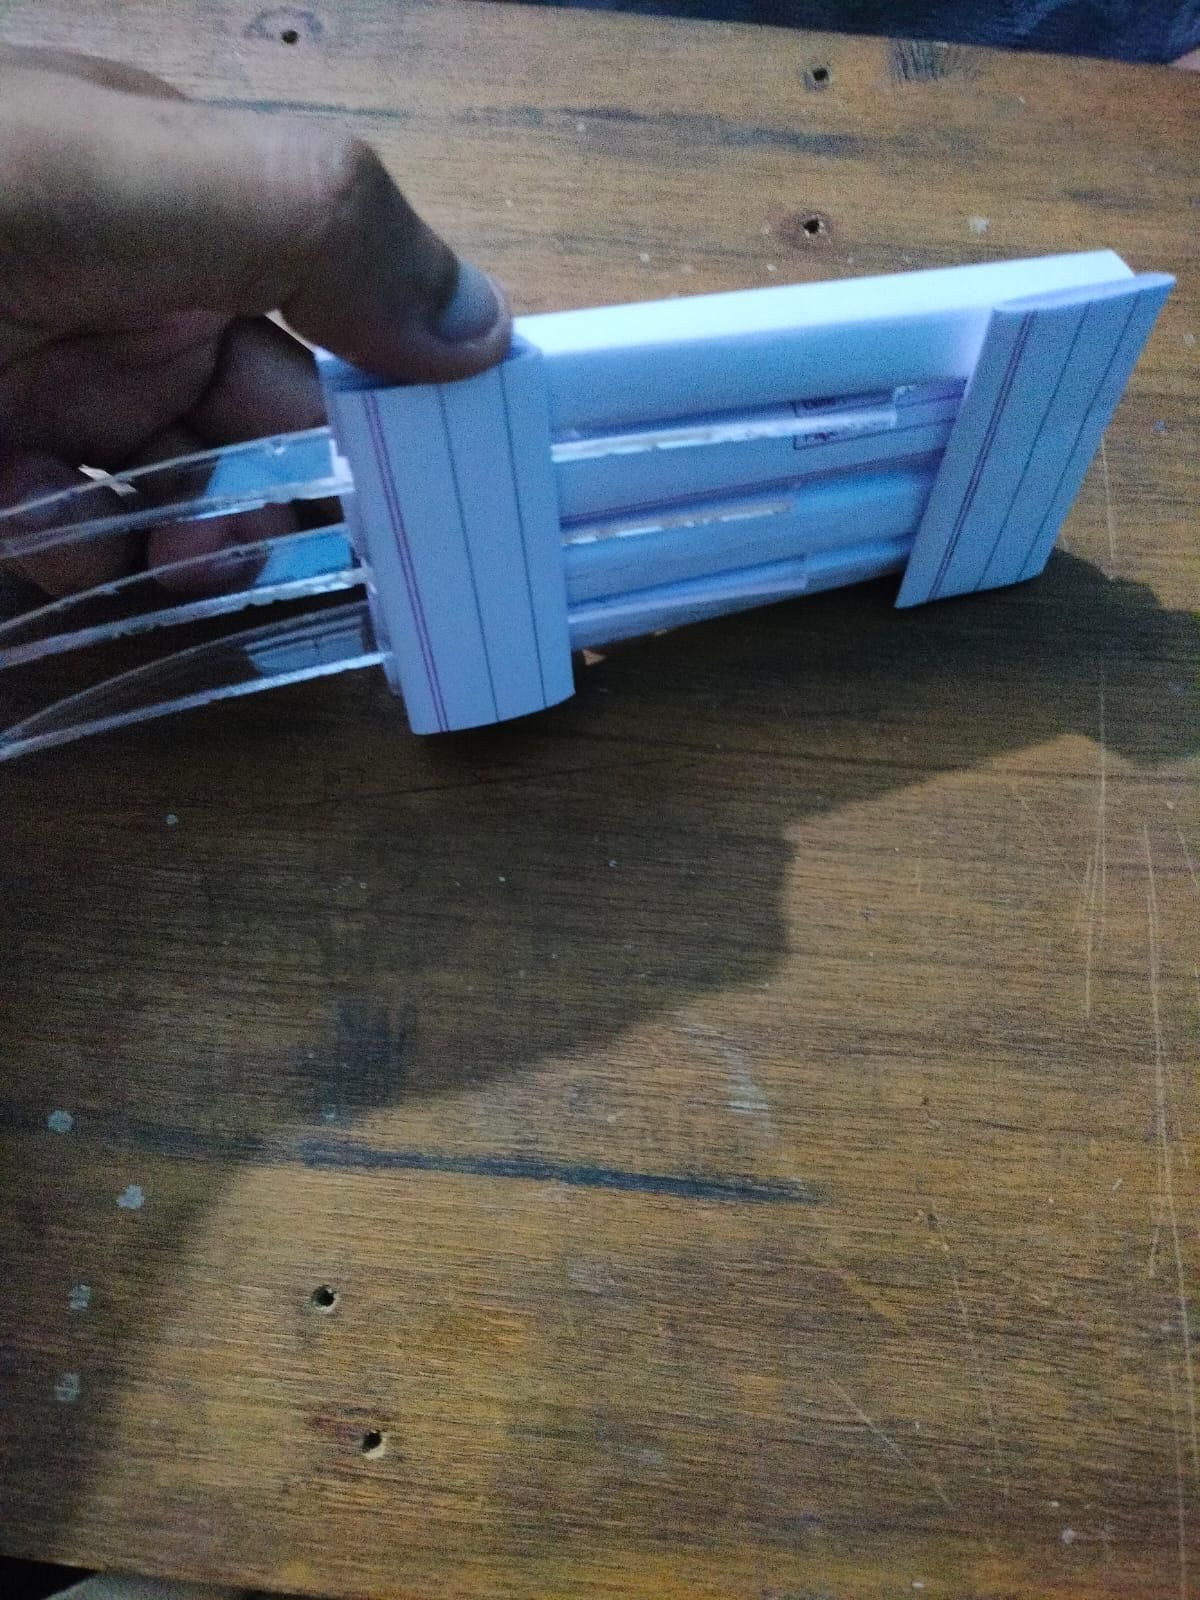
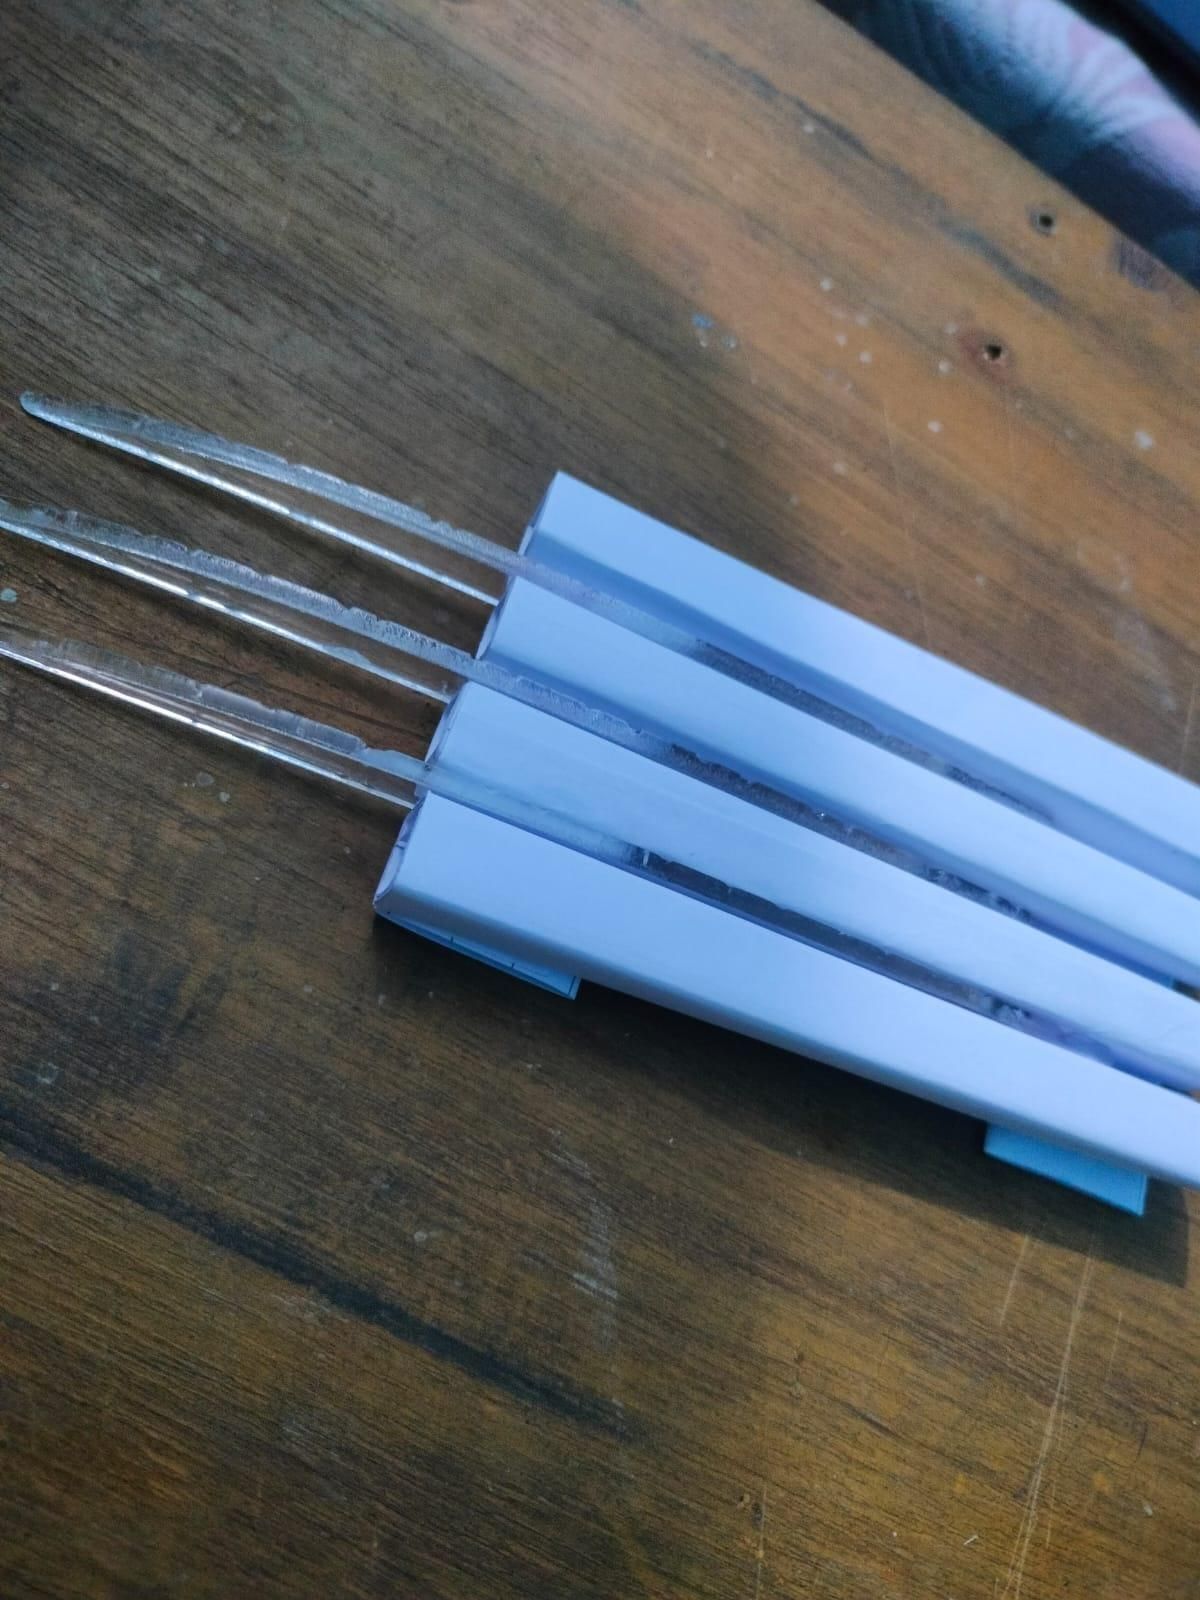
Stick the laser cutted blades to its accompanied slip and then Slide the base/tab of each acrylic blade into its own paper tube, so the pointed tip pokes out one end and the tube becomes the "handle" around the blade's base. This is what lets the paper (rather than the acrylic) do the job of anchoring each claw.
Line up all the loaded paper tubes side by side, evenly spaced, with the blades all pointing the same direction. Run glue along the length of each tube where it touches its neighbor, and clamp or hold until set — this fuses the individual tubes into one solid knuckle strip with all the claws sticking out of it.
Tip: a flat scrap of acrylic or cardboard as a spacer jig can help you line up two blades at a consistent width while you glue — handy if you want the claws evenly spaced.
Making and Attaching the Hand Strap
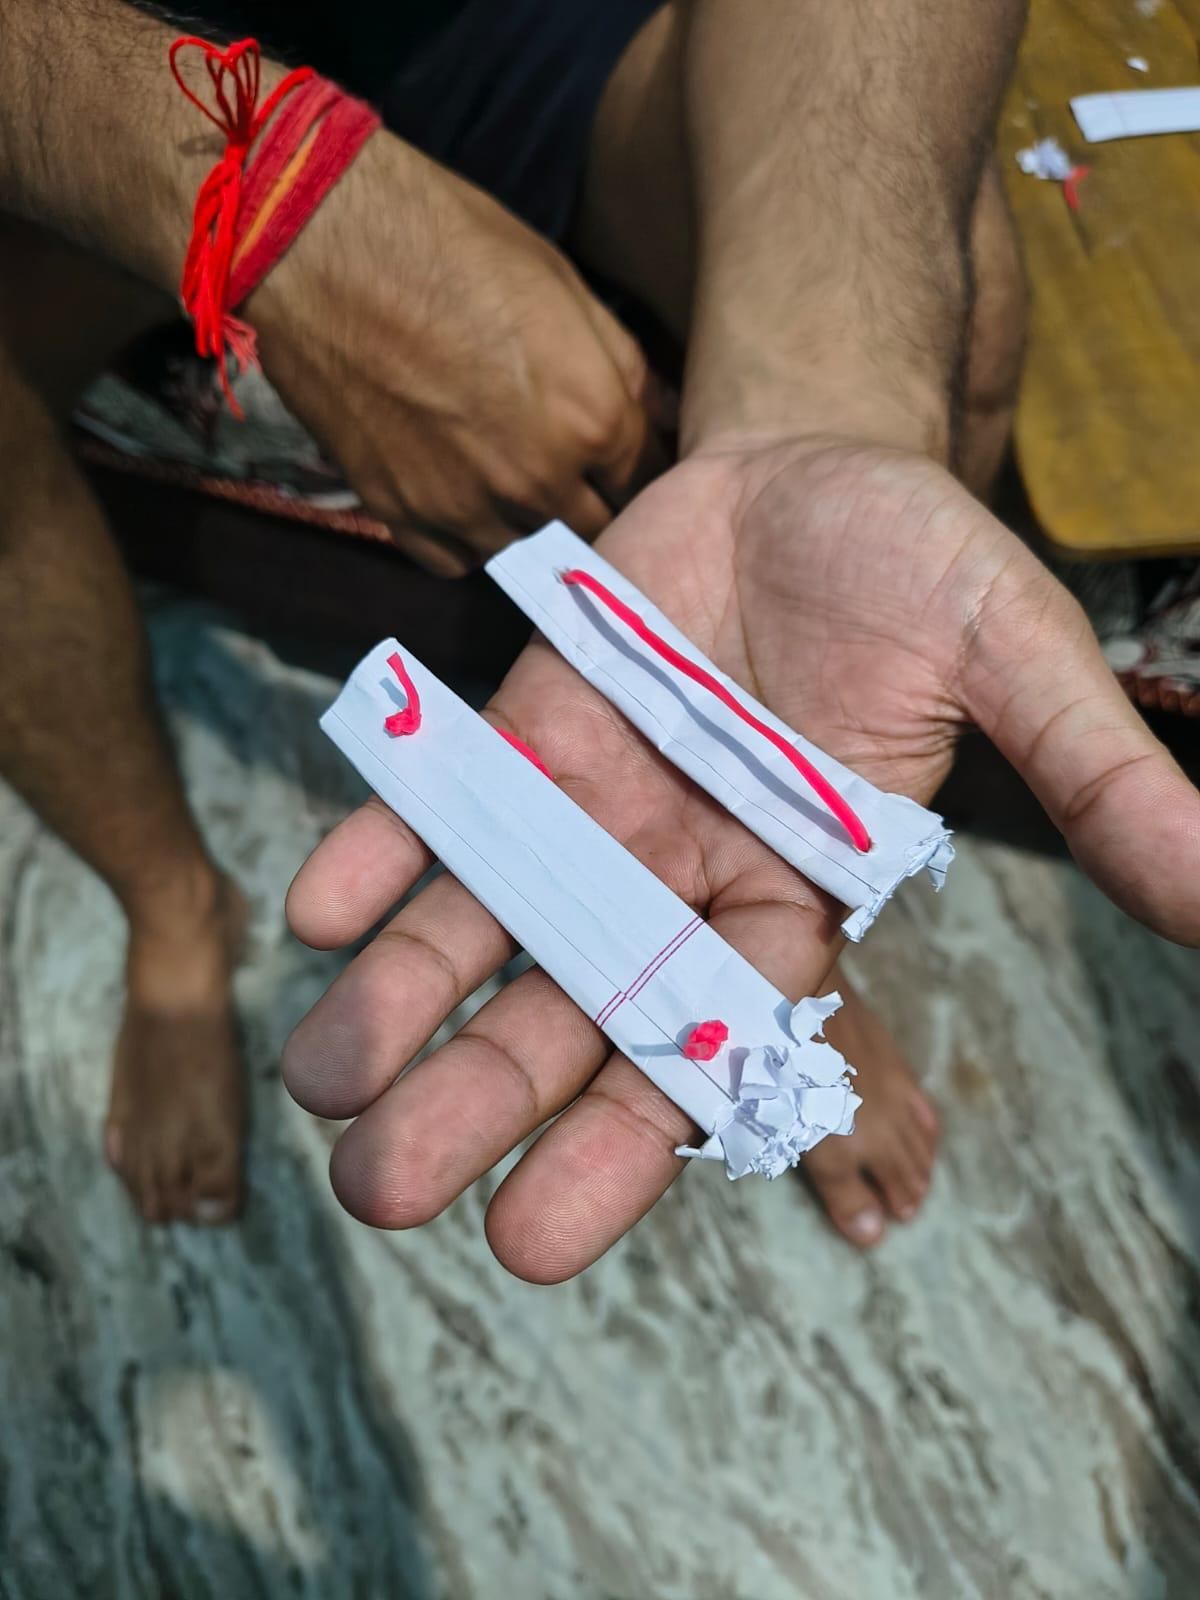
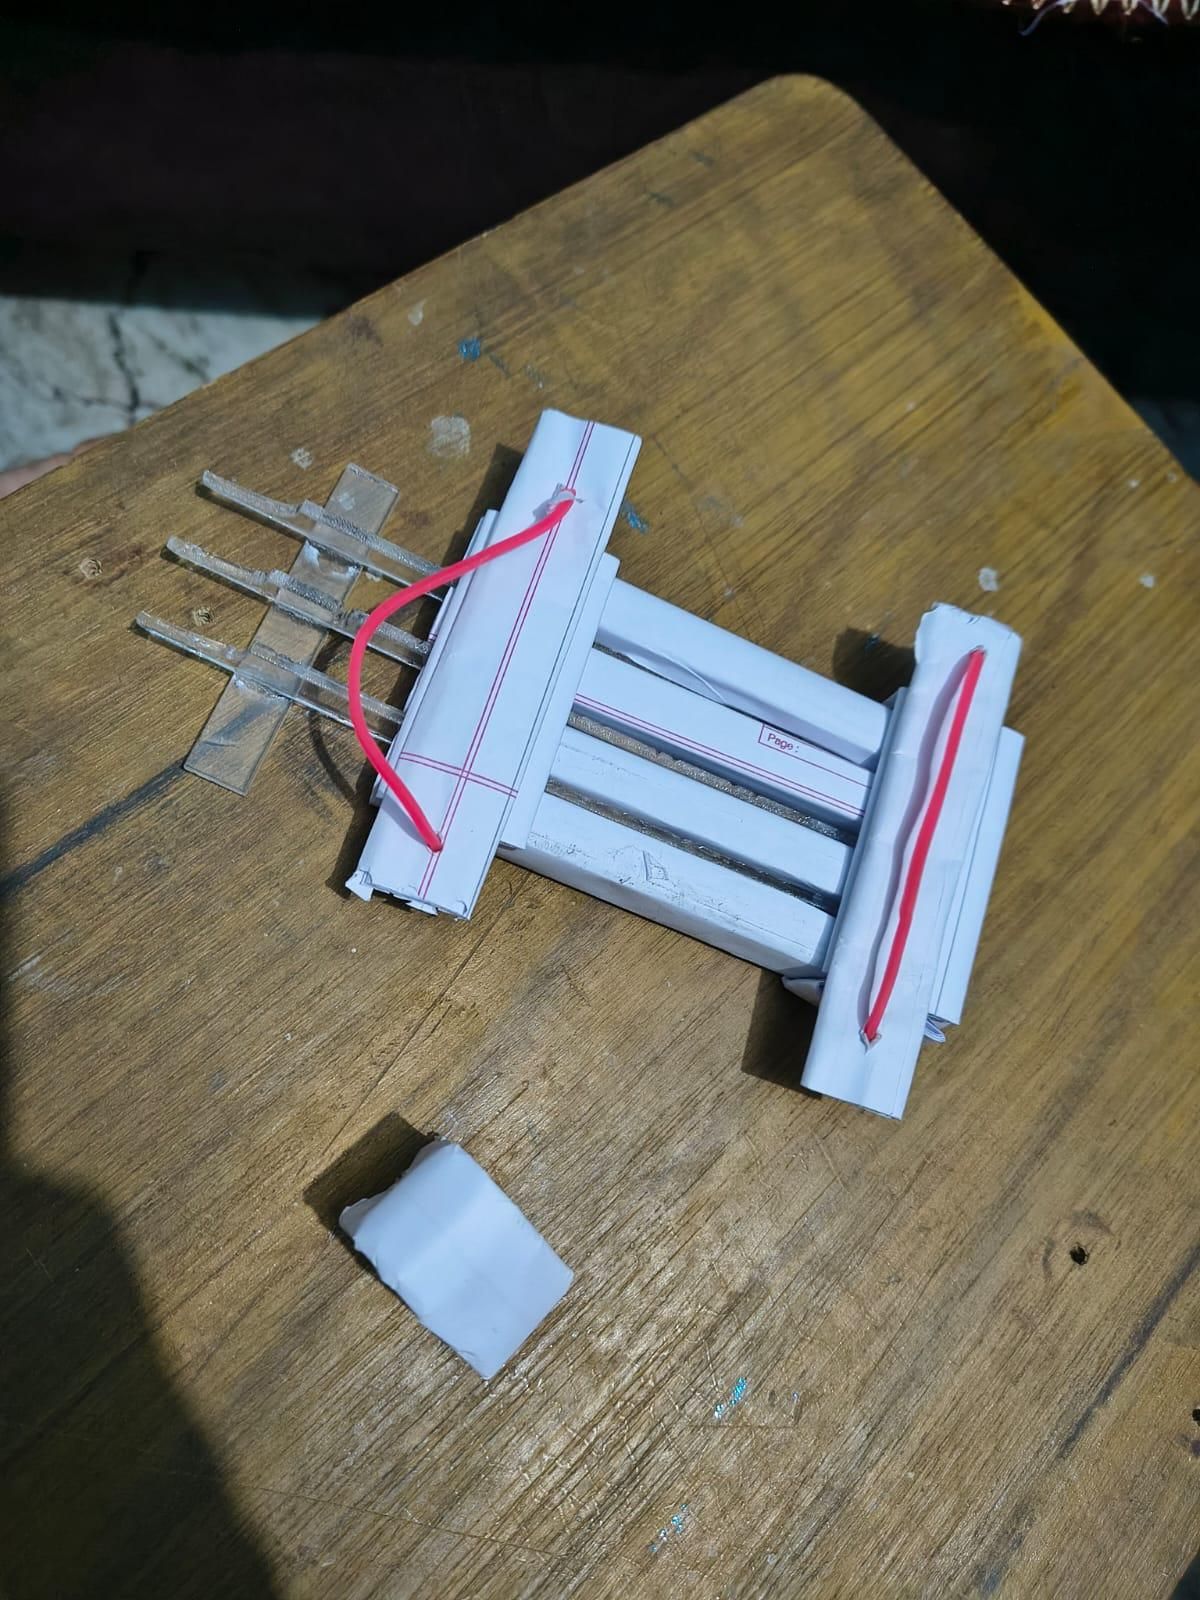
.gif)
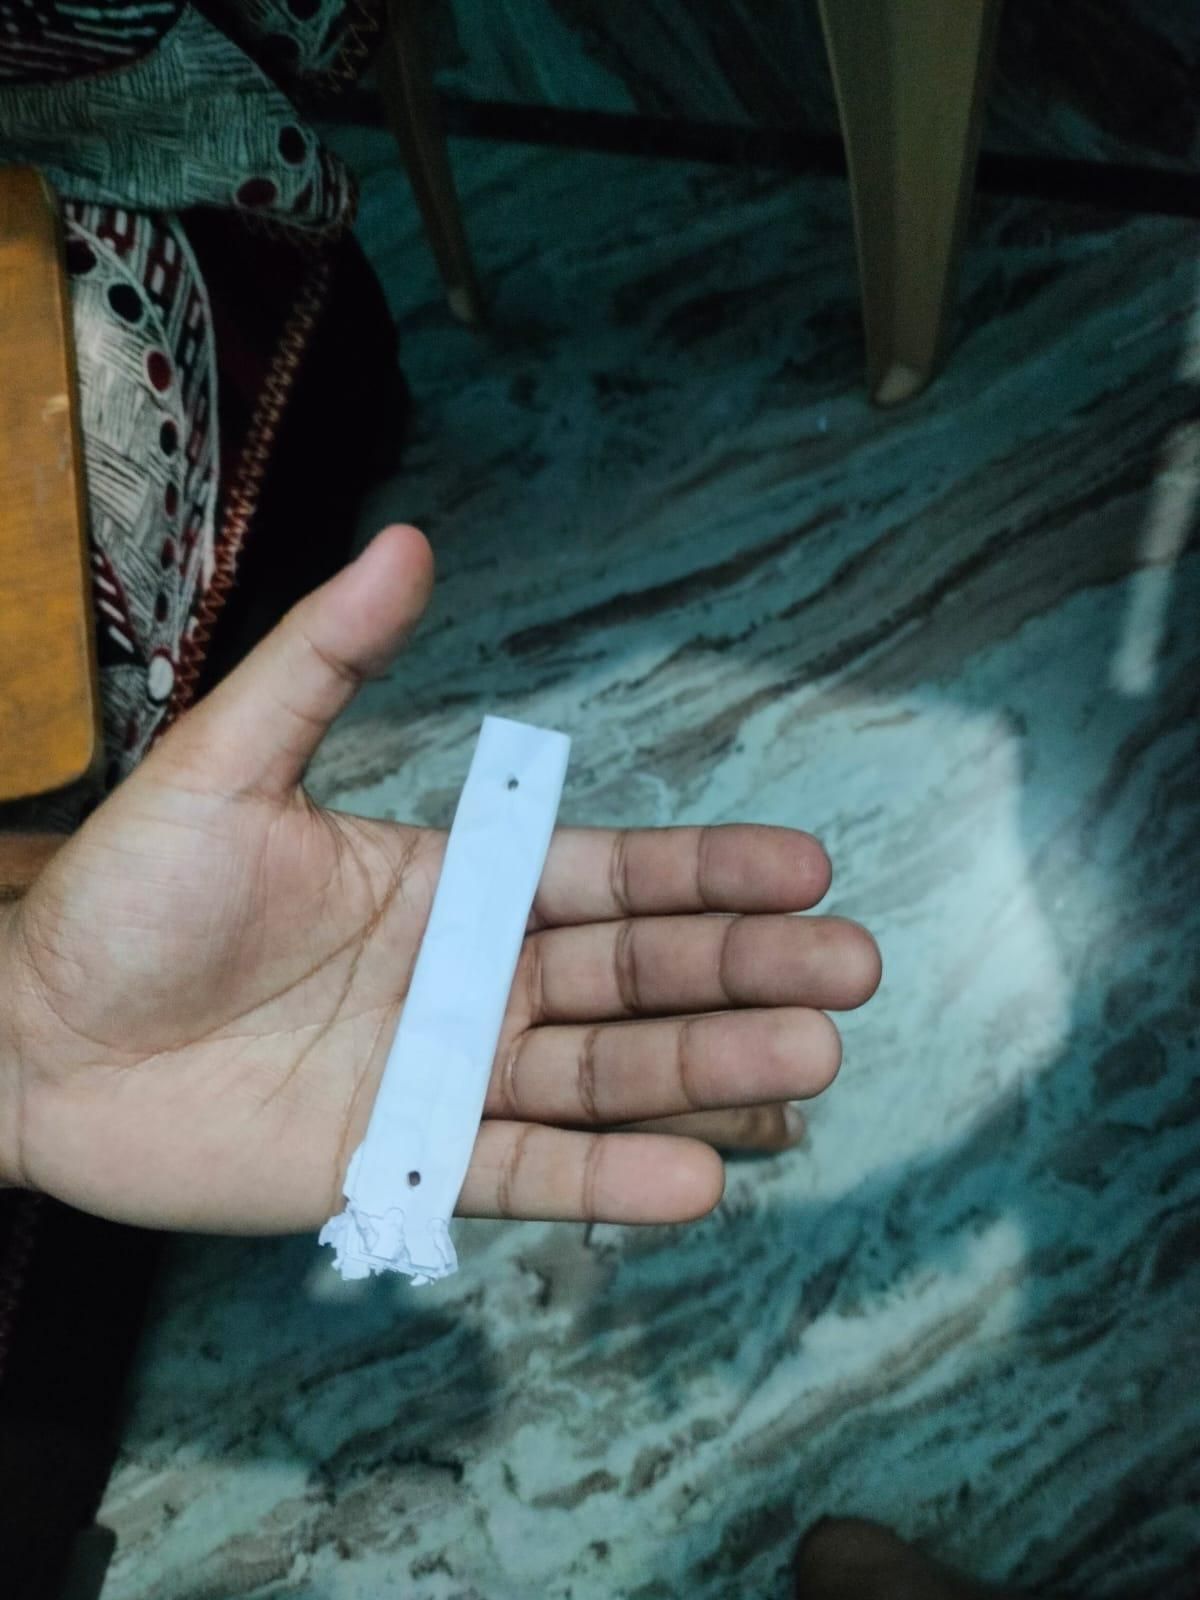
Cut a separate, narrow paper strip. Punch (or pierce) a small hole near each end of the strip — this is what the rubber band will thread through.
Thread a rubber band through the two holes in the paper strap to form a loop. Attach the strap to the underside of your bundled claw strip (glue works well), positioned so it will sit across your palm/knuckles when worn.
Thread the Elastic Cord
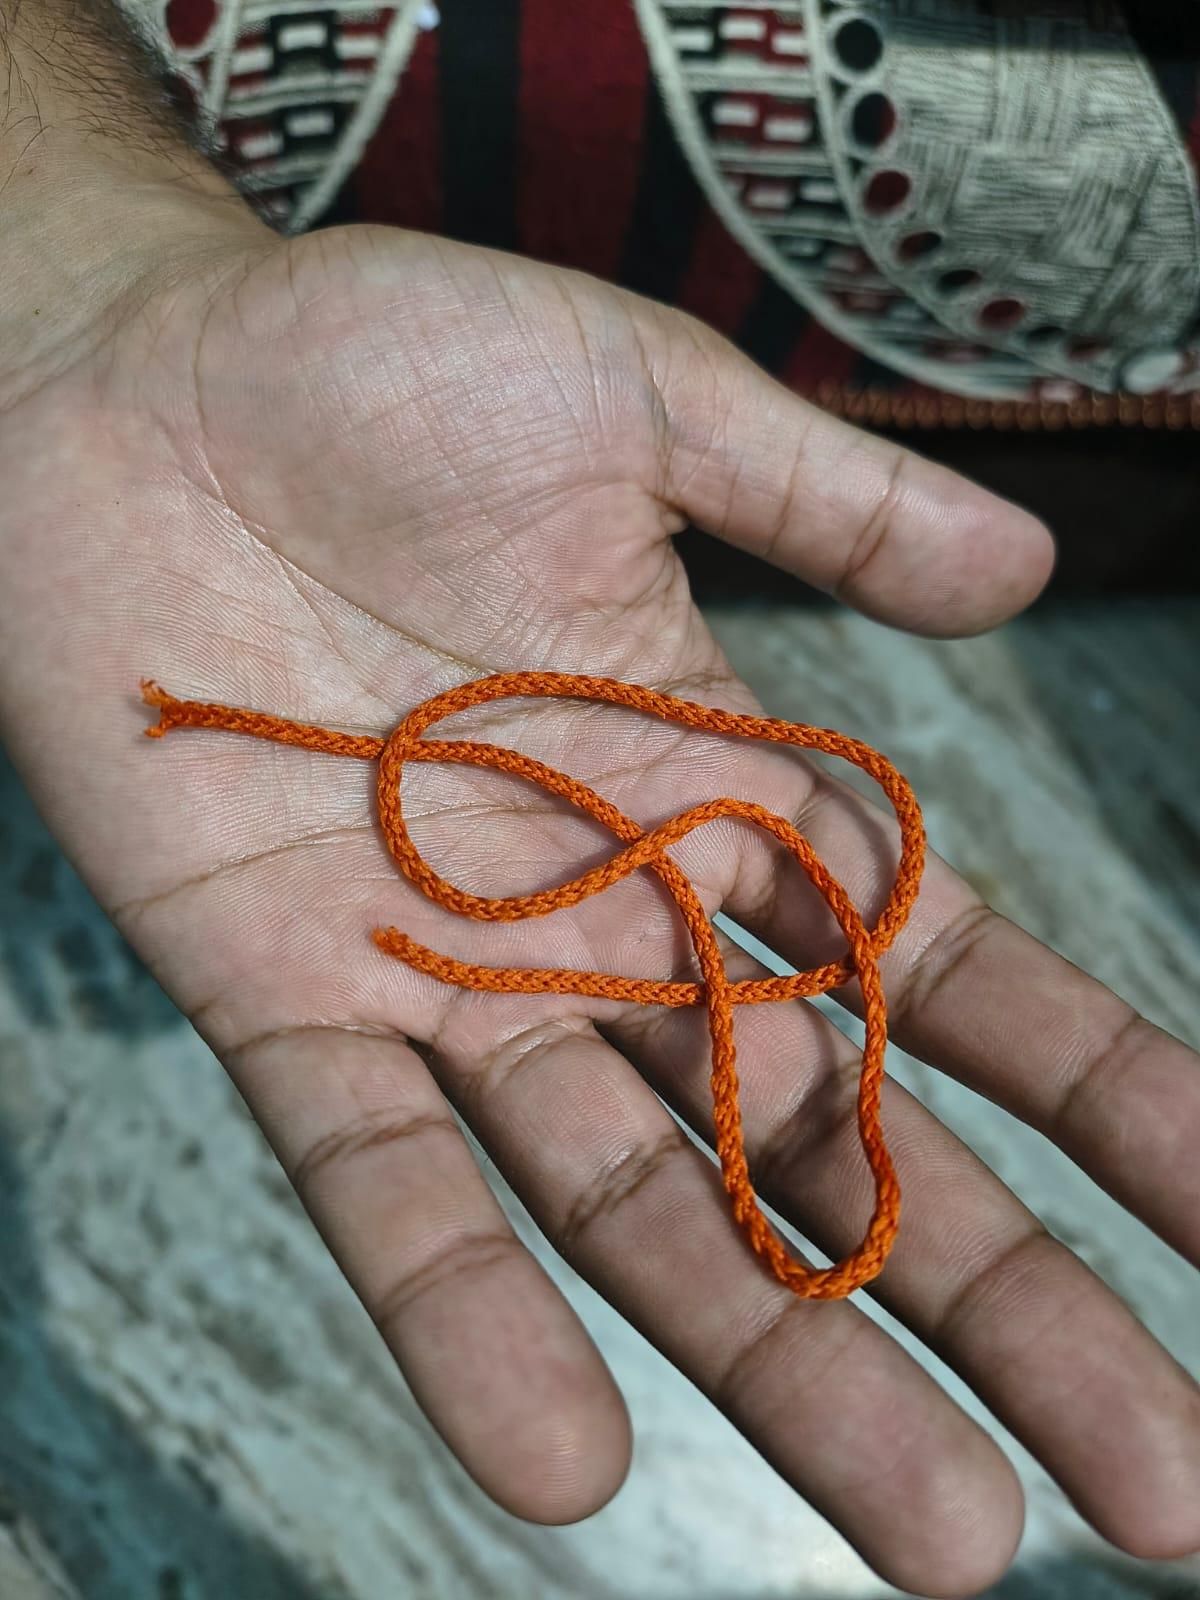
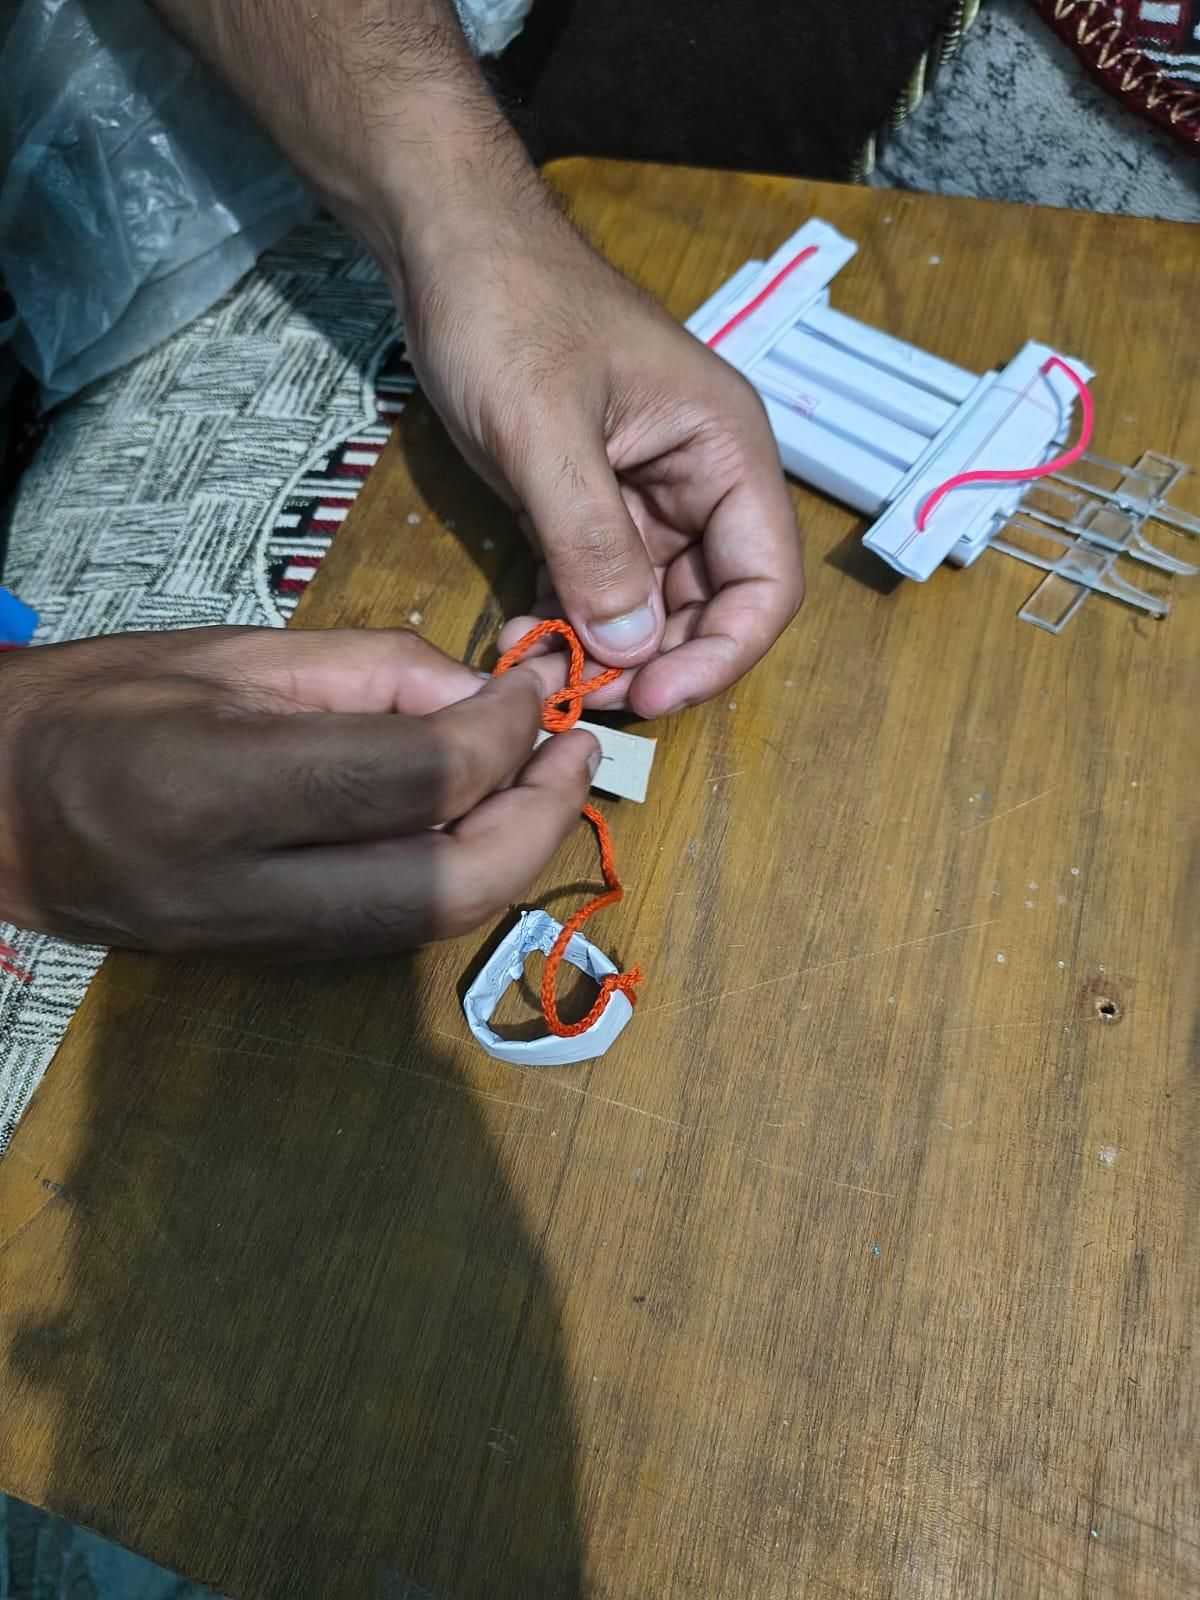
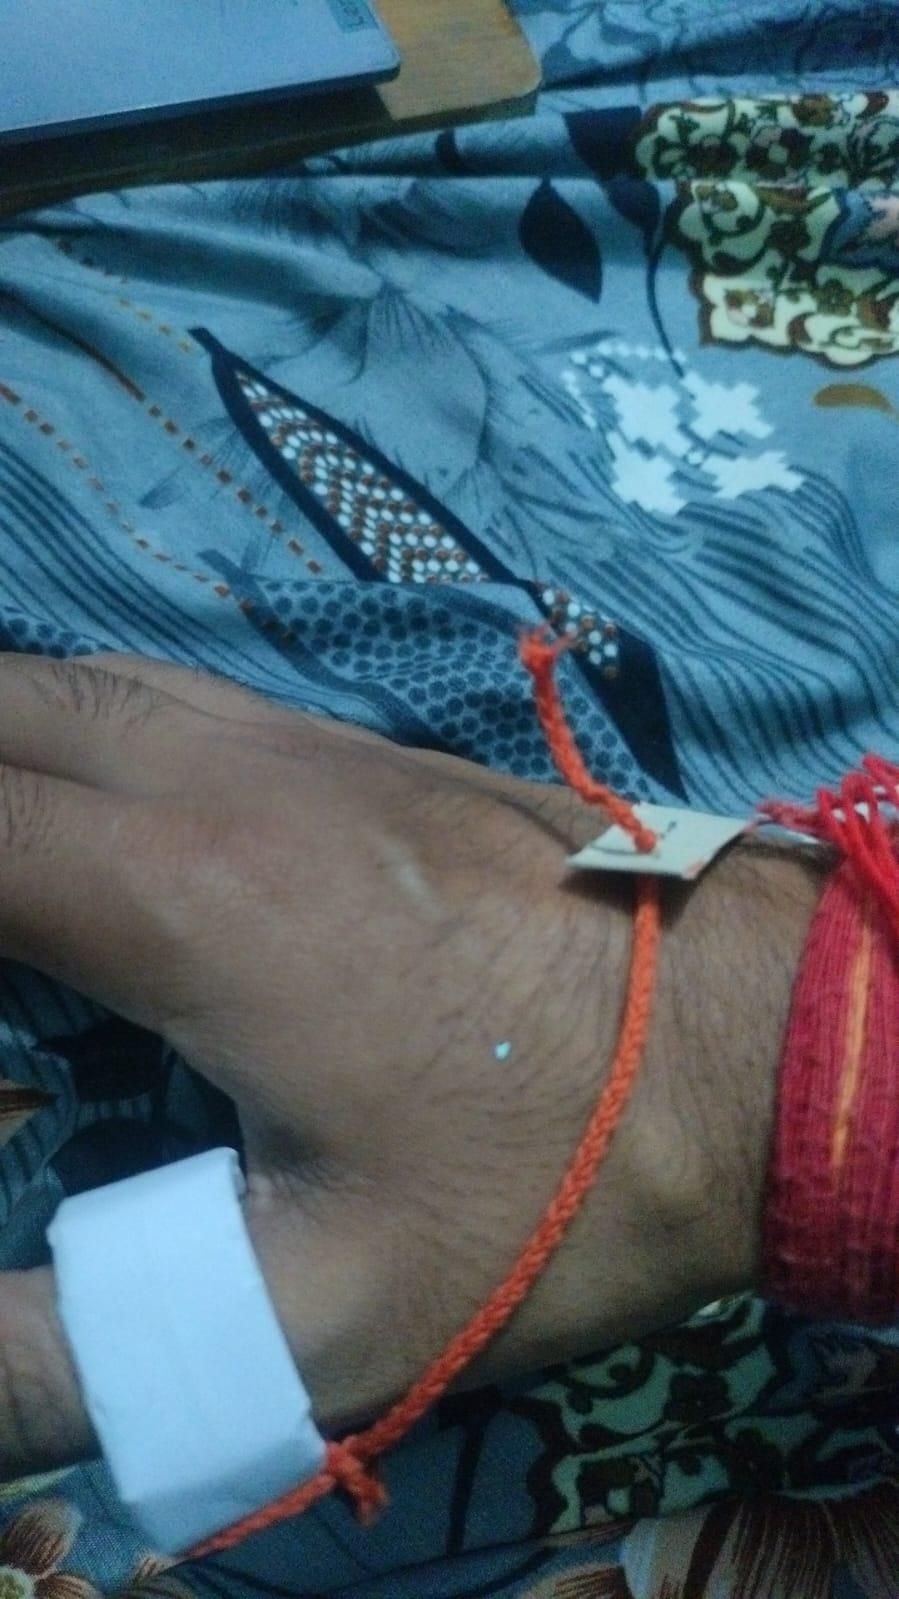
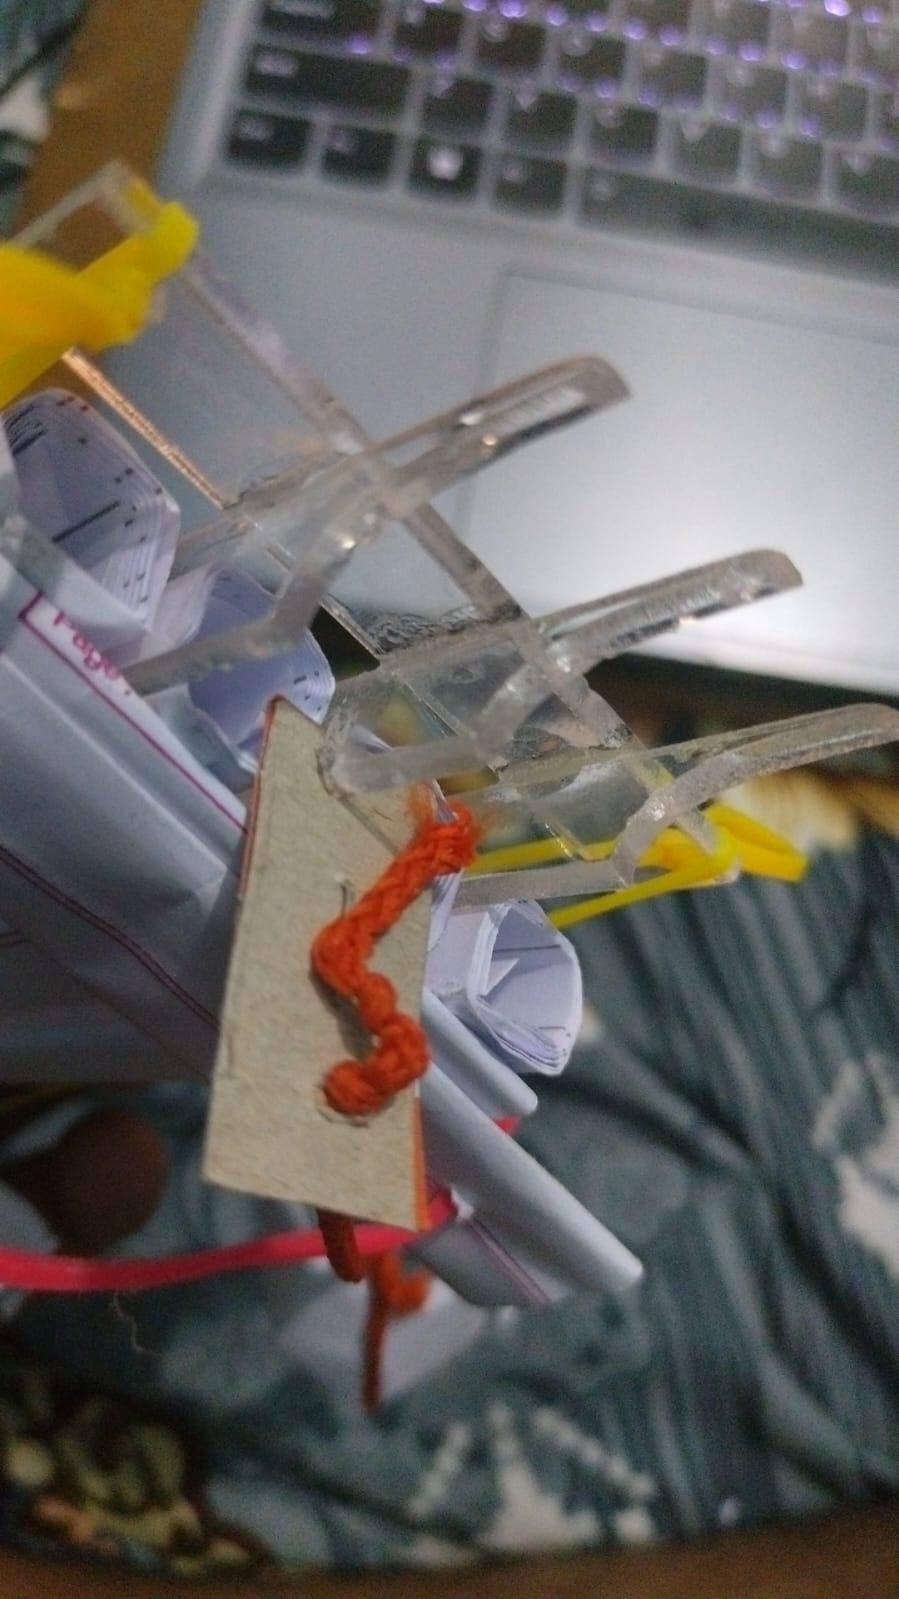
Cut a thread and also make a new paper ring , you can use earlier paper tube to make the ring .
Cut a rectangular piece of thin carboard , make holes on its edges and attach the piece with the ring made.
This cord does double duty: it holds the tube bundle and the claws together under tension, and it's what actually straps the whole rig onto your hand — no bulky glove needed.
To hold the claws under tension make a small cut at the backward edge of any claw so that the rectangular piece can be fitted there and hold the system easily.
Fit, Tie, and Test
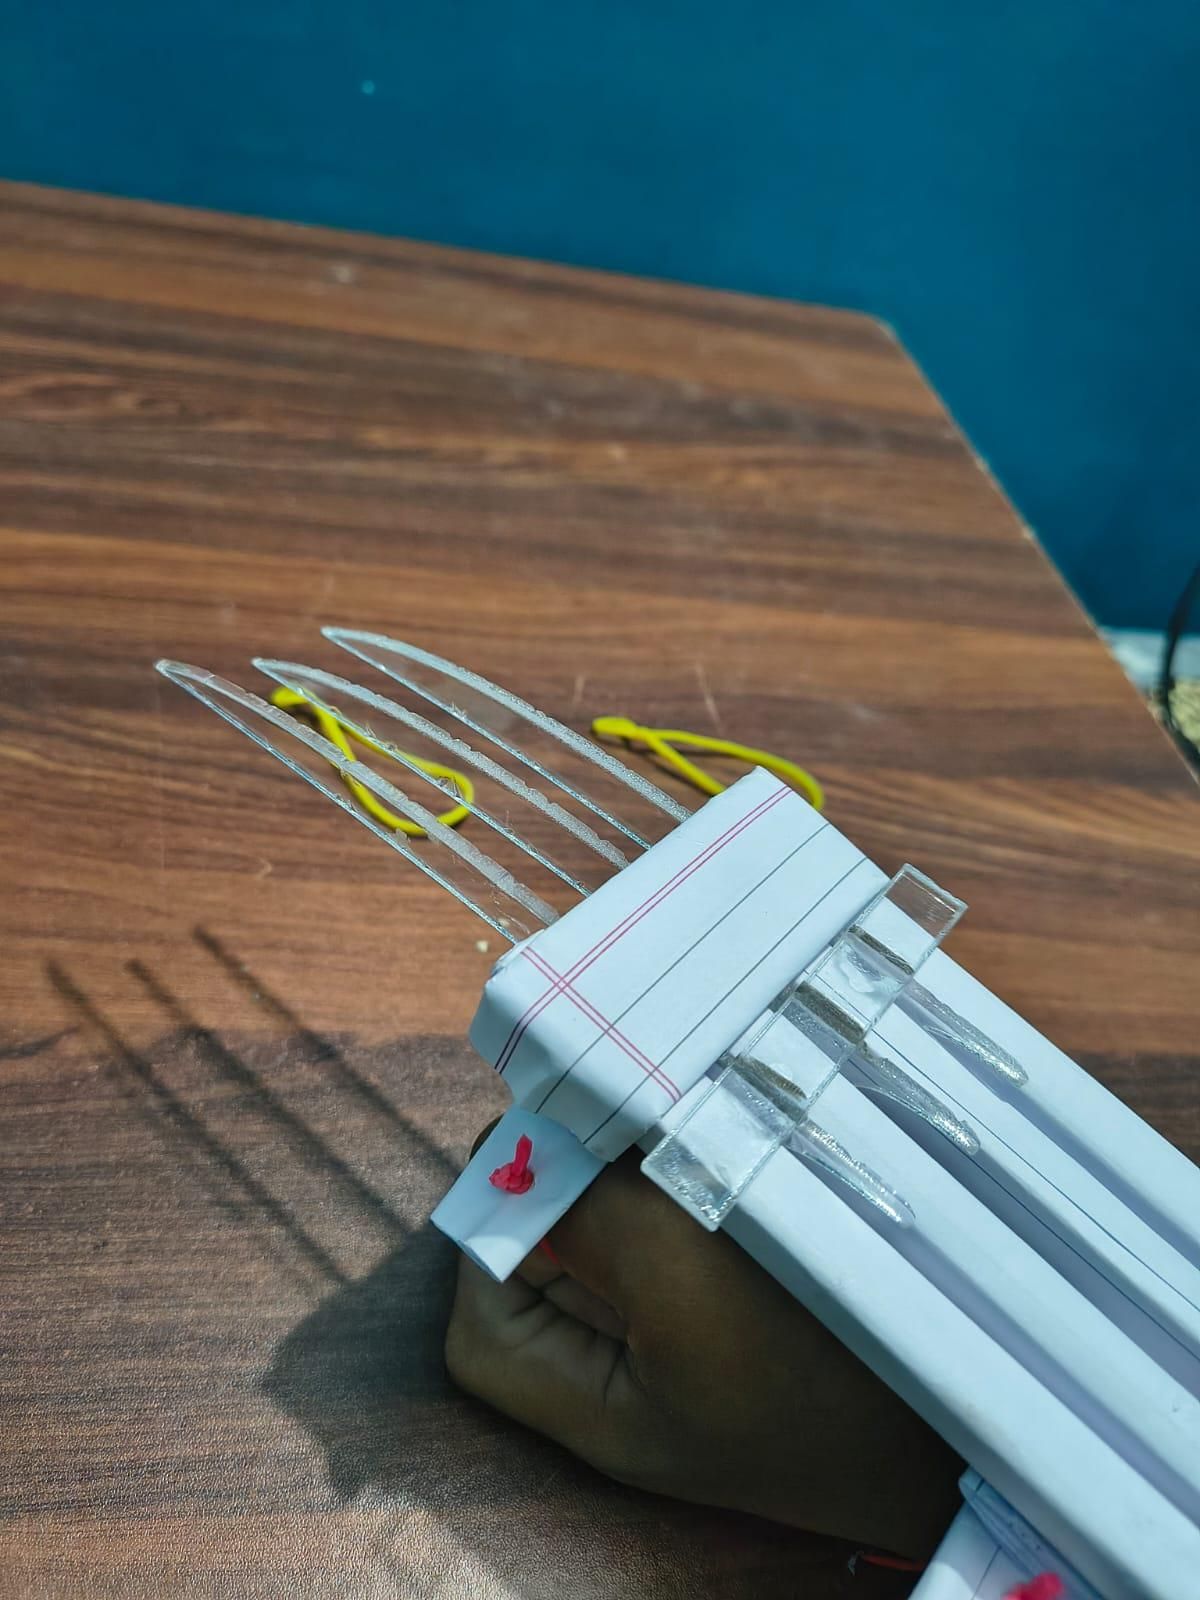
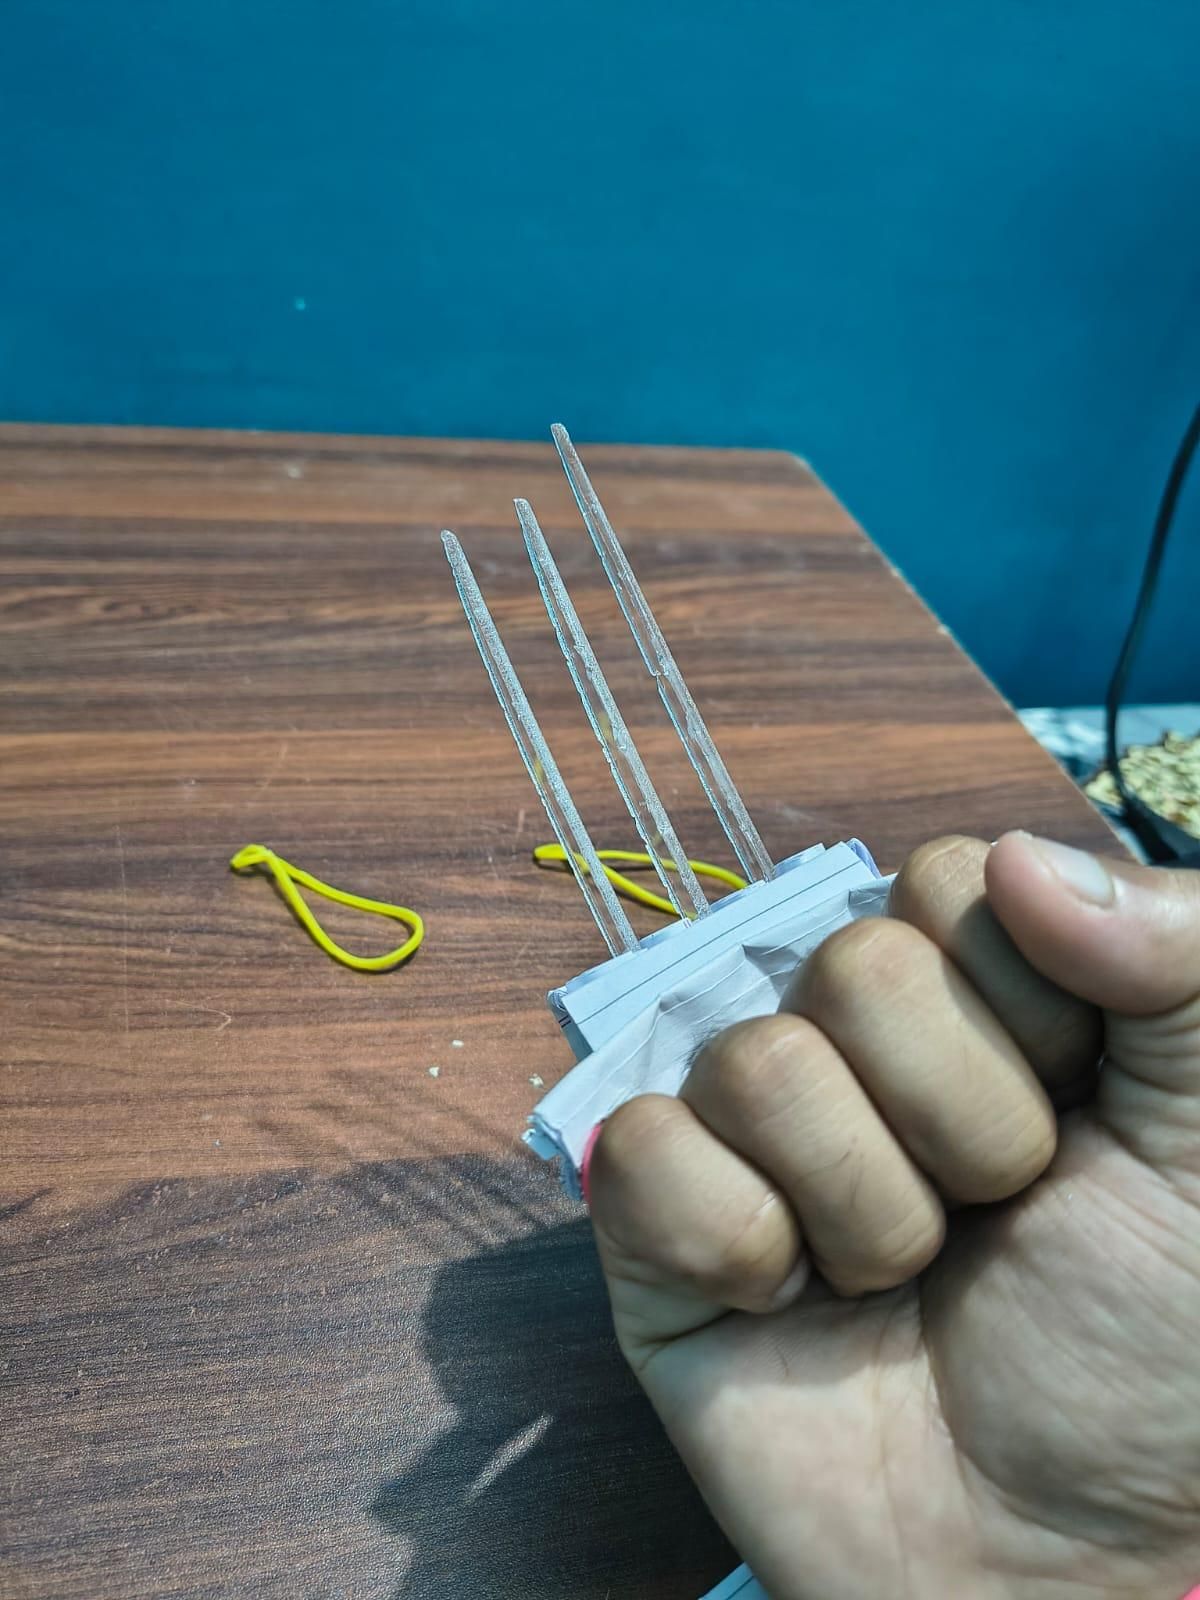
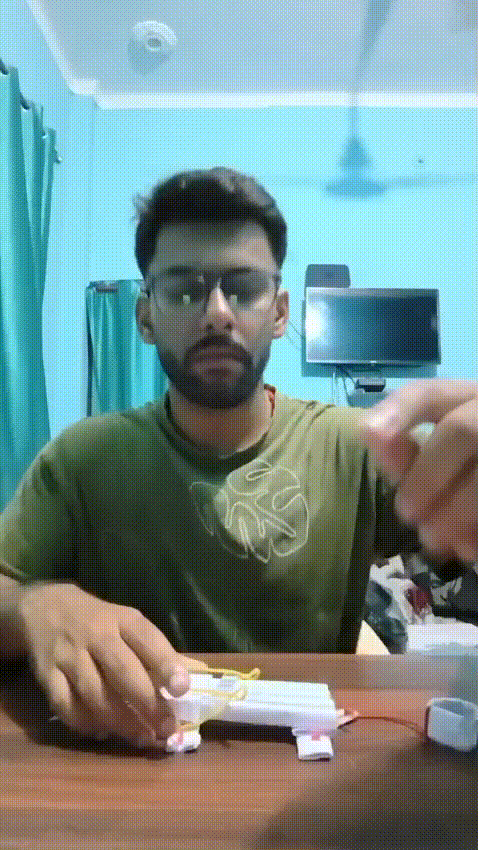
Rest the tube block across your knuckles with the blades pointing forward, bring the two ends of the elastic cord around your palm, and tie them off with a simple knot — snug enough to stay put, loose enough to slide your hand out again. If you made the optional folded-paper pad, tuck it between the tube block and your palm for a bit of extra comfort and grip.
Make a fist, flex your fingers, and check that the claws sit where you want them. Adjust the knot position or tube spacing if anything digs in or feels loose.
The clever part isn't the blades — laser-cut acrylic claws are easy enough. It's the mounting system. By anchoring each blade into its own paper tube instead of gluing them directly to a glove or wristband, you get a bit of natural give and cushioning at the base of each claw, and the whole knuckle block can be rebuilt or resized just by re-rolling a tube — no need to redesign or re-cut the blades. The elastic cord strap means there's no fiddly buckle or Velcro to source either; just paper, cord, and acrylic.