Wonka Giant Chocolate Bar Decoration
by DAZMAKER in Craft > Cardboard
535 Views, 4 Favorites, 0 Comments
Wonka Giant Chocolate Bar Decoration

Who hasn't wanted to indulge in the taste of Wonka's chocolate bars? But now answer this: What would you do with a giant Wonka chocolate bar?
Today we will make a giant chocolate bar inspired by the design of the 2005 movie Charlie and the Chocolate Factory. Well, it should be noted that this bar will not be for tasting, but rather to decorate our spaces or parties.
Supplies

- Cardboard sheet.
- Polystyrene Foam Burger Boxes (11).
- Metallic Foil Gift Wrapping Paper (Pink/Gold)
- Claret Wine Spray paint
- Hot Glue.
- Contact cement.
- X-acto.
- Pencil.
- Templates.
- Marker.
- Scissors.


As I mentioned from the beginning, what I'll be making today is a Giant Wonka Chocolate candy bar, but why?
Well, for fun and to decorate some of our coolest parties.
But now I give you the deeper answer: I've always been a lover of chocolate and fantasy comedy movies.
And Charlie and the Chocolate Factory is one of my favorites. So, taking advantage of the fandom contest, I decided to create something related to the movie, and what better than a super giant chocolate bar?
Now who Is Wonka and what is a Wonka Chocolate bar?
Wonka is a character from Charlie and the Chocolate Factory movie, is a 2005 film directed by Tim Burton, and is an adaptation of the 1964 British book of the same name by Roald Dahl, stars Johnny Depp as Willy Wonka and Freddie Highmore as Charlie Bucket. The storyline concerns Charlie, a young boy who takes a tour he has won, led by Wonka, through the most magnificent chocolate factory in the world
apart from that Charlie and the Chocolate Factory is a visually stunning and emotionally moving journey that will delight young and old alike.
To start with the chocolate bar, the first thing we will do is simulate its squares,
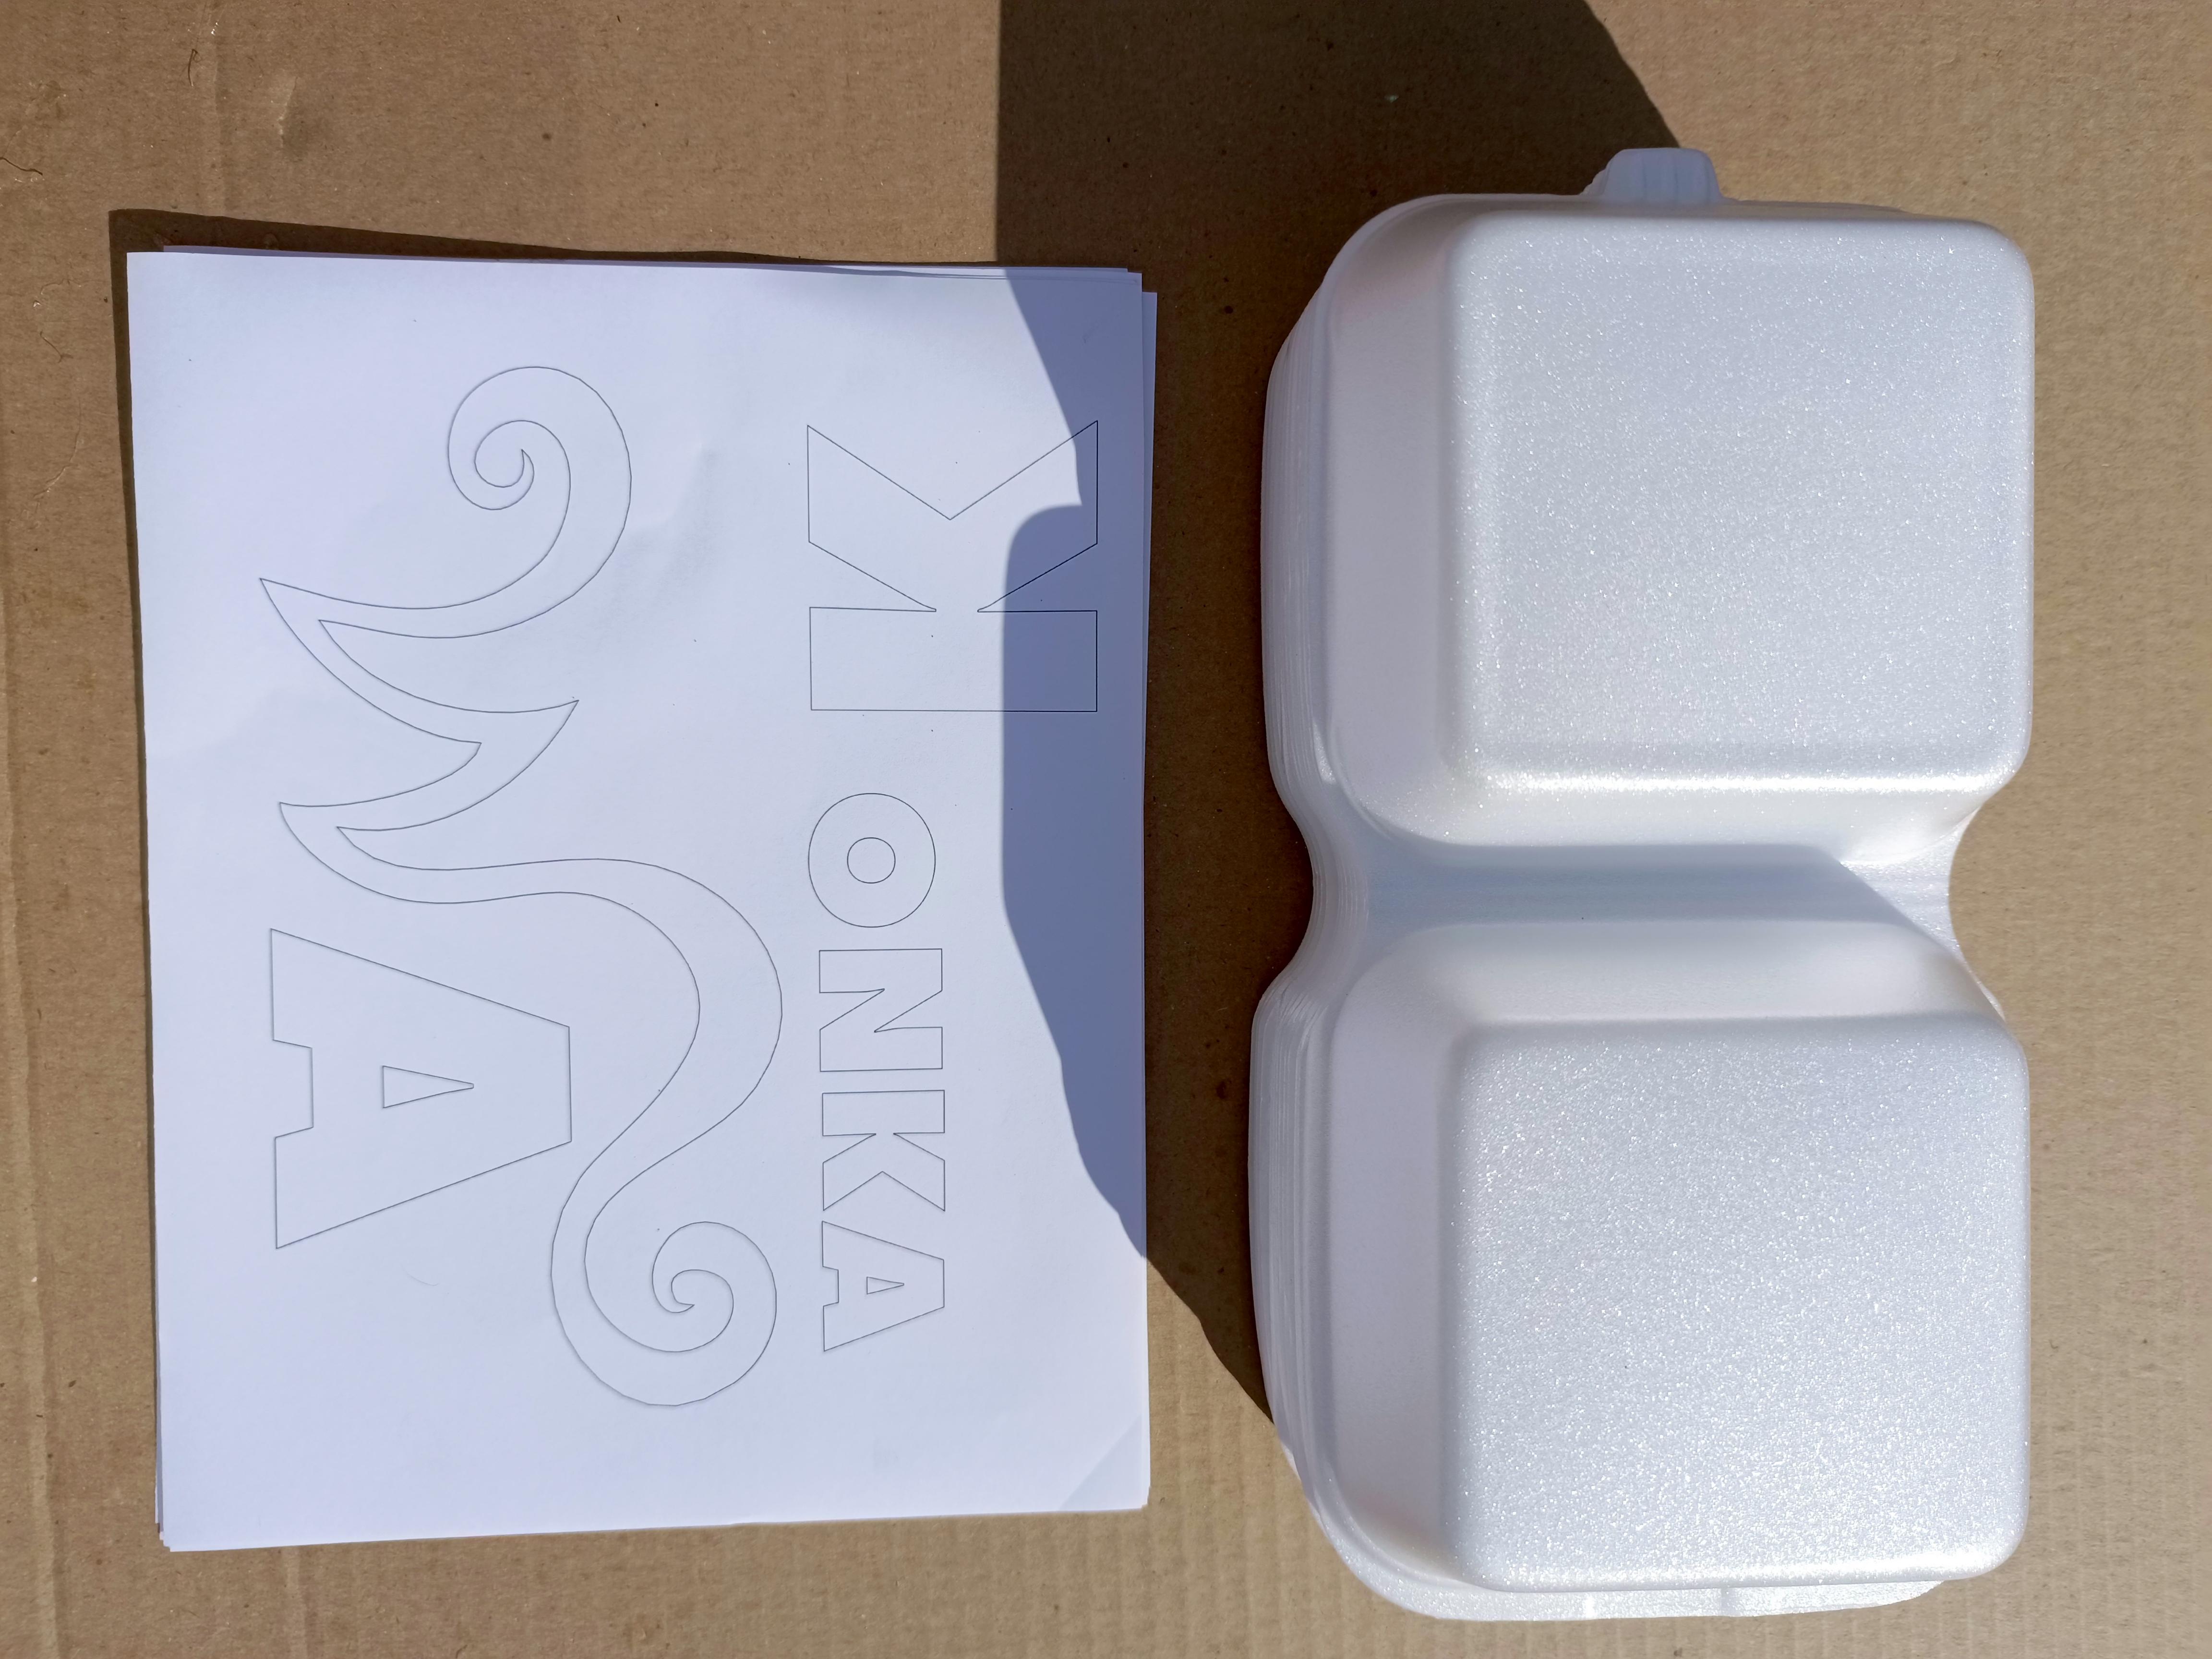
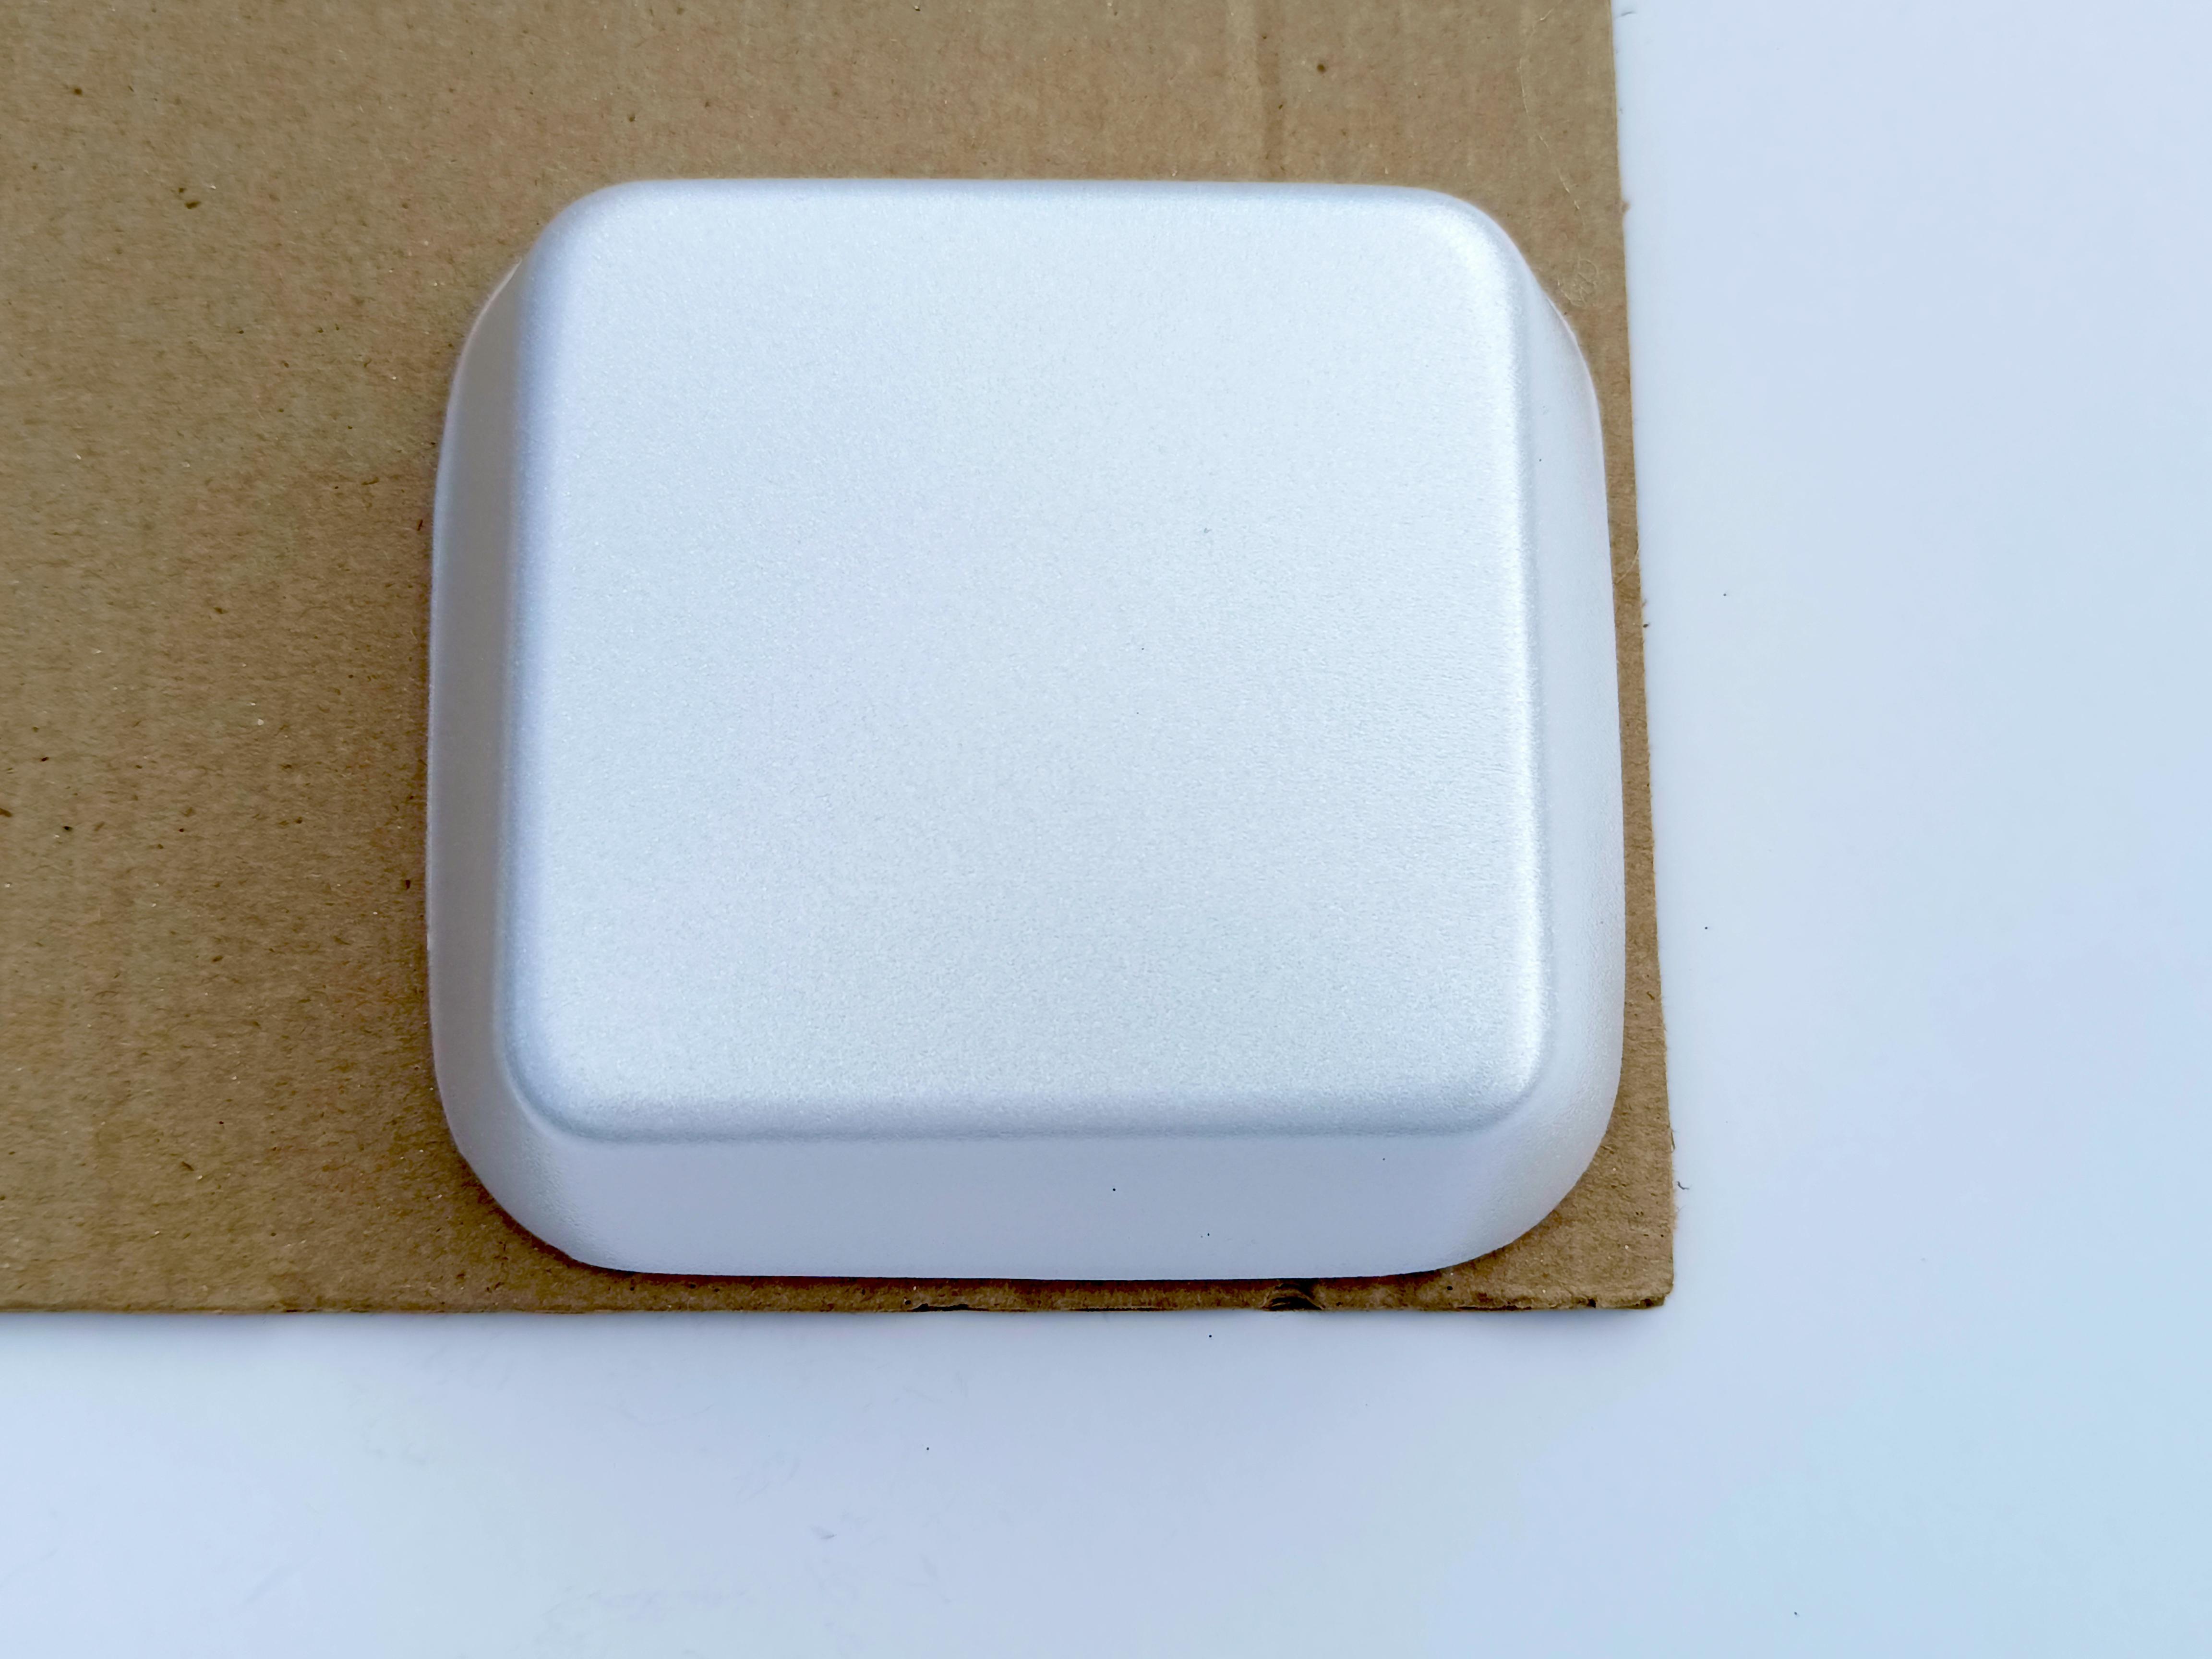
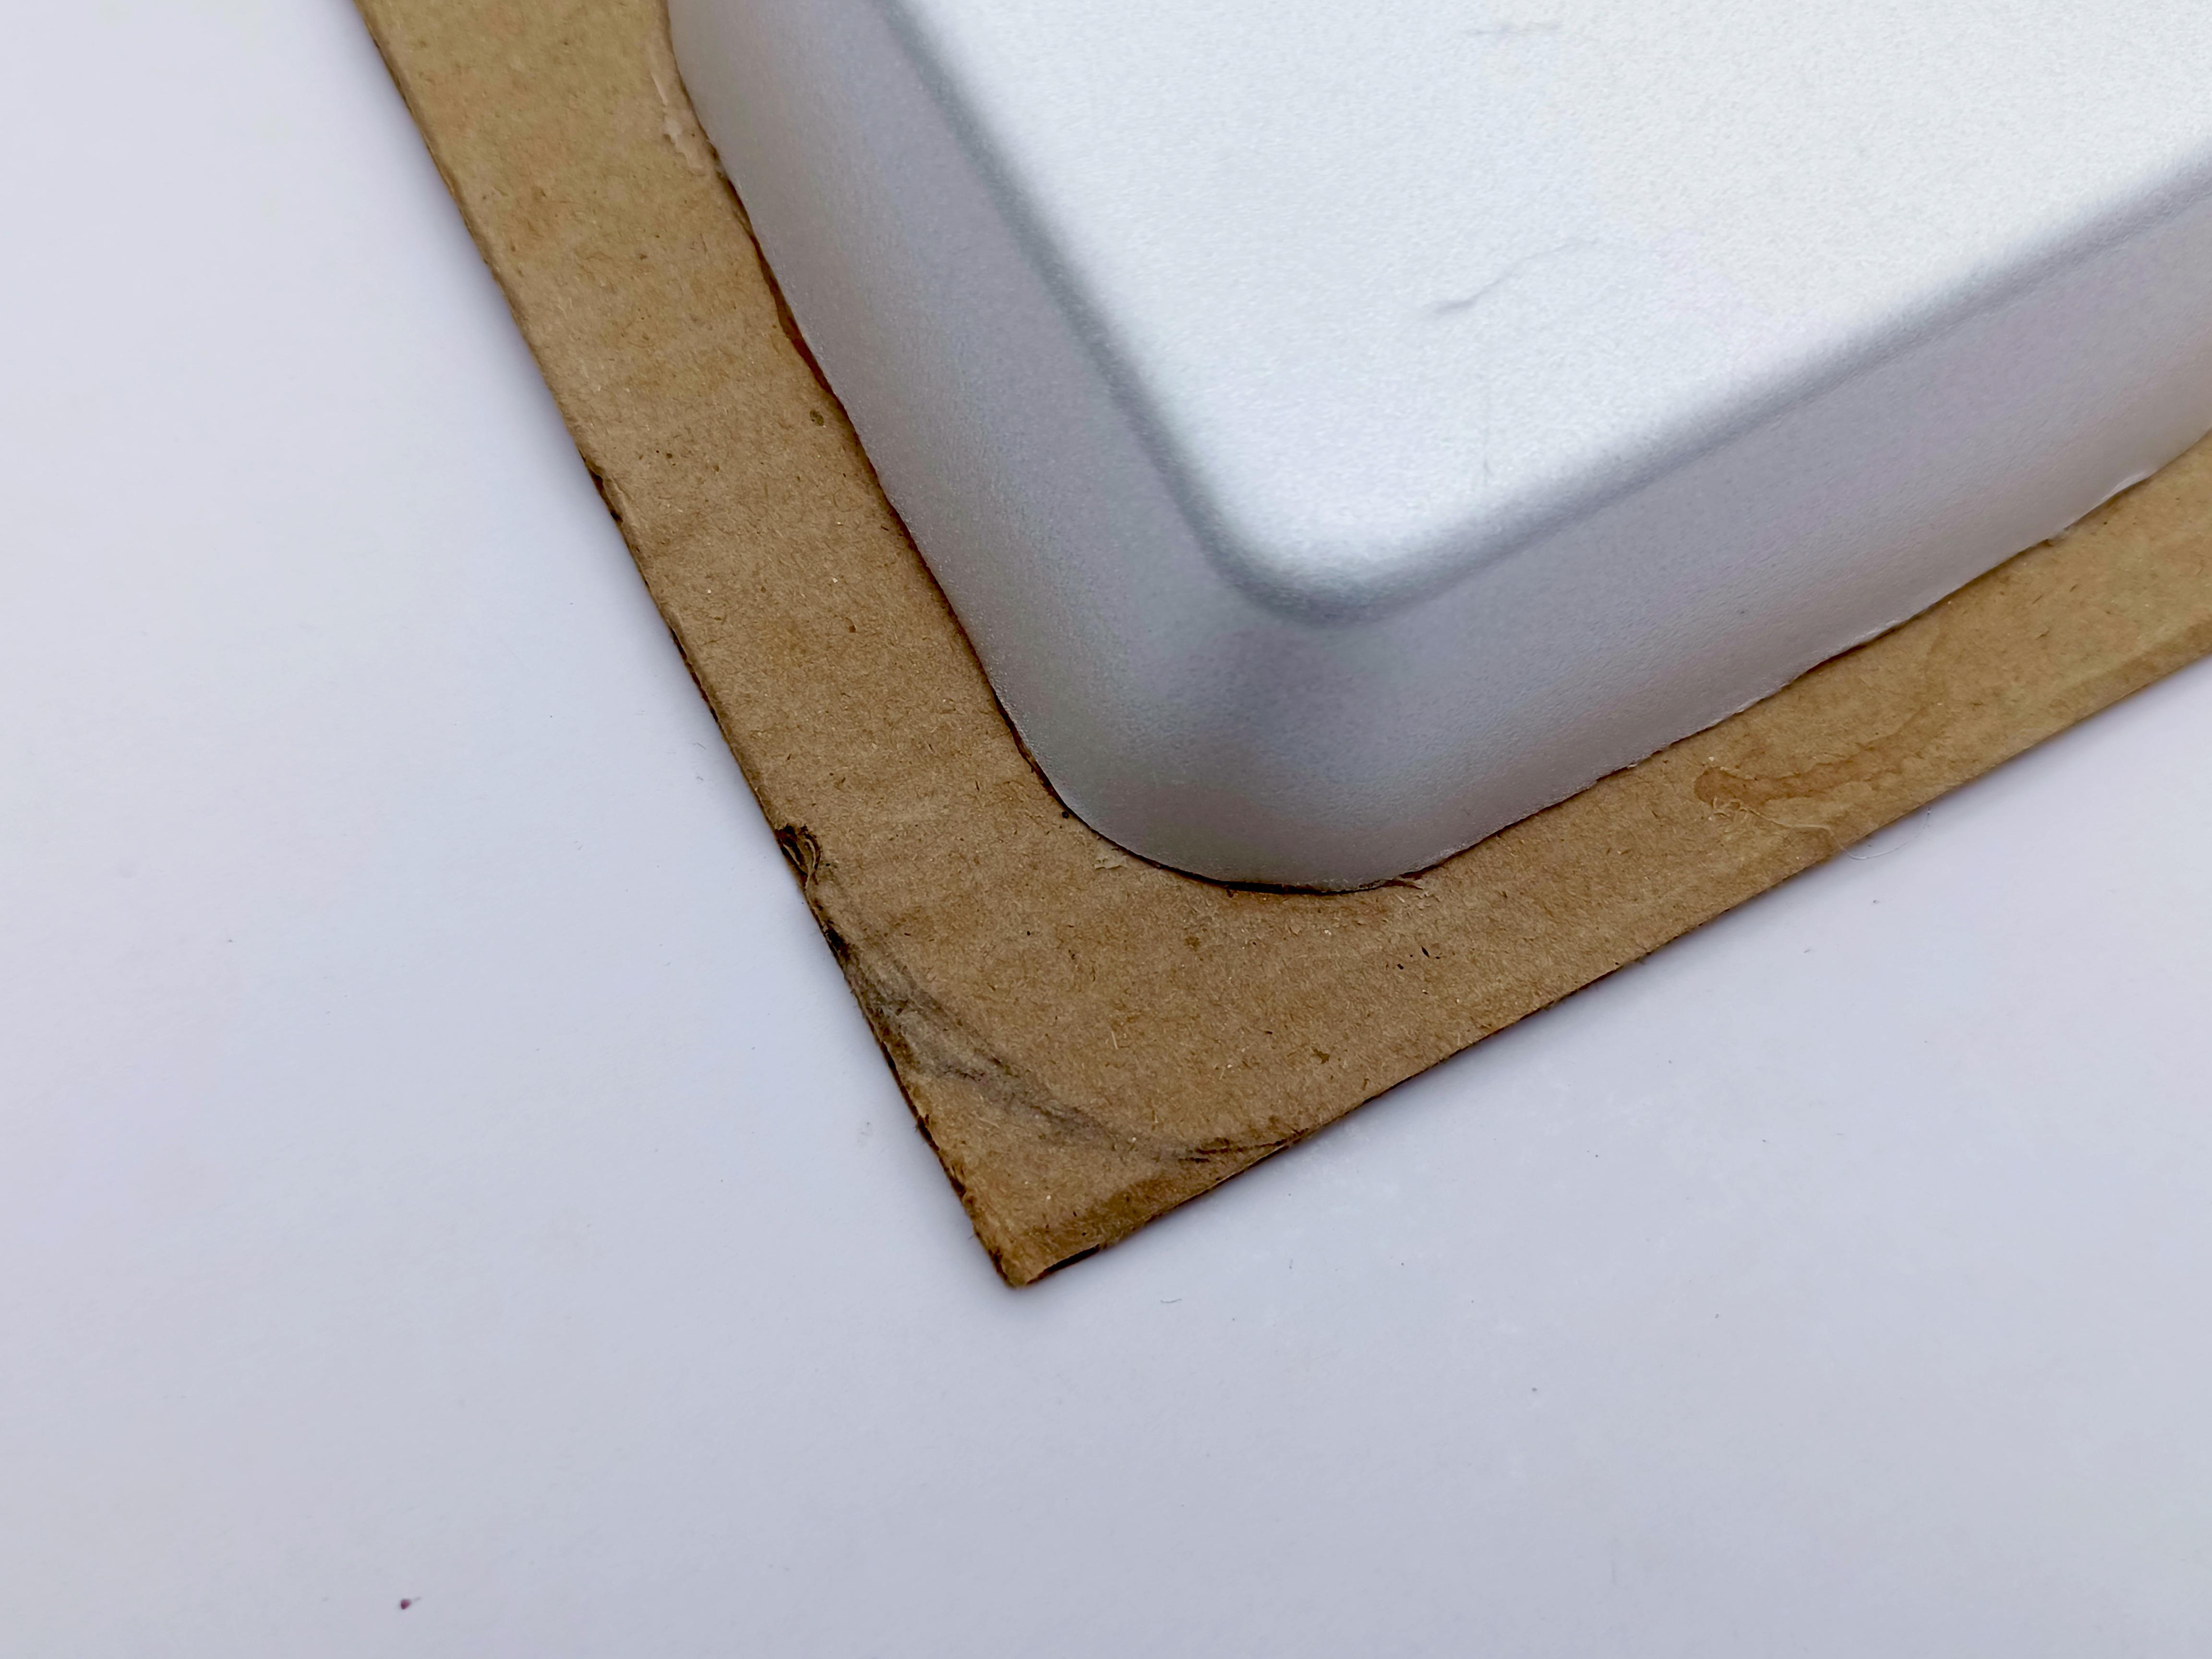
The first thing you will do is set aside the materials, To simulate the chocolate squares, I will use the hamburger packaging.
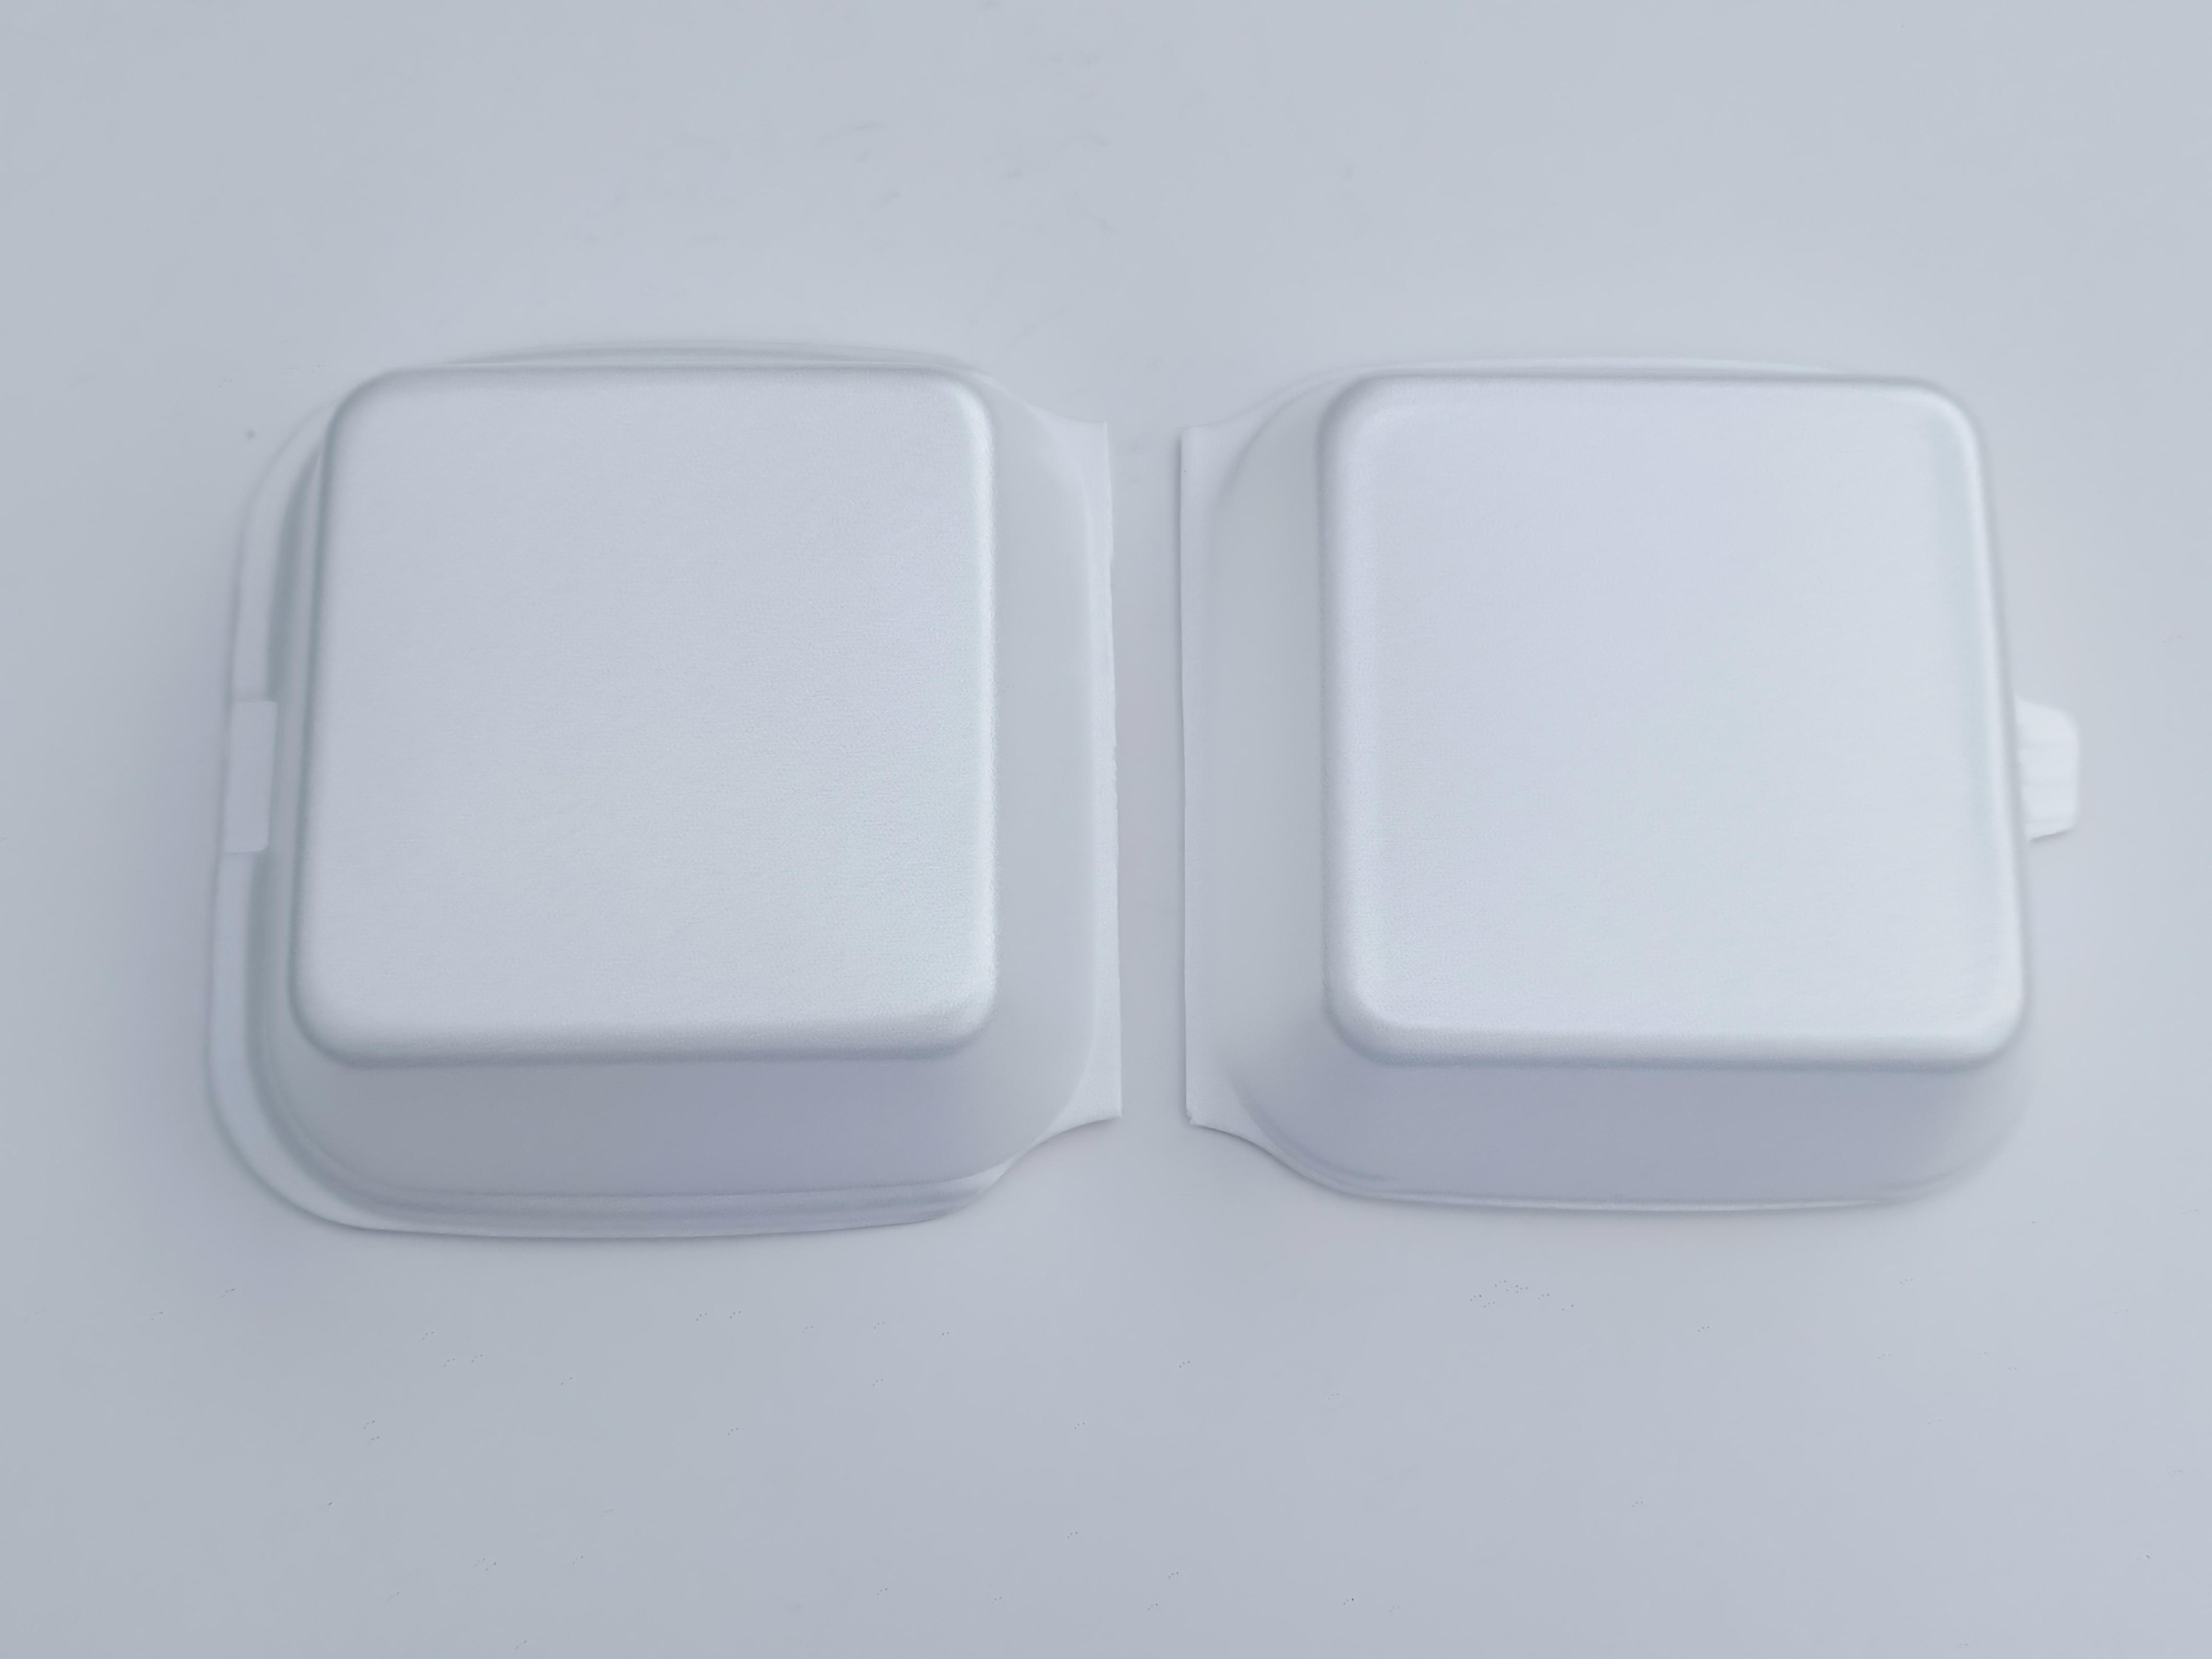
Cut the burger box along the center dividing line.
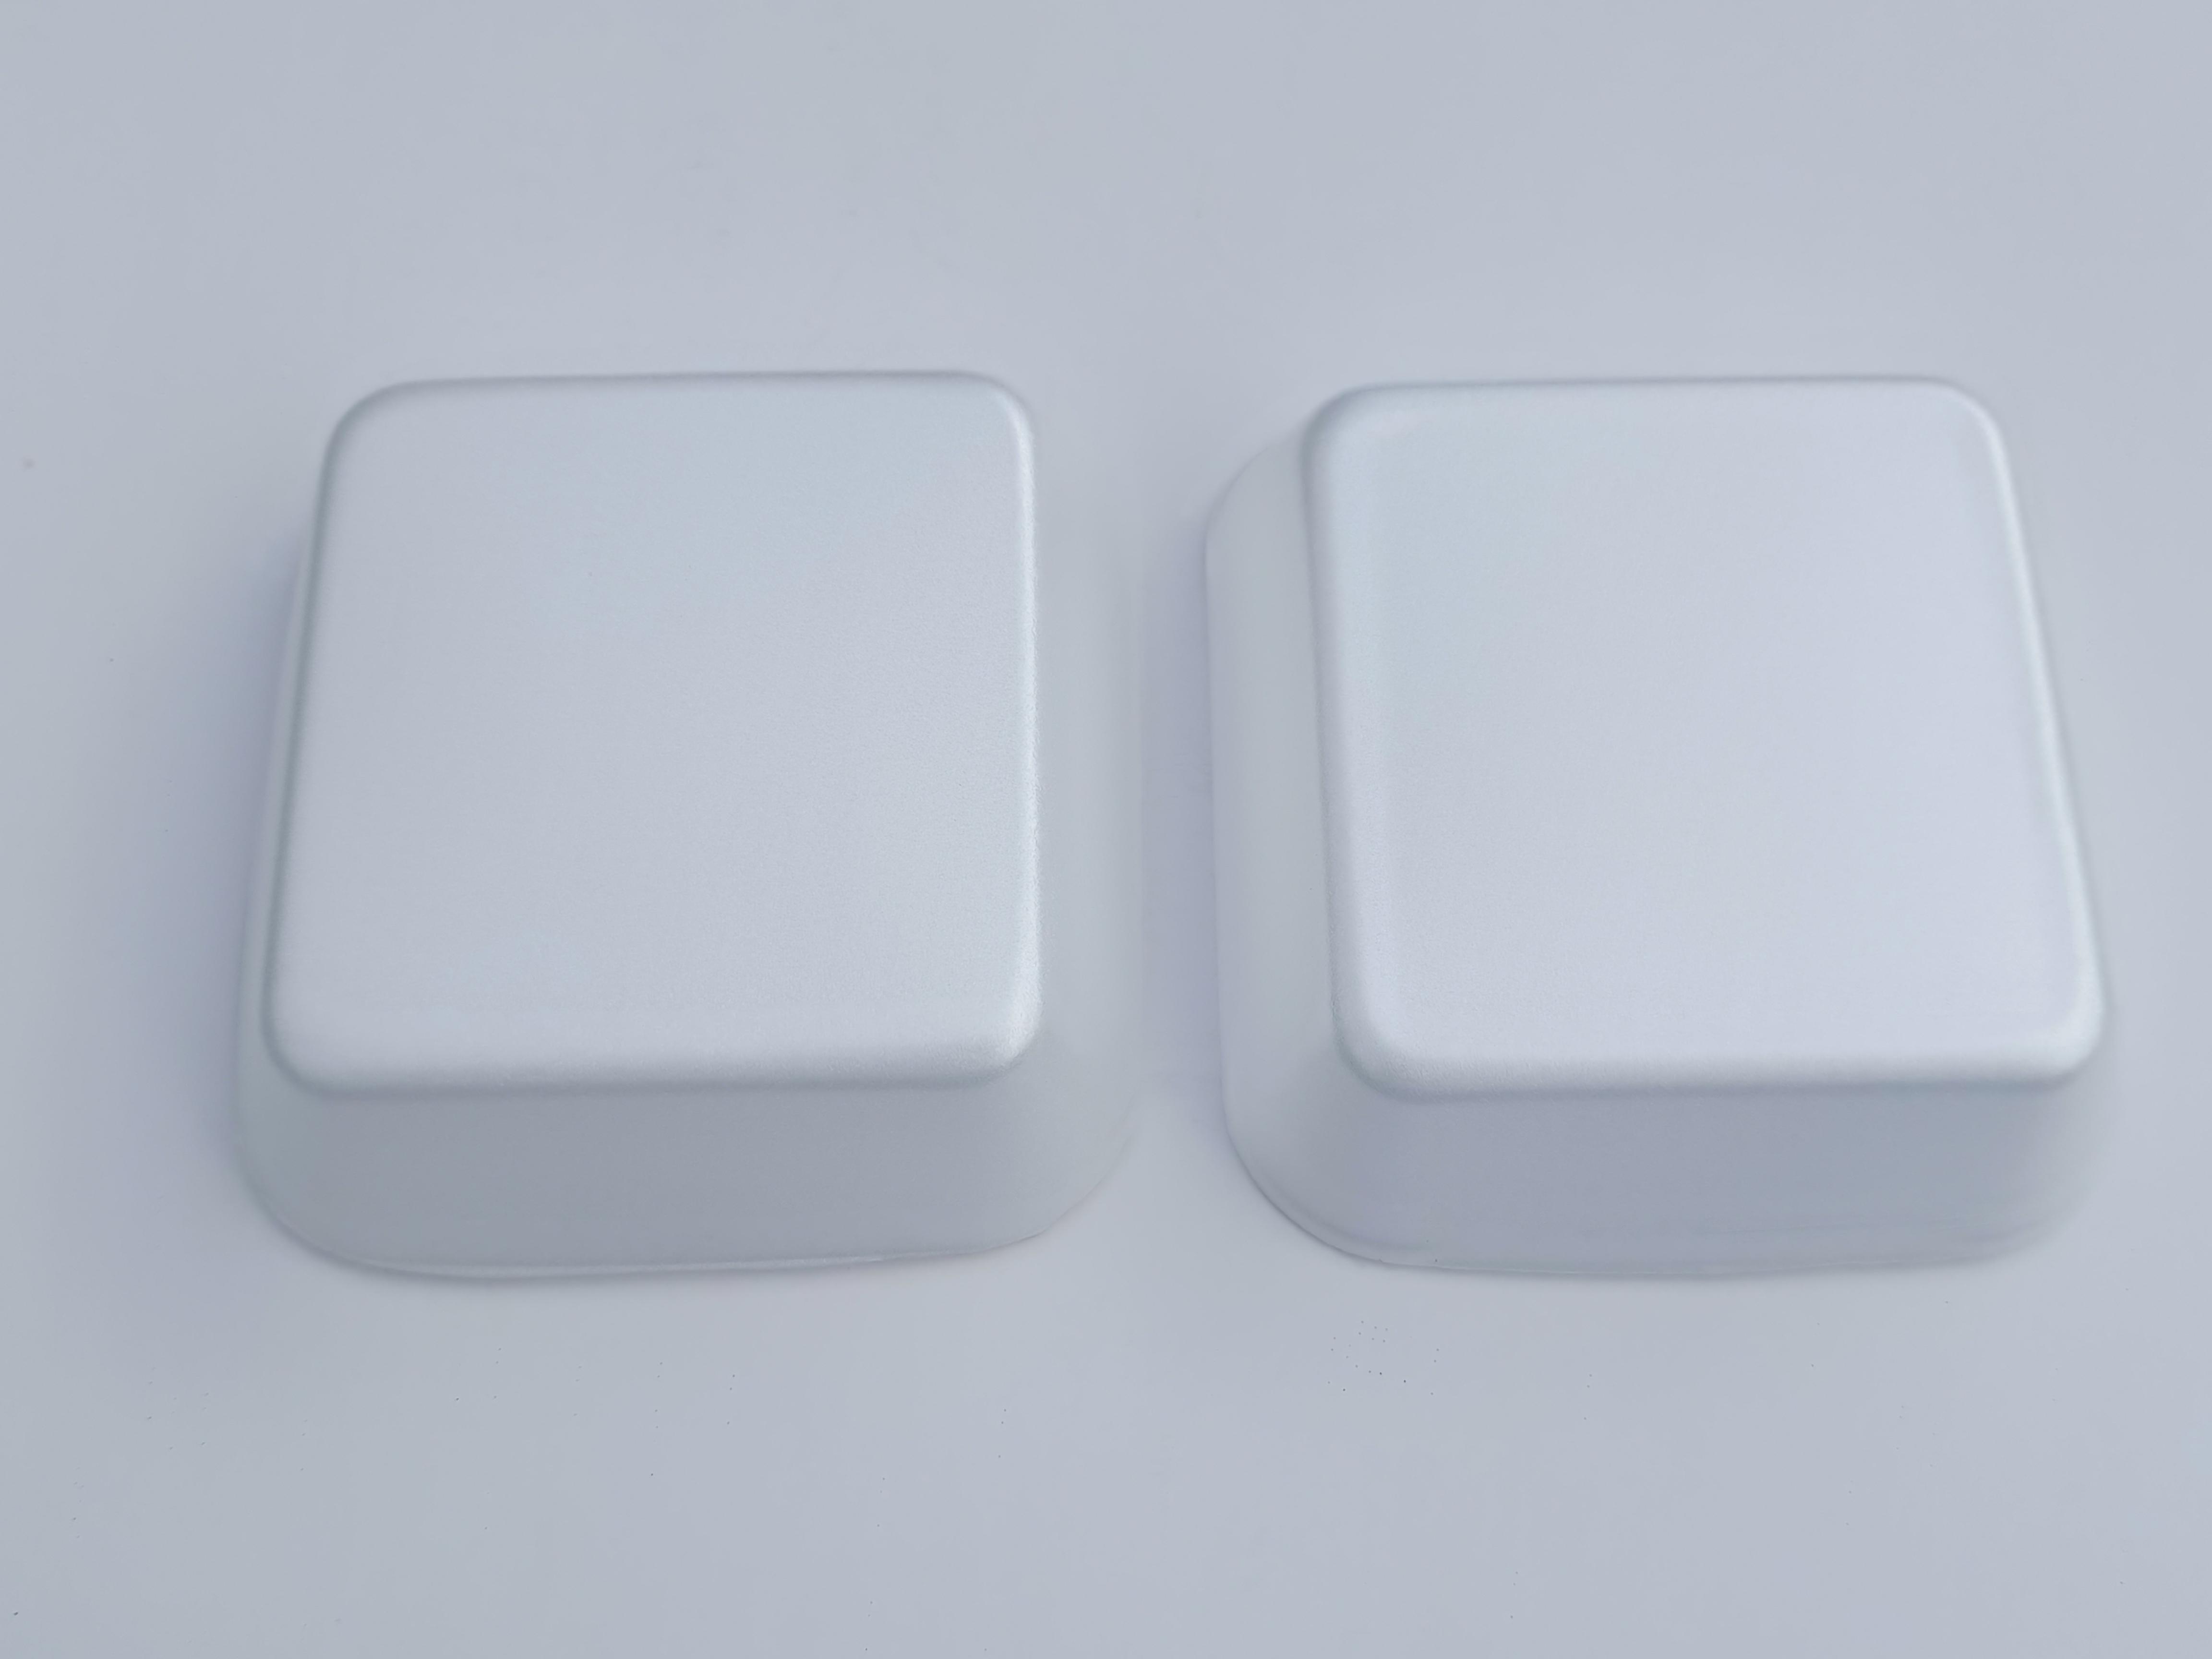
then outline the edges to give it a better finish.


We will glue the squares onto the cardboard in a sequential manner.
For this we will prepare the cardboard, leaving some thin edges on its sides.


Then, when we have the edge of what will be the body of the chocolate bar straight, we will distribute the squares to calculate their space before gluing them.
We will make 7 rows made up of 3 squares each for a total of 21 squares.
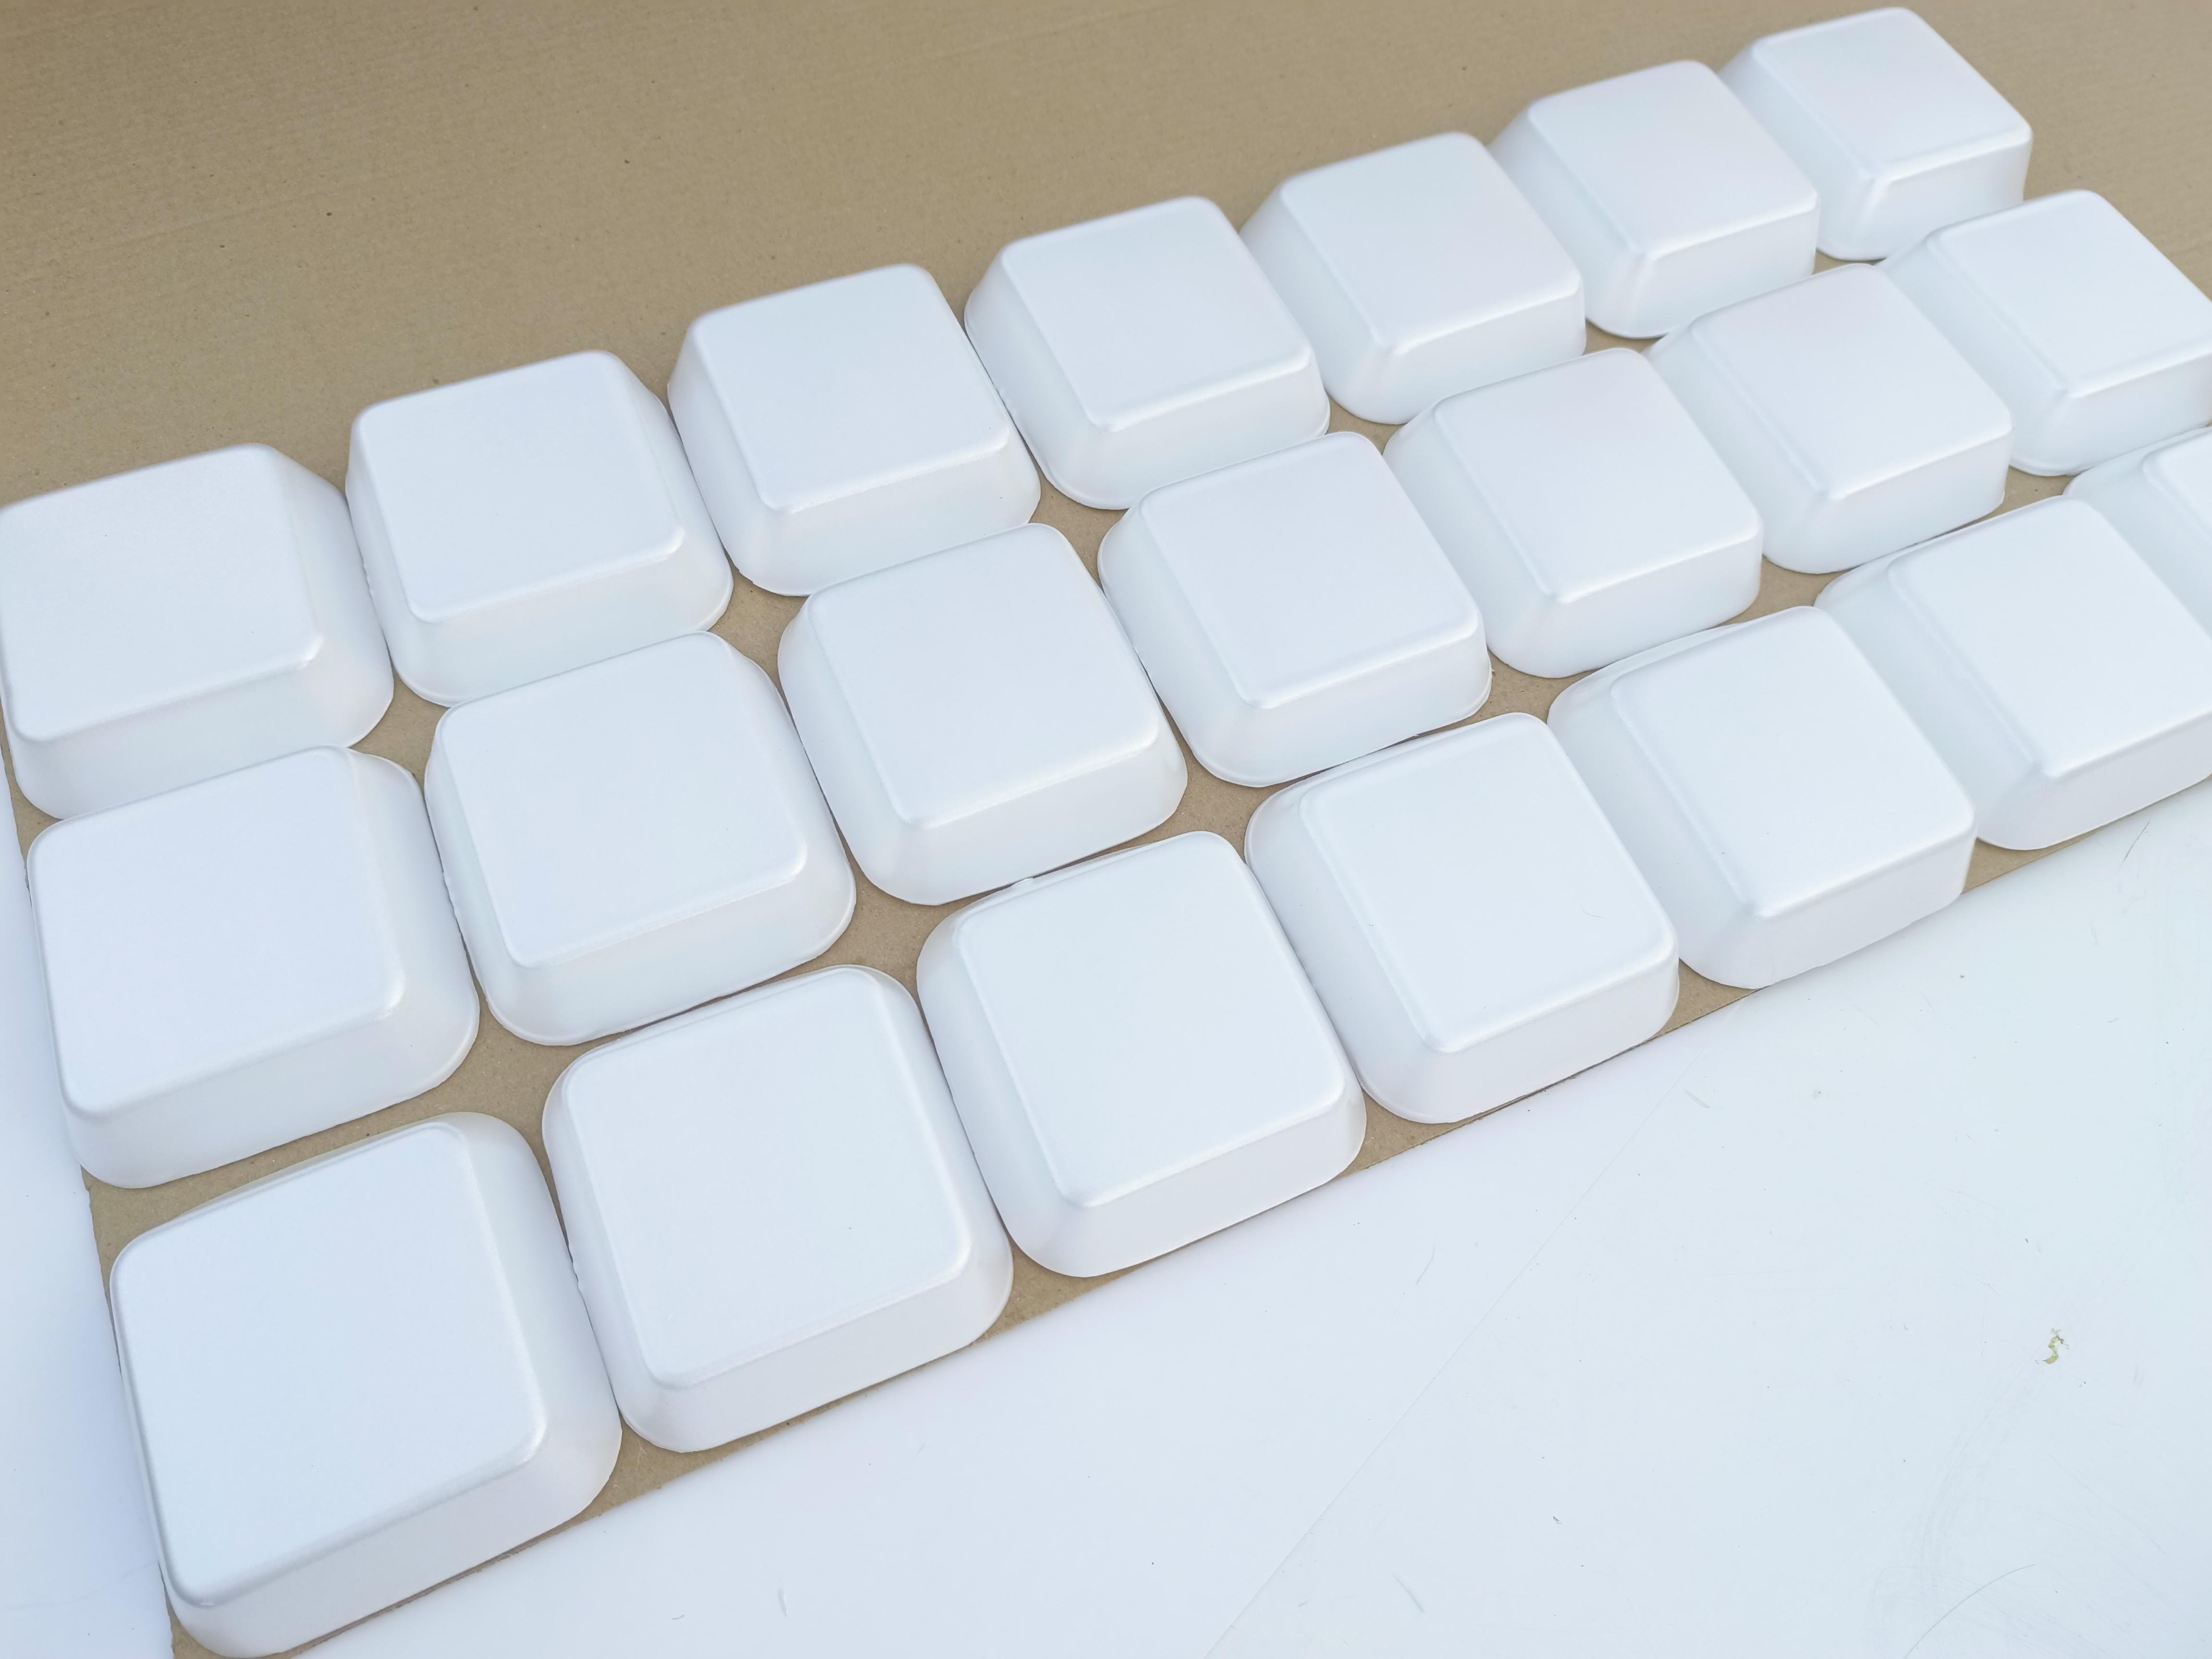
Once you're satisfied with the layout, proceed to glue the squares to the cardboard.
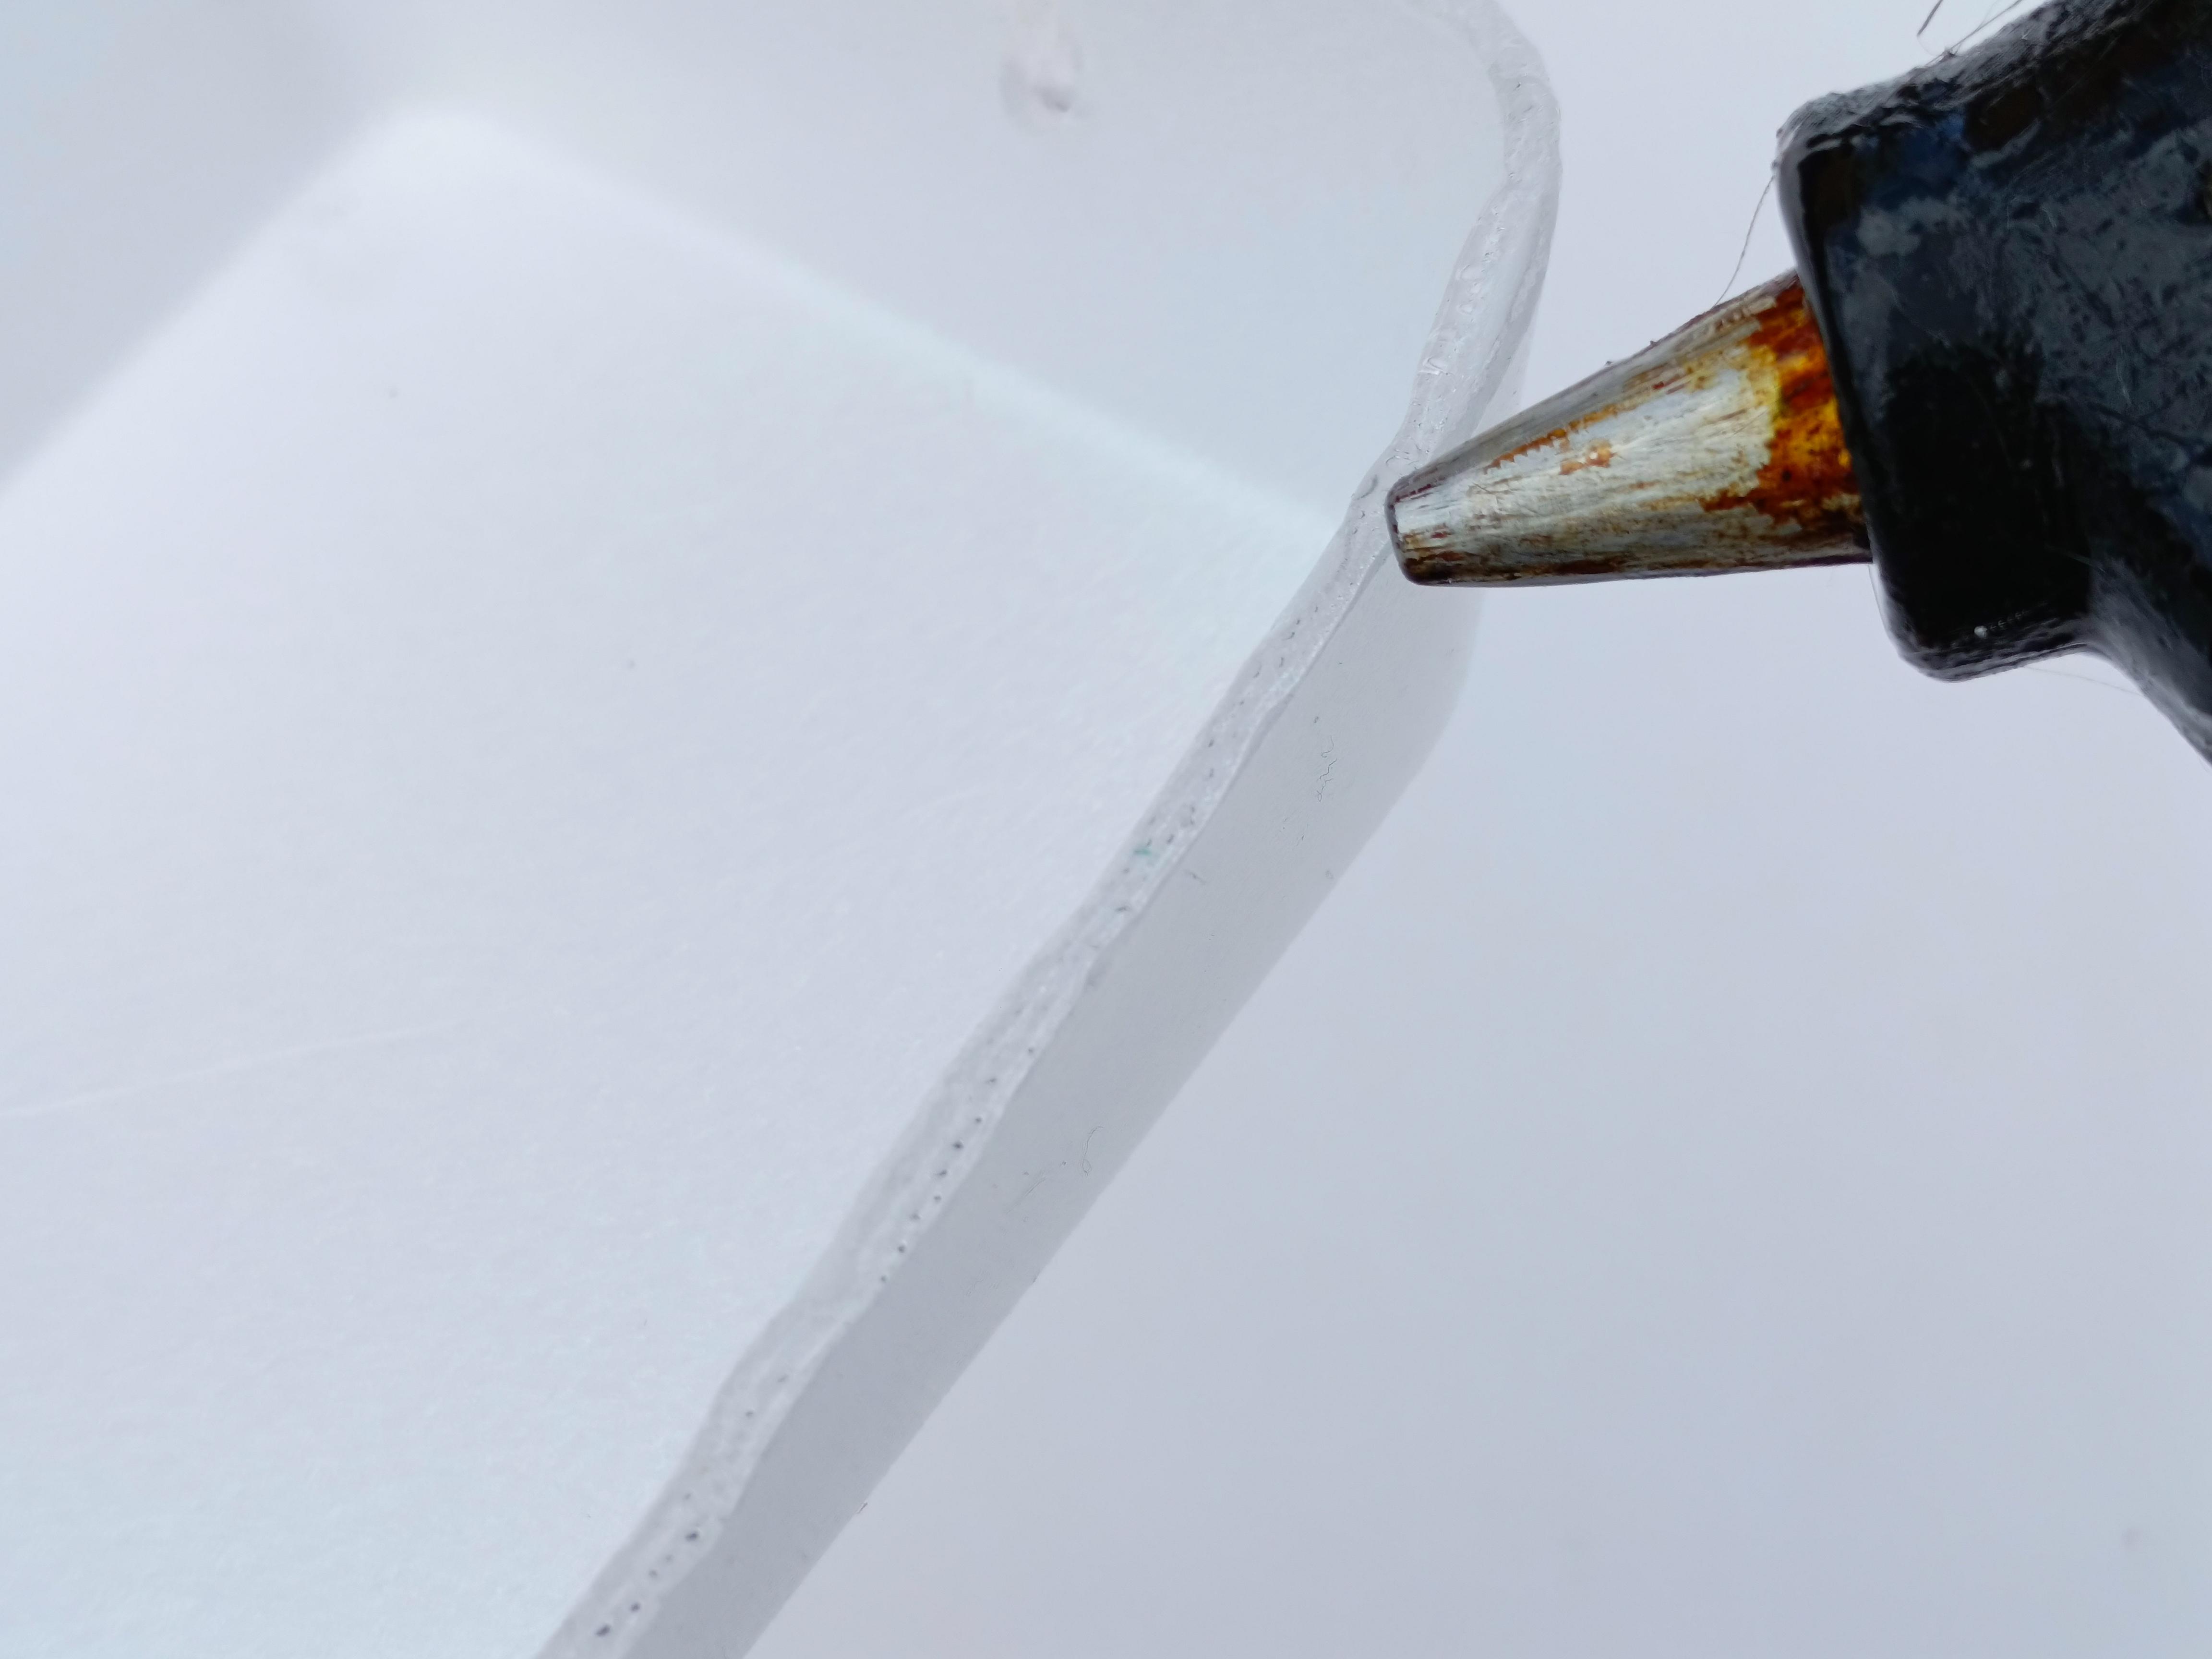
Be careful when applying the glue if you're using hot glue, as it can easily melt the polystyrene.
You have to be very quick if you apply hot glue.
I recommend a glue like cold silicone, and avoid contact cement since it begins to break down the material due to its chemical composition.
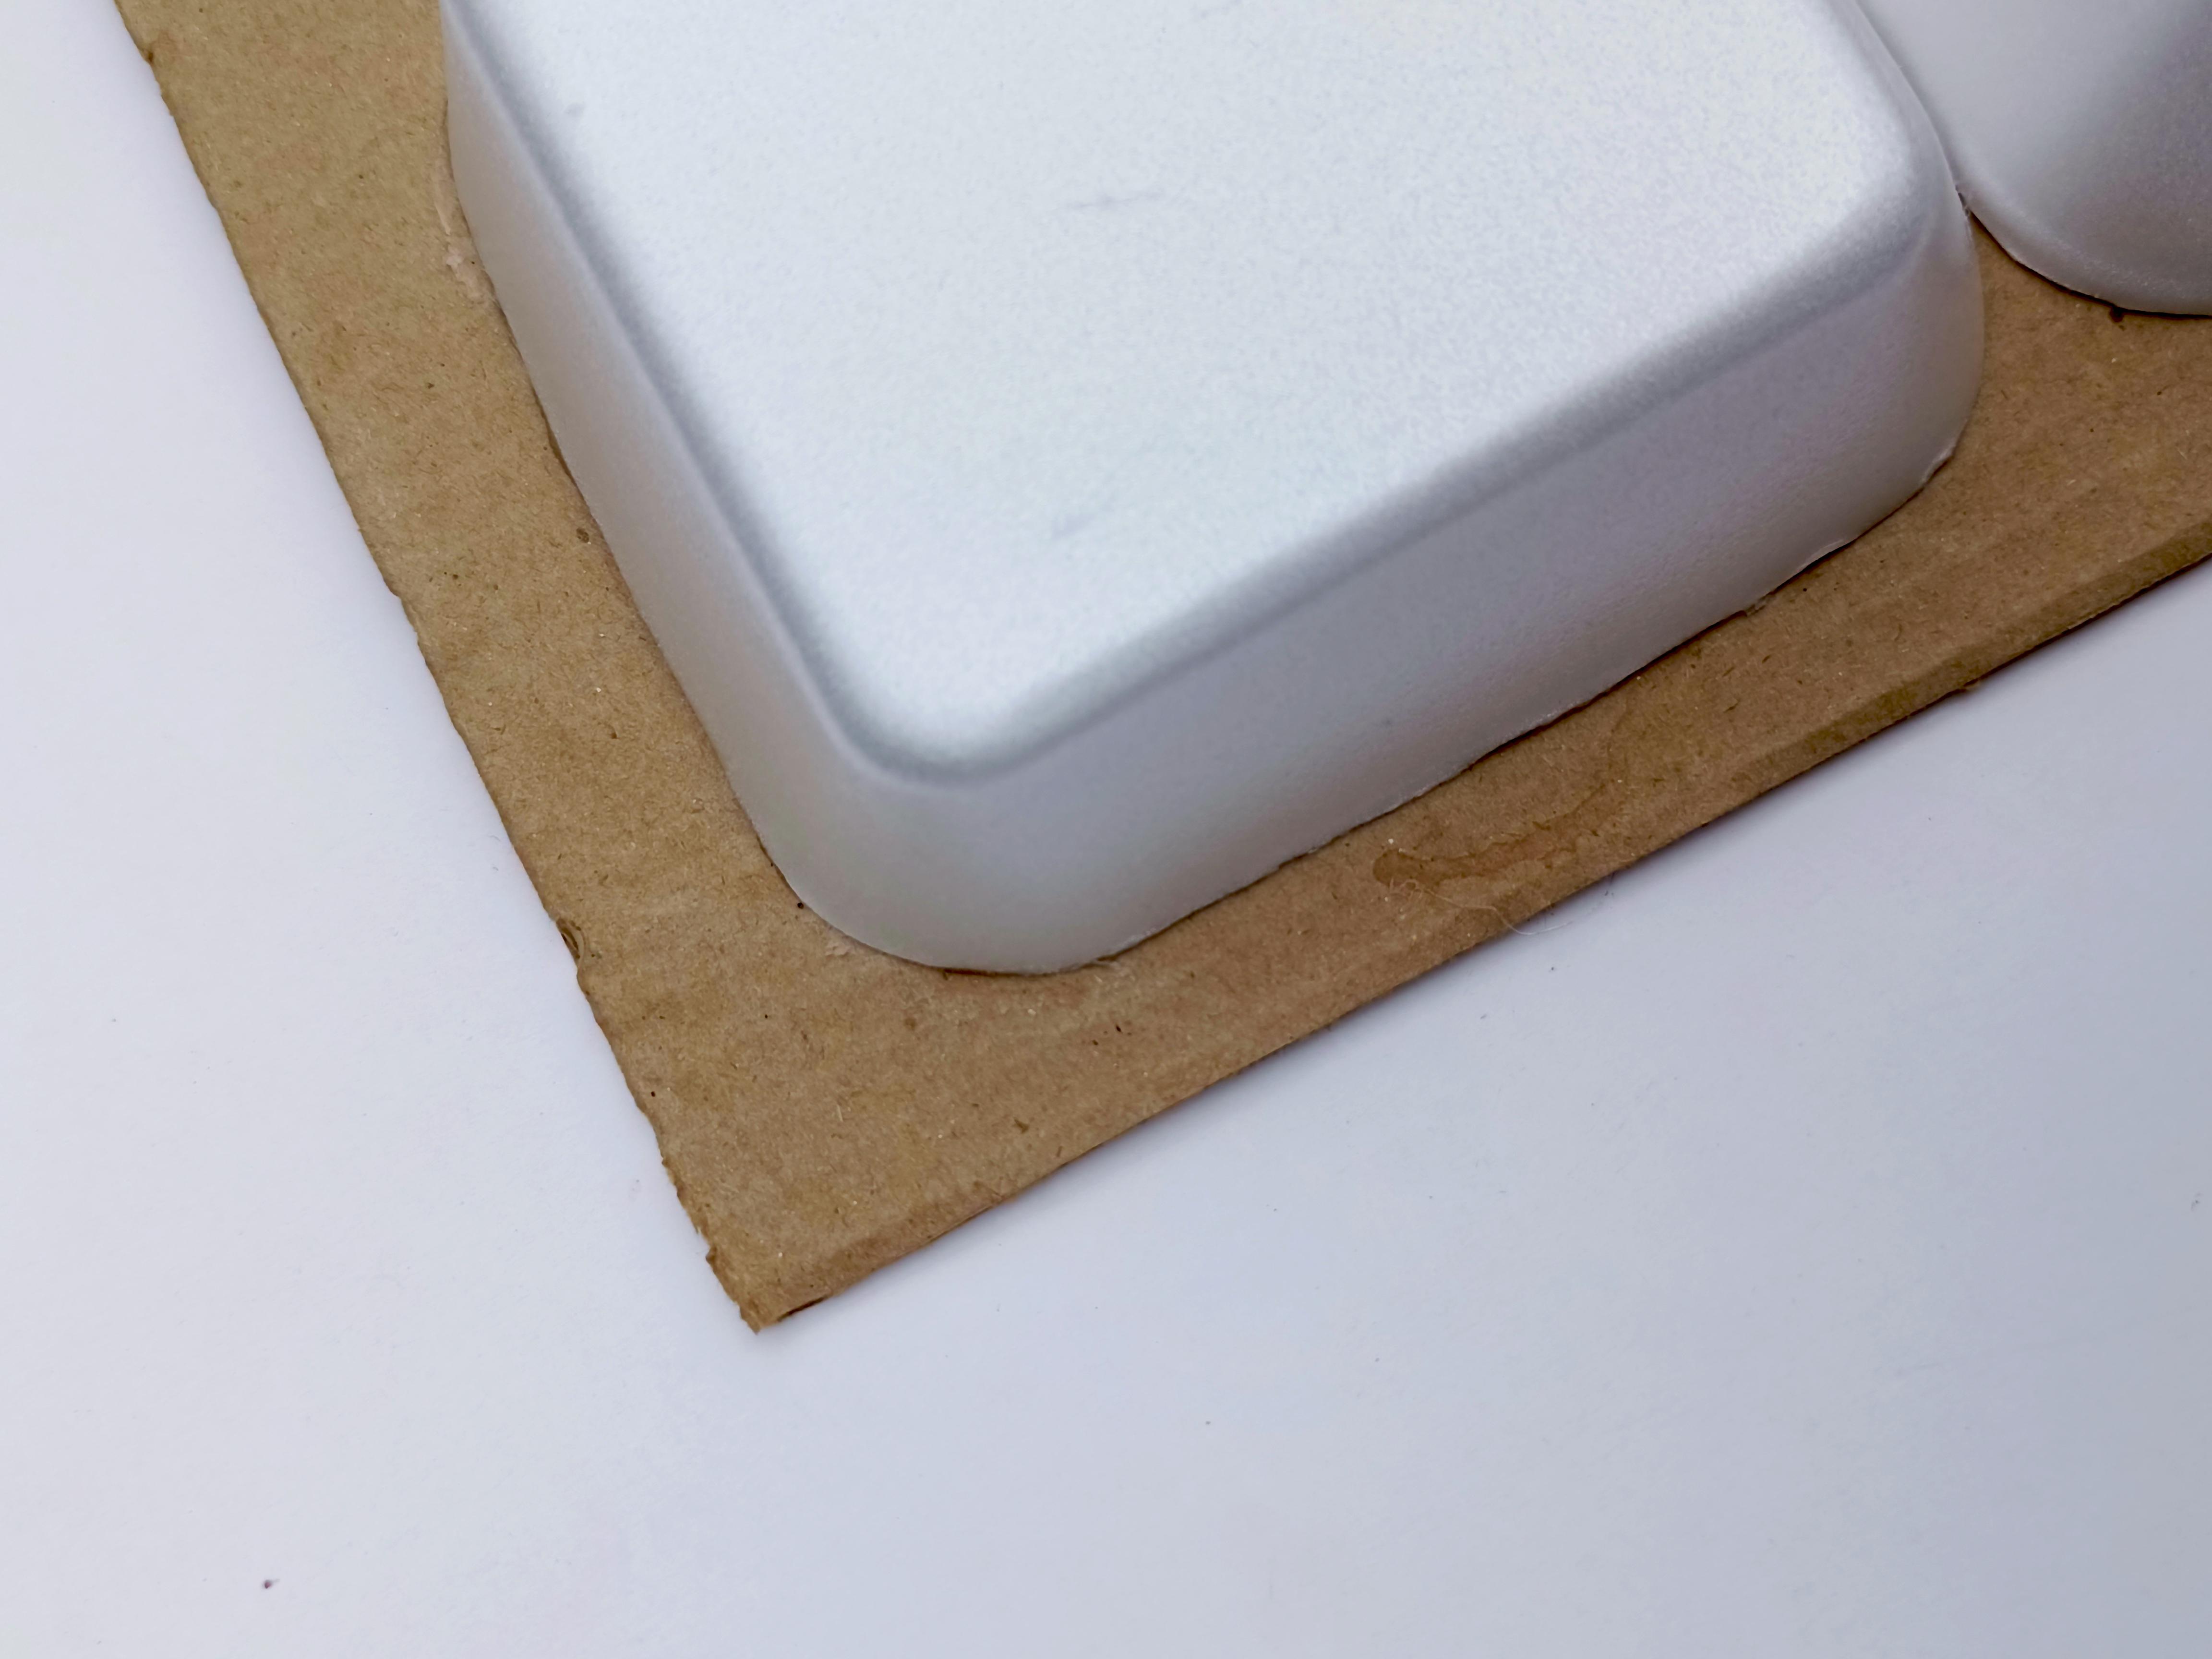
In my project I decided to leave a small tab around the squares since I thought it gave a little more realism to my chocolate bar, but if you want you can do it the way you like best.
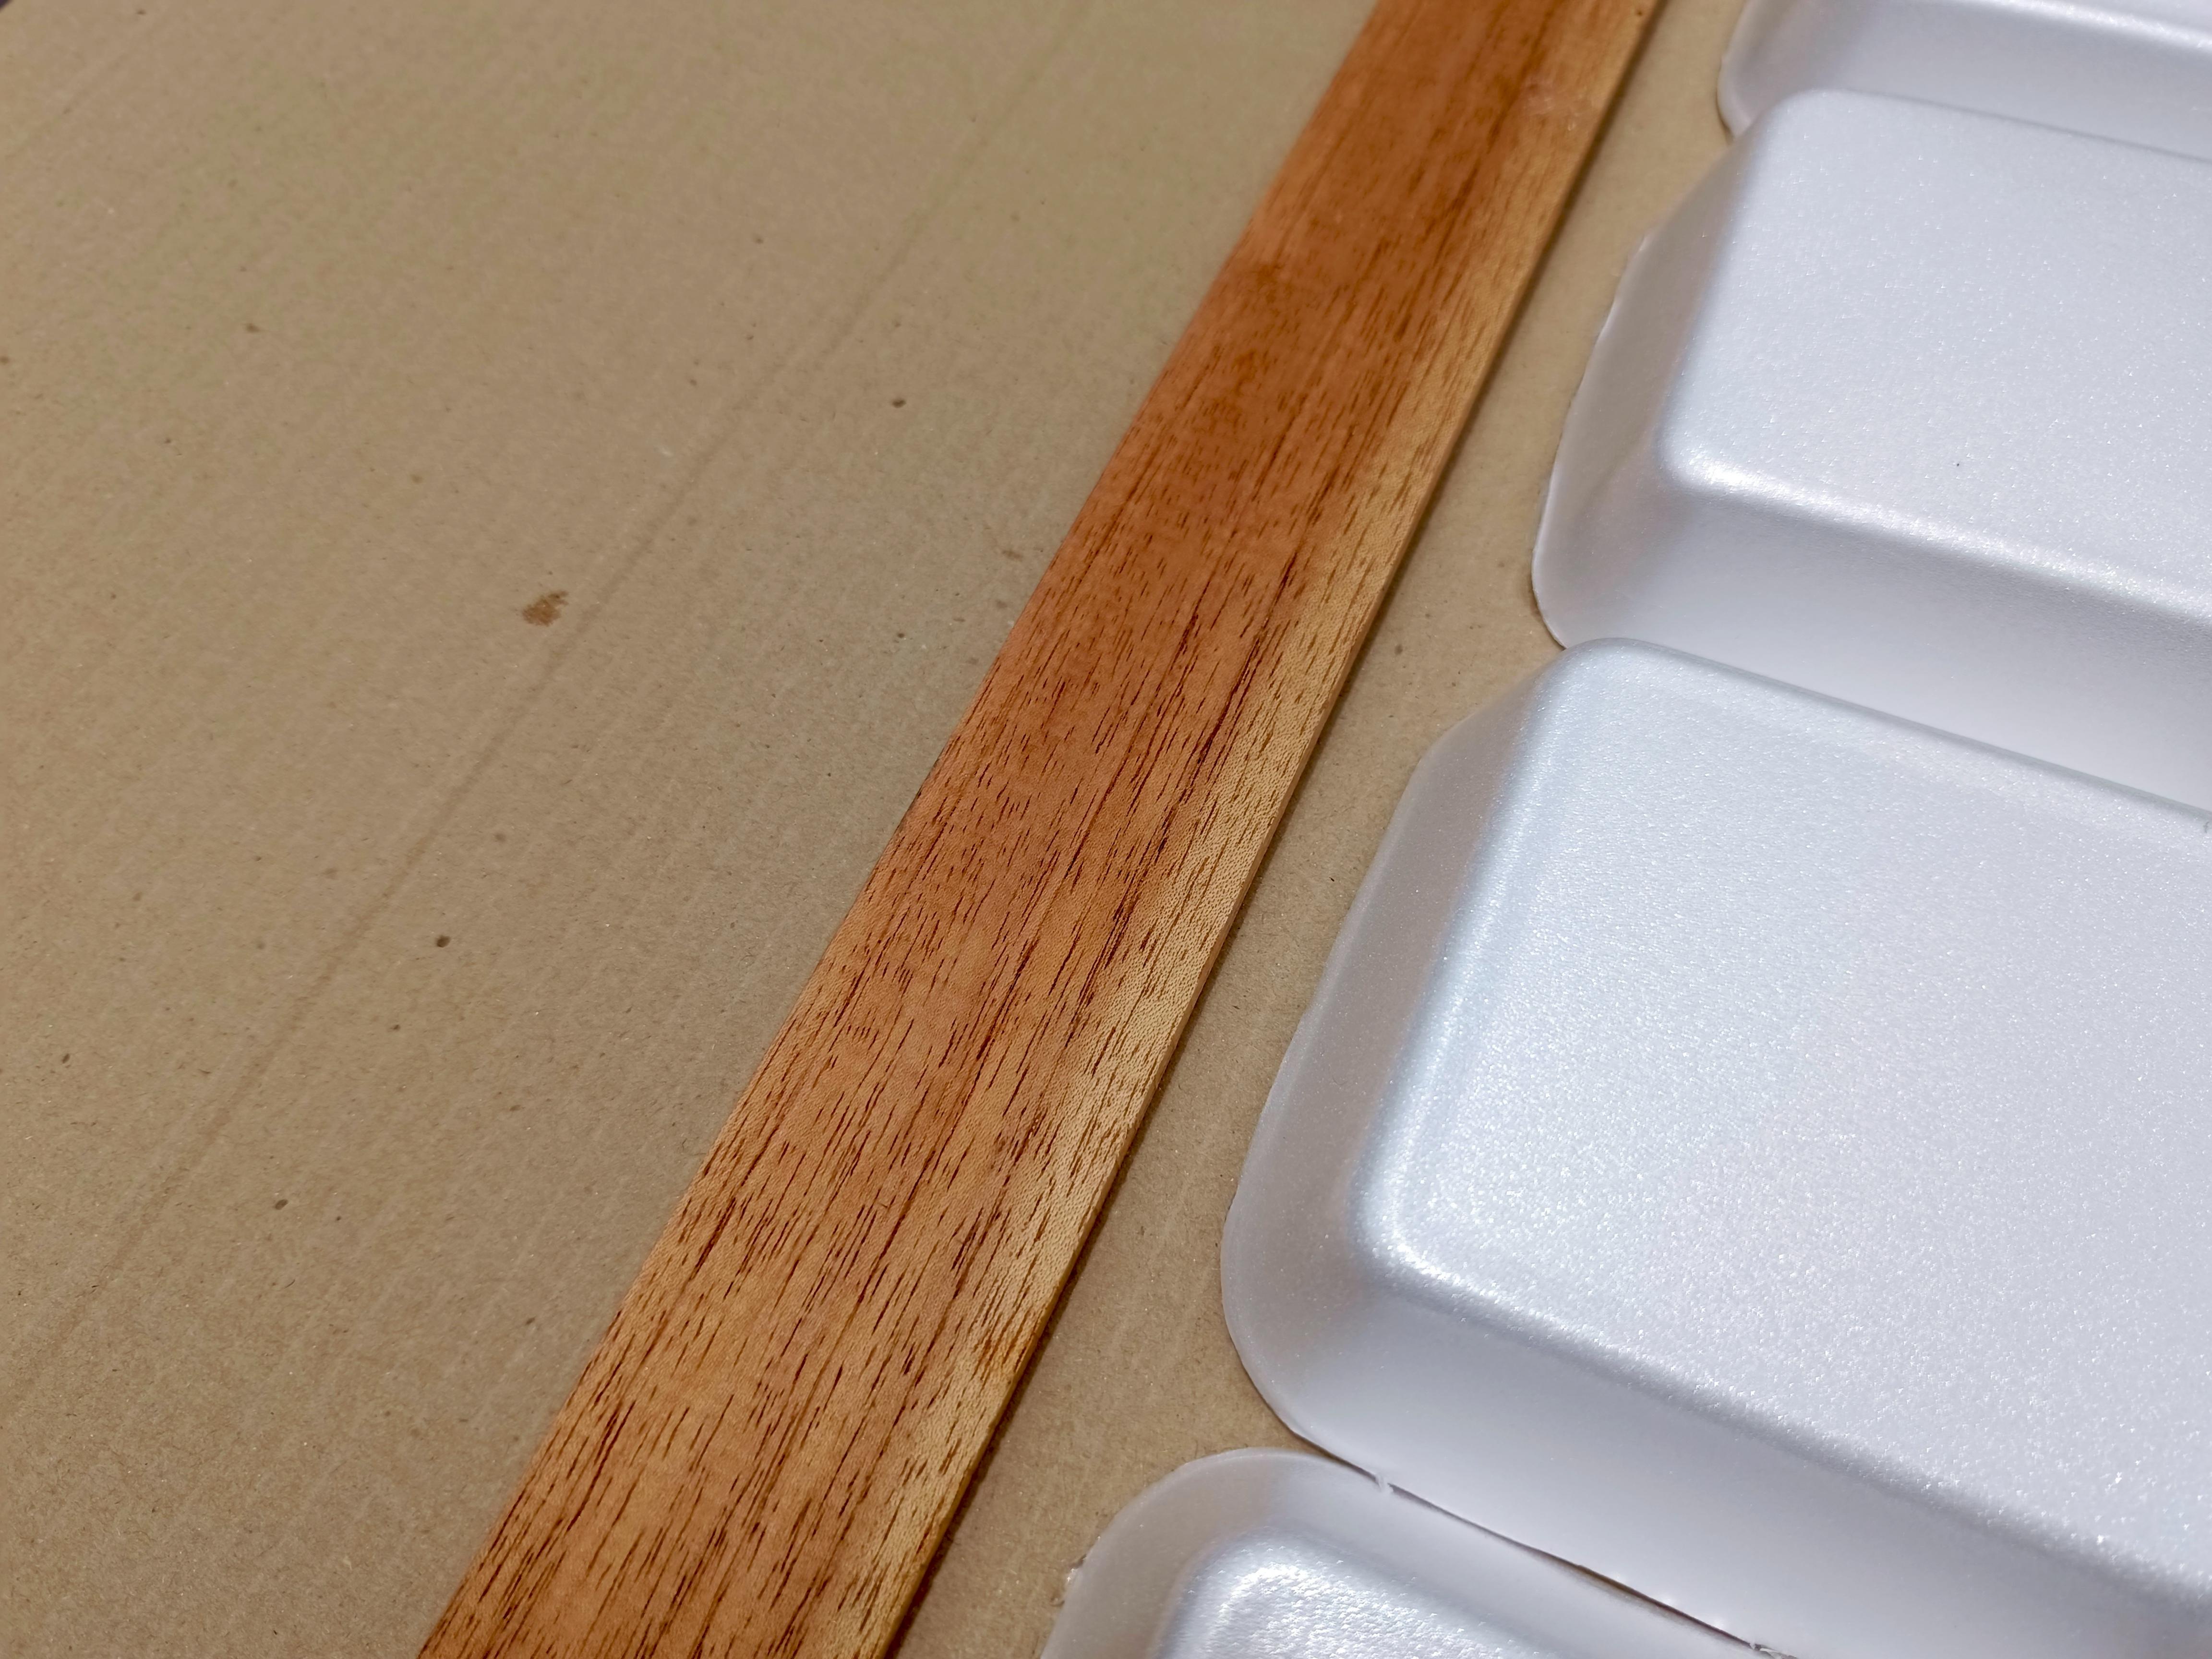

After having glued all the squares, use a ruler to mark the cutting area. If you don't have a ruler long enough, you can use a straight stick.

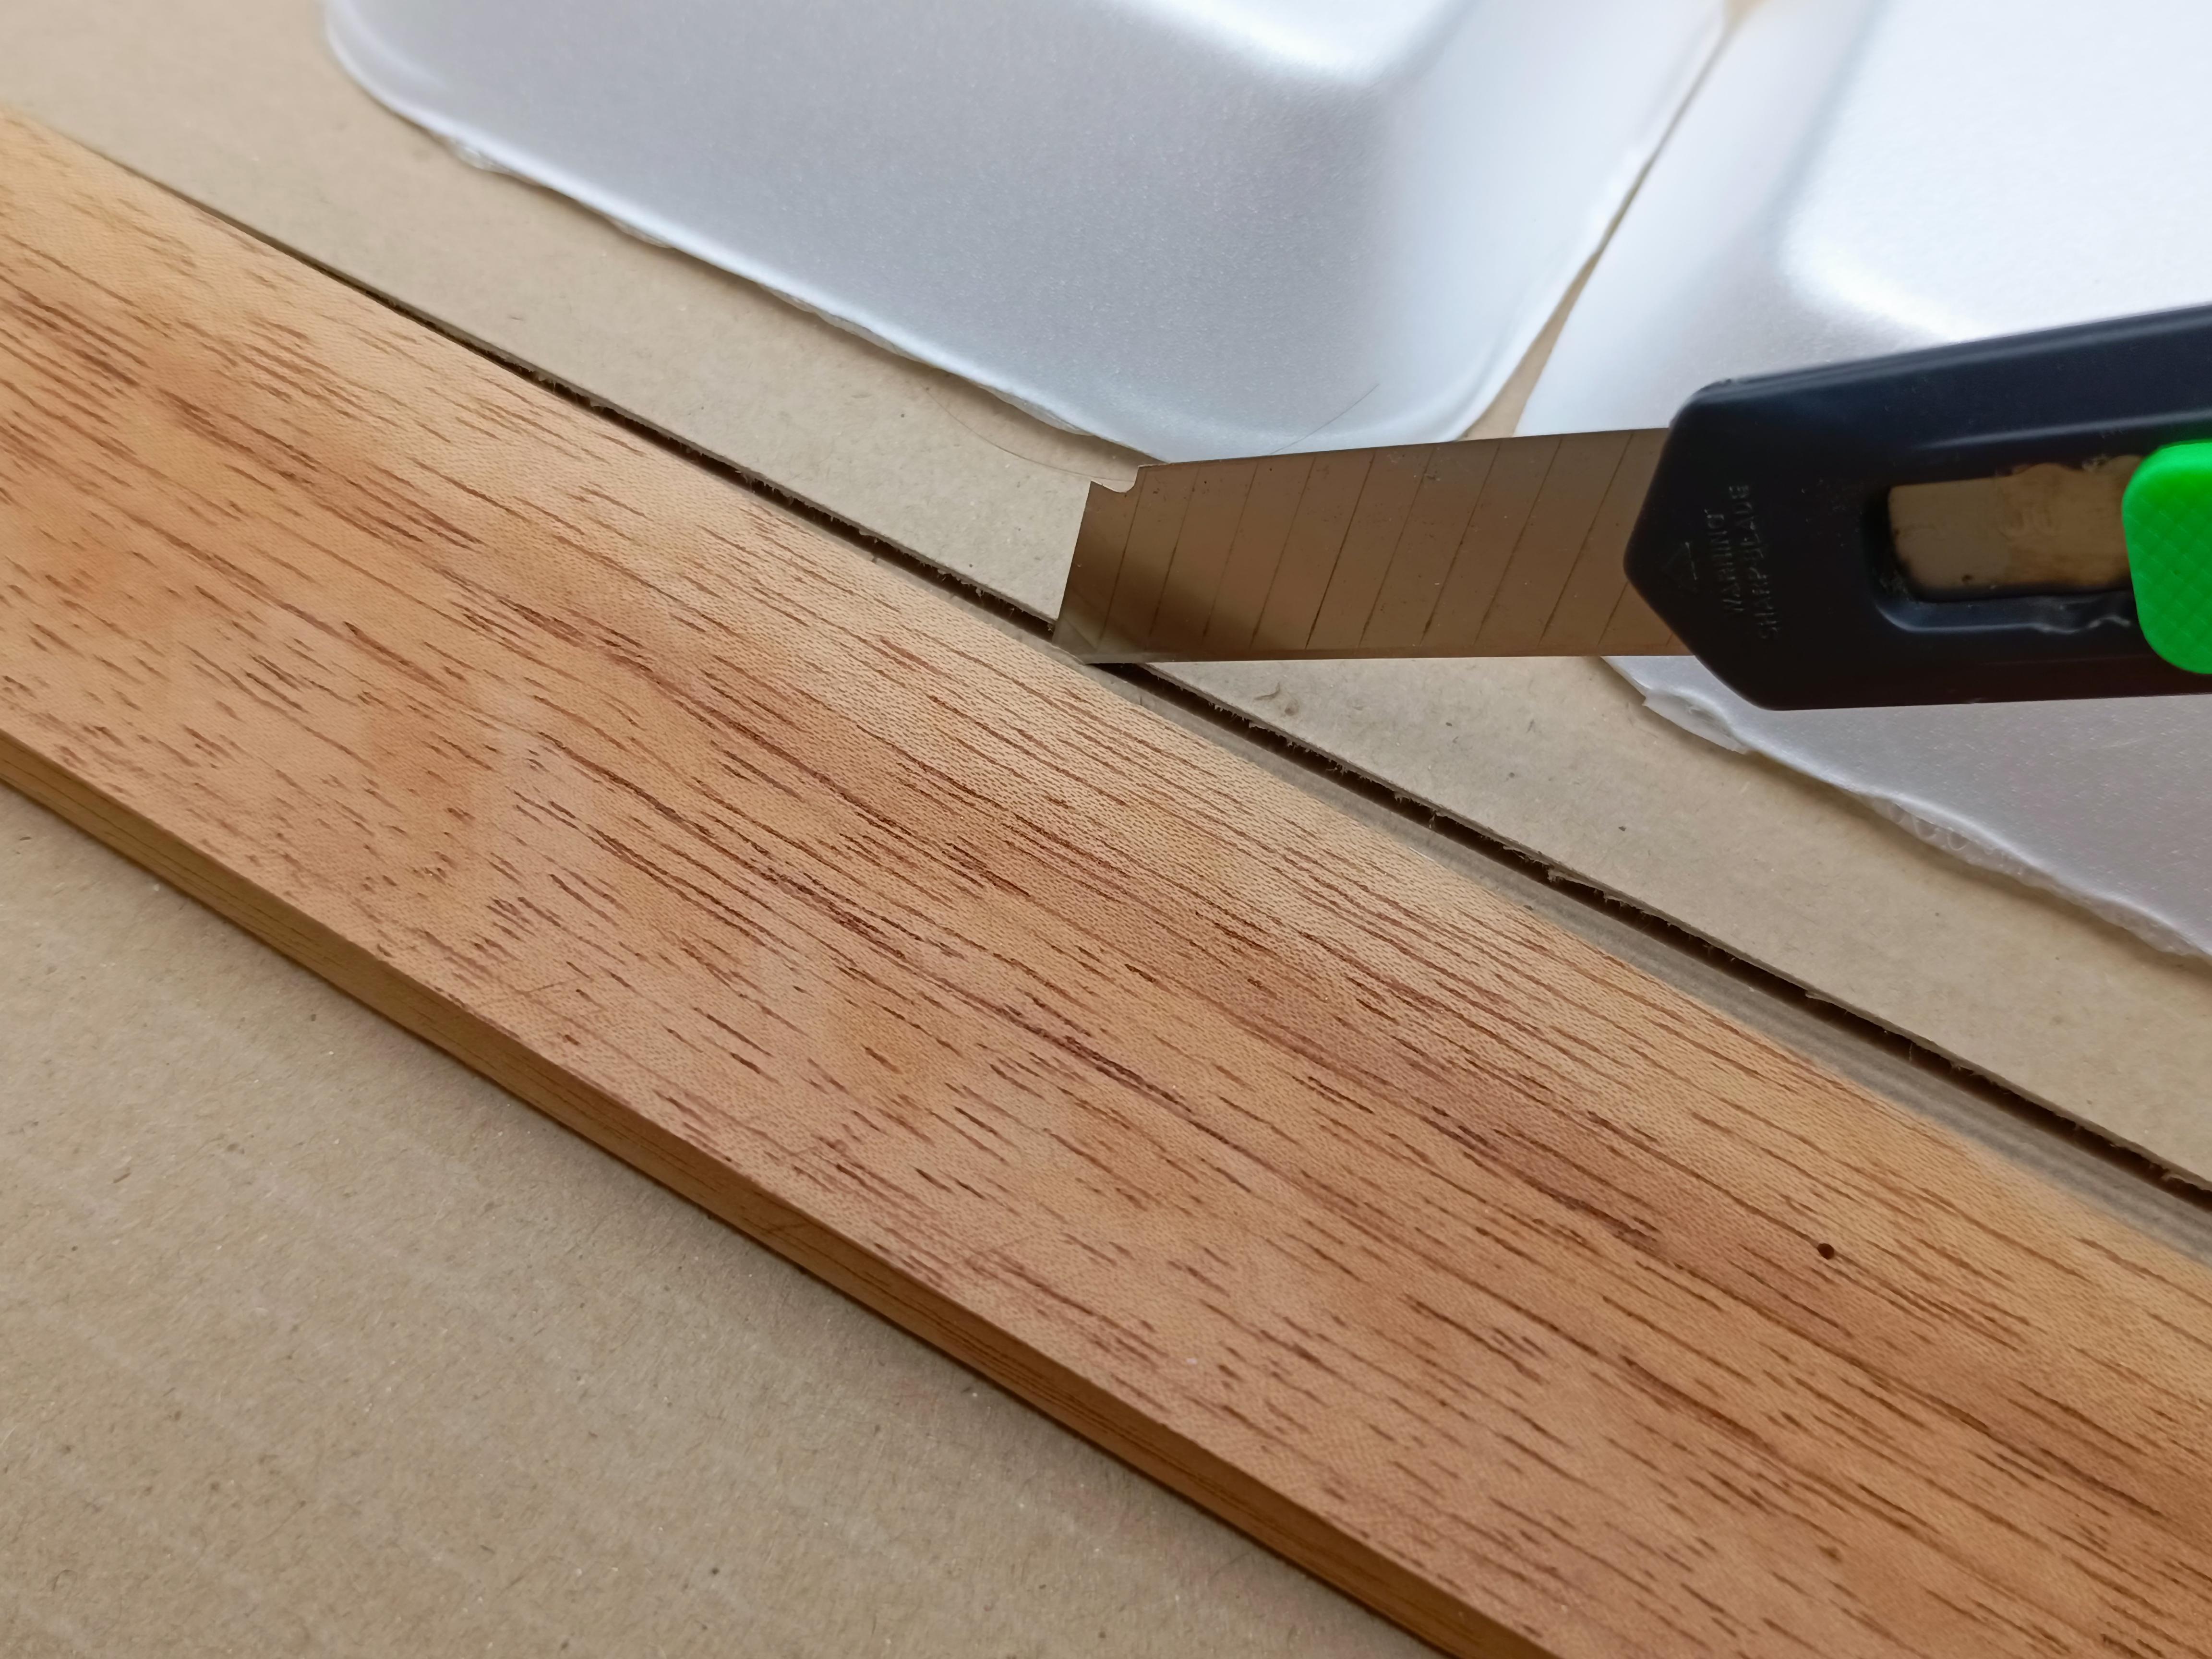

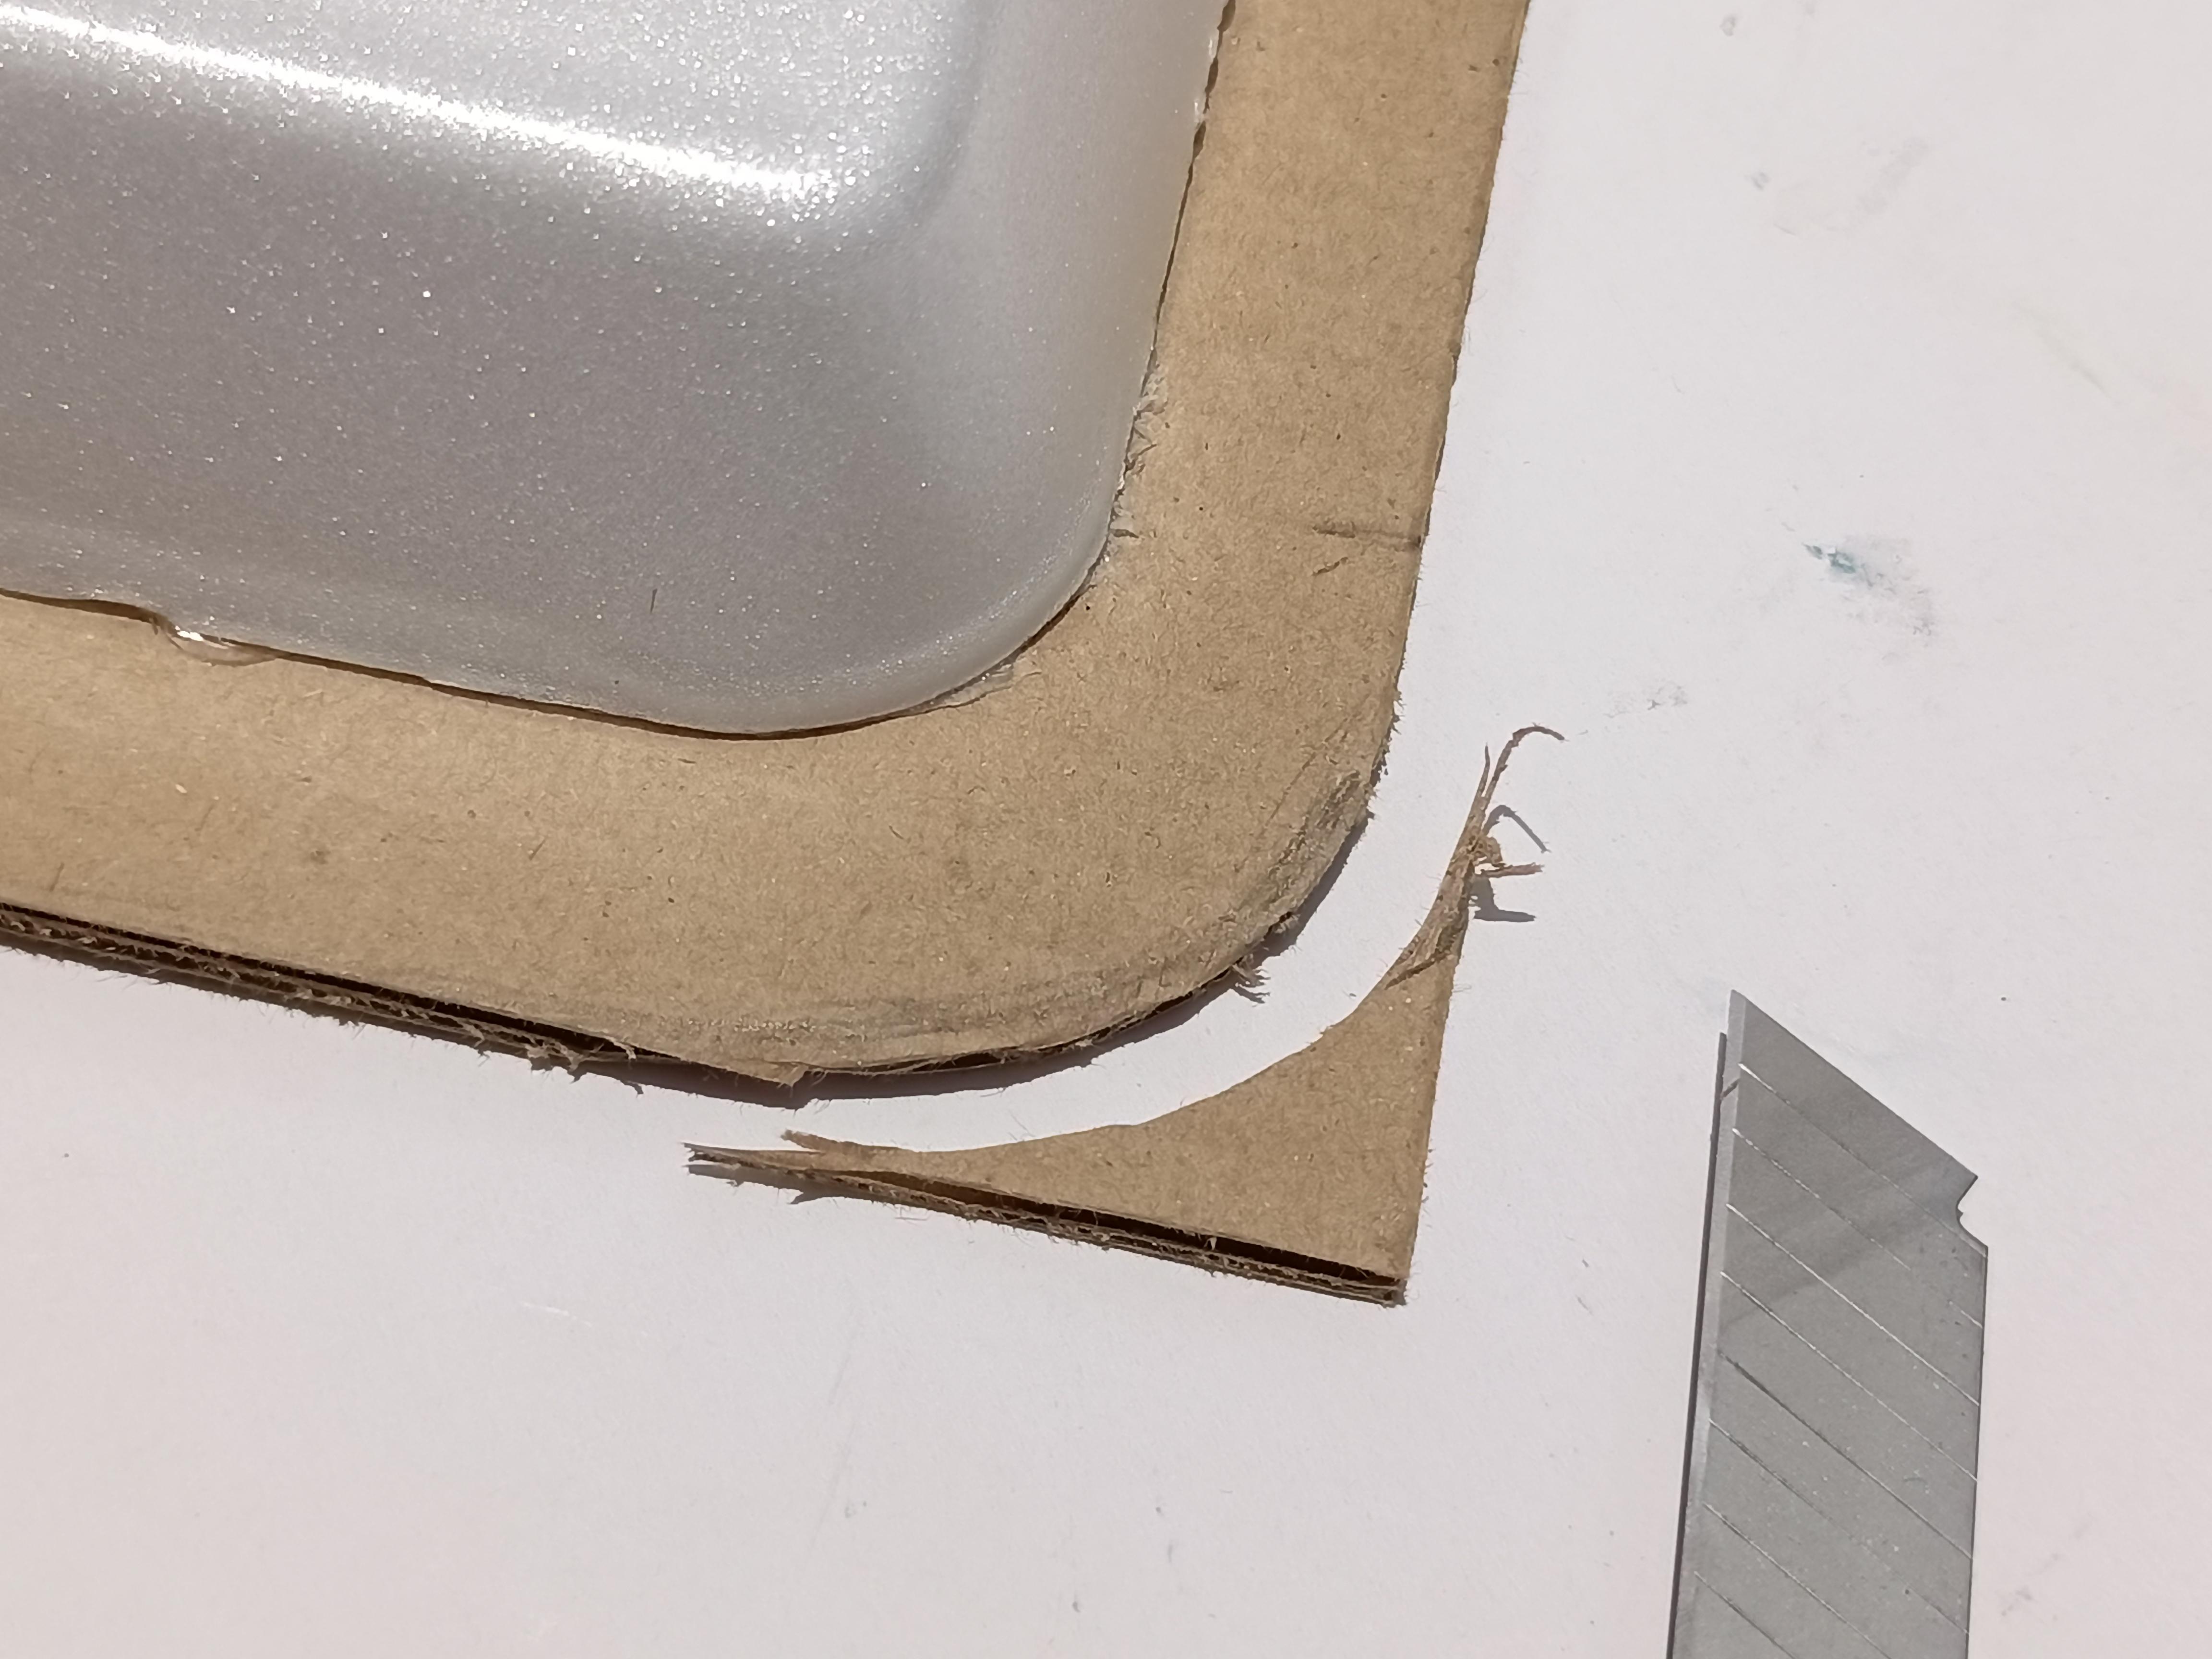
Trim excess and corner edges carefully
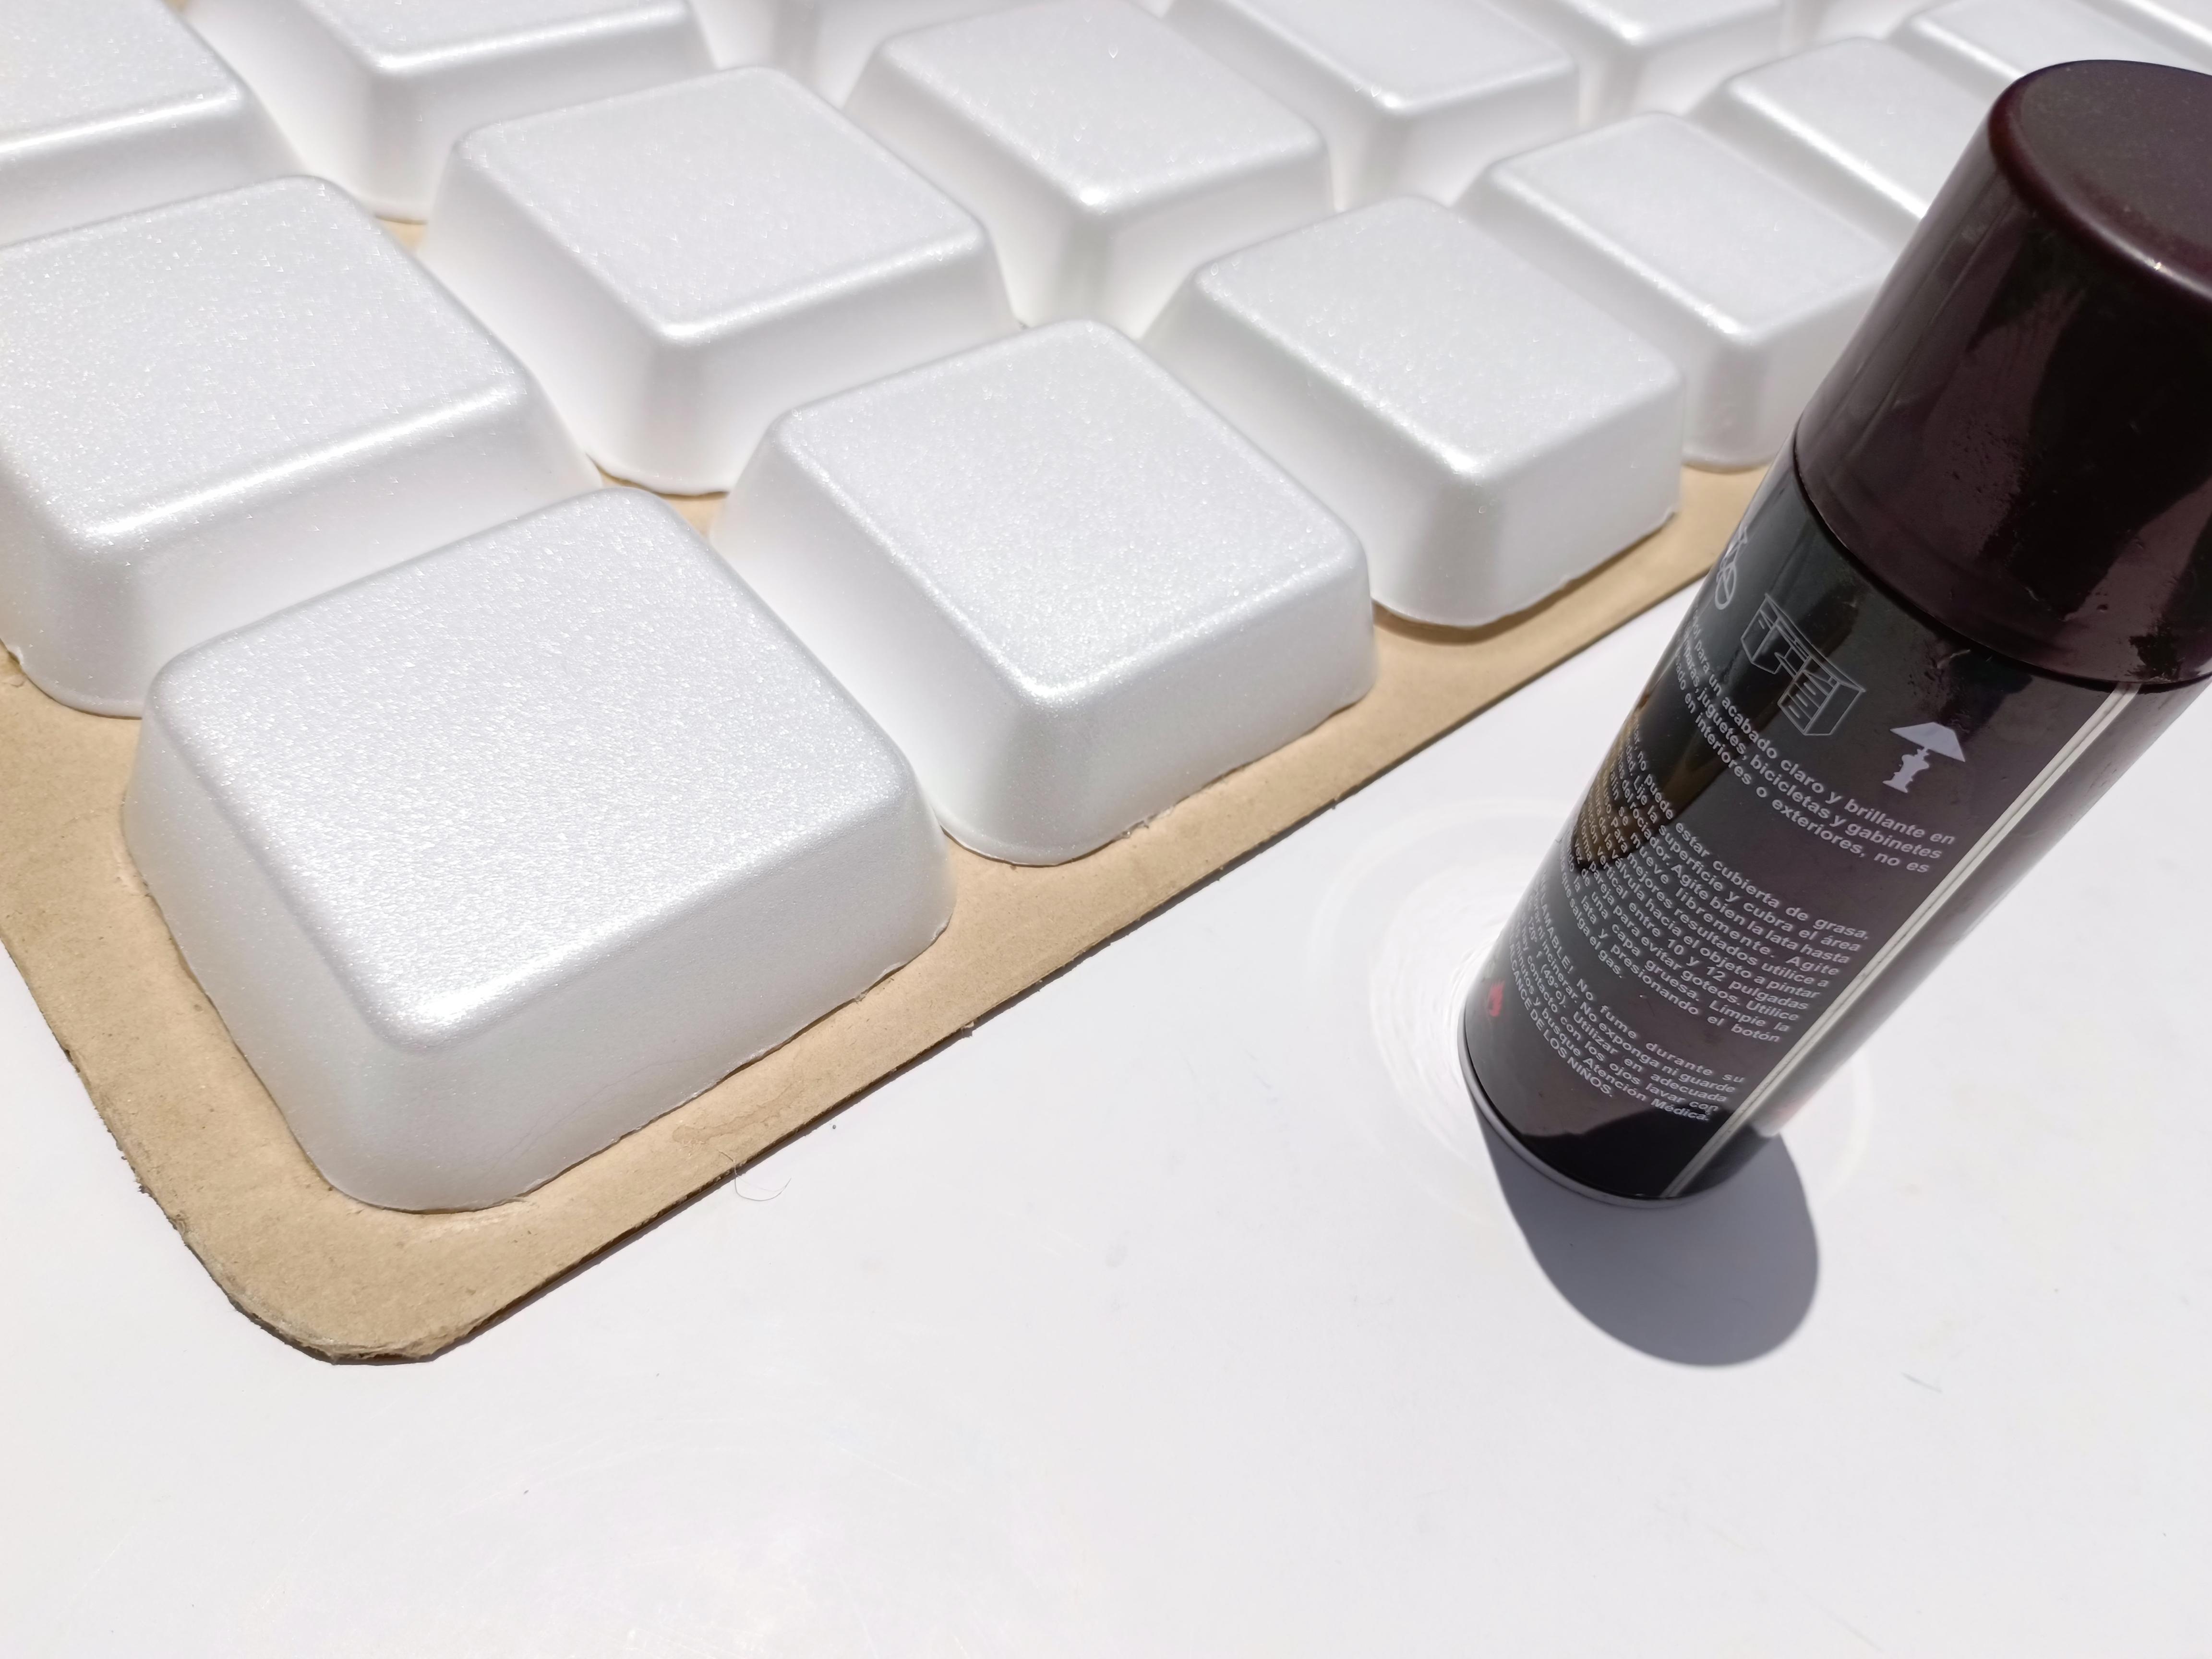

Now let's prepare the painting area. To avoid damaging your house or staining the area around your work area, place some plastic or cardboard to protect the walls. If you can do the painting process outdoors, I recommend it.


The chocolate bar will come half covered so you only need to paint 12 squares, although if you want it to be a display you can paint the whole thing, in my case I decided to save on paint.
To apply the paint we must retreat at least 20 cm and apply quick bursts to the burger boxes and cardboard, taking into account that the composition of the paint can damage the material, but if you do the process well what you will obtain will be a chocolate texture.
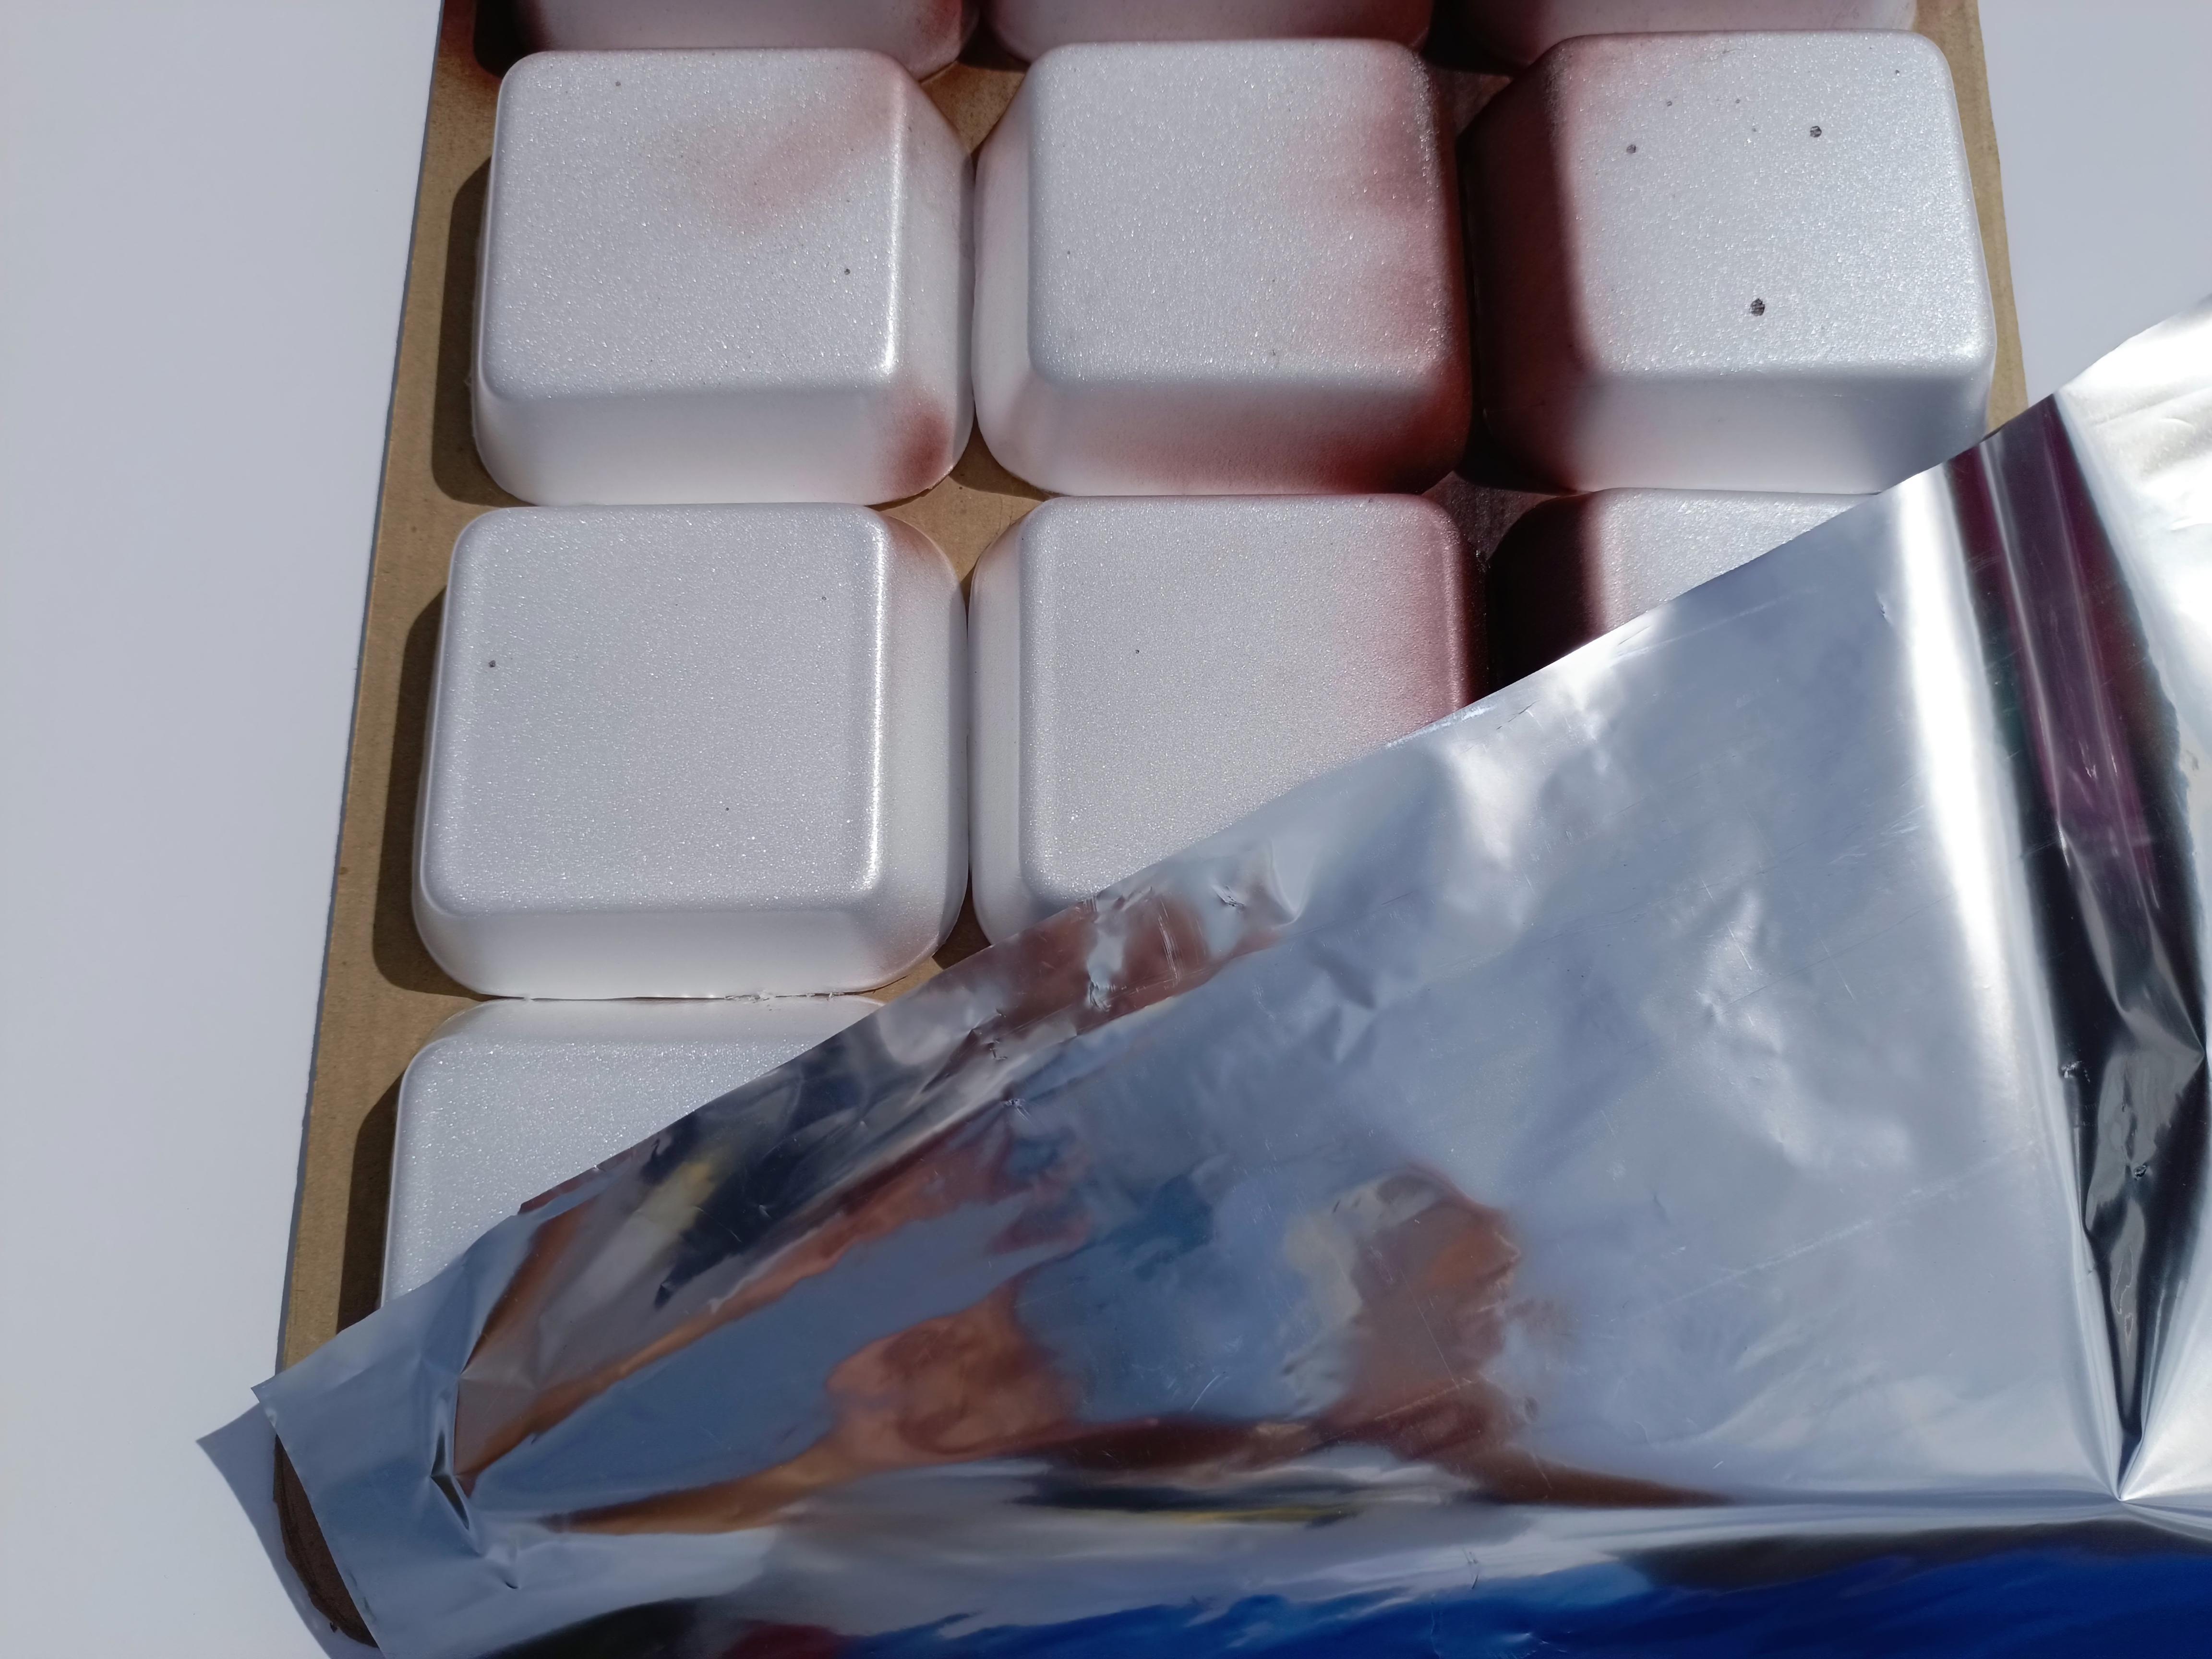


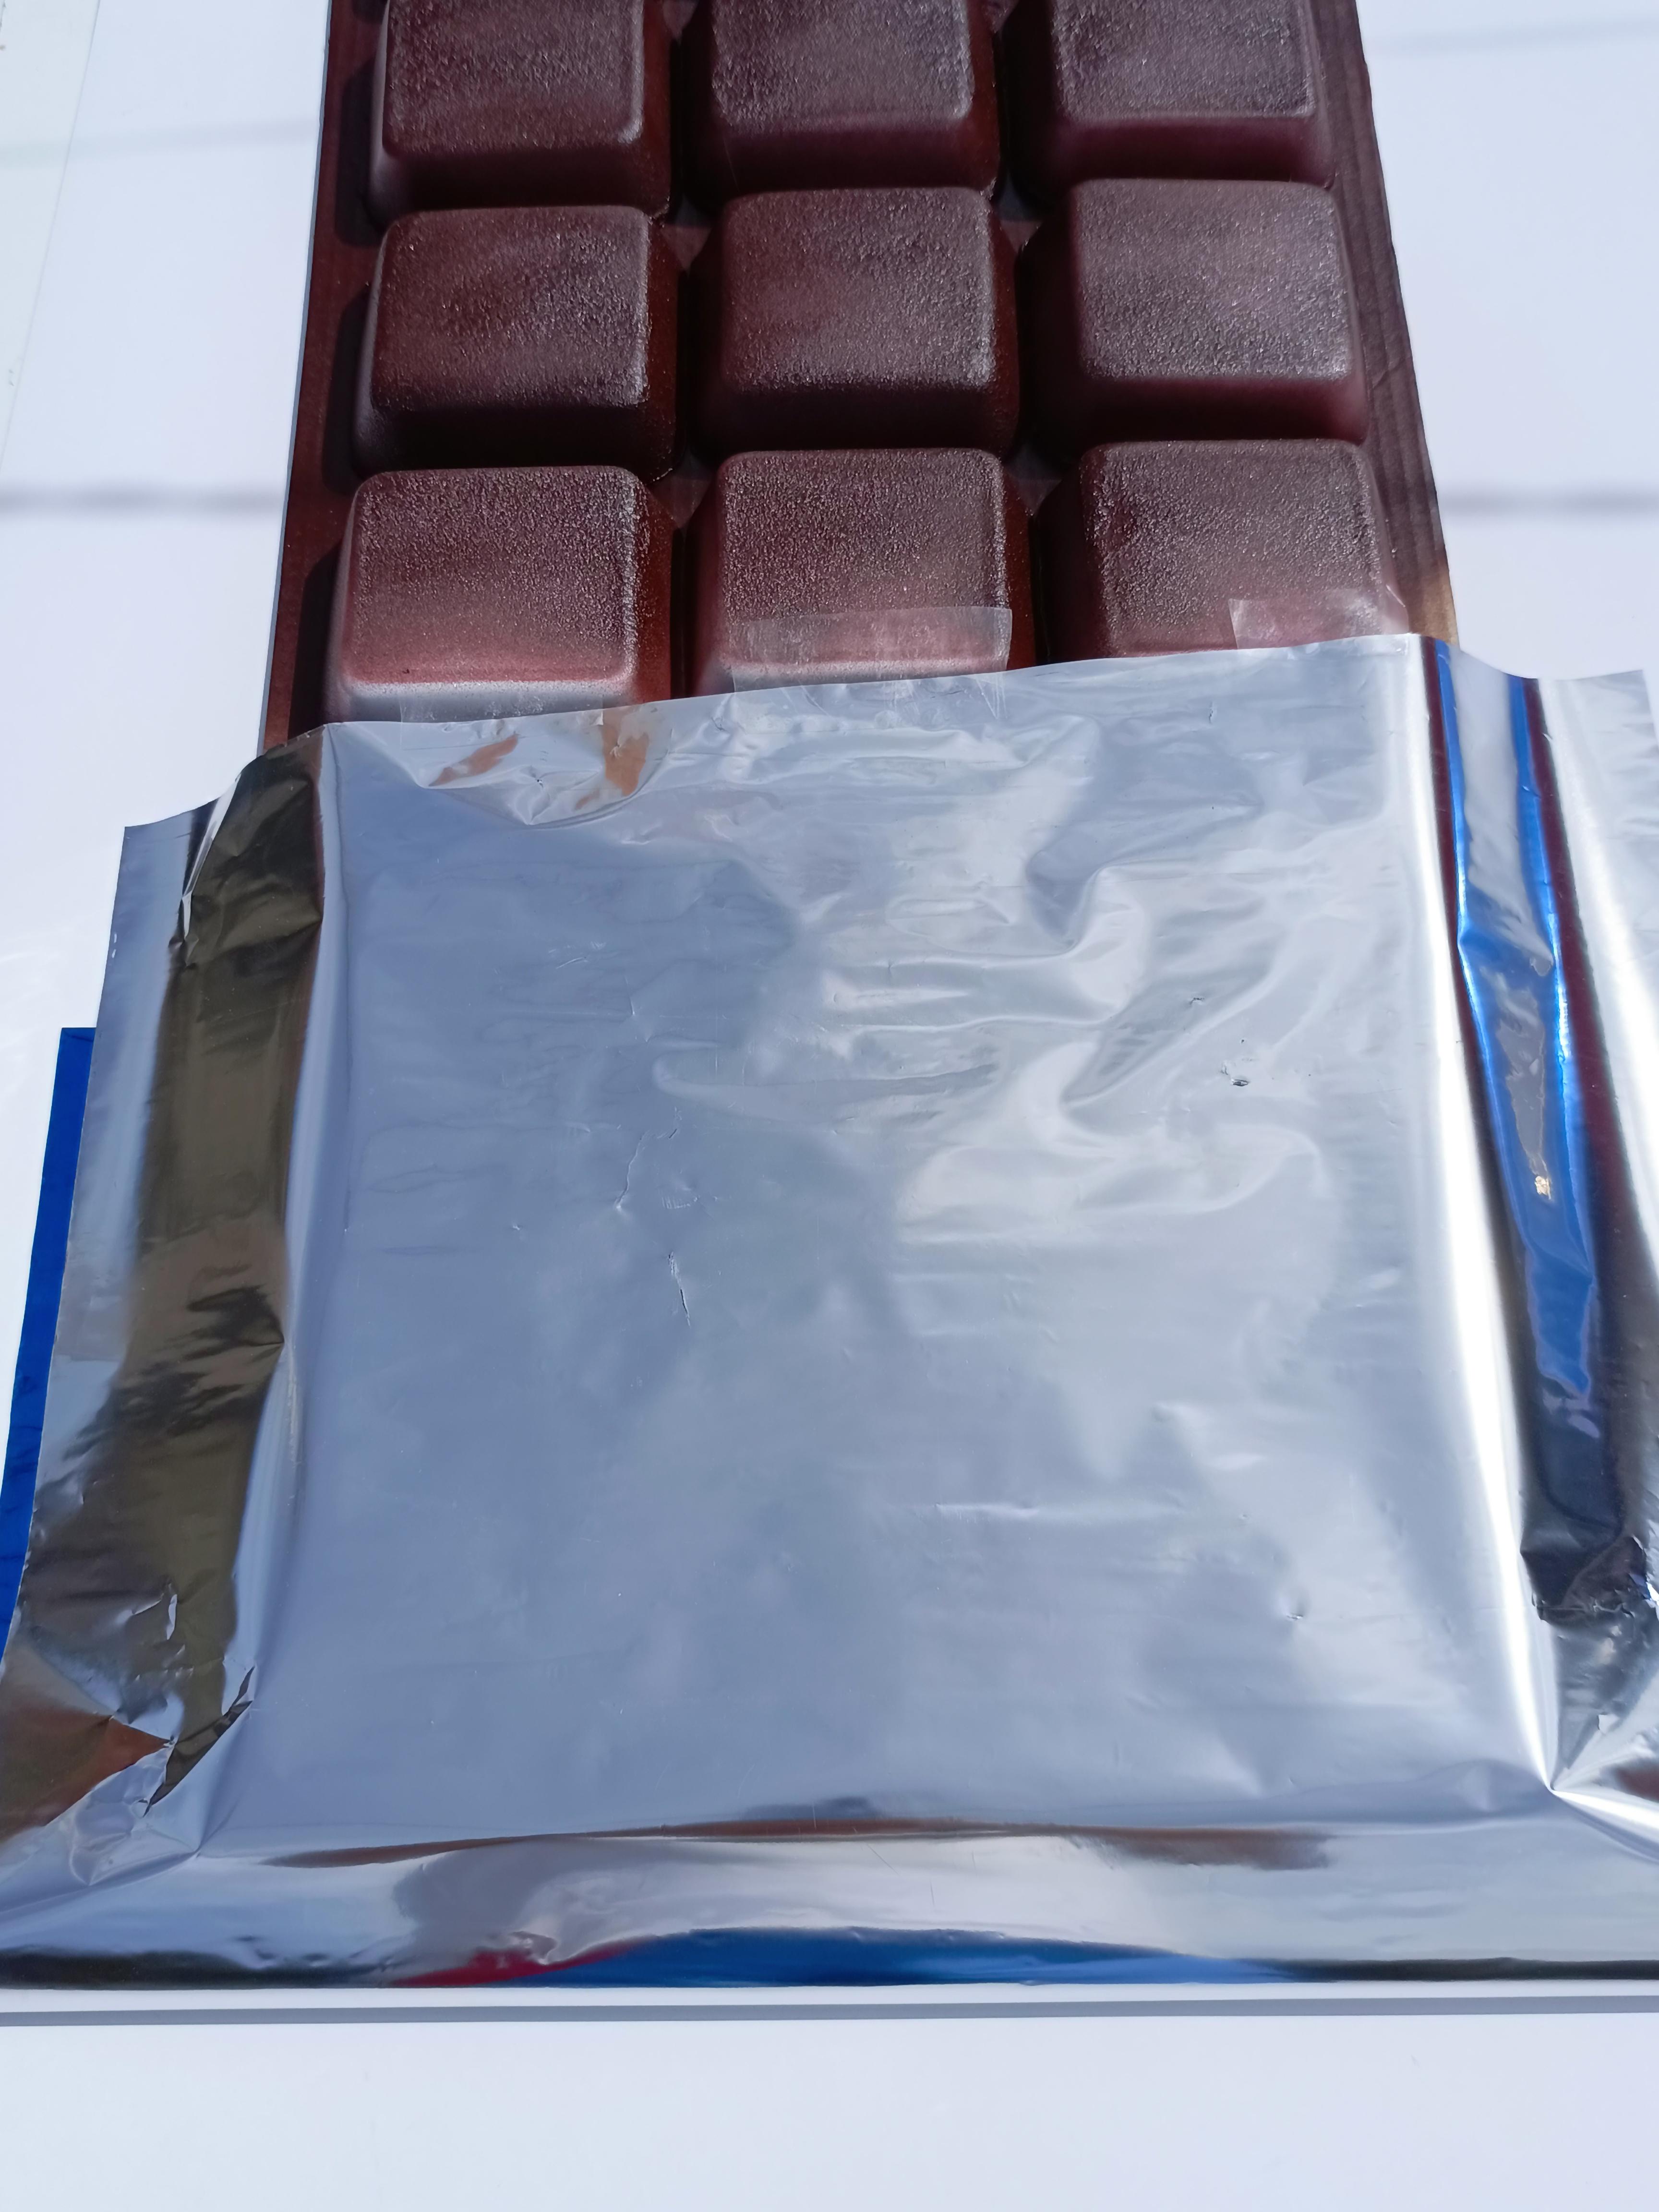
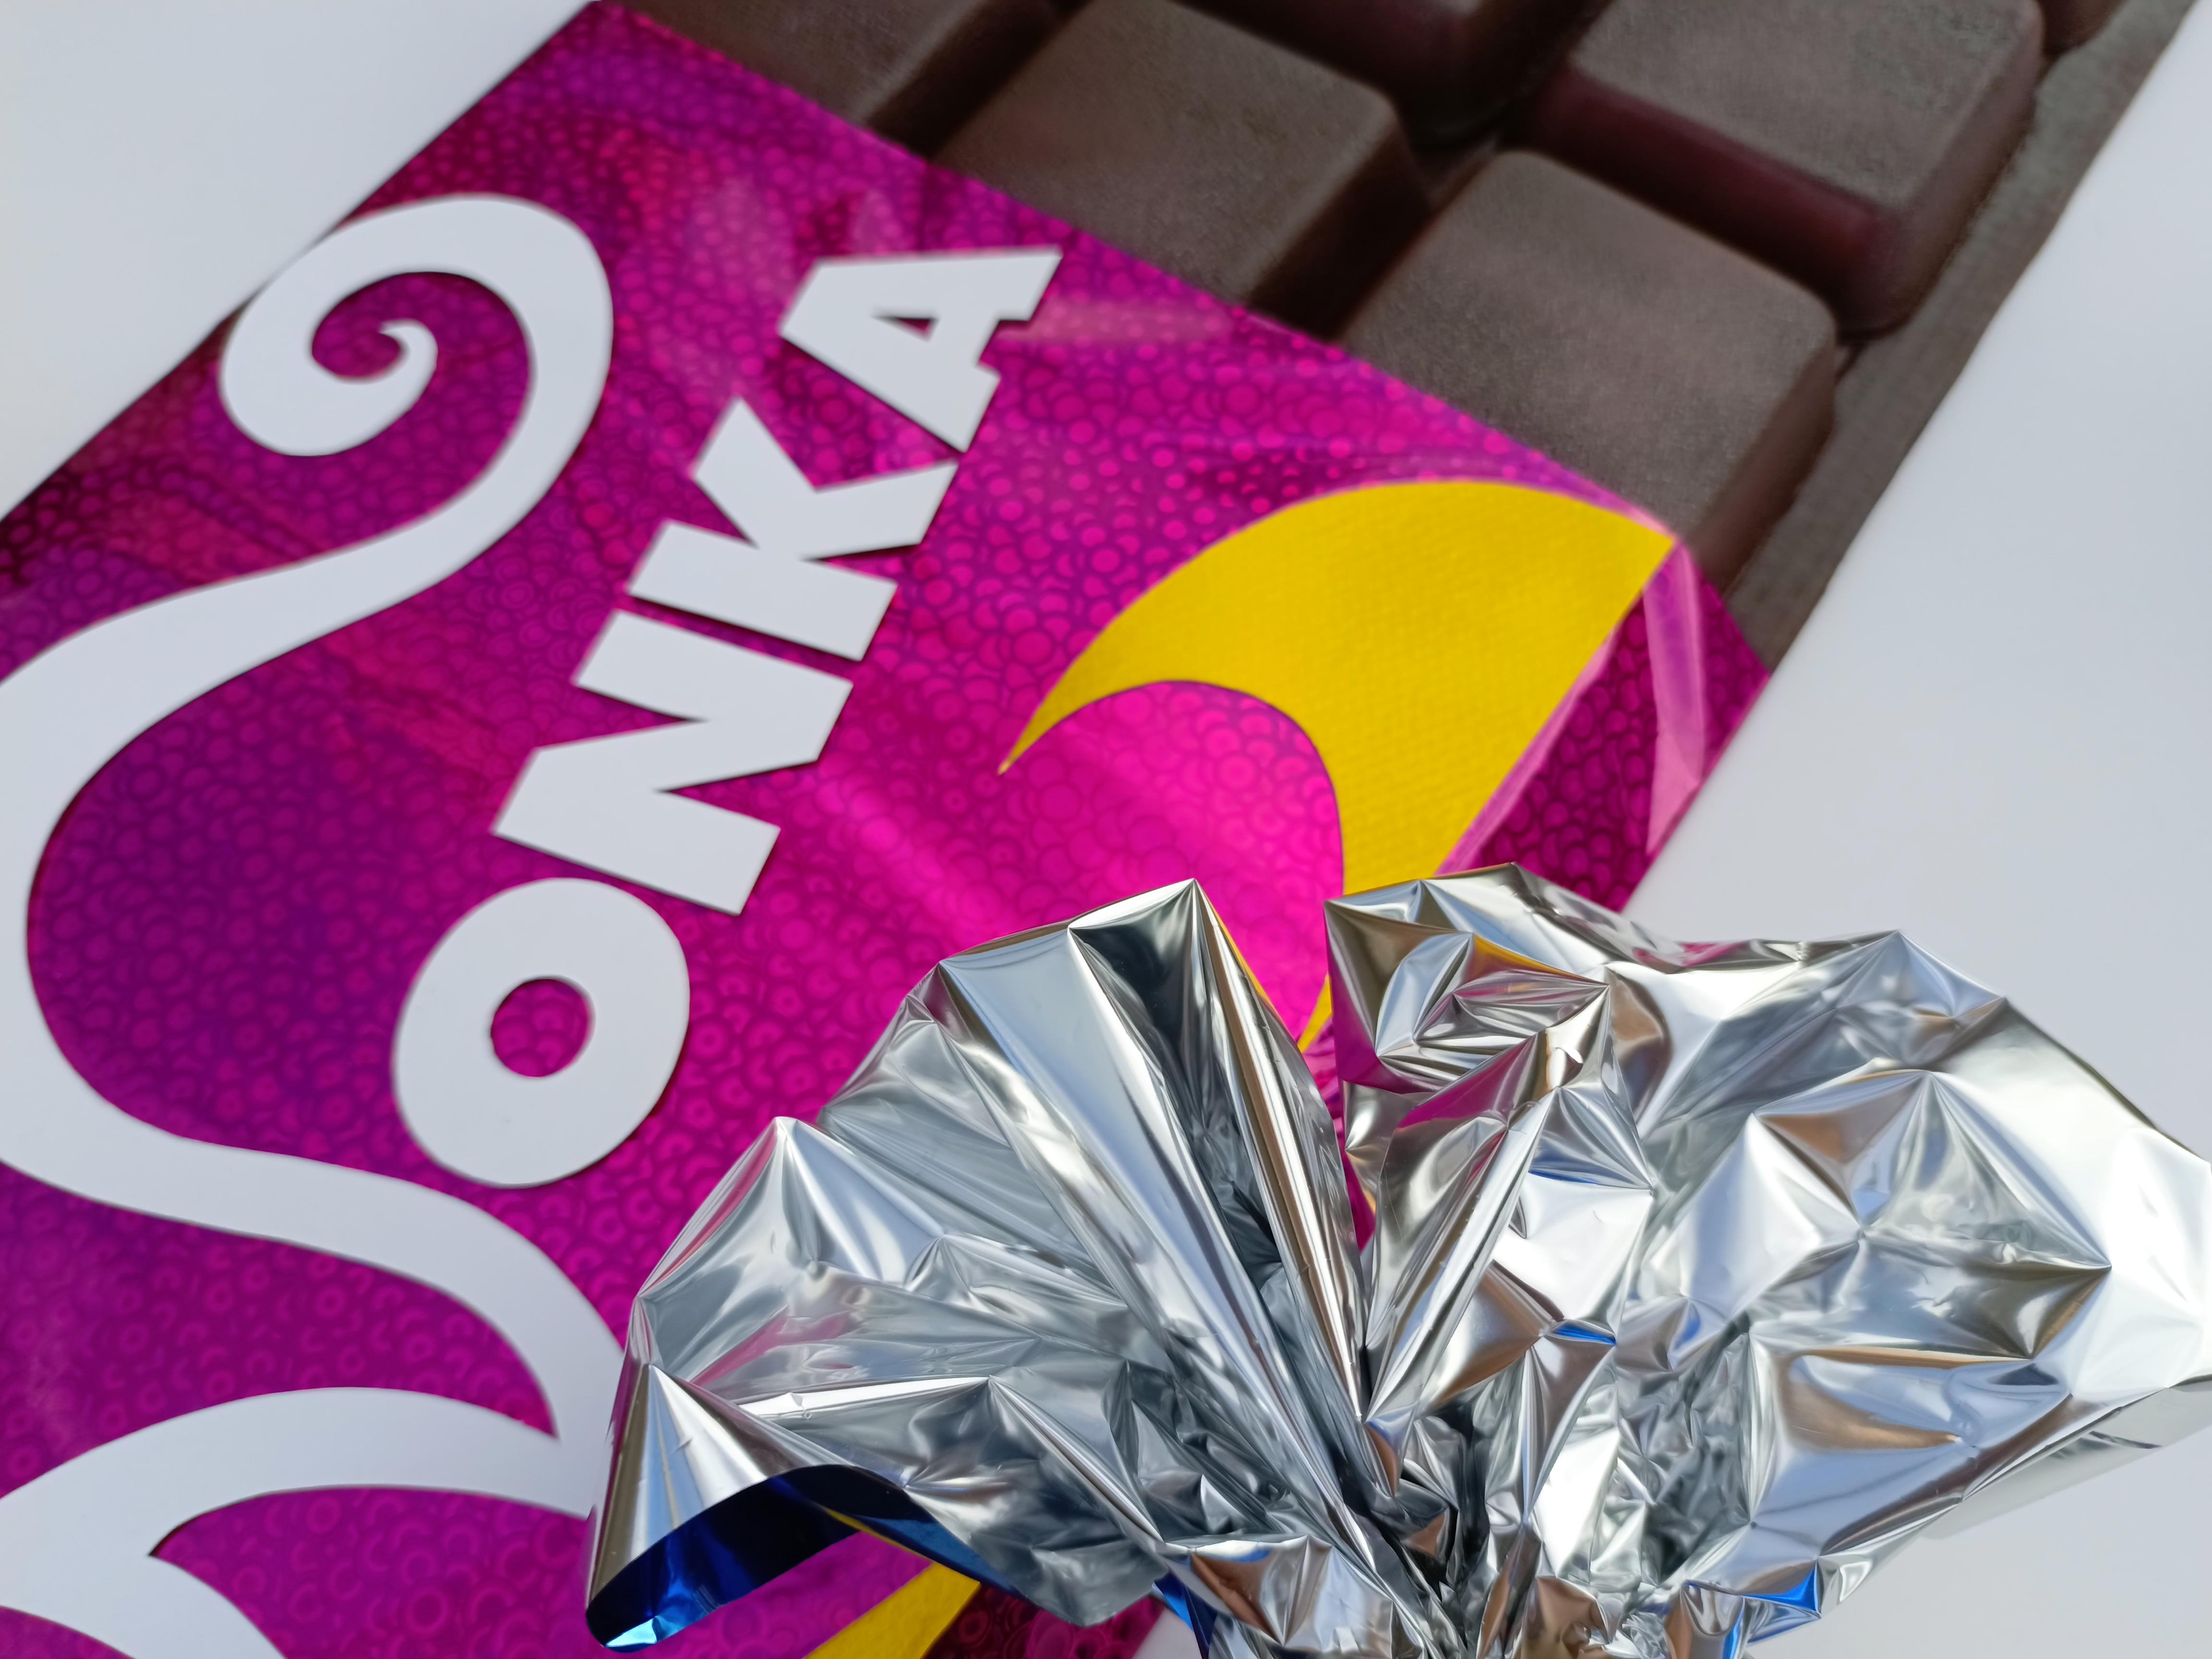
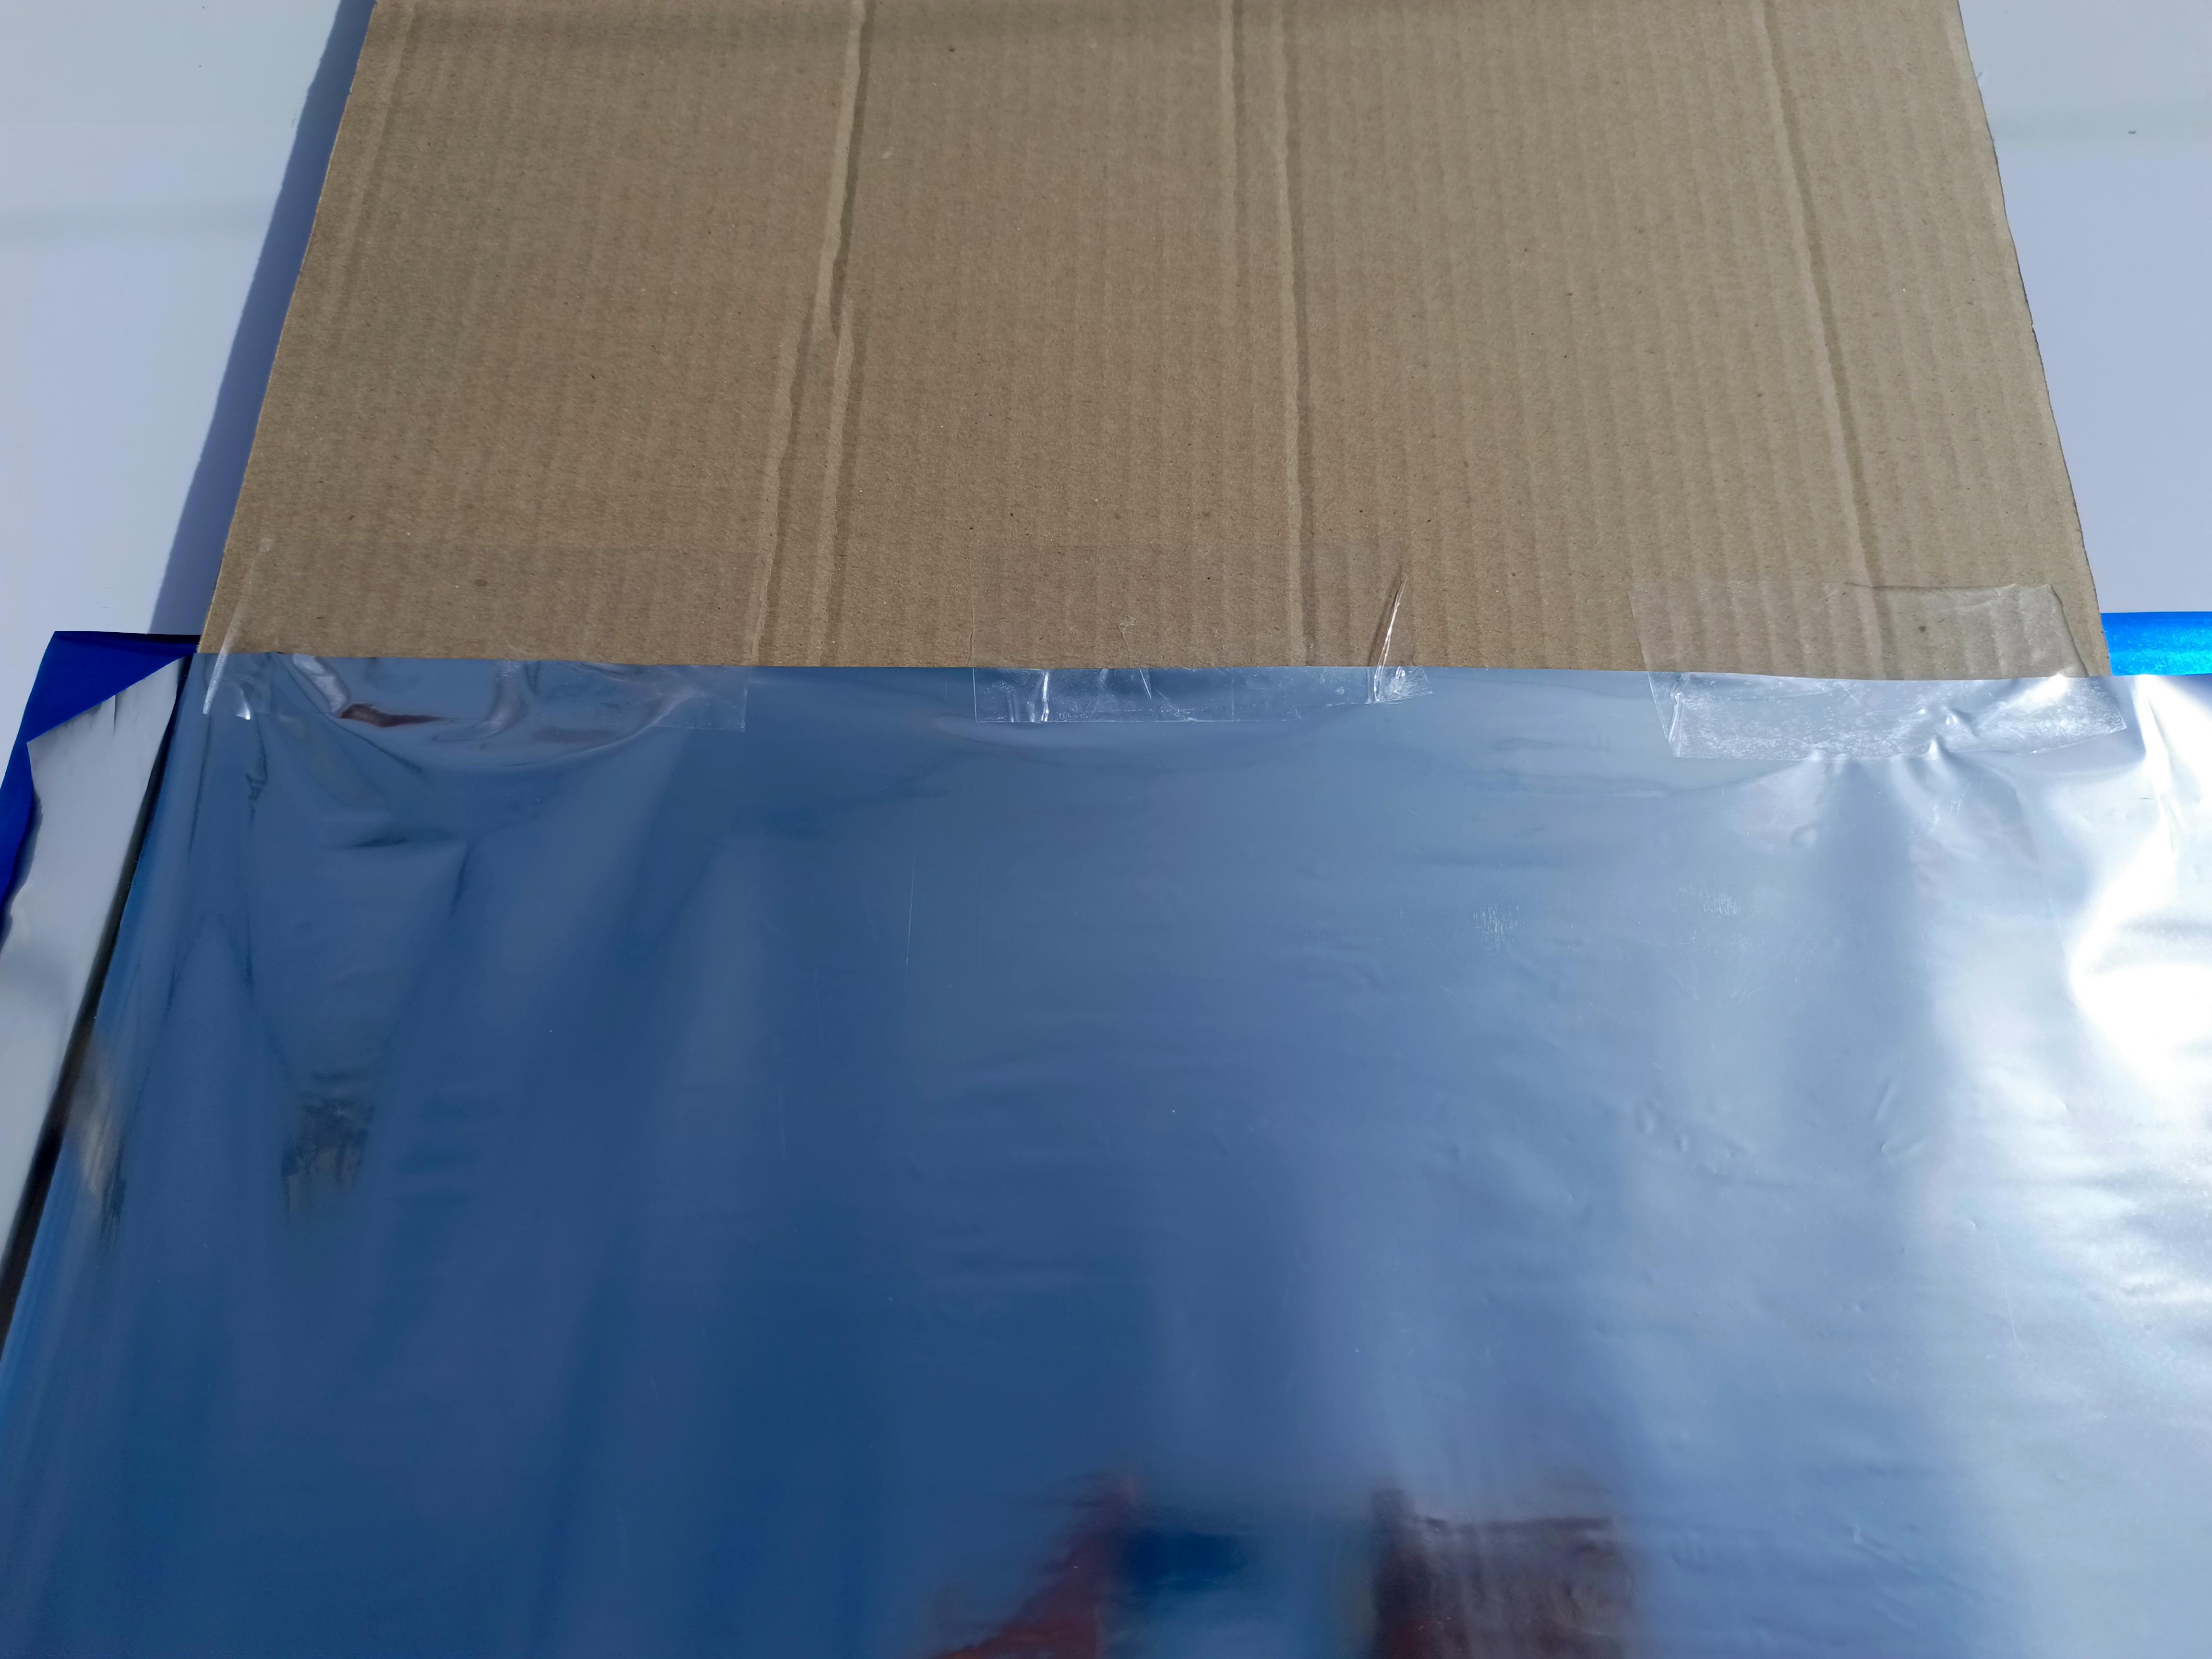
Now we will do the packaging of the chocolate bar, first we will use aluminum foil or silver wrapping paper to cover the base of the chocolate bar.
Use clear tape to secure the paper on both sides of the chocolate bar.
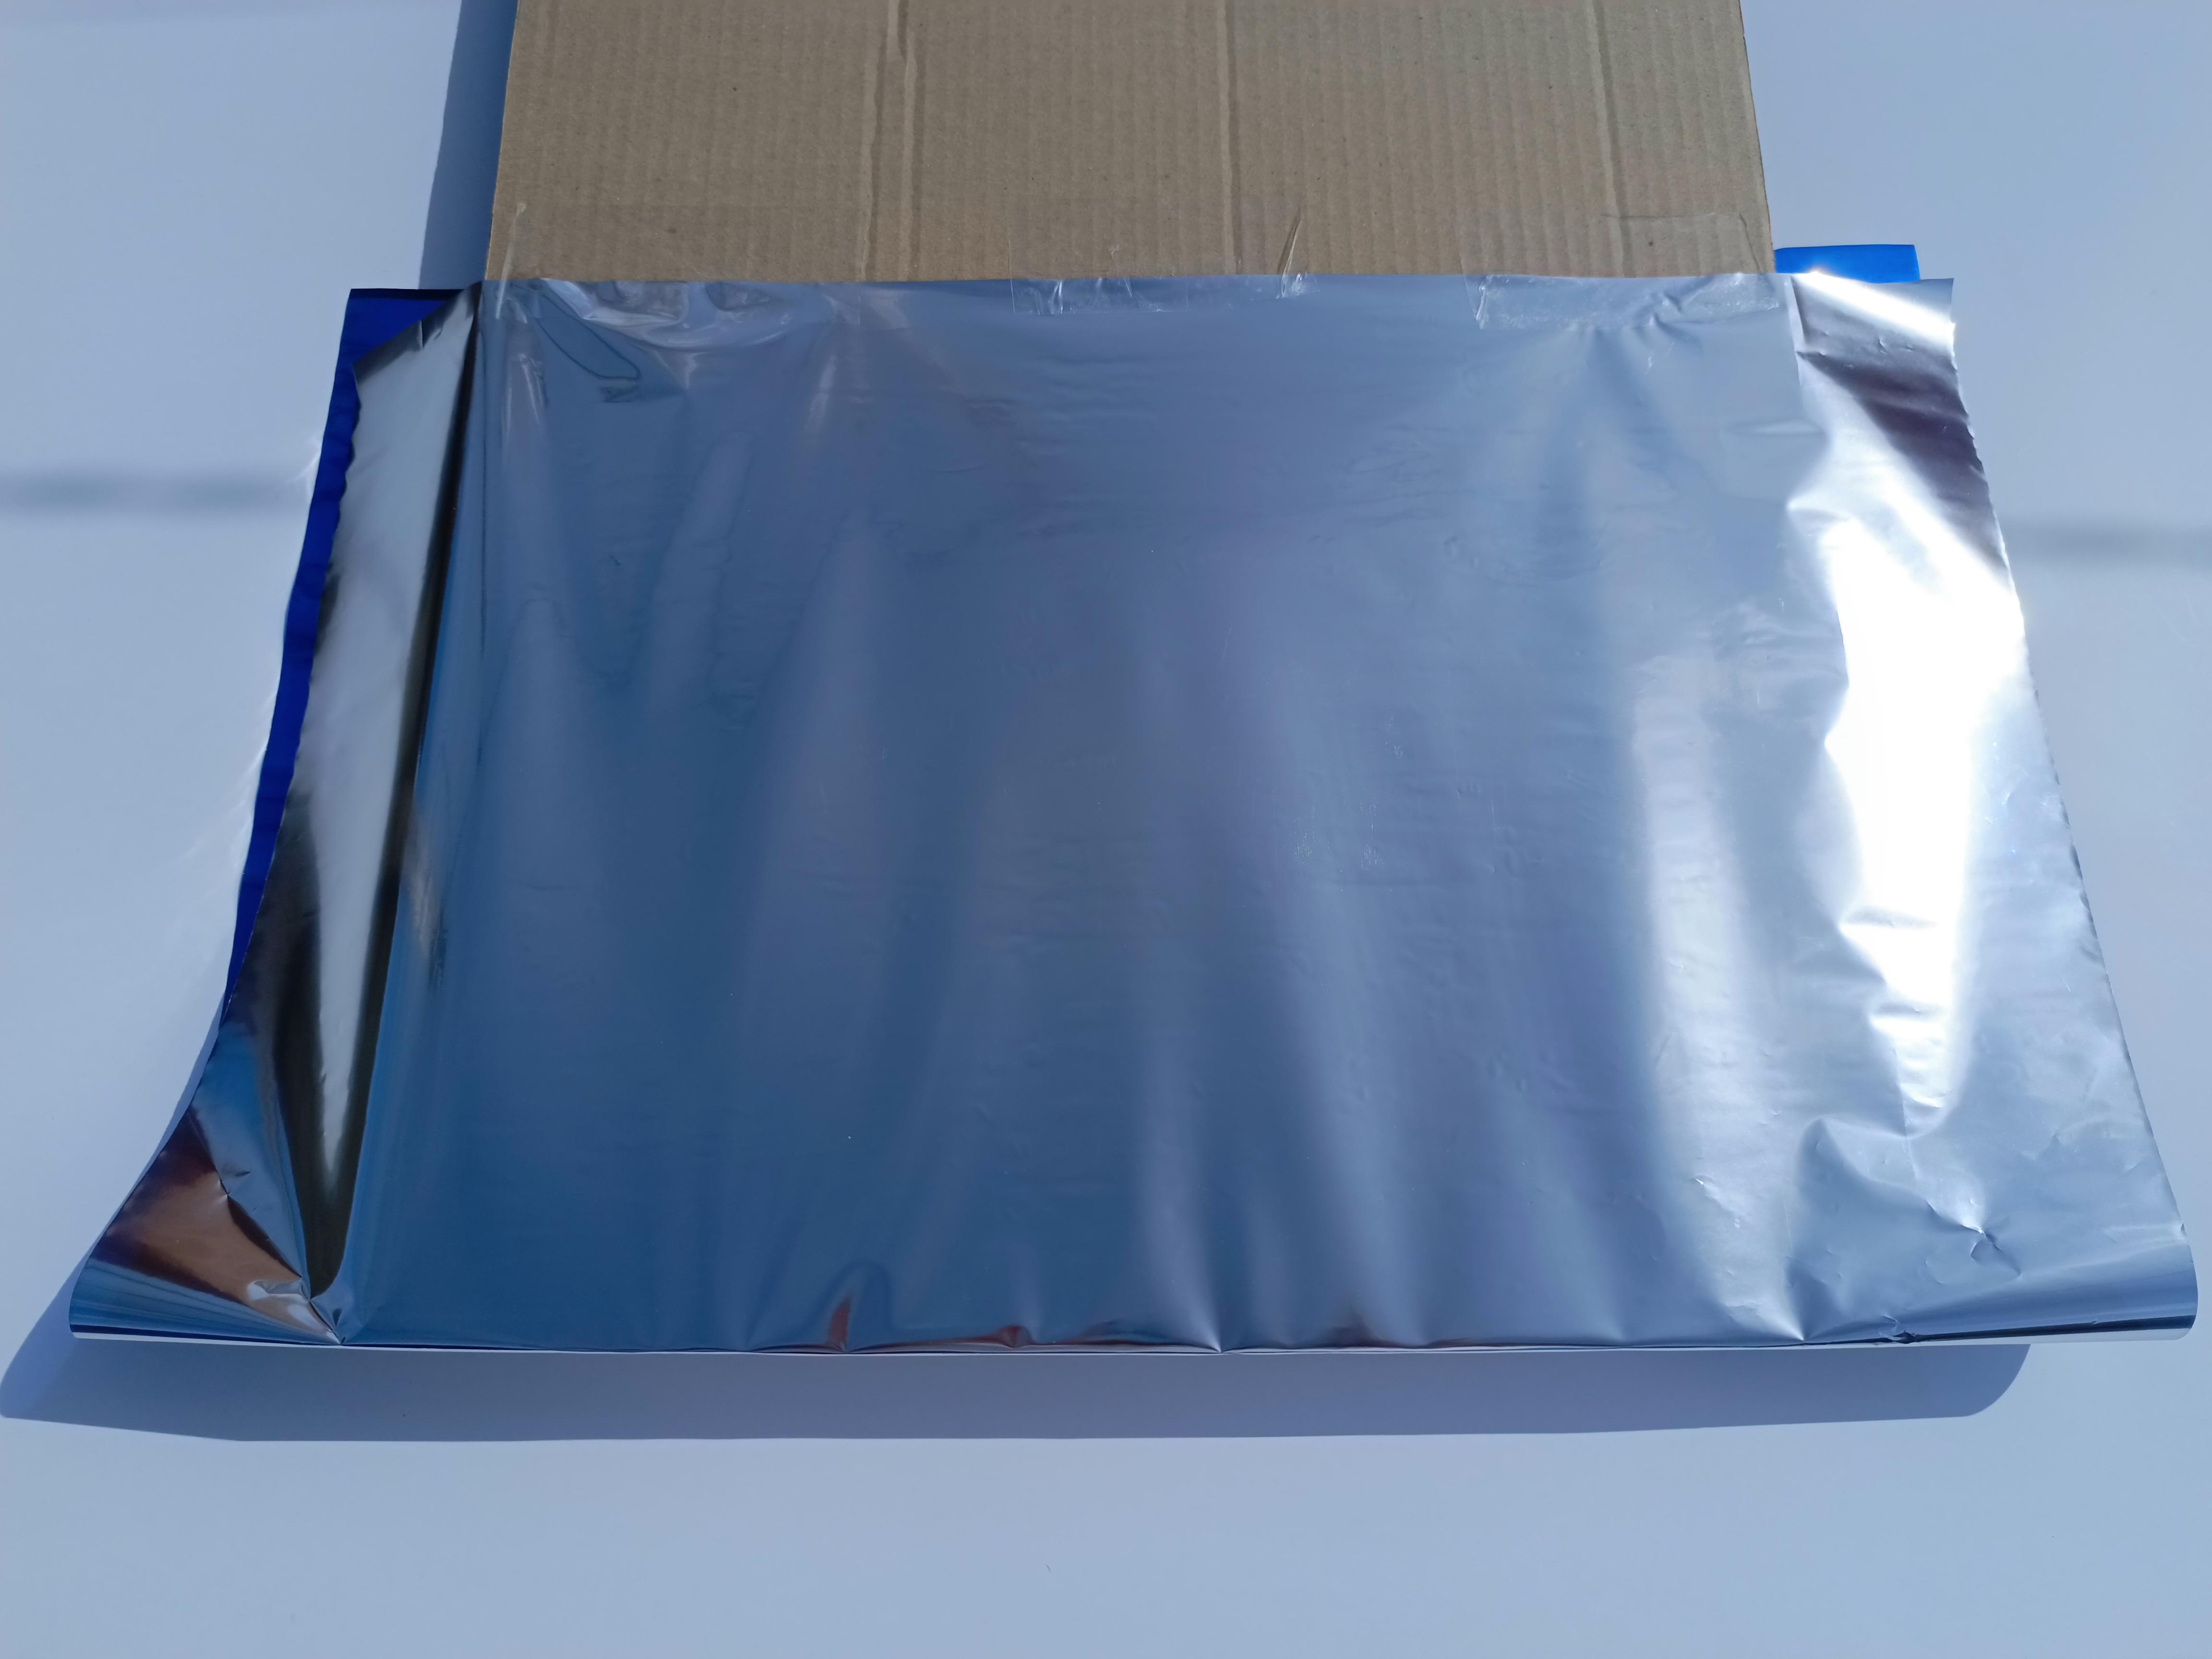
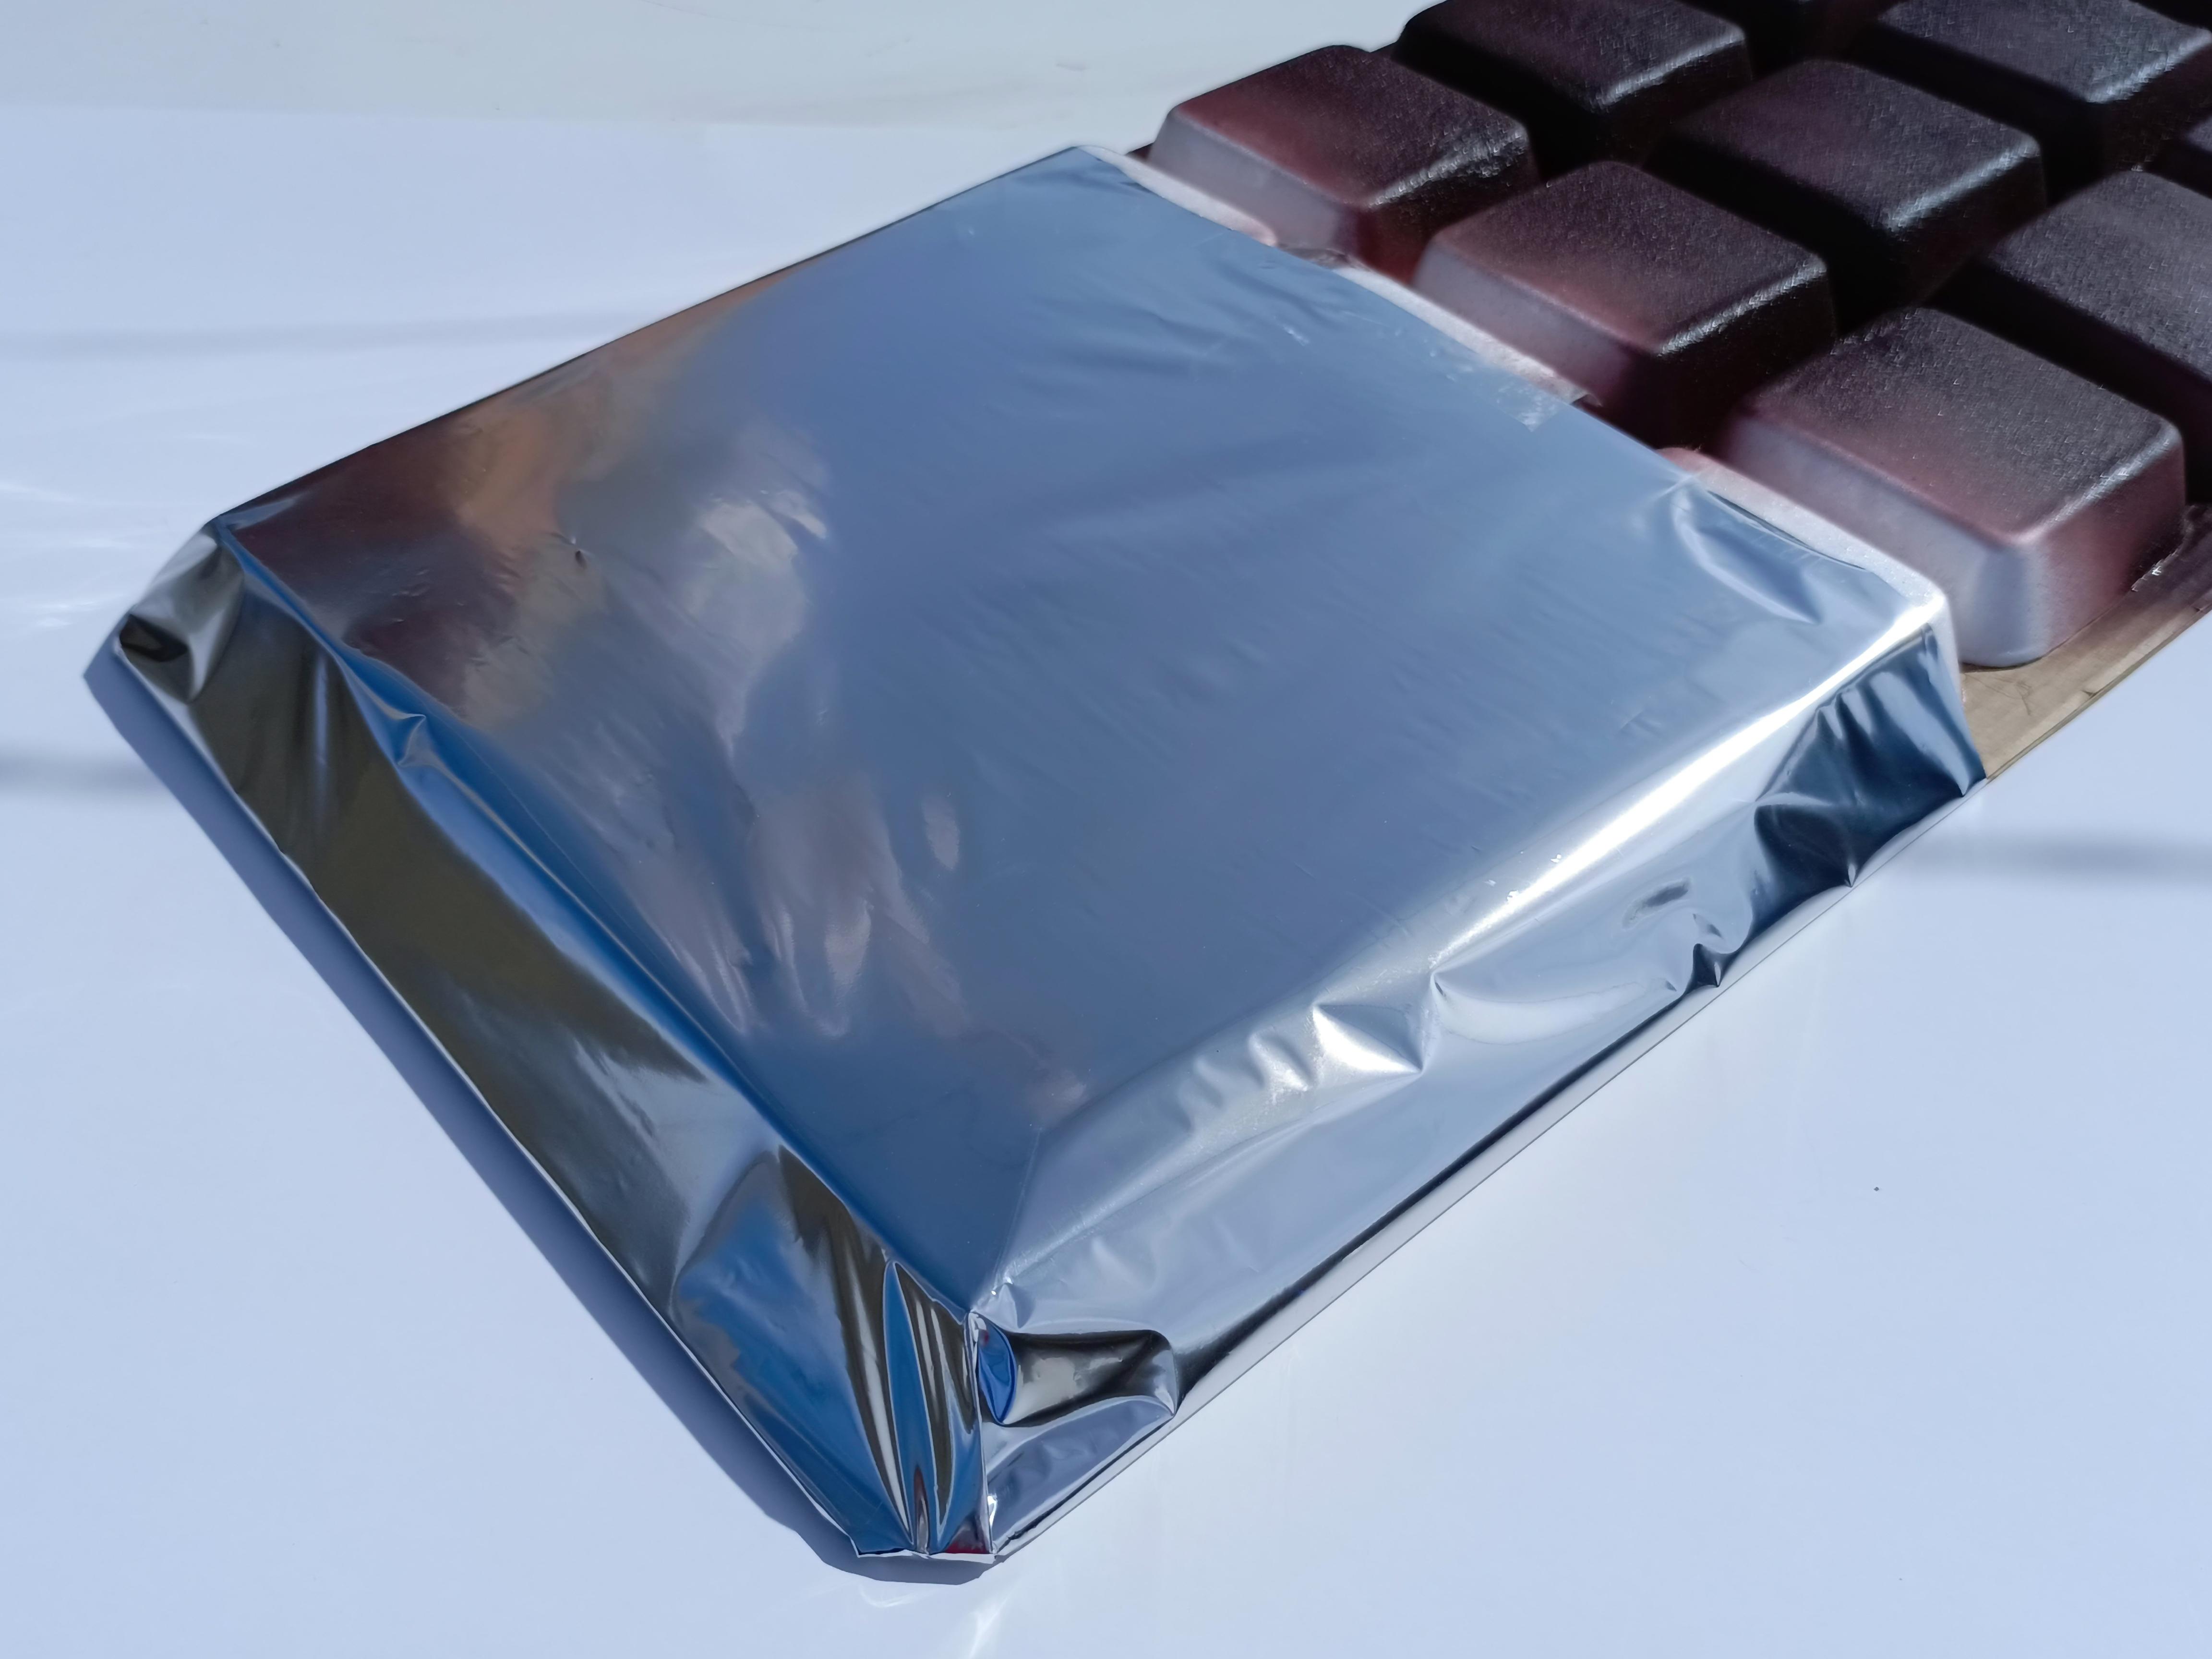
Then, in the same way you would wrap a gift, adjust the side tabs inwards to hide them and seal the base of the package.


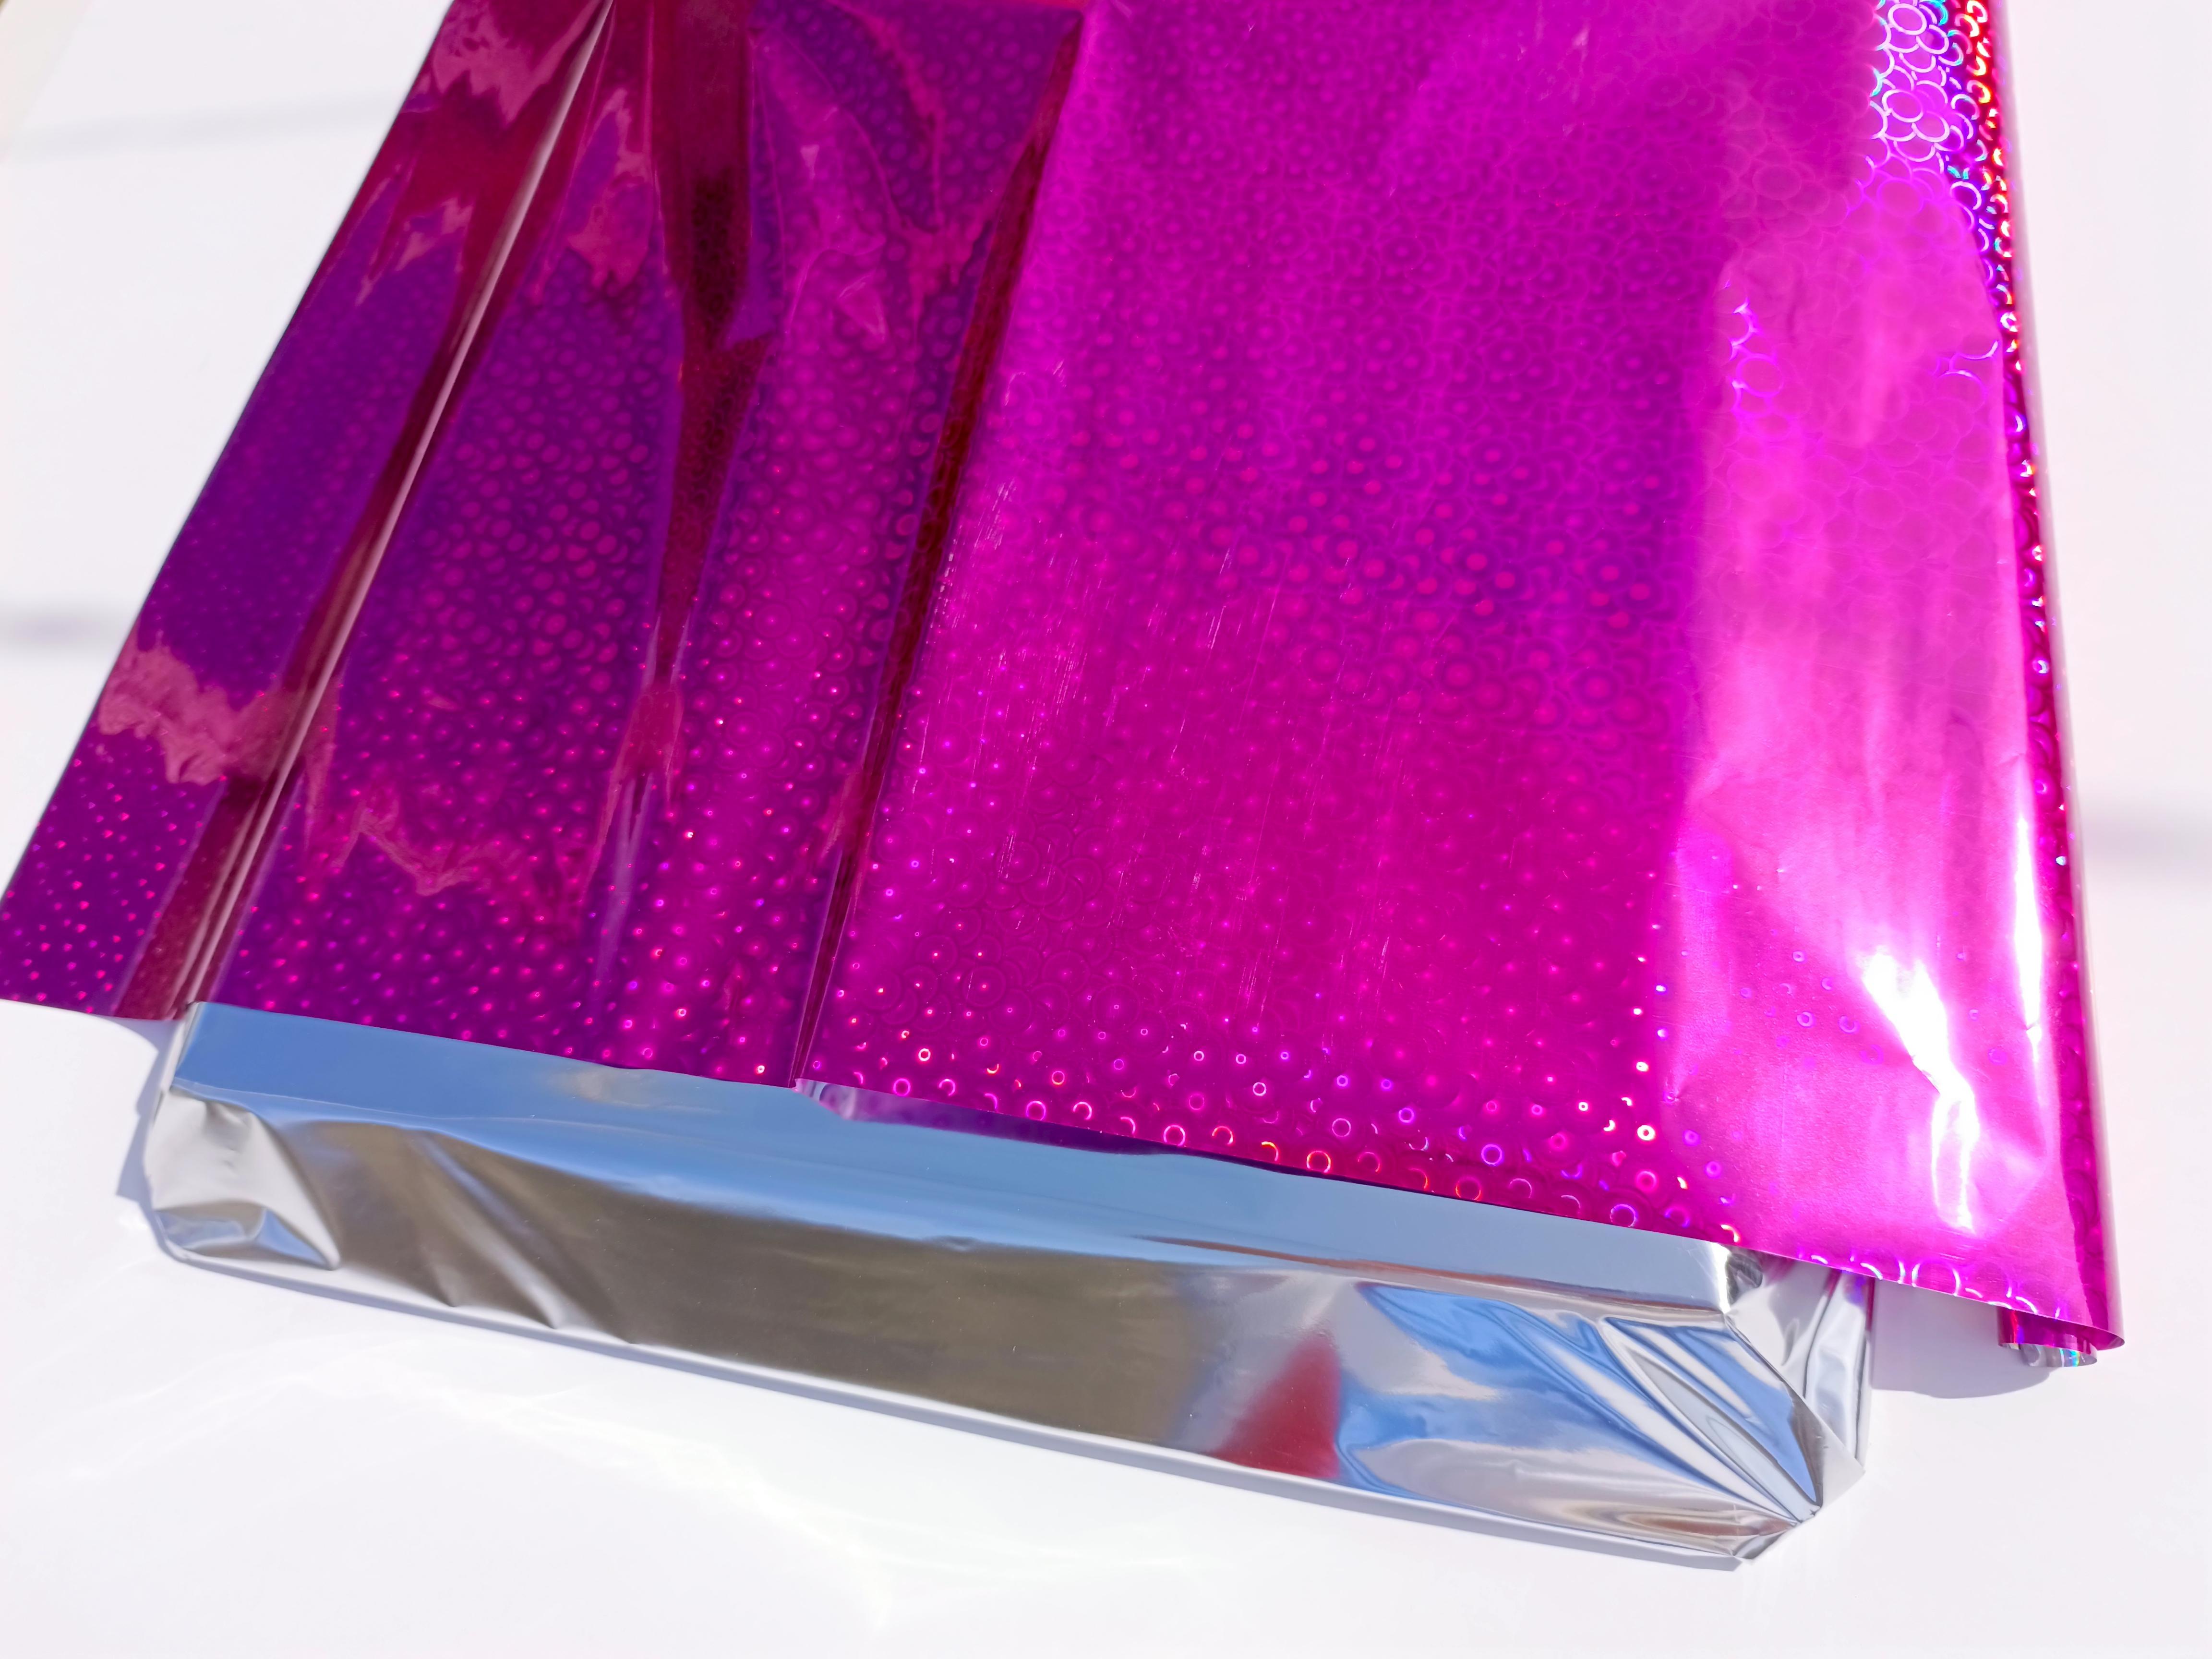
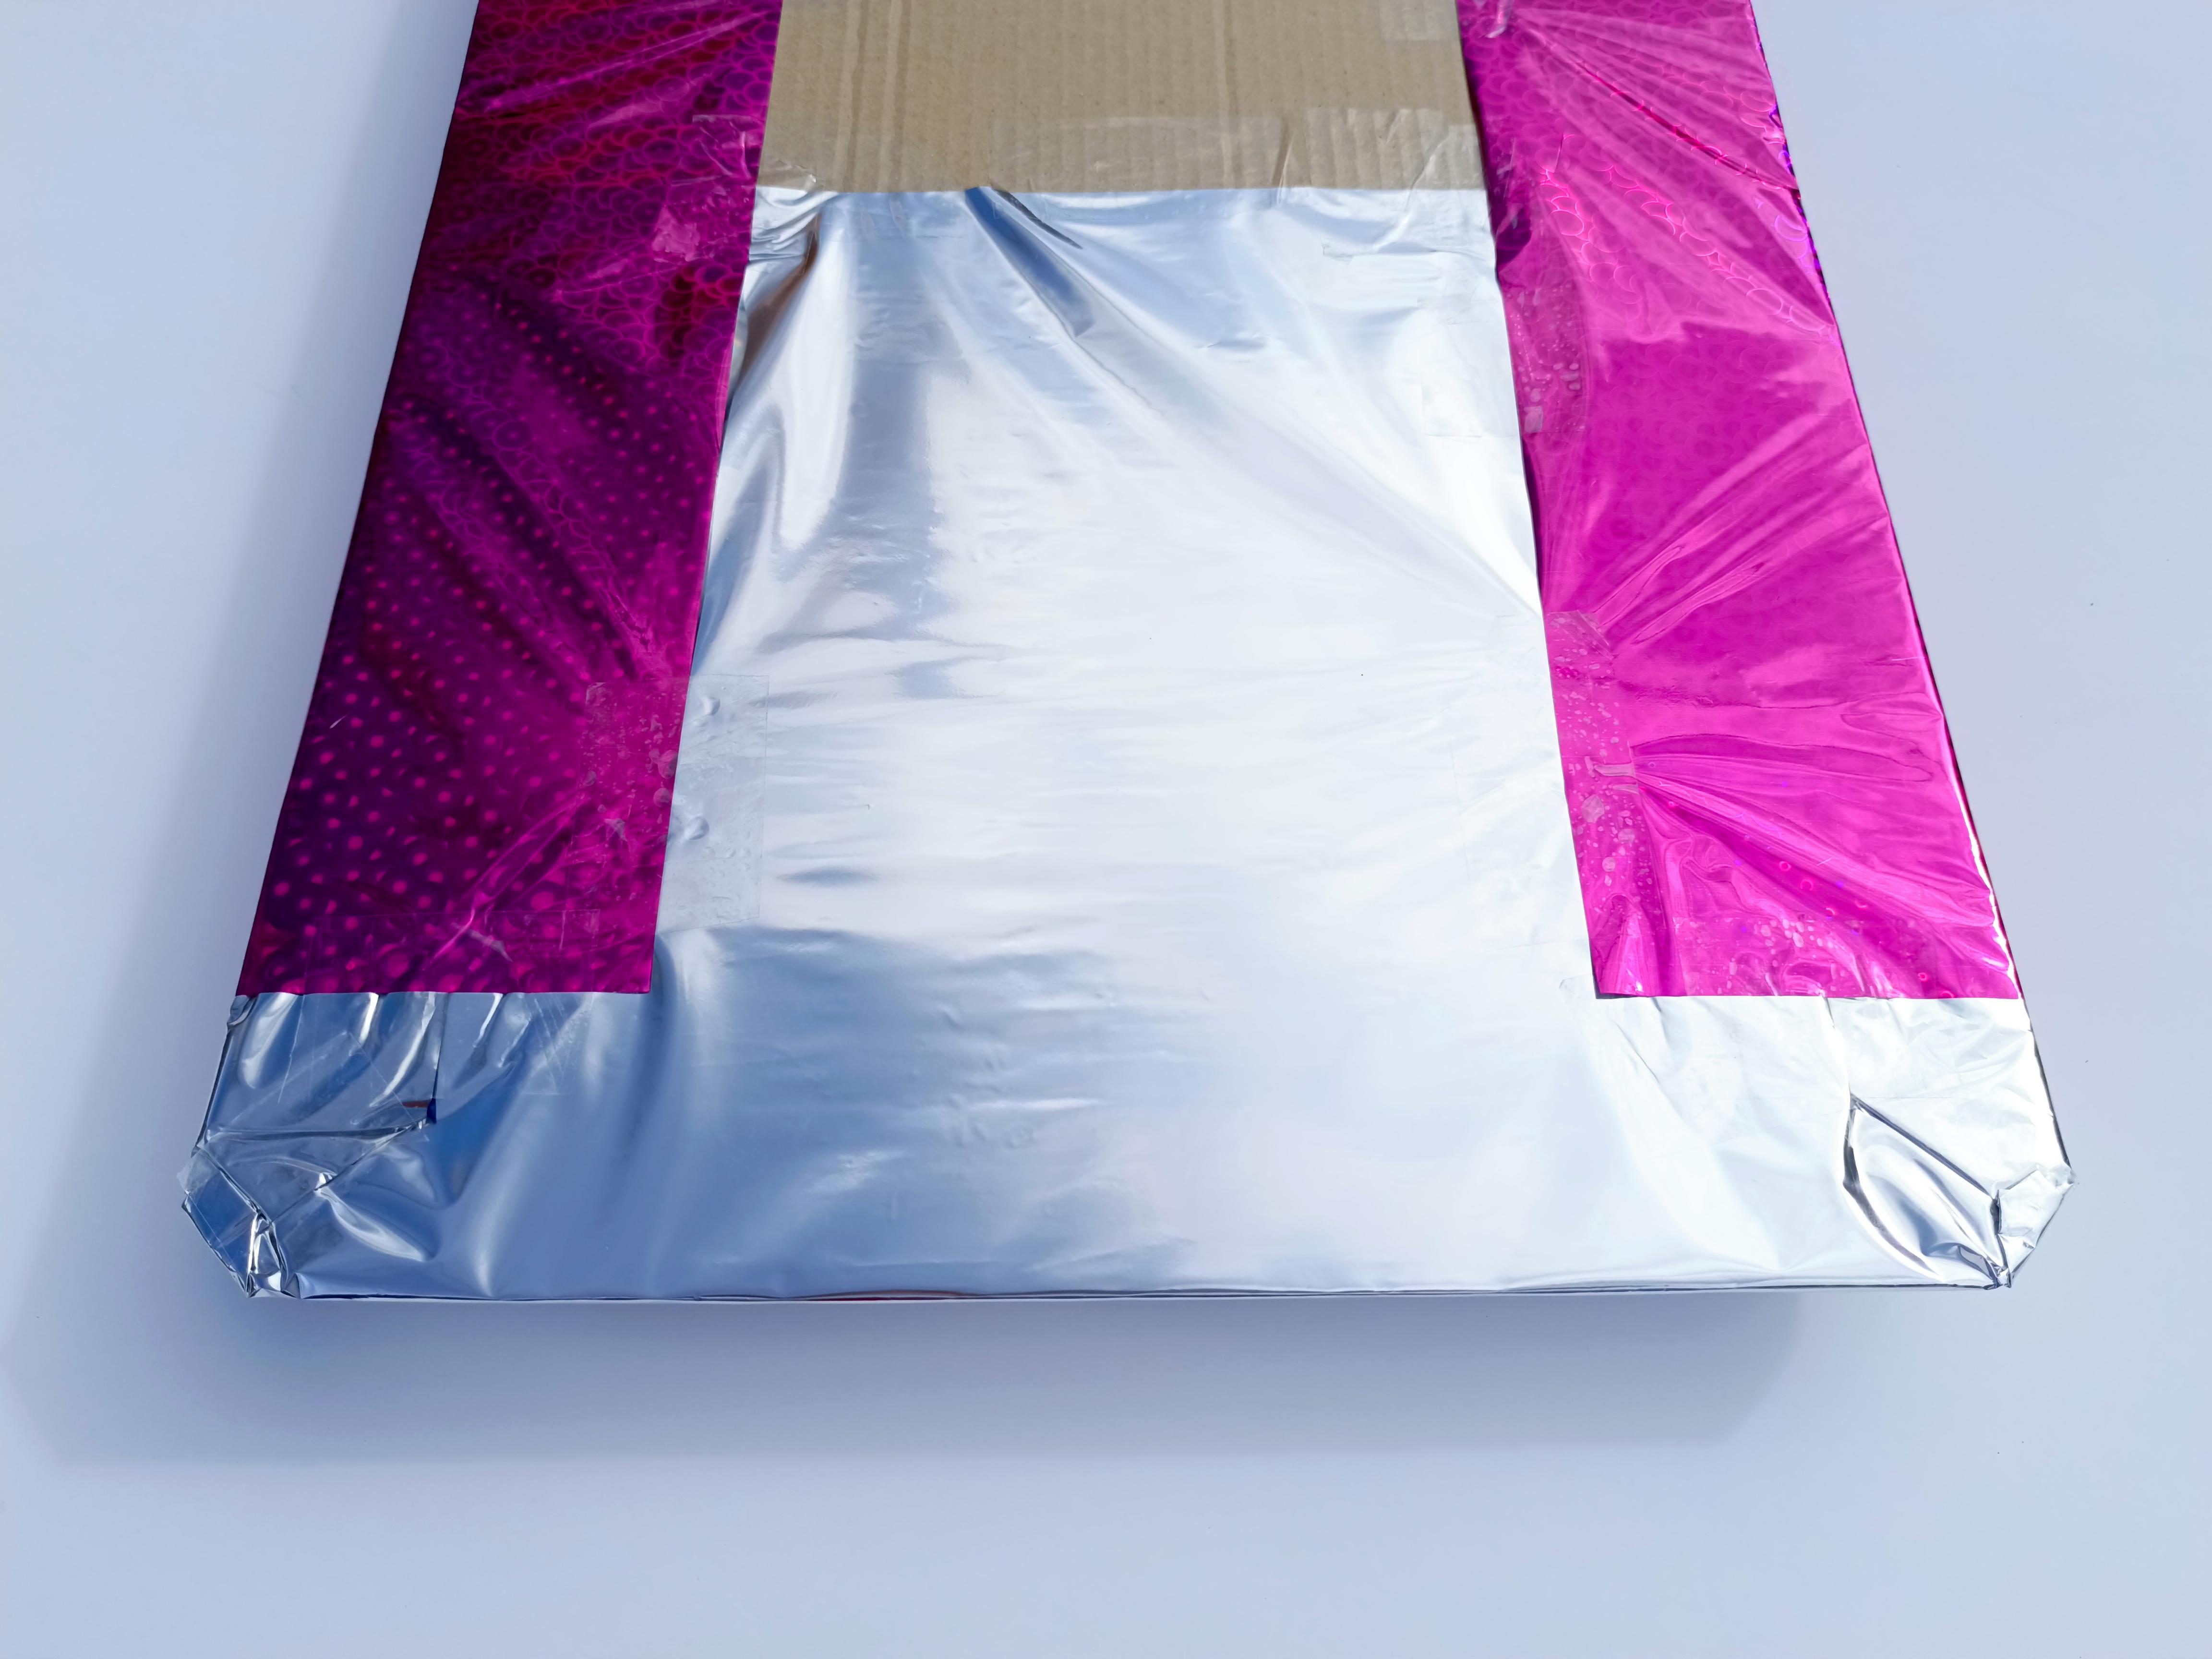
Repeat the action with the shiny pink paper, this will serve as the base of the main label
Apply the necessary tape so that everything stays in place, but do it discreetly so as not to leave at first glance.
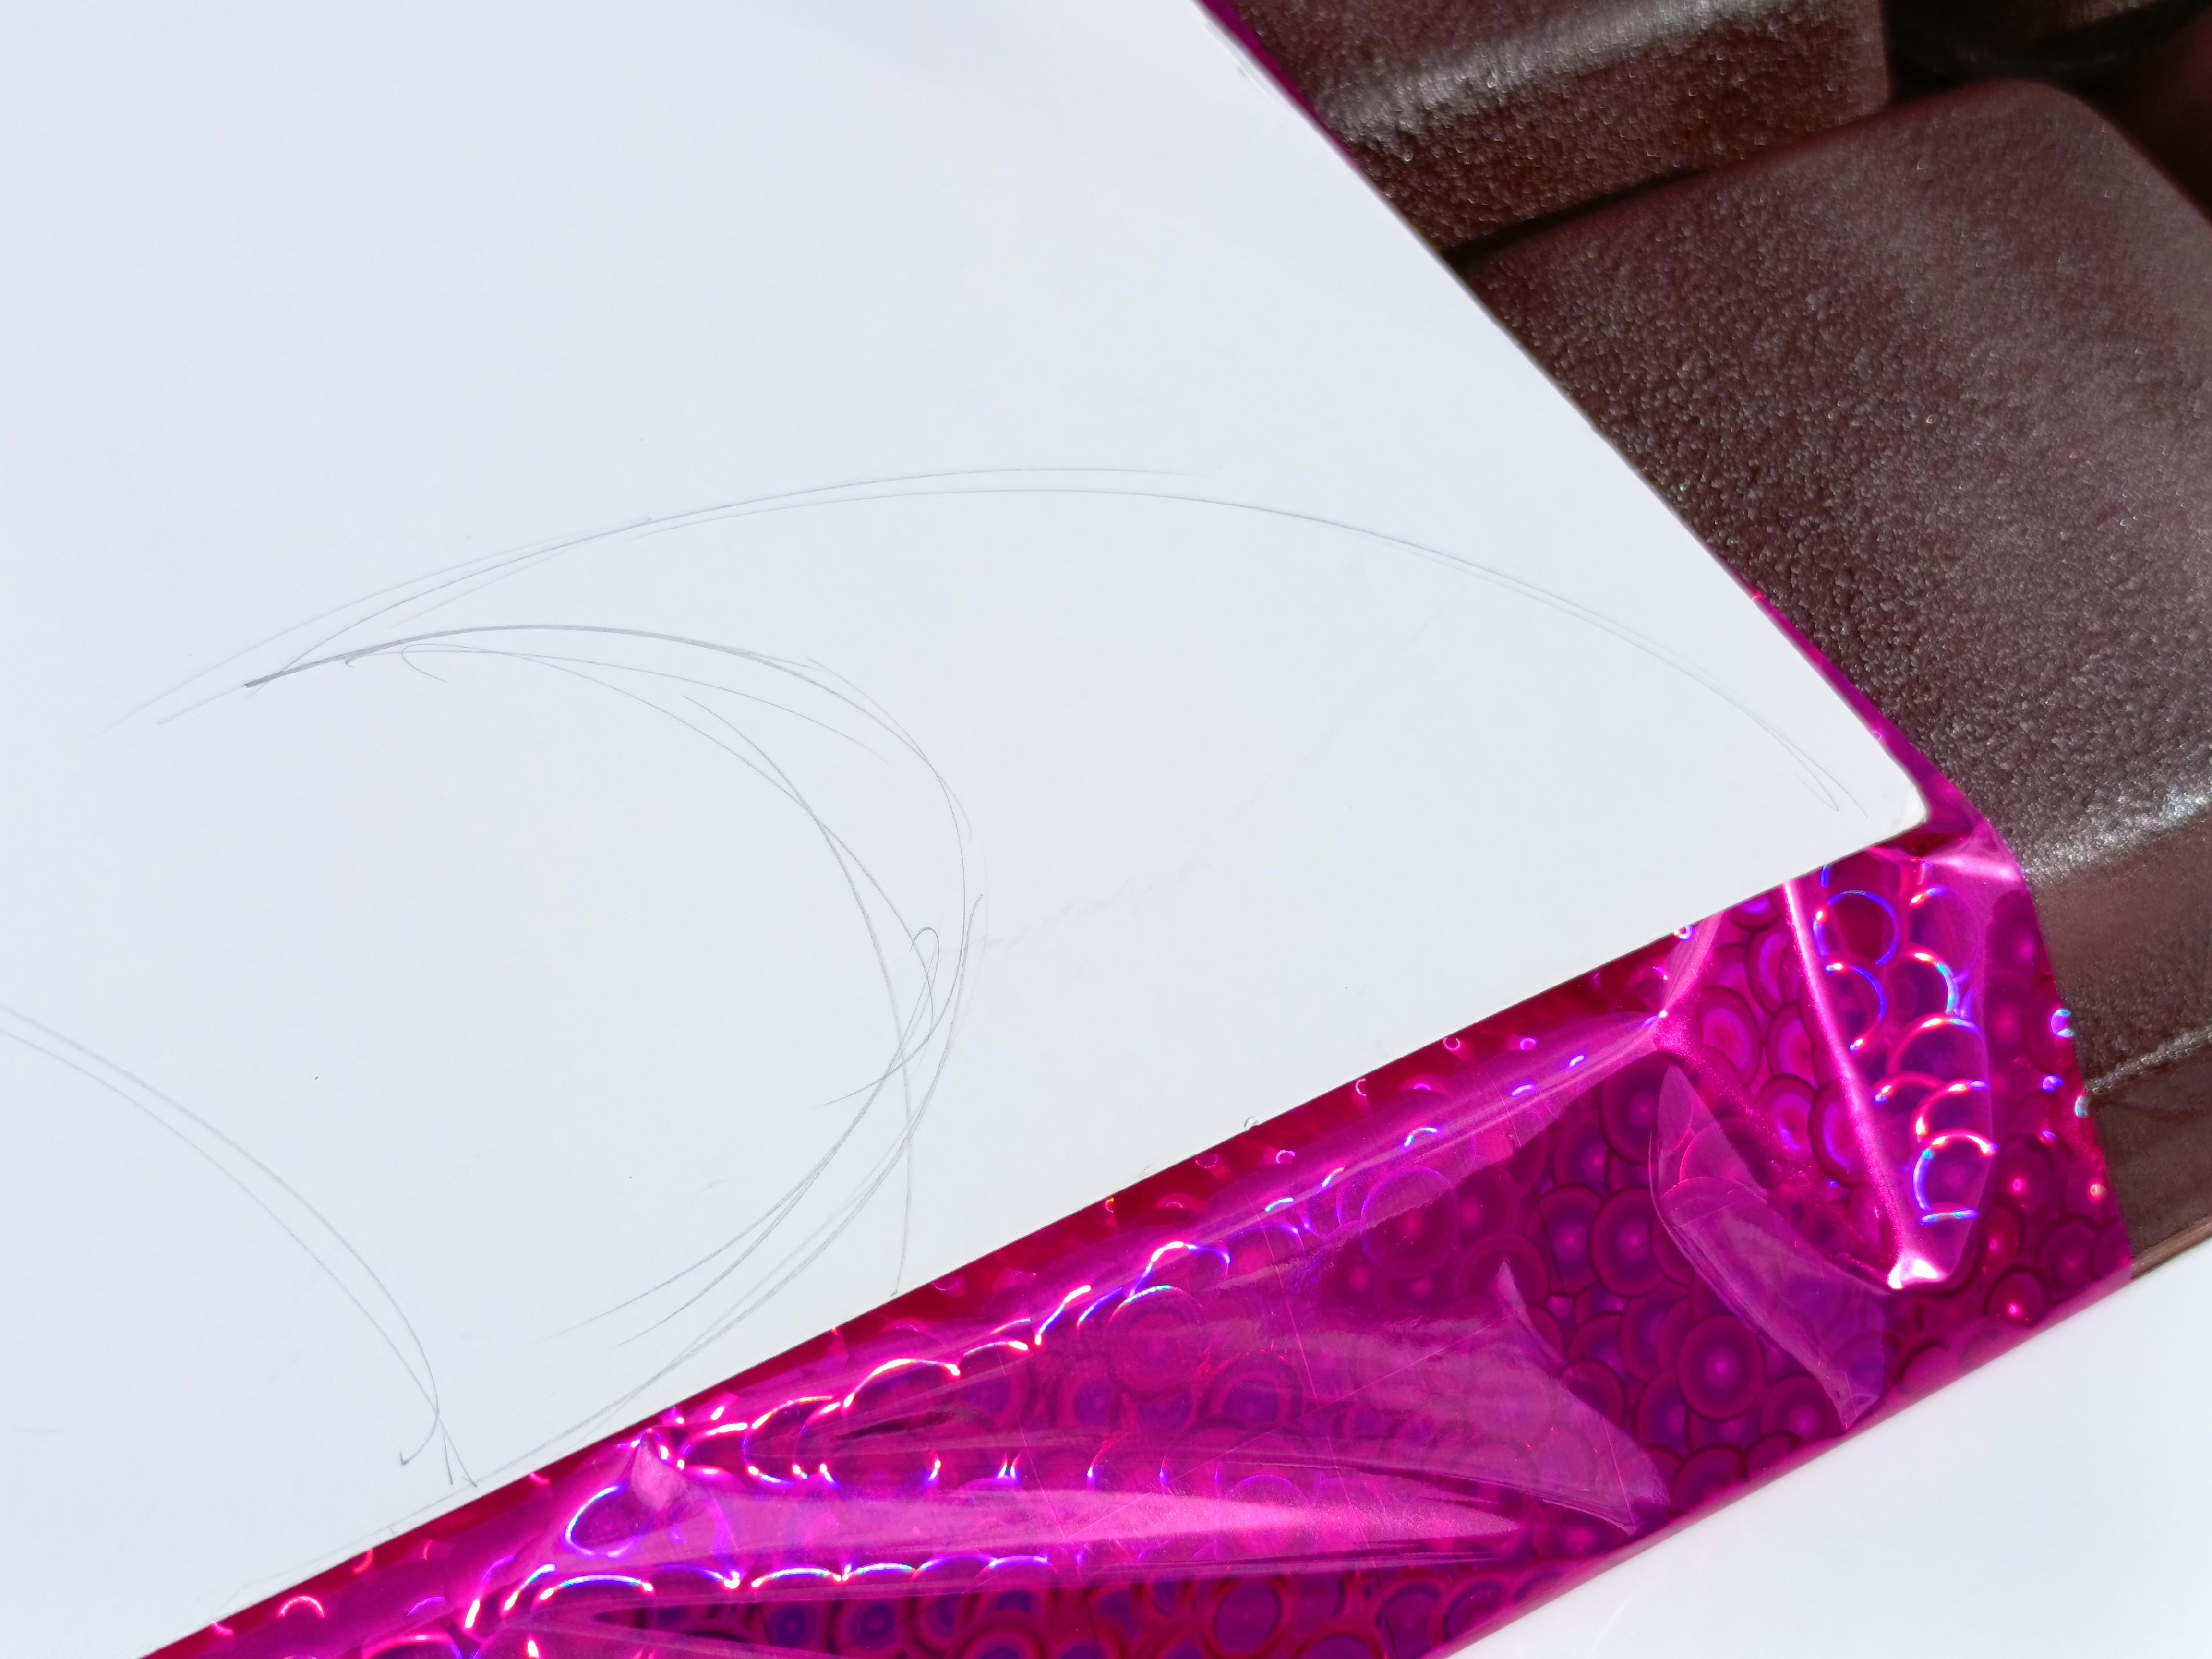

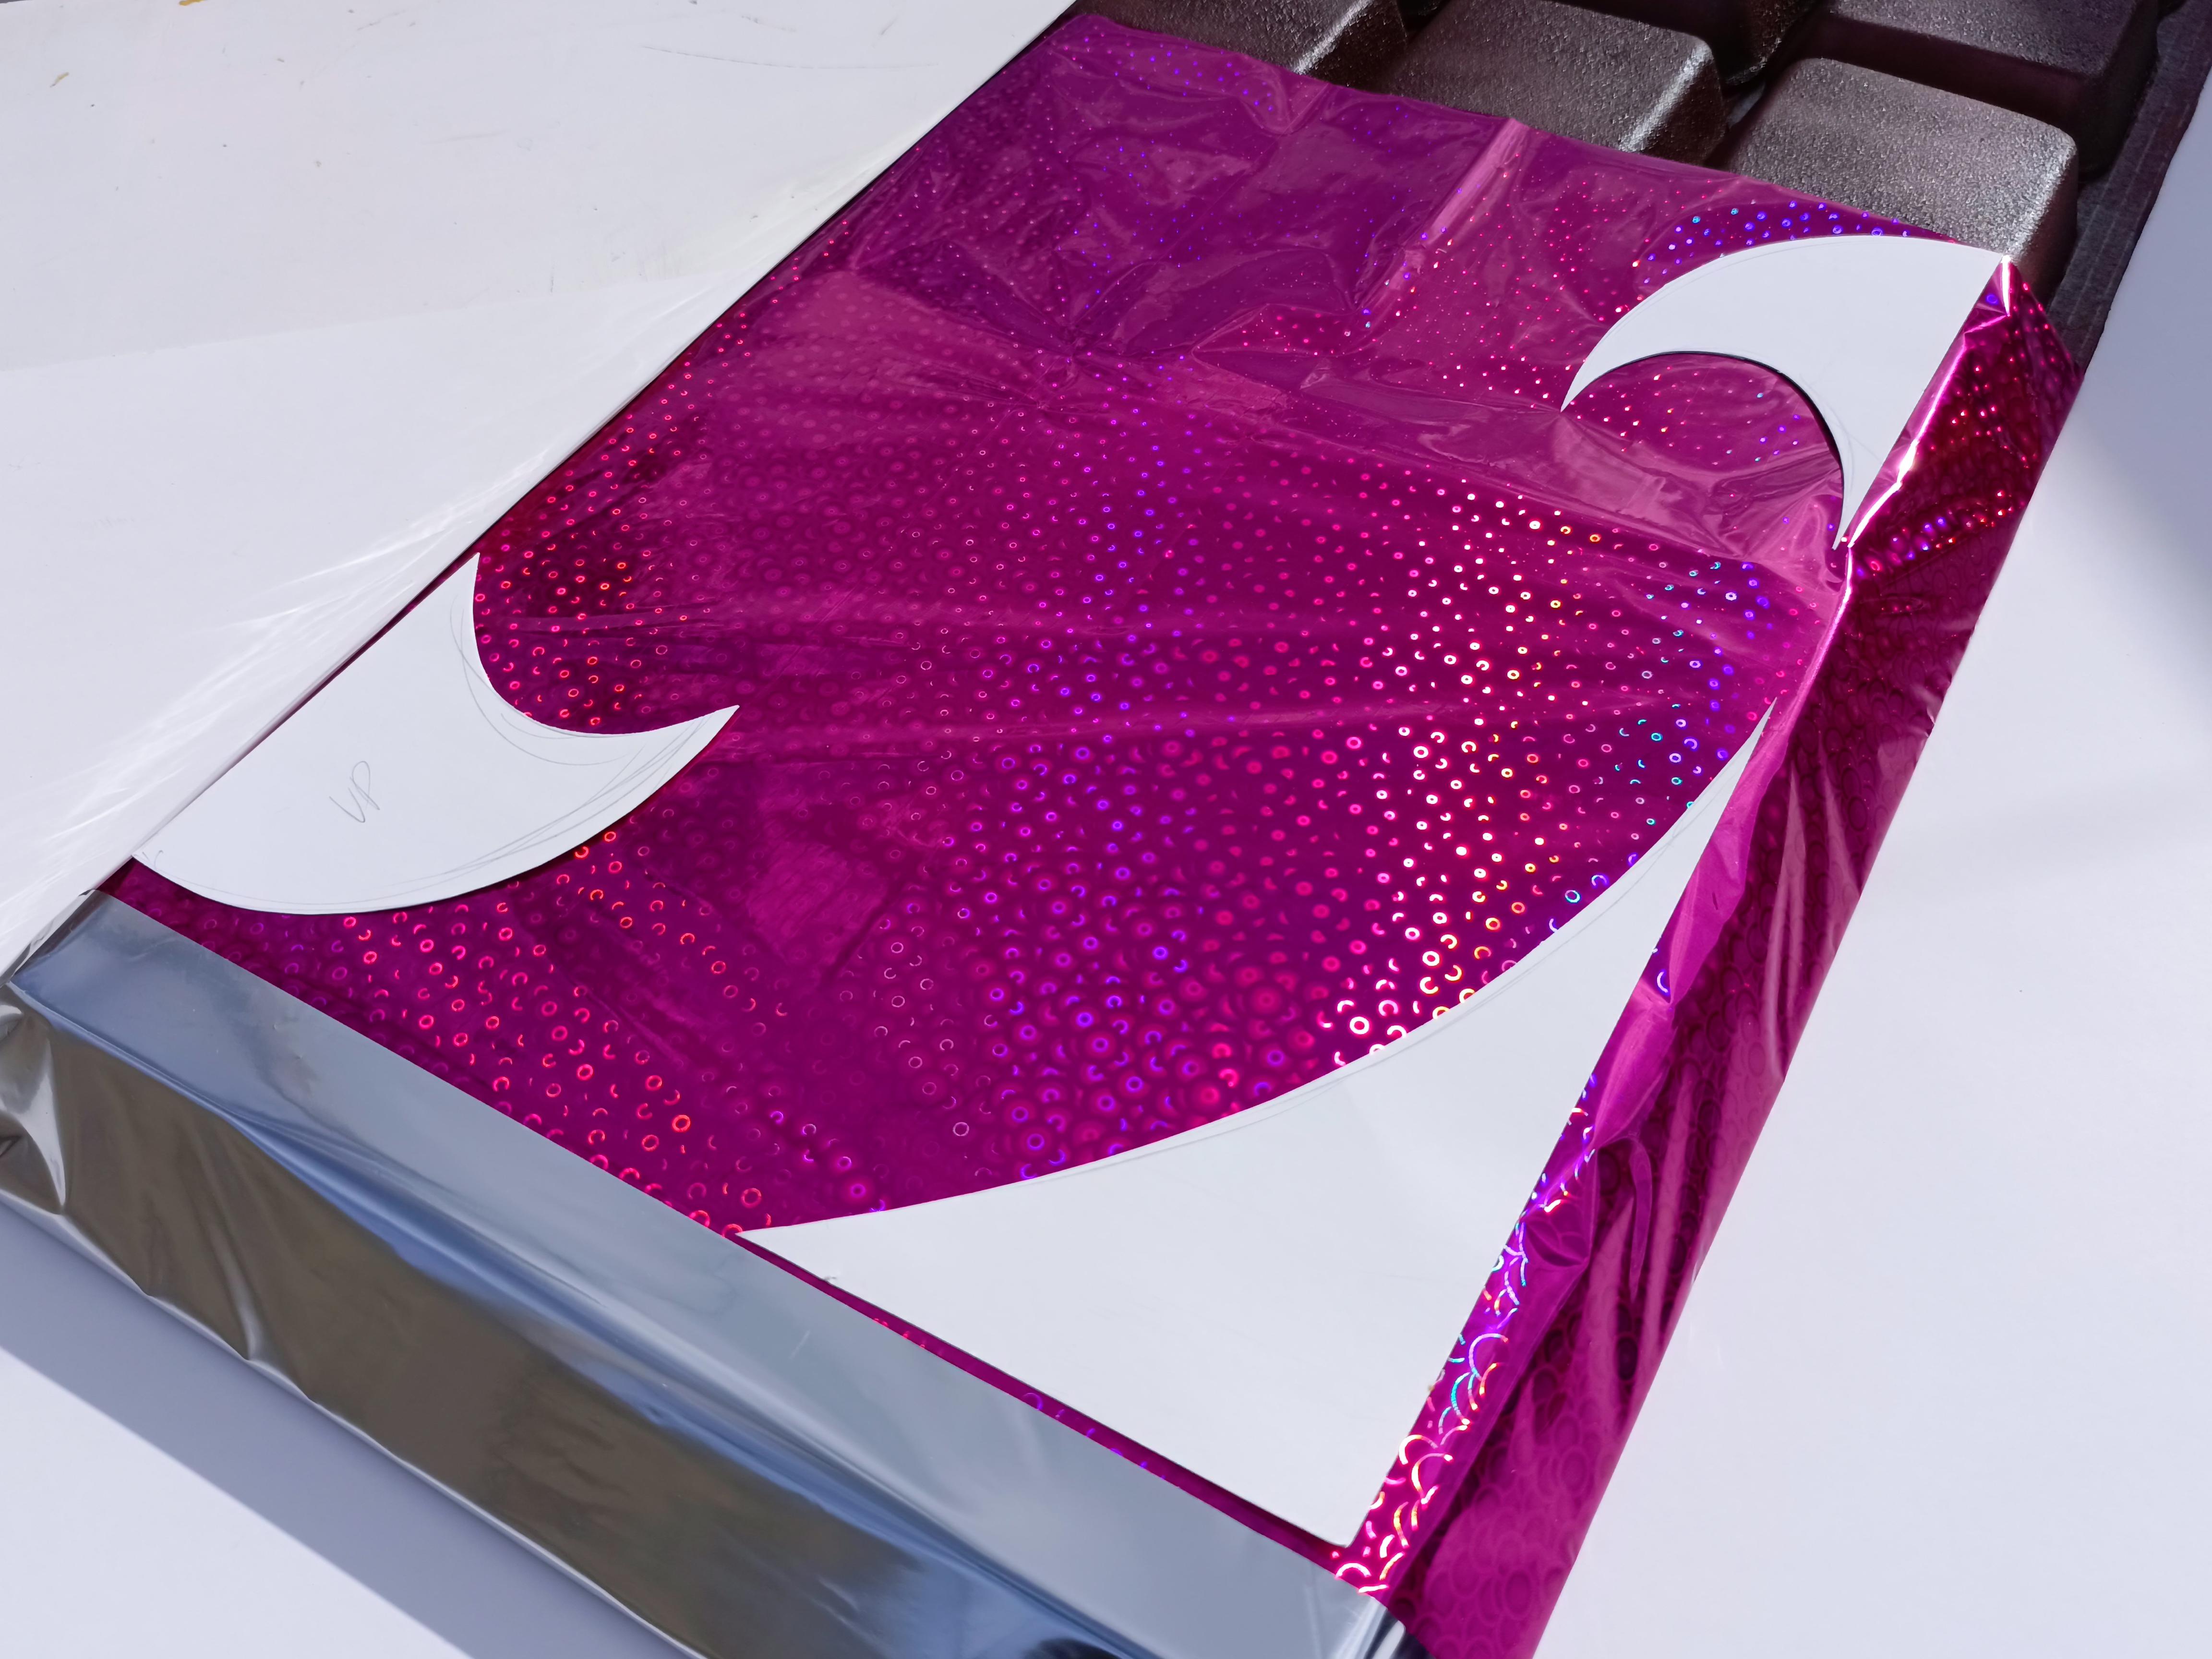
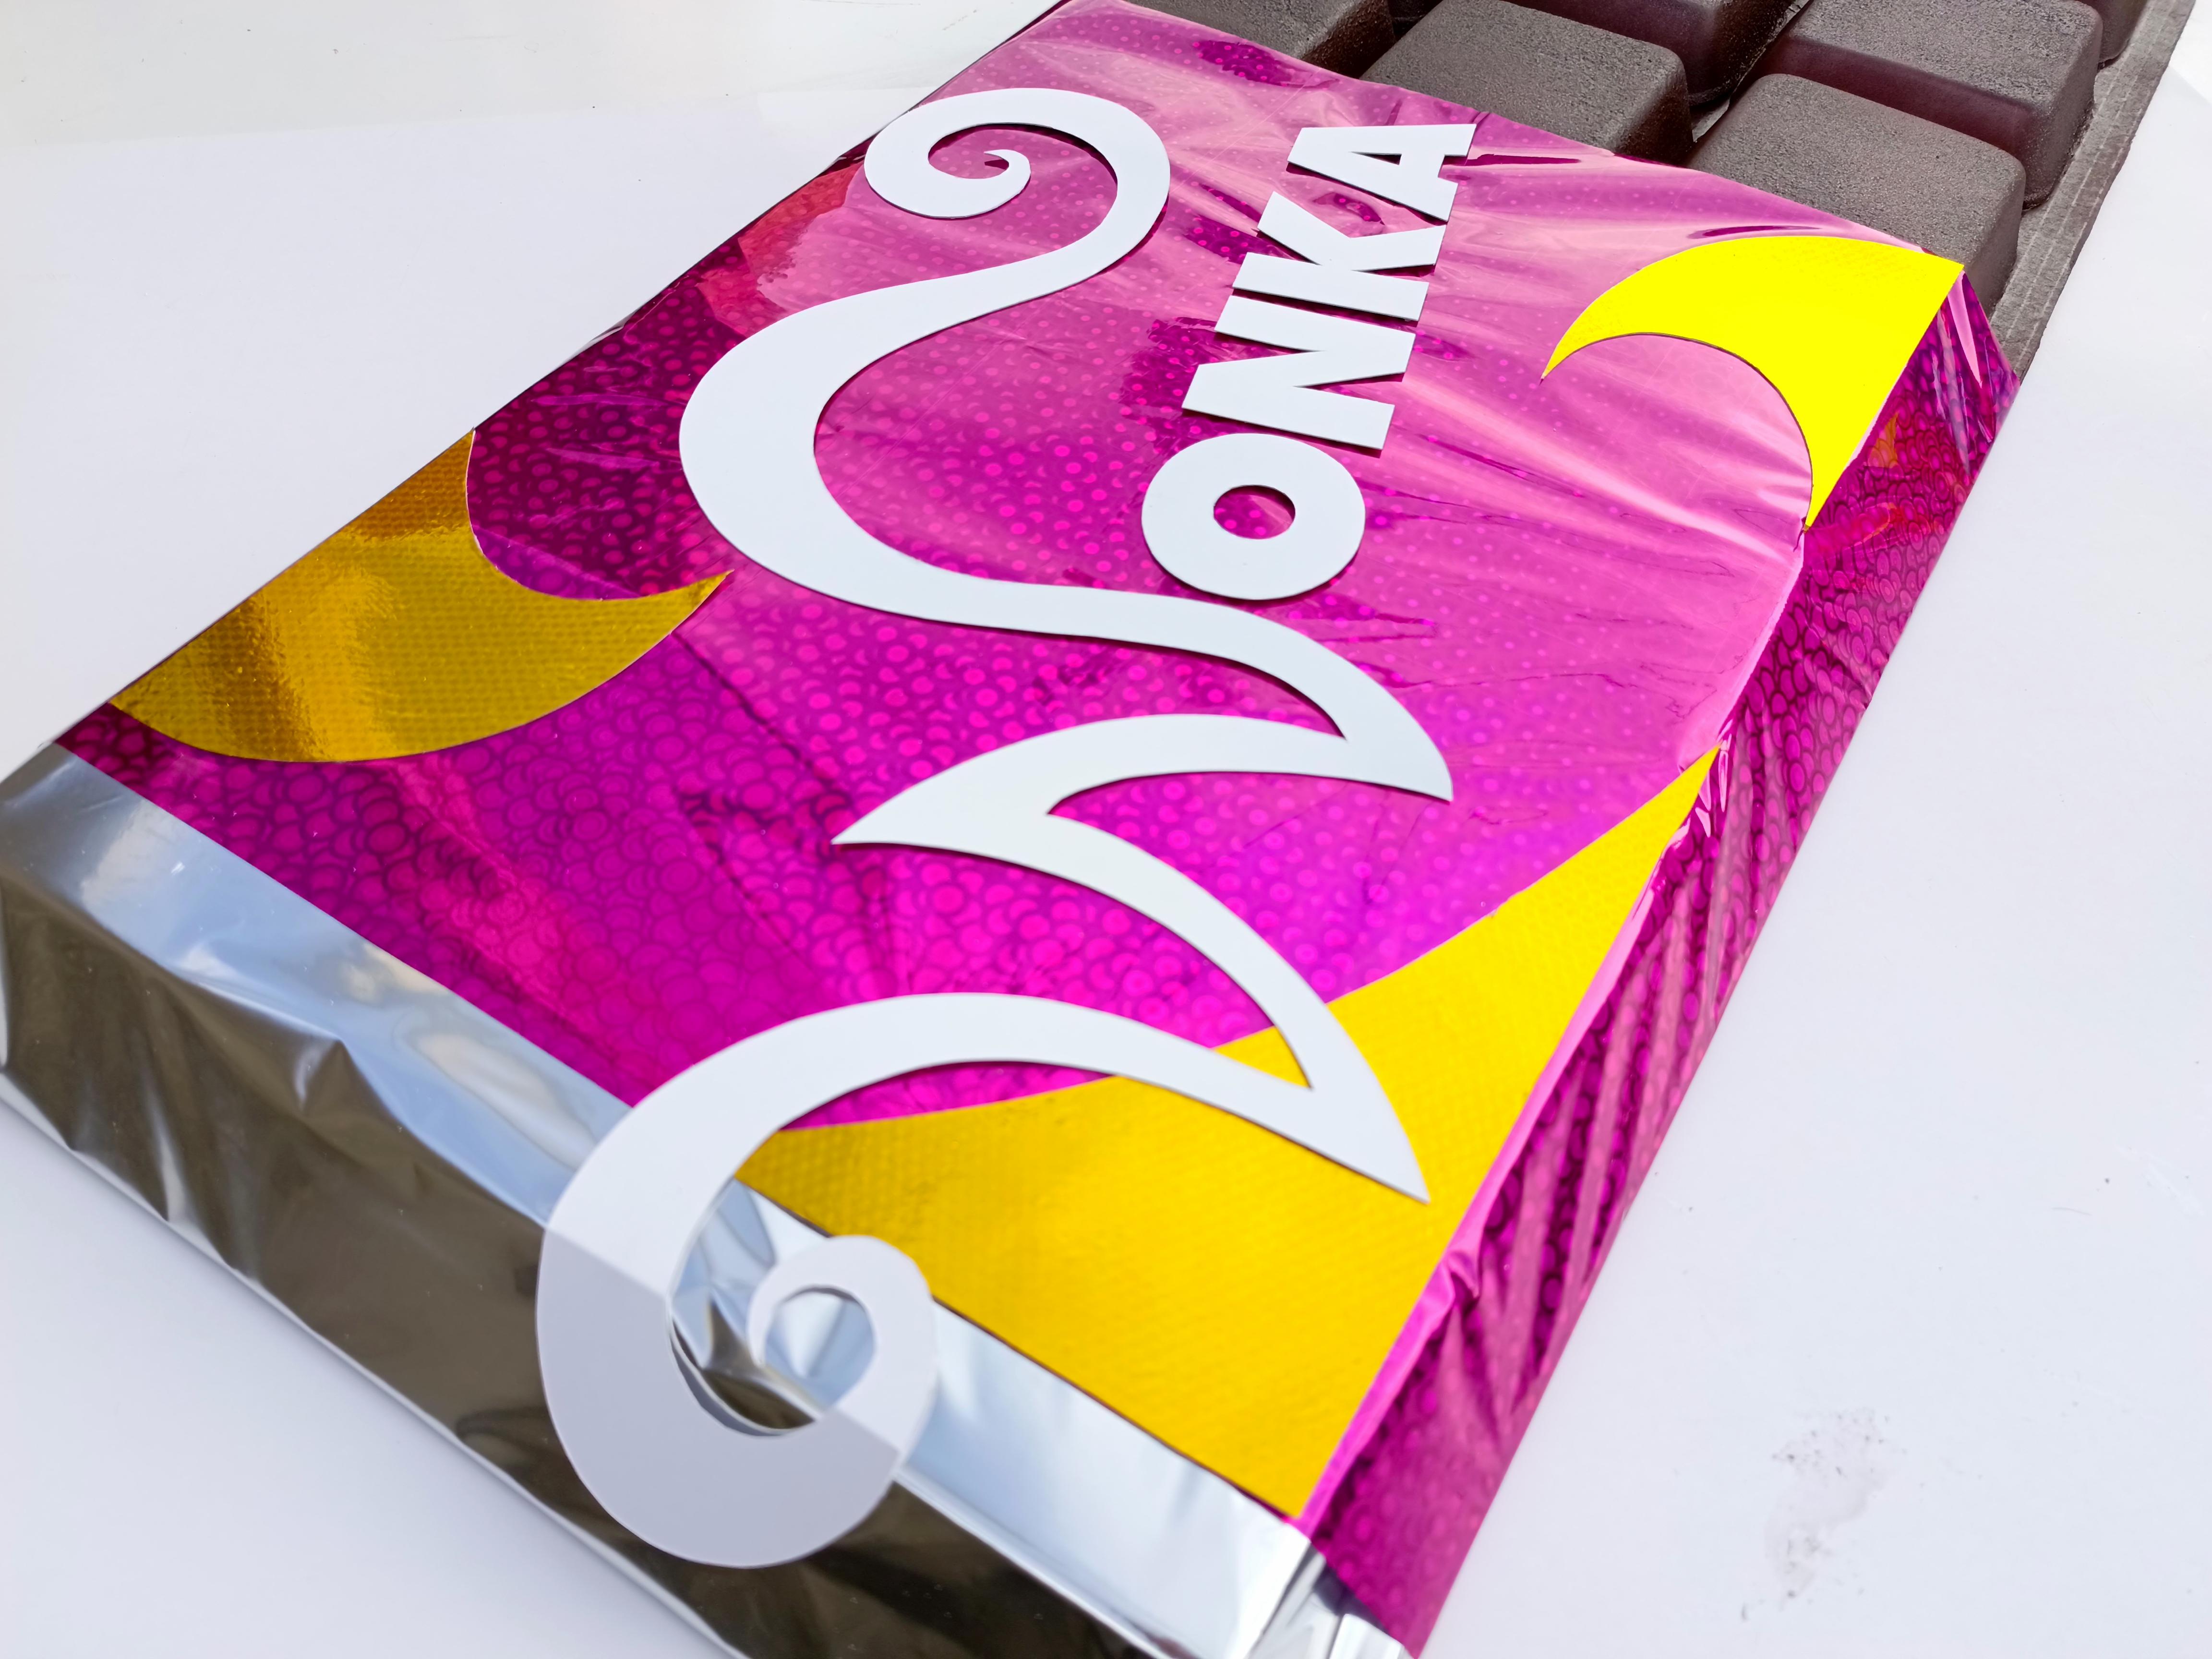
Now with the reference of the original packaging that appeared in the 2005 film, I sketched some waves and ripples of chocolate that will decorate our packaging. Keep in mind that these are in another color, in my case, gold.
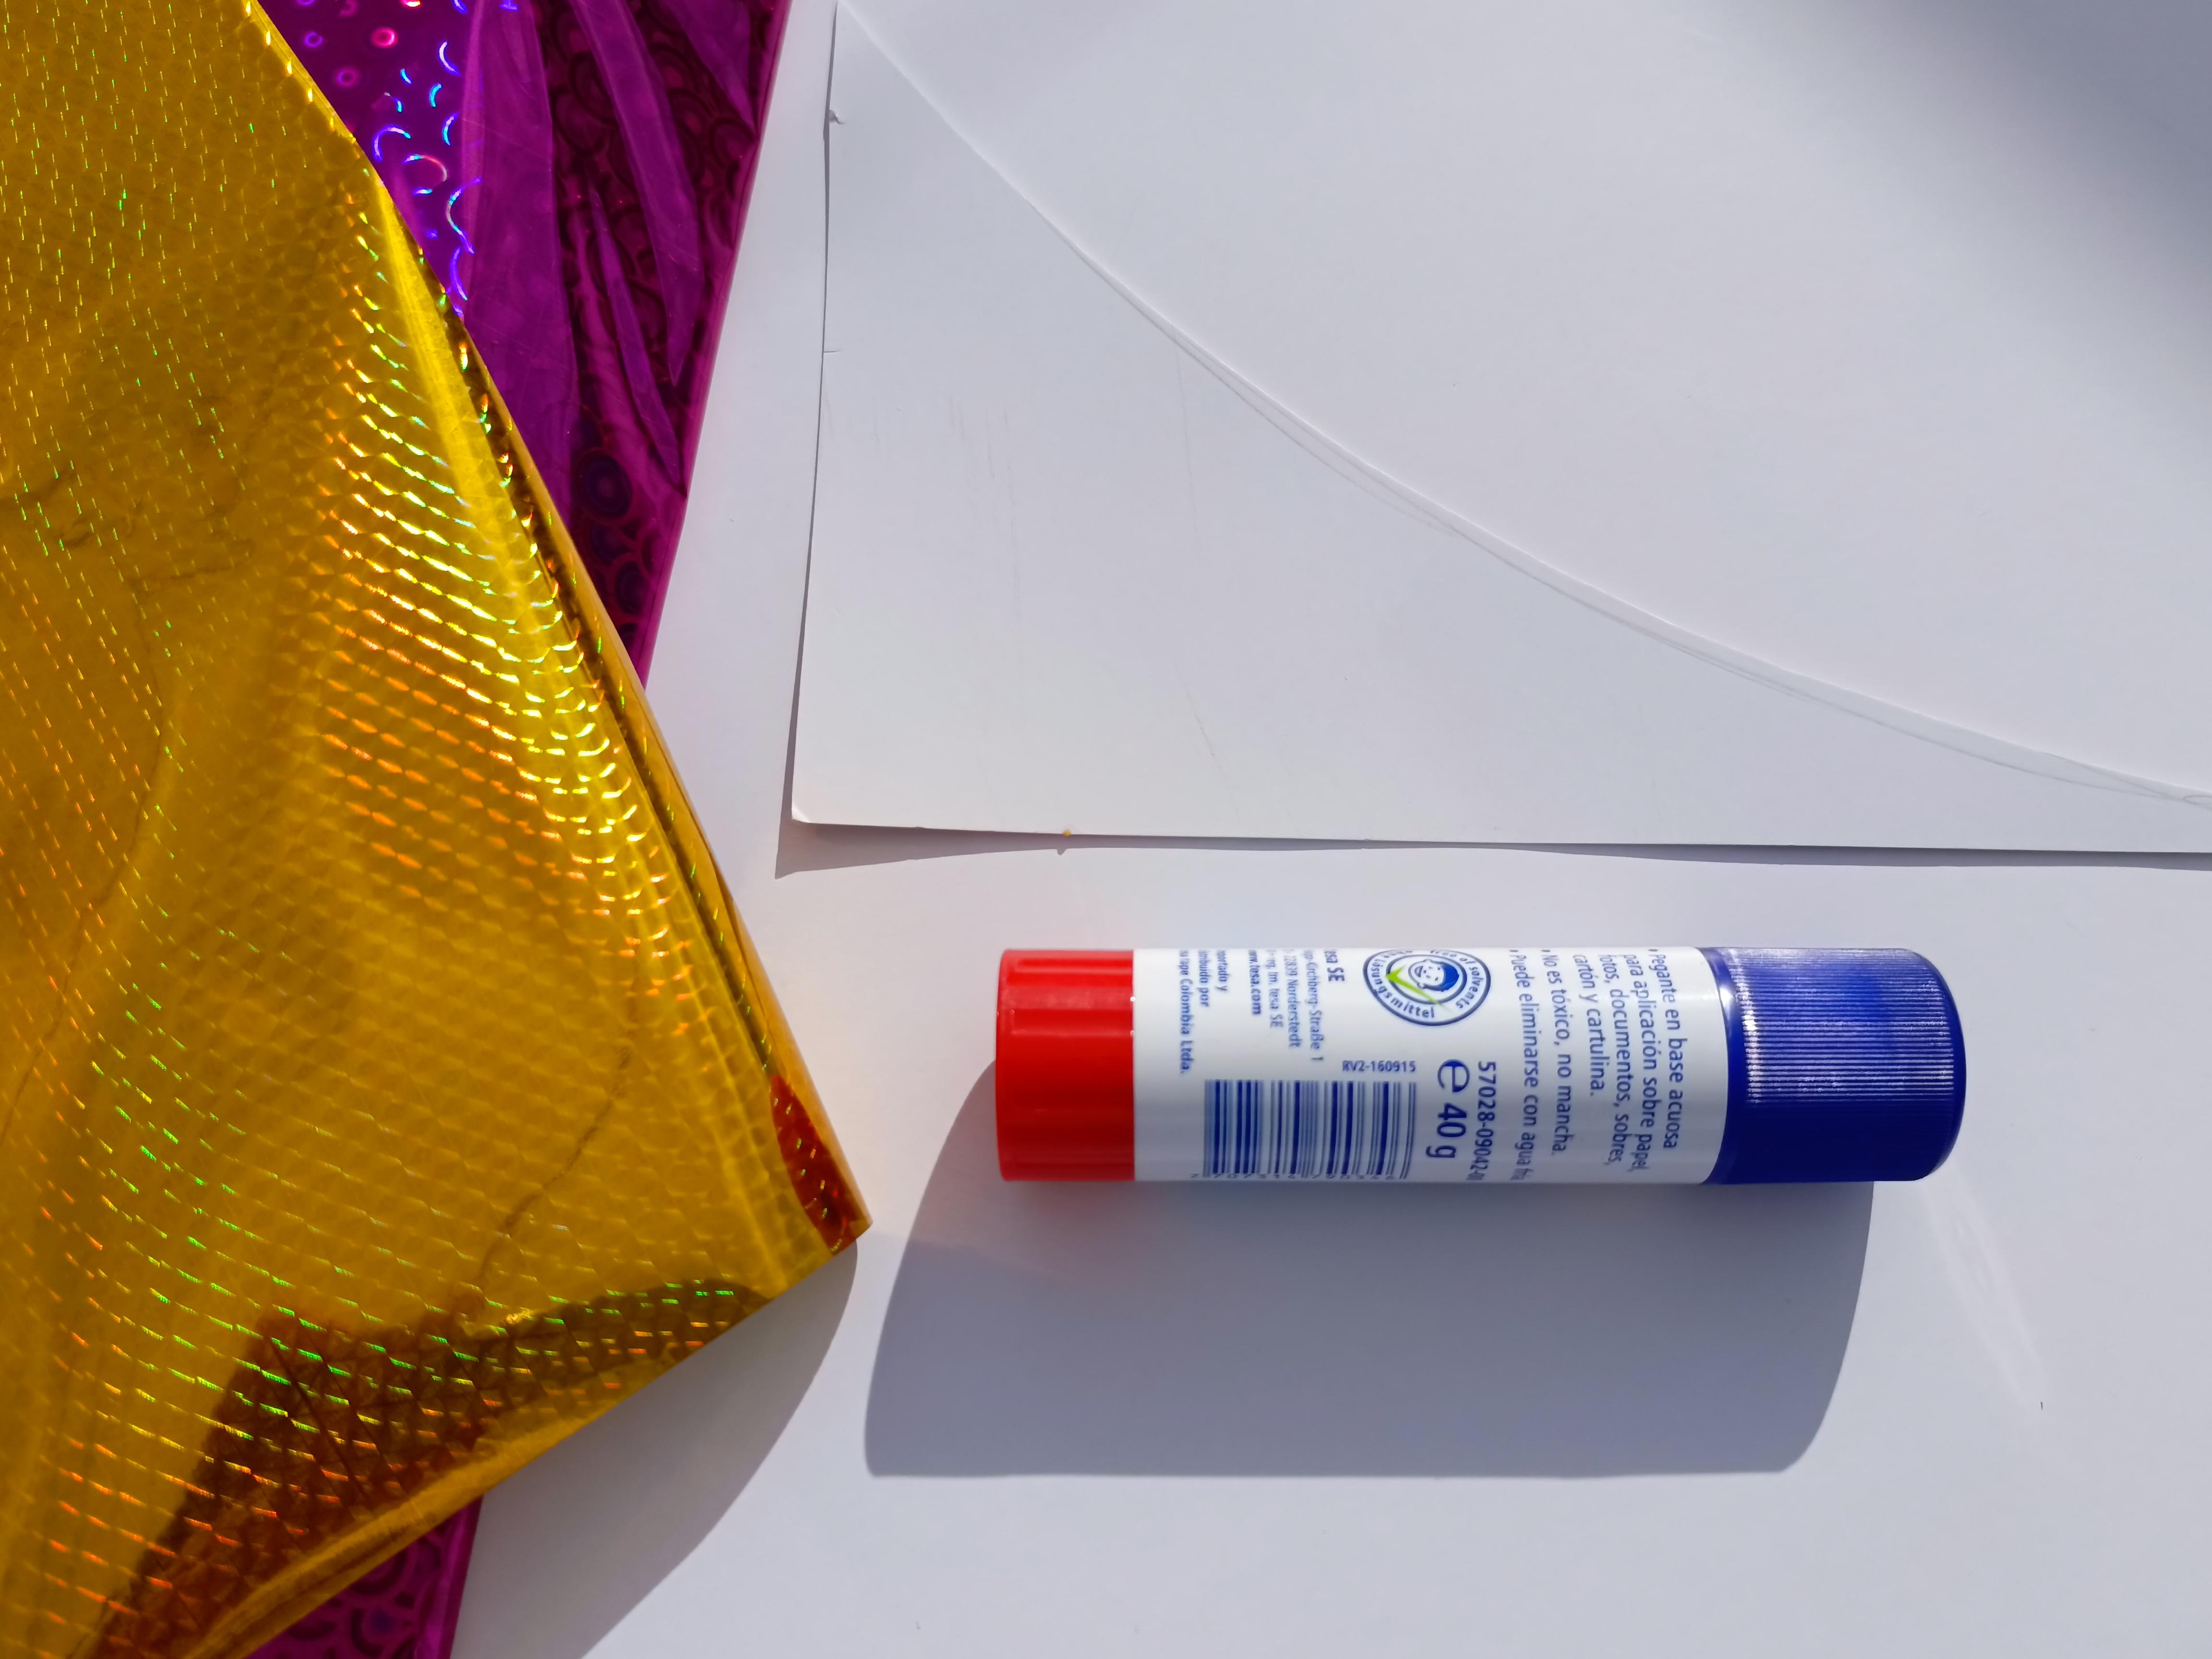

Glue these waves onto high-weight paper, and then glue them on the pink chocolate wrapper
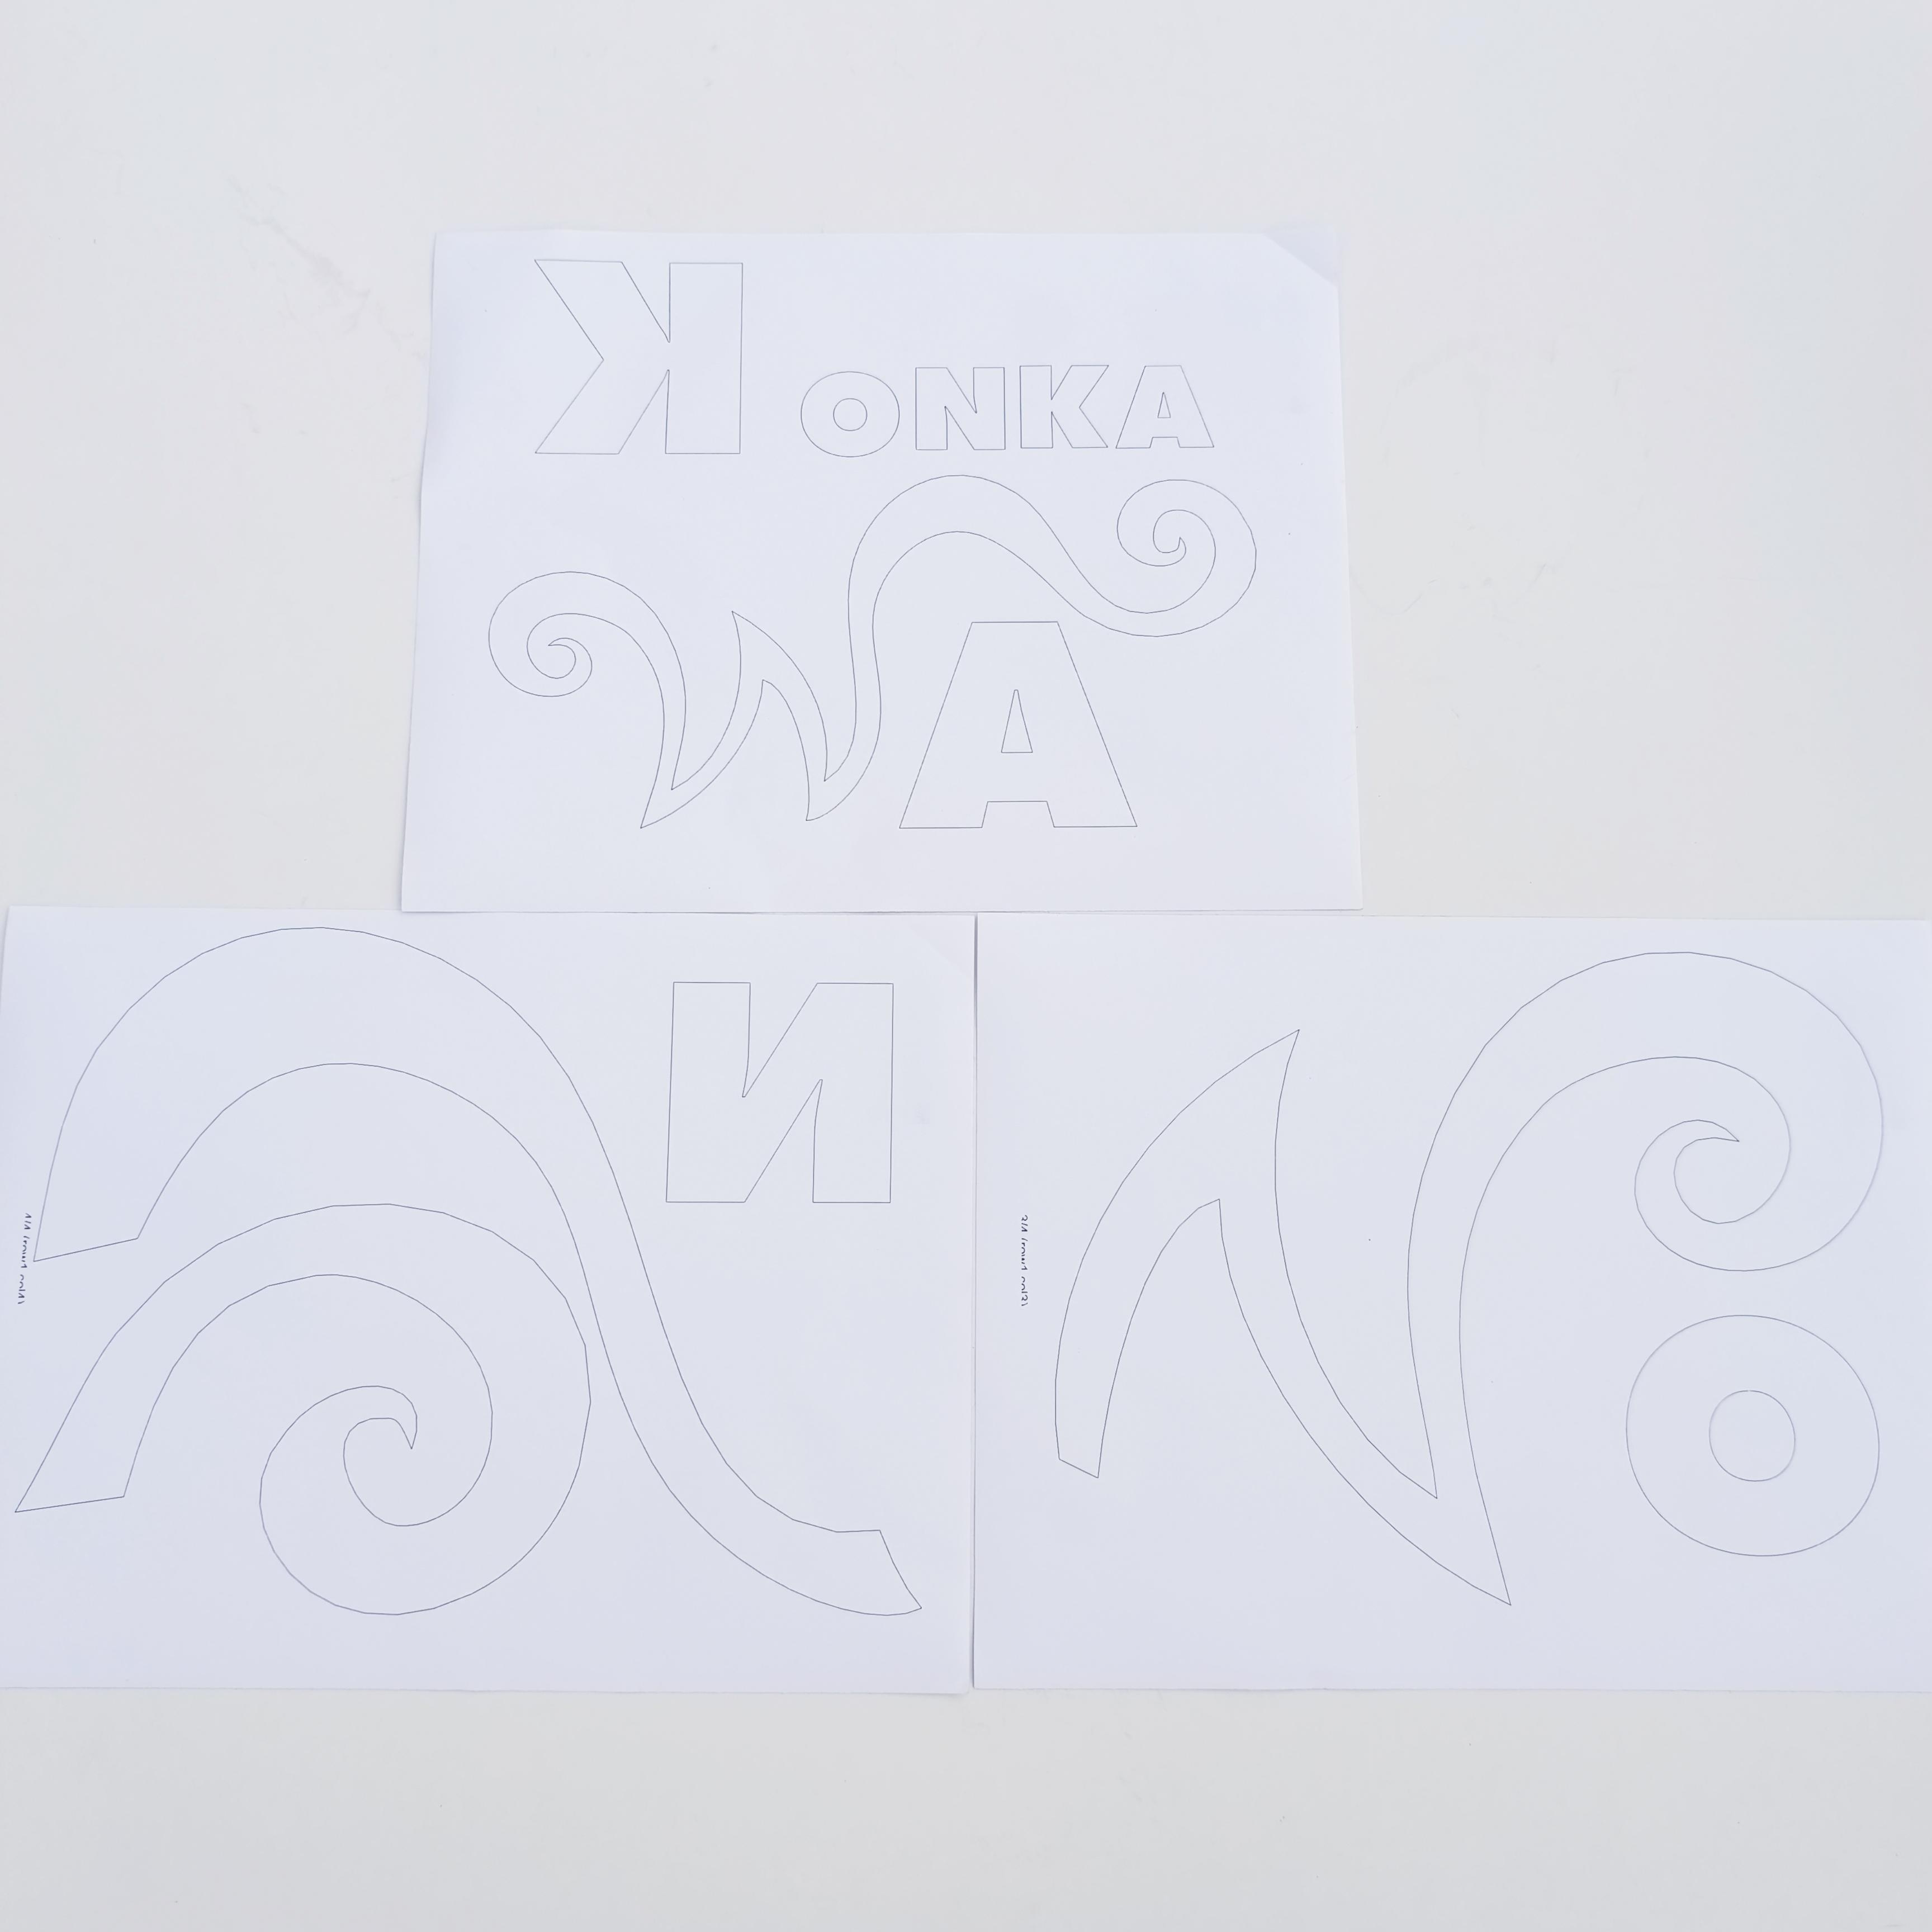
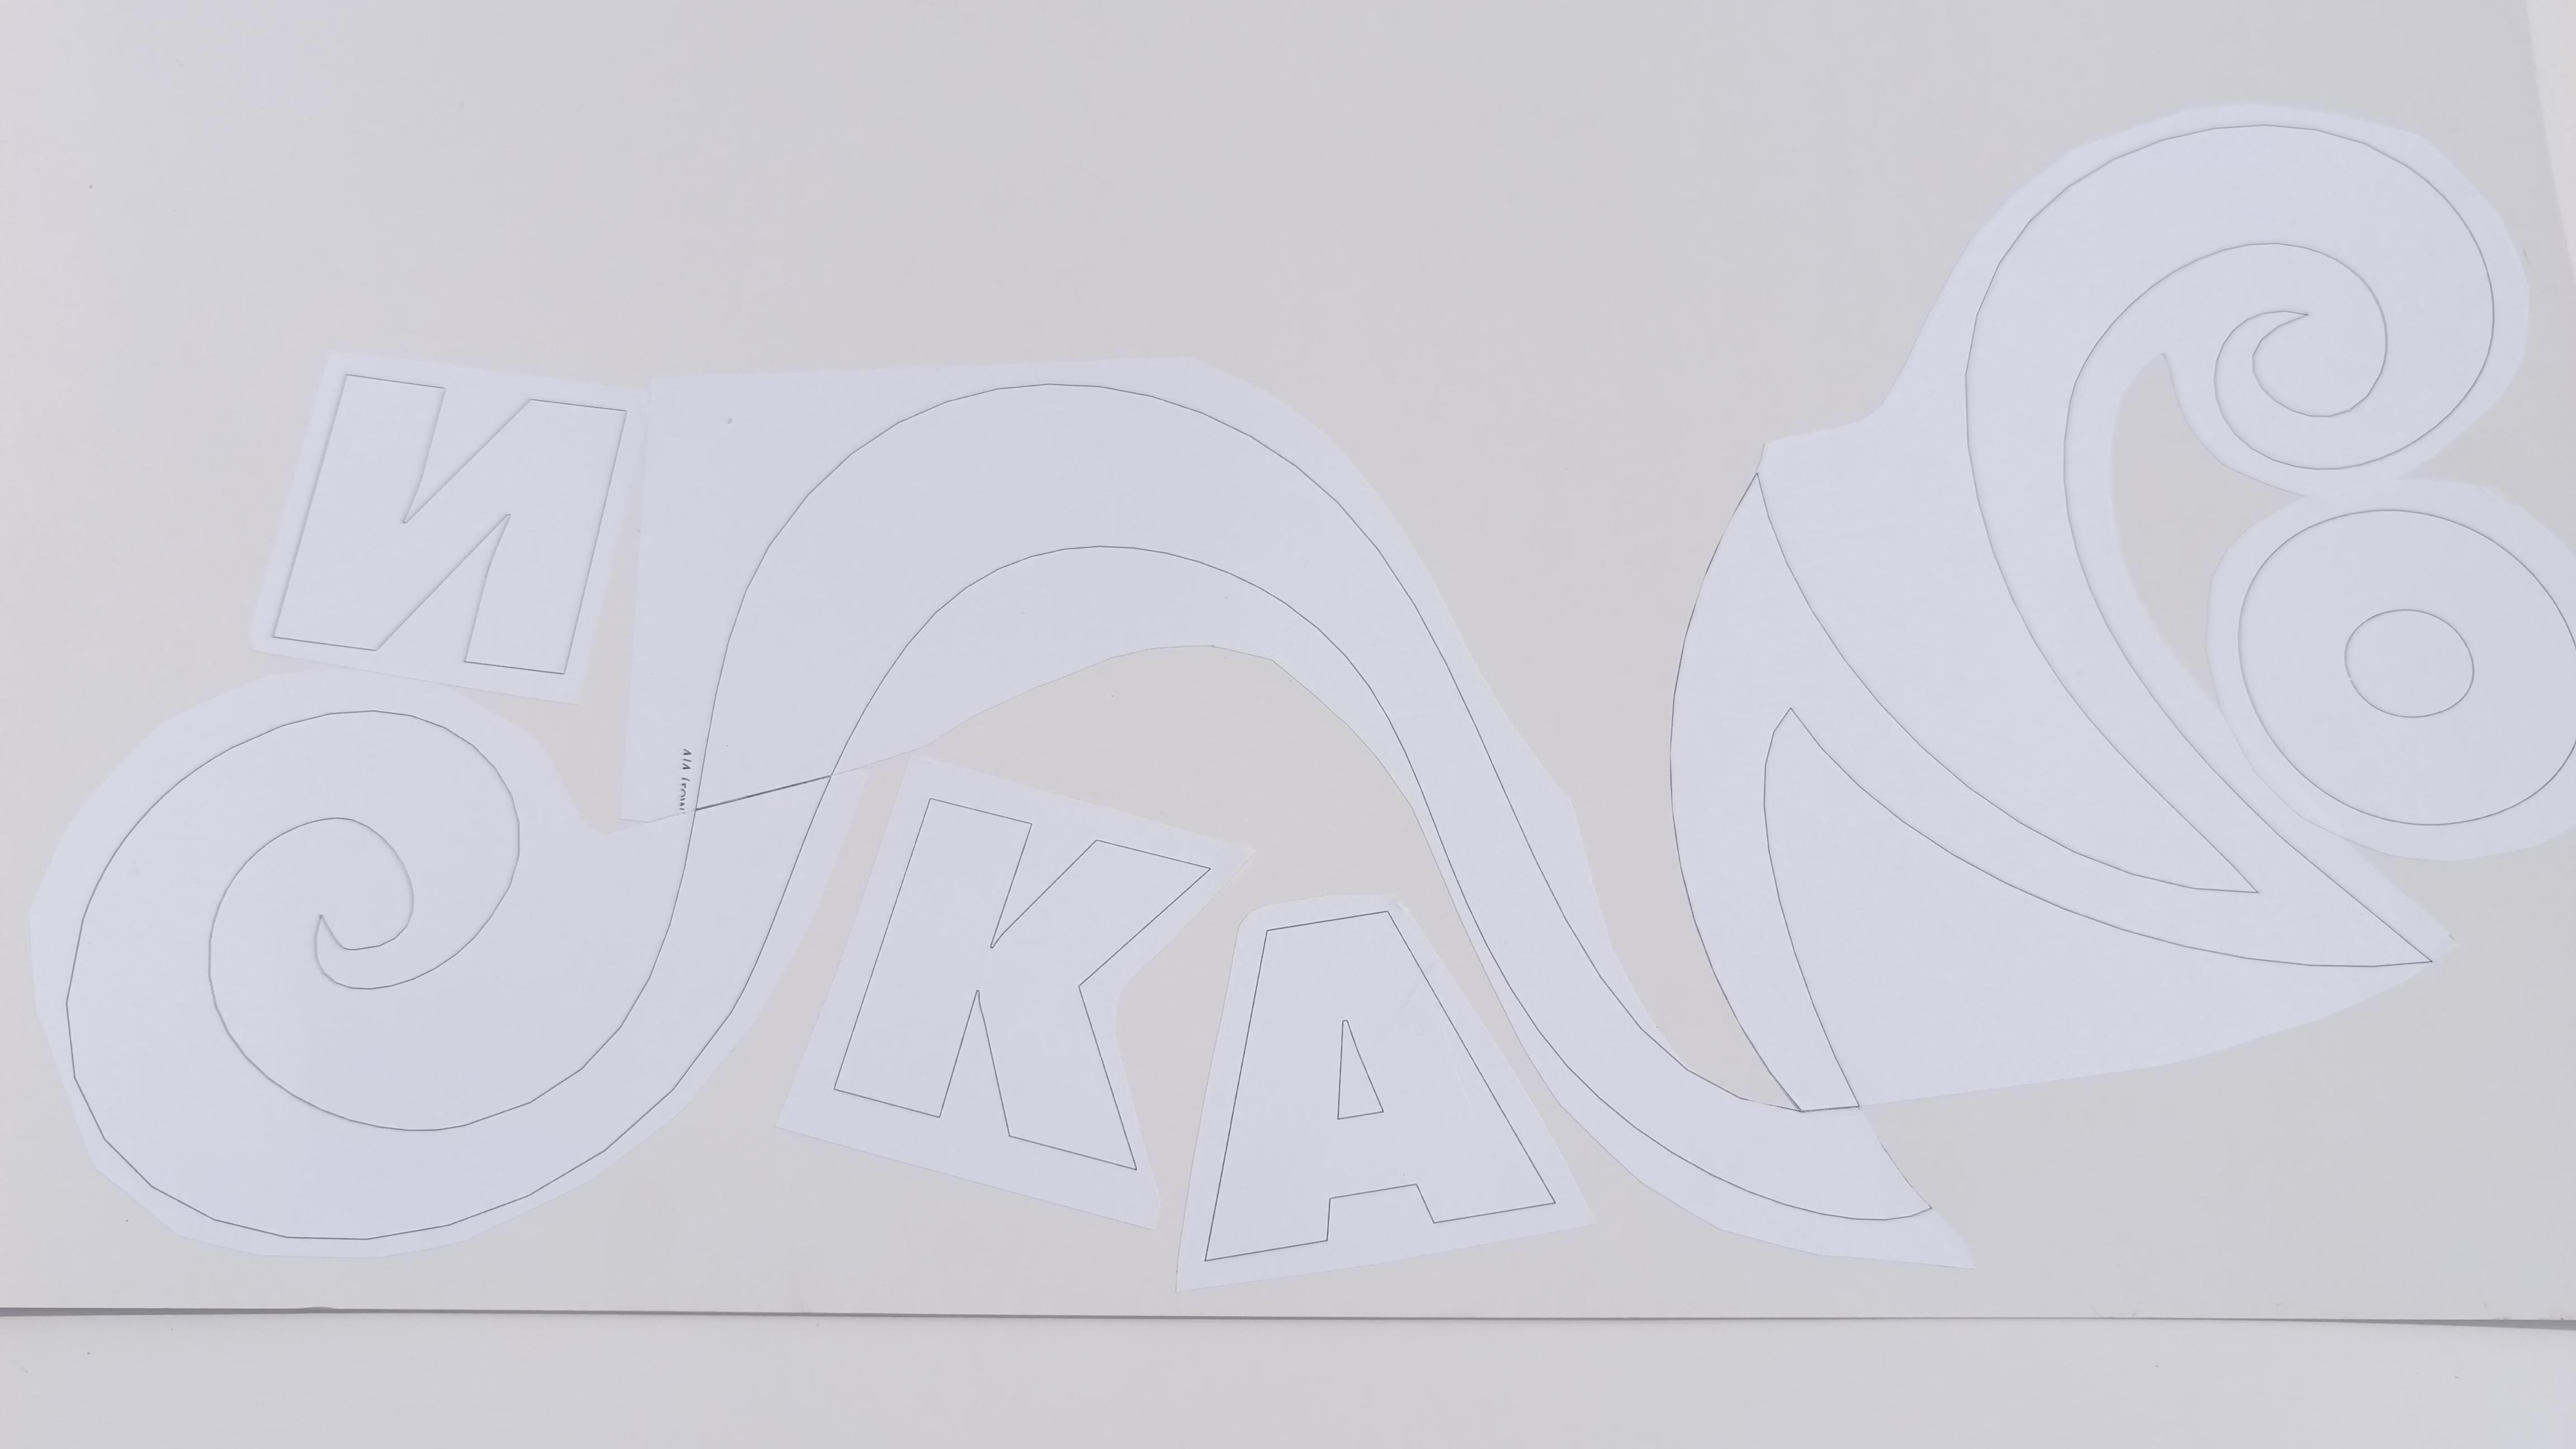
Now it's time to give it the Wonka seal of authenticity, of course its logo, as I mentioned earlier there are several Wonka logos but I decided on the 2005 version so here in this step I attach the printing guides to be able to make the characteristic logo
Downloads
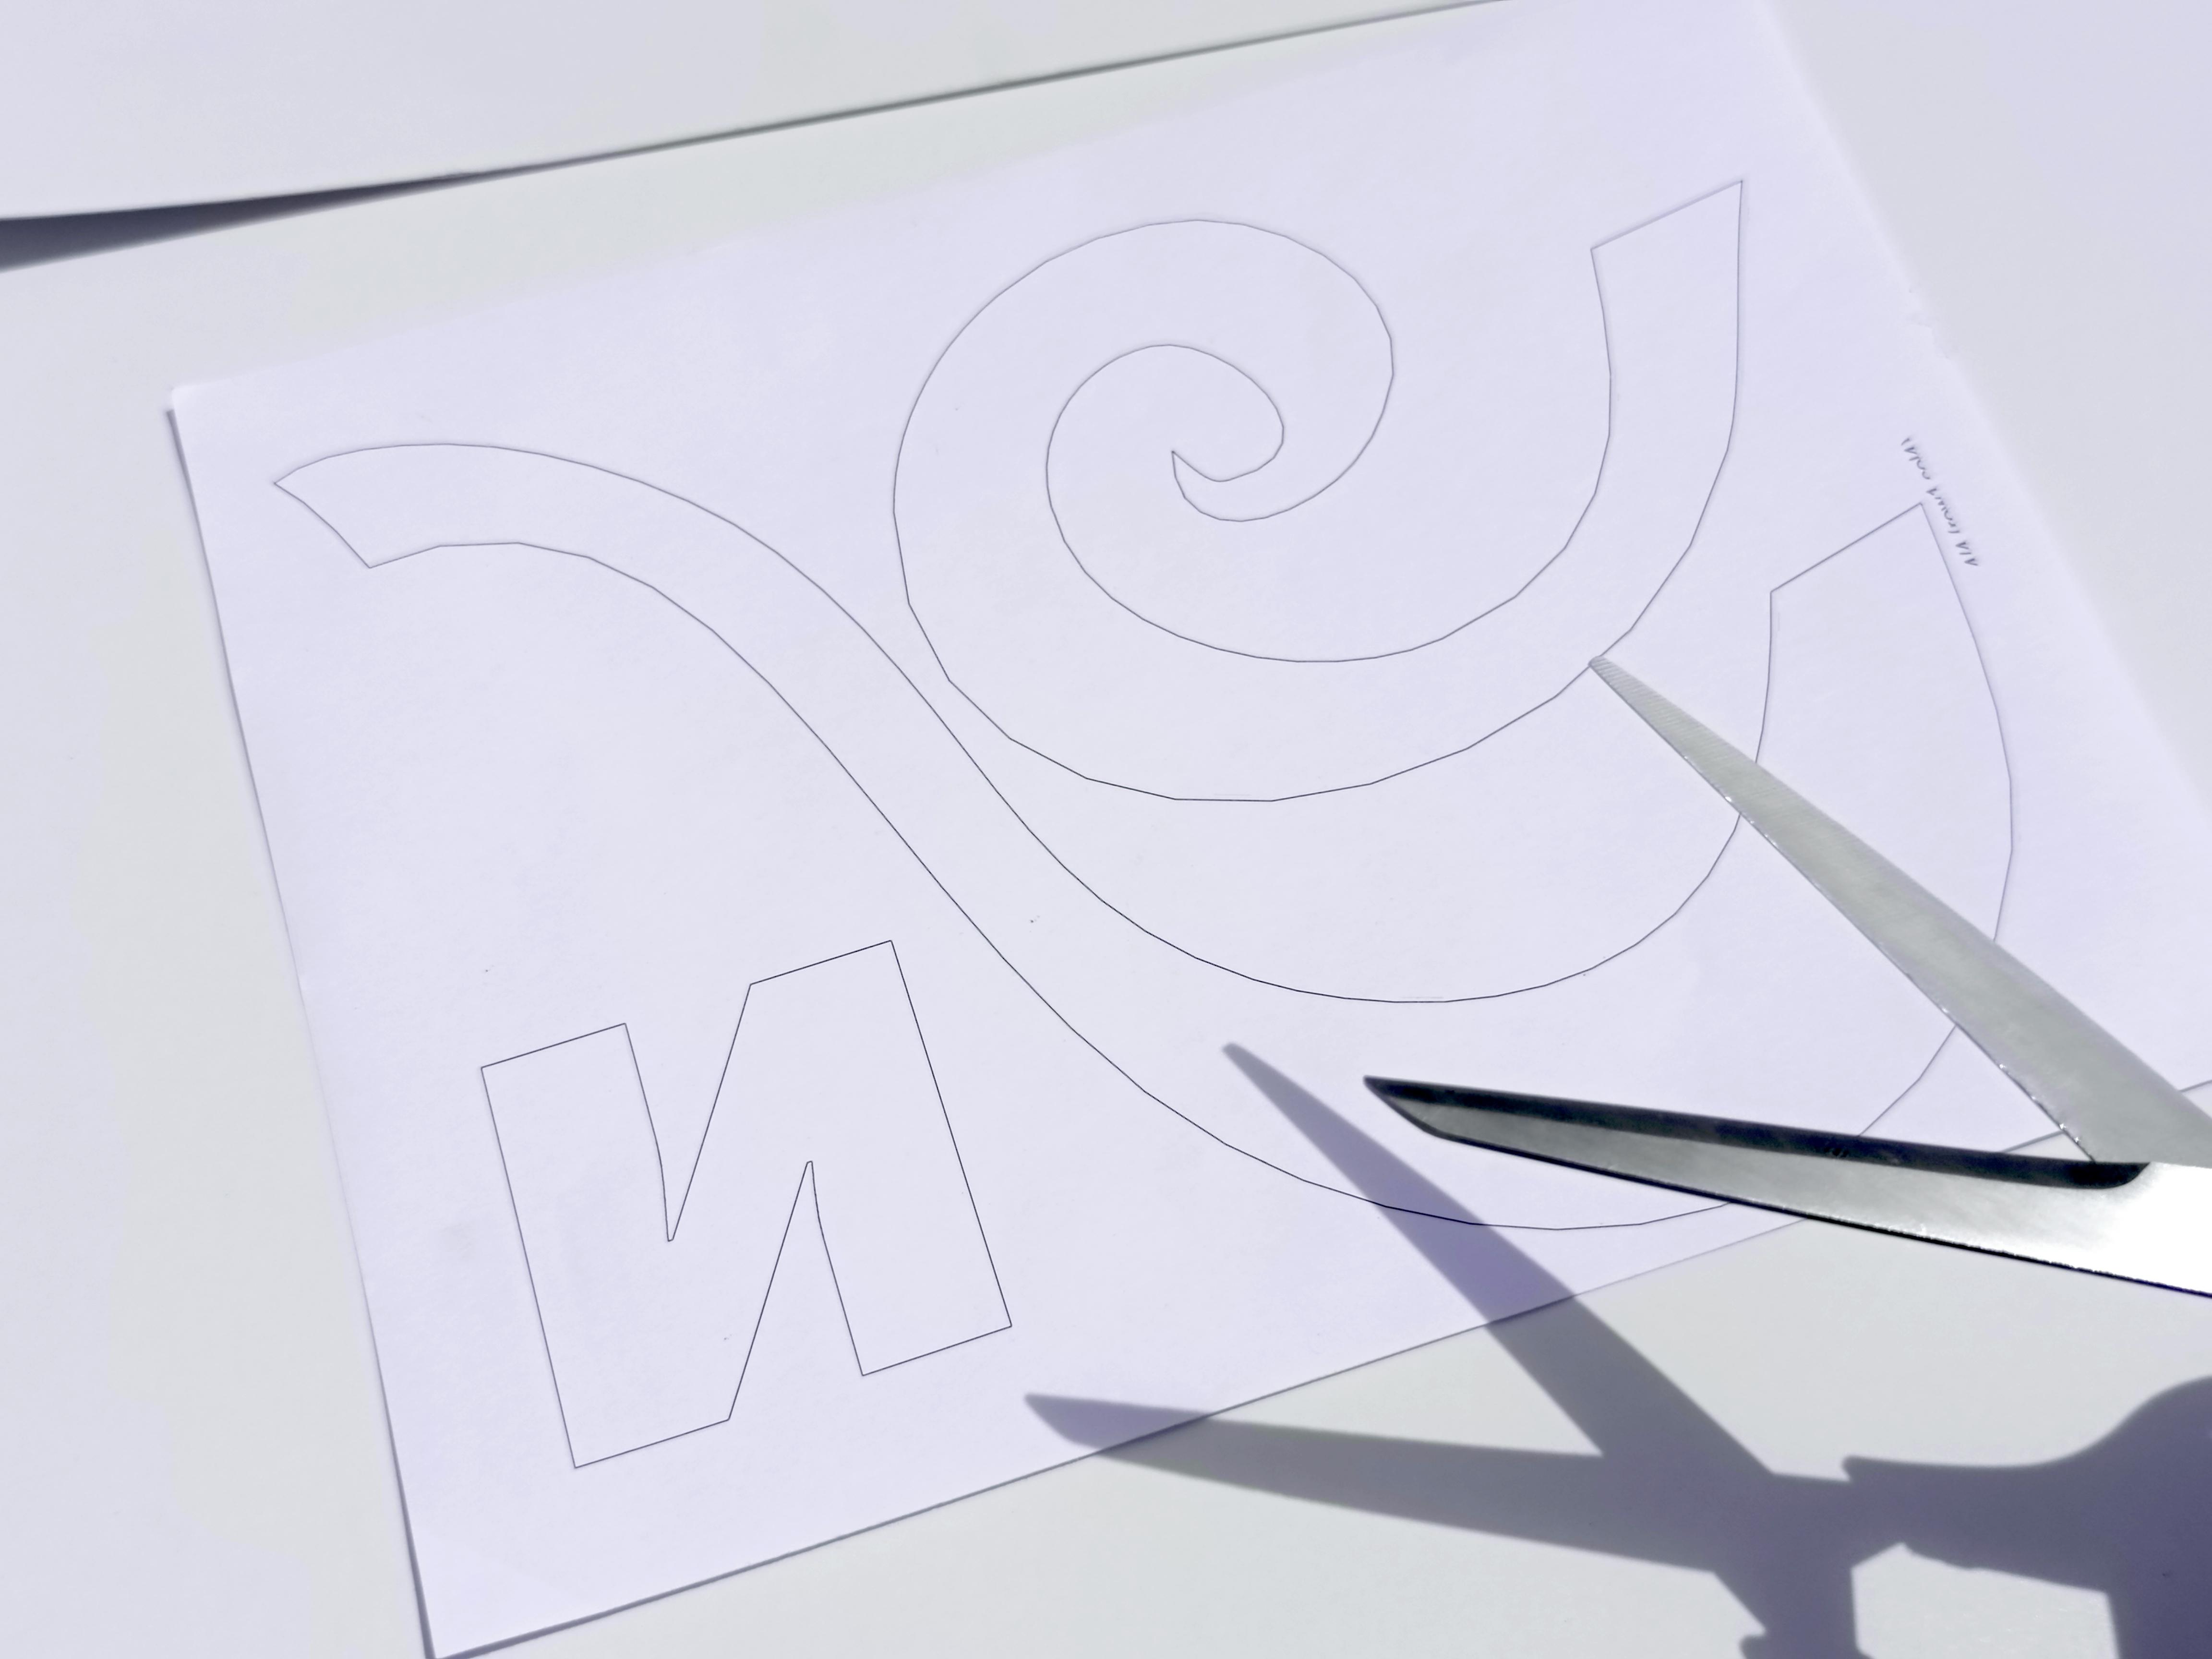

The template is mirrored, so the ideal is to stick it on the backing on a thick, shiny paper, if possible, much better.
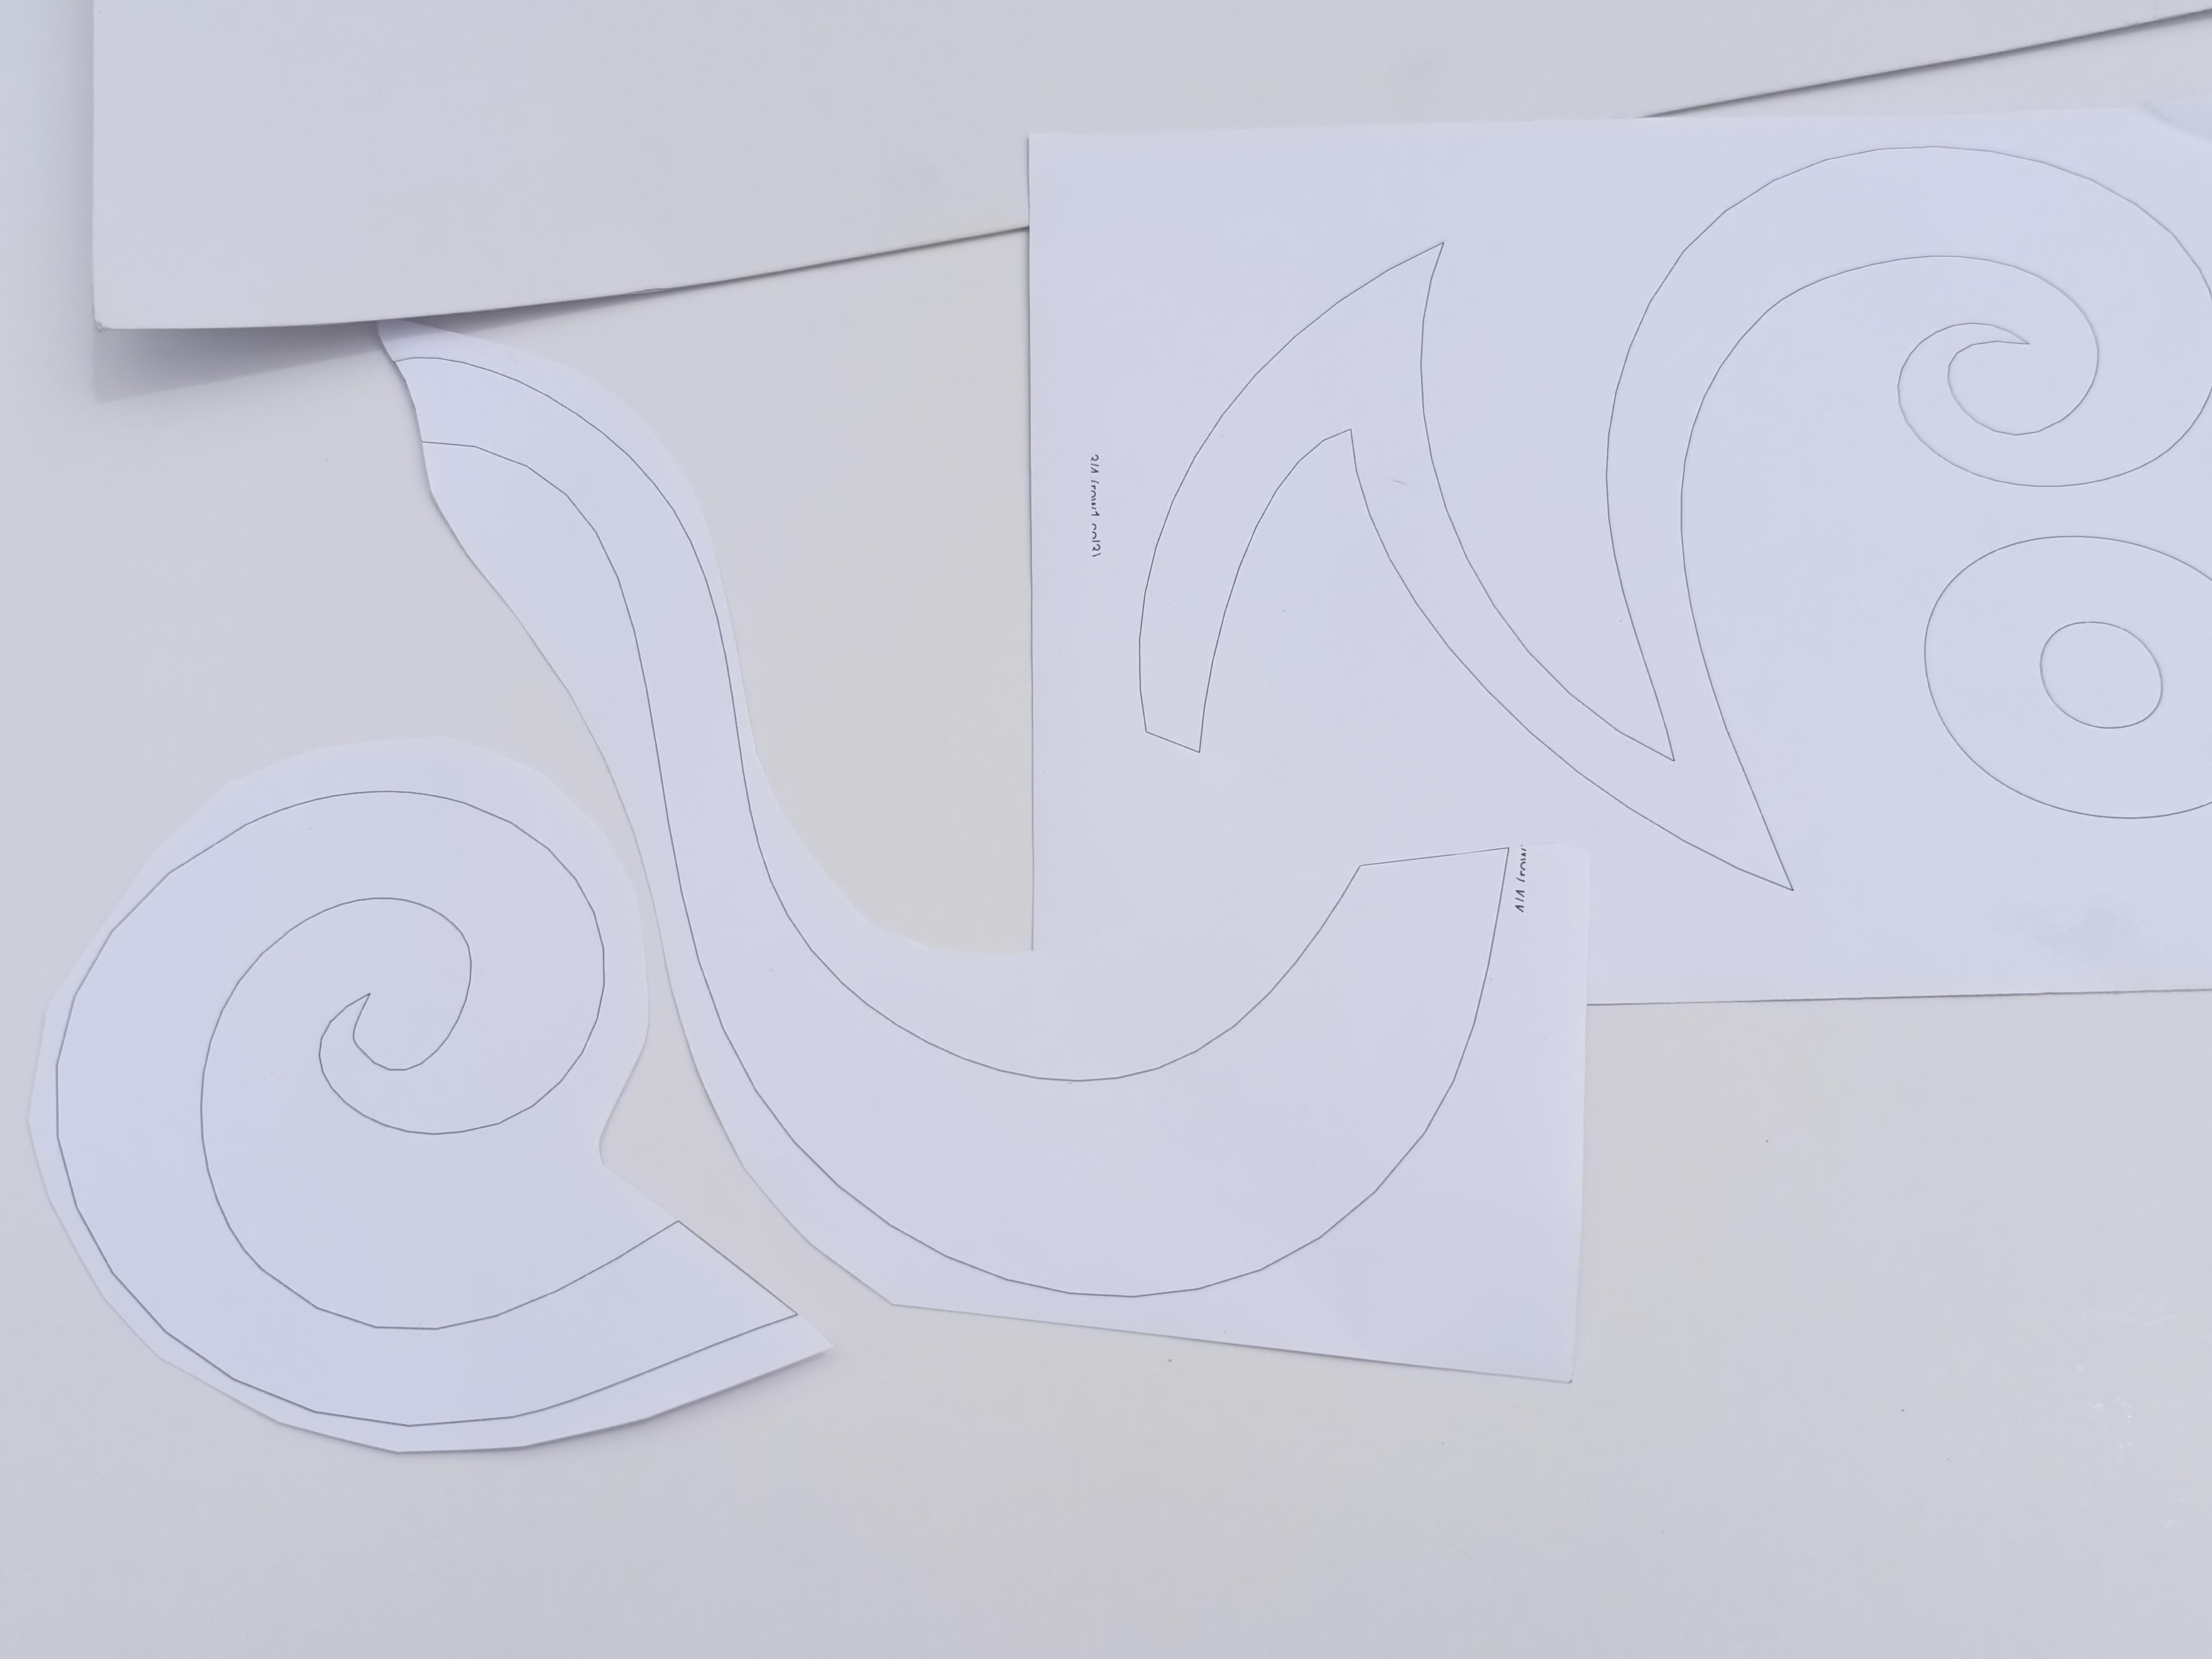
Cut the guides to later stick them on the paper

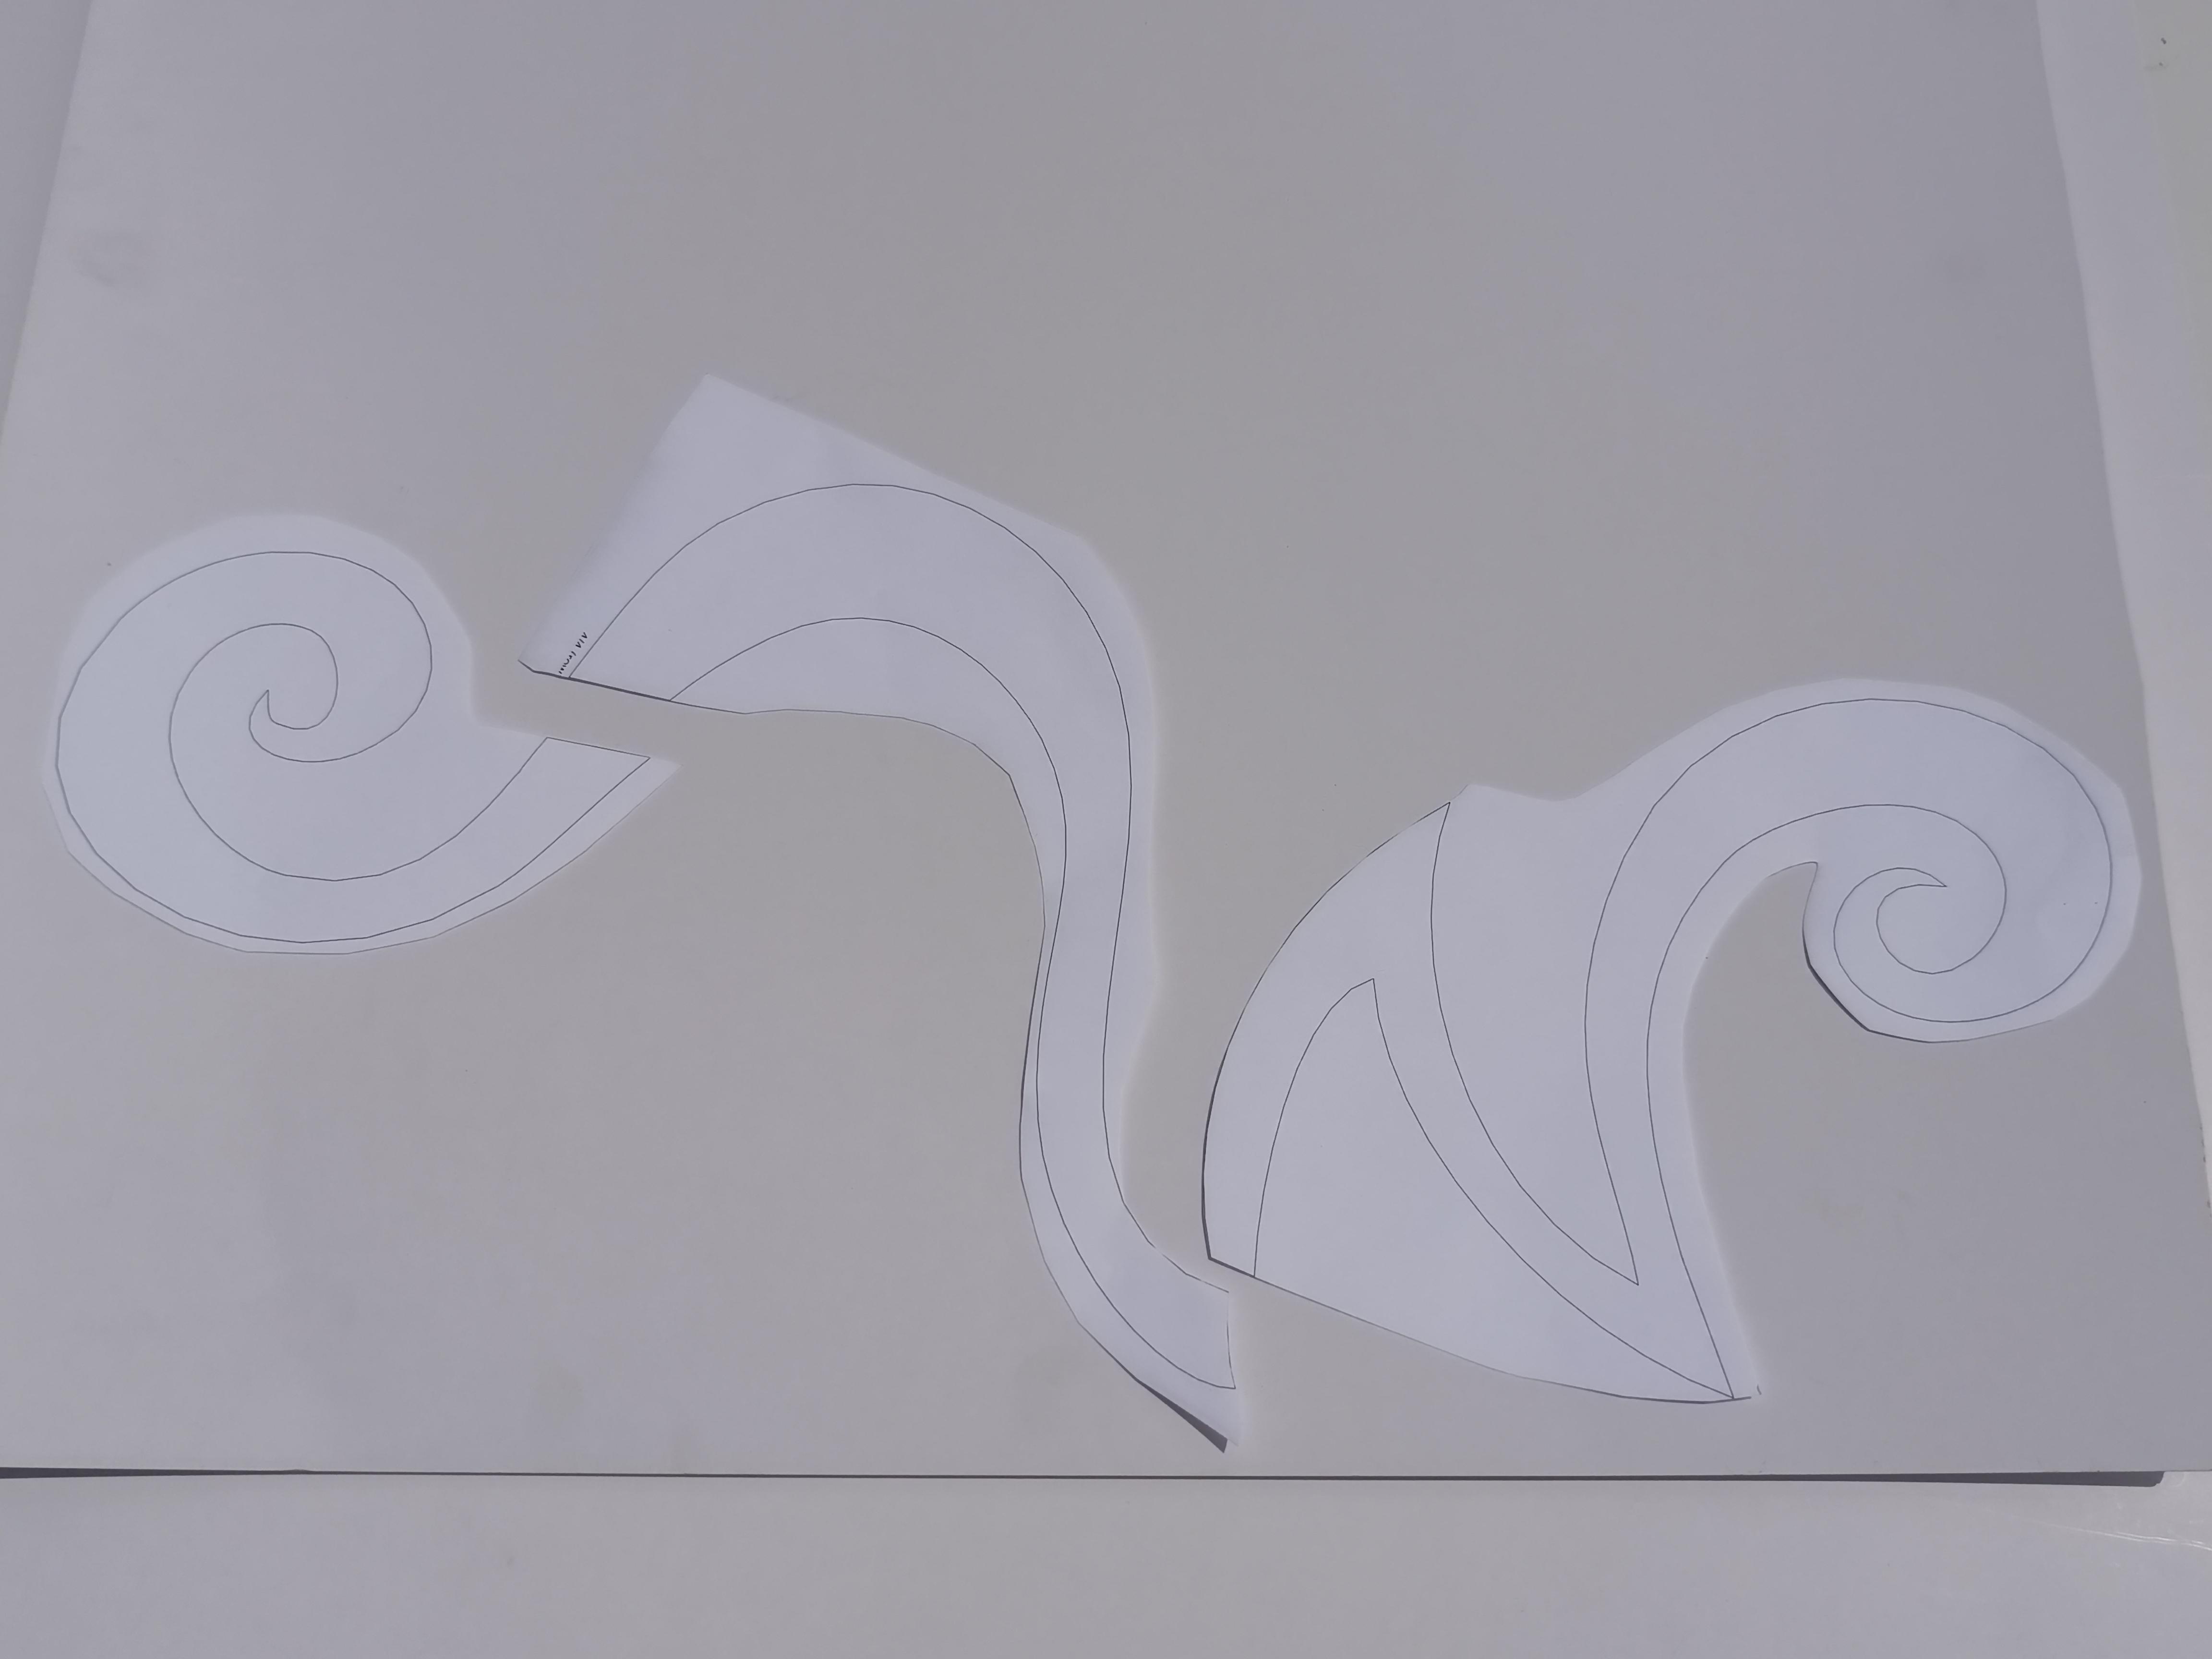
After cut the guides and remove the excess, then glue them onto the selected paper on the less shiny side.

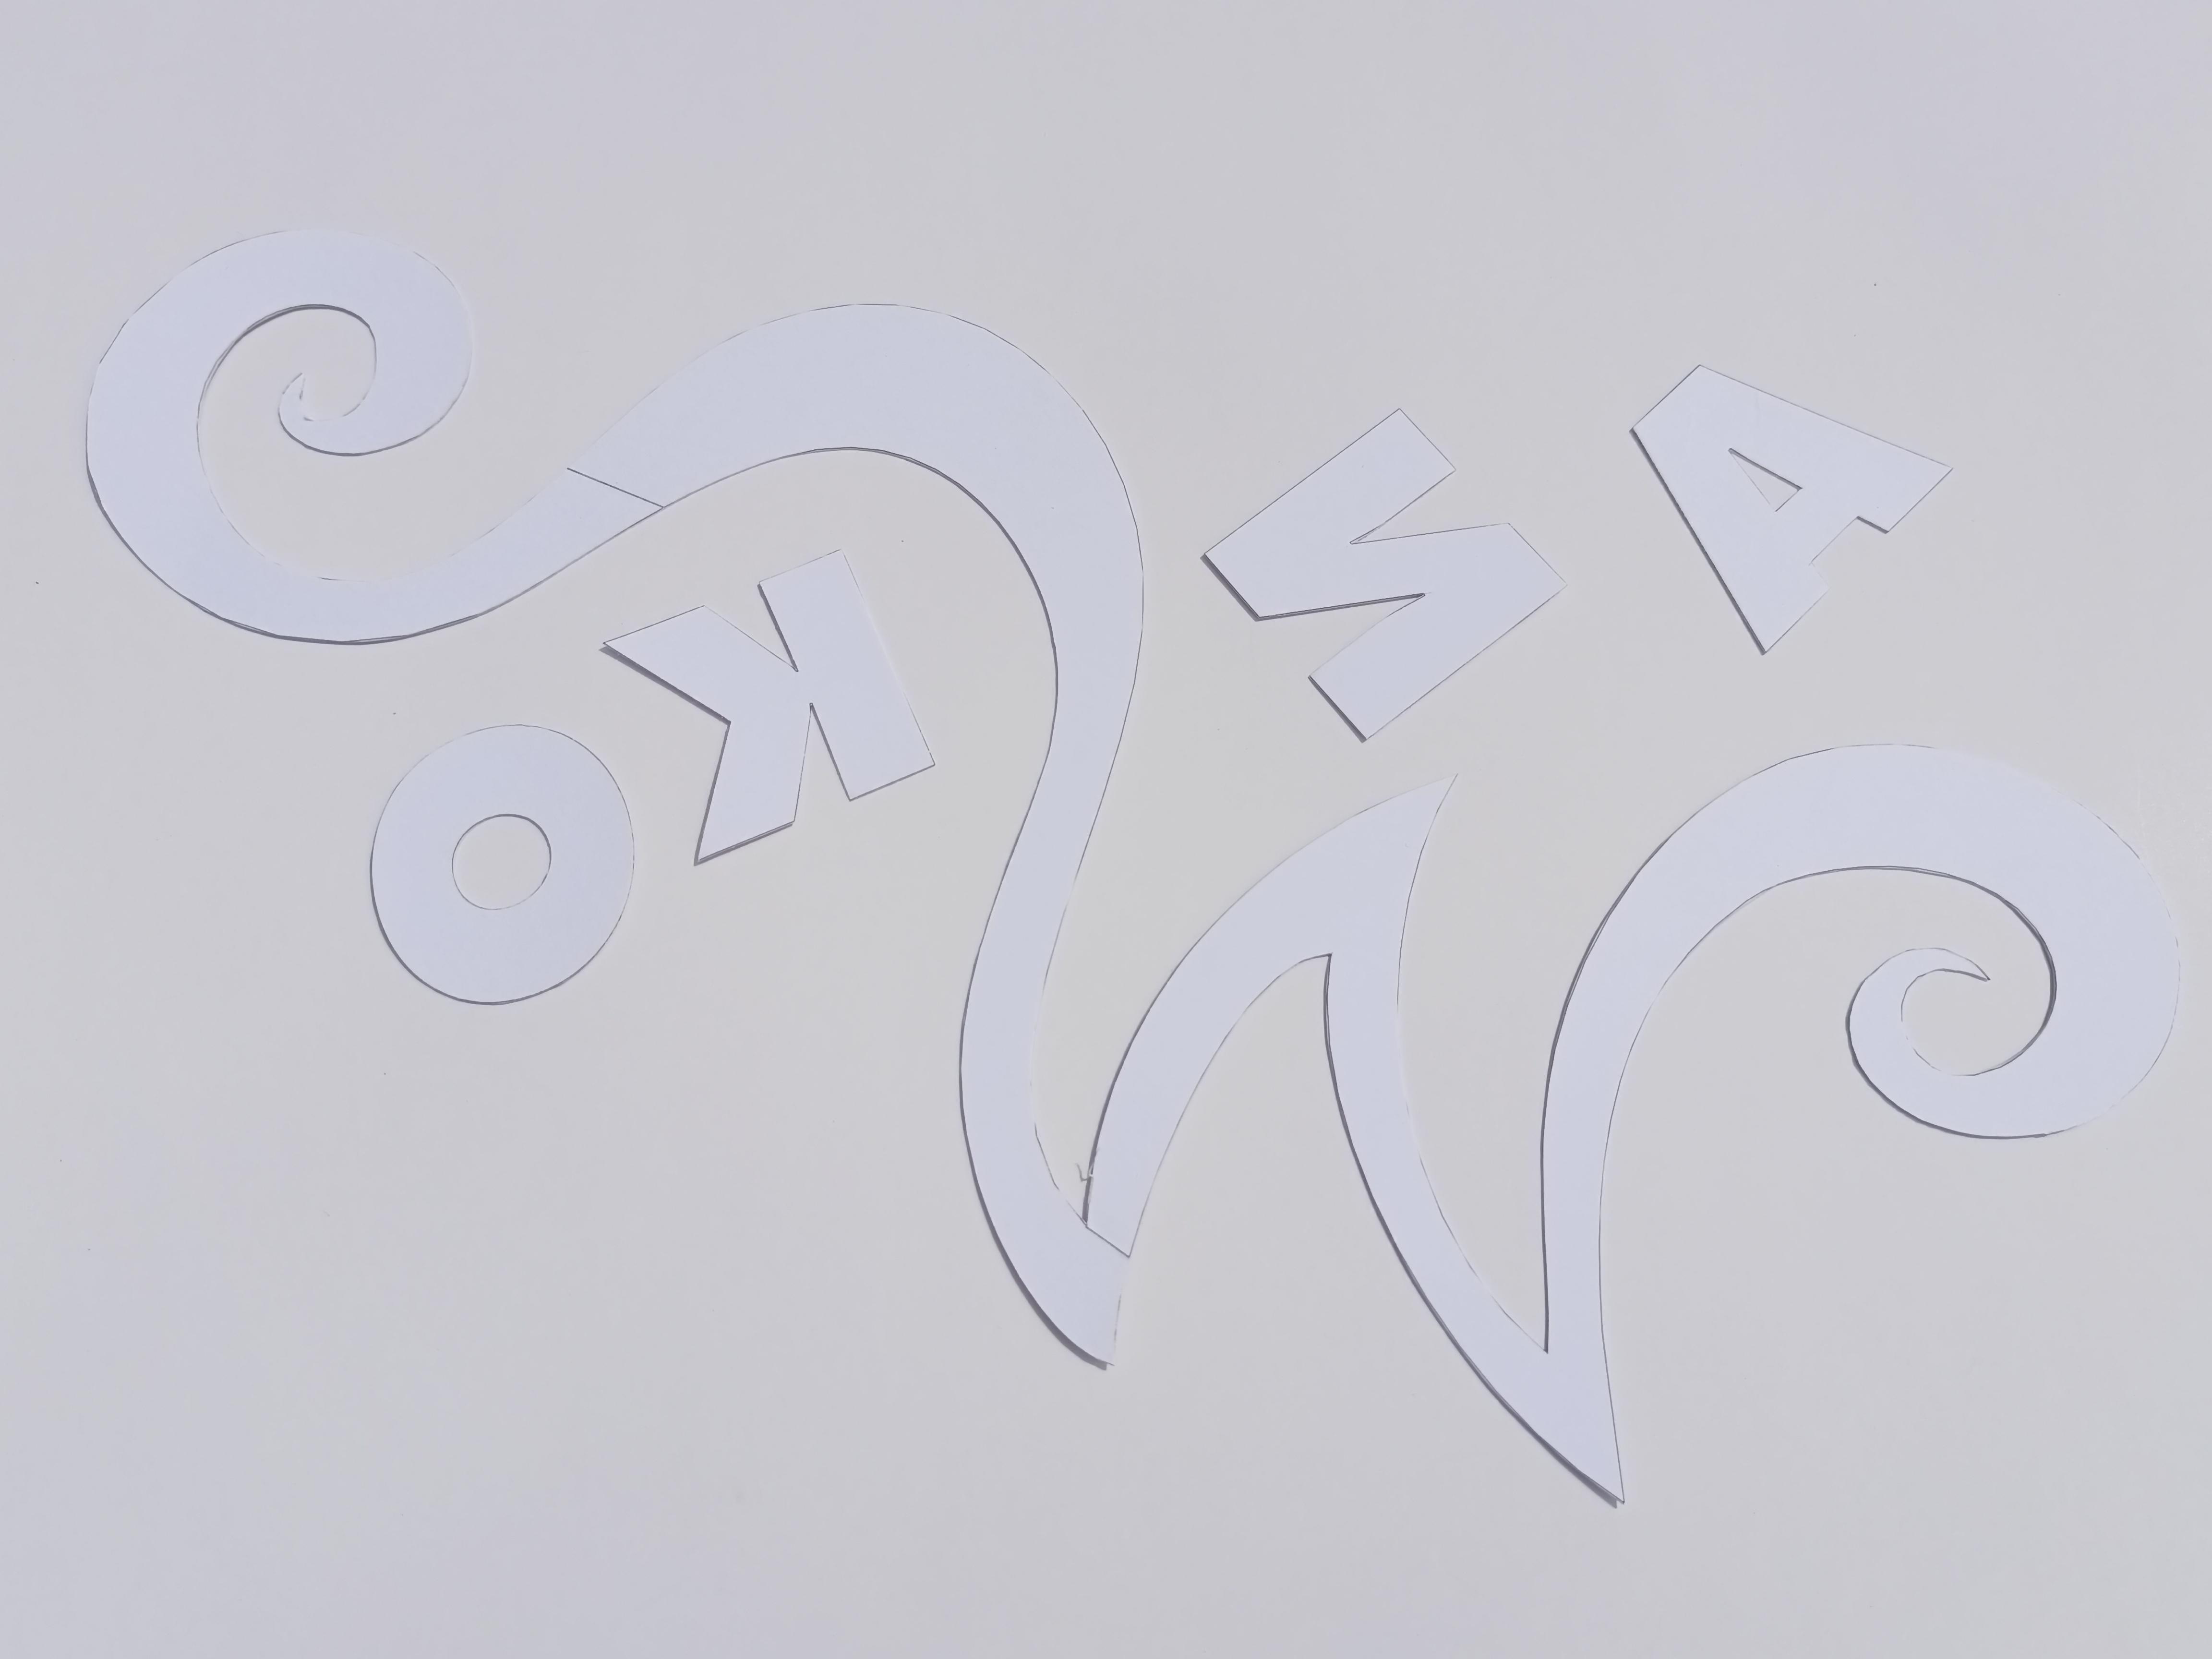
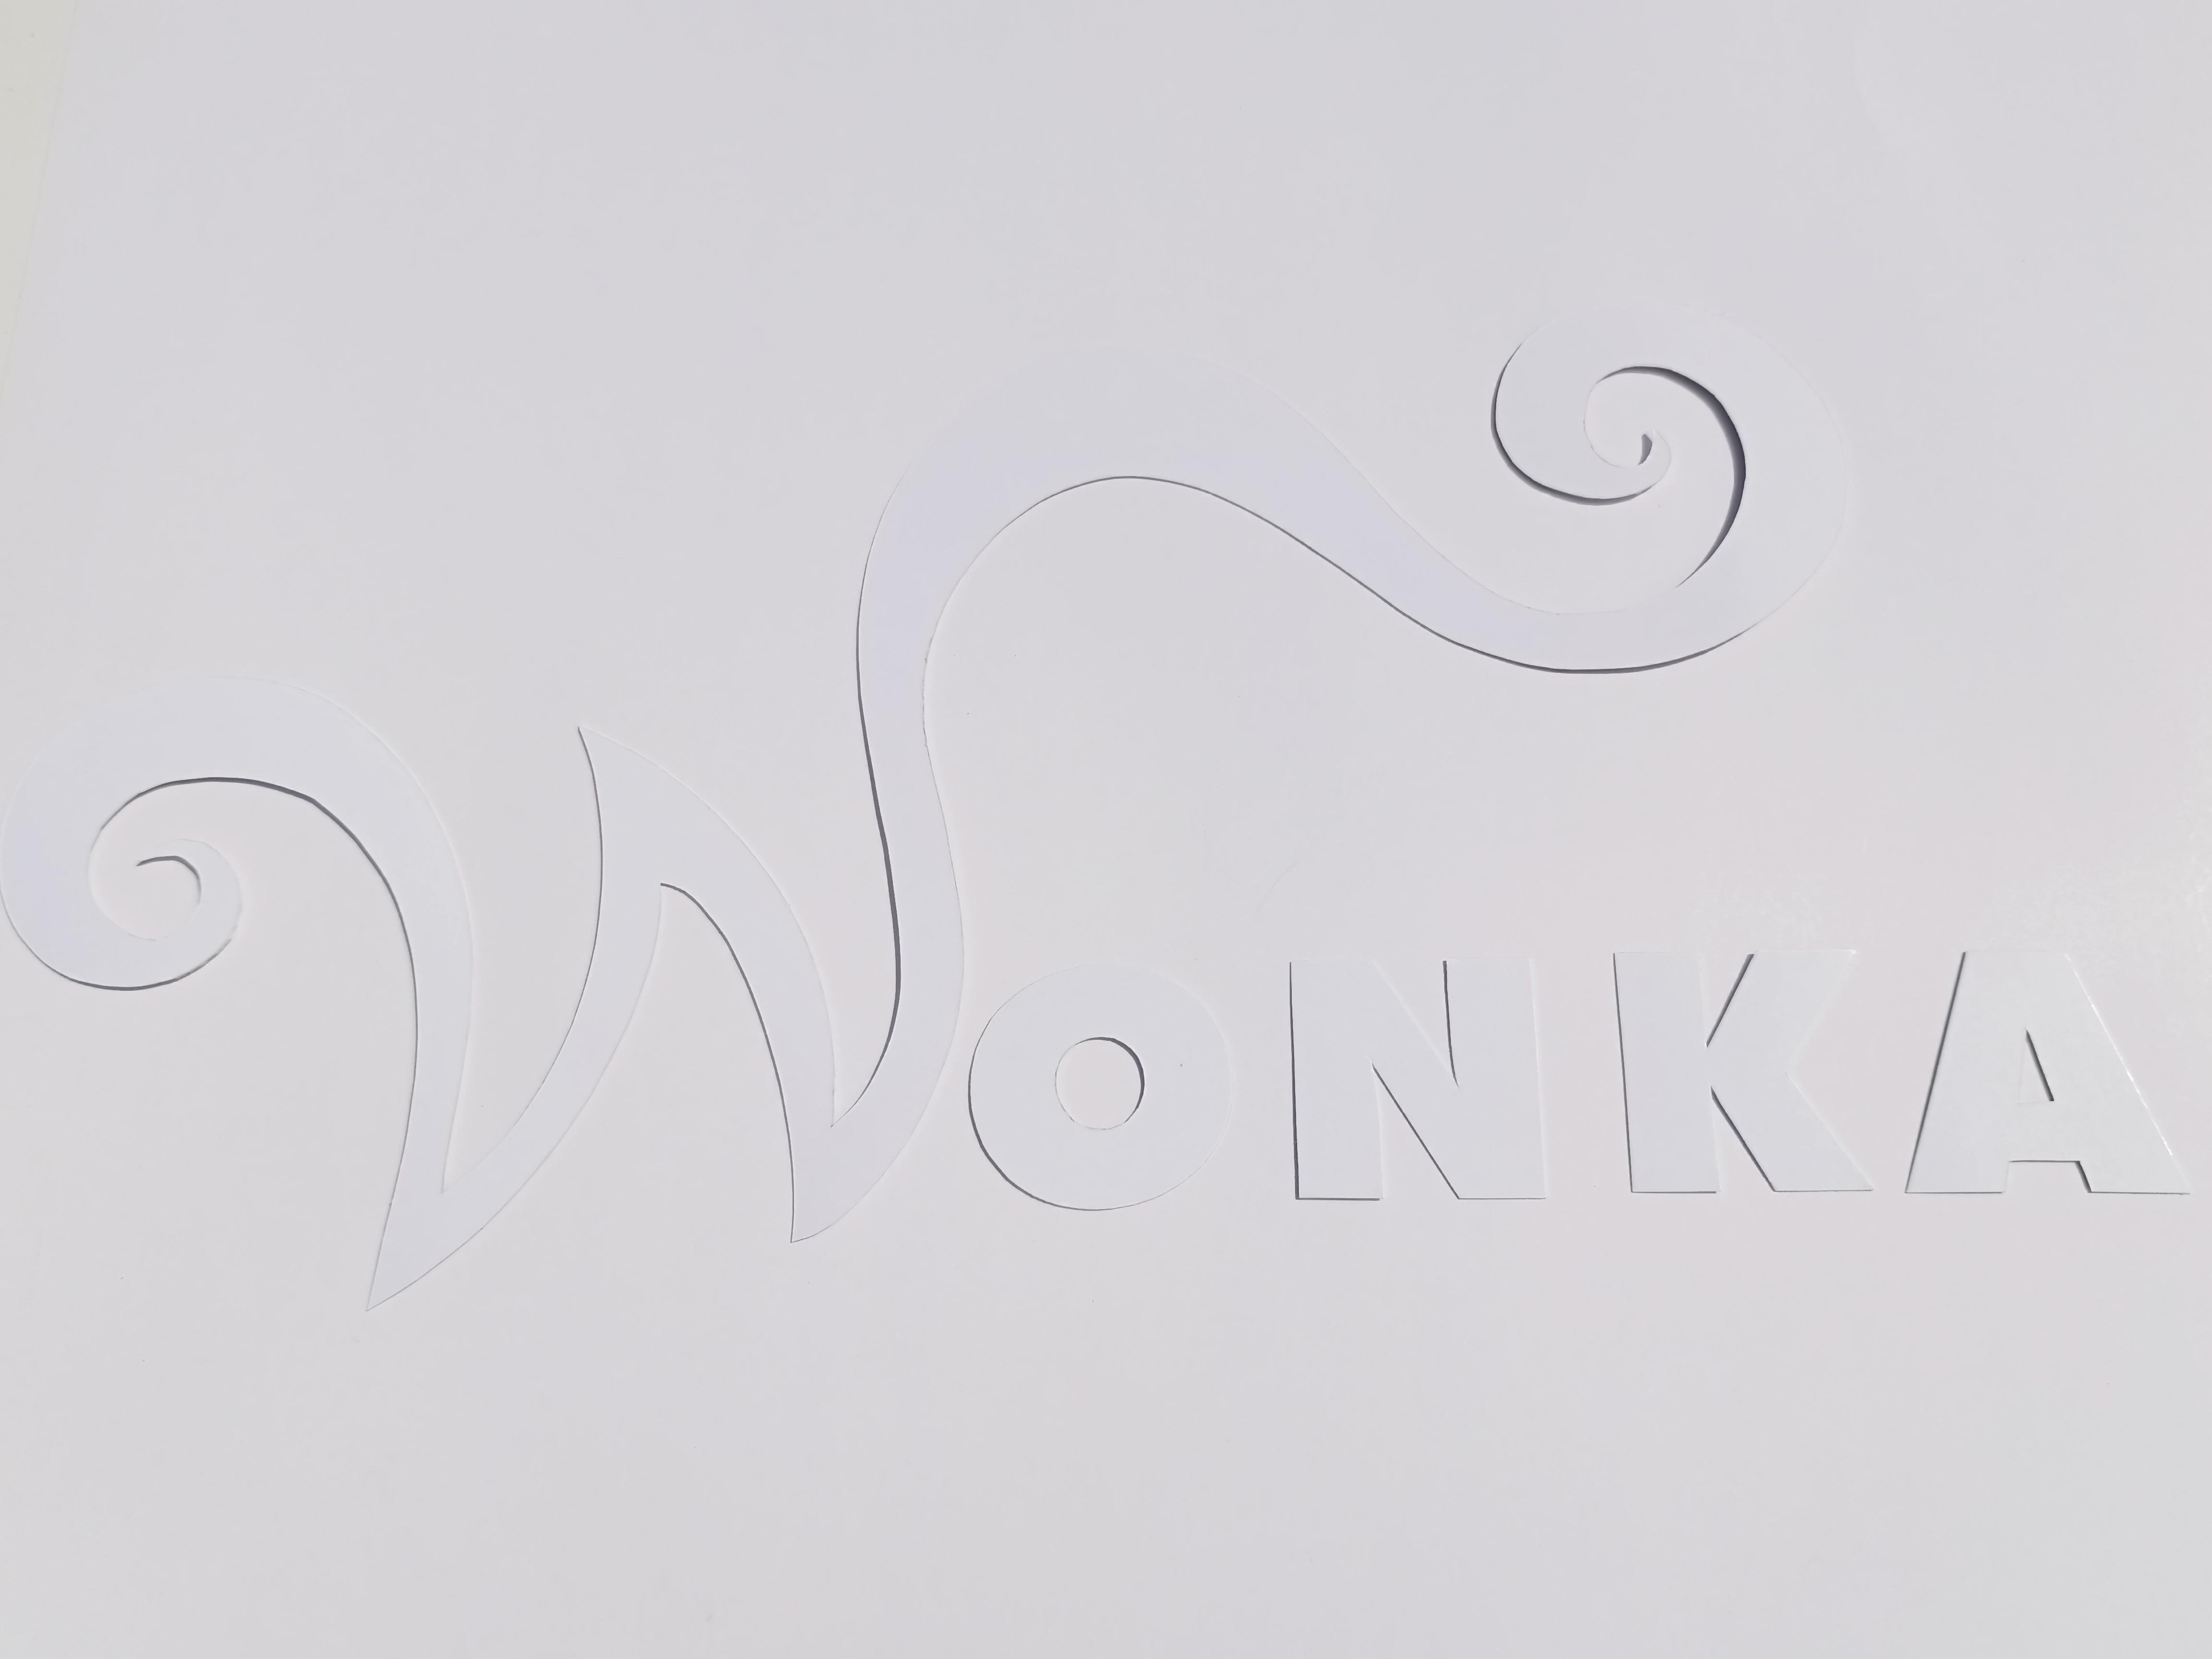
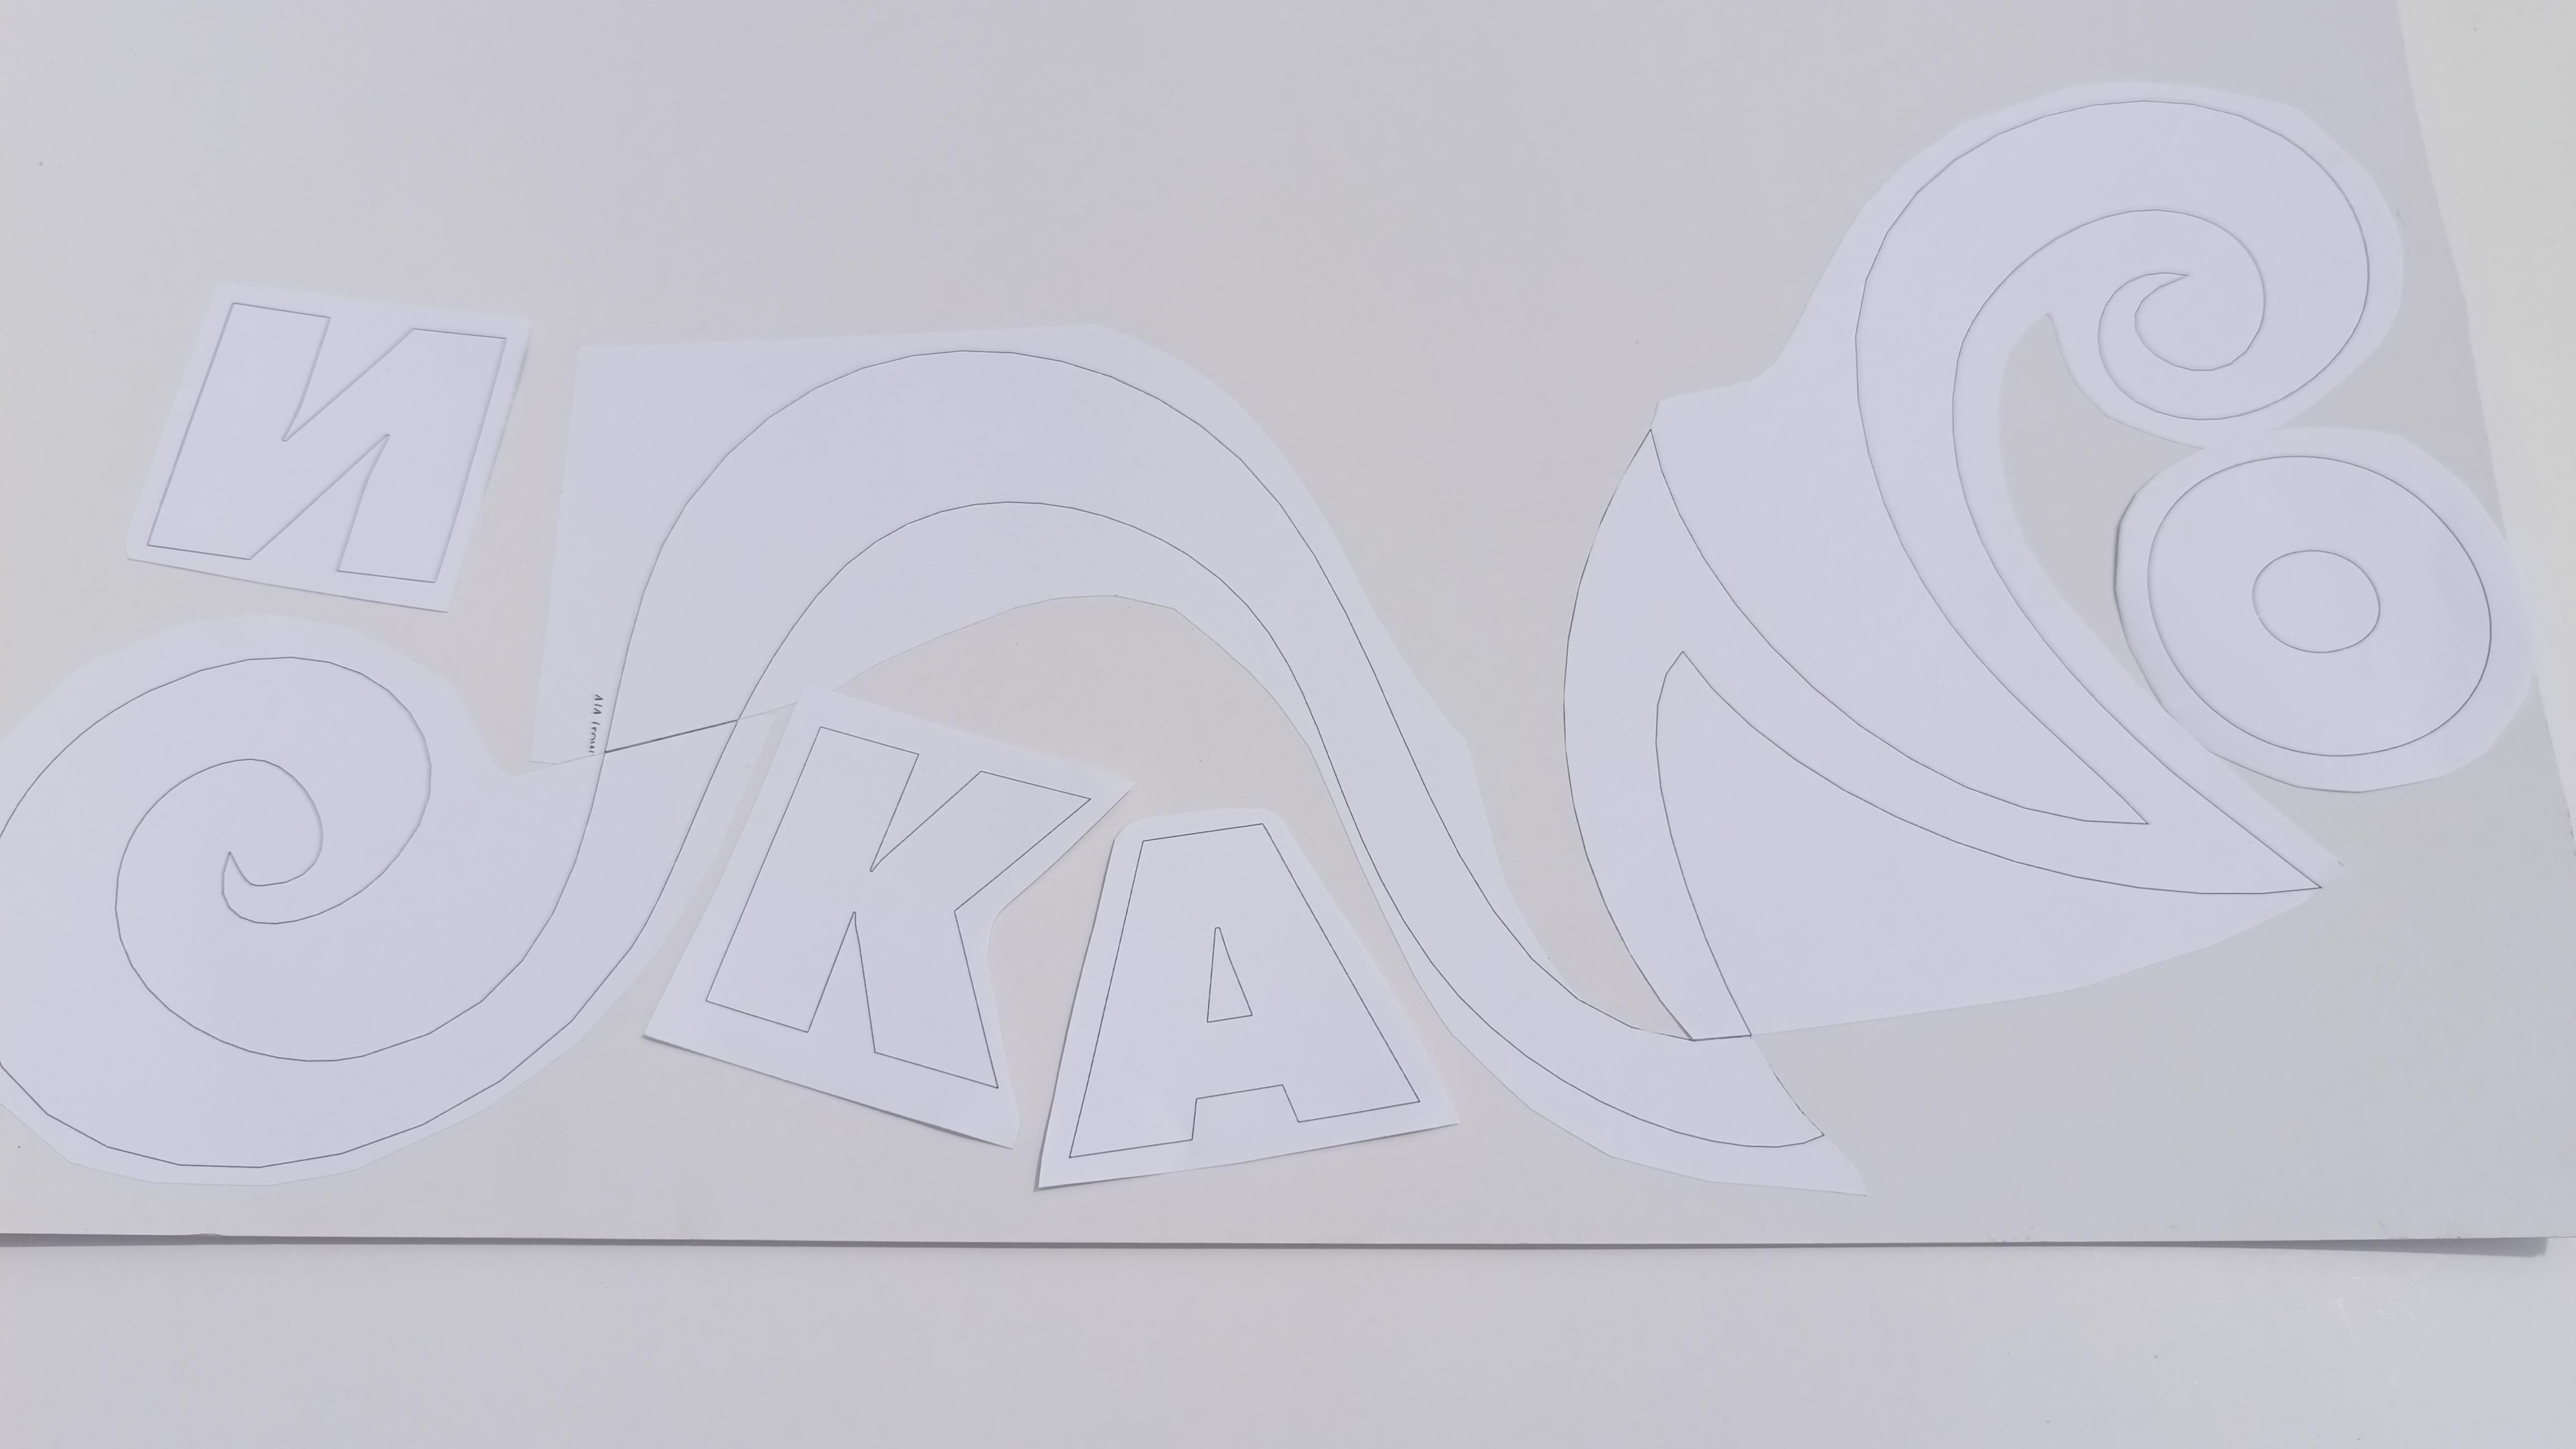
Then cut carefully again, but this time along the indicated edge. When you turn the resulting pieces over, you will have some clean letters that you will stick onto the wrapper.
Before gluing, arrange the letters however you like on the wrapper, and then glue them one by one to avoid mistakes.
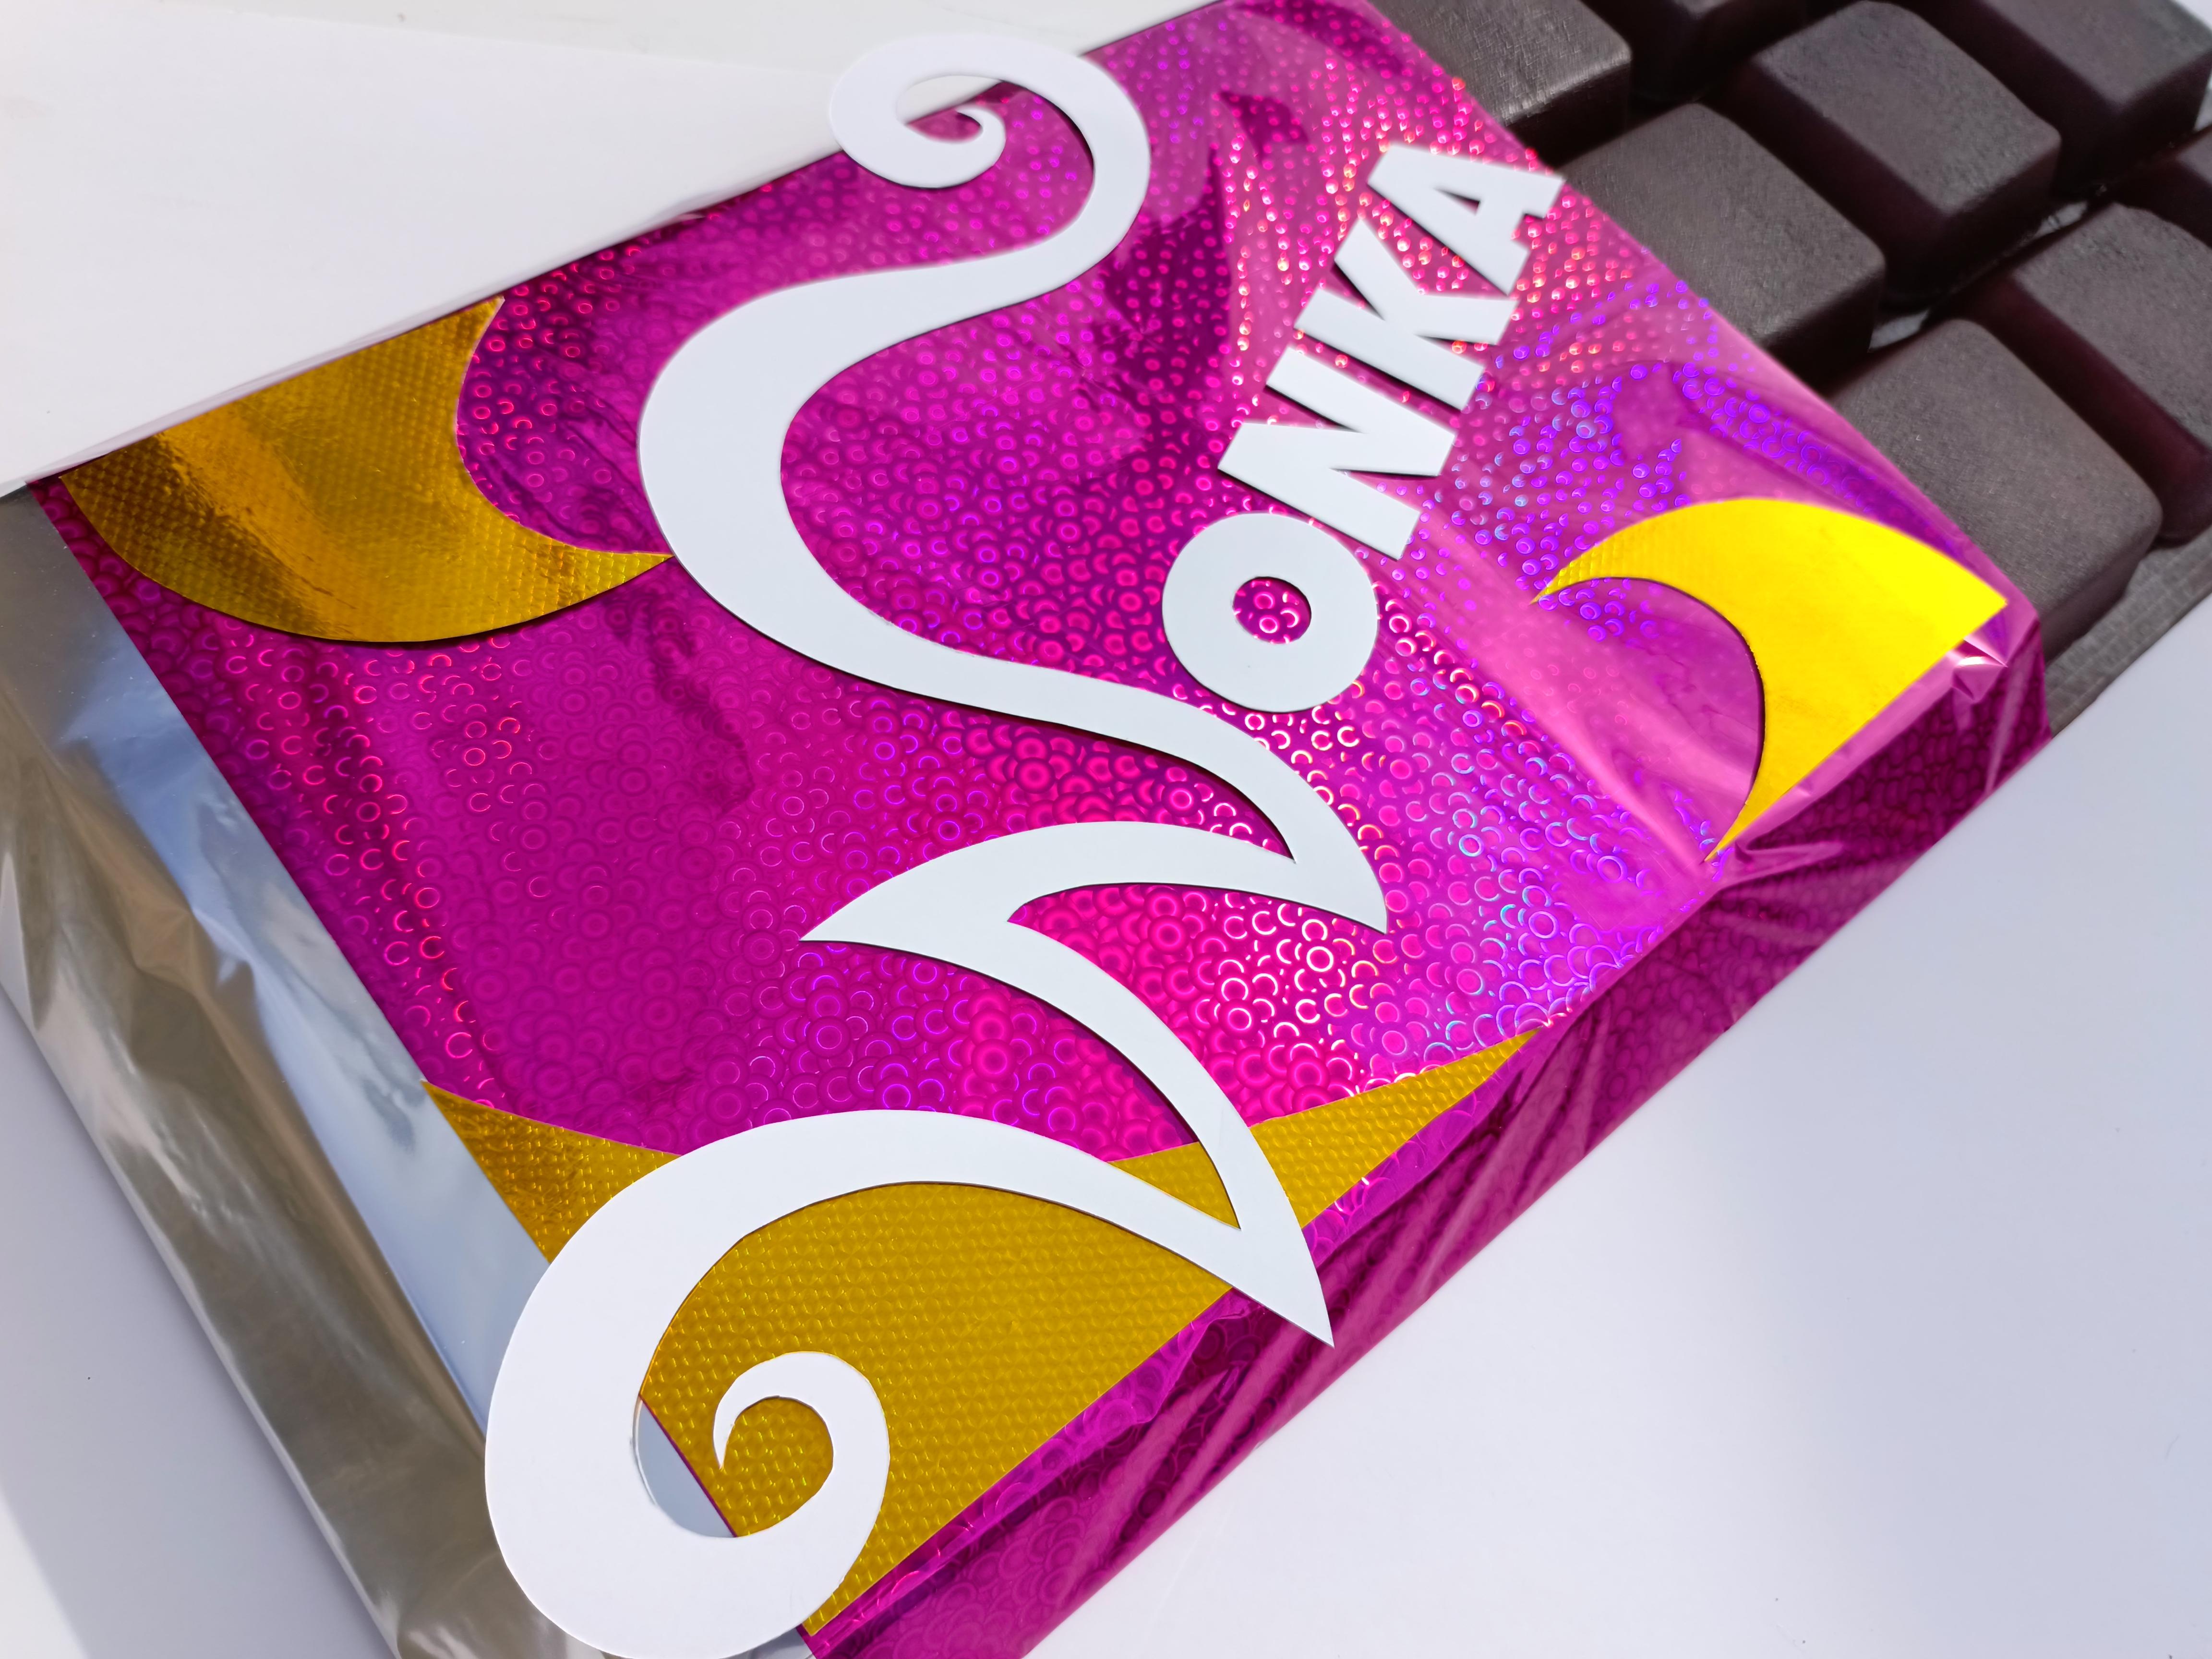
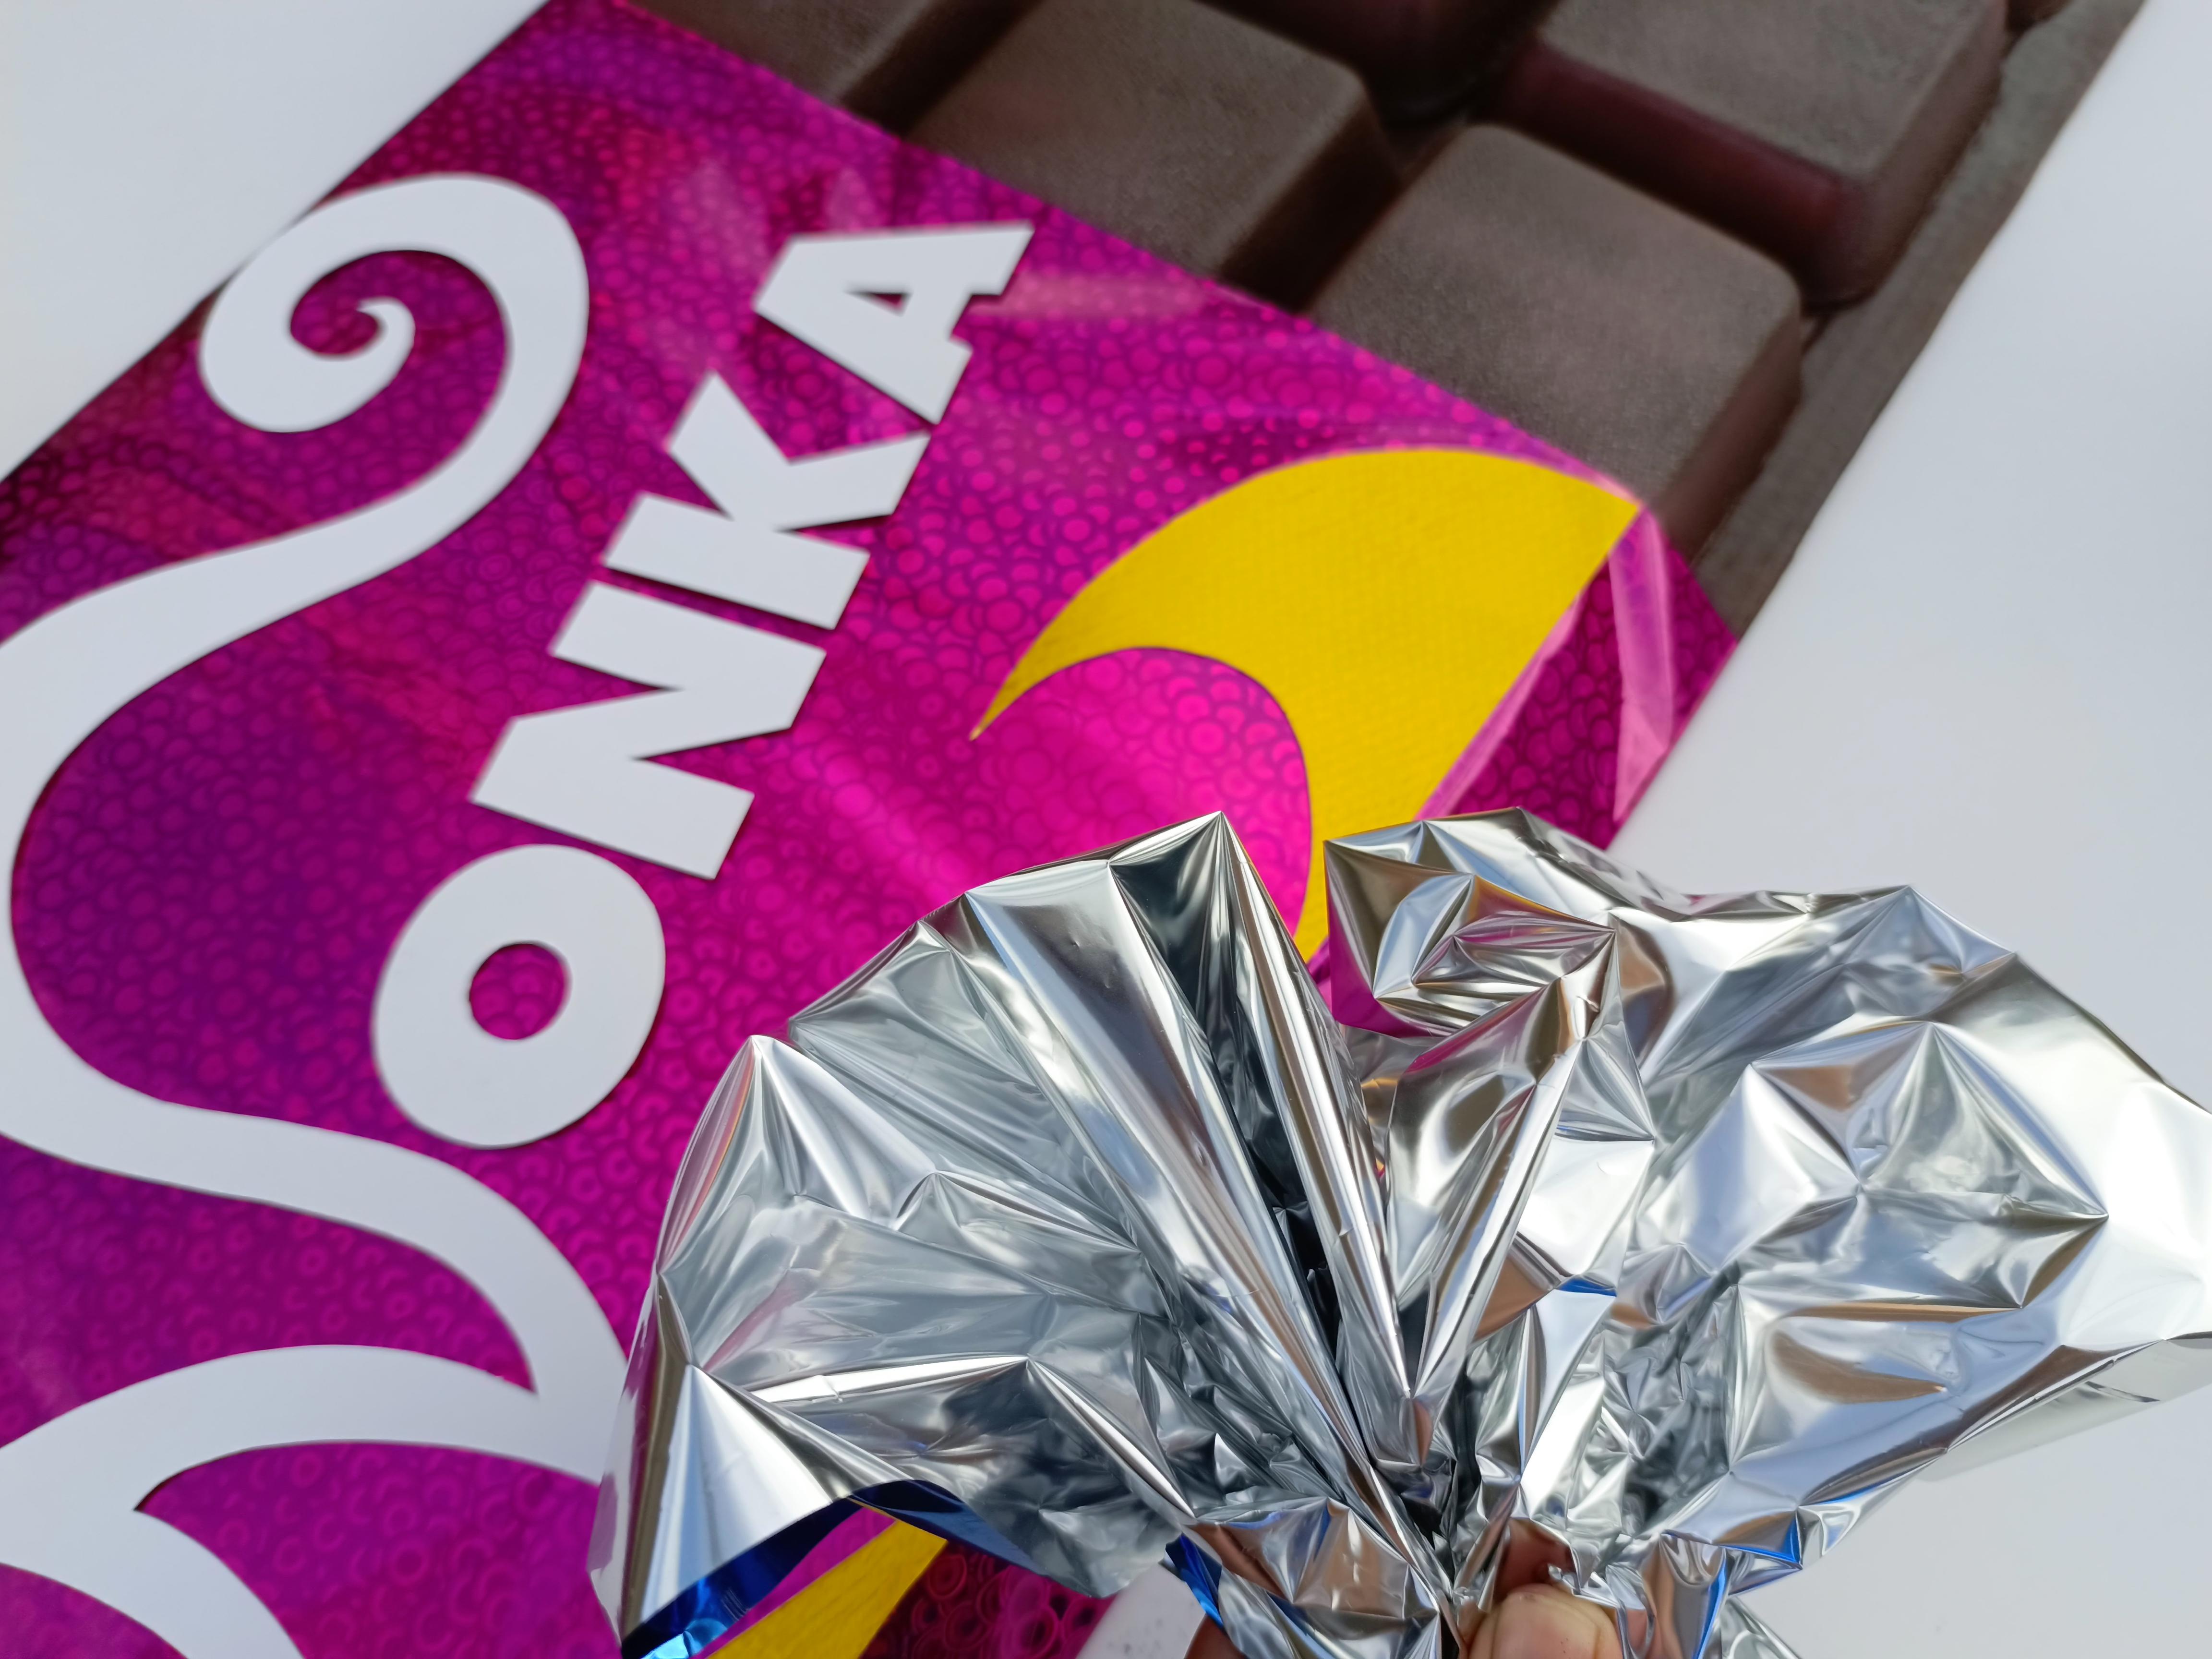
And as a final touch, crumple some of the paper you used for the base of the package and insert it into the end of the pink wrapper to give it that magical effect, as if the chocolate bar had just been opened.
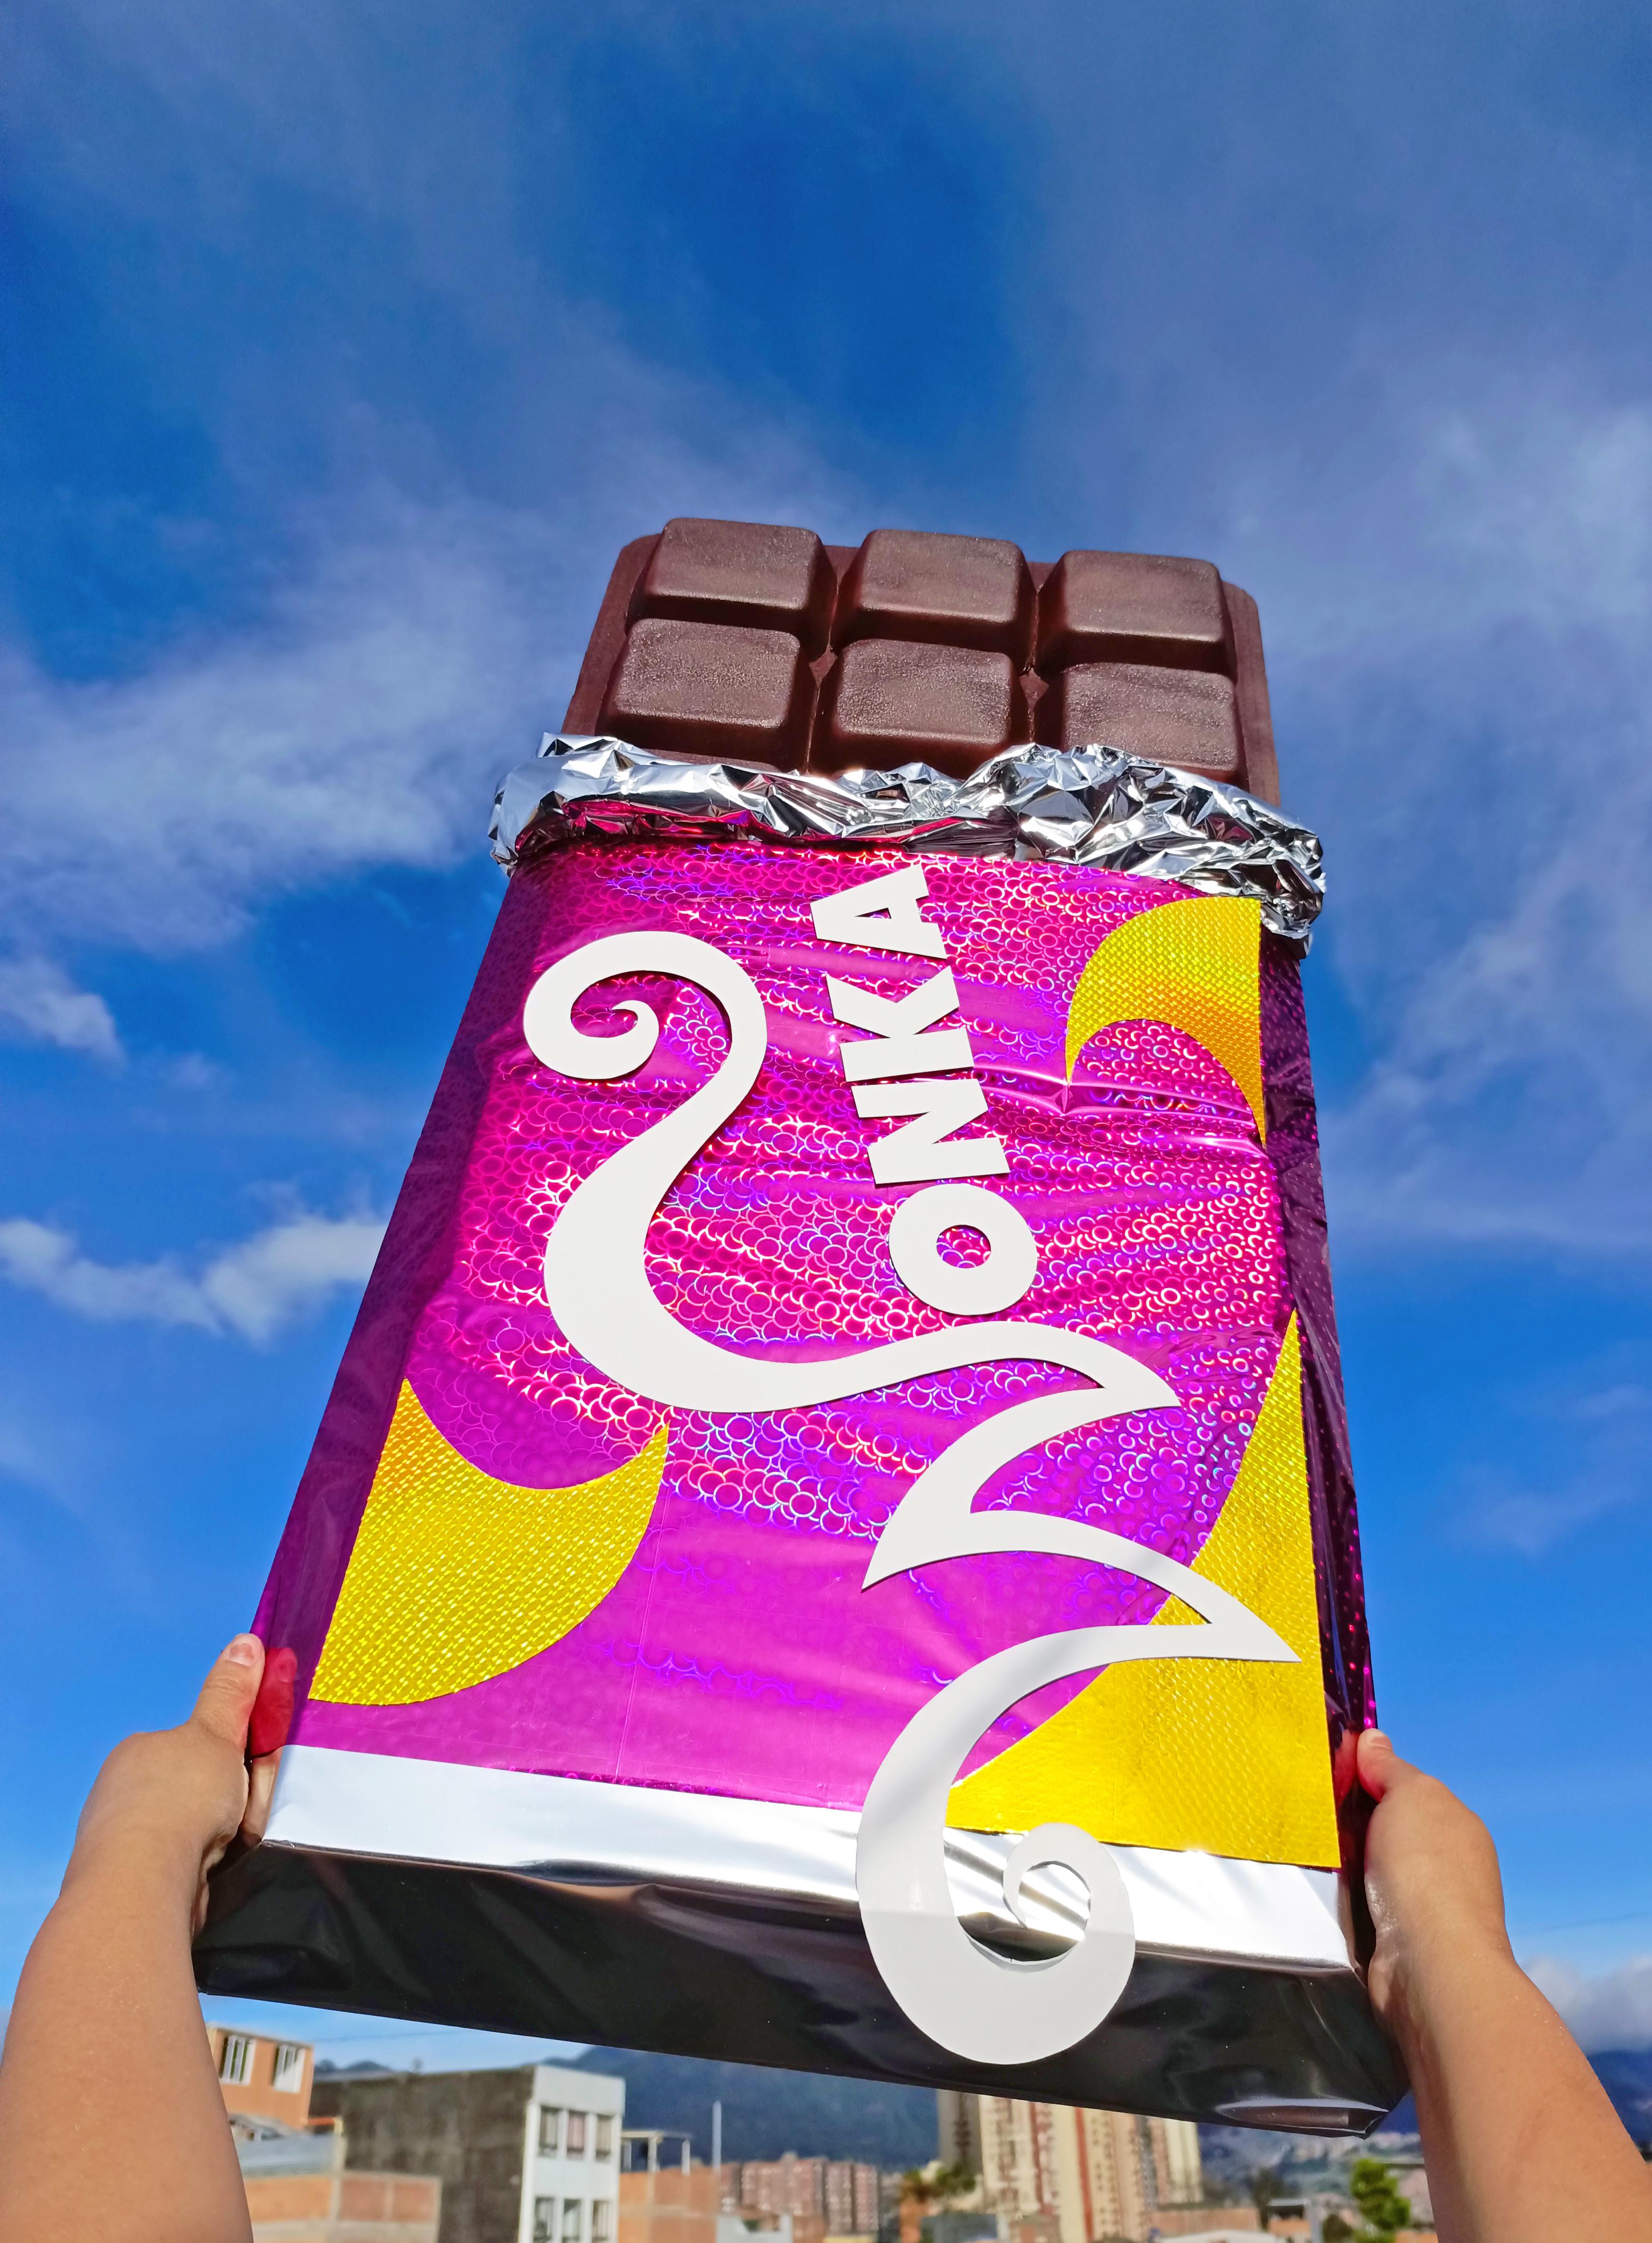
All Hail, Wonka!
Now you can walk around your city with a giant chocolate bar on a sunny day. Just kidding... but you can take a good photo with it.
Thanks for watch <3