Wooden Guitar Picks

Joseph Haynes, Joseph Zeigler, and Carson Redman conducted this project for a school project at National Park College. They are engineering students taking a physics class together. We could have picked any project that would be feasible in the school's maker space, but we chose this project since we all could play the guitar and wanted something to express our artistic instrumental ability. We used the eight-step engineering process to plan out and execute our project, which is a suitable format when attempting any project. This project would not have been possible without the NPC Makerspace and the help of Mark and Camryn Willis. Thank you!
Supplies
- A CNC router or Laser cutter. We use a laser cutter, but the process could be repeated on a CNC router.
- A computer that is compatible with Auto Desk Fusion or another 3-D editing tool.
- Veneer wood sheet
- Micrometer or other measuring tool if you choose a different shape than the dimensions we will provide.
- Belt sander or other sanding tool.
- Acrylic Paint
- Wood stain
- Polycrylic protective finish
Setting Up
First, start by downloading Autodesk Fusion 360 and Inkscape onto your compatible device. Keep in mind that Auto Desk Fusion is not compatible with Apple Imac or Google Chrome computers.
Designing the Pick Shape


Start your design of the guitar pick shape in Autodesk Fusion 360. For our group, we based our pick's shape based on the dimensions of a real guitar pick. Begin with a triangle-shaped sketch with a width of 26mm, a height of 30mm, make the two longest sides of the triangle a 3-point arc, bending them slightly outward away from the center of the pick. Then extrude 1mm. Use the fillet tool to round the top to a radius of 7.5mm and round the tip to 3mm. As a result, you should have the shape of your guitar pick.
Export the Sketch
Save then export the sketch as a dxf (direct sketch format)
Importing a Logo Onto the Pick


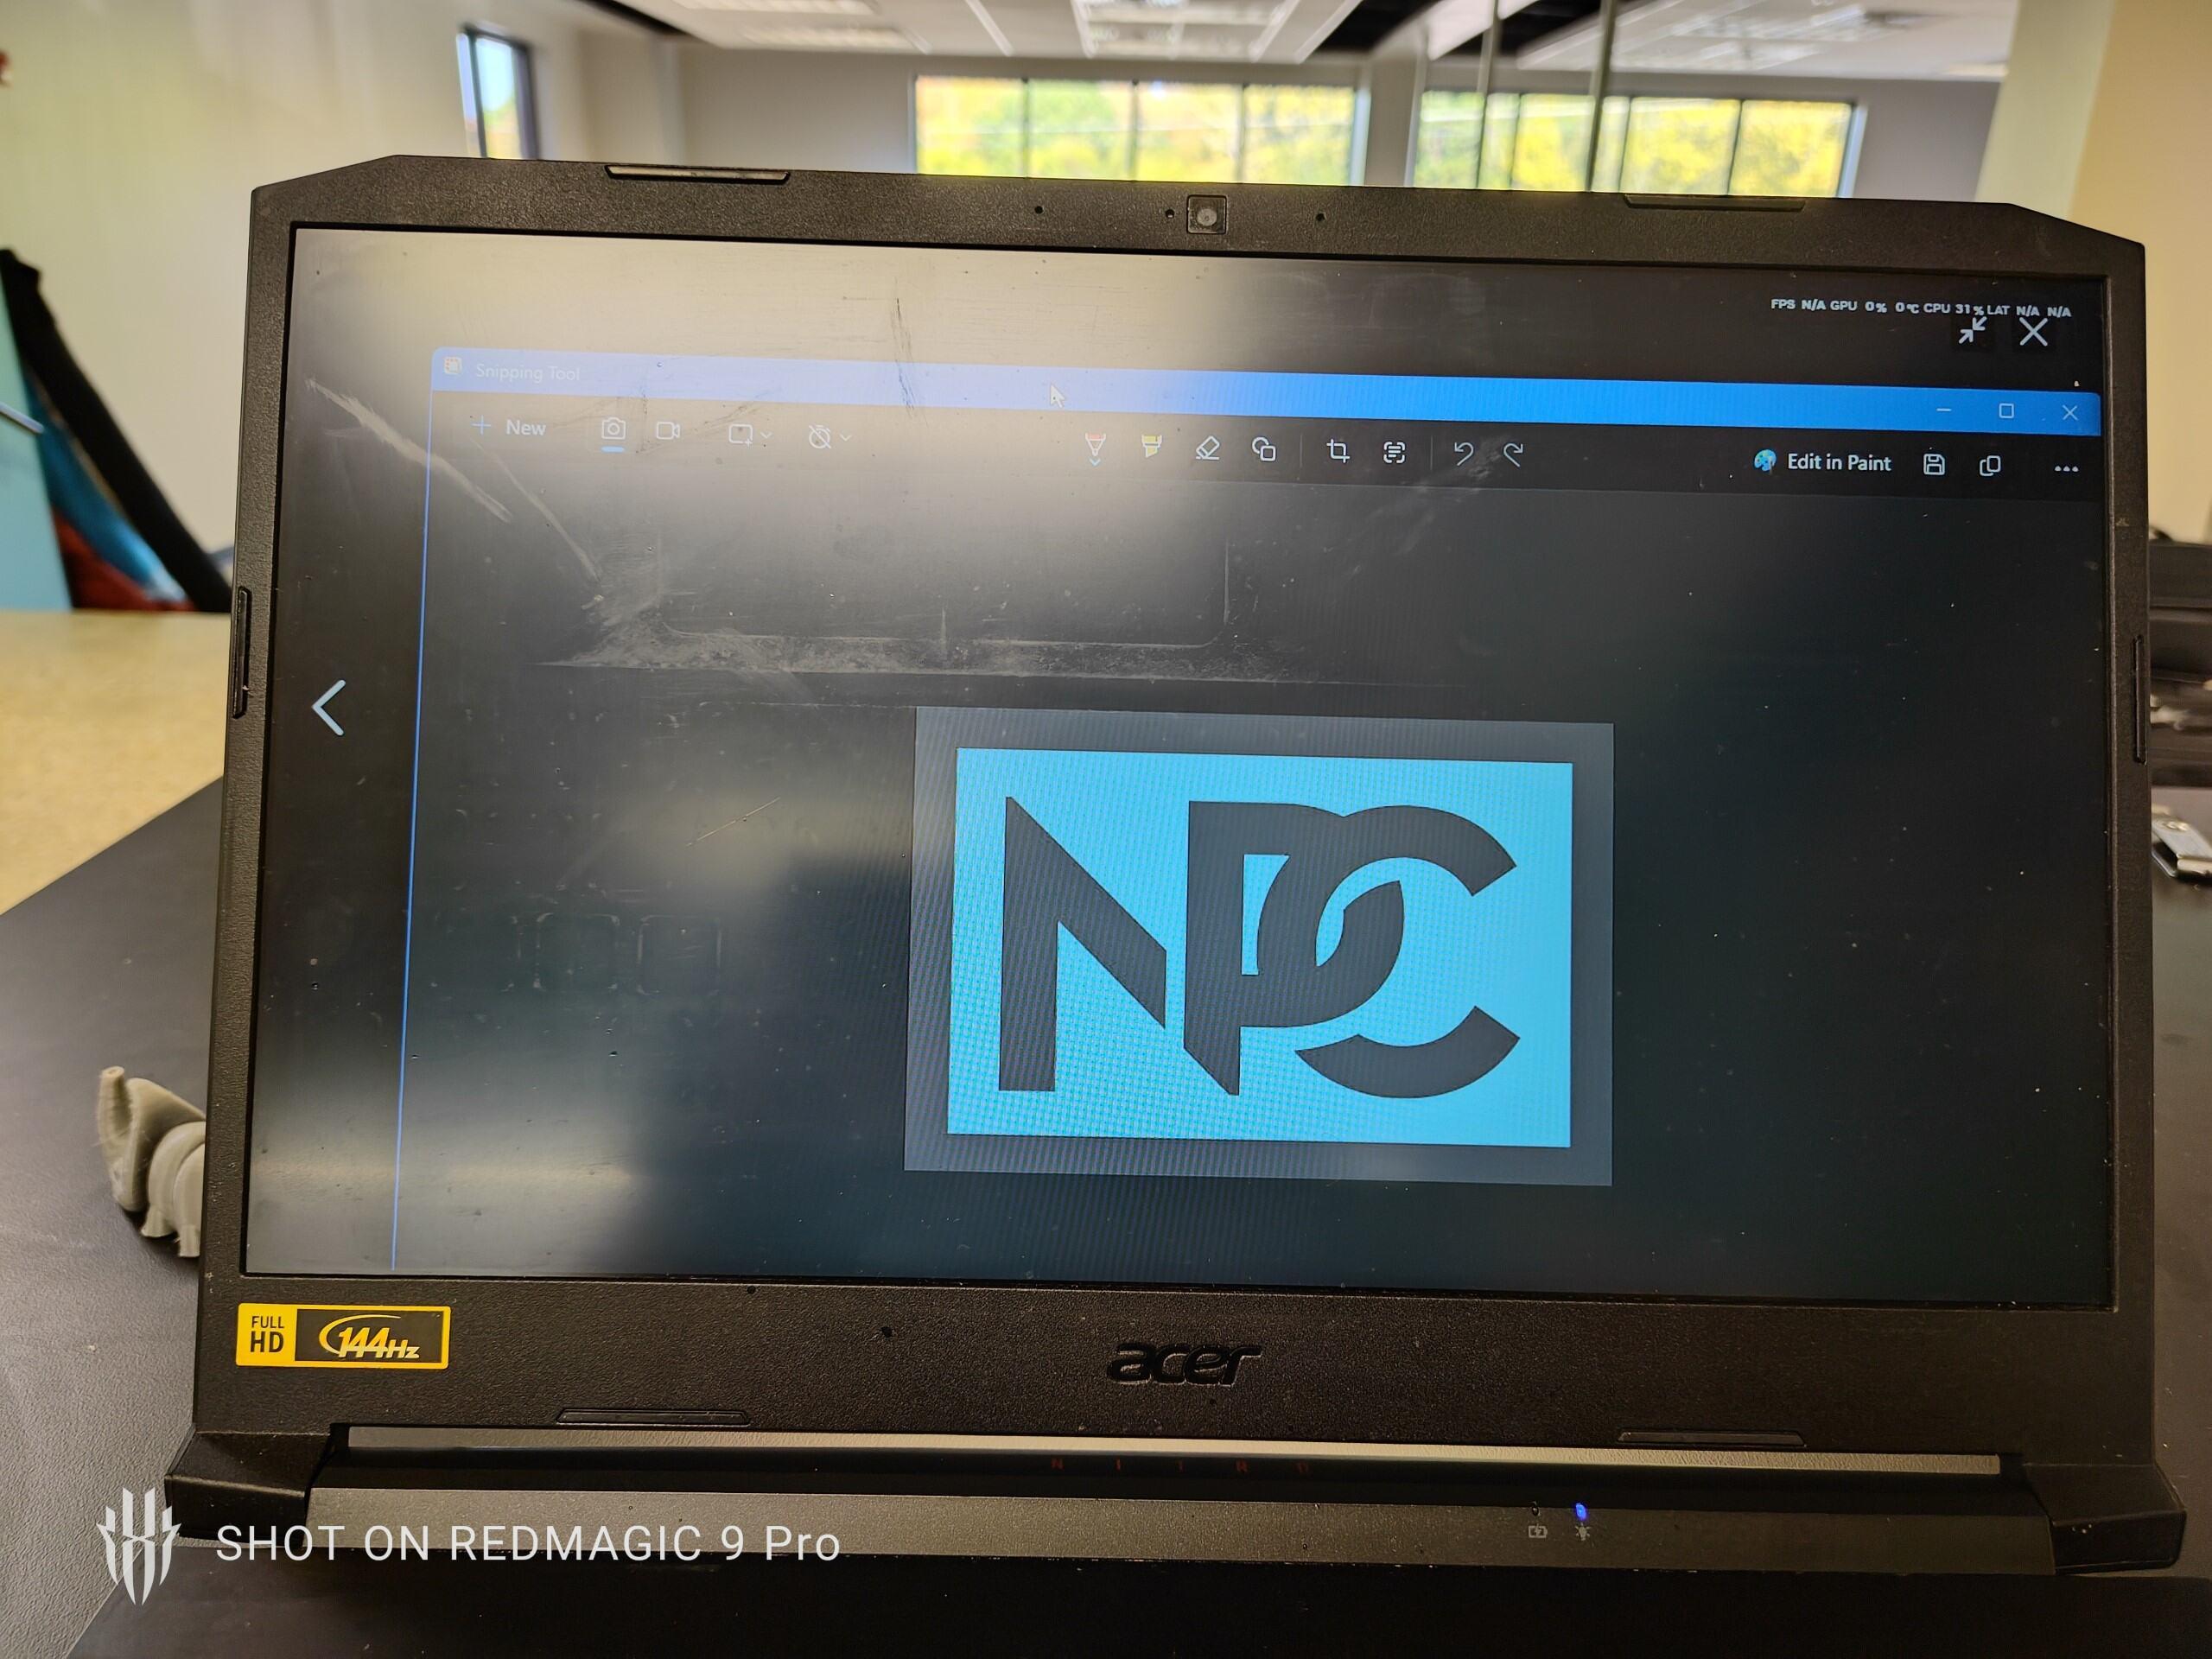
Find the logo you want to print on your guitar pick. For our project, we decided to use our school's logo. Save the image of your choice and upload it in Inkscape to put the logo on the pick. Then, use the bit mapping tool to separate the black outline from the blue background. Lastly, convert this file from an SVG file into a DXF file.
Cutting and Engraving the Pick


The next step is to cut and engrave the pick. Enter the dxf file into the Bosslaser Computer. Change the logo of your choosing inside the pick to a different color and set that outline to engrave. This way, the laser cutter will engrave the inside logo instead of cutting it. Ensure the grain of the wood is parallel to the horizontal lengthwise of the pick to ensure it is straight. Set the wood vainer next to the laser engraver and adjust the laser height to 7mm above the material (the Vanier) or whatever height is required for your machine. Set your origin point, where the cutting process will start, with plenty of space around the wood, close the lid, and then hit start. The laser cutter will engrave the pick and then cut it out. Once it is safe, open the lid and inspect your pick. Repeat the process for as many picks as you would like to make.
Artistic Touches


.JPG)
.JPG)


As far as decorating the guitar picks, the possibilities are unlimited. What our group found to work best is as follows. First, we used acrylic paint for the logo. Colors varied from baby blue to black. Gently paint around the inside of the logo. It is ok if all the paint overlaps with the outside of the logo. You will sand off the excess paint afterward. Once you have the inside of the pick painted, Sand the pick down, focusing the edges so that the pick will make smooth contact with the guitar strings. Also, be sure to sand off all the excess paint. Next, you need to stain and add a finish to the pick to ensure its integrity. Gently brush the pick with the stain of your choice. You may want to wear gloves and an apron for this step to be sure not to get any stains on your hands or clothes. We used a walnut color wood stain. Be careful not to let the stain soak into the logo so much that it covers up the painted logo. Once the stain dries, add the finish using the same process. Brush gently, providing an even coat, and let it dry.
Final Product

