Xiao Labubu
For my final project, I was pressured by my professor decided to design and construct a Labubu. As a former avid Labubu collector myself, it was time for me to have my handmade one added to the collection.
Supplies
Crochet Materials
- 2x Skeins of 8mm Blue Chenille Yarn
- Fine Beige Acrylic Yarn
- Fine Dark Turquoise Acrylic Yarn
- 2mm Crochet Hook
- 4mm Crochet Hook
- Tapestry Needle
- Fiber Stuffing
3D Printing Materials
- PLA Filament
- Acrylic Paint and Brushes
Software
- Fusion
- Nomad Sculpt
Design

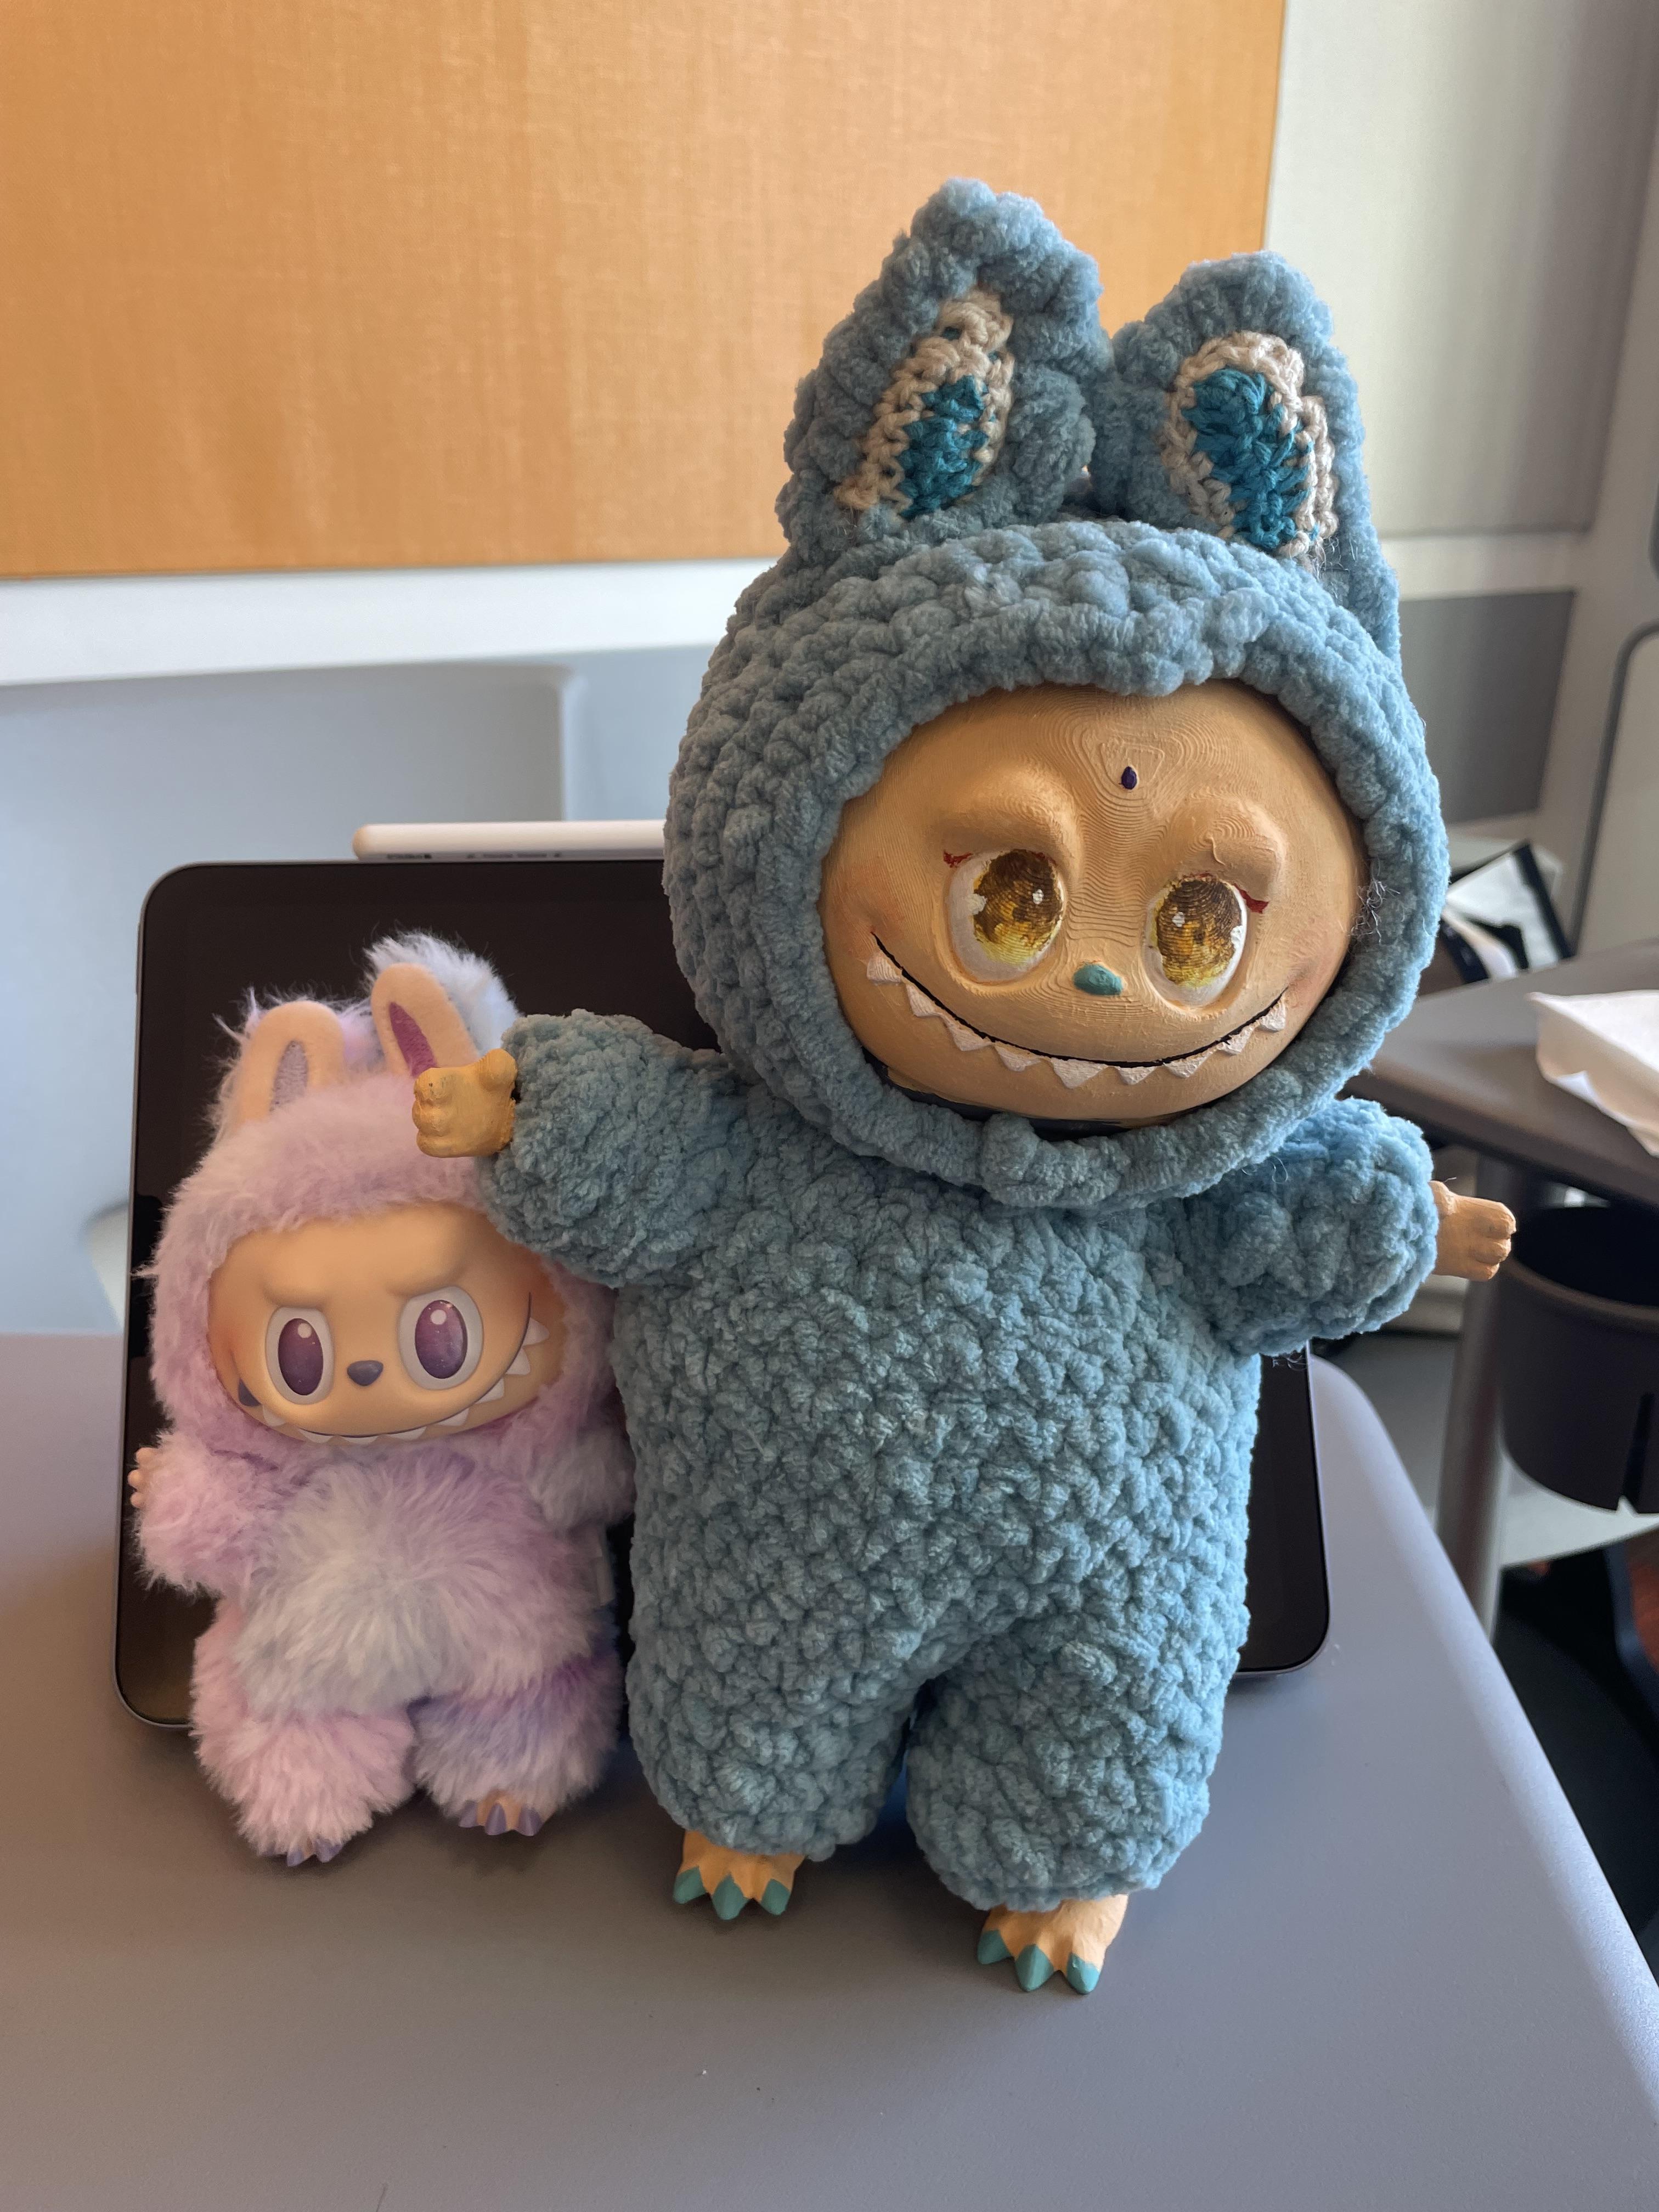
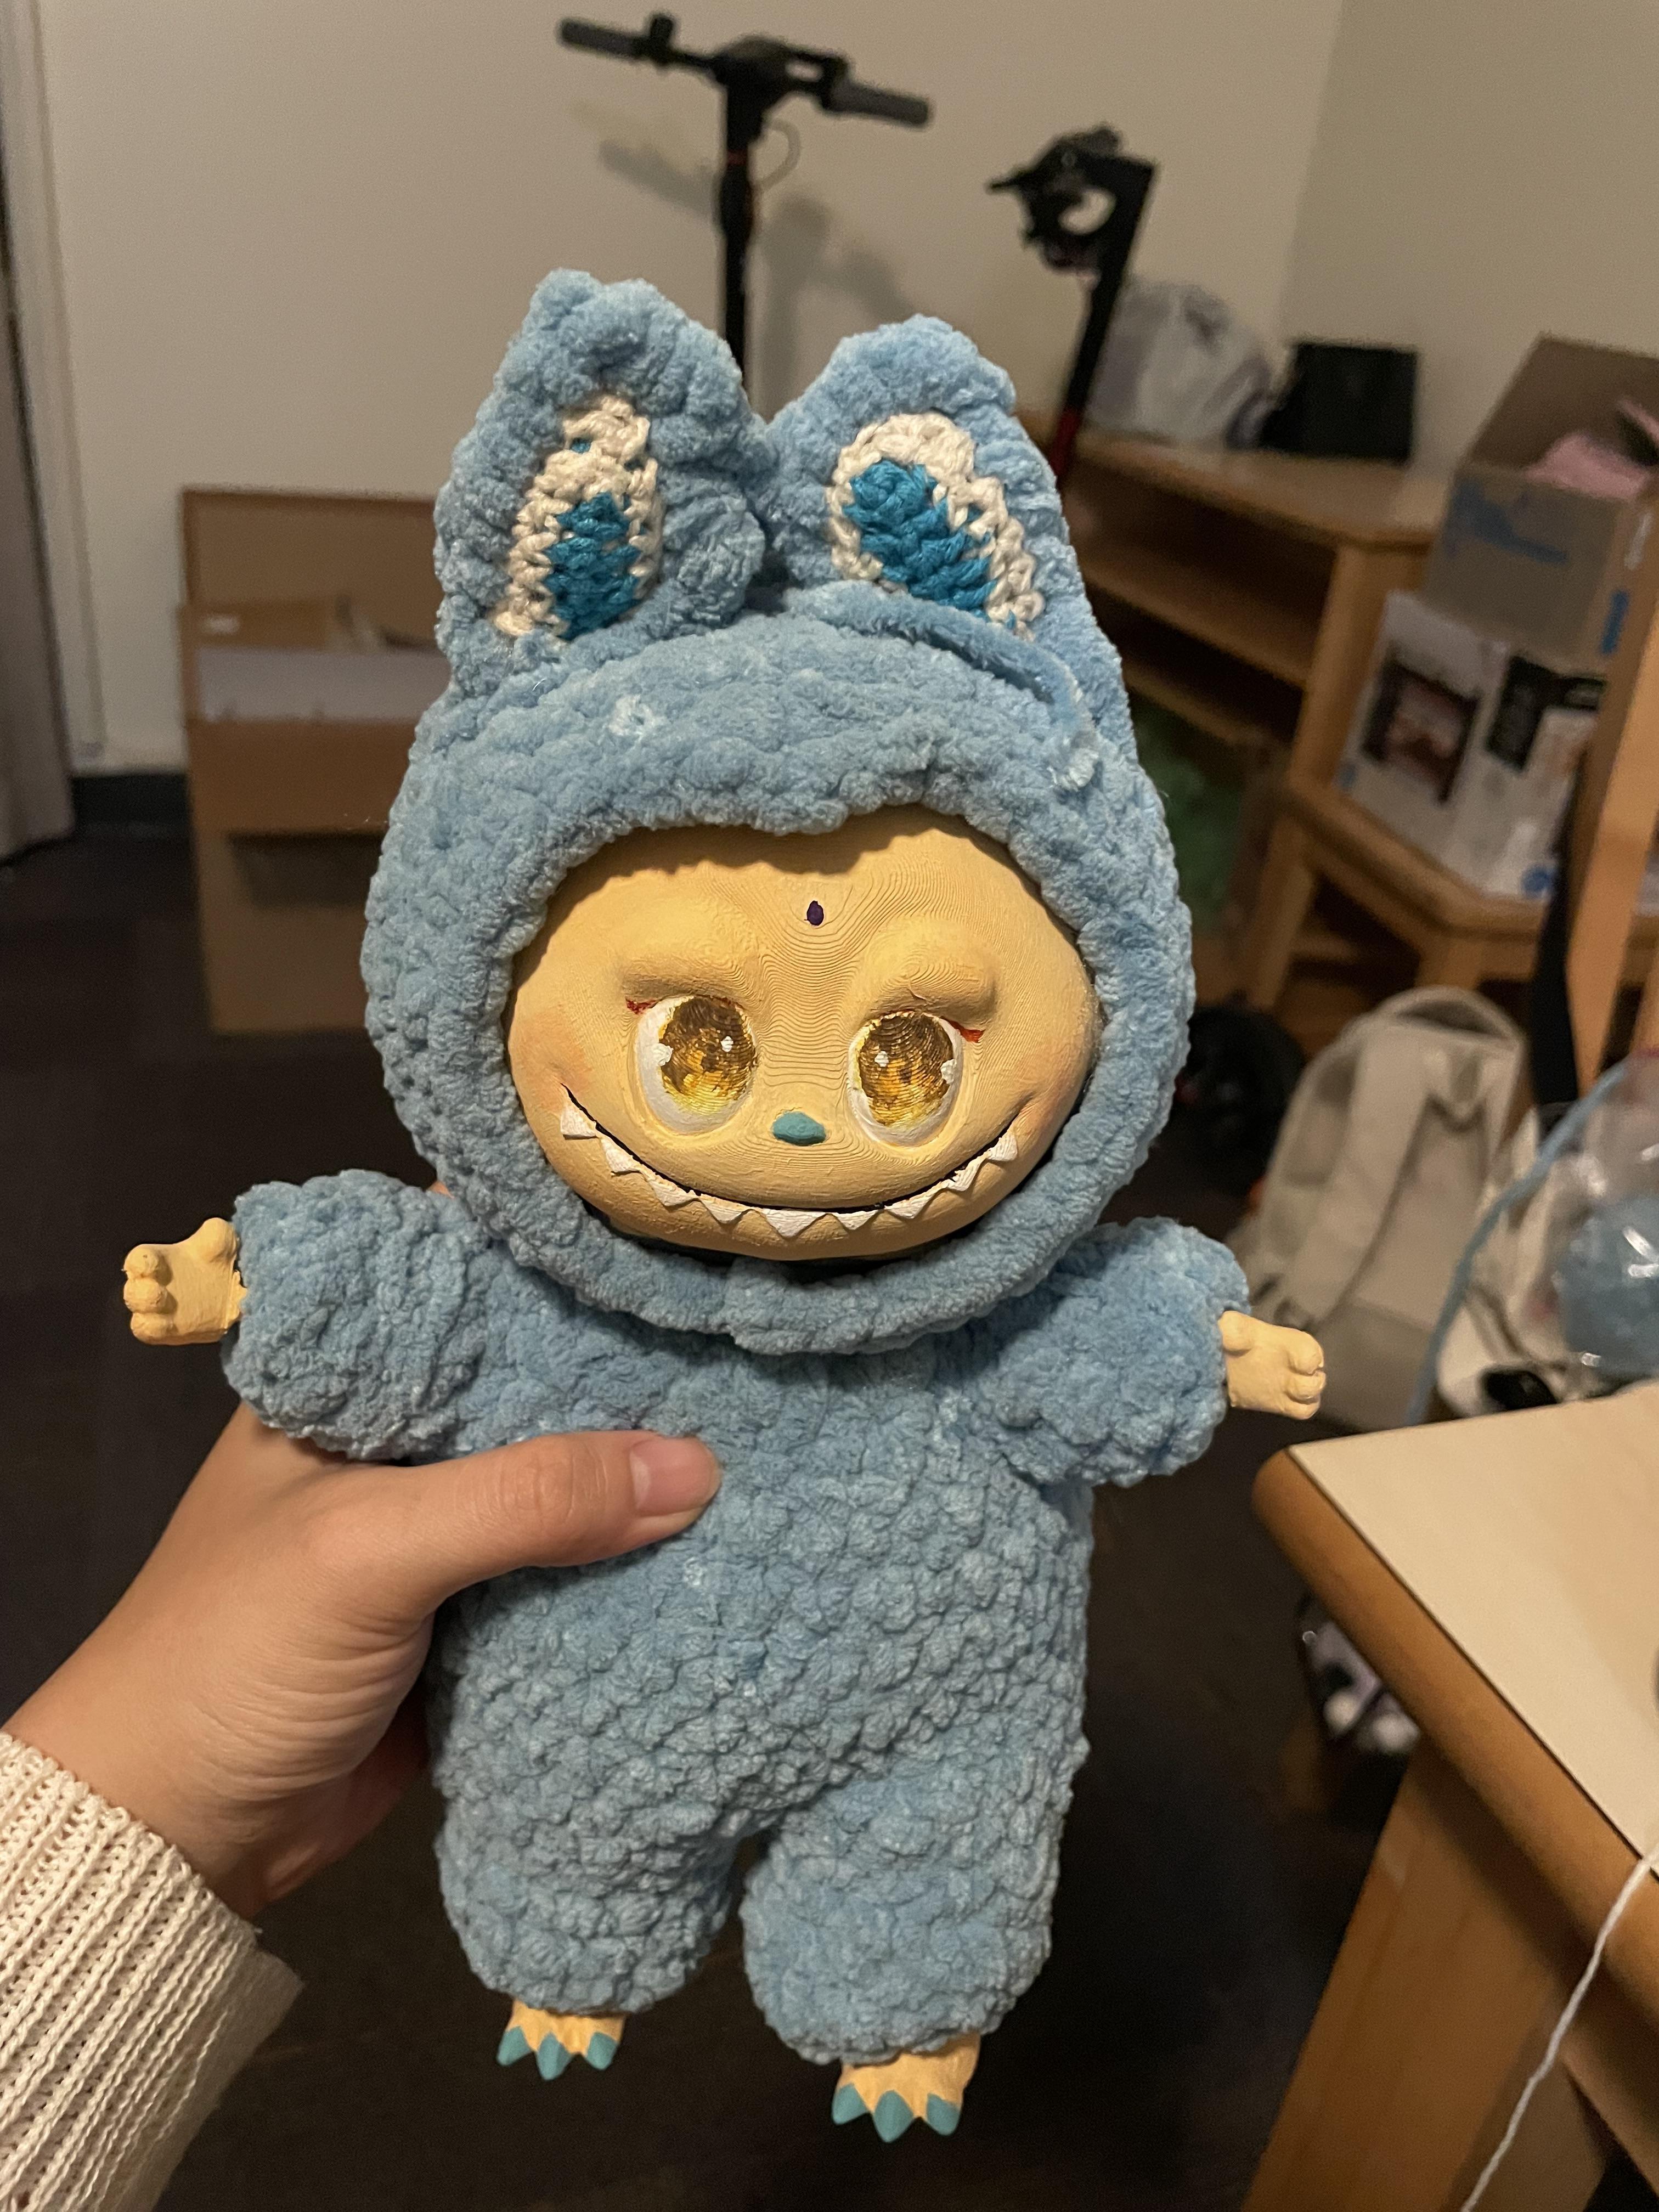
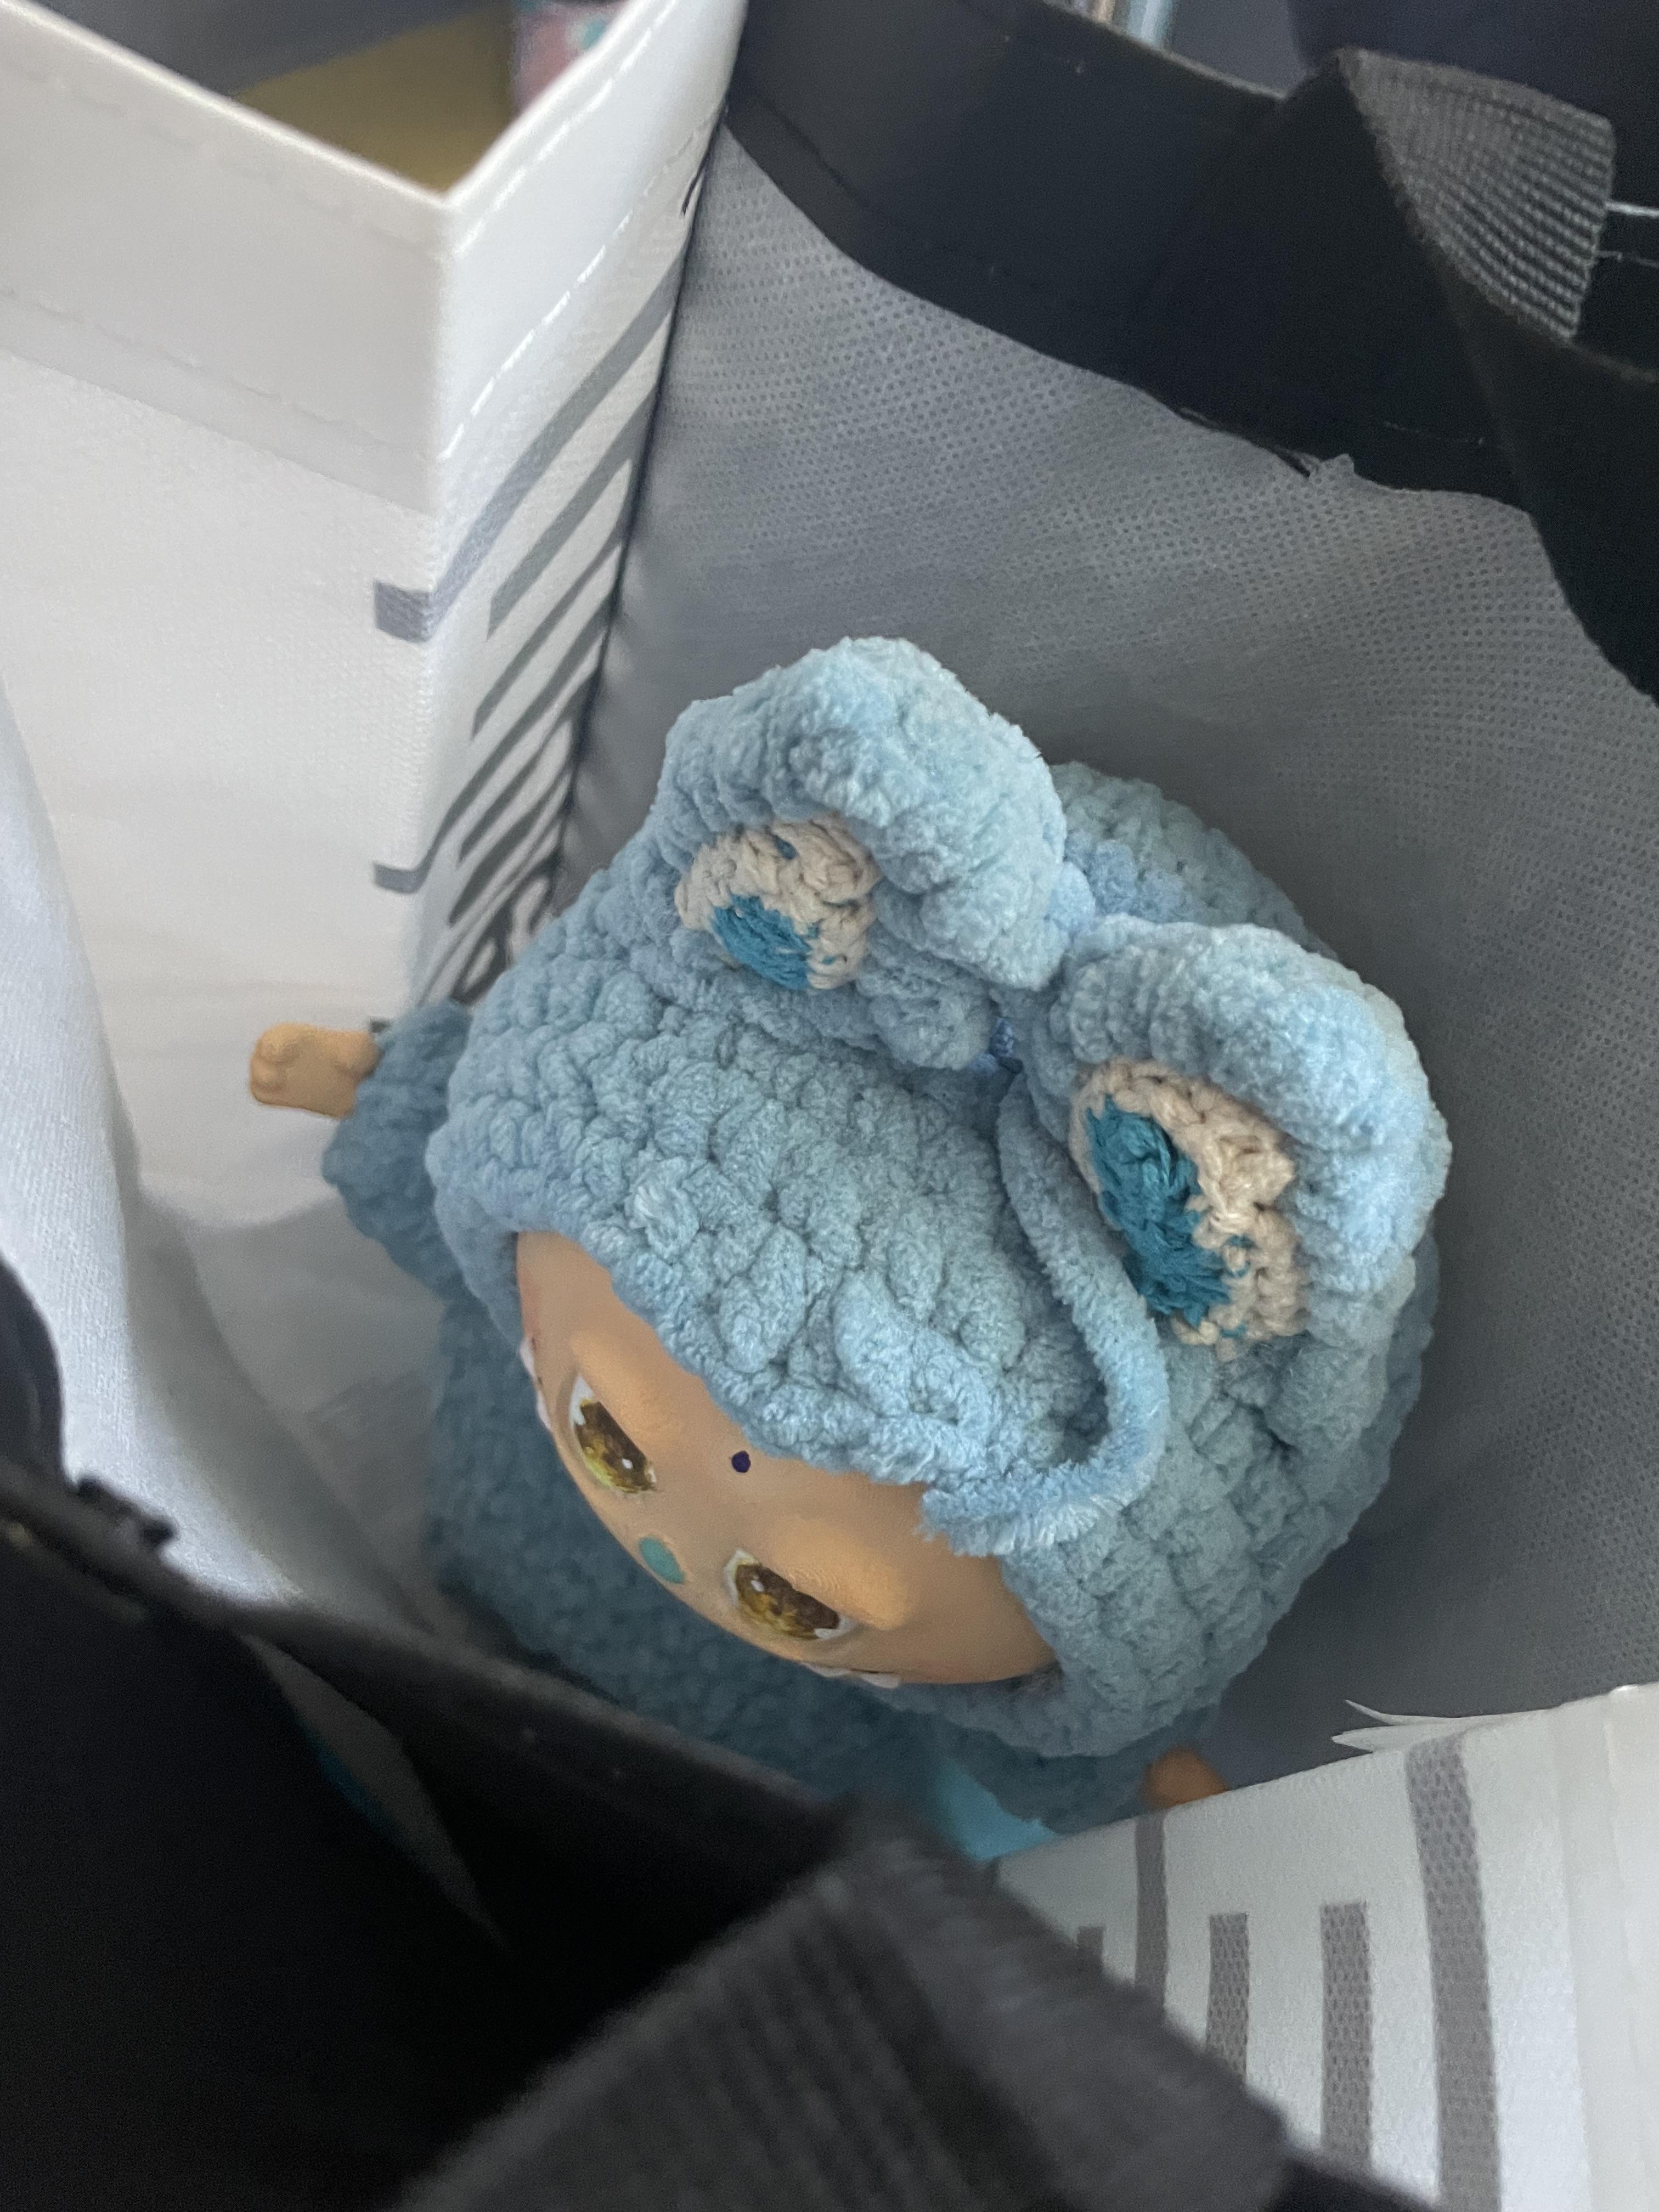
Regarding my initial thoughts about the Labubu, all I knew was to 3D print its parts as this would allow me to get the most detail. Additionally, I believed crocheting the body would allow me to obtain that fluffy yet soft body. Originally, I wanted the fluffy body that of the Big into Energy series, but chenille yarn almost perfect mimics the fleece texture of the Macaron set. Additionally, it is possible to brush out the yarn to give it that fluffy look (not with chenille yarn). Ultimately, I settled with chenille yarn for its soft, plush texture.
The color palette was inspired by one of my favorite characters in Genshin Impact, Xiao. The face details incorporates a lot of his design. If I had more time with this project, I would love to design his accessories to go with the Labubu.
Modeling
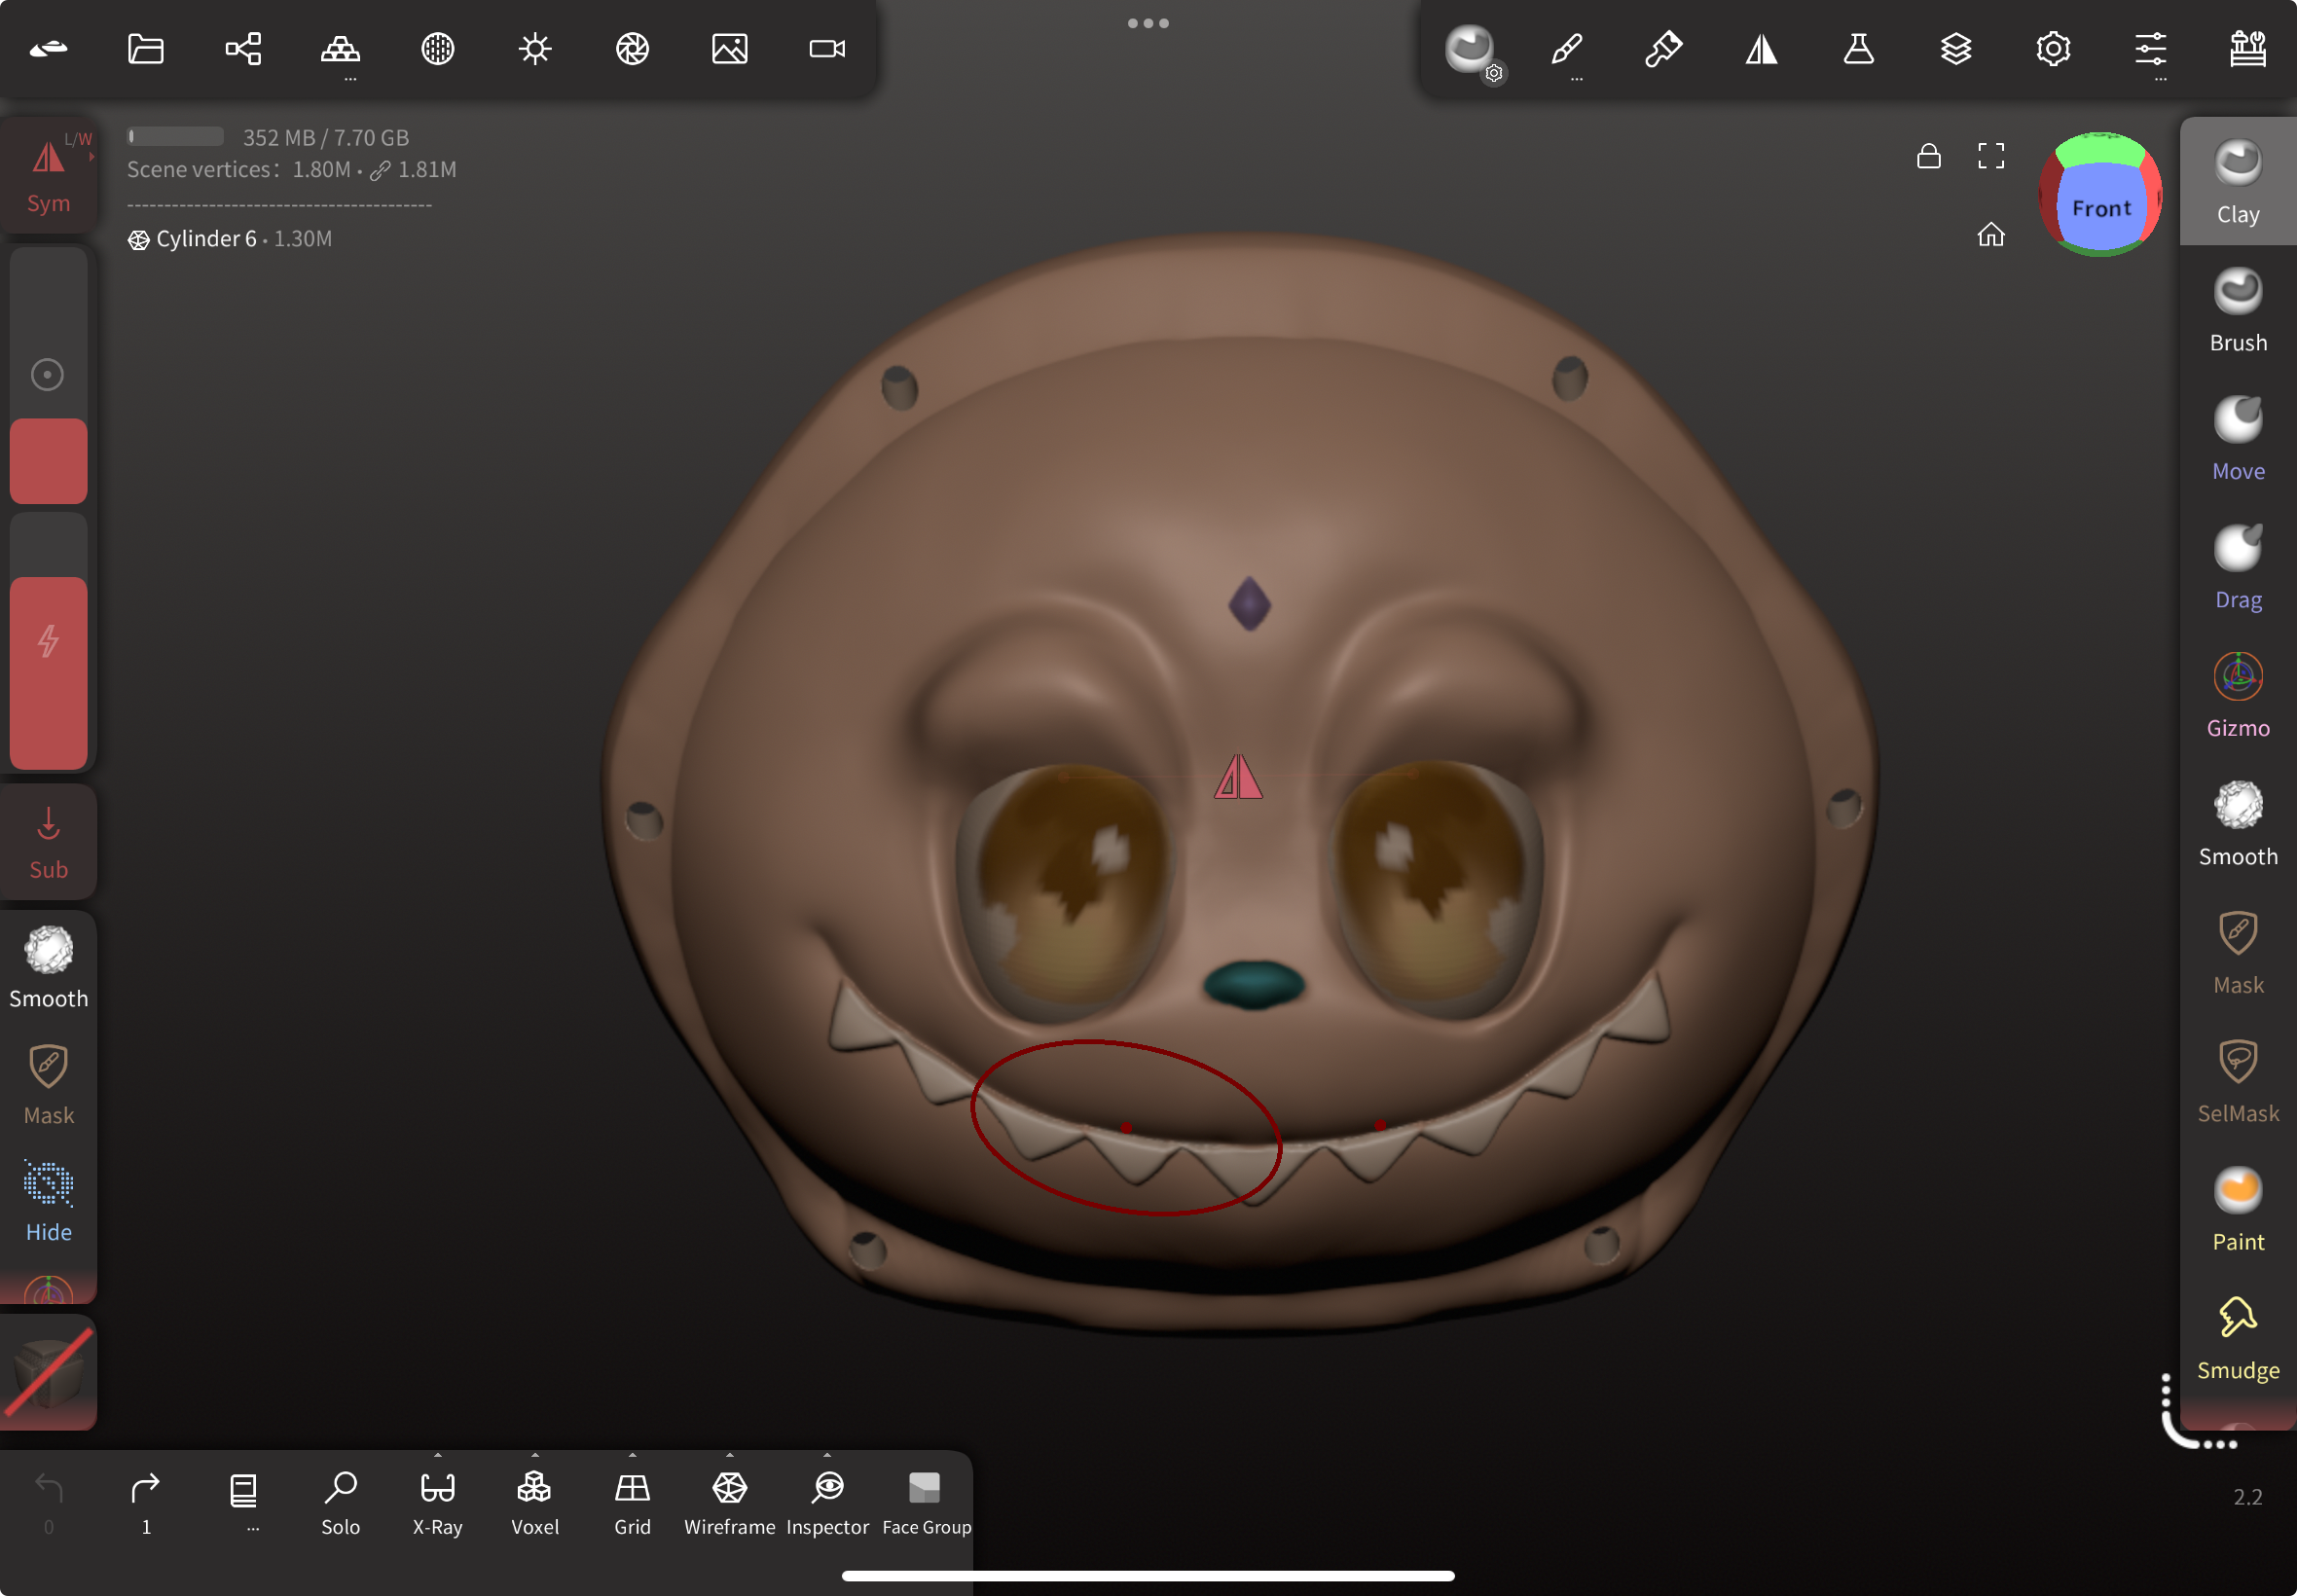


At first, I was kind of stumped on how I should go about modeling the face, hands, and feet. I felt that using Fusion would not fully capture the Labubu's whimsical, organic characteristics. Blender was a software that I did not want to touch, so I settled on Nomad Sculpt because I would be able to use a pen to model.
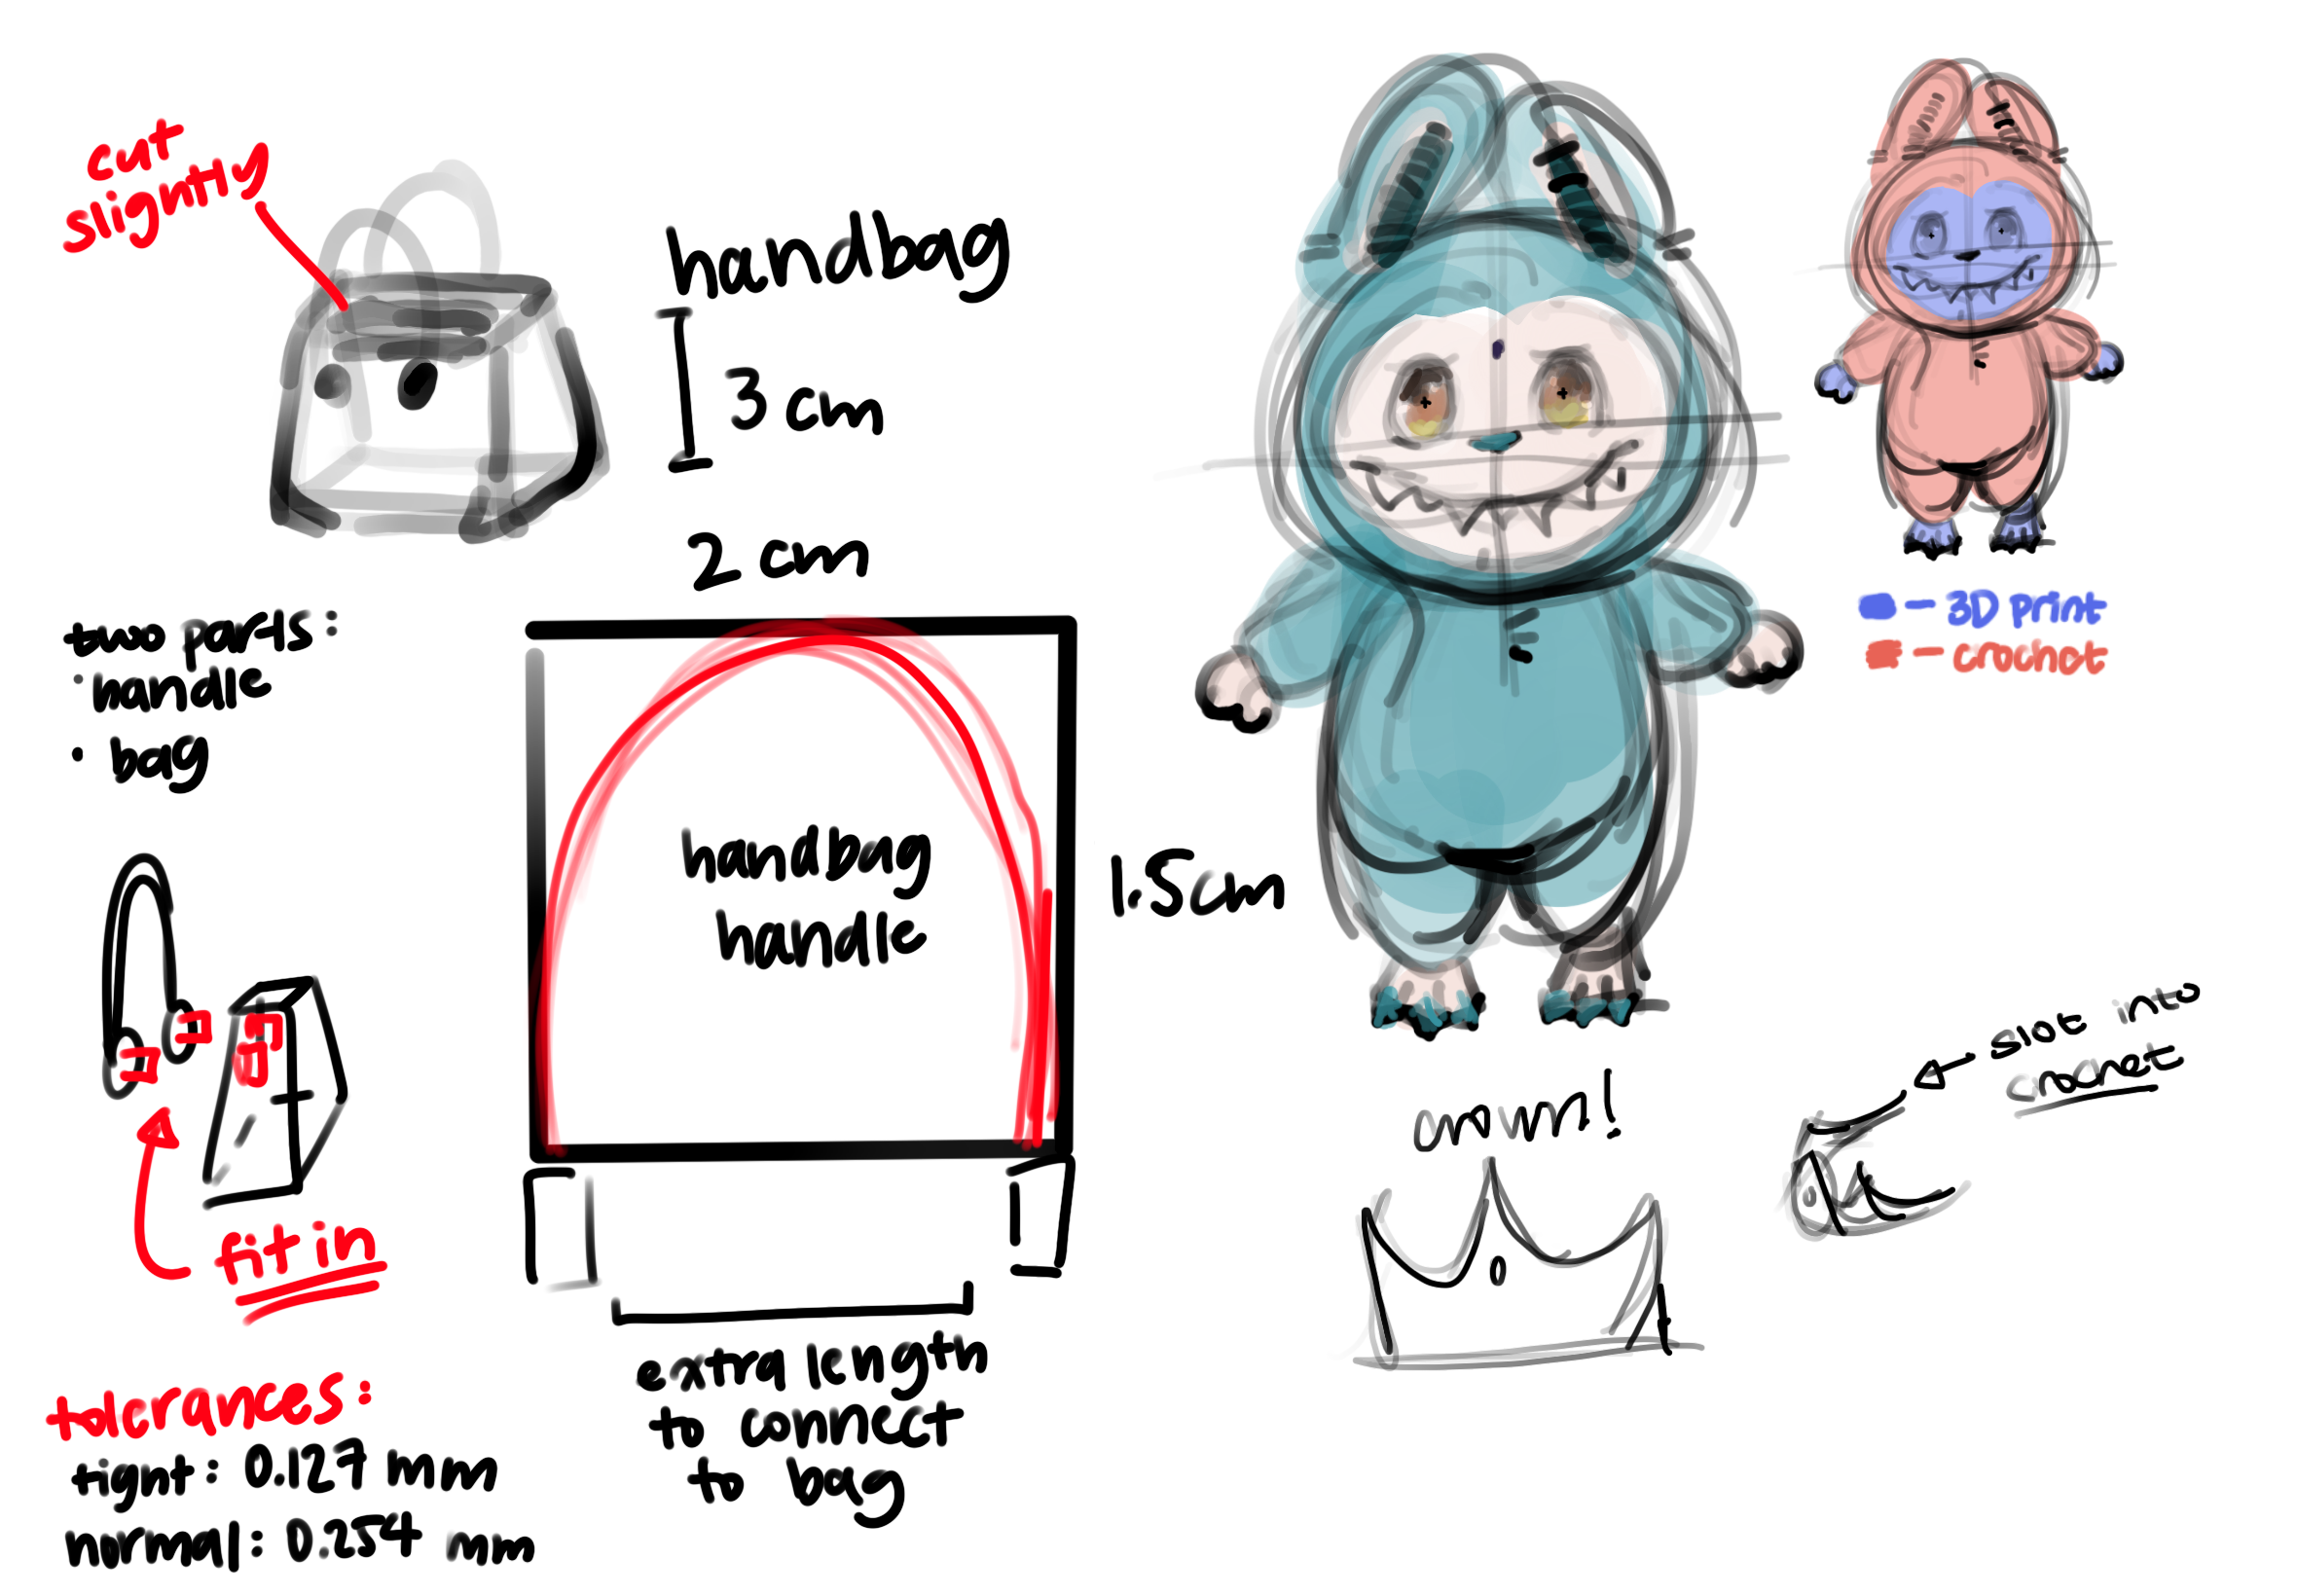
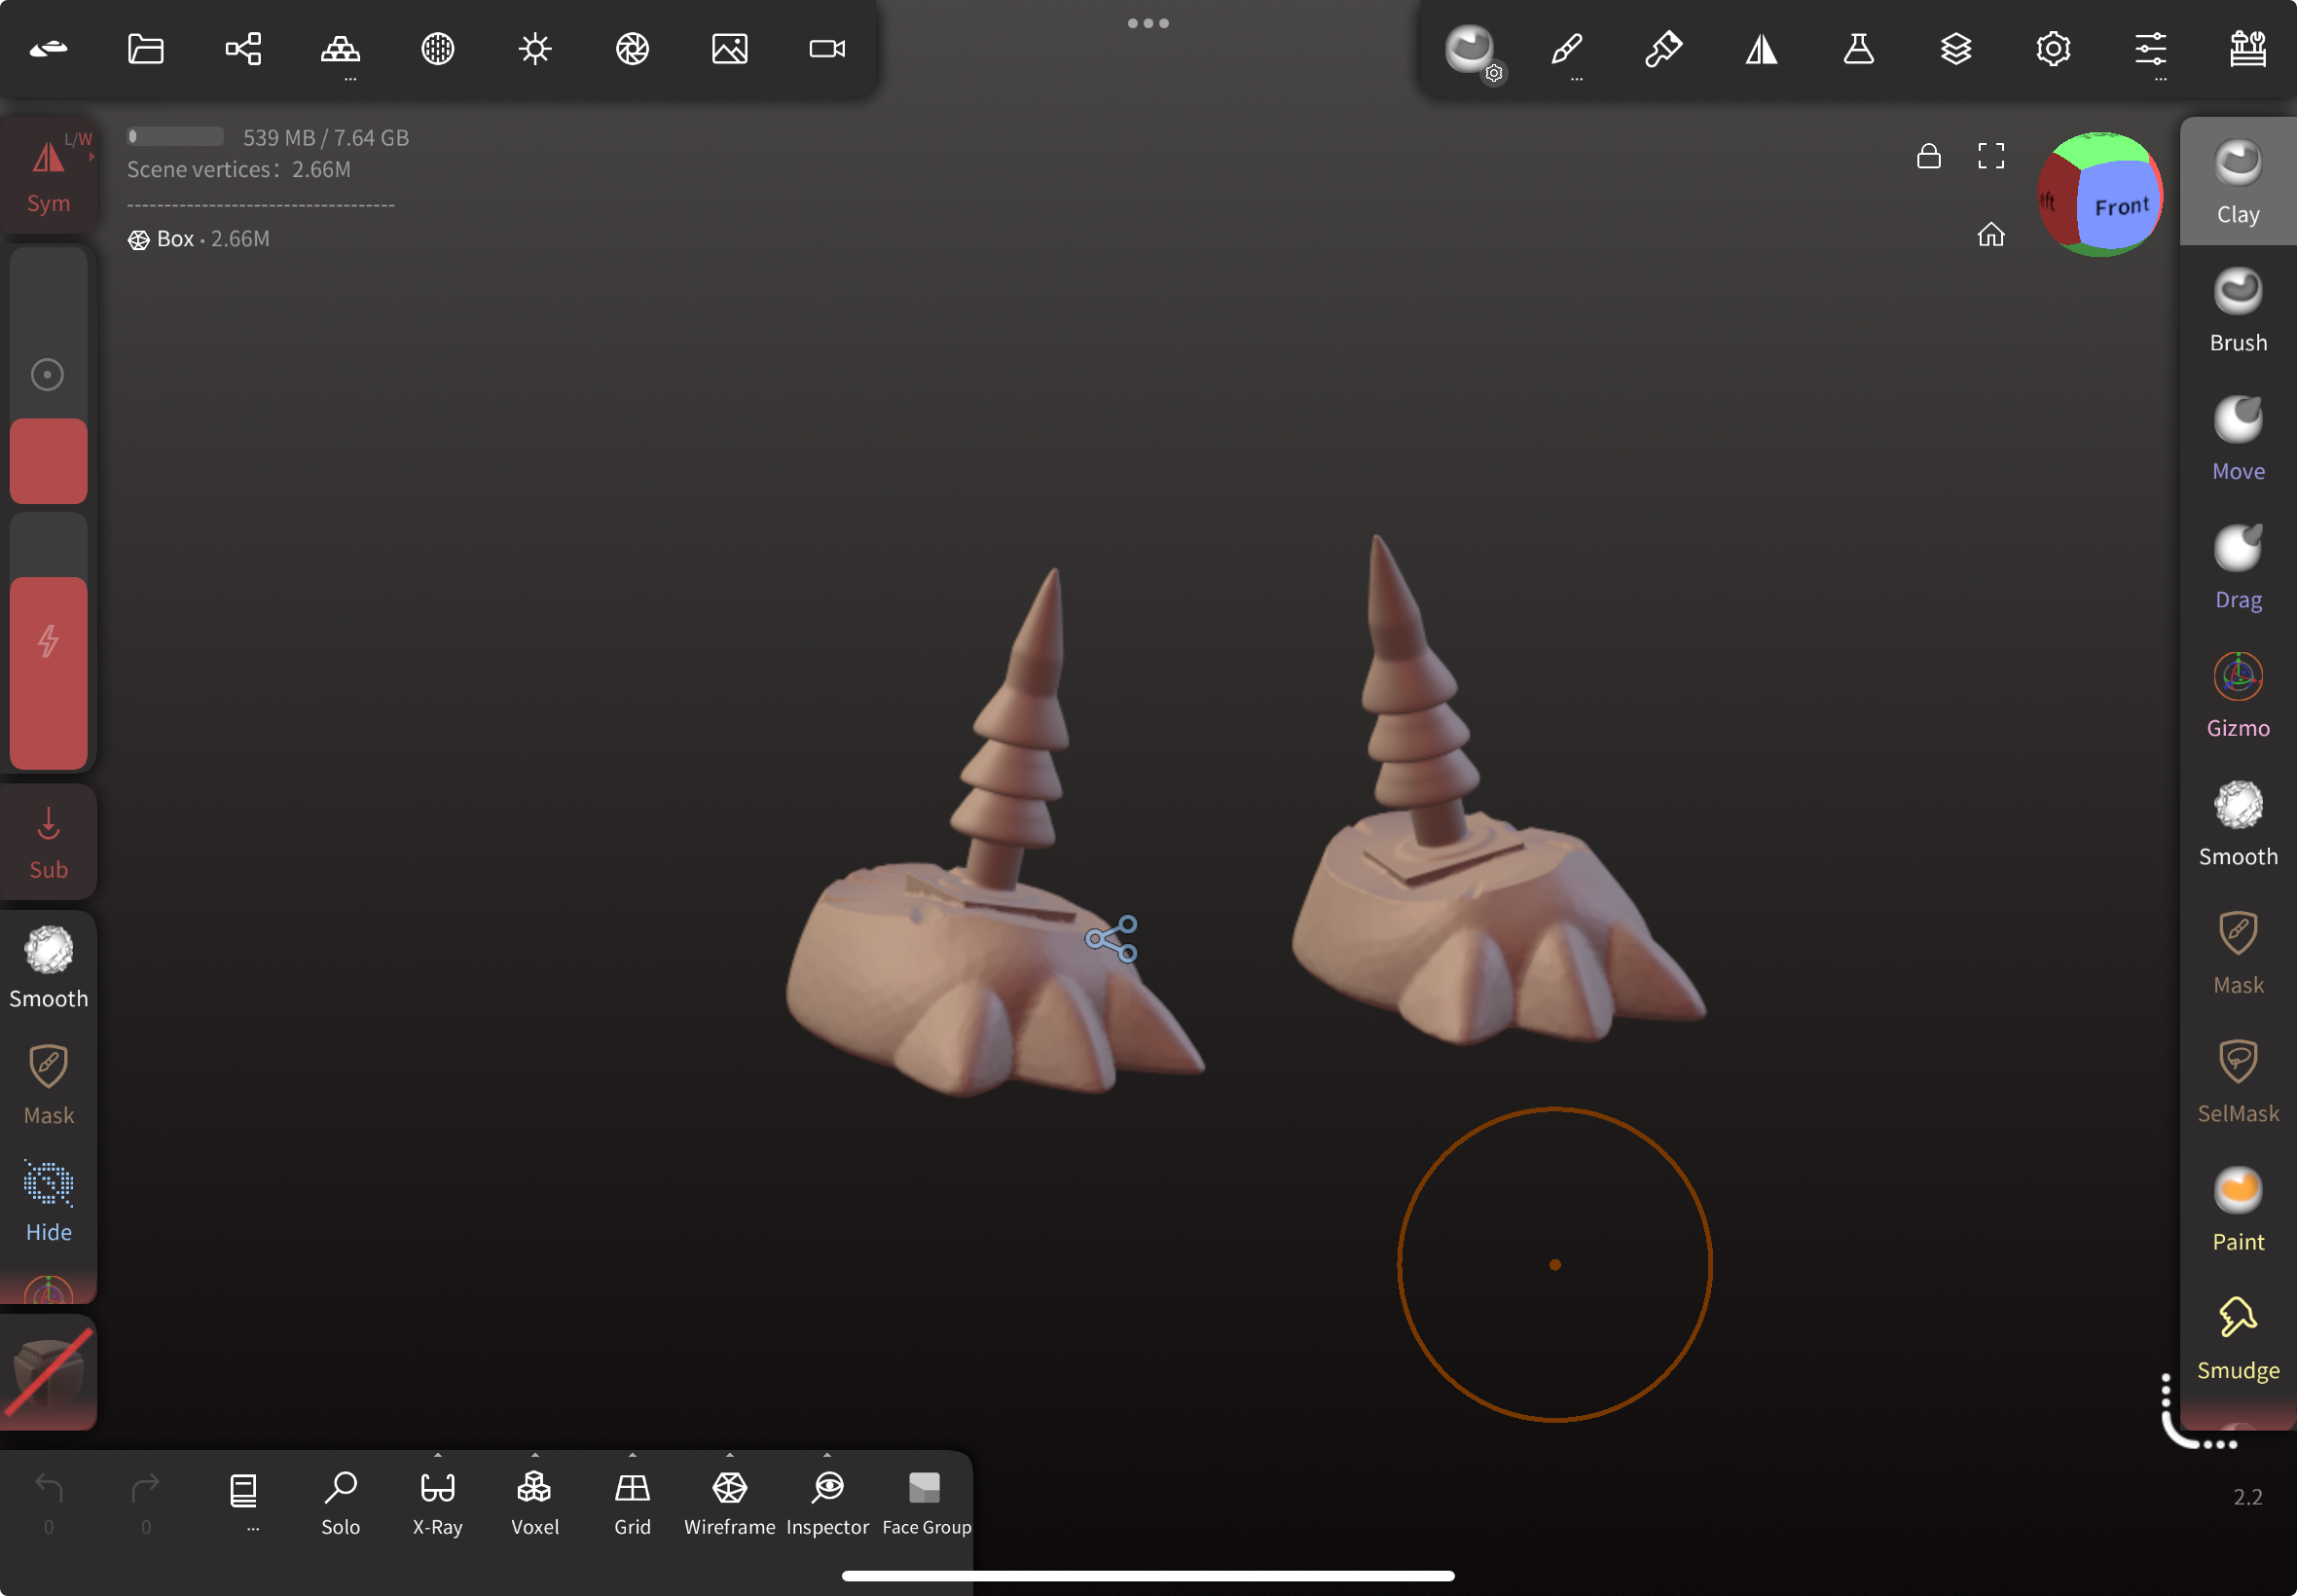
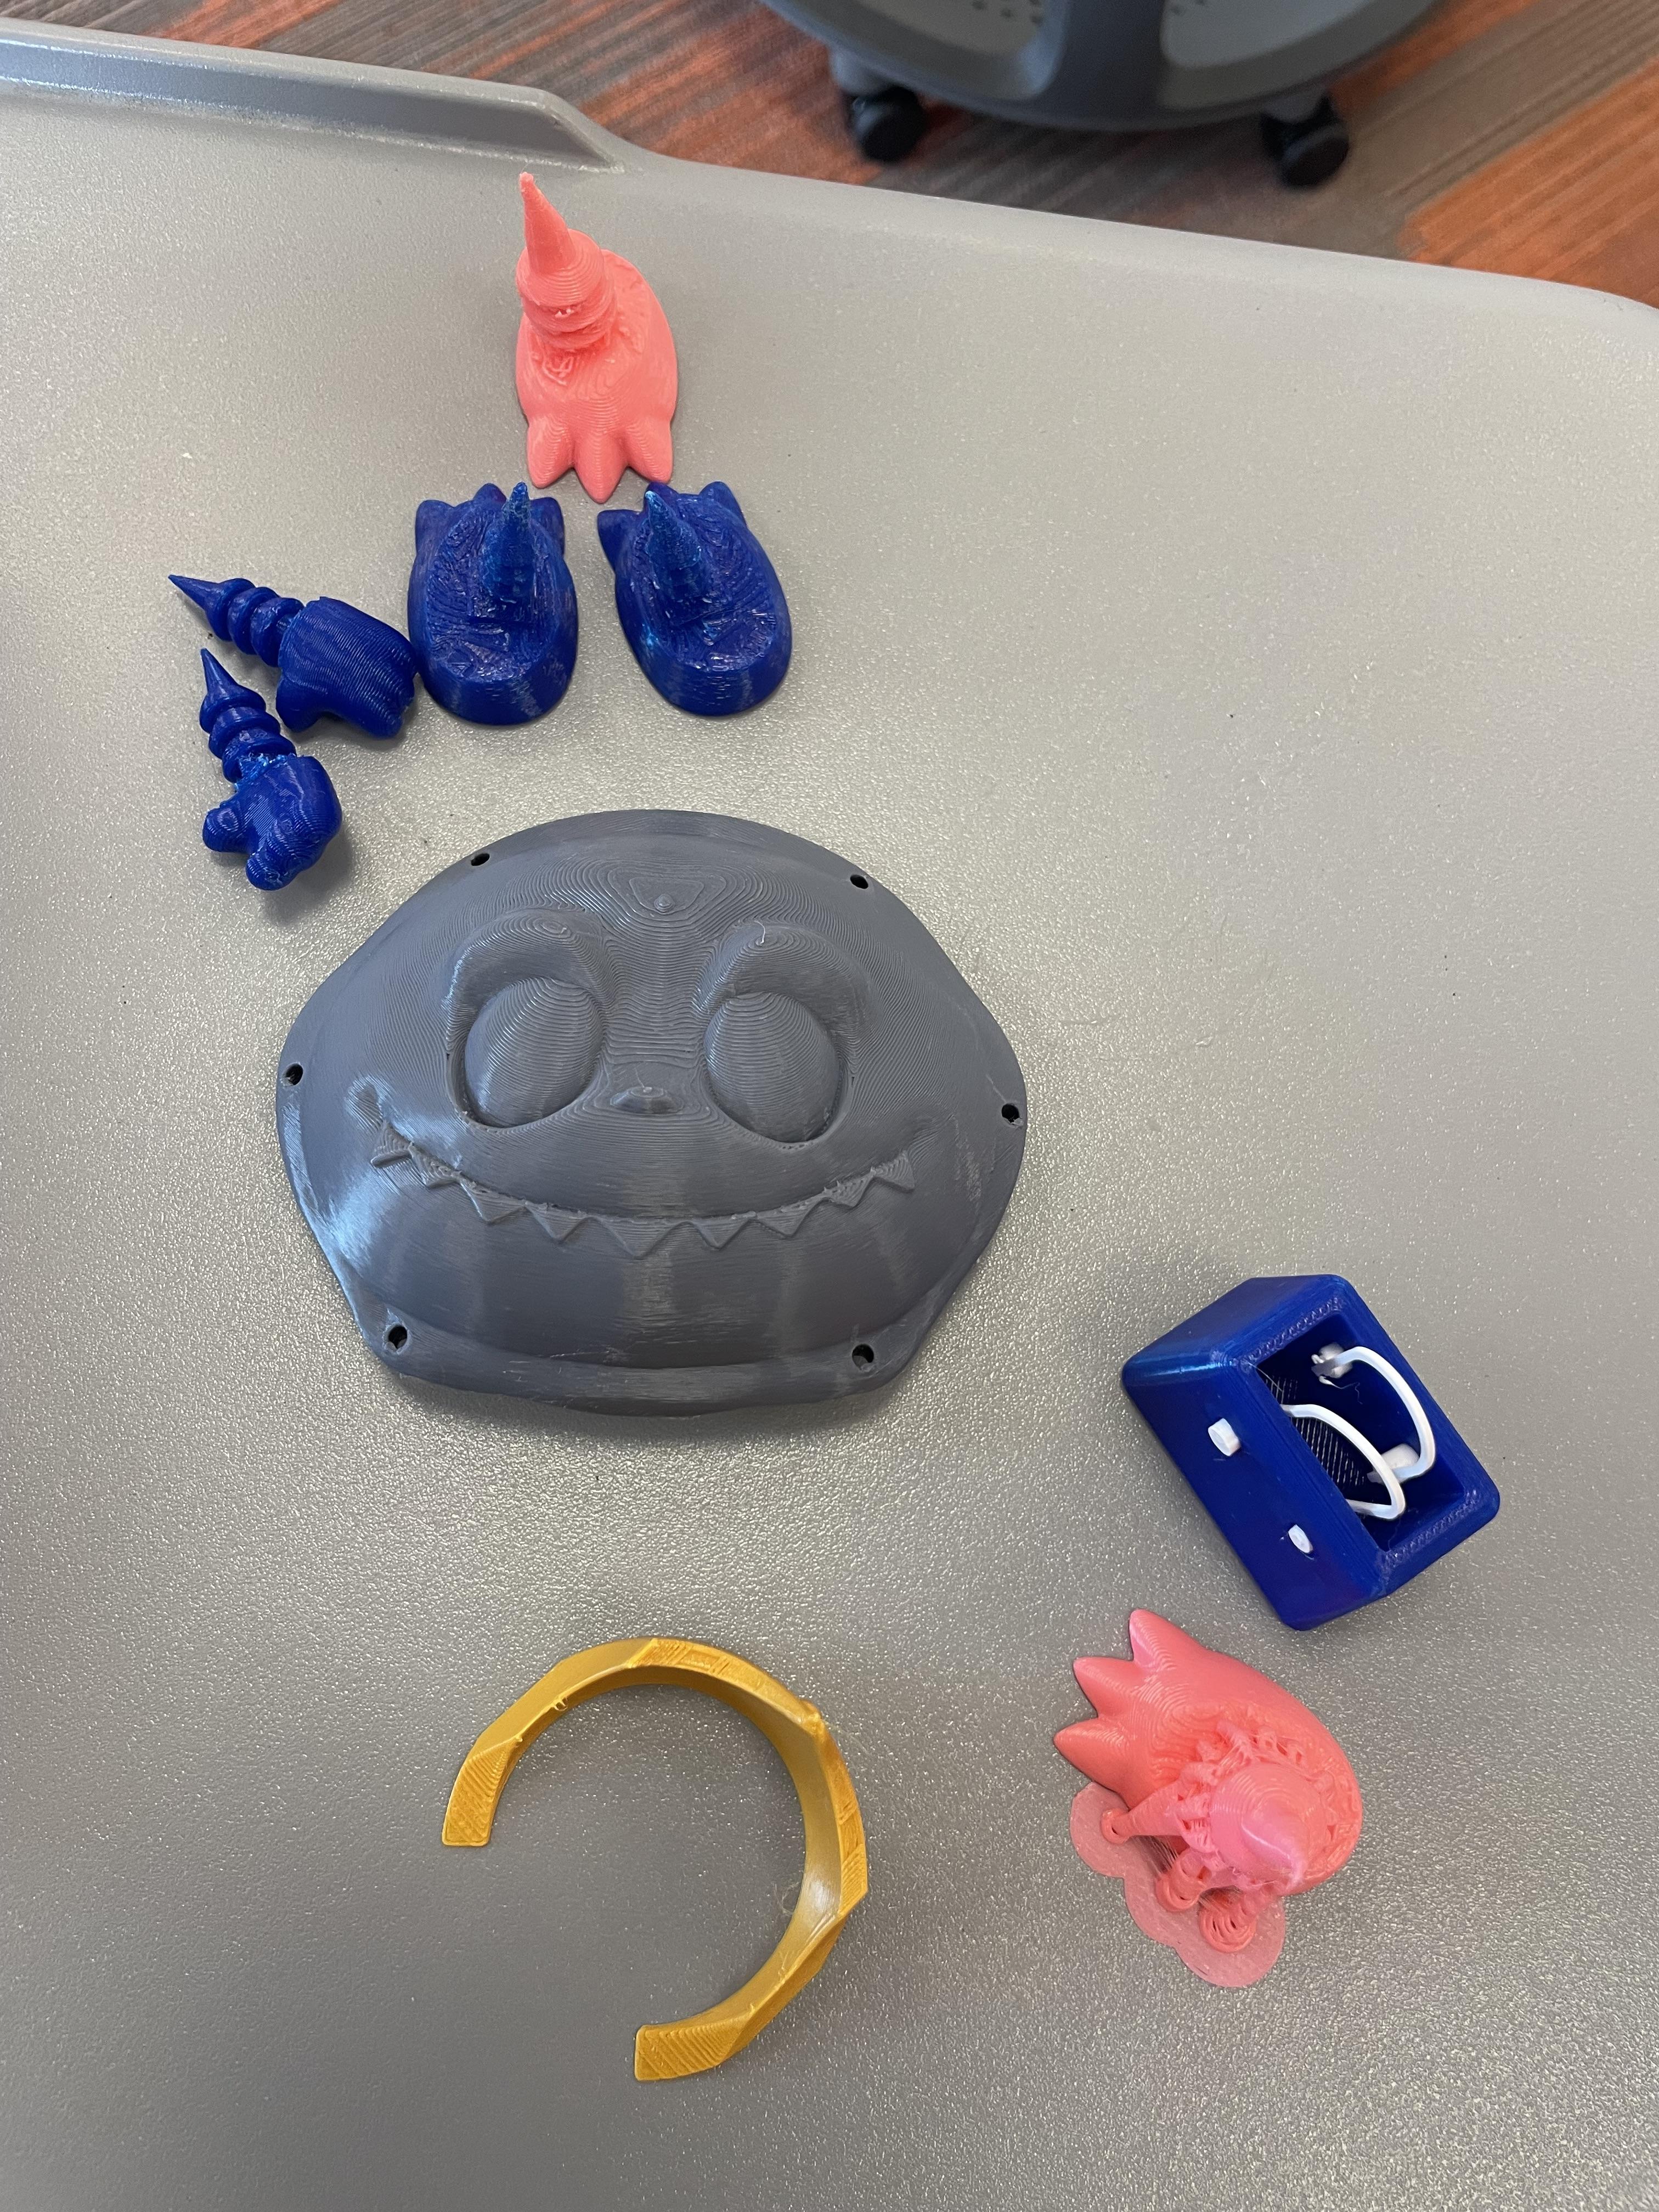
The face took a few iterations before the model looked like a proper Labubu. I had to watch a few tutorials on the inner workings of the program, but with a lot of experimentation, the models reached a point where I like. I used a lot of the drag, mask, and inflate tools. Drag was the primary tool for carving out the form; mask and inflate was primarily for extruding the details. For the hands and feet supports (I did not model the hands and feet, find the models here), I used the lathe tool. Additionally, I modified them by attaching a cone on top to ensure ease of insertion into the crochet stitches.
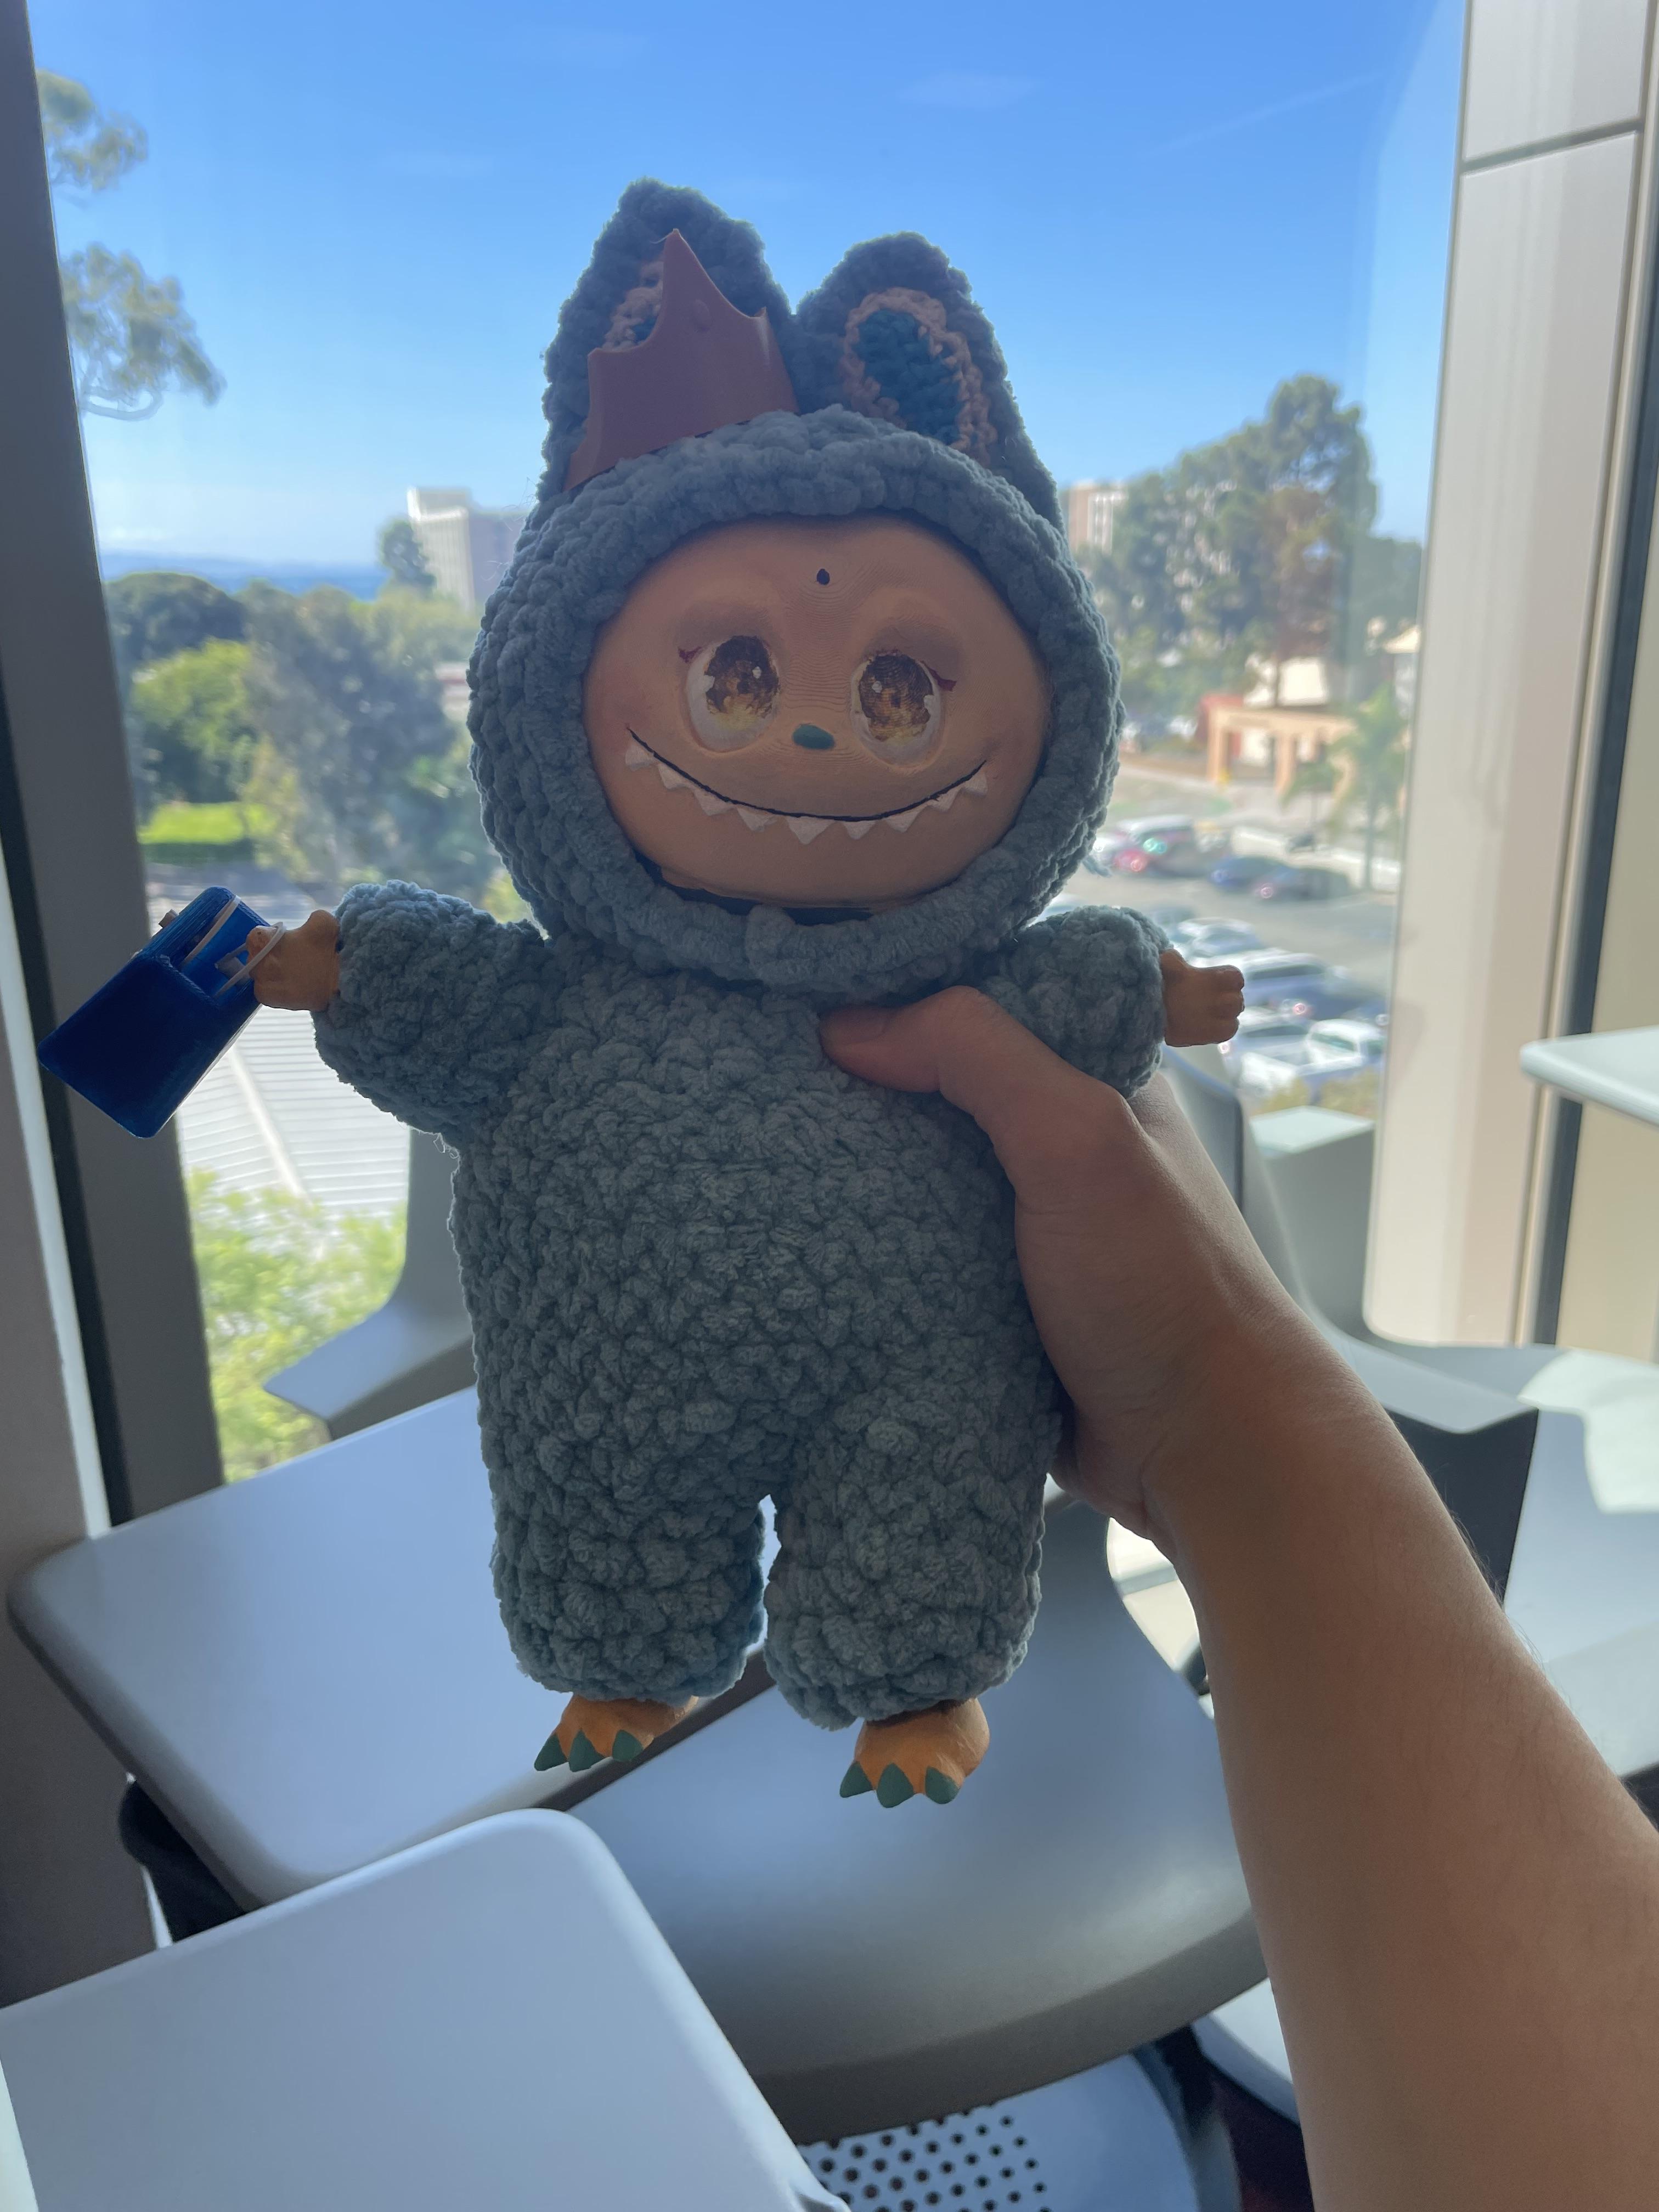
To fit the design requirement, I designed some accessories for the Labubu. These were constructed in Fusion as they did not require the amount of detail required by the Labubu parts.
Originally, I planned to add the holes in the face (holes for assembly) and the insert parts of the hands and feet in Fusion. However, since they had too much significant details for Fusion to even convert the mesh into parts, I just did them in Nomad Sculpt with the above mentioned tools.
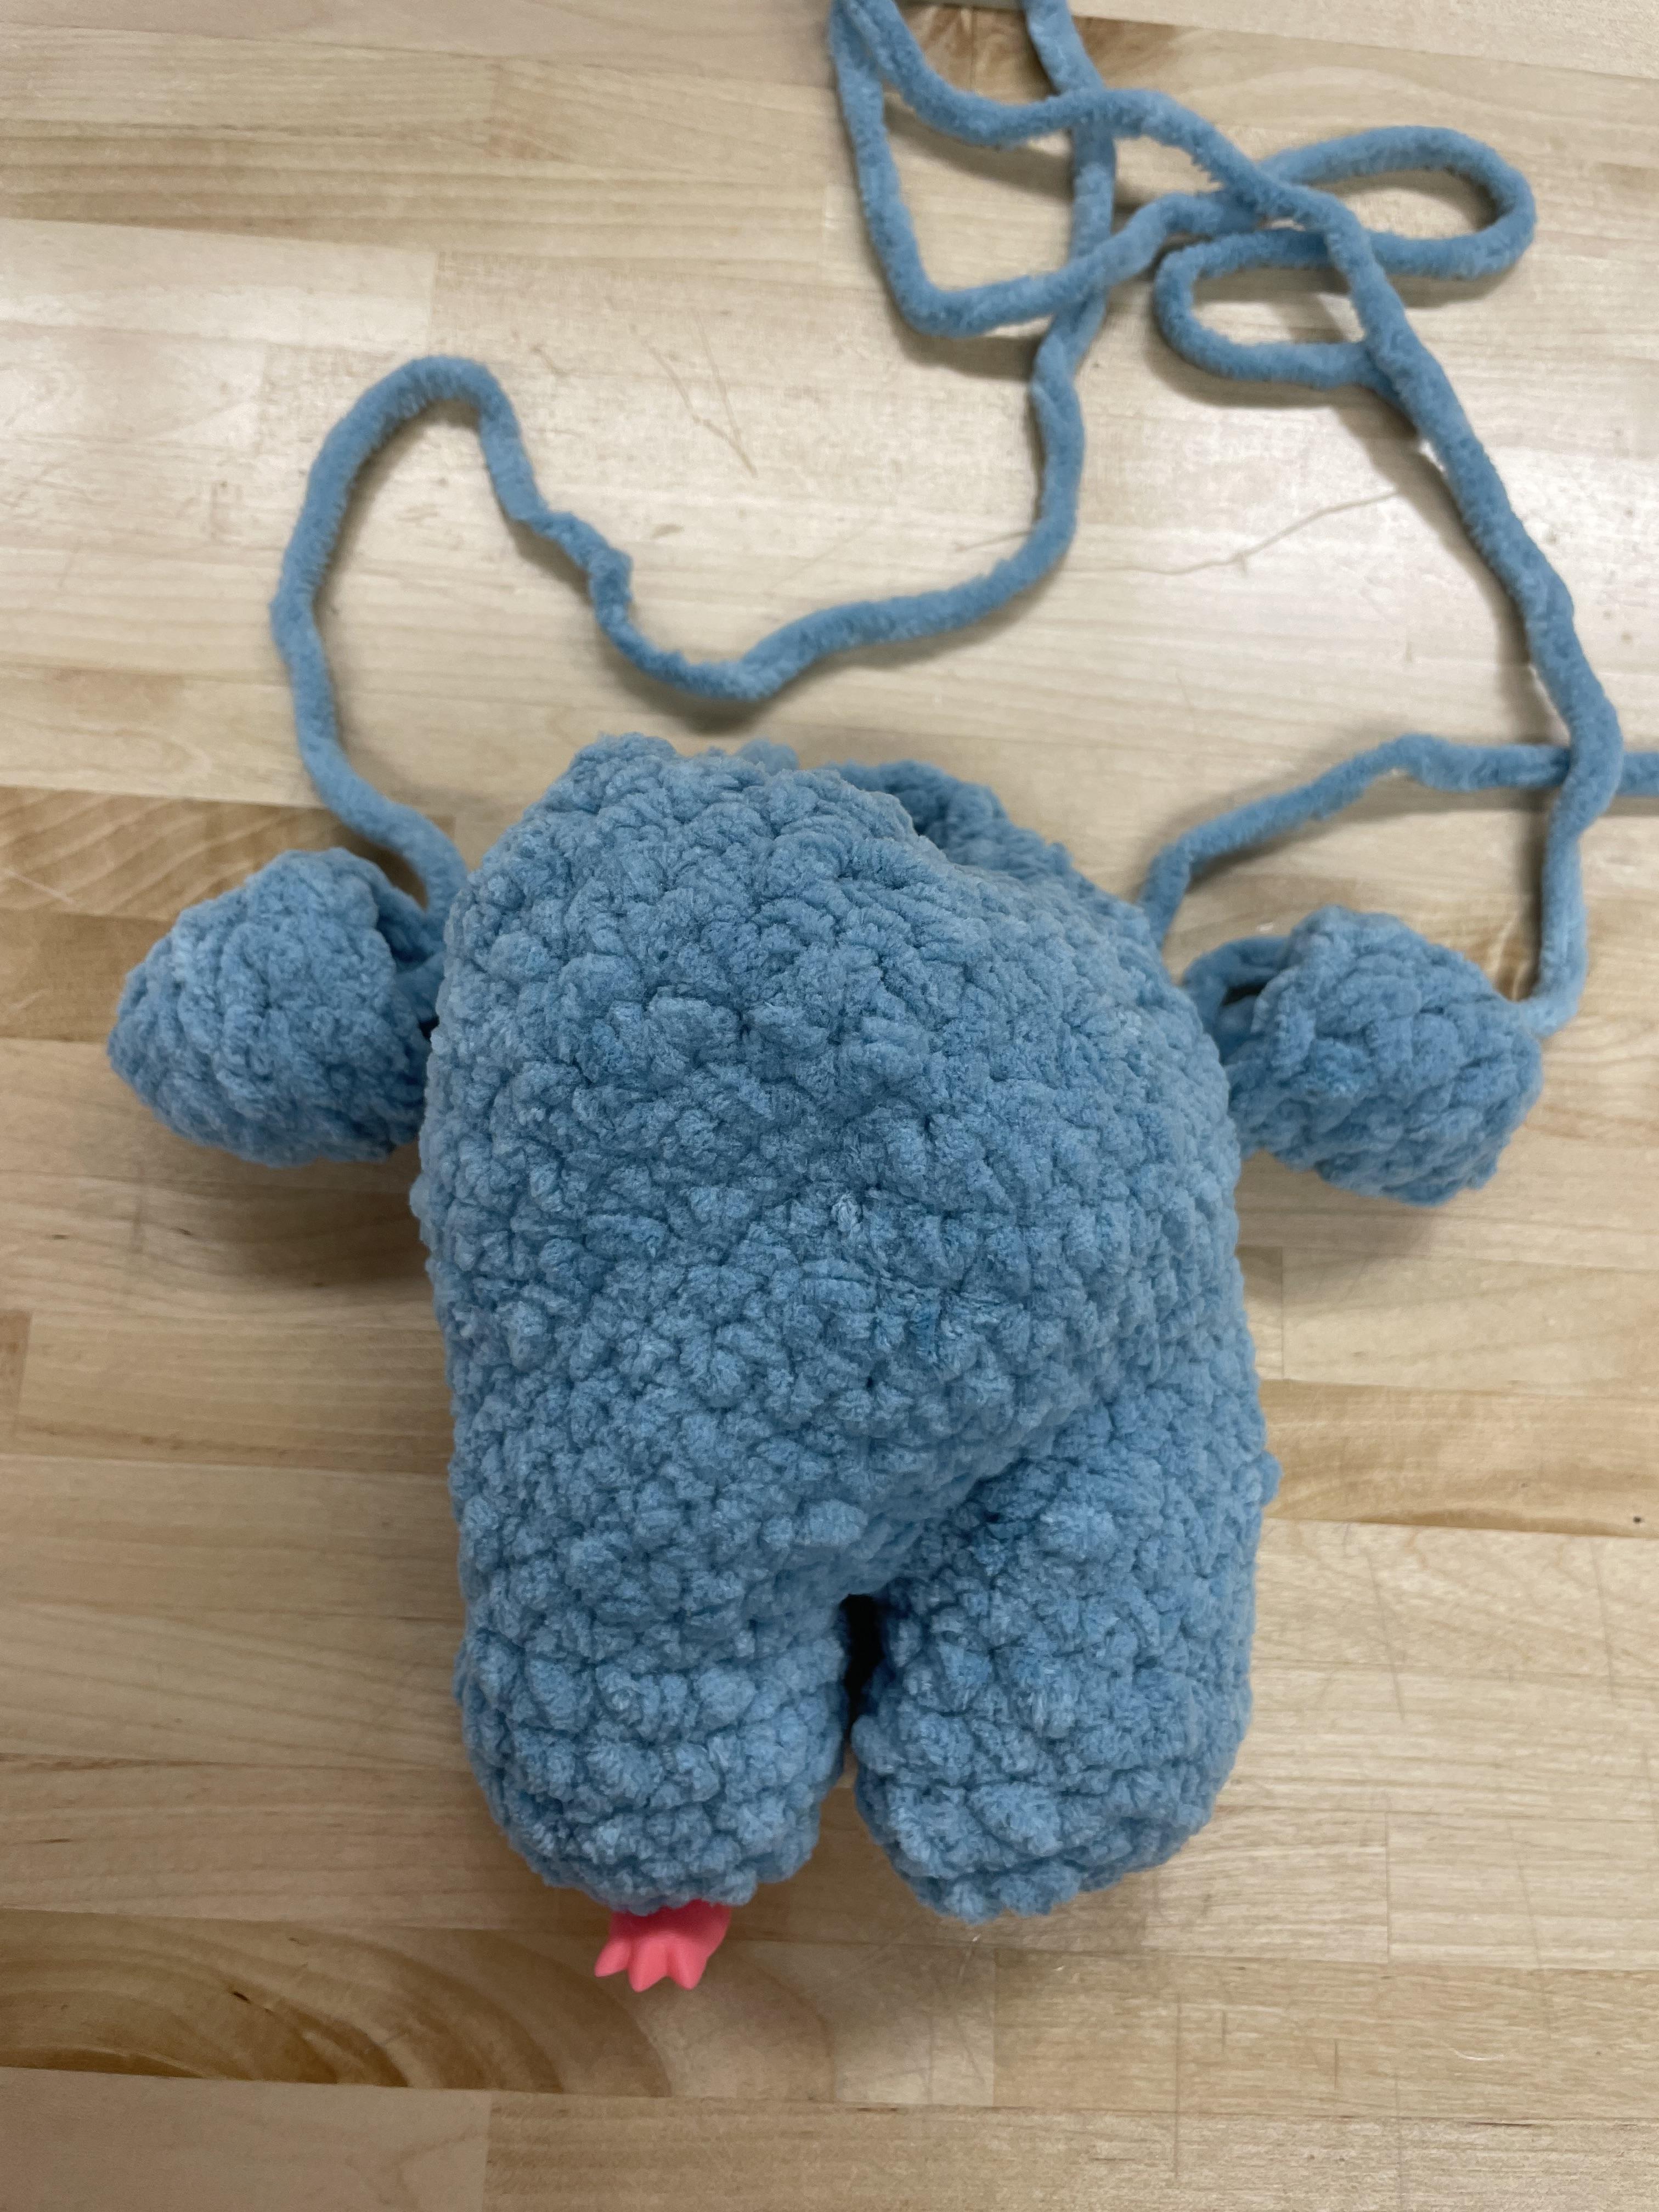
Crocheting
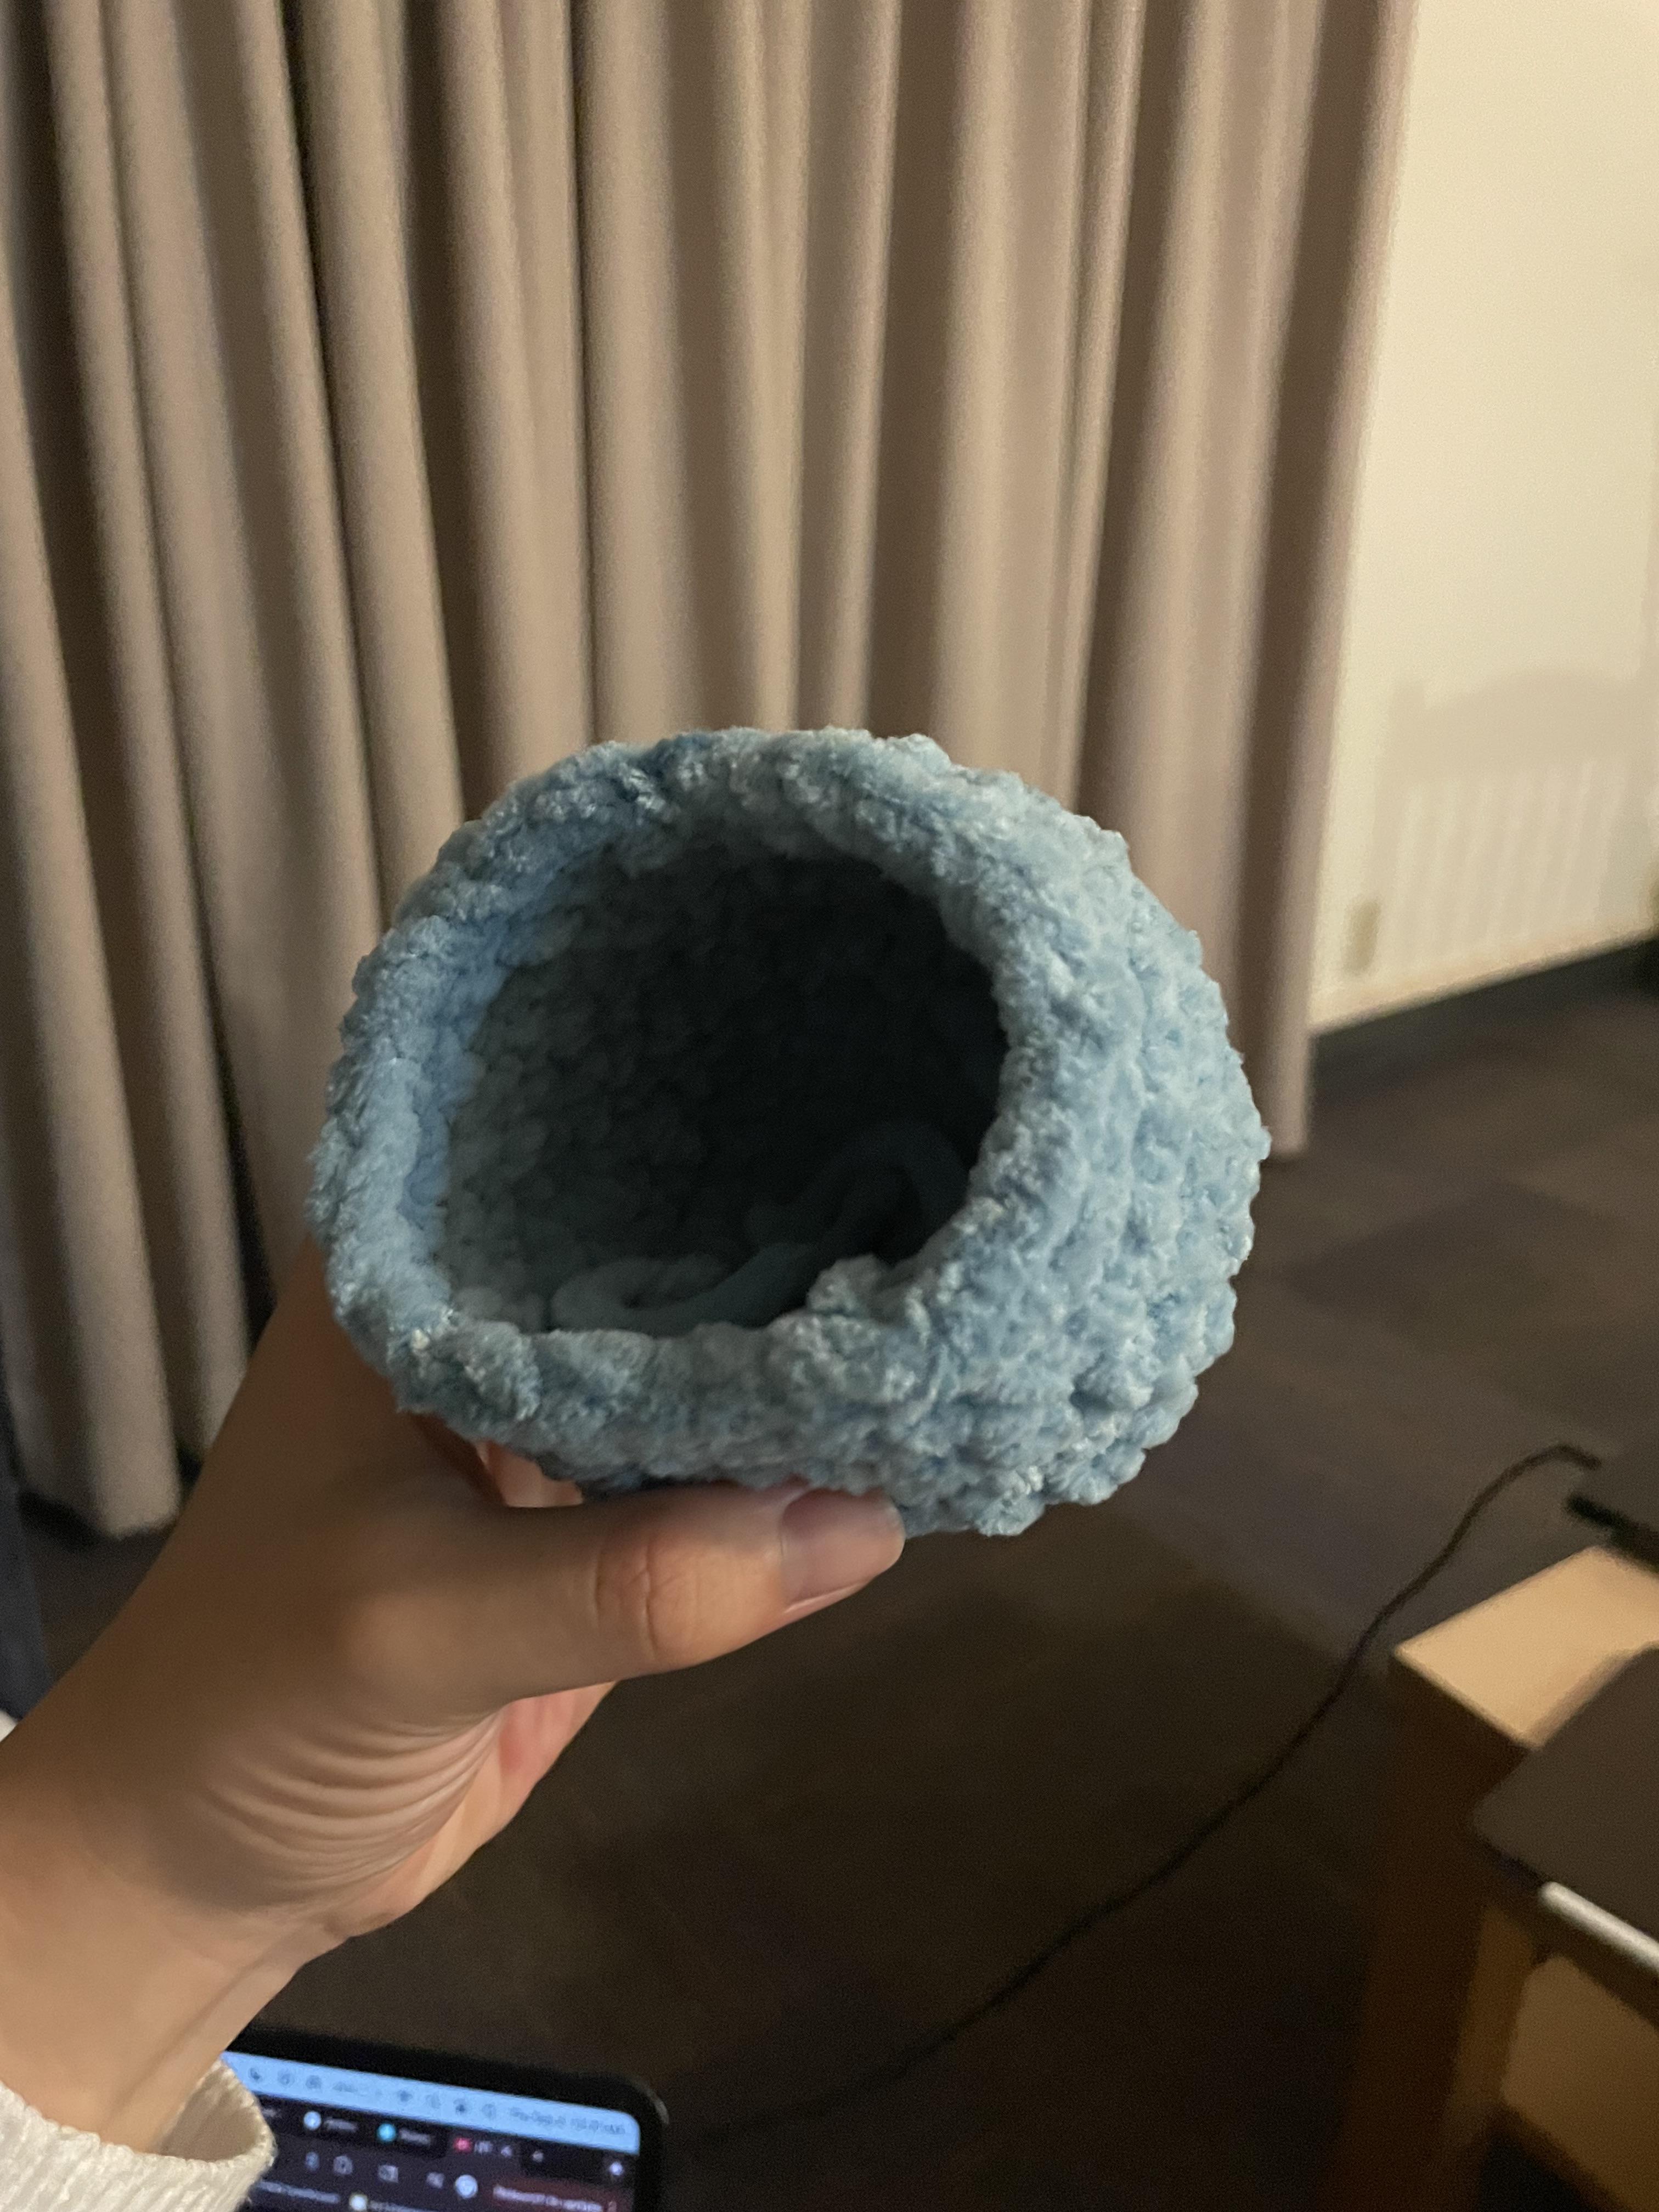
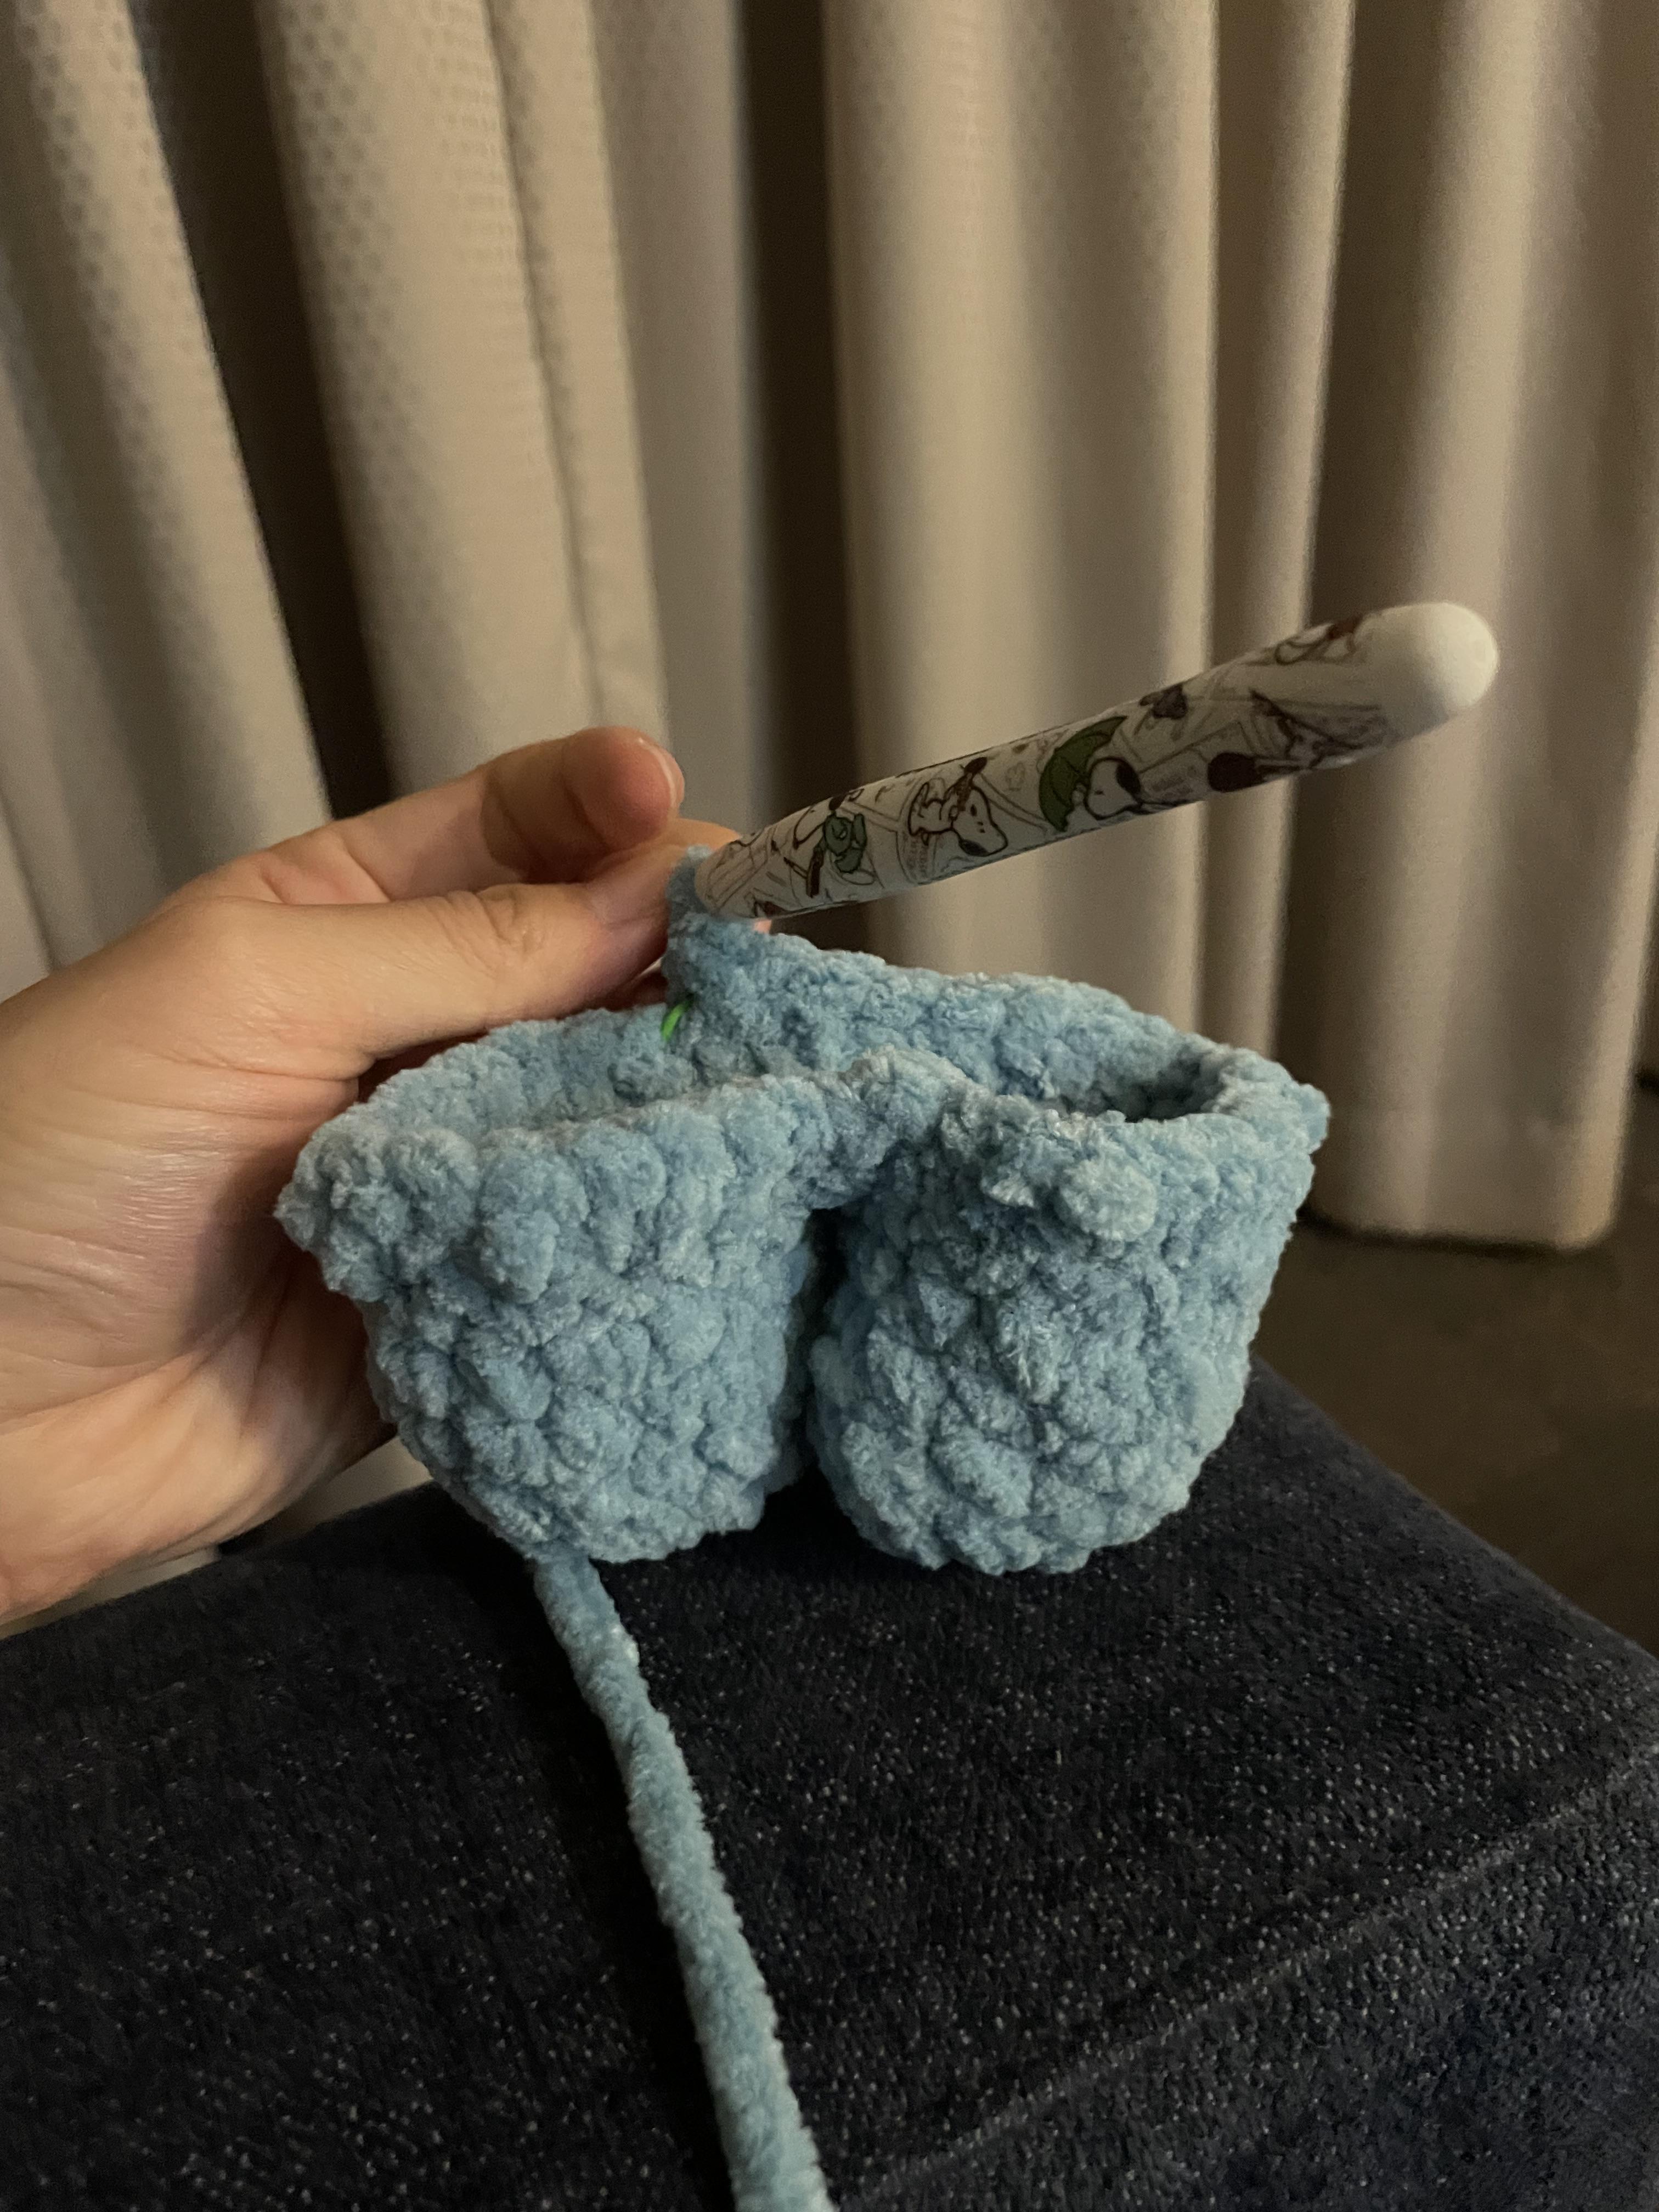
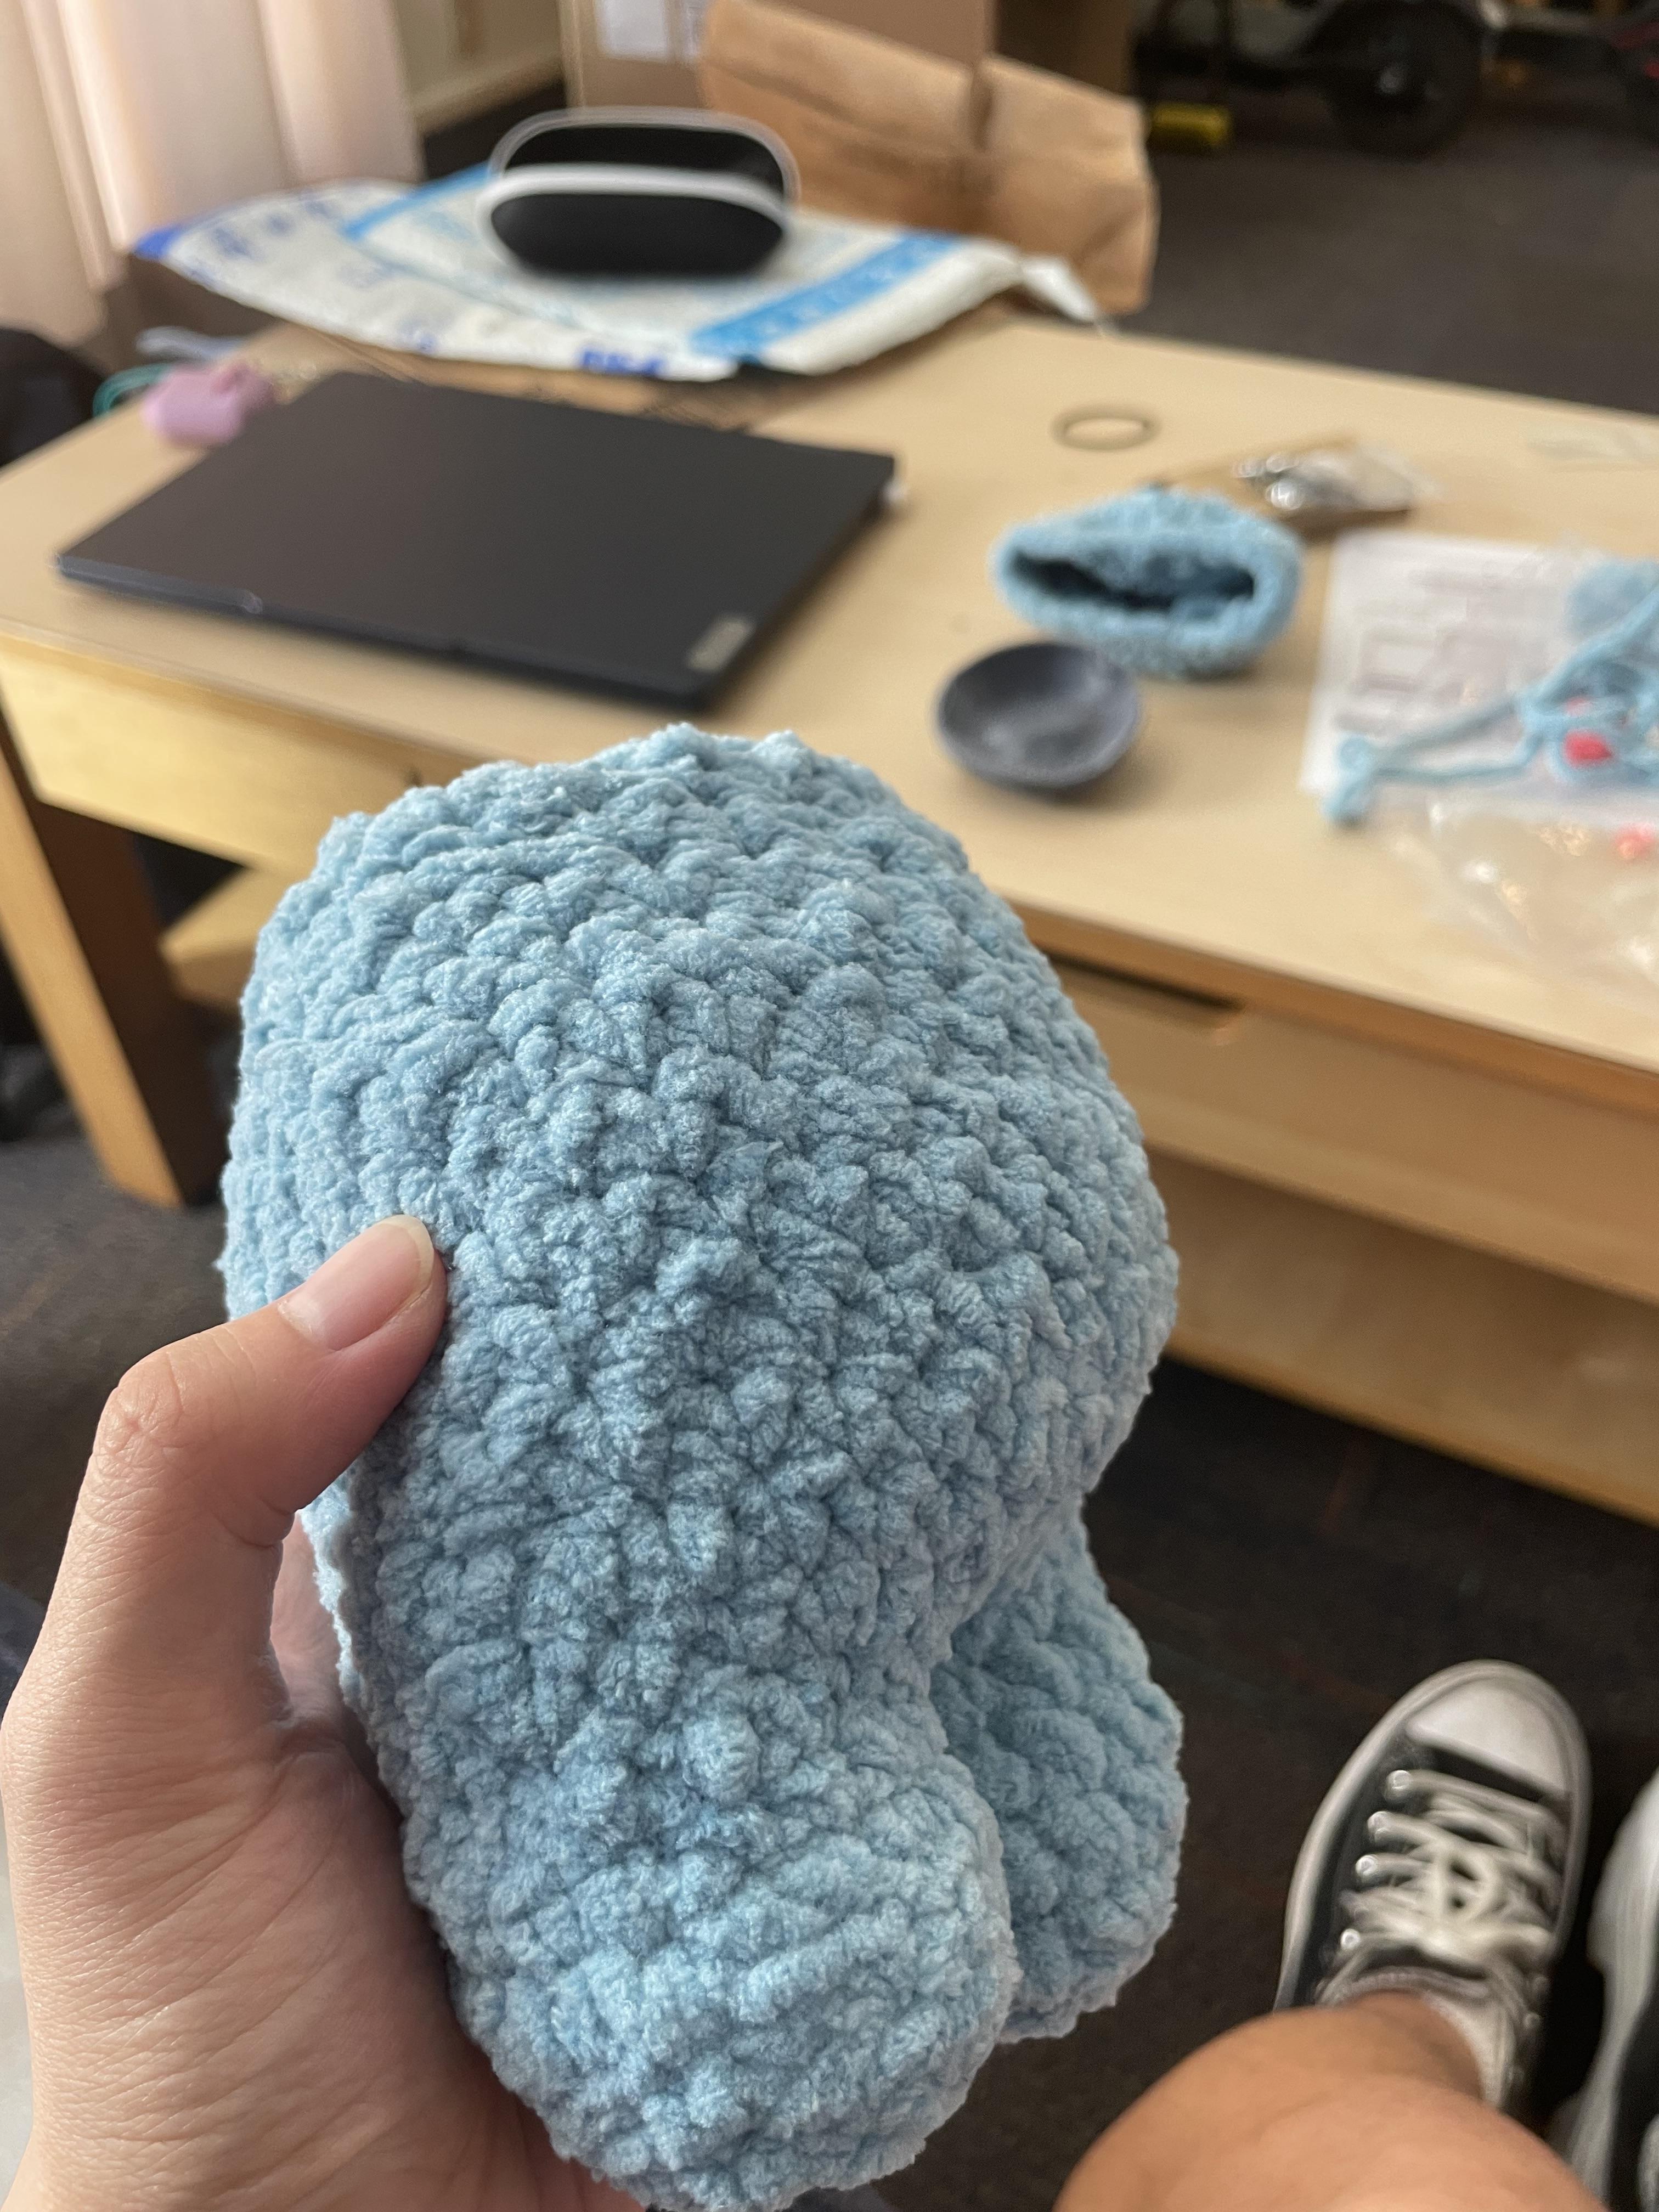
For the crocheting aspect, I followed this pattern online by Anni Craft and Crochet. You can find the tutorials here. The crochet size turned out way larger than I intended it to be with the thicker yarn size (but is not necessarily a bad thing as I would get a bigger Labubu). Crocheting with chenille yarn proved to be slightly more difficult as it is harder to see the stitches through all of its fluff.
3D Printing

Printing out the Labubu parts required a few iterations, as sizing in Nomad is slightly difficult. If I applied dimensions in Nomad, it could get really slow and the 3DPrinterOS software may have a hard time processing the model for printing. Since I used external models of the hands and feet, I had to print out one or two extras to get the proper sizing and supports for the crochet body. Other than that, the prints went pretty smooth.
Painting
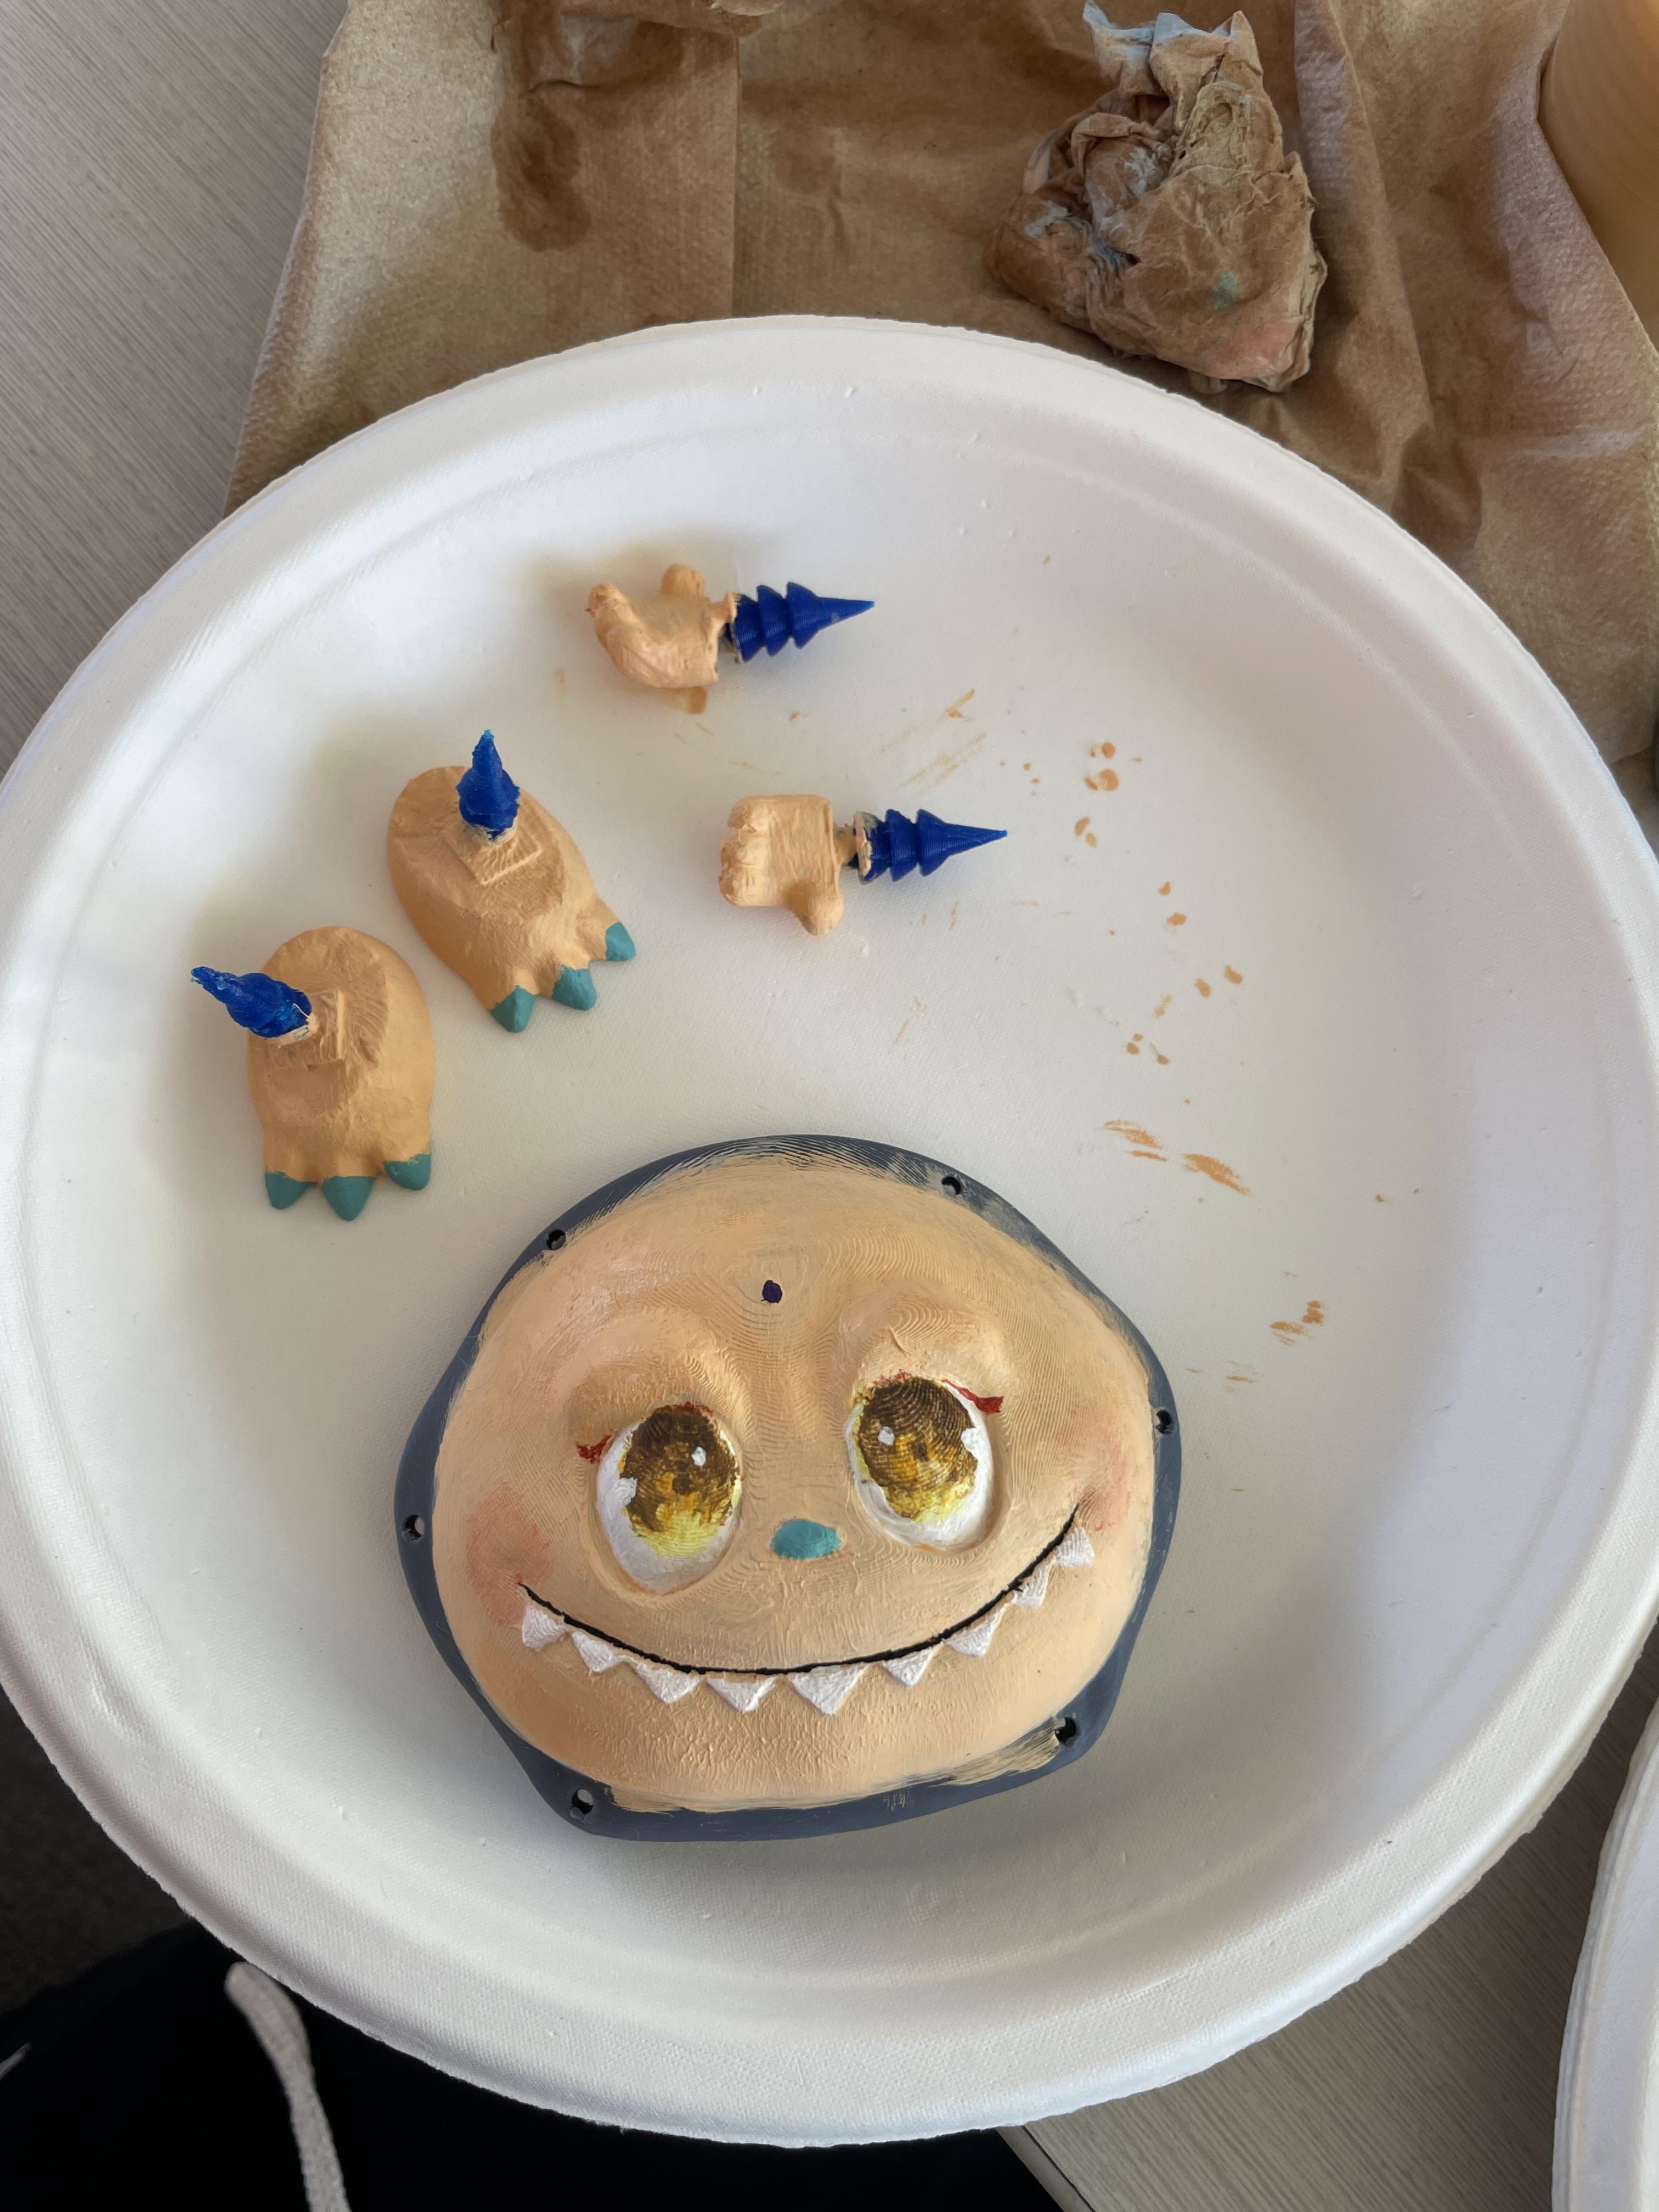

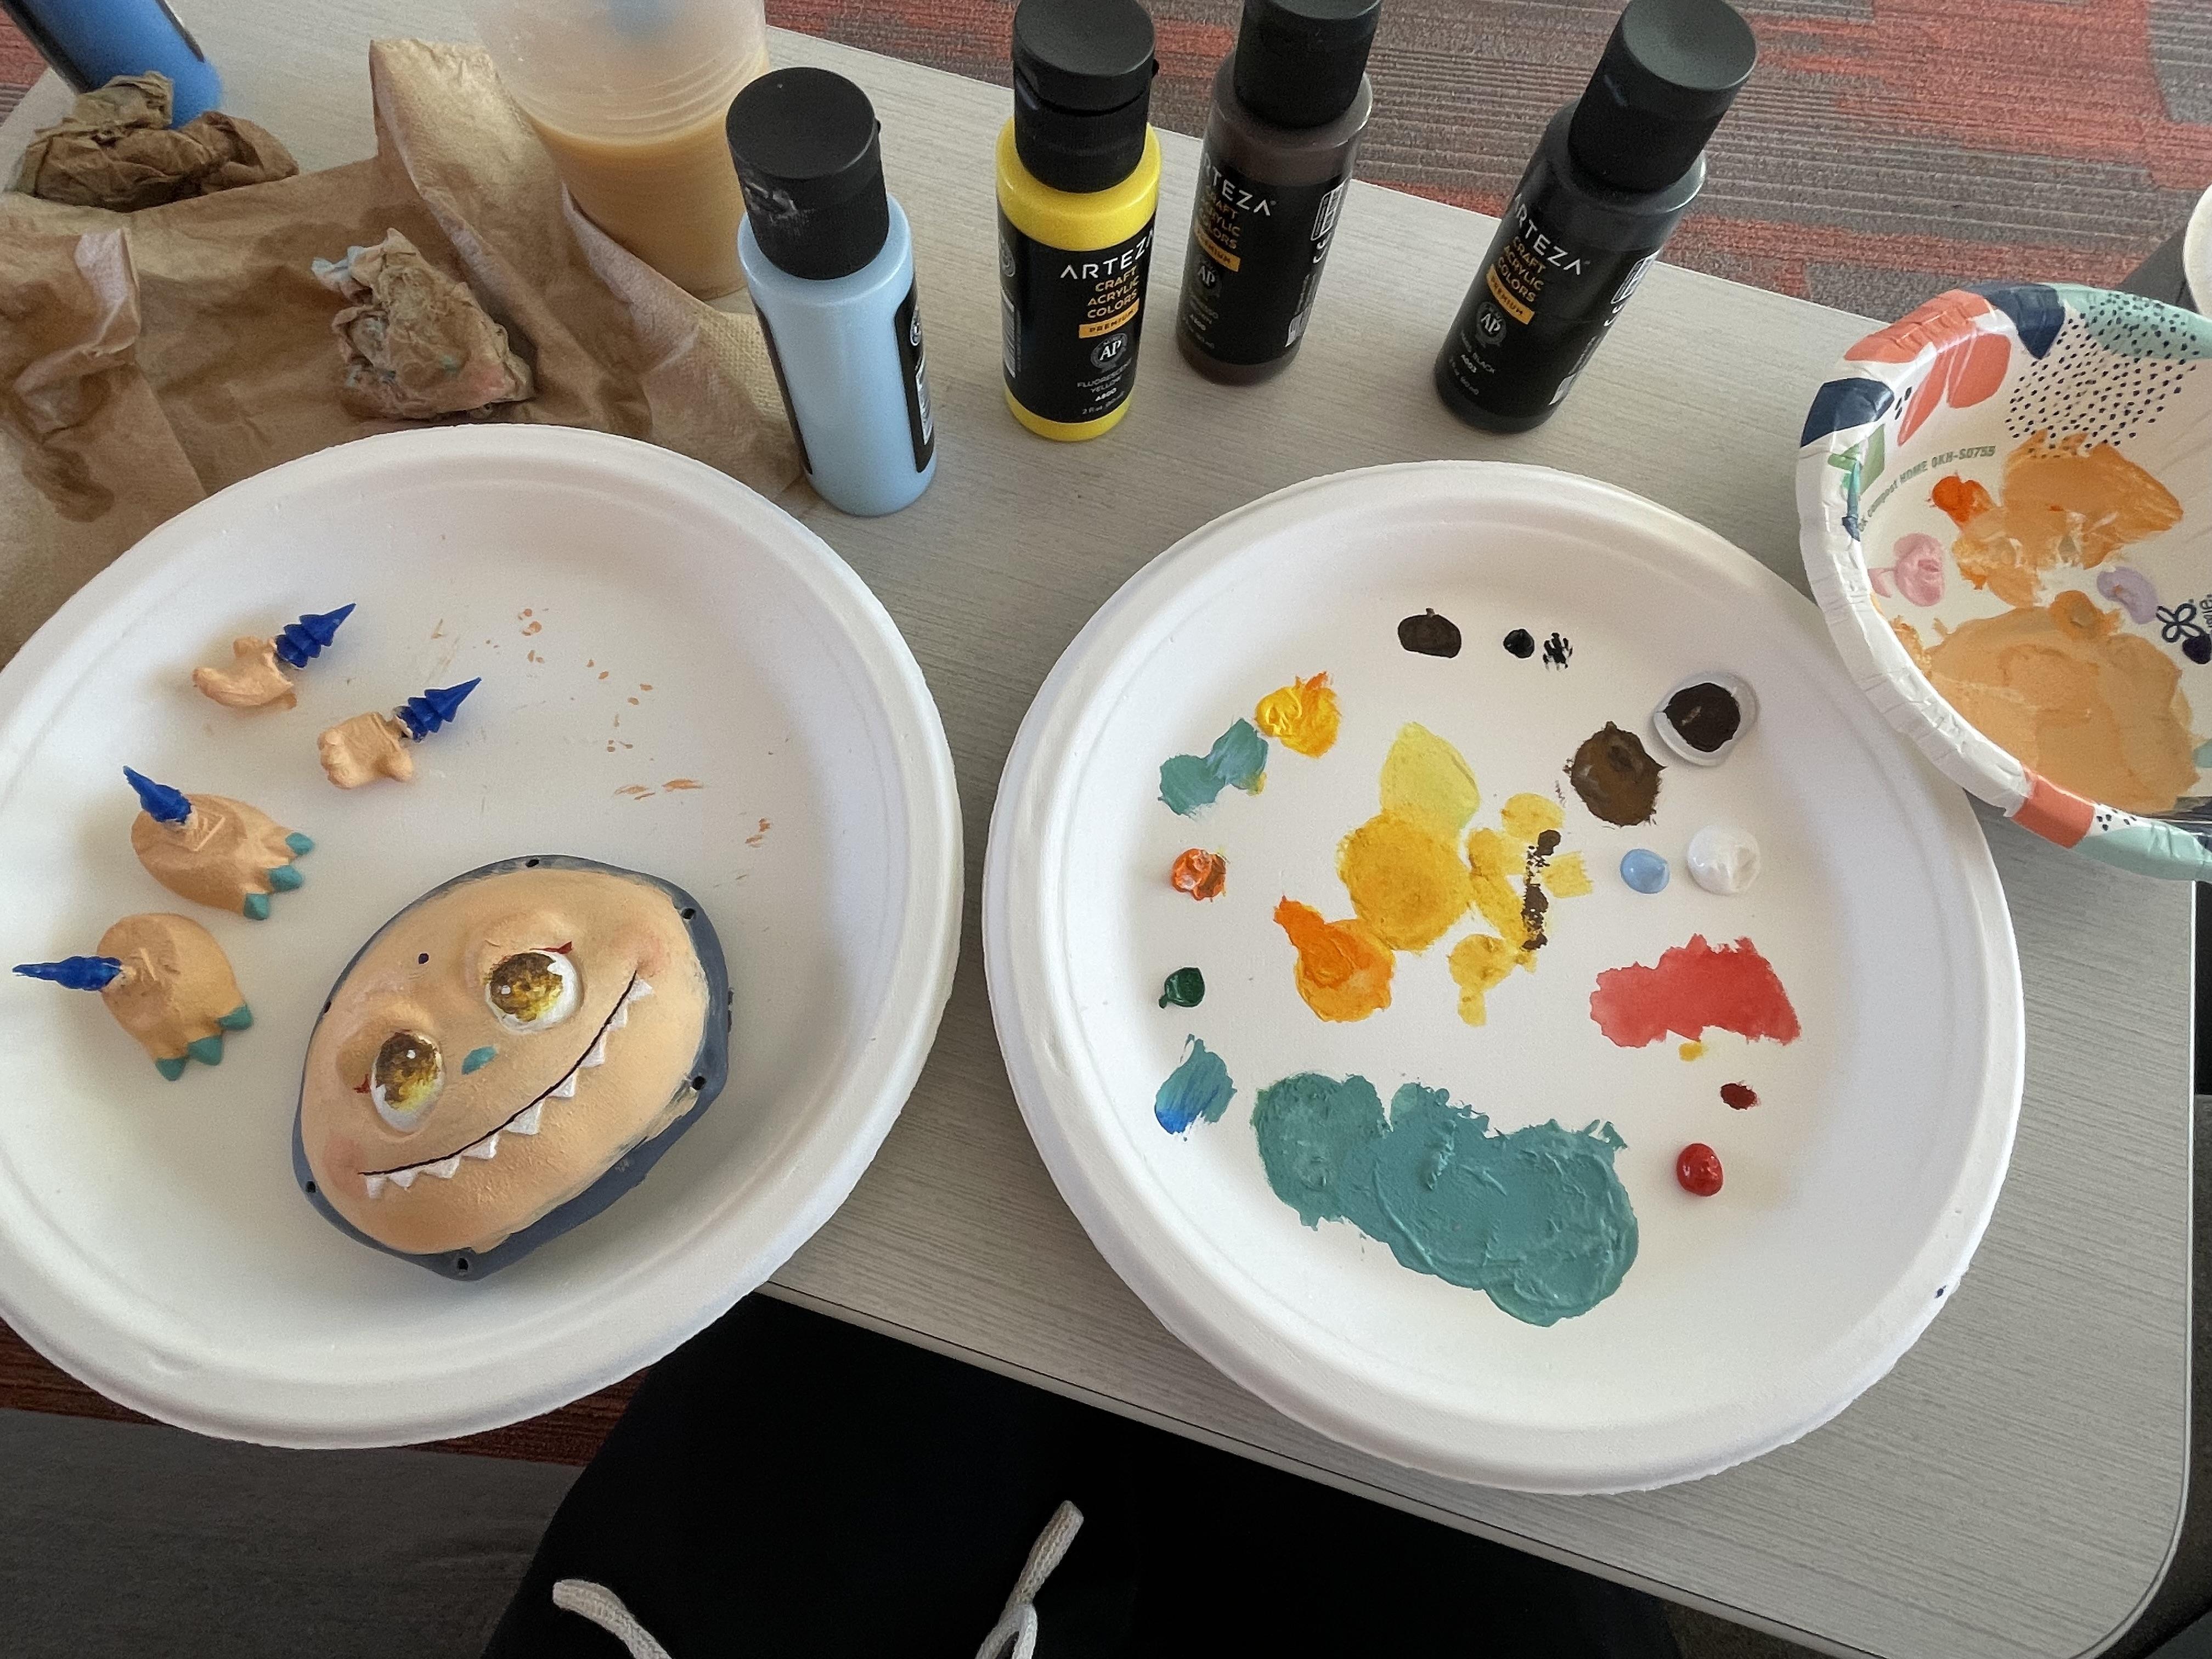
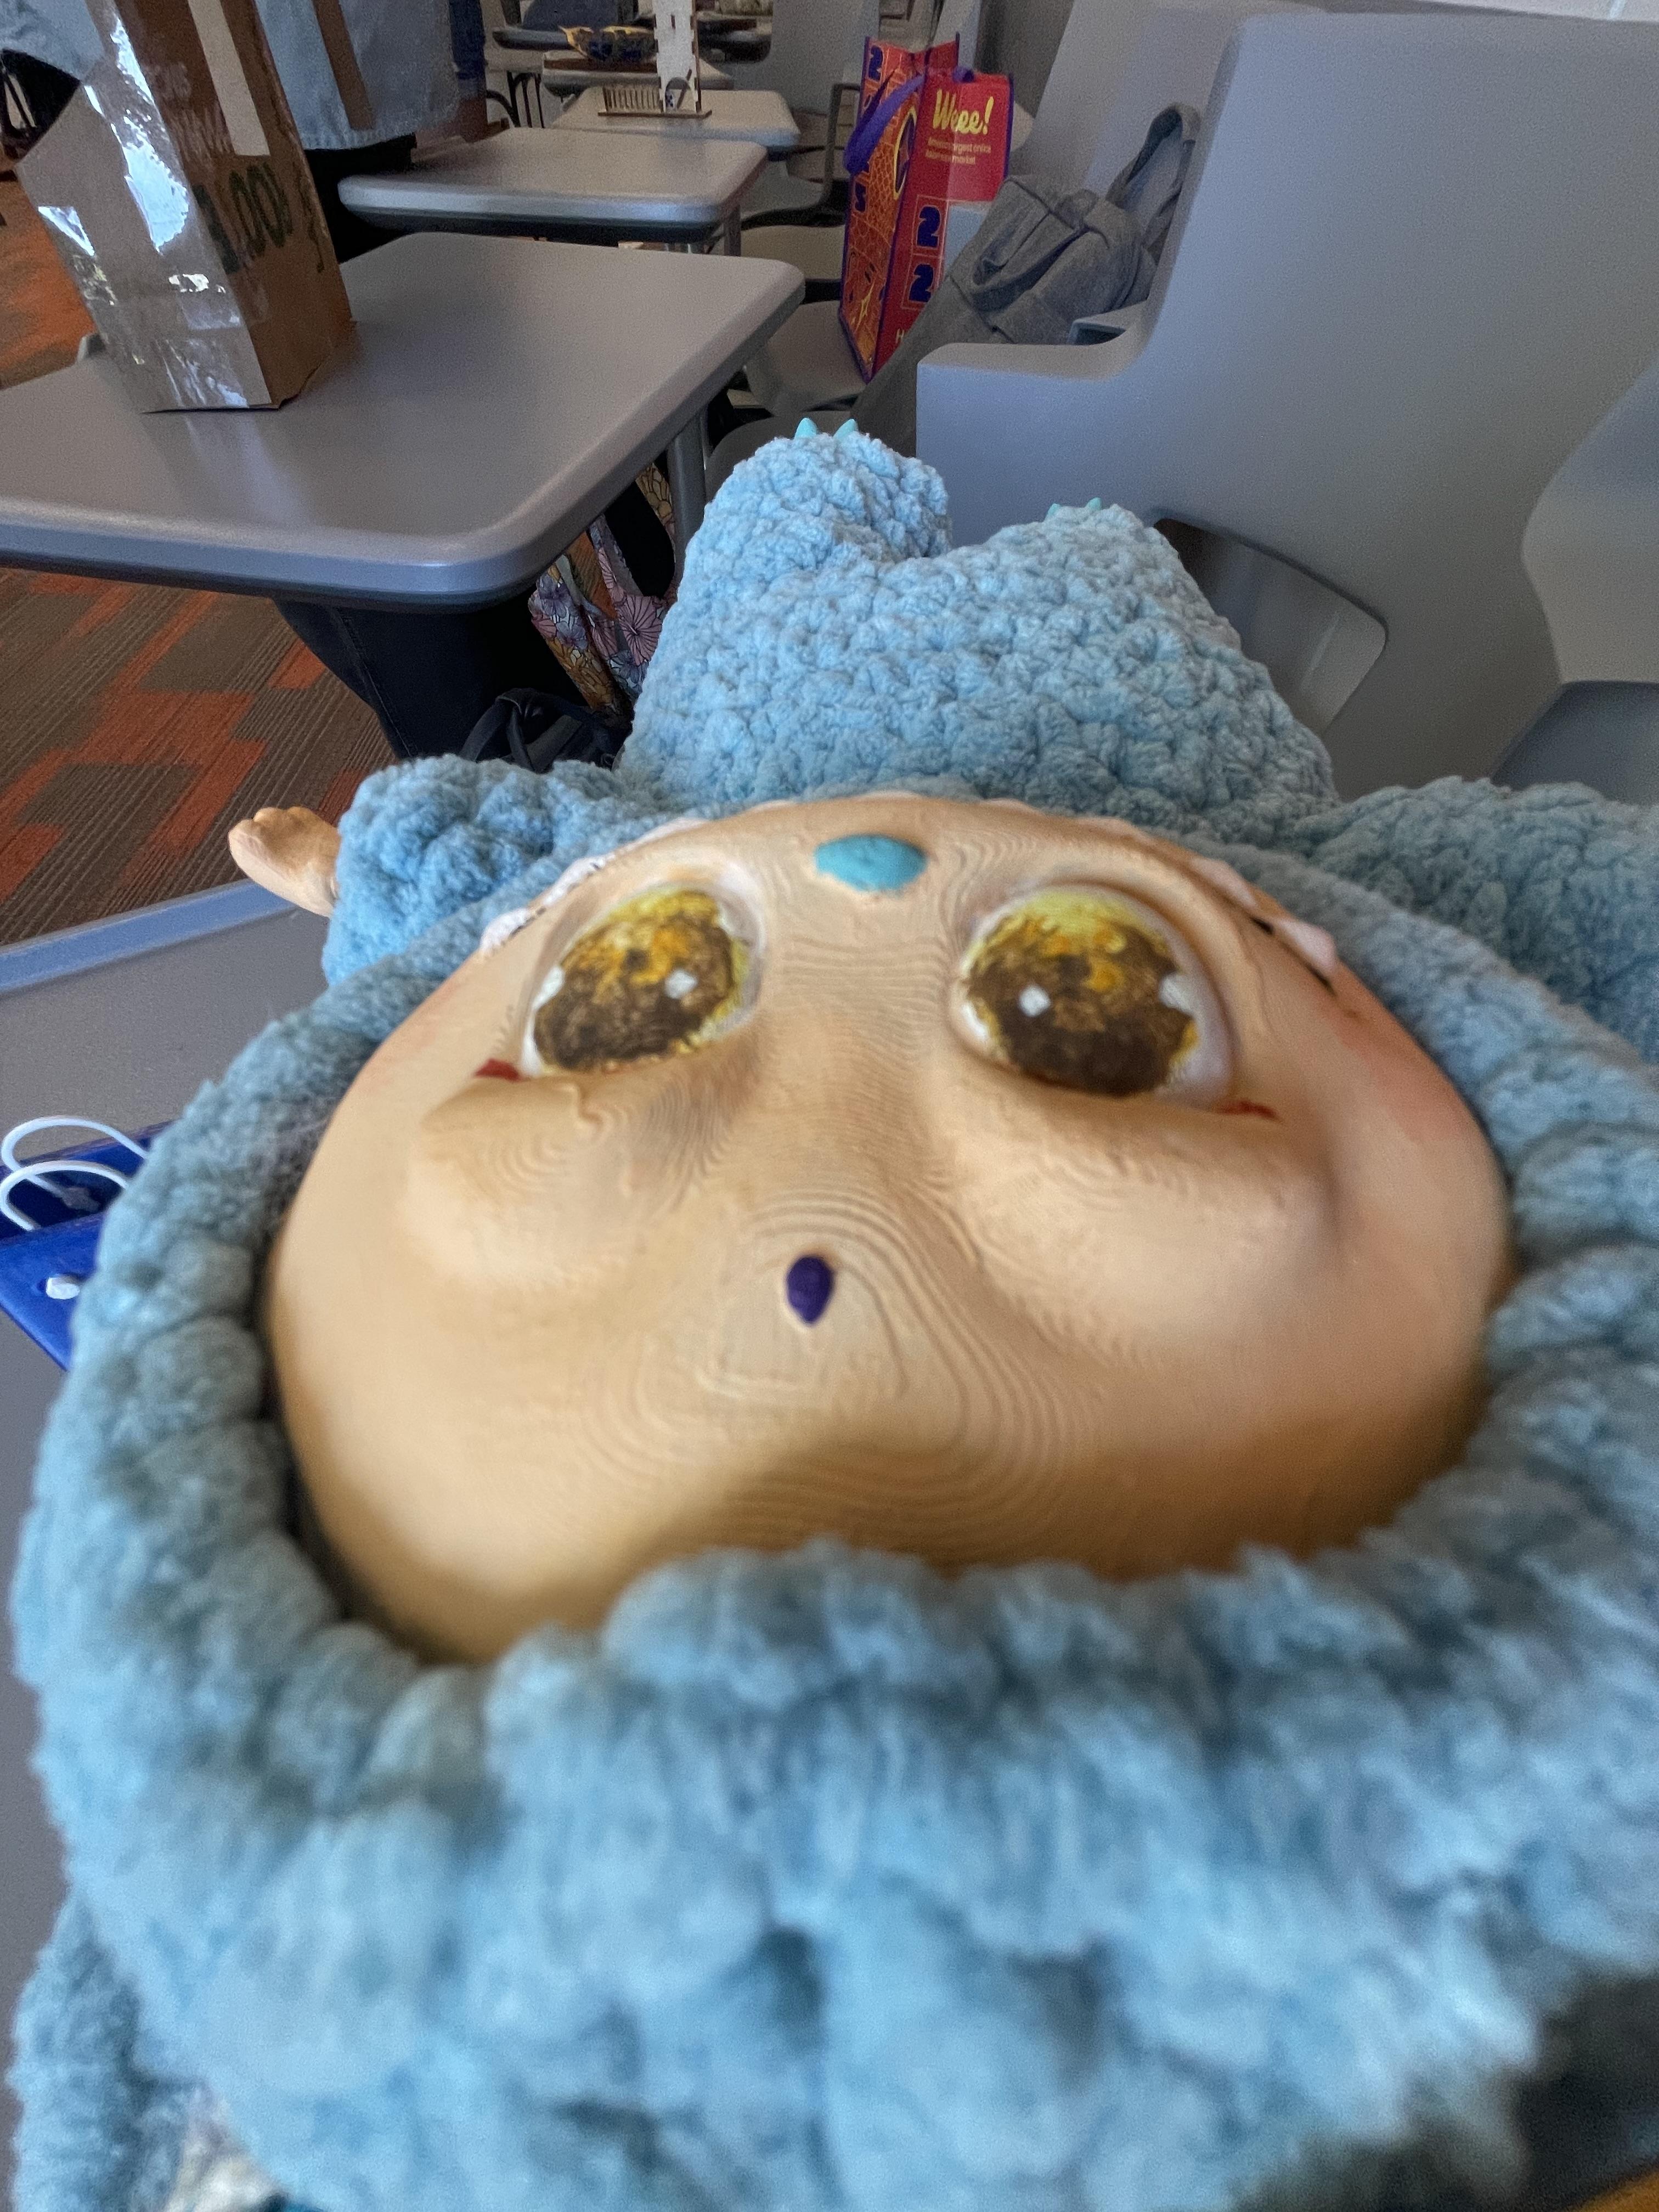
After the prints were finalized, it was time to paint the parts. The painting process went relatively smoothly yet was very time-extensive. The acrylic required several layers to cover the 3D print colors. If I were to reprint these parts, I would select a lighter color so it would require less layers. It was also time consuming through the fact I had to mix many colors myself without water, as water would make the acrylic lose its opaque characteristic. I definitely do recommend a small, thin brush for the details as painting the smile, red eyeliner, and eyes required it. I used some water on the eyes to give that gradual shift in hue, but only after the basic colors were laid out. Dabbing paint helped for coverage as the 3D-print texture will leave unpainted areas. For the blush, I mixed a rosy red color with considerable water and painted it onto the face, using my fingers to blend. Additionally, mistakes did not have any significance in this process as they were easily fixed with some waiting and another layer. If I had more time and some painter's tape, I would definitely do a wash in a more dark, saturated color of its face as the the current skin tone layer to add further dimension.
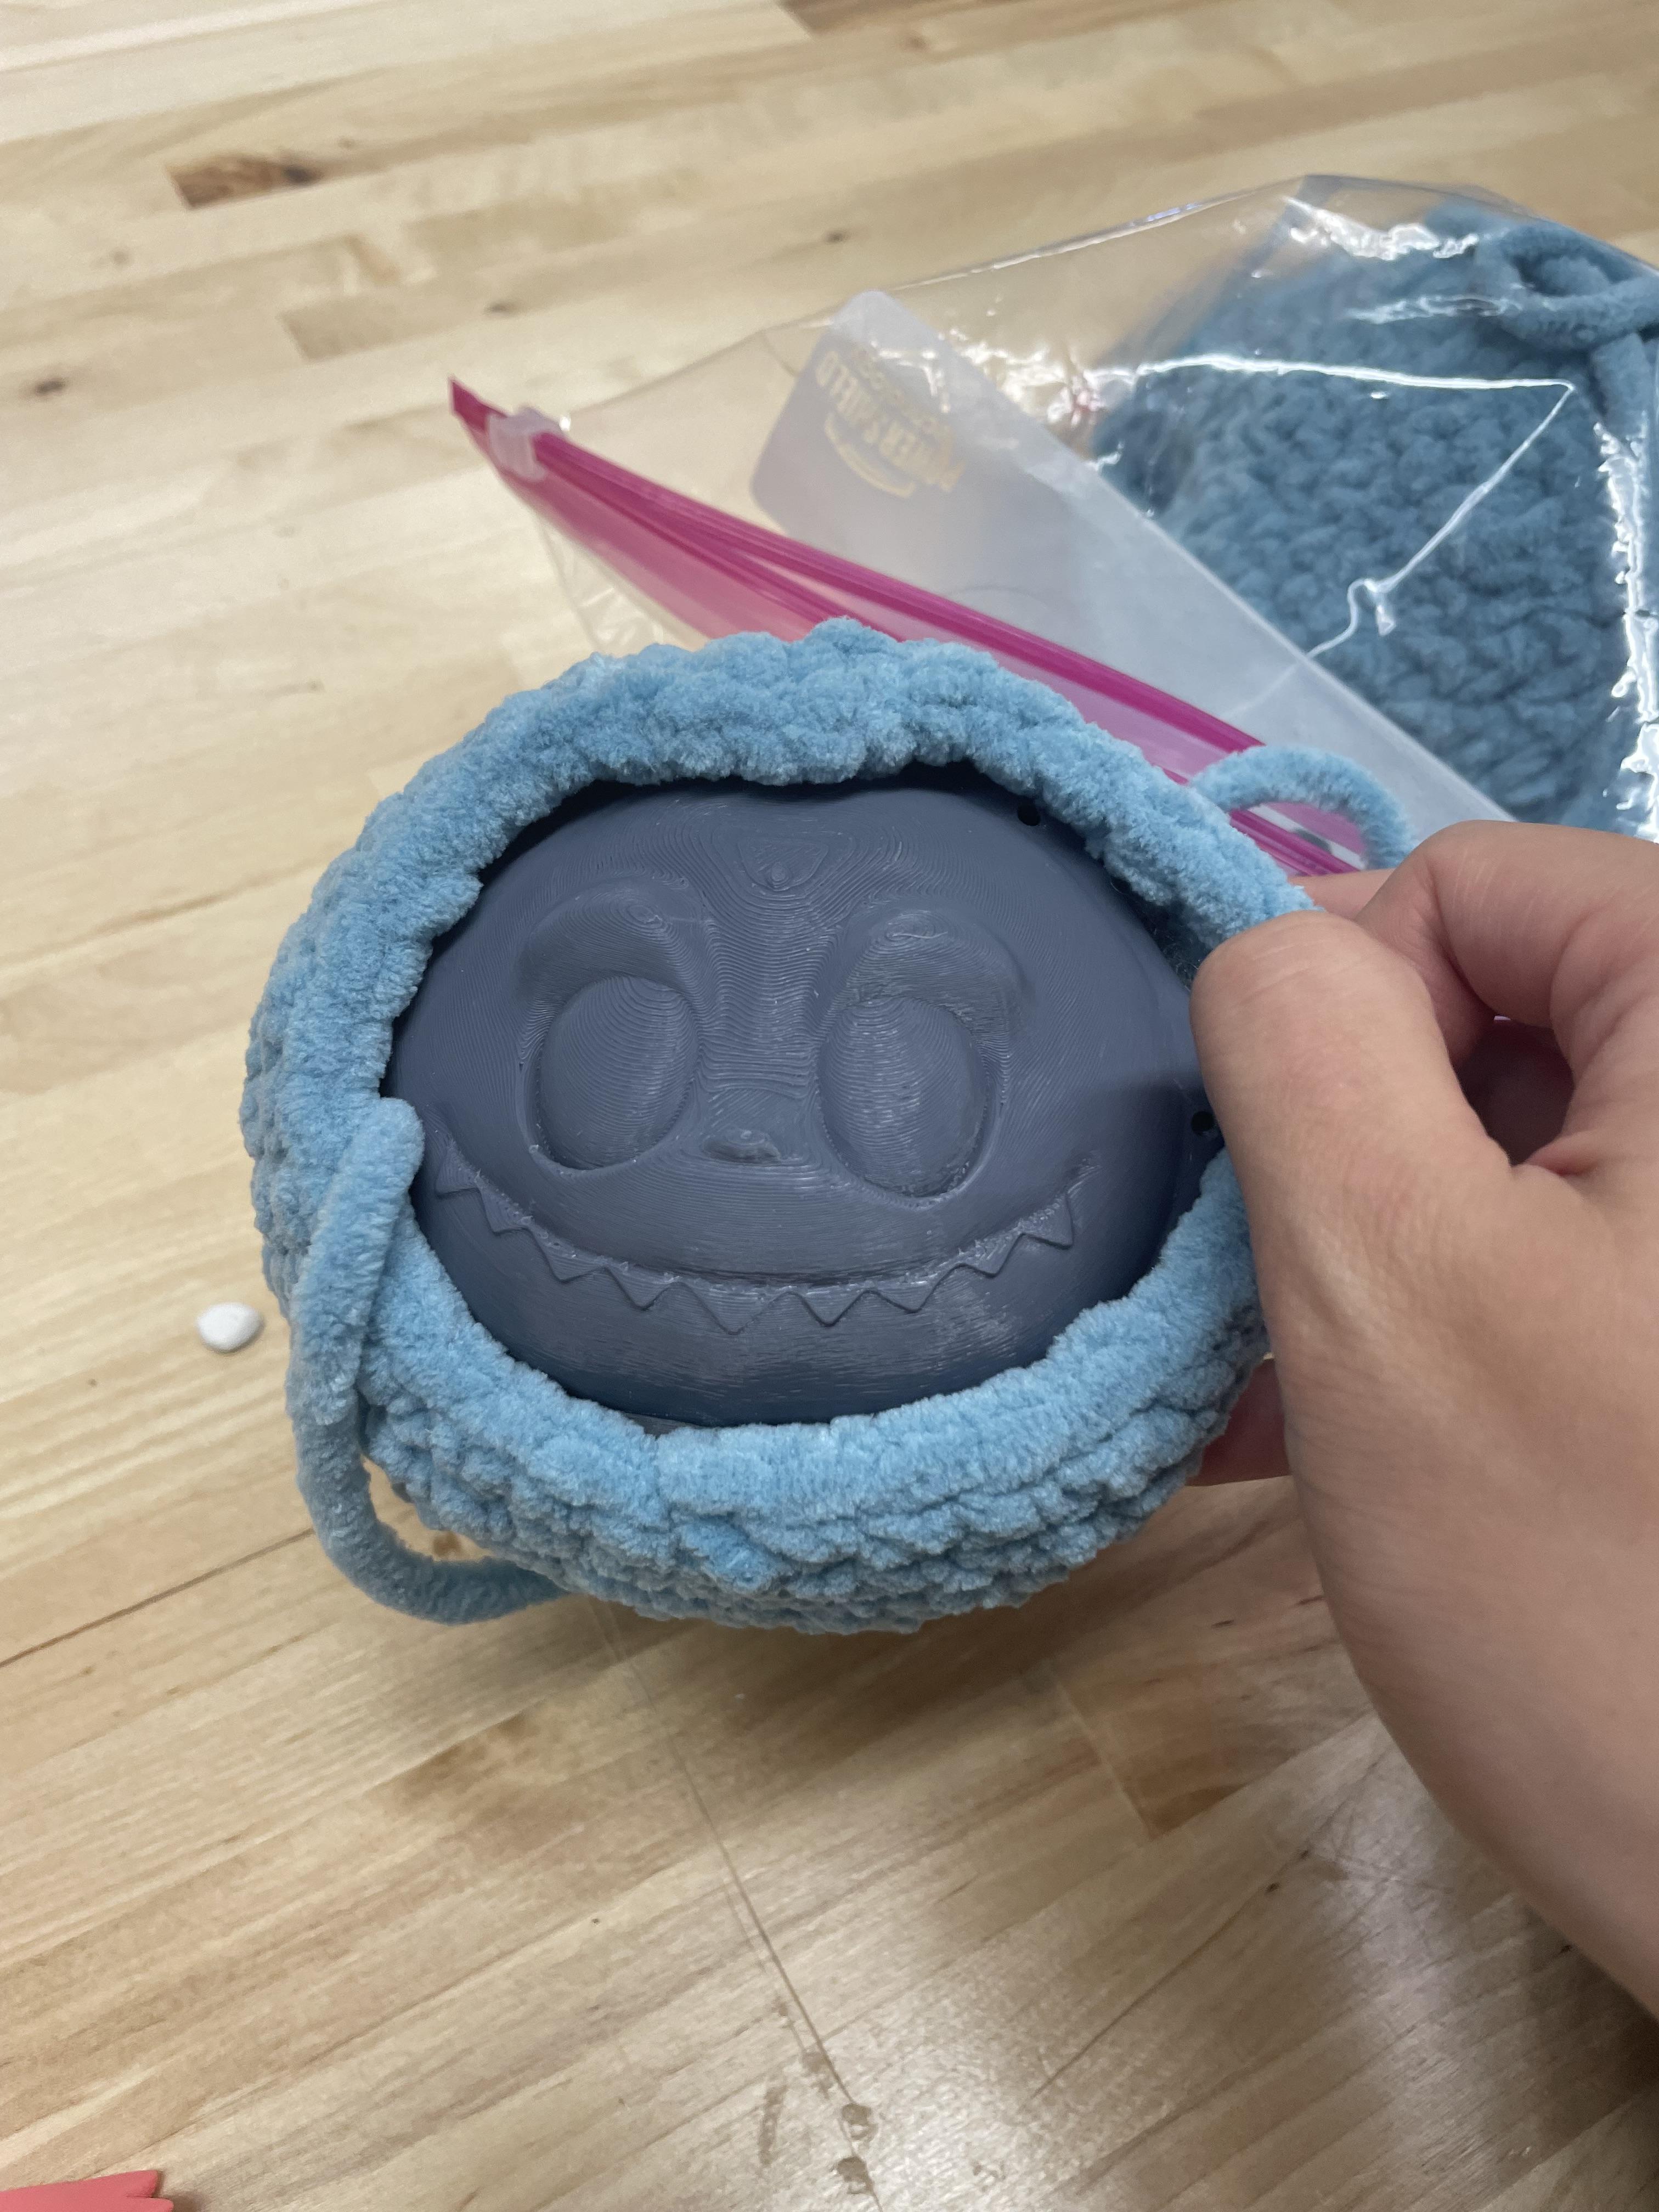
Assembly
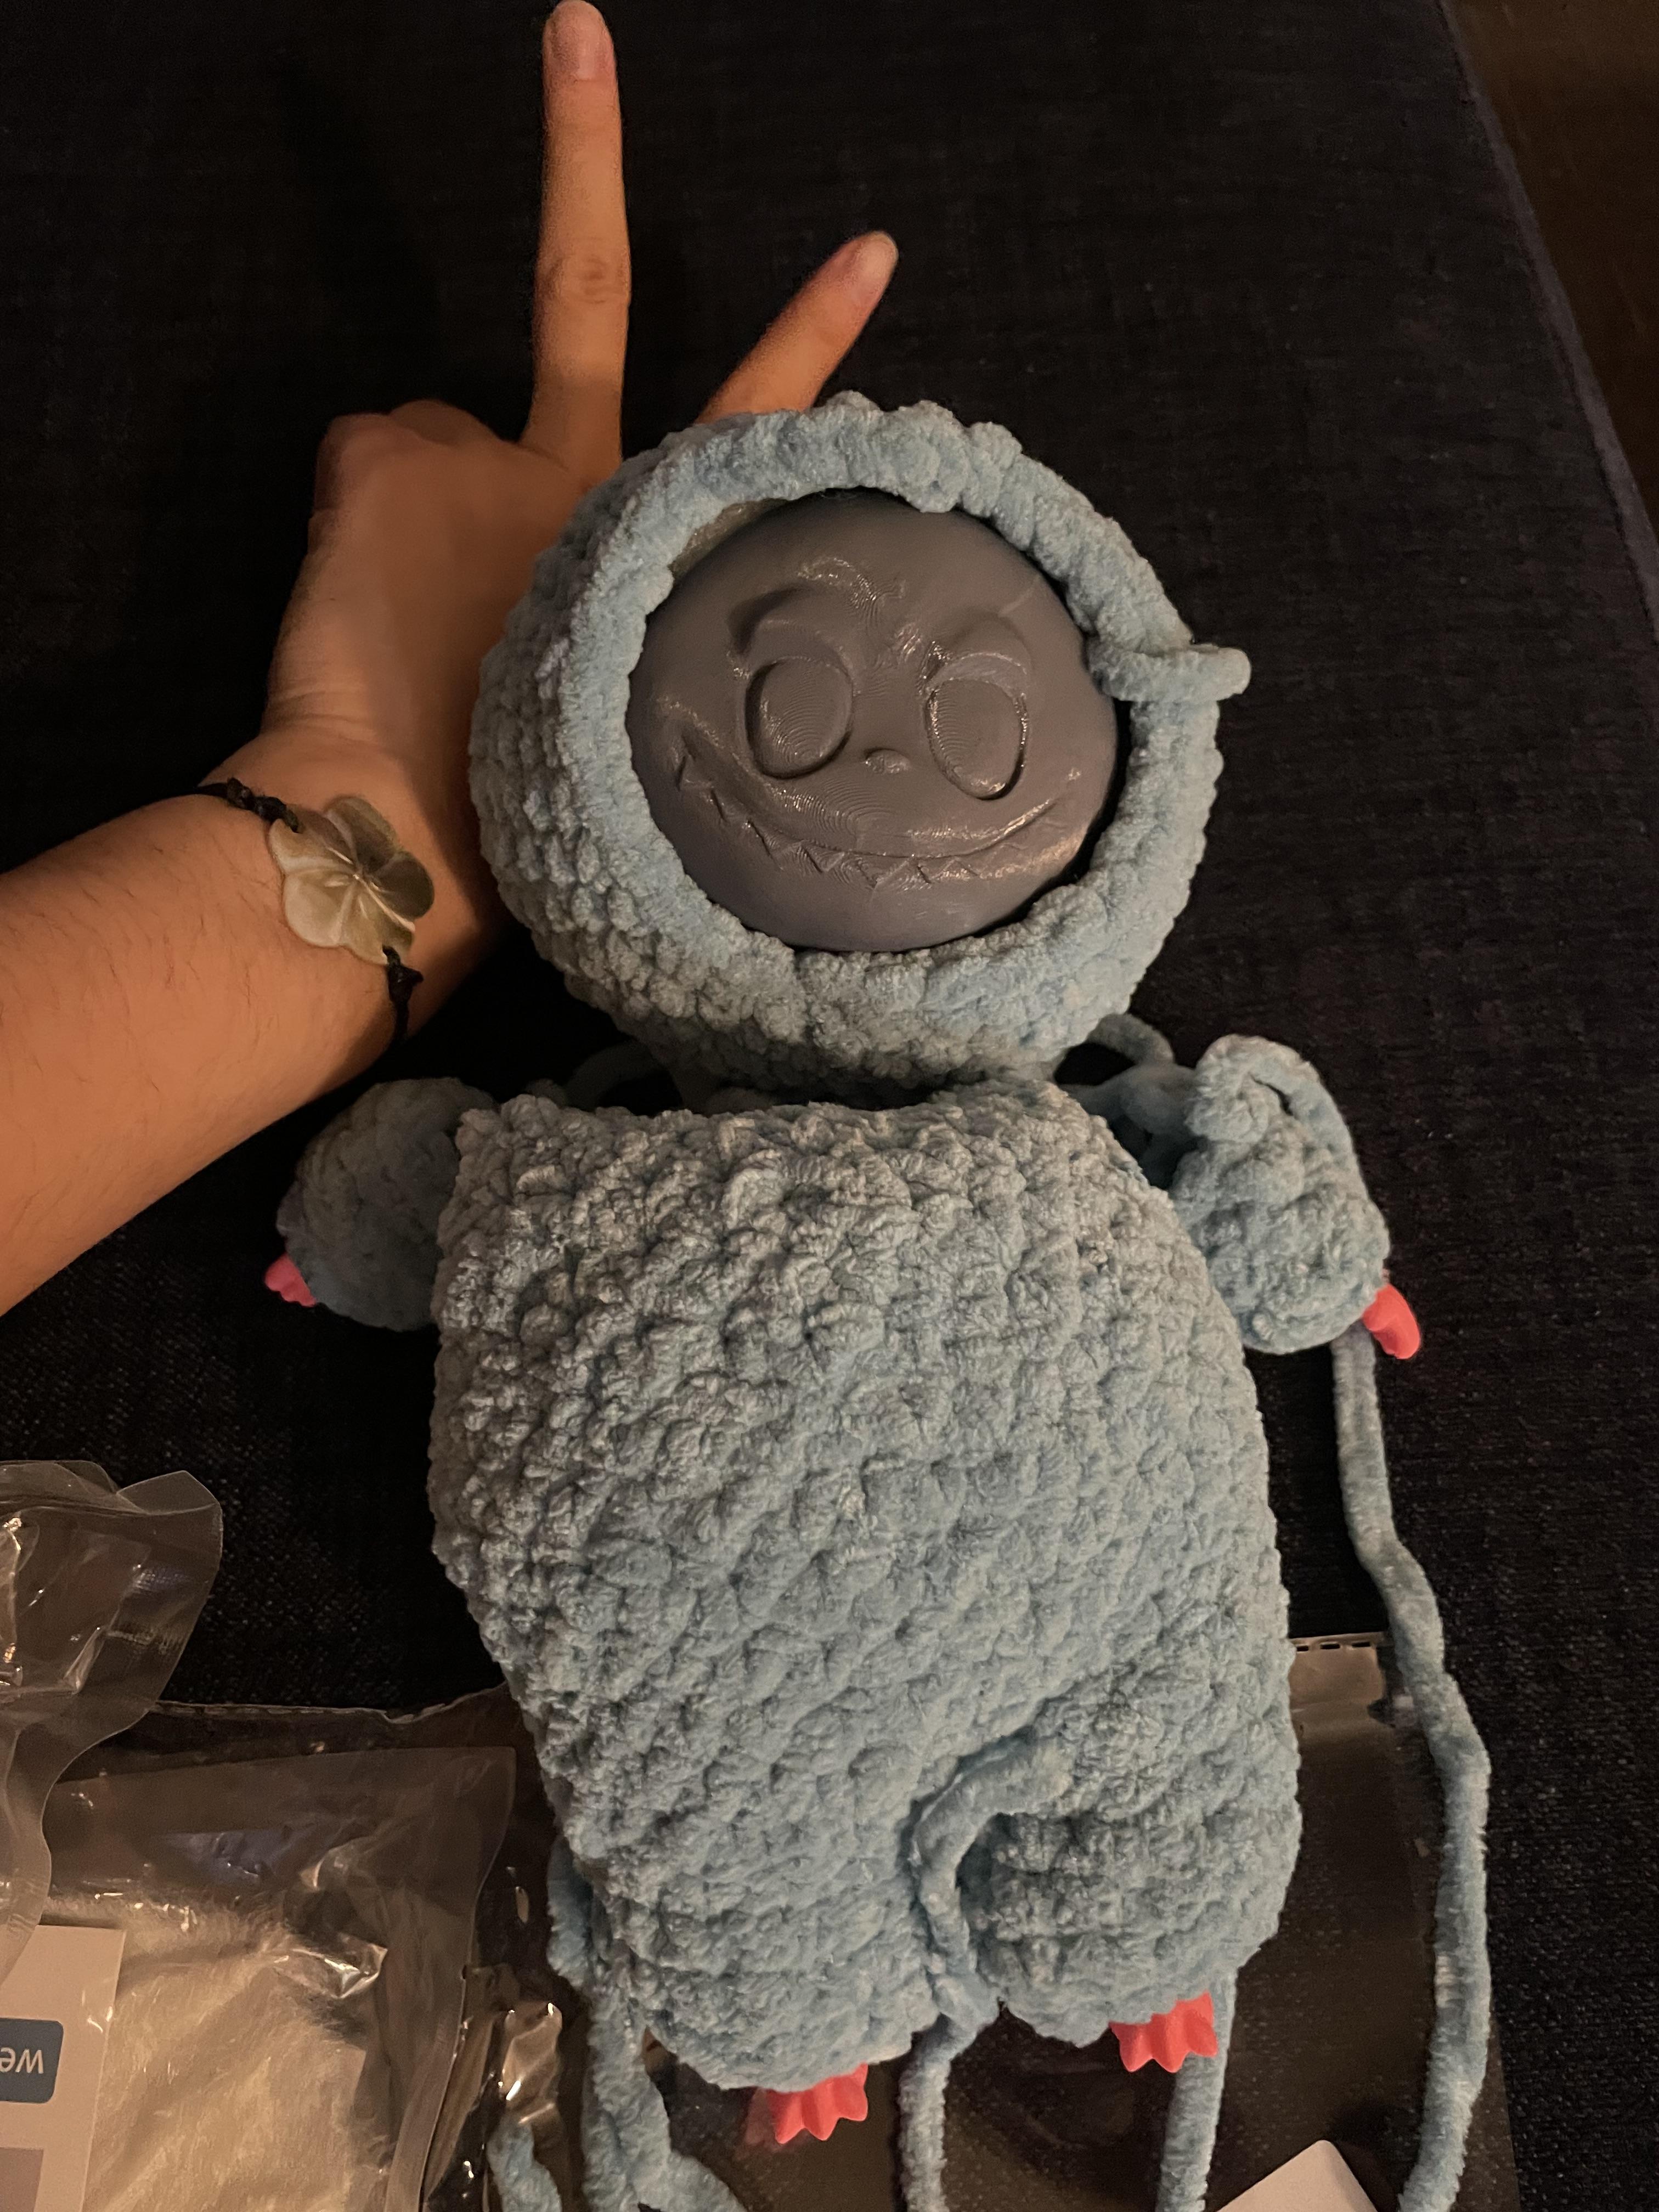

After obtaining all the parts, assembly was pretty simple. Using the tapestry needle, I embroidered all the parts together and fit the hands and feet through their respective magic ring stitches. As of now, I have not stitched the head in as I may want further changes to be made in the future.
Reflection
This project truly put all of my creative skills to the test, requiring knowledge from drawing and painting to crochet to 3D printing and its software. The biggest challenge was managing my time properly so I could get the final product in time, as crocheting, printing, painting, and buying materials online all required considerable time. My work quality definitely dwindled as I would work late at night to complete it and the fact it was my first time working with this type of yarn, as the ear sewing is lopsided and body crochet is kind of long. With a little extra time, I think those issues would be mitigated as I could recrochet those parts. Even if I am not completely satisfied, I am still very pleased with the paint work and its fluffy texture. Do expect me to make another Genshin Impact inspired Labubu in the near future.