YUMO SMART CUBE: ESP32-S3 Brass Wire Sculpture & Smart Touch Display.
by yumobuilds in Circuits > Microcontrollers
30 Views, 0 Favorites, 0 Comments
YUMO SMART CUBE: ESP32-S3 Brass Wire Sculpture & Smart Touch Display.
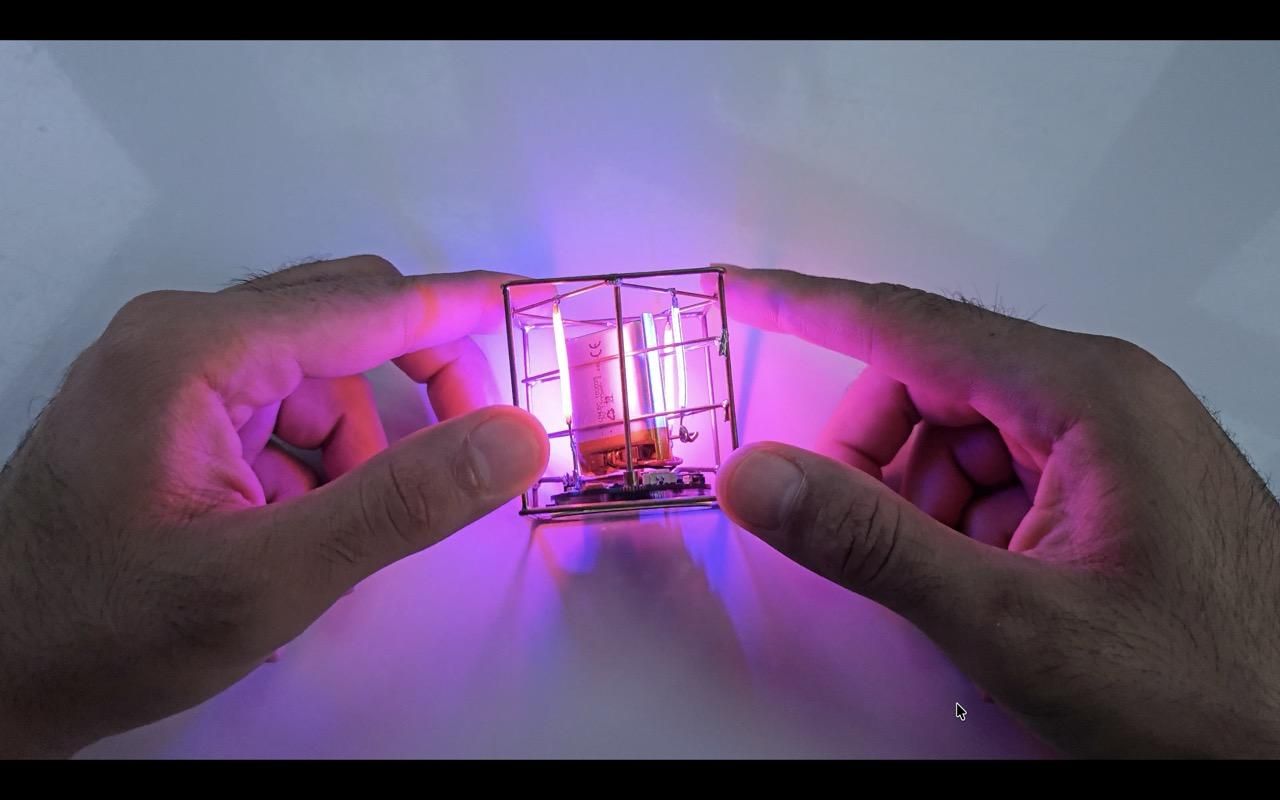
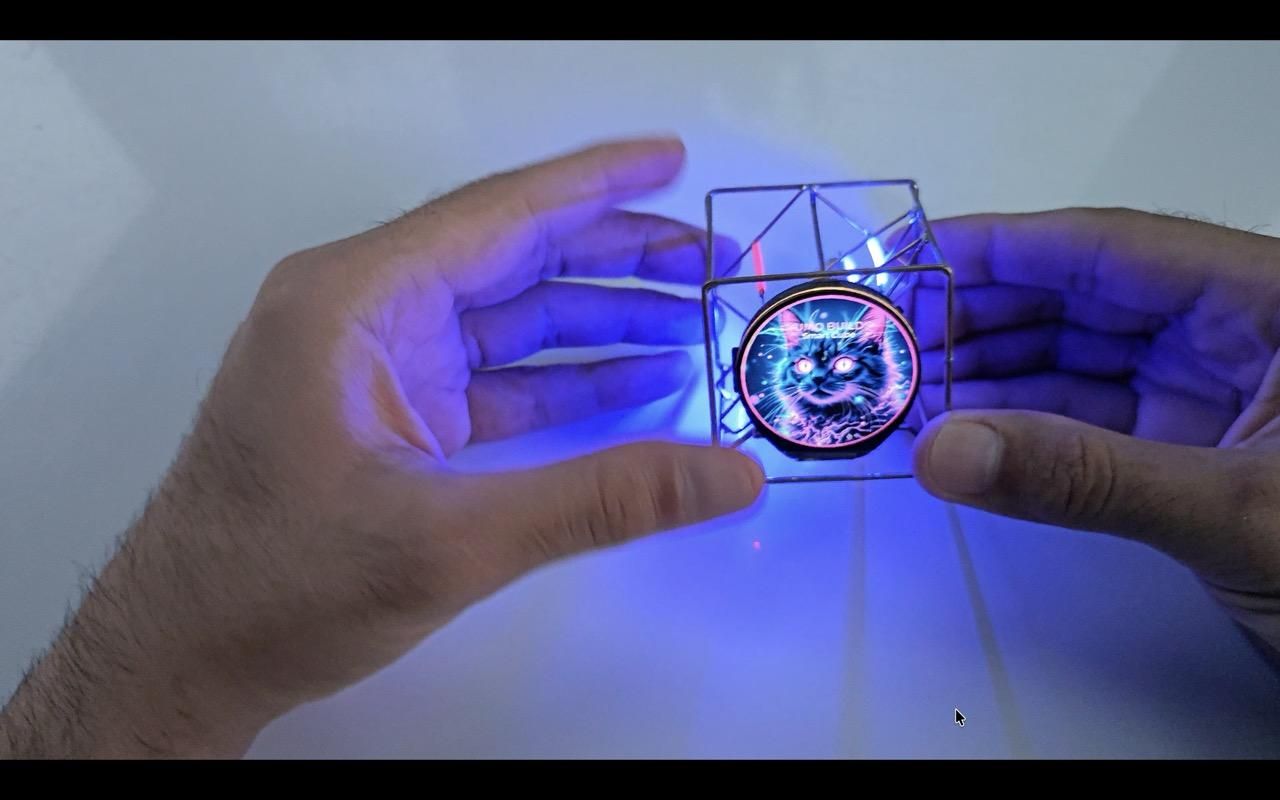
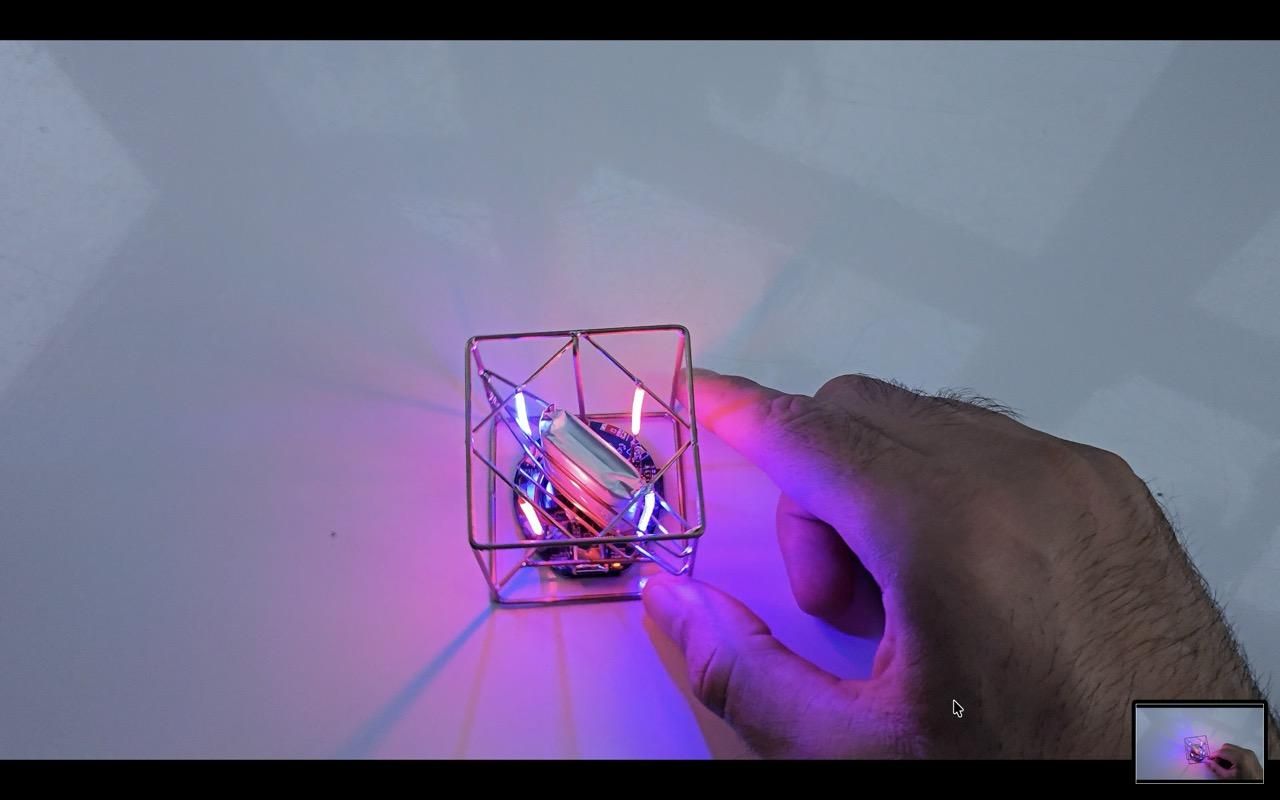
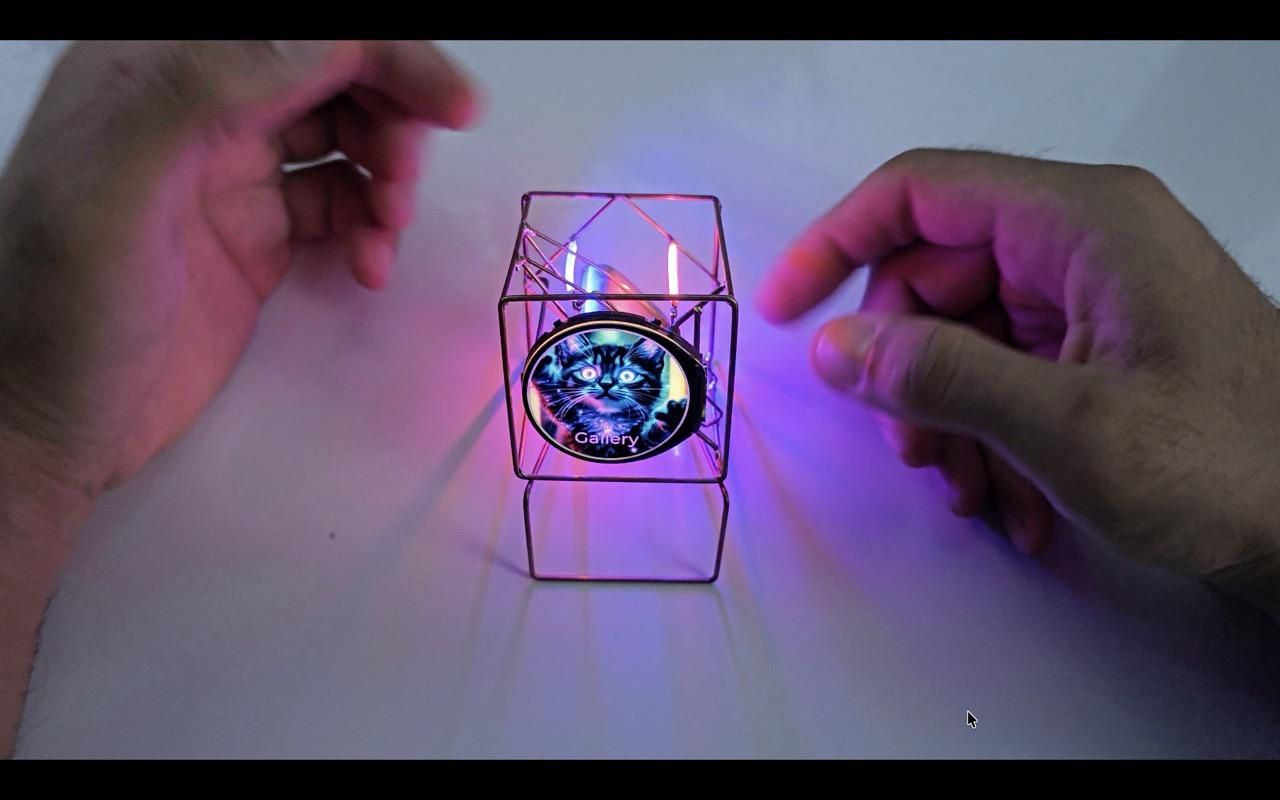
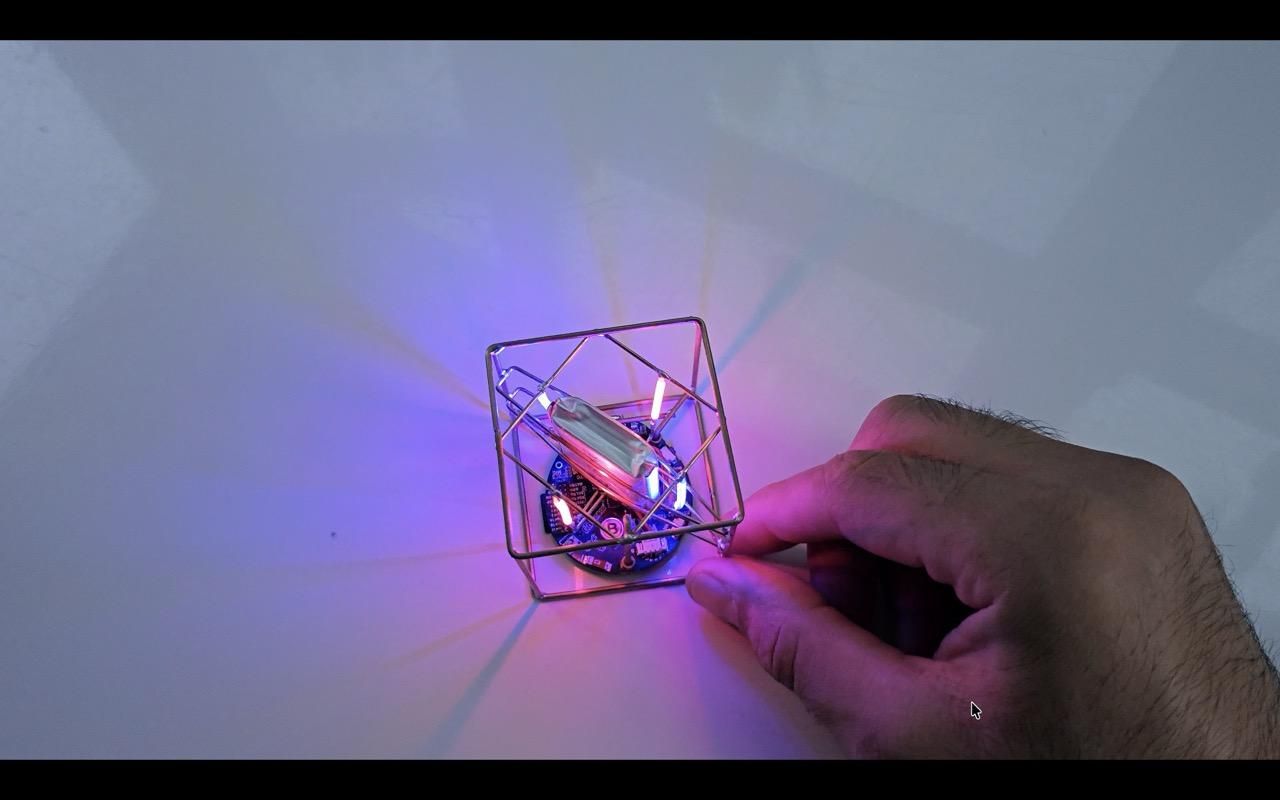
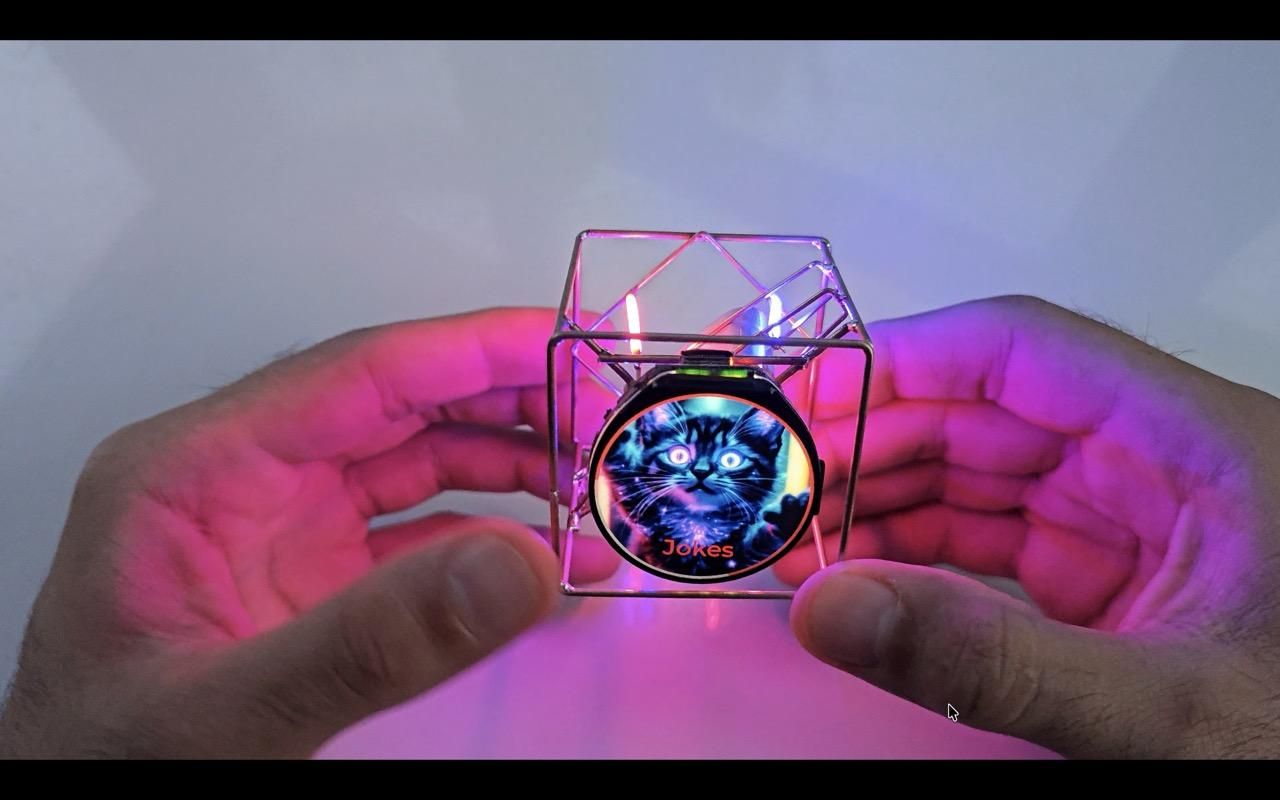
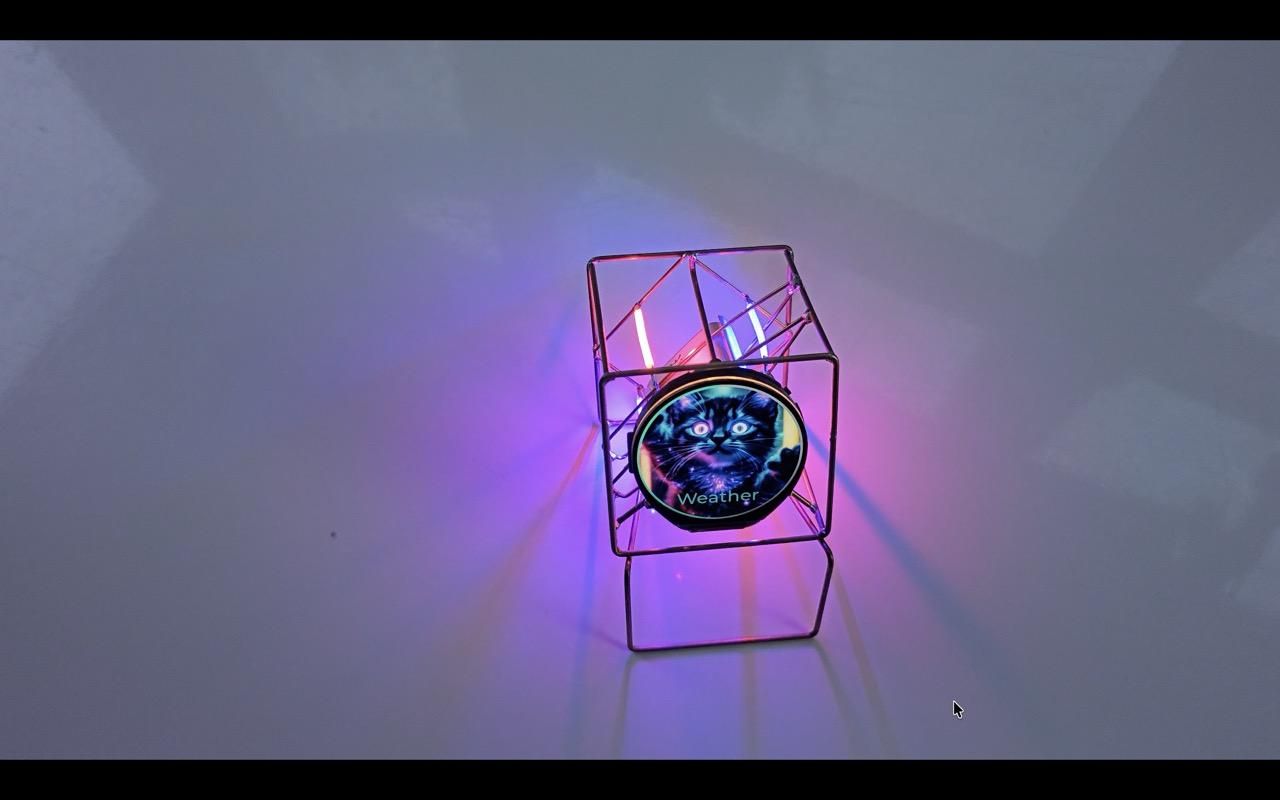
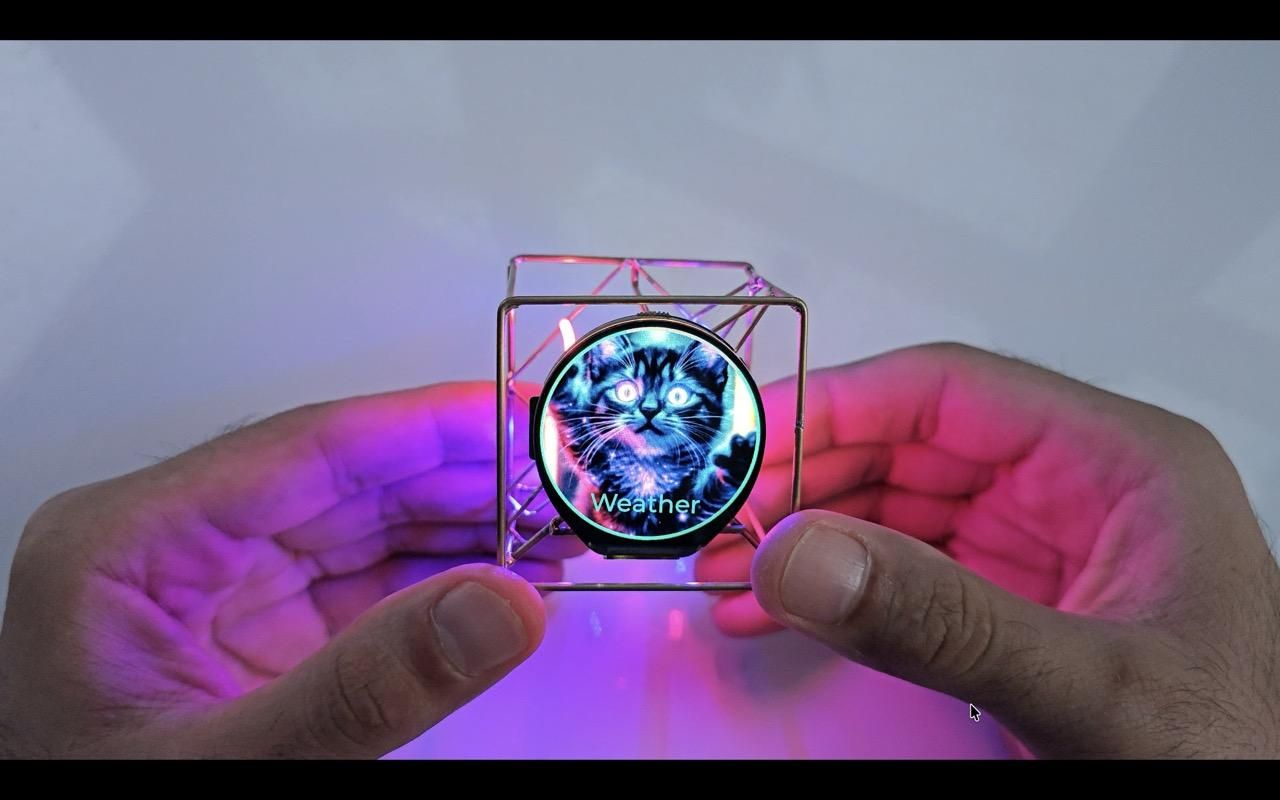
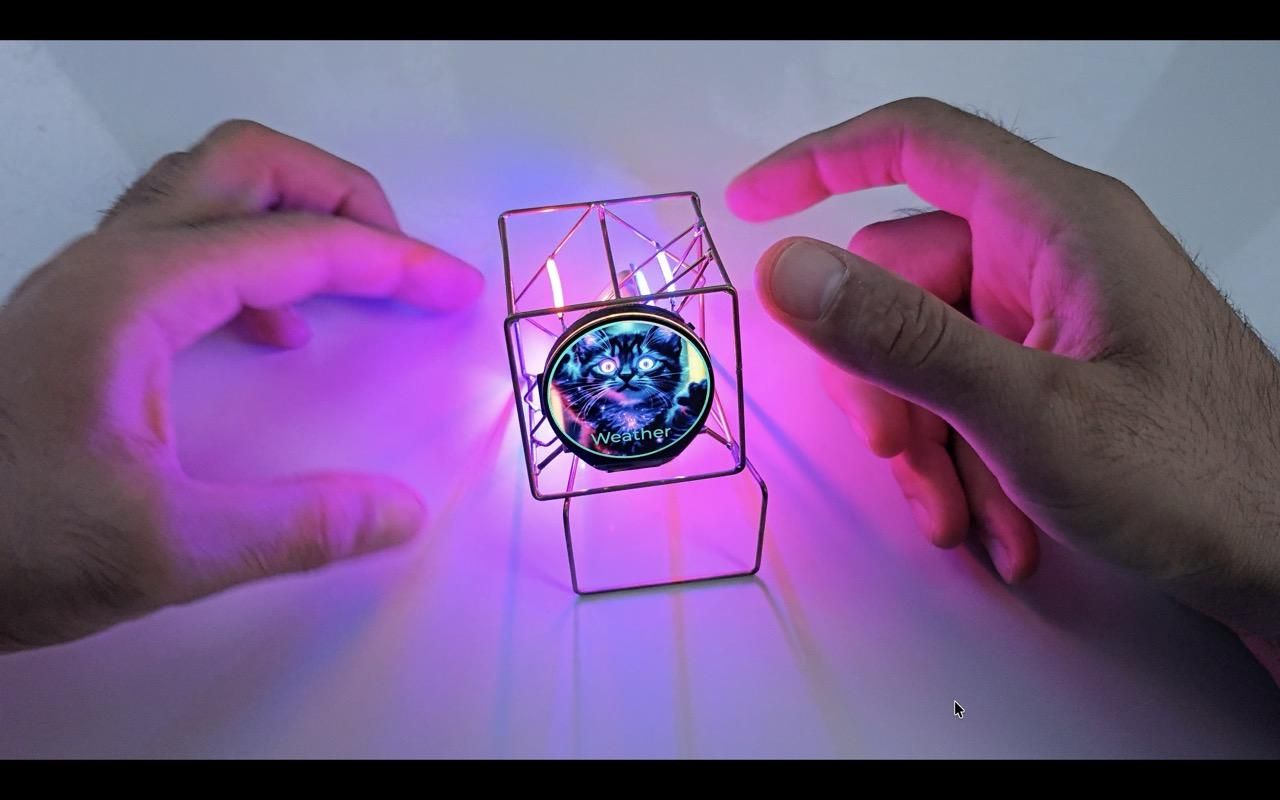
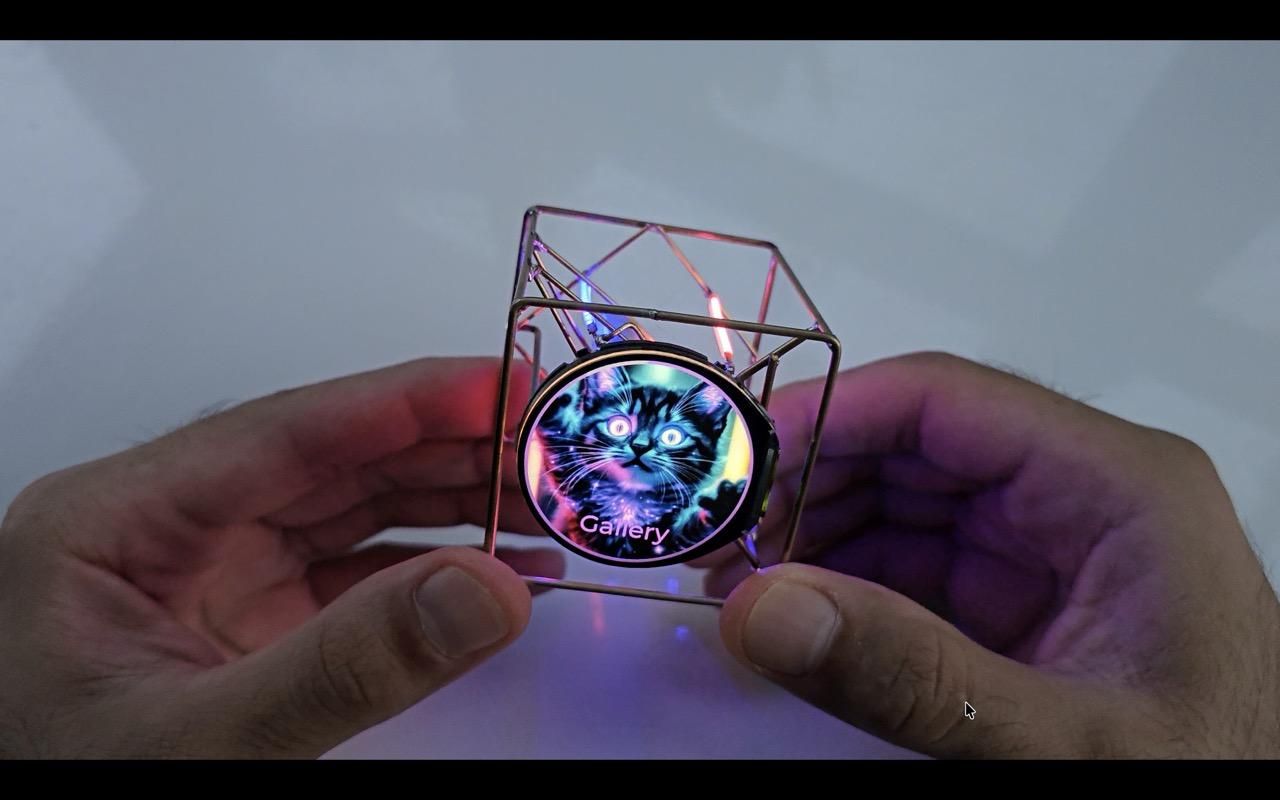
Touchscreen—Brass Wire Sculpture, Round Touch Display & RGB LEDs)
The YUMO CUBE is a freeform brass wire sculpture powered by the Waveshare ESP32-S3 featuring a 412×412 round capacitive touch display. Built using LVGL 9 and FreeRTOS in PlatformIO, it works as an interactive desktop companion with 6 smart faces, dynamic LED filament animations, hardware motion sensing, and full power-latching capabilities.
Check out the full video demonstration on YouTube to see it in action, and download the full open-source code from GitHub to build your own!
📺 Watch the full build: https://www.youtube.com/watch?v=ik5LVx_d2kU
💾 Source code: https://github.com/yumobuilds/Yumo-Smart-Cube
Supplies
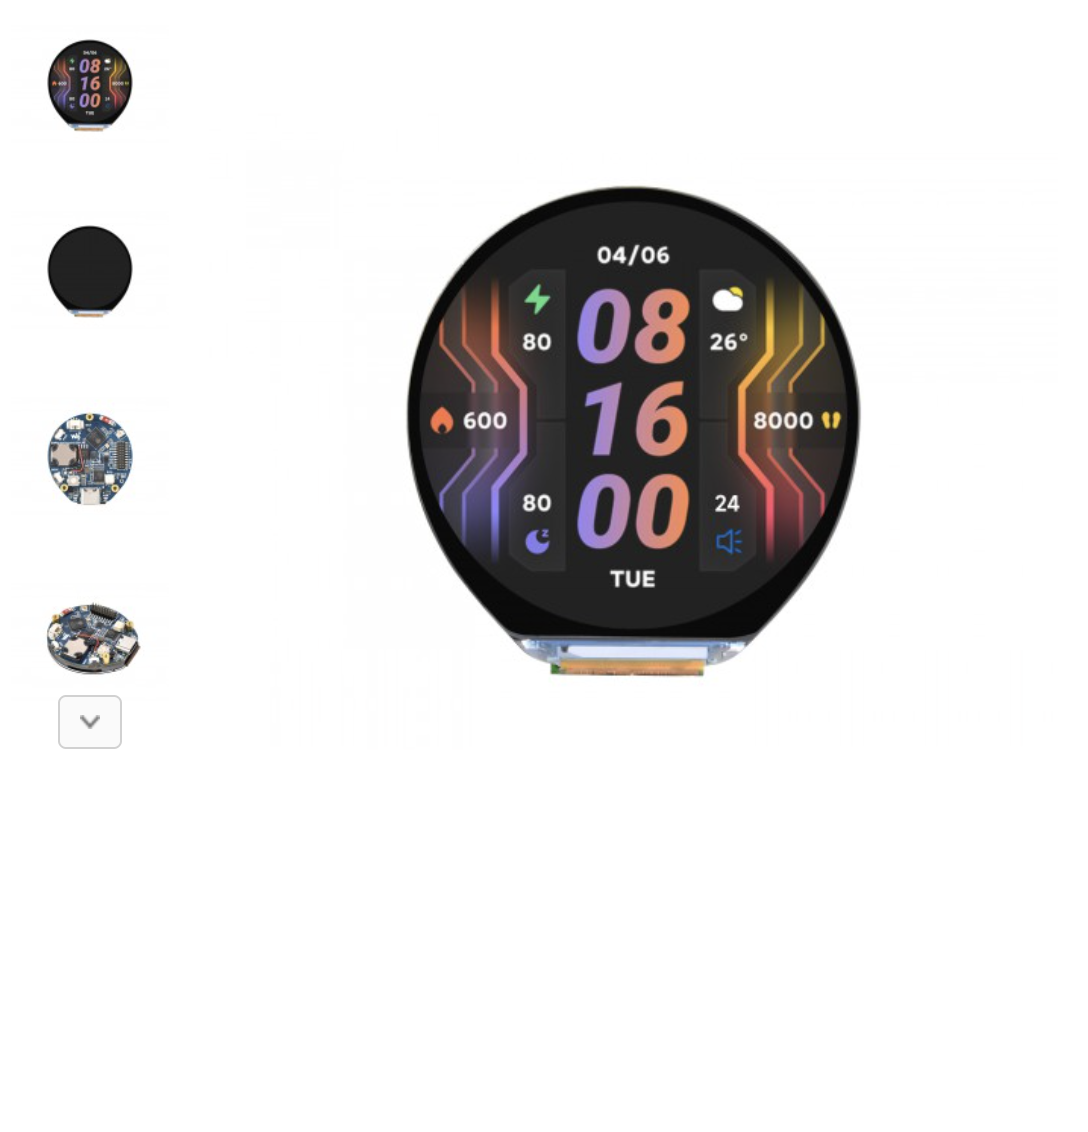
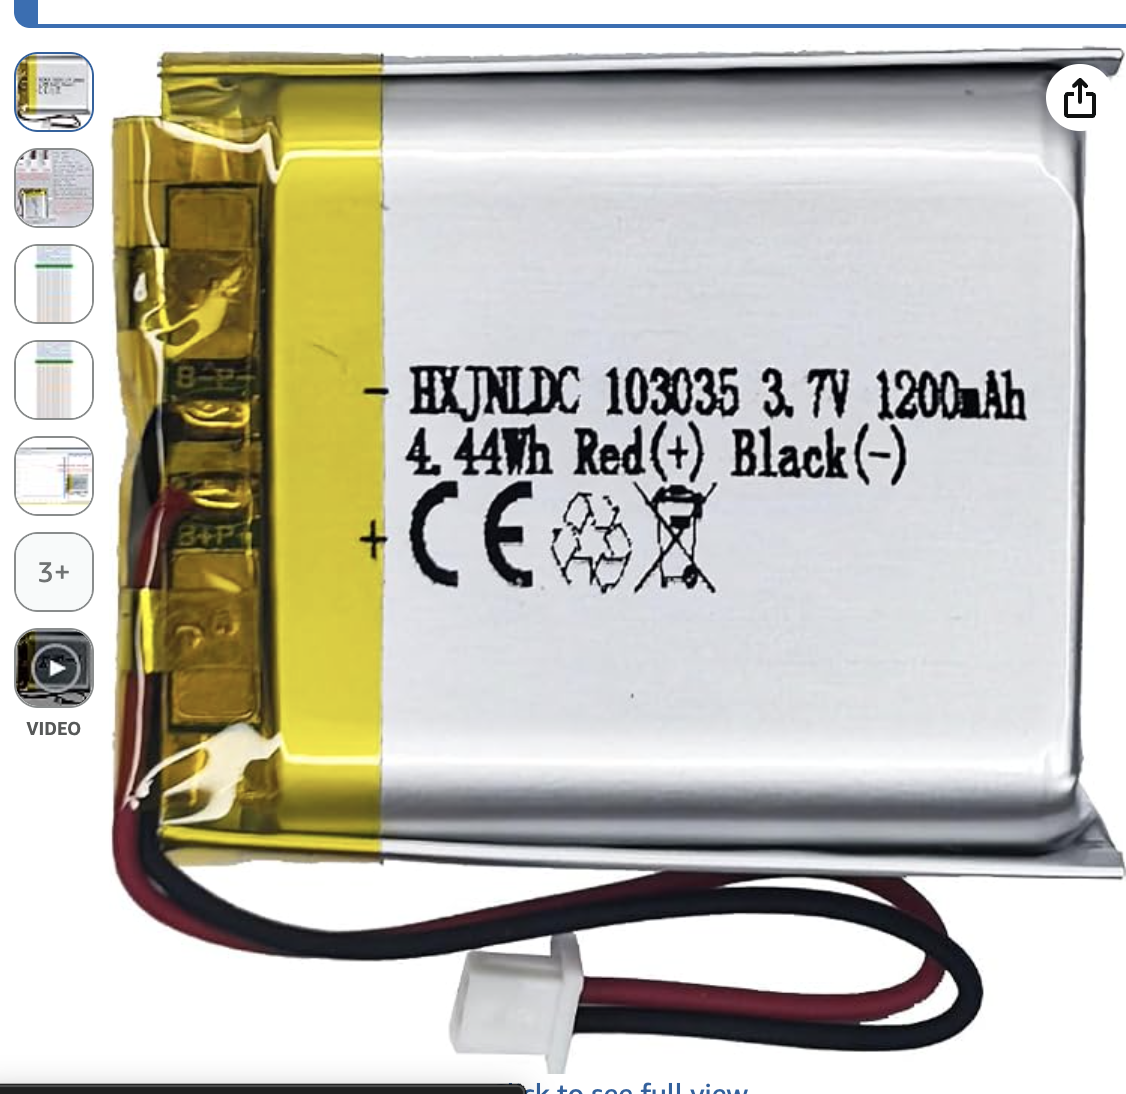
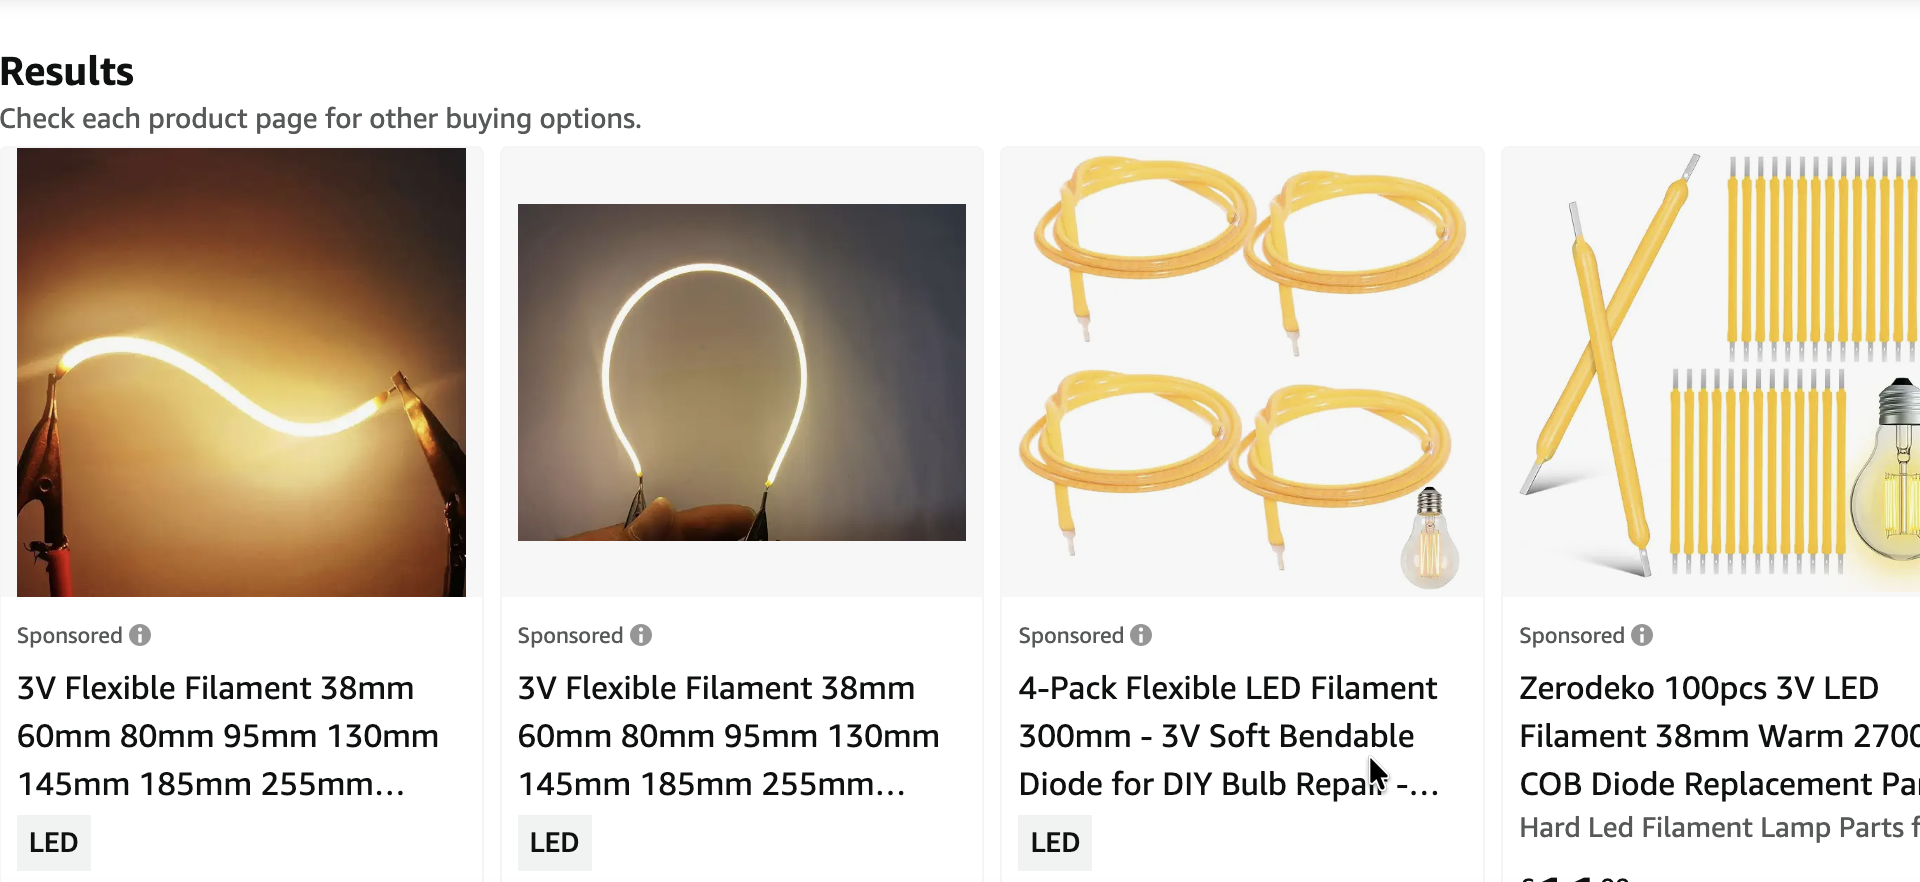
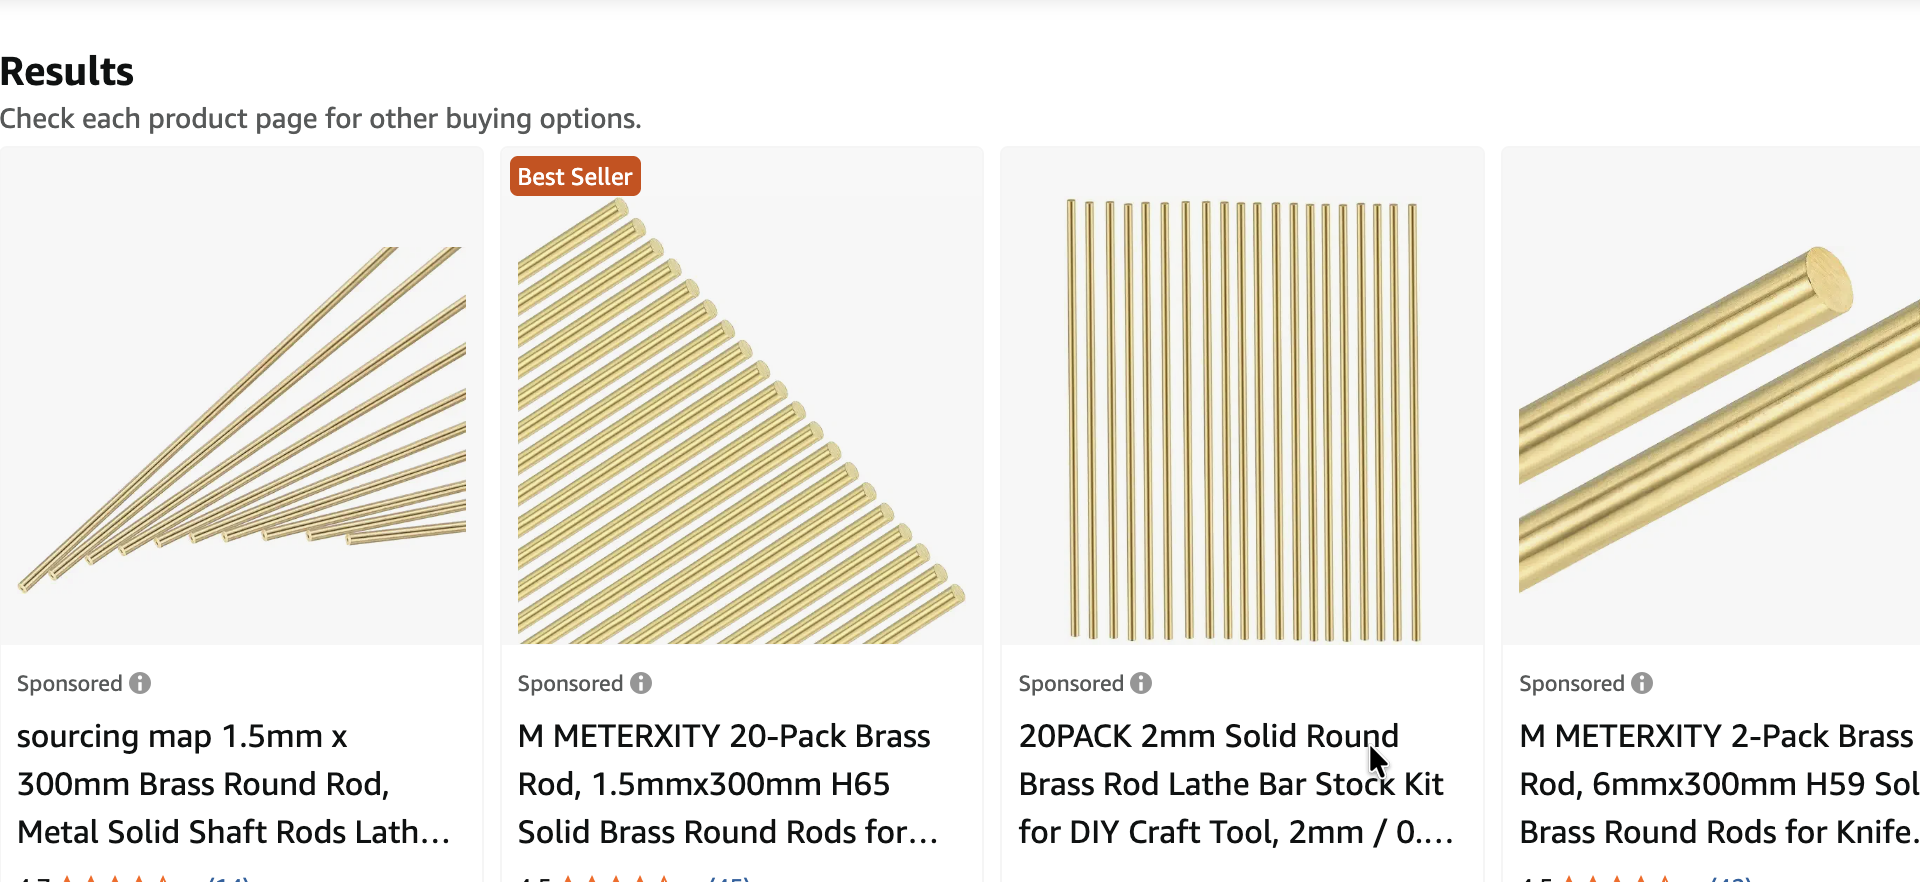
Microcontroller/Display: Waveshare ESP32-S3 Touch LCD 1.46B
Frame: 1.5mm $\times$ 300mm Brass Rods
Lighting: Flexible LED Filaments (3V)
Power: 3.7V 1200mAh LiPo Battery
Storage: MicroSD Card (Fat32 formatted)
Tools: Soldering iron, flux, wire cutters, heat gun, standard wire
Software: PlatformIO, VS Code, Git
Frame Construction & Freeform Brass Wiring
Frame Construction & Freeform Brass Wiring: (follow the video instruction )
Bend and solder the 1.5mm brass rods to form the structural cube matrix. The frame serves as both the physical structure and part of the power/ground routing for the components. Mount the Waveshare ESP32-S3 round display securely in the front housing and attach the flexible LED filaments to the rear face. Ensure all solder joints are clean to keep power routing reliable.
Circuitry, IMU, & Power Latching Setup
Circuitry, IMU, & Power Latching Setup: (follow the video instruction )
plug in the LiPo battery and solder the flexible LED filaments to the ESP32-S3 board. as you see in the video.
Software Setup & PlatformIO Environment
Software Setup & PlatformIO Environment: (follow the video instruction )
Clone the repository from GitHub: [https://github.com/yumobuilds/yumo-smart-cube](https://github.com/yumobuilds/yumo-smart-cube)
Open the project in PlatformIO (VS Code).
Ensure the required libraries are installed via platformio.ini:
- LVGL 9.2.2
- ArduinoJson 7
- WiFiManager
- JPEGDEC
- SensorLib
Compile and flash the code to the ESP32-S3 over USB-C.
Firmware Features & Multi-Core Execution
Firmware Features & Multi-Core Execution: (follow the video instruction )
I Build This Firmware , Open Source Code On Github:
Github link: https://github.com/yumobuilds/Yumo-Smart-Cube
The firmware distributes processing across dual cores to maintain a smooth 60FPS:
- Core 0: Manages Wi-Fi connections, API requests (OpenWeatherMap, Joke API), NTP time synchronization, and background monitoring.
- Core 1: Dedicated entirely to rendering LVGL 9.2.2 UI faces, touch inputs, and physics for the mini-game.
- First Boot: On initial startup, connect to the captive AP created by WiFiManager to configure your local Wi-Fi credentials without hardcoding passwords.