Yellow Chinese Lion Dance Miniature
by Clayalotte in Craft > Clay
363 Views, 7 Favorites, 0 Comments
Yellow Chinese Lion Dance Miniature


I have always thought that the Lion Dance costumes of traditional Chinese culture are so cool. They are absolutely cute and fascinating. Someday I would like to try to build a real Lion Dance costume, but for now I have decided that I want a miniature Lion friend. I attempted one of these a few years ago but was not happy with the result. I have since improved in my sculpting and hope to show that in this piece!
Supplies
Clay (I am using cold porcelain)
Clay Tools: Roller, knife, stylus, silicone color shaper, ball tool, dotting tool
Water: used for painting and joining the clay
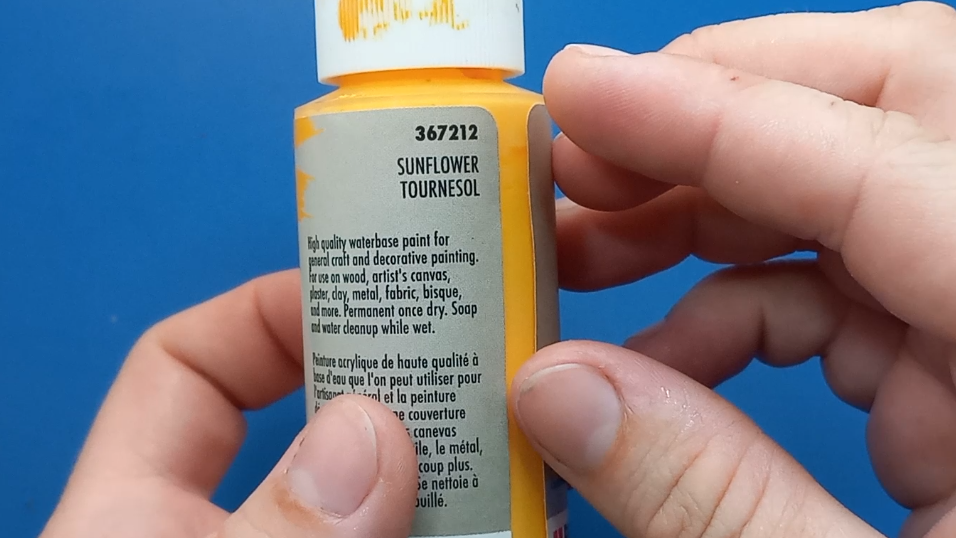
Acrylic paint: I am using yellow, white, red, and black
Mica powder in yellow
Varnish (I am using Duraclear Gloss Varnish)
Paint brush
Glitter
Embroidery thread in yellow
Scissors
Toothbrush or mascara brush
Sculpting the Base
.png)
.png)
.png)
.png)
.png)
.png)
.png)
.png)
.png)
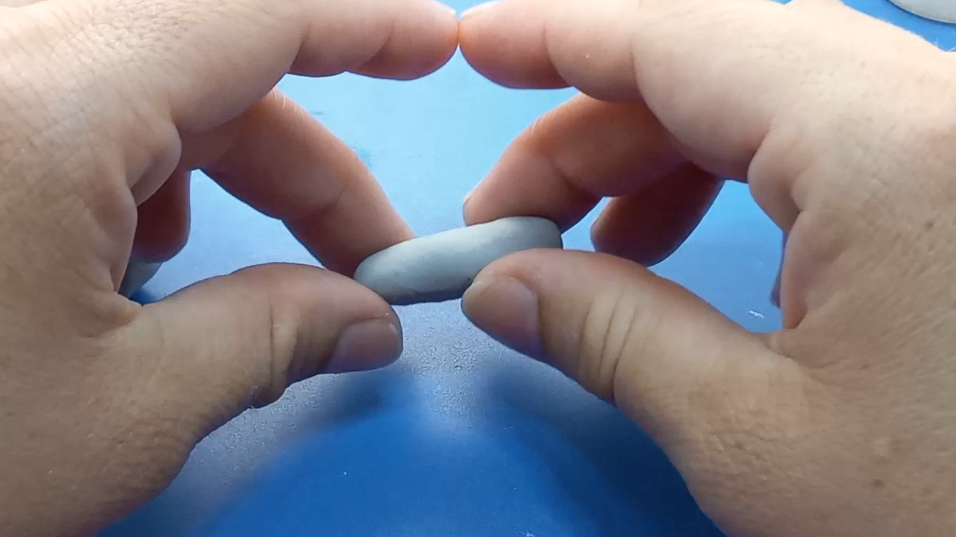
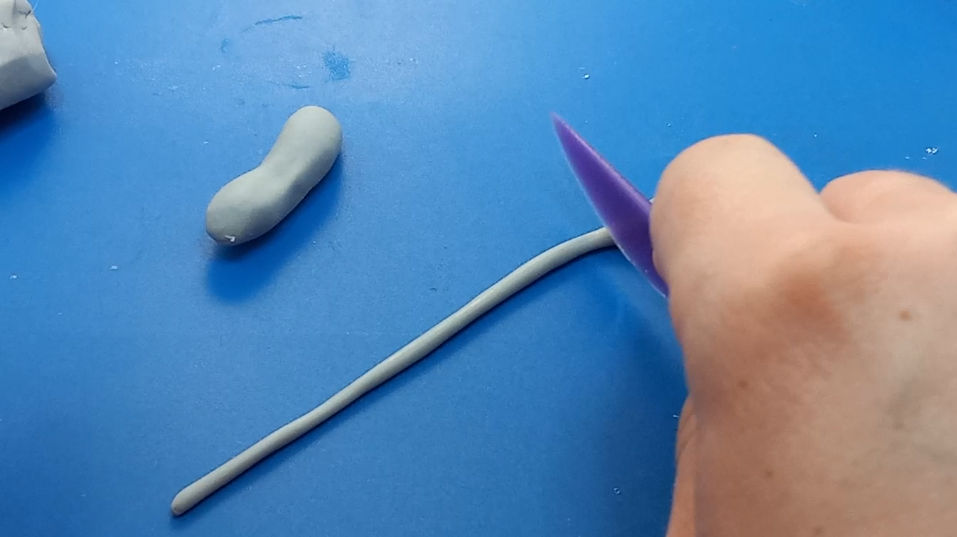
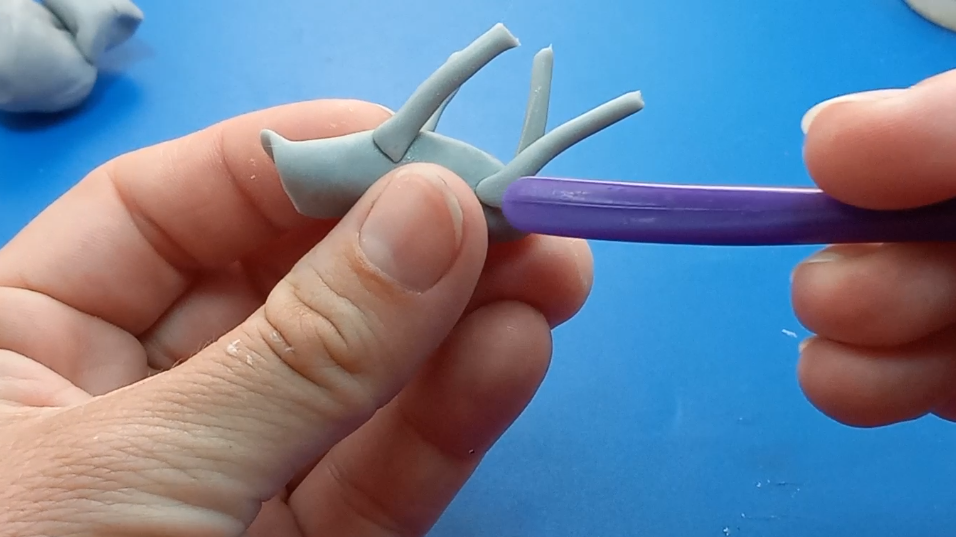
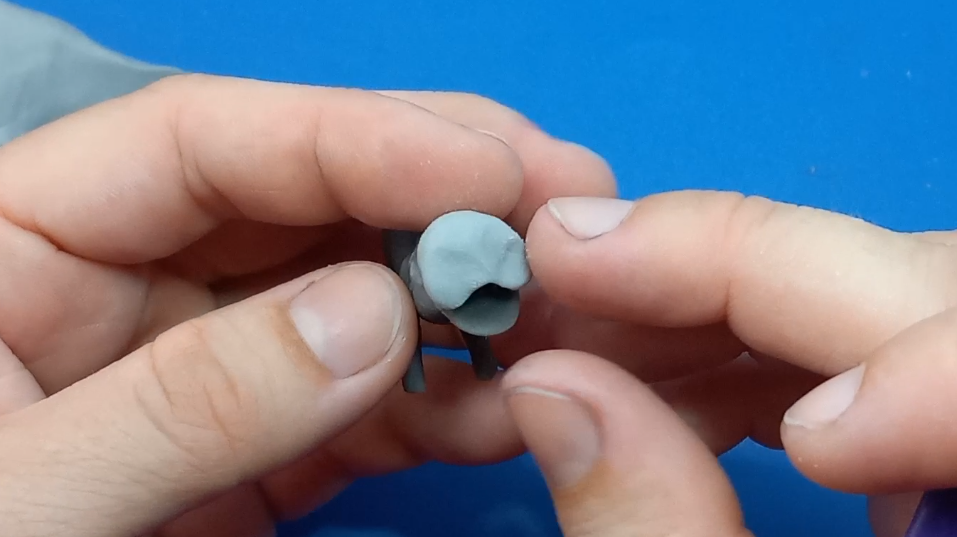
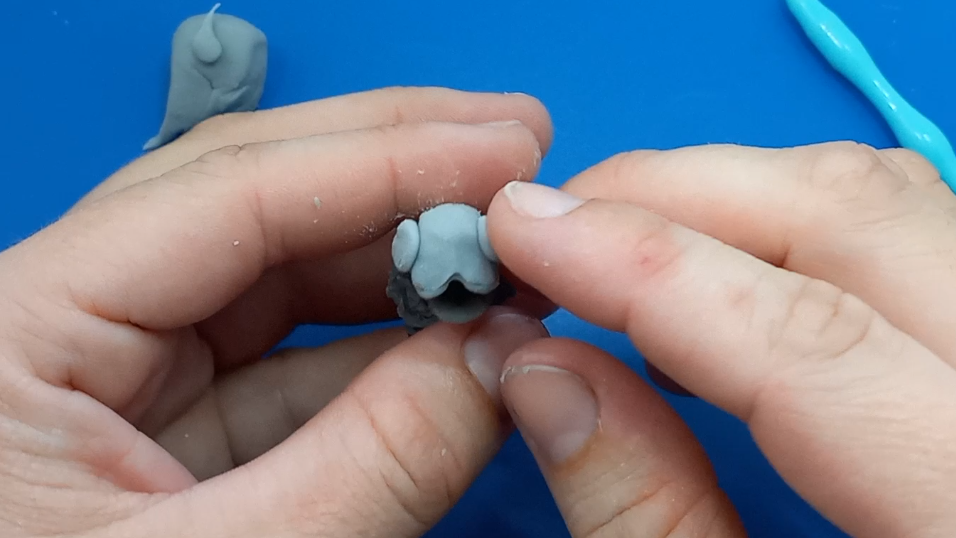
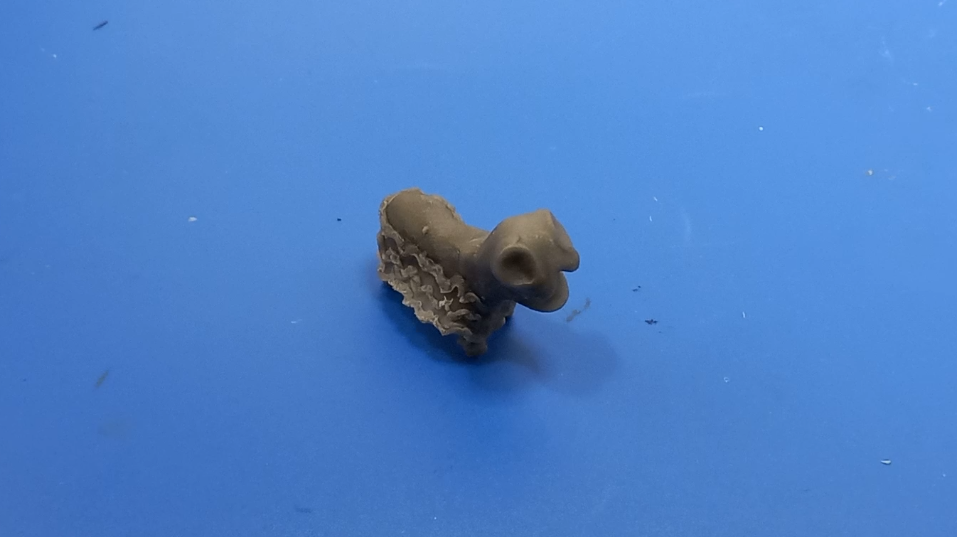
First, I took a log of clay in the size I wanted the body to be. I bent one end (the head) slightly upwards and flattened the tip of it to look like a duck bill. This would be the bottom jaw (Lions tend to have their mouths hanging open and they have big flat bottom jaws). Next, I simply rolled out four clay snakes and trimmed them to the proper size for legs. I attached them to the body by smoothing them together with a clay tool. I allowed these to dry in the position I wanted them (standing), then I added more clay to the top of the head. Lions have pretty rounded heads, so it needed to stand up. Then I shaped the upper jaw. The upper jaw has a bit of a curve to it, so I used my clay tools to push a little dip in the middle (much like the flews of a cat).
Adding Decoration
.png)
.png)
.png)
.png)
.png)
.png)
.png)
.png)
.png)
.png)
.png)
.png)
.png)
.png)
.png)
.png)
.png)
.png)
.png)
.png)
.png)
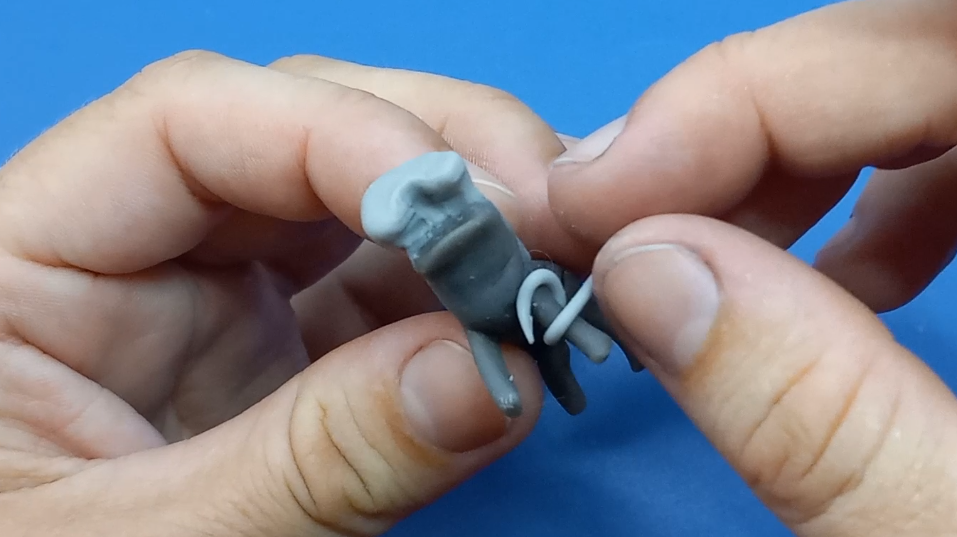
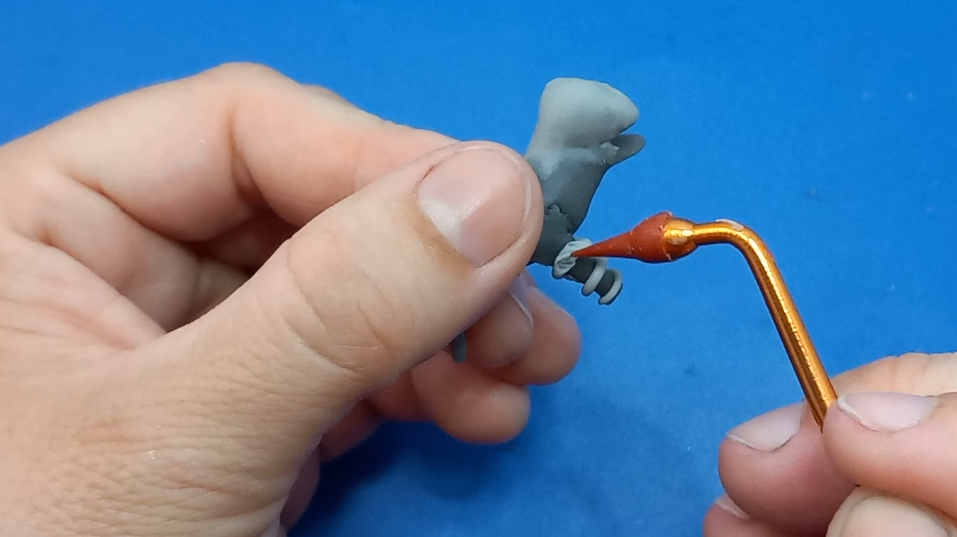
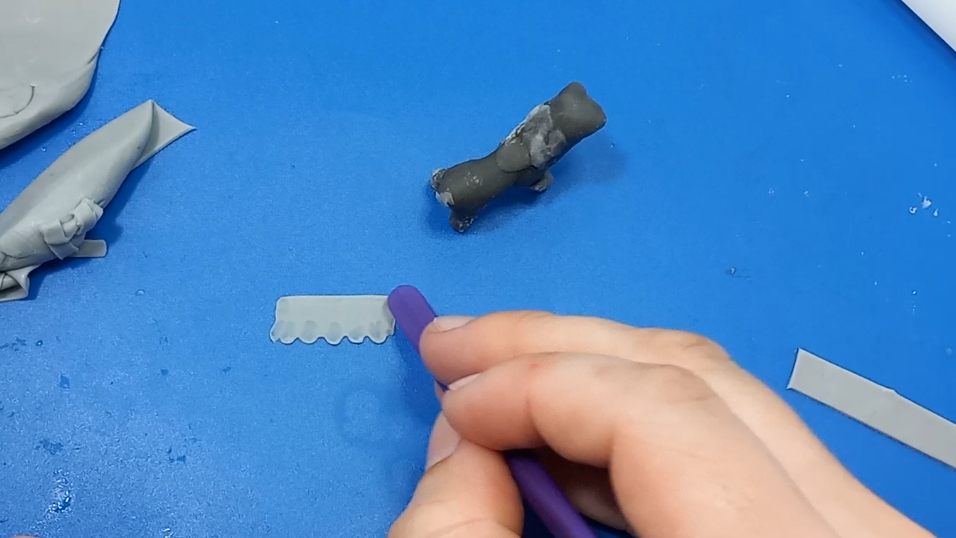
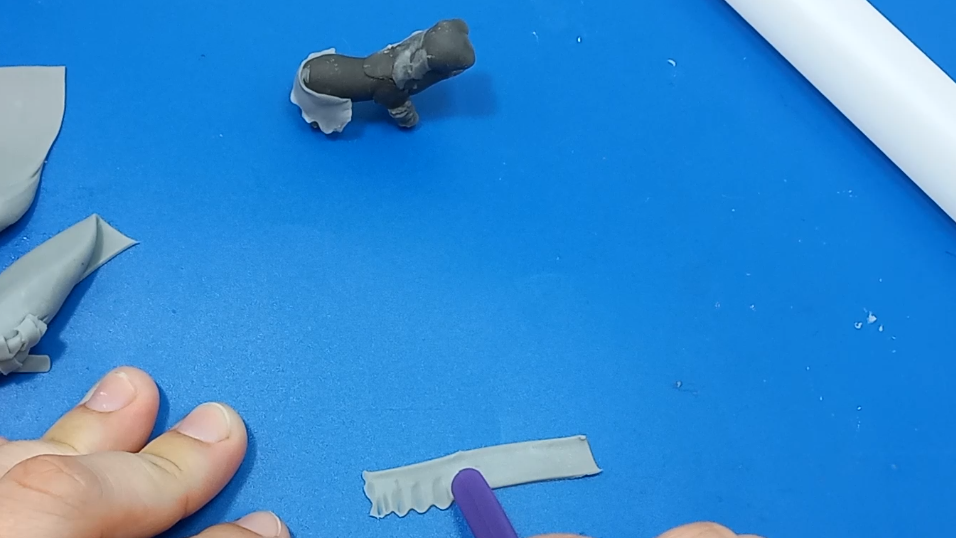
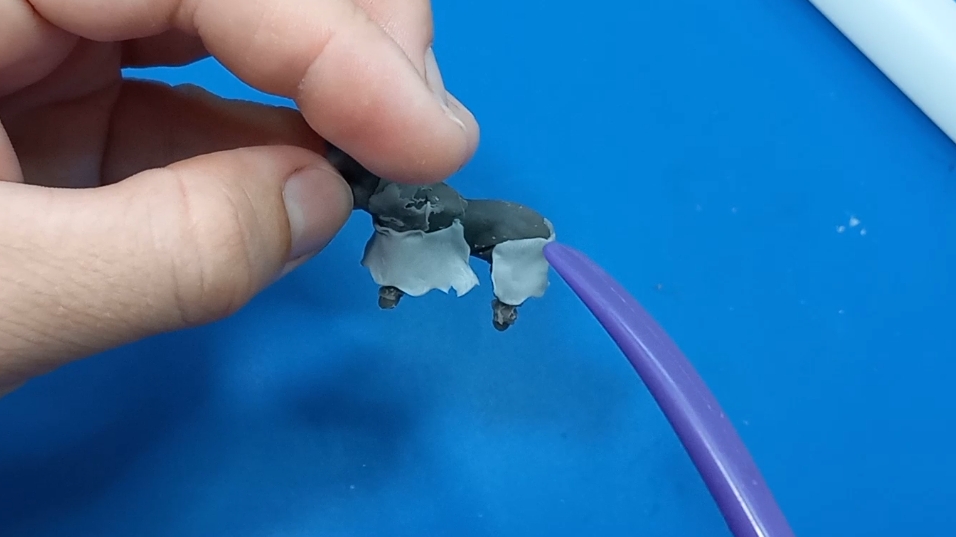
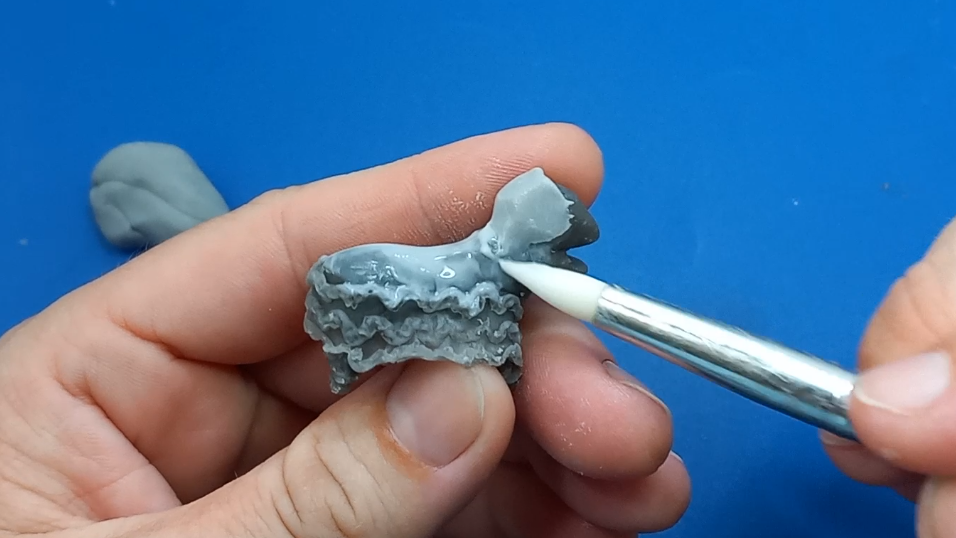
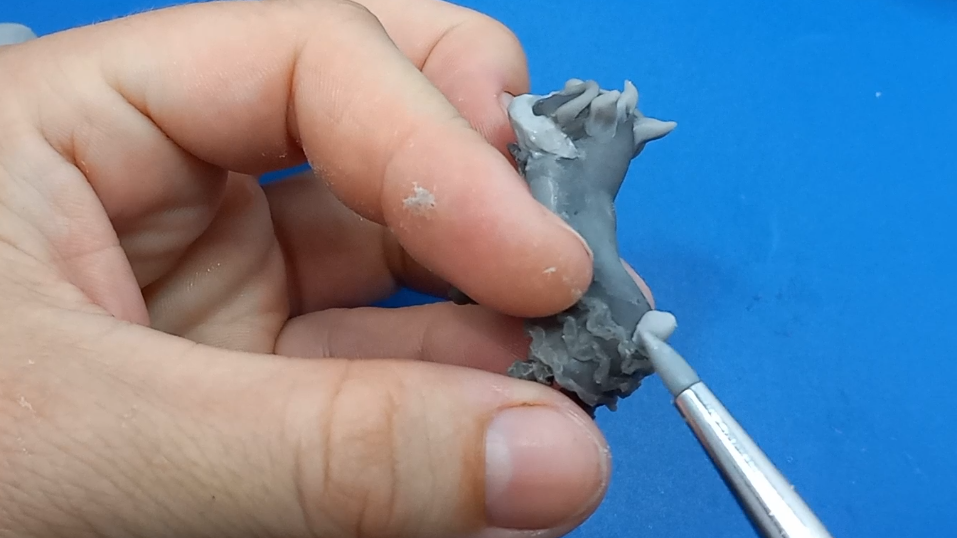
Lions are highly decorated! I rolled out very thin snakes of clay that I wrapped around the legs. These I melded to the main leg frame and used a stylus tool to make look "fluffy" as much as possible. Next I rolled a very thin piece of clay out and cut a small piece of trim for the body. Using the back end of my knife tool, I pulled the clay gently to create a scalloped edge. I placed this trim along the edge of the Lion's body, creating a skirting all around. I had to do this in three pieces. Maybe if you are a better guesser than me it will only take you two or one. I carefully blended the skirting to the Lion's body (and joined the seams of the three skirt pieces) with a silicone shaper and water. Then I allowed the piece to dry.
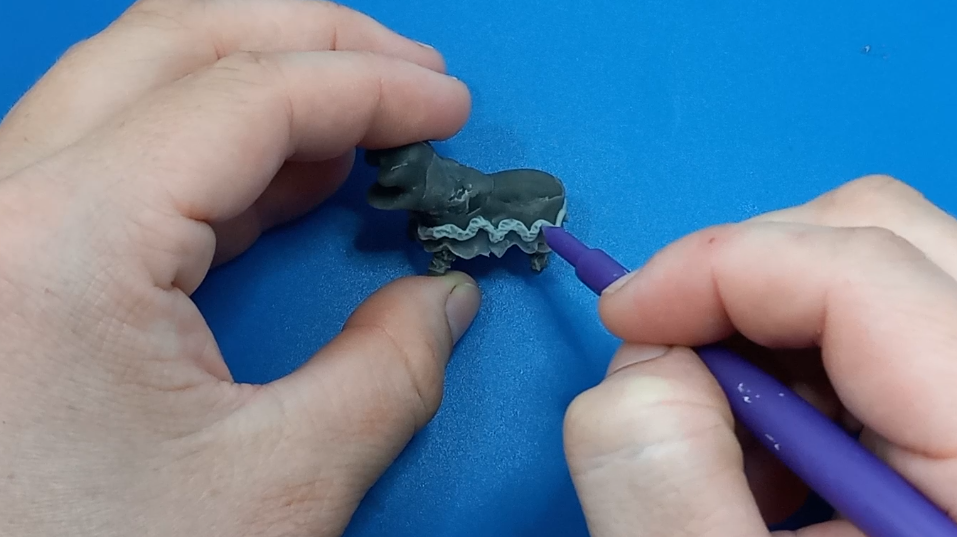
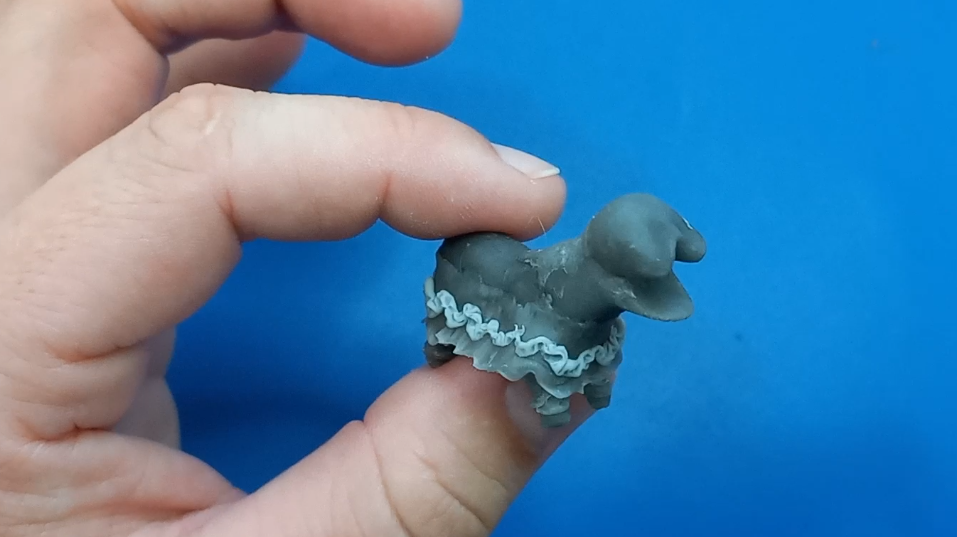
After the skirting was dry, I rolled out very thin snakes and used them to make a rick-rack pattern above the skirting on the body. I did two rick-rack lines above the skirting and then did one right on the skirting edge. This made a total of three lines. I then allowed this to dry.
Shaping the Eyes
.png)
.png)
.png)
.png)
.png)
.png)
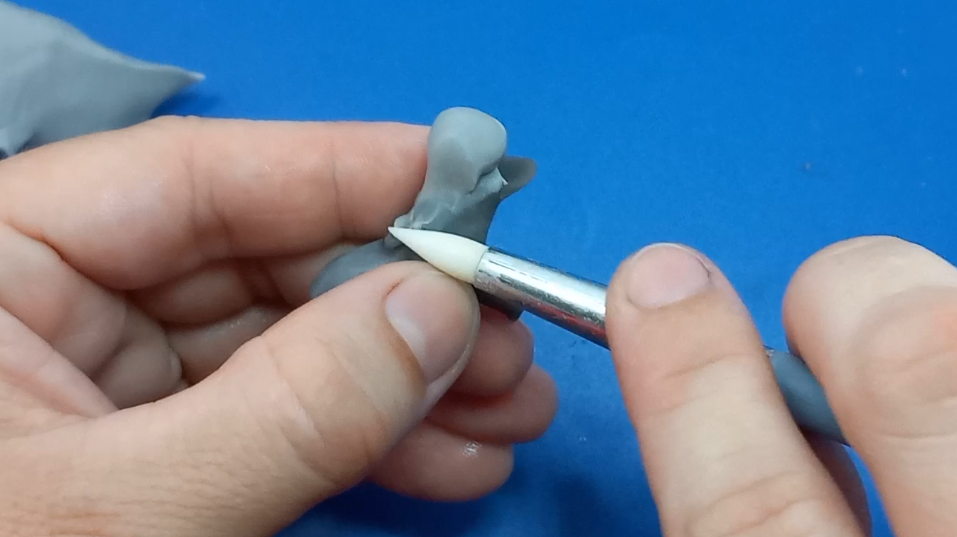
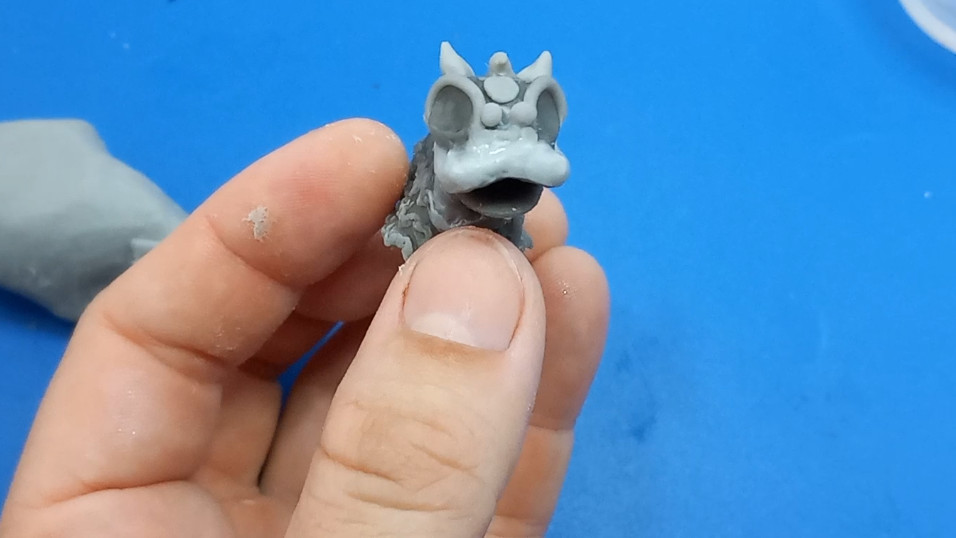
I added more clay on to the head because I decided it wasn't quite big enough. I rolled two pieces of clay and put them on the sides of the head for the eyes, blending the edges. Then I used a ball tool to hollow out the eye area.
Kinda creepy looking.
Head Furnishings
.png)
.png)
.png)
.png)
.png)
.png)
.png)
.png)
.png)
.png)
.png)
.png)
.png)
.png)
.png)
.png)
.png)
.png)
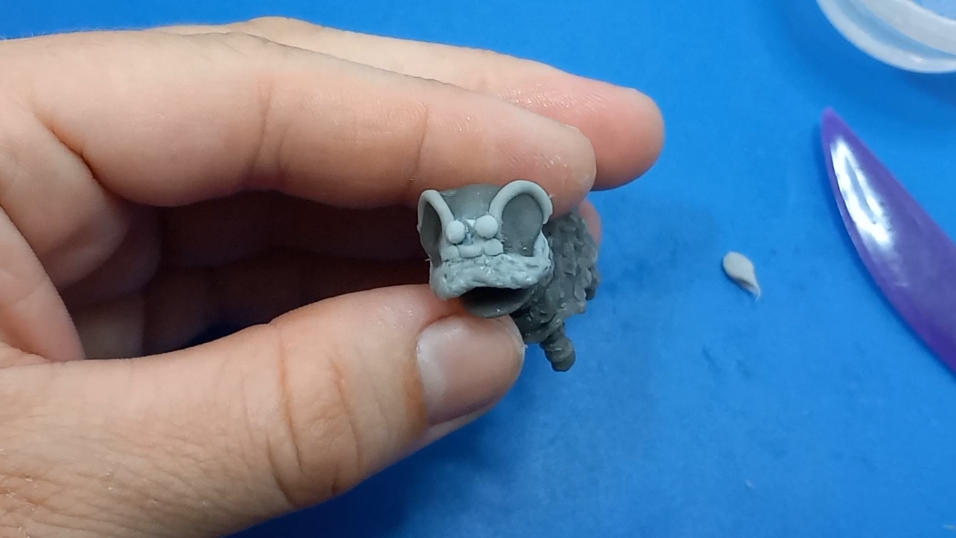
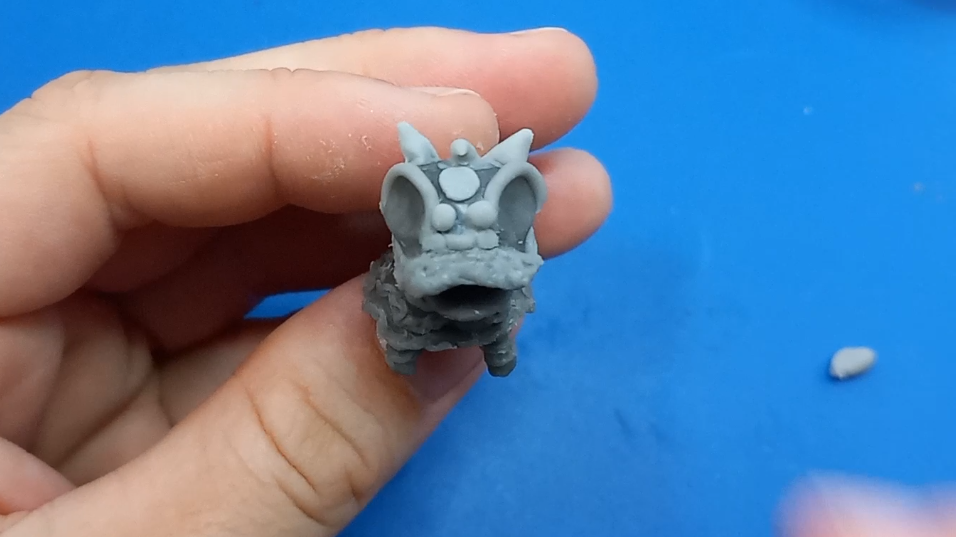
After the eyes are dry, I rolled a thin snake for the mustache......Mustache? Not sure on that one. I smoothed it onto the top lip with the help of water. Next I rolled very very tiny snakes to outline the eye holes. I just used my finger to carefully wrap the snakes around the outline of the eye sockets.
Then a small ball was added above the middle of the top lip. Then two smaller, flatter balls on either side of that. Next came two larger clay balls above those two, right in the middle of the face between the eyes. I added a flattened clay disc above that and then a tiny horn. The horn was made by making a small snake and just pinching one end of it. Ears were made much in the same way, but thicker and not curved like the horn. The tail was pretty much just another ear stuck in a different place.
Then I just had to wait for all that to dry.
COLOR
.png)
.png)
.png)
.png)
.png)
.png)
.png)
.png)
.png)
.png)
.png)
.png)
.png)
.png)
.png)
.png)
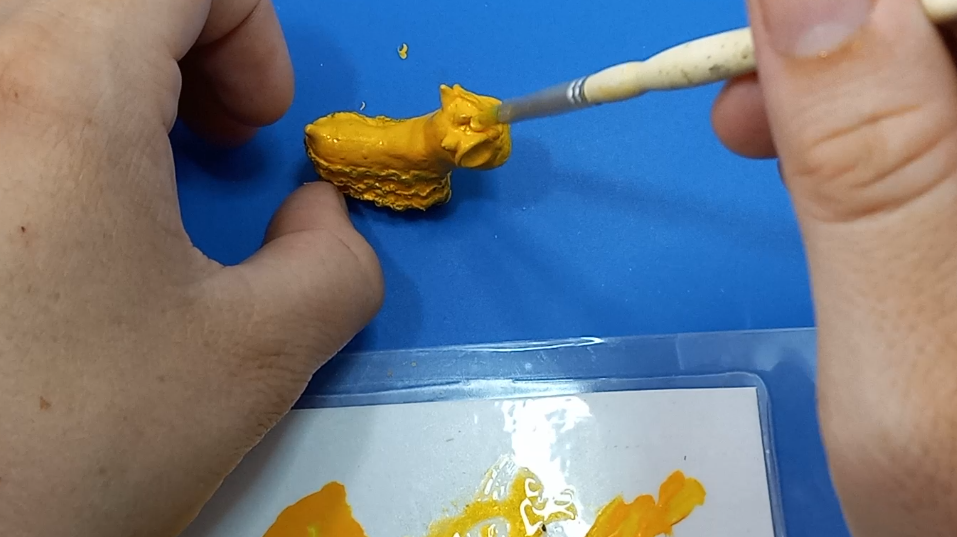
Whew! Finally on to the fun part!
Or maybe not so fun because I made him very tiny.
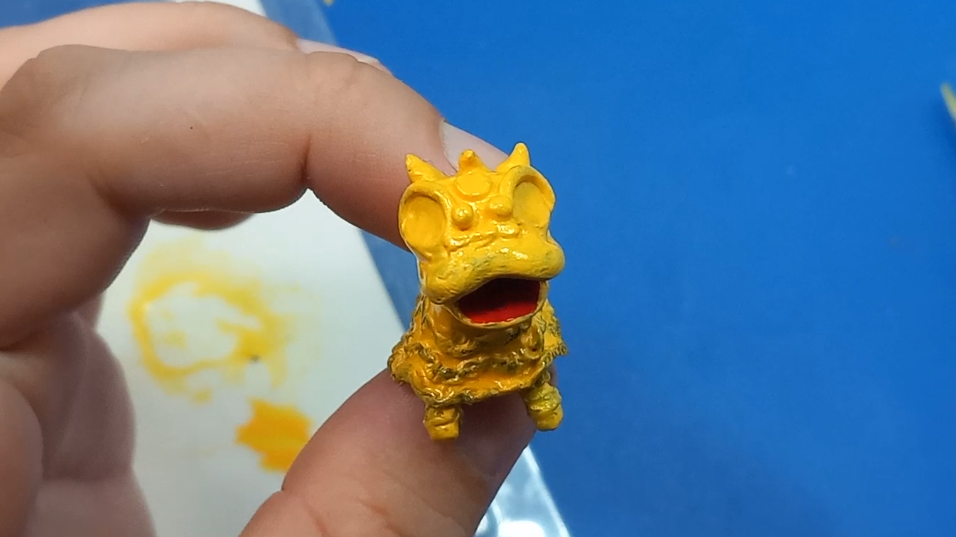
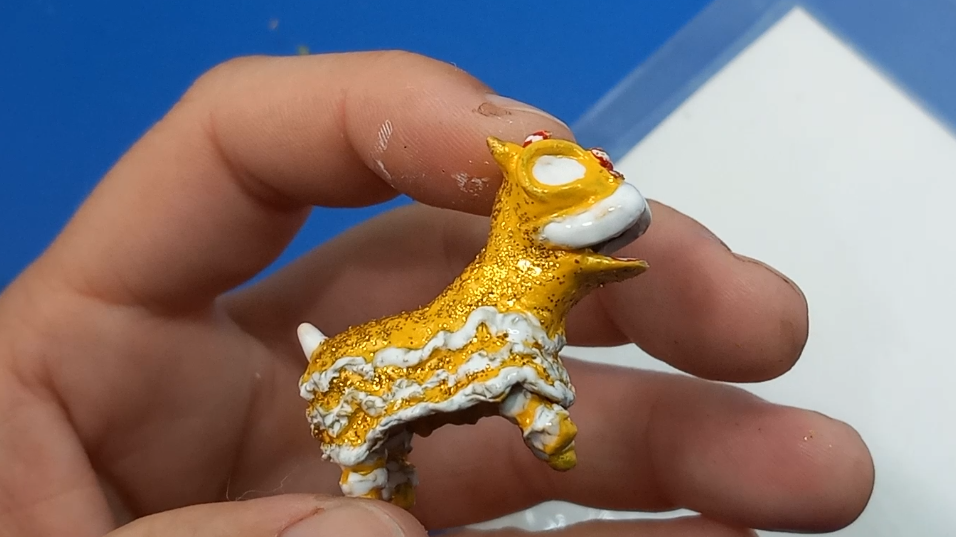
I coated the entire sculpture with a bright yellow. It took a few coats. I find that it is easier to work with acrylics on miniatures if you add just a bit of water to thin them out. After the acrylic paint was as thick as I wanted it, I mixed a bit of yellow mica powder with some of the Duraclear gloss varnish. It is so brilliant. I coated the entire Lion with this mix.
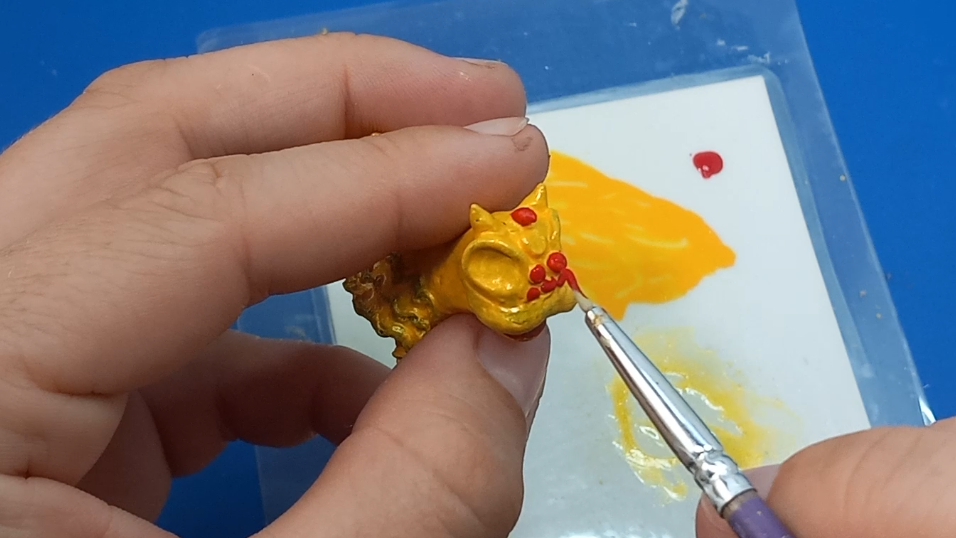
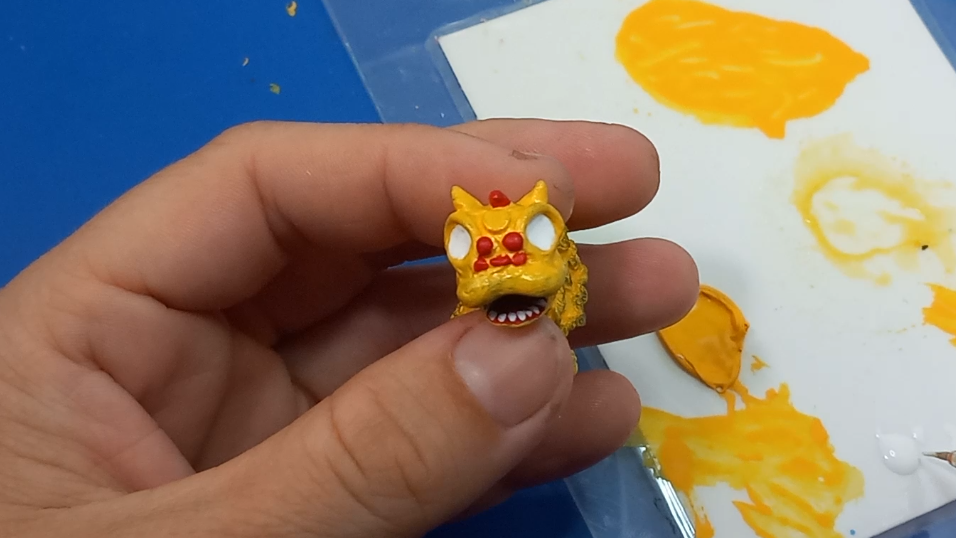
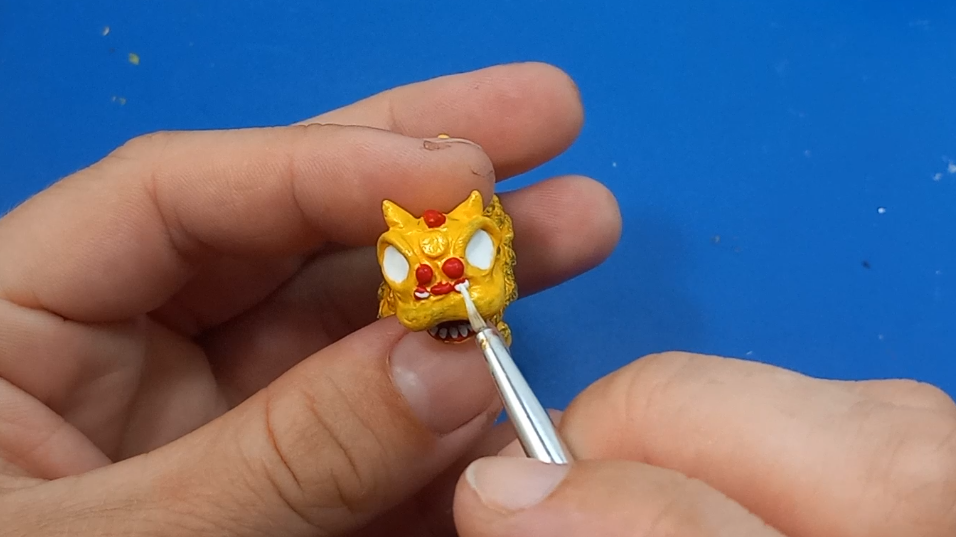
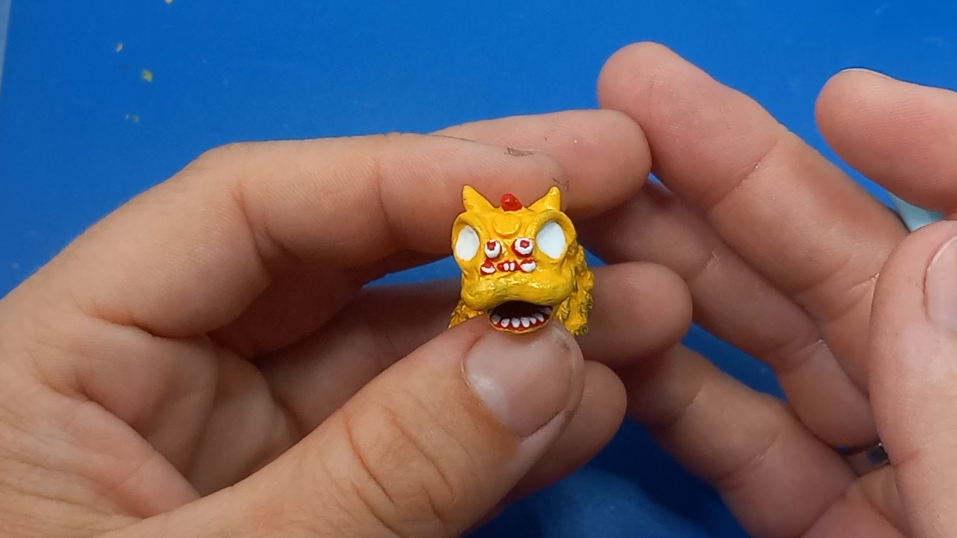
Next I got out the red paint and painted the inside of the mouth. Then I painted all the little clay furnishings on the head, except the disc. I painted the inside of the eyes white and the disc white. Teeth were added to the red mouth (looks much like a nutcracker) and then detail was given to the red balls and the horn with white.
GLITTER
.png)
.png)
.png)
.png)
.png)
.png)
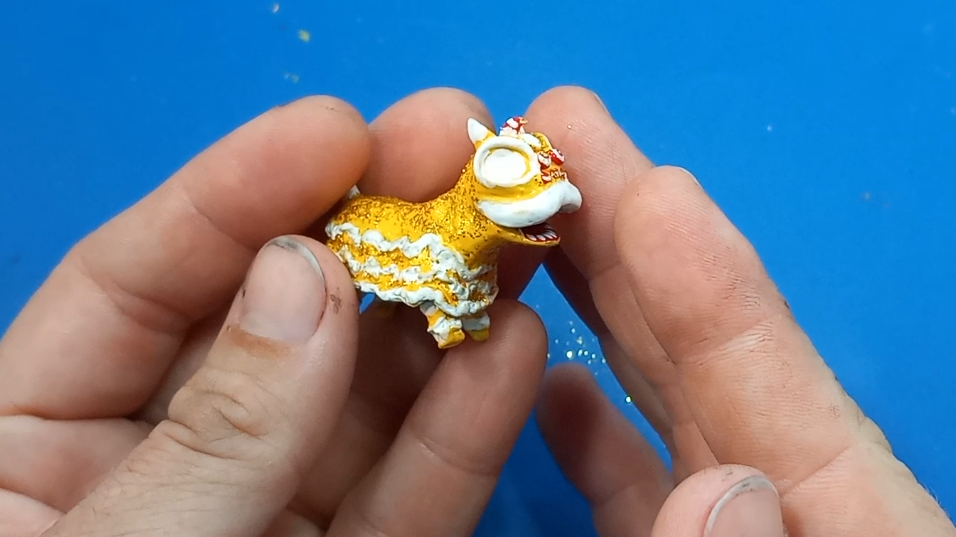
Next, I painted glitter on the Lion. I did this by painting a bit with the clear varnish, dipping my brush into the glitter, and then applying it to the wet varnish. I did the entire Lion. I was only going to do the stripes, but it was so awesome I had to keep going, haha.
Eyes and Last Details
.png)
.png)
.png)
.png)
.png)
.png)
.png)
.png)
.png)
.png)
.png)
I painted black inside the eye sockets, leaving a white ring around the black. After that dried, I painted a smaller white circle in the black circle and let that dry. Then I put another black circle in the white circle.
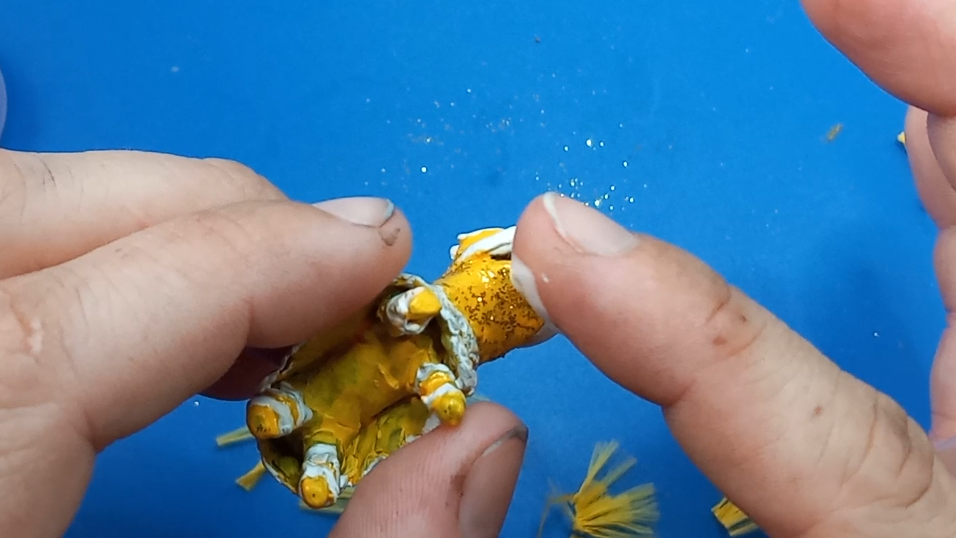
While that dried, I got out the embroidery thread. I cut very small pieces and then made them fuzzy with an old mascara wand. You could use a toothbrush for this, too. I dabbed a bit of Mod Podge on the chin of the Lion and then took tiny tweezers and applied the fuzzy hair to the chin. I would dab the end of the hairs into glue to have more control and make sure they stuck. This is a bit tedious, but I think it makes a good effect.
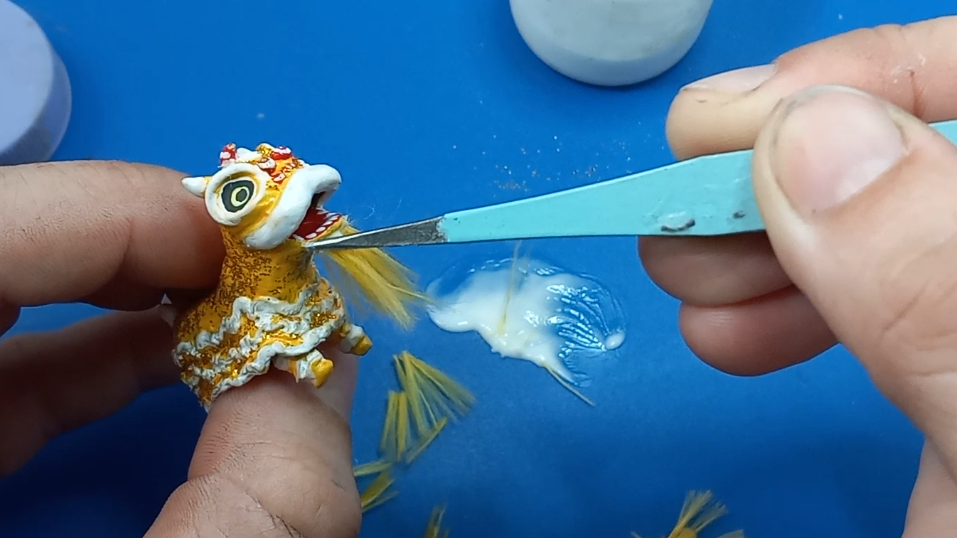
Since the eyes were now dry, I took a TINY bit of white paint and made itty bitty highlights using the tip of my silicone shaper. Then I trimmed his beard and said WHA-LAH!
*Don't forget to varnish the whole sculpture when you are done!
EPIC LIONS


I think he is adorable. I may make more of them in different poses and have a whole troupe to sit on my desk. He would be a very cute gift for New Years.
I think that the Chinese Lions just always look so happy. They make me think of little dogs. Seeing this little guy will make me happy.
I hope you enjoyed this Instructable and Go Clay Today!