Yellow Lily Fairy Night Lamp
by rocket radhi in Craft > Fiber Arts
1243 Views, 12 Favorites, 0 Comments
Yellow Lily Fairy Night Lamp
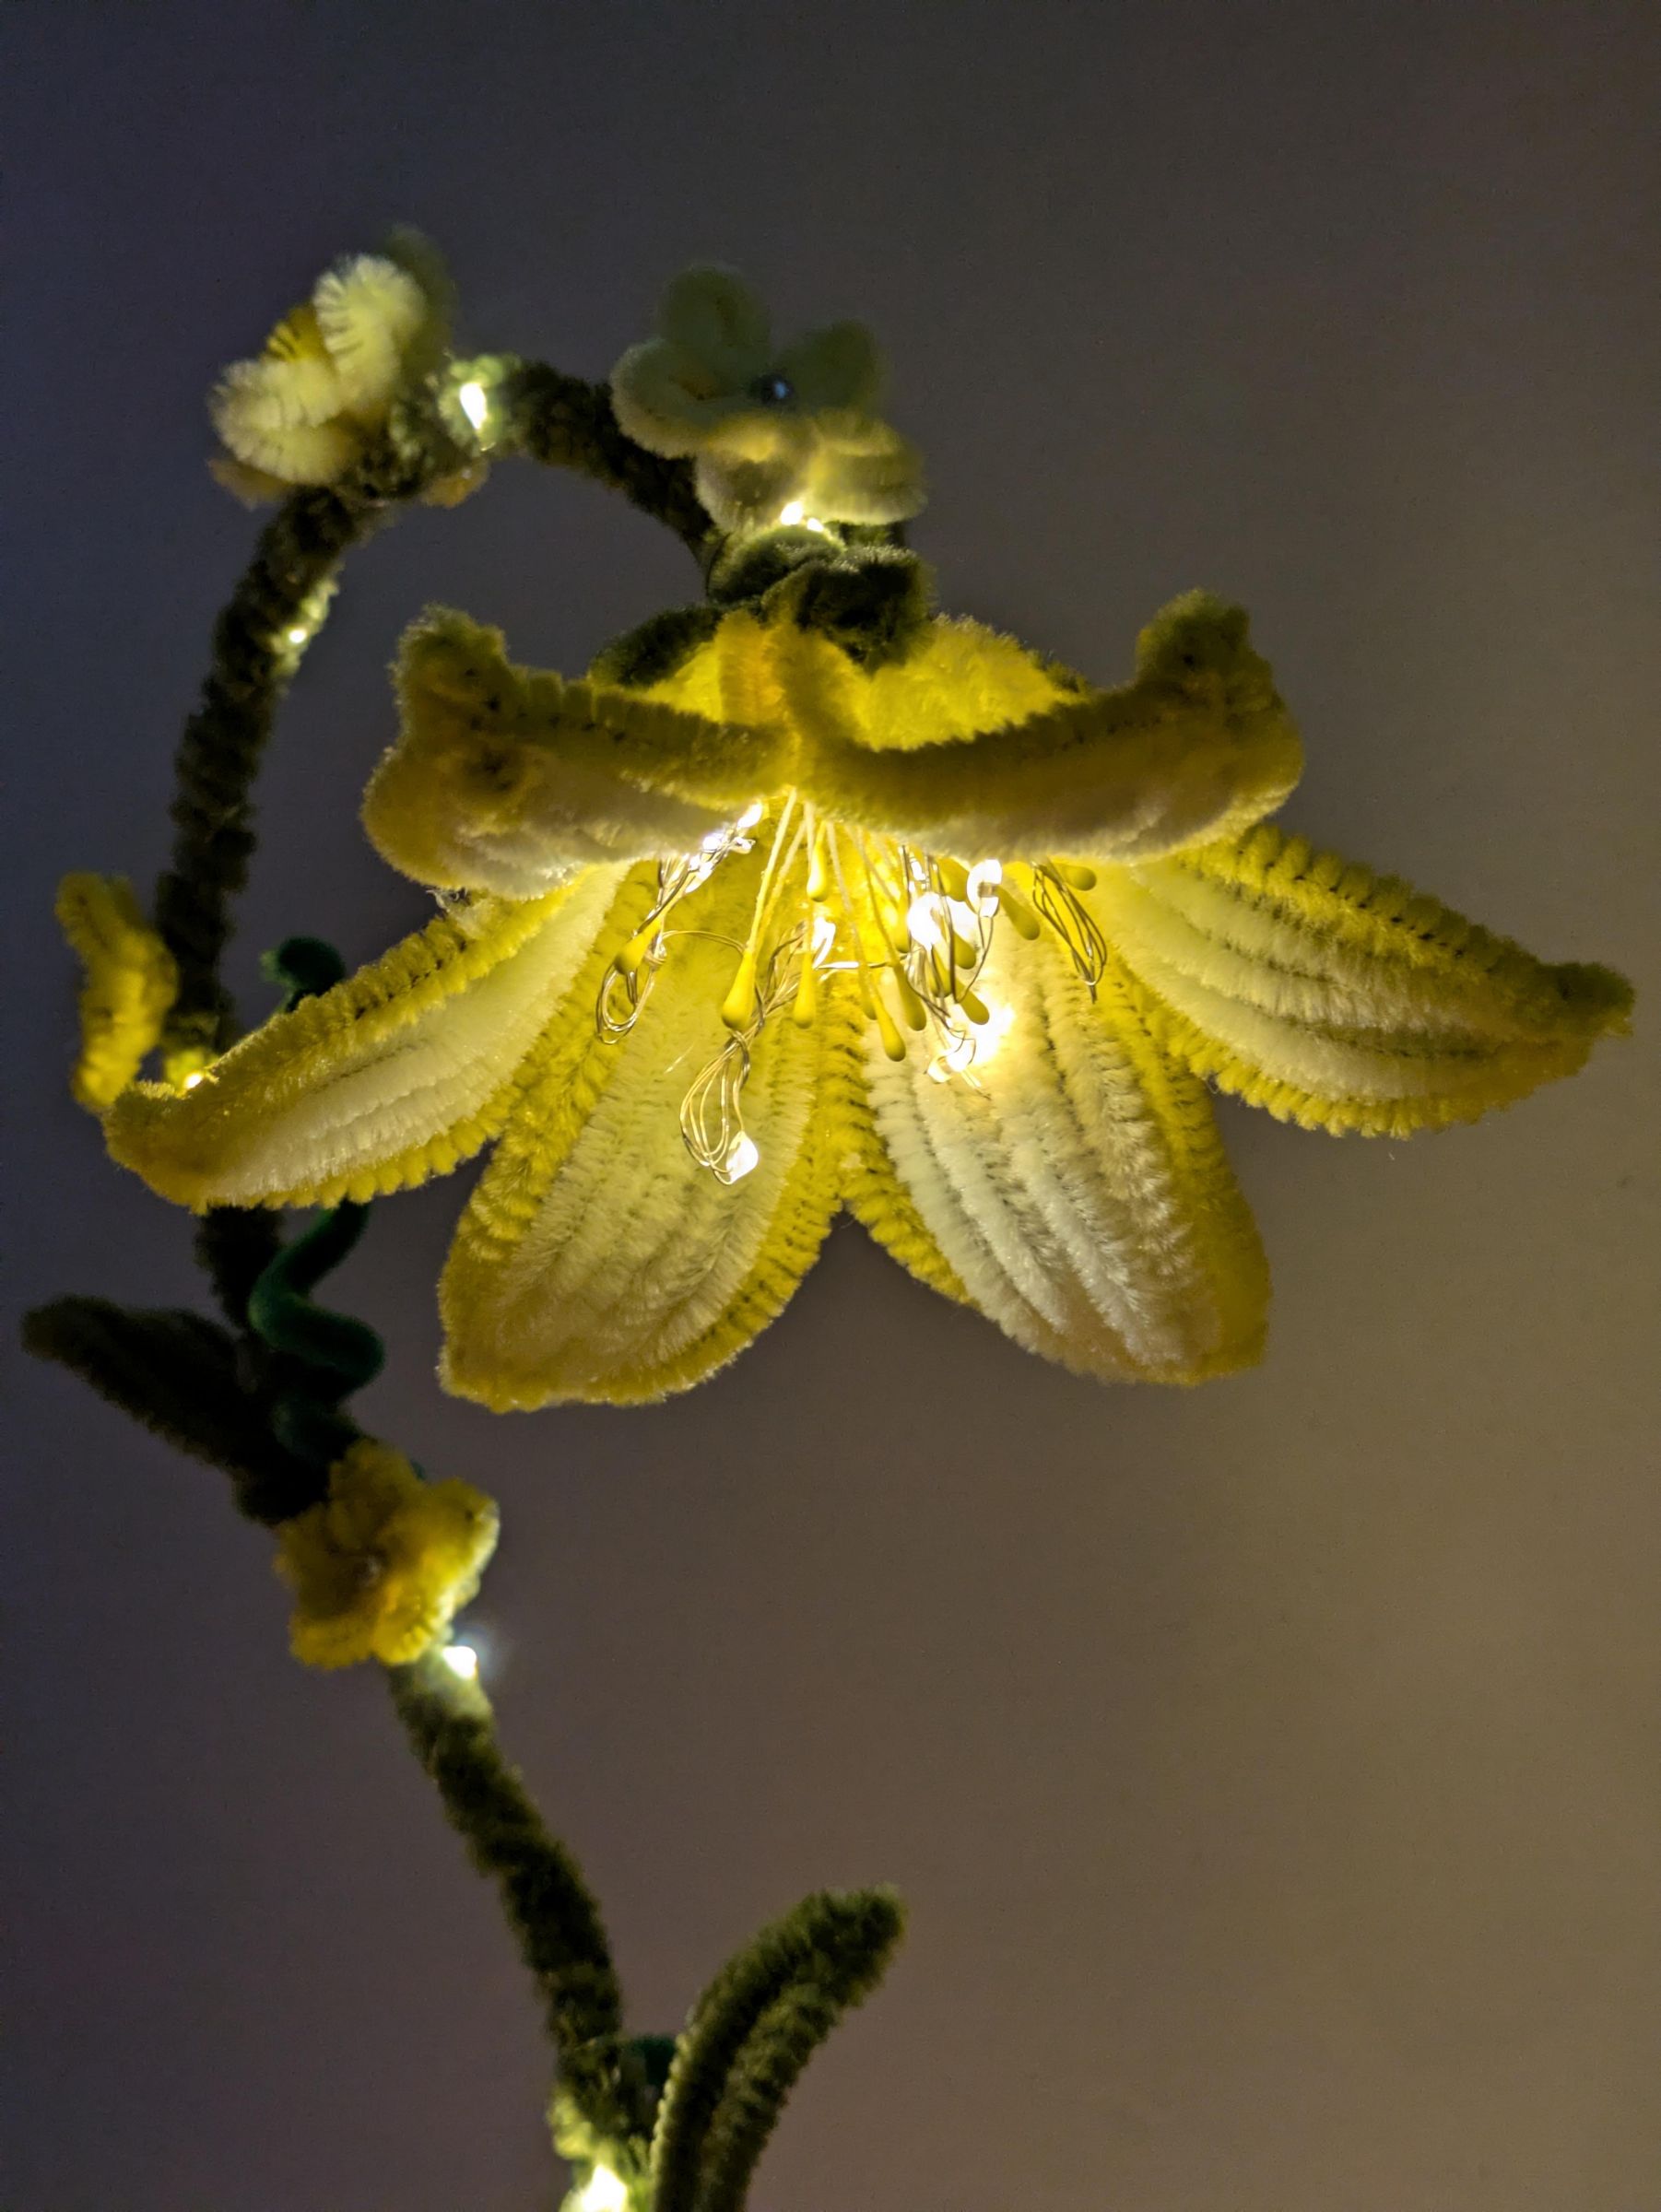
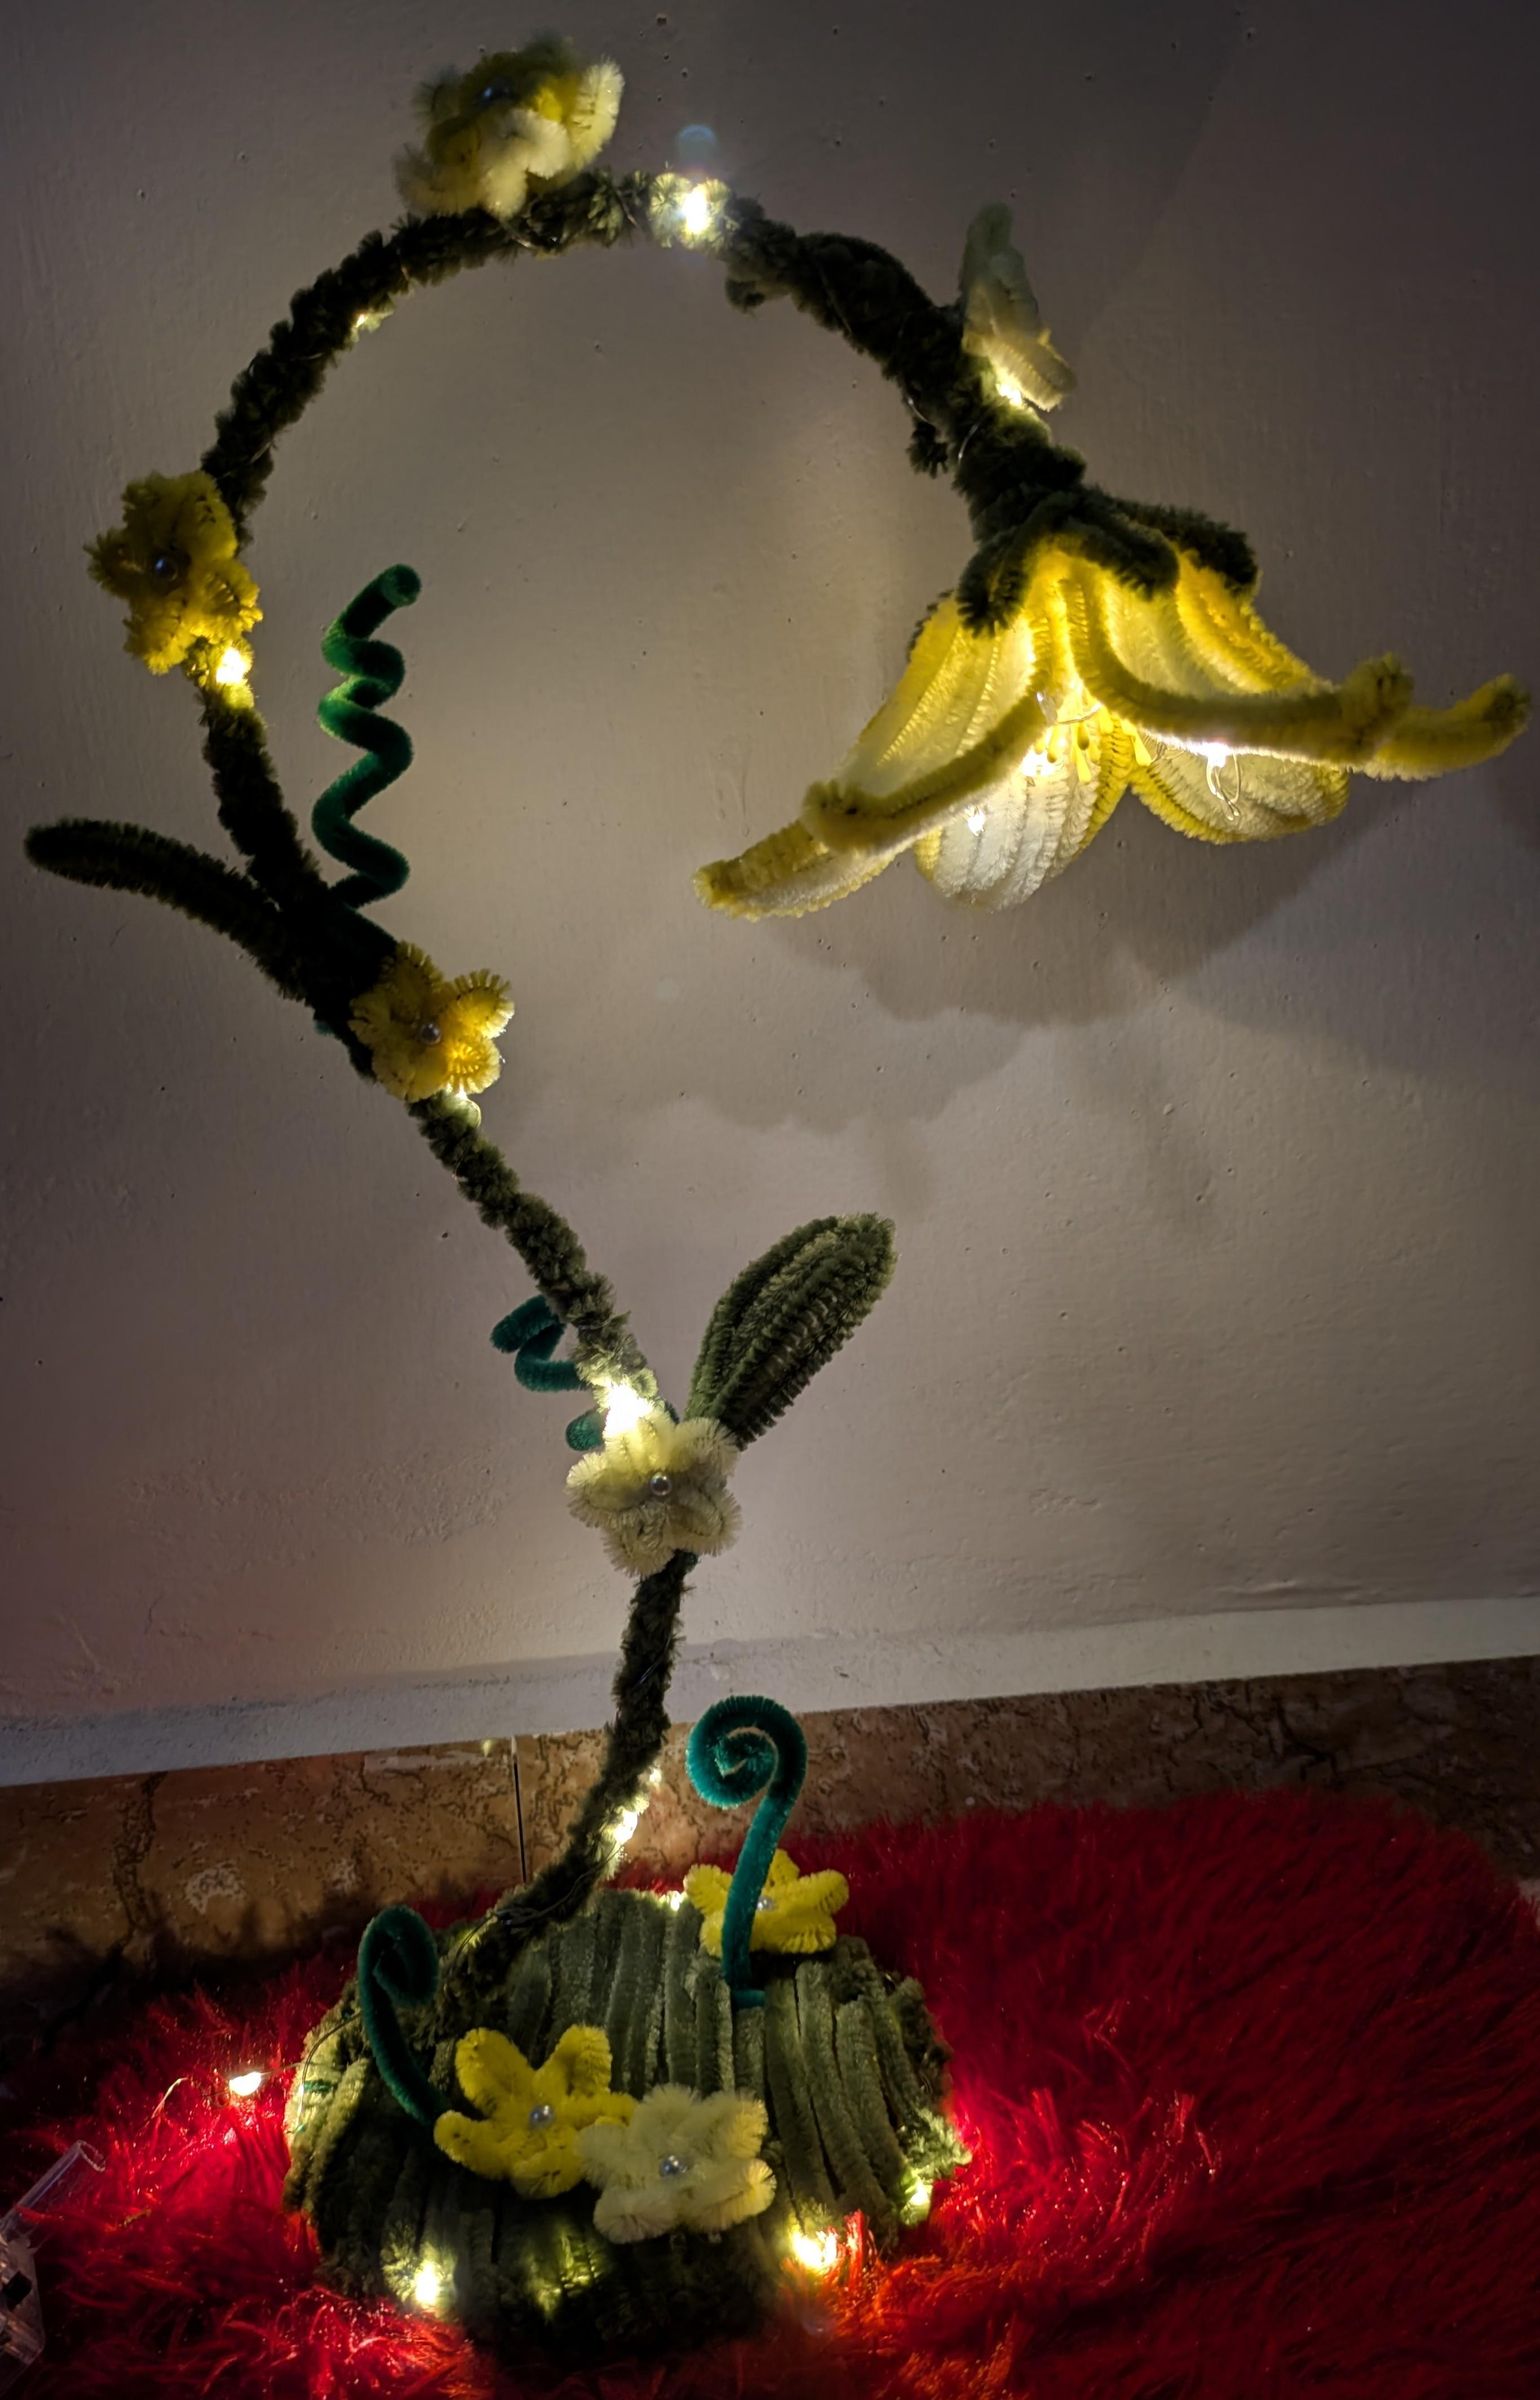
Hello all,
I'm back with a dreamy yet easy to make DIY Flower lamp, of course inspiration from Pinterest and this trending fairy night lamp was on top, so let's breakdown the steps.
Supplies
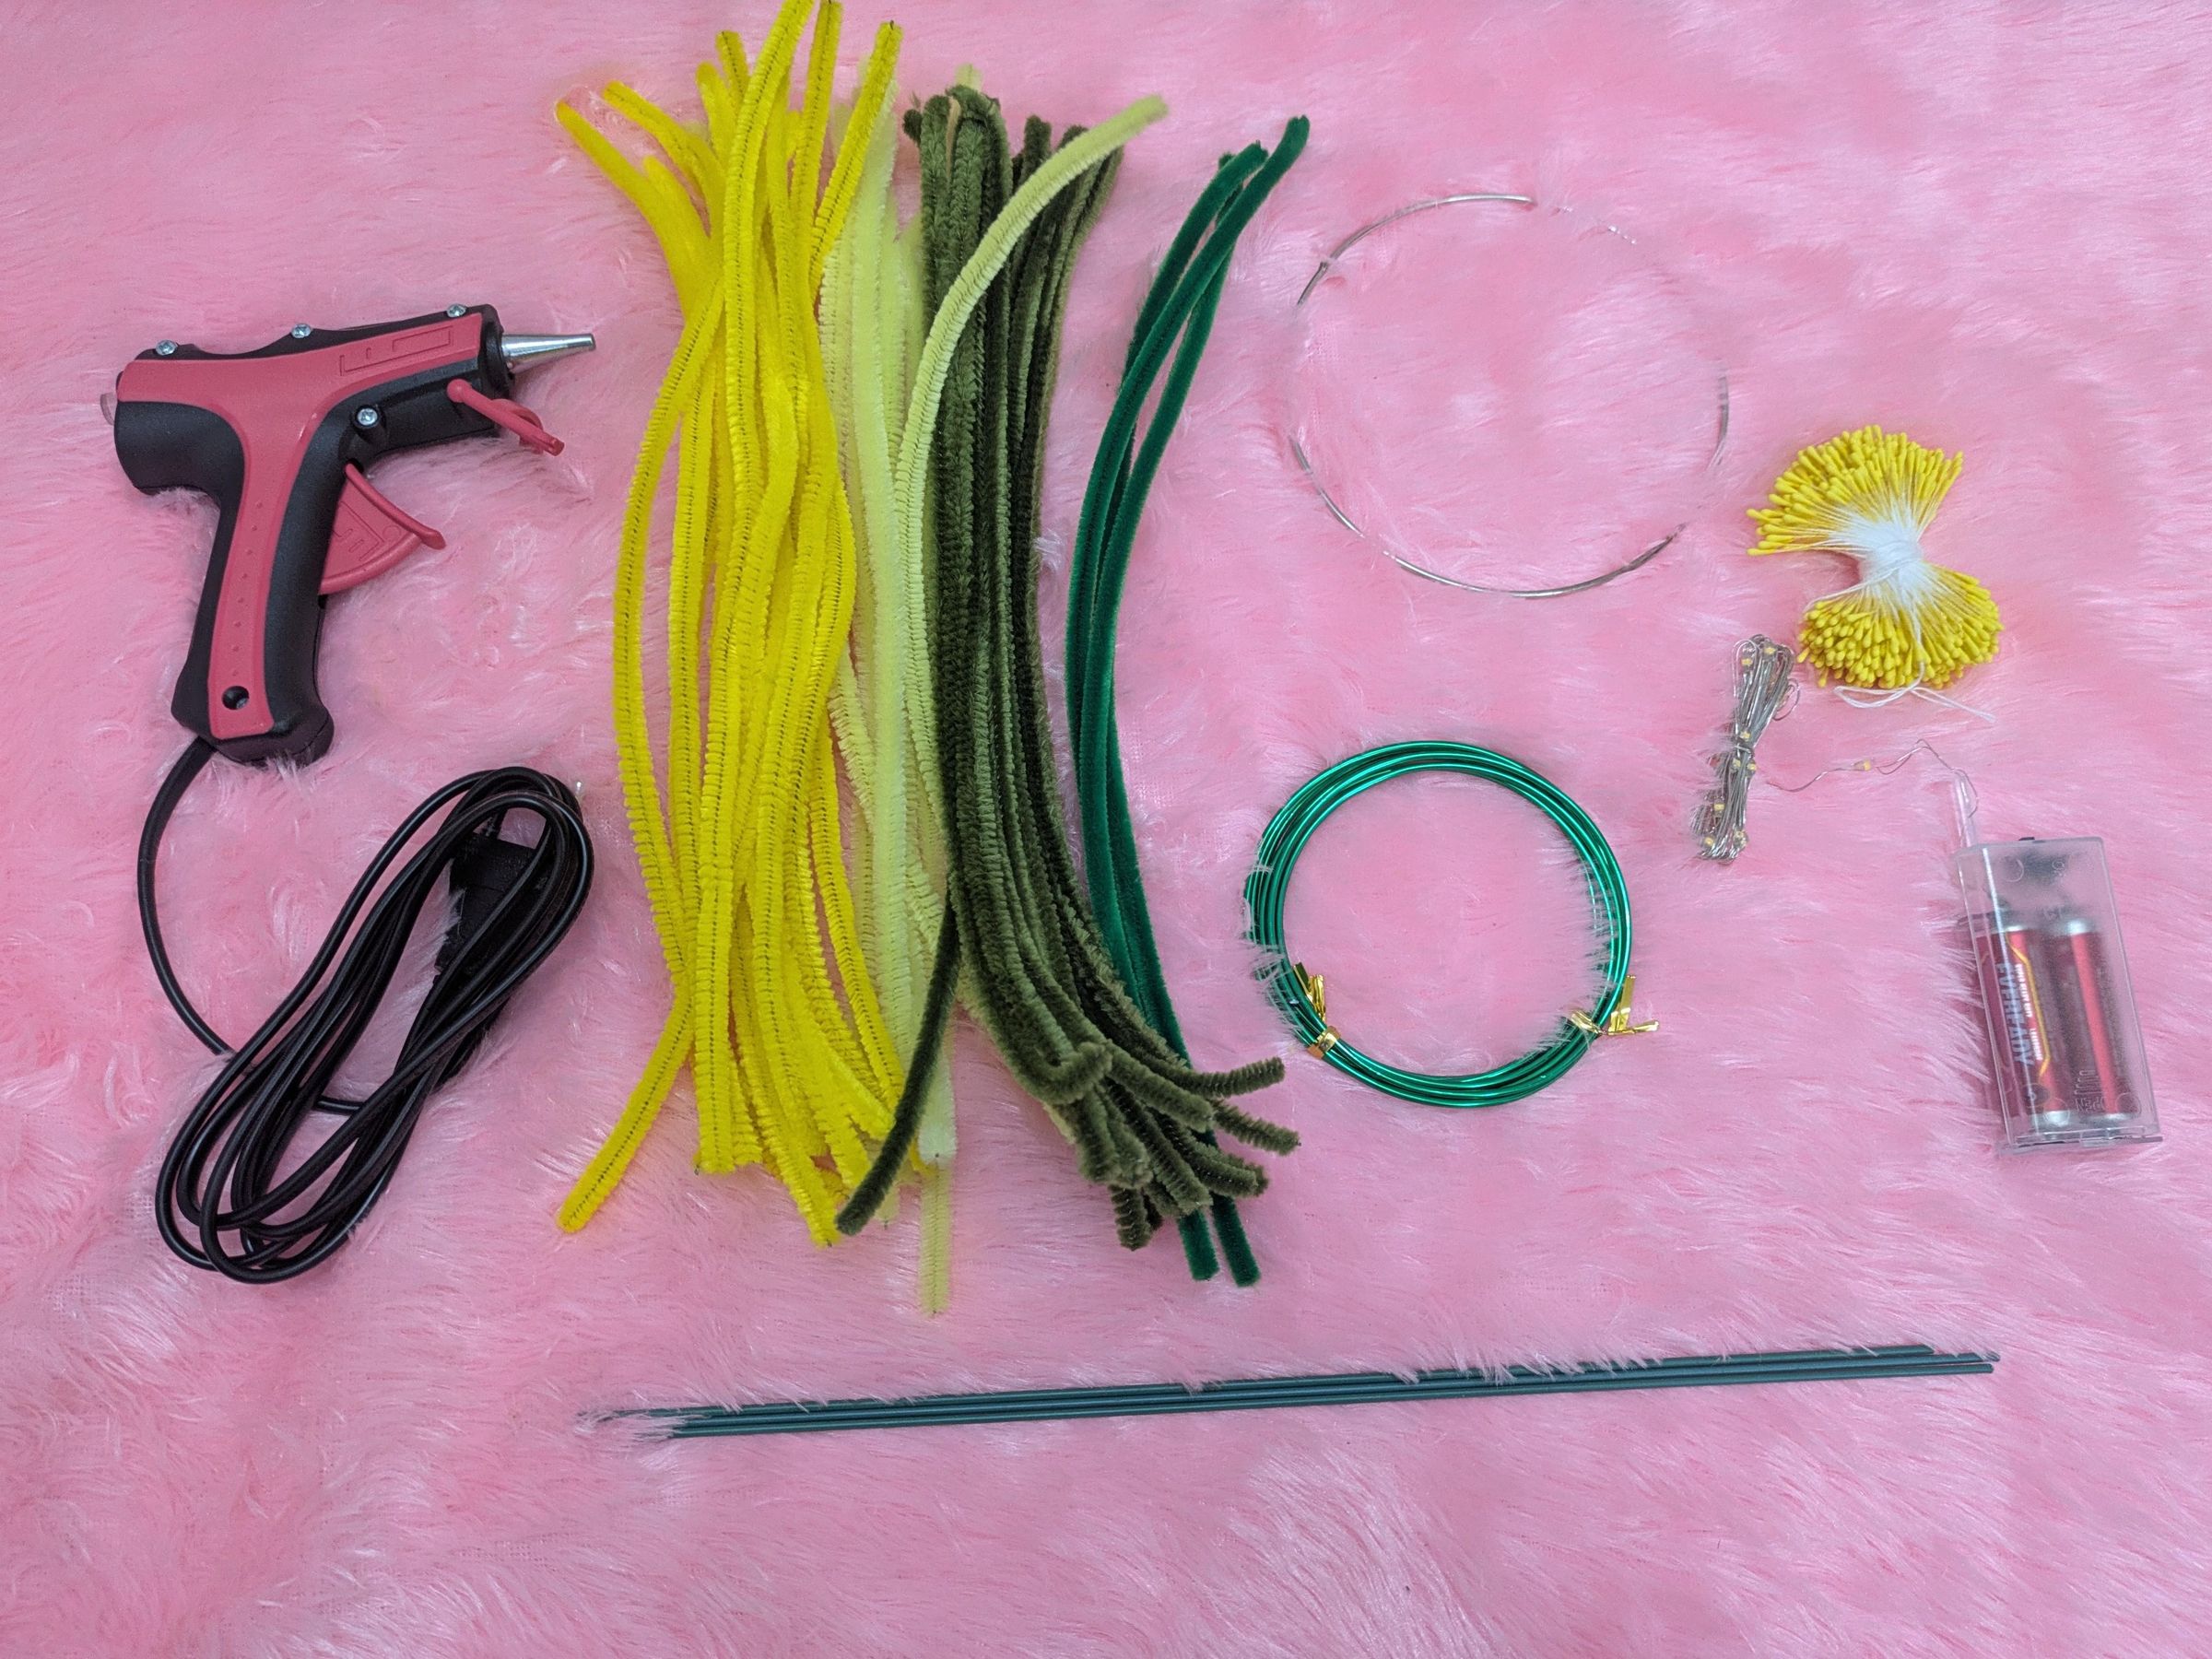
Raw Materials Required:
1) Bright Yellow Pipe cleaner - 9 nos
2) Pastel Yellow Pipe cleaner/chenille stems - 10 nos
3) Sage green Pipe cleaner - 30 to 35 nos
4) 8 inch metal ring - 1no
5) Half cut moti pearl - 8 pcs
6) Hot Glue Gun
7) Fairy light string - 3 meter
8) Yellow stamens - few
9) 2mm Flexible wire
Lily Petals Making - Part 1
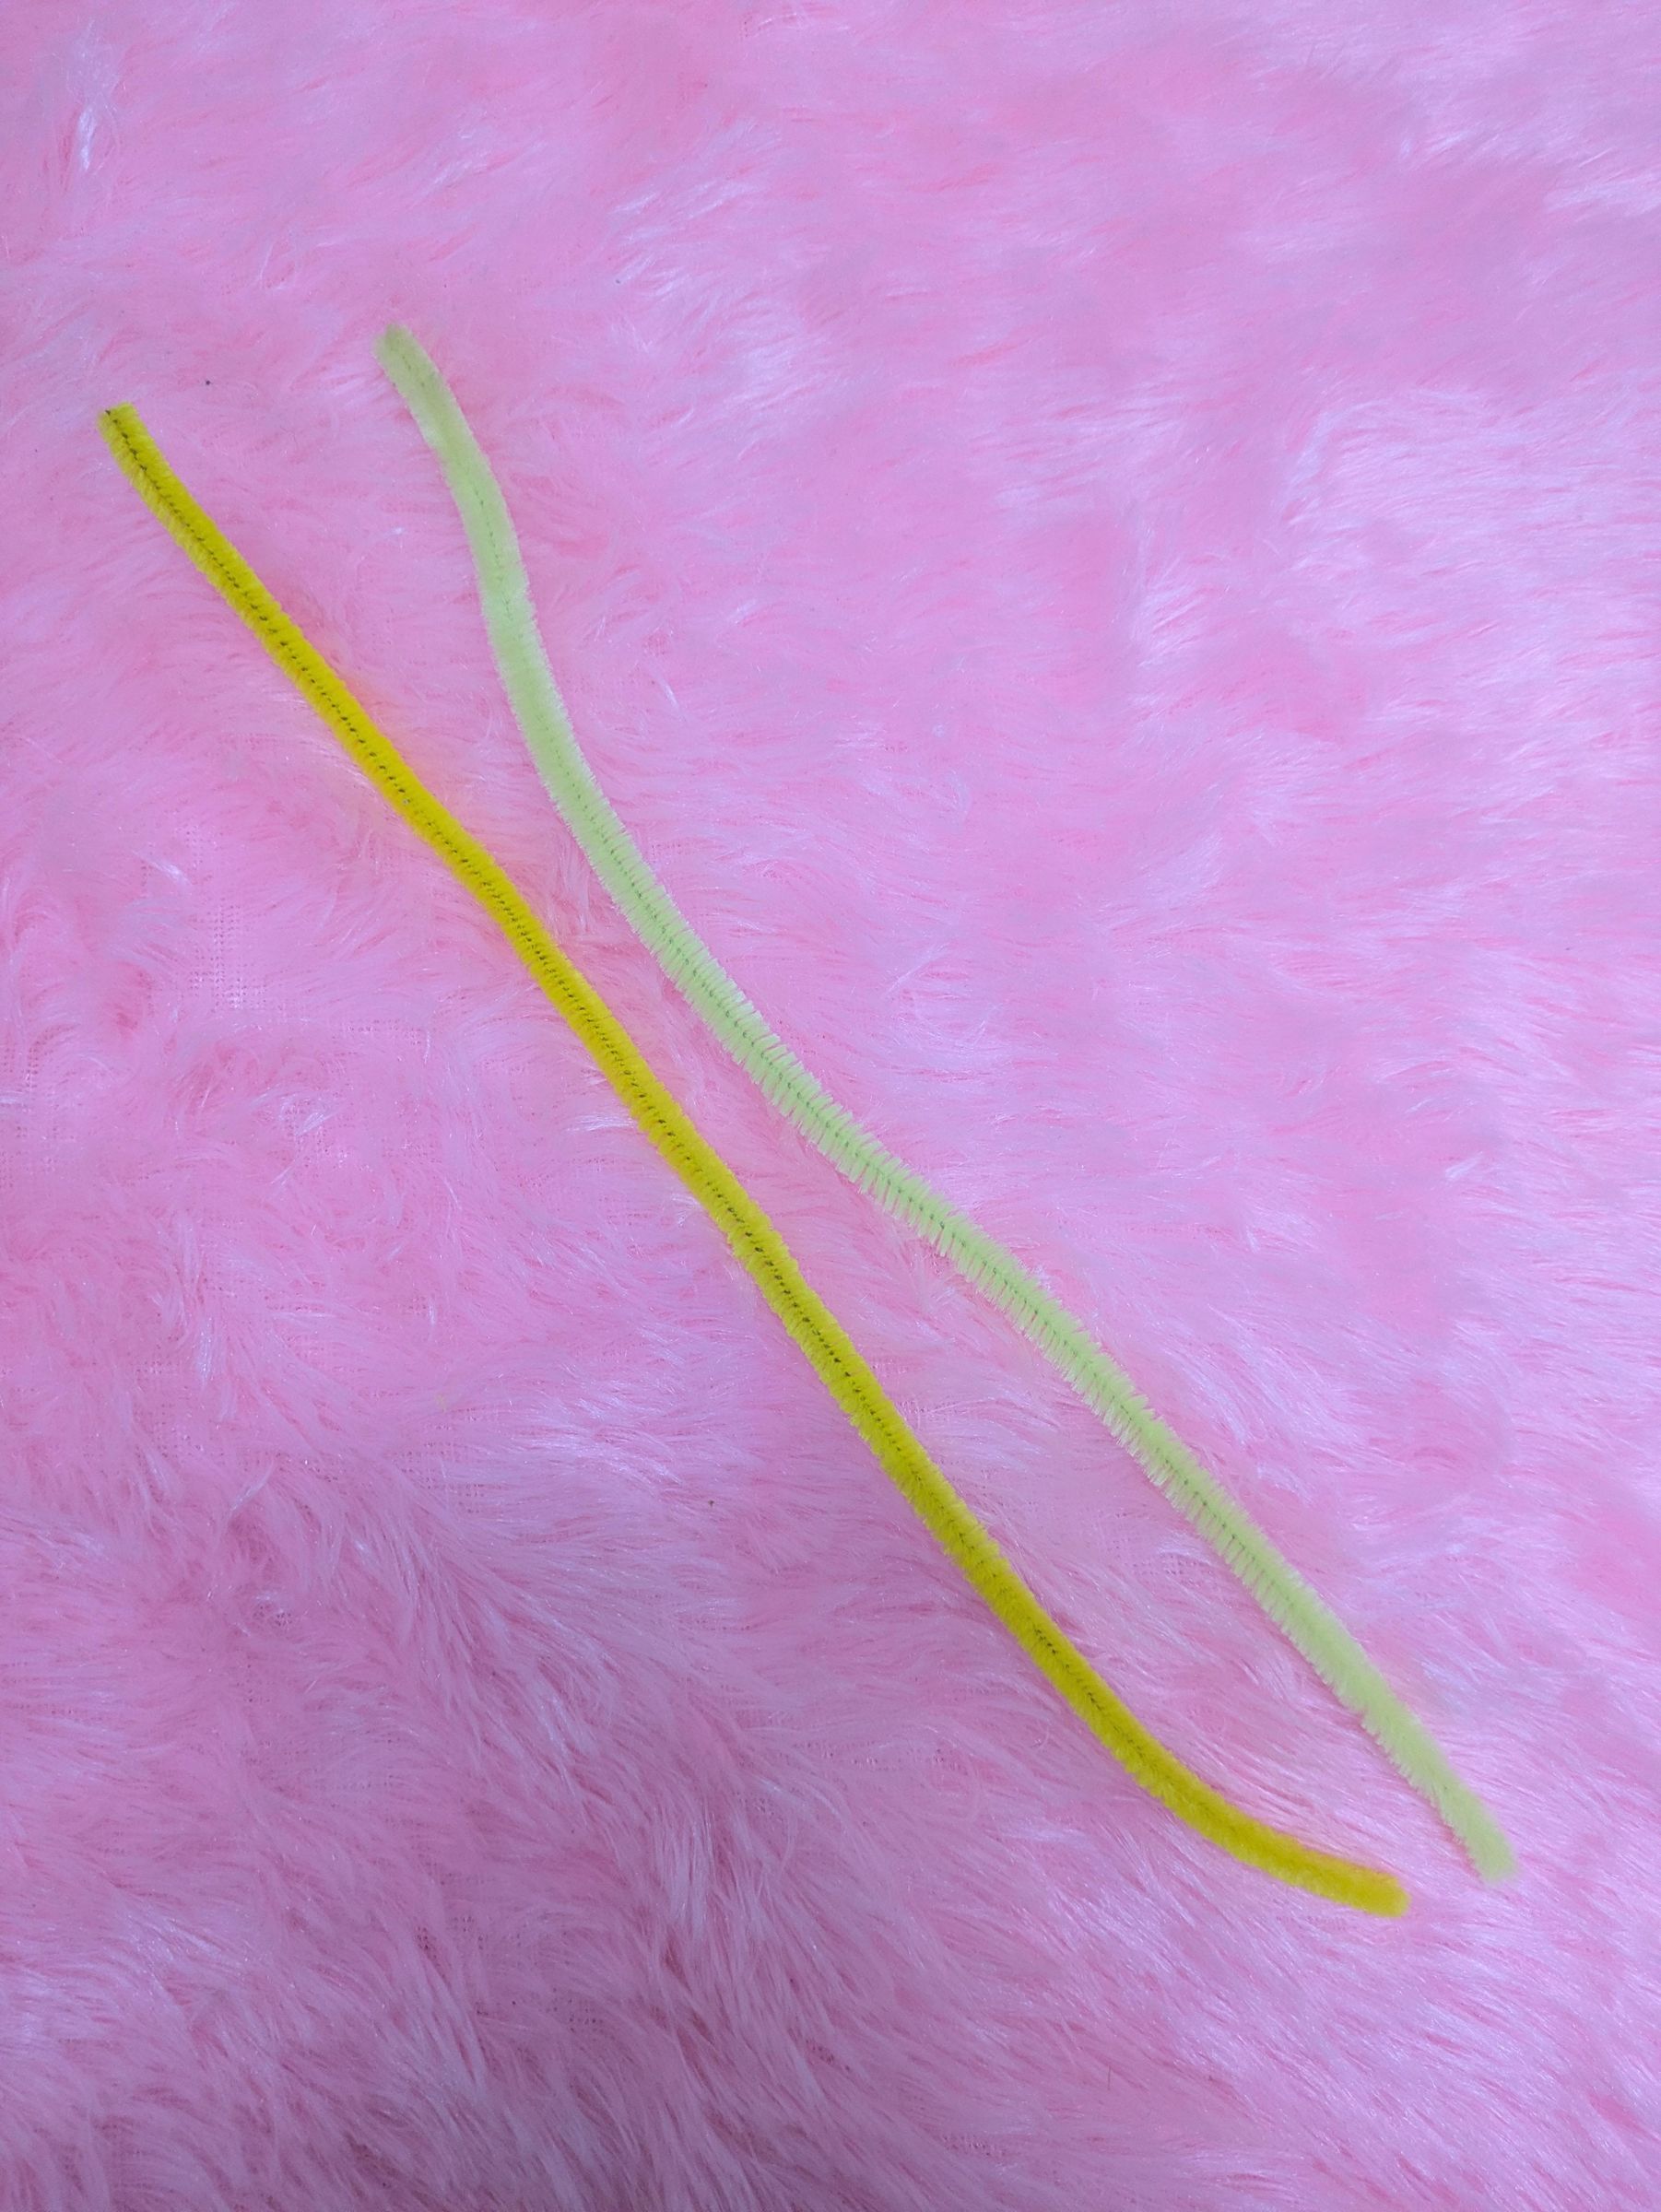
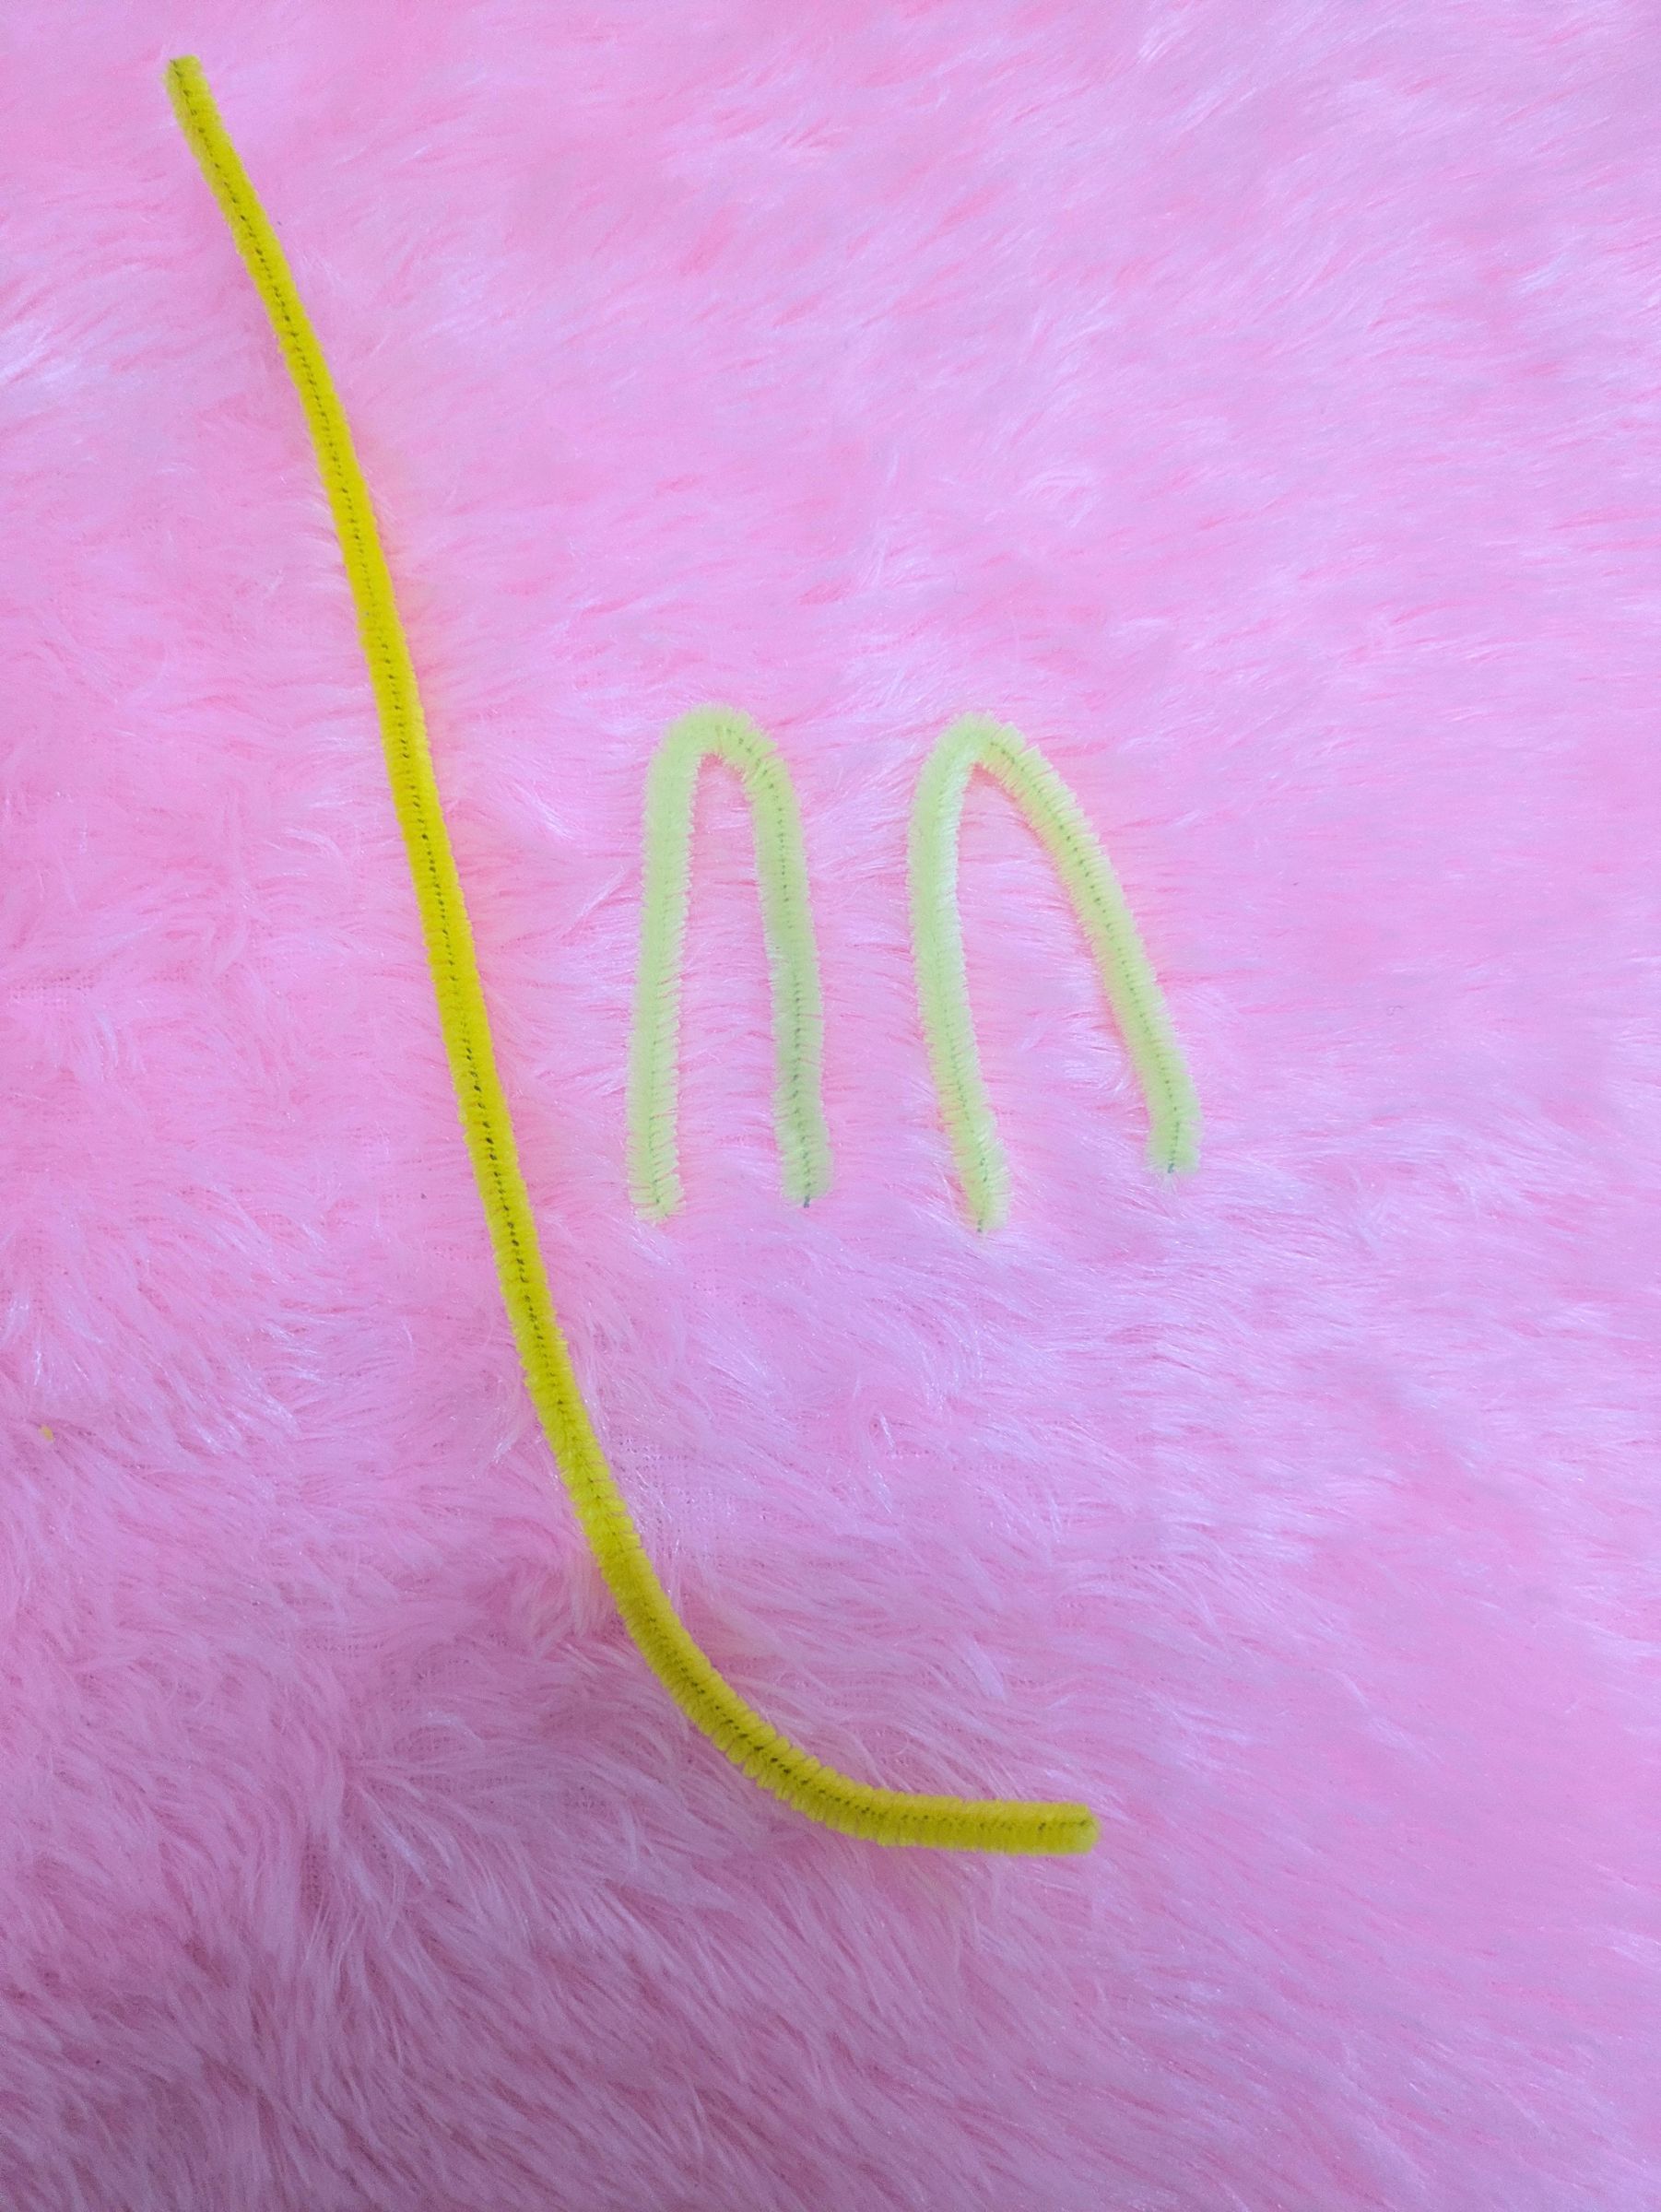
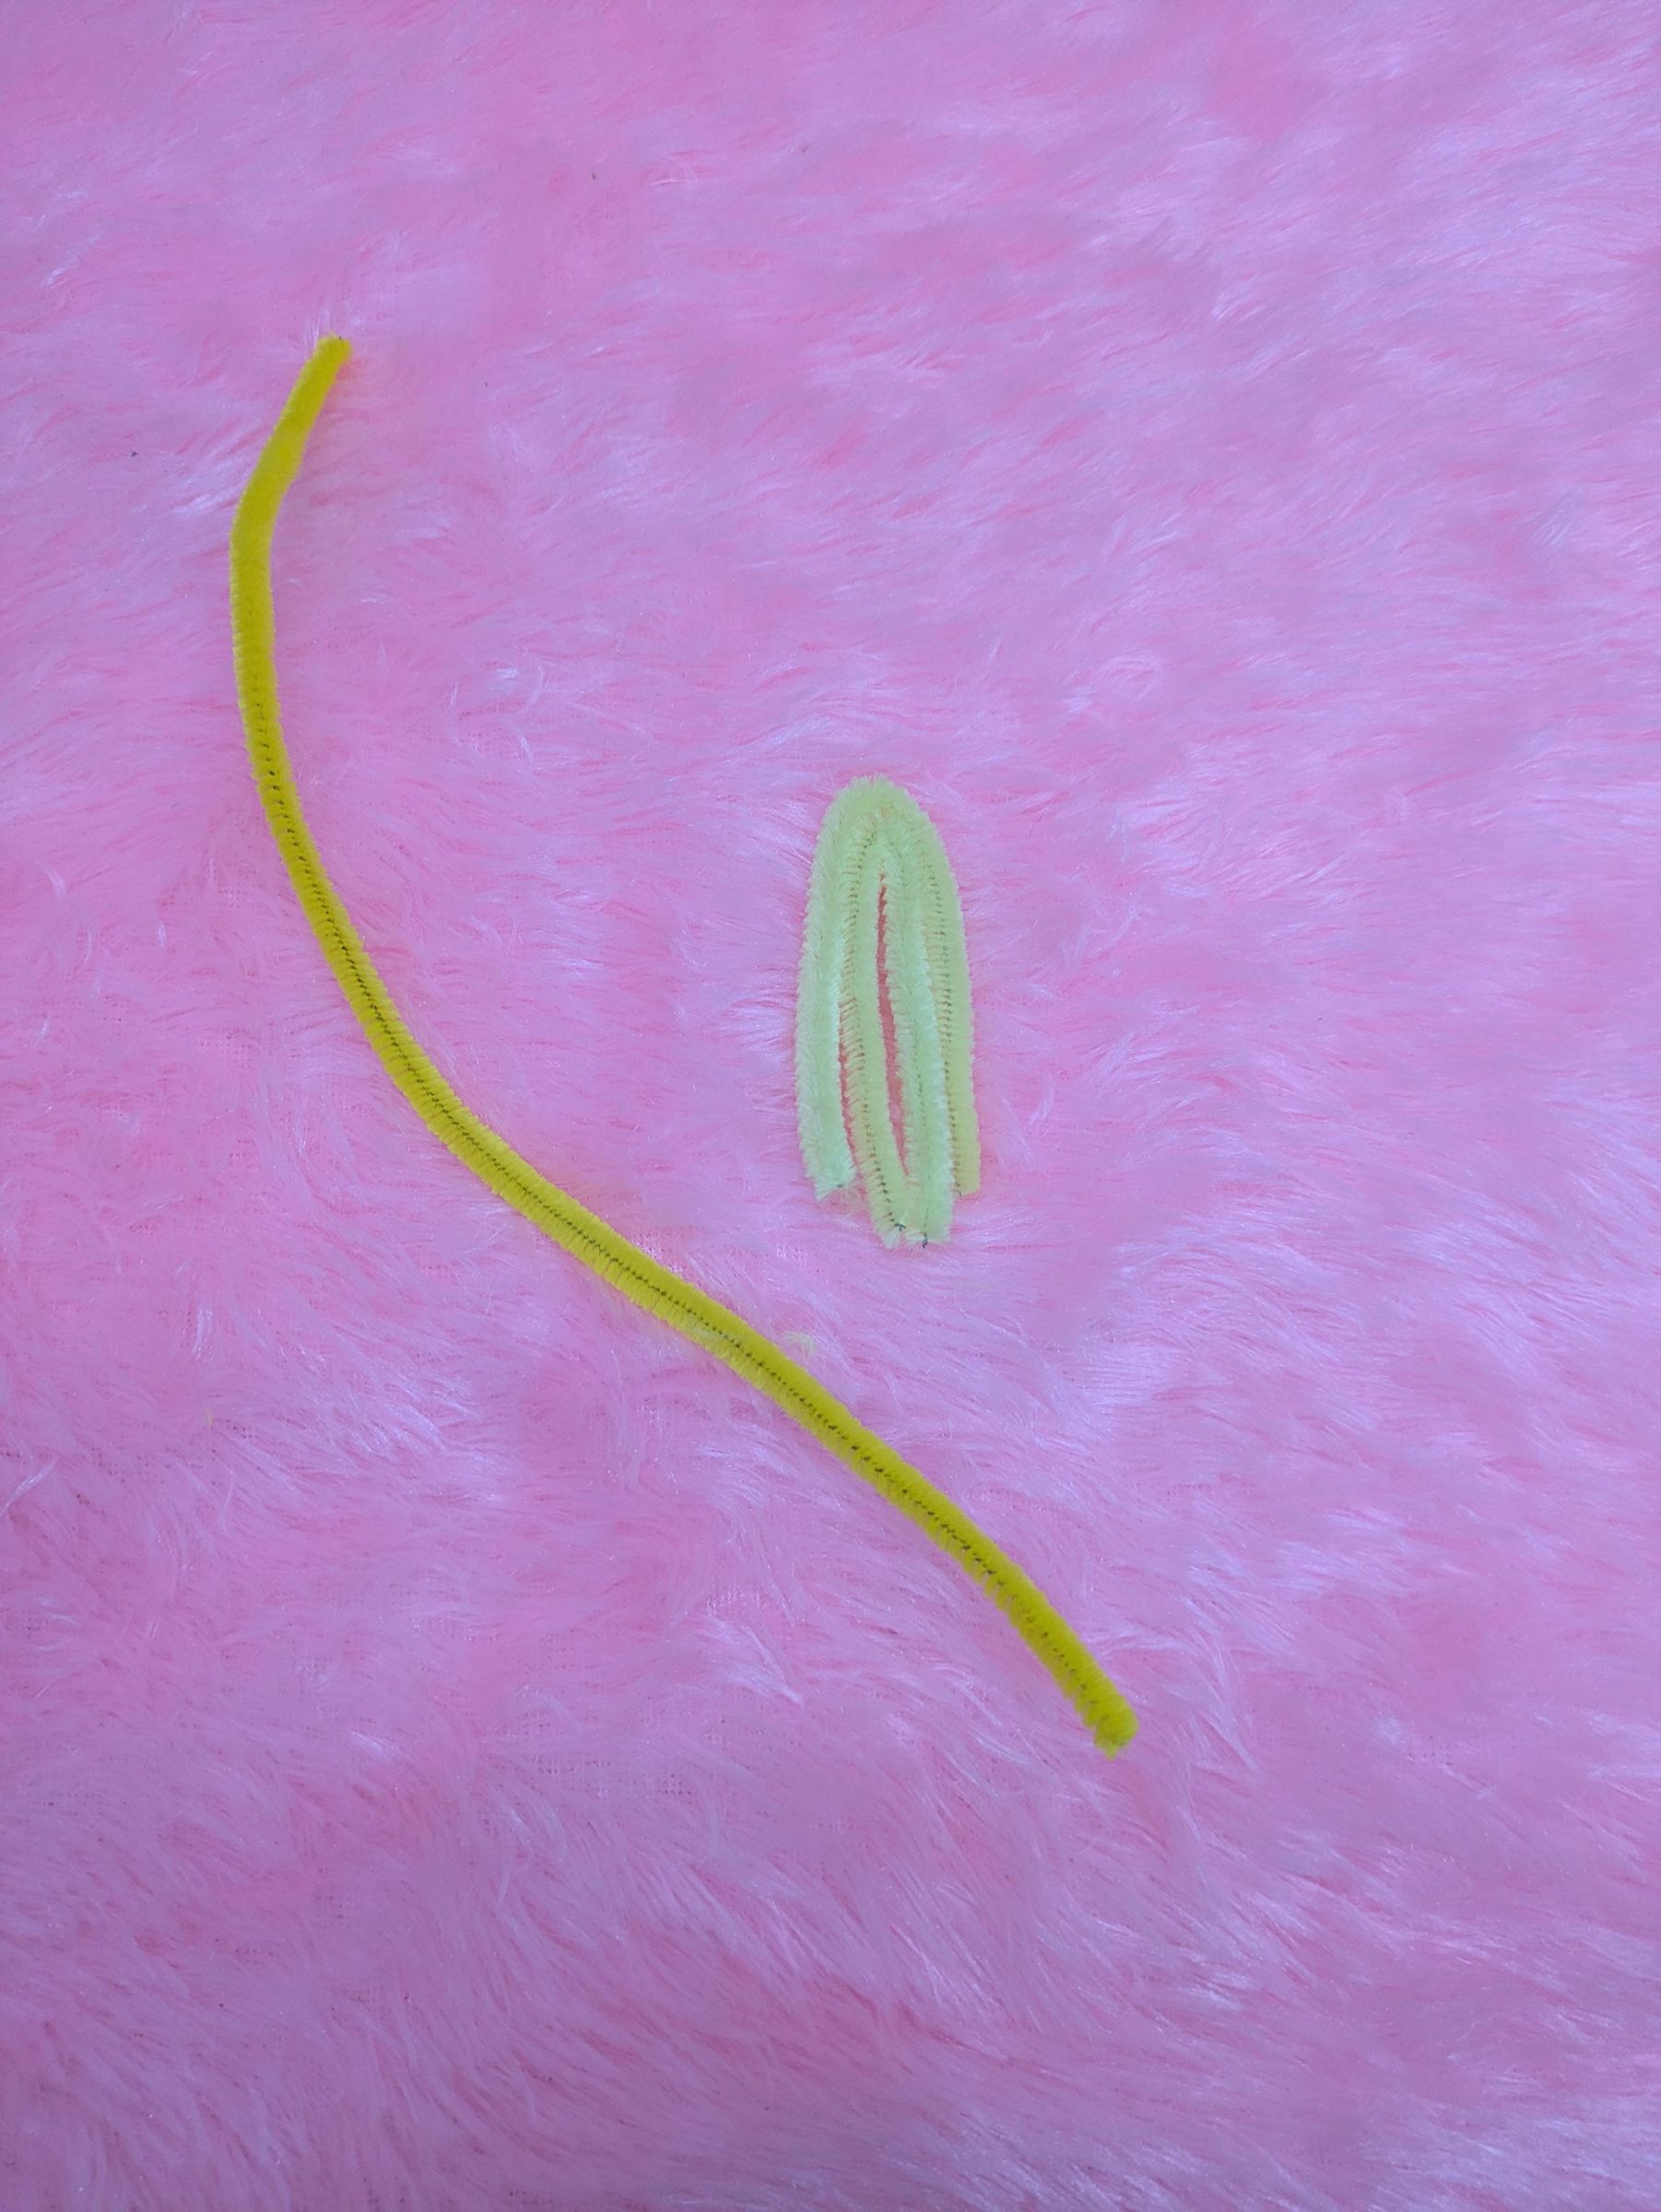
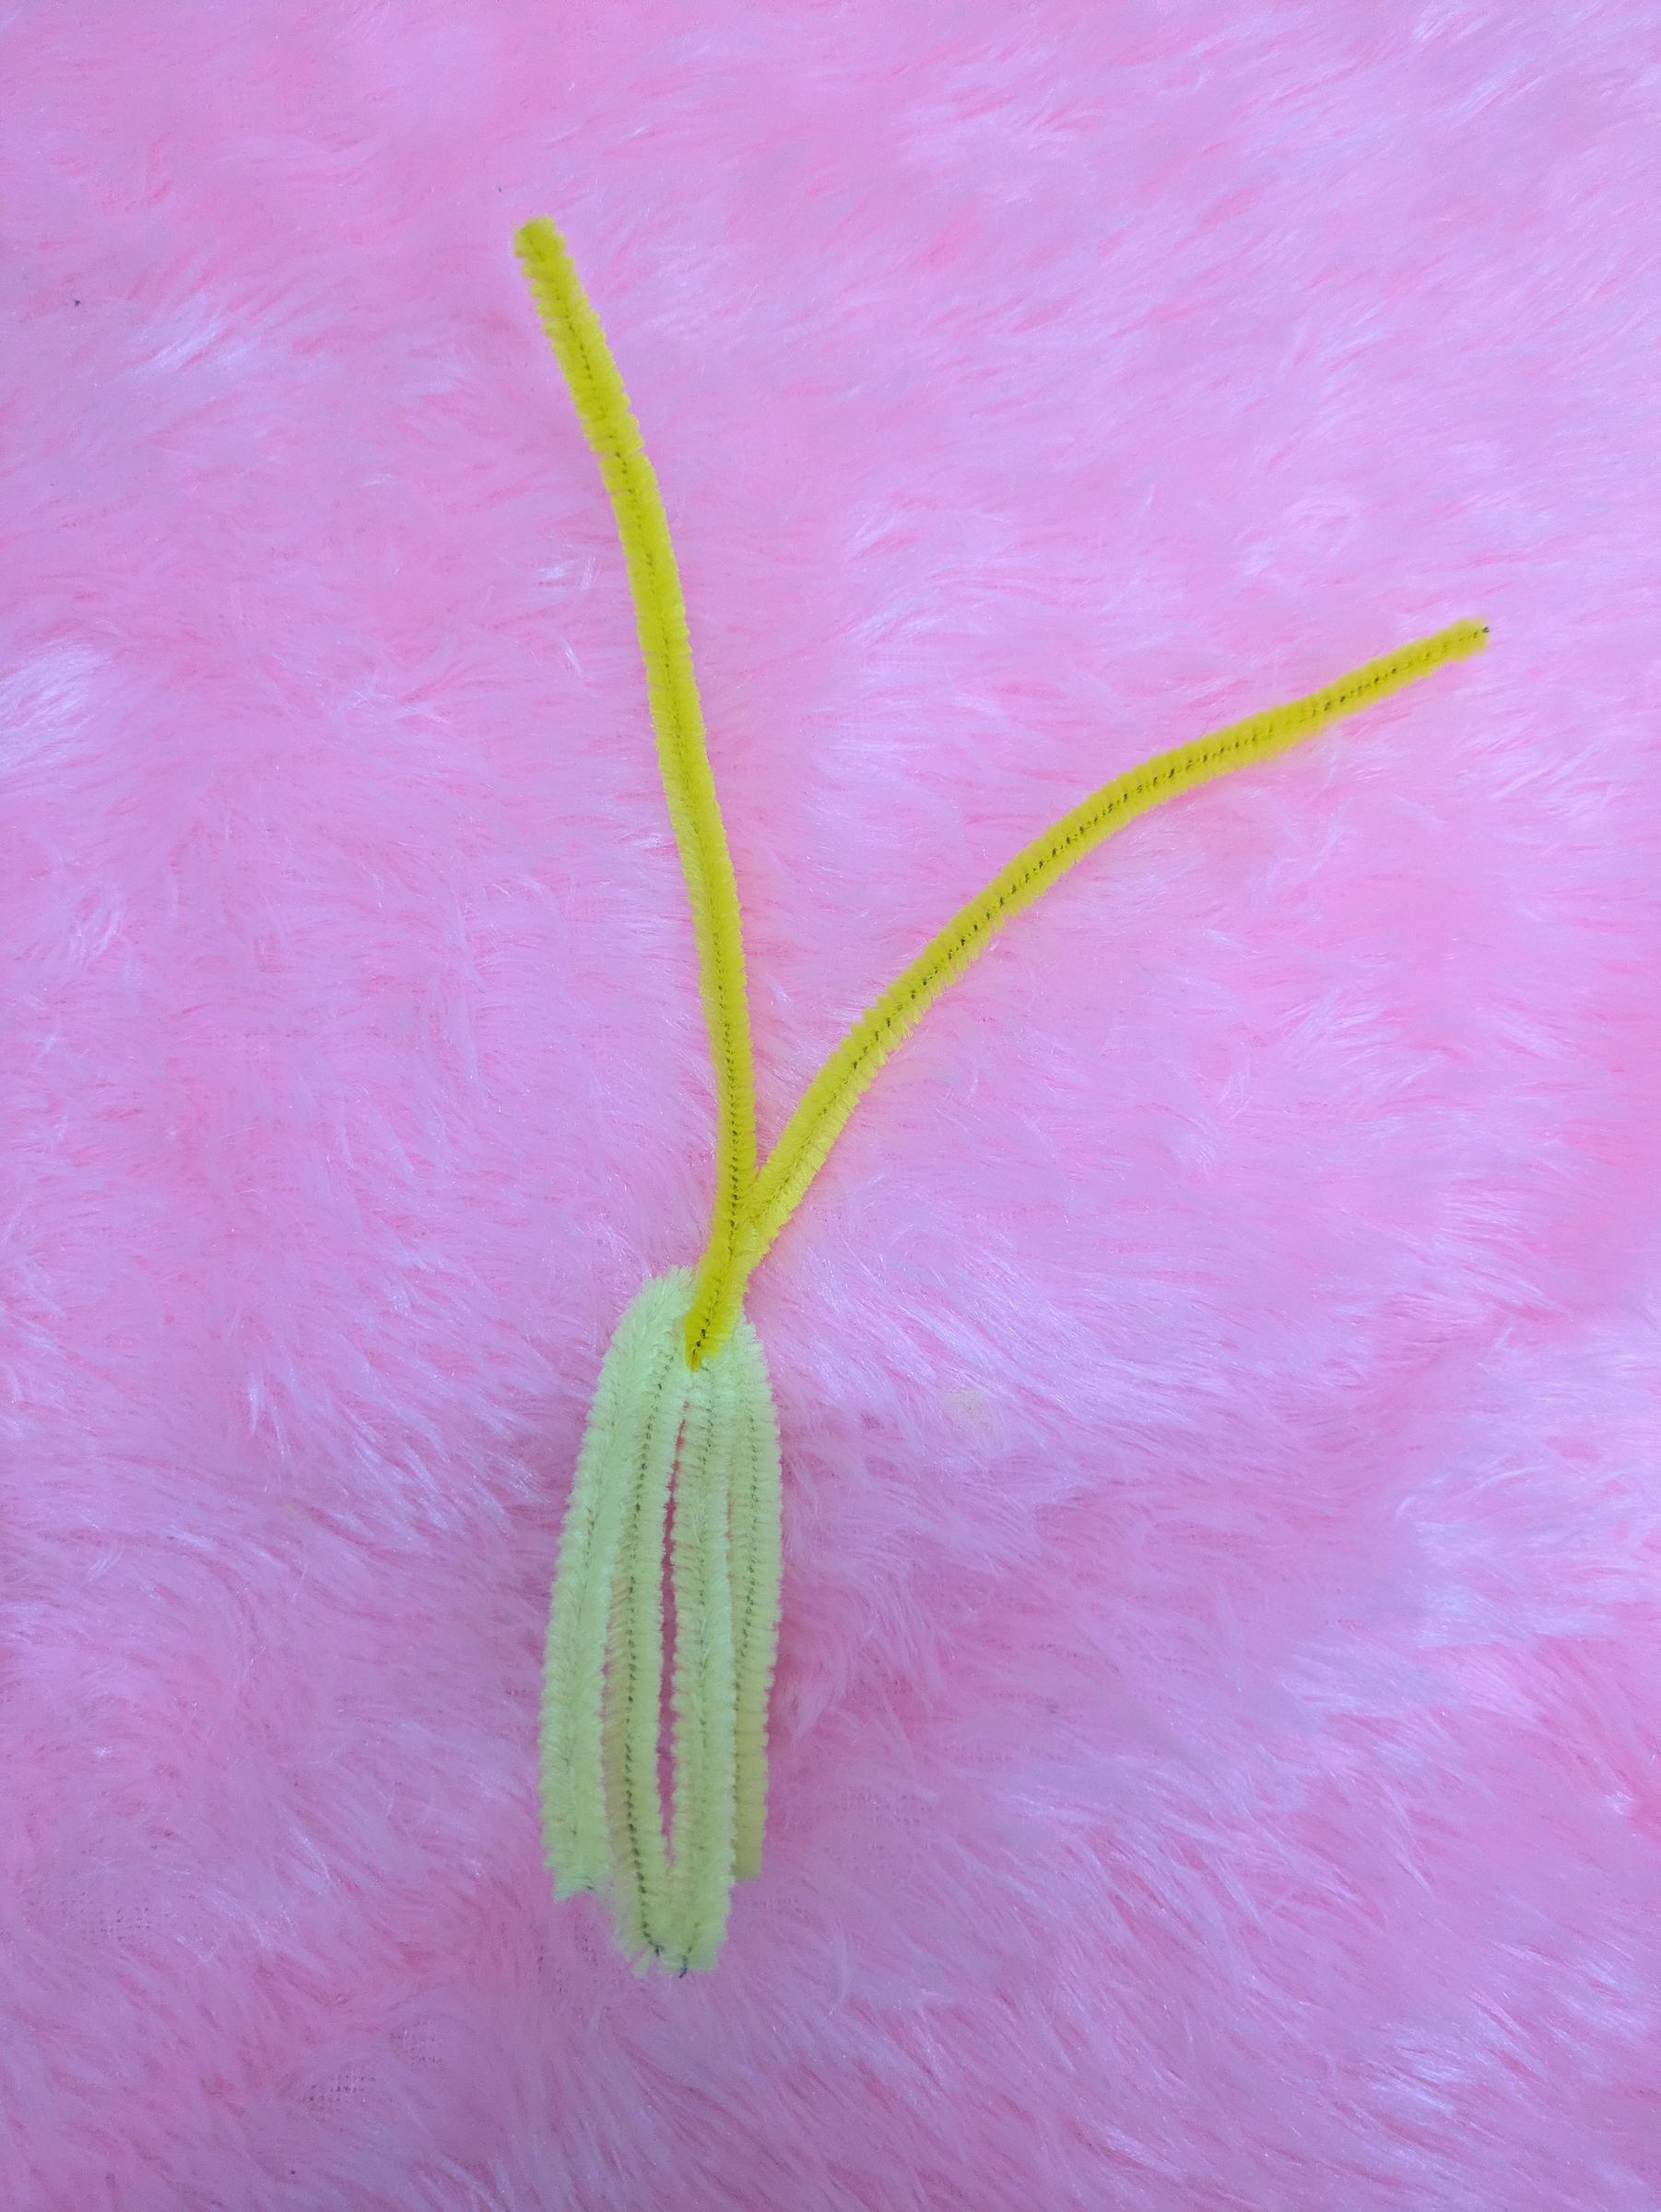
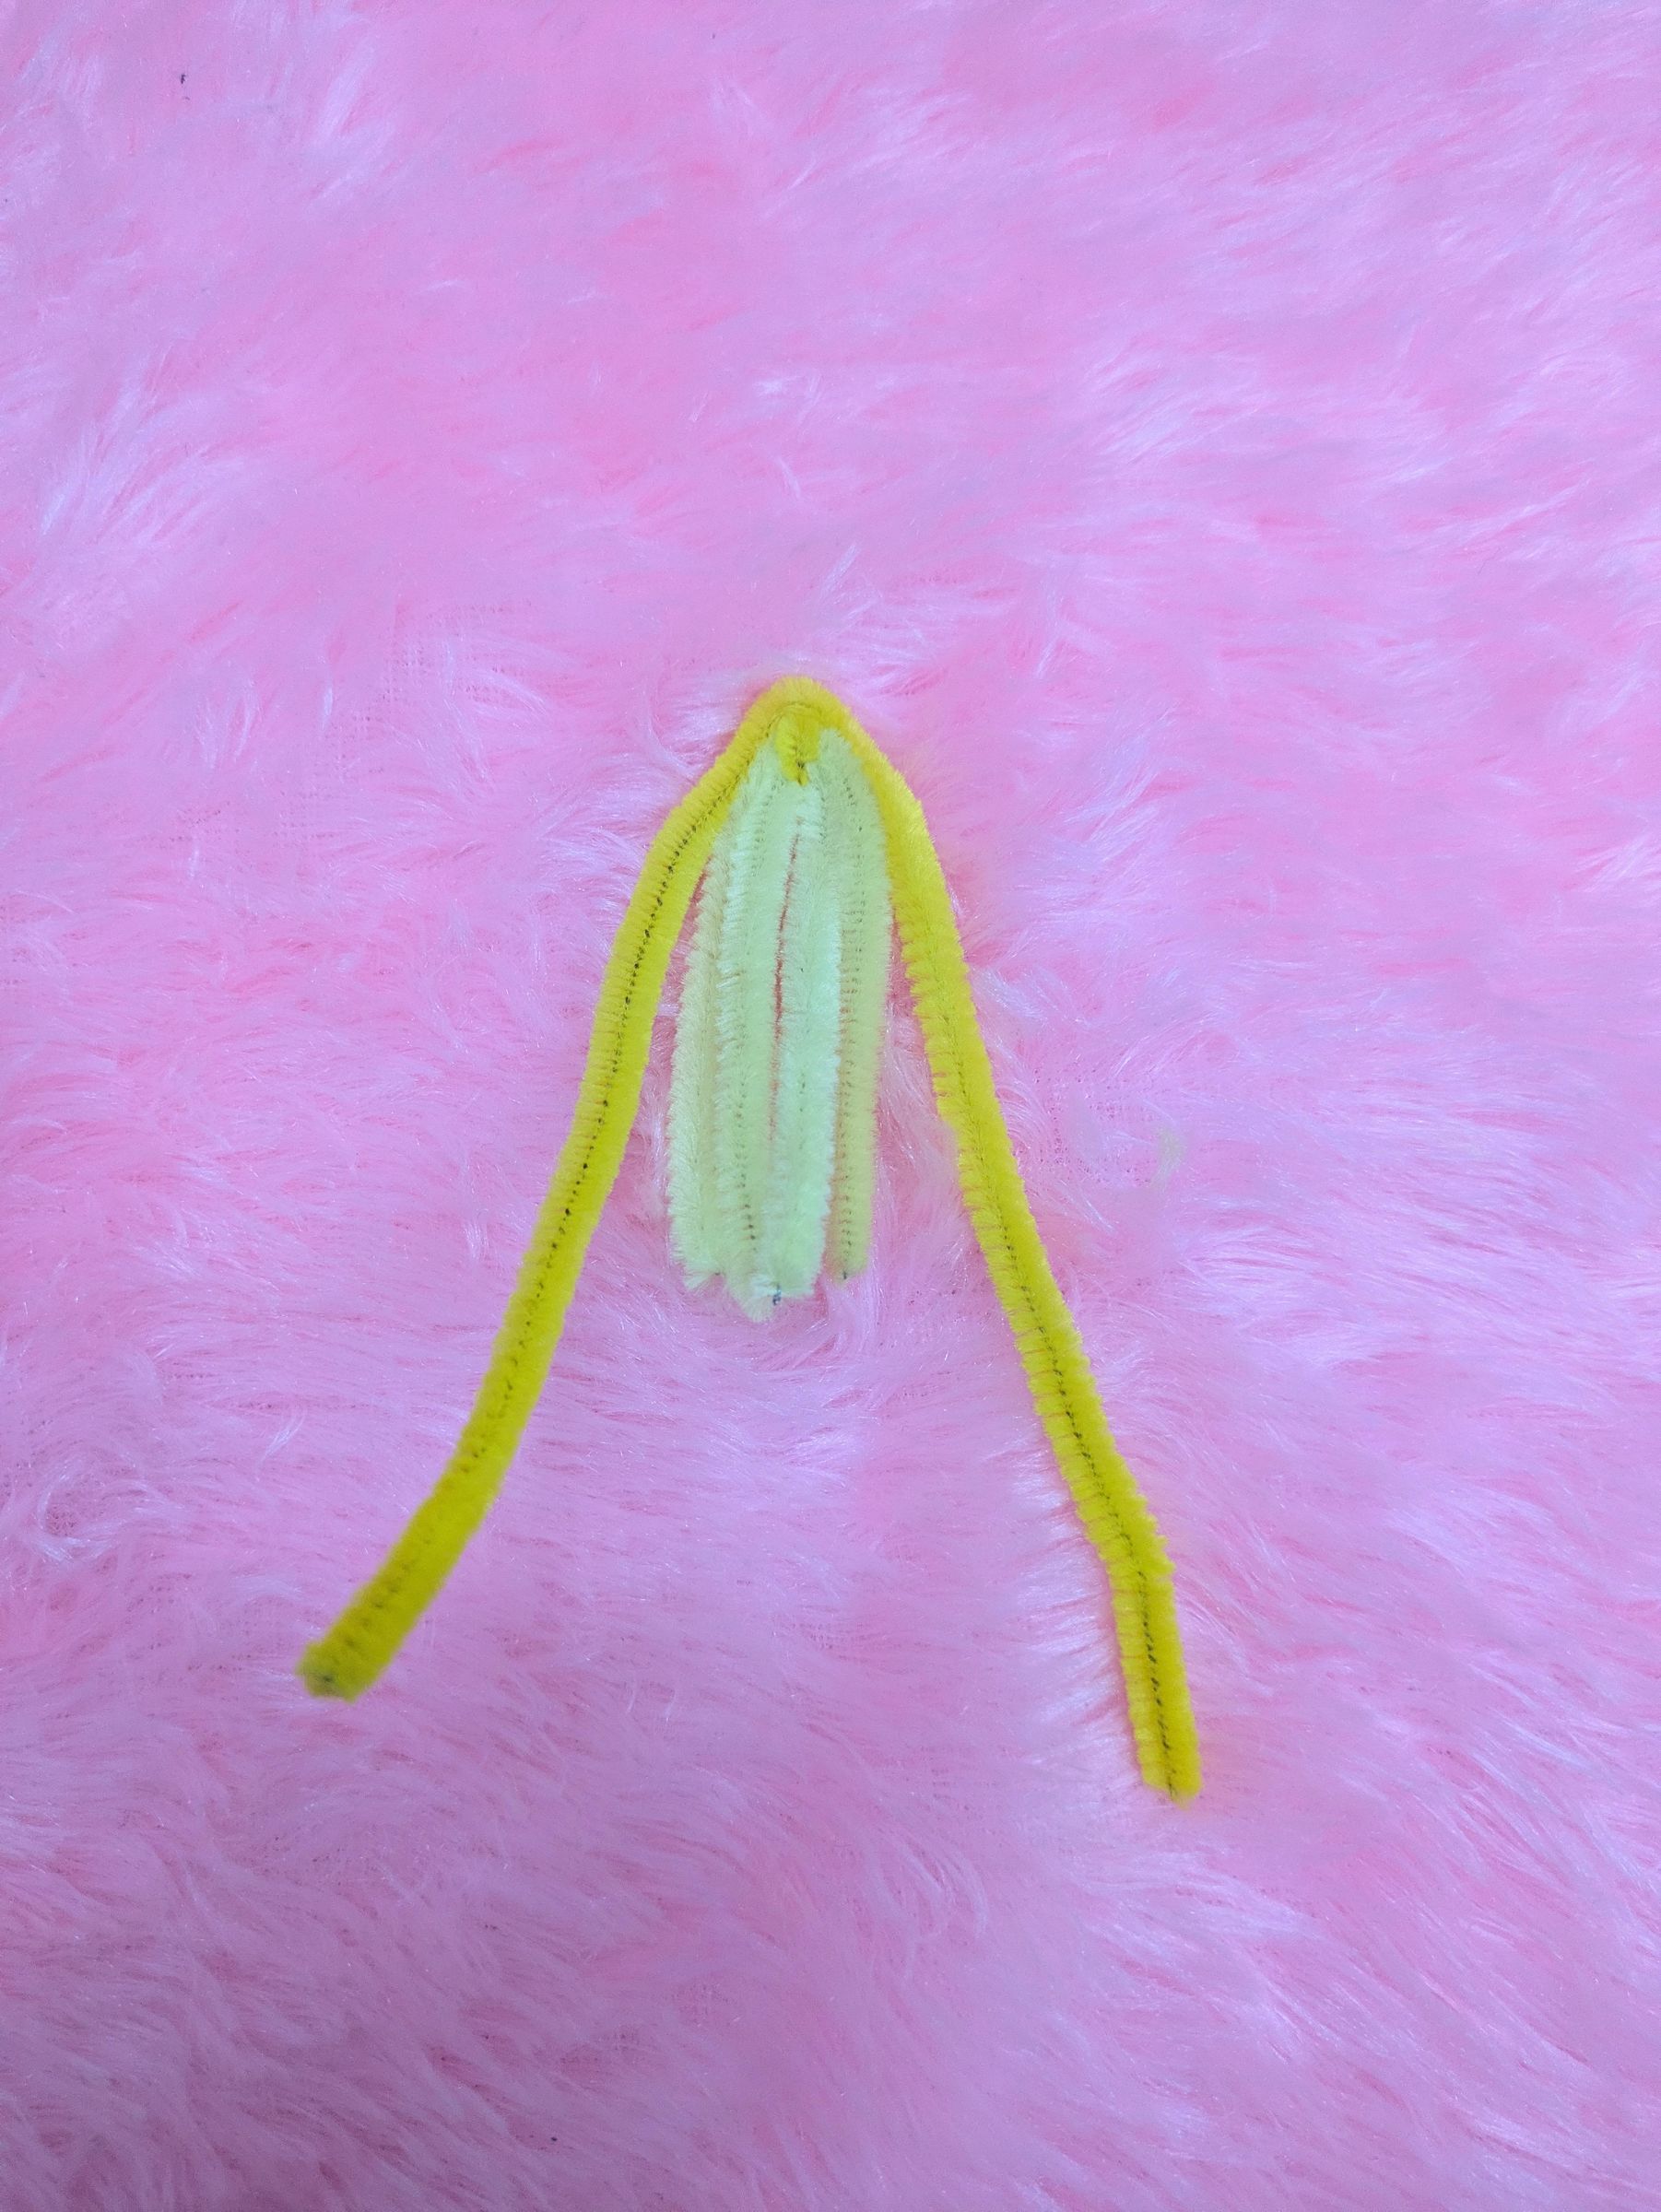
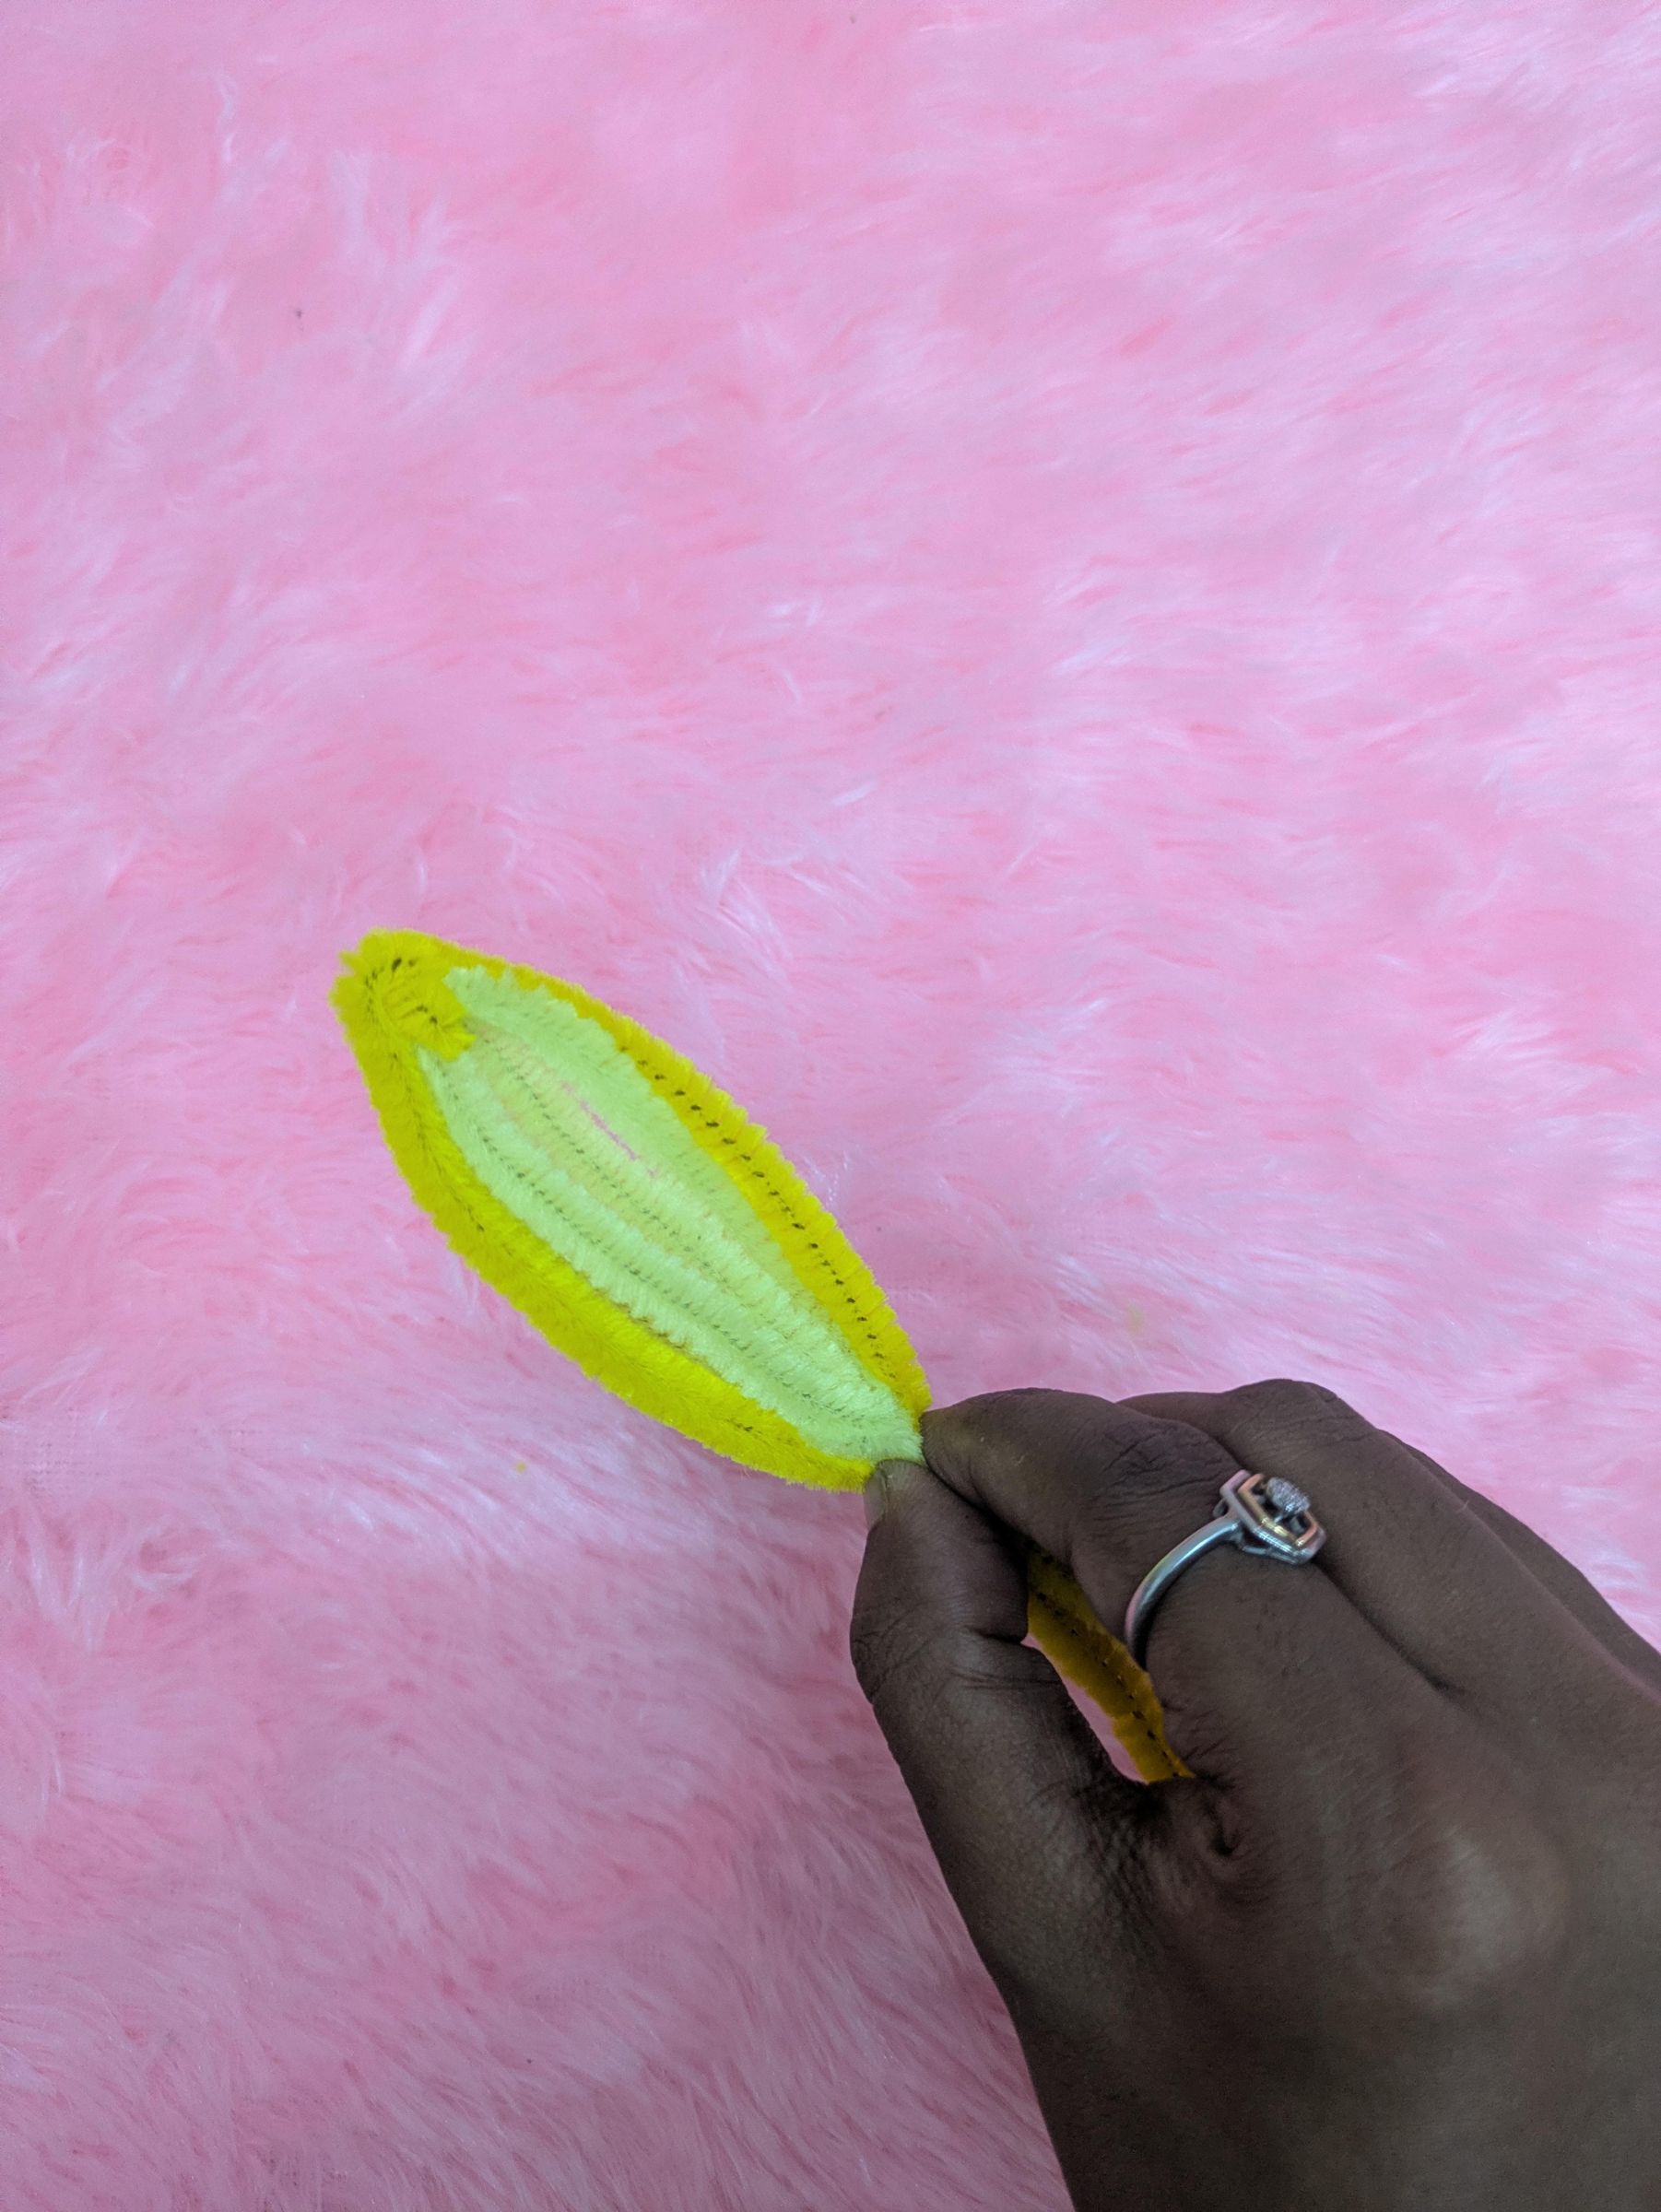
We are gonna make 6 petals, each separate petals and we are gonna hot glue them together. Pastel yellow is inside of petal, so cut a pipe cleaner into half and fold it at mid point. Arrange as shown in image 4, Insert bright yellow pipe cleaner in middle into the pastel yellow and twist it two times at top, now bring down the bright yellow for closure, at bottom hold altogether forming a beautiful yellow petal
Lily Petals Making - Part 2
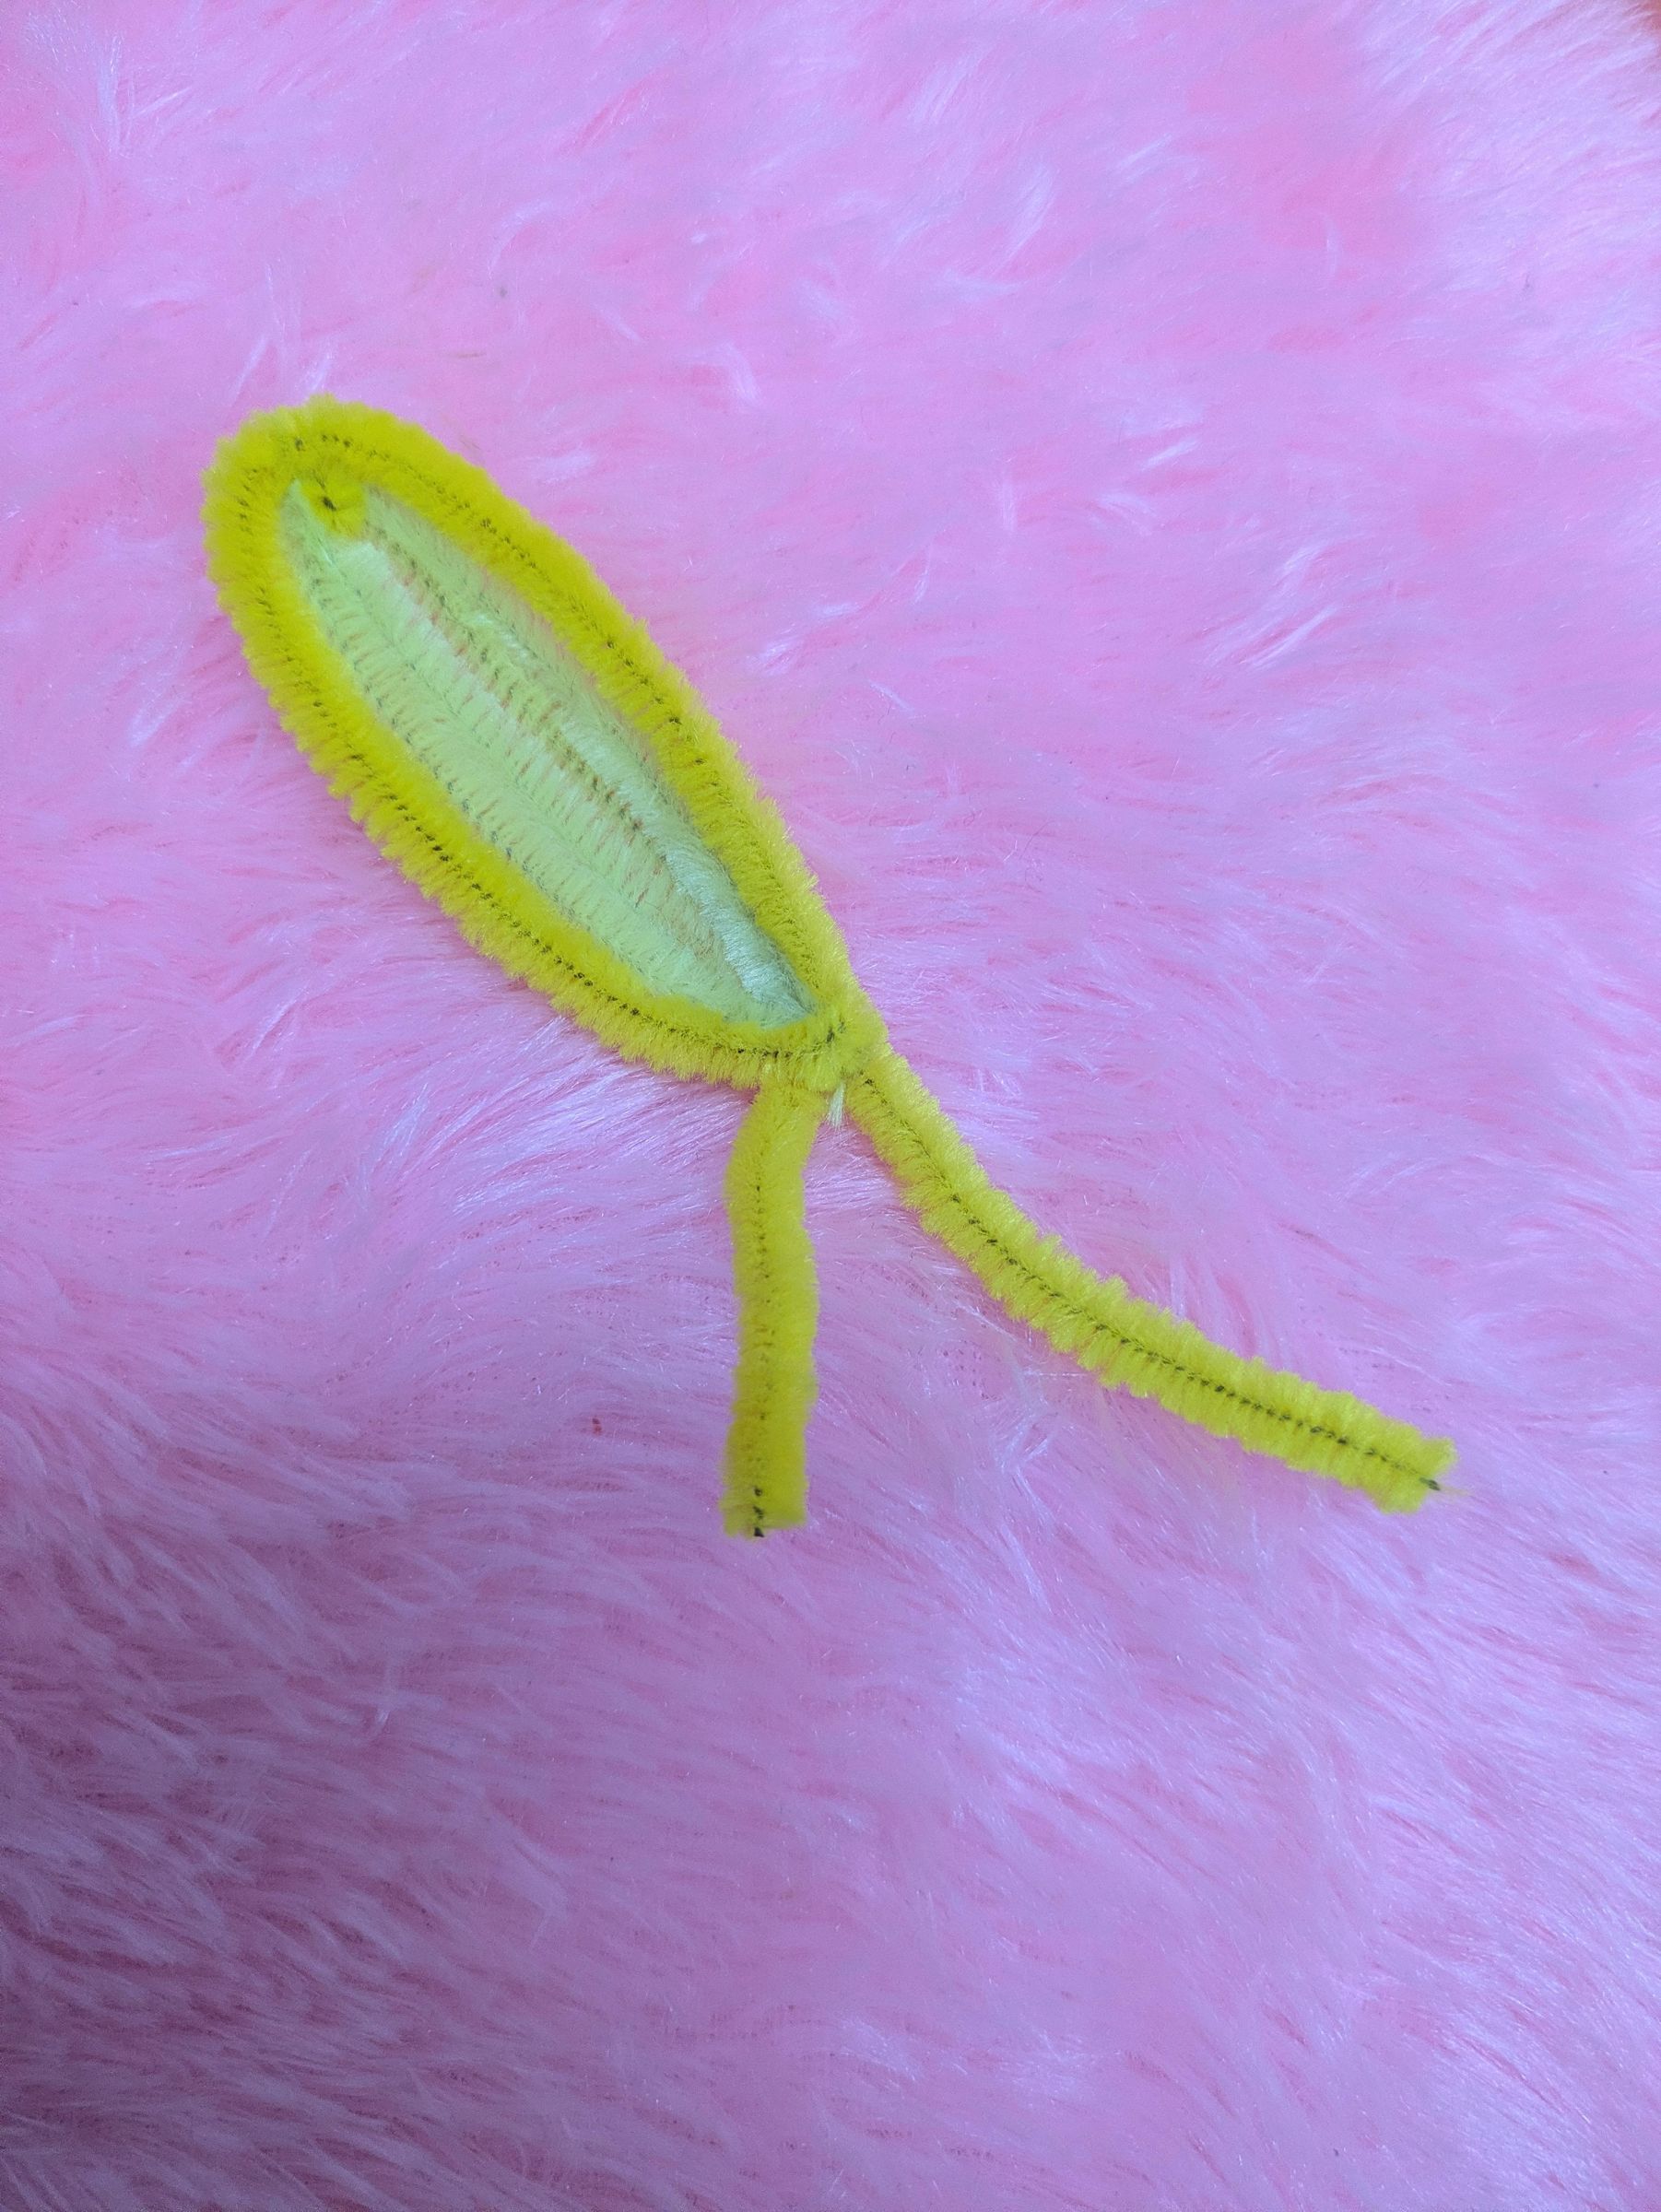
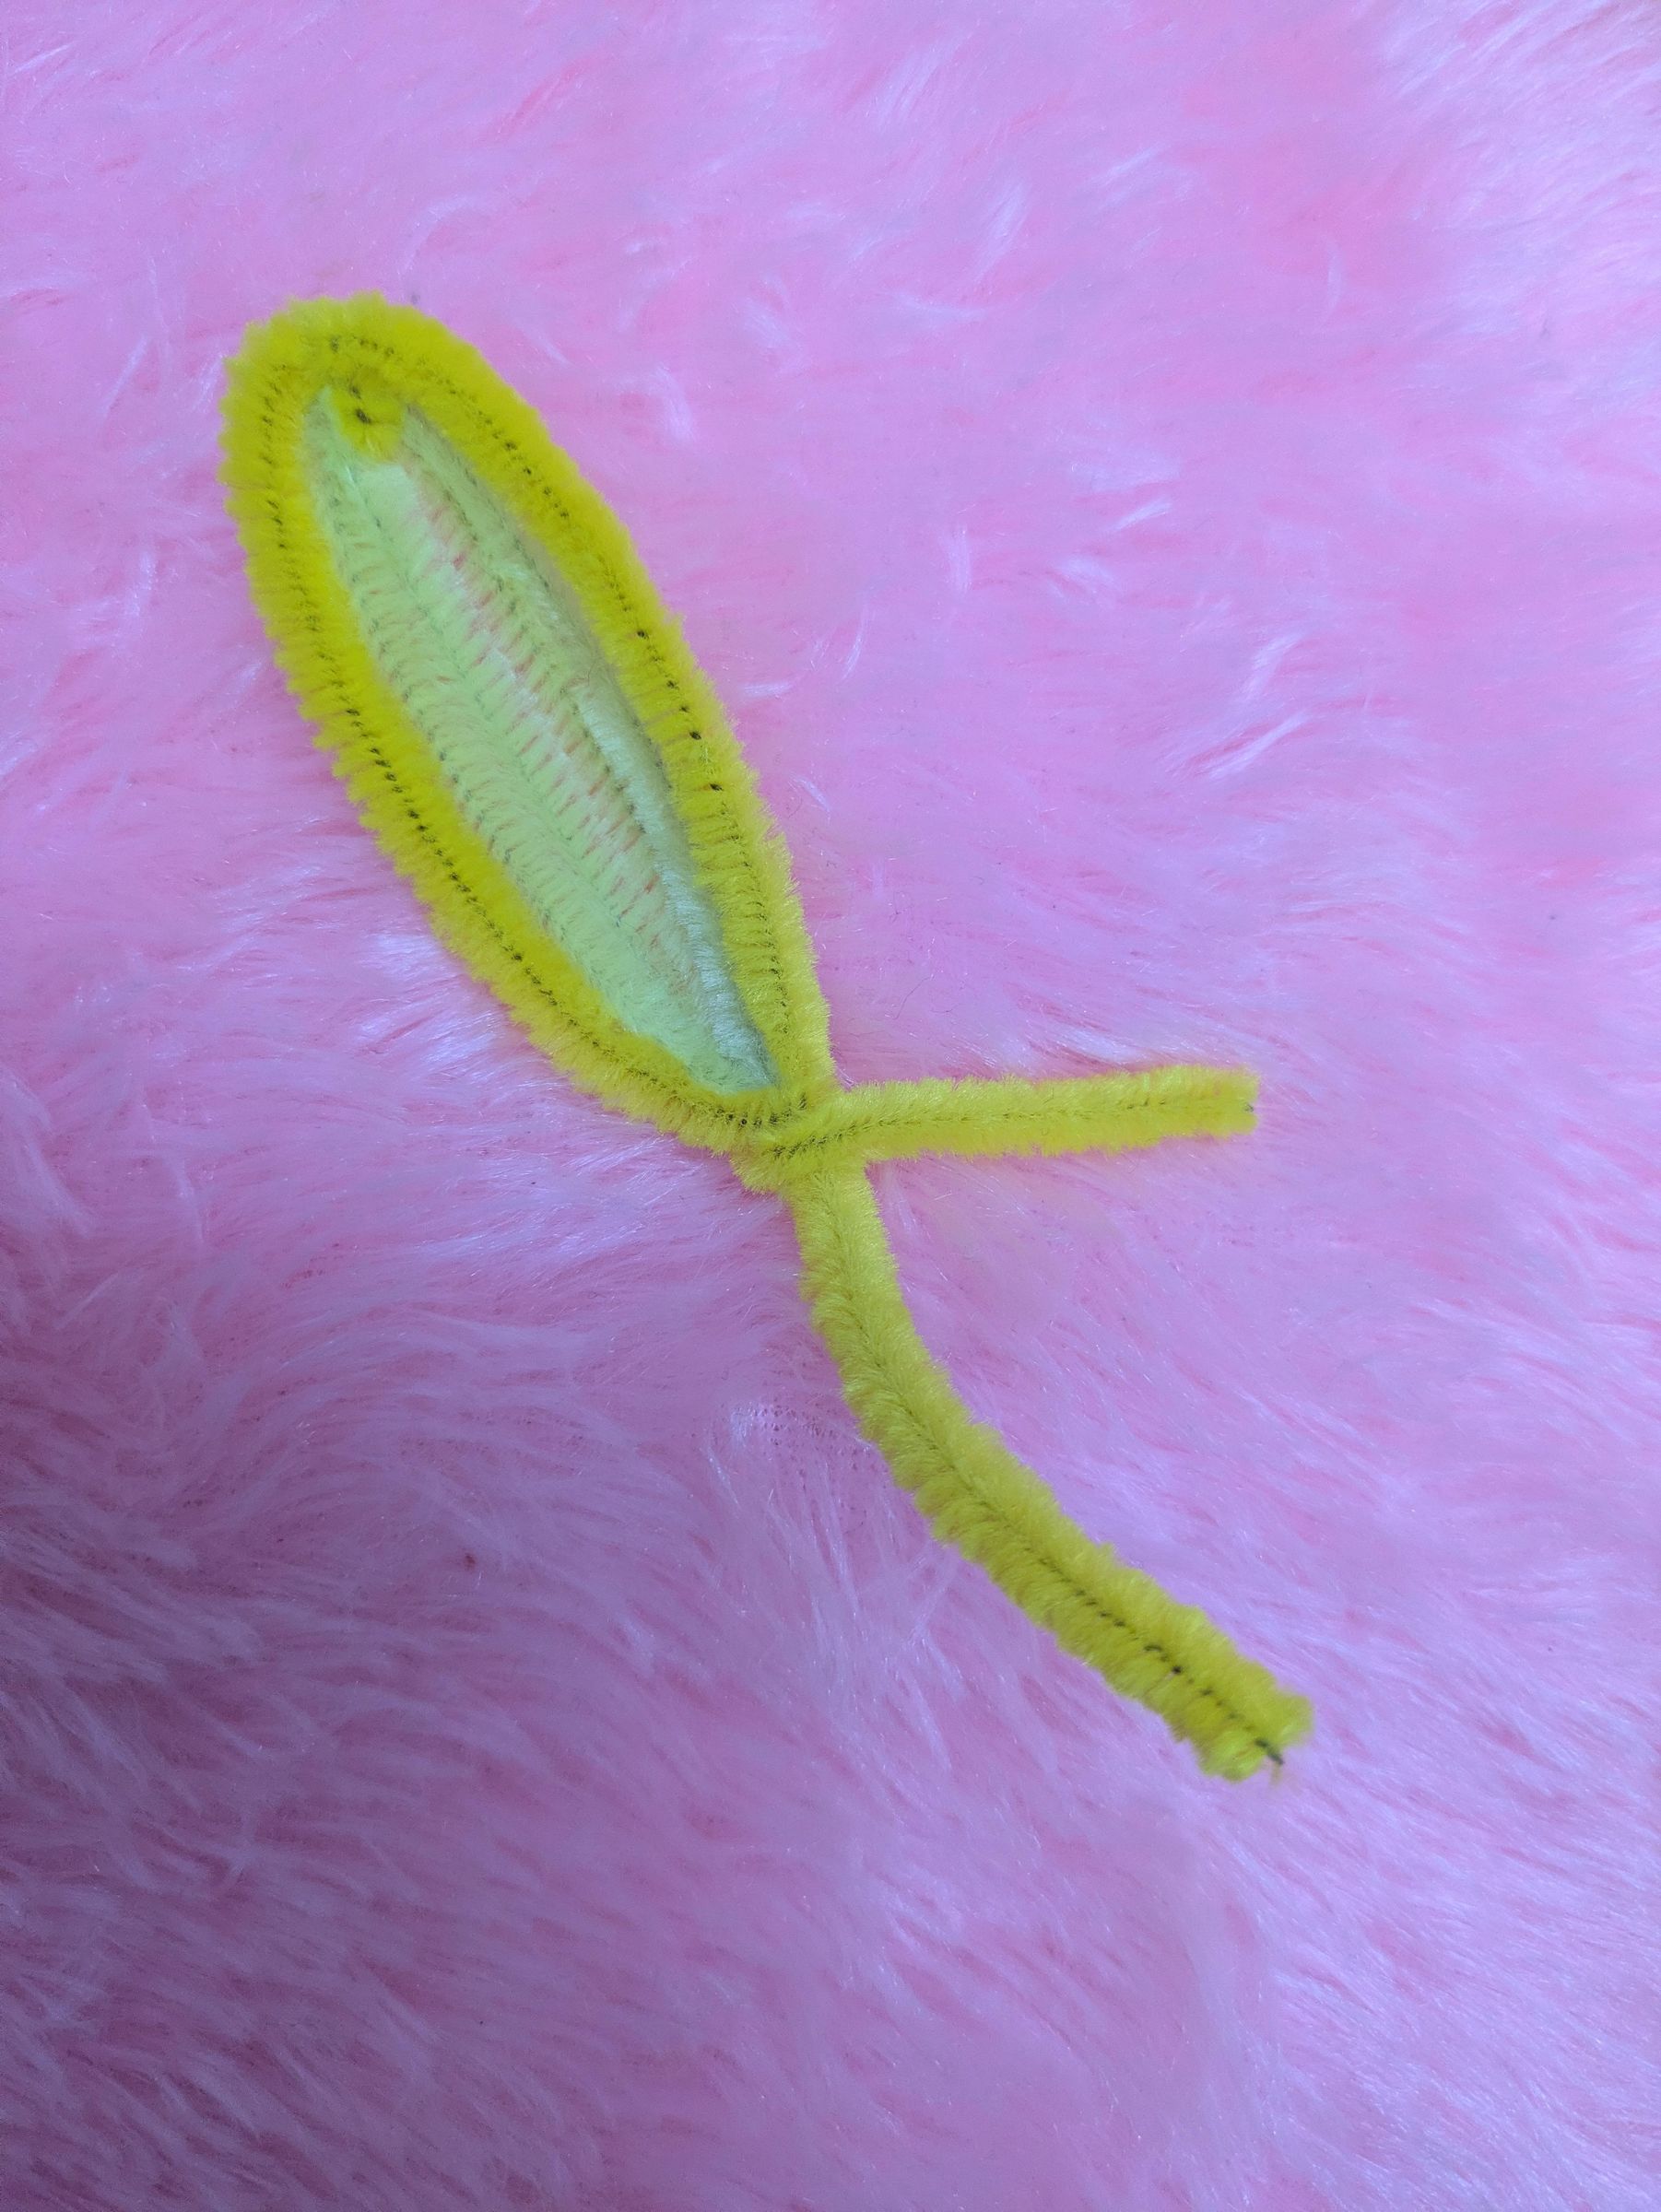
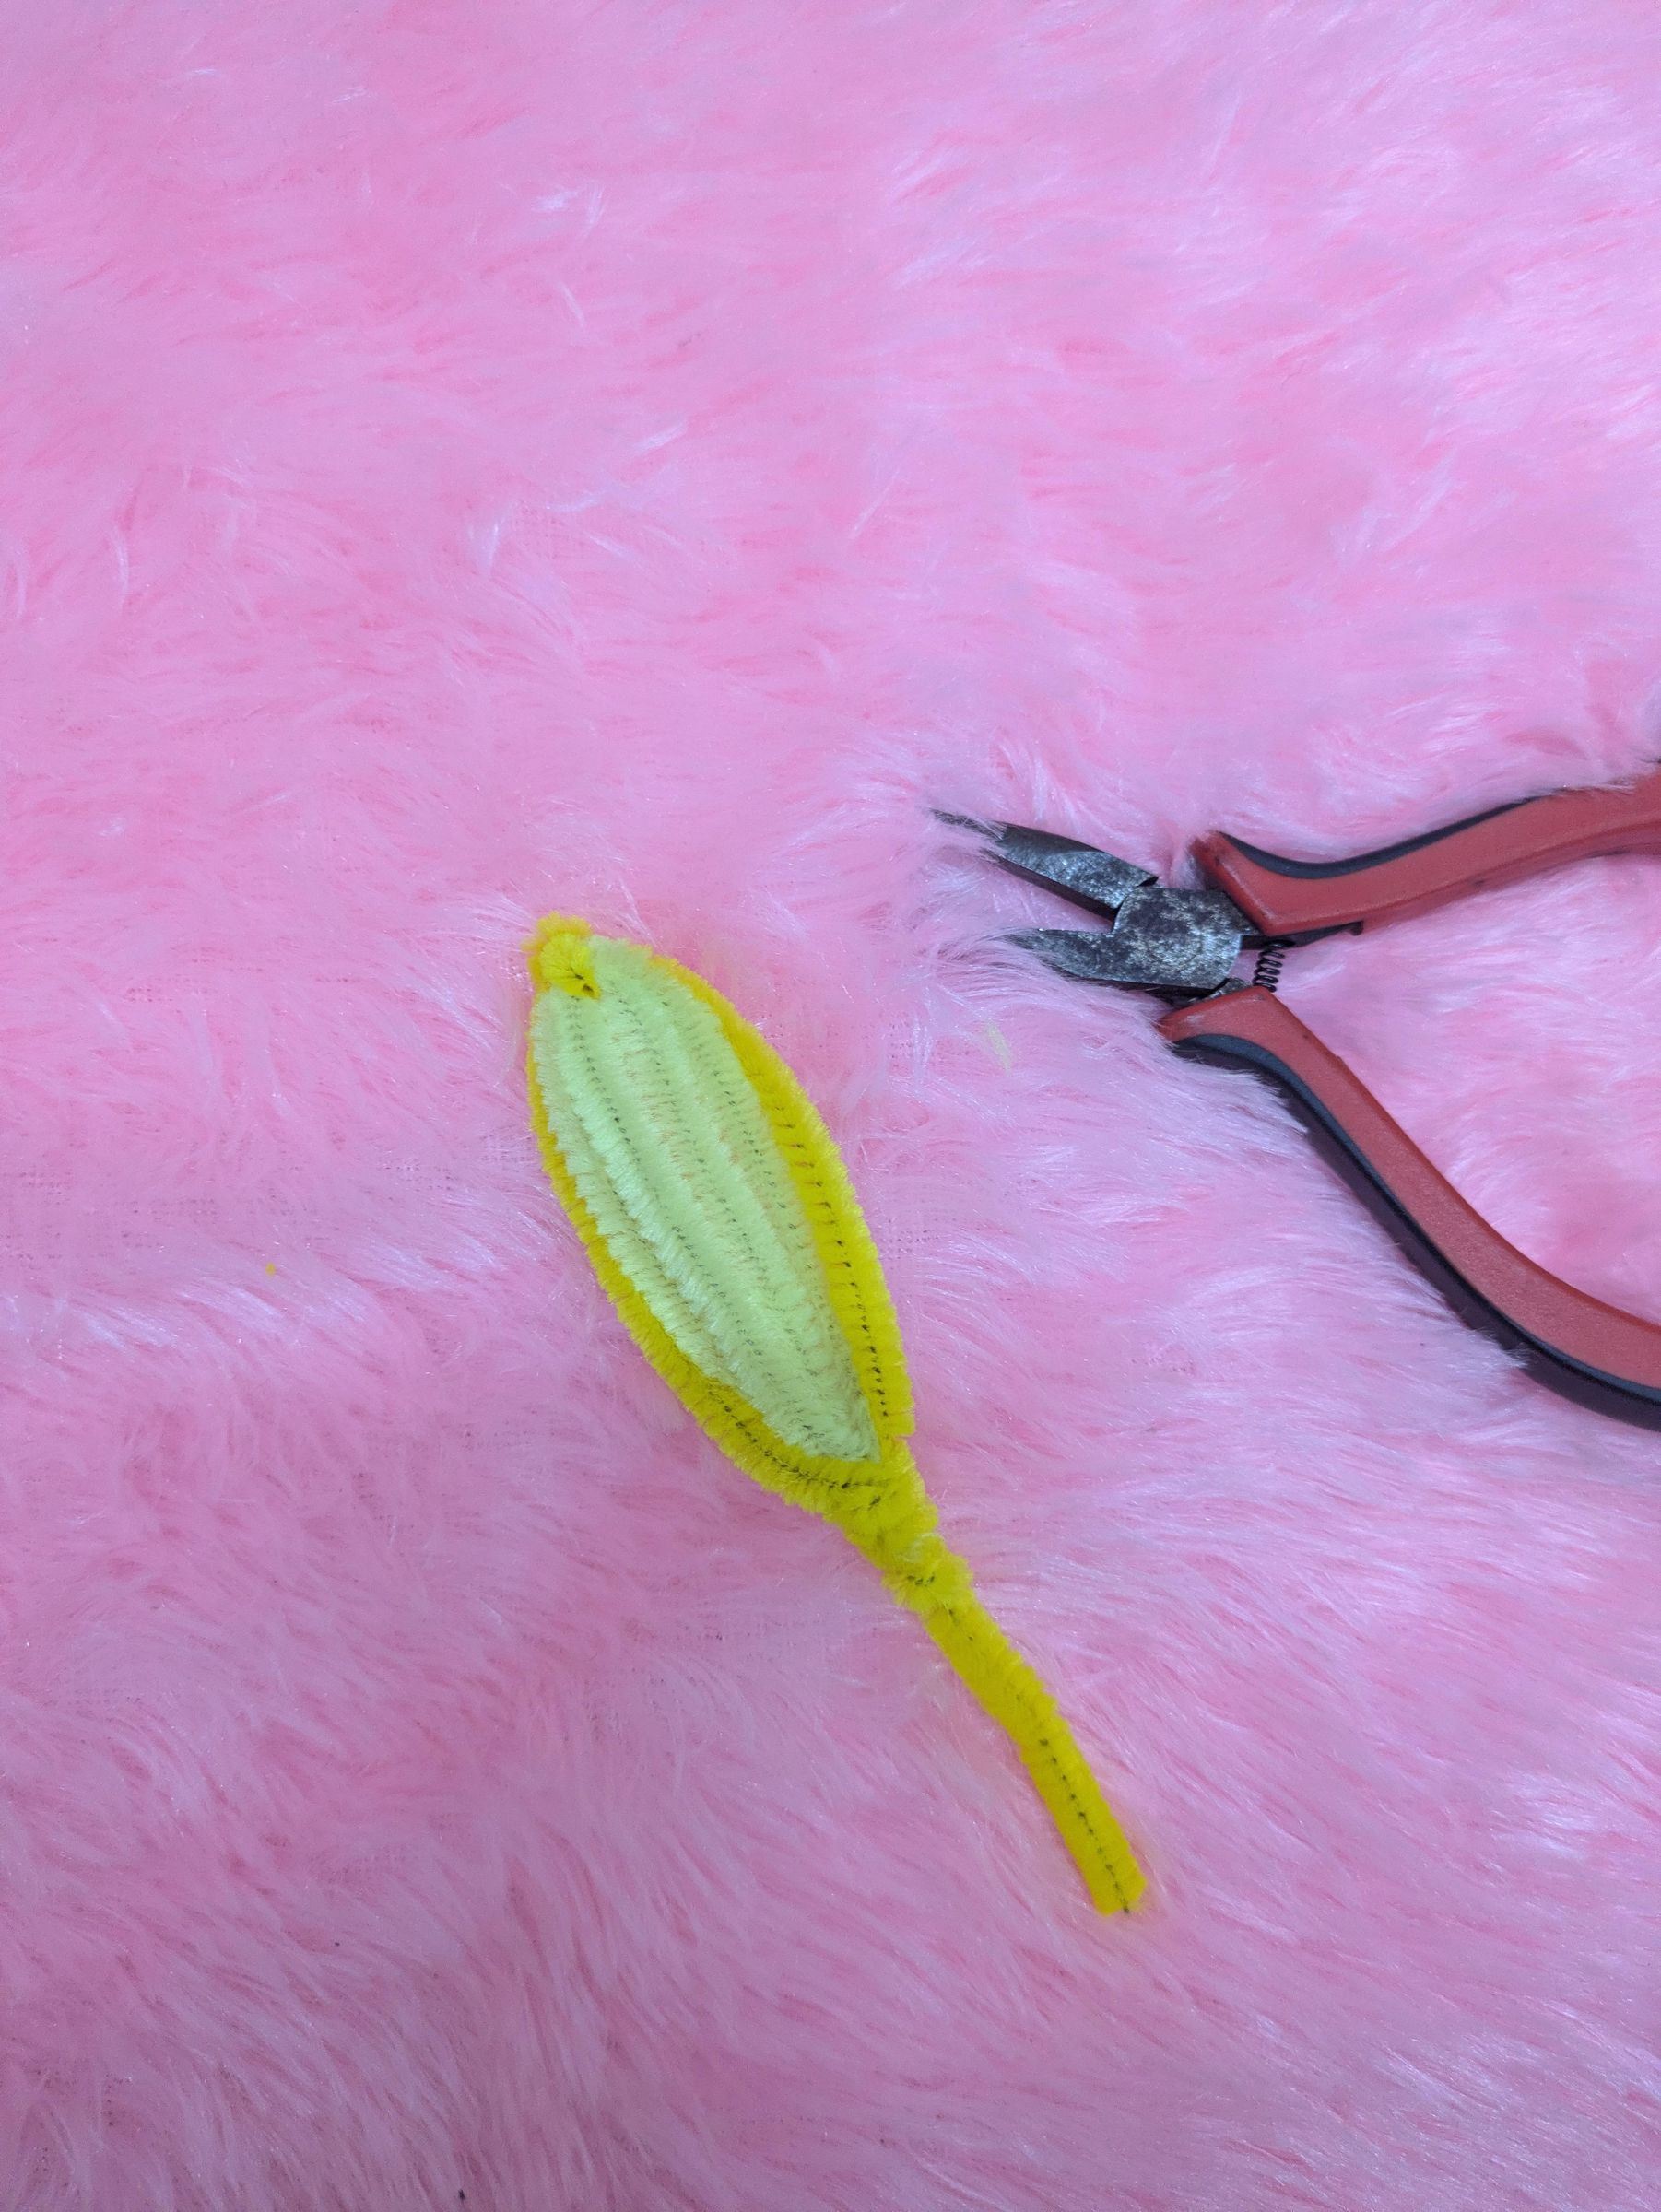
slightly pinch all together at bottom and rotate one bright yellow pipe cleaner forming a stem of petal, you can use plier to strengthen the grip too.
Part 3
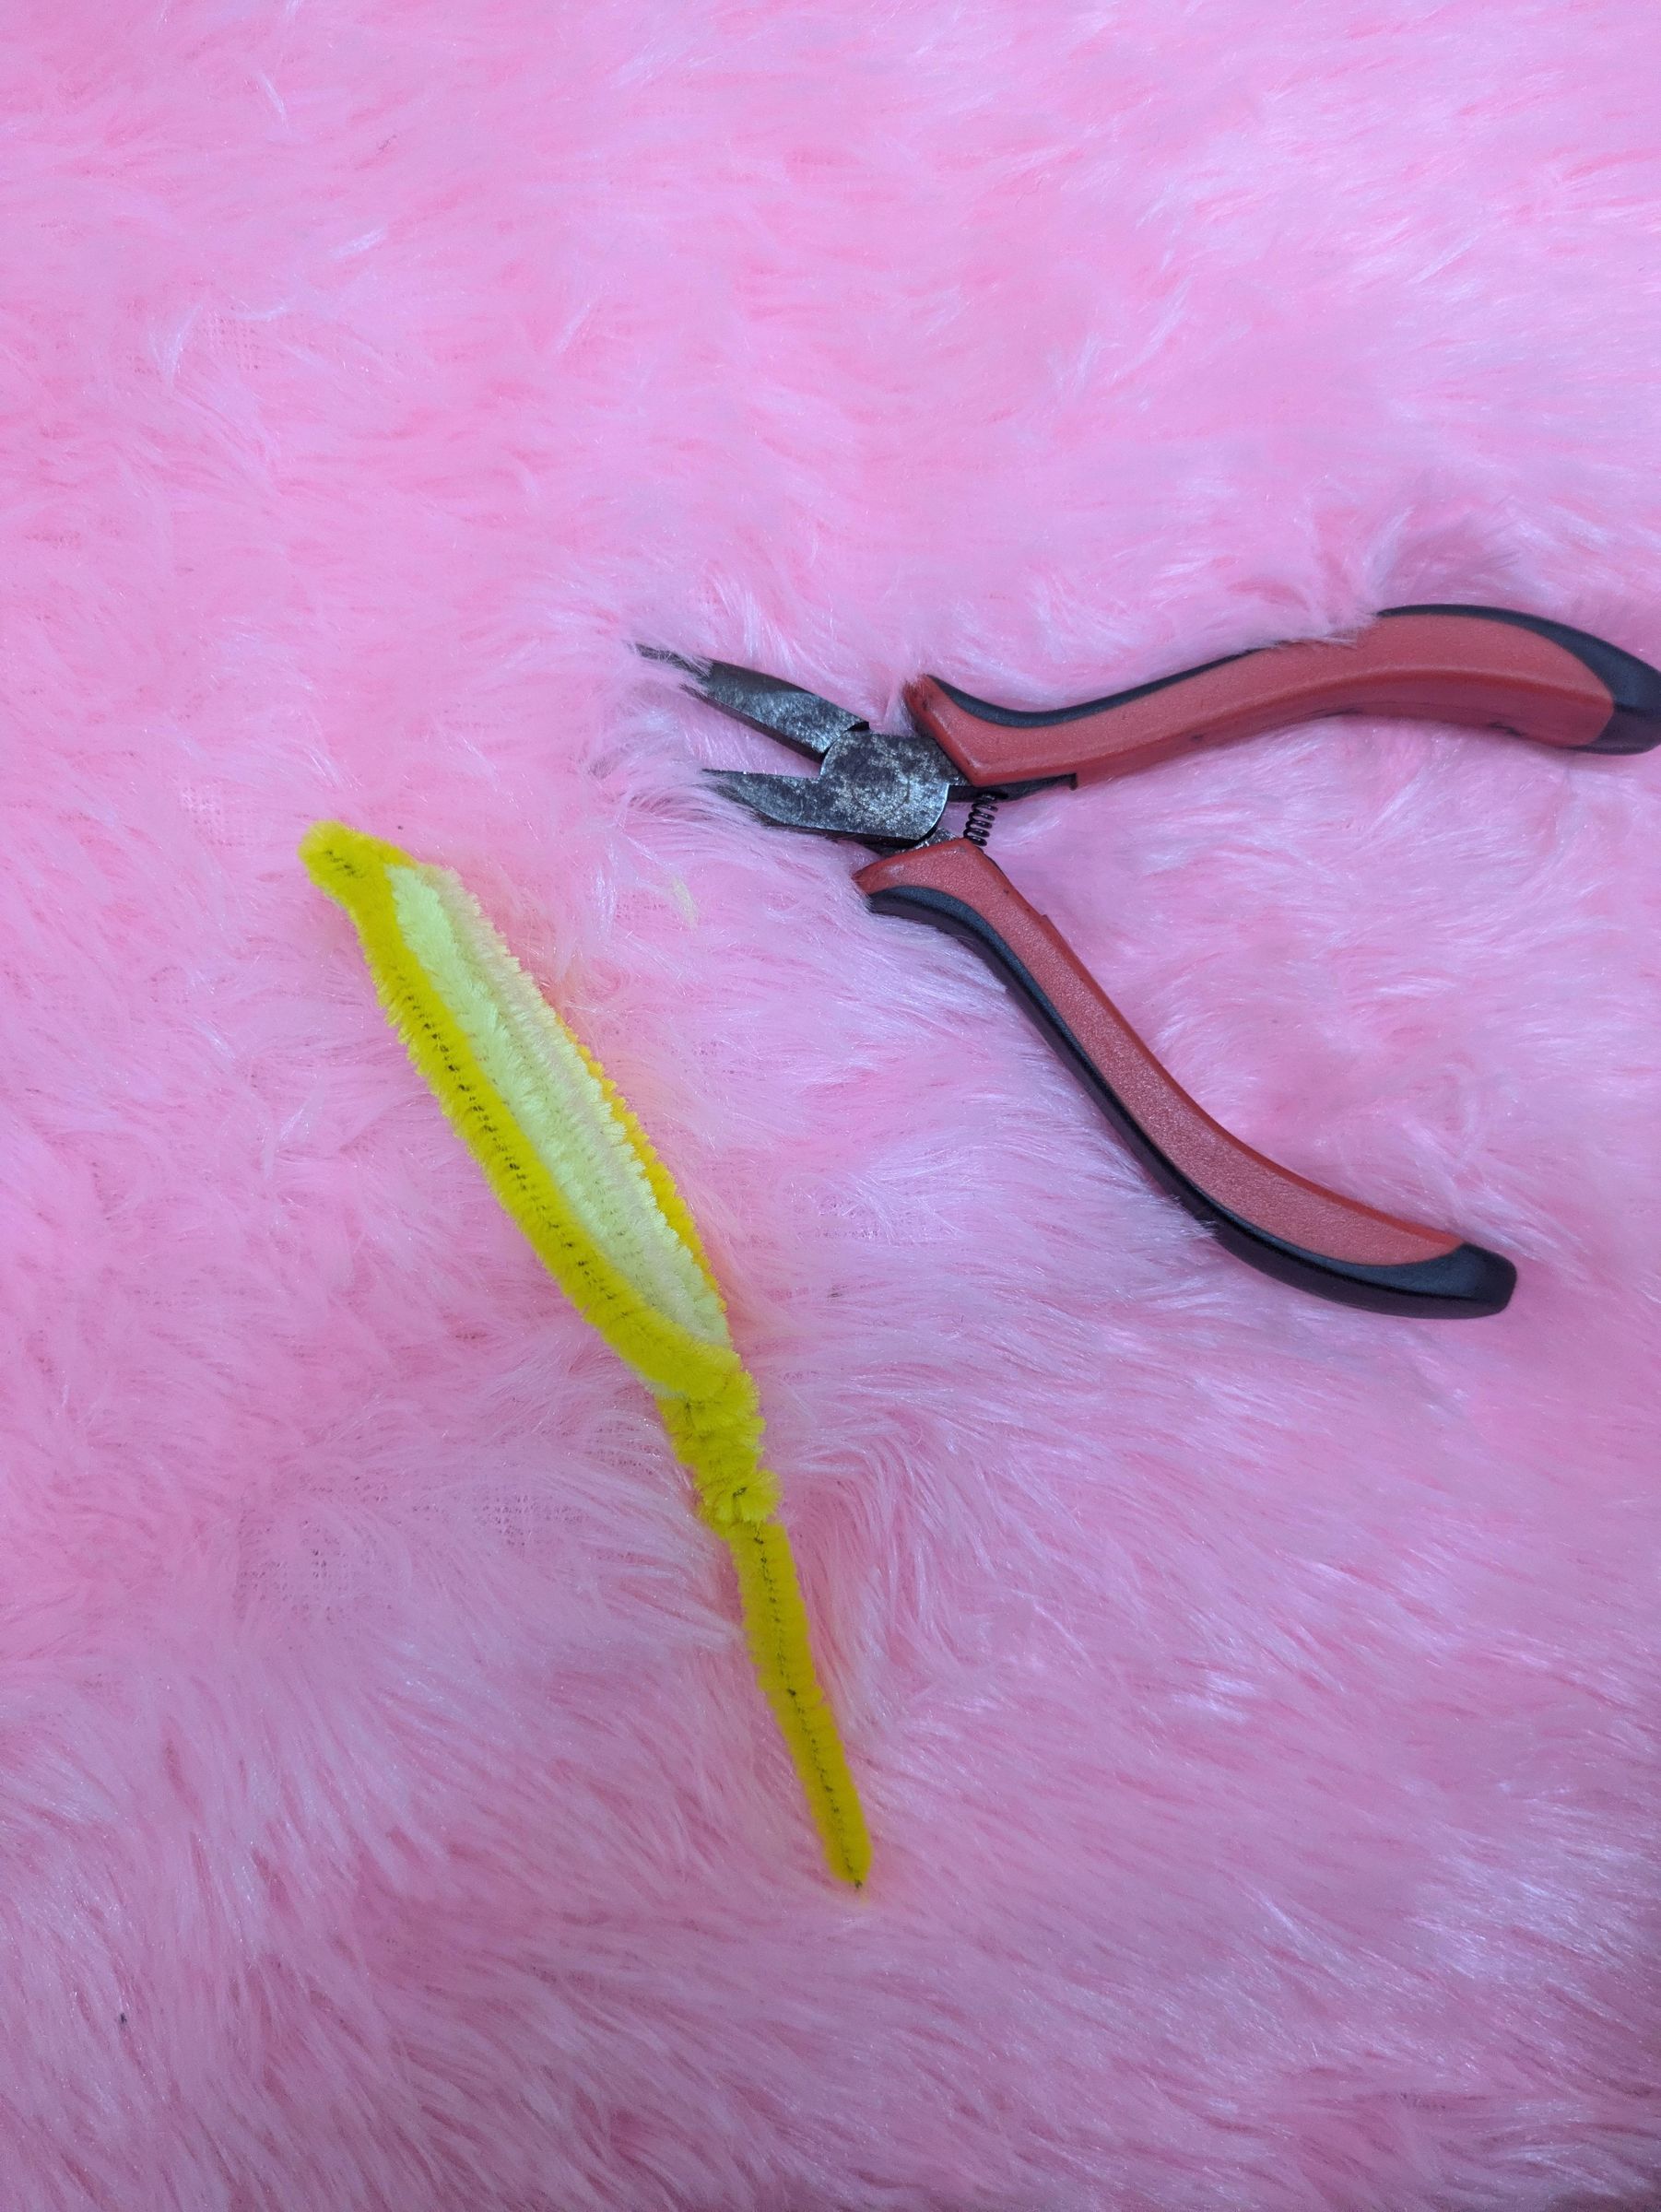
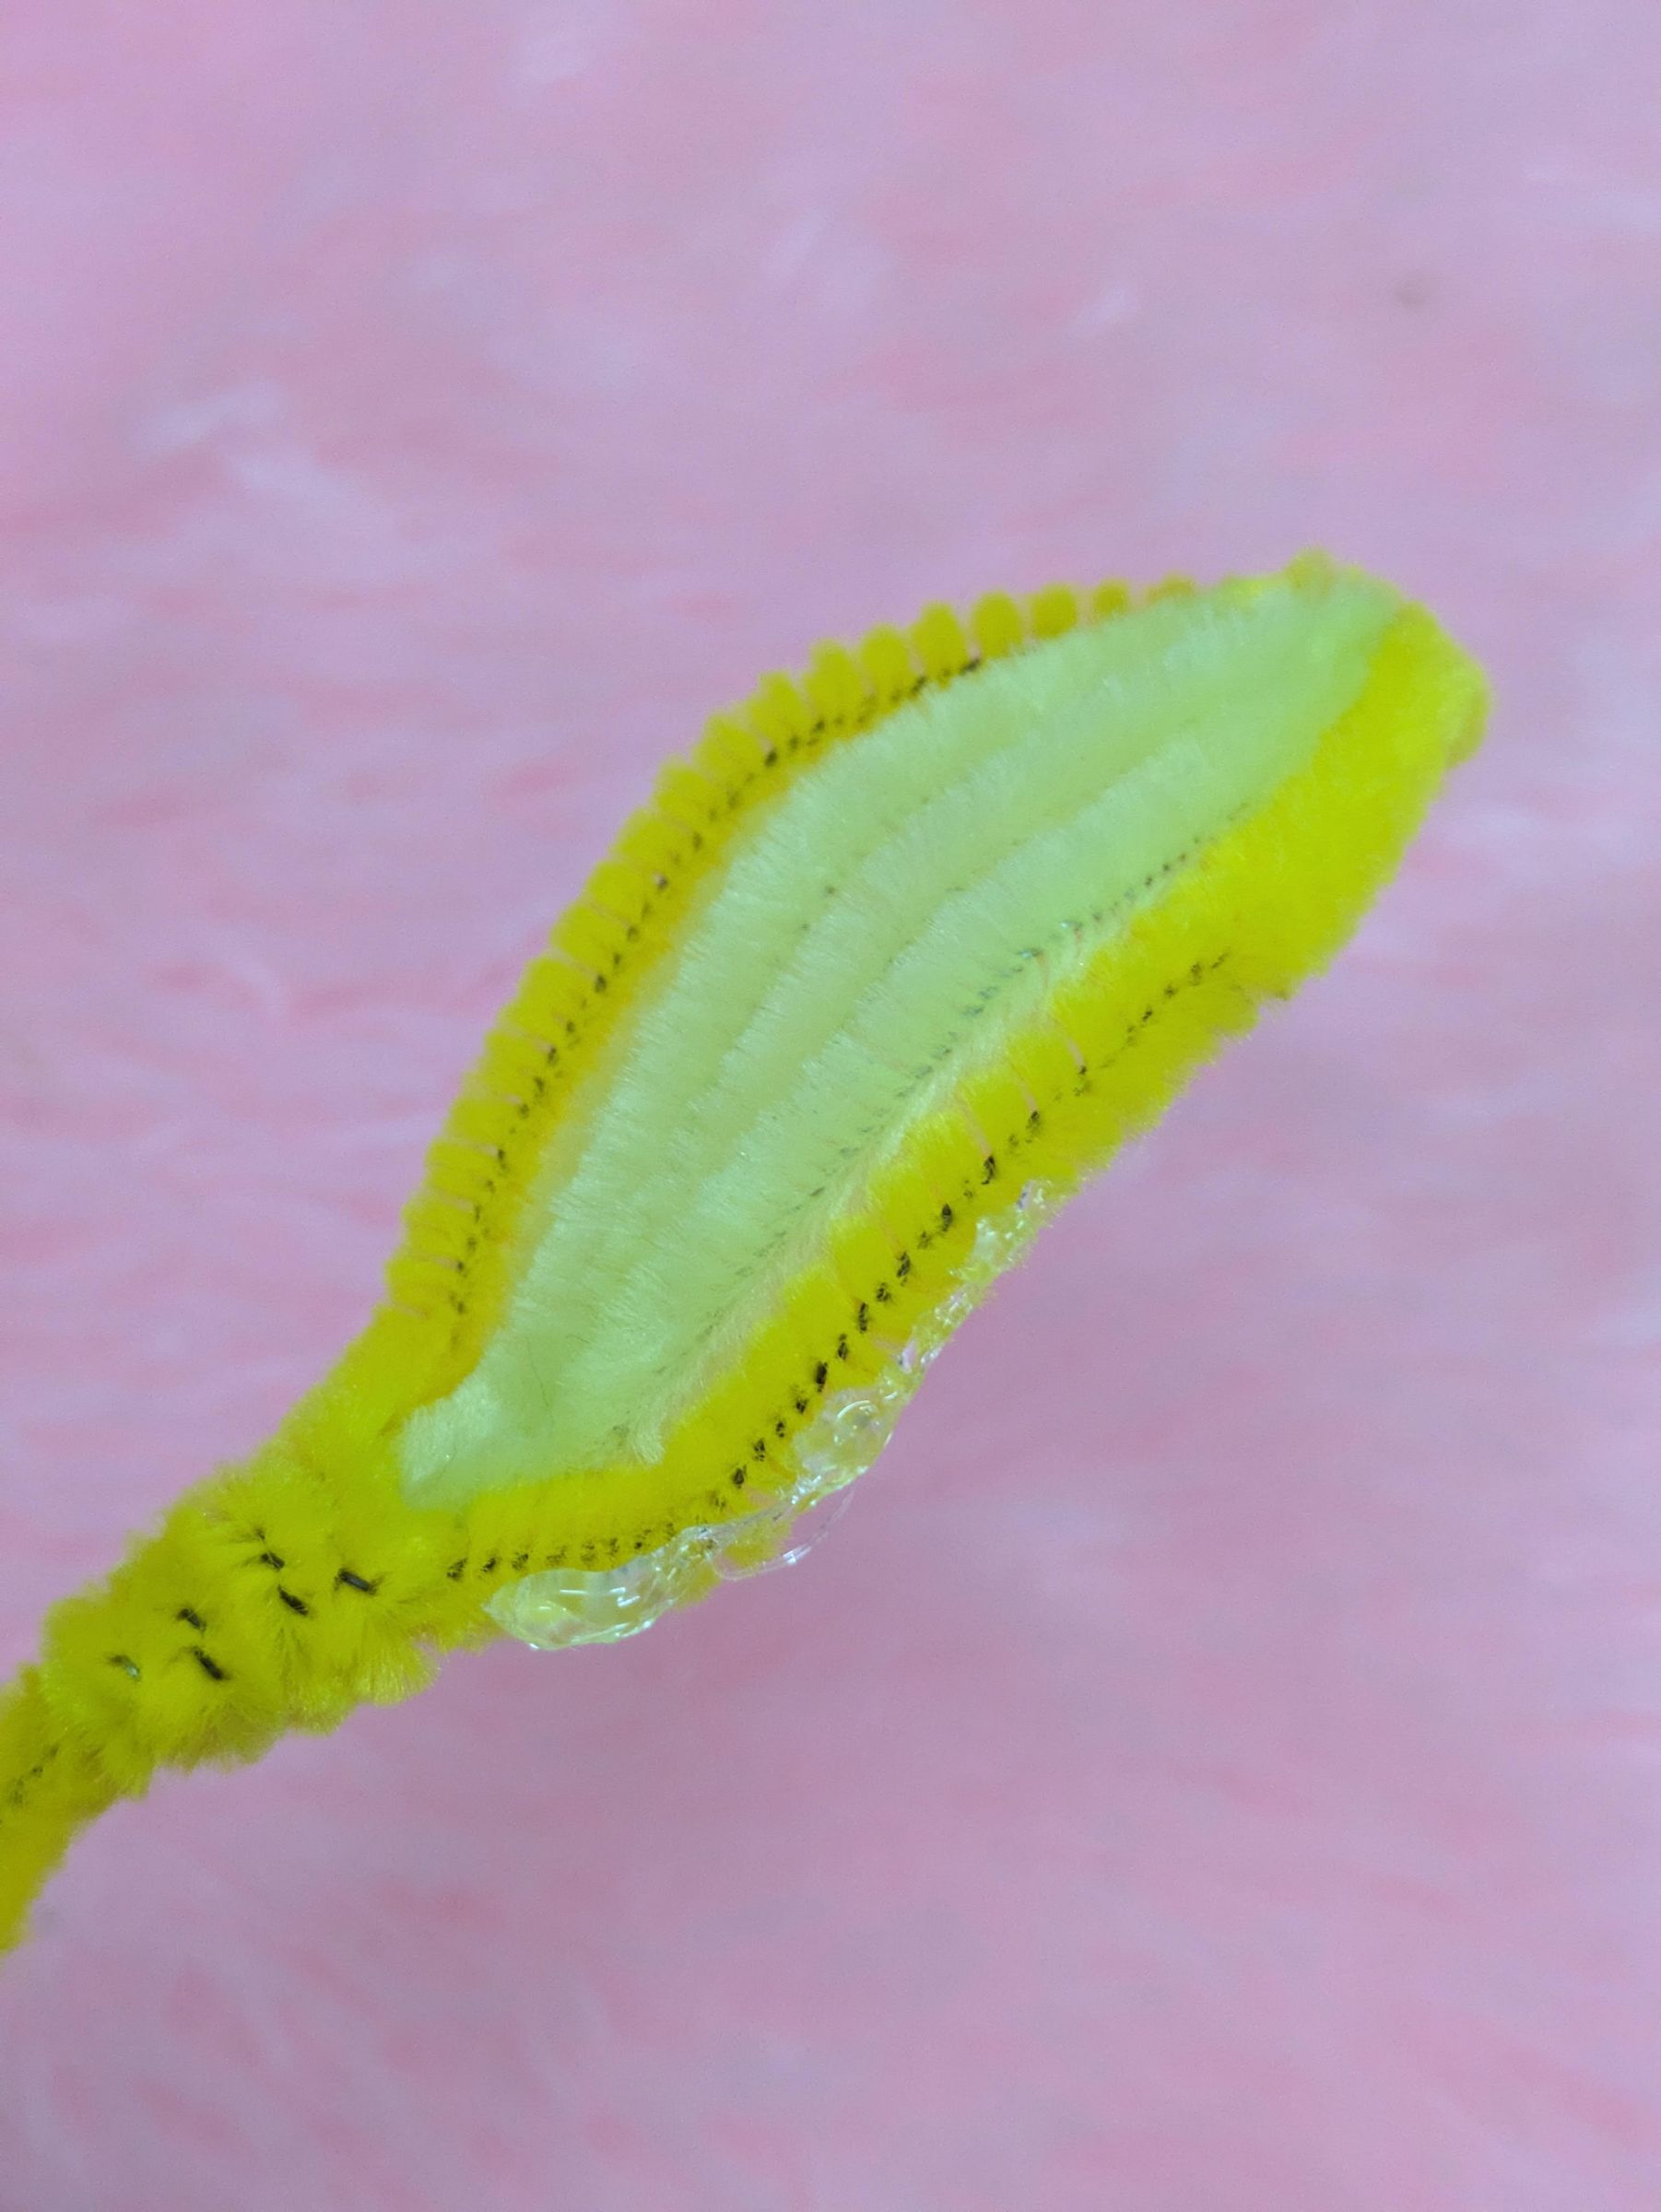
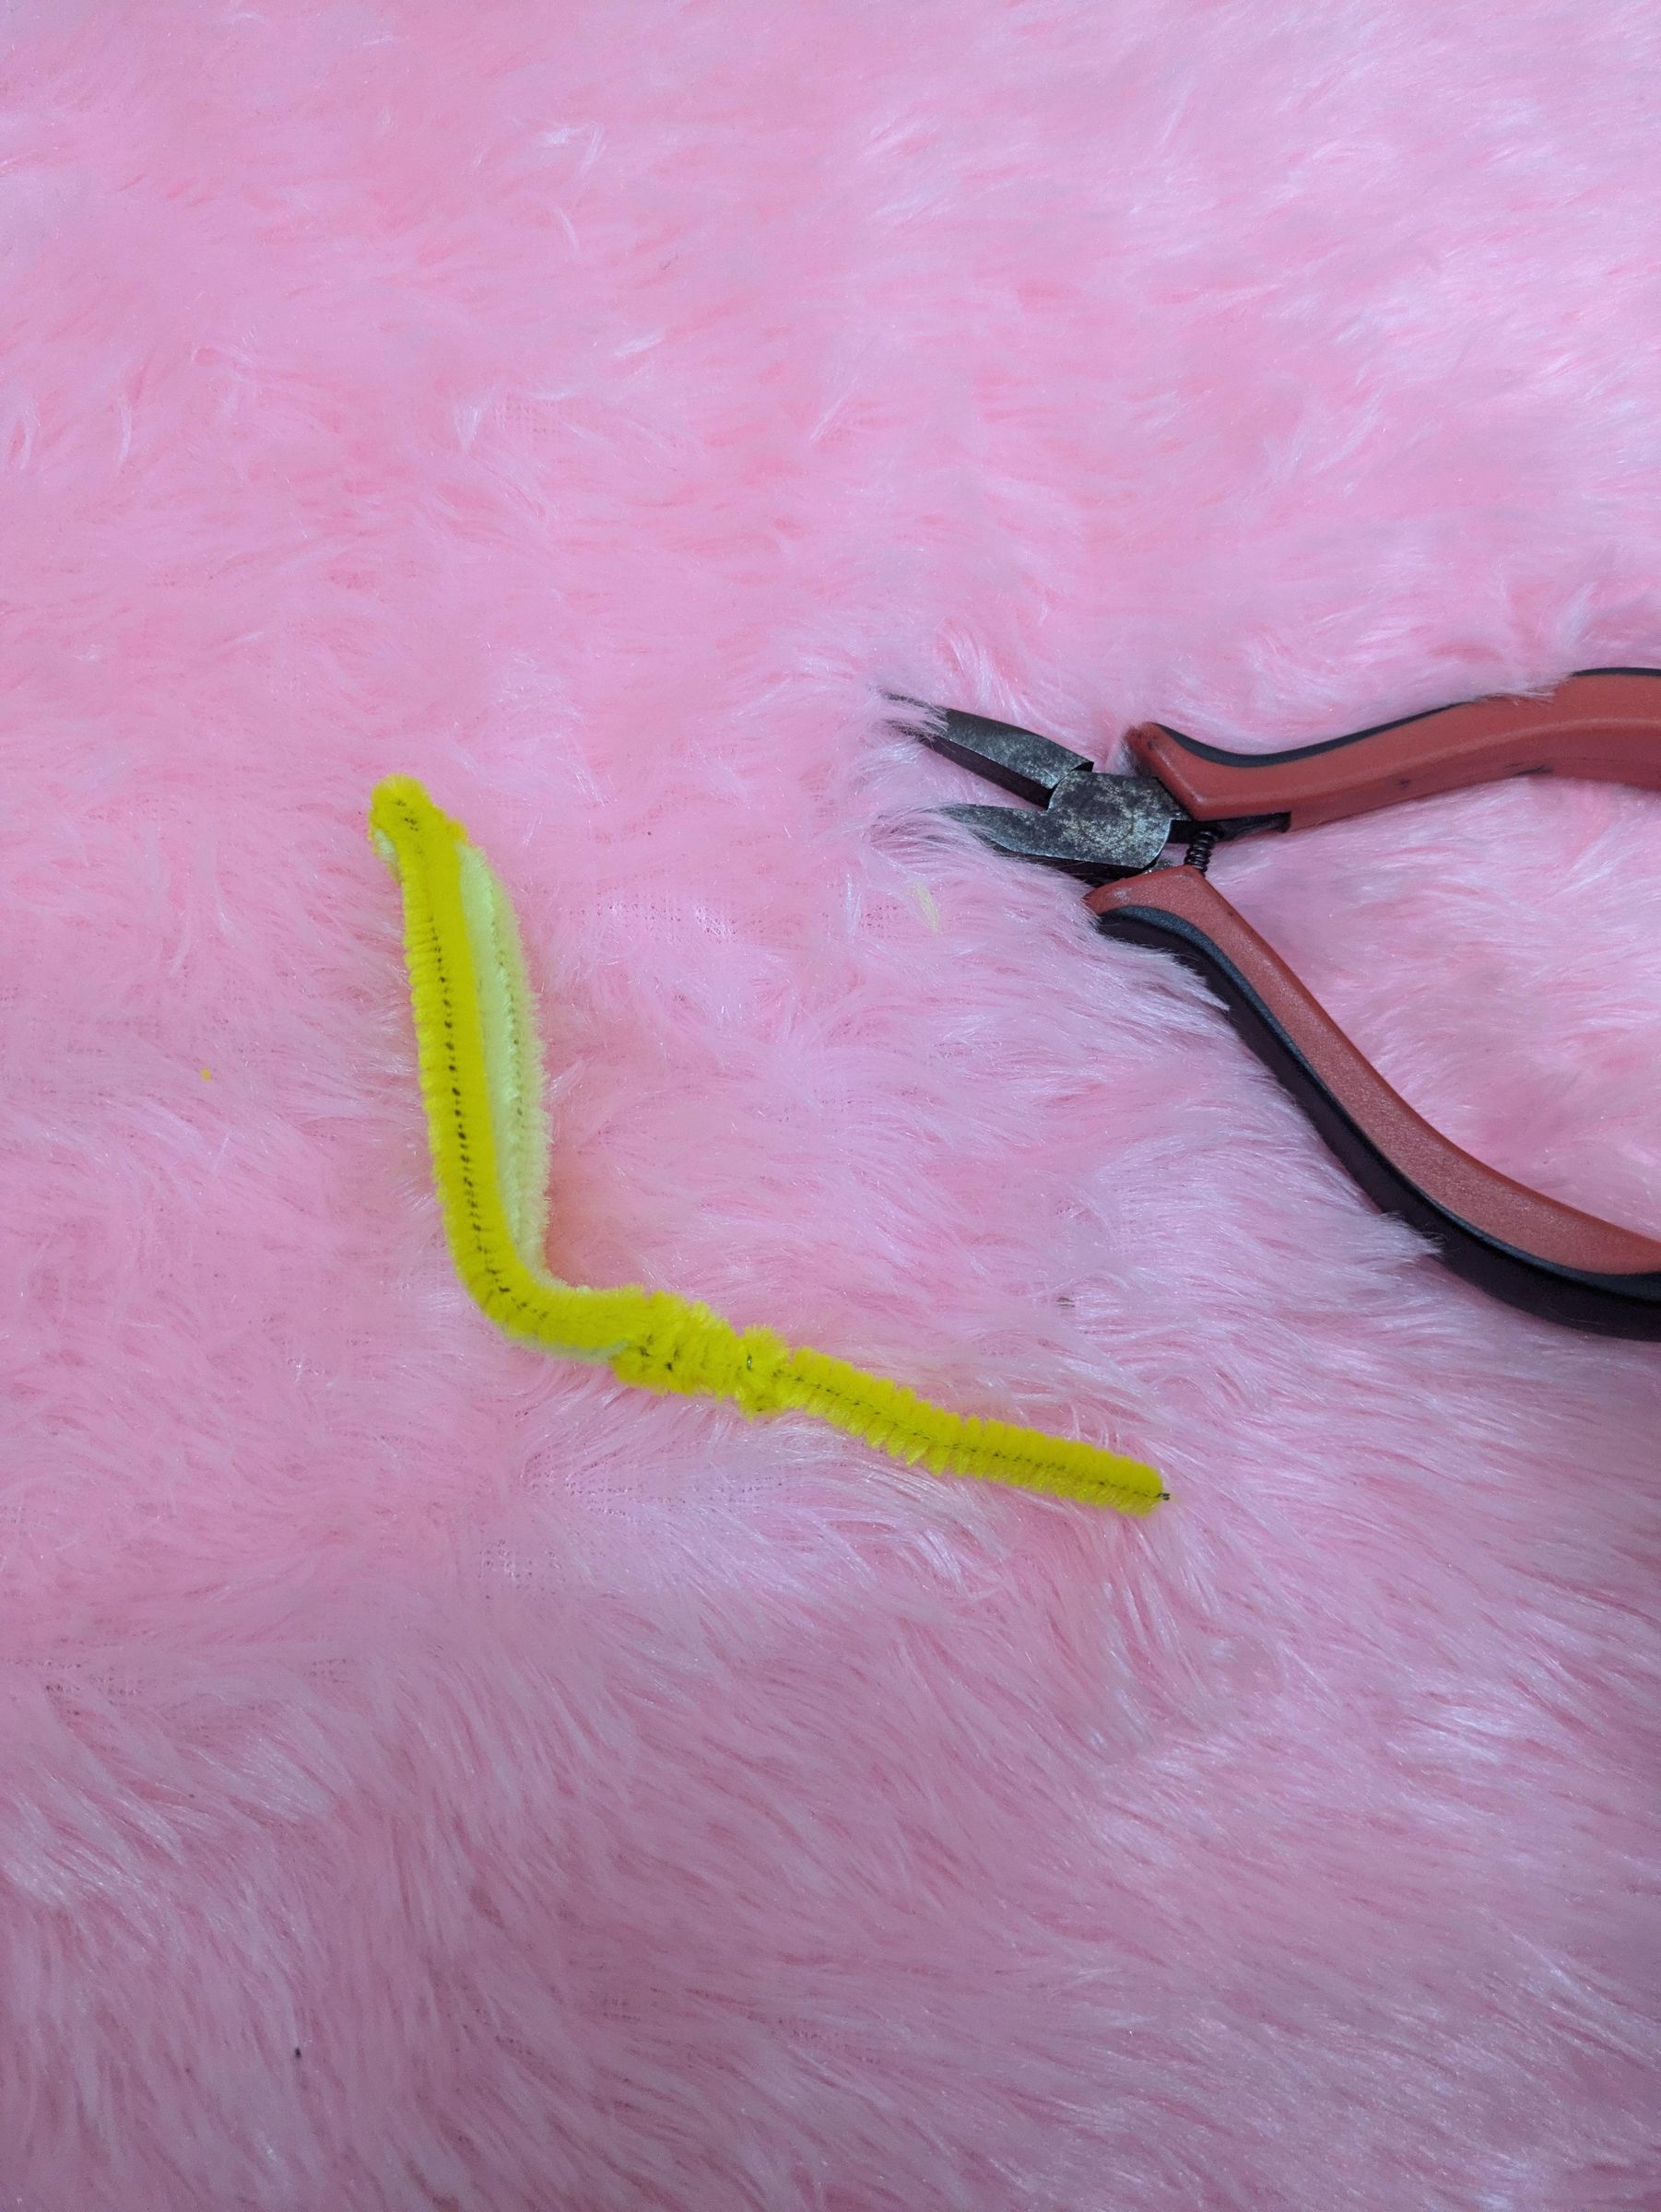
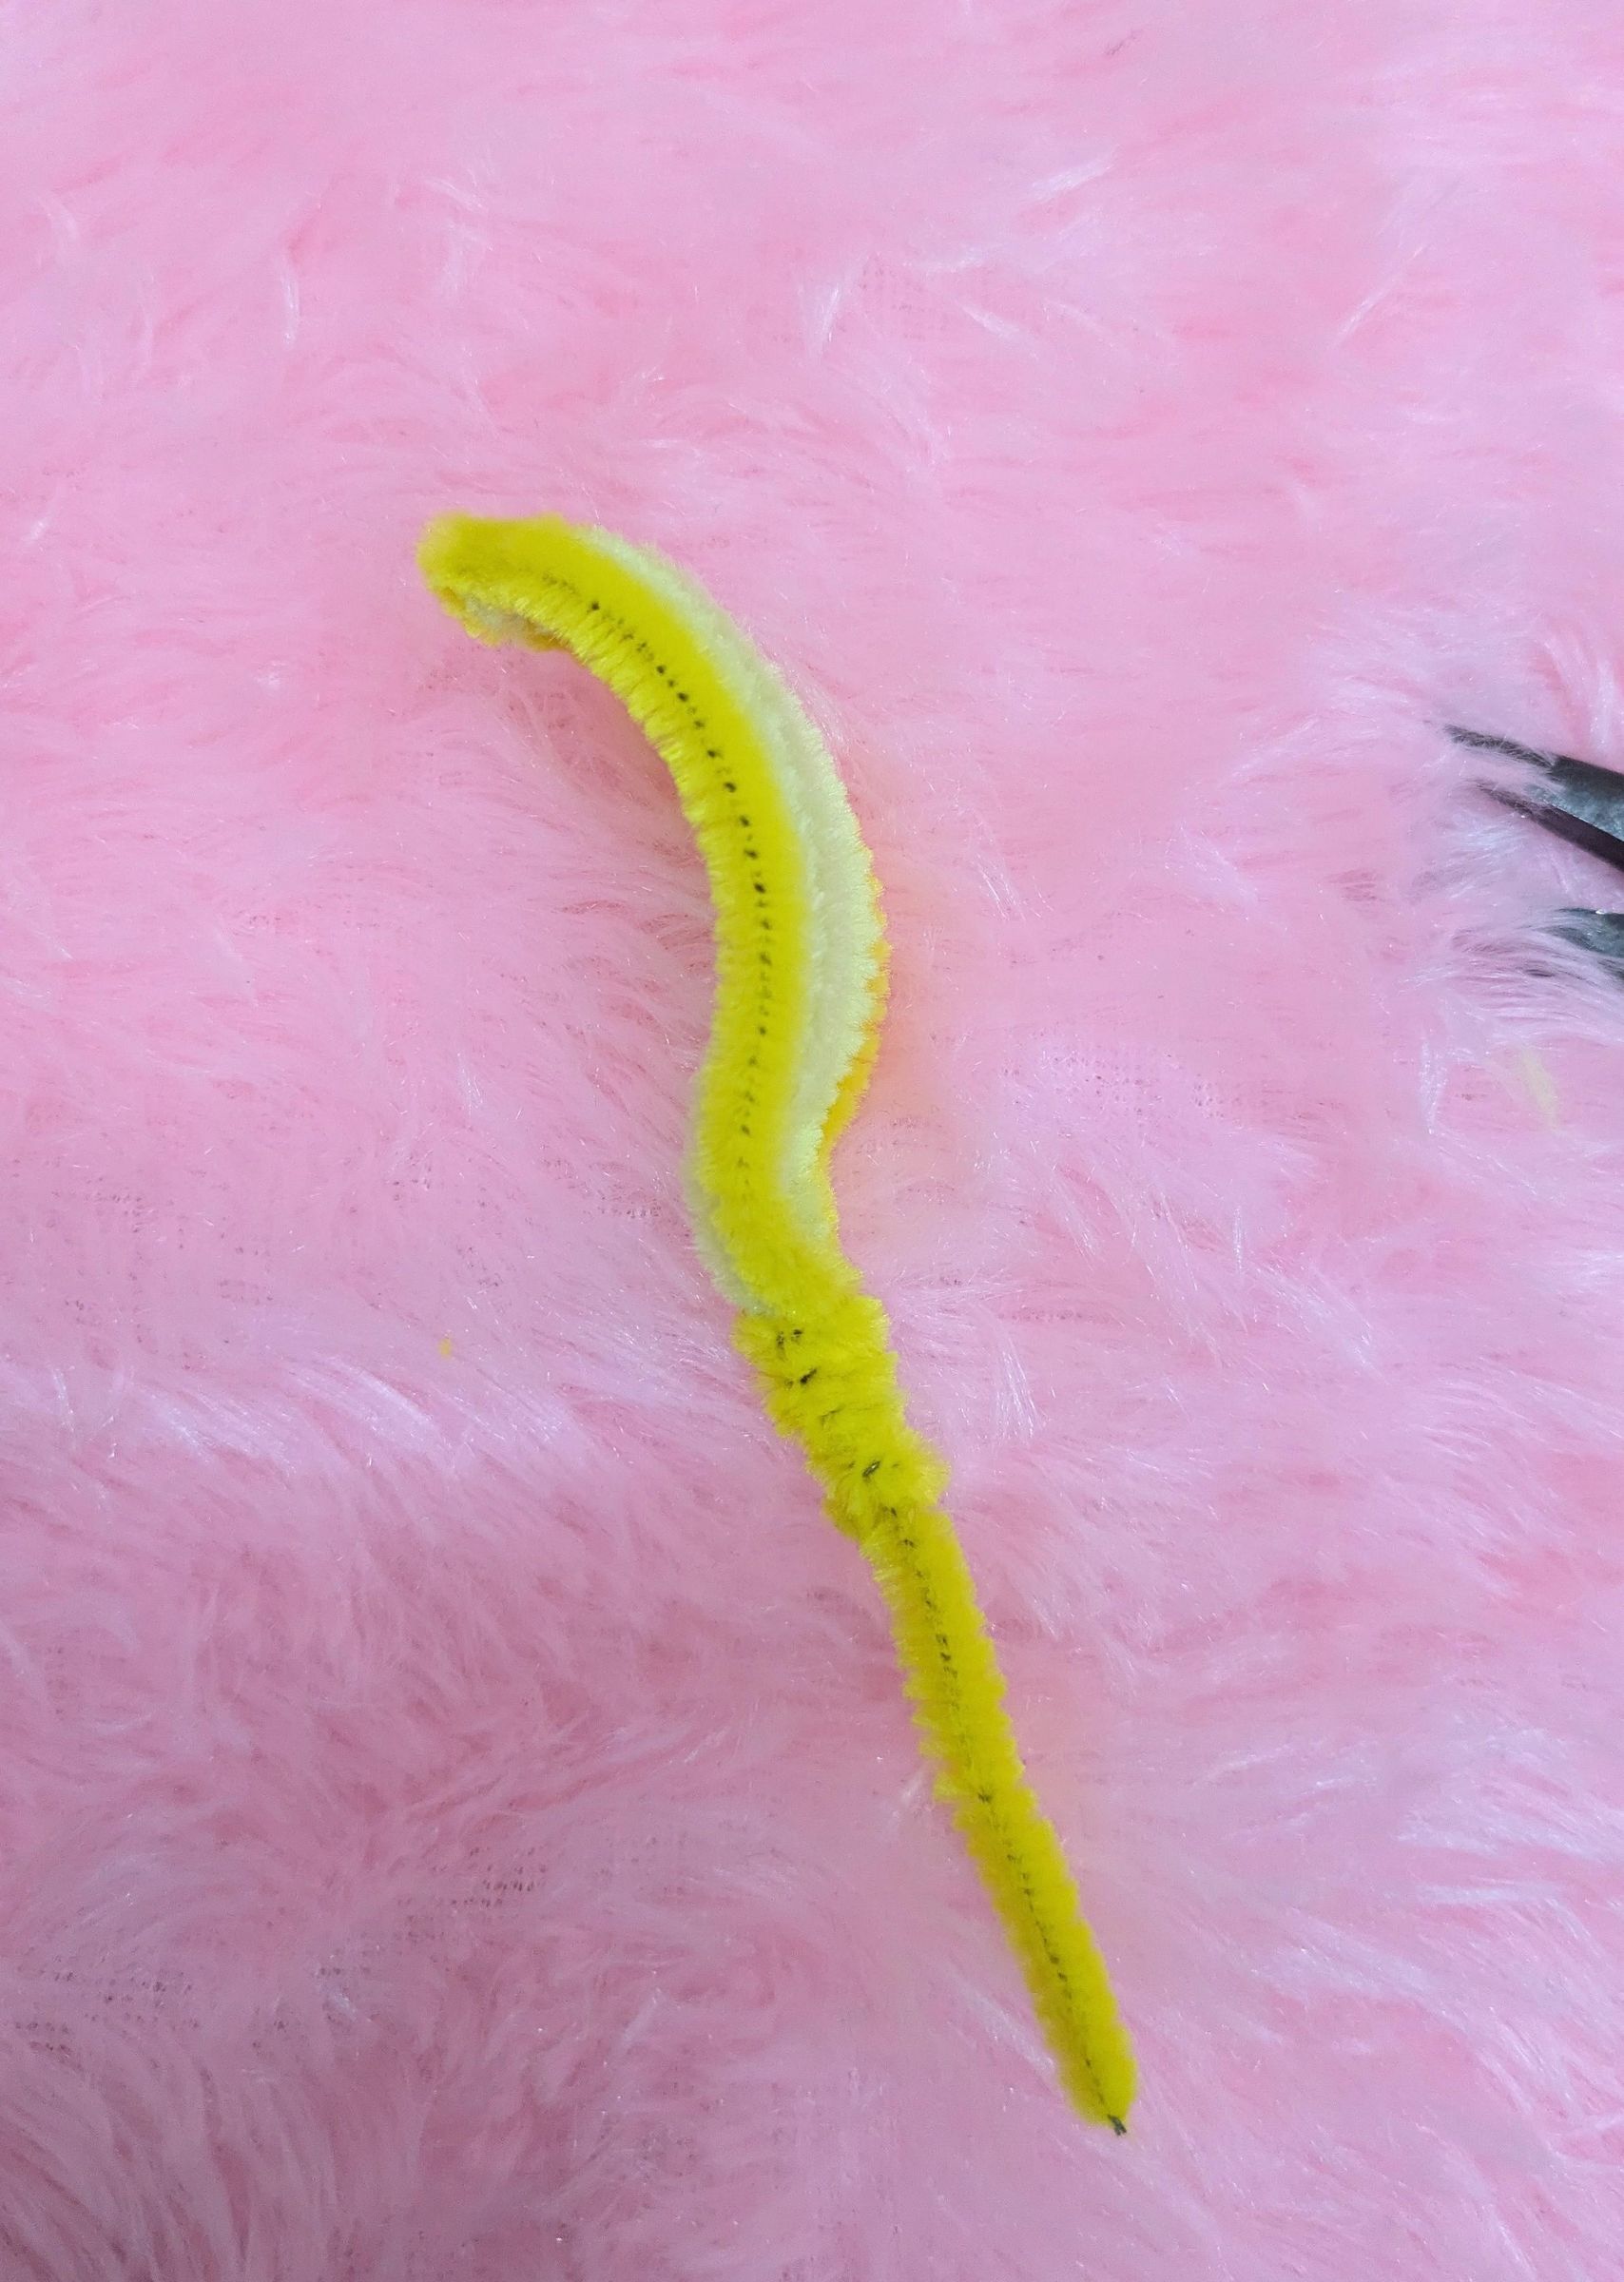
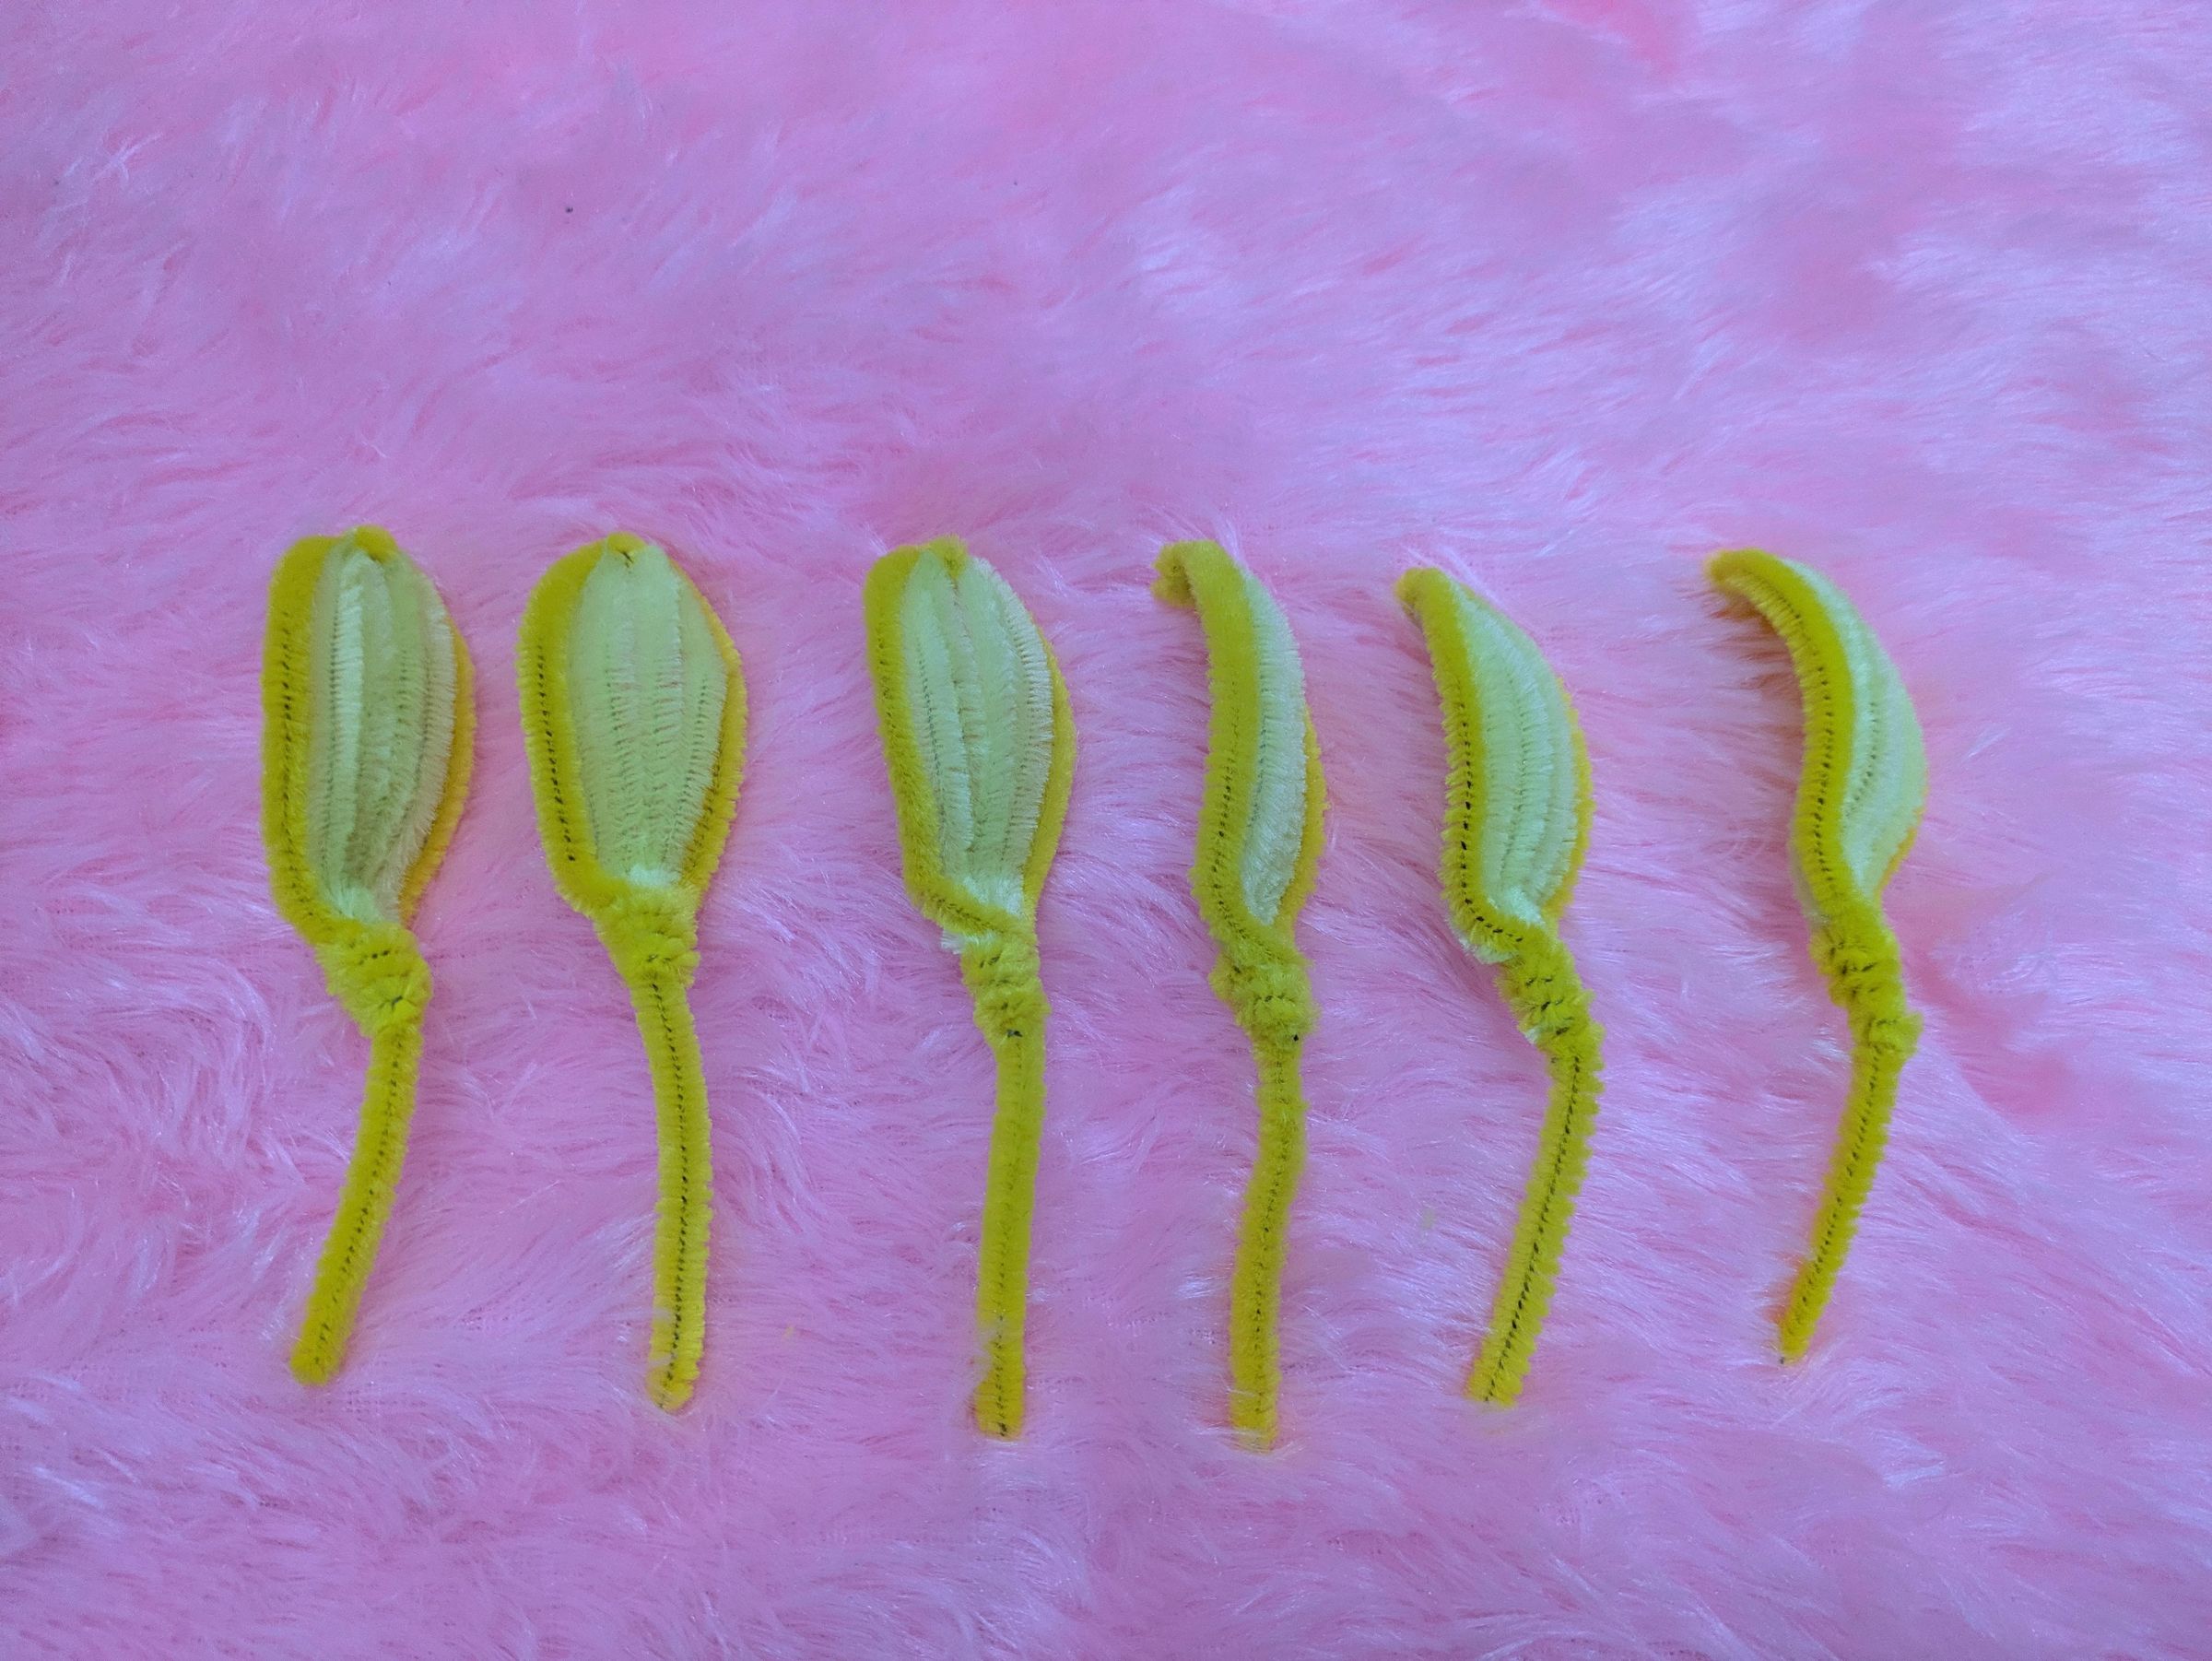
Slightly bend the tip of petal using a plier or hand, bend the petal at bottom and arch it up. 1 done, 5 more to go
Lily Flower
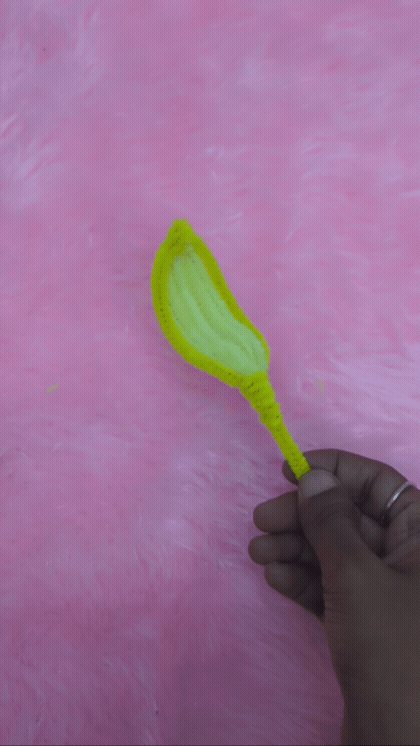
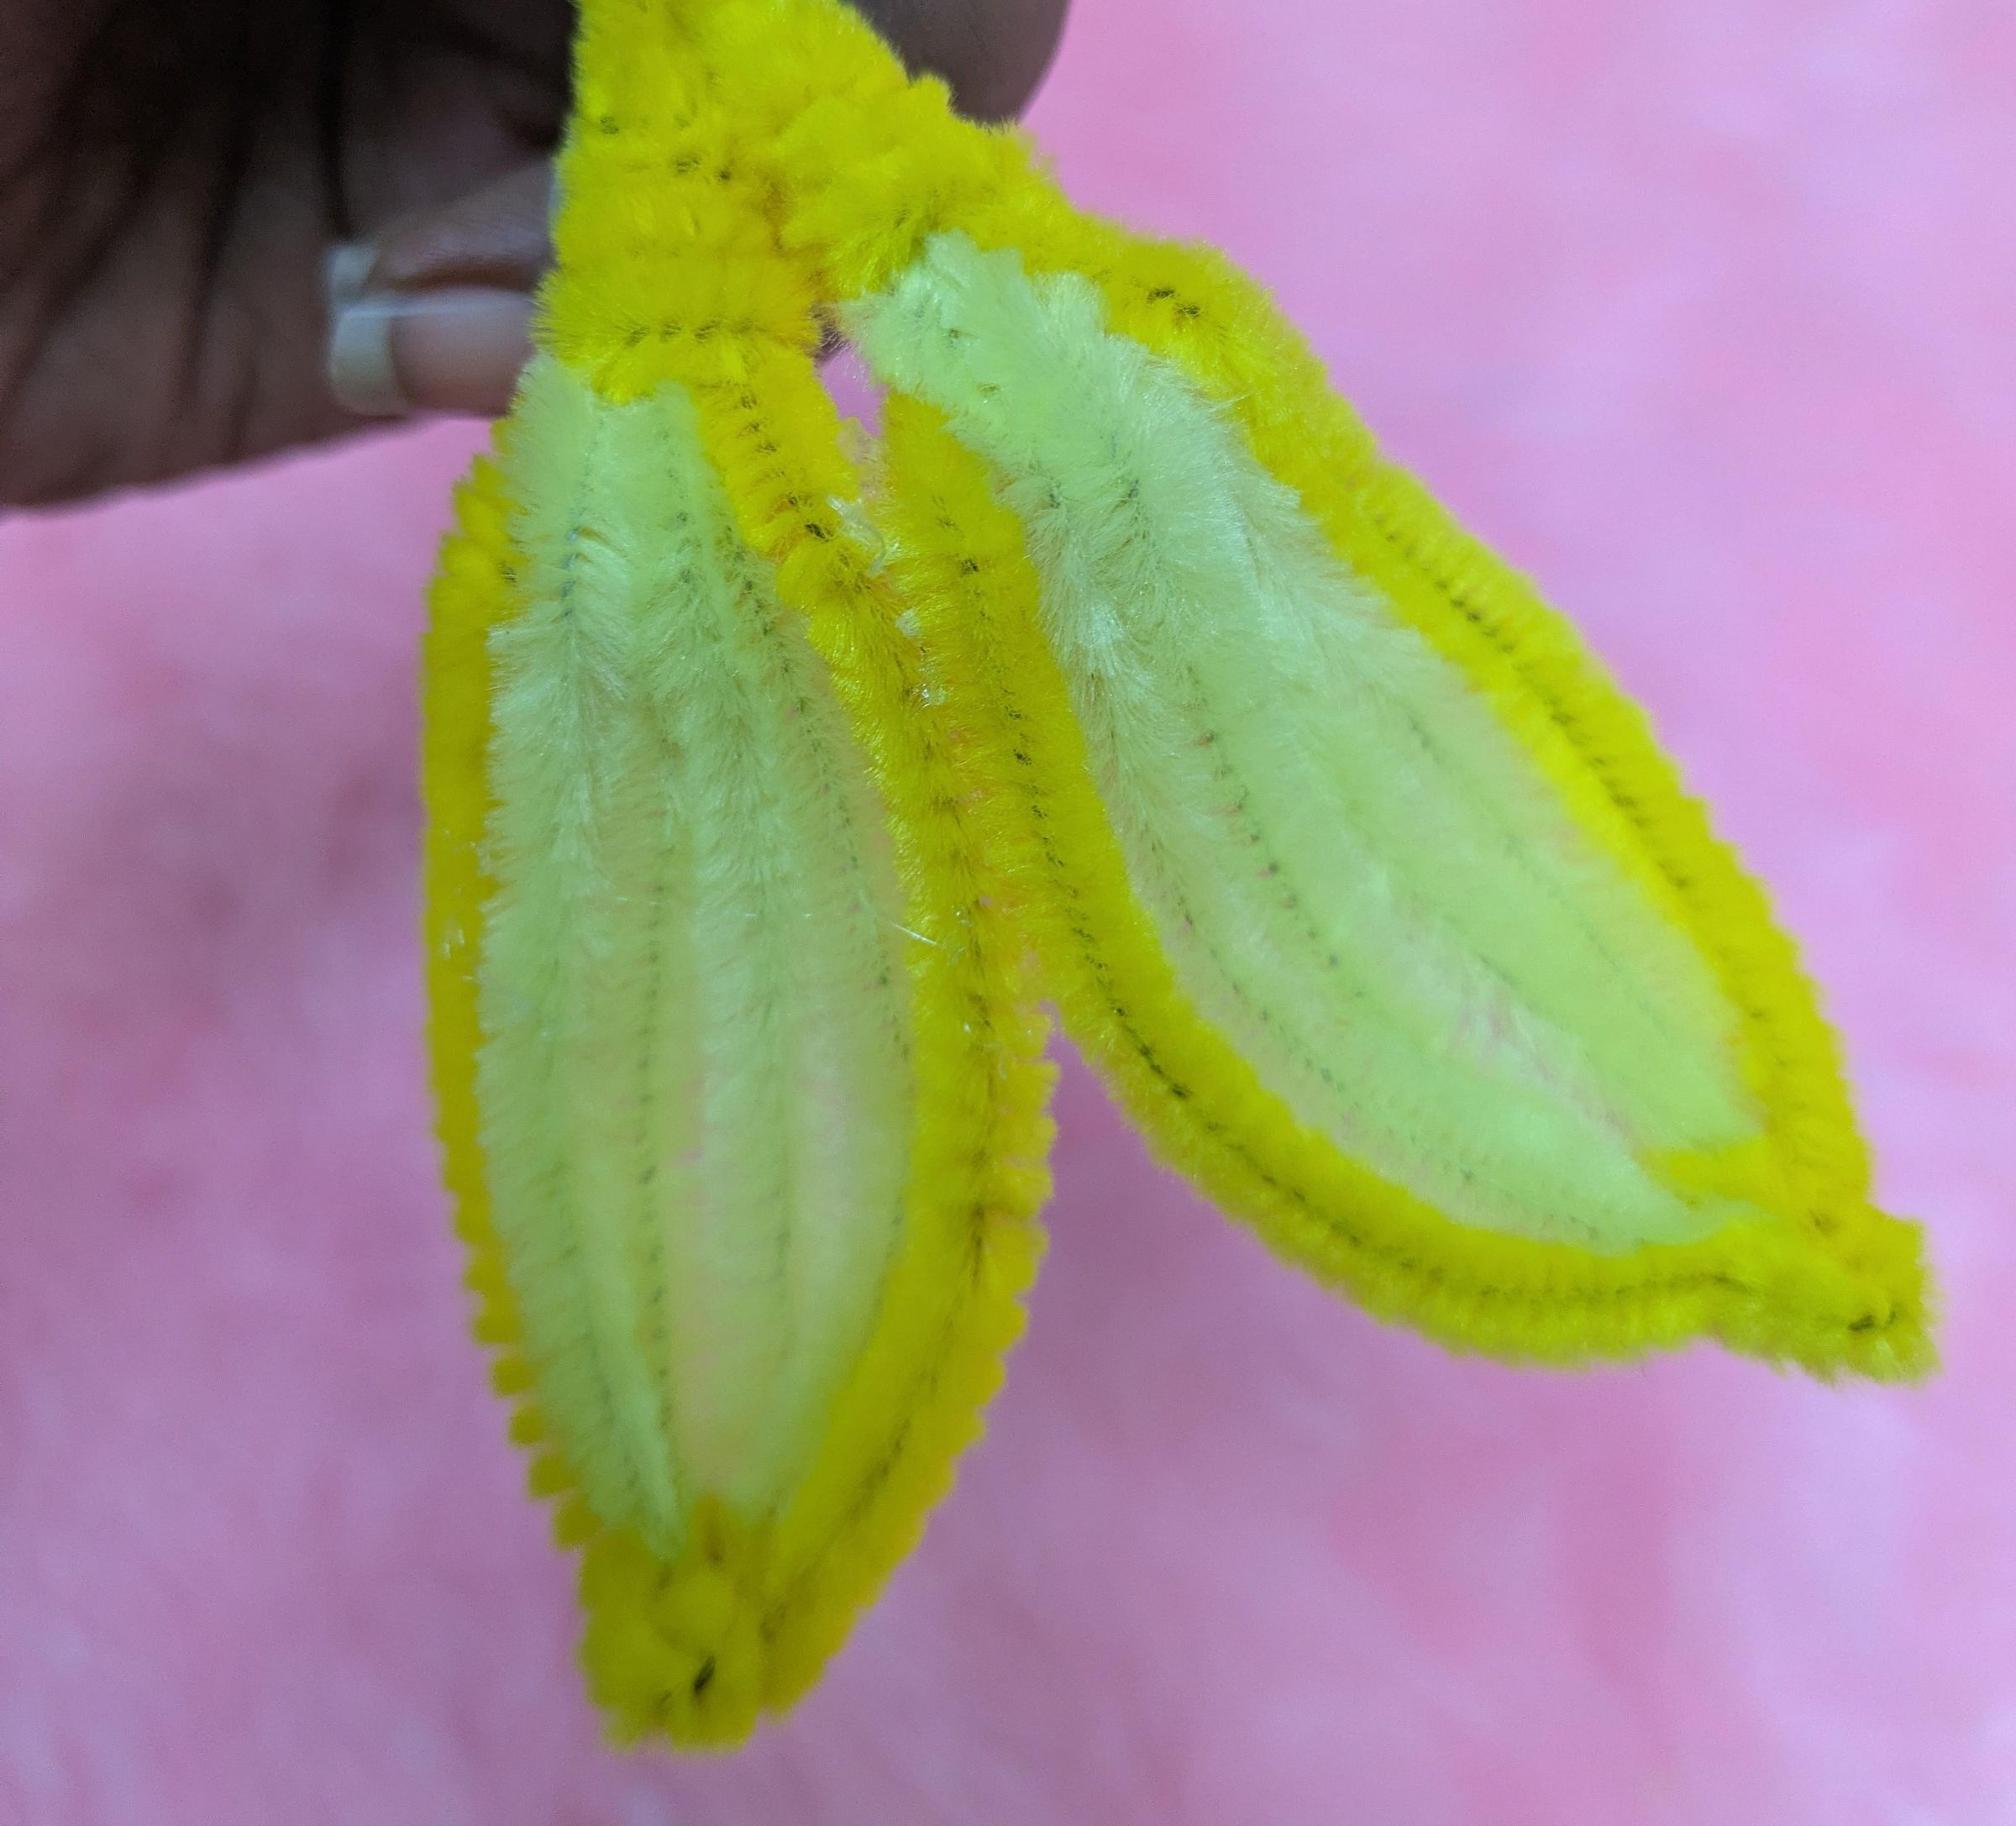
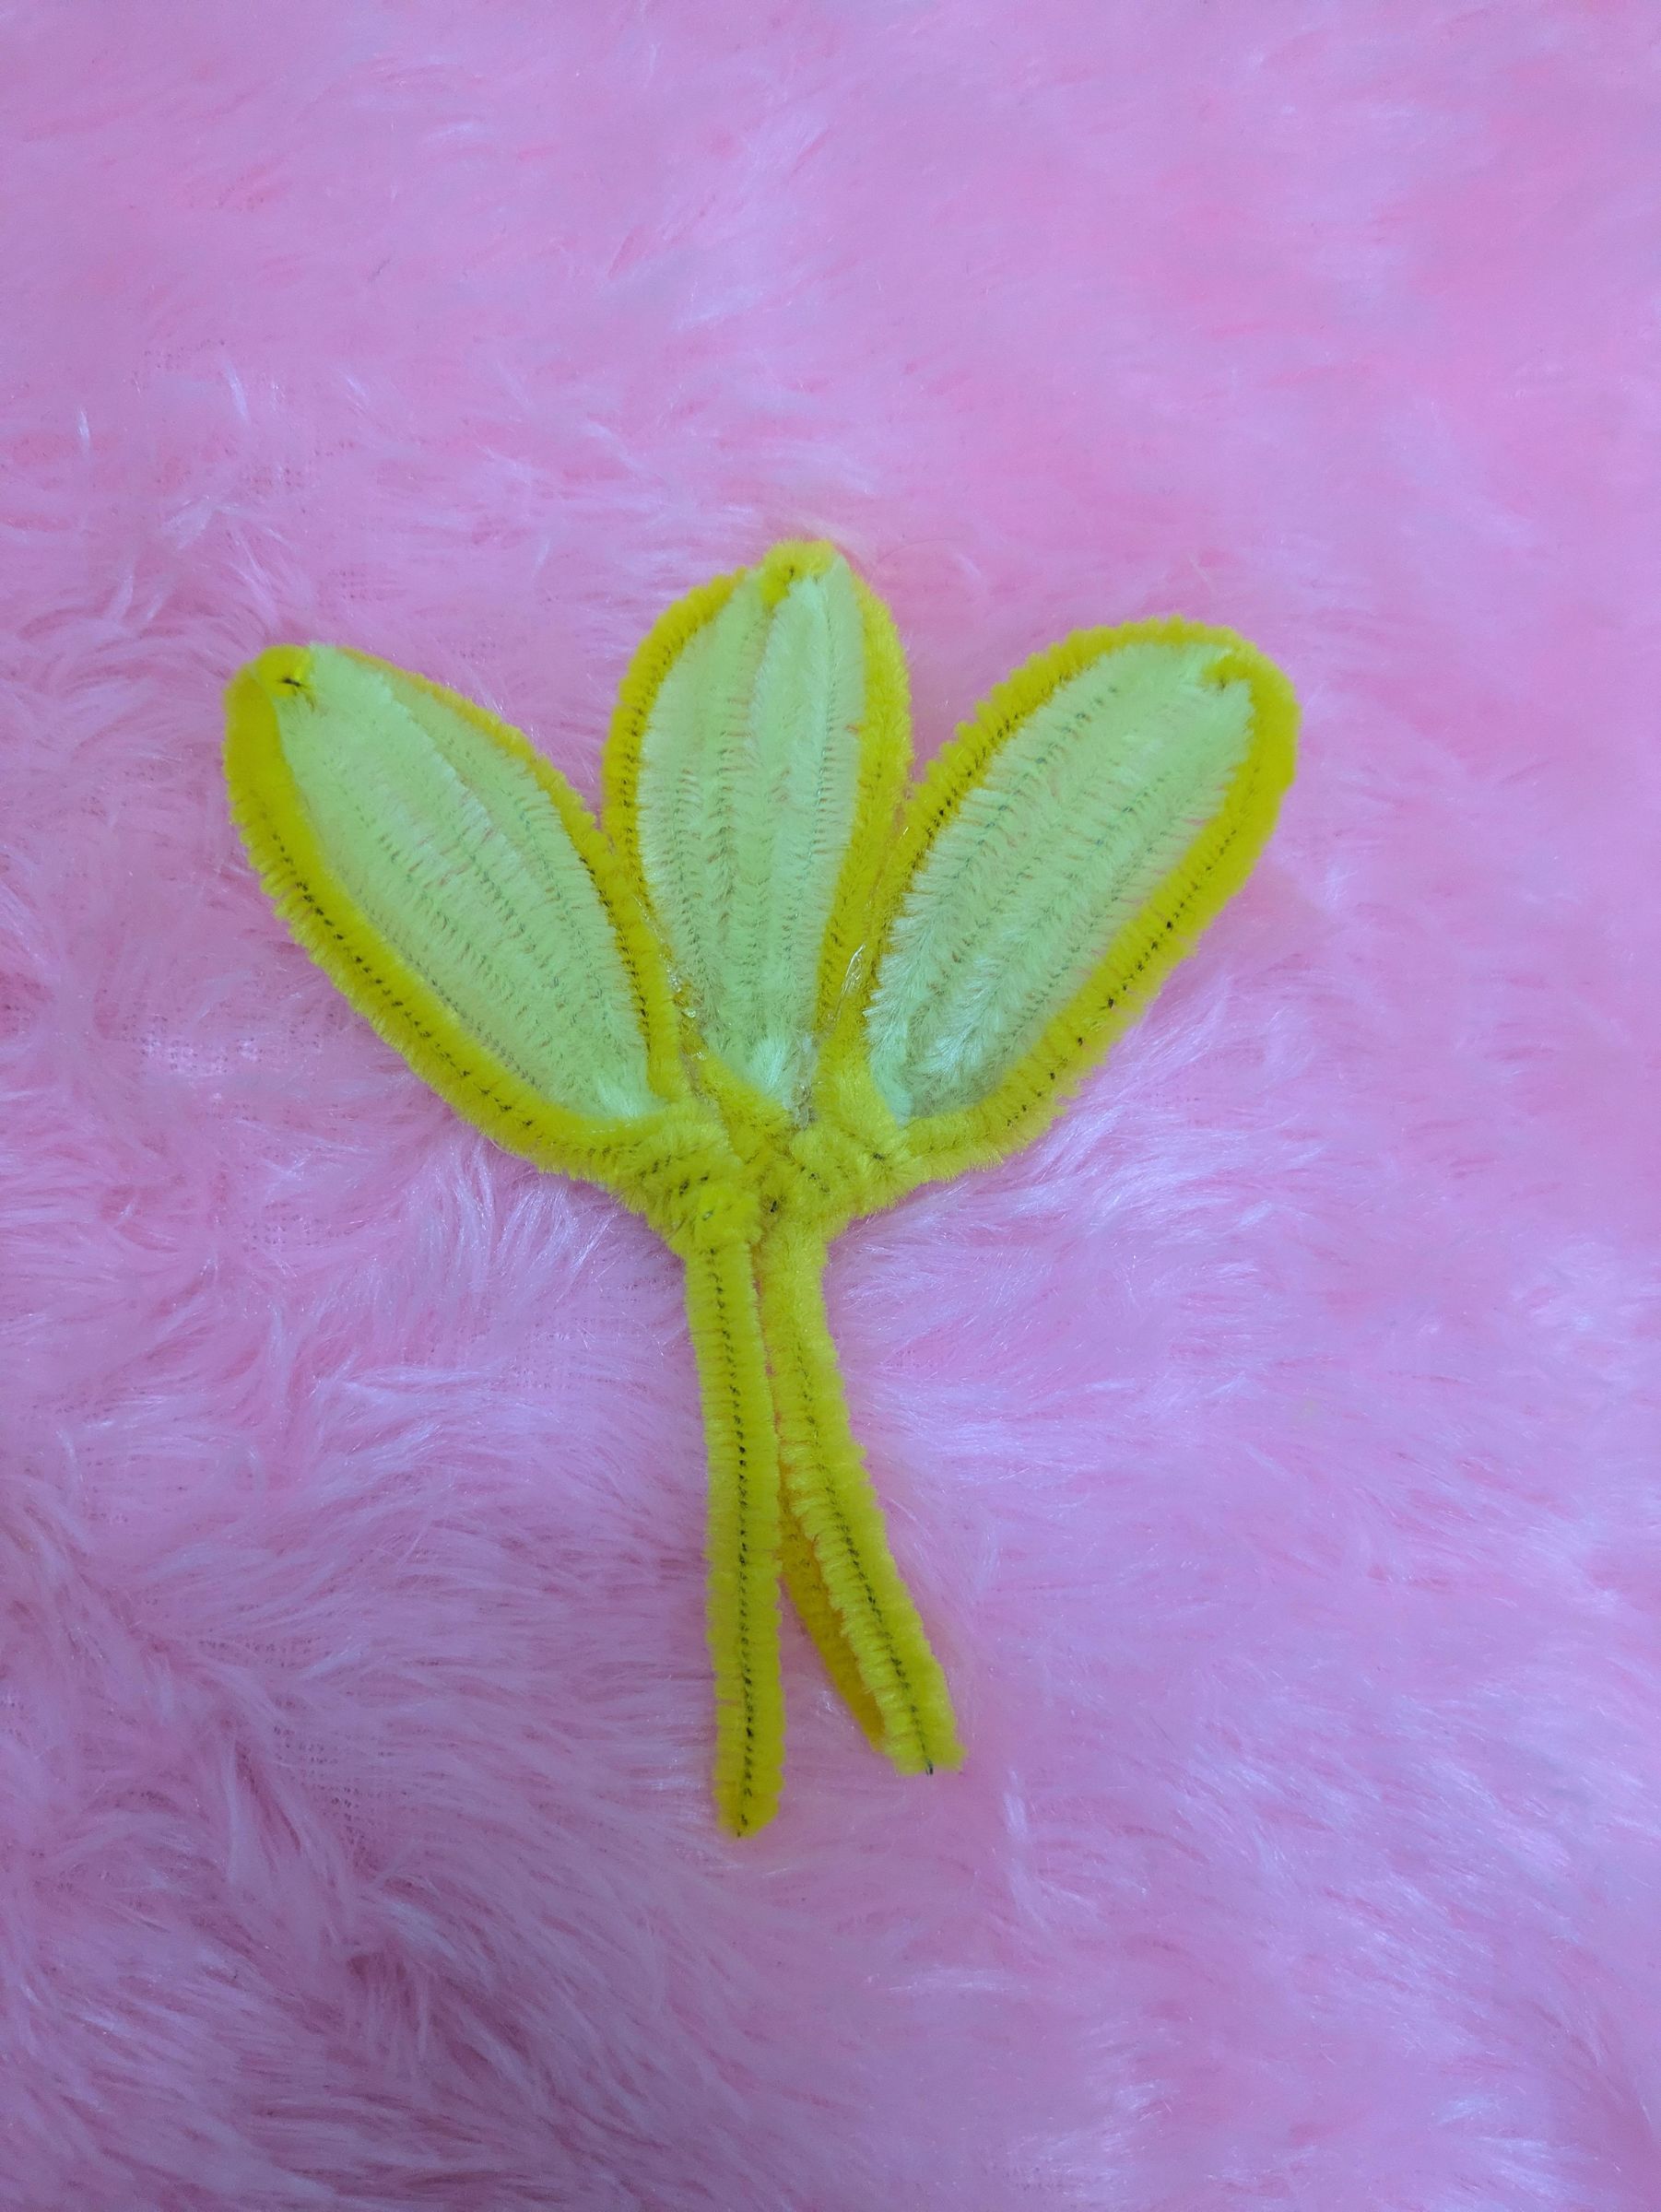
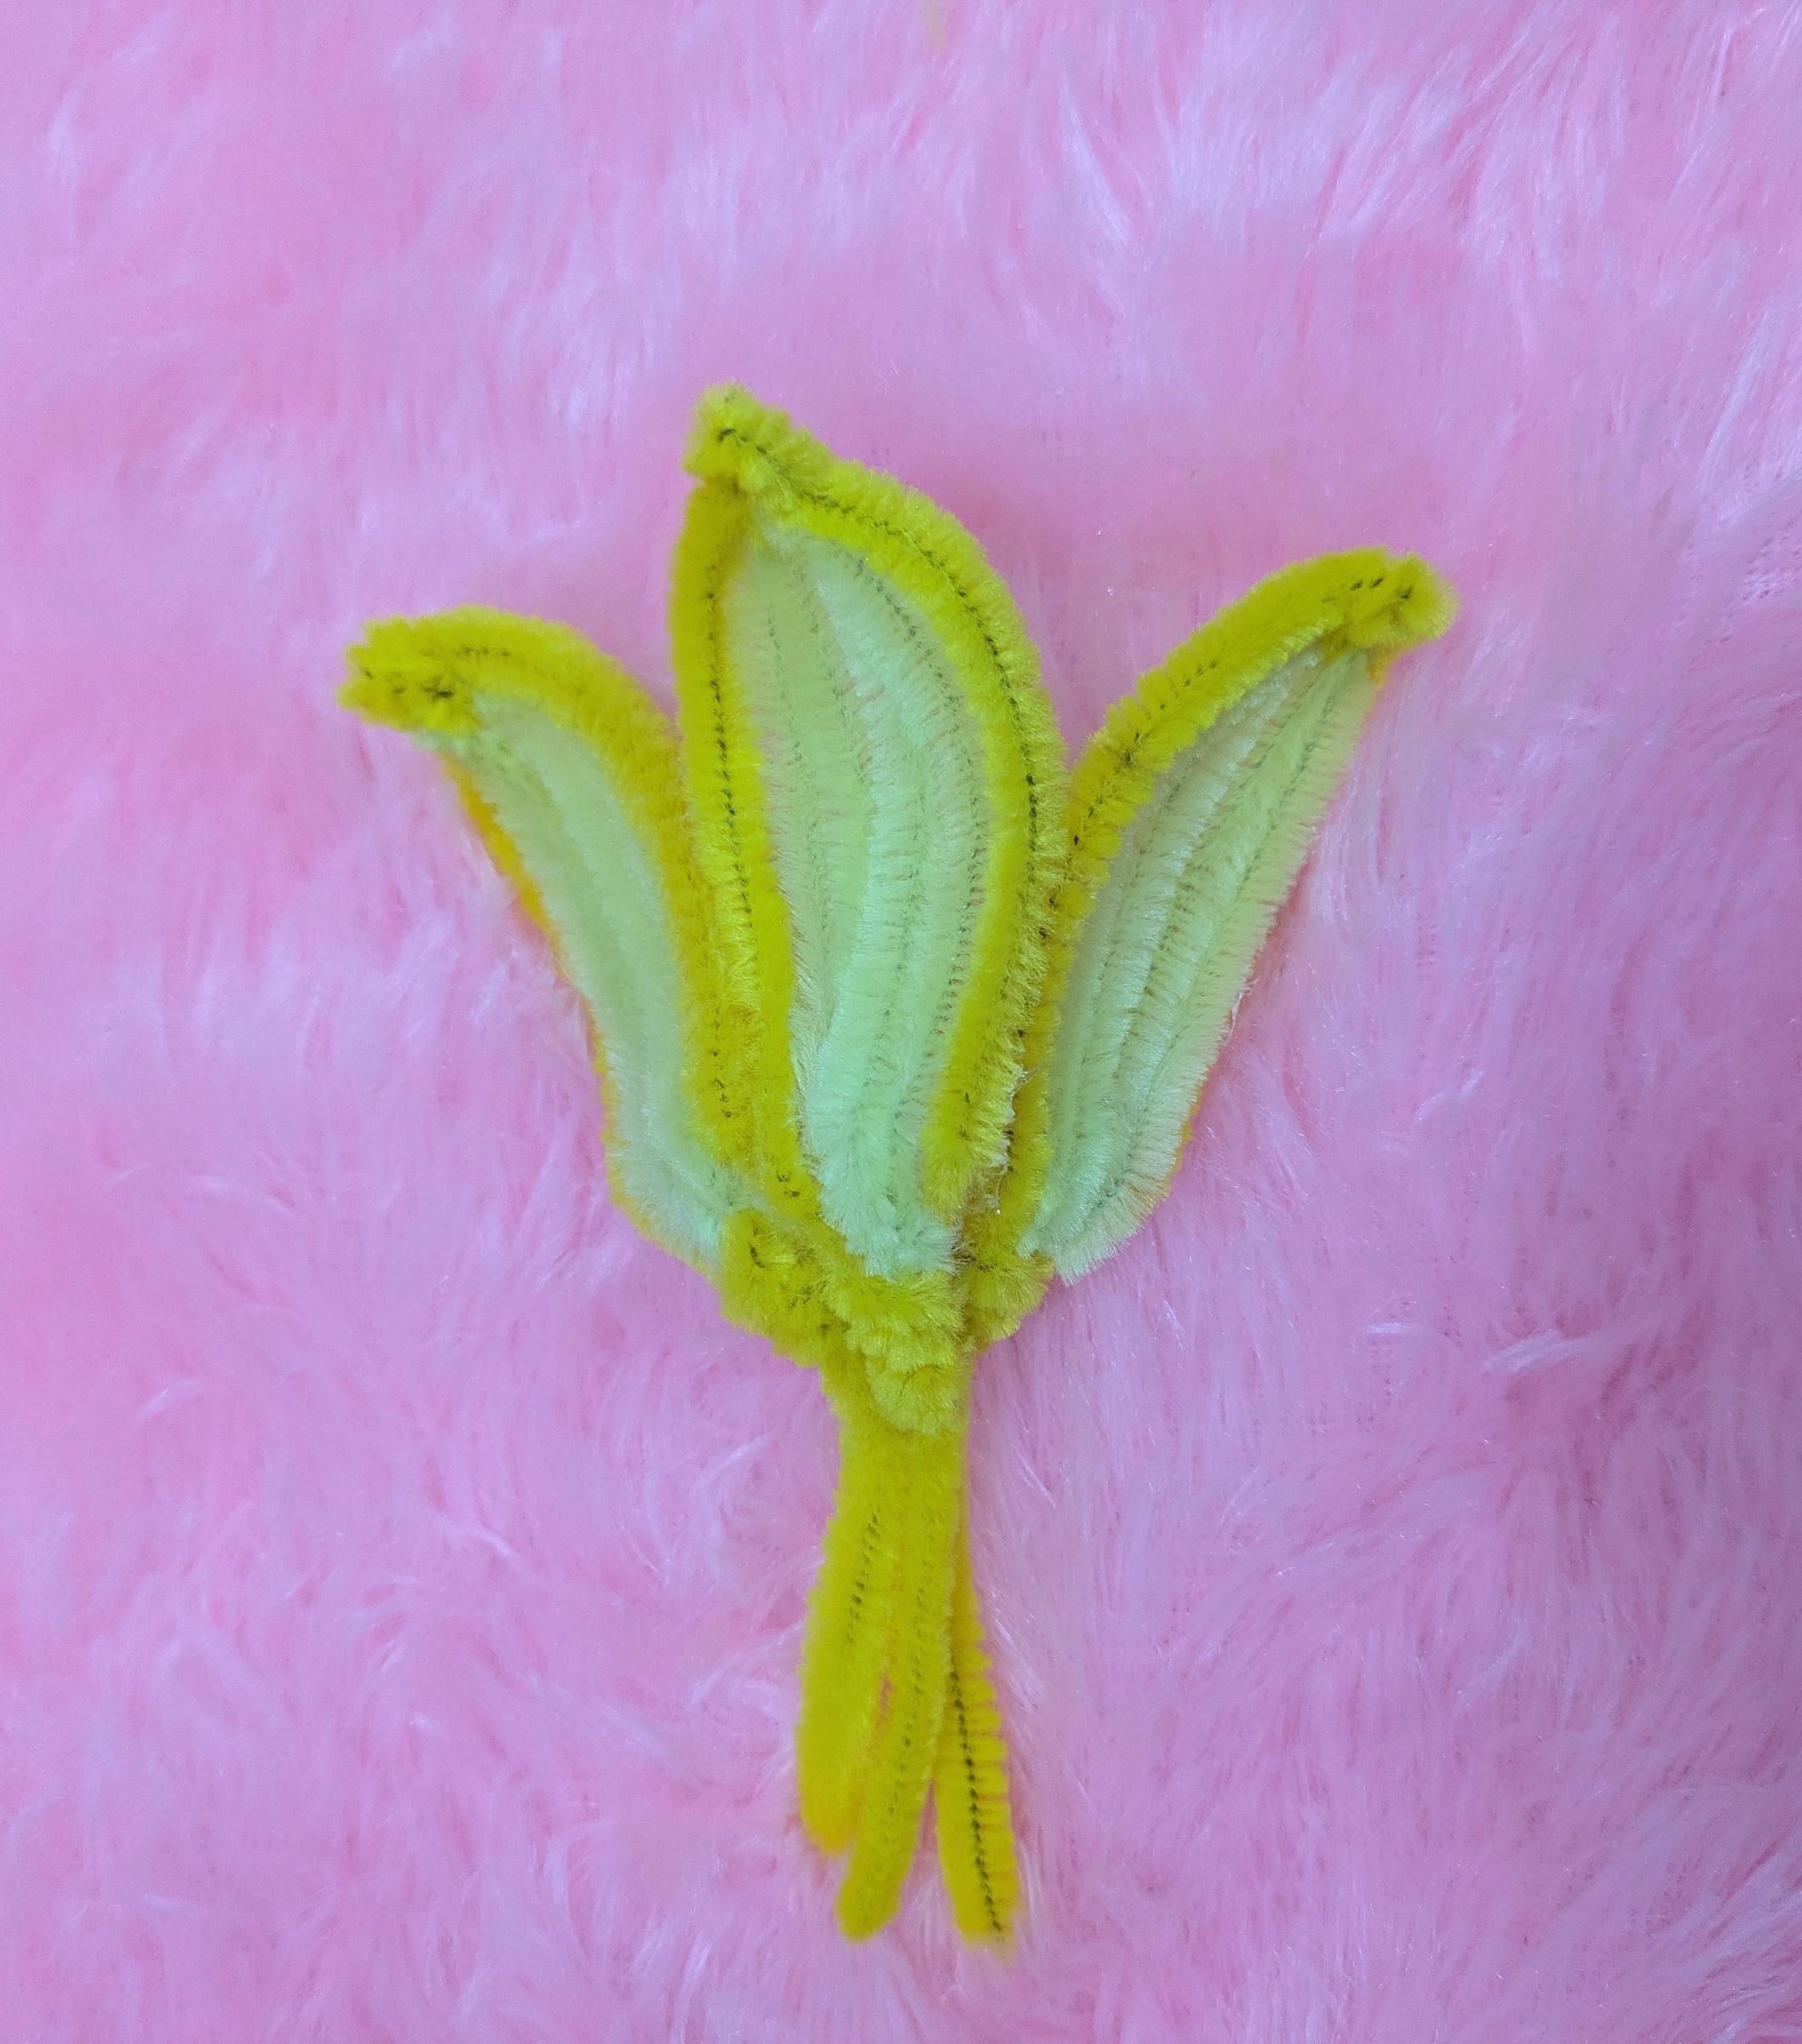
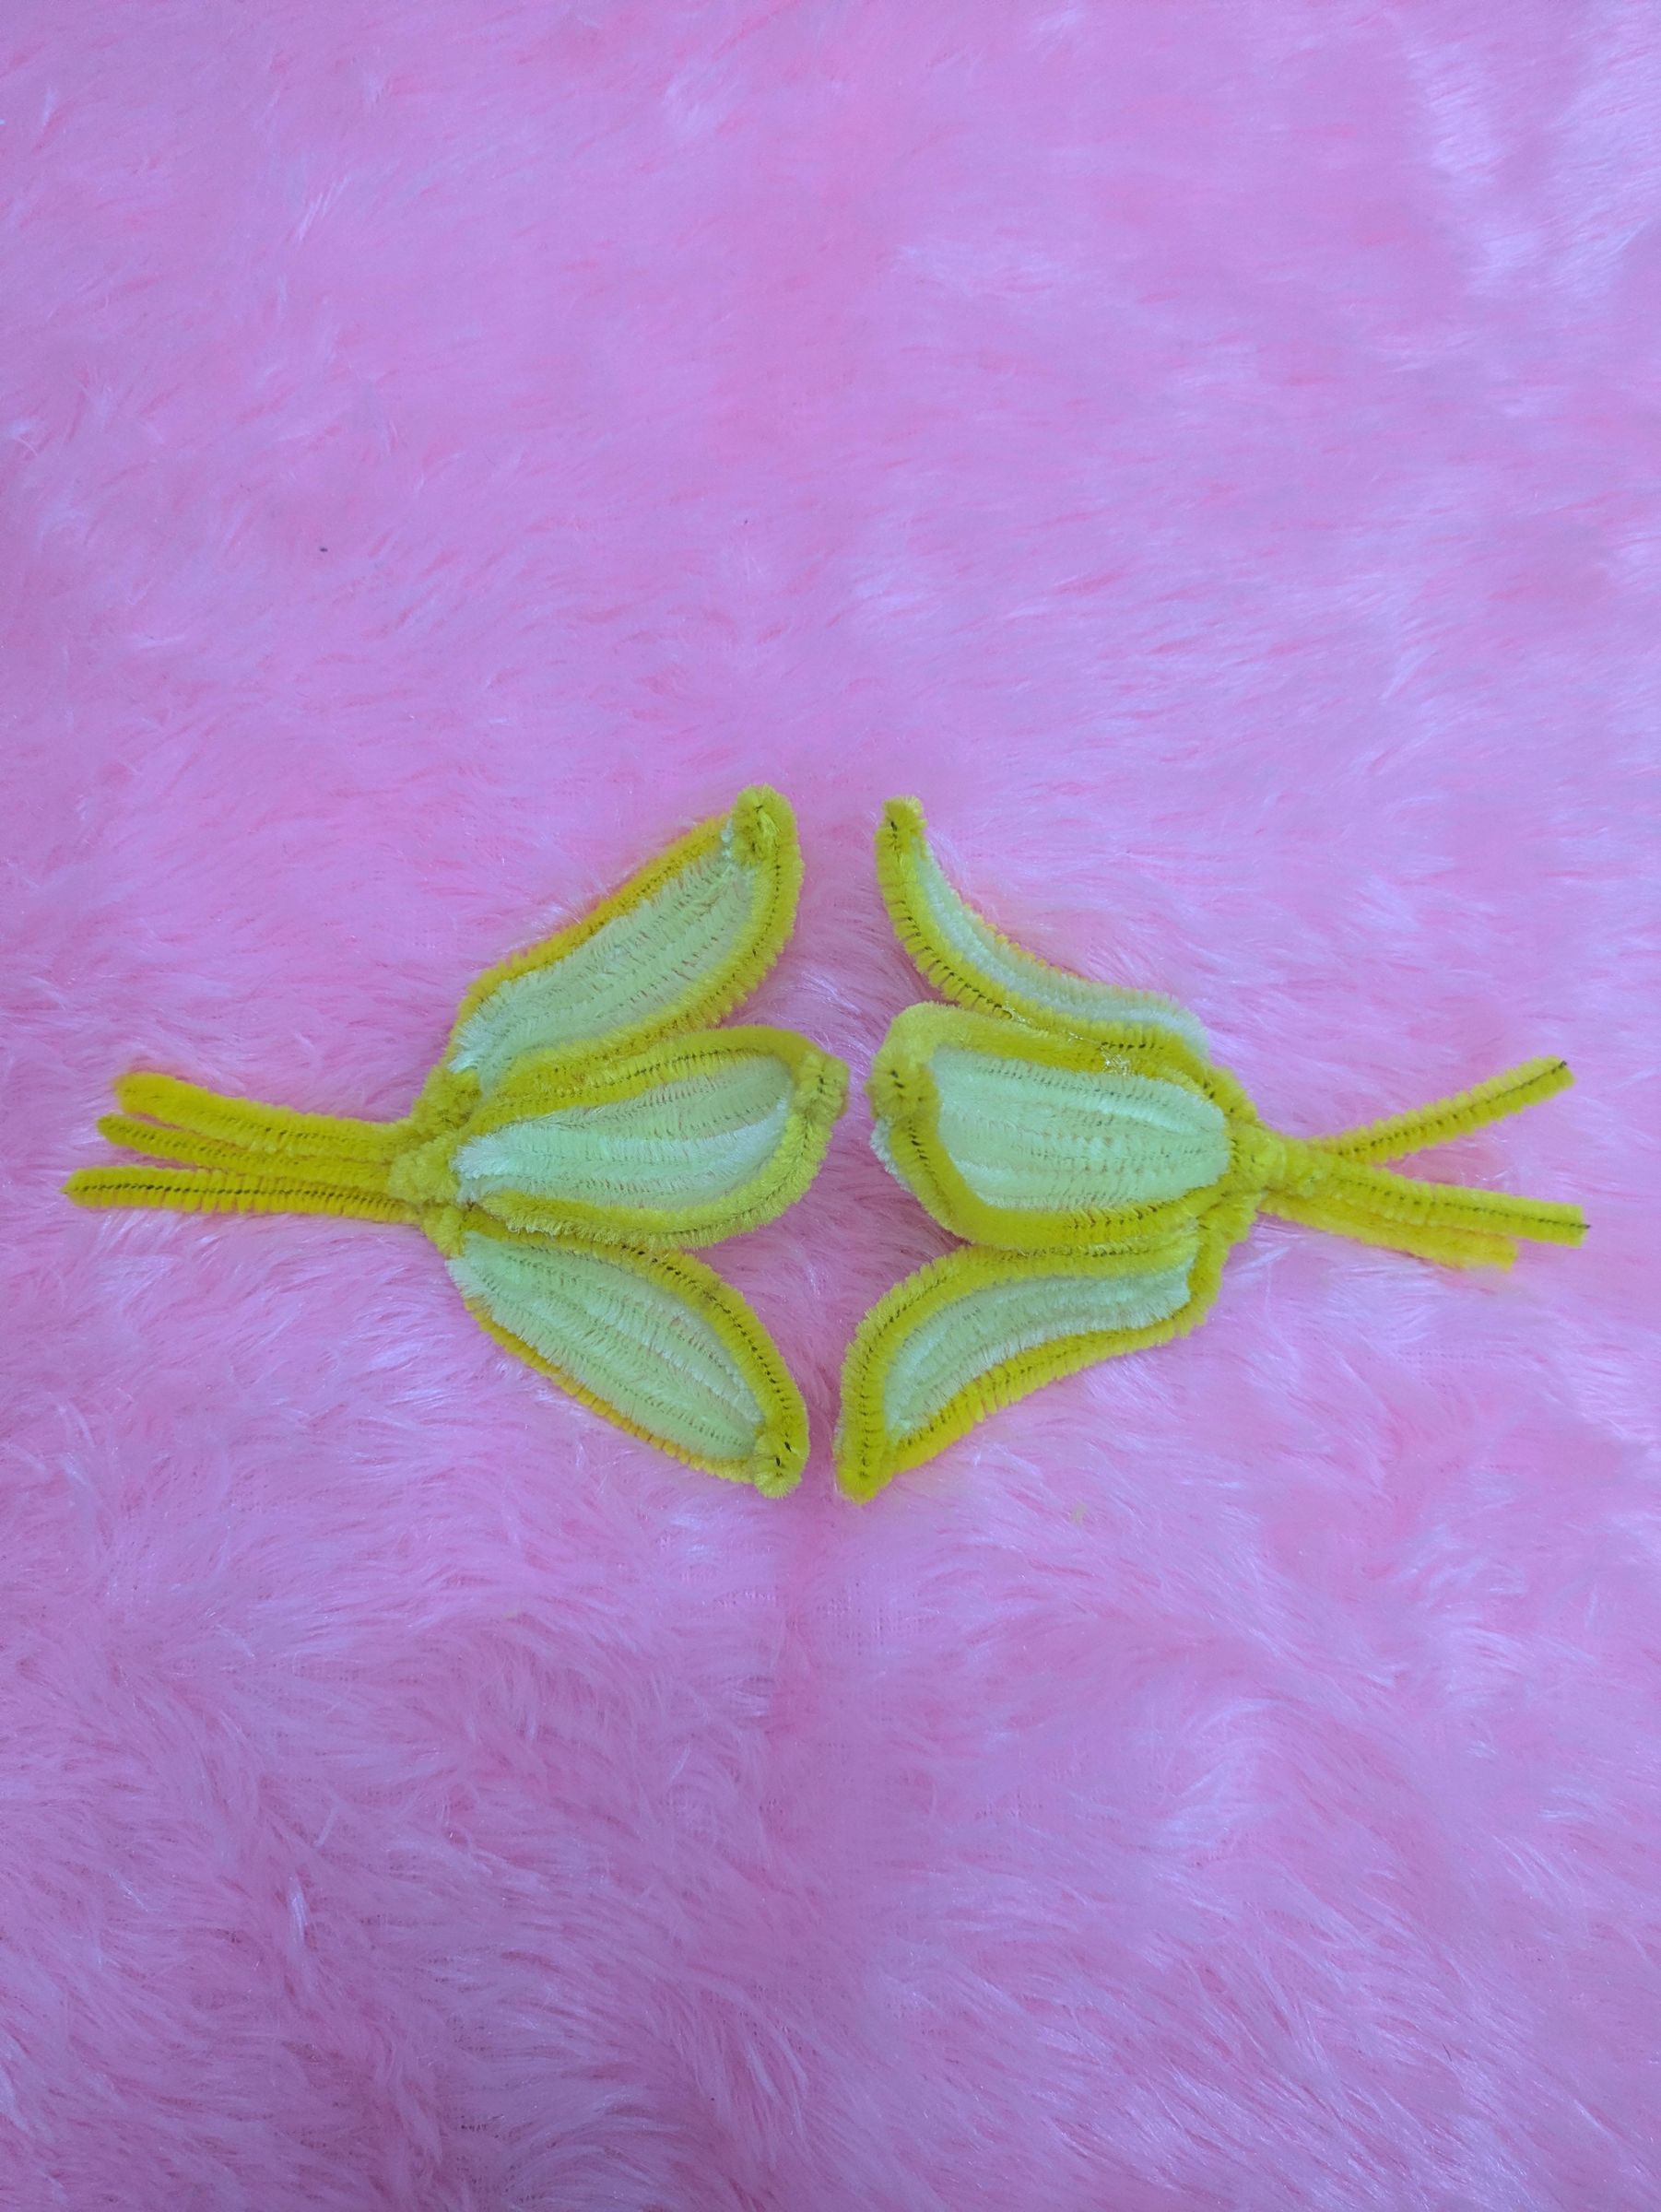
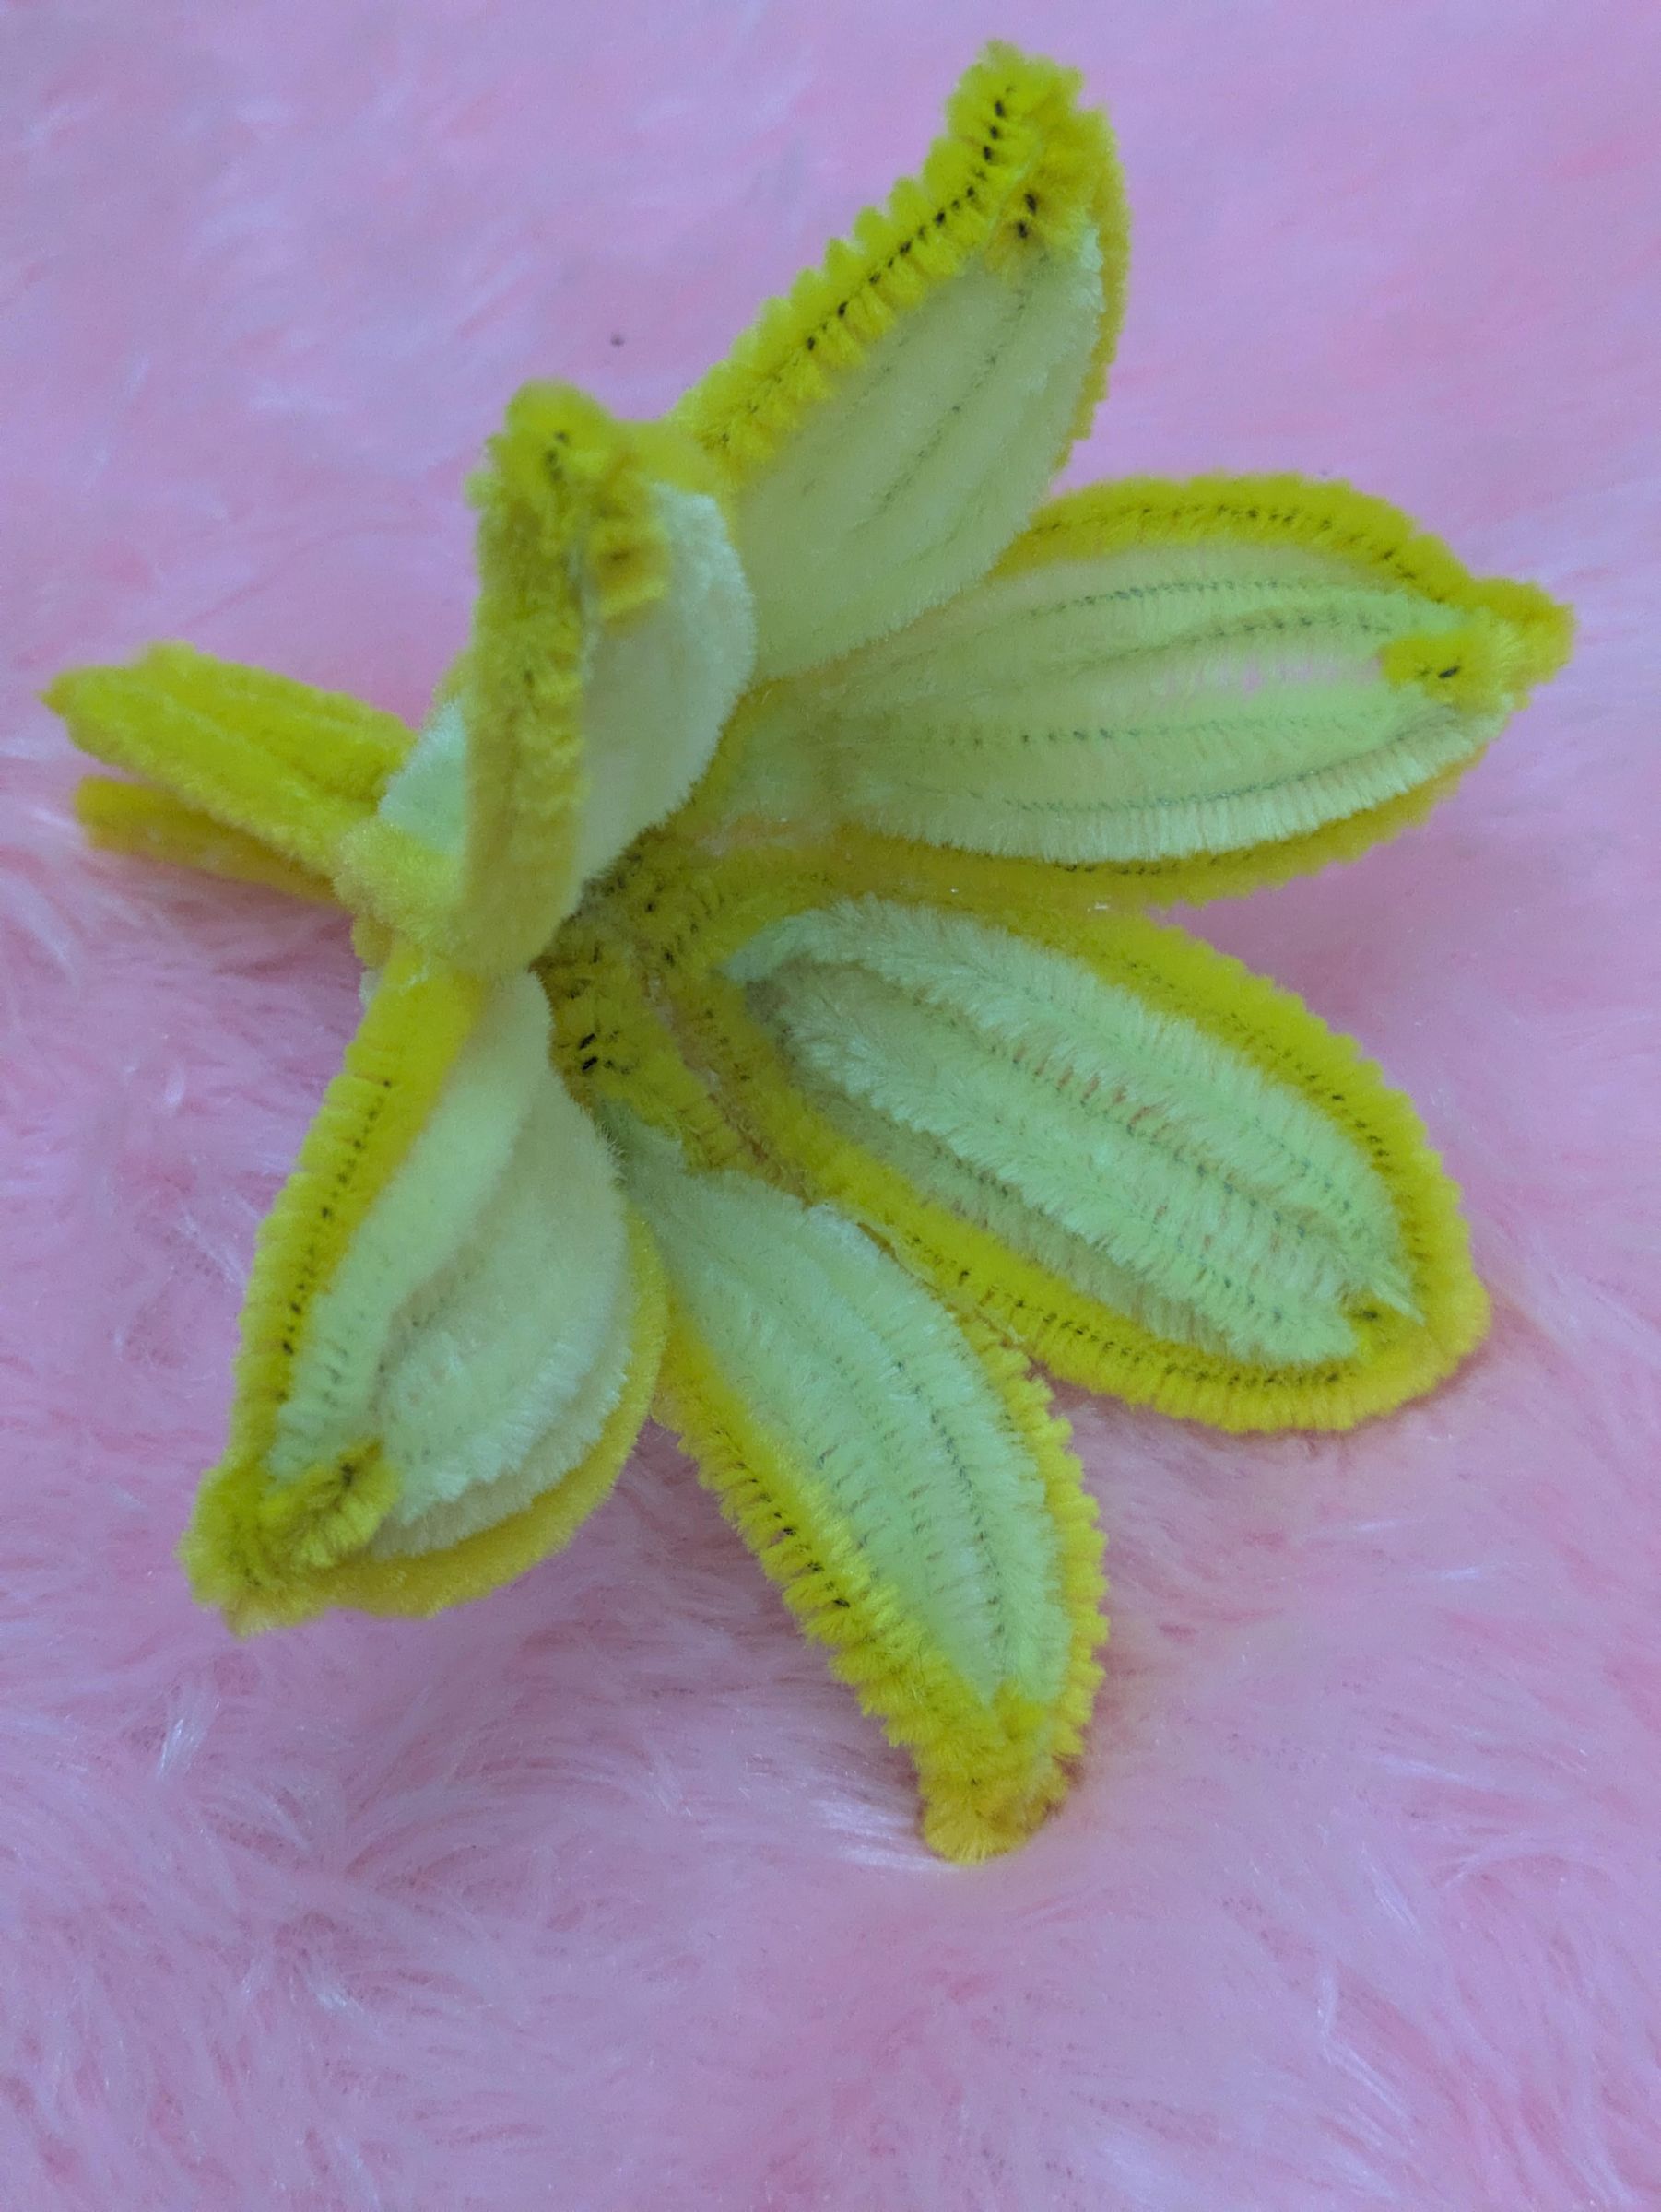
Likewise make six petals, bend and arch it up, combine 3 and 3 and paste those together. wind it up at bottom and remove bottom extras.
Flower Support - Part 1
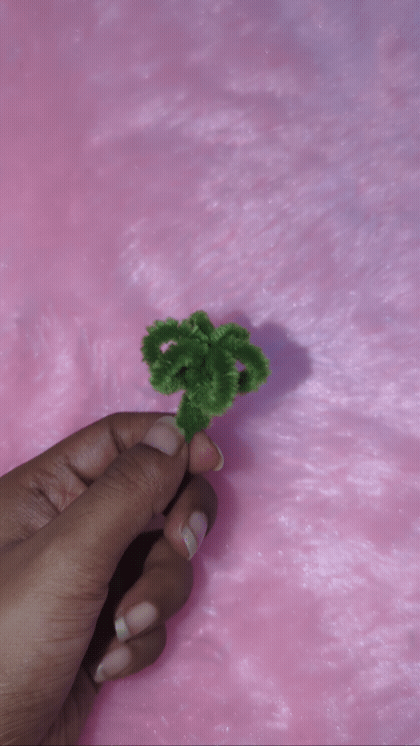
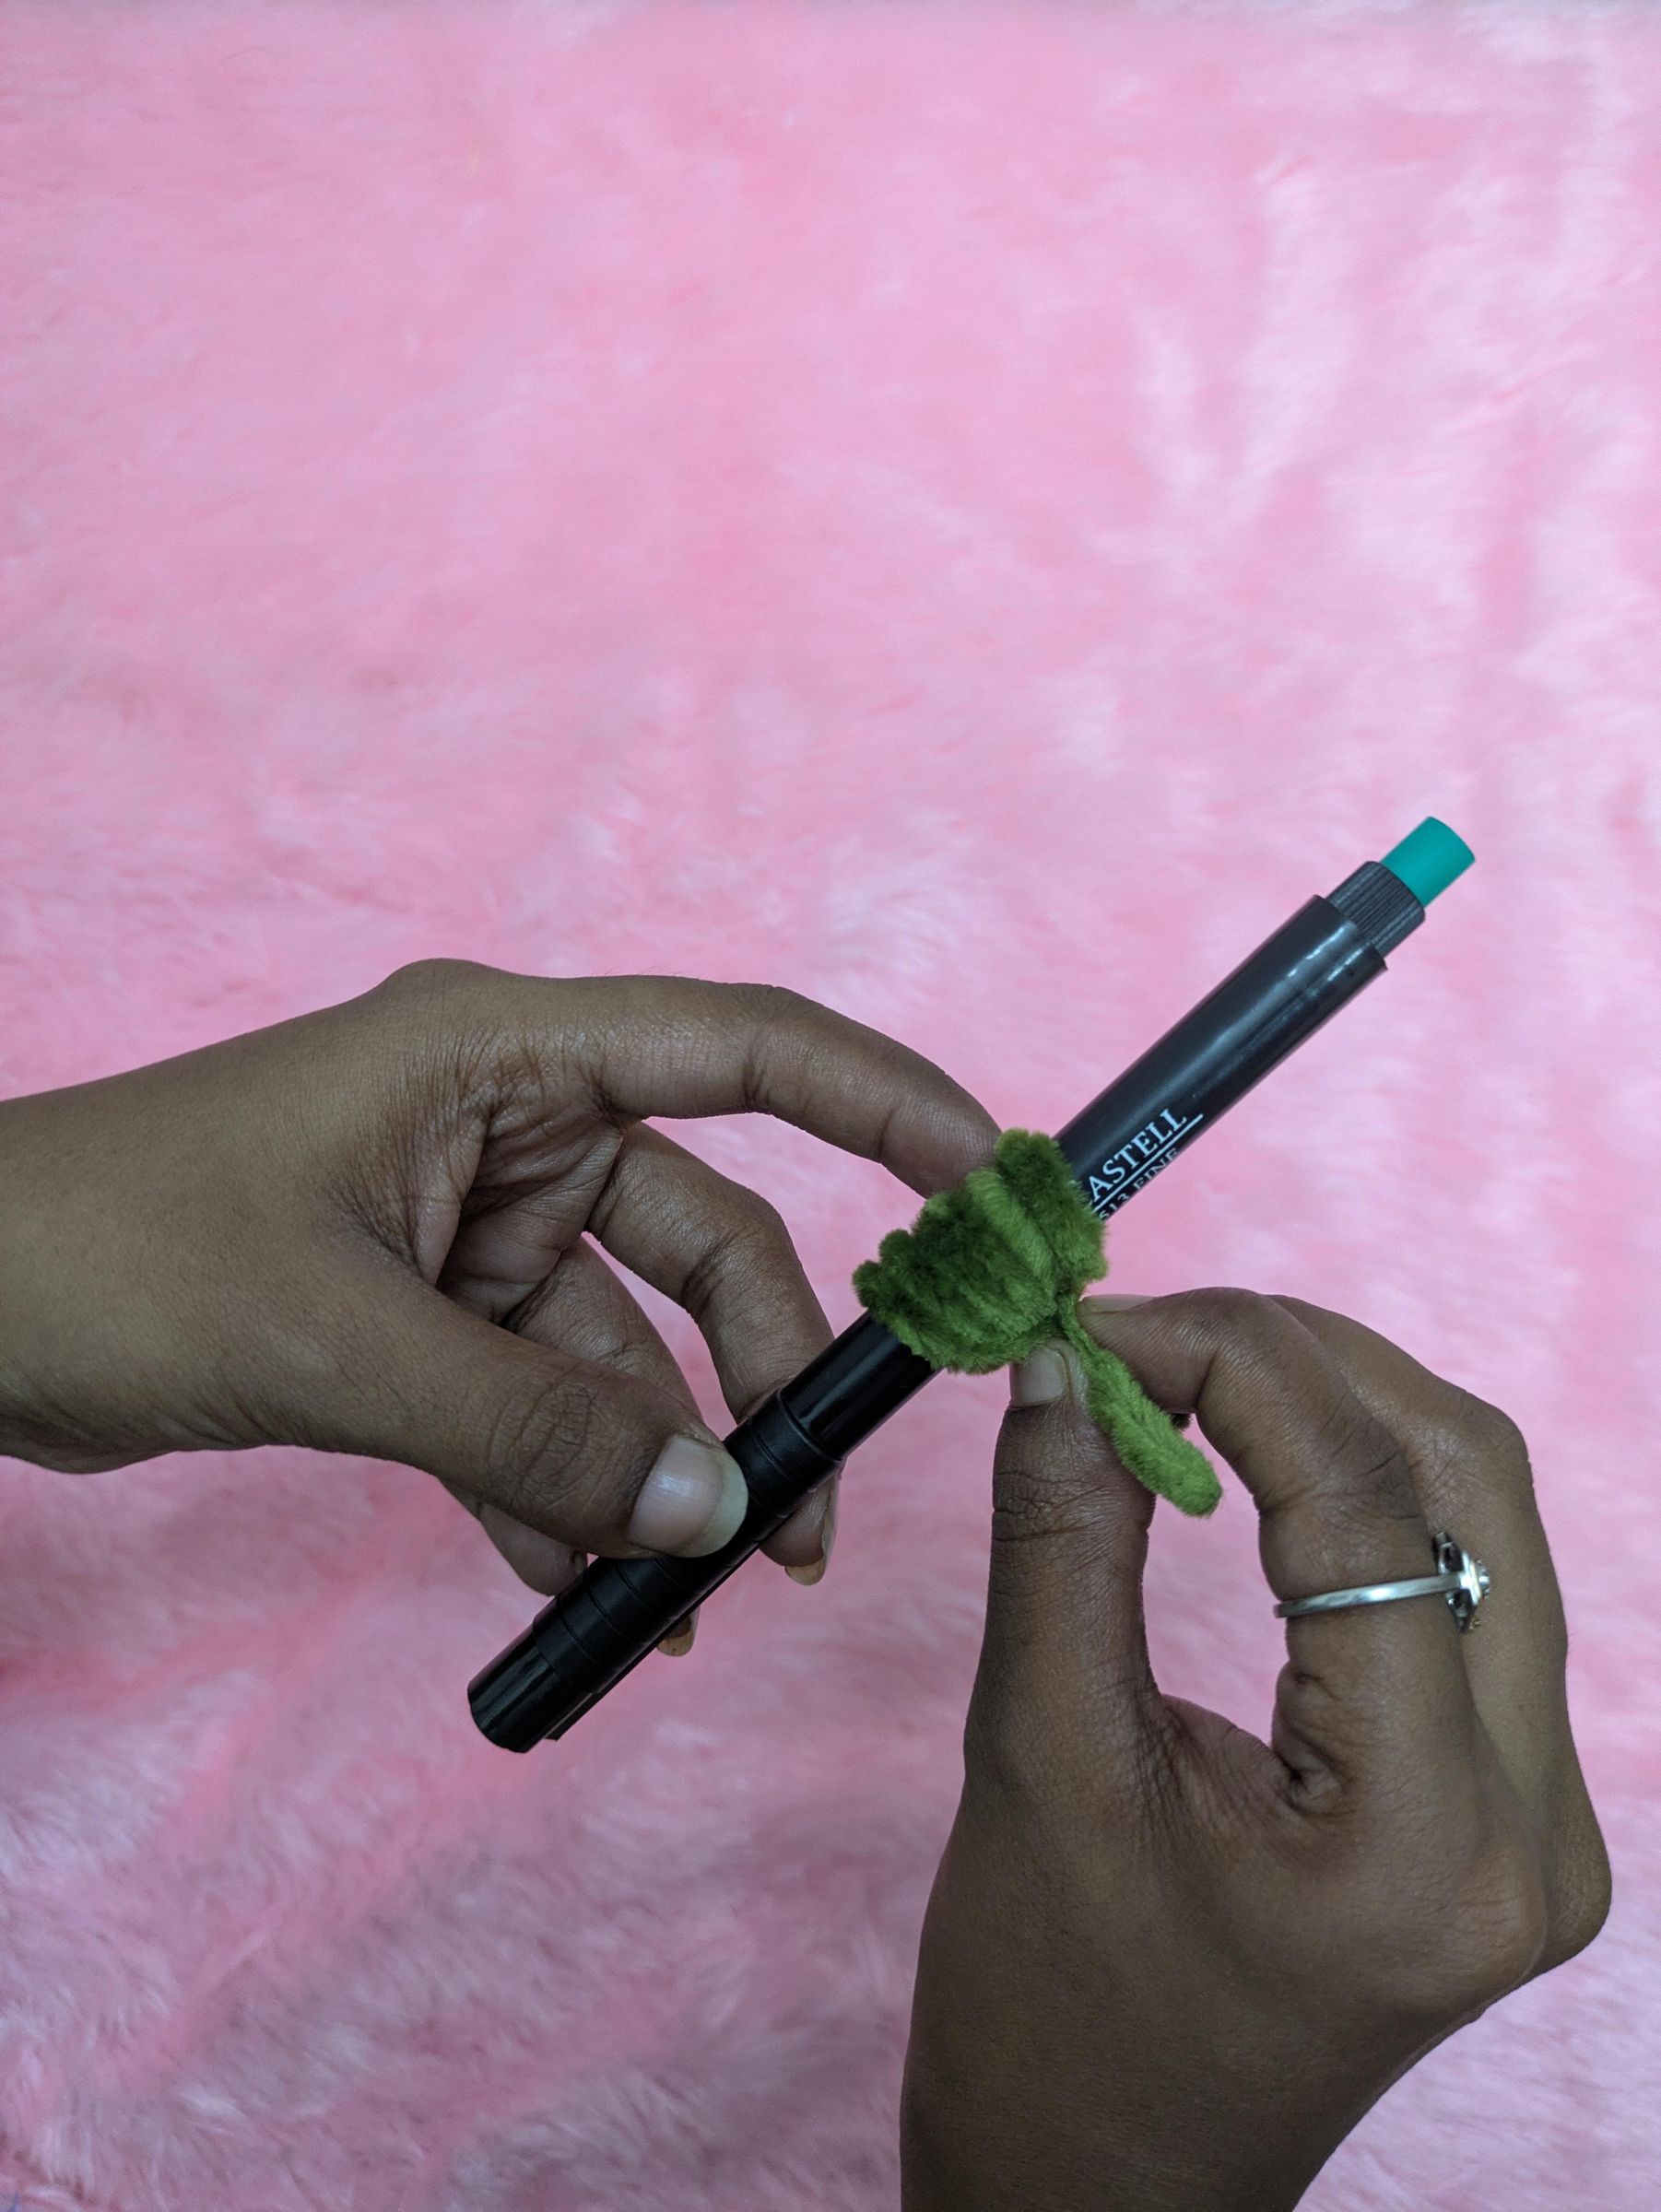
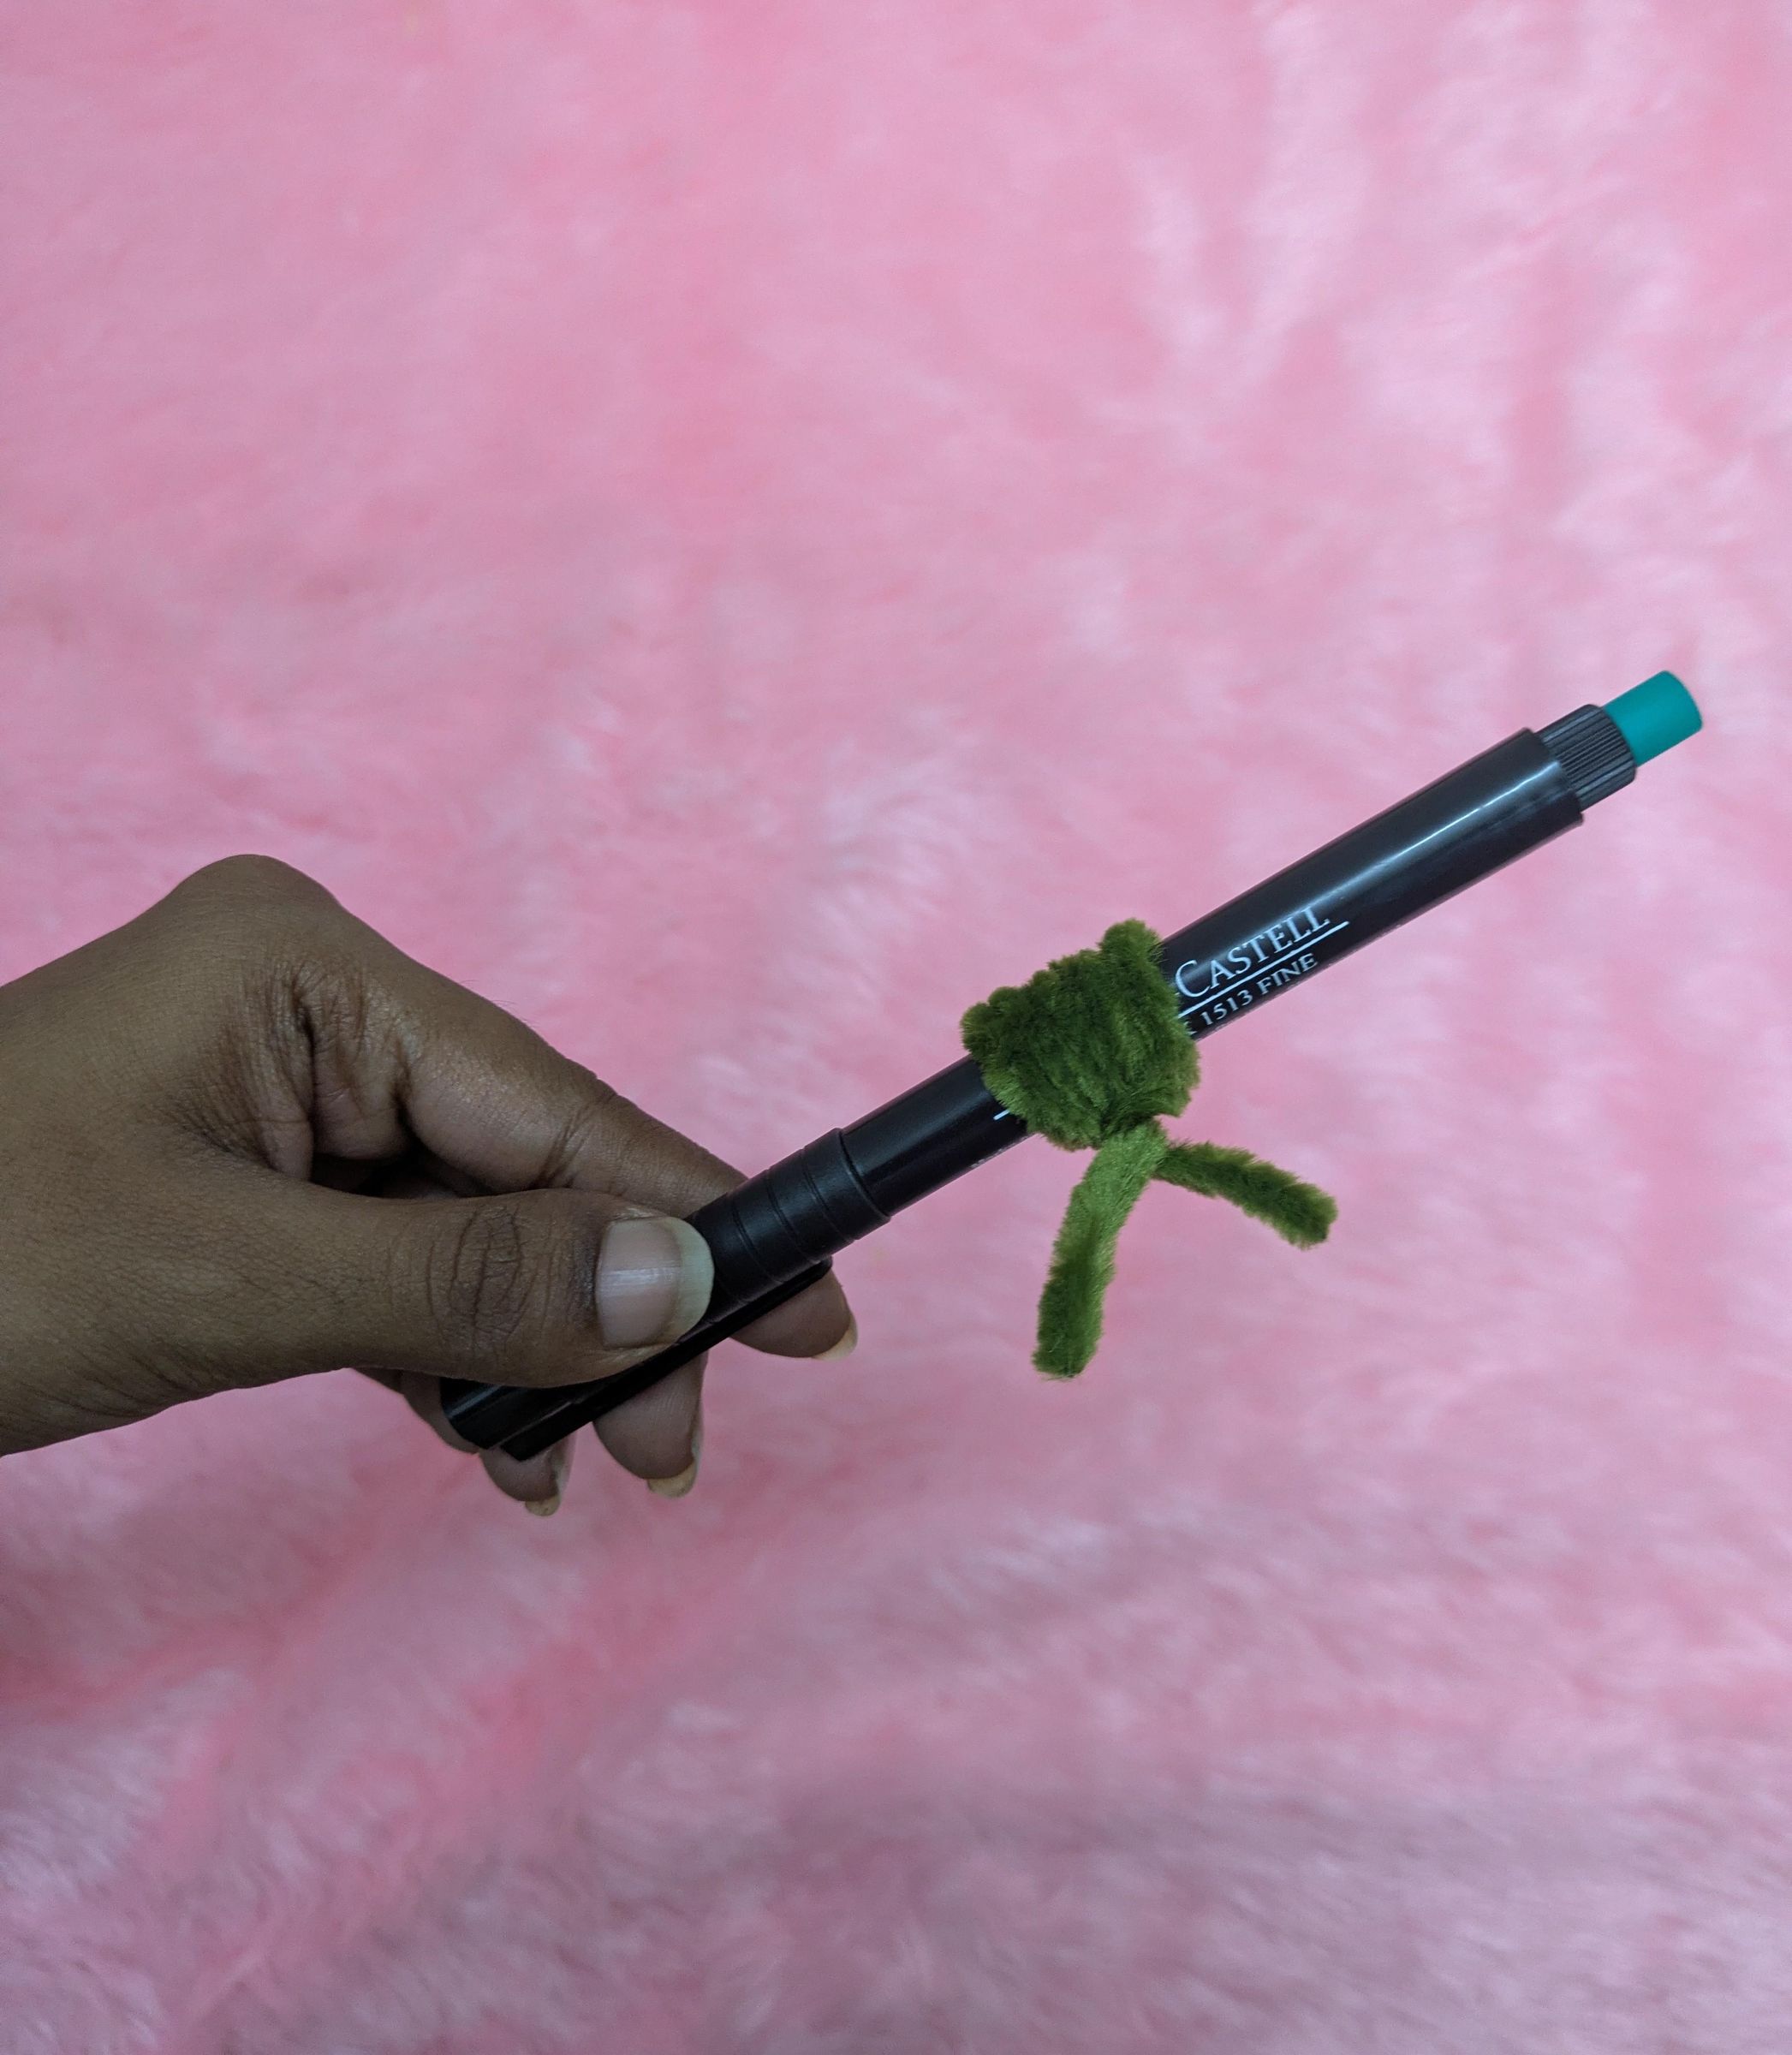
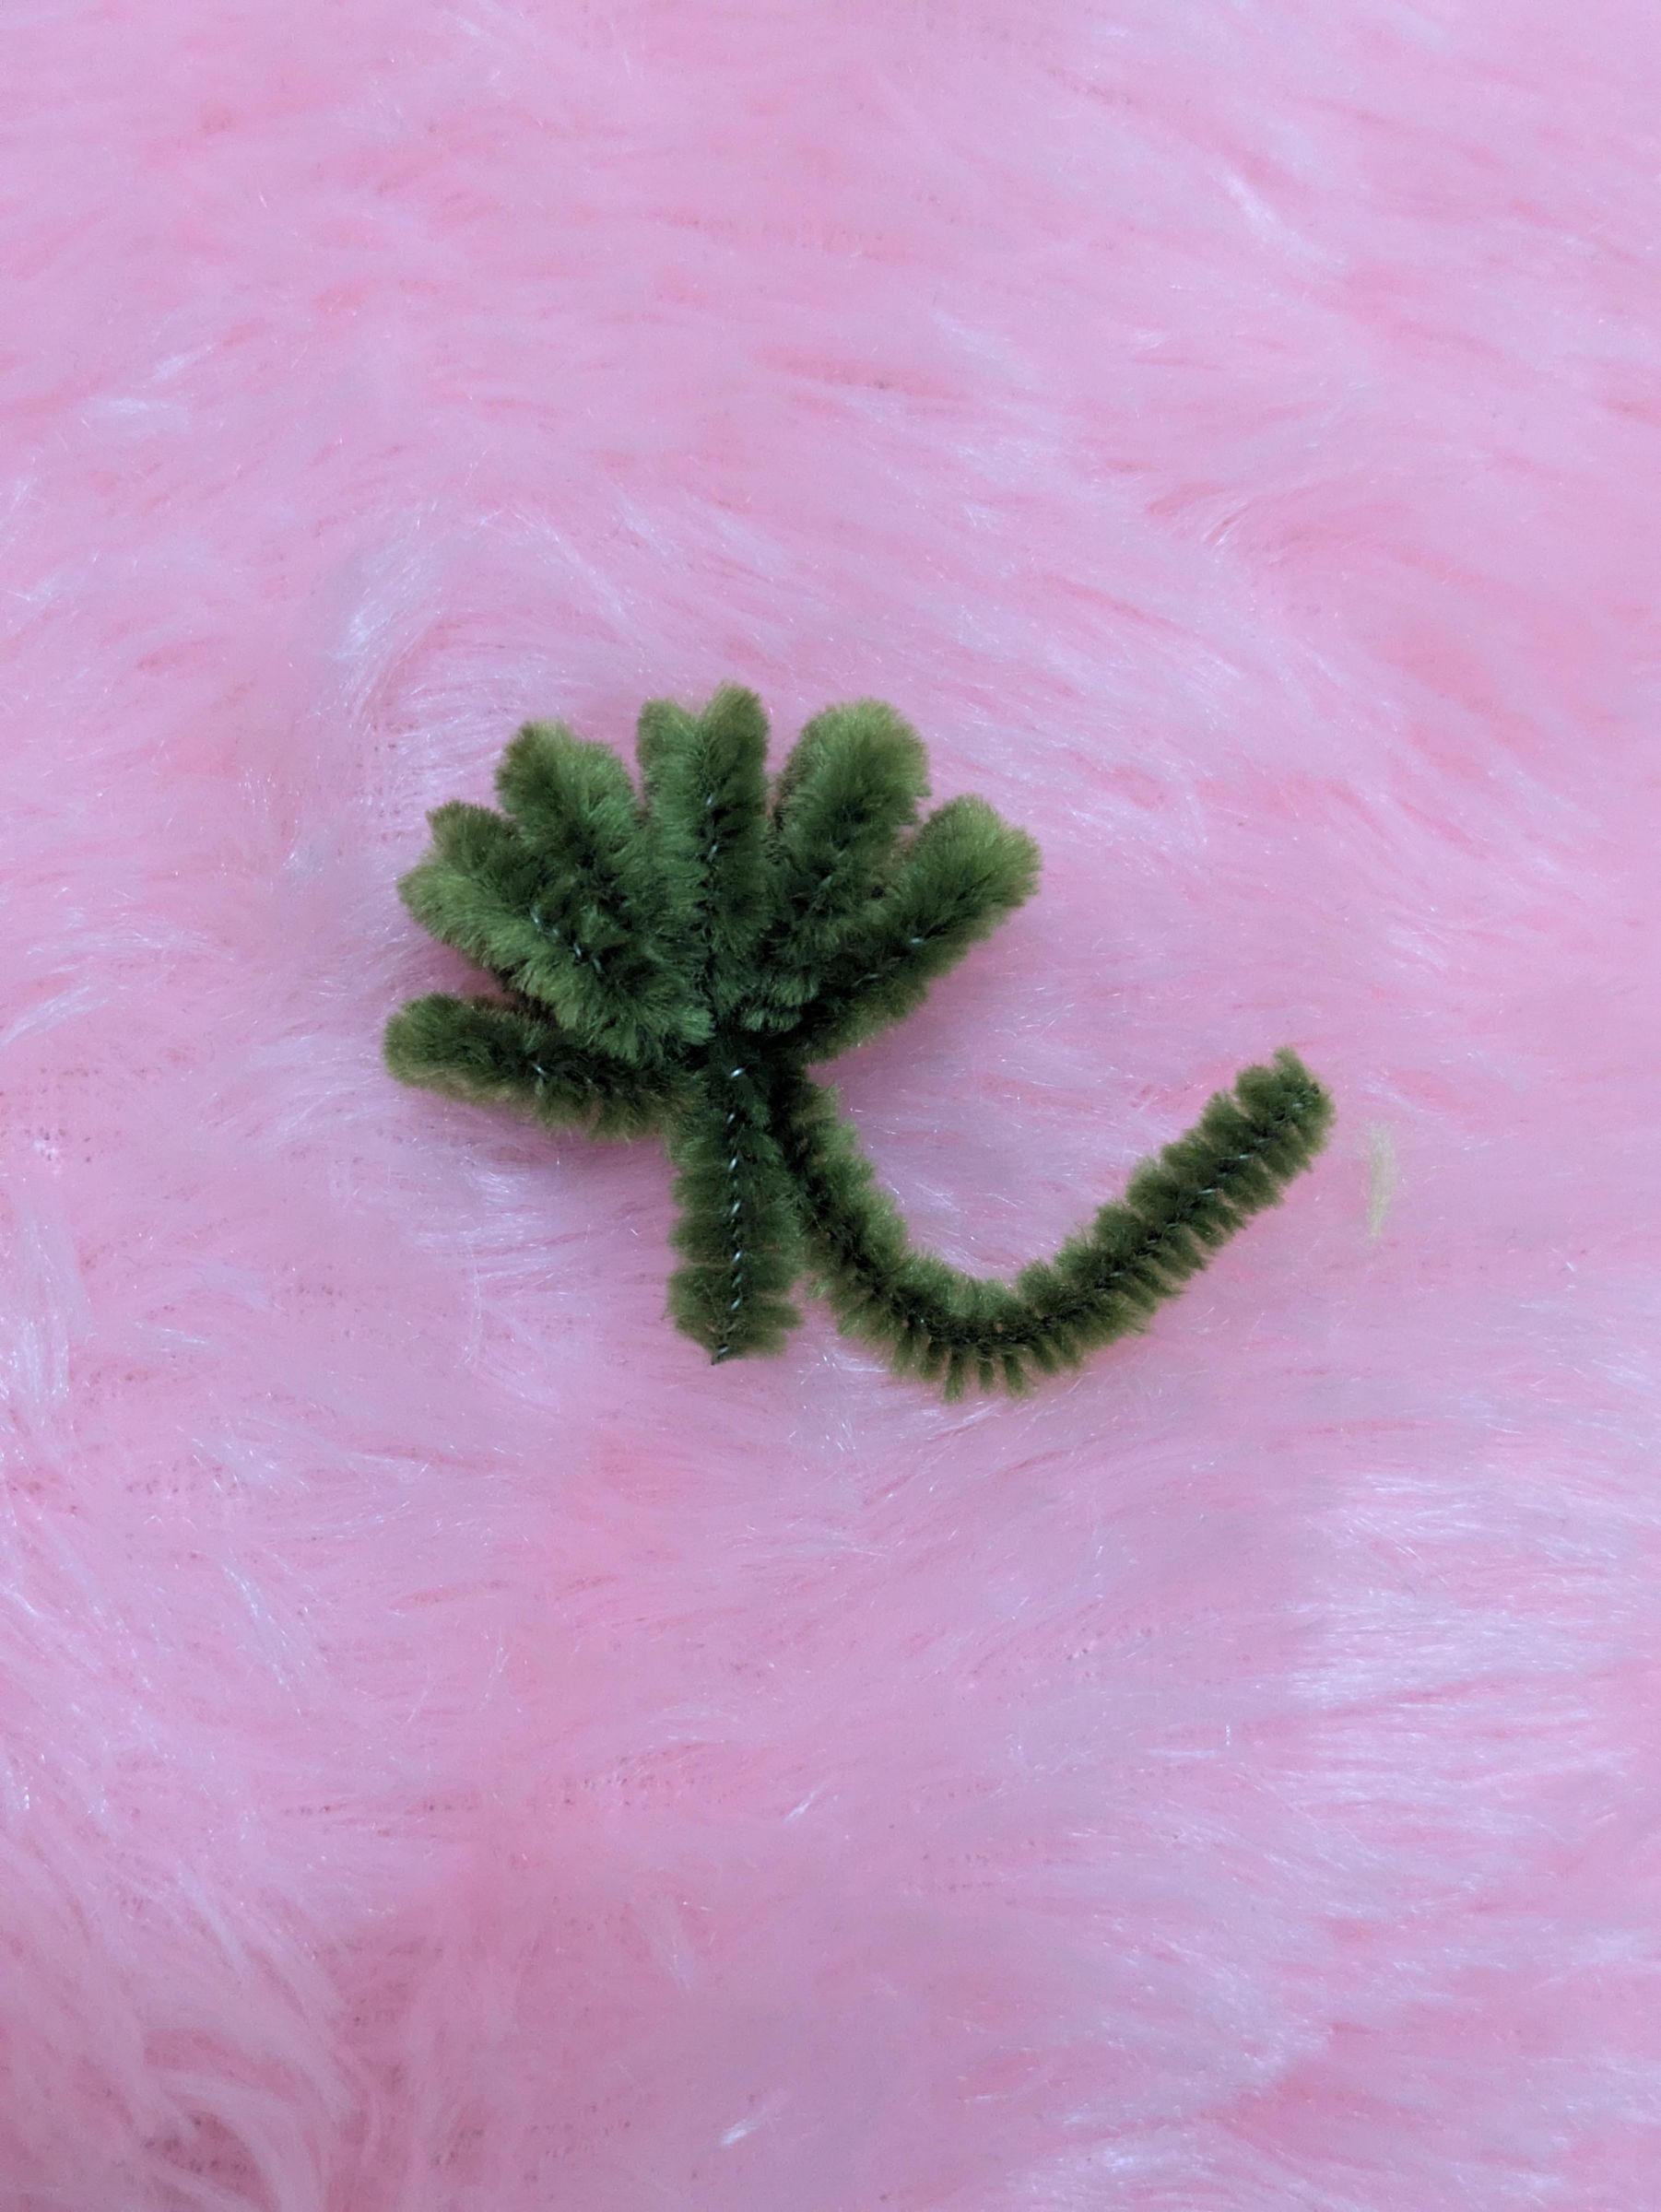
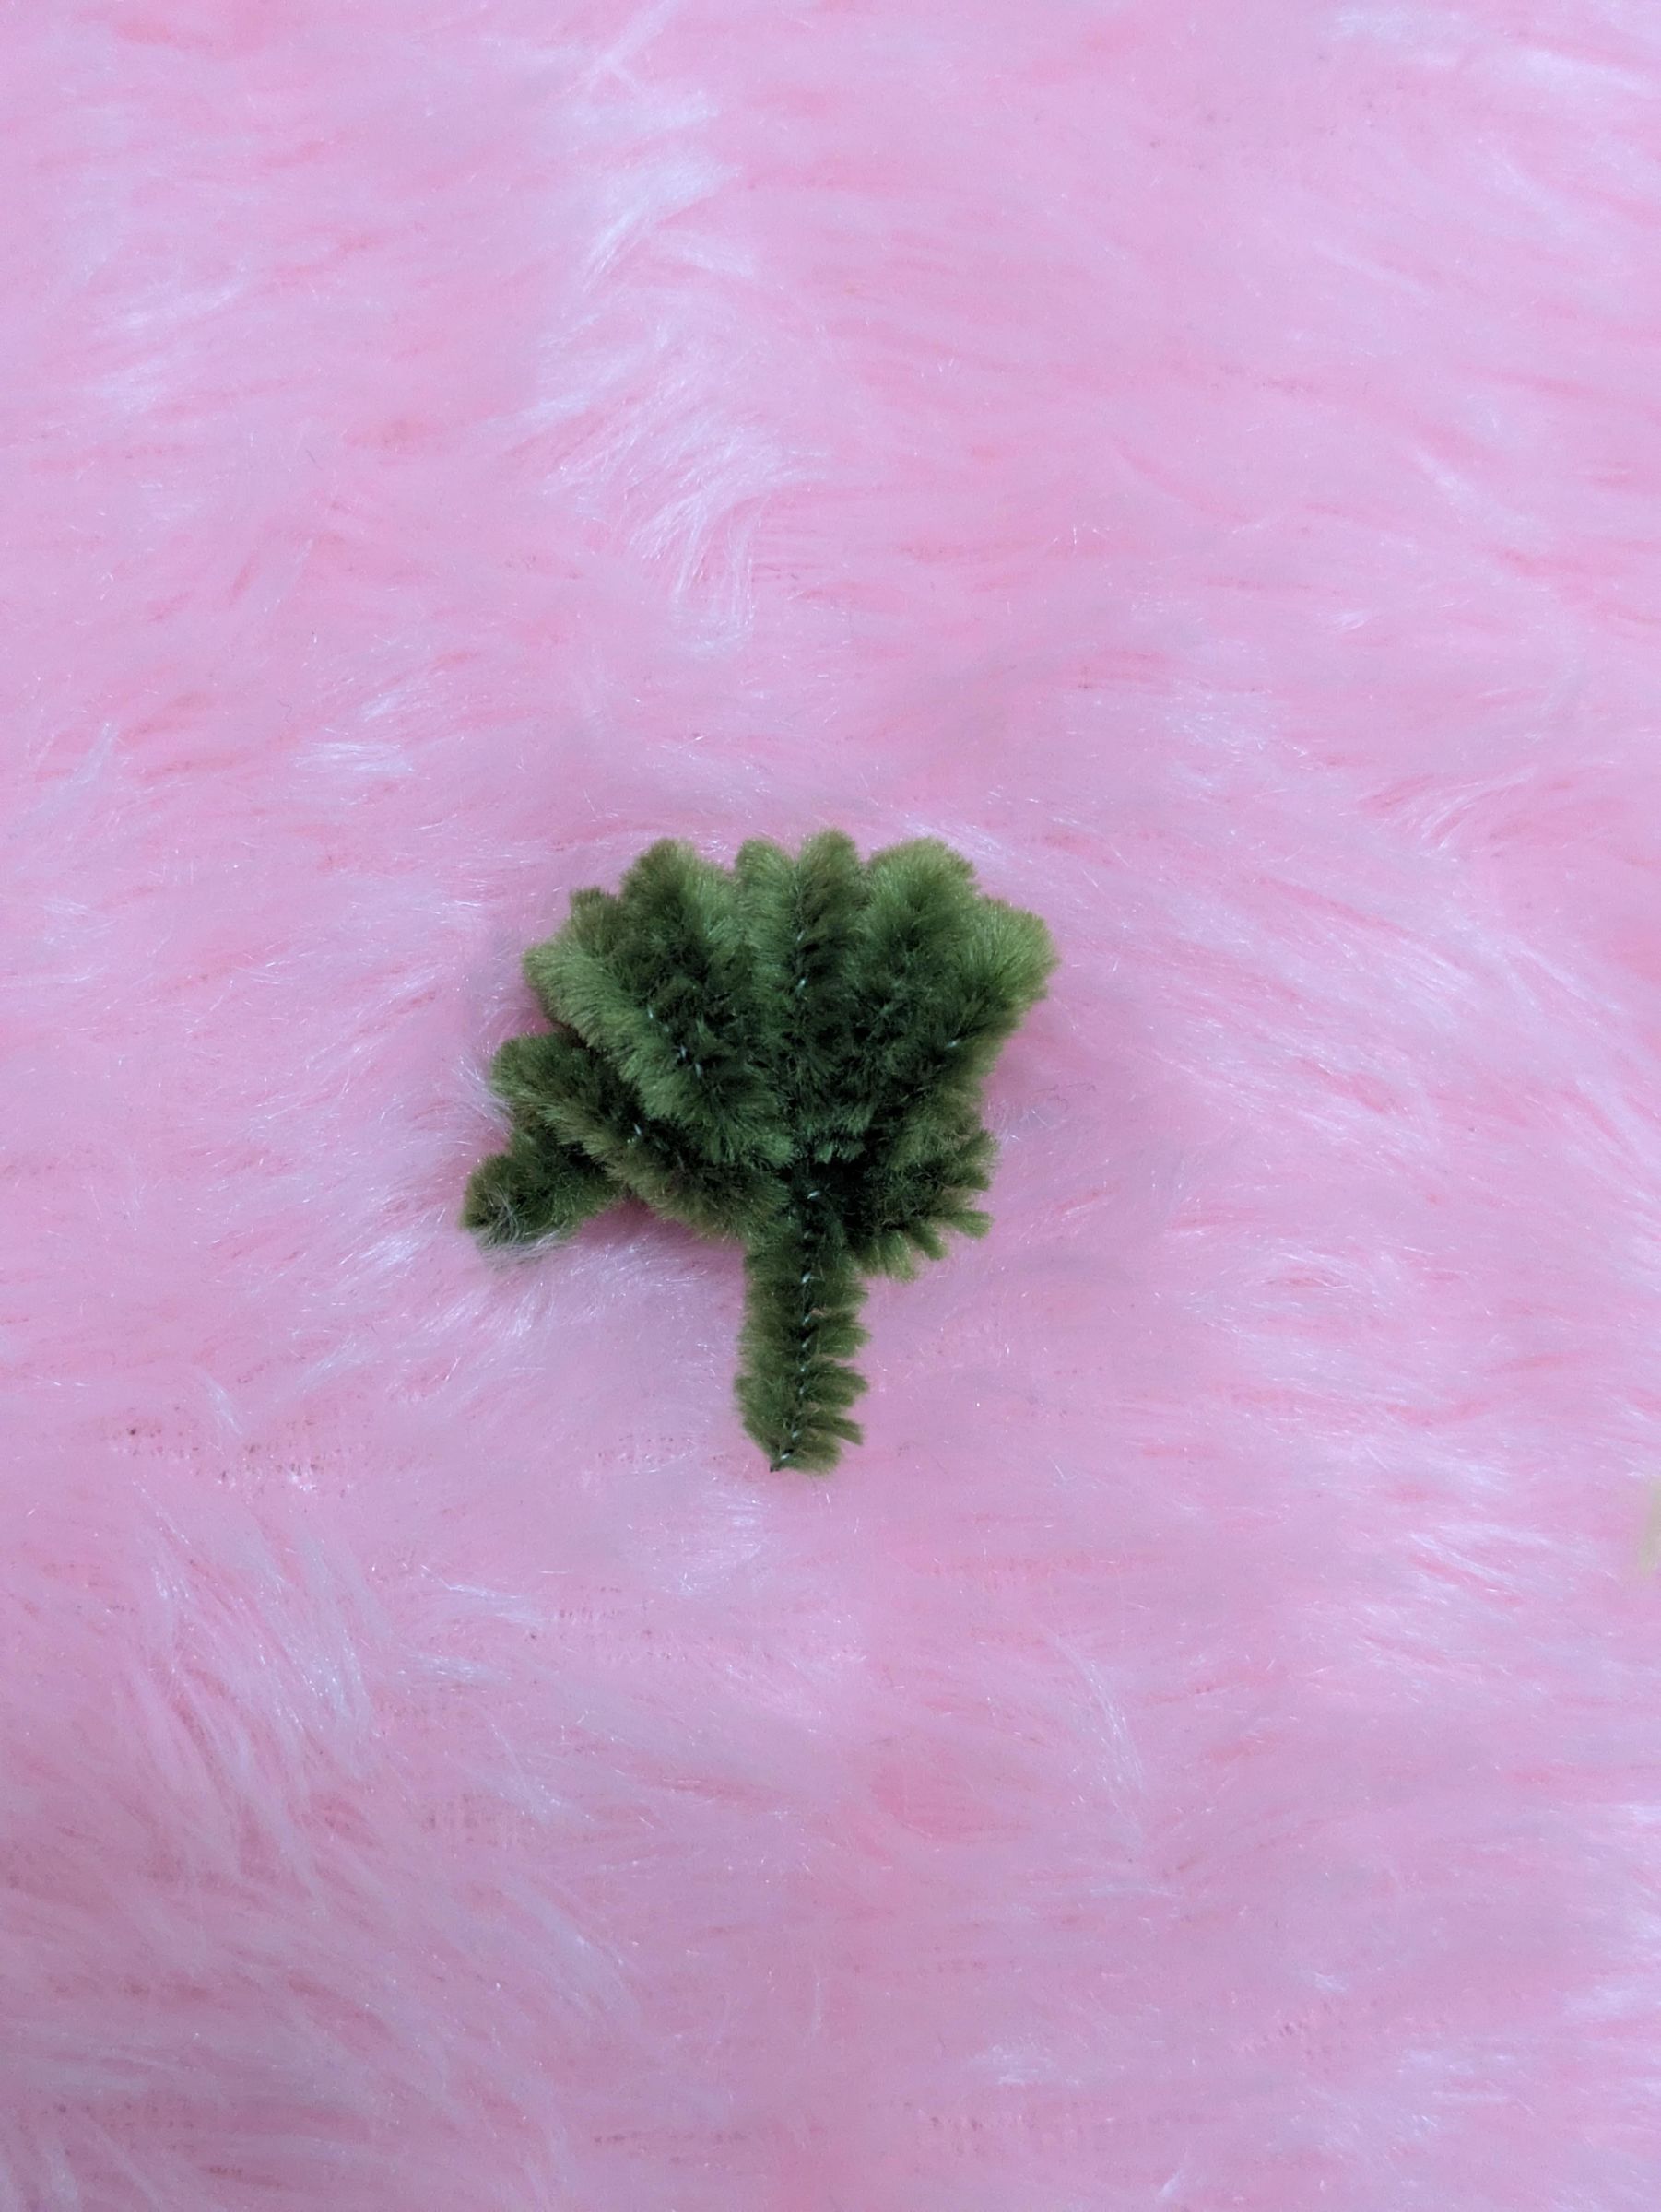

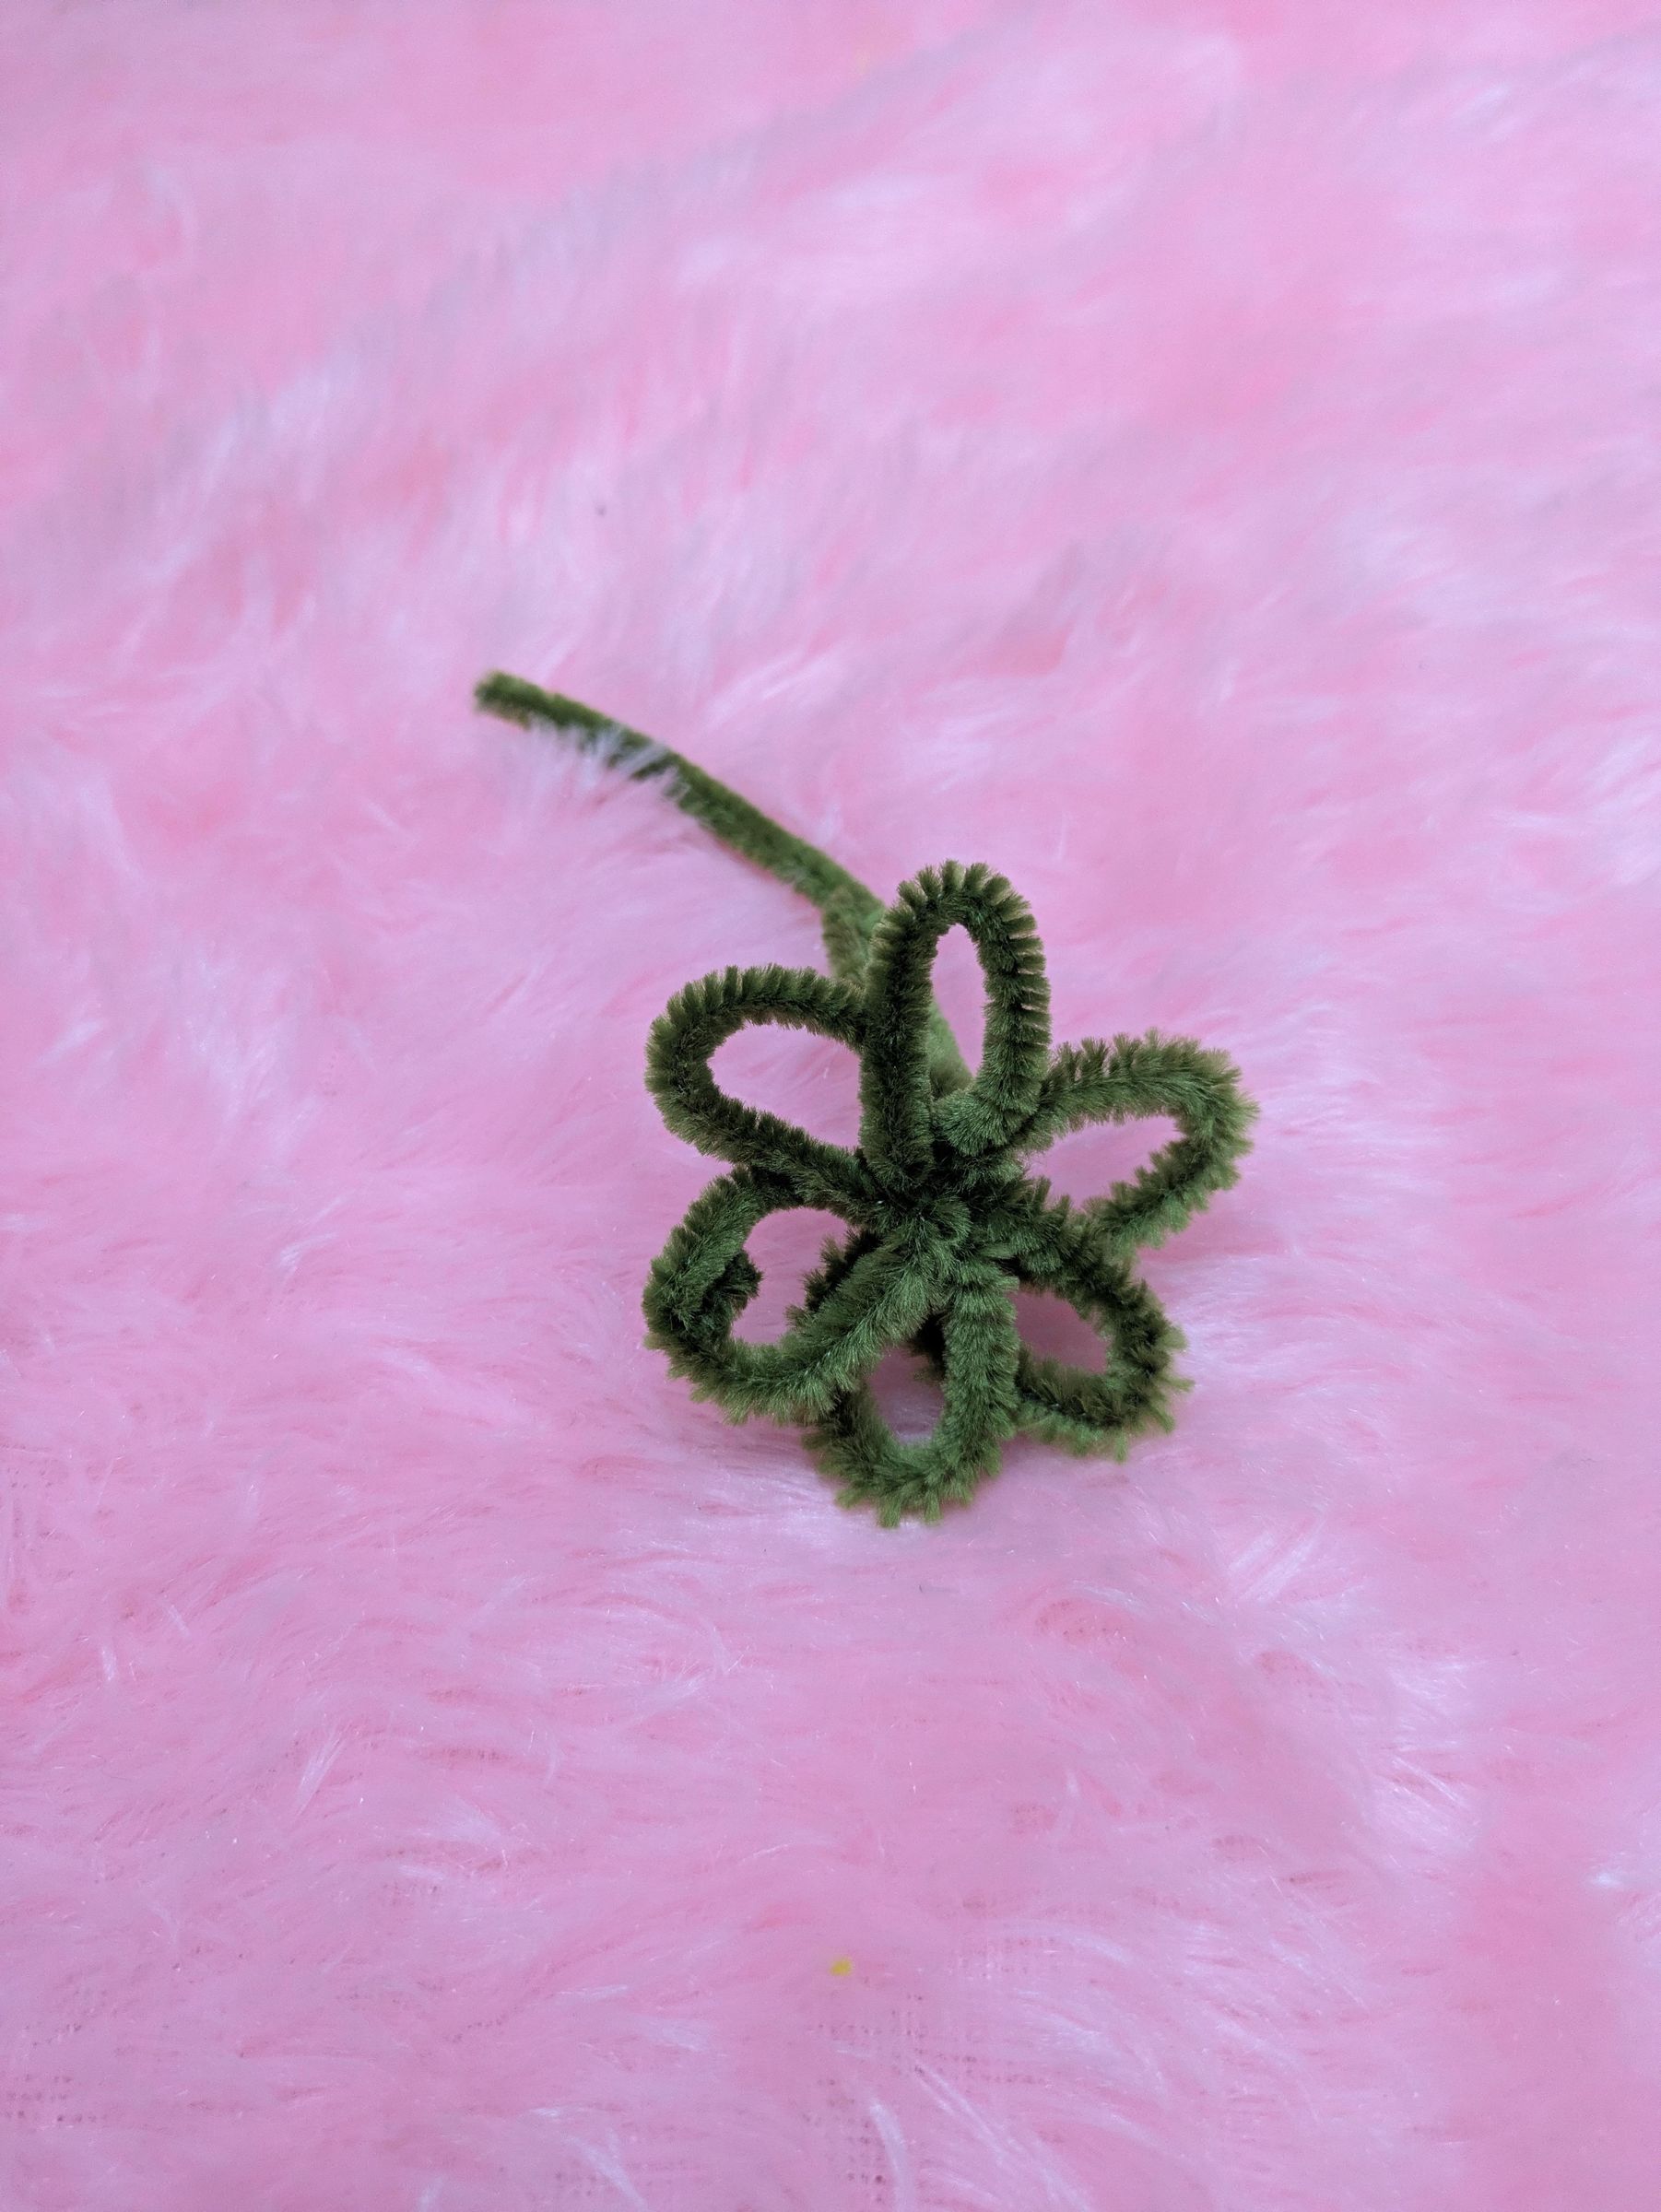
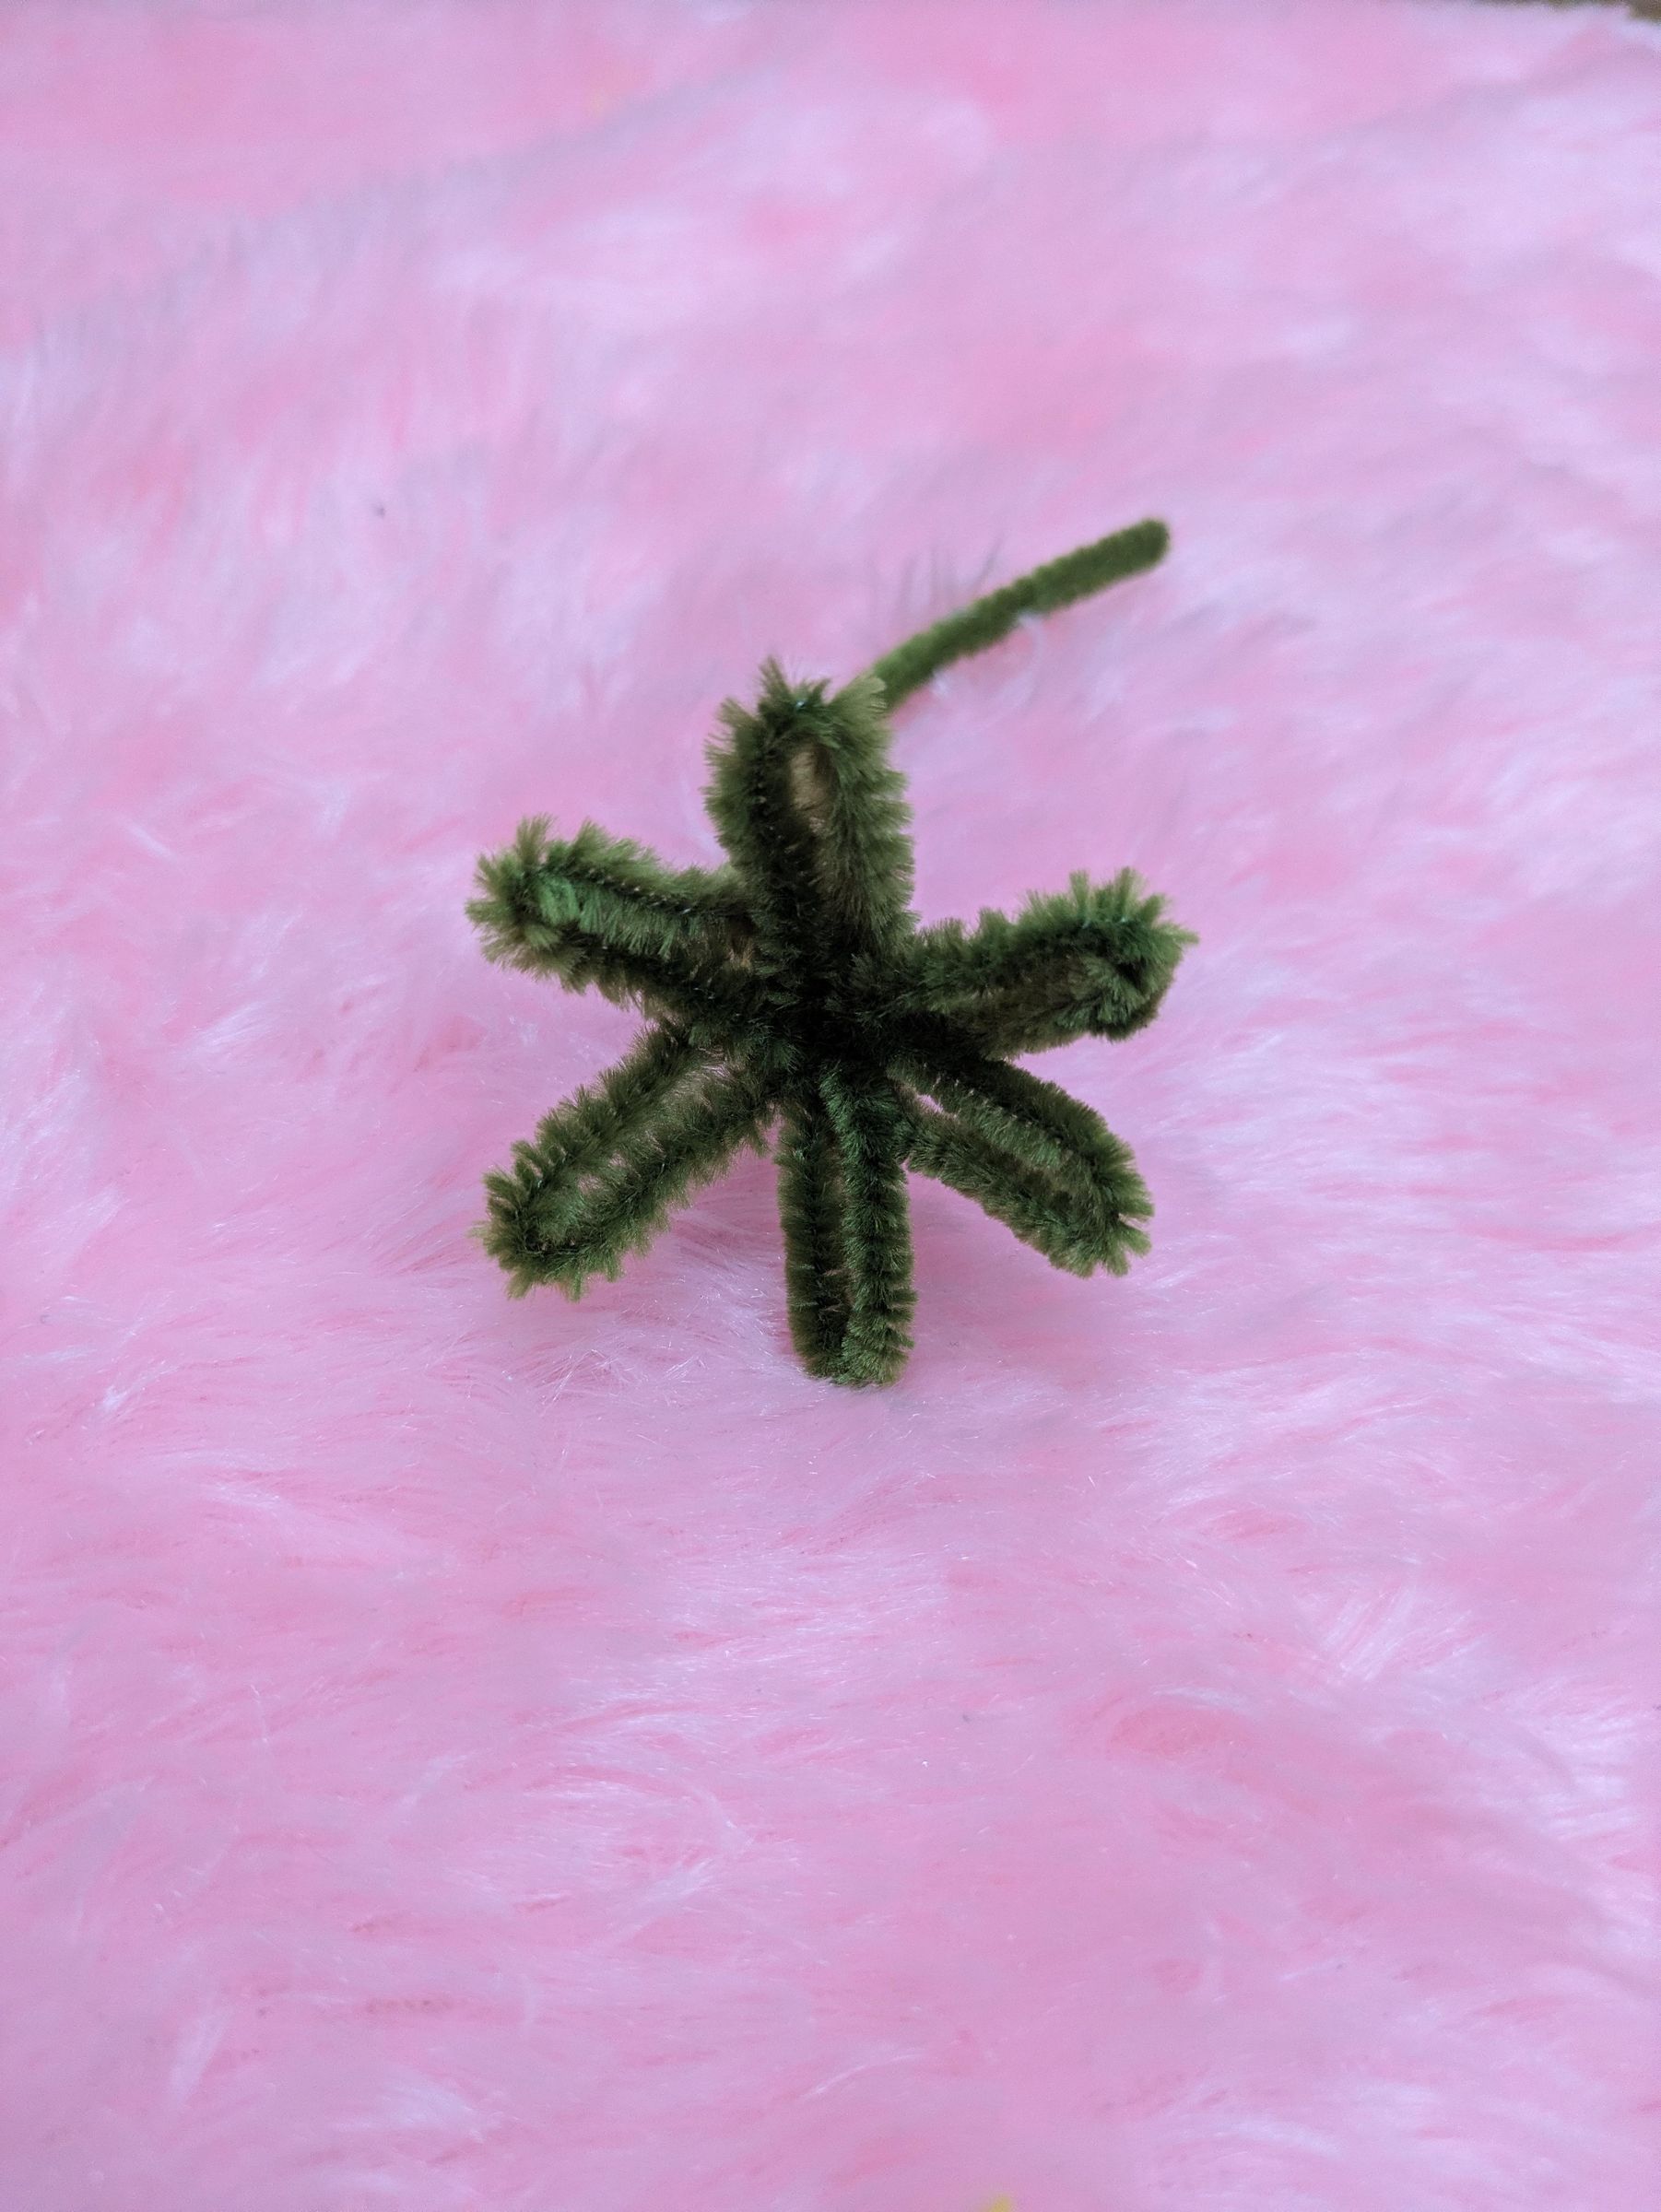
Take a marker or something of thick diameter to make flower support, roll it 6 times, twist two times (2rd image) , remove and insert one end of pipe cleaner and loop it other end.
Flower Support - Part 2
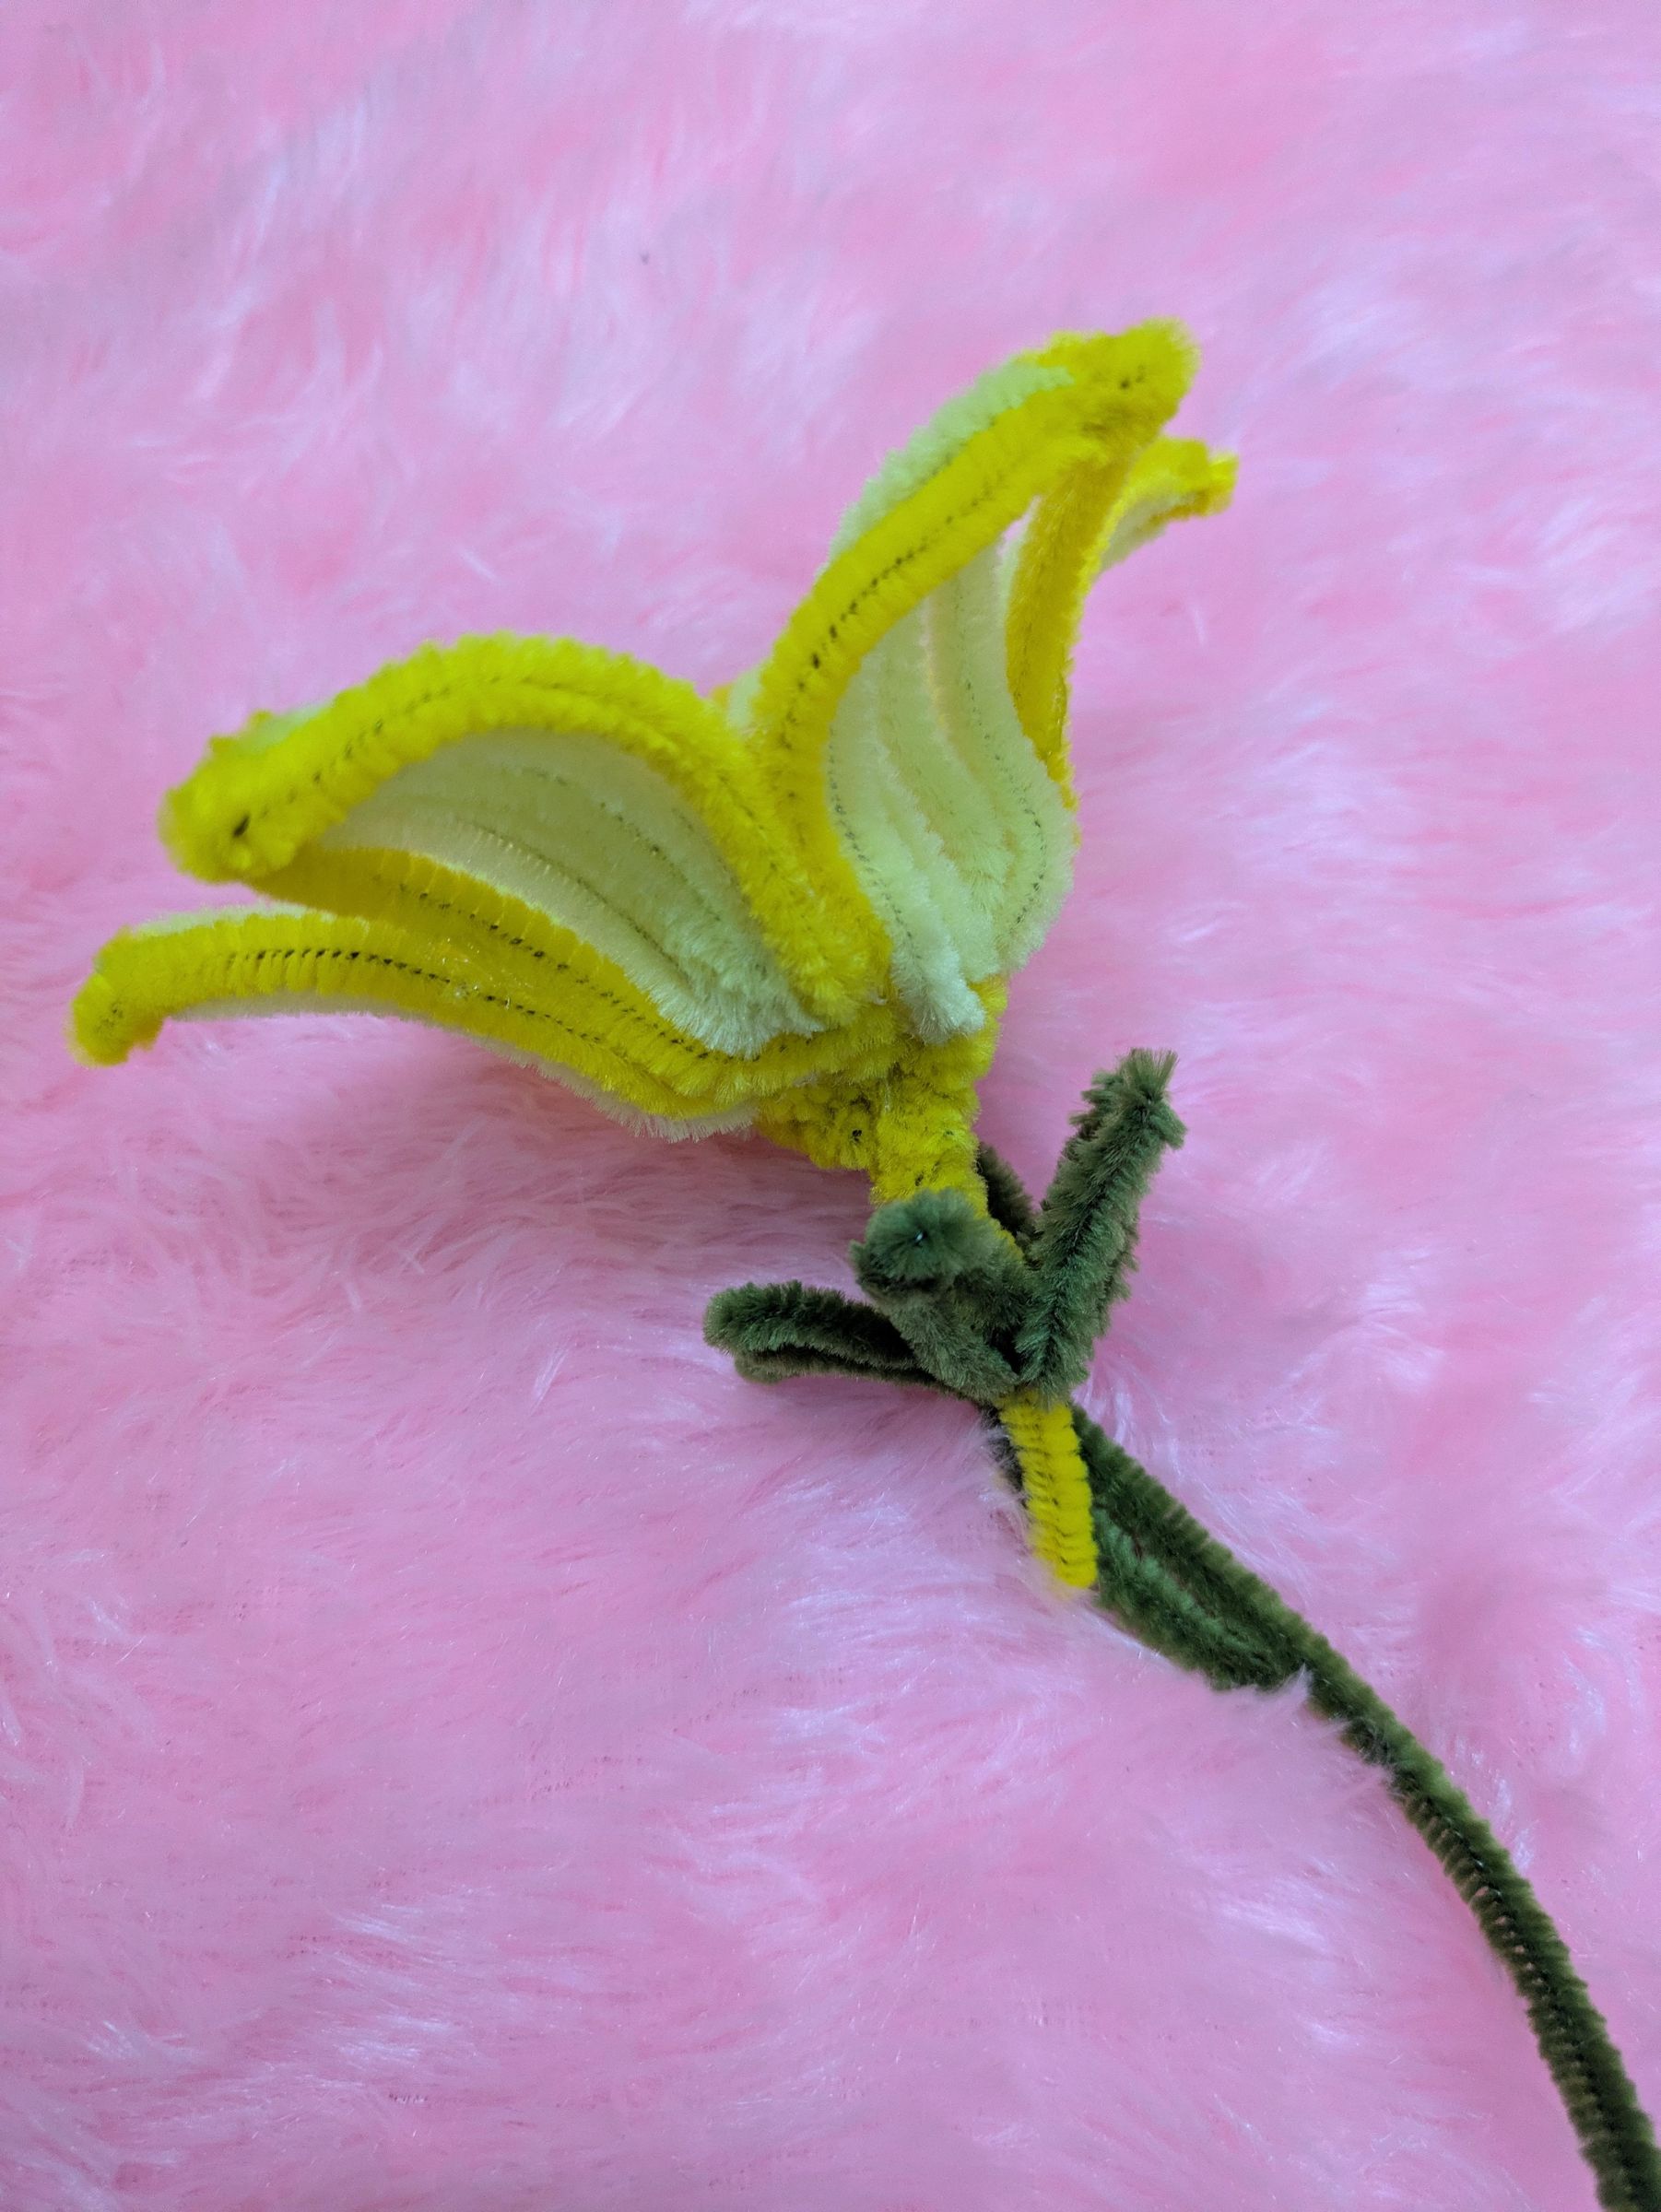
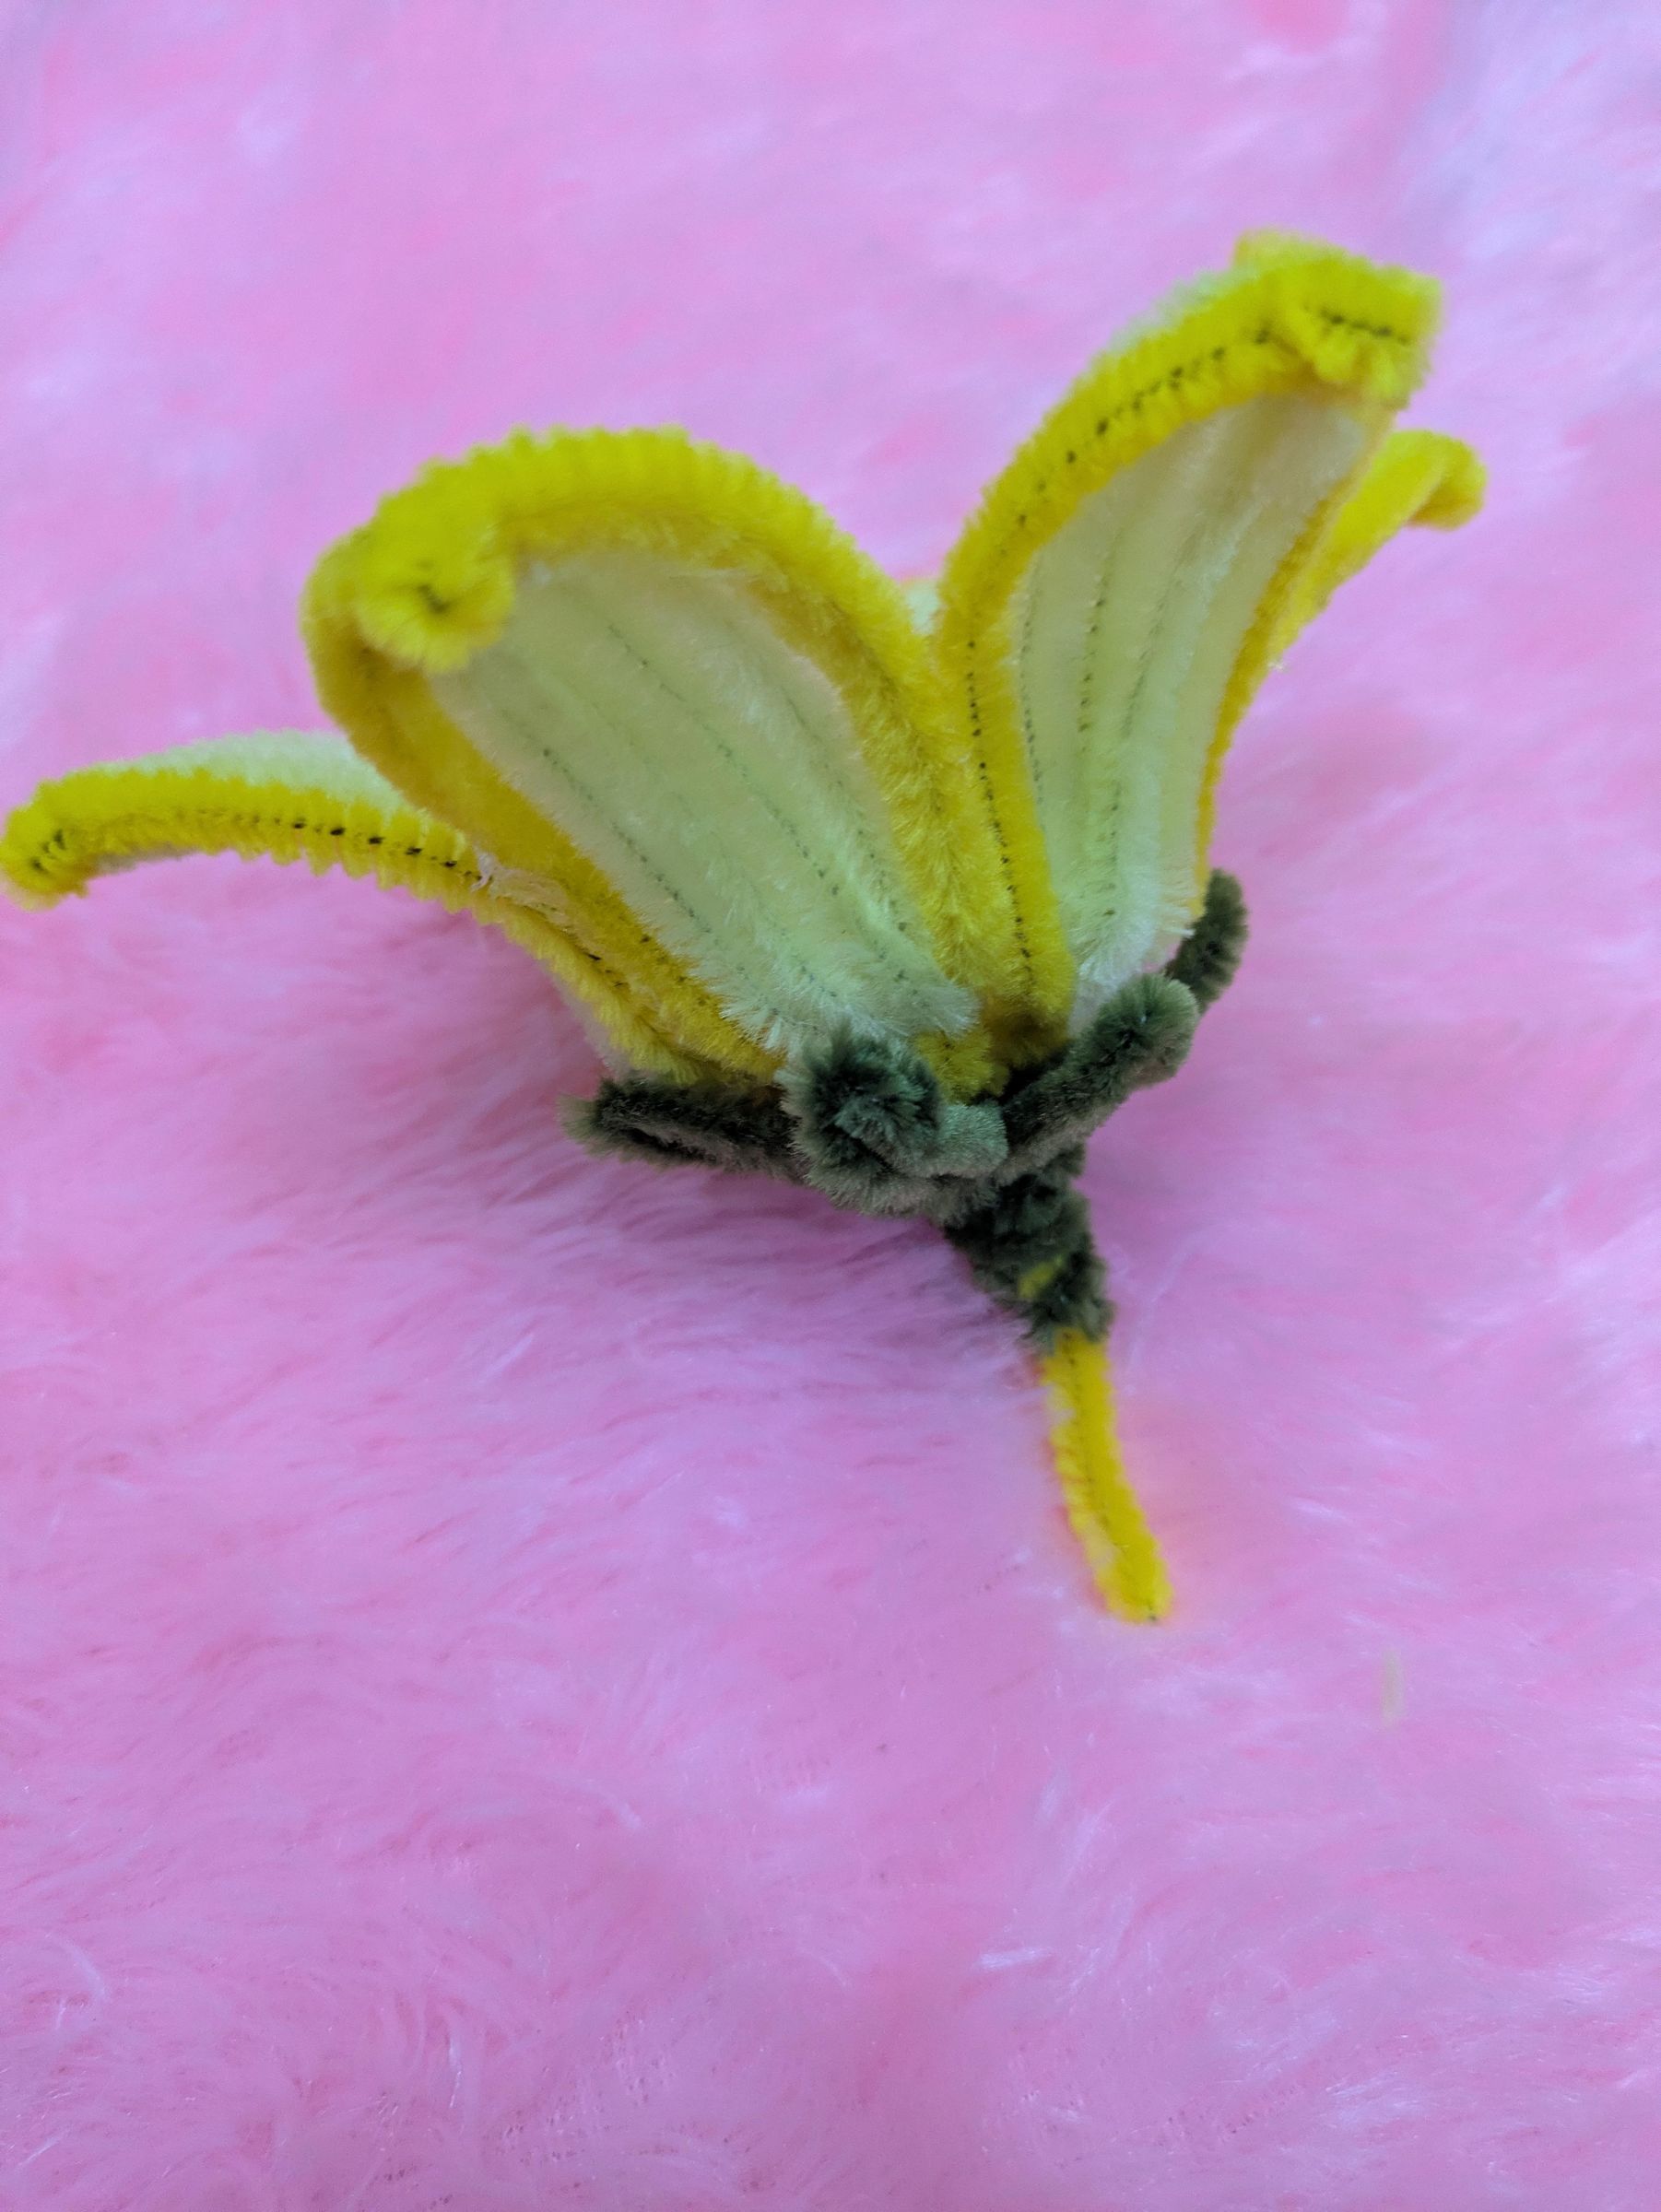
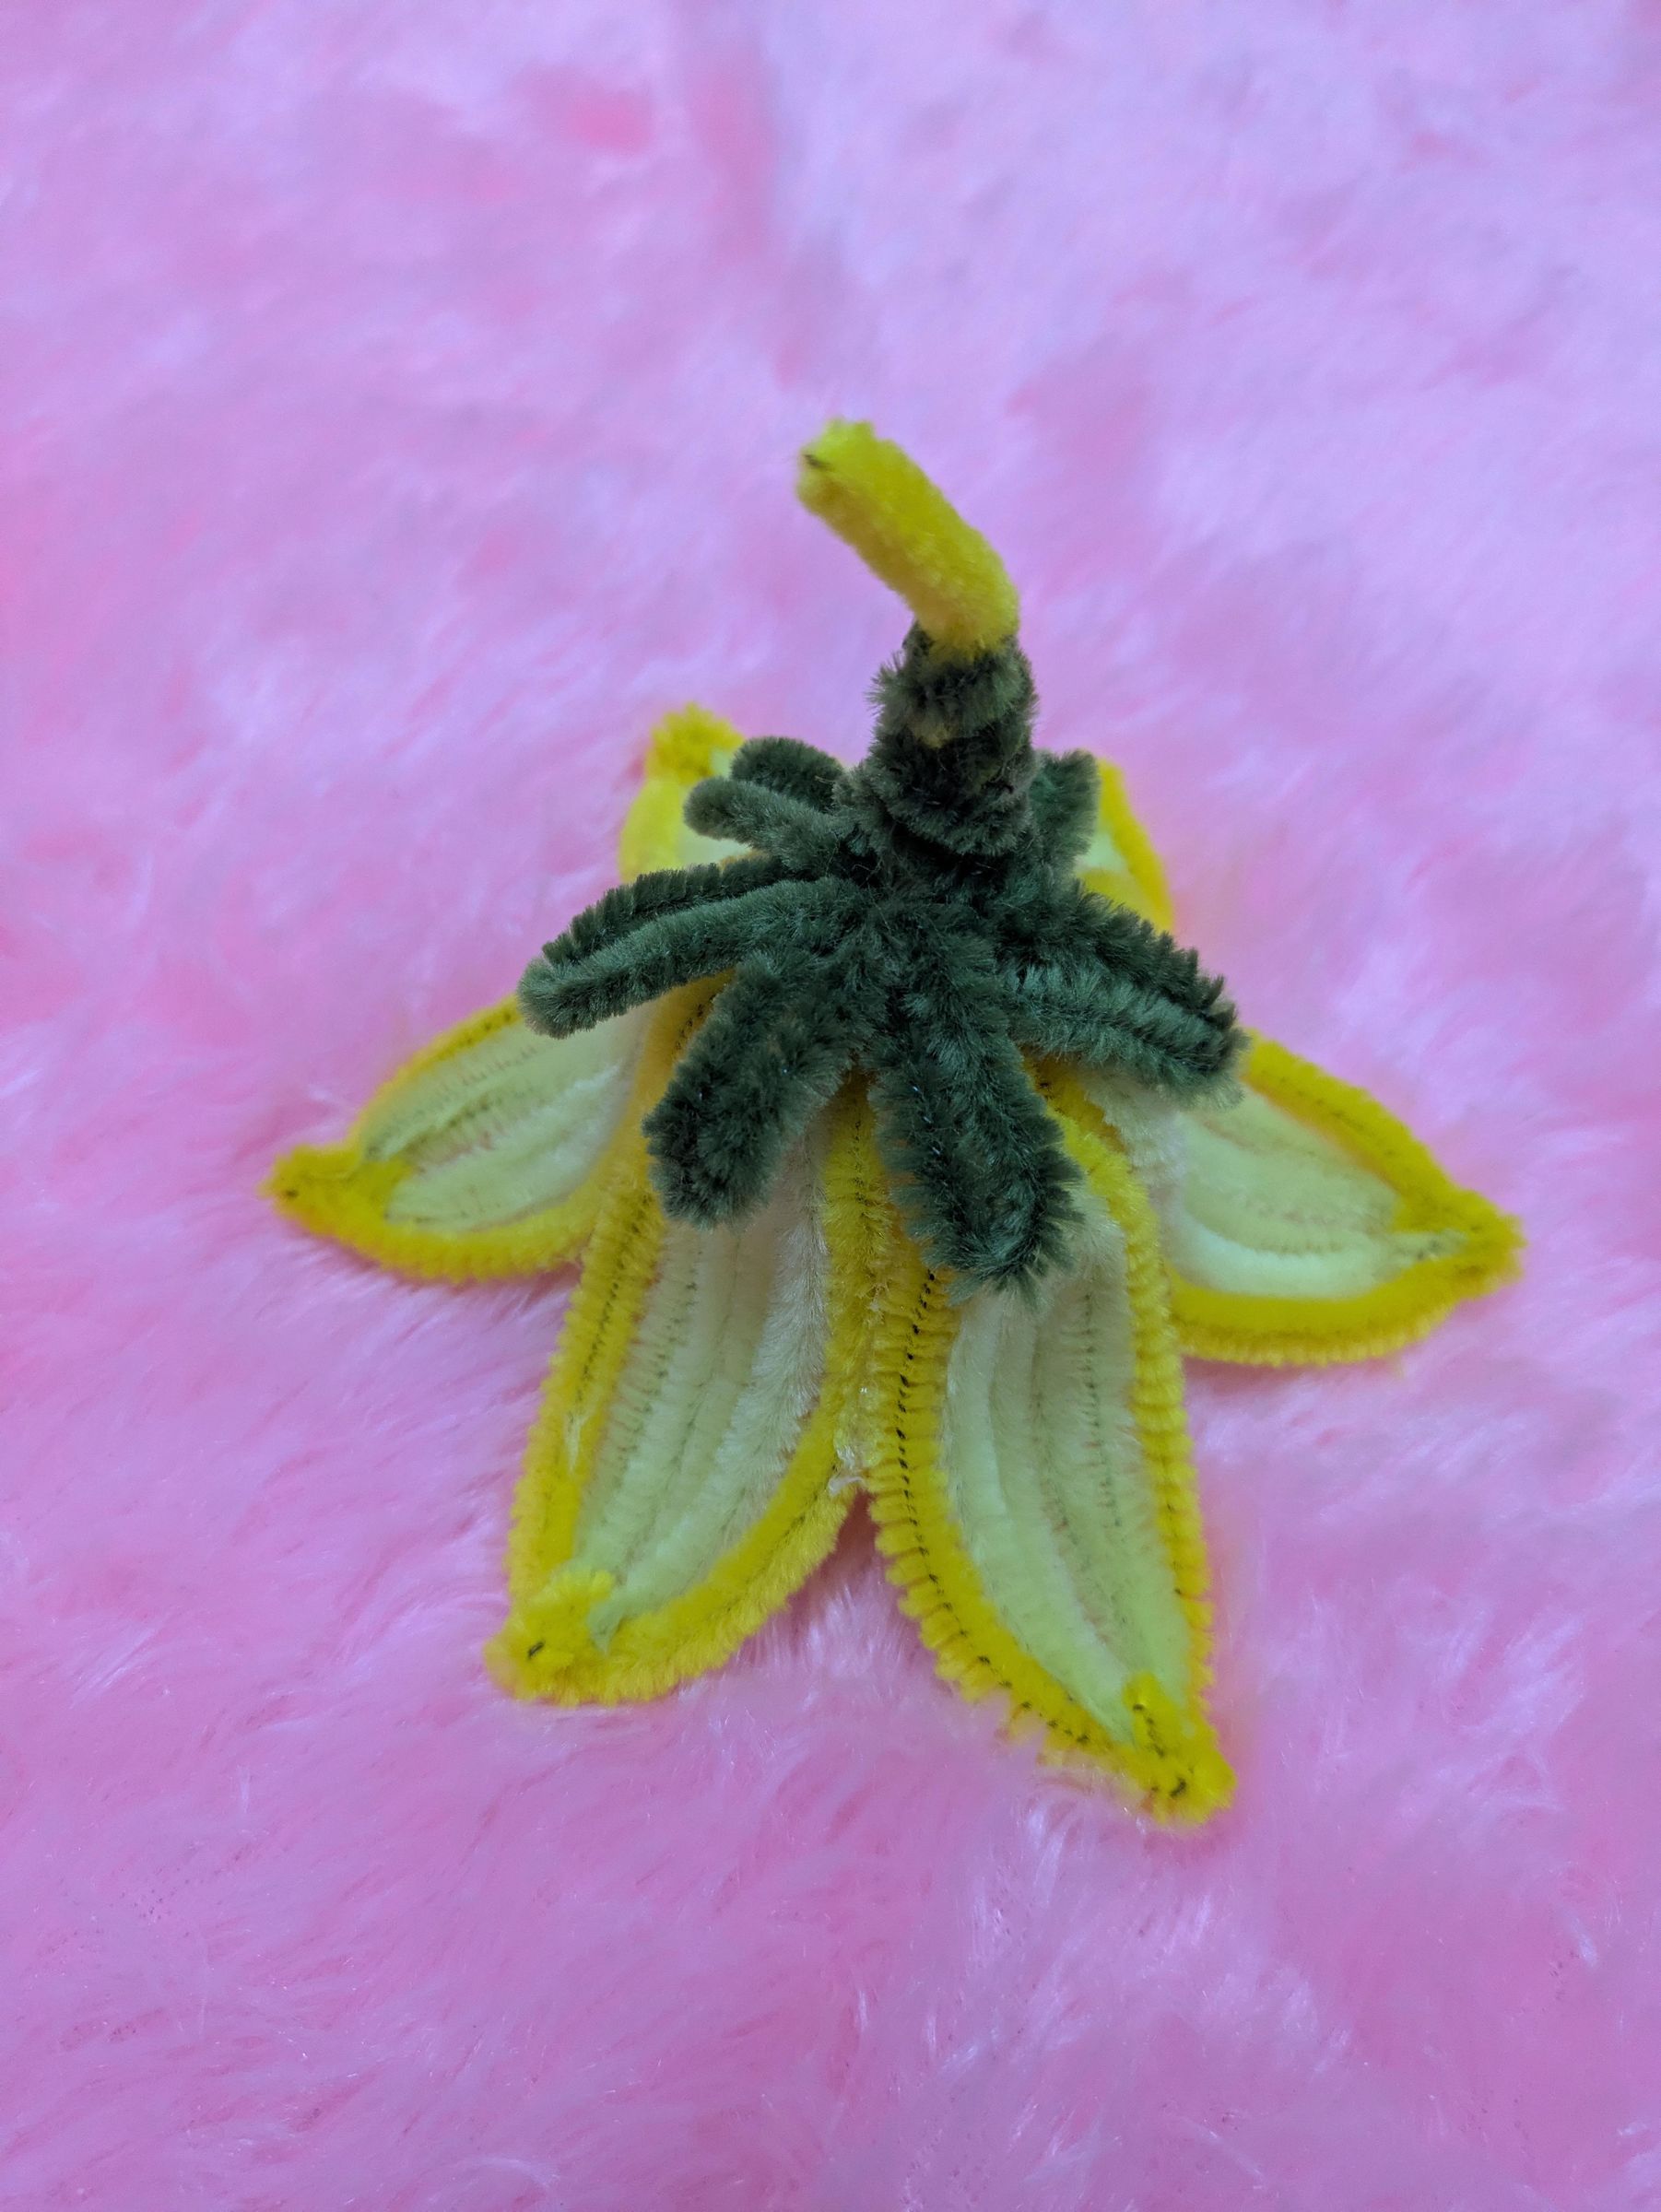
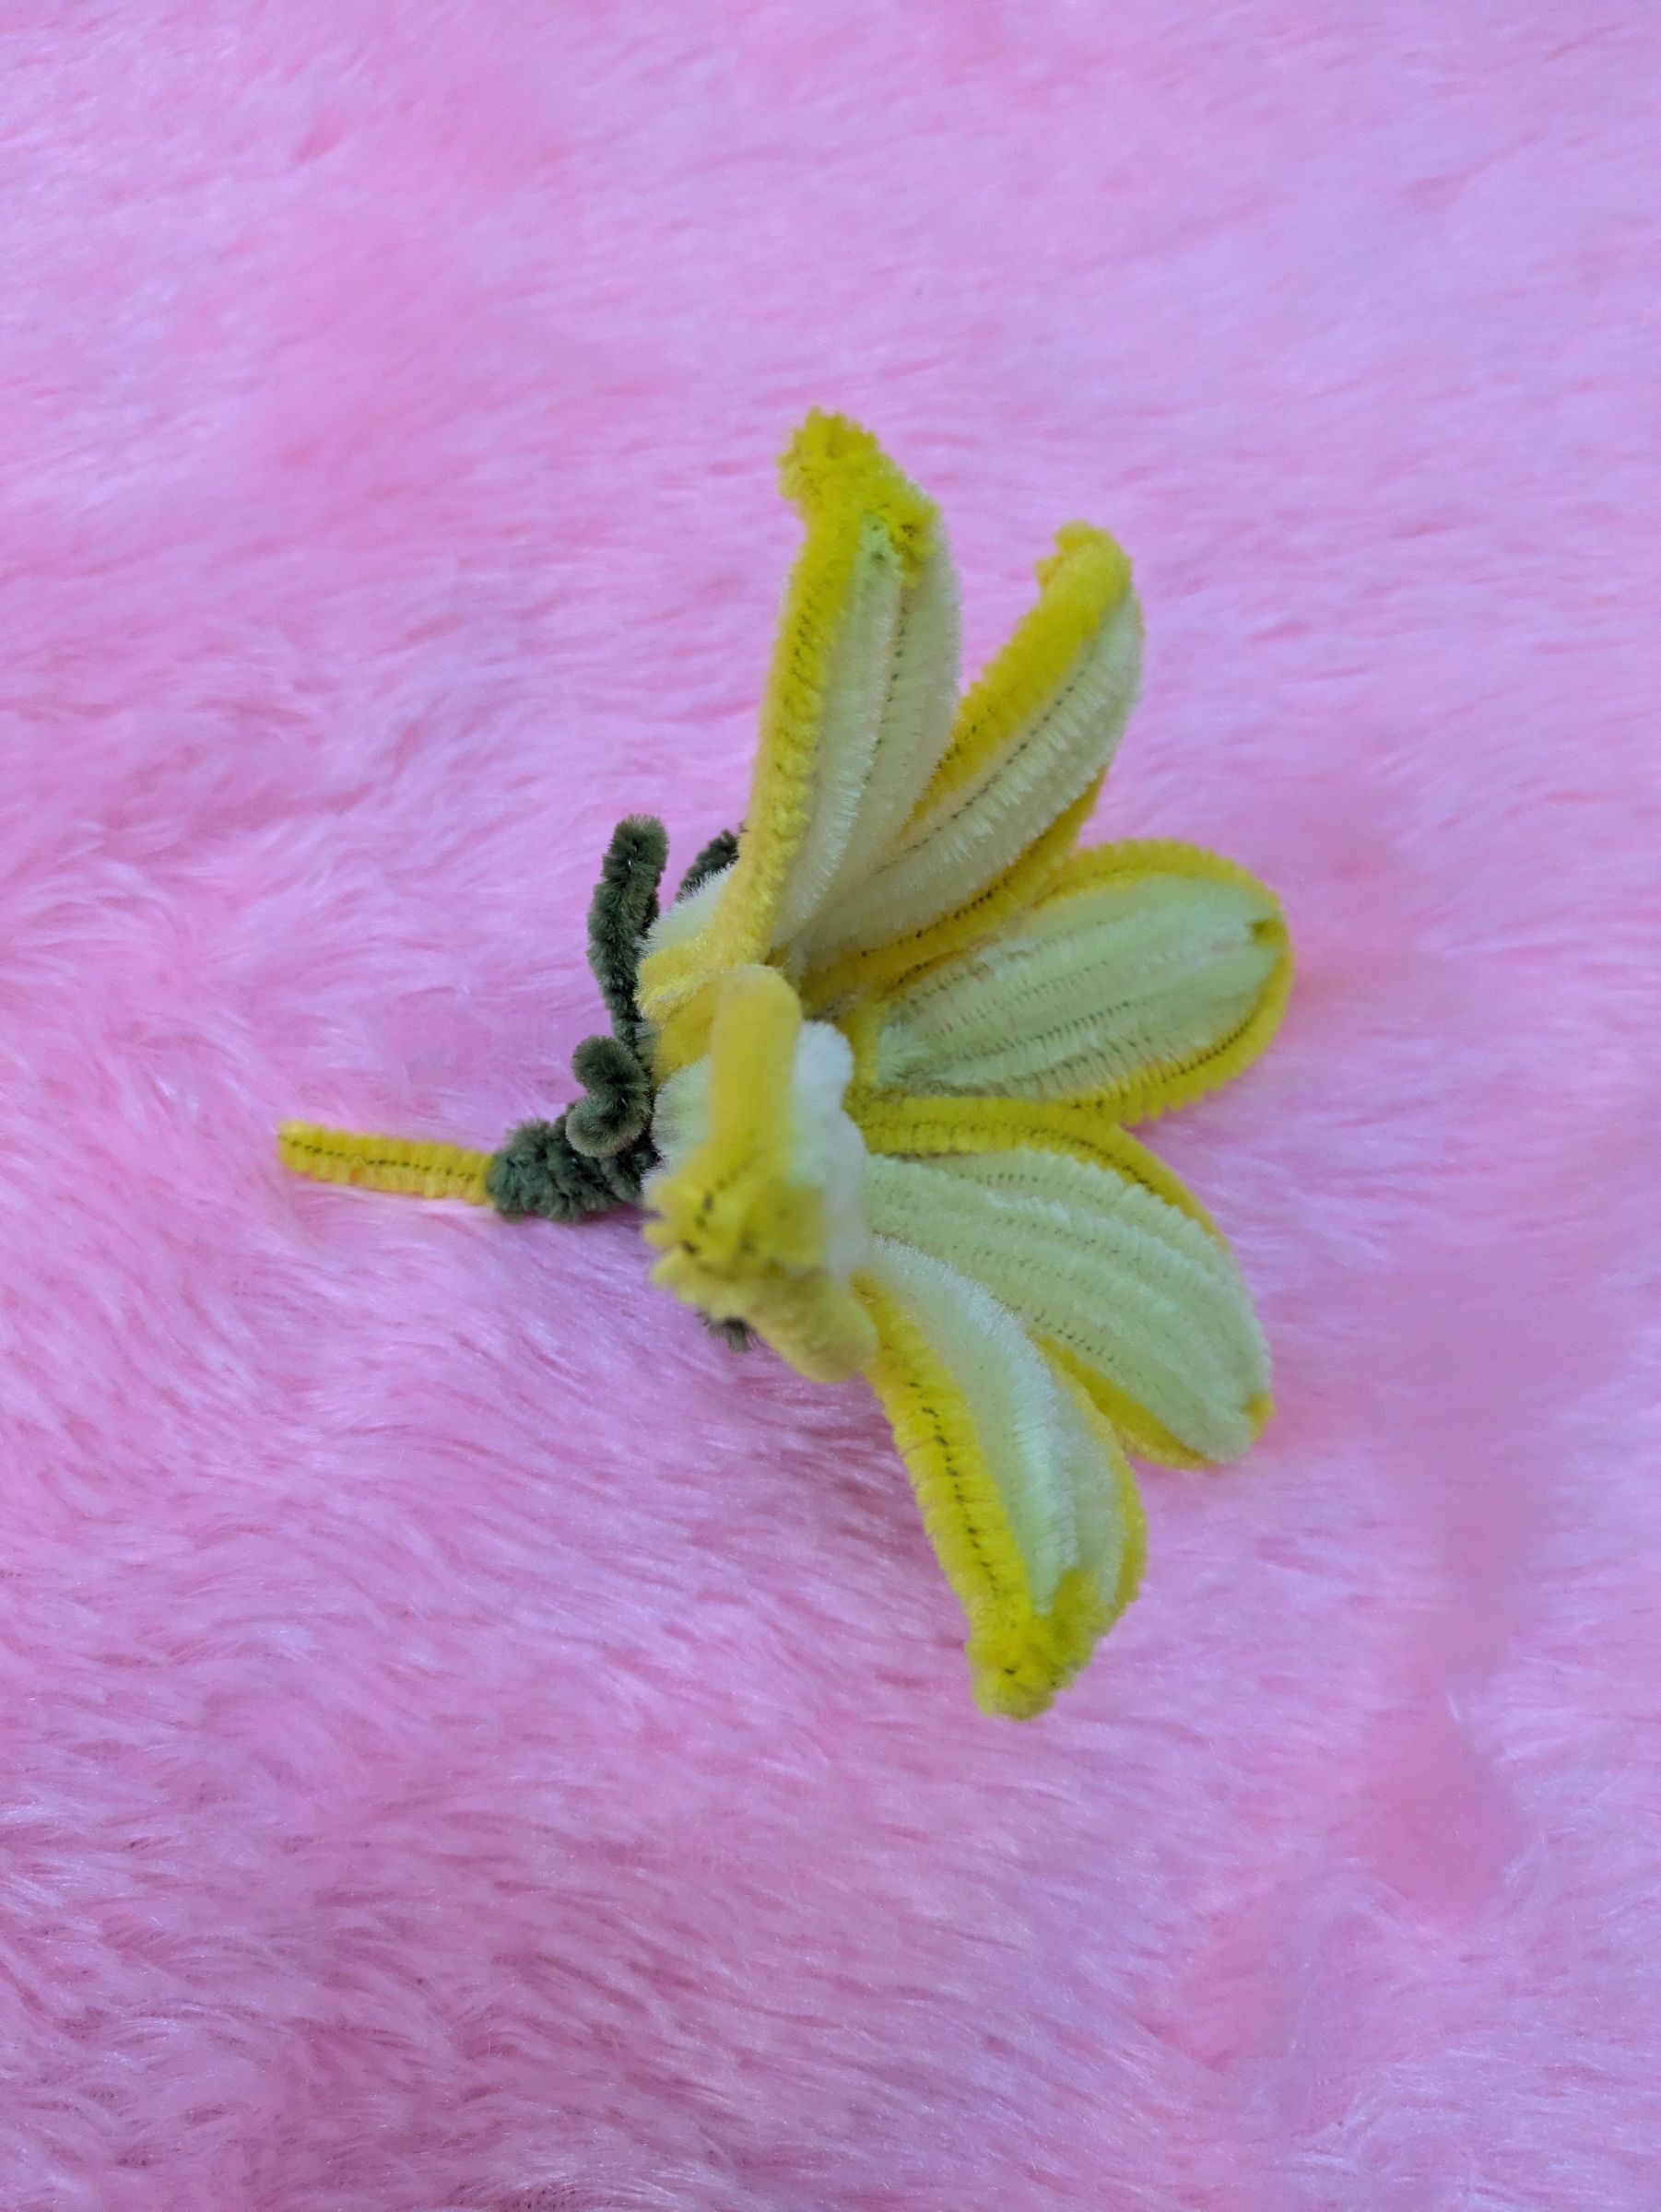
Insert the support into base, hot glue it. cut the excess. such a beautiful bloomed lily :)
Base Beautification
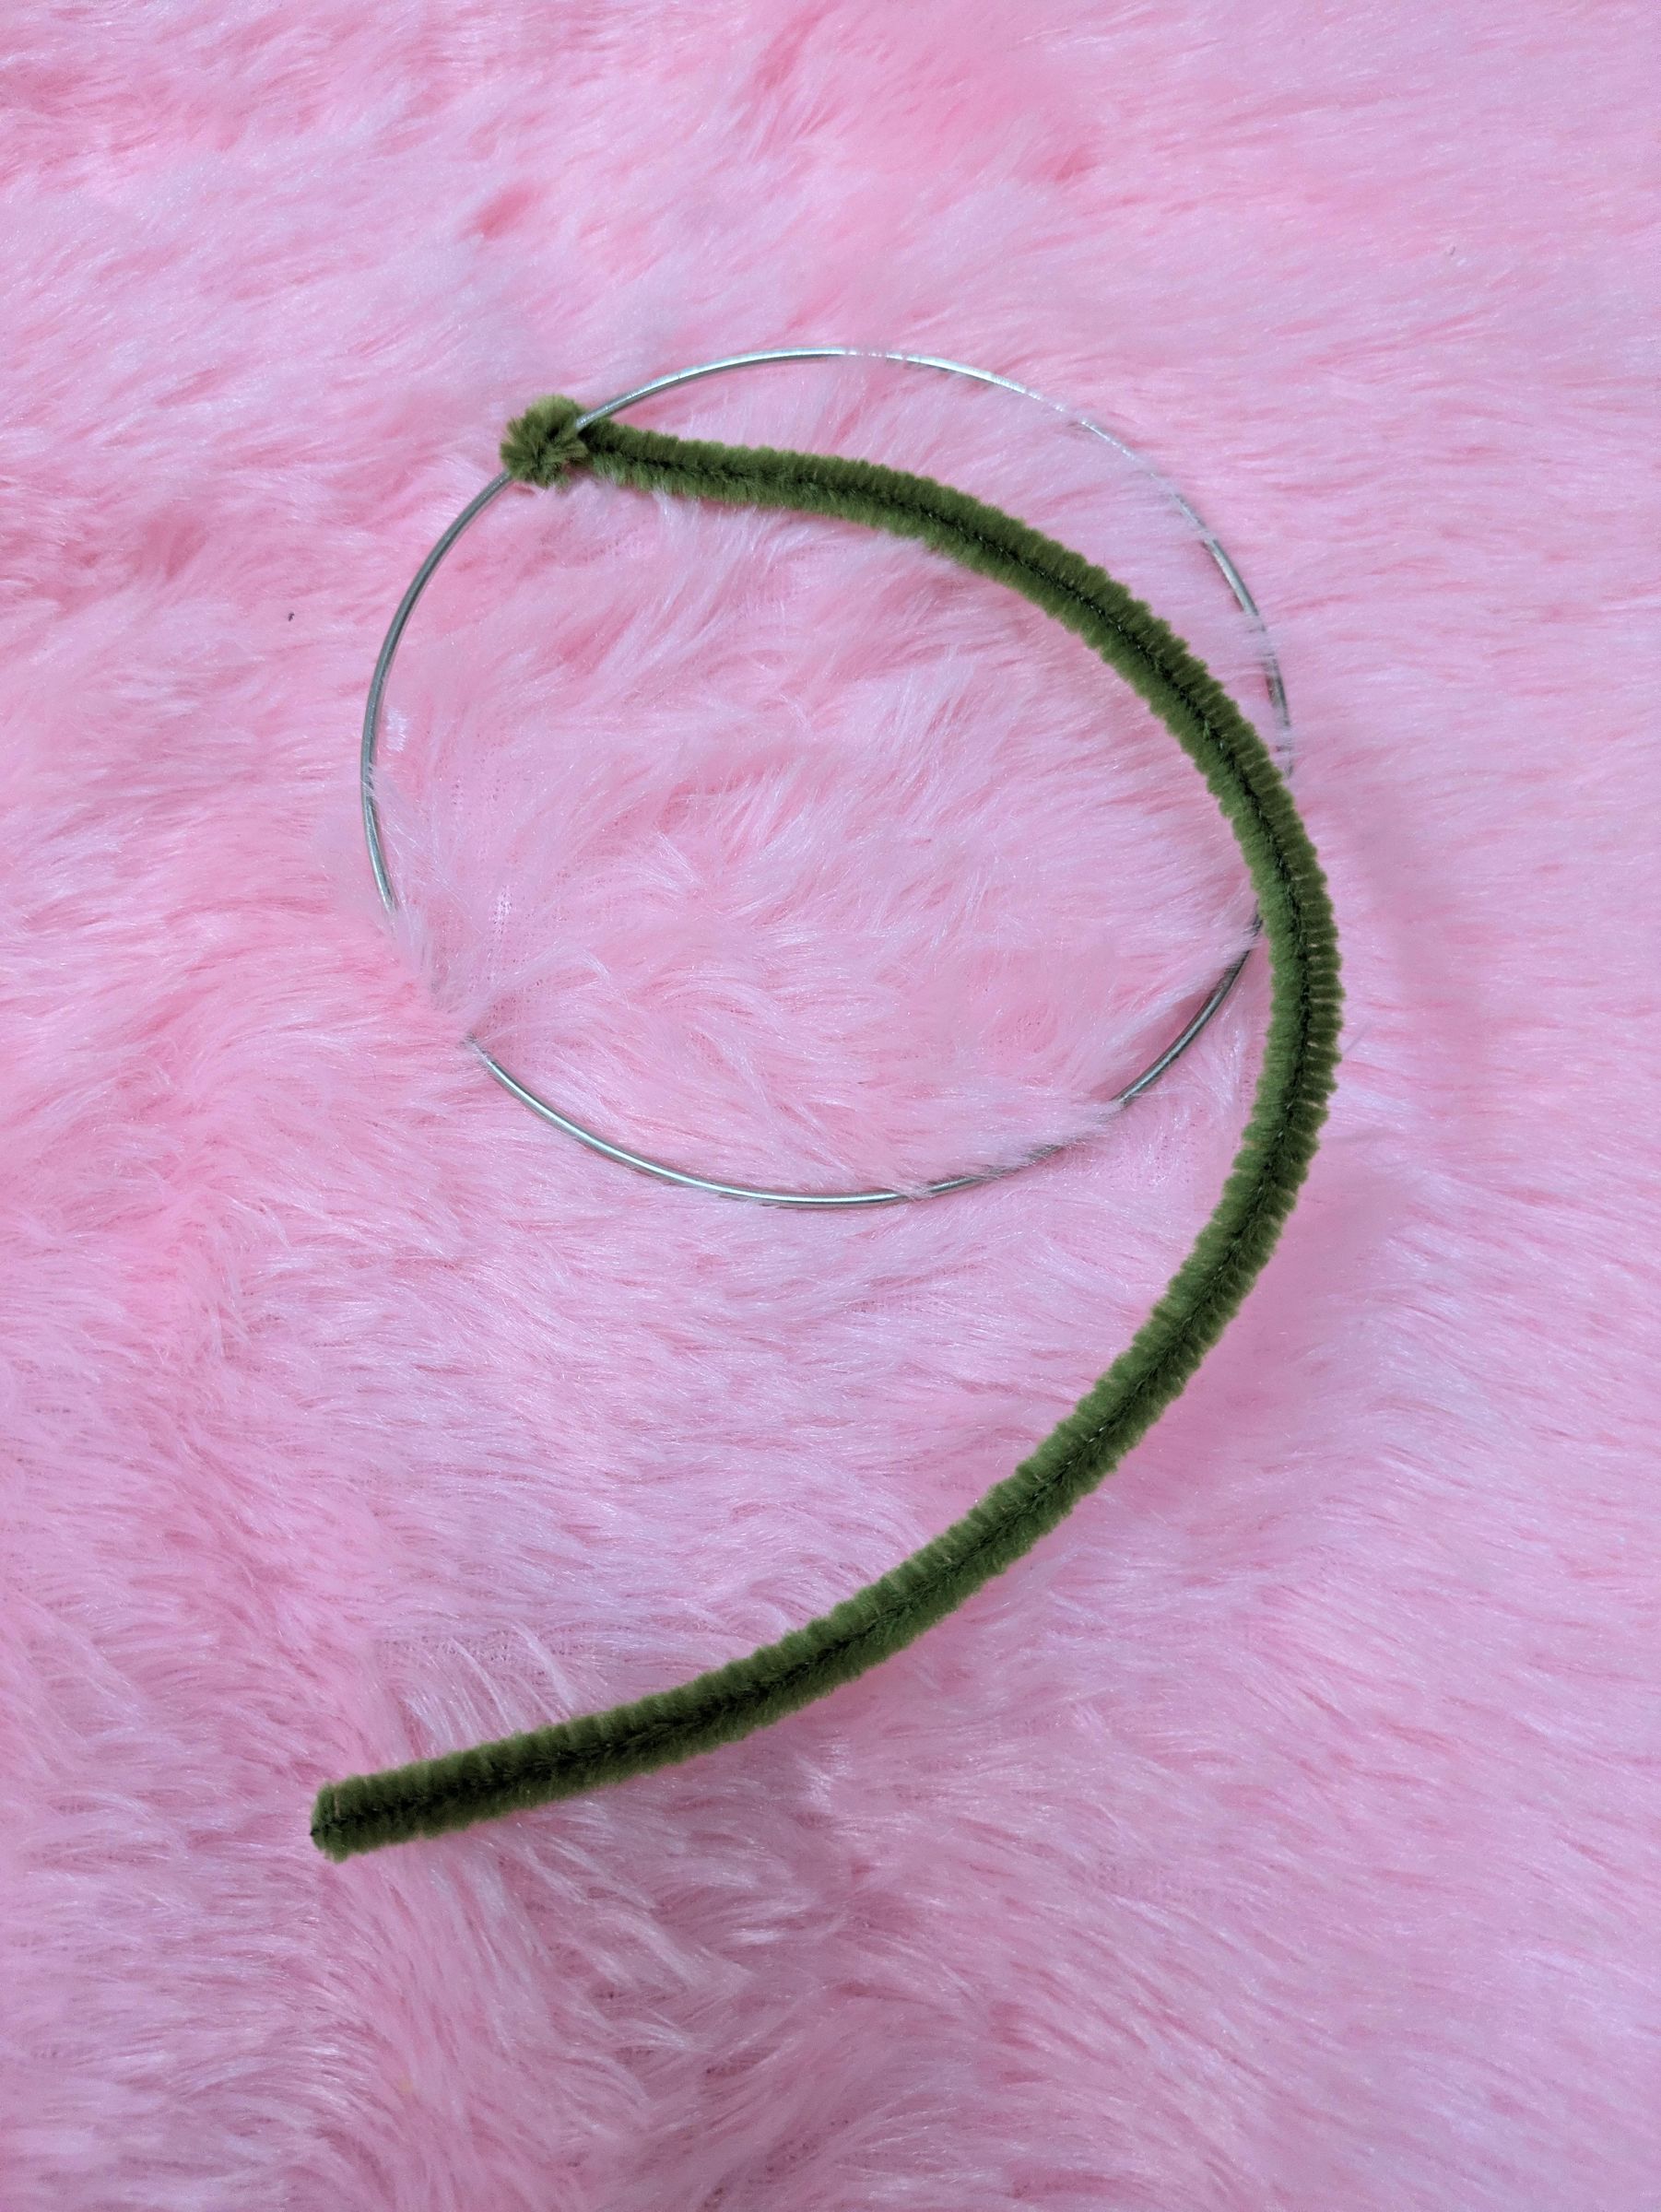
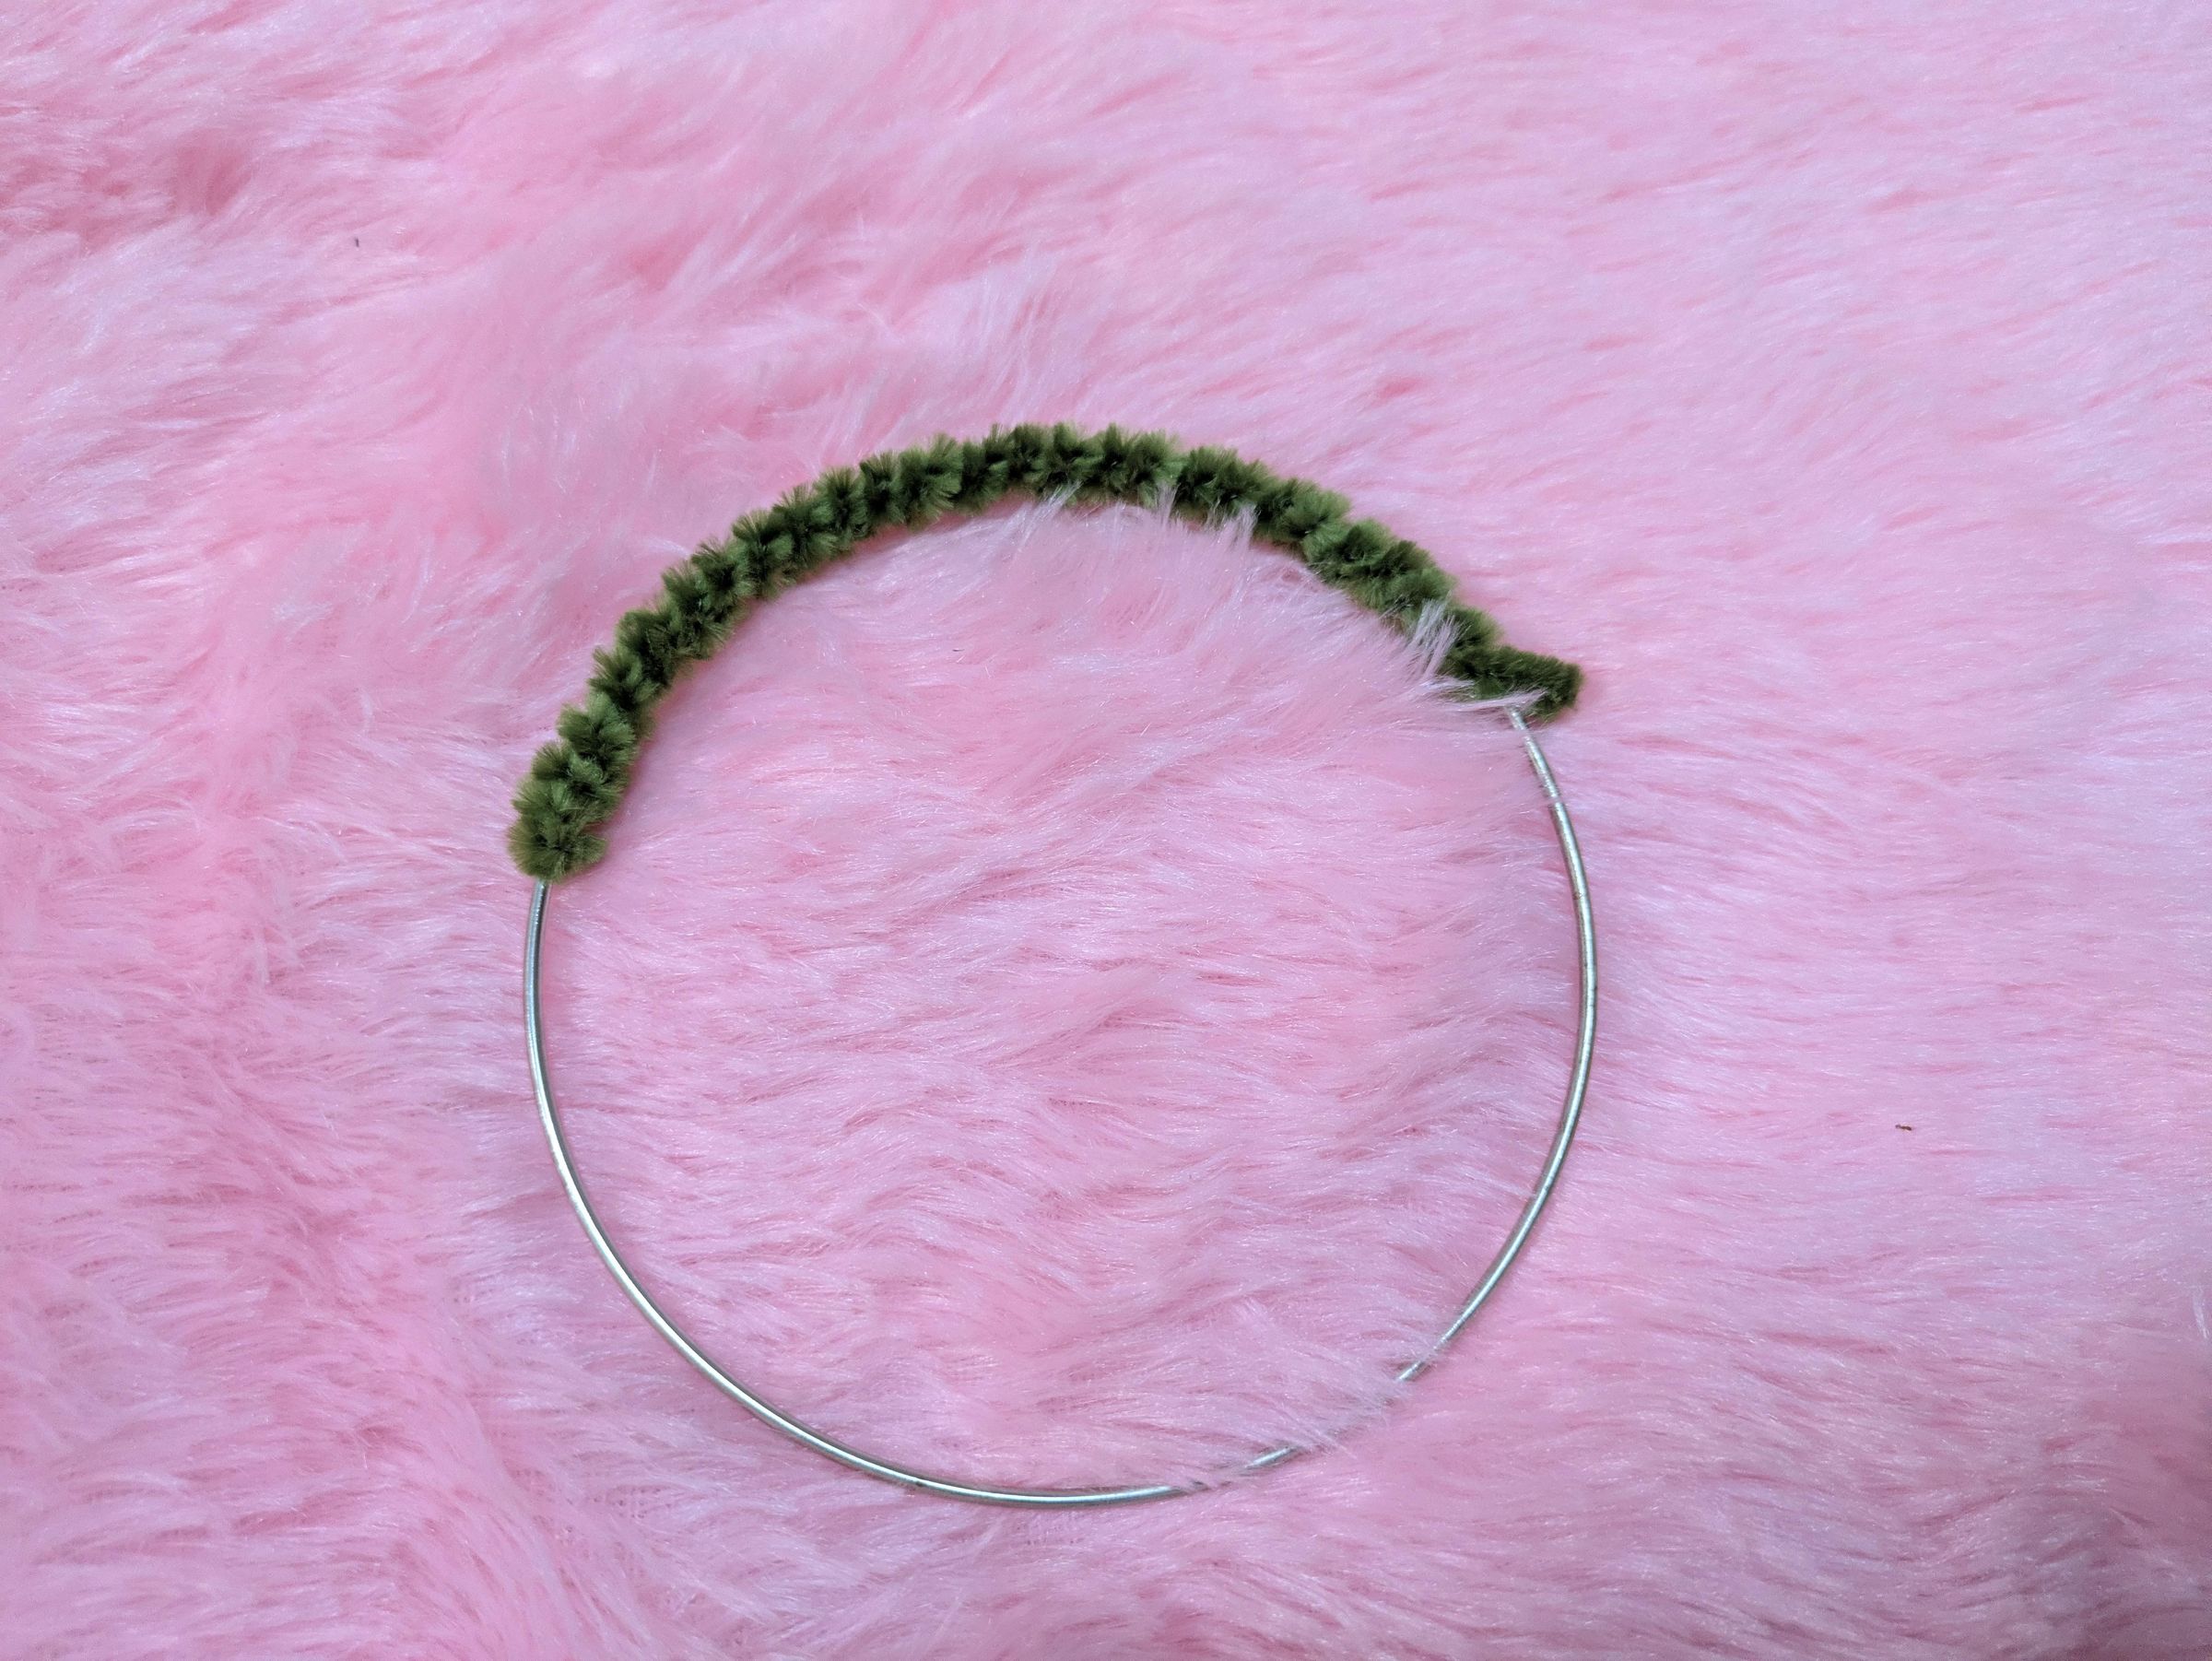
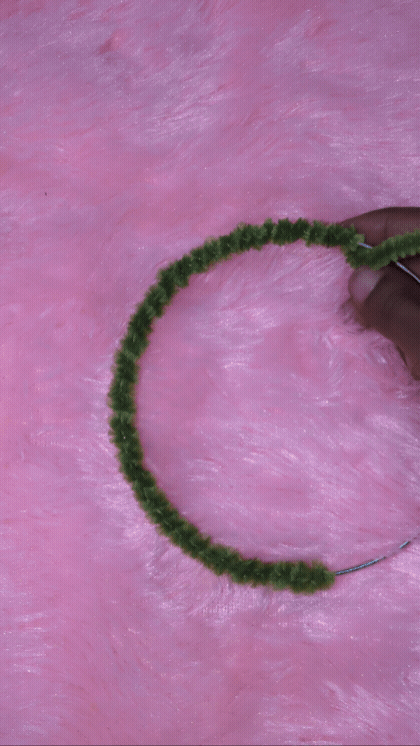
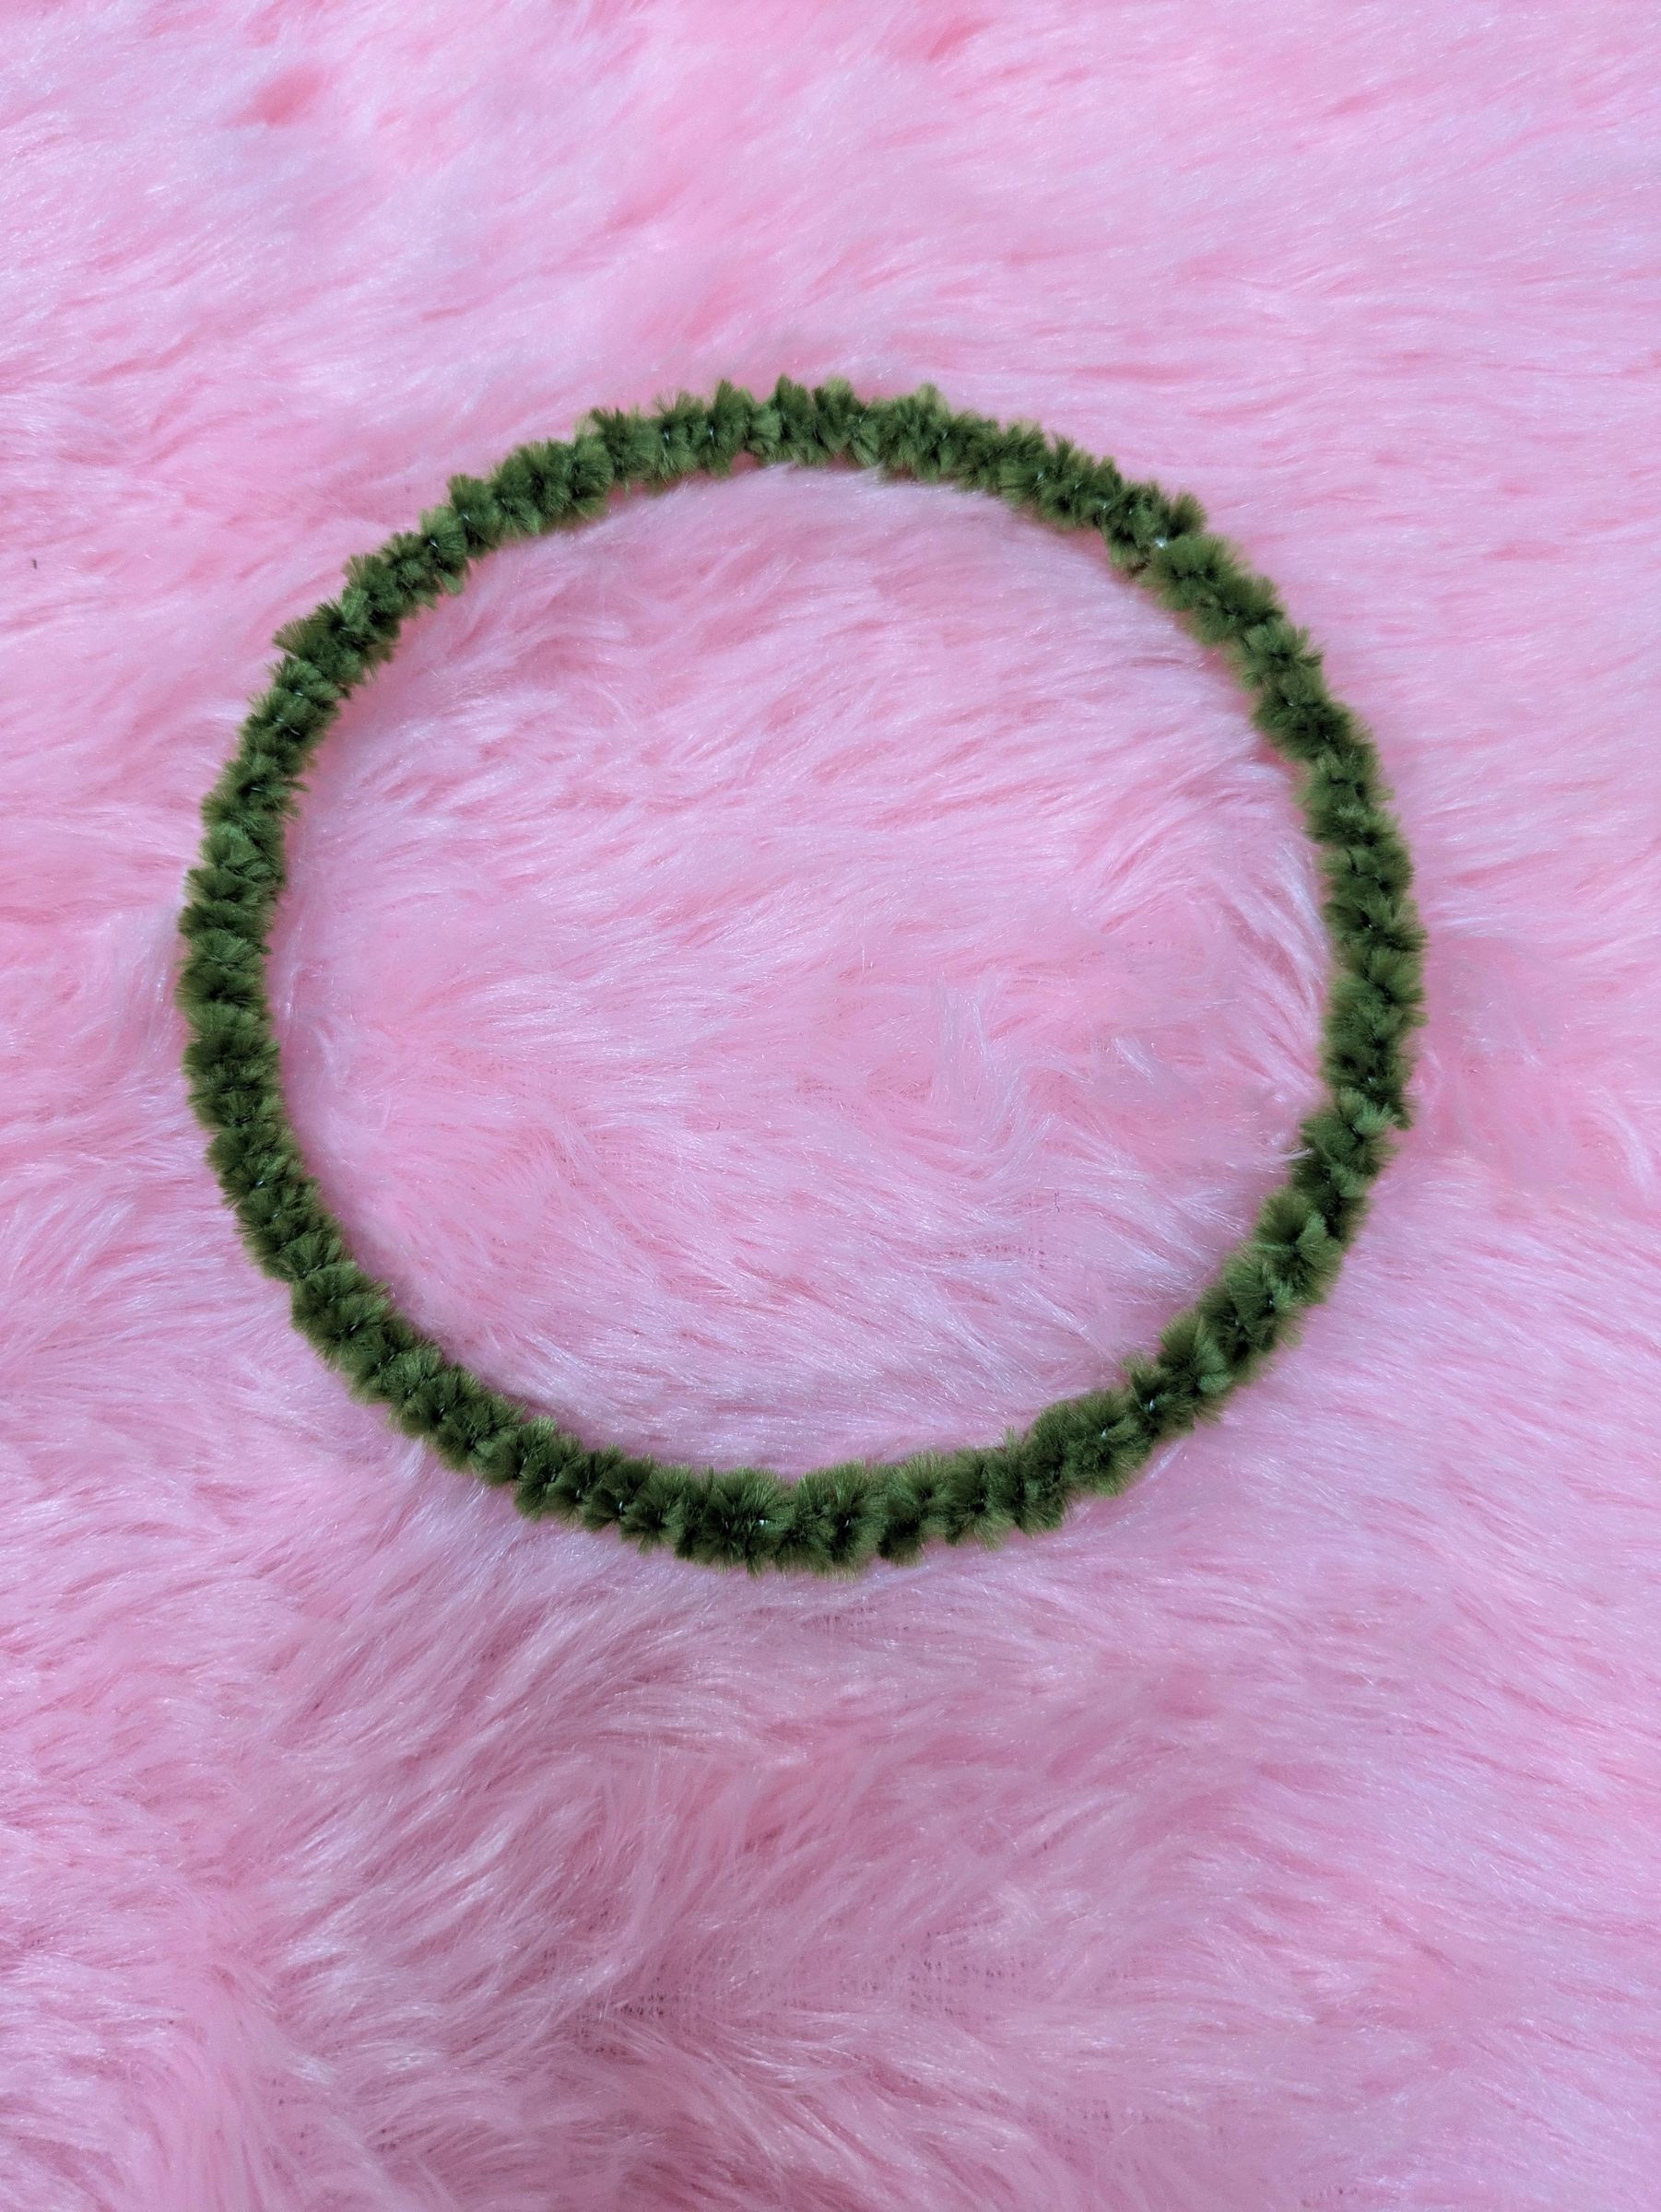
Wrap sage green pipe cleaner at 45 degrees on the metal ring, approx 3 pipe cleaners to finish it, when one pipe cleaner is about to end attach another one and continue wrapping it evenly without gaps.
Flower Stem
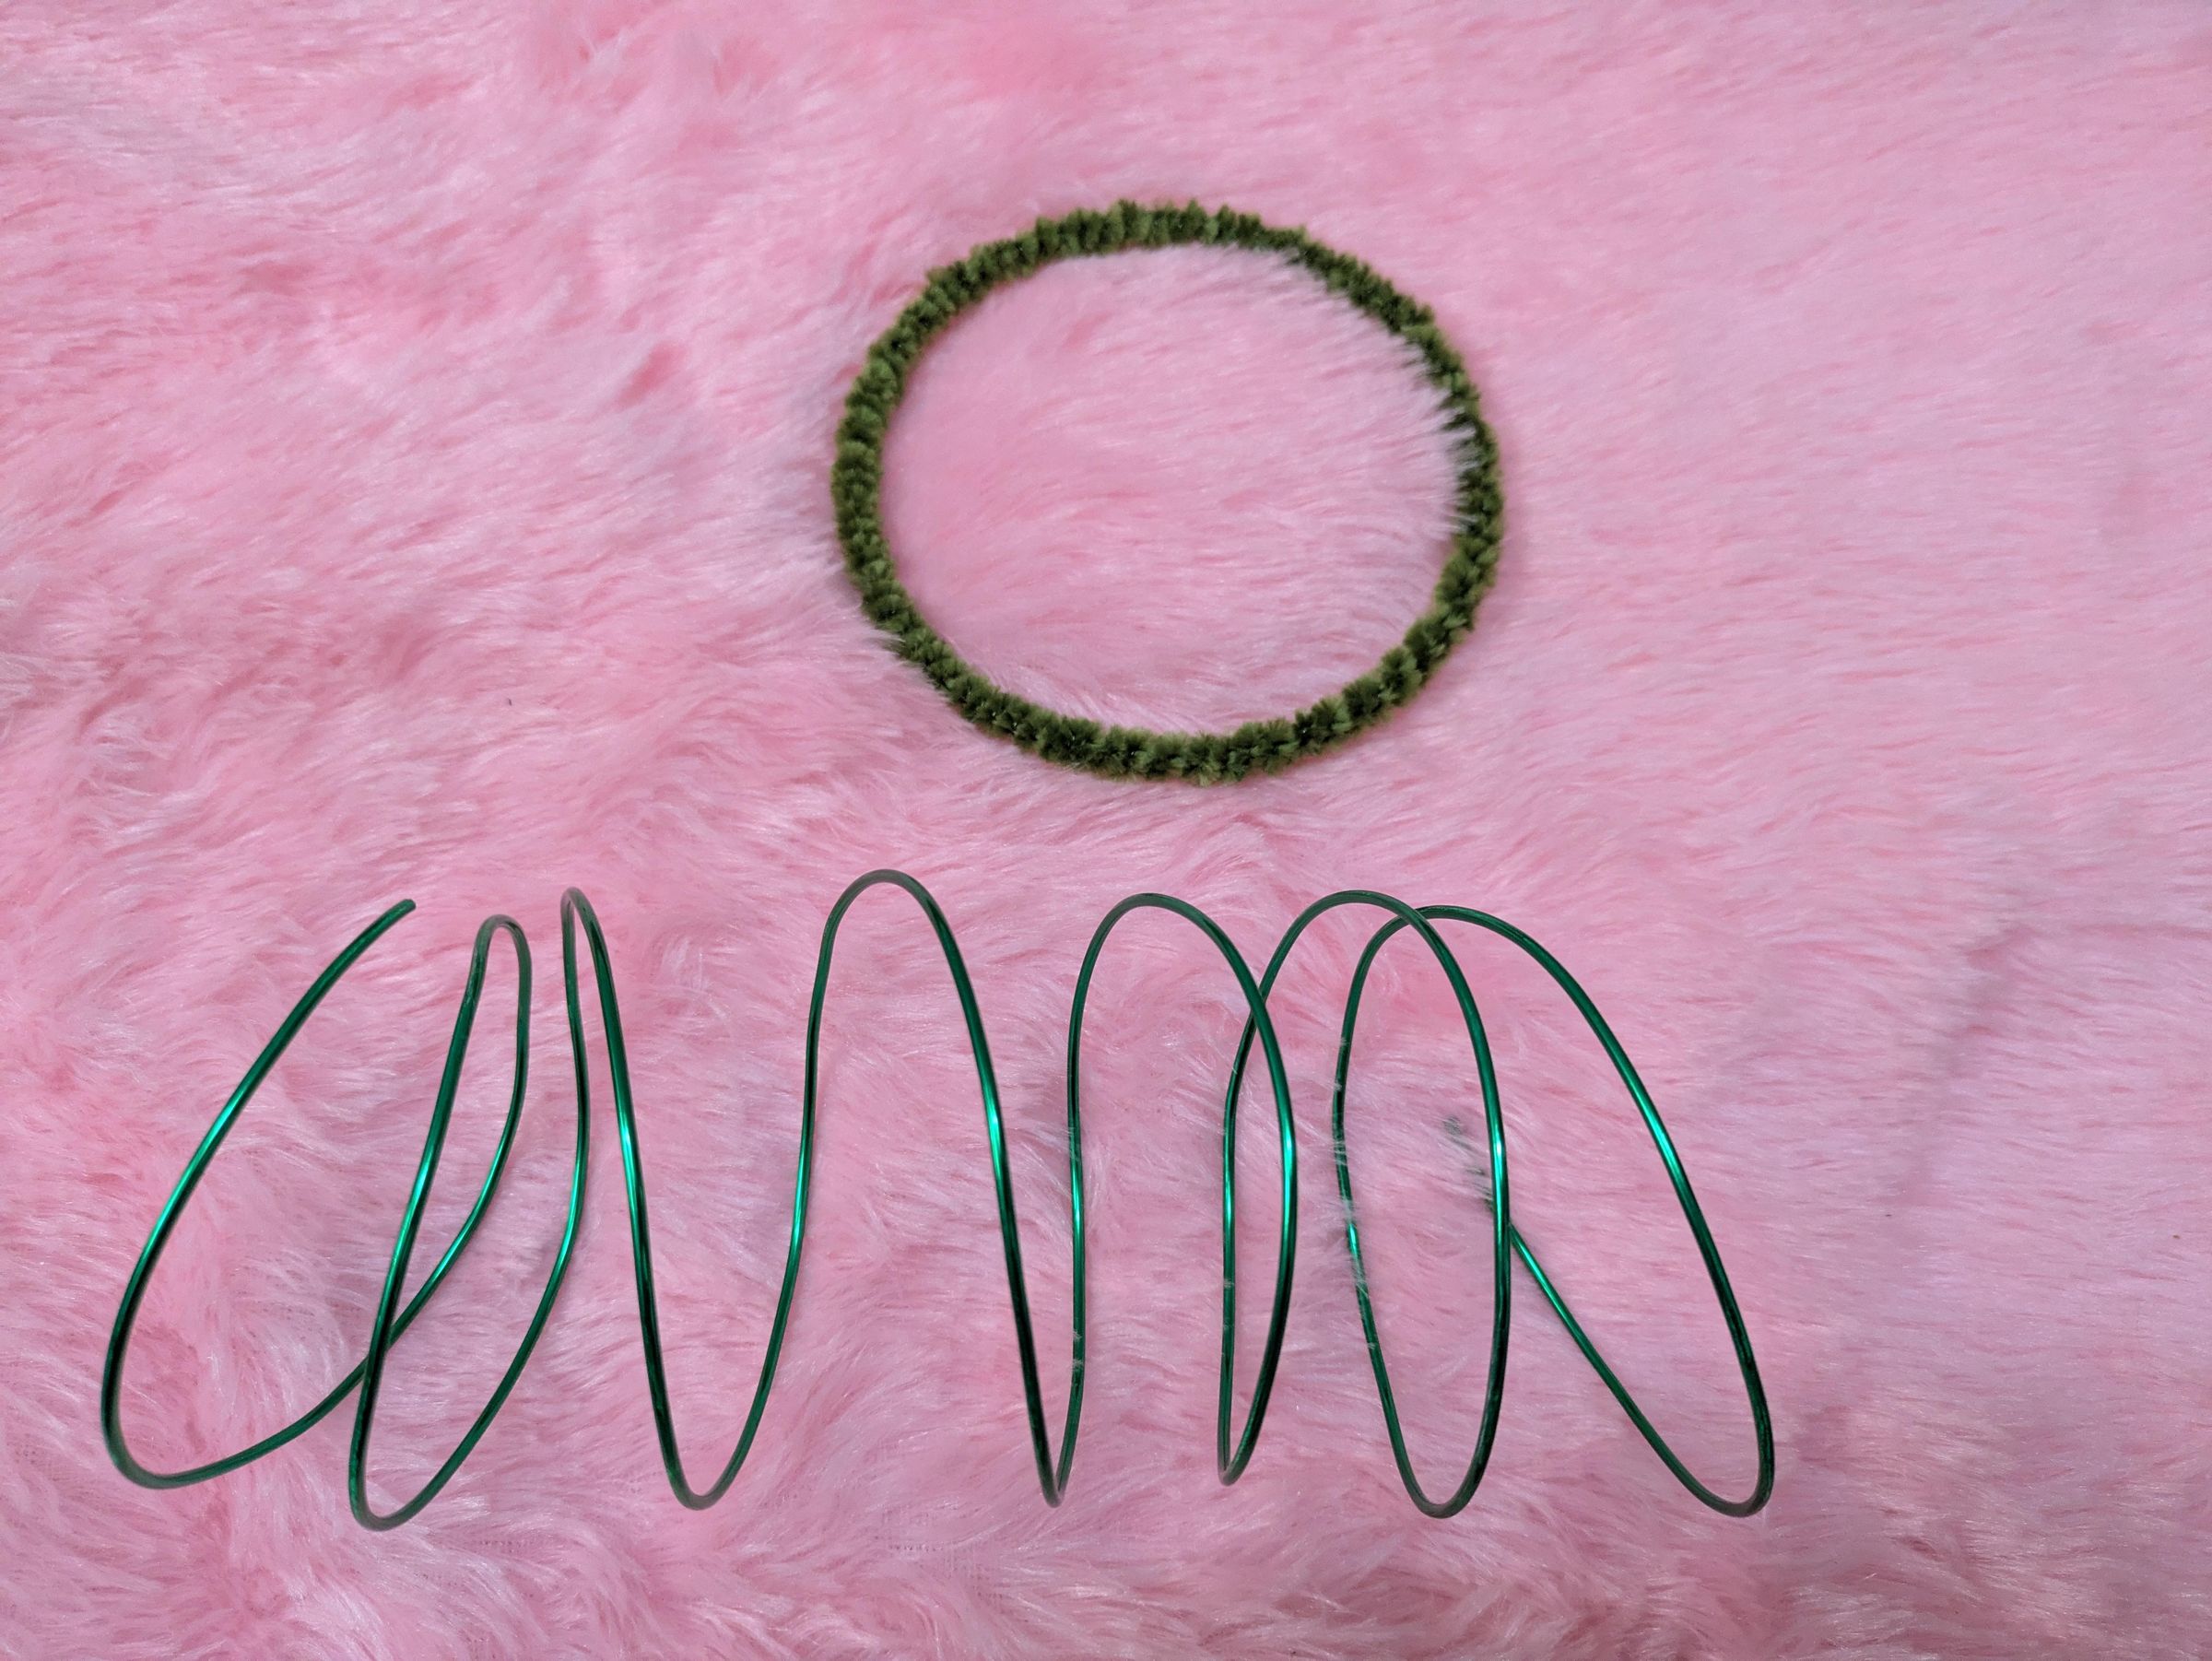
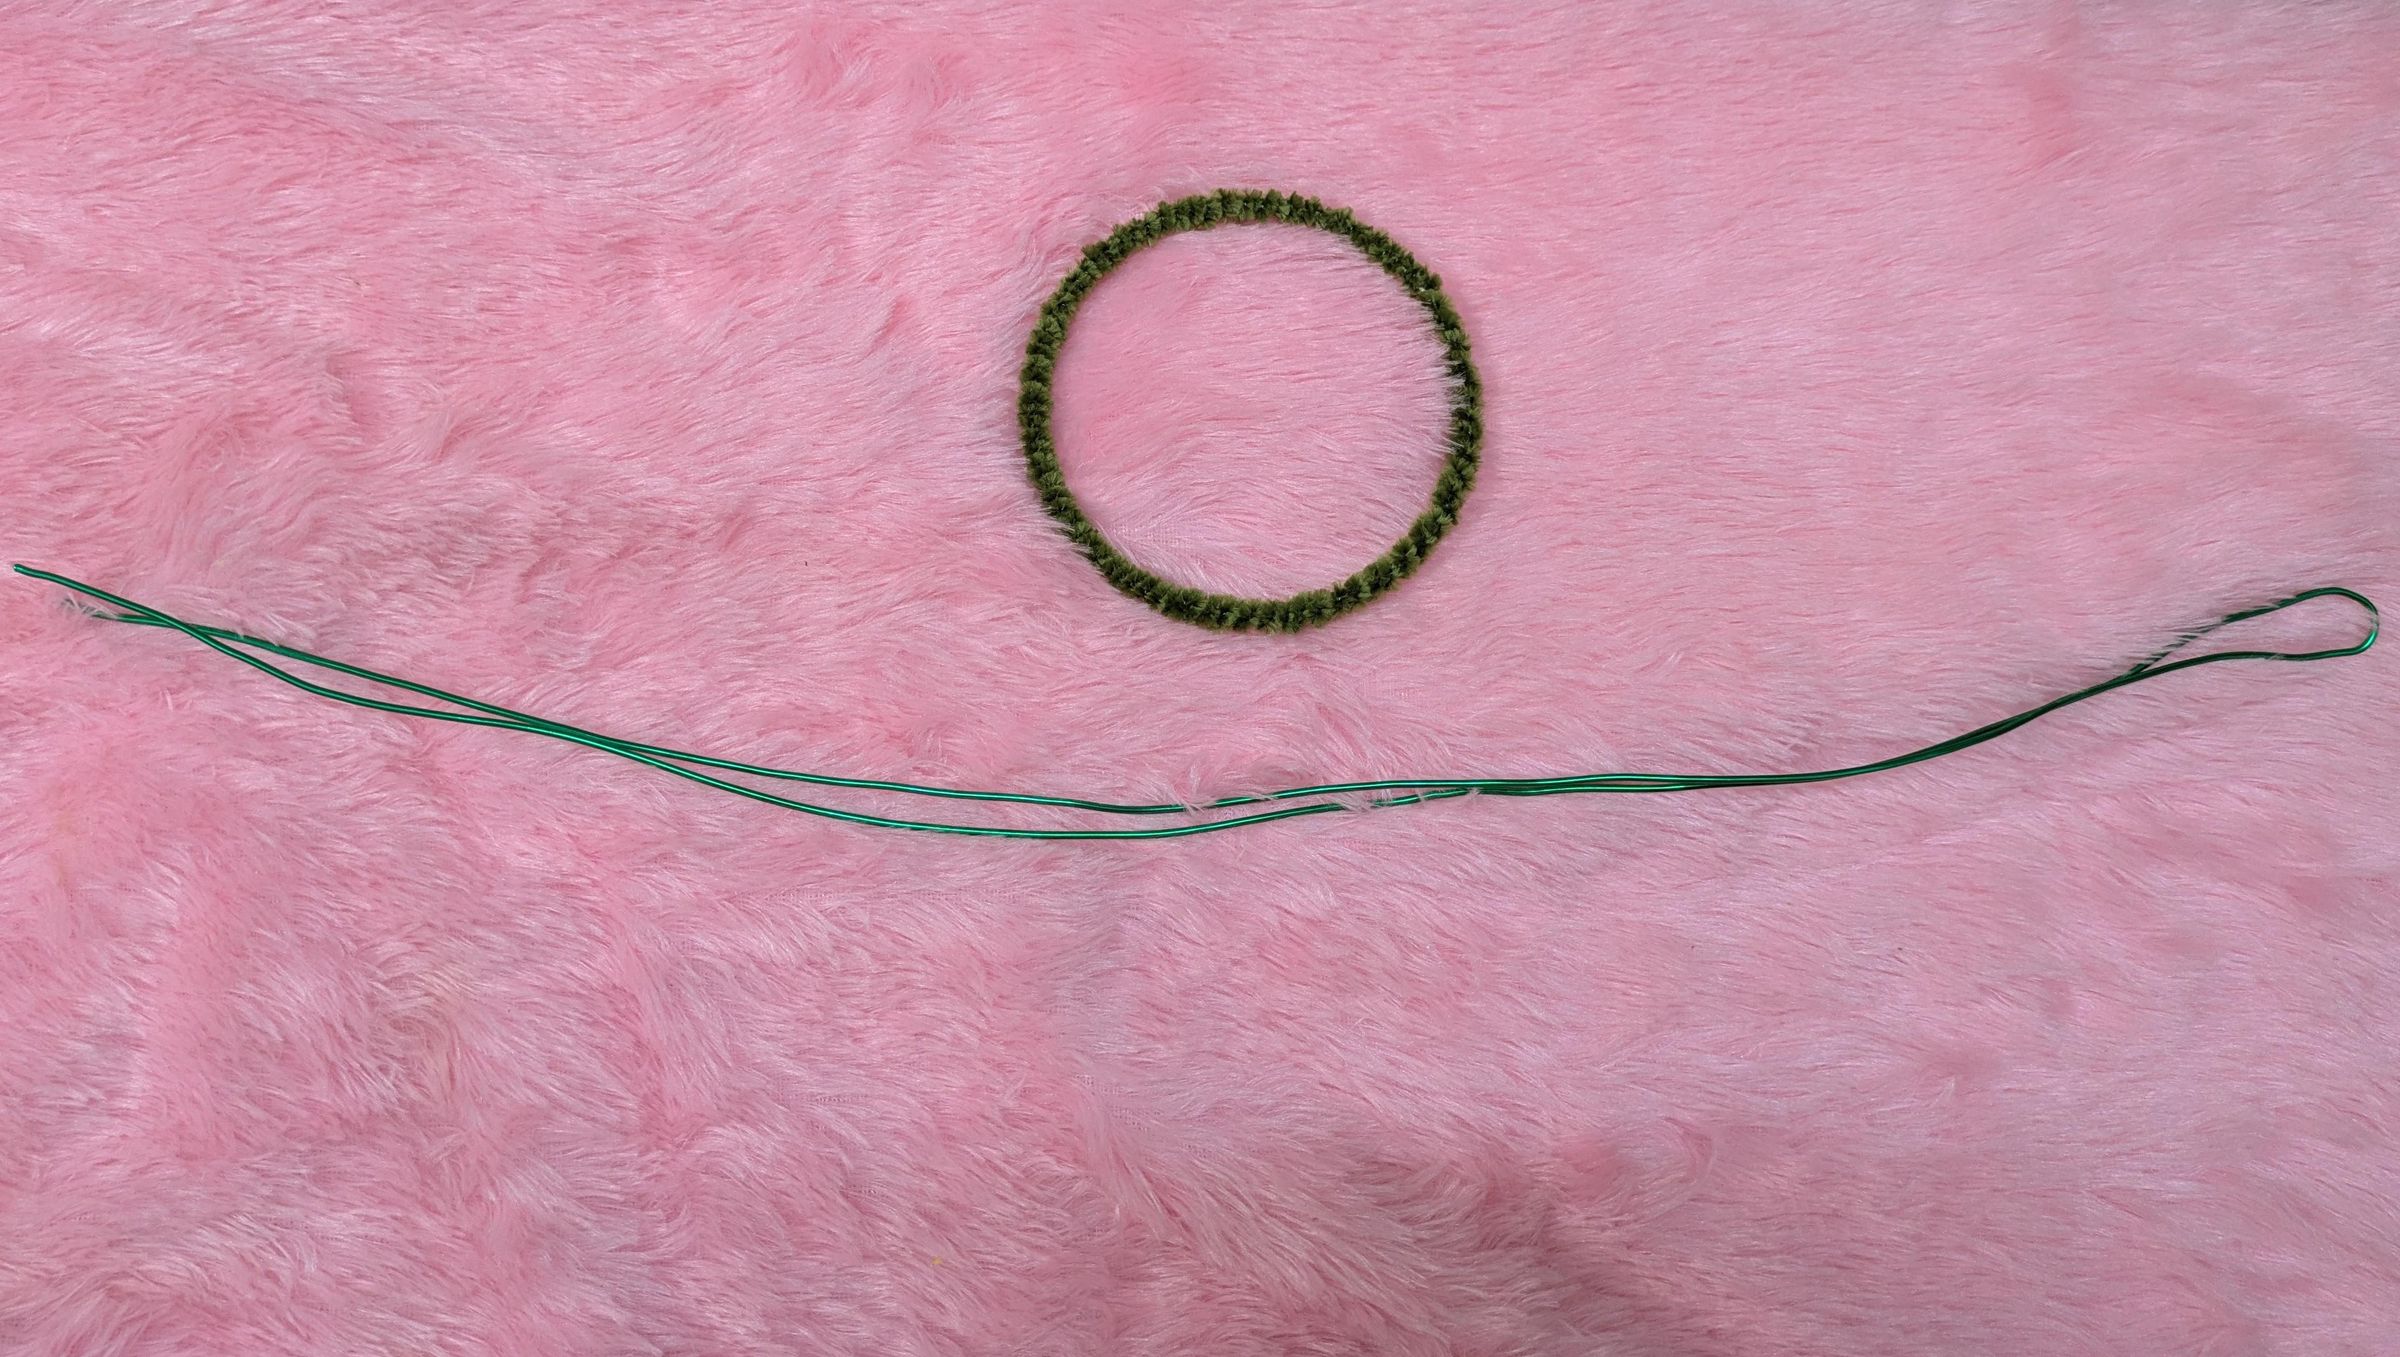
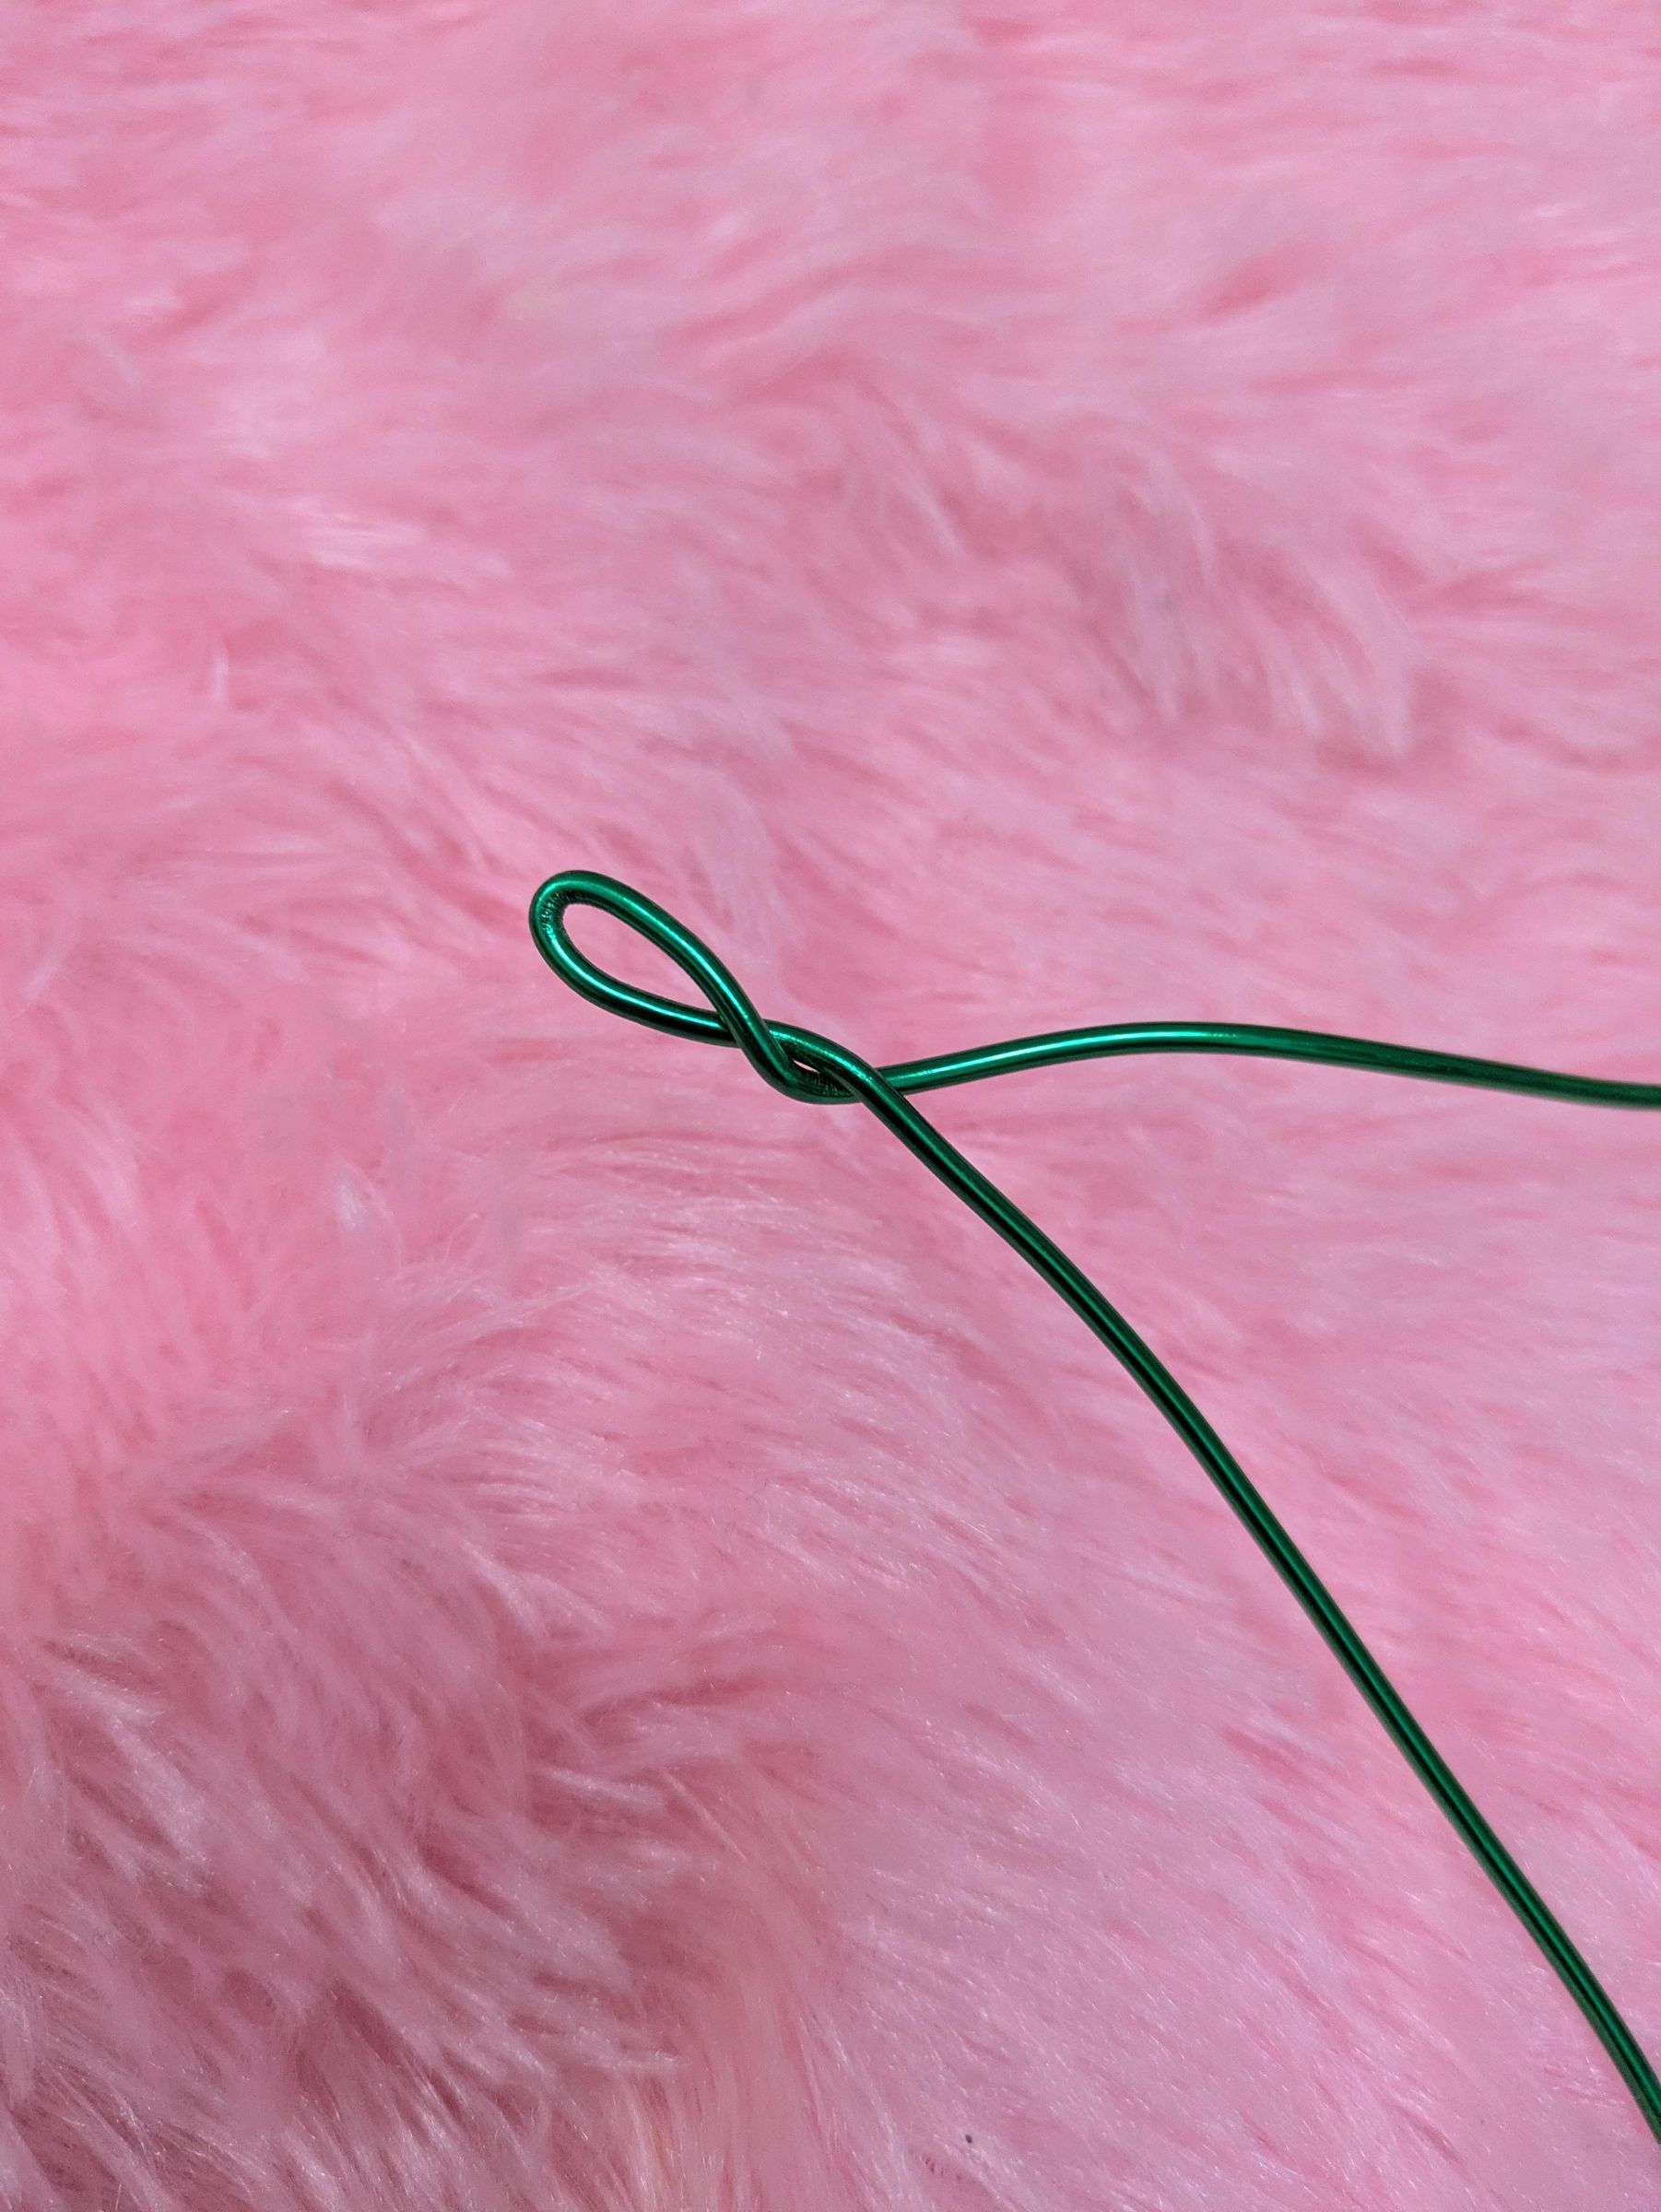
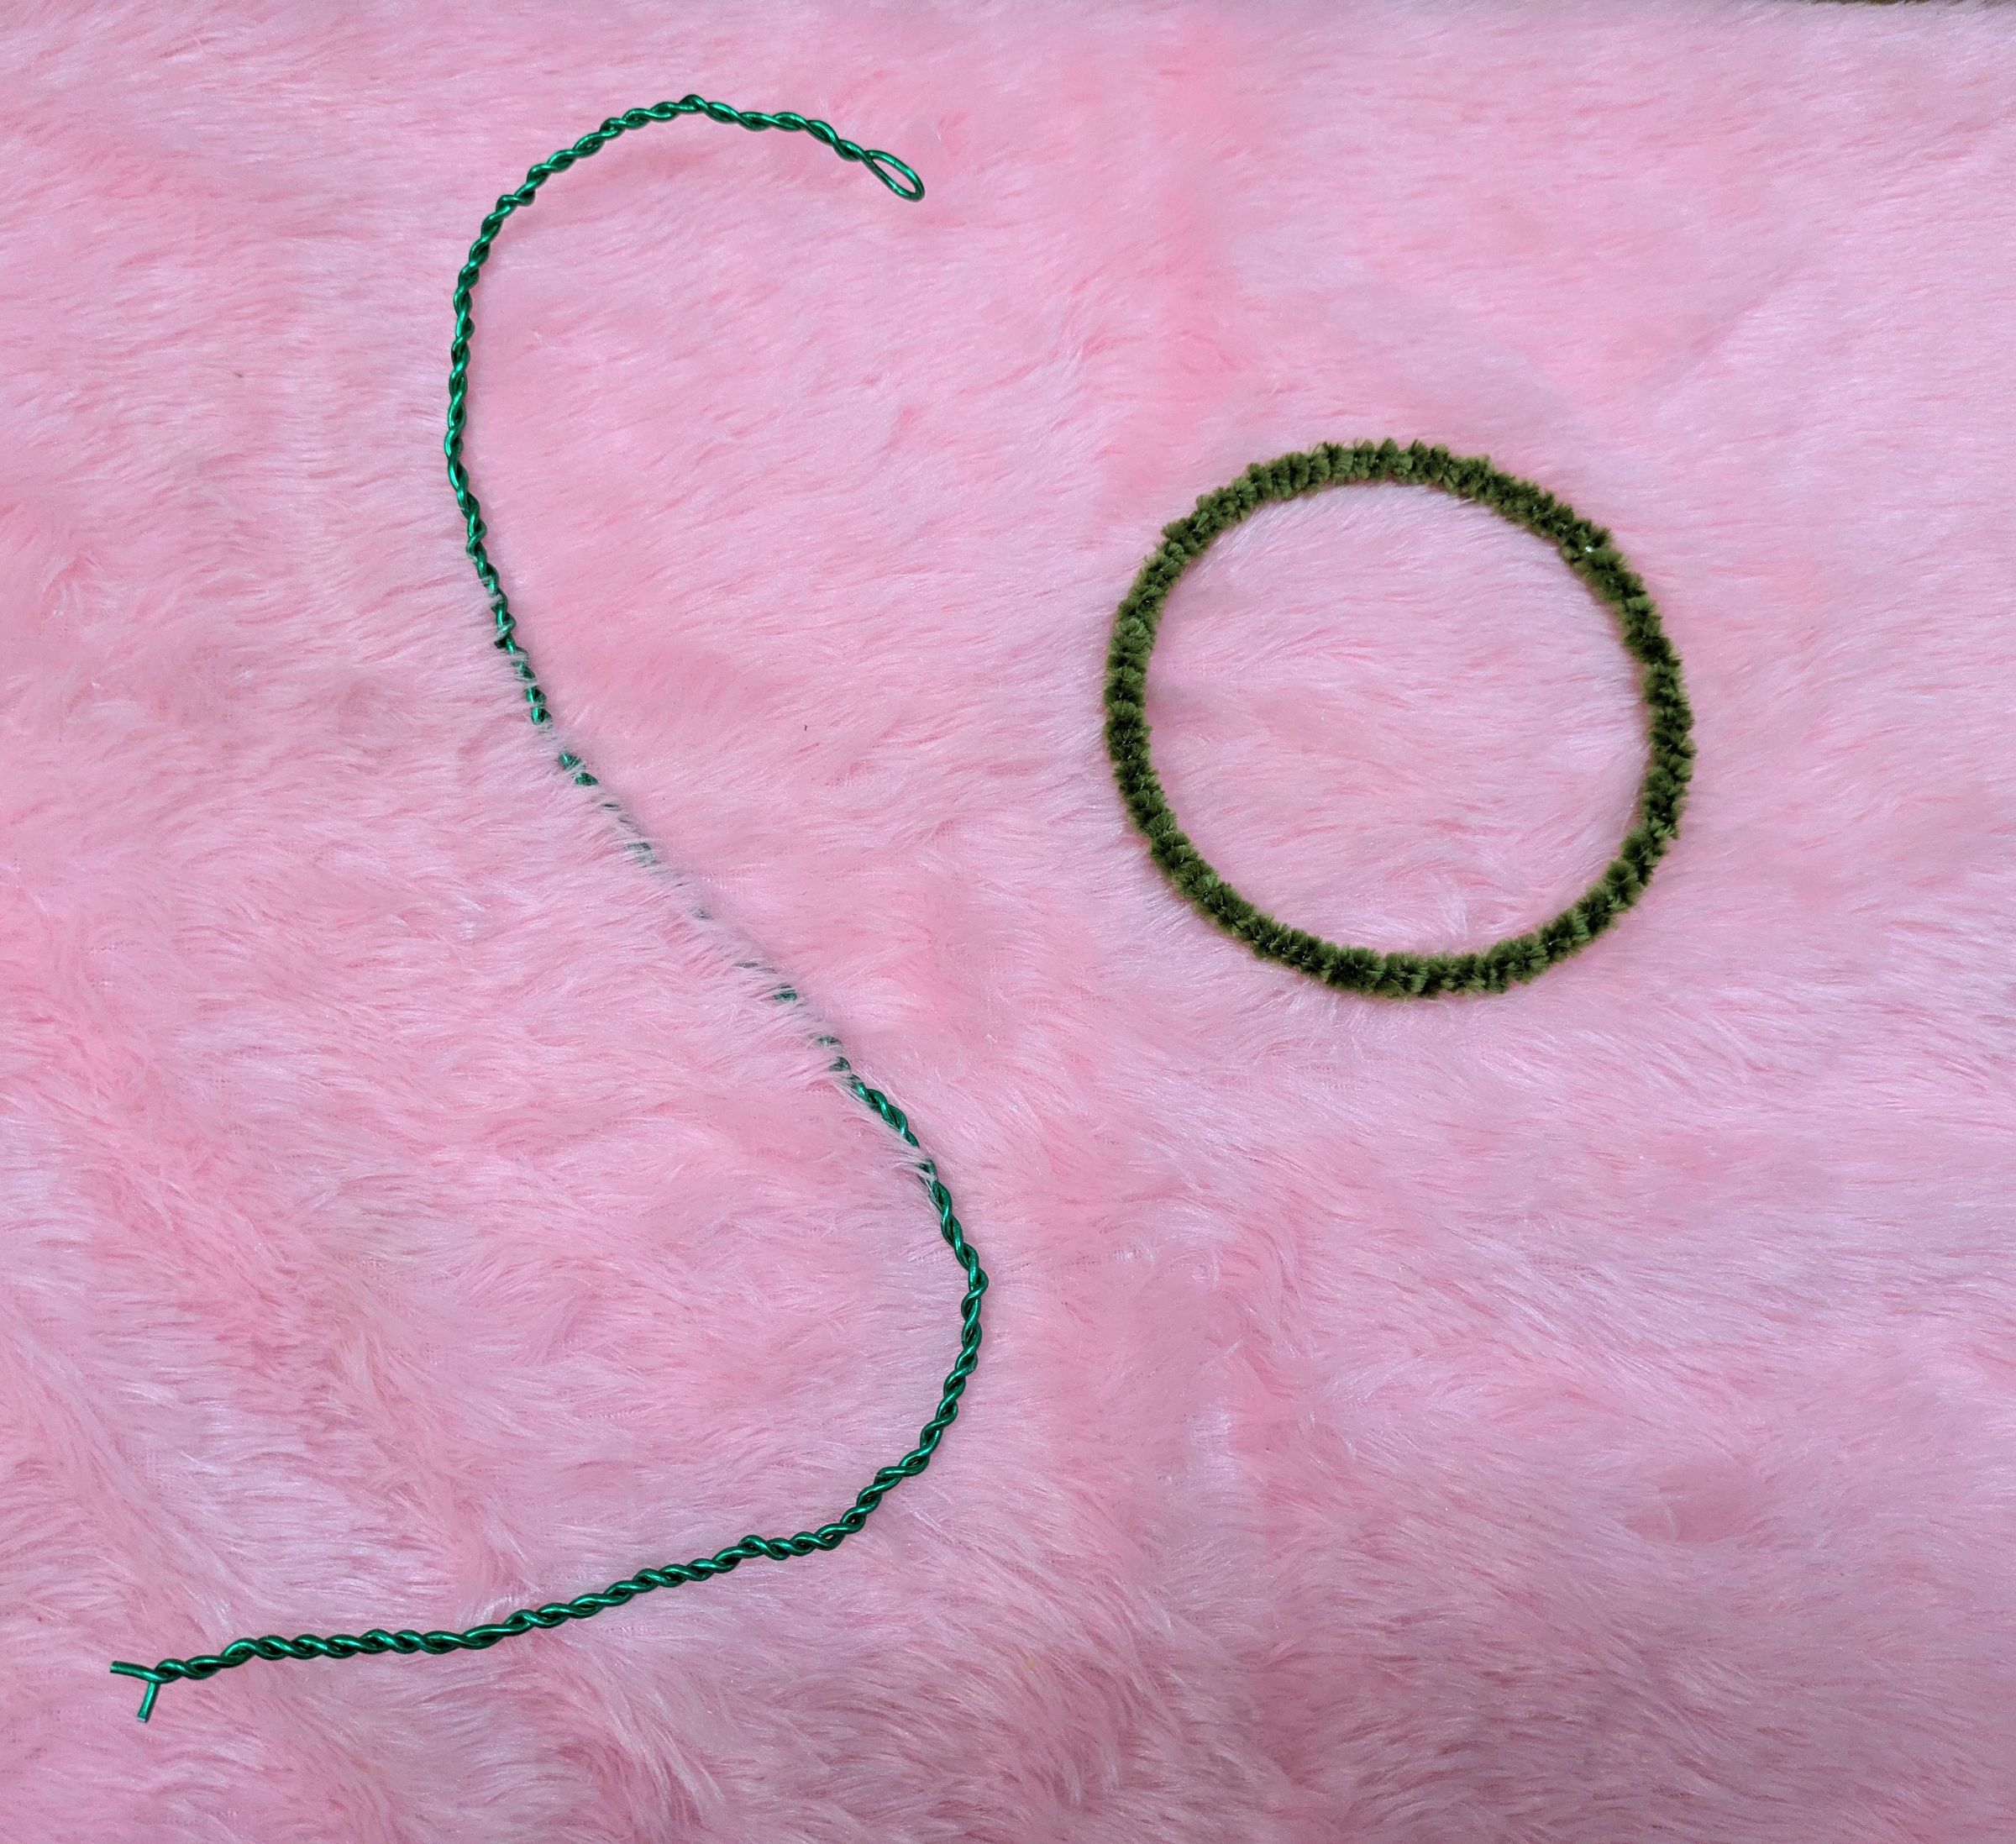
Here i used 2mm flexible wire, length the wire, fold it in mid point and twist it. twisting is to increase the strength.
Adding Green
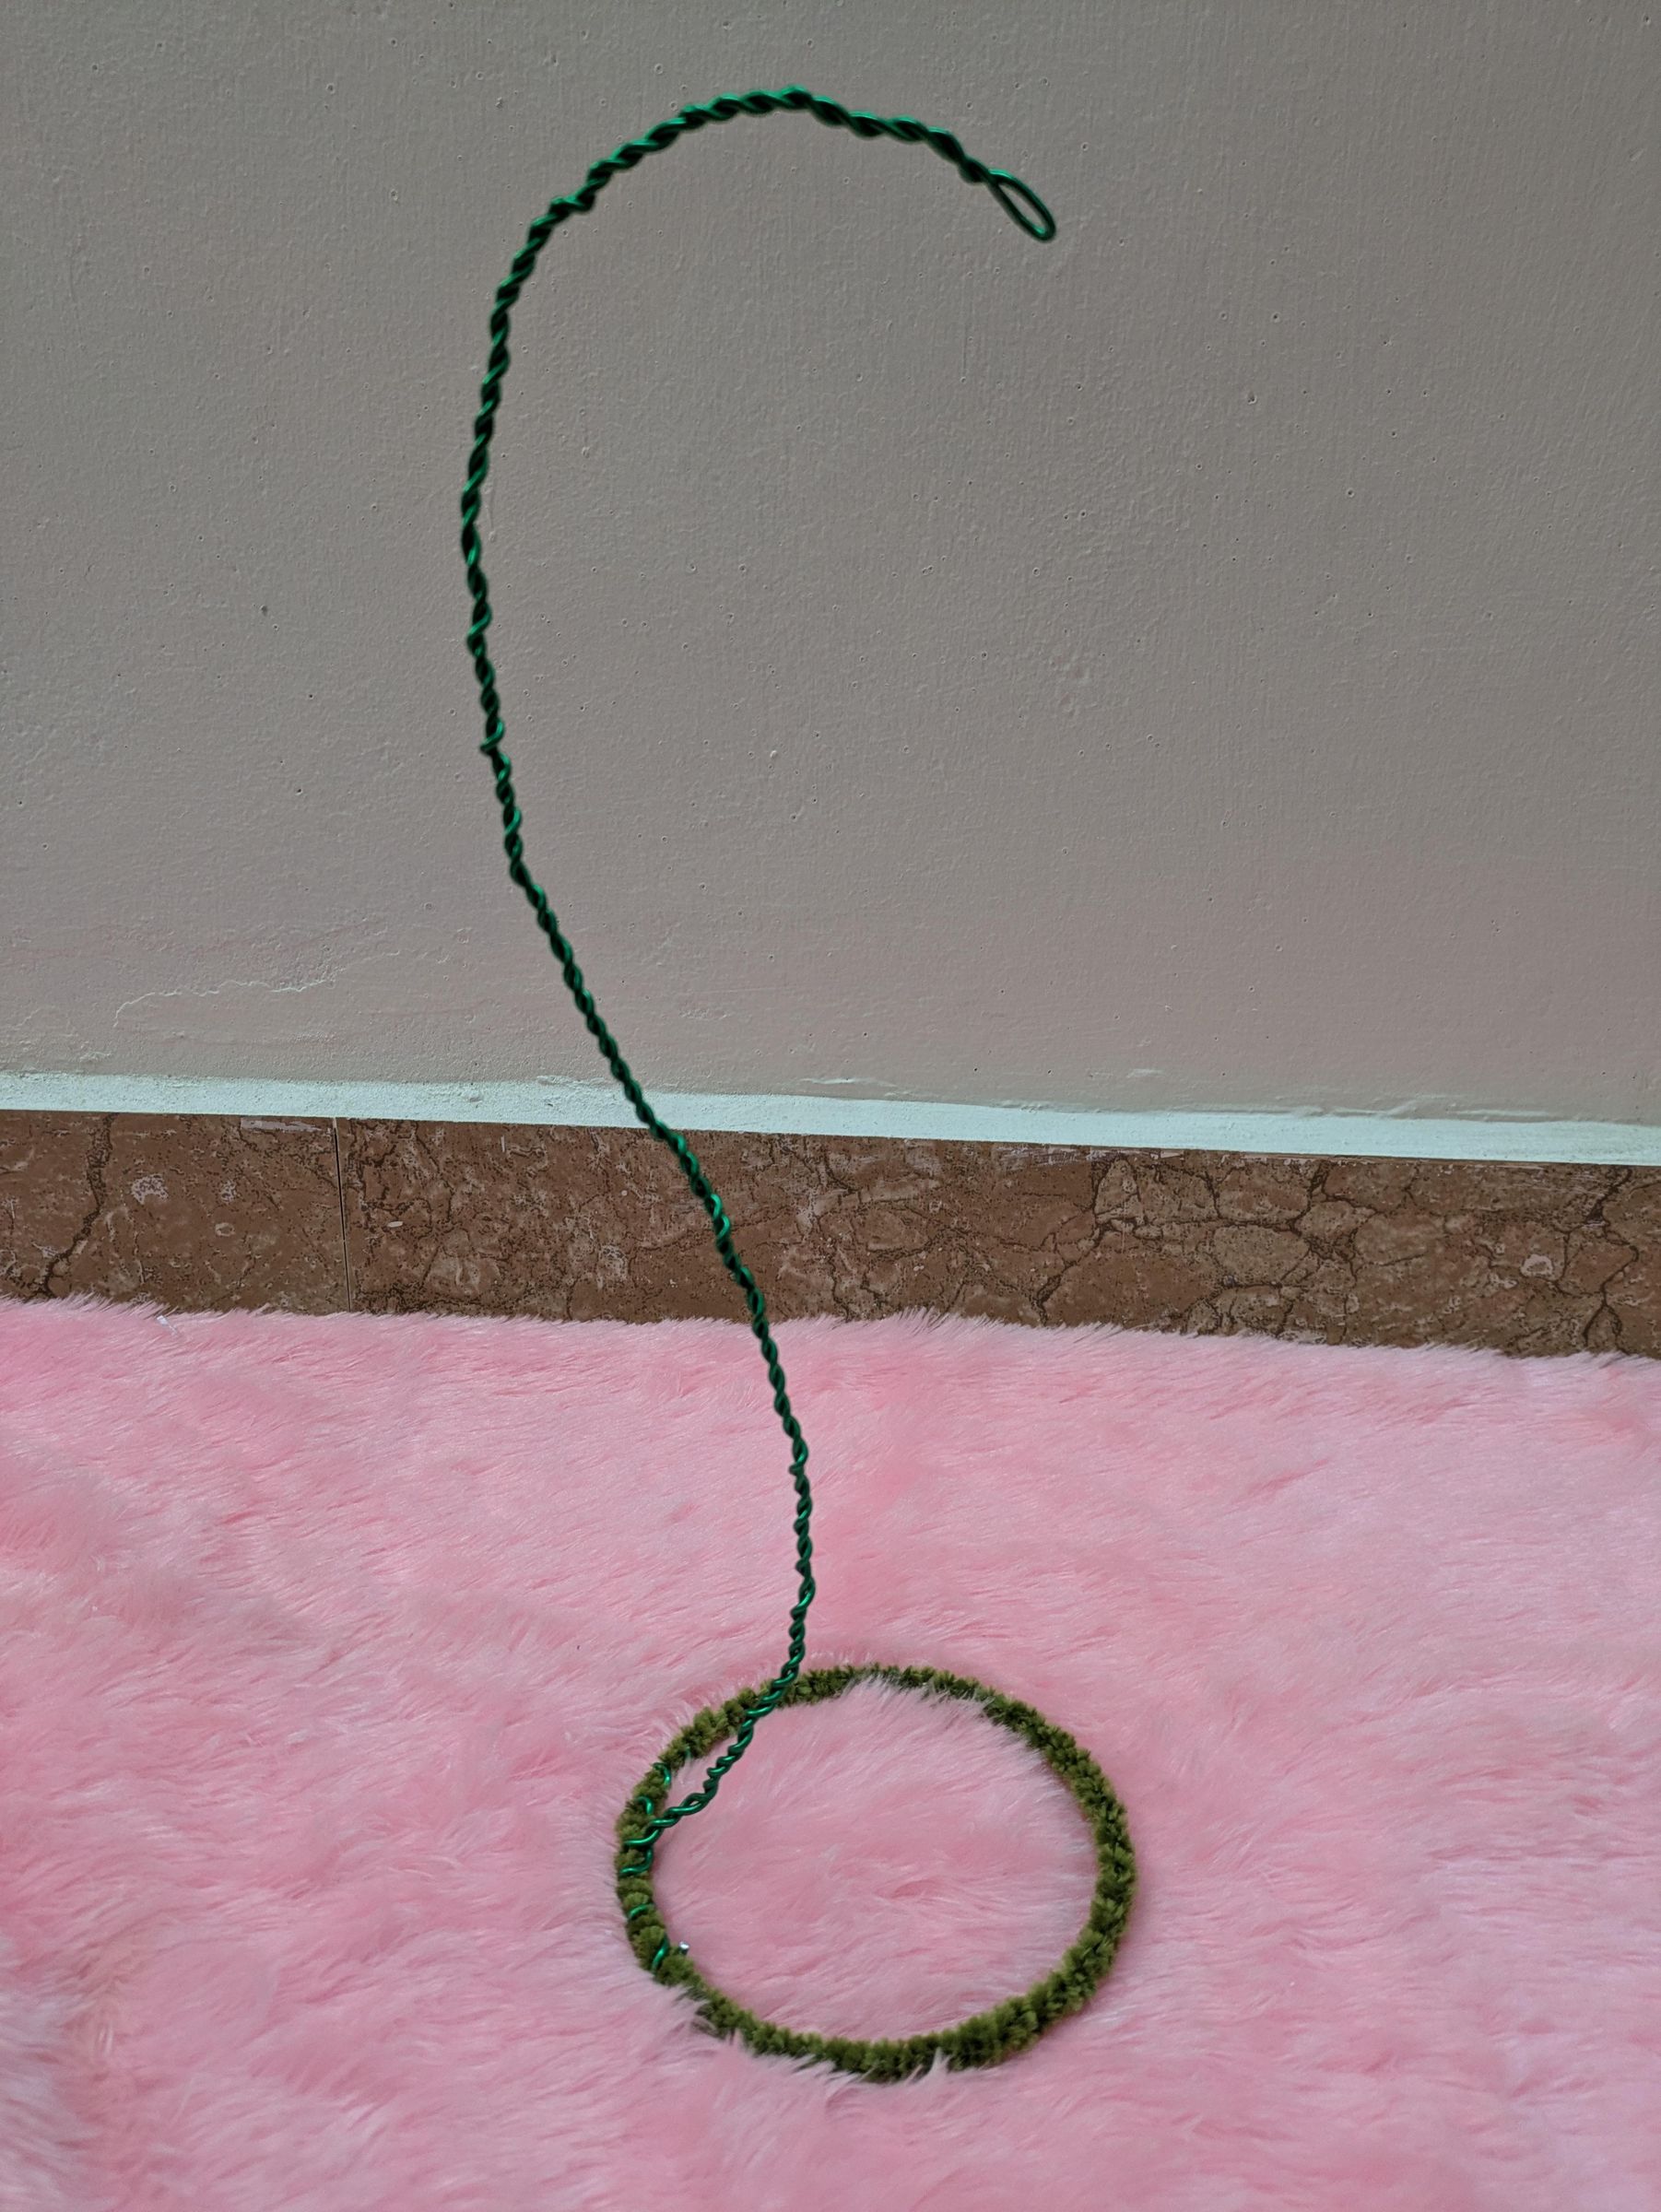
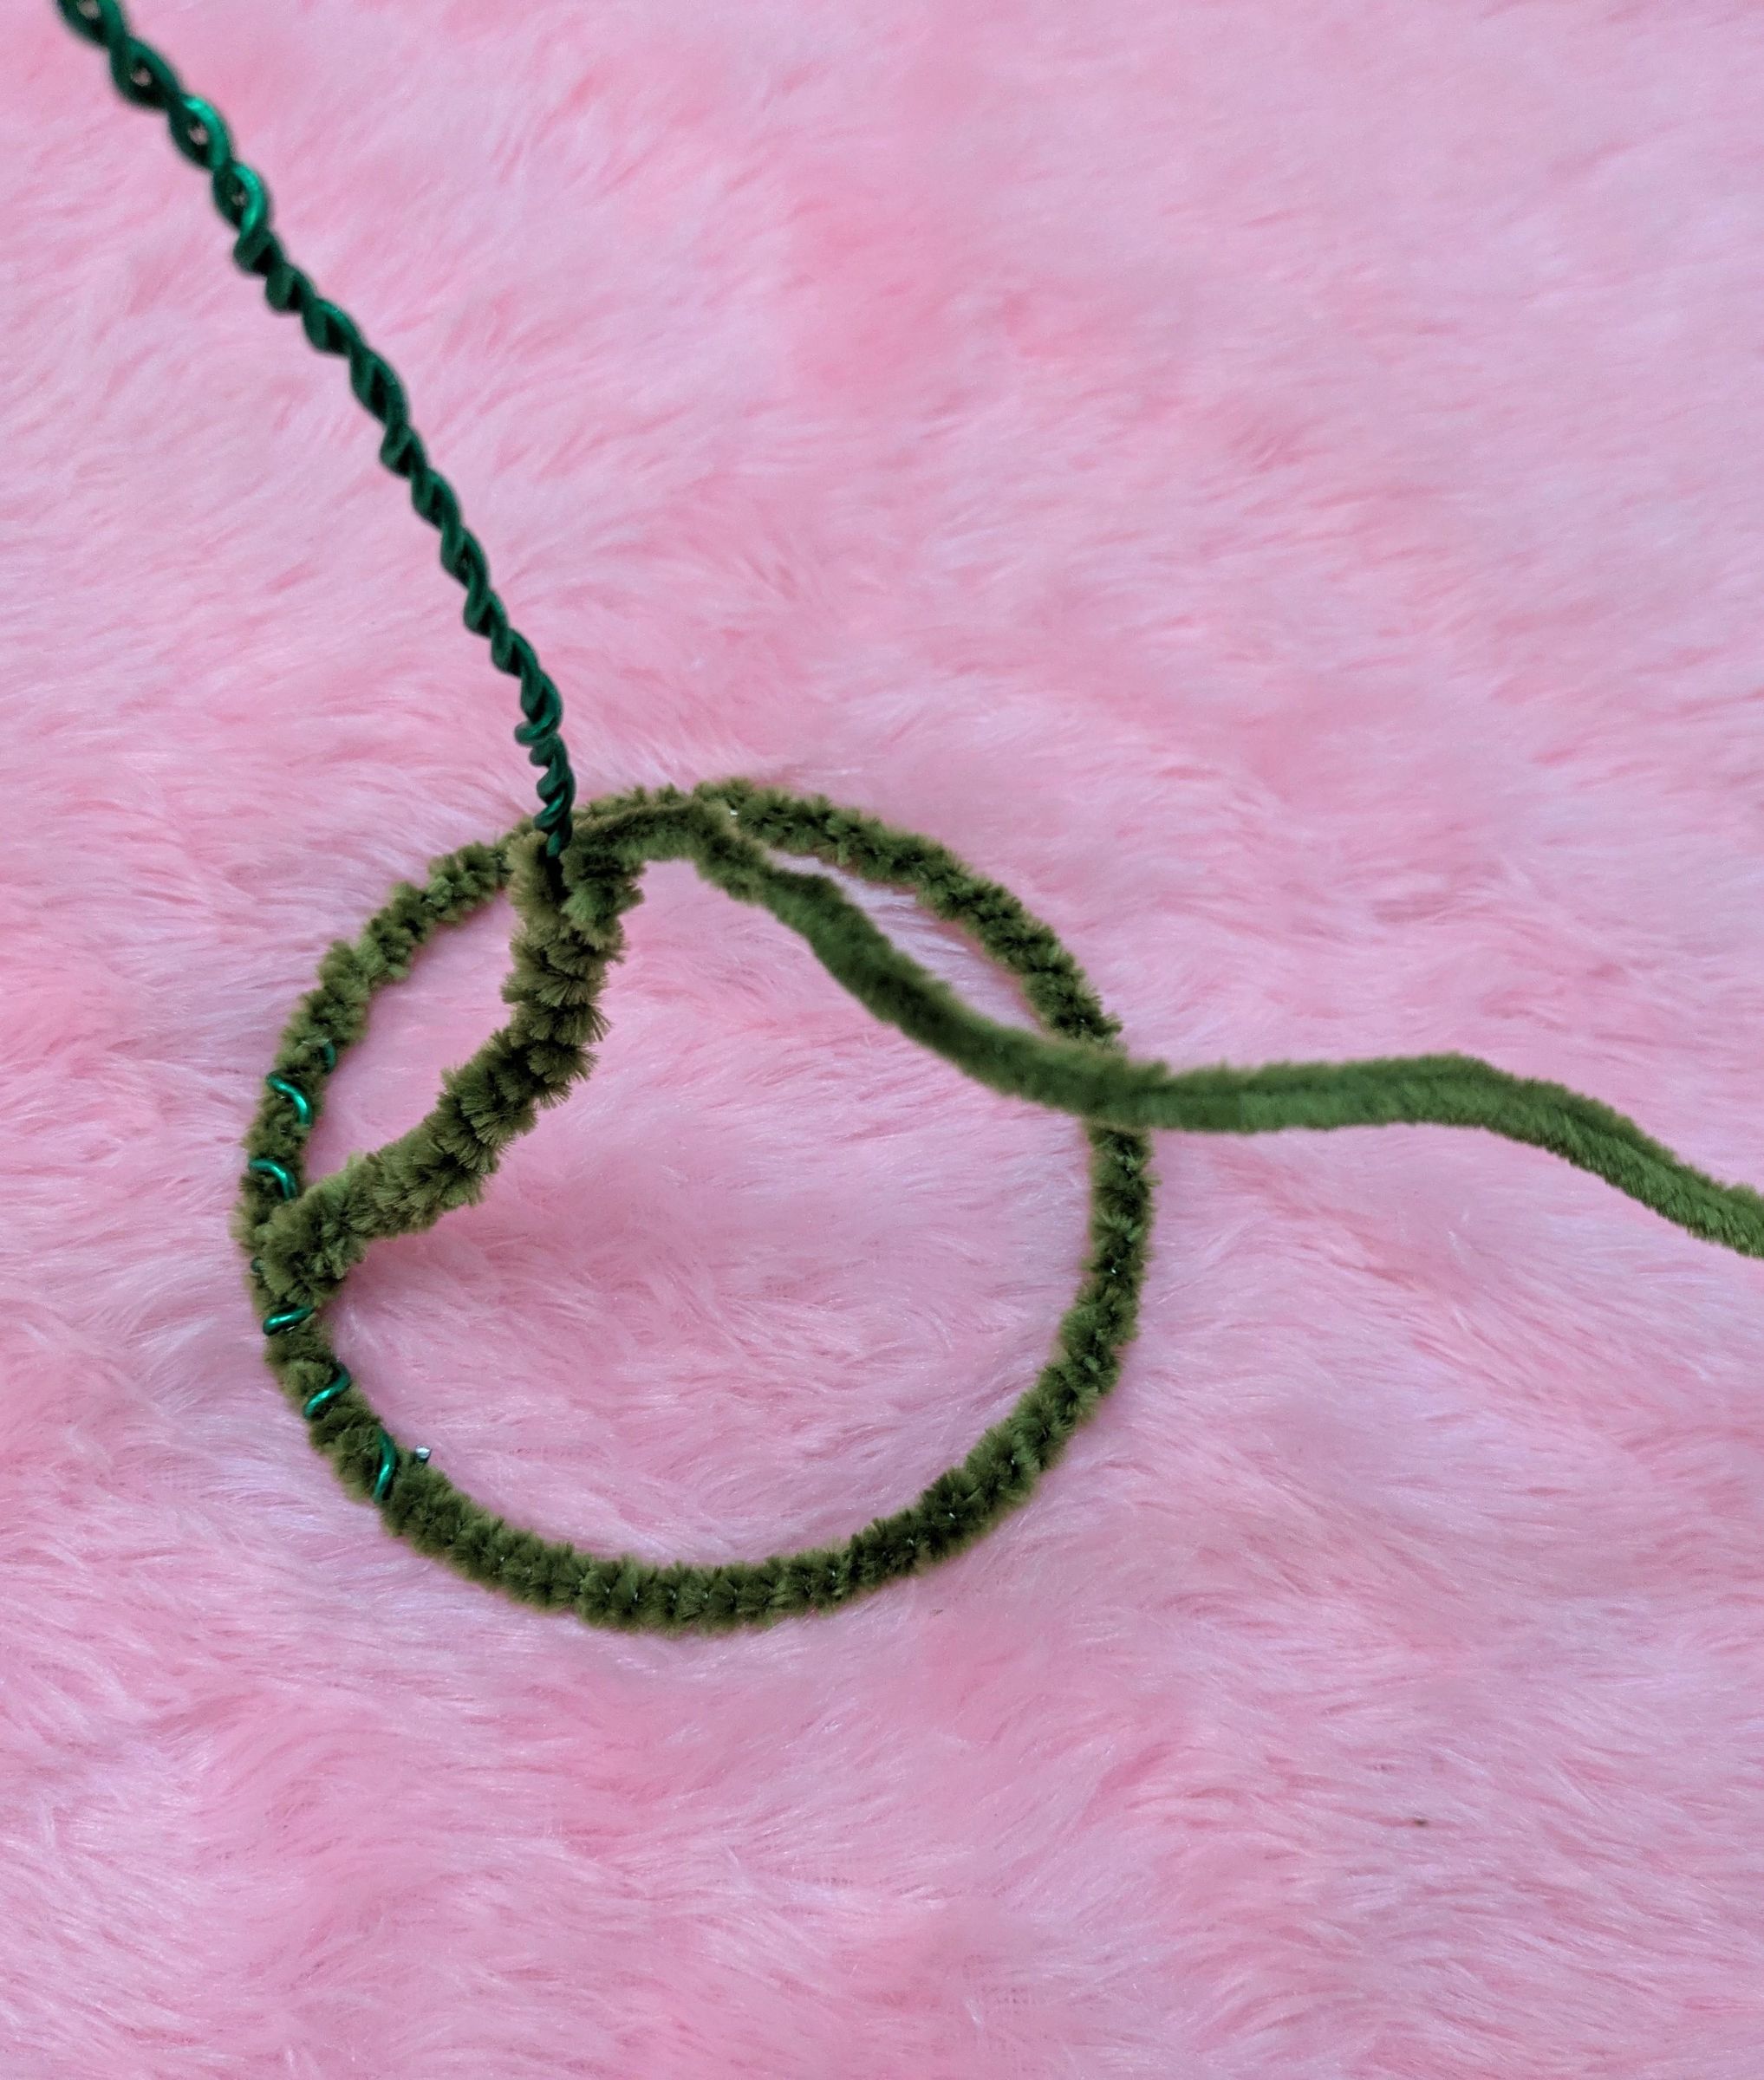
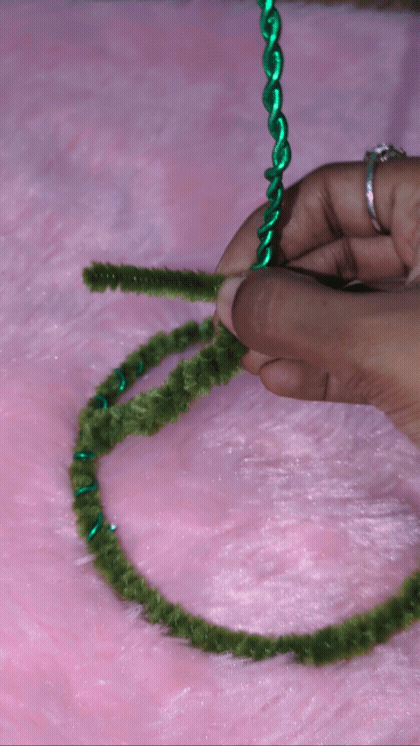
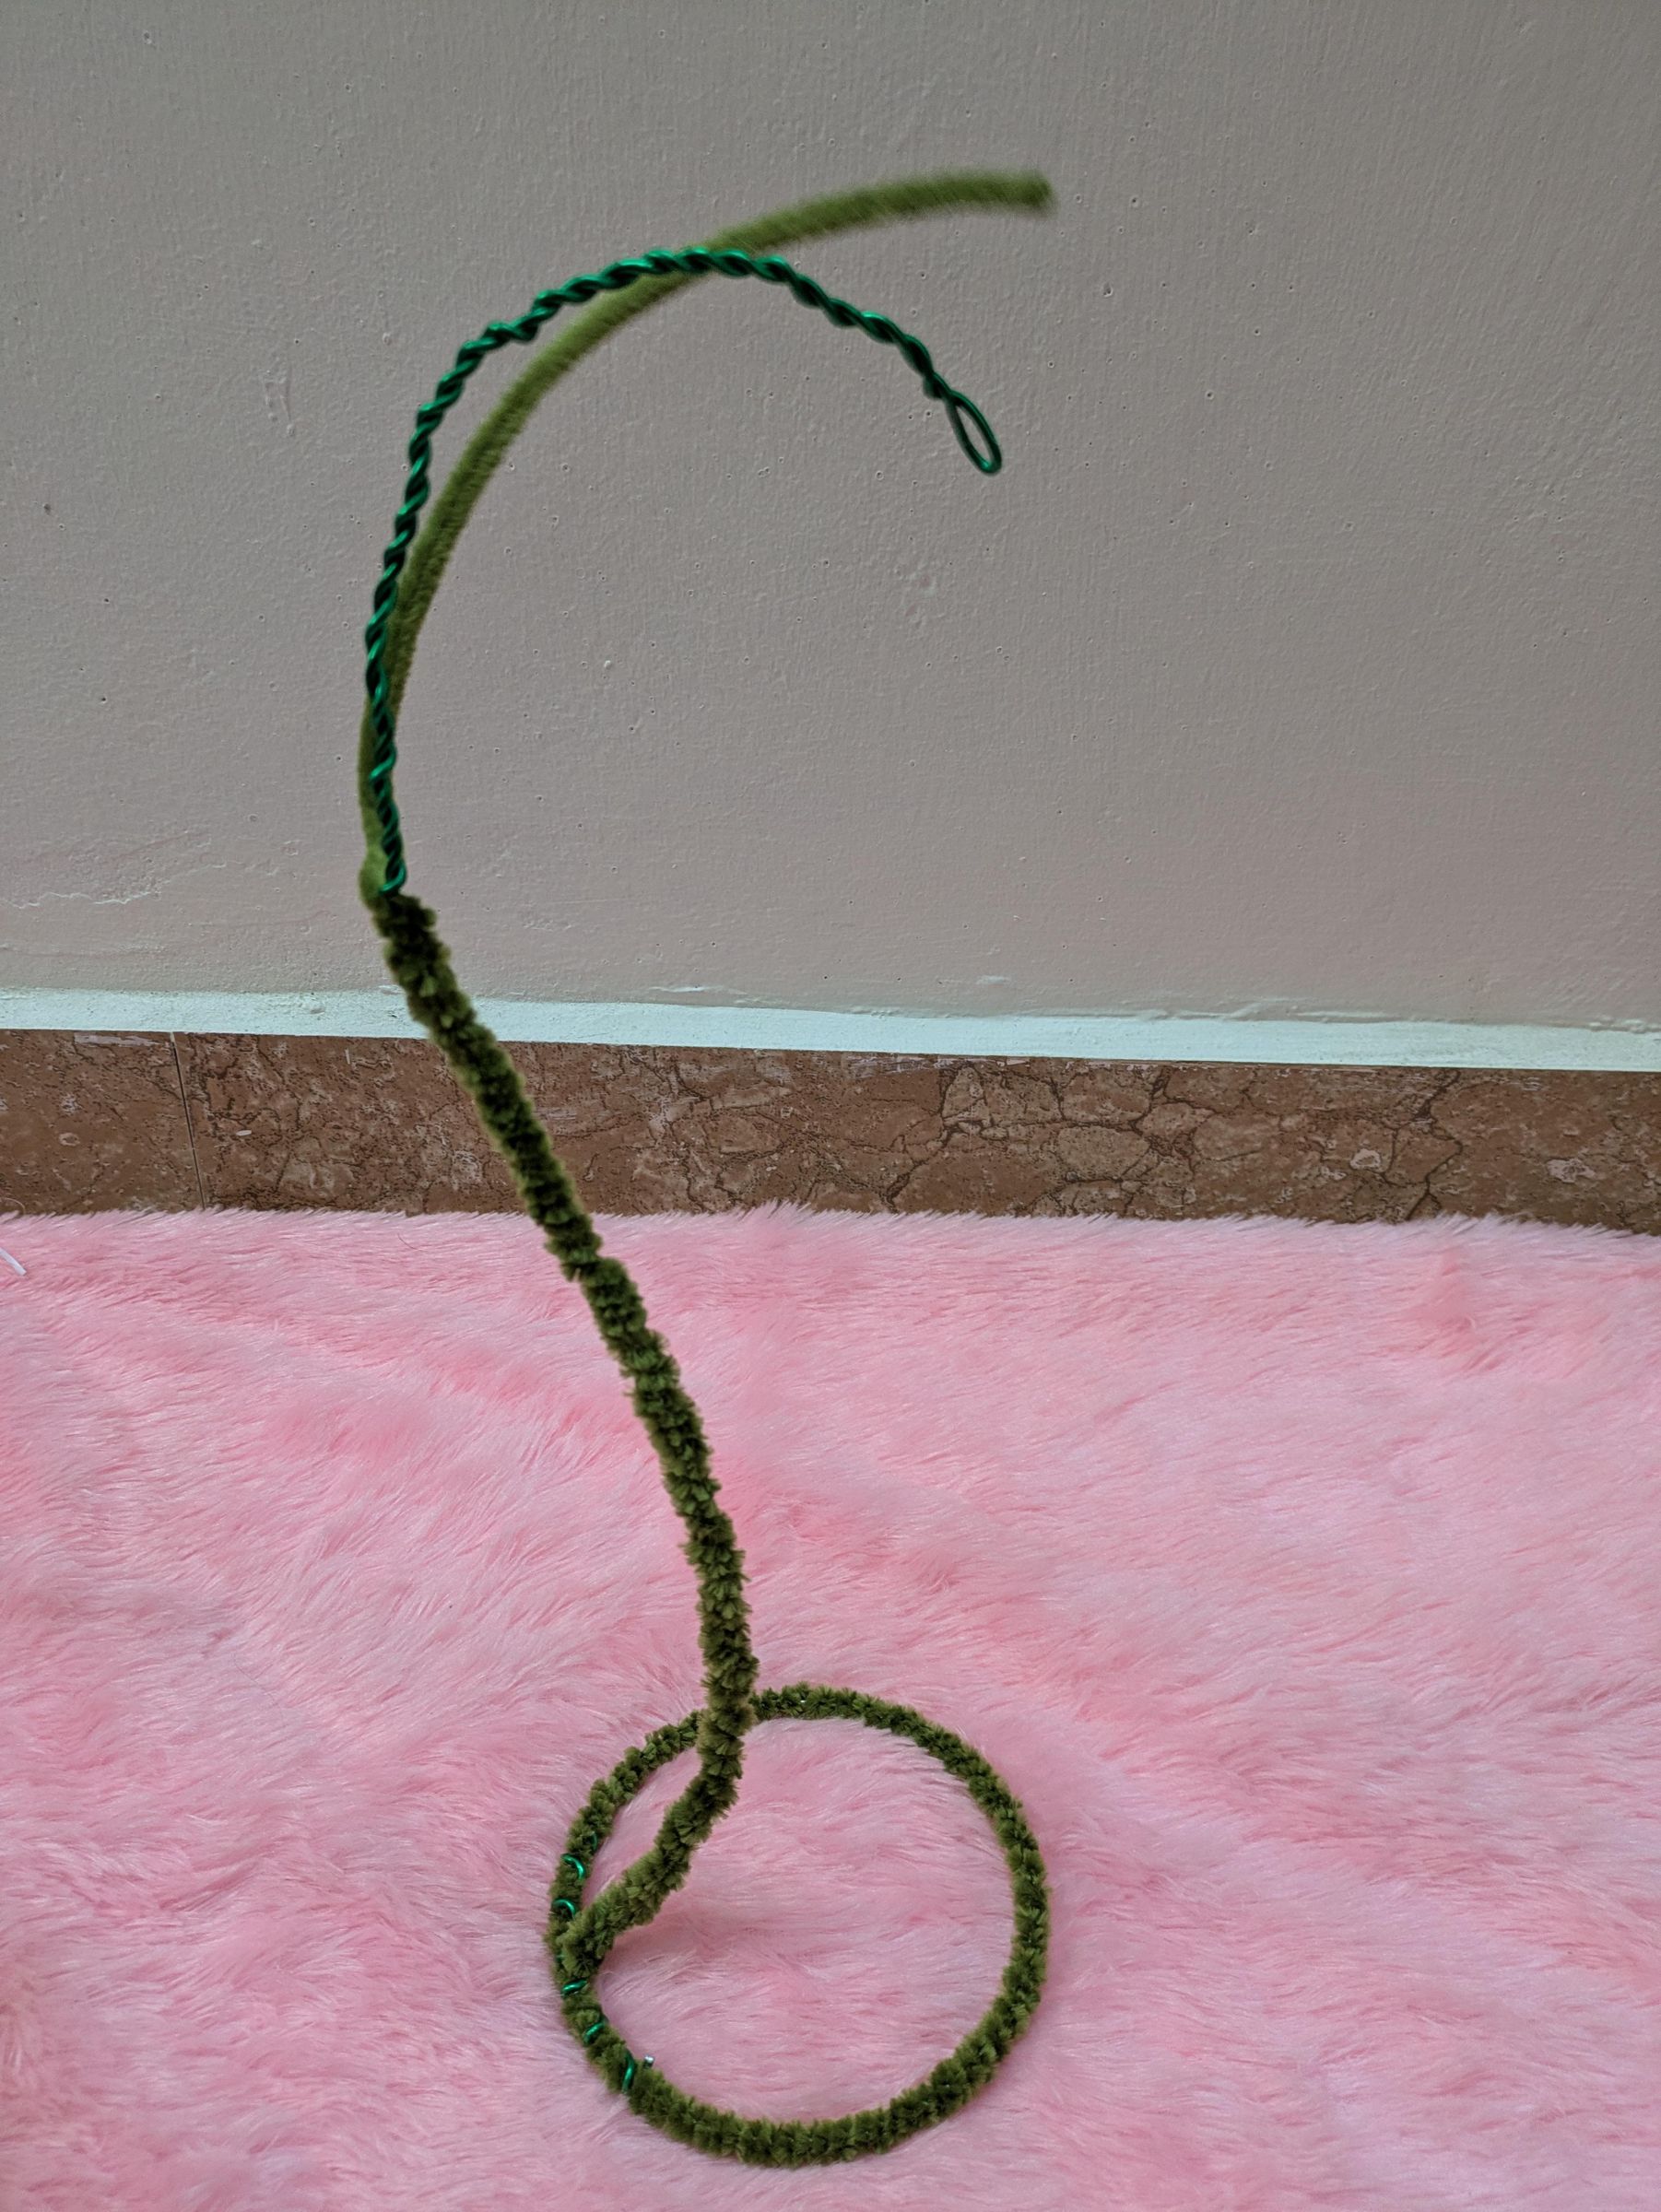
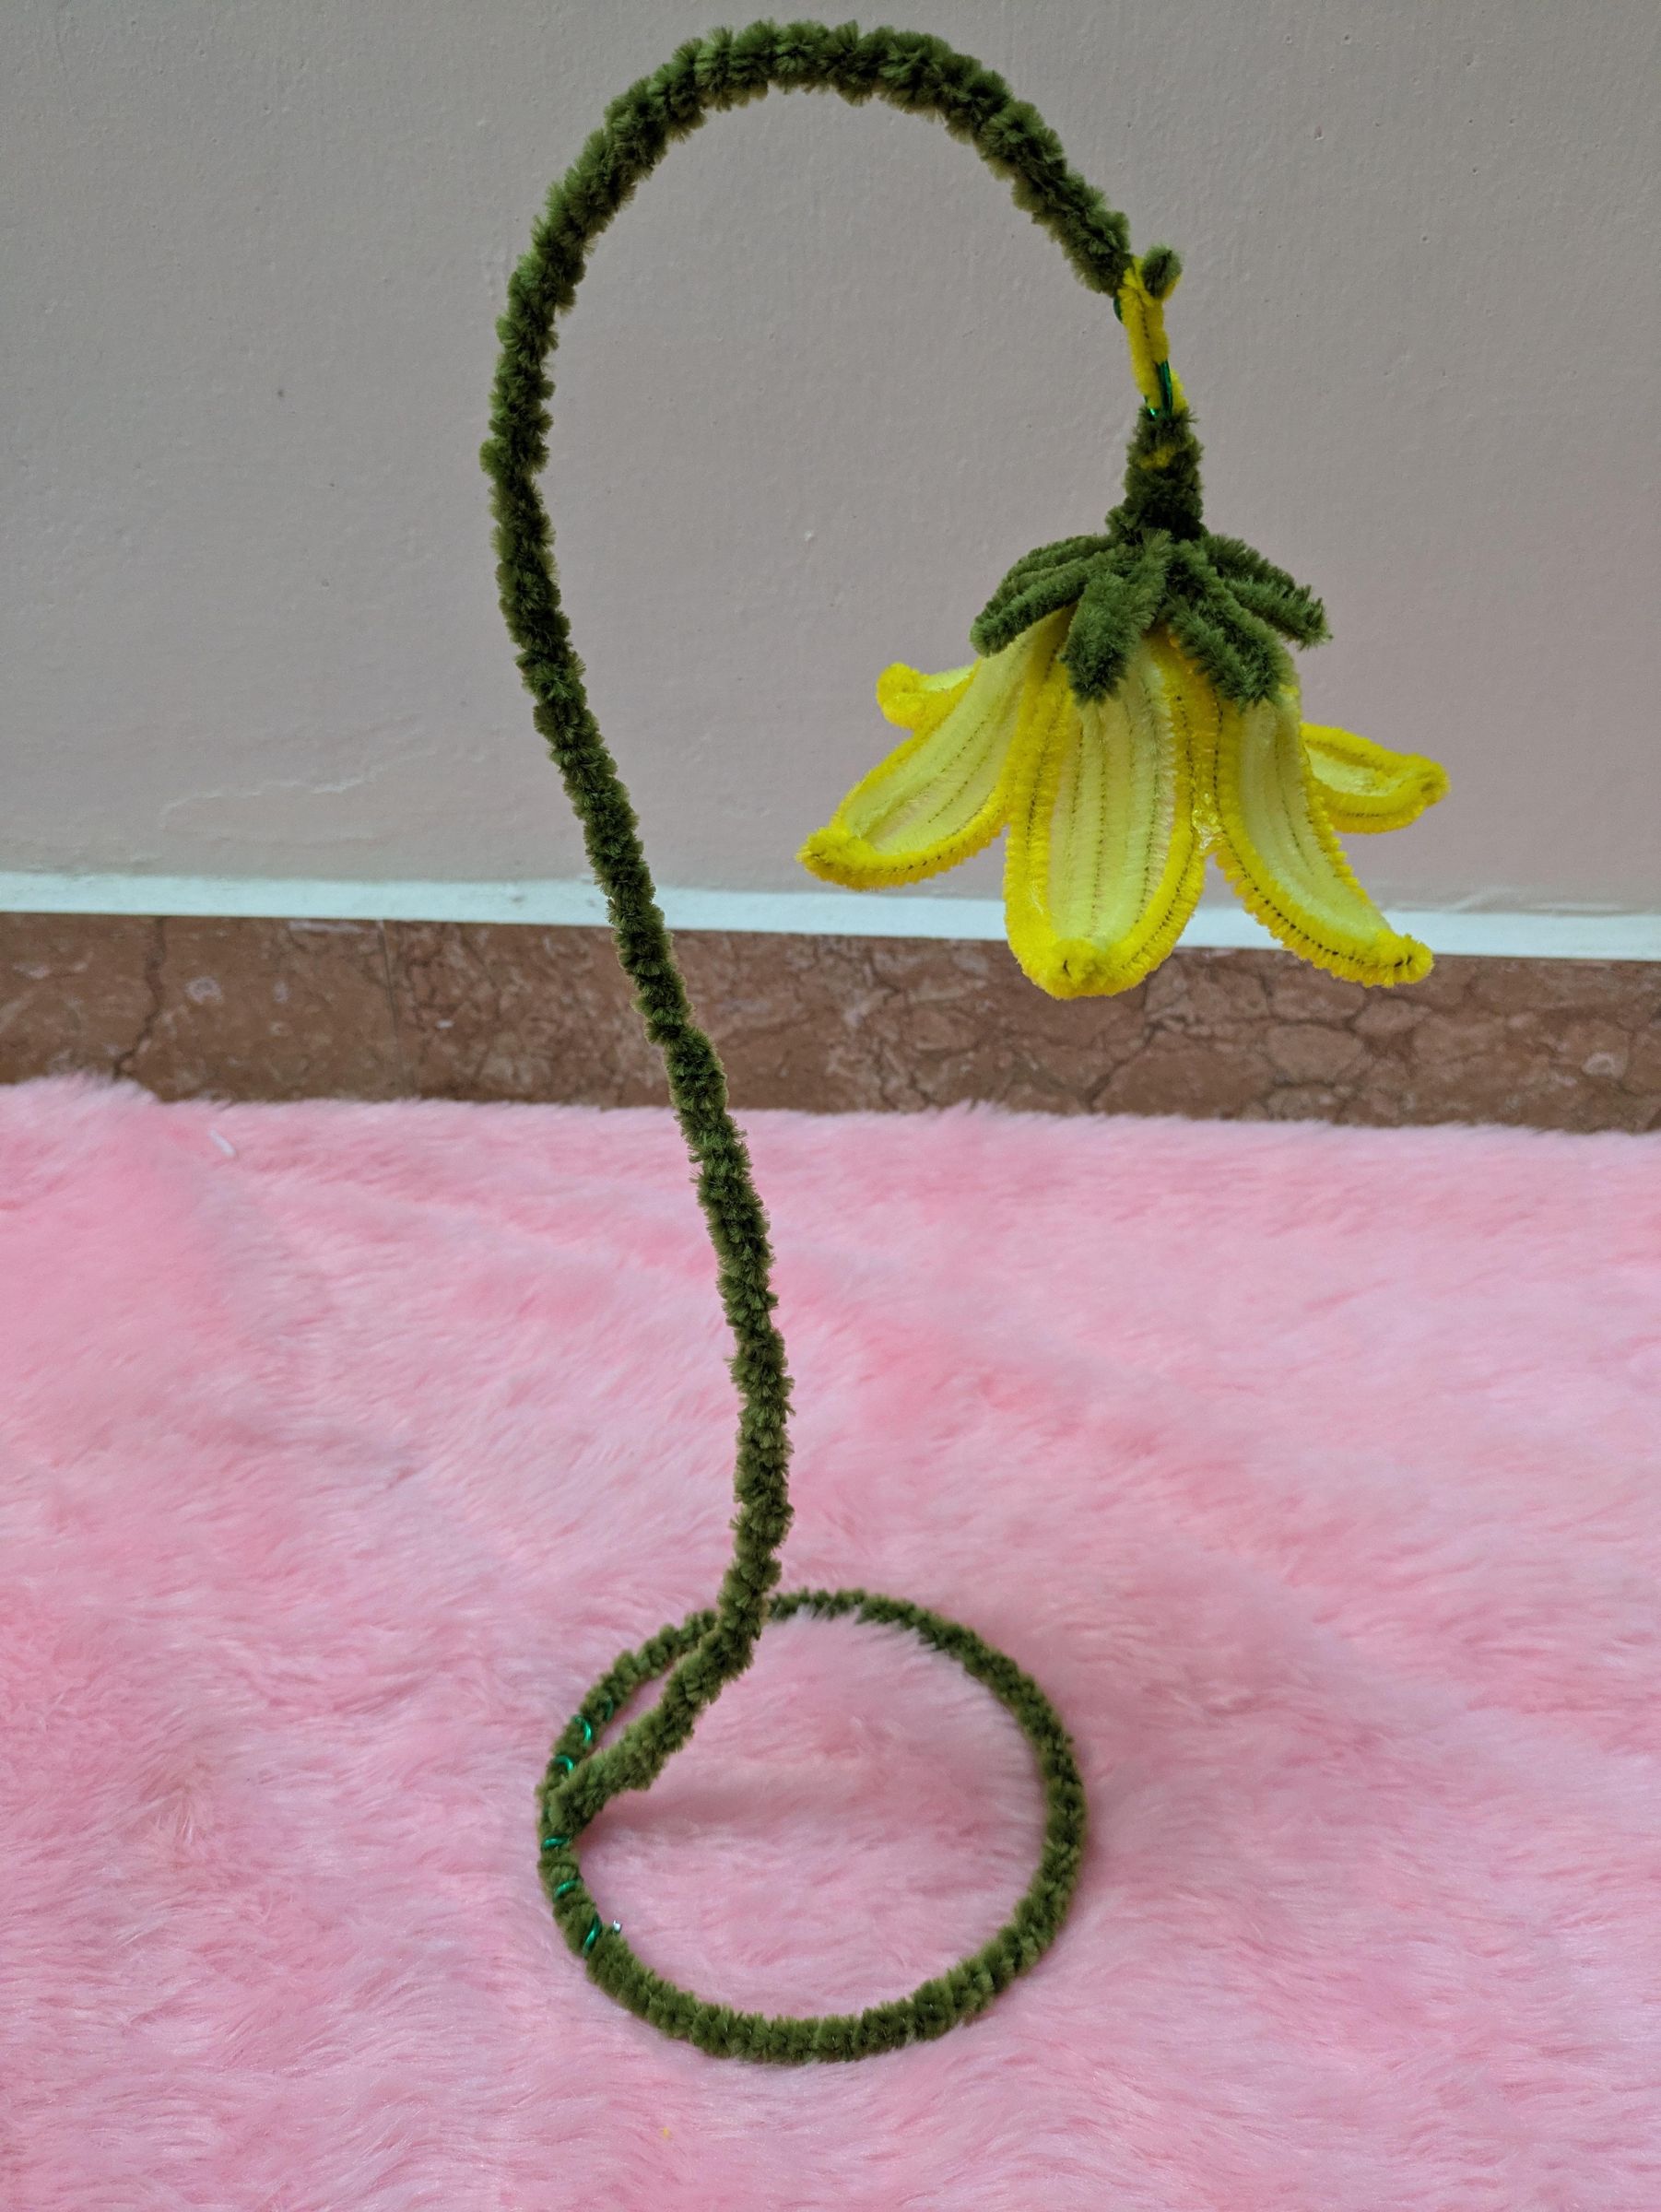
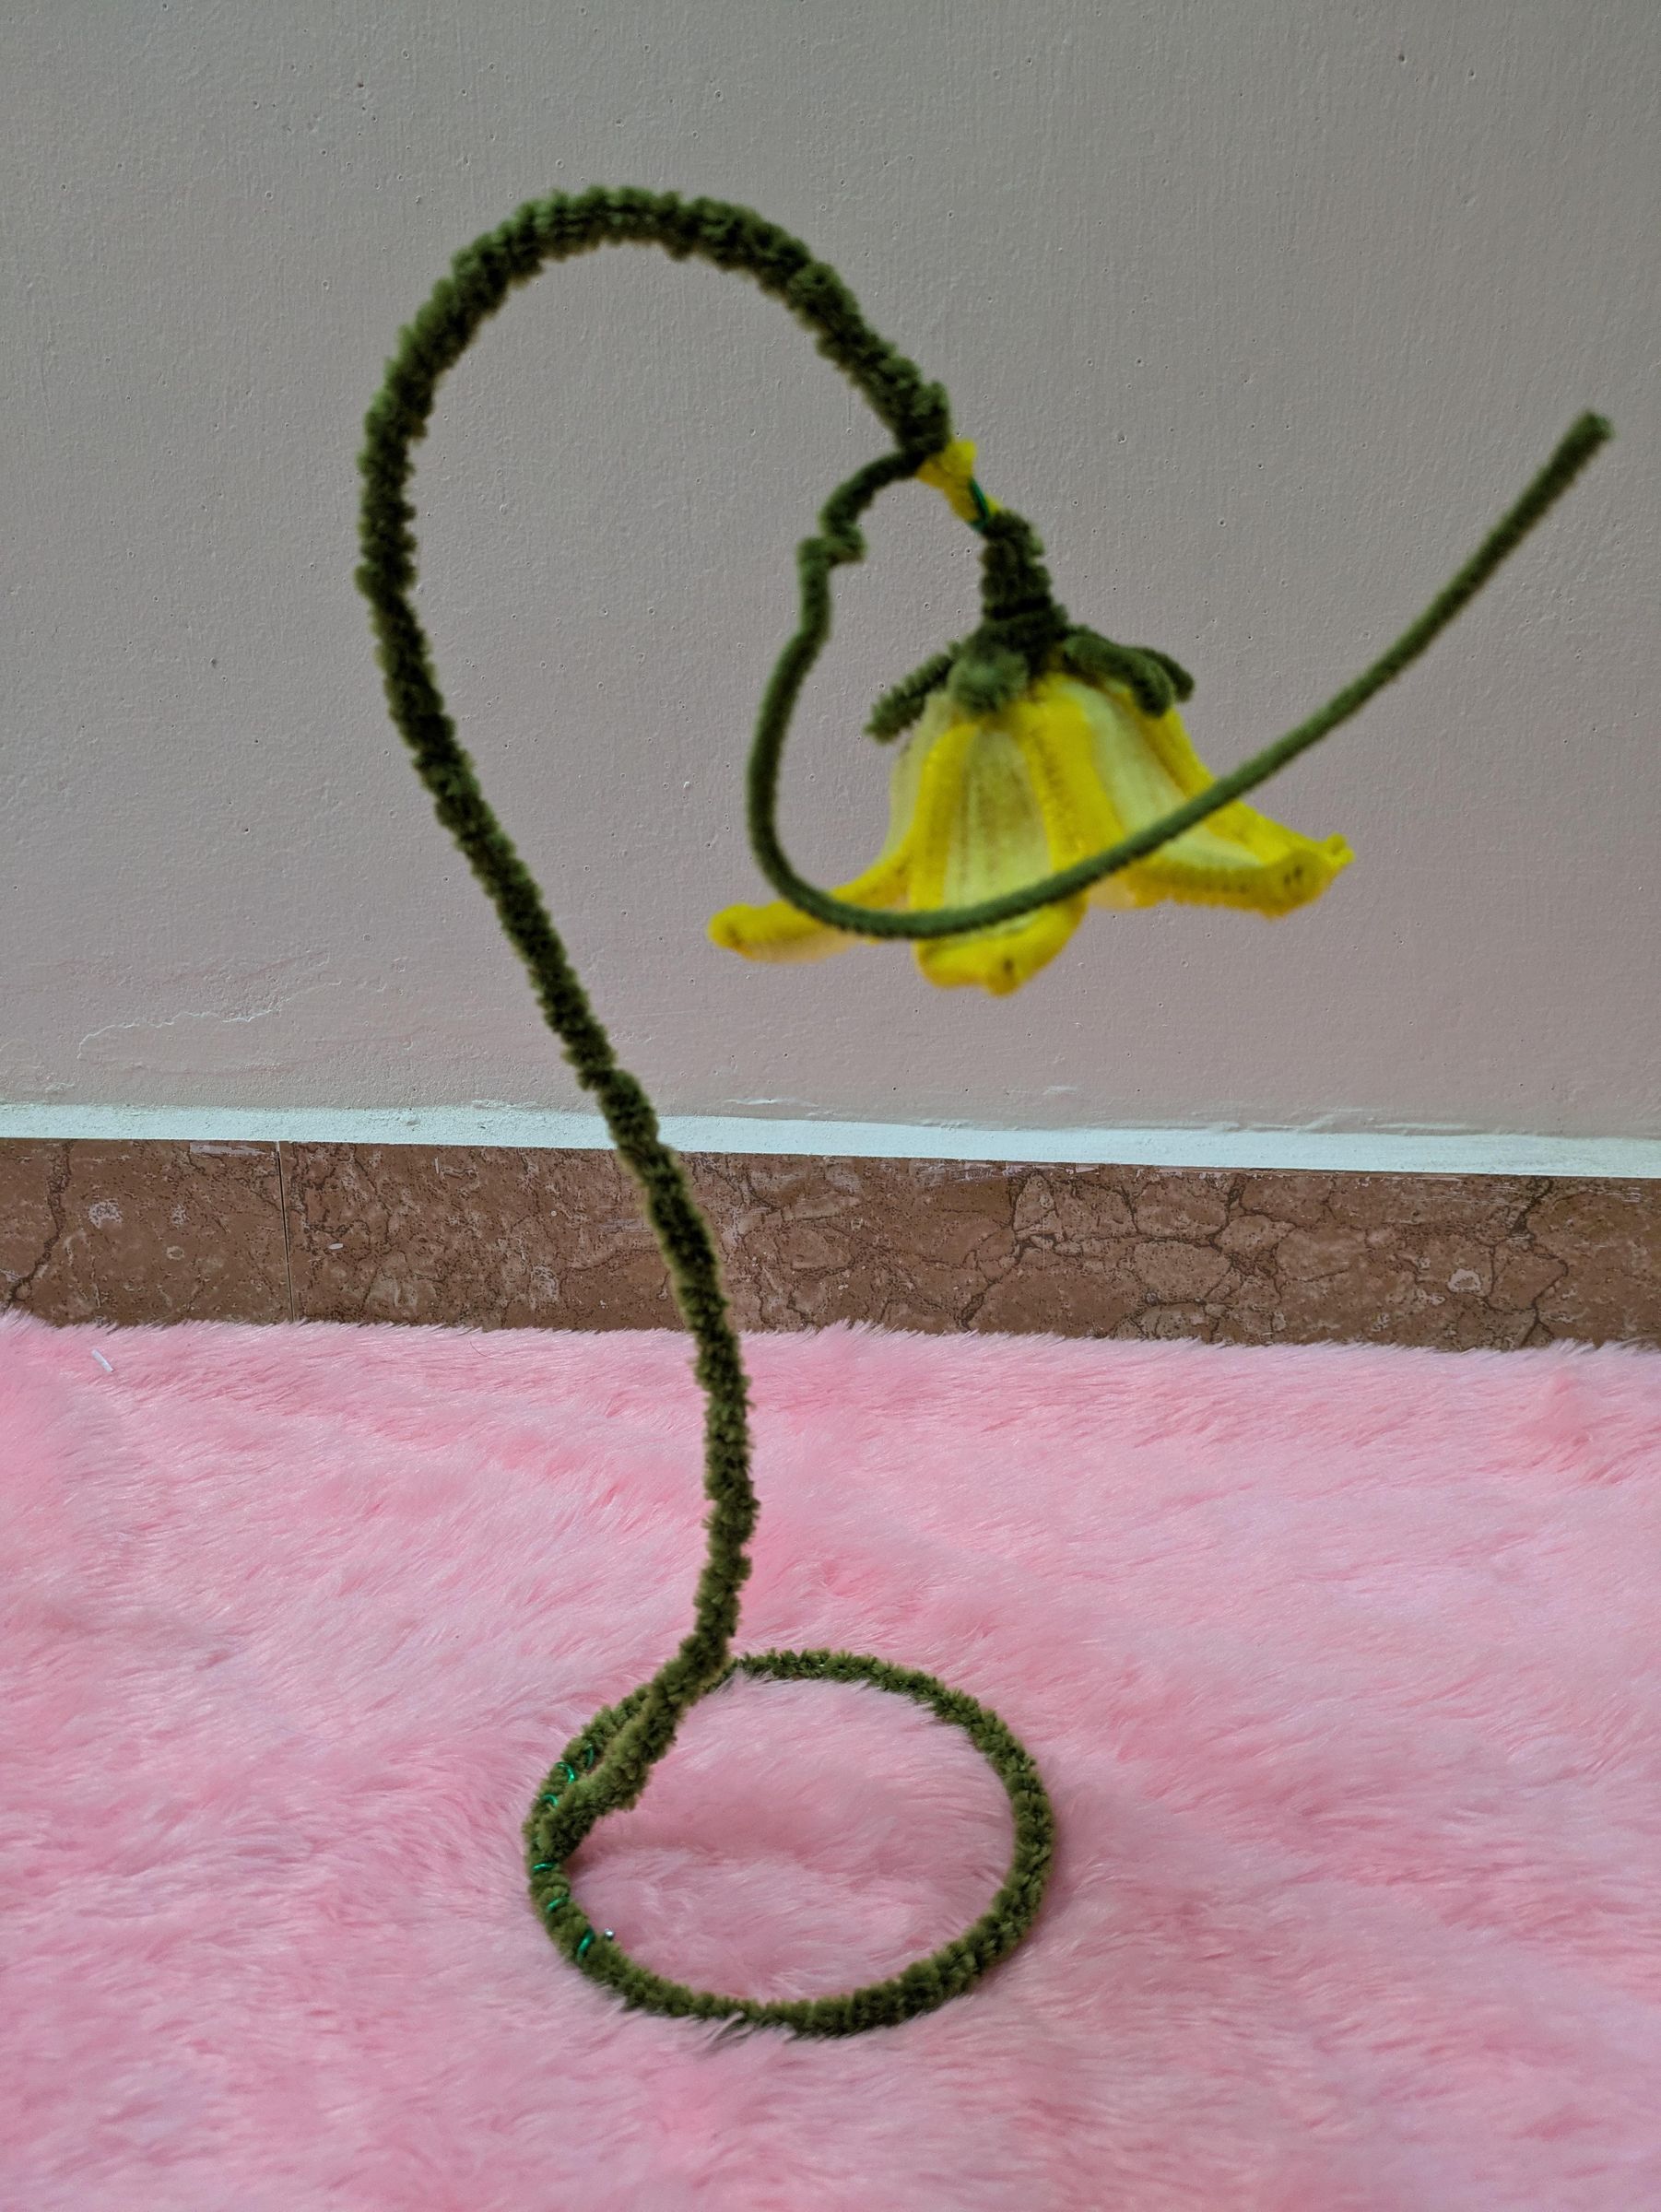
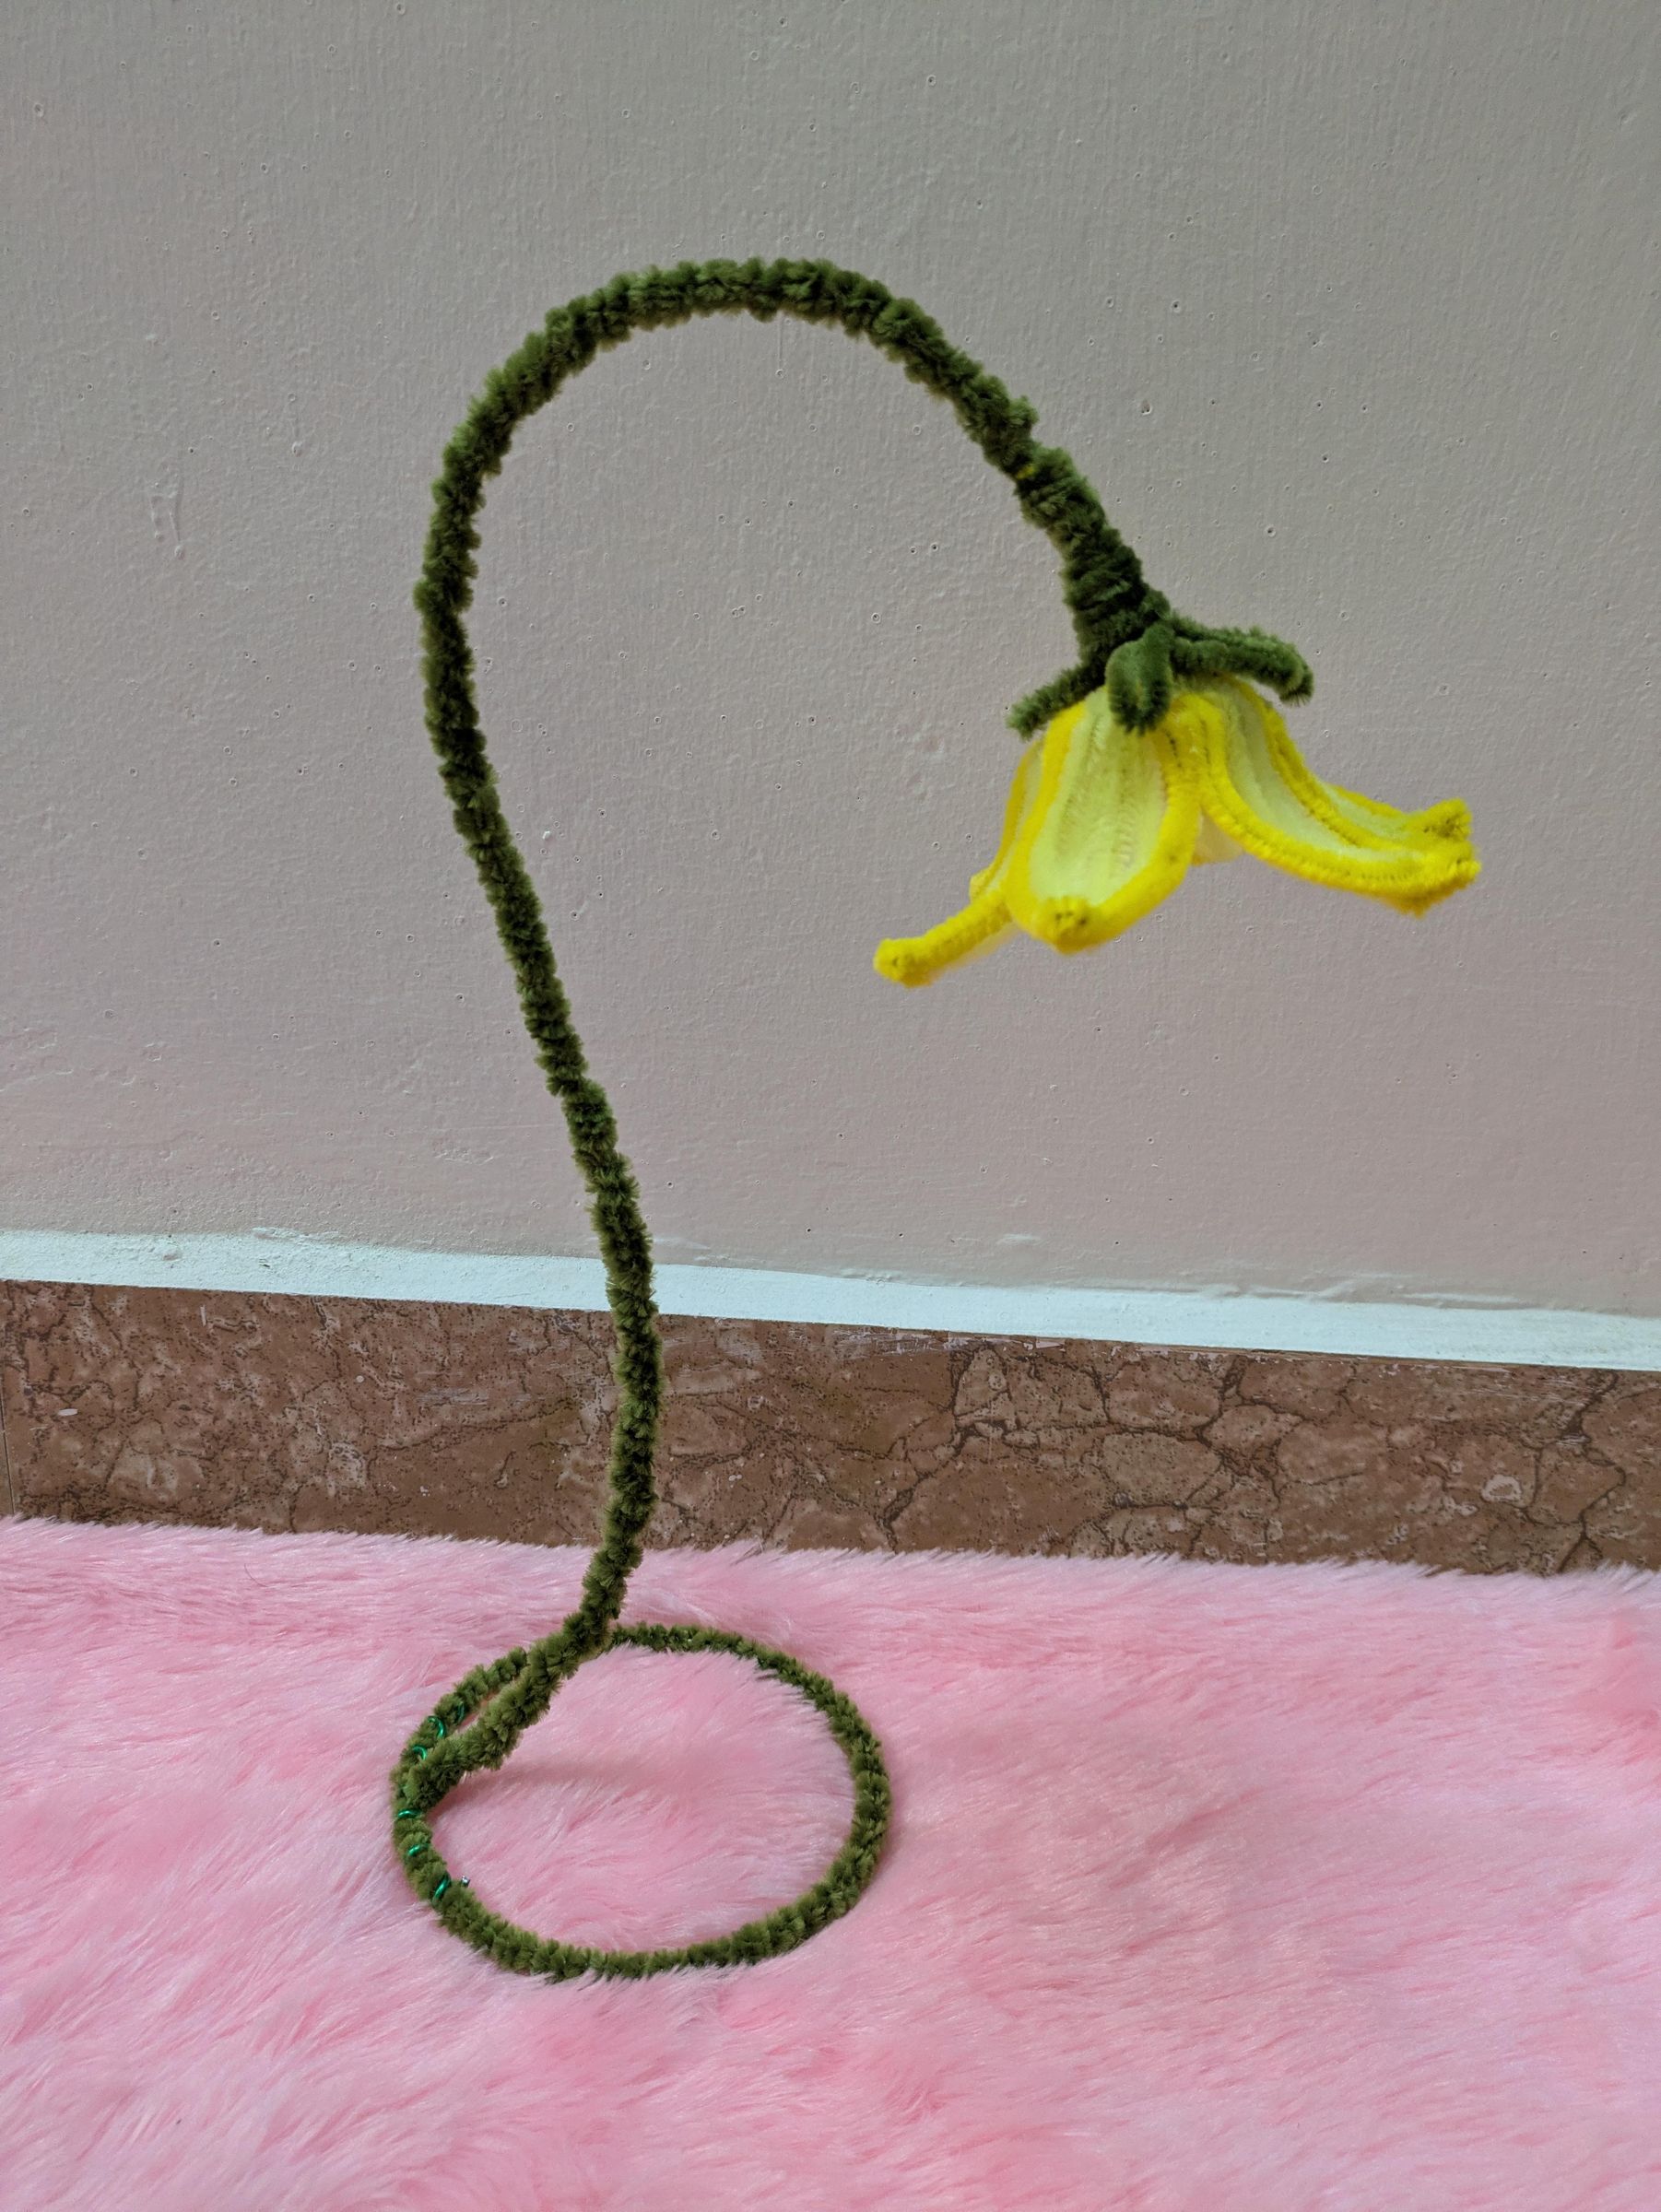
Use loose ends of stem wire to the base ring, Bend in shape as give, this shape is purposely given for both balancing and aesthetics reason. Even the flexible wire is green in colour, lets cover it with sage green pipe cleaner for soft touch and stem look. wrap till end and add flower and along with that wrap the flower sturdy to the flexible wire and adjust the look according to you
Fairy Light
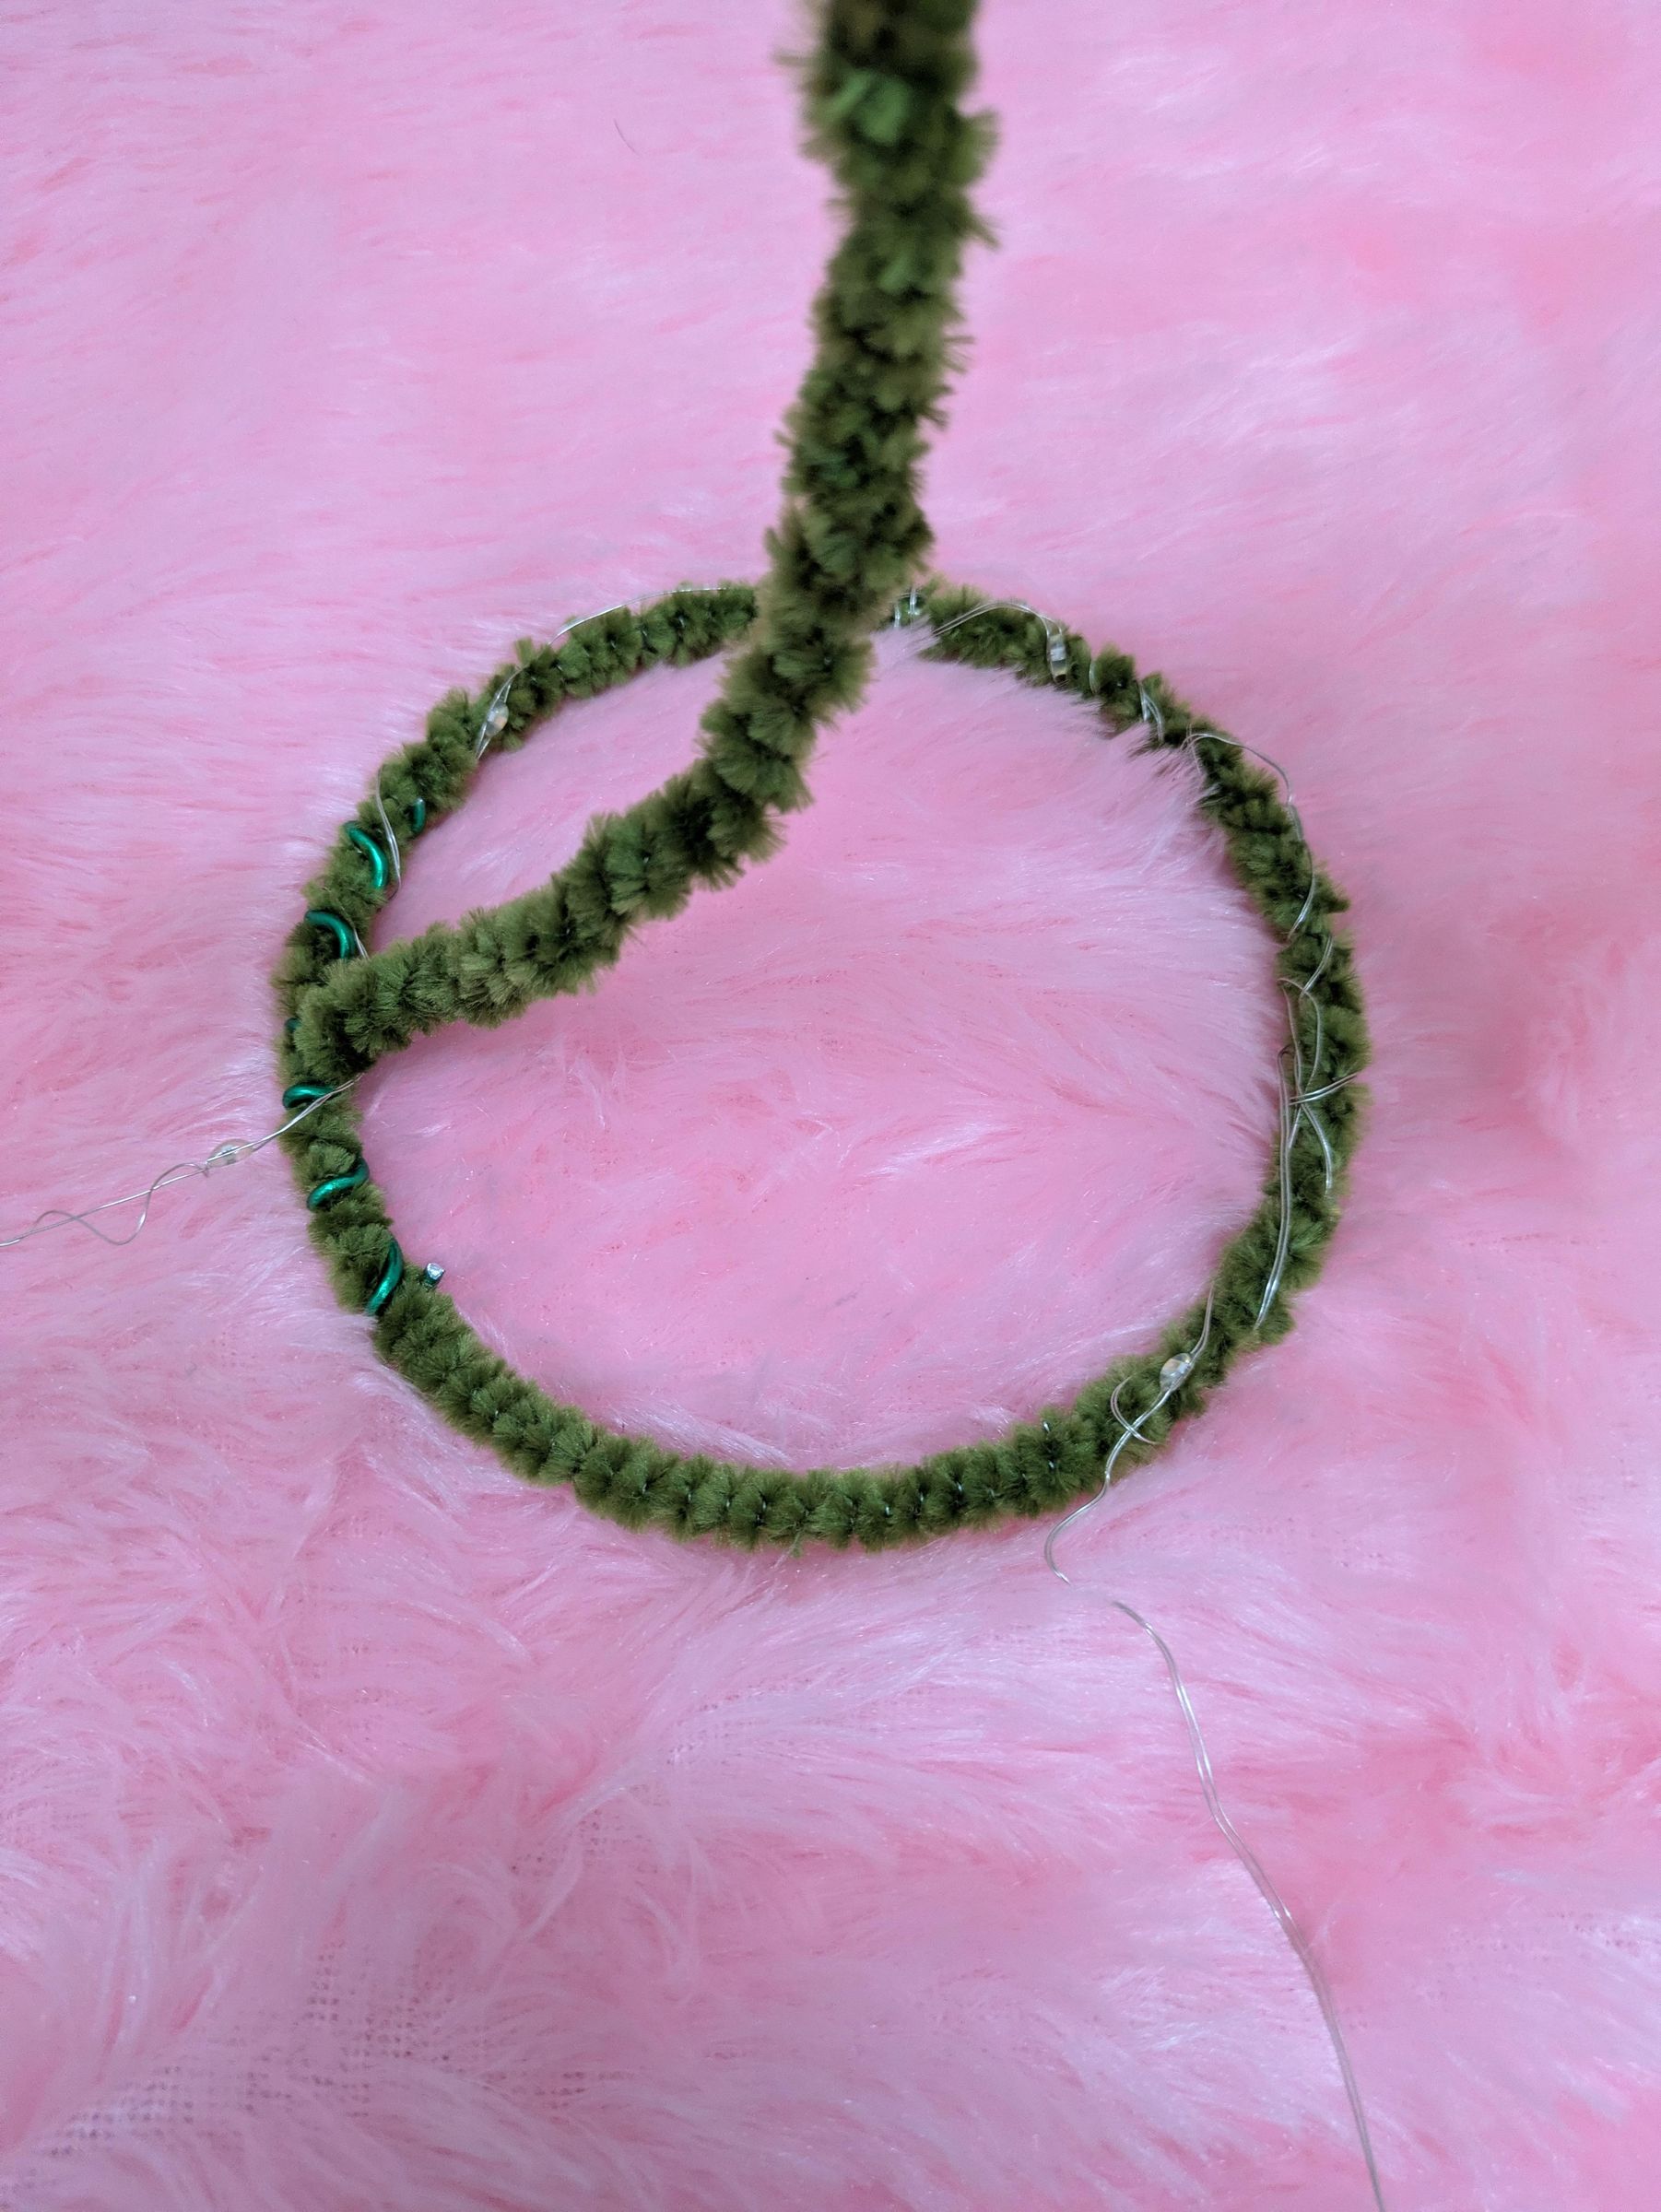
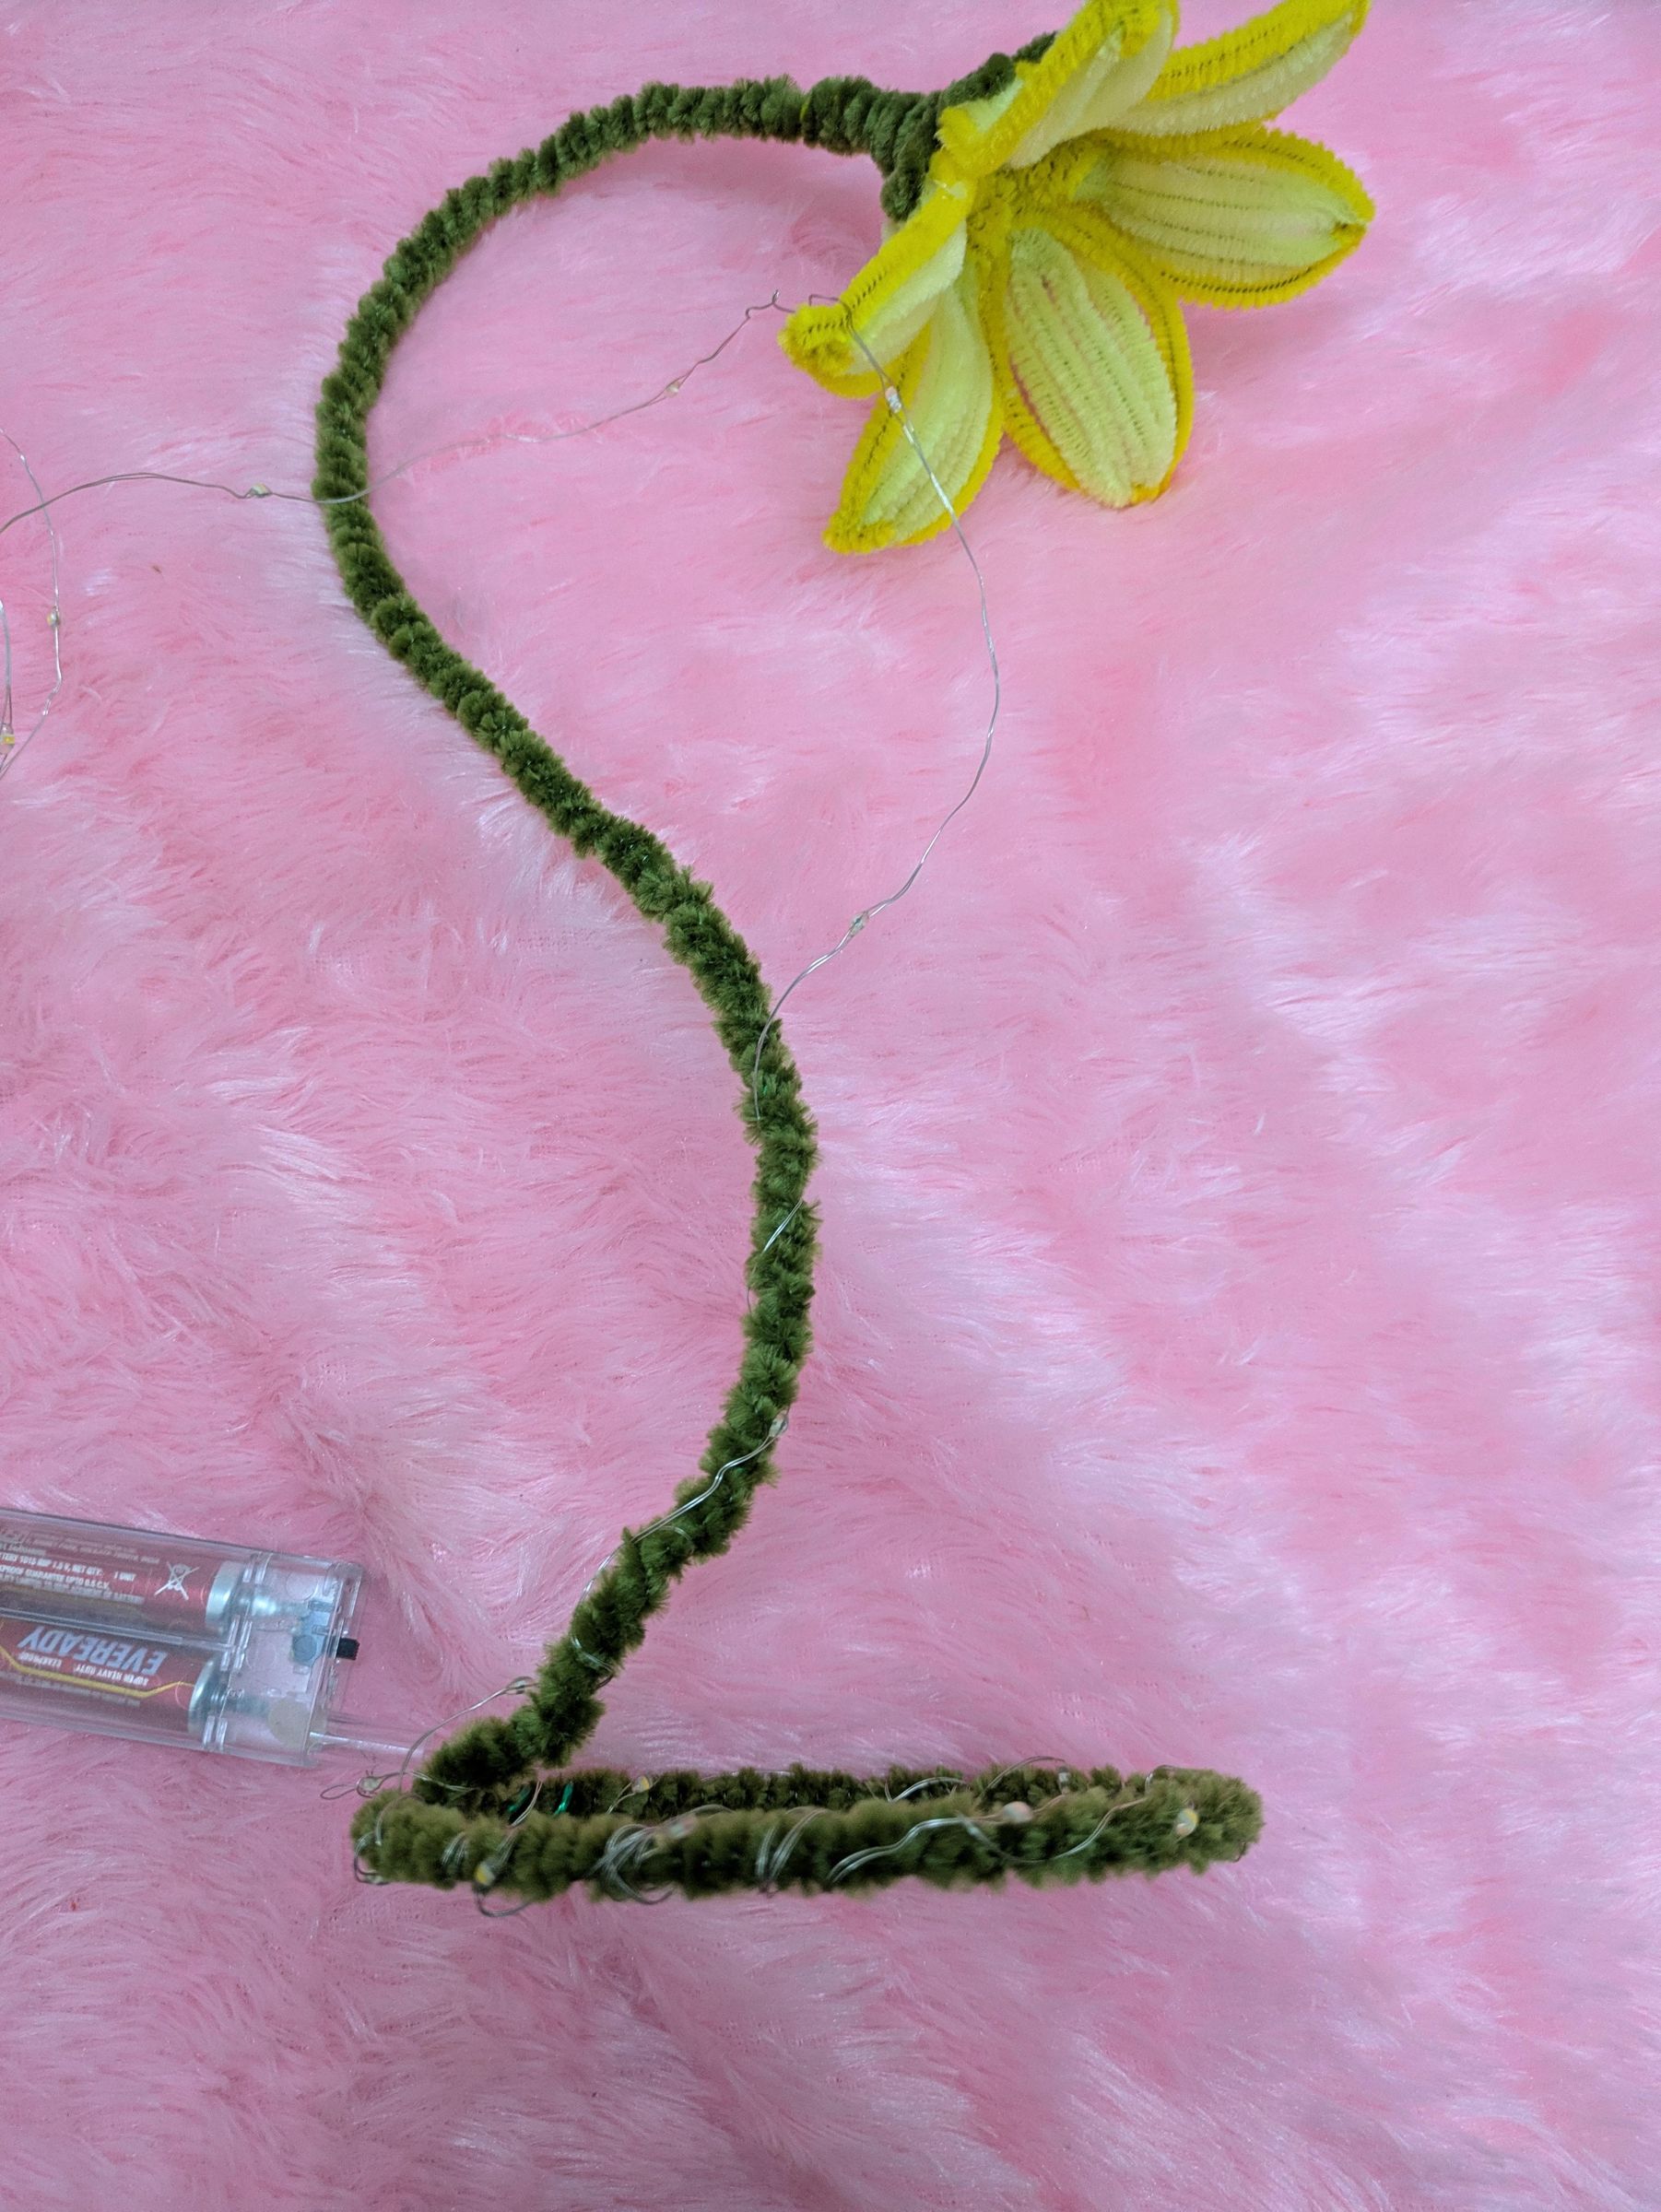
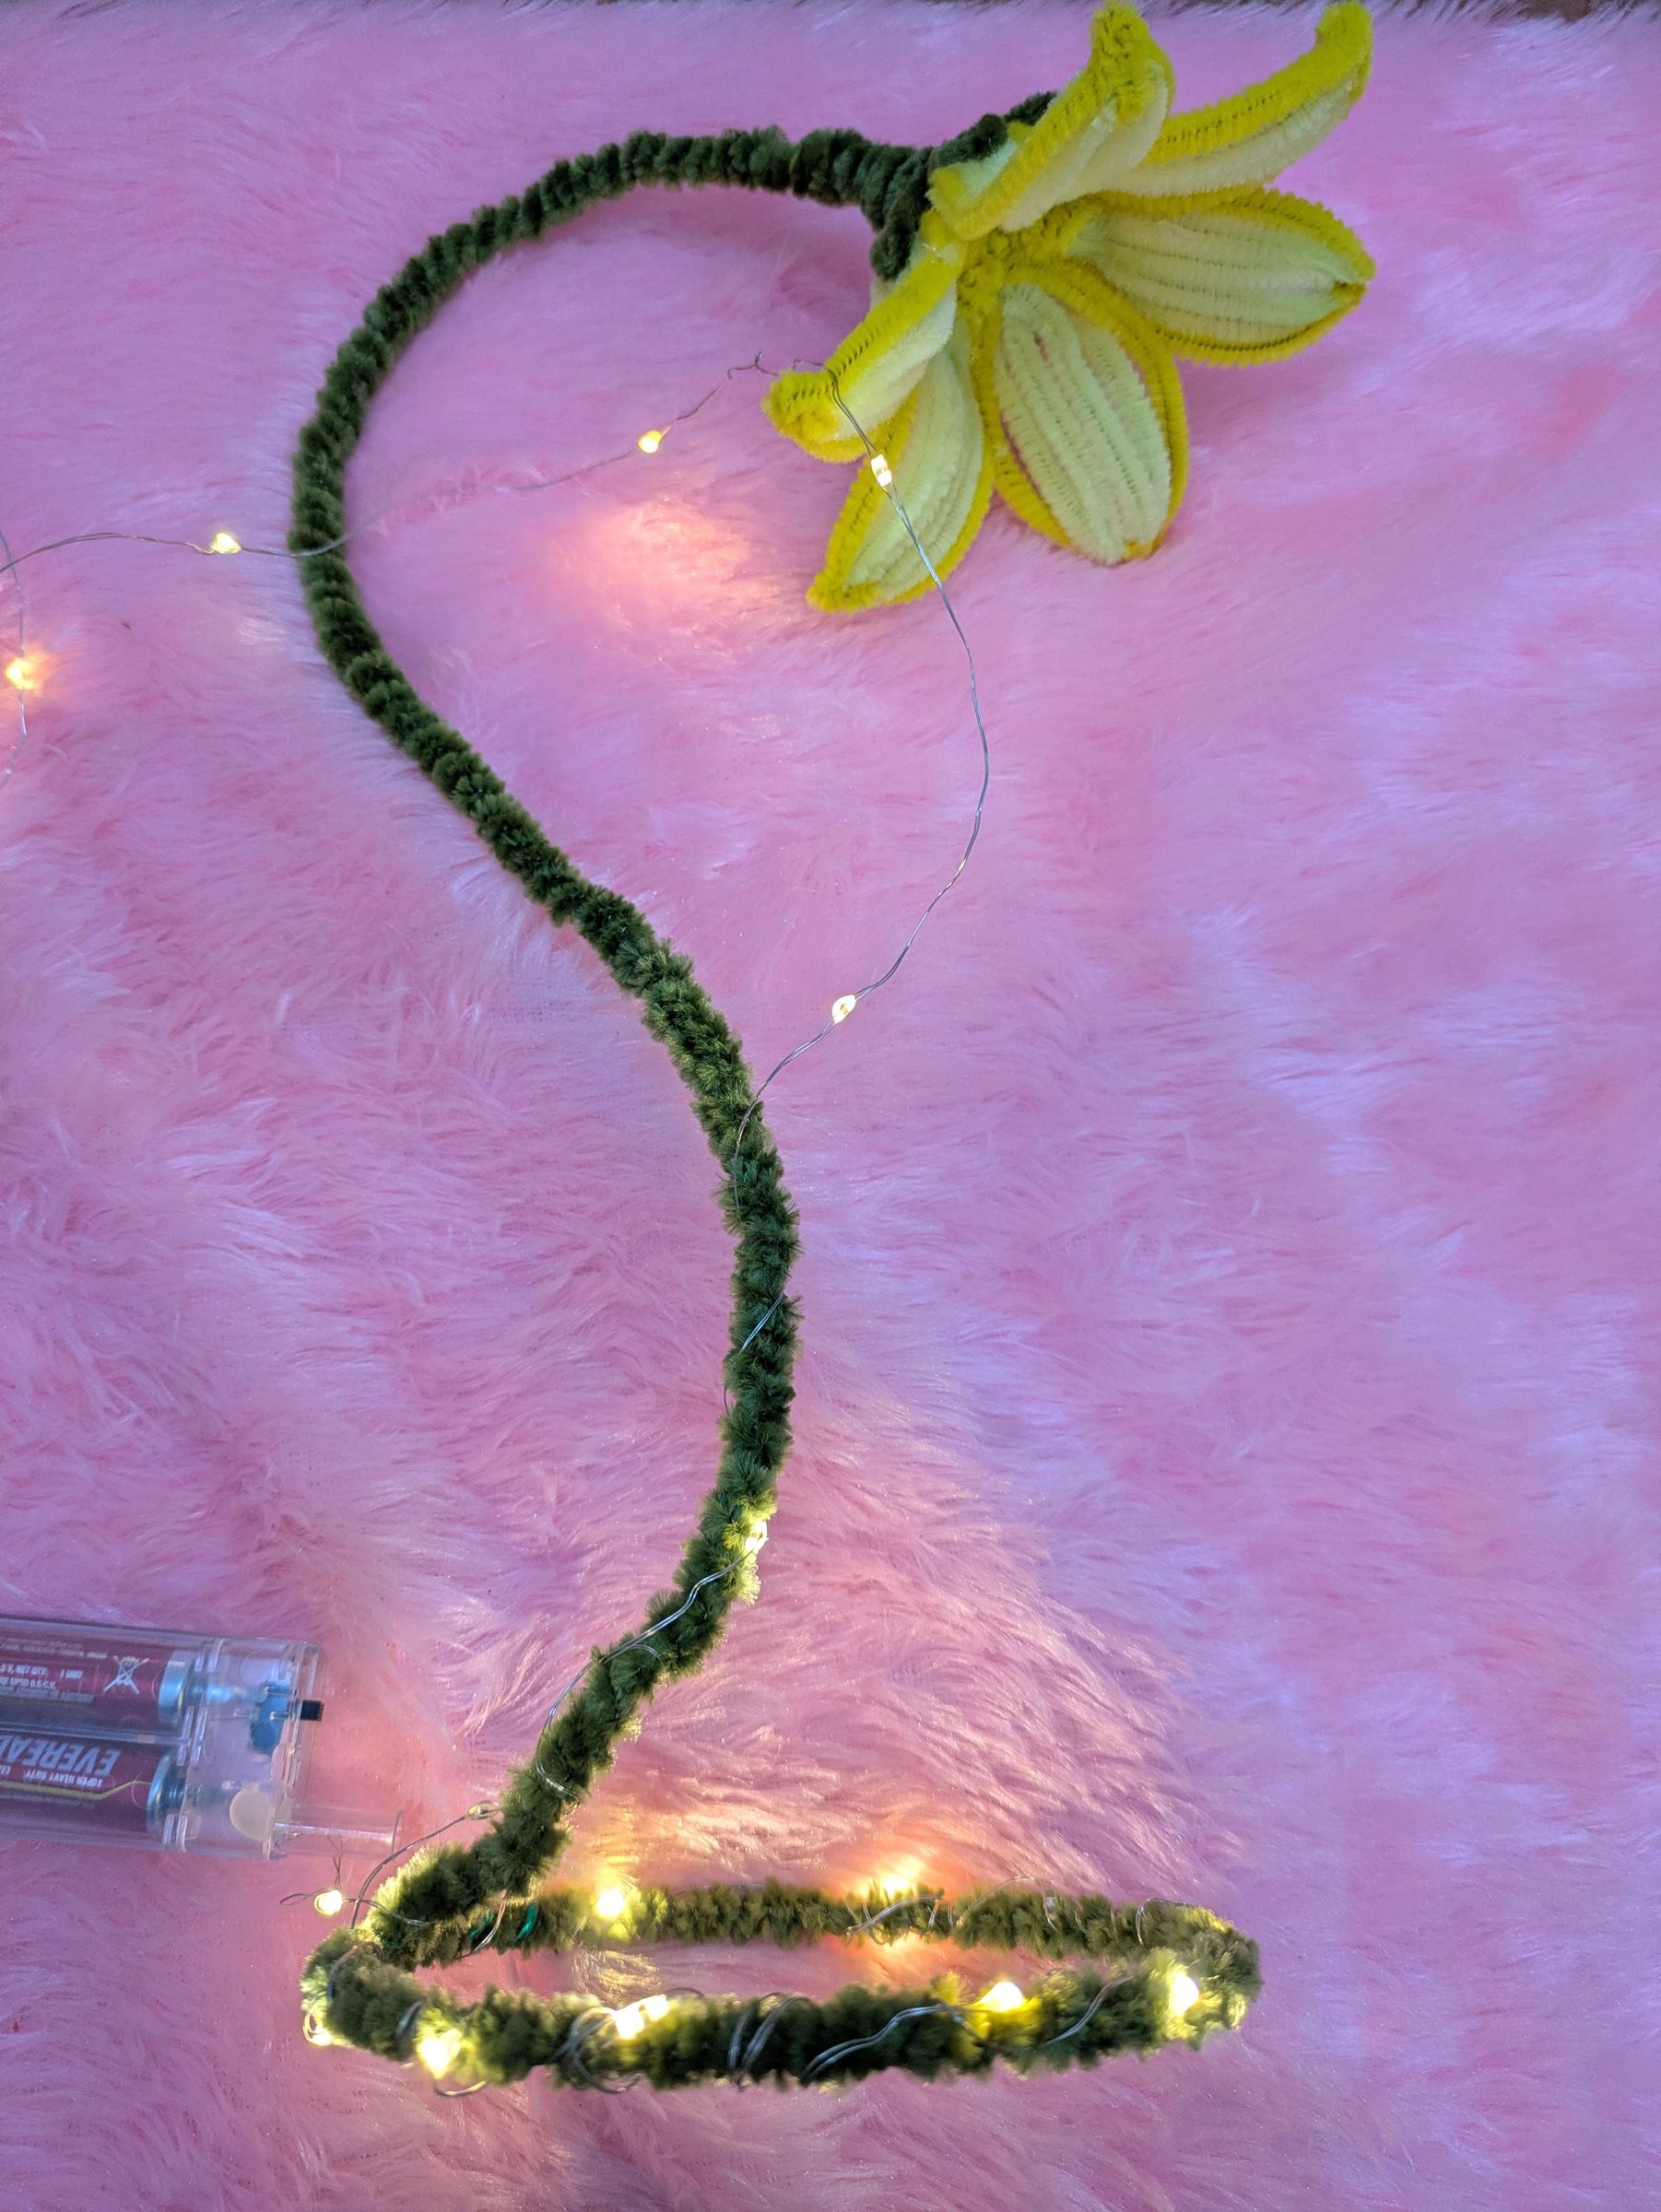
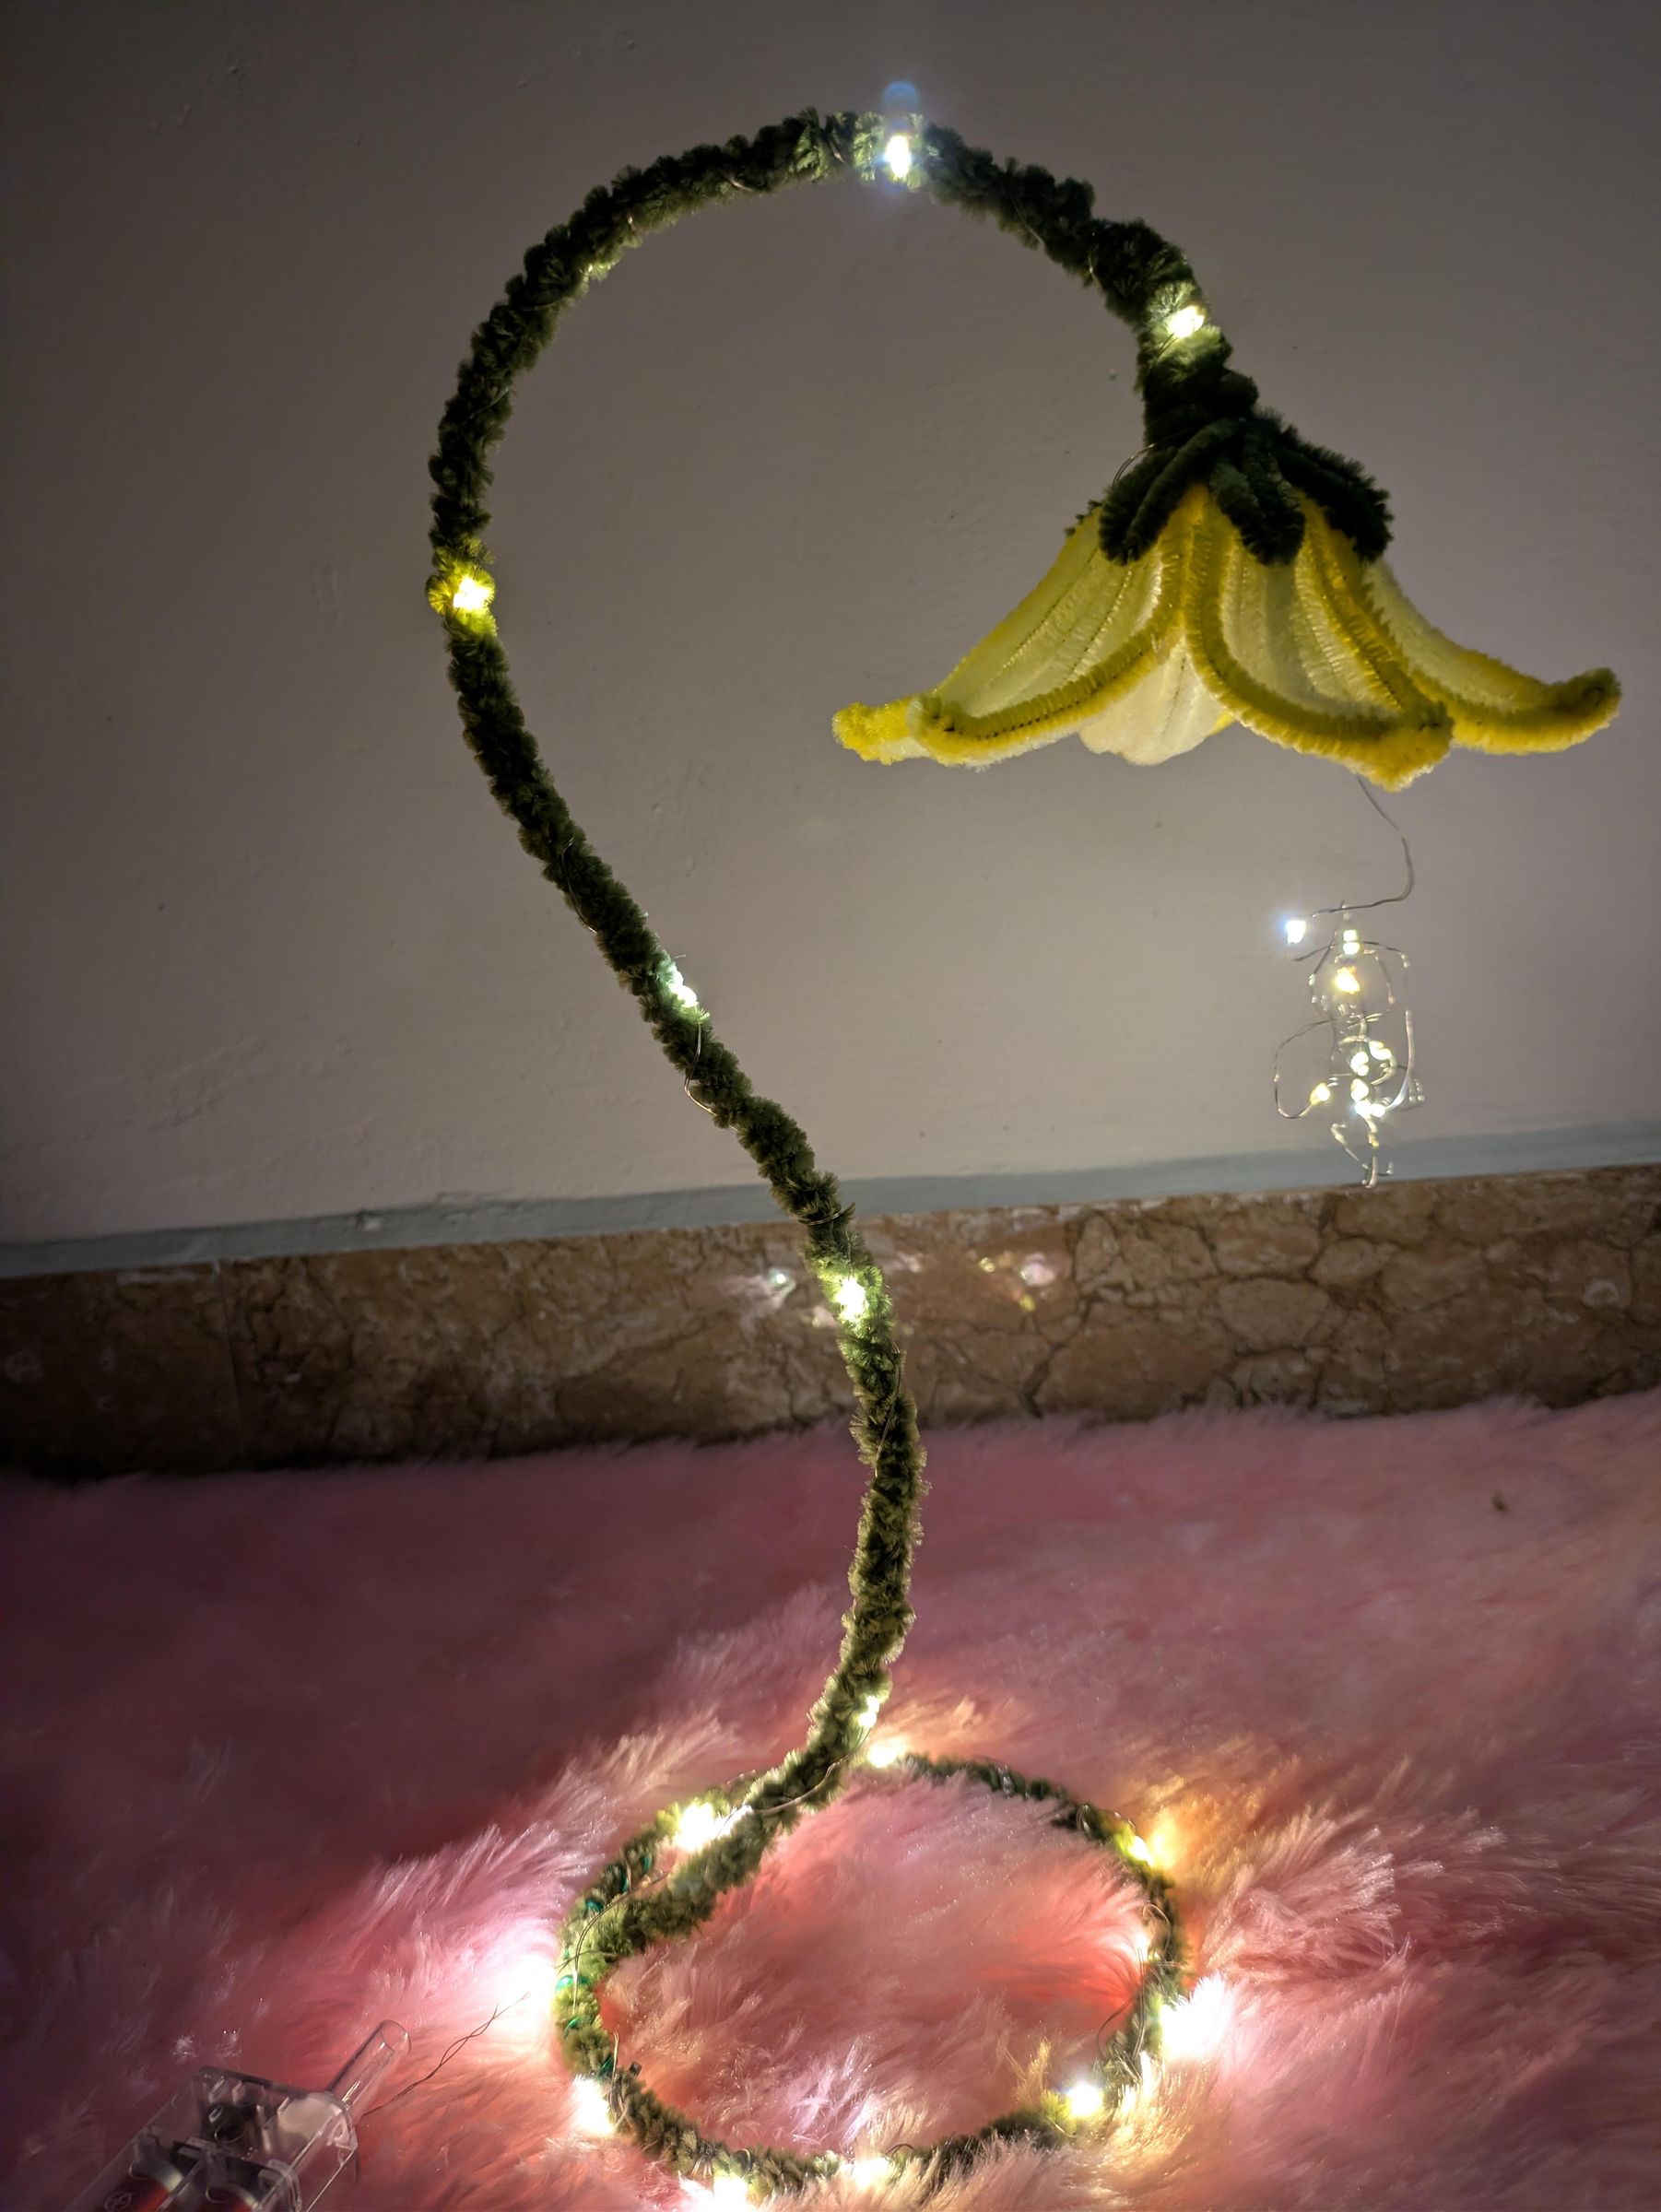
Wrap fairy light around it, from base, i.e., on and off button should be at bottom, from bottom on the way to top. leave extra length to create light stamens for lily.
Create Garden
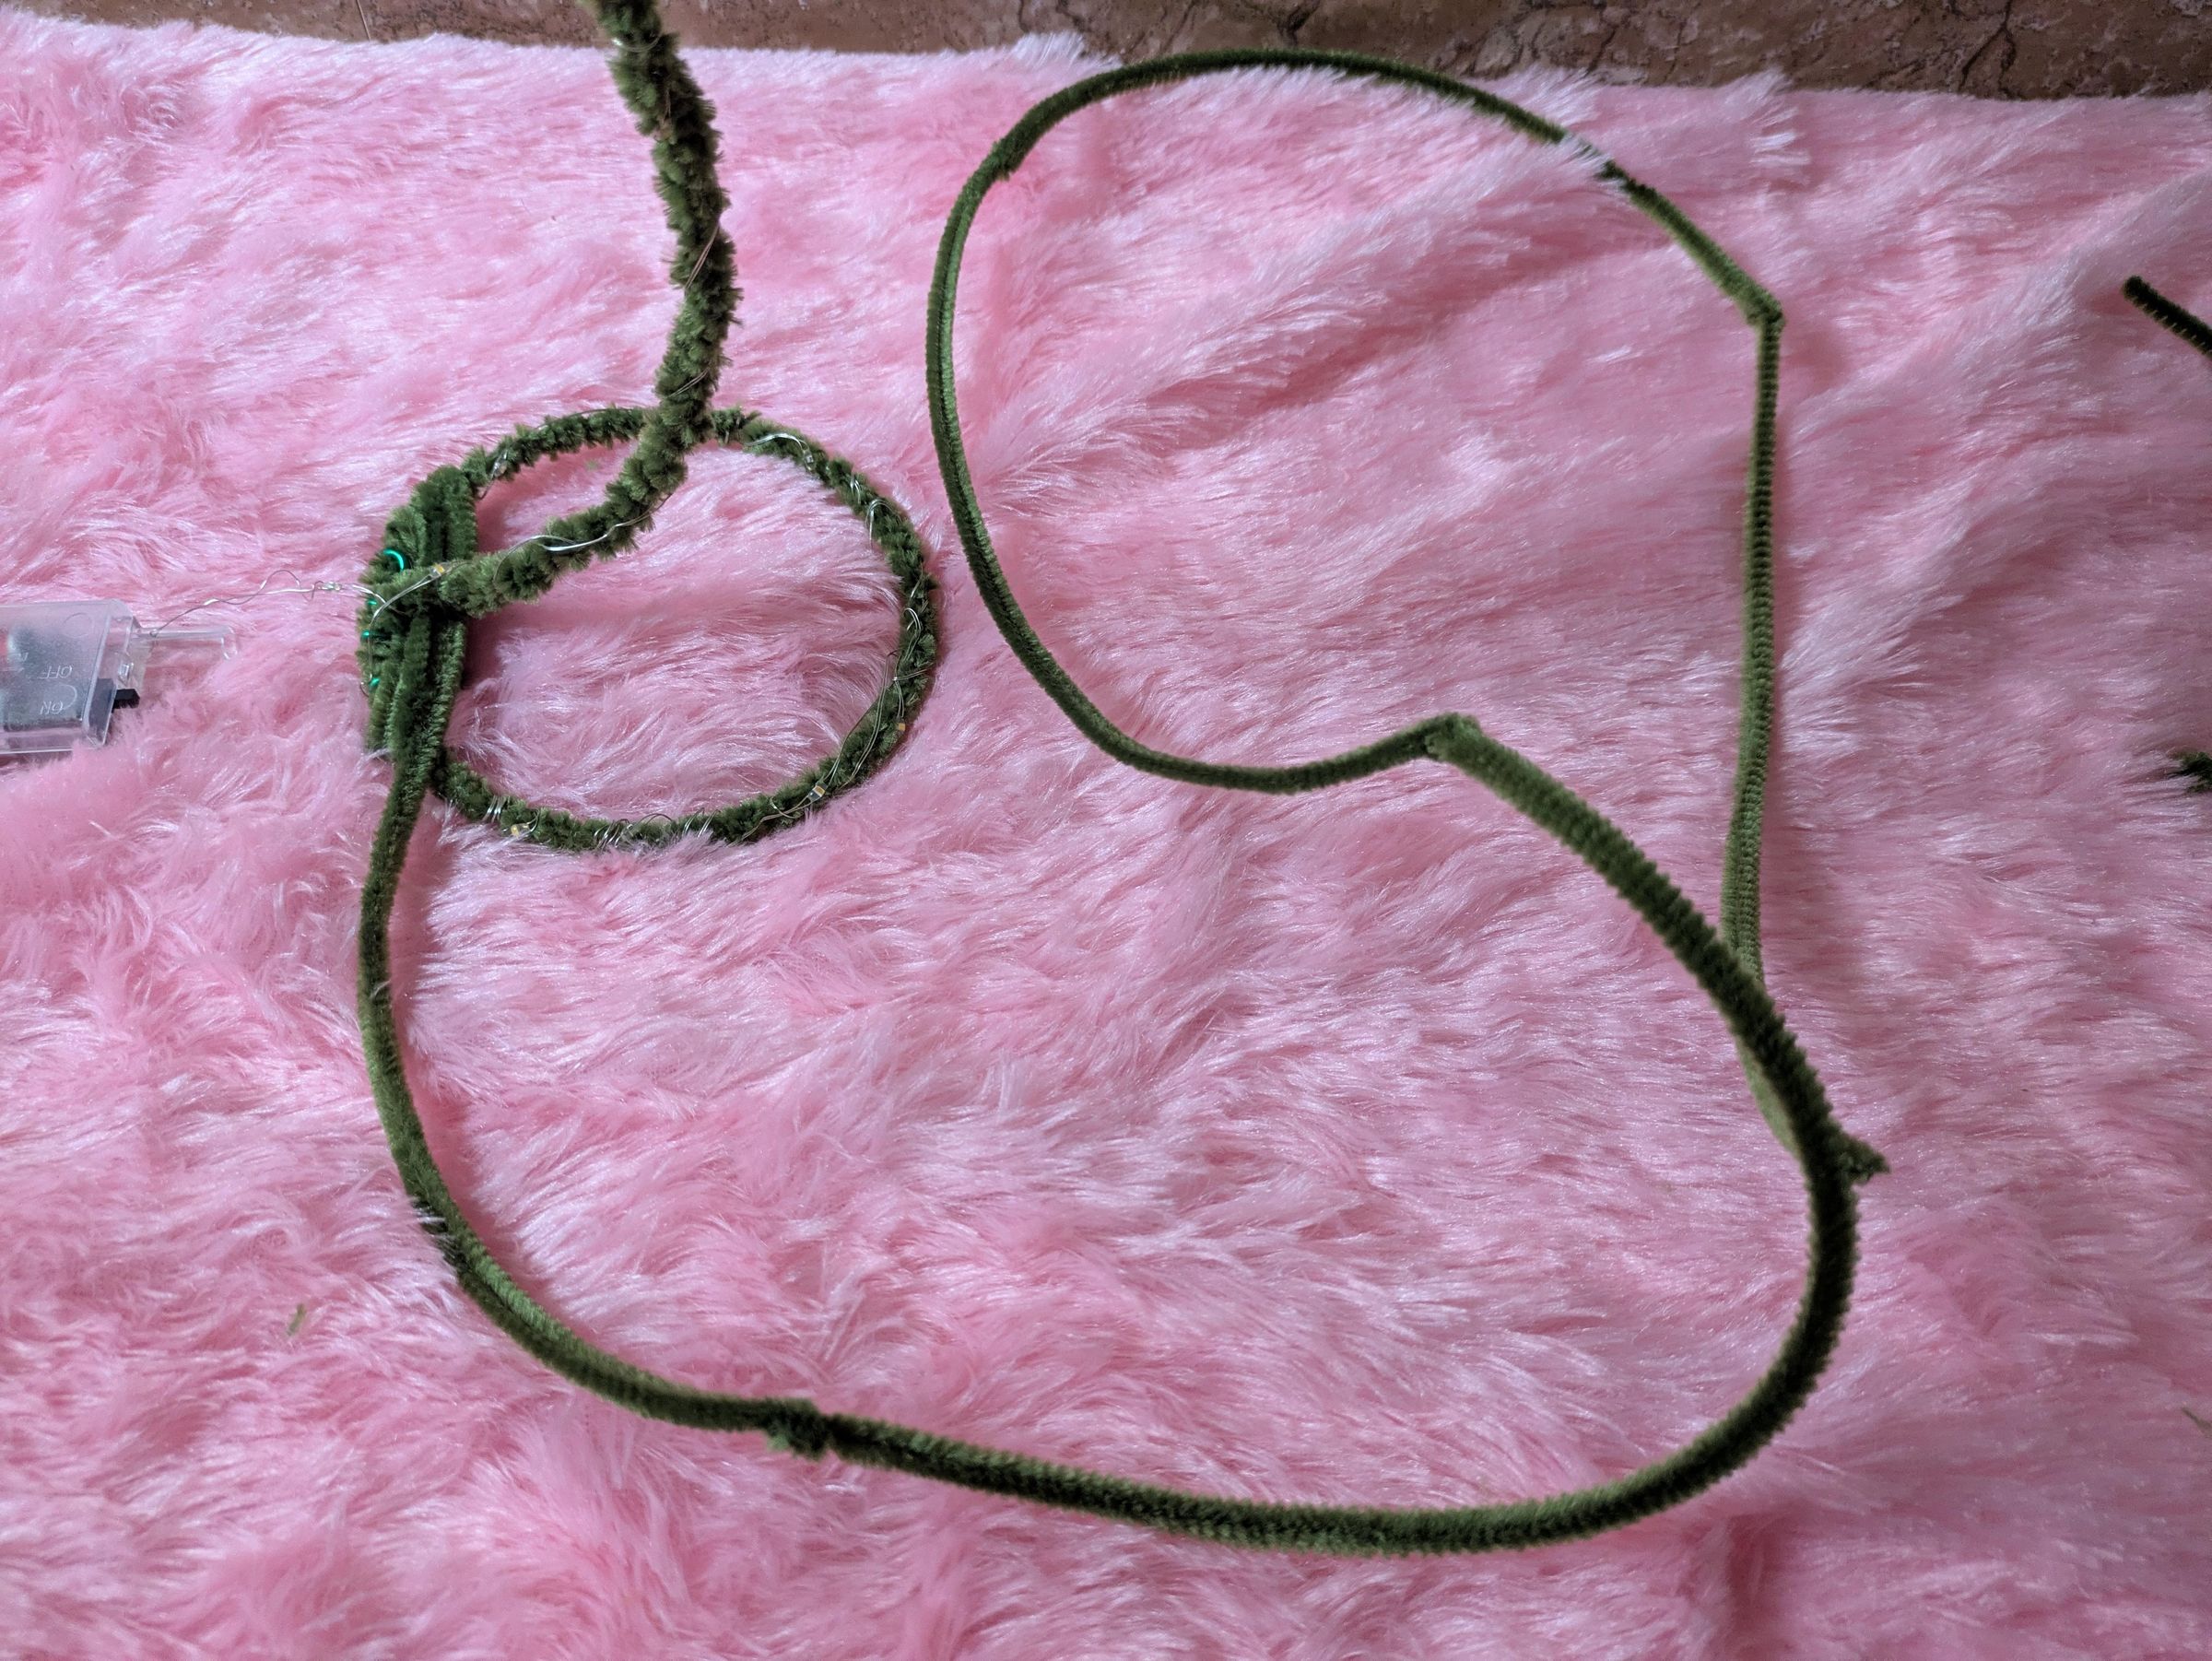
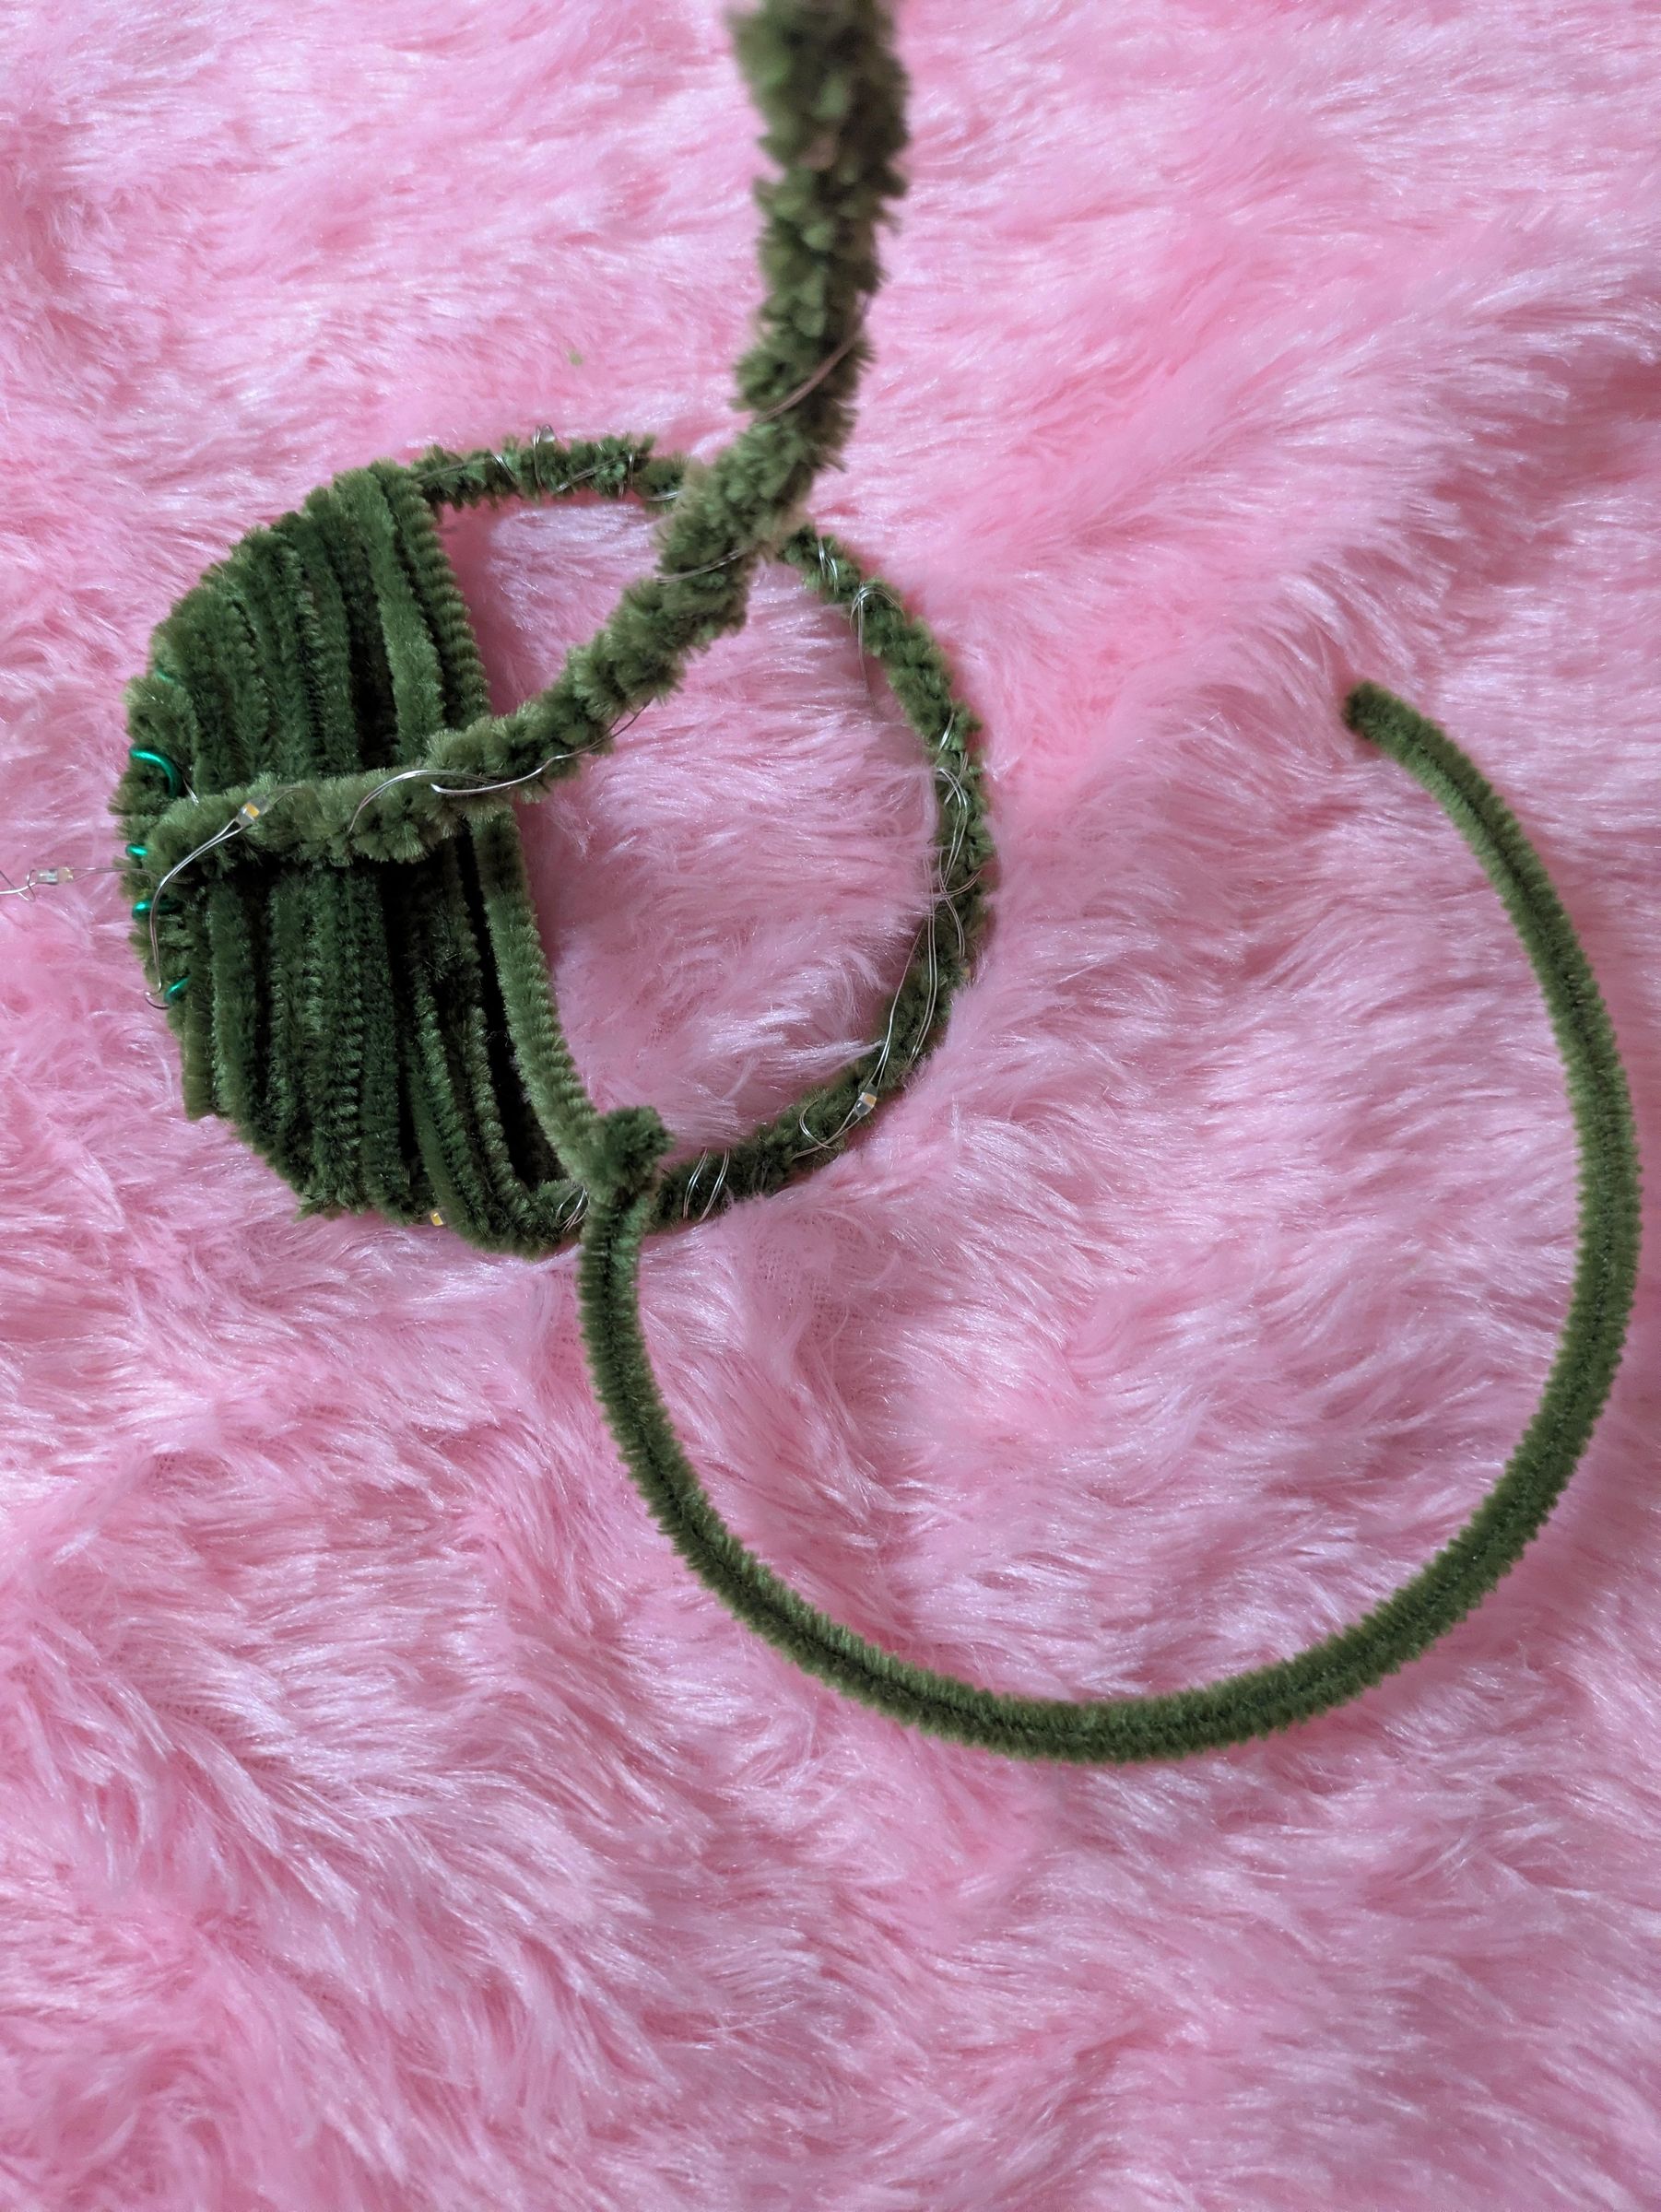
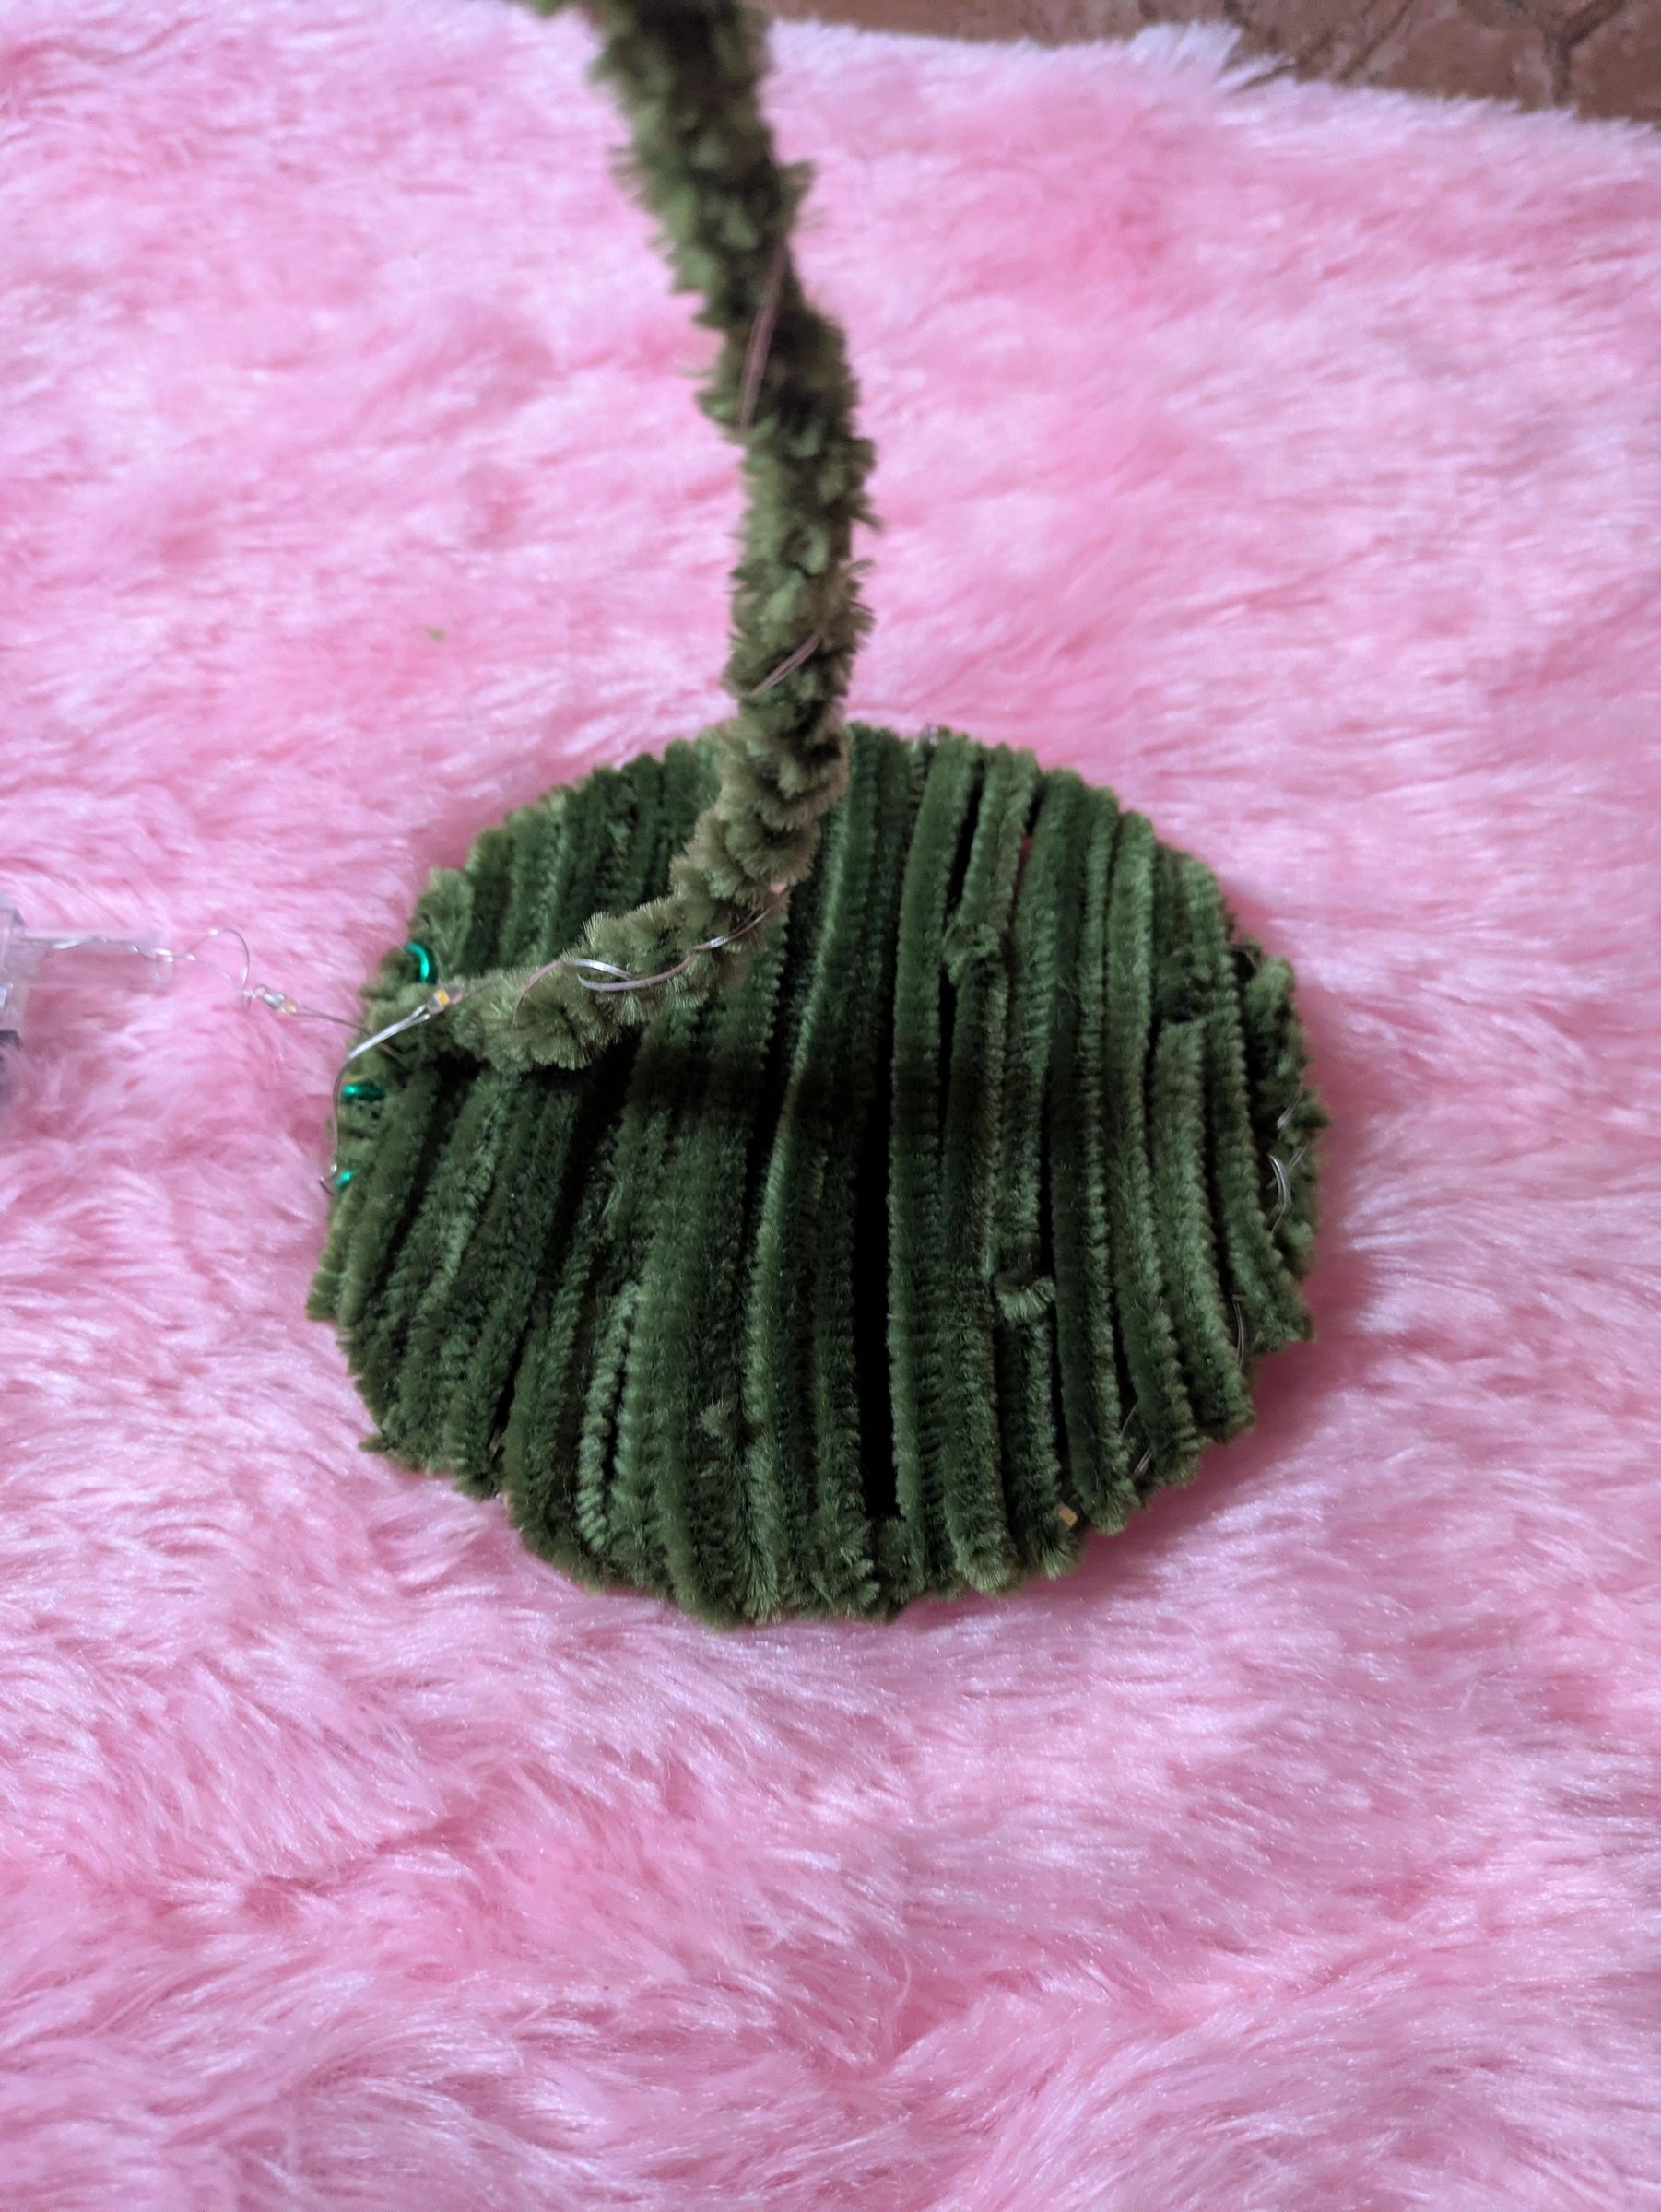
Green base ring alone looks good, but thought of improvising it by creating a green base, attached 9 pipe cleaners together and started filling the gap
Mini Flowers 1
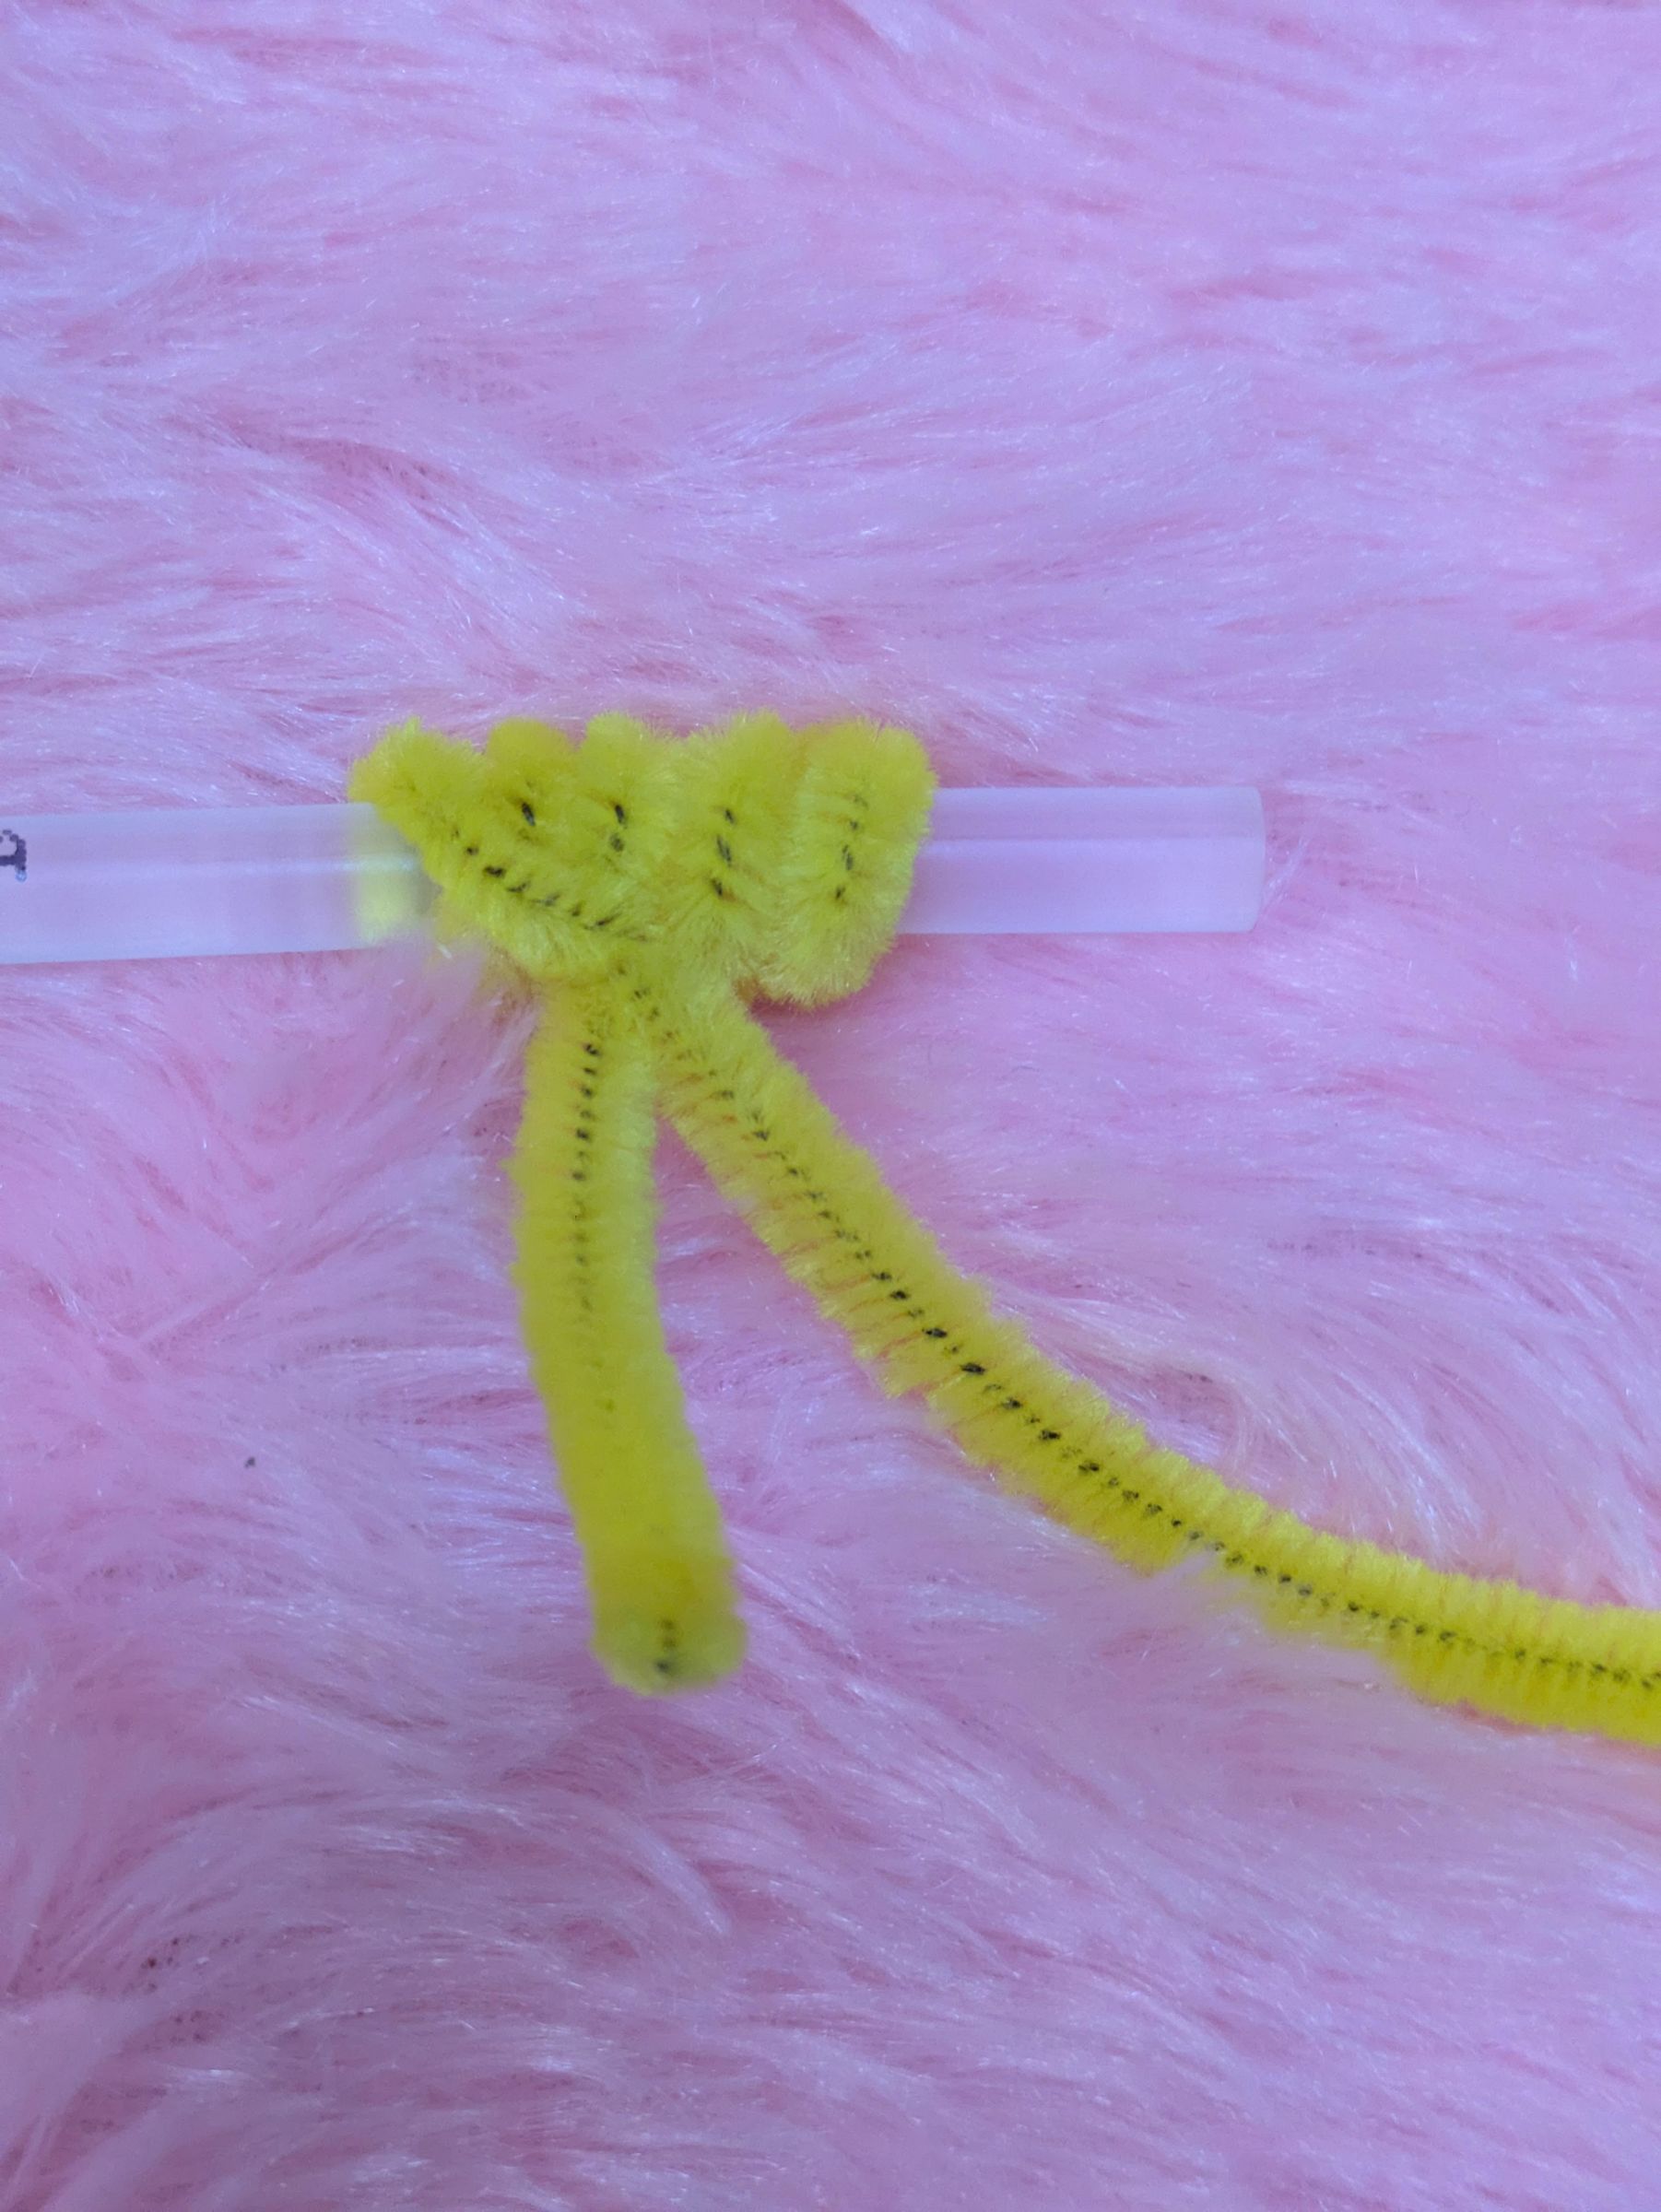
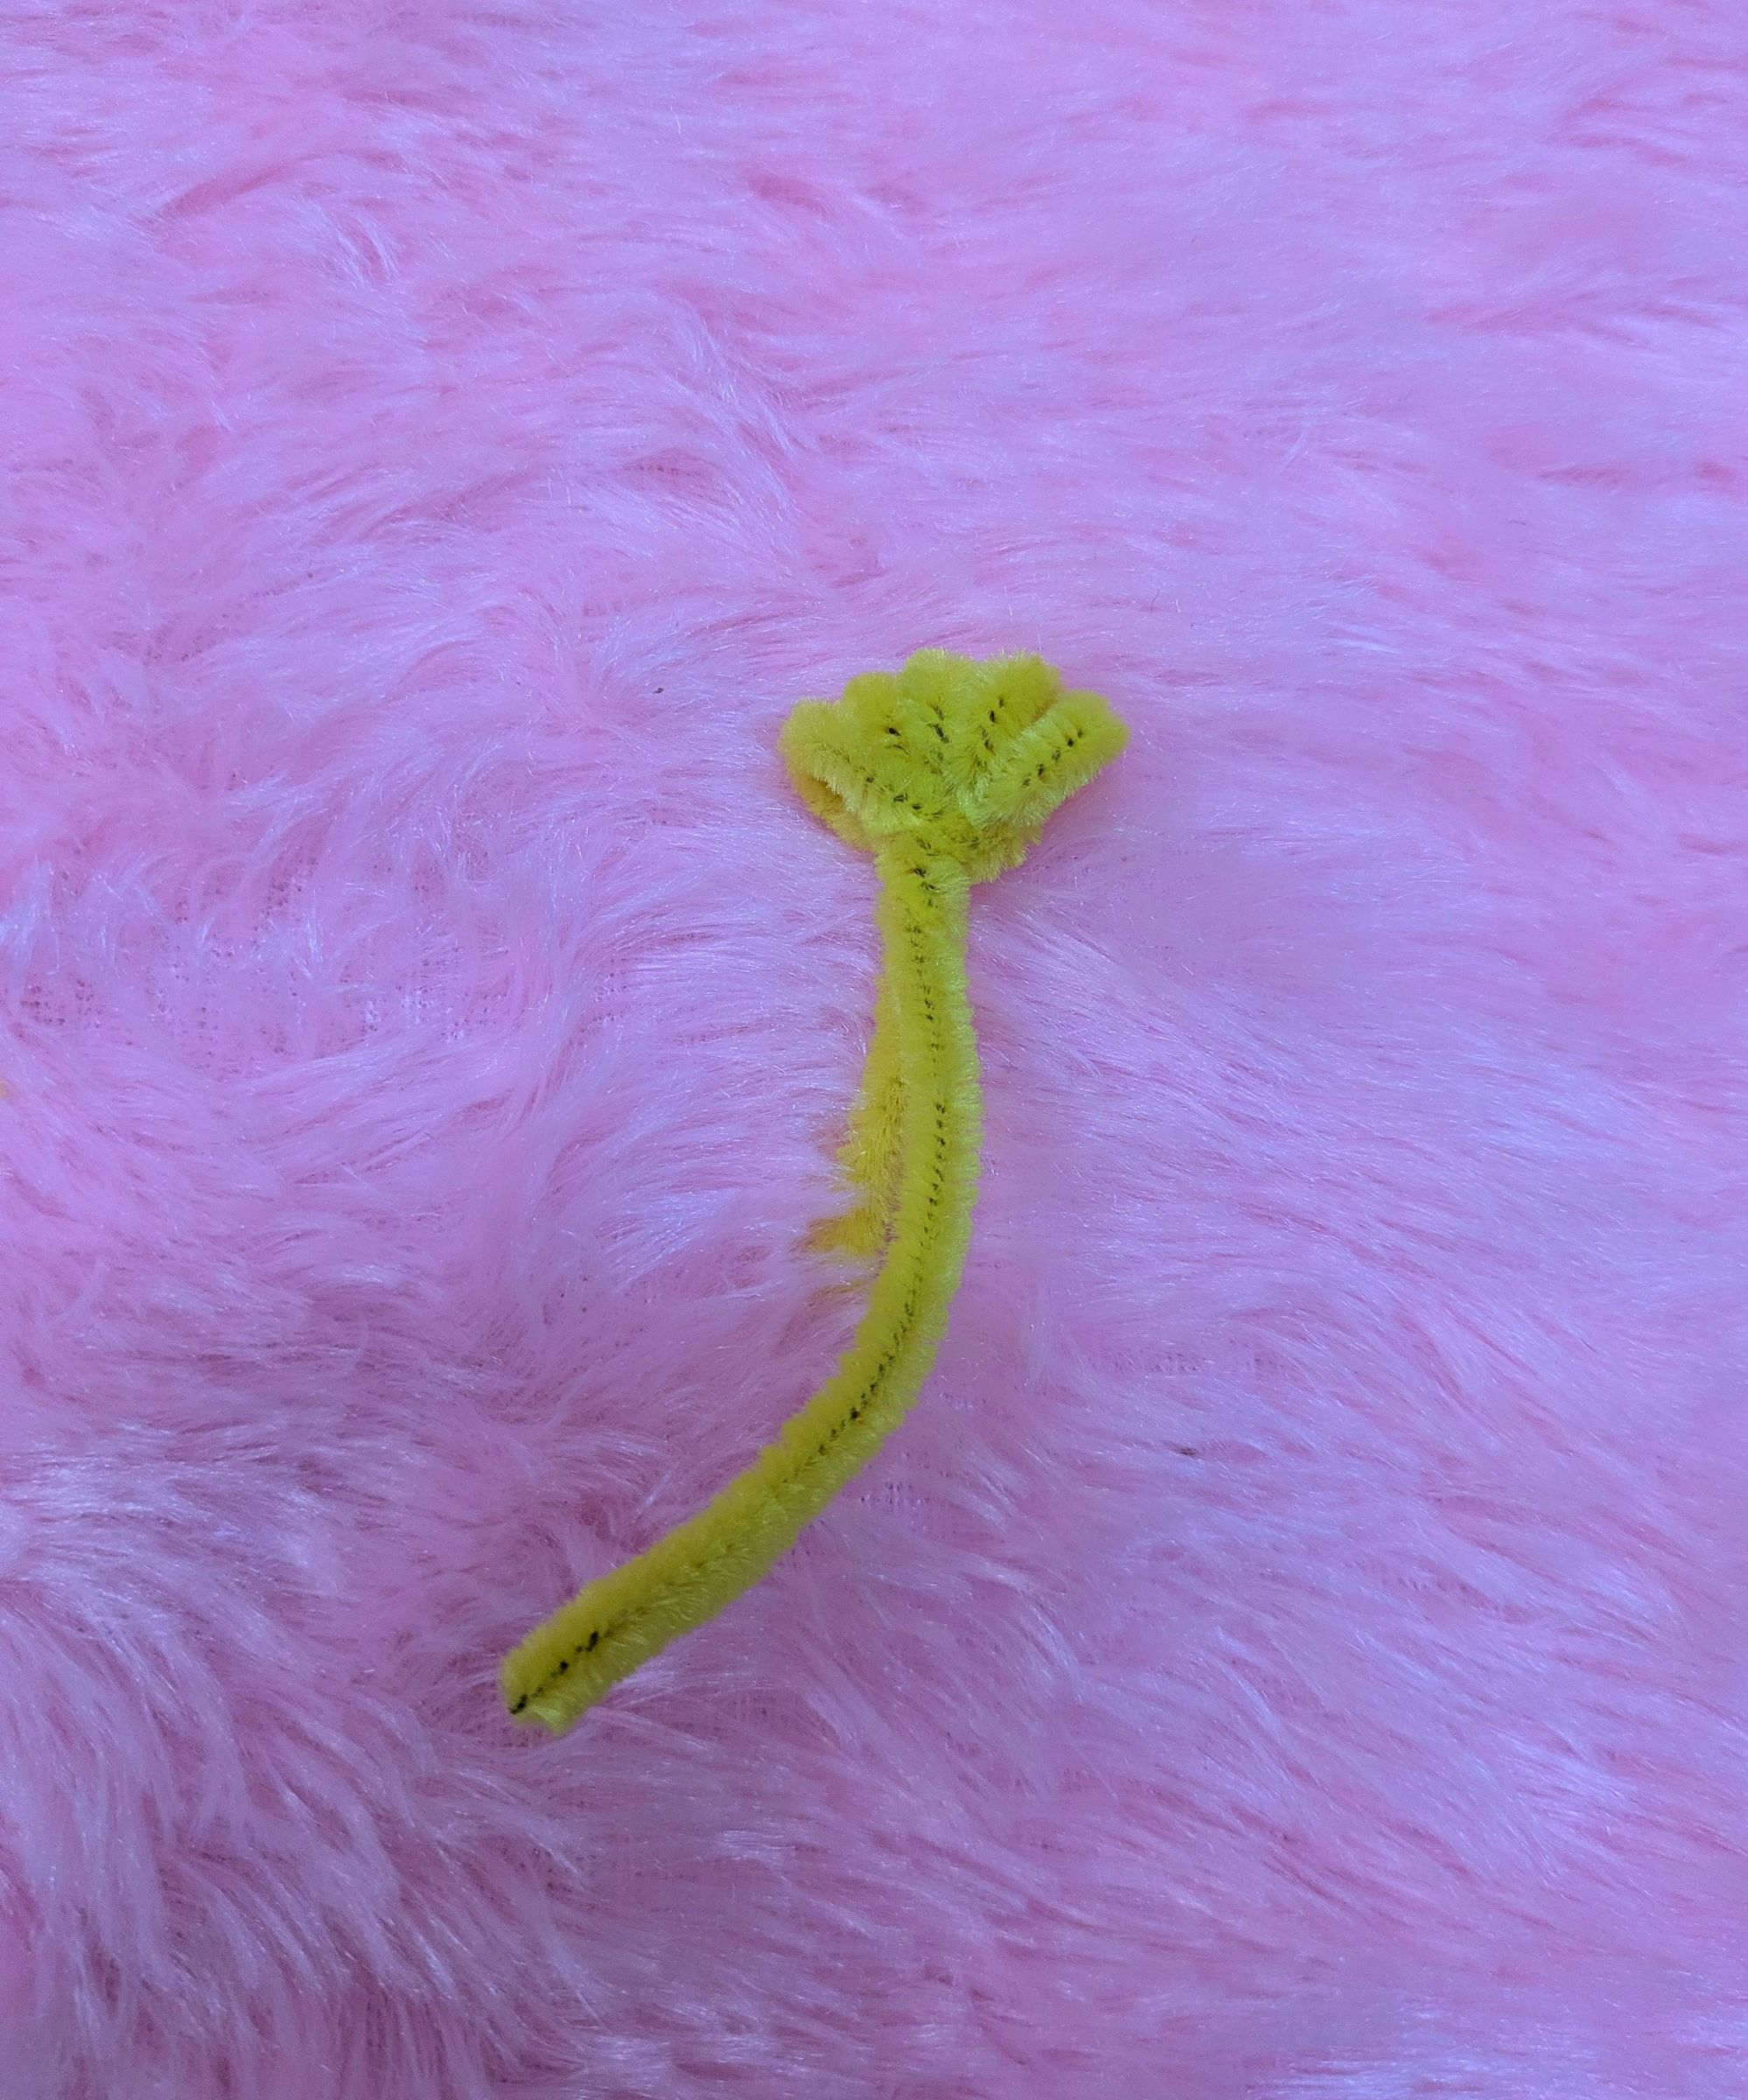
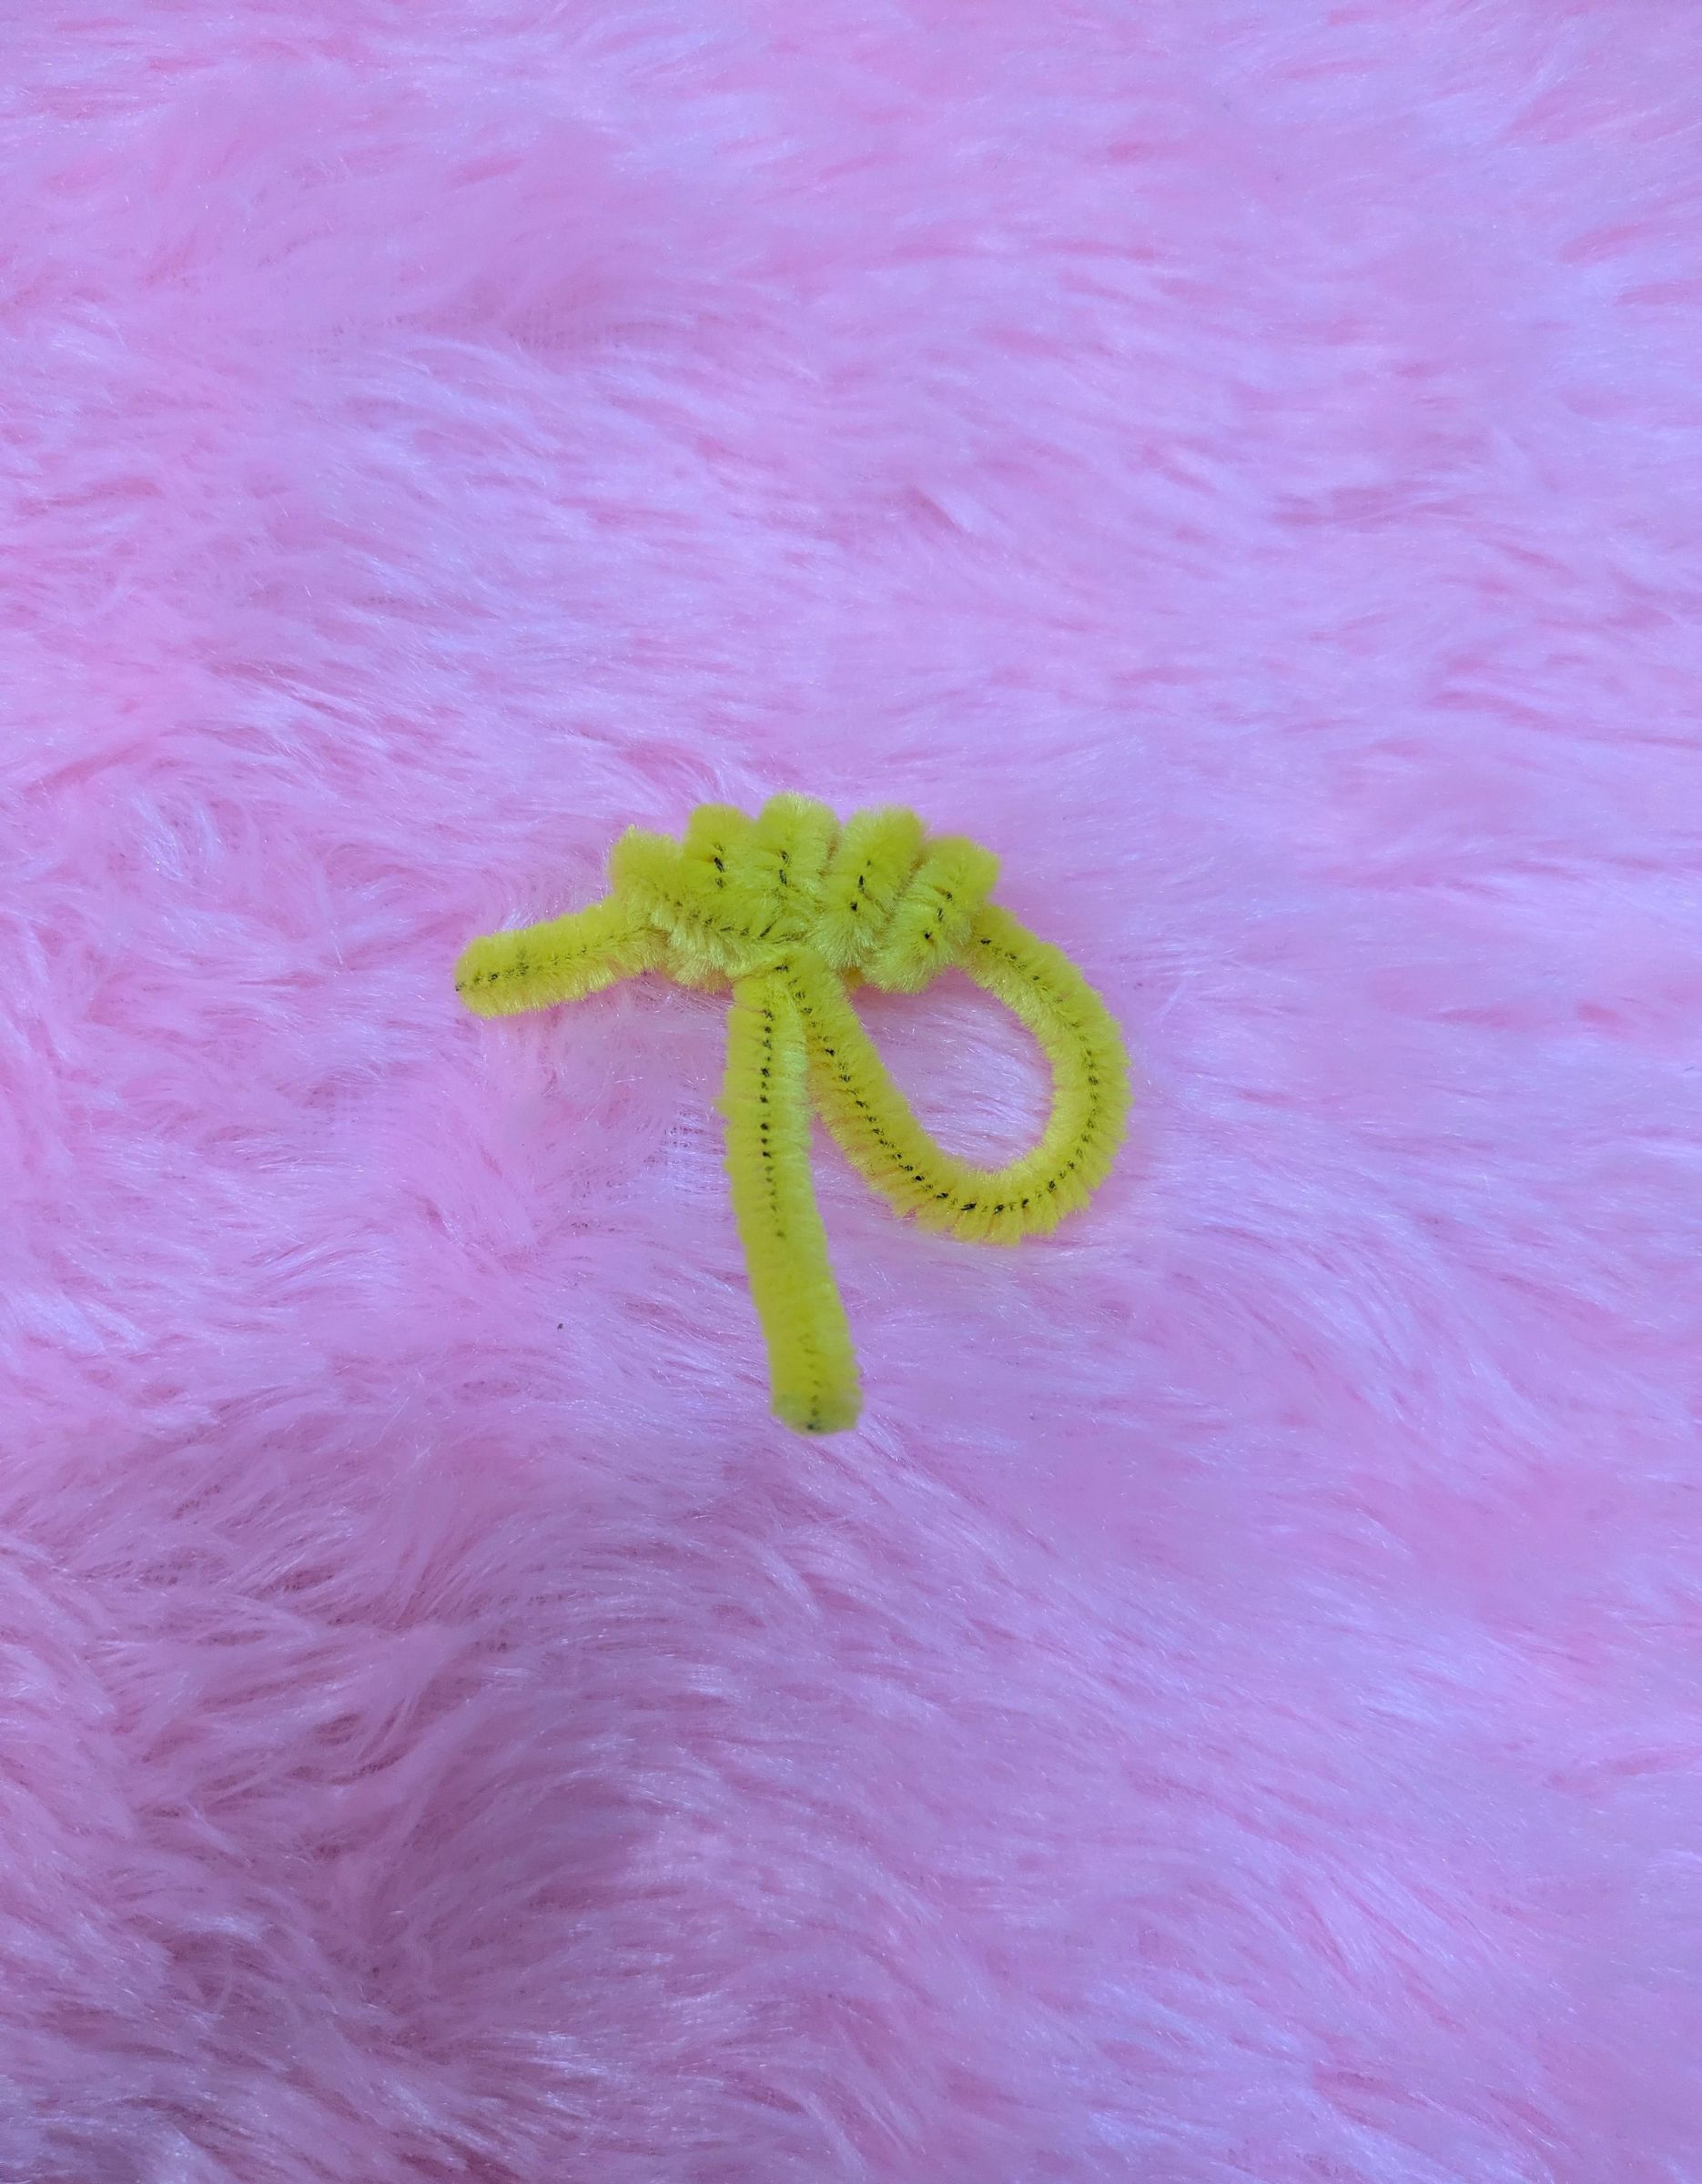
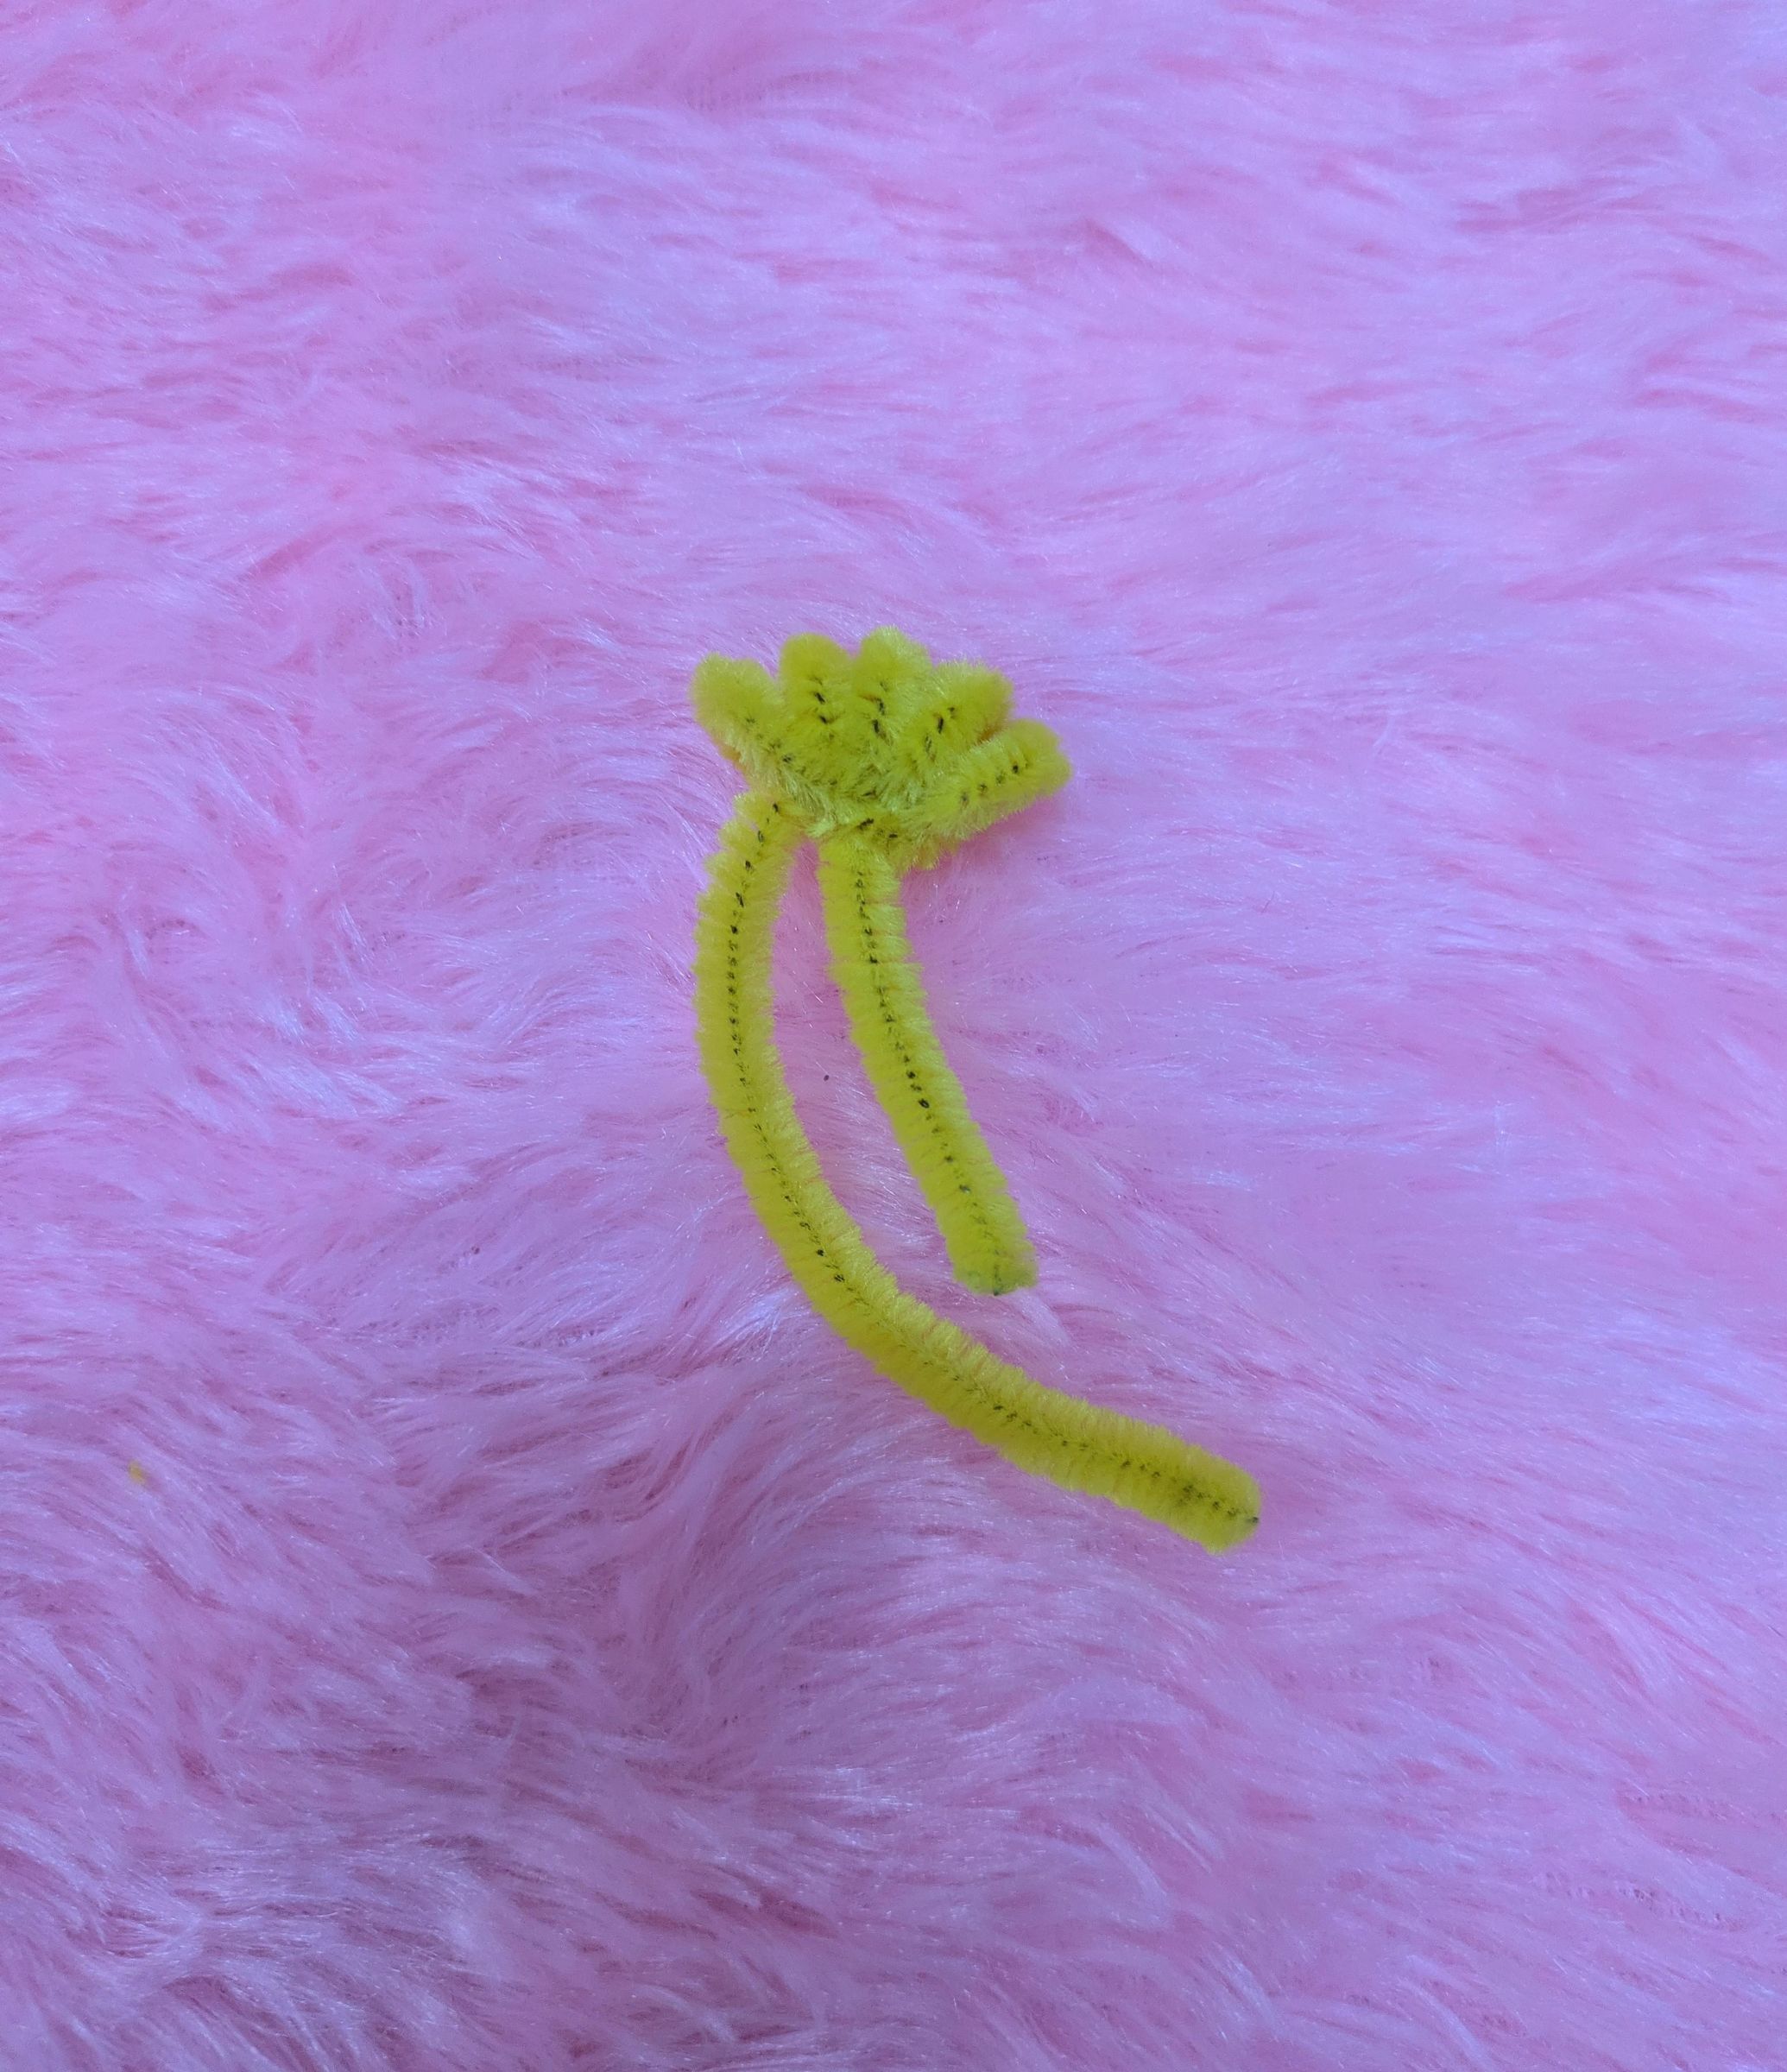
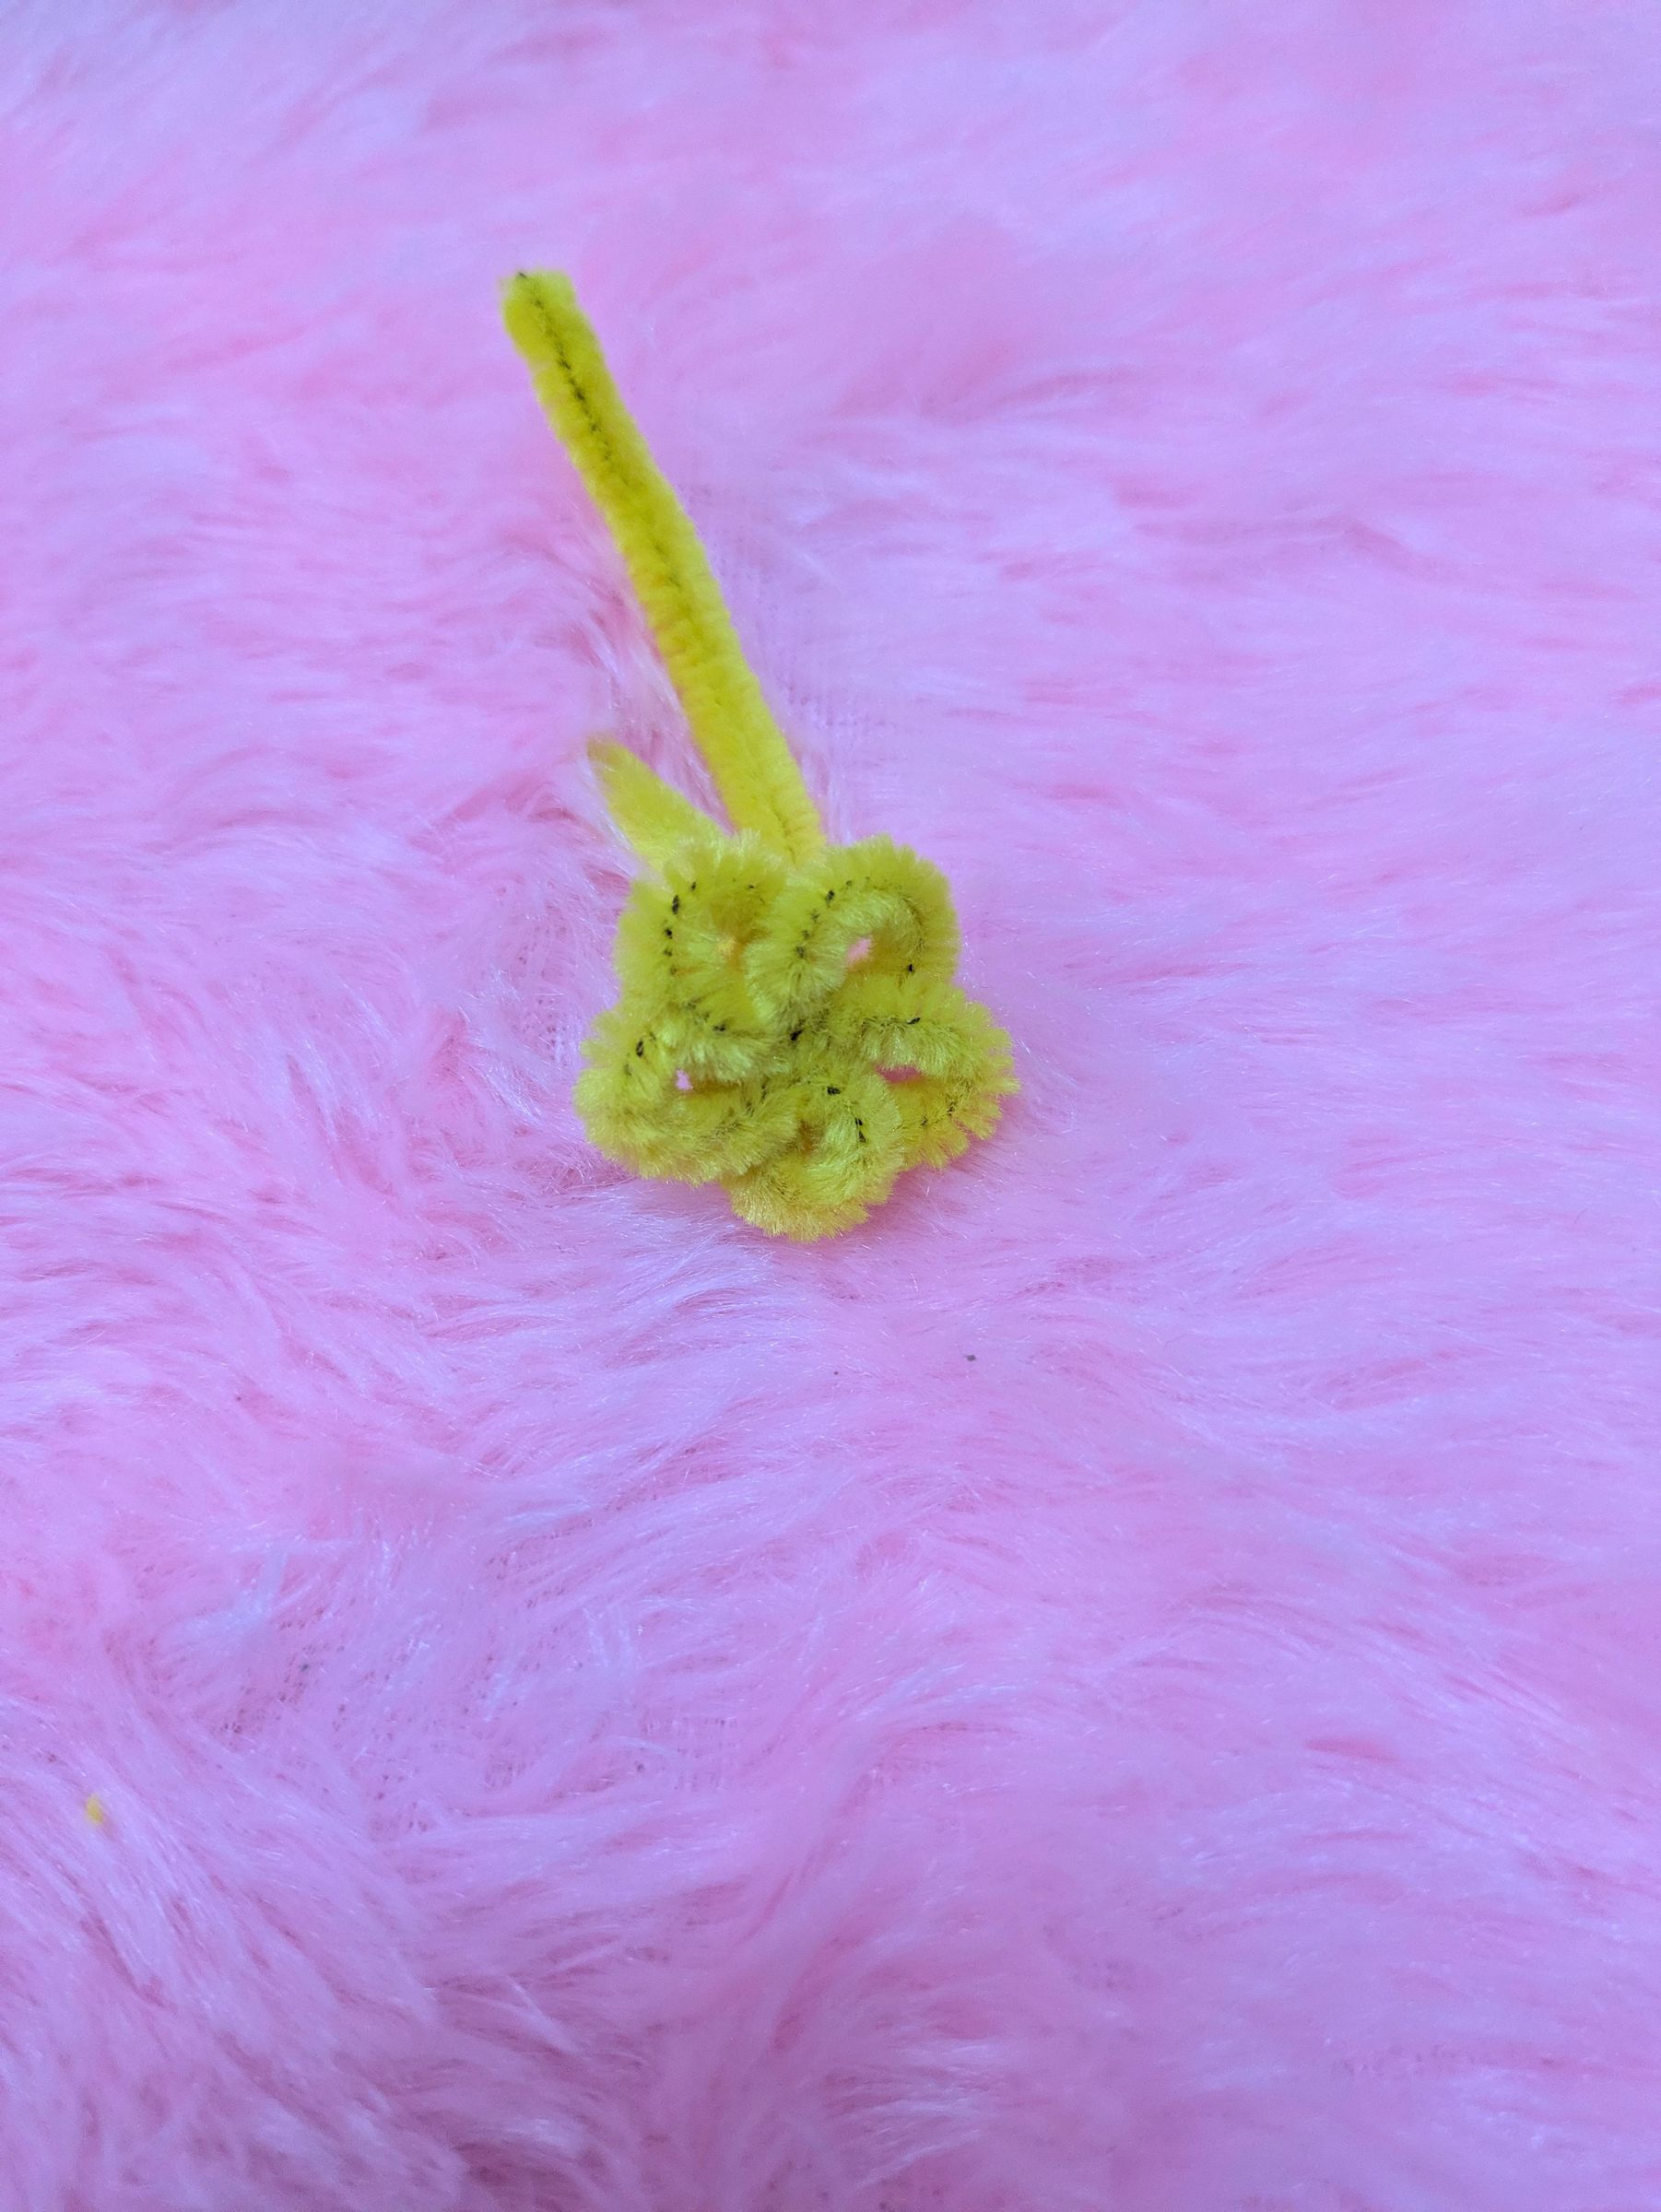
Used a hot glue stick, as base, wrap it five times (five petals) twist two times and remove from glue stick, insert the higher pipecleaner end forming a loop and twist it twice. spread the petals, your mini flower is ready.
Mini Flower 2
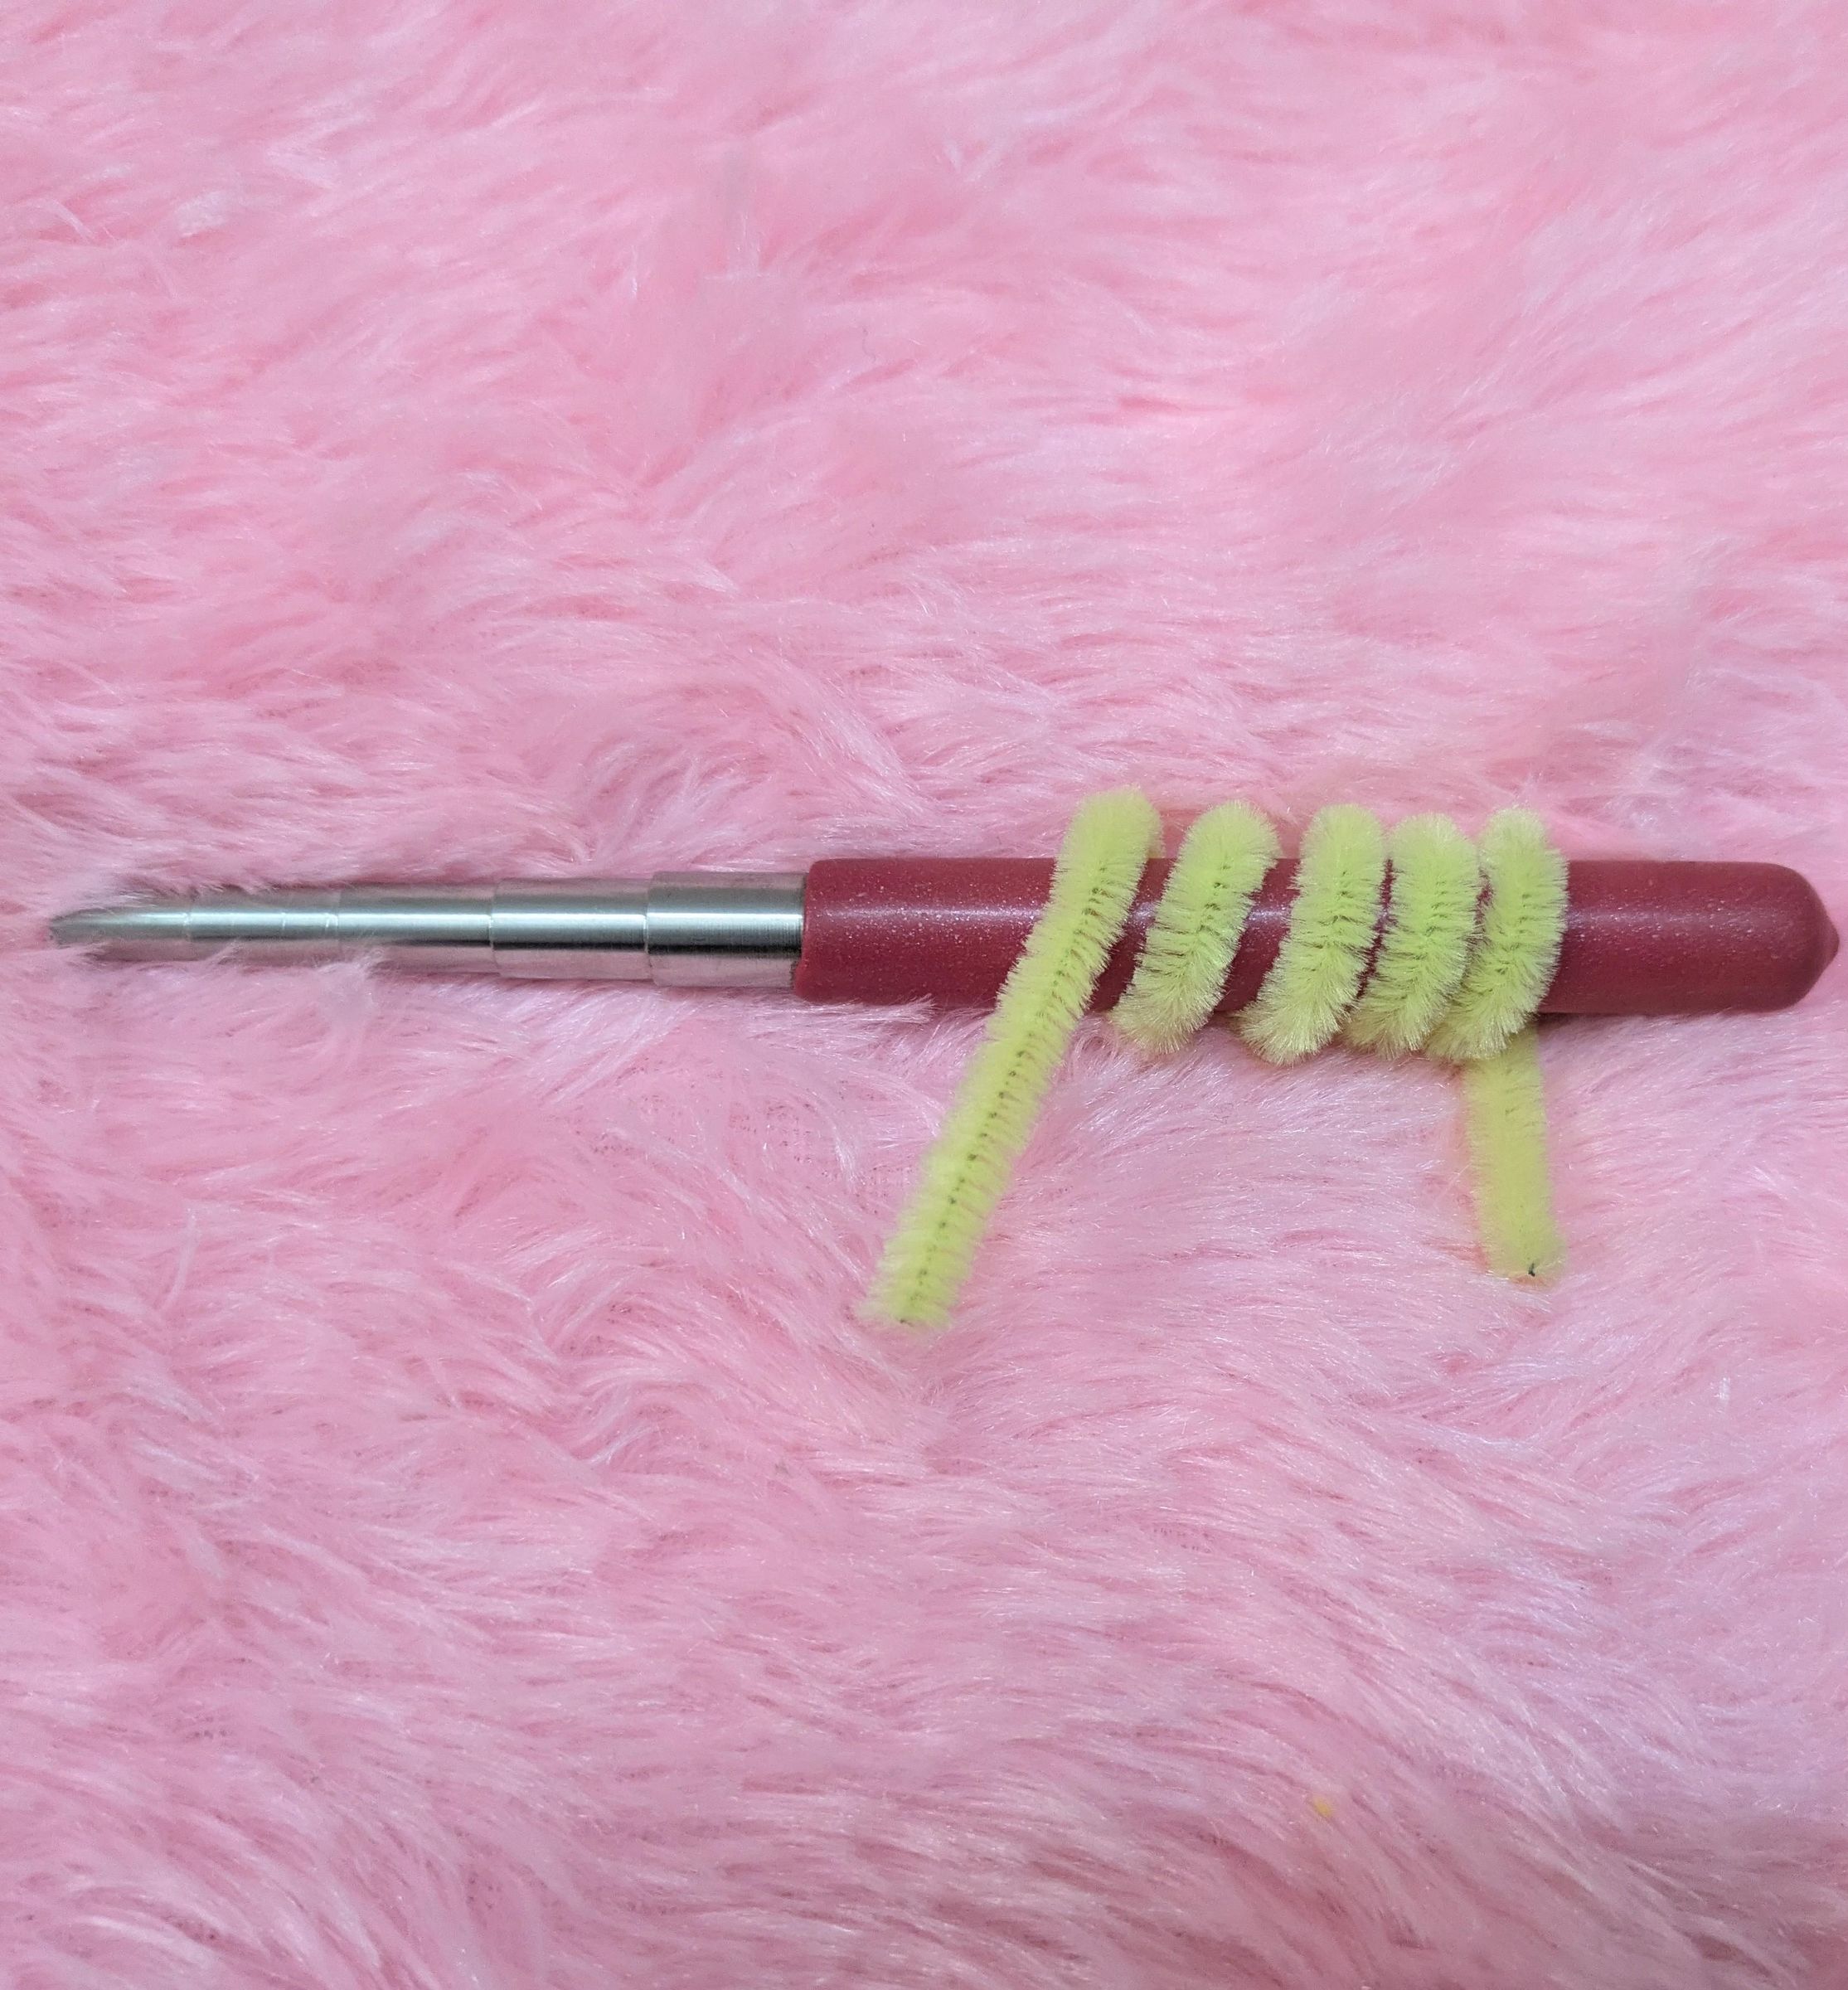
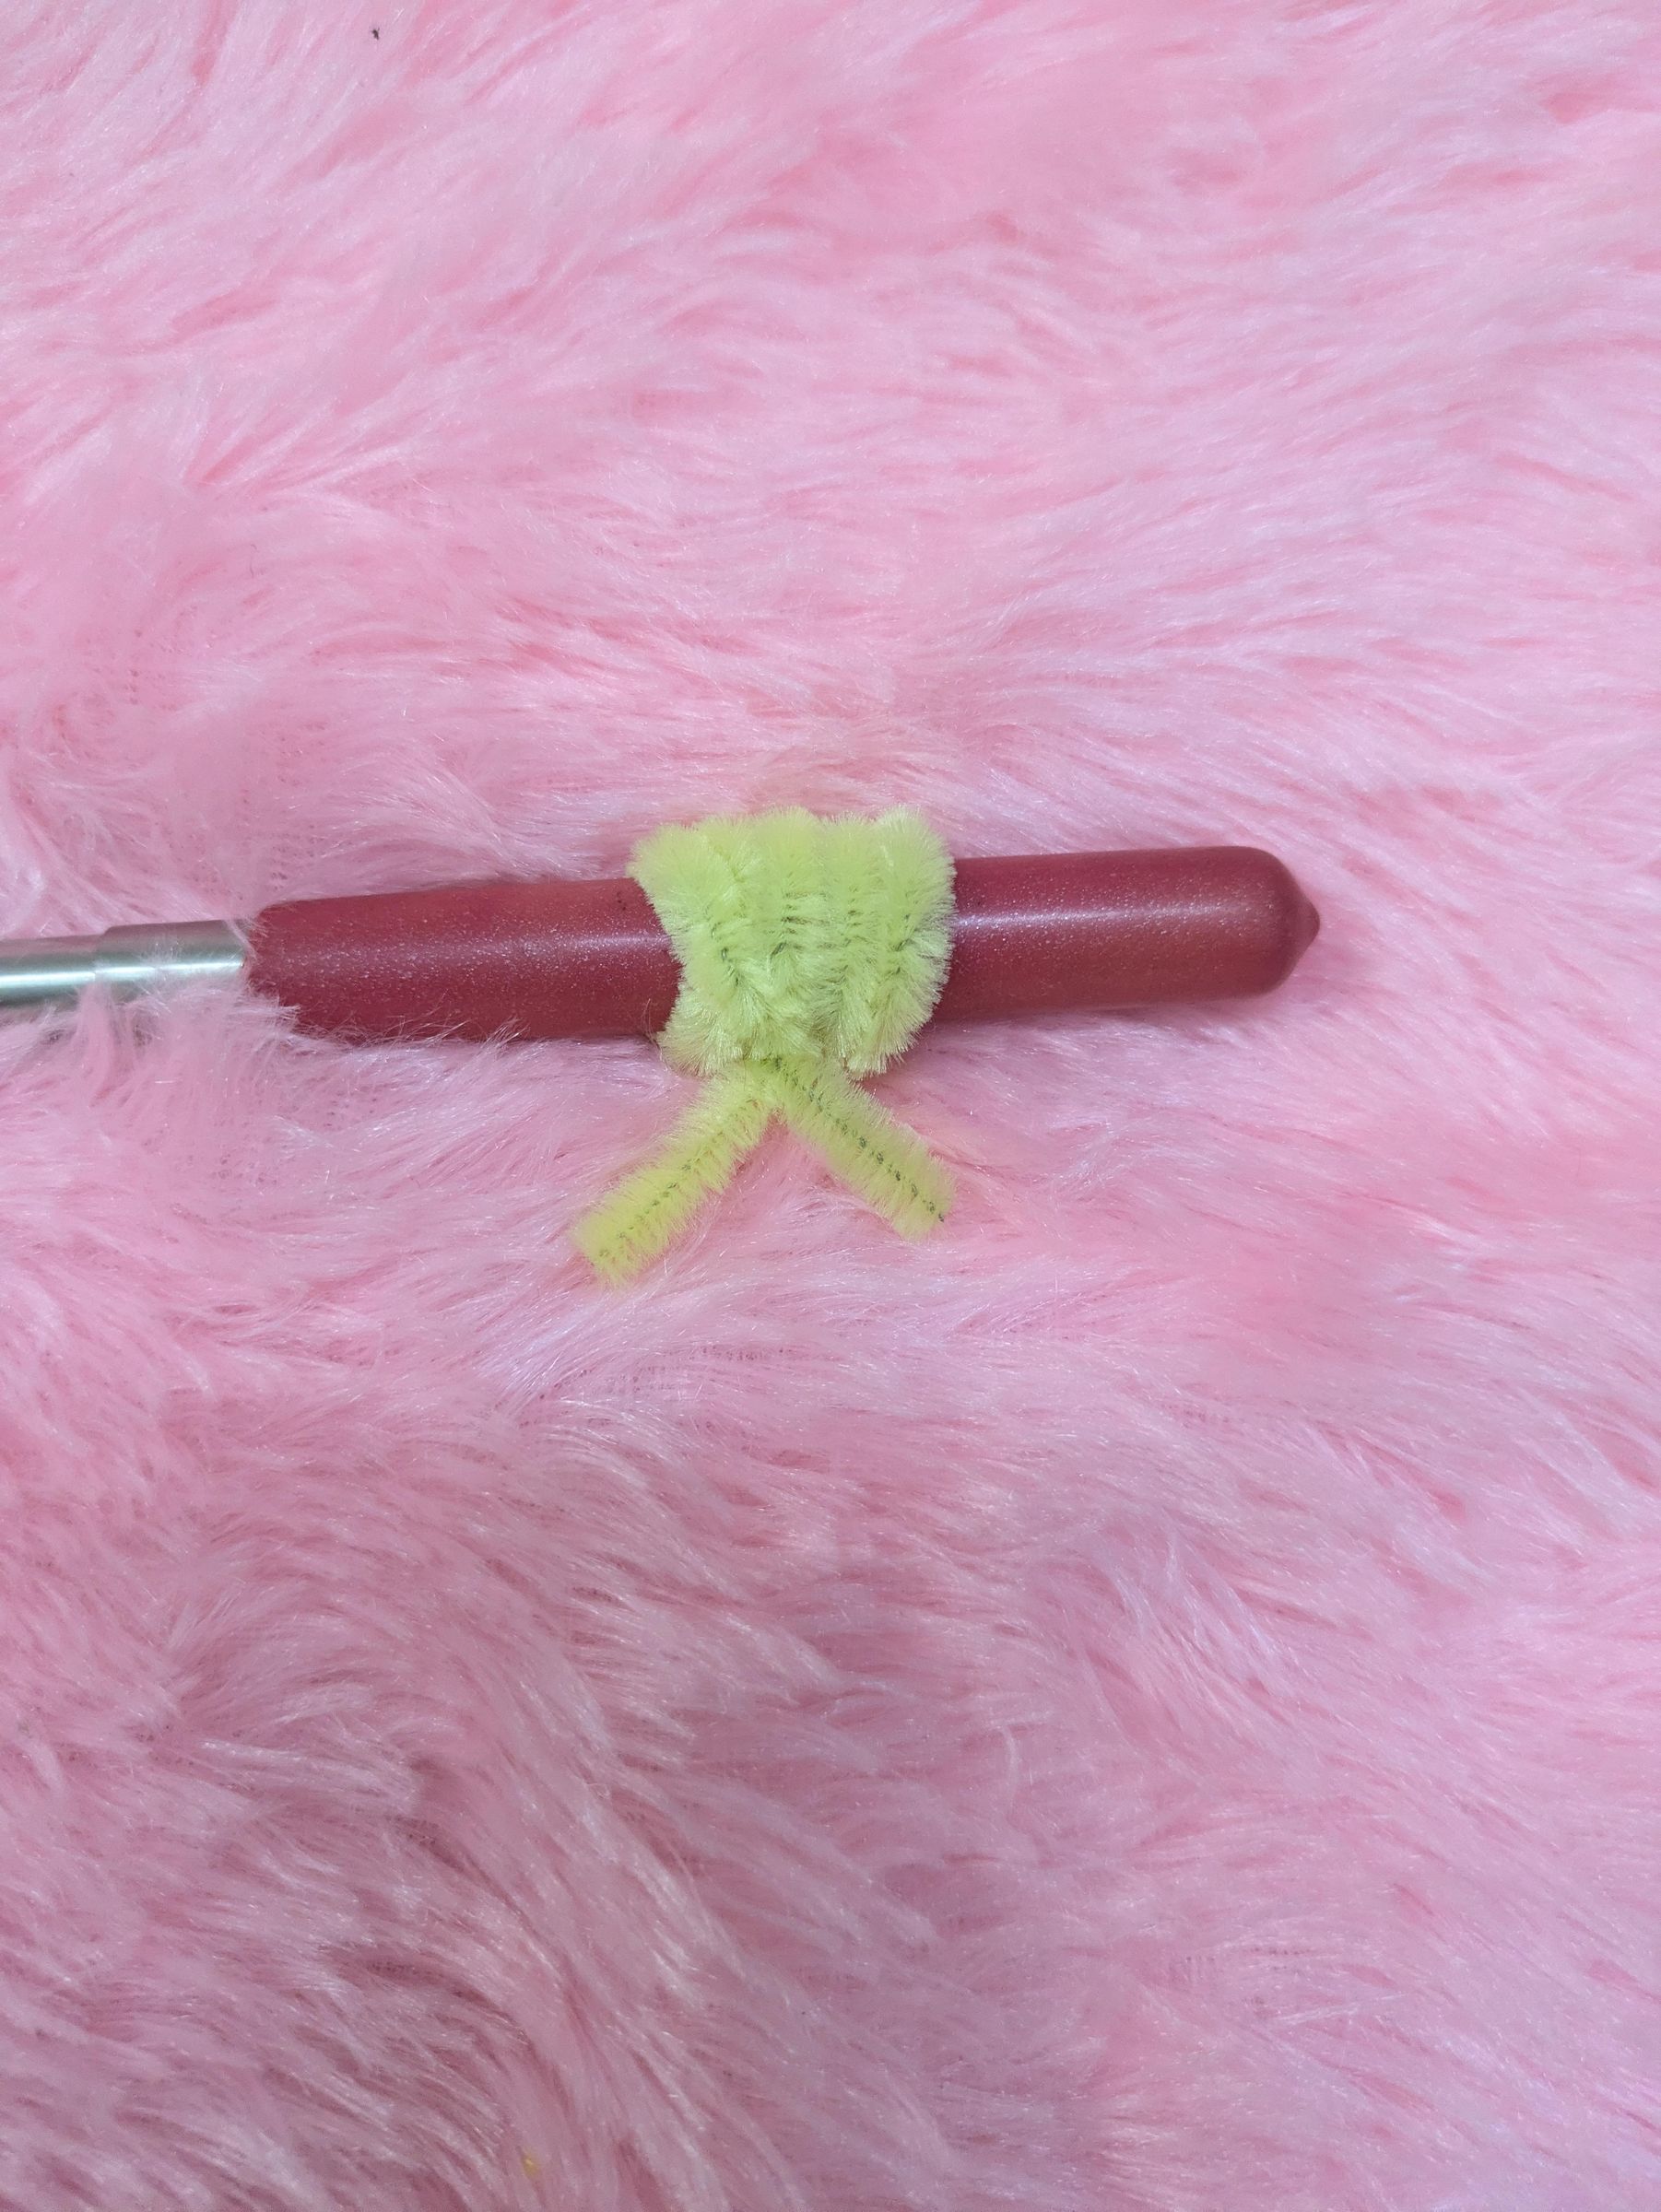
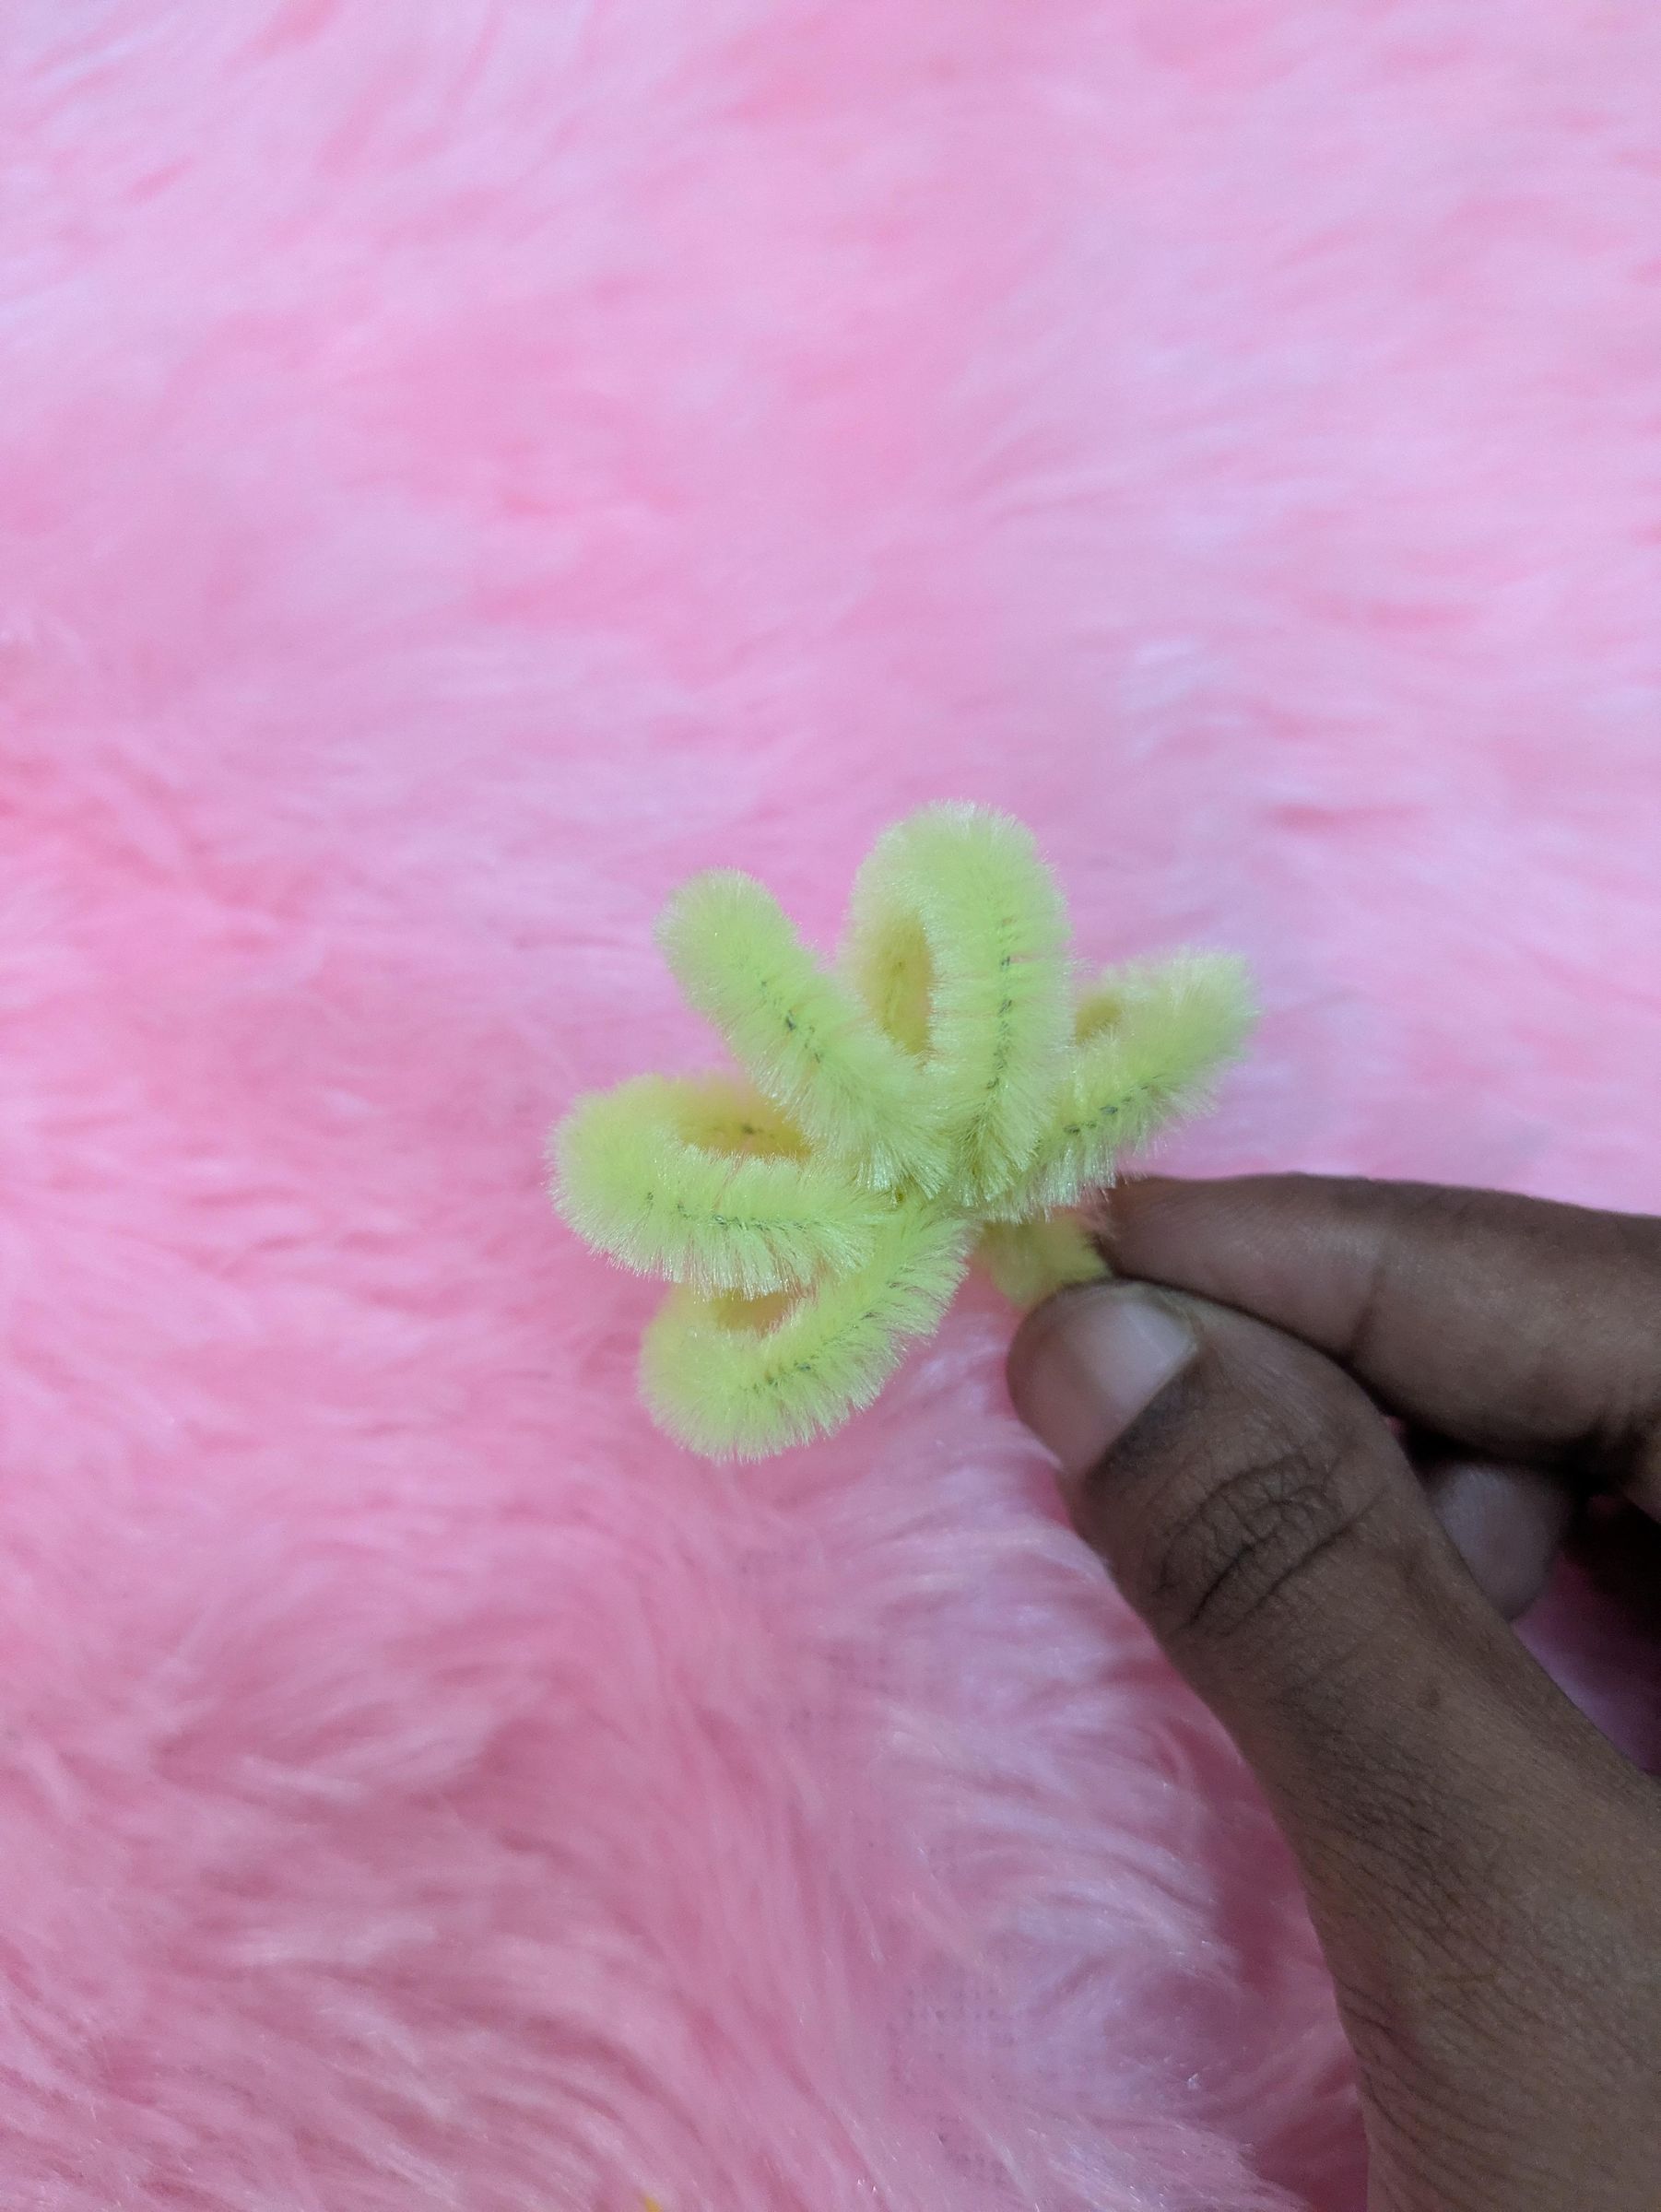
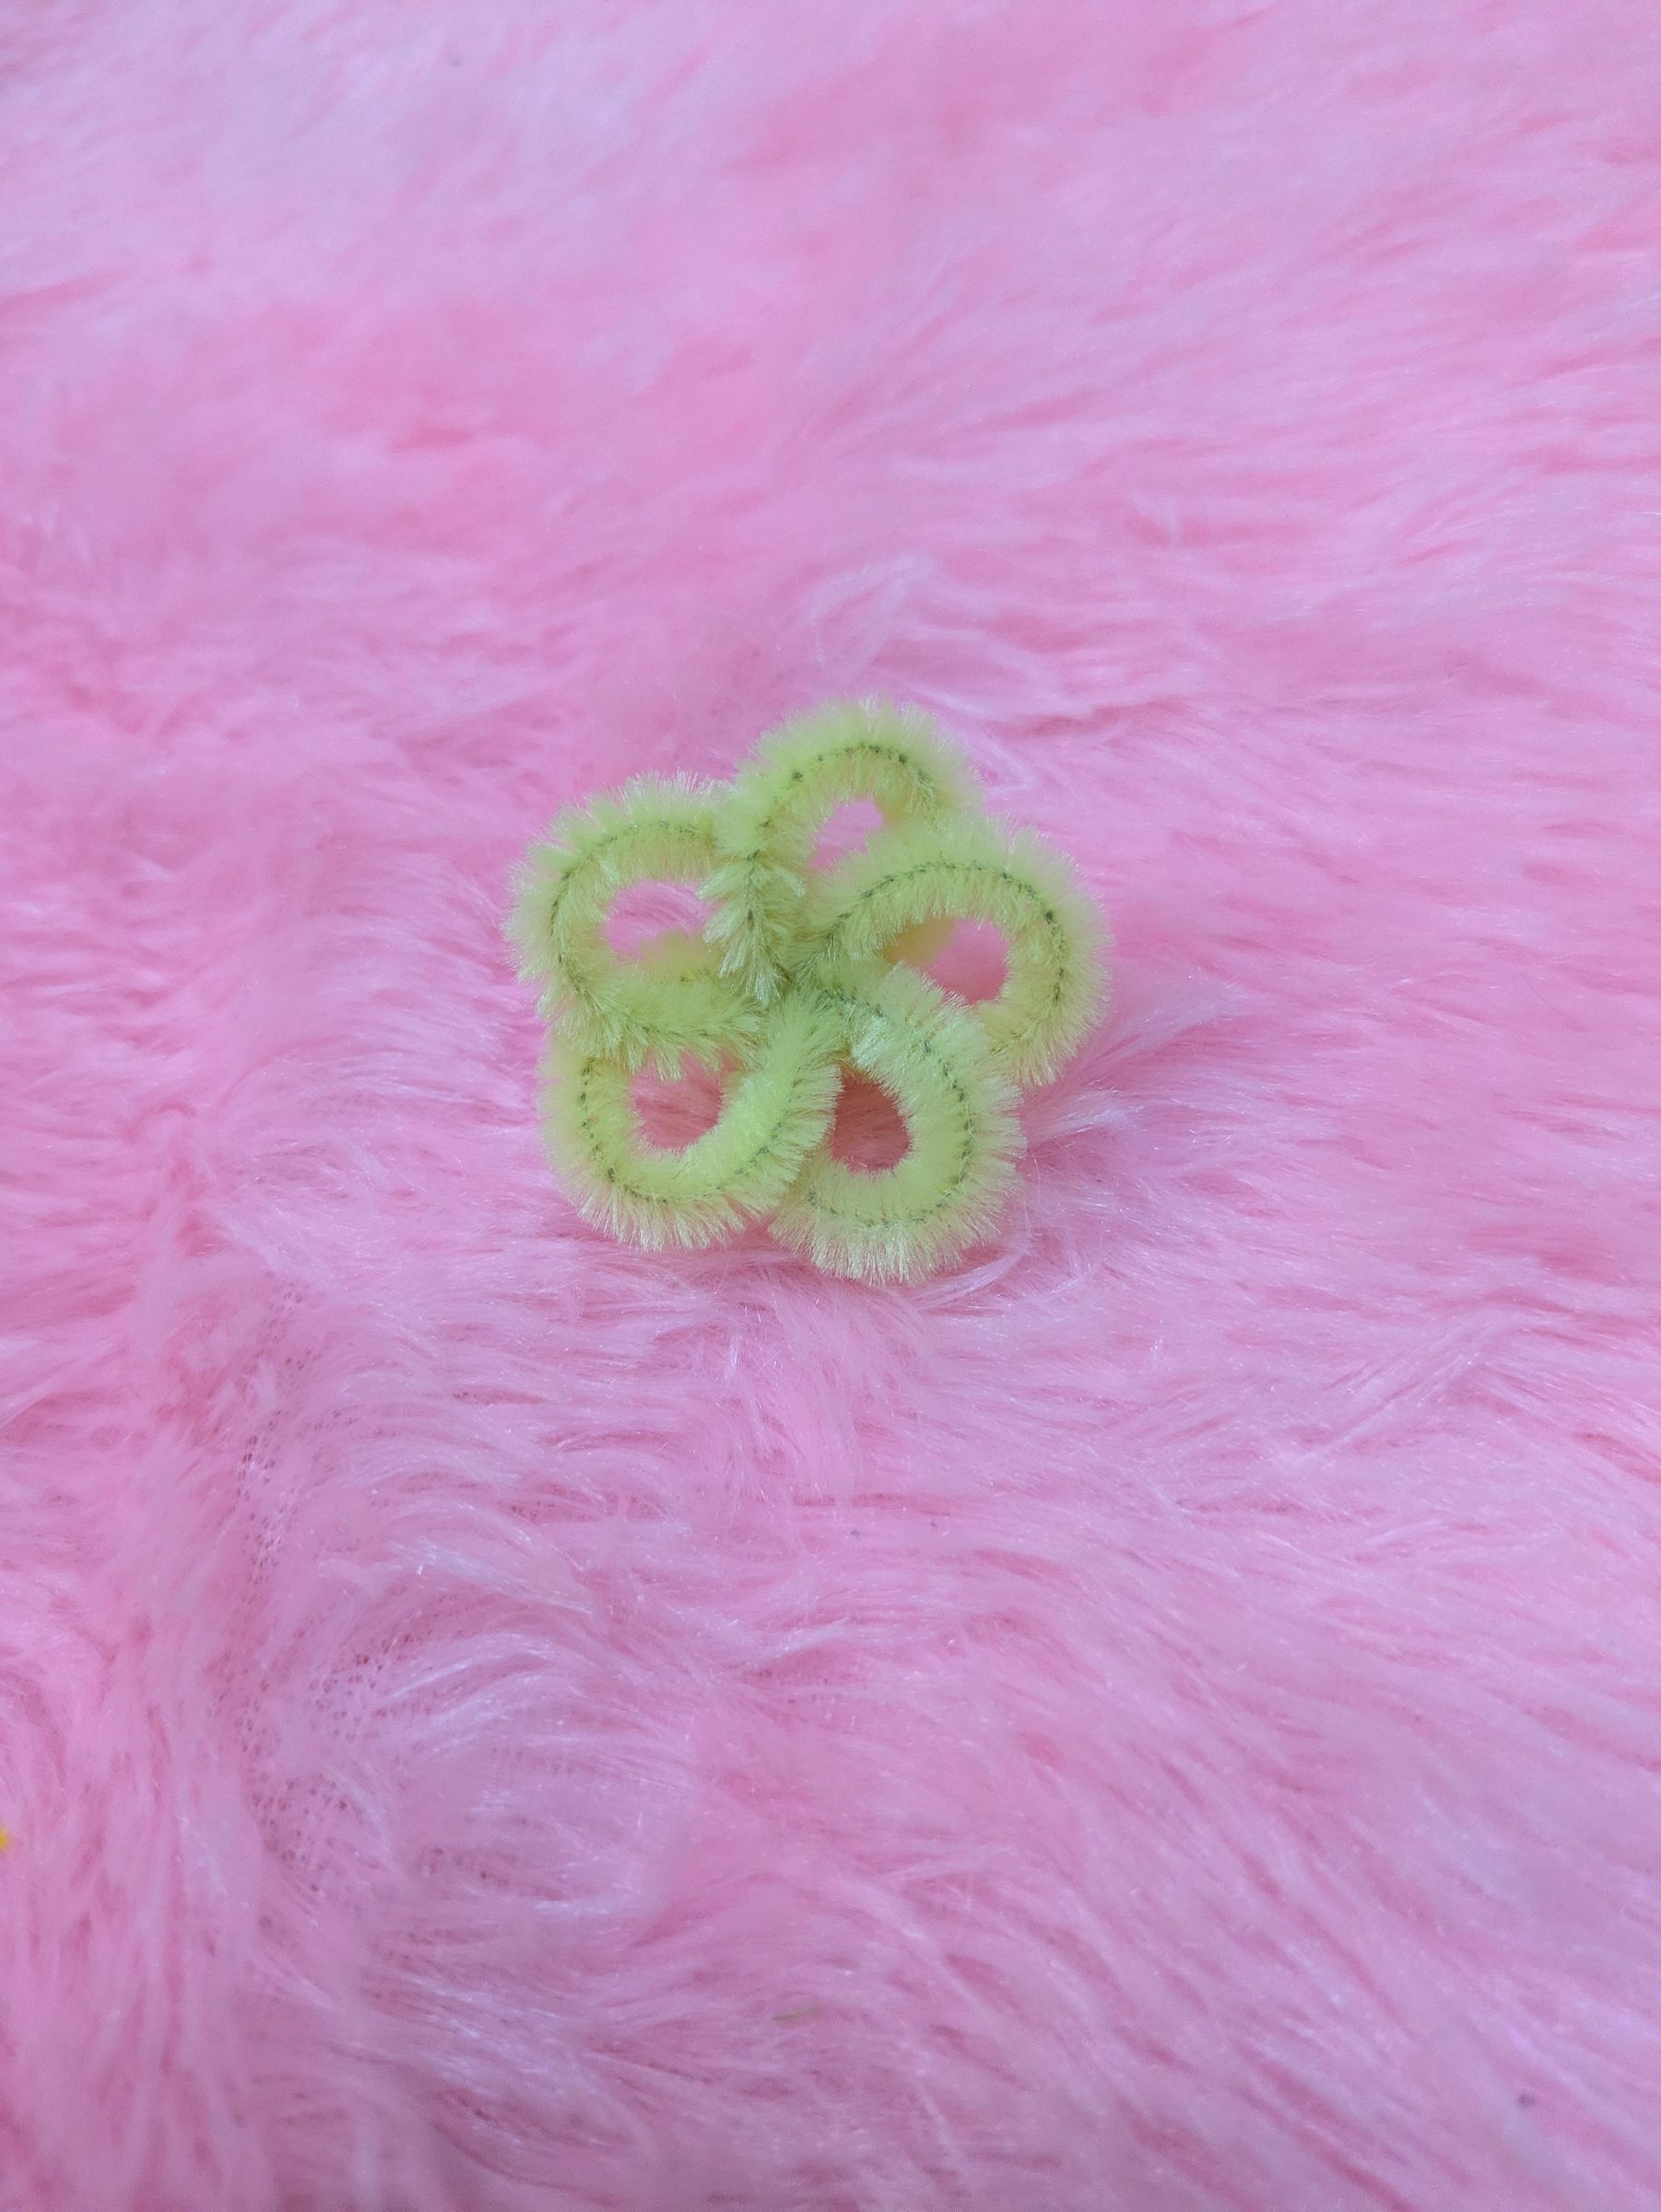
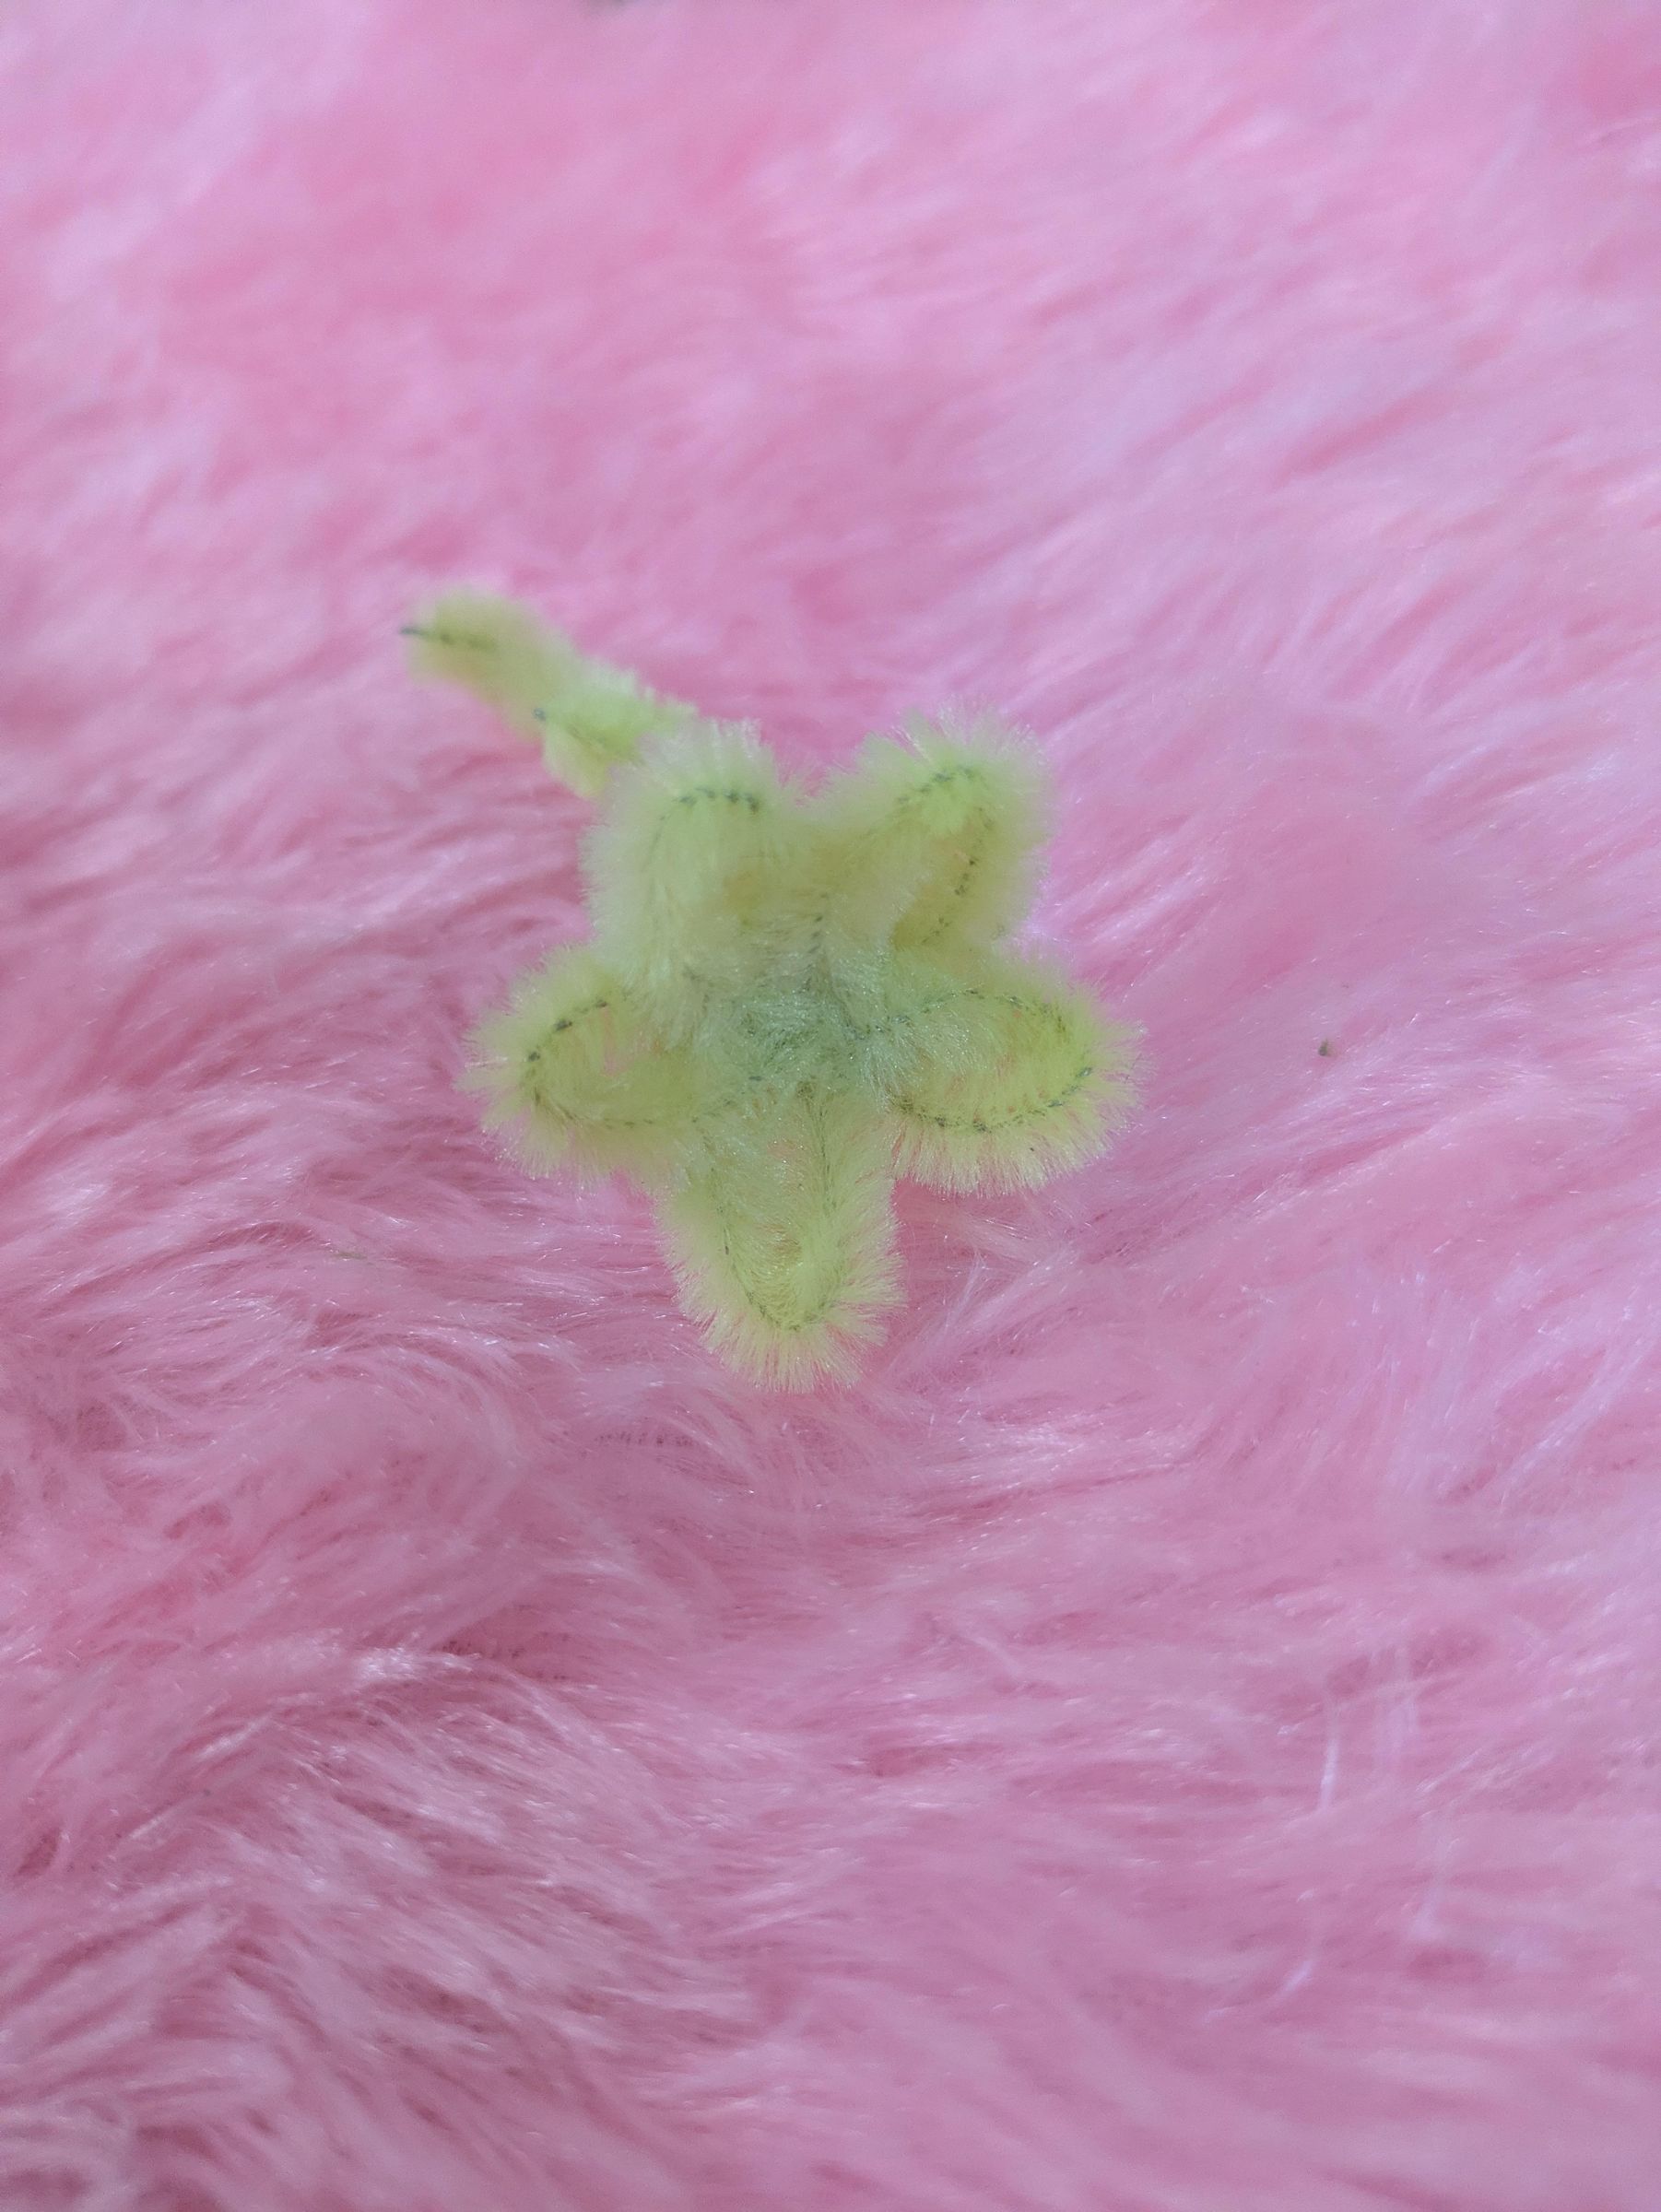
Here i used a mandrel handle (thick marker) as base, as i wanted slightly bigger petals than before. Procedure similar as above step ; wrap it five times (five petals) twist two times and remove from mandrel base, insert the higher pipe cleaner end forming a loop and twist it twice. spread the petals and open it, press it to give a sharper tip
Pearl
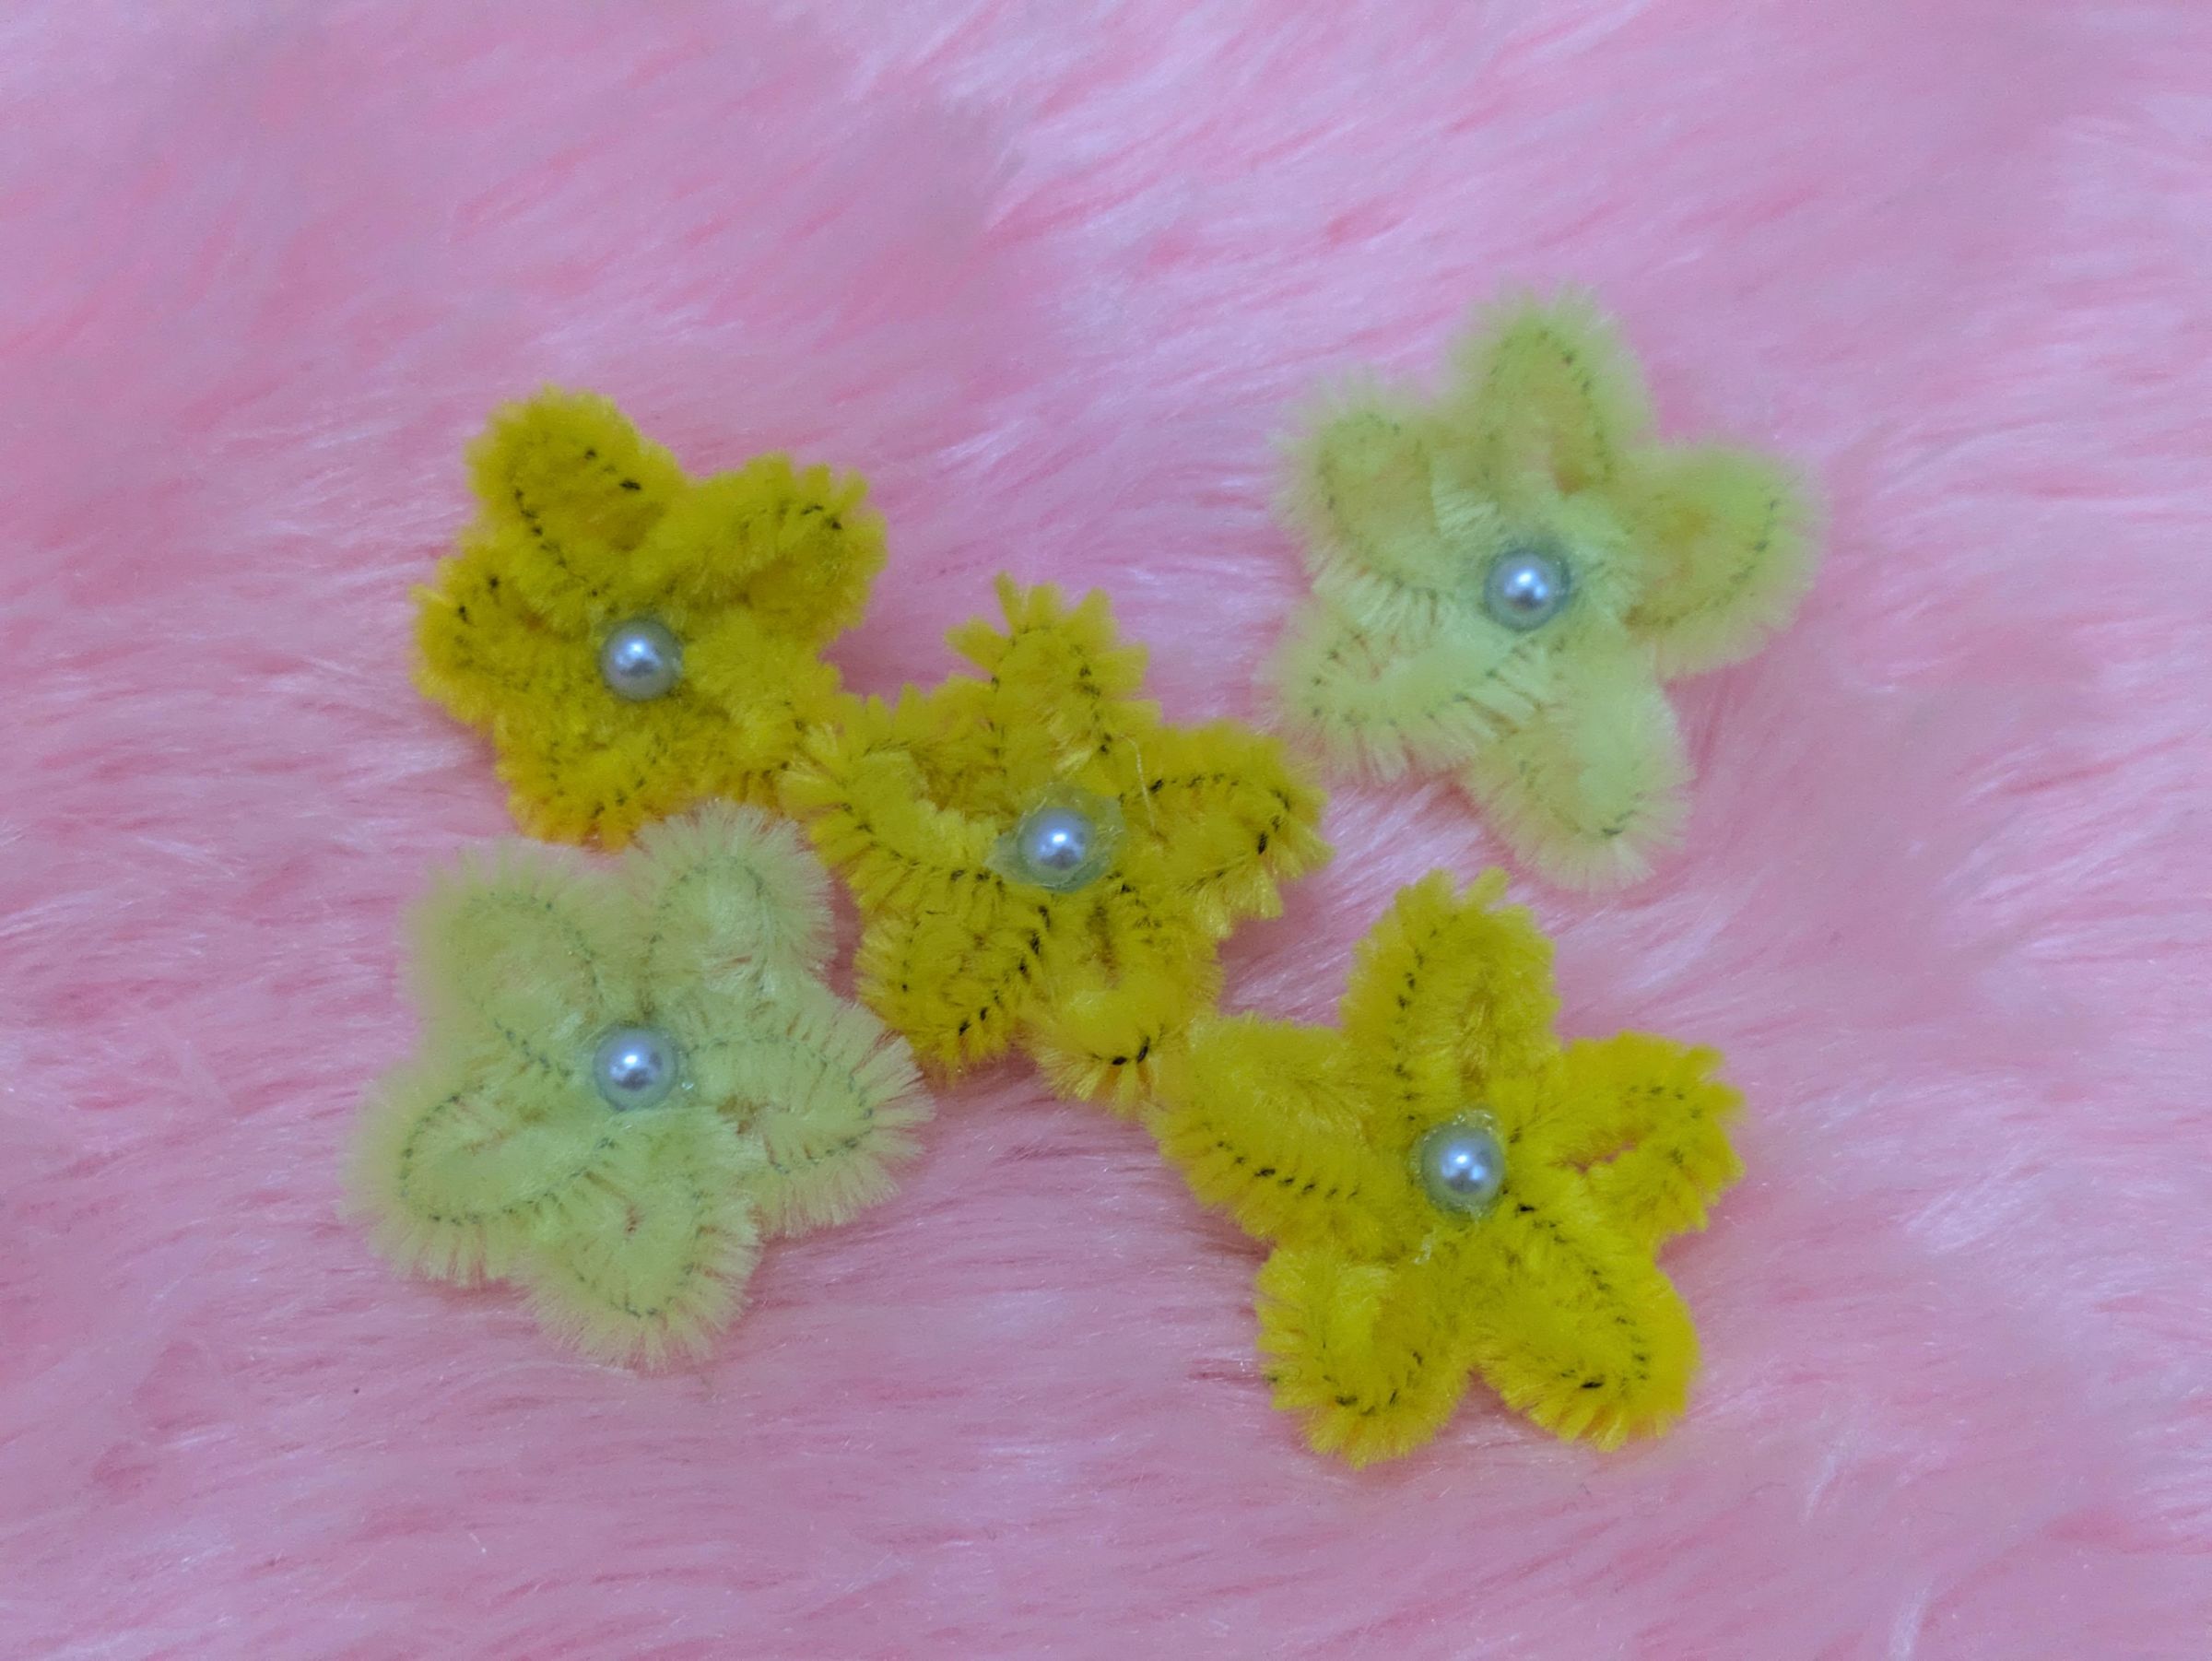
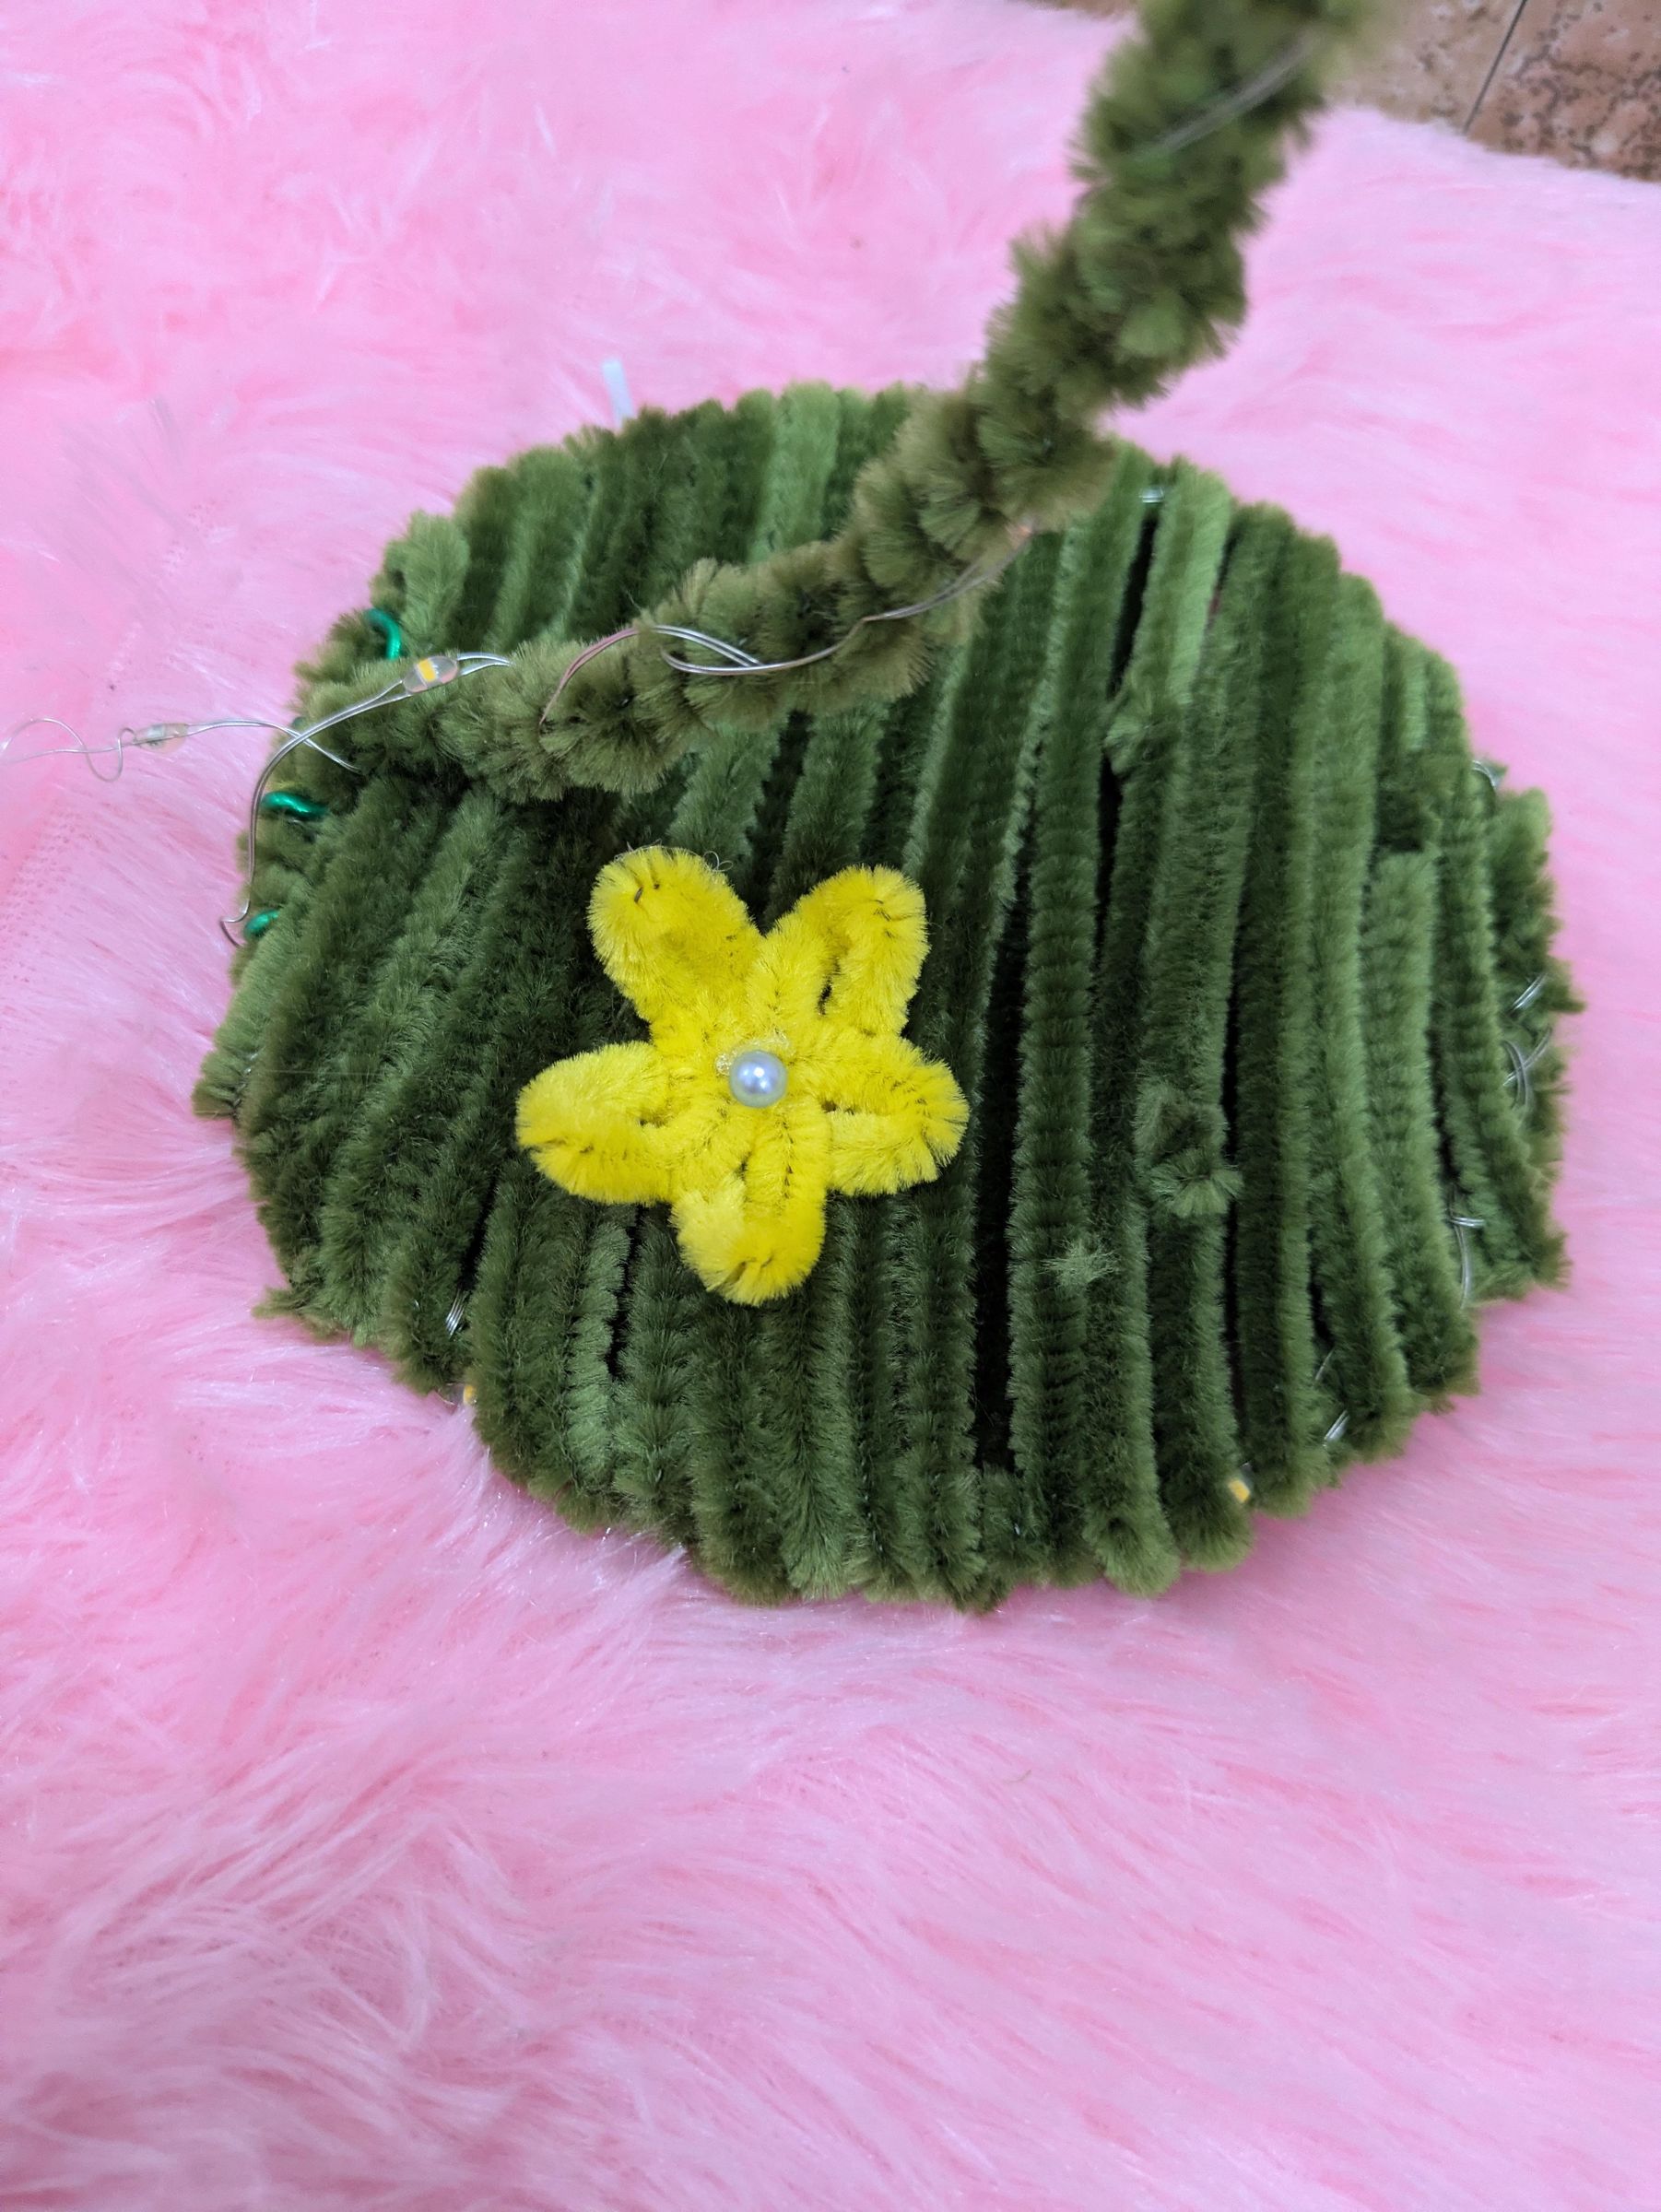
Any stone or half cut pearl can be used to keep in center, i used blue half cut pearl moti. Attach it using hot glue gun,
Leaf
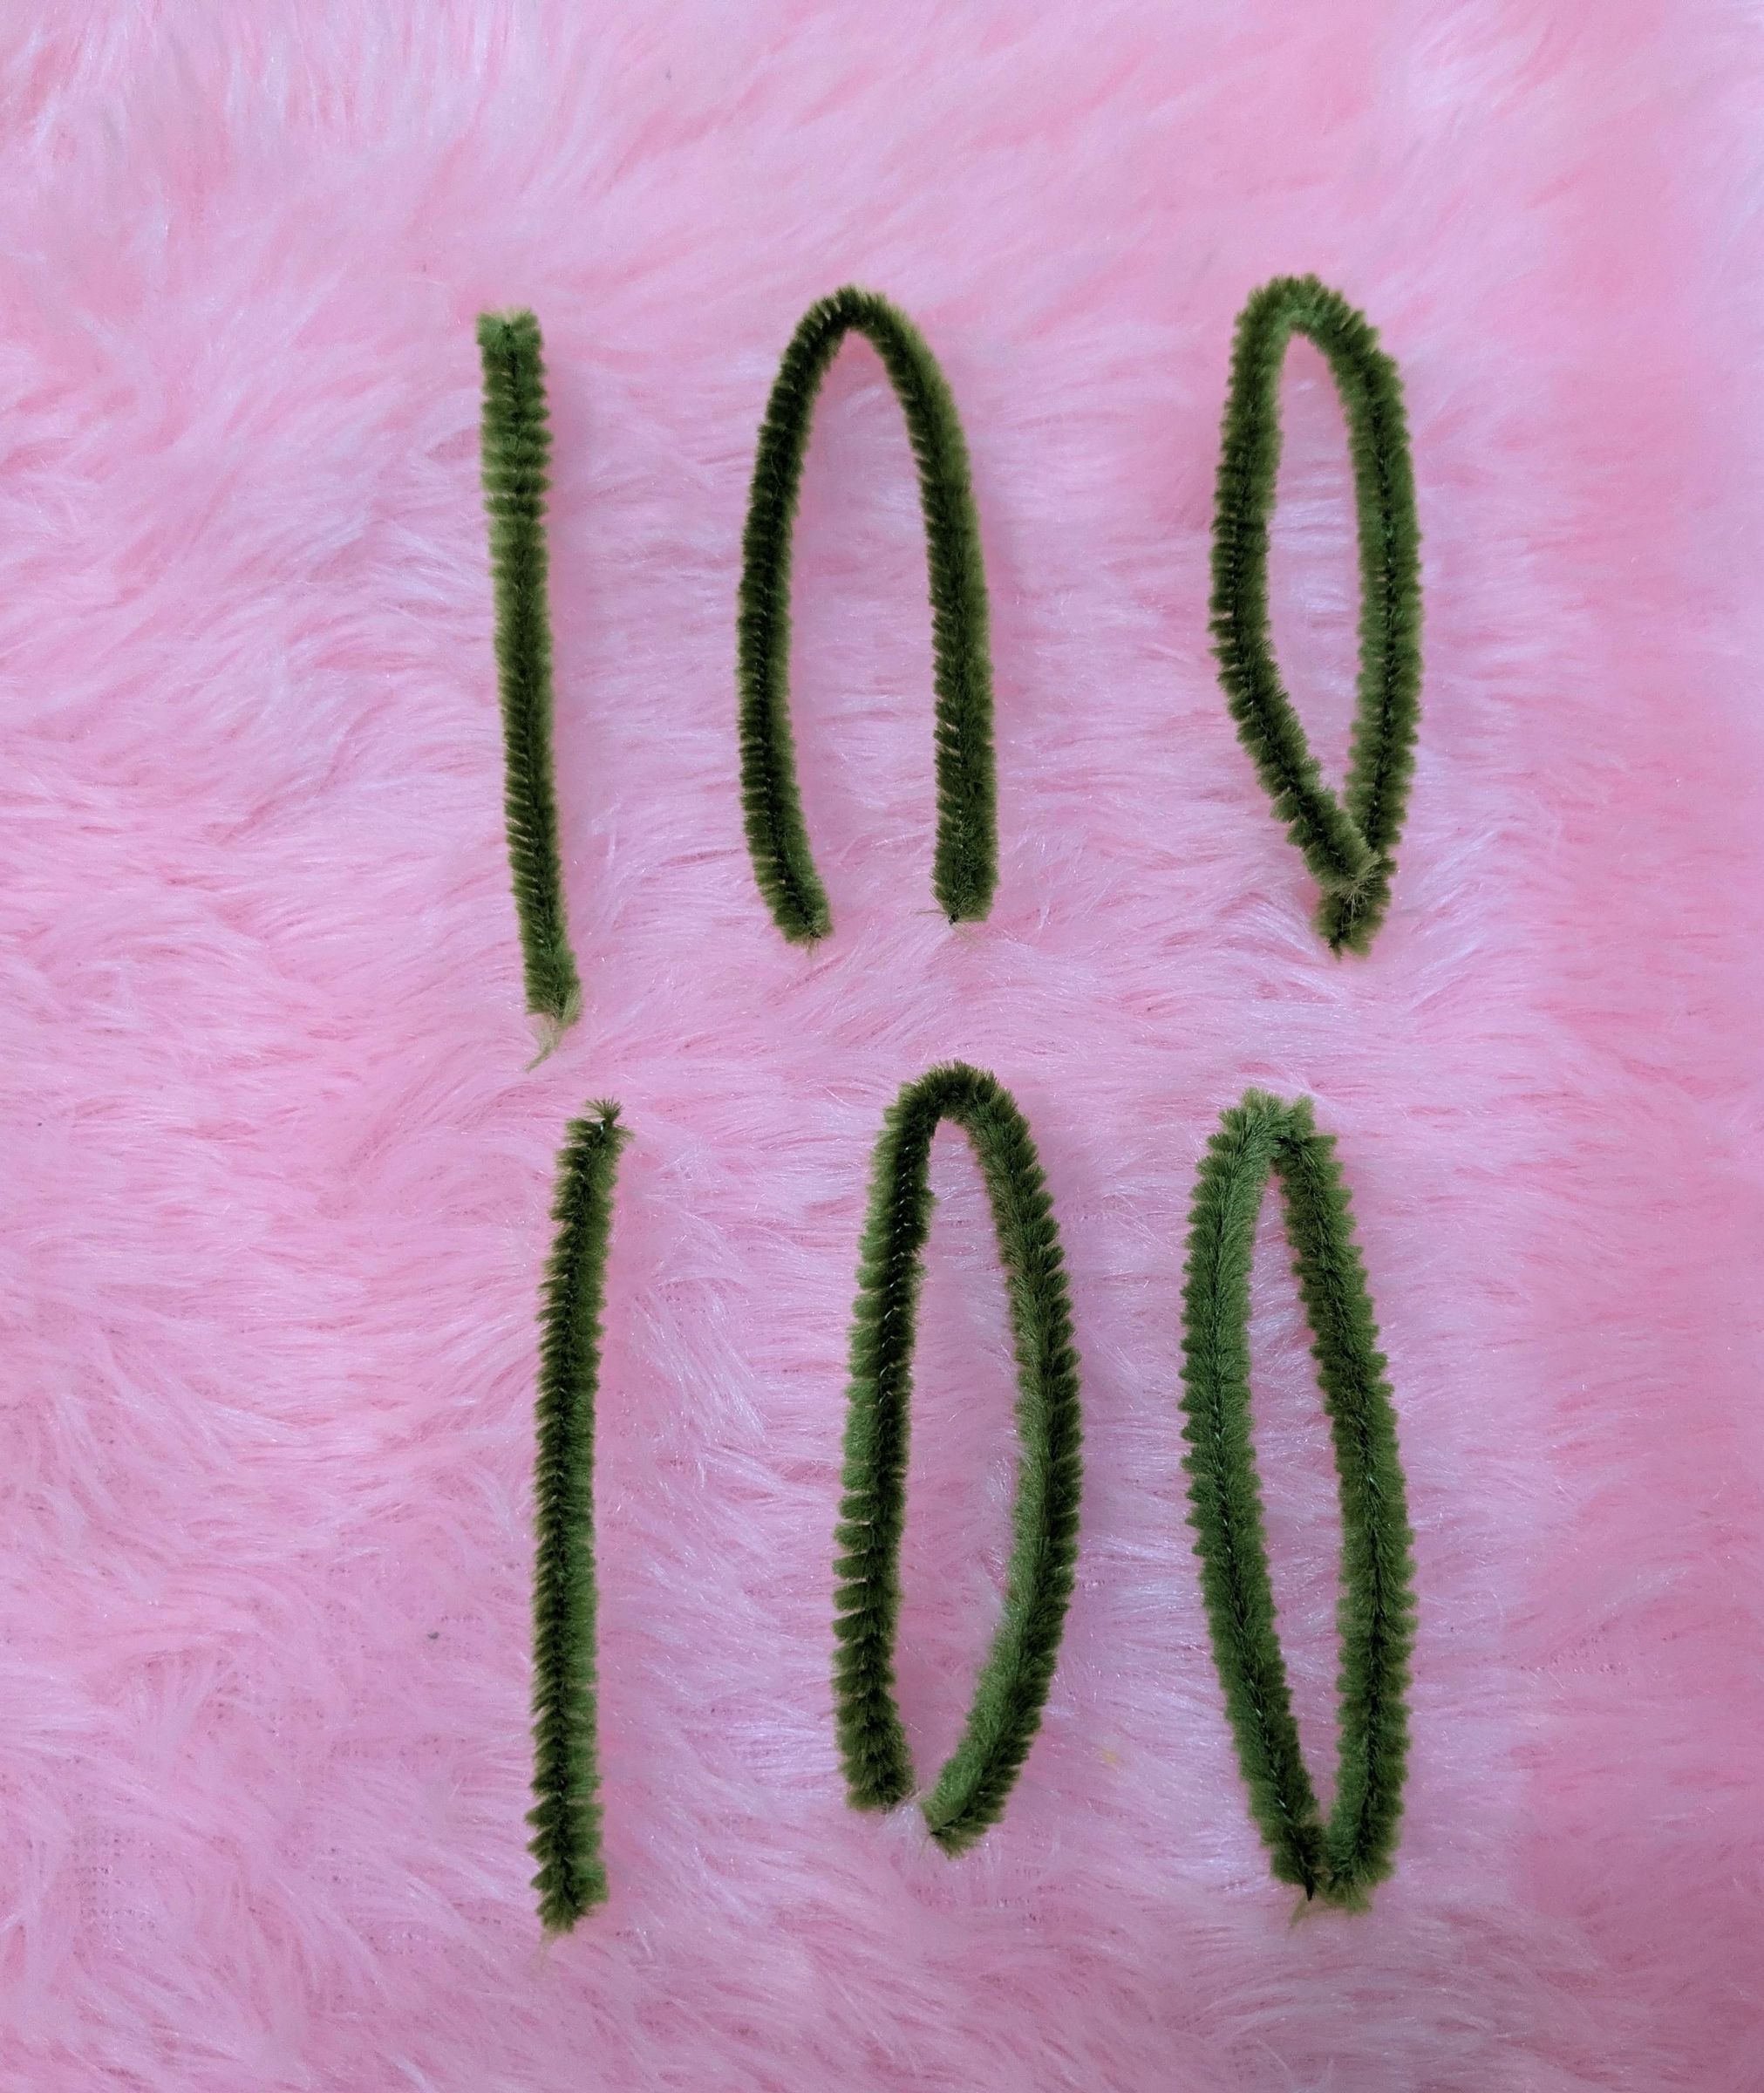
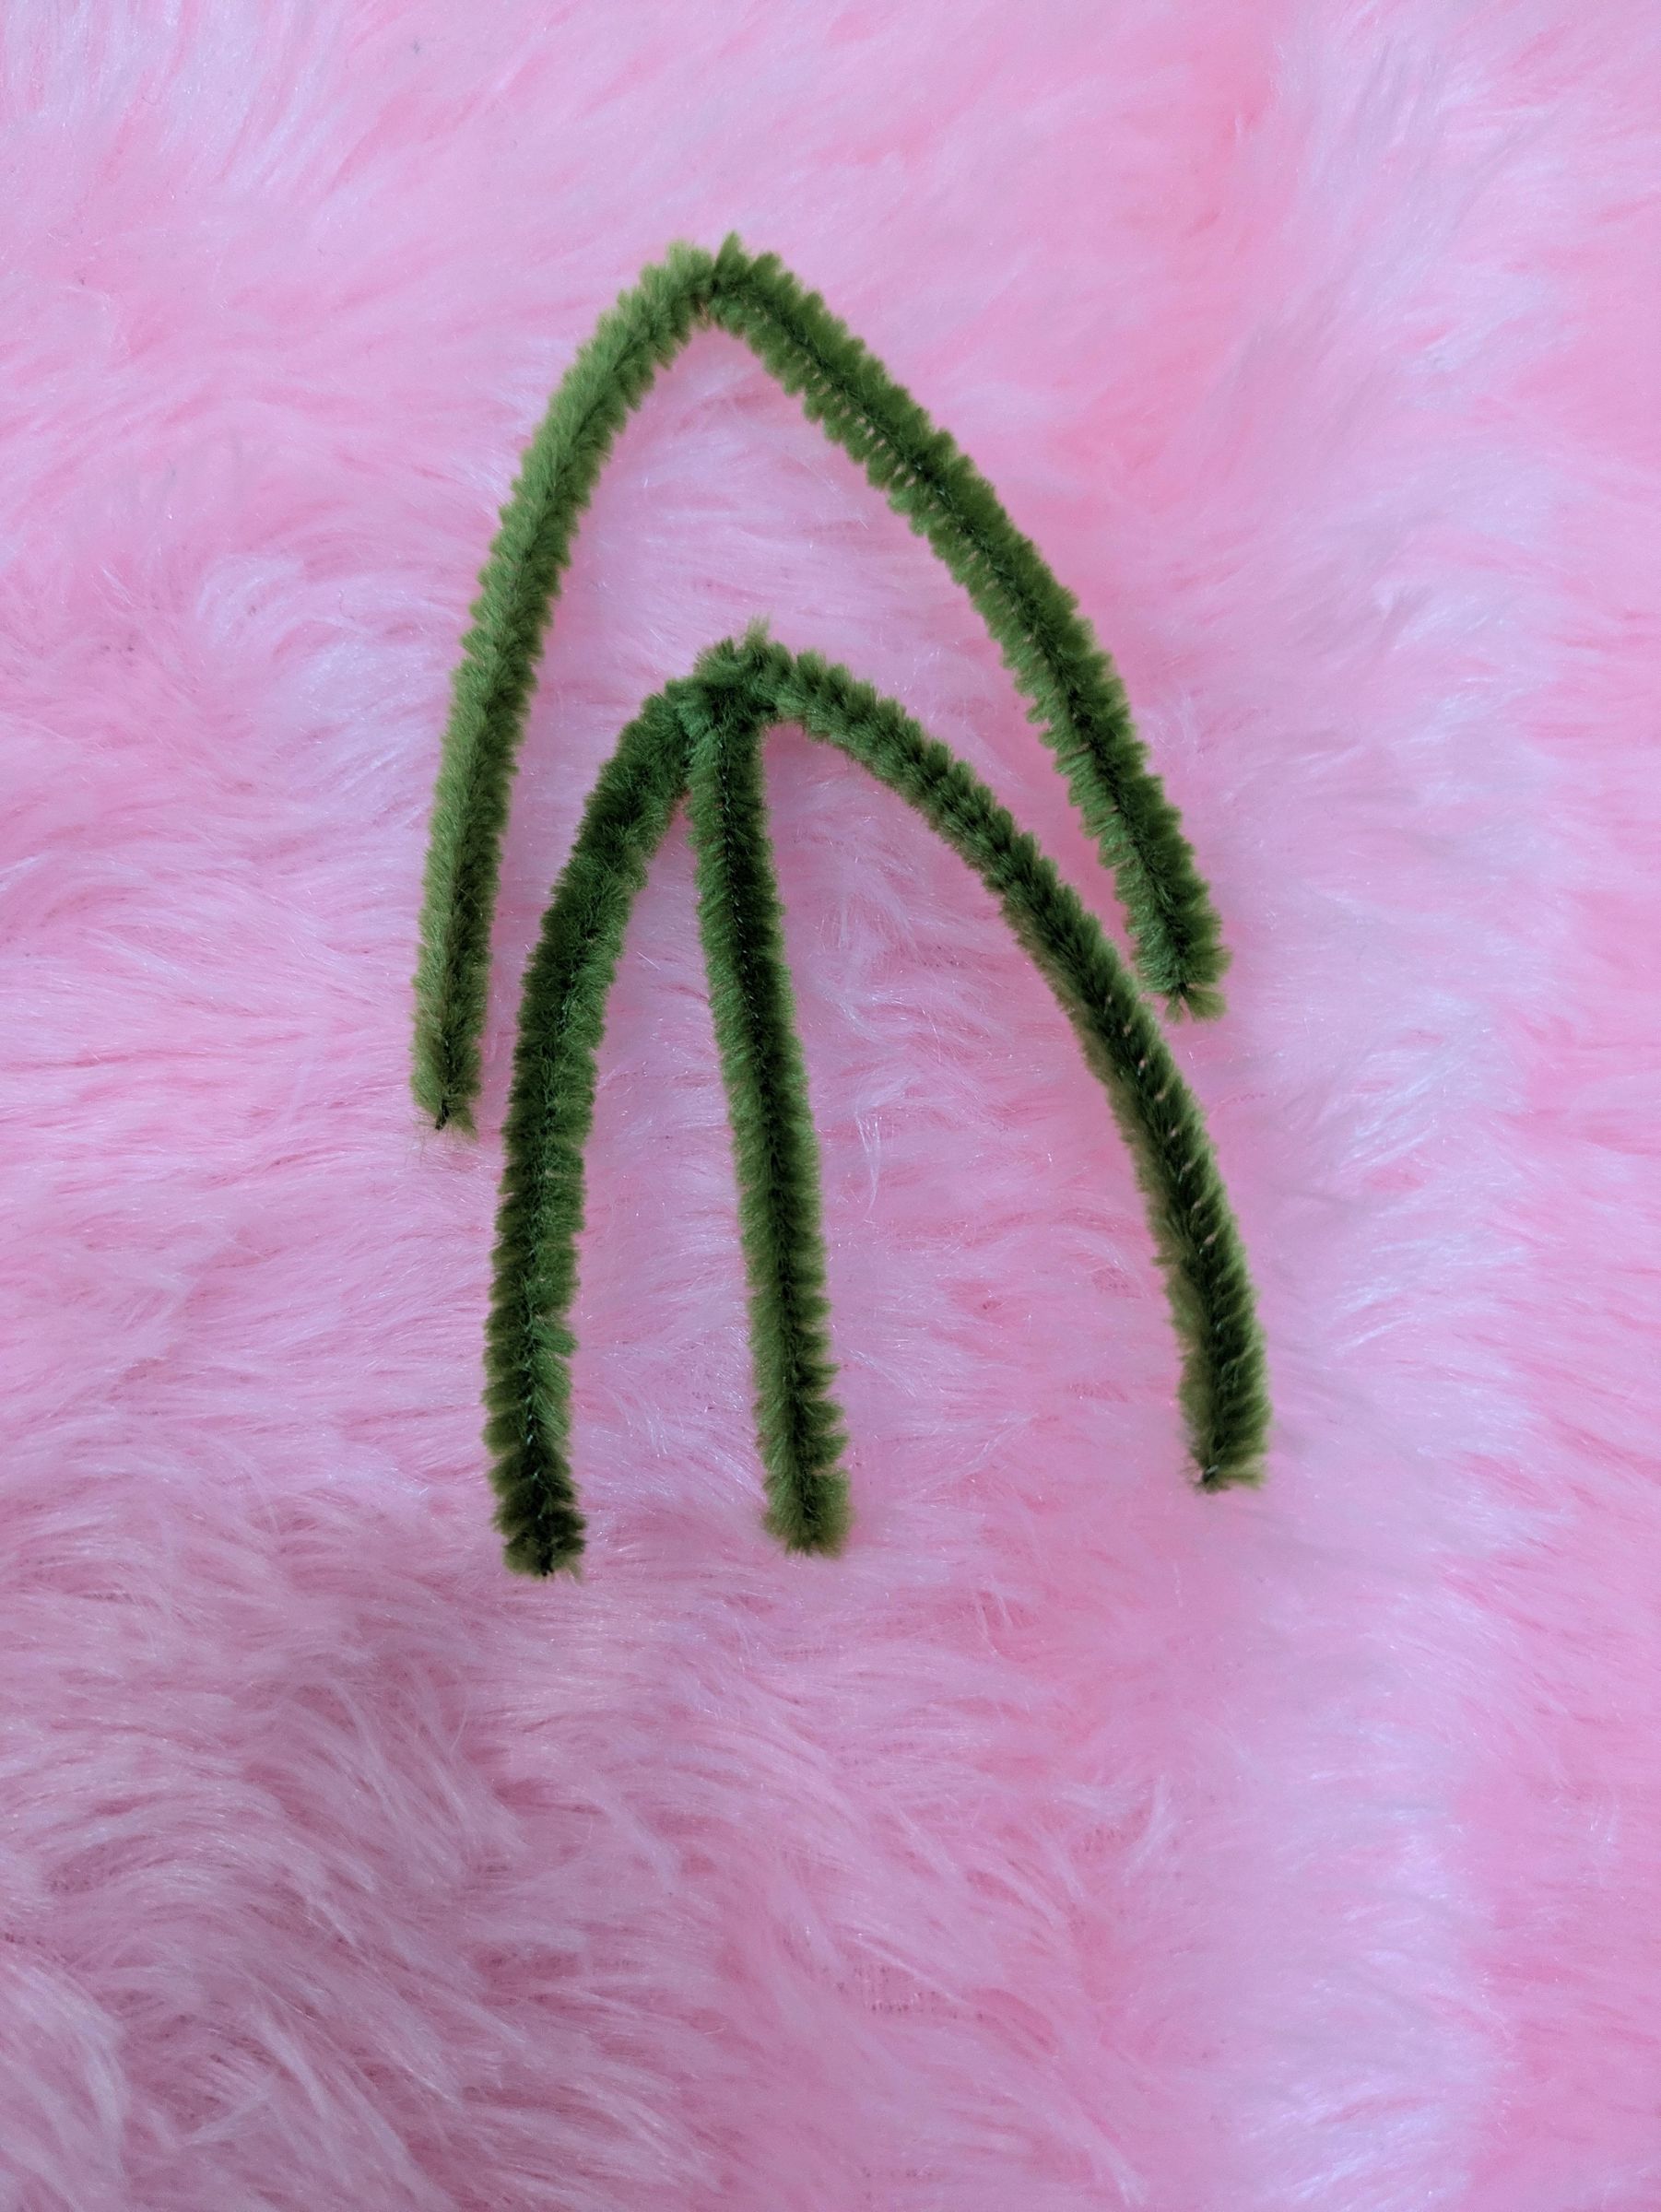
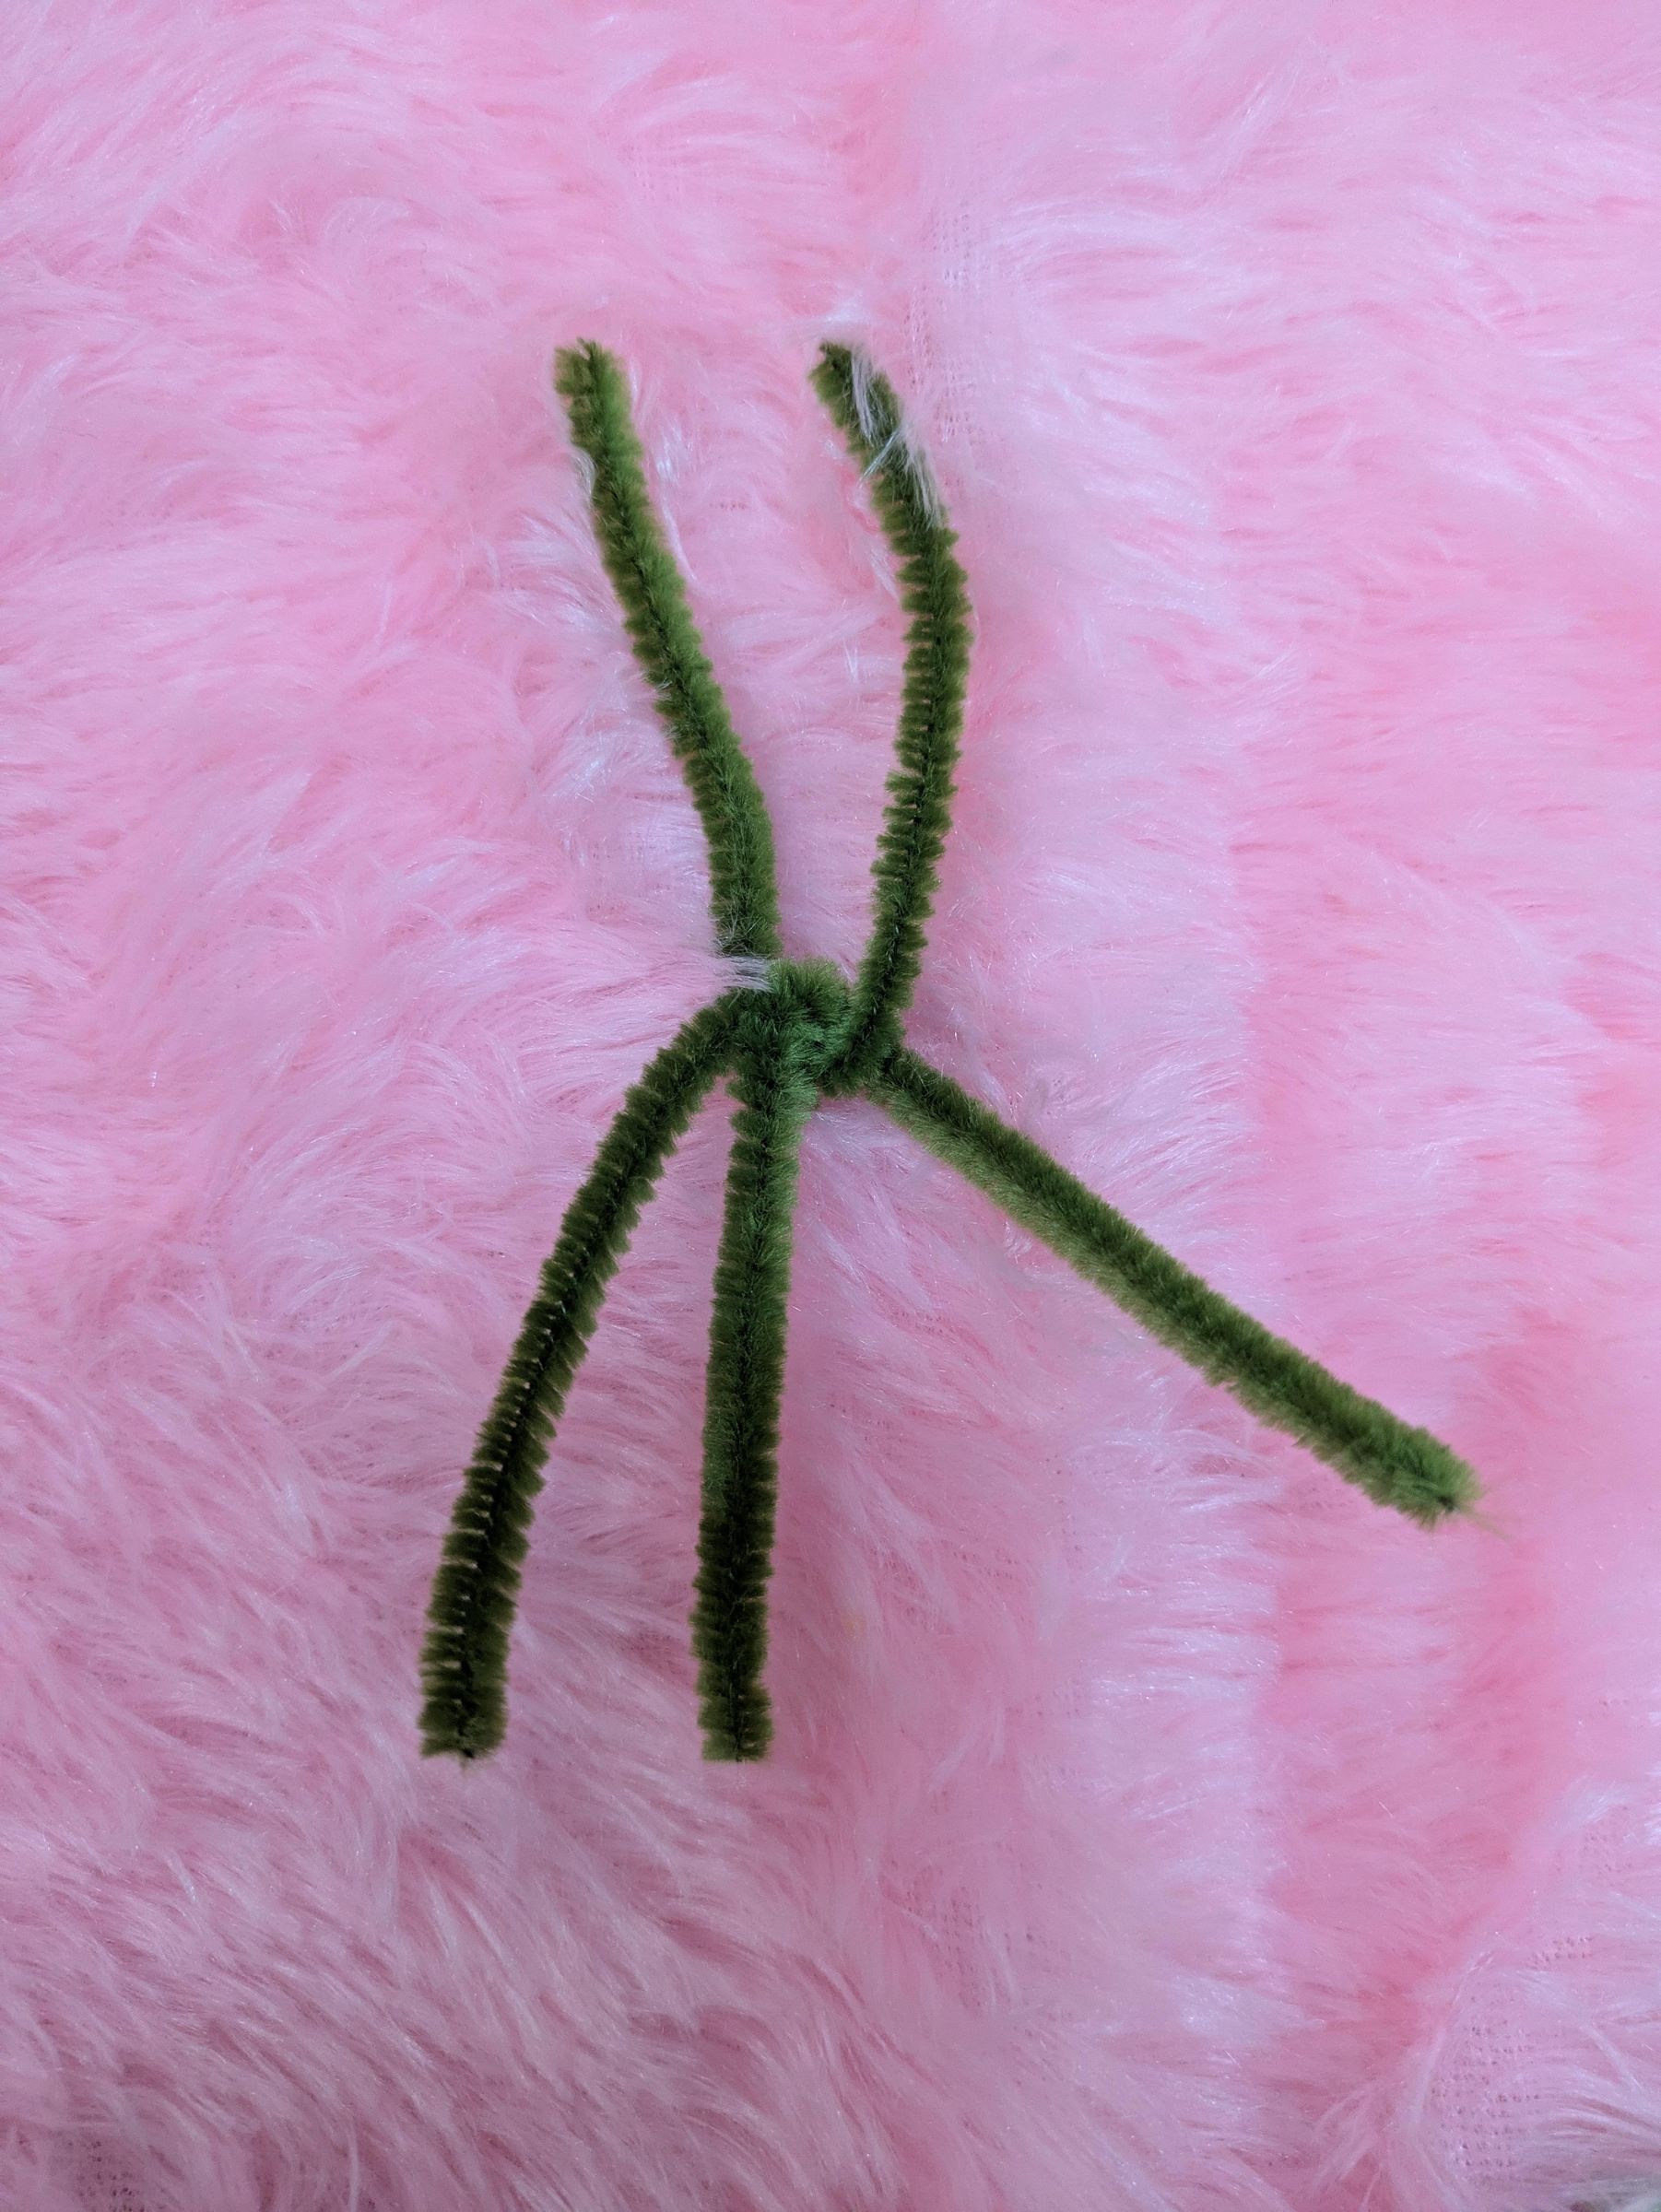
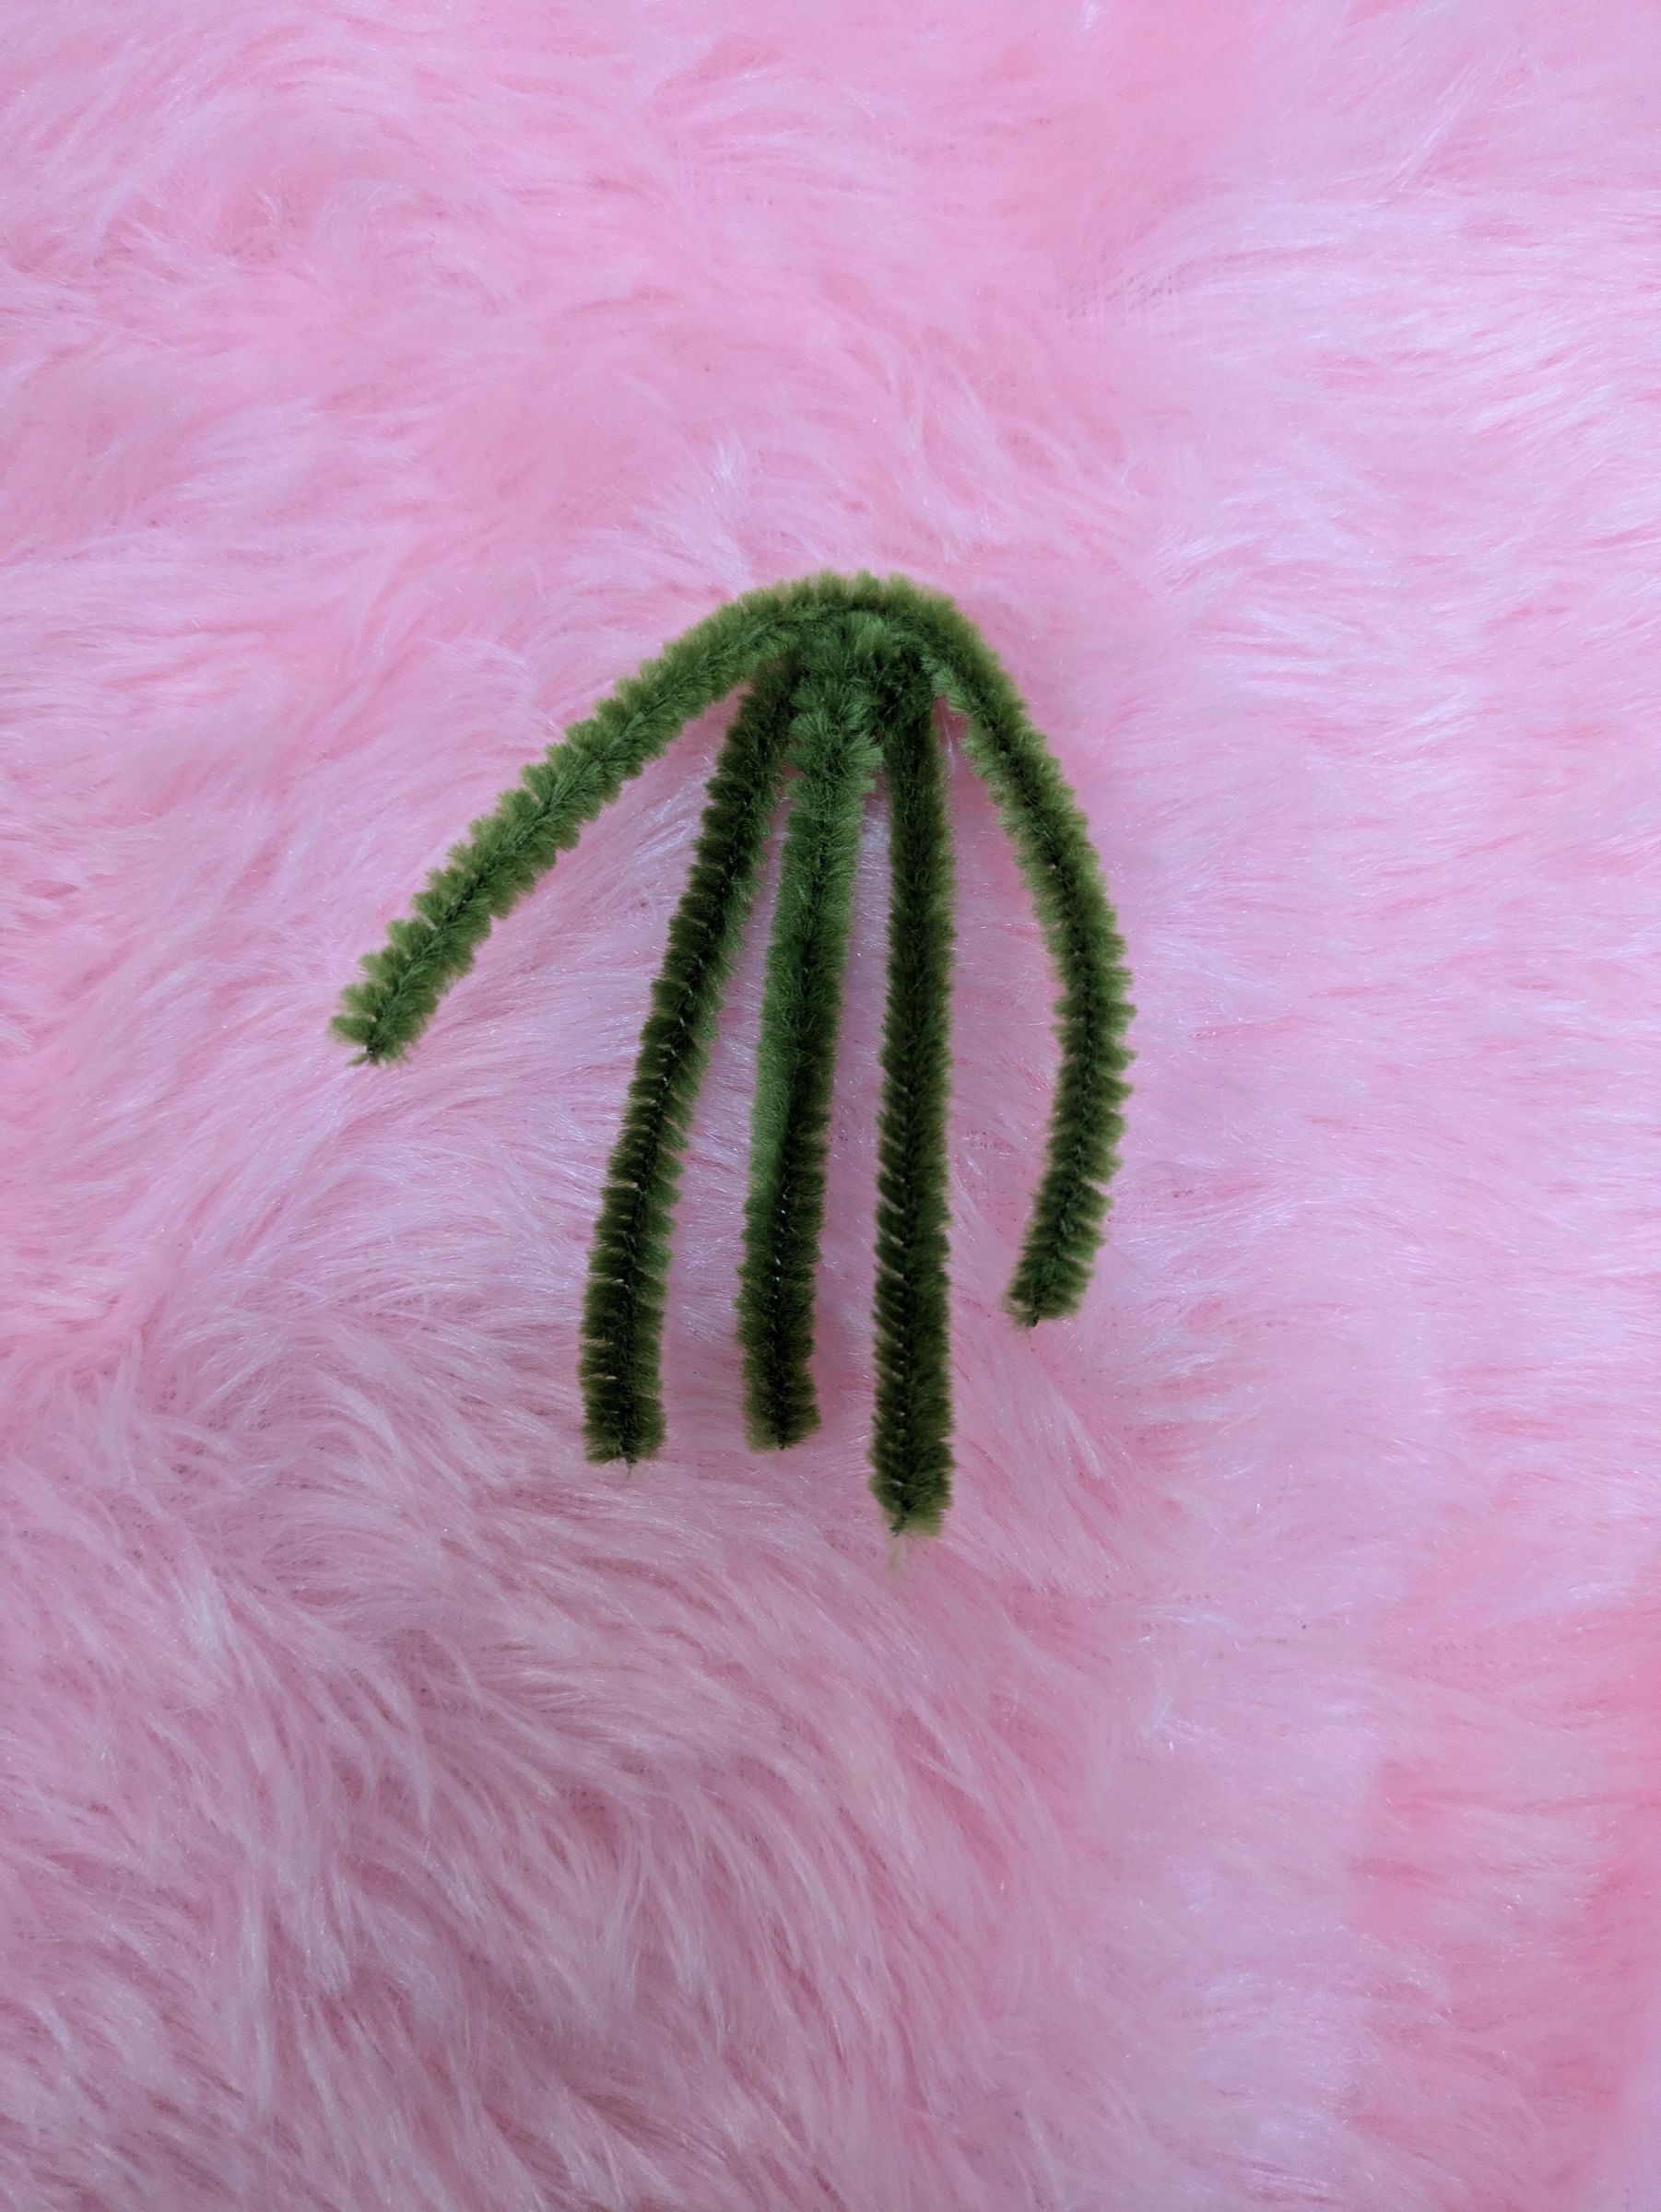
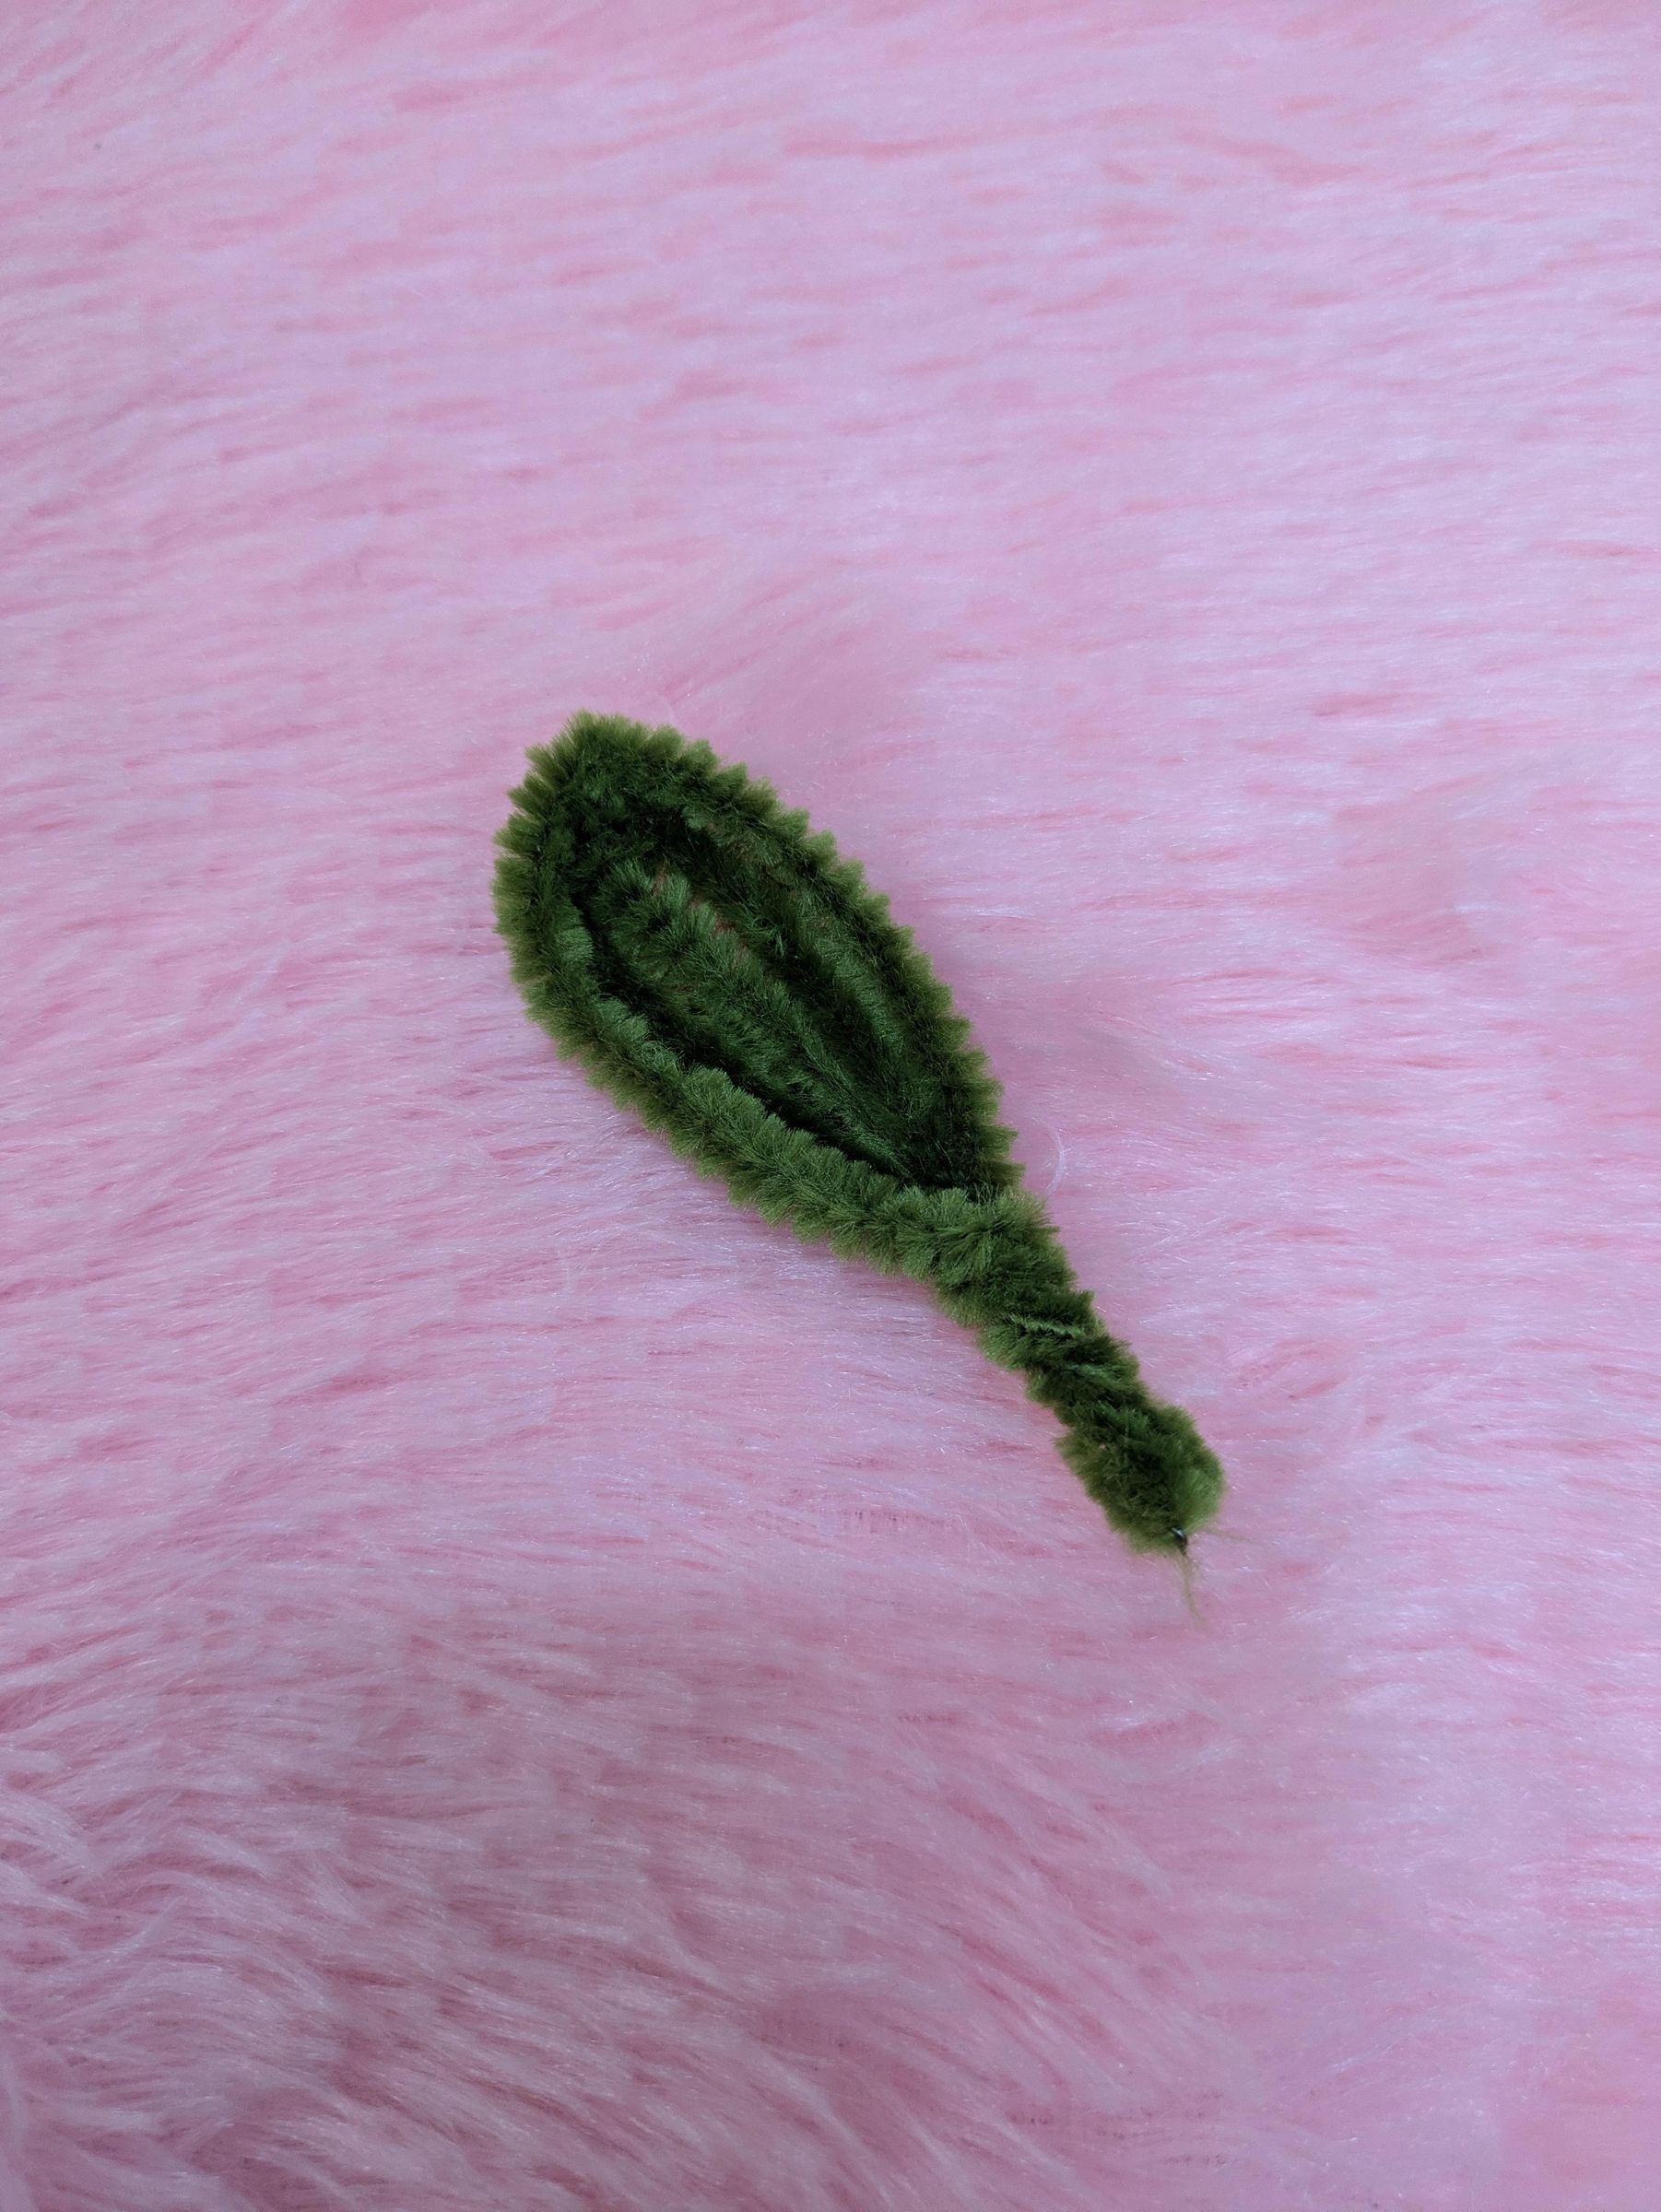
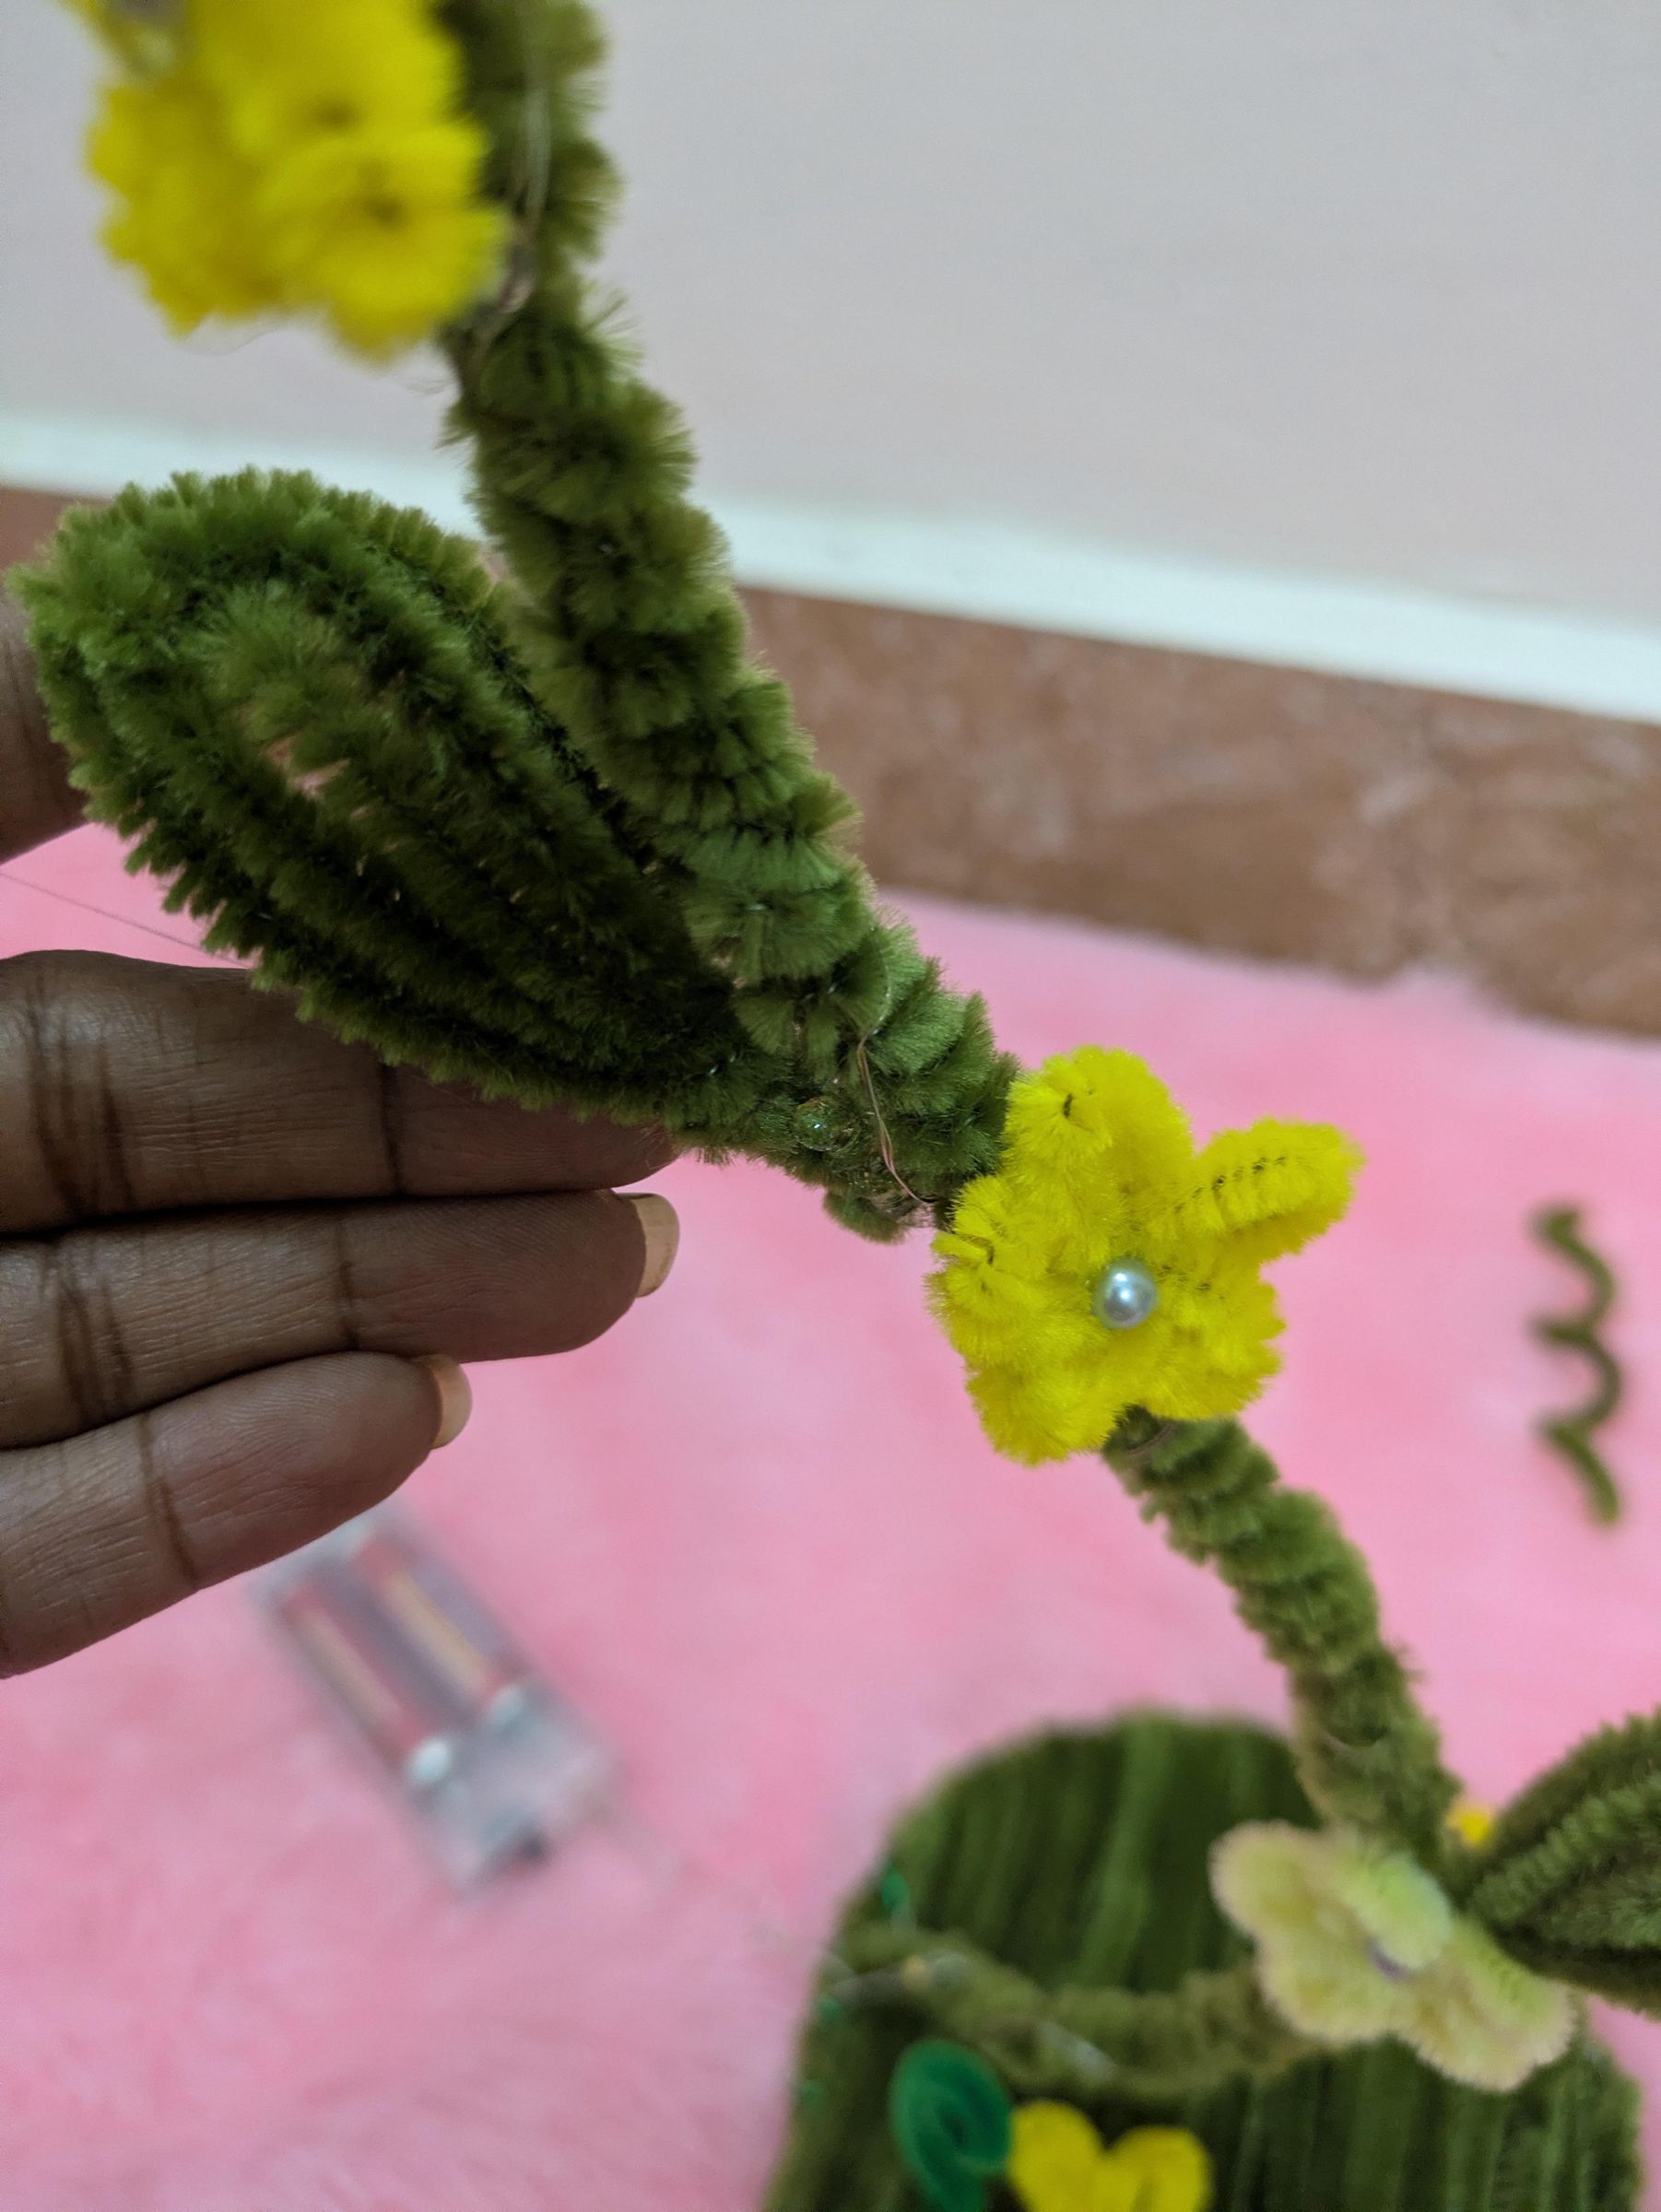
Take pipe cleaner cut it into half, fold it at mid point, cut 1/4th length pipe cleaner that is your leaf centre, attach this in middle of first layer of leaf, now insert another half as shown in image 3, twist it two times, bring it down, give a pinch at bottom and rotate one end of leaf to hold it together.
Aesthetics
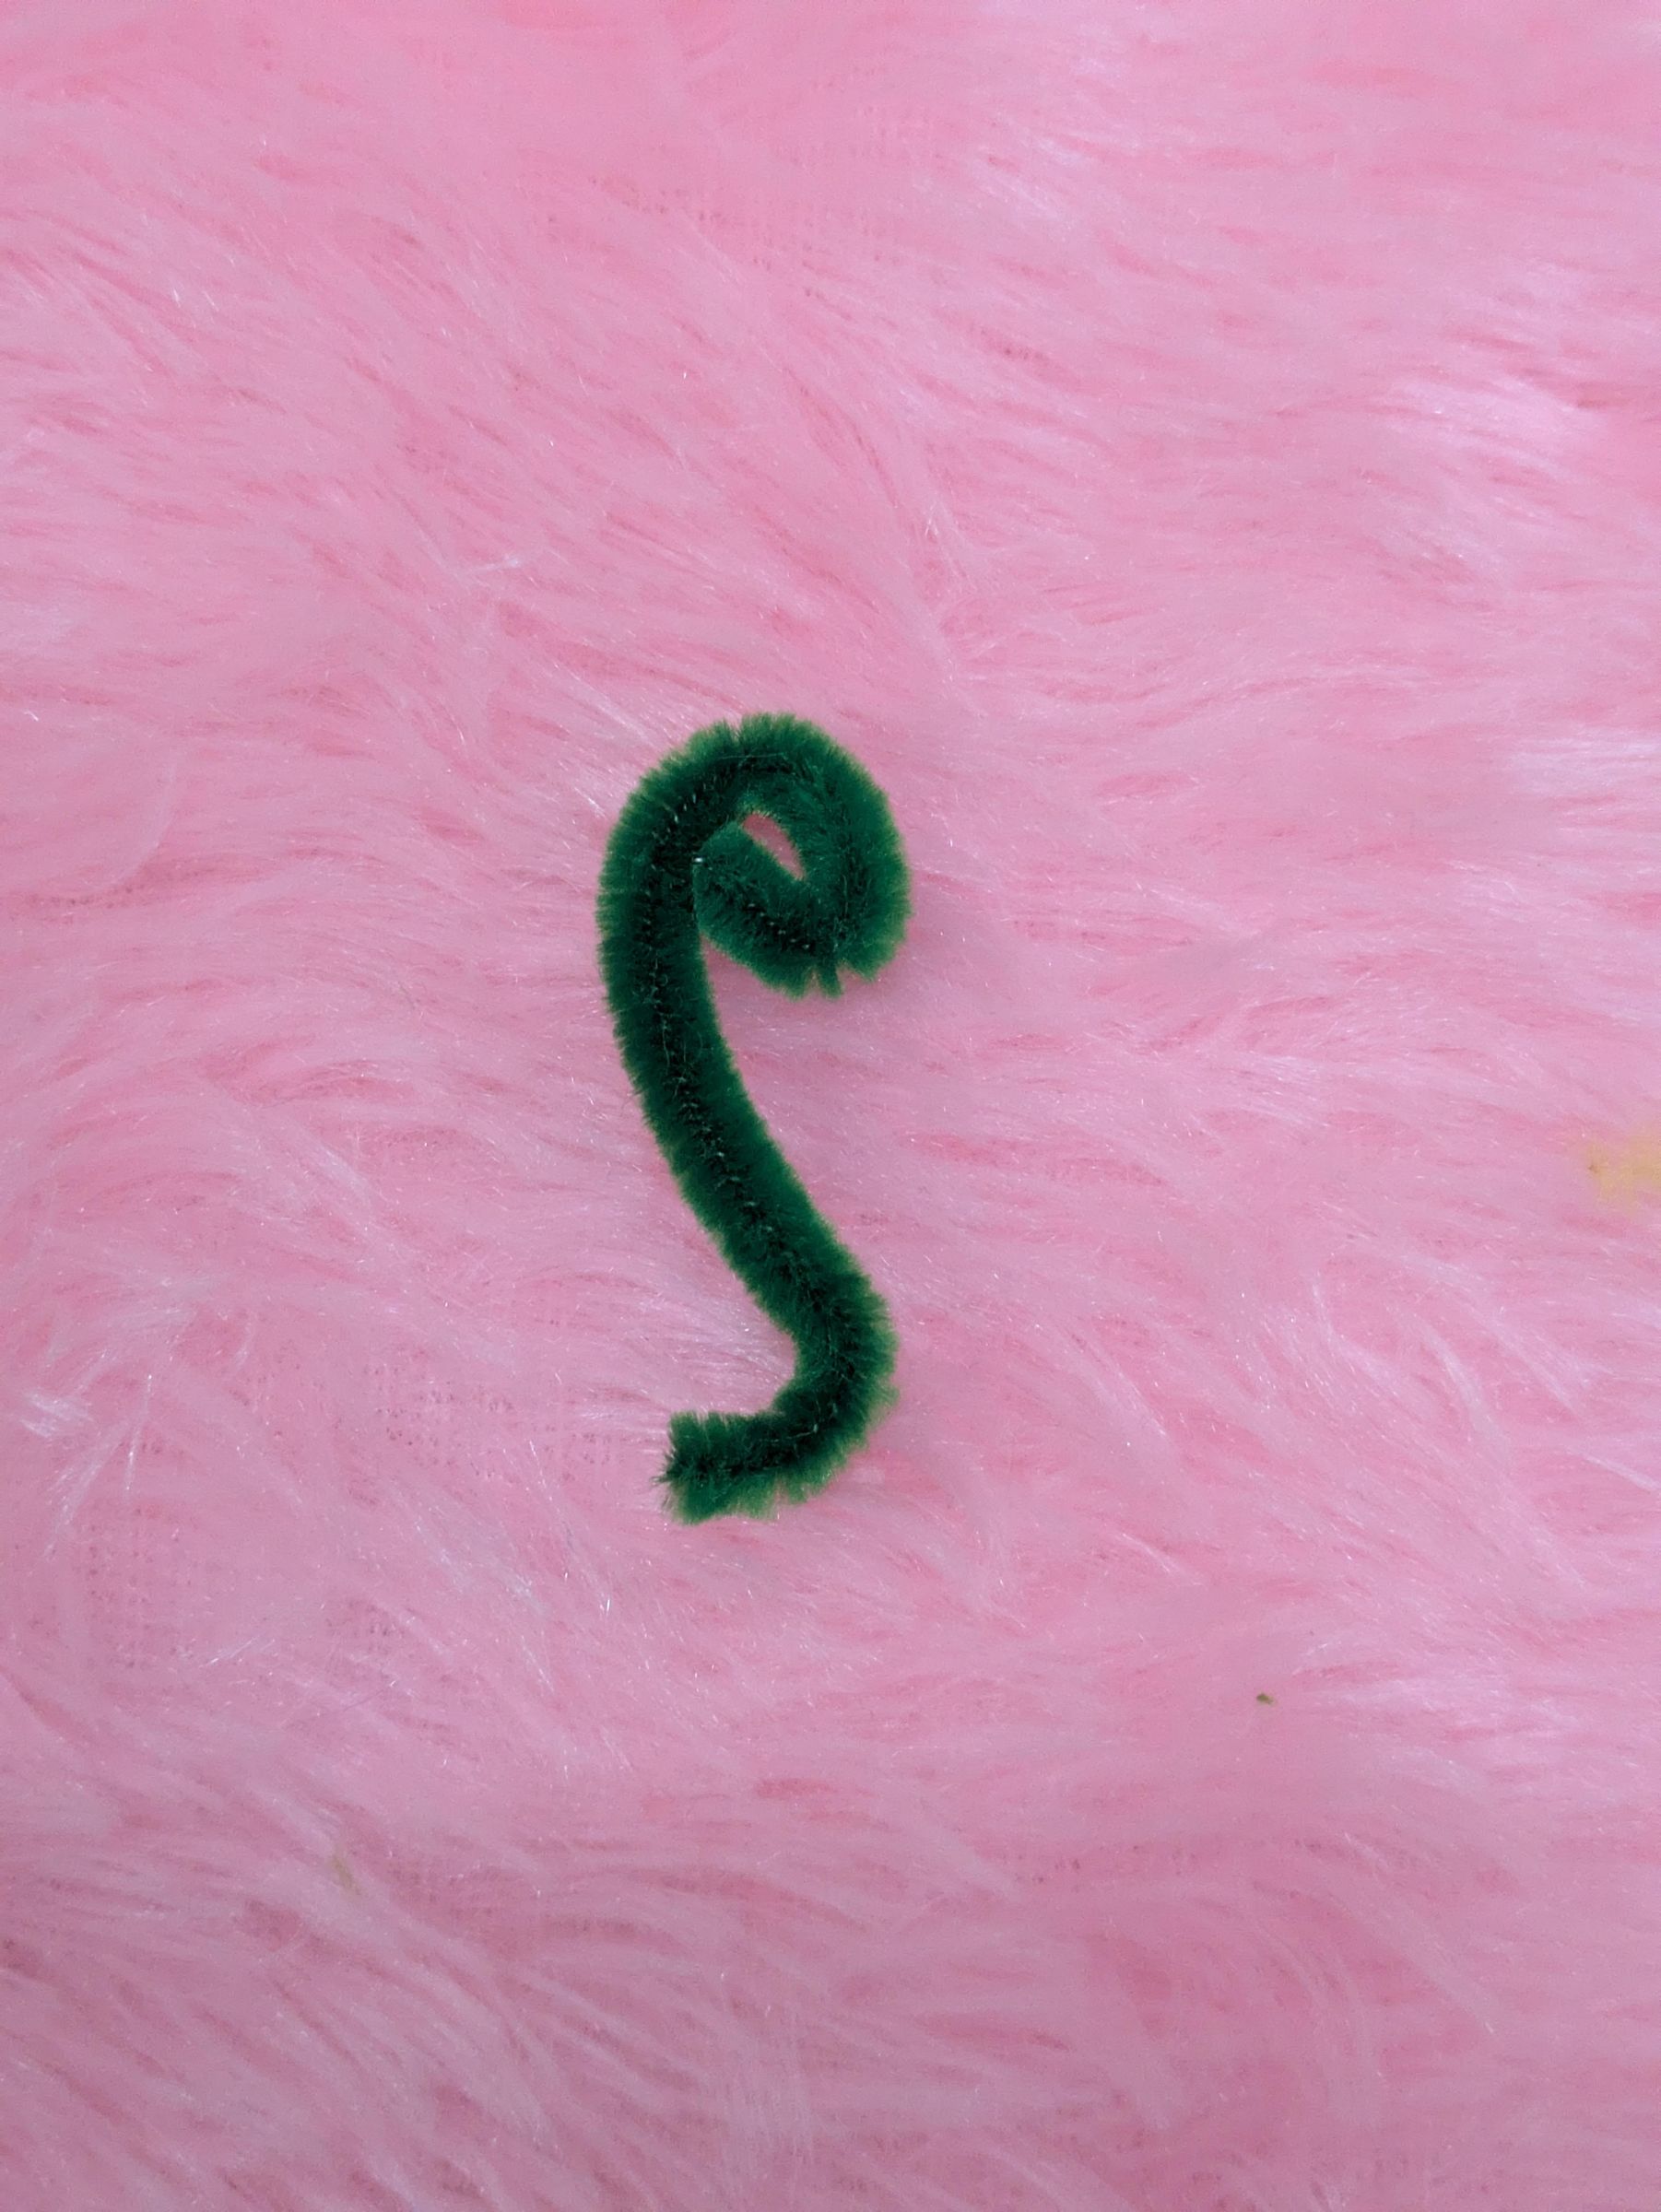
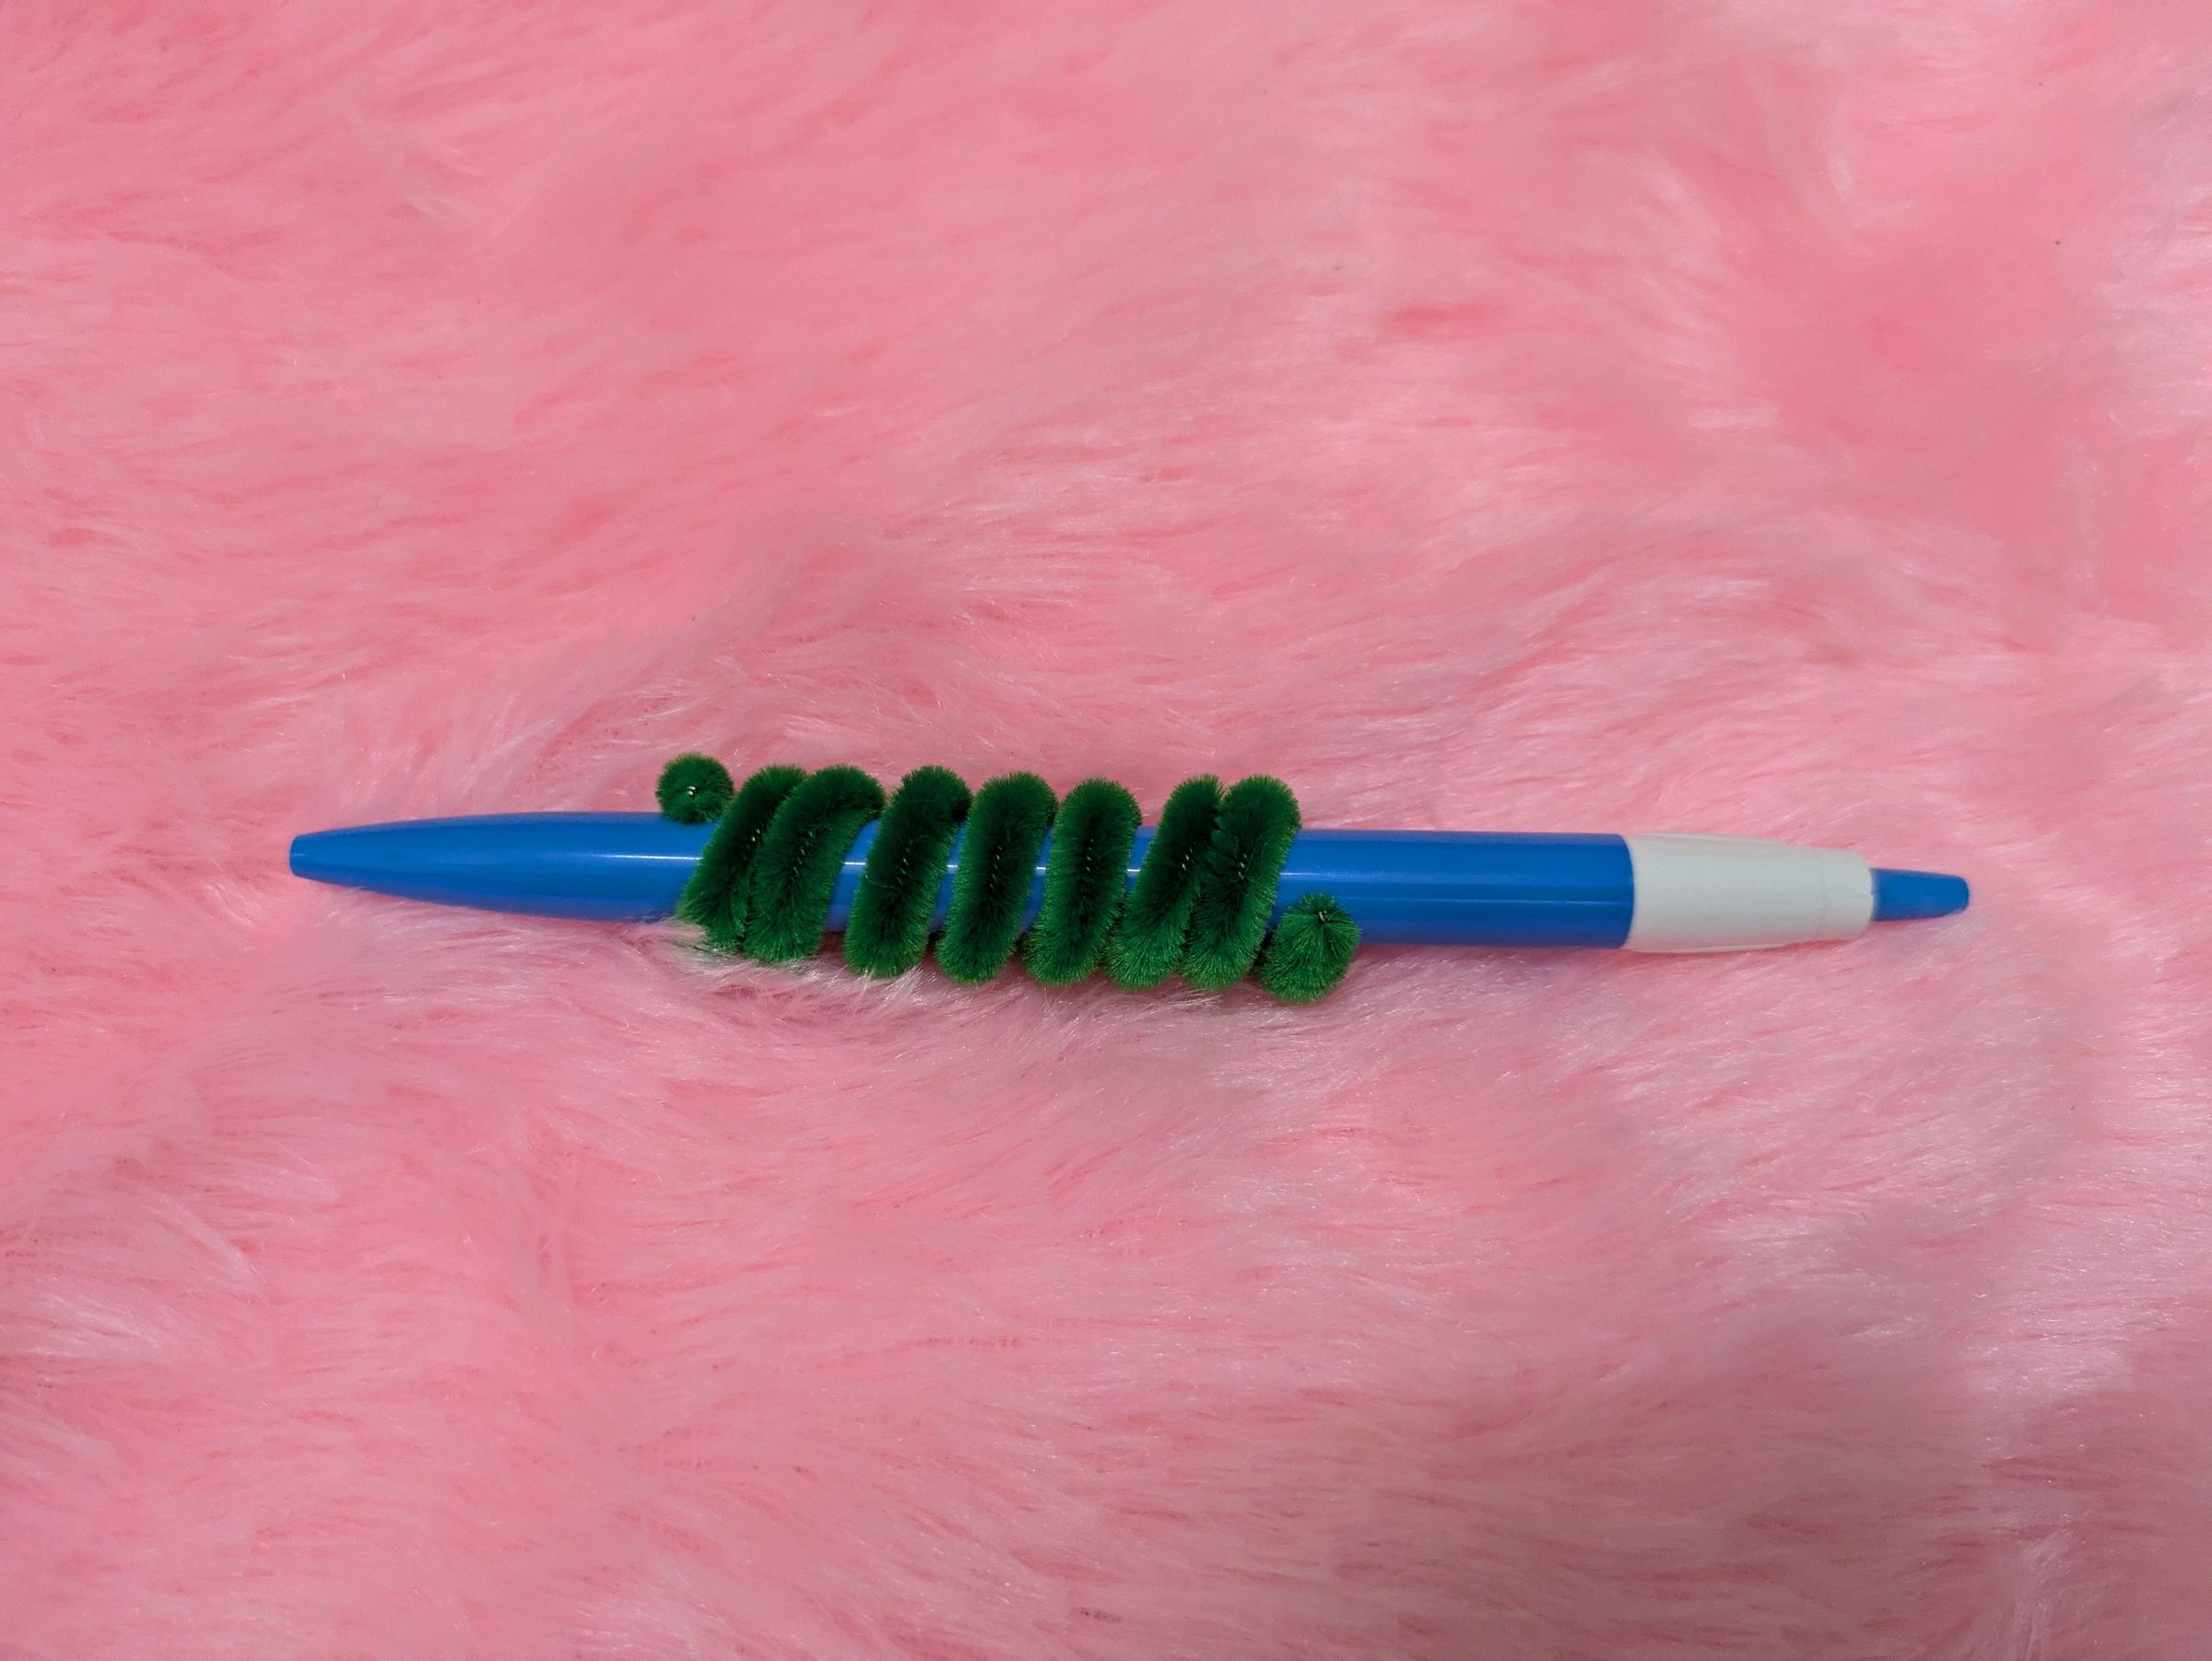
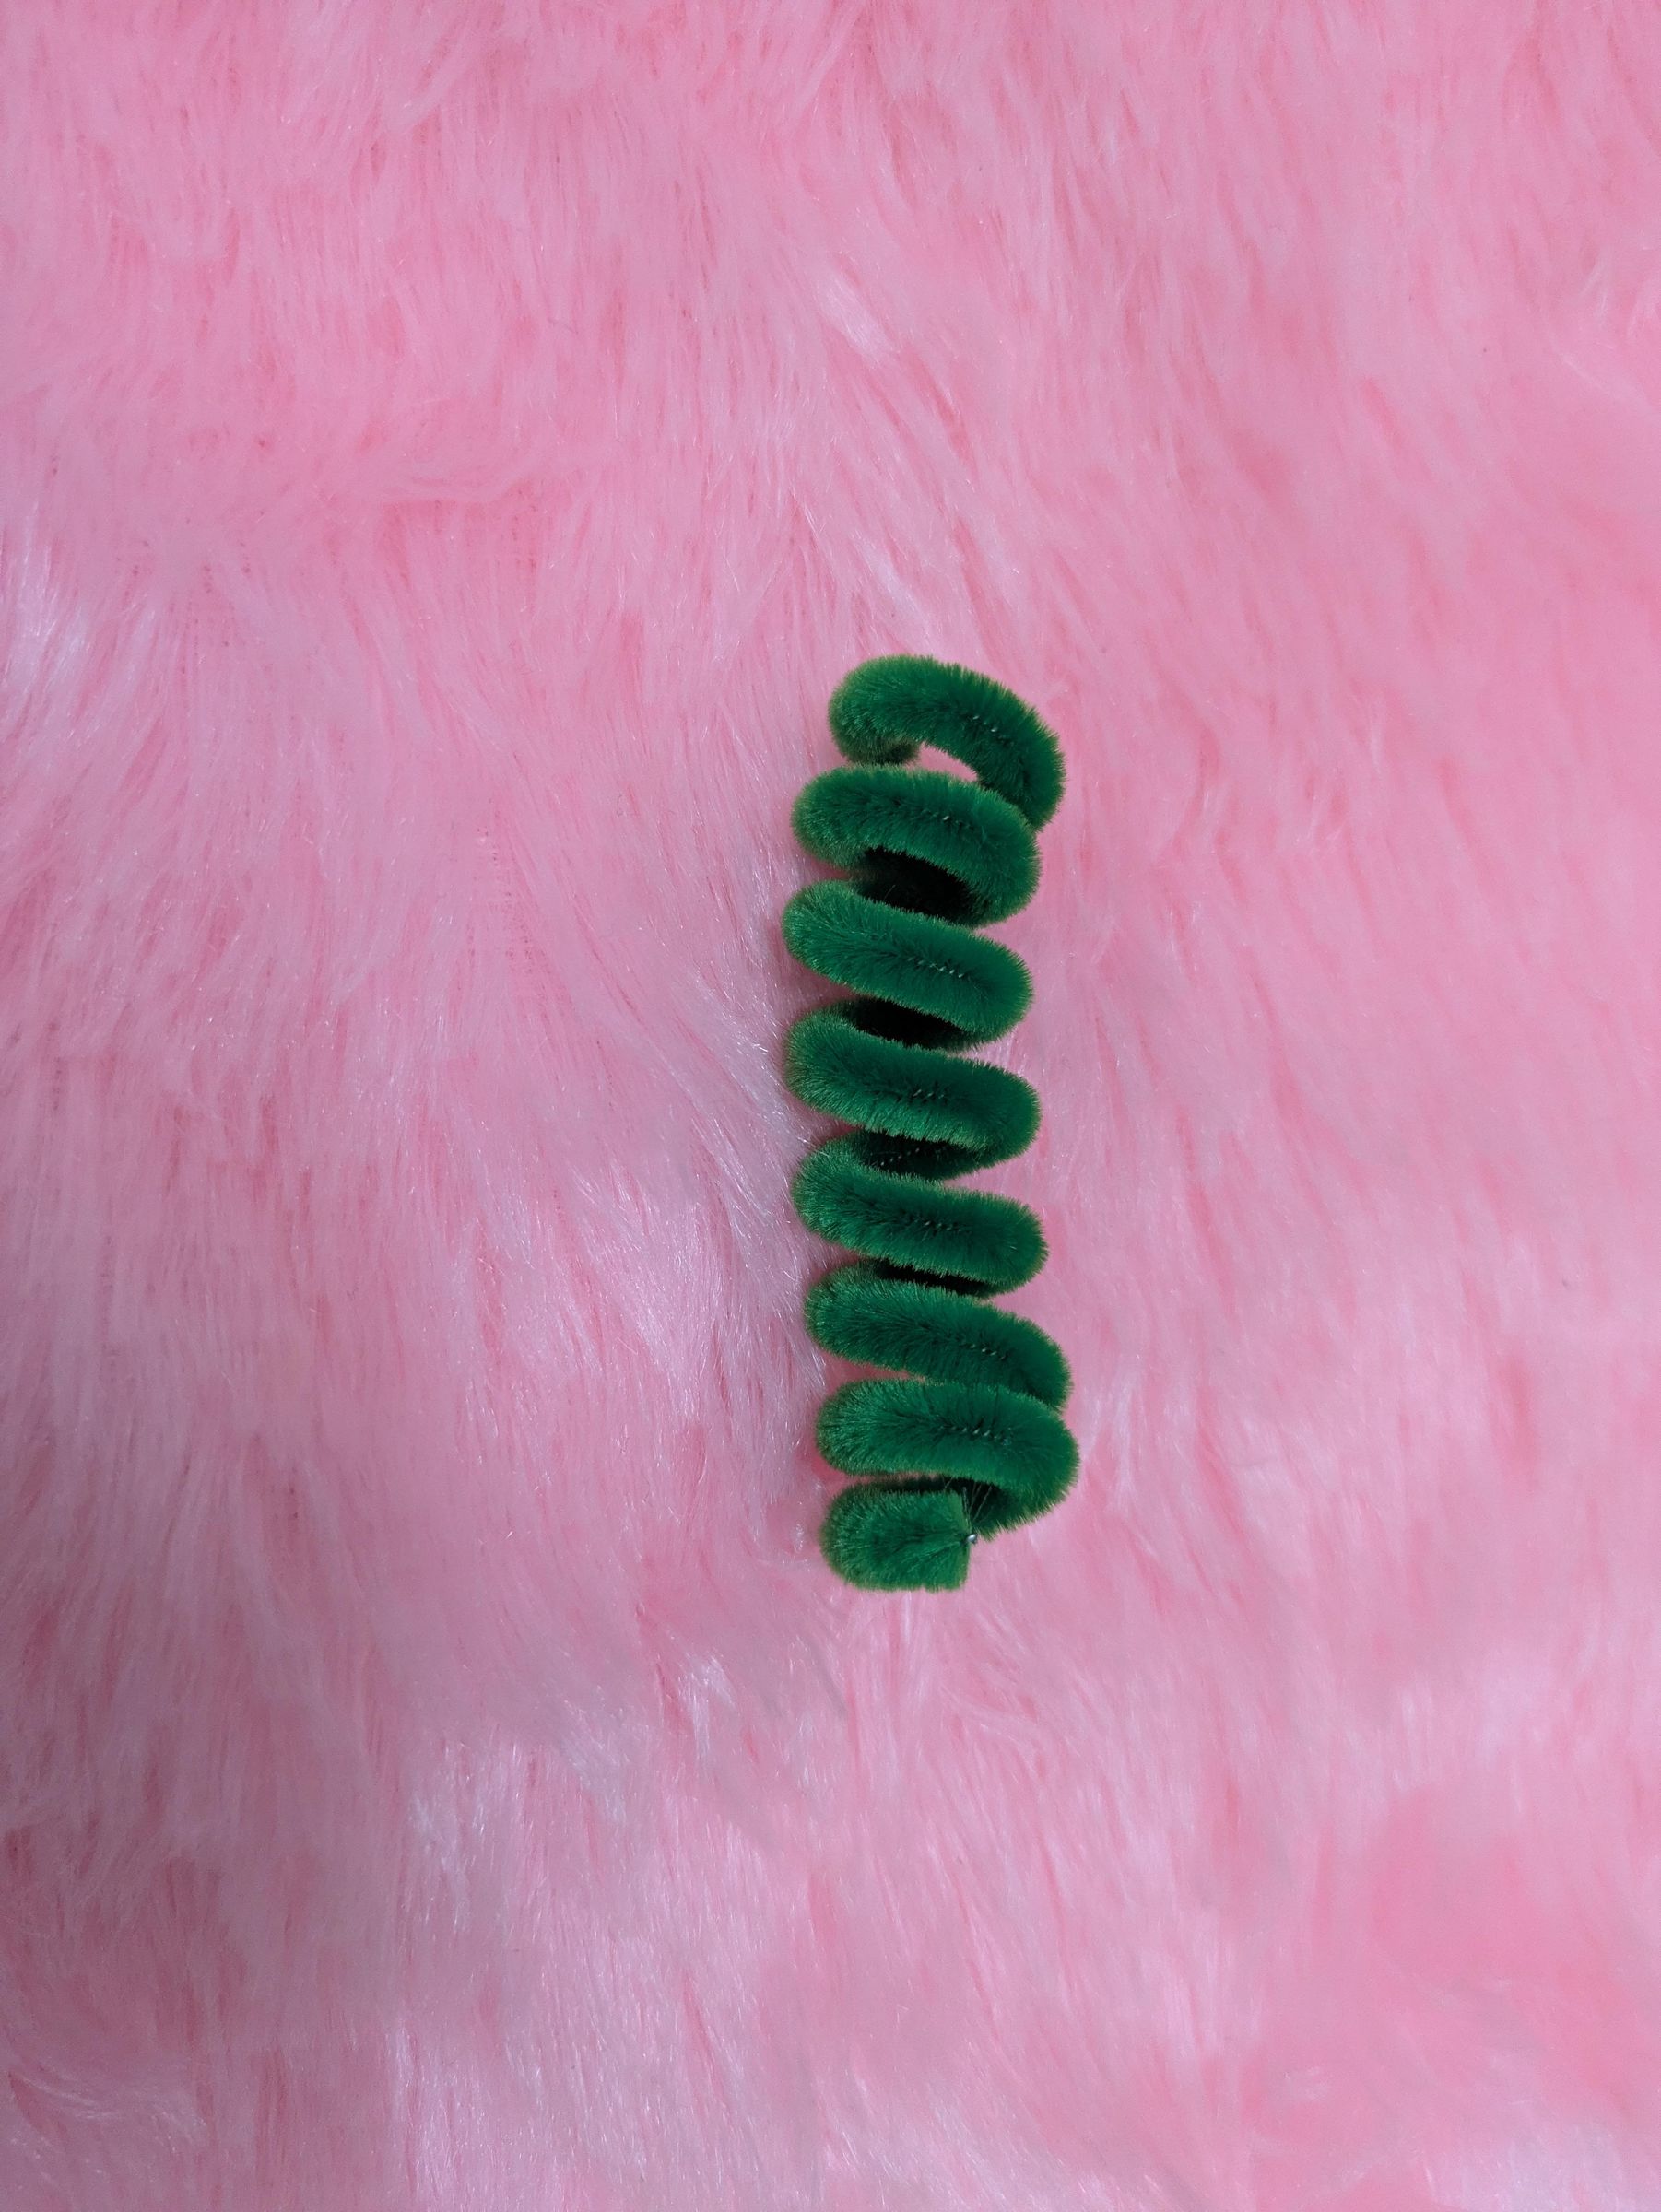
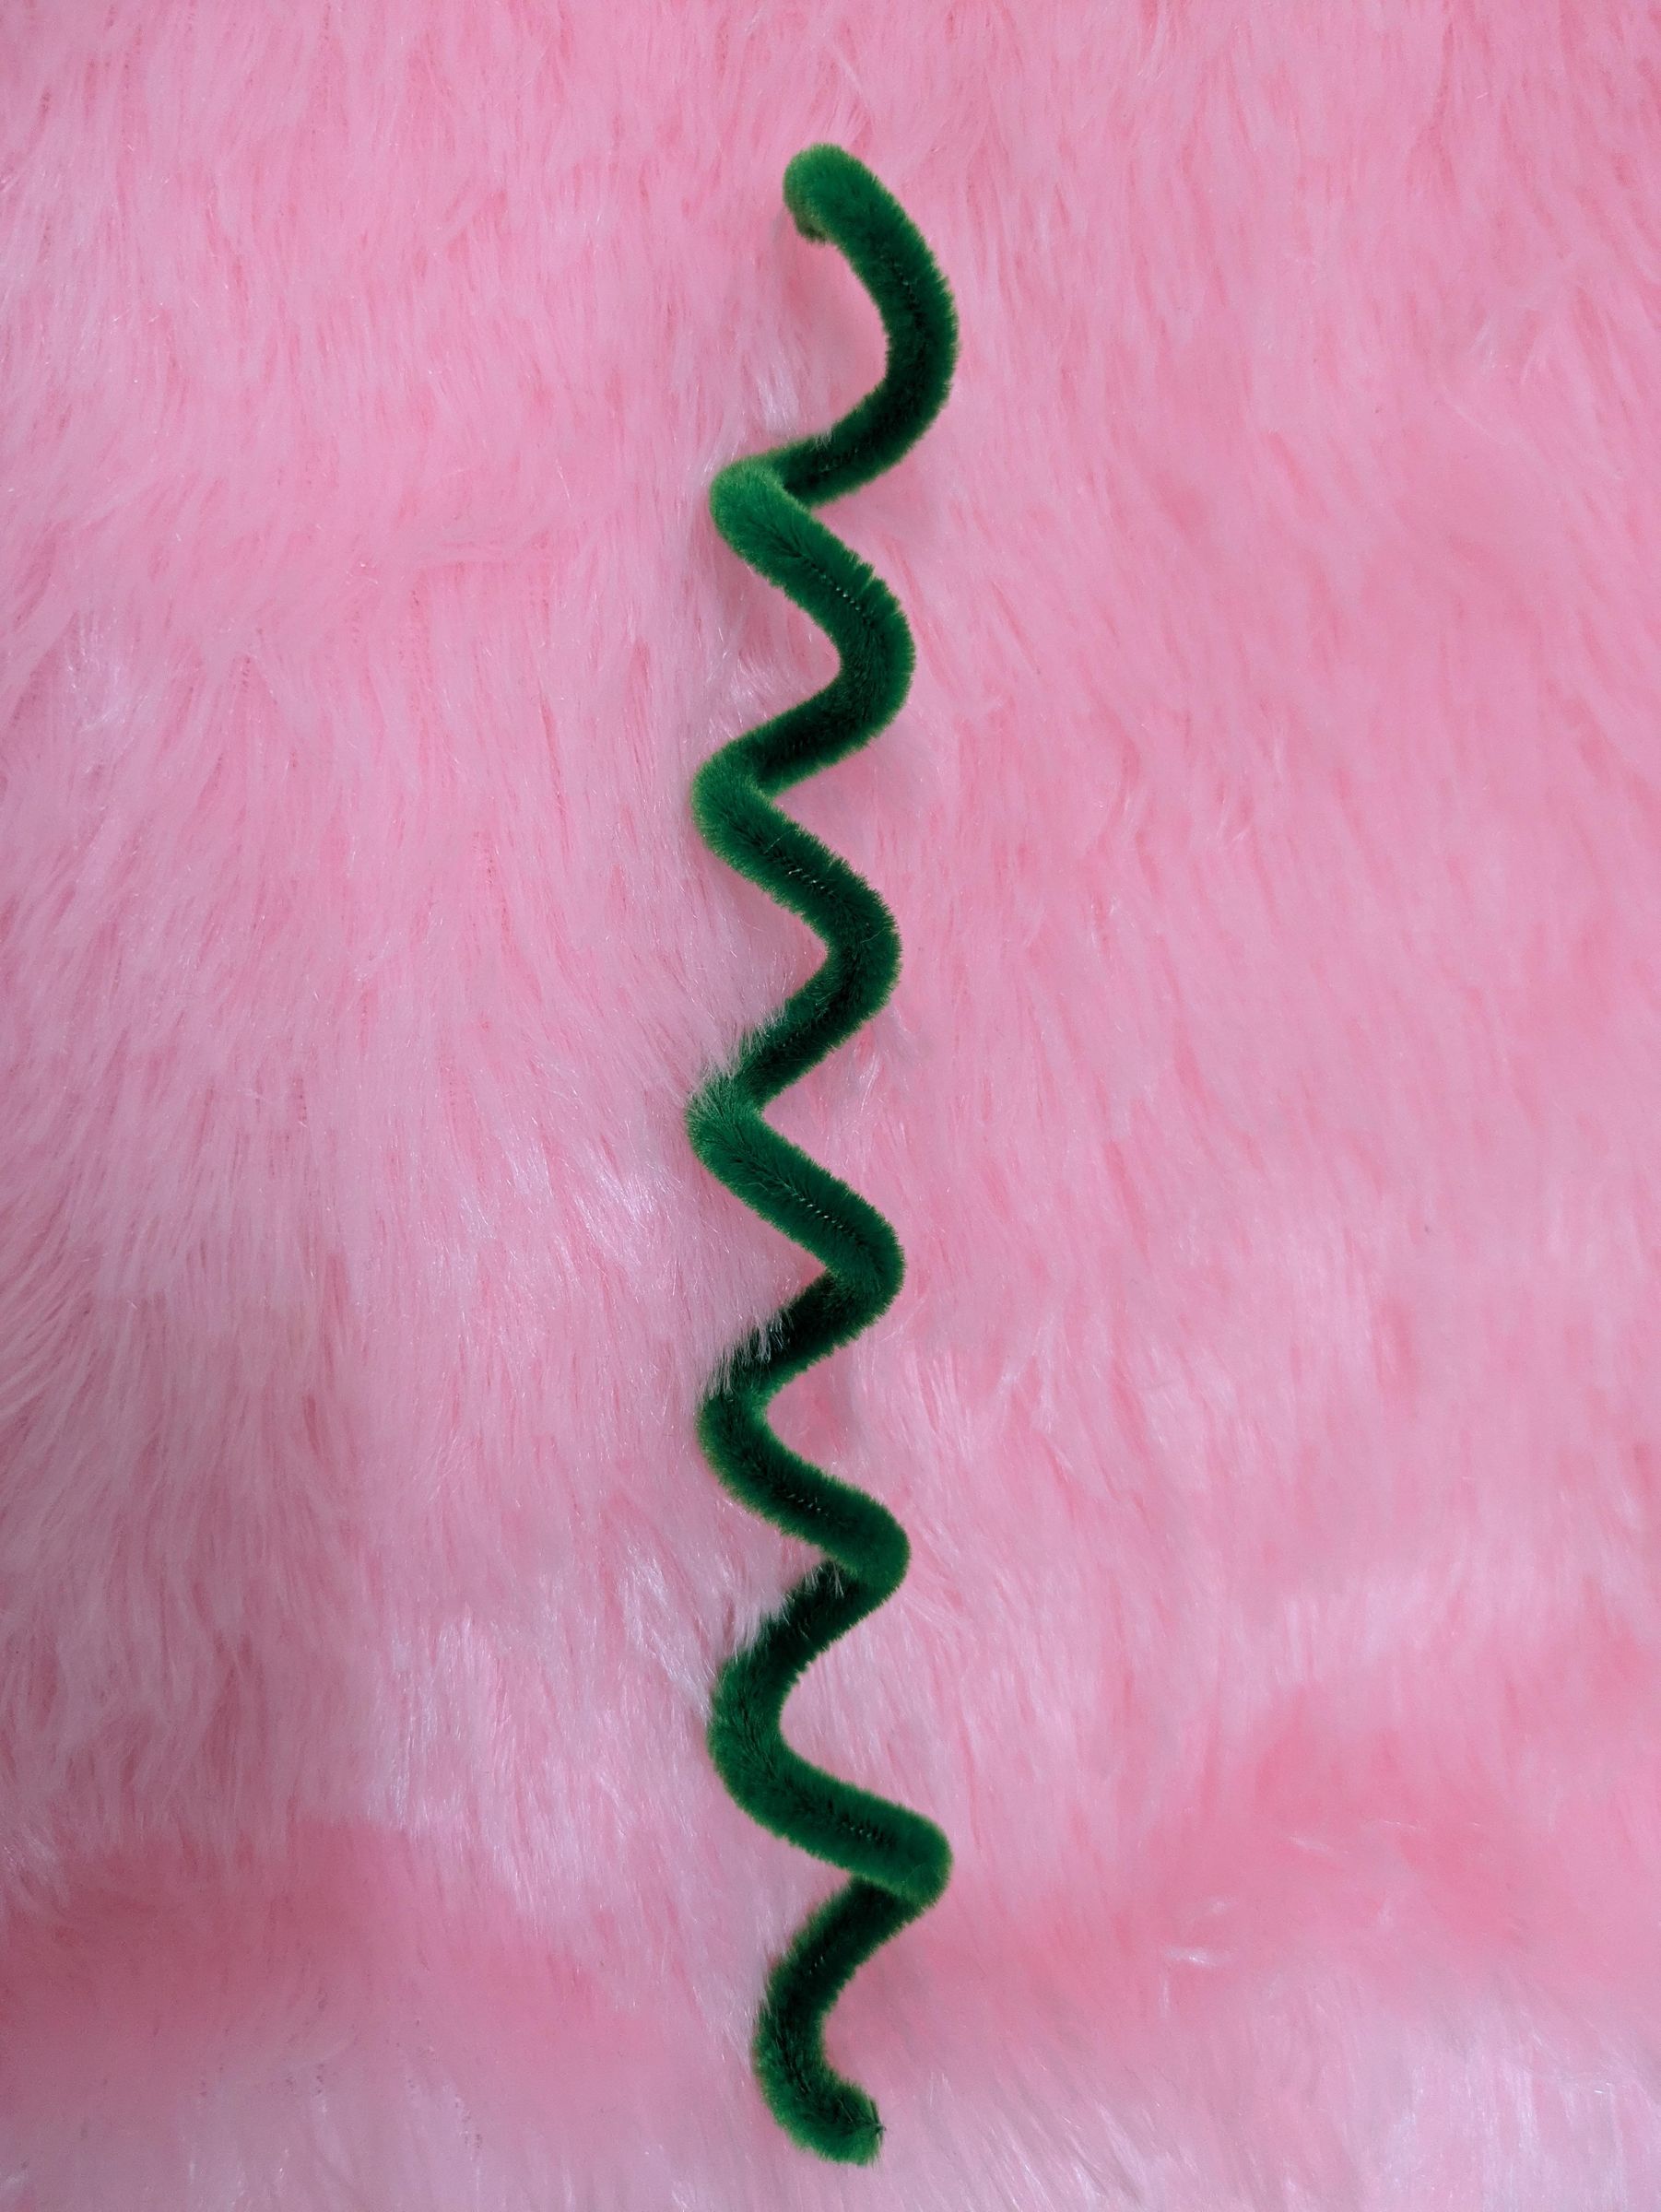
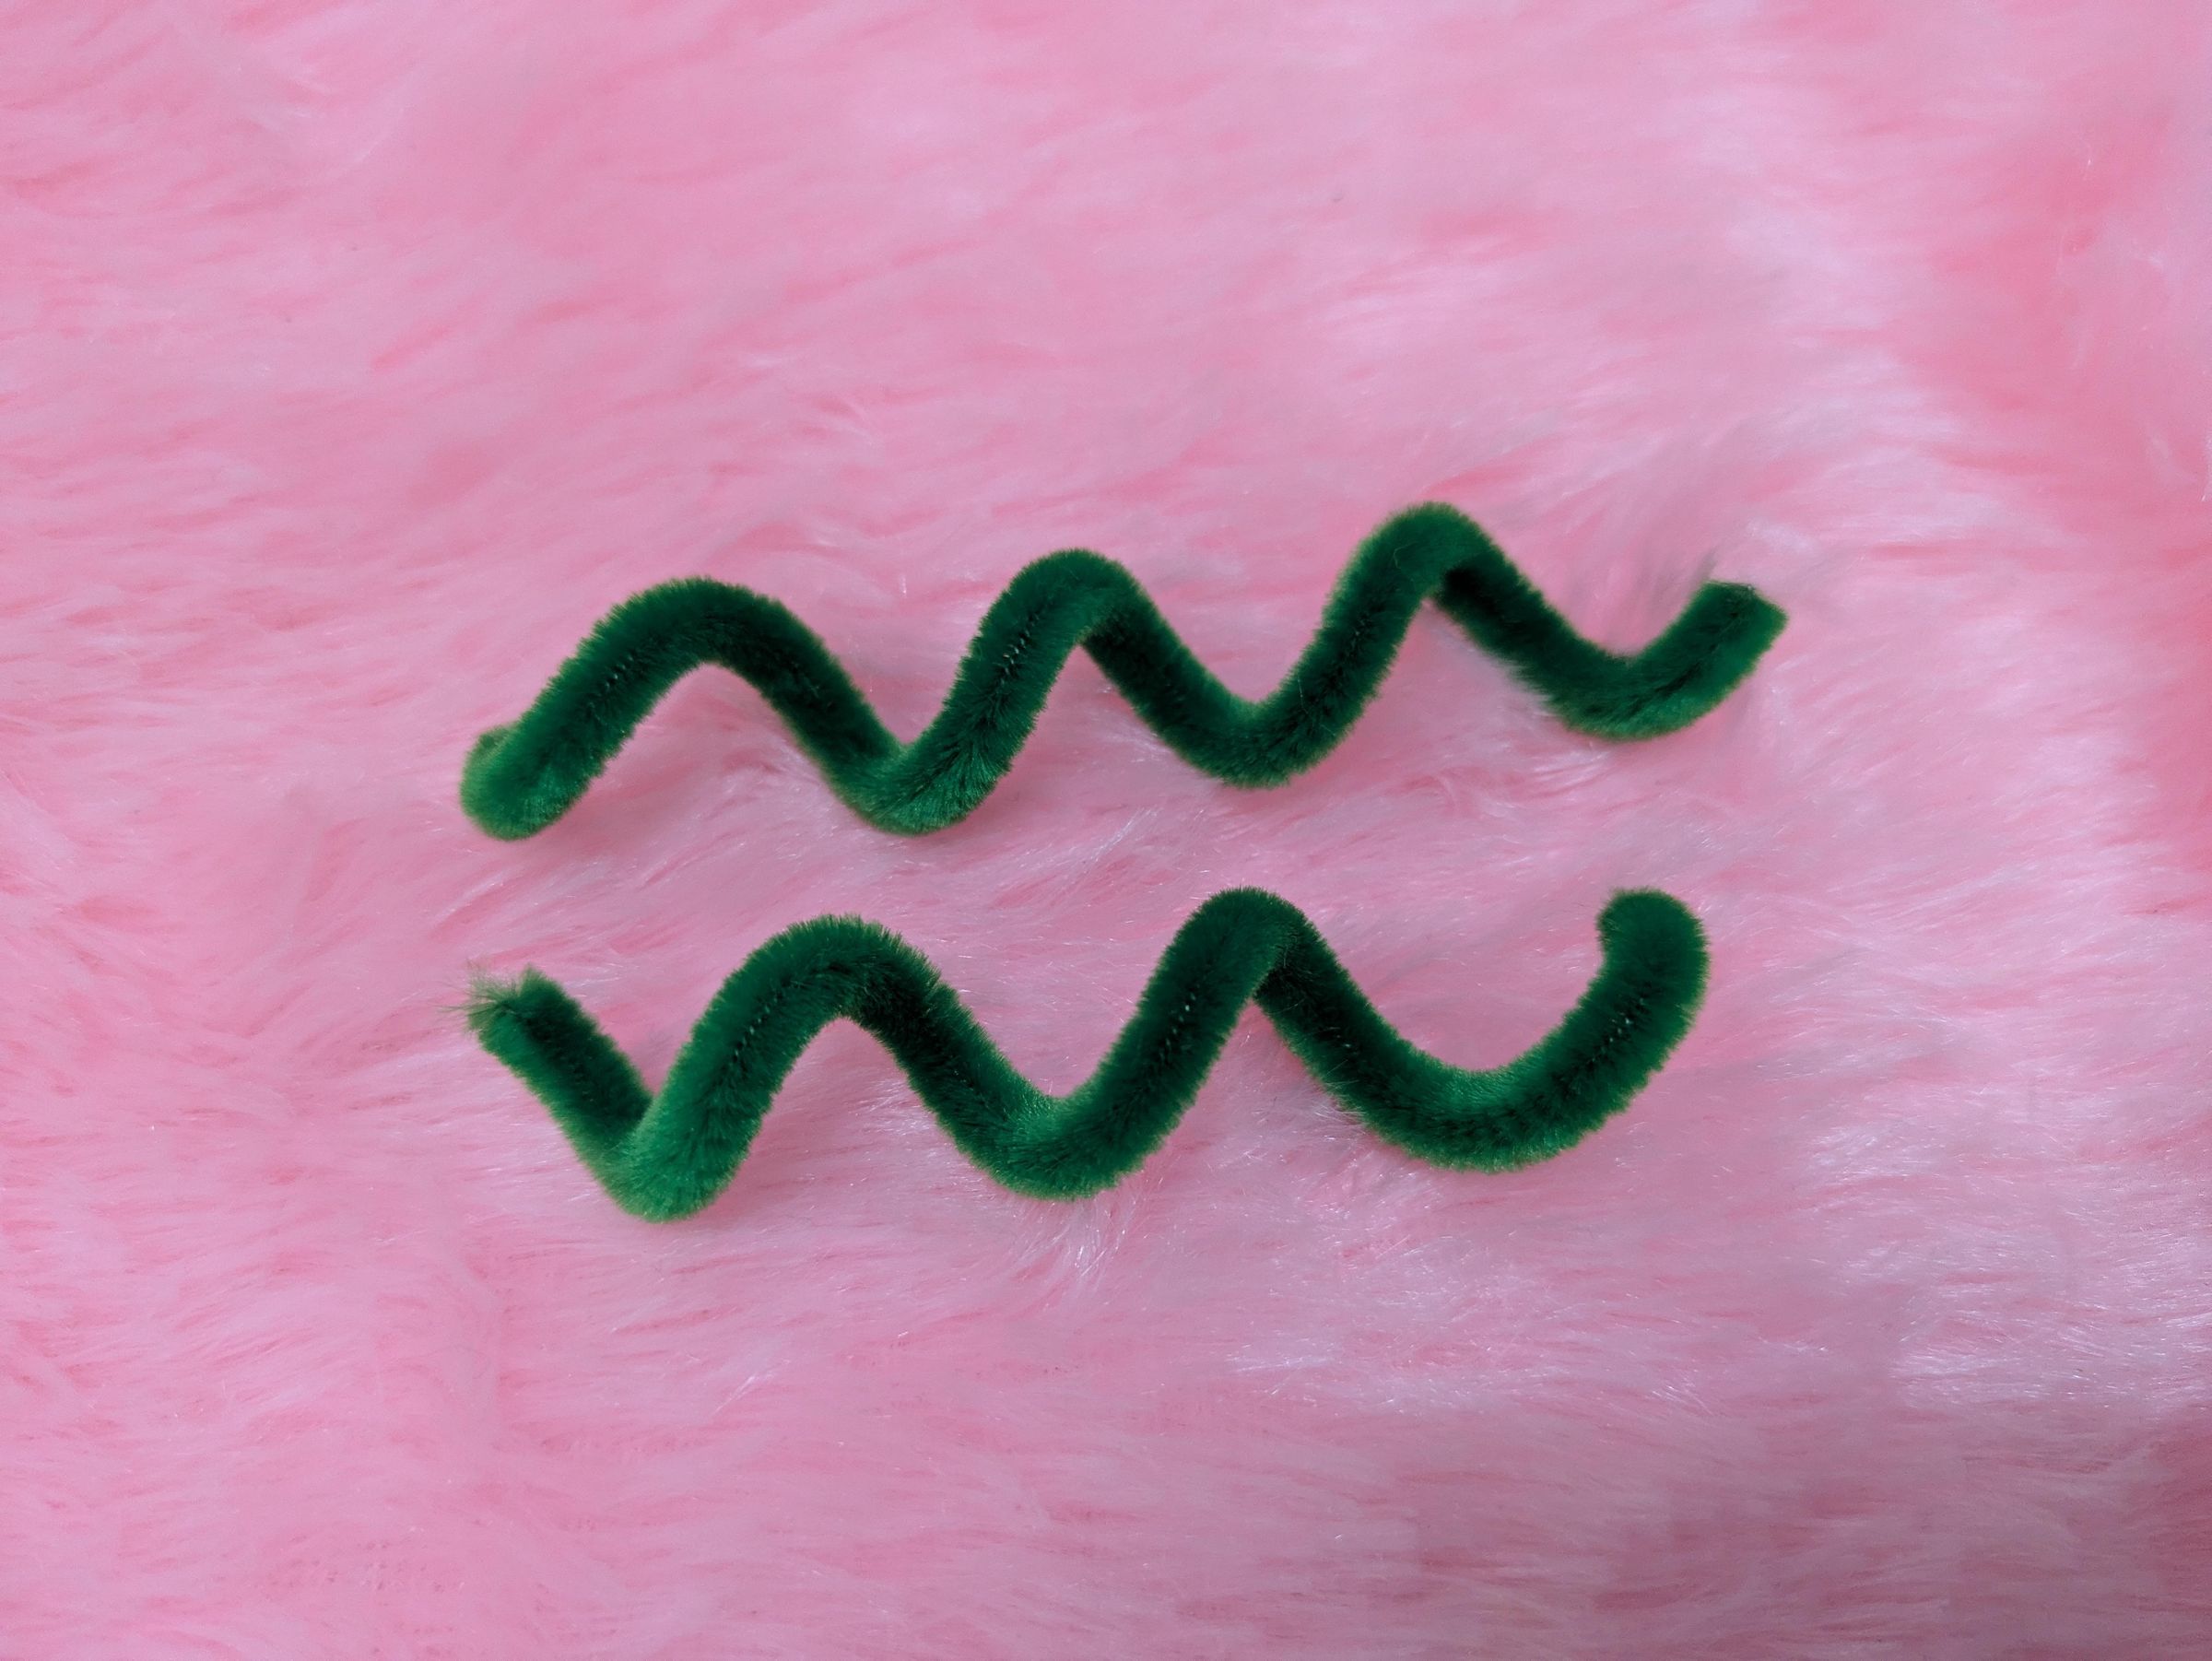
You can showcase a new sapling like image, for veins, use a normal pen, twist the pipe cleaner all the way, remove it, pull it on both end and cut it in middle
Attachments
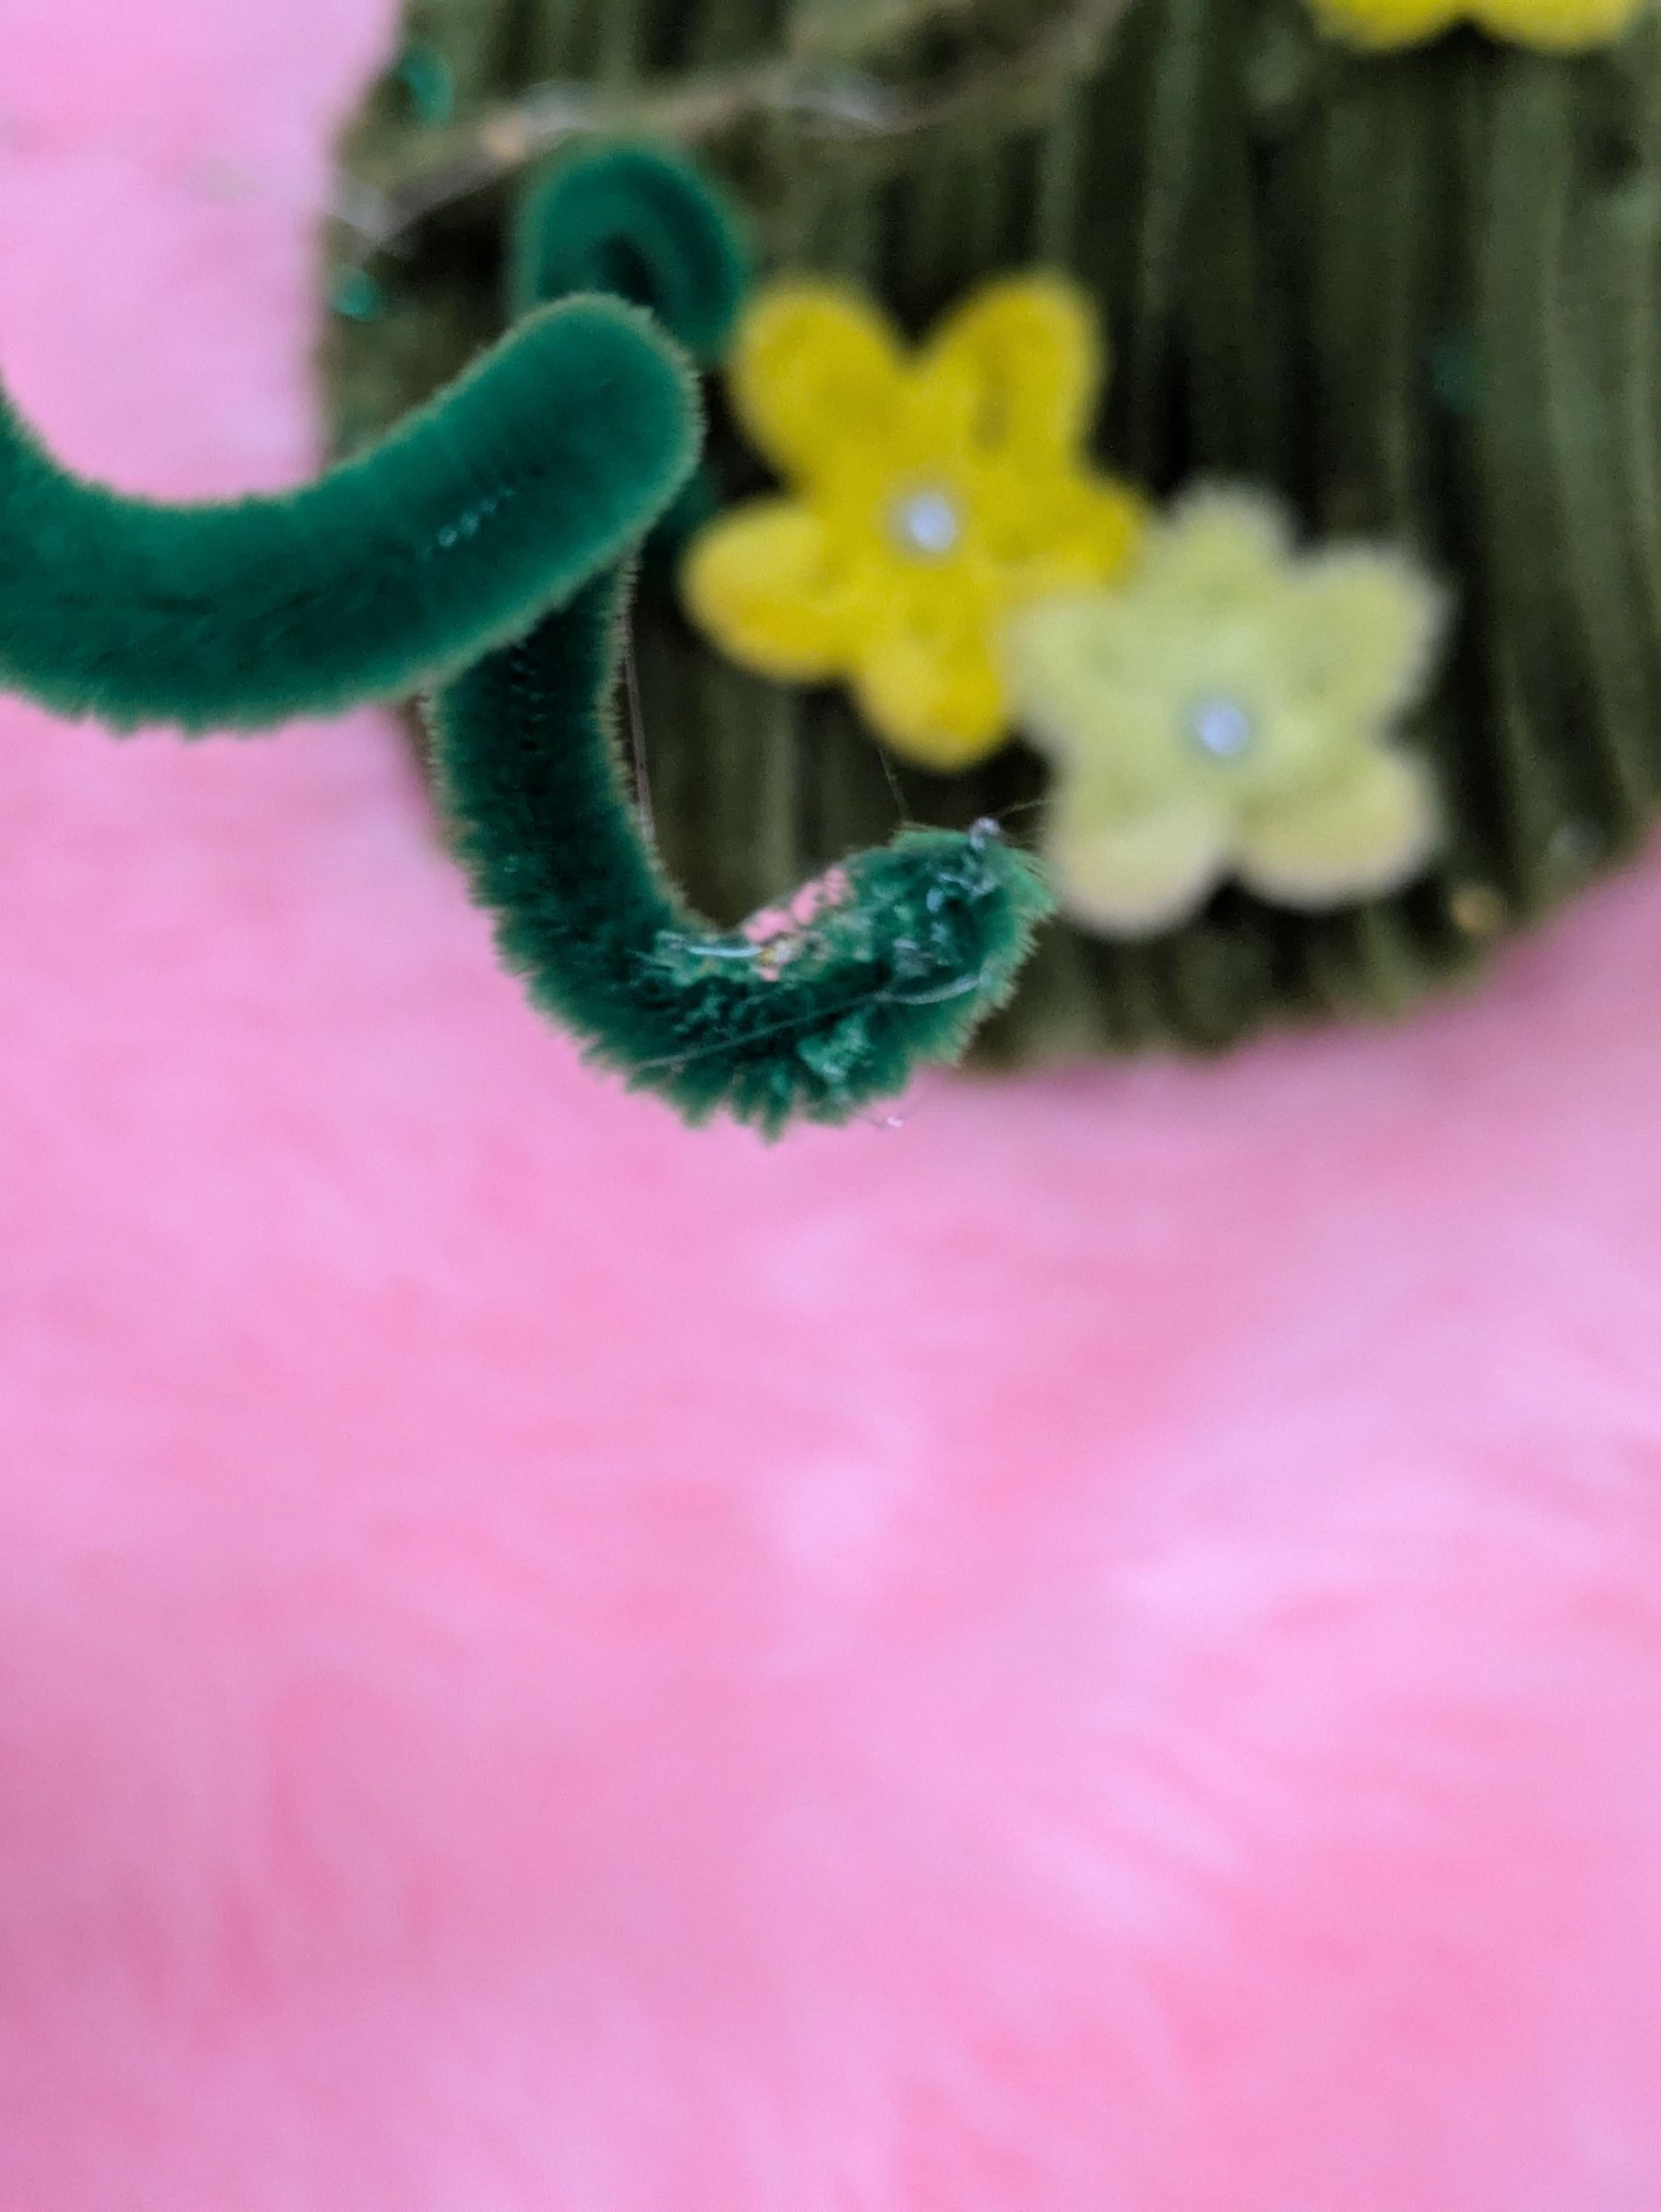
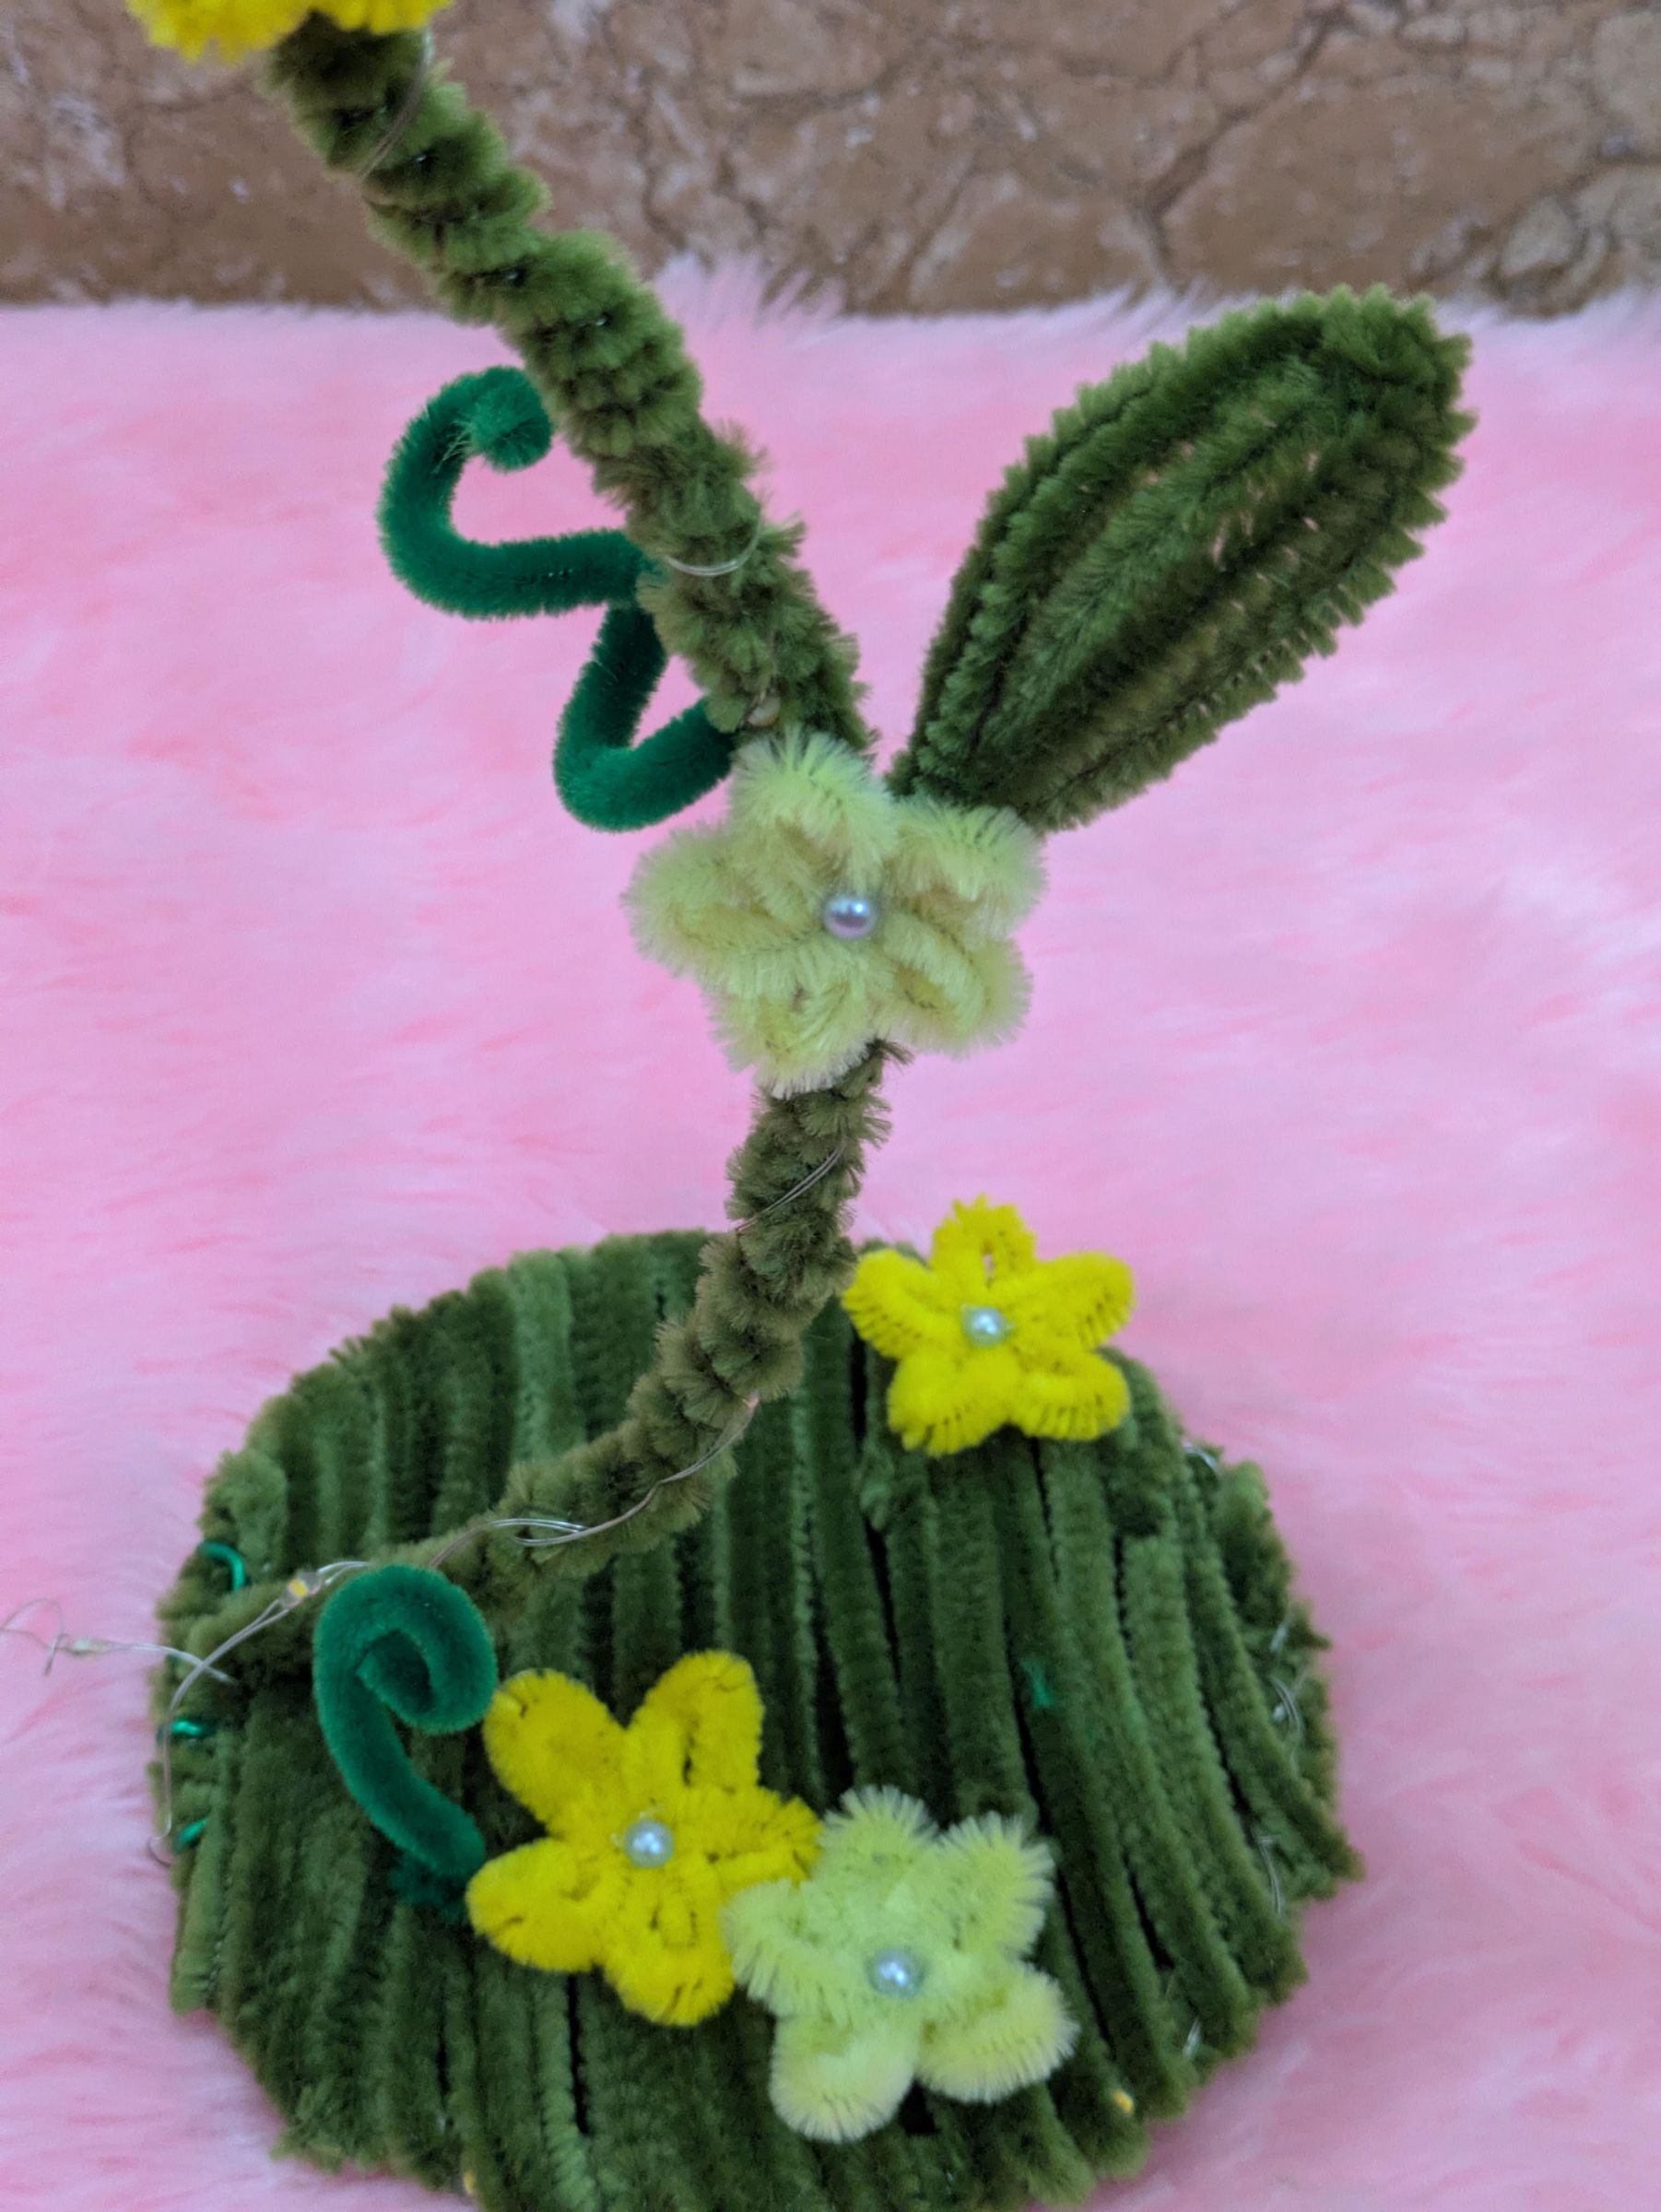
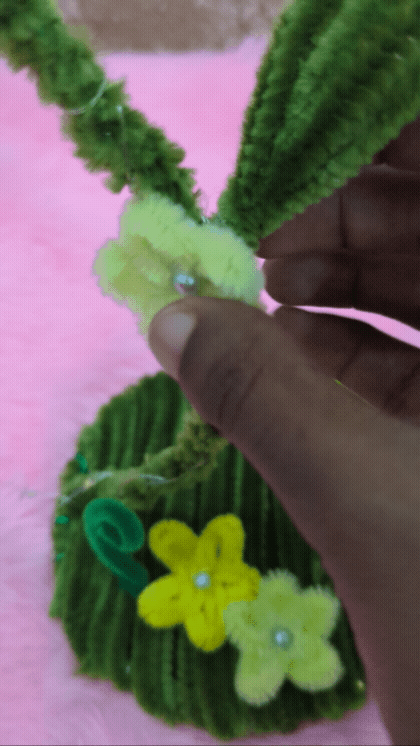
Paste the veins using glue gun, cut the extra length in flower base and decorate/position it in your lamp as you heart desired.
Light Stamens
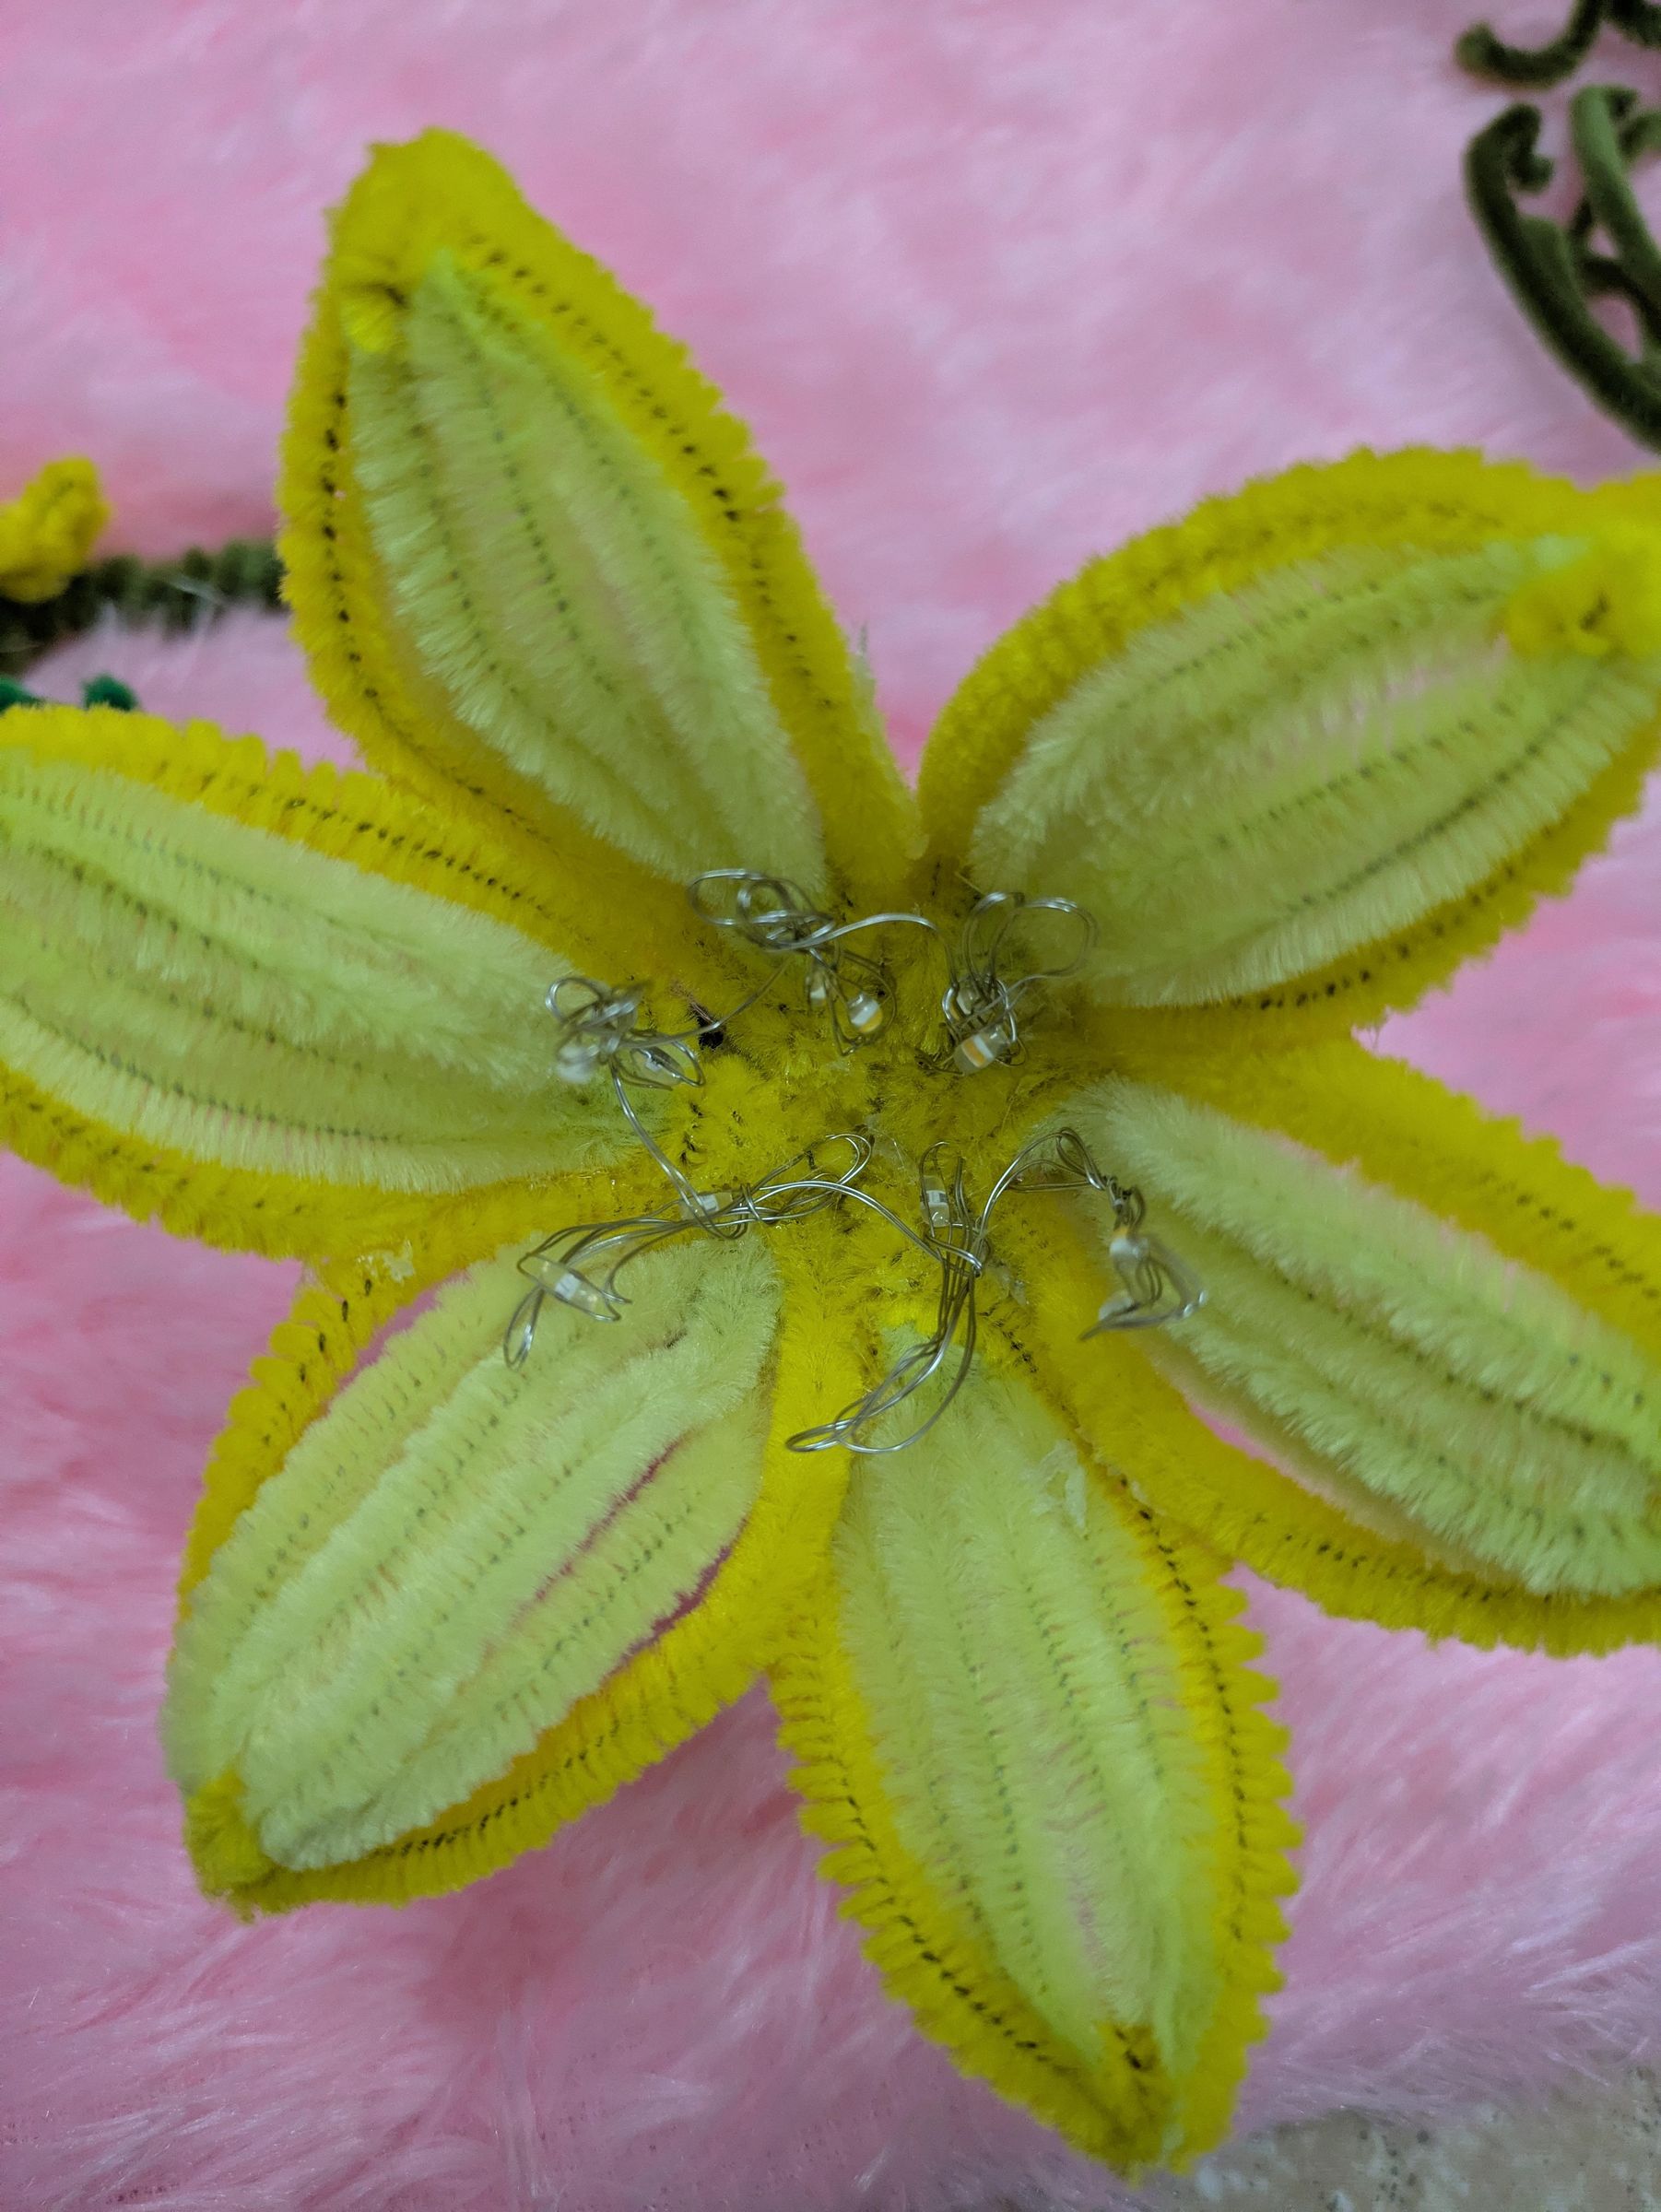
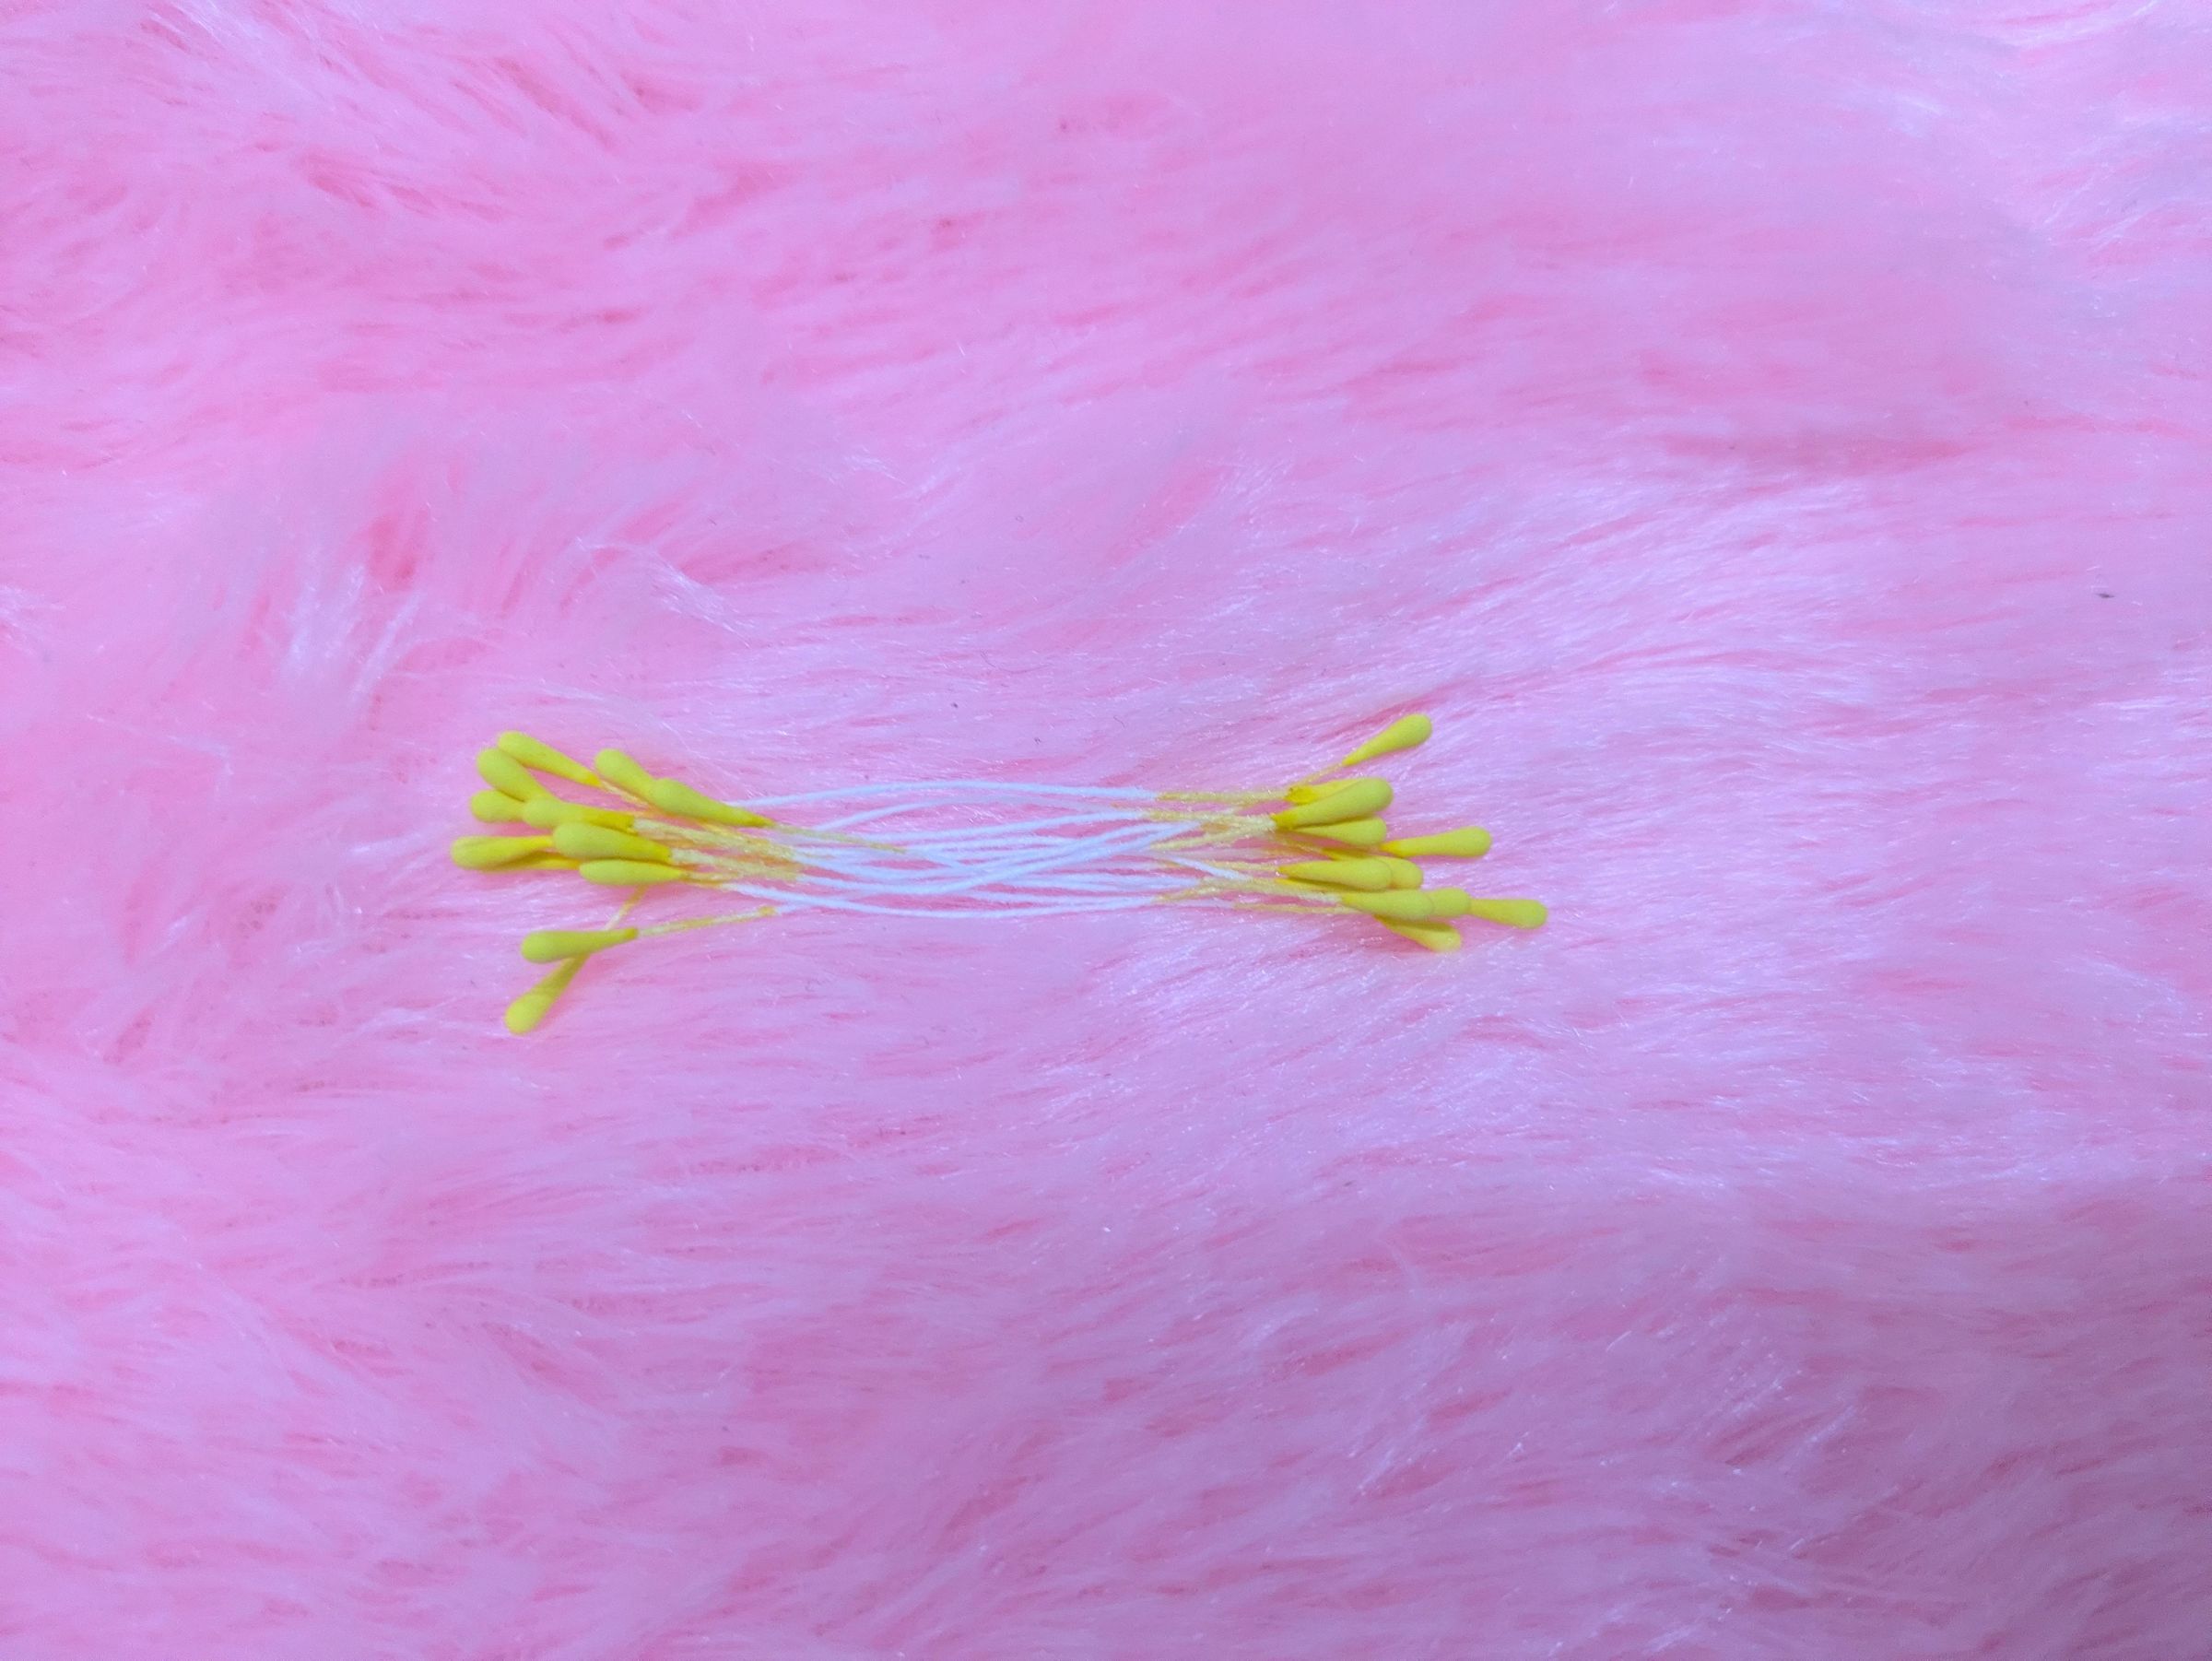
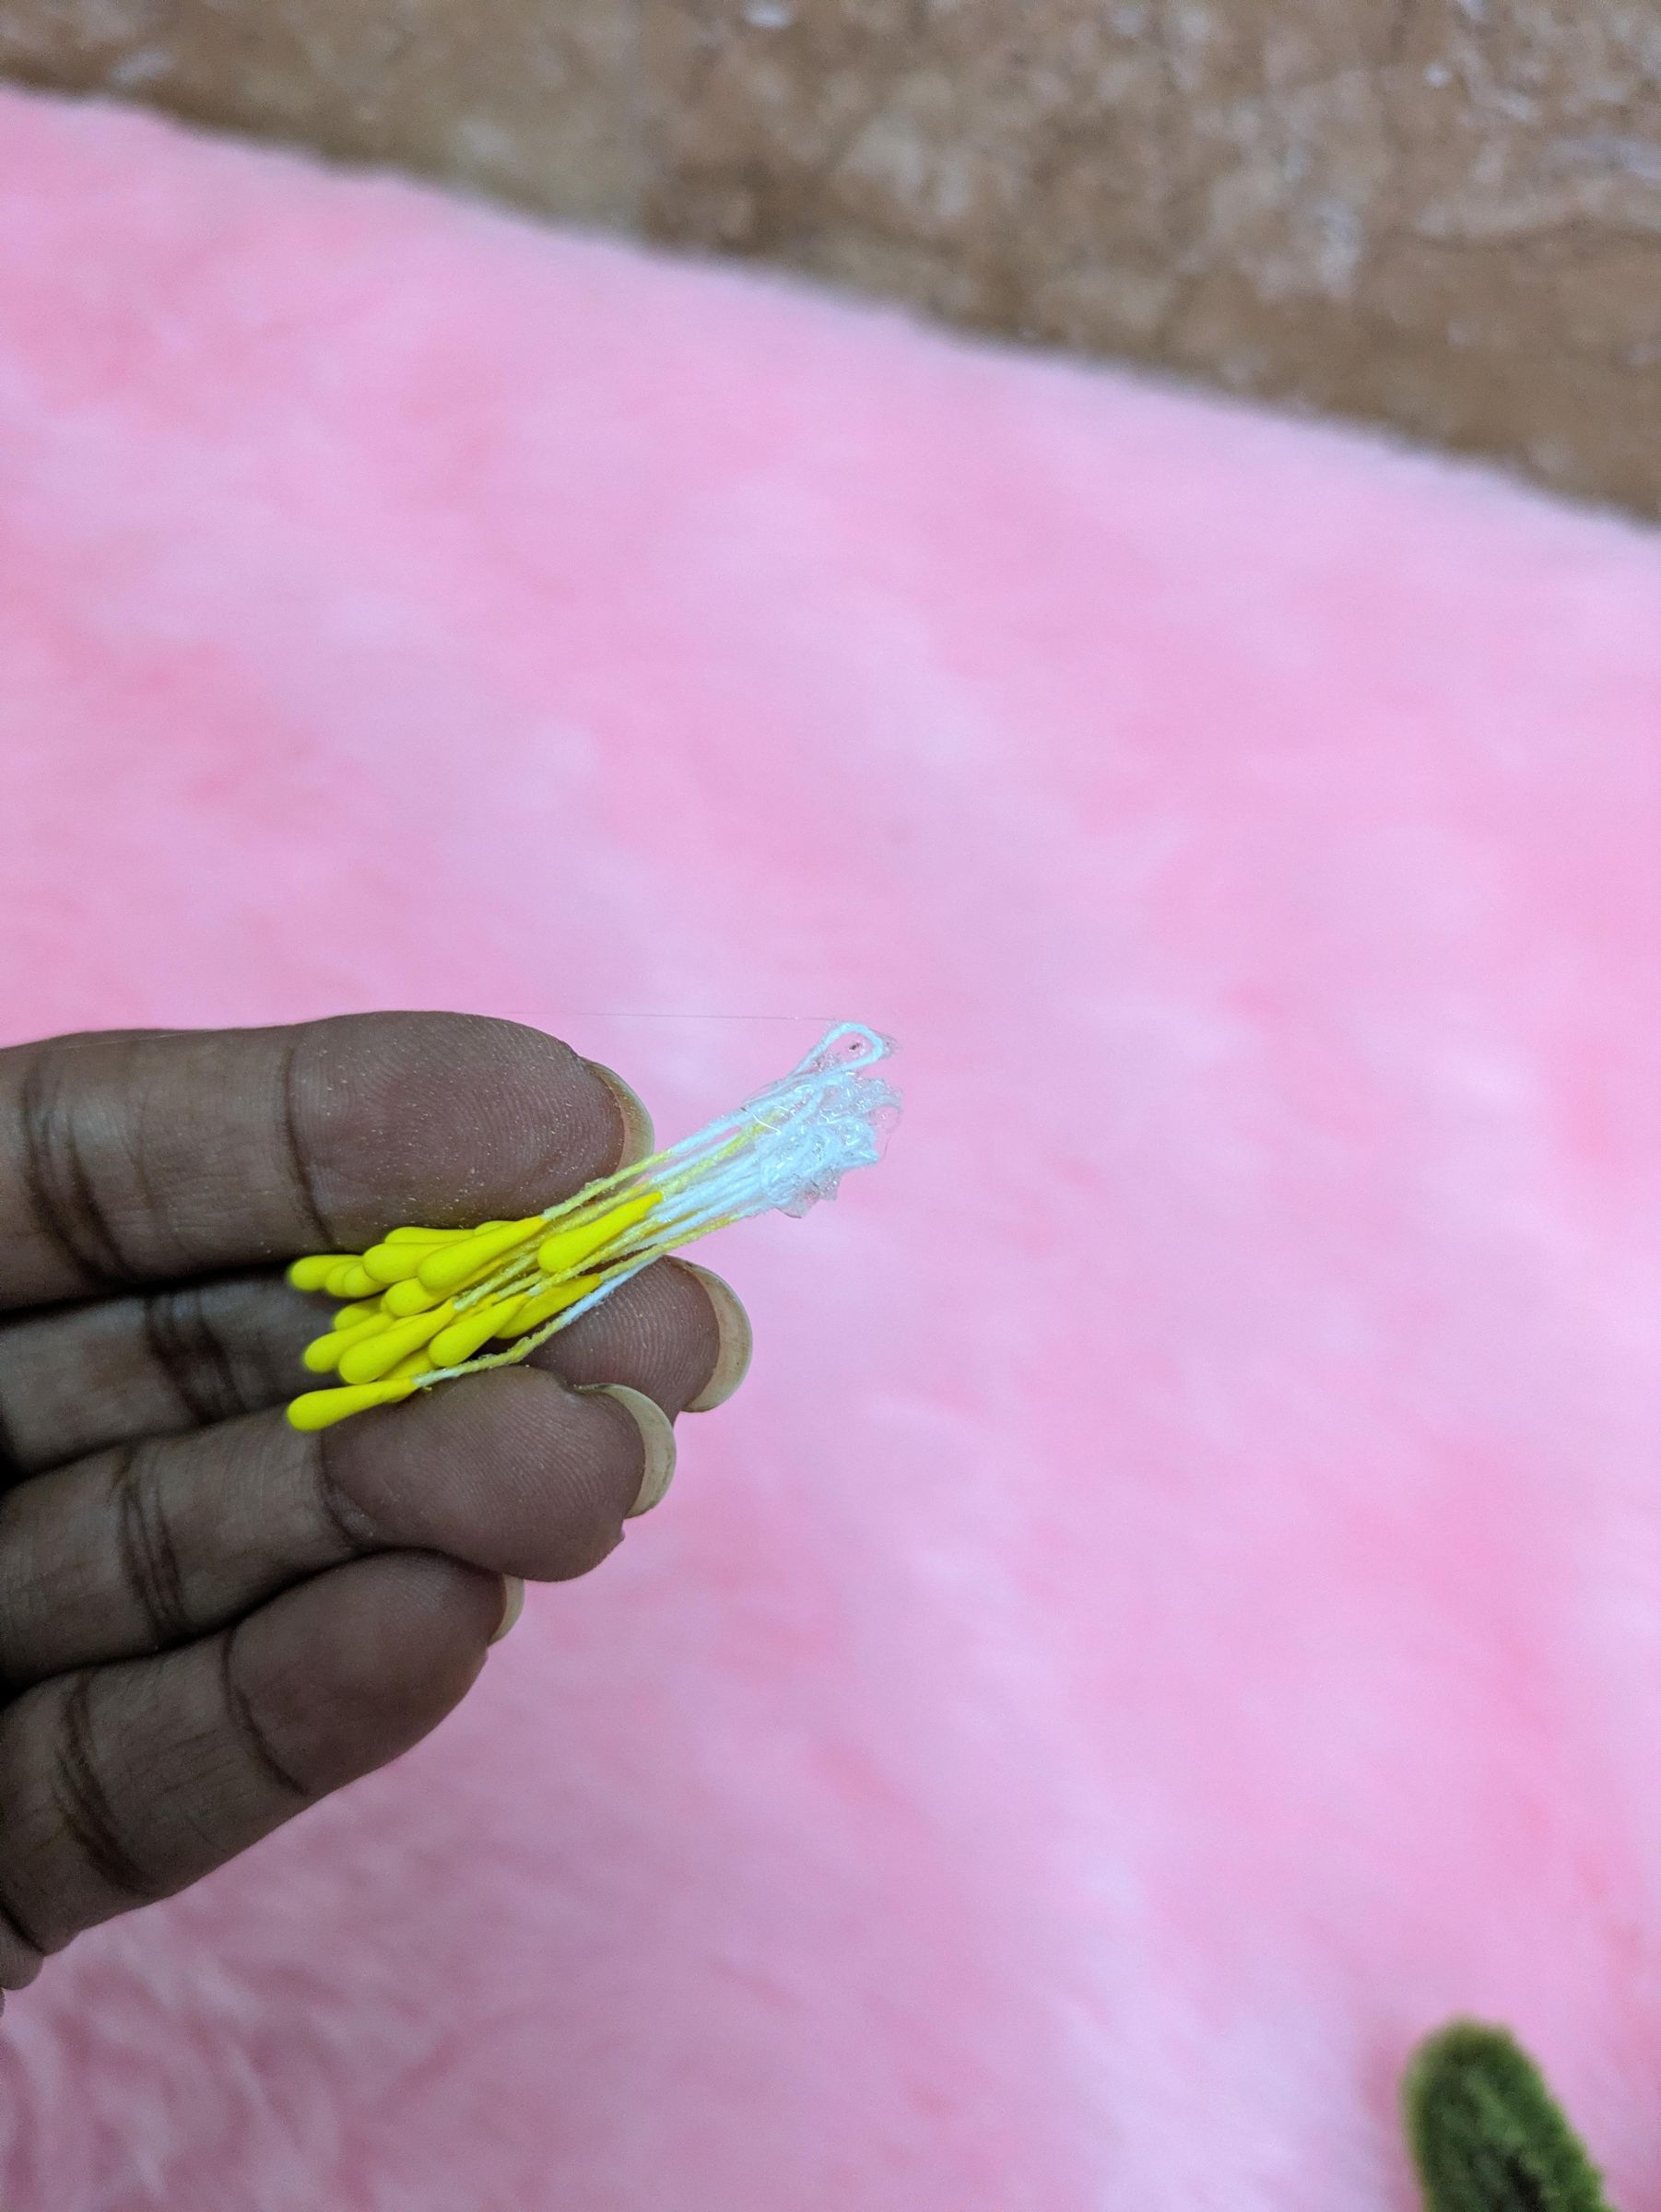
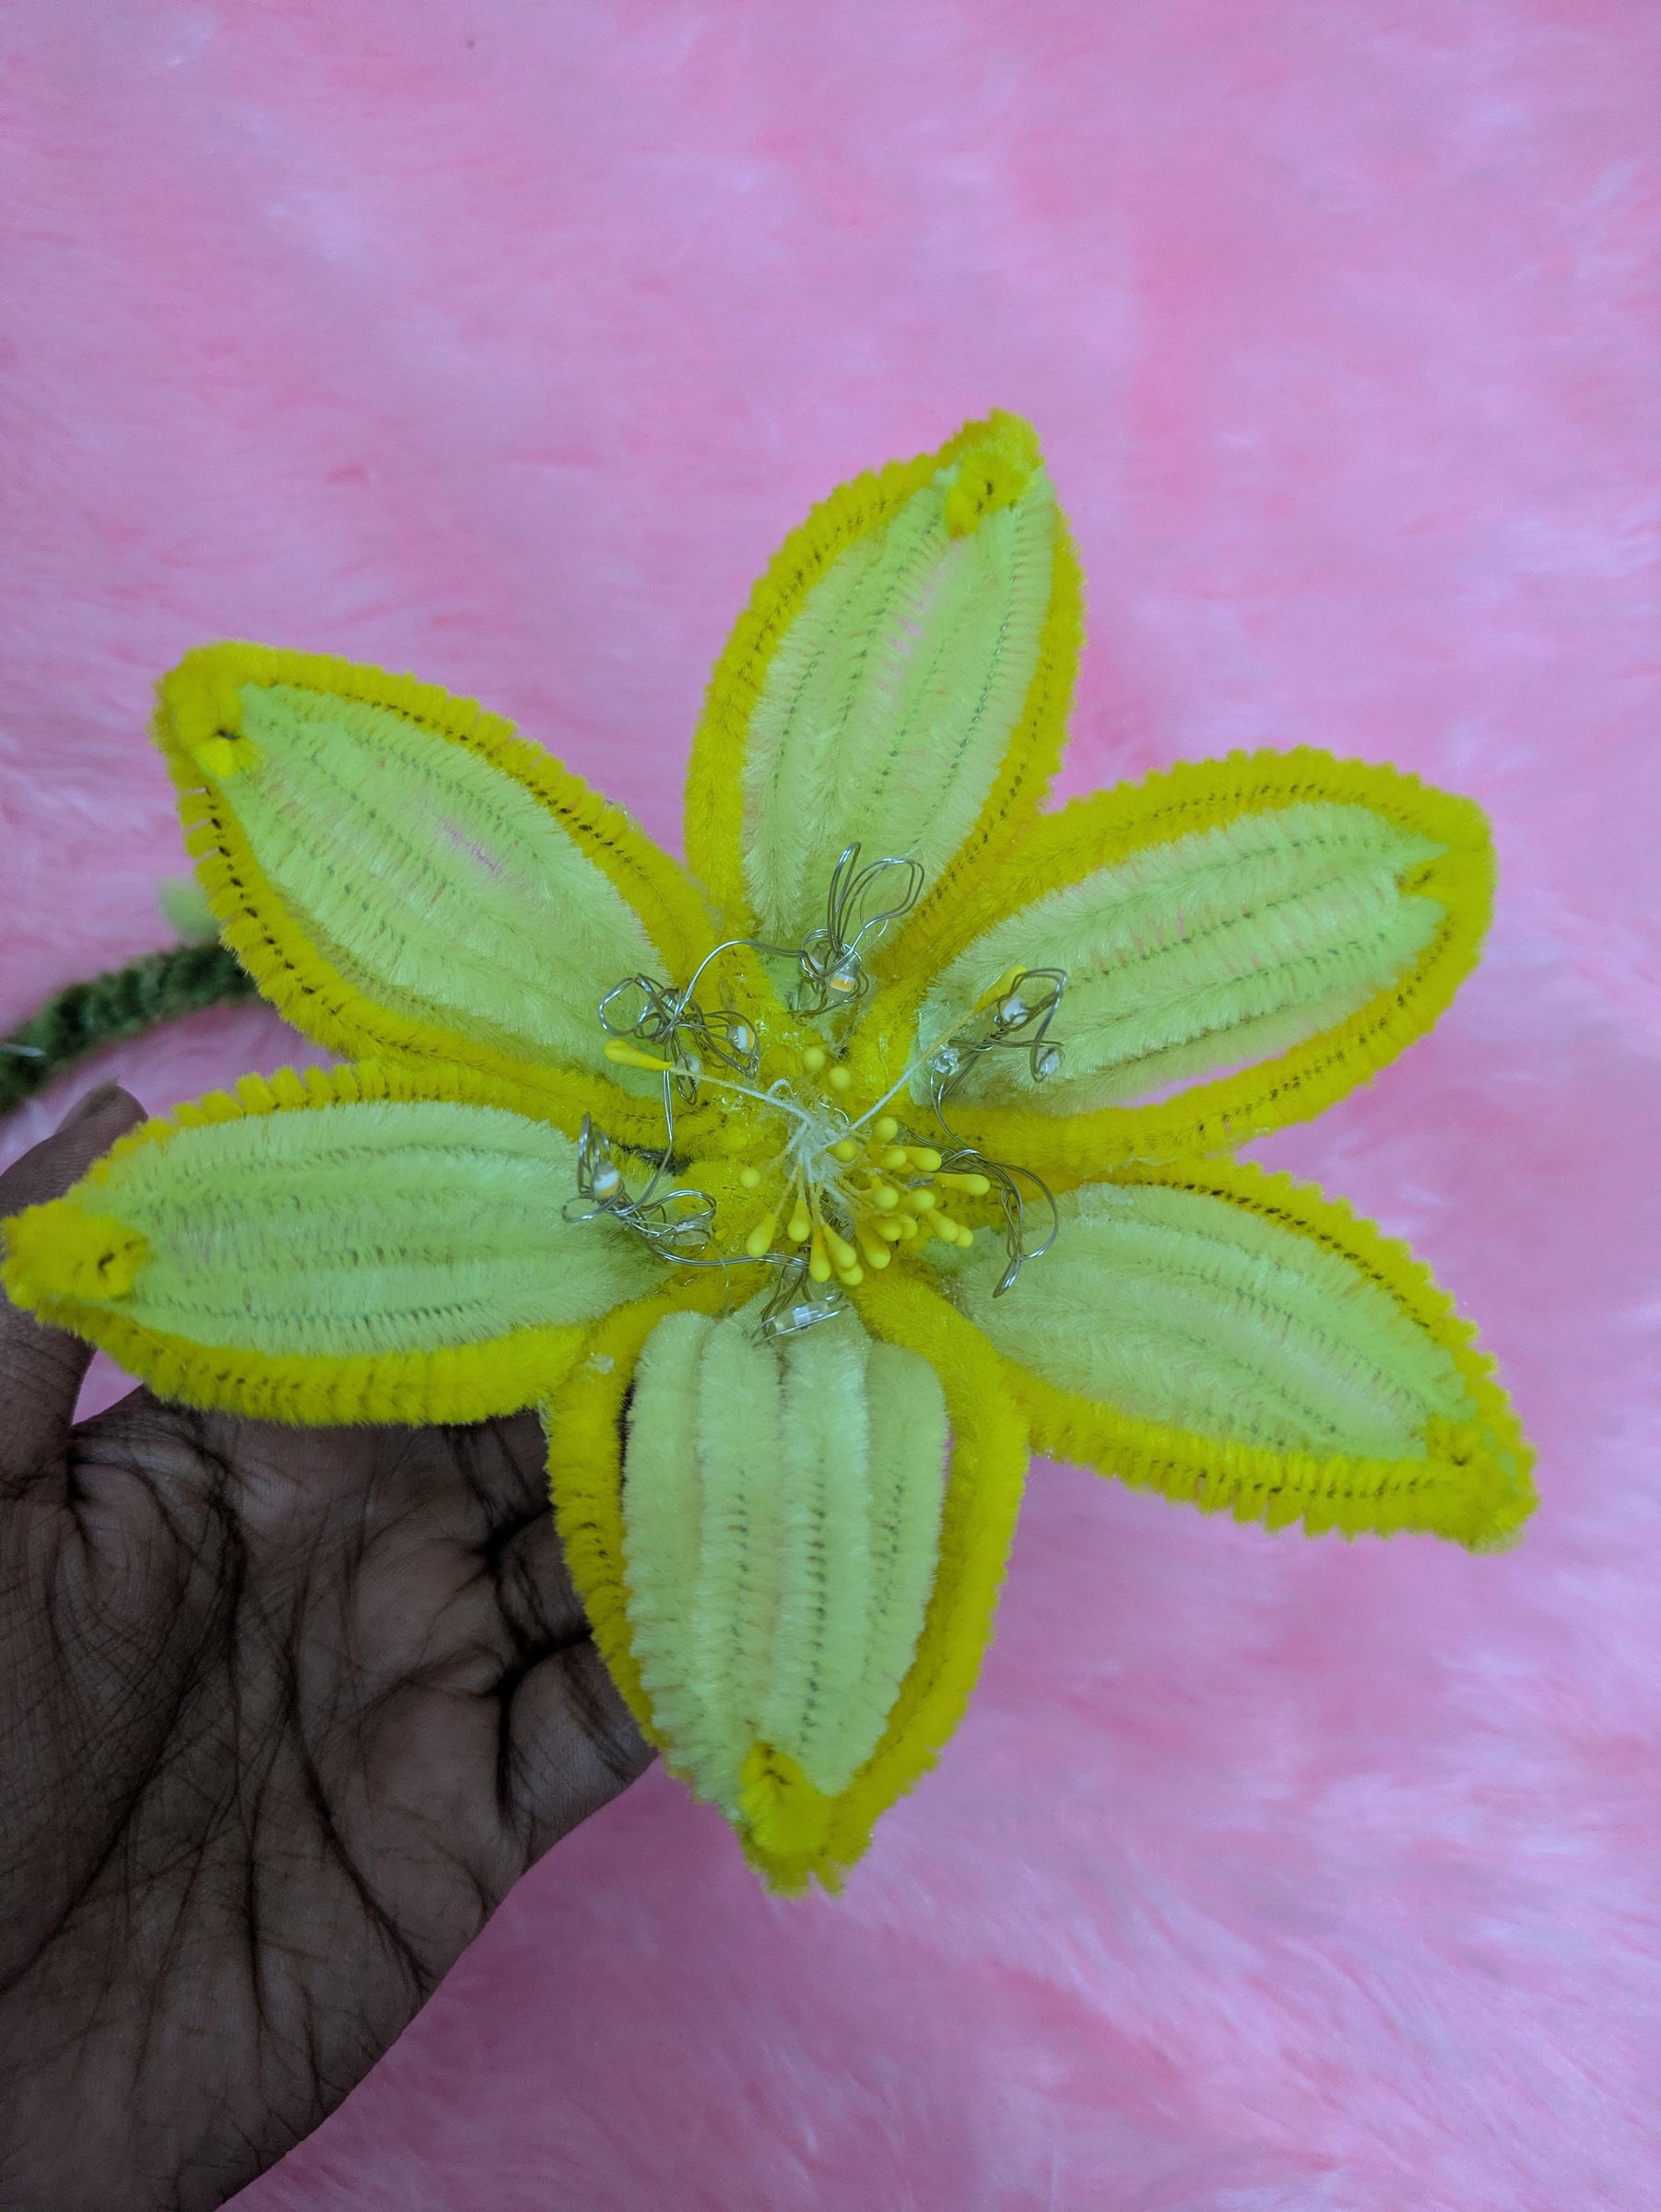
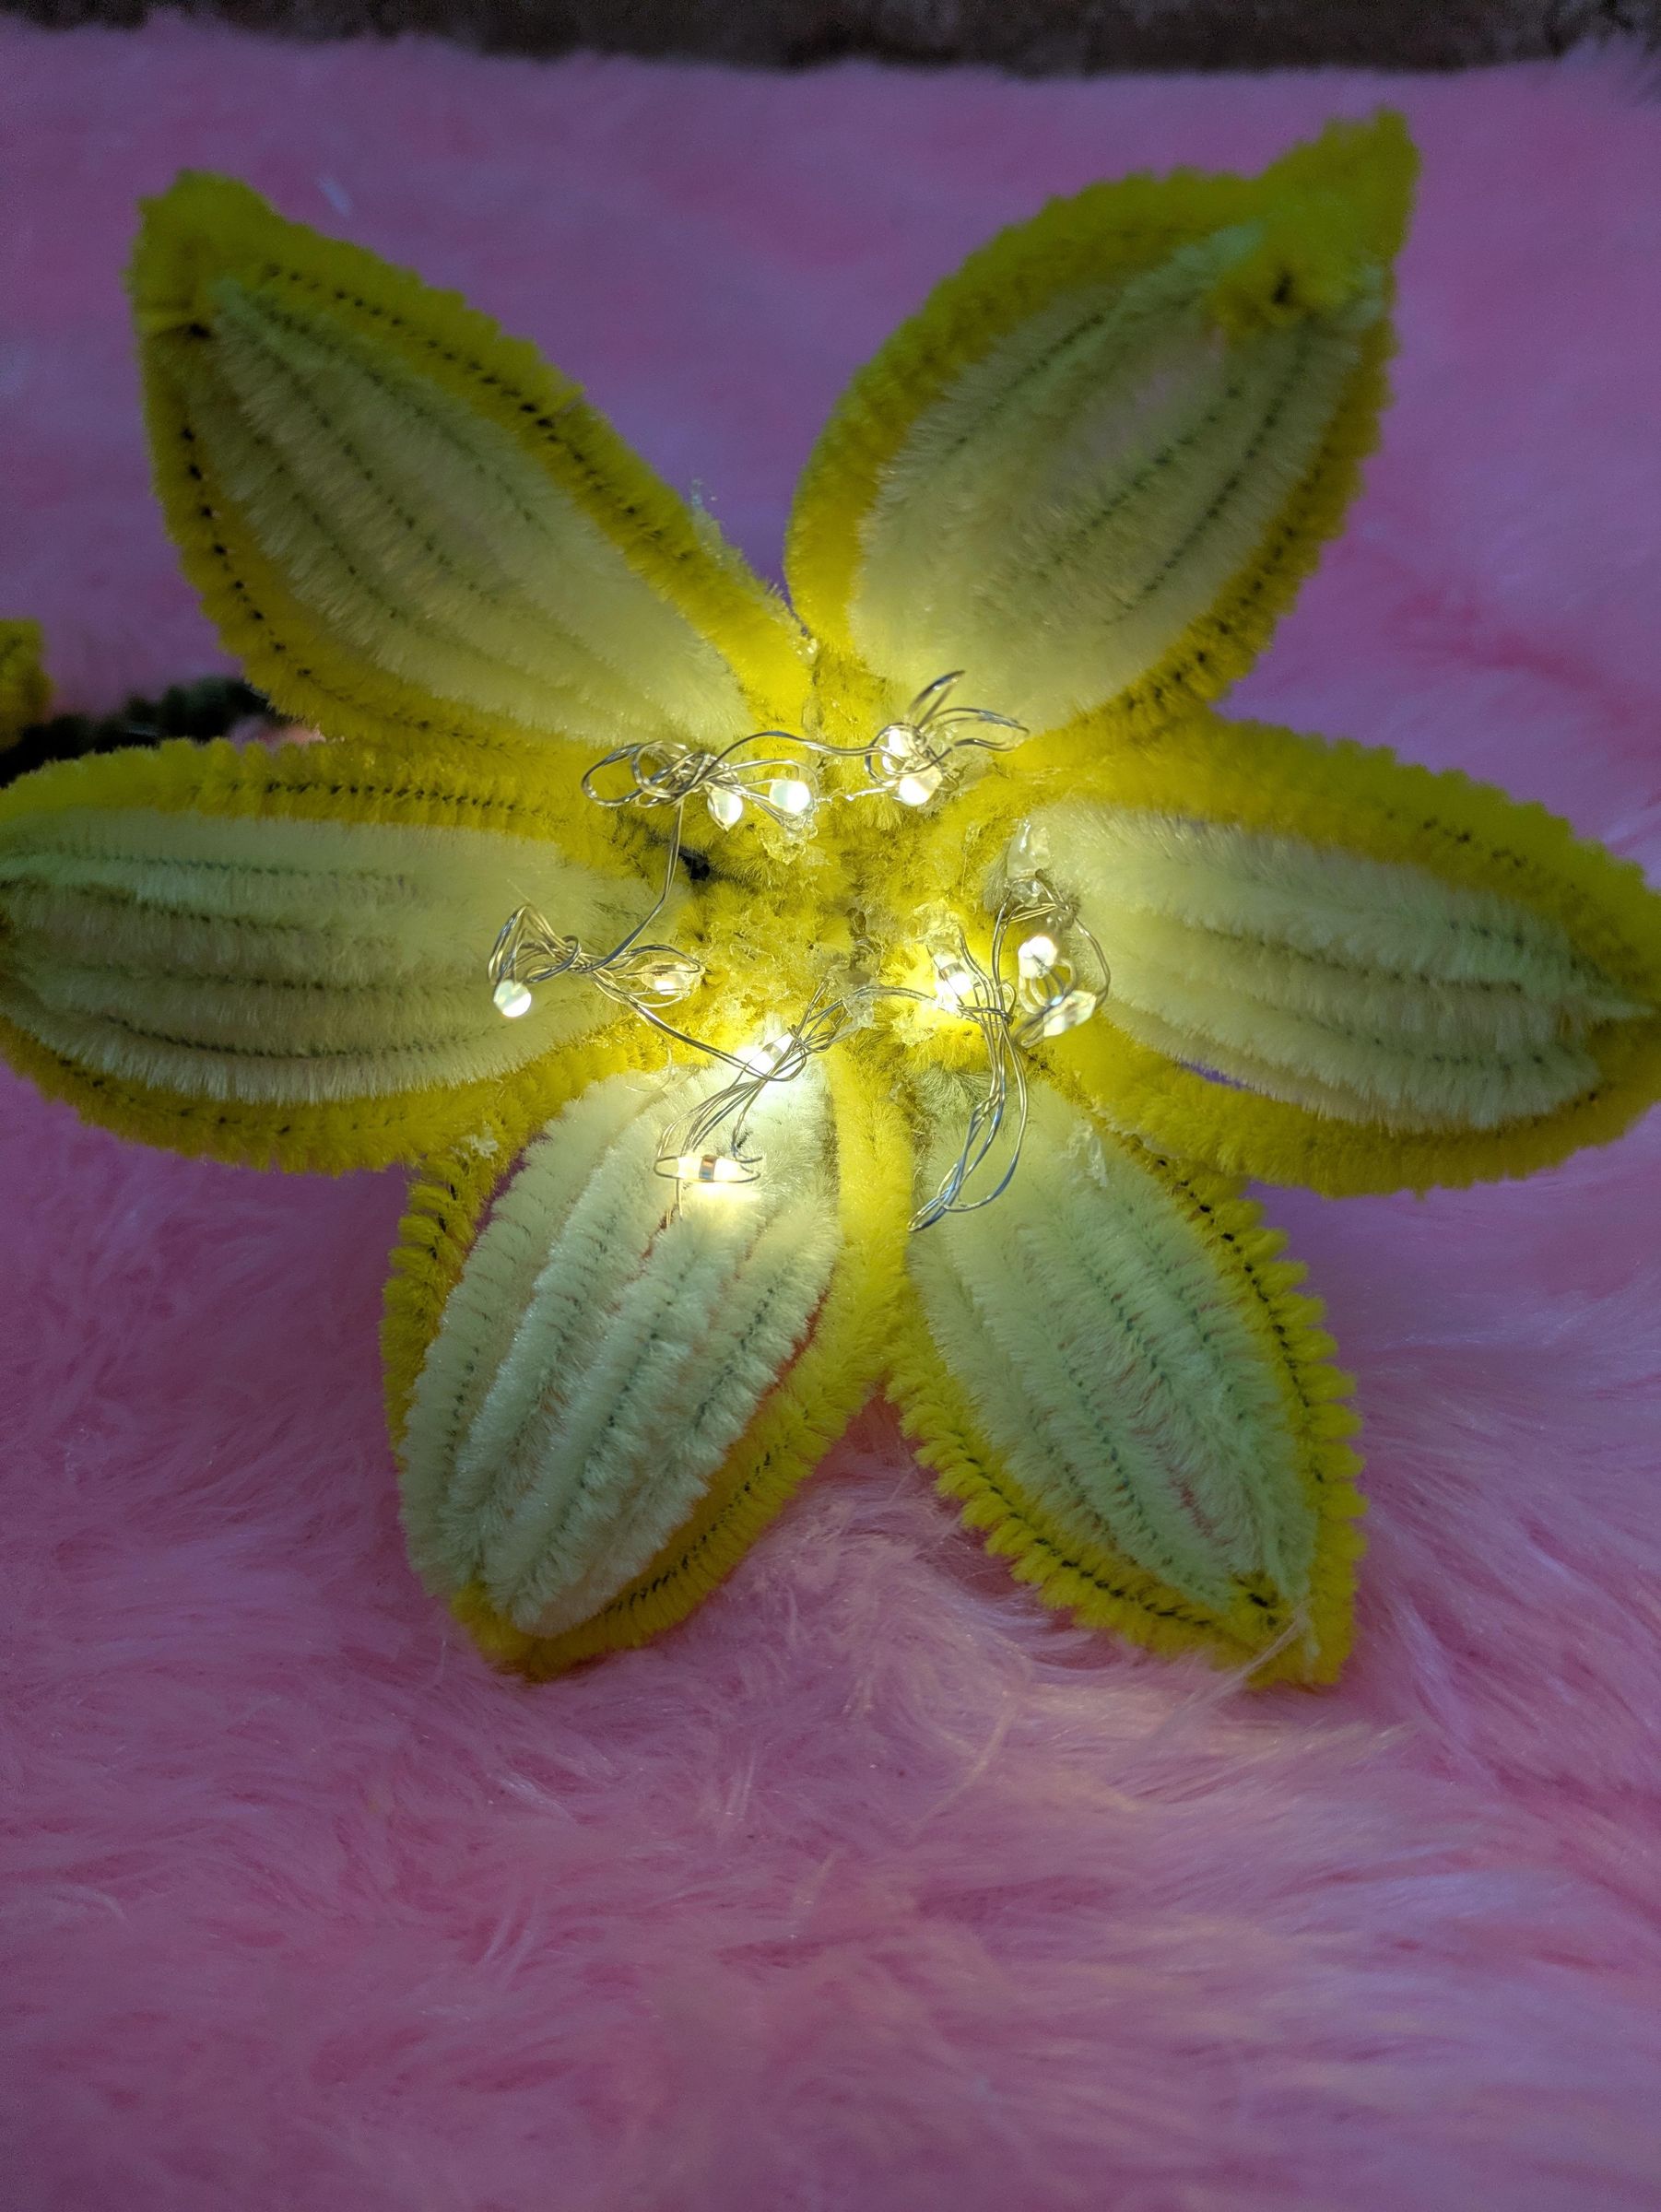
so the hanging remaining fairy lightsi have folded into 6 divisions for six petals to make look please to look, add artificial stamen but glue at its end and paste it. Adjust slightly as required. you are done !!
Thank You
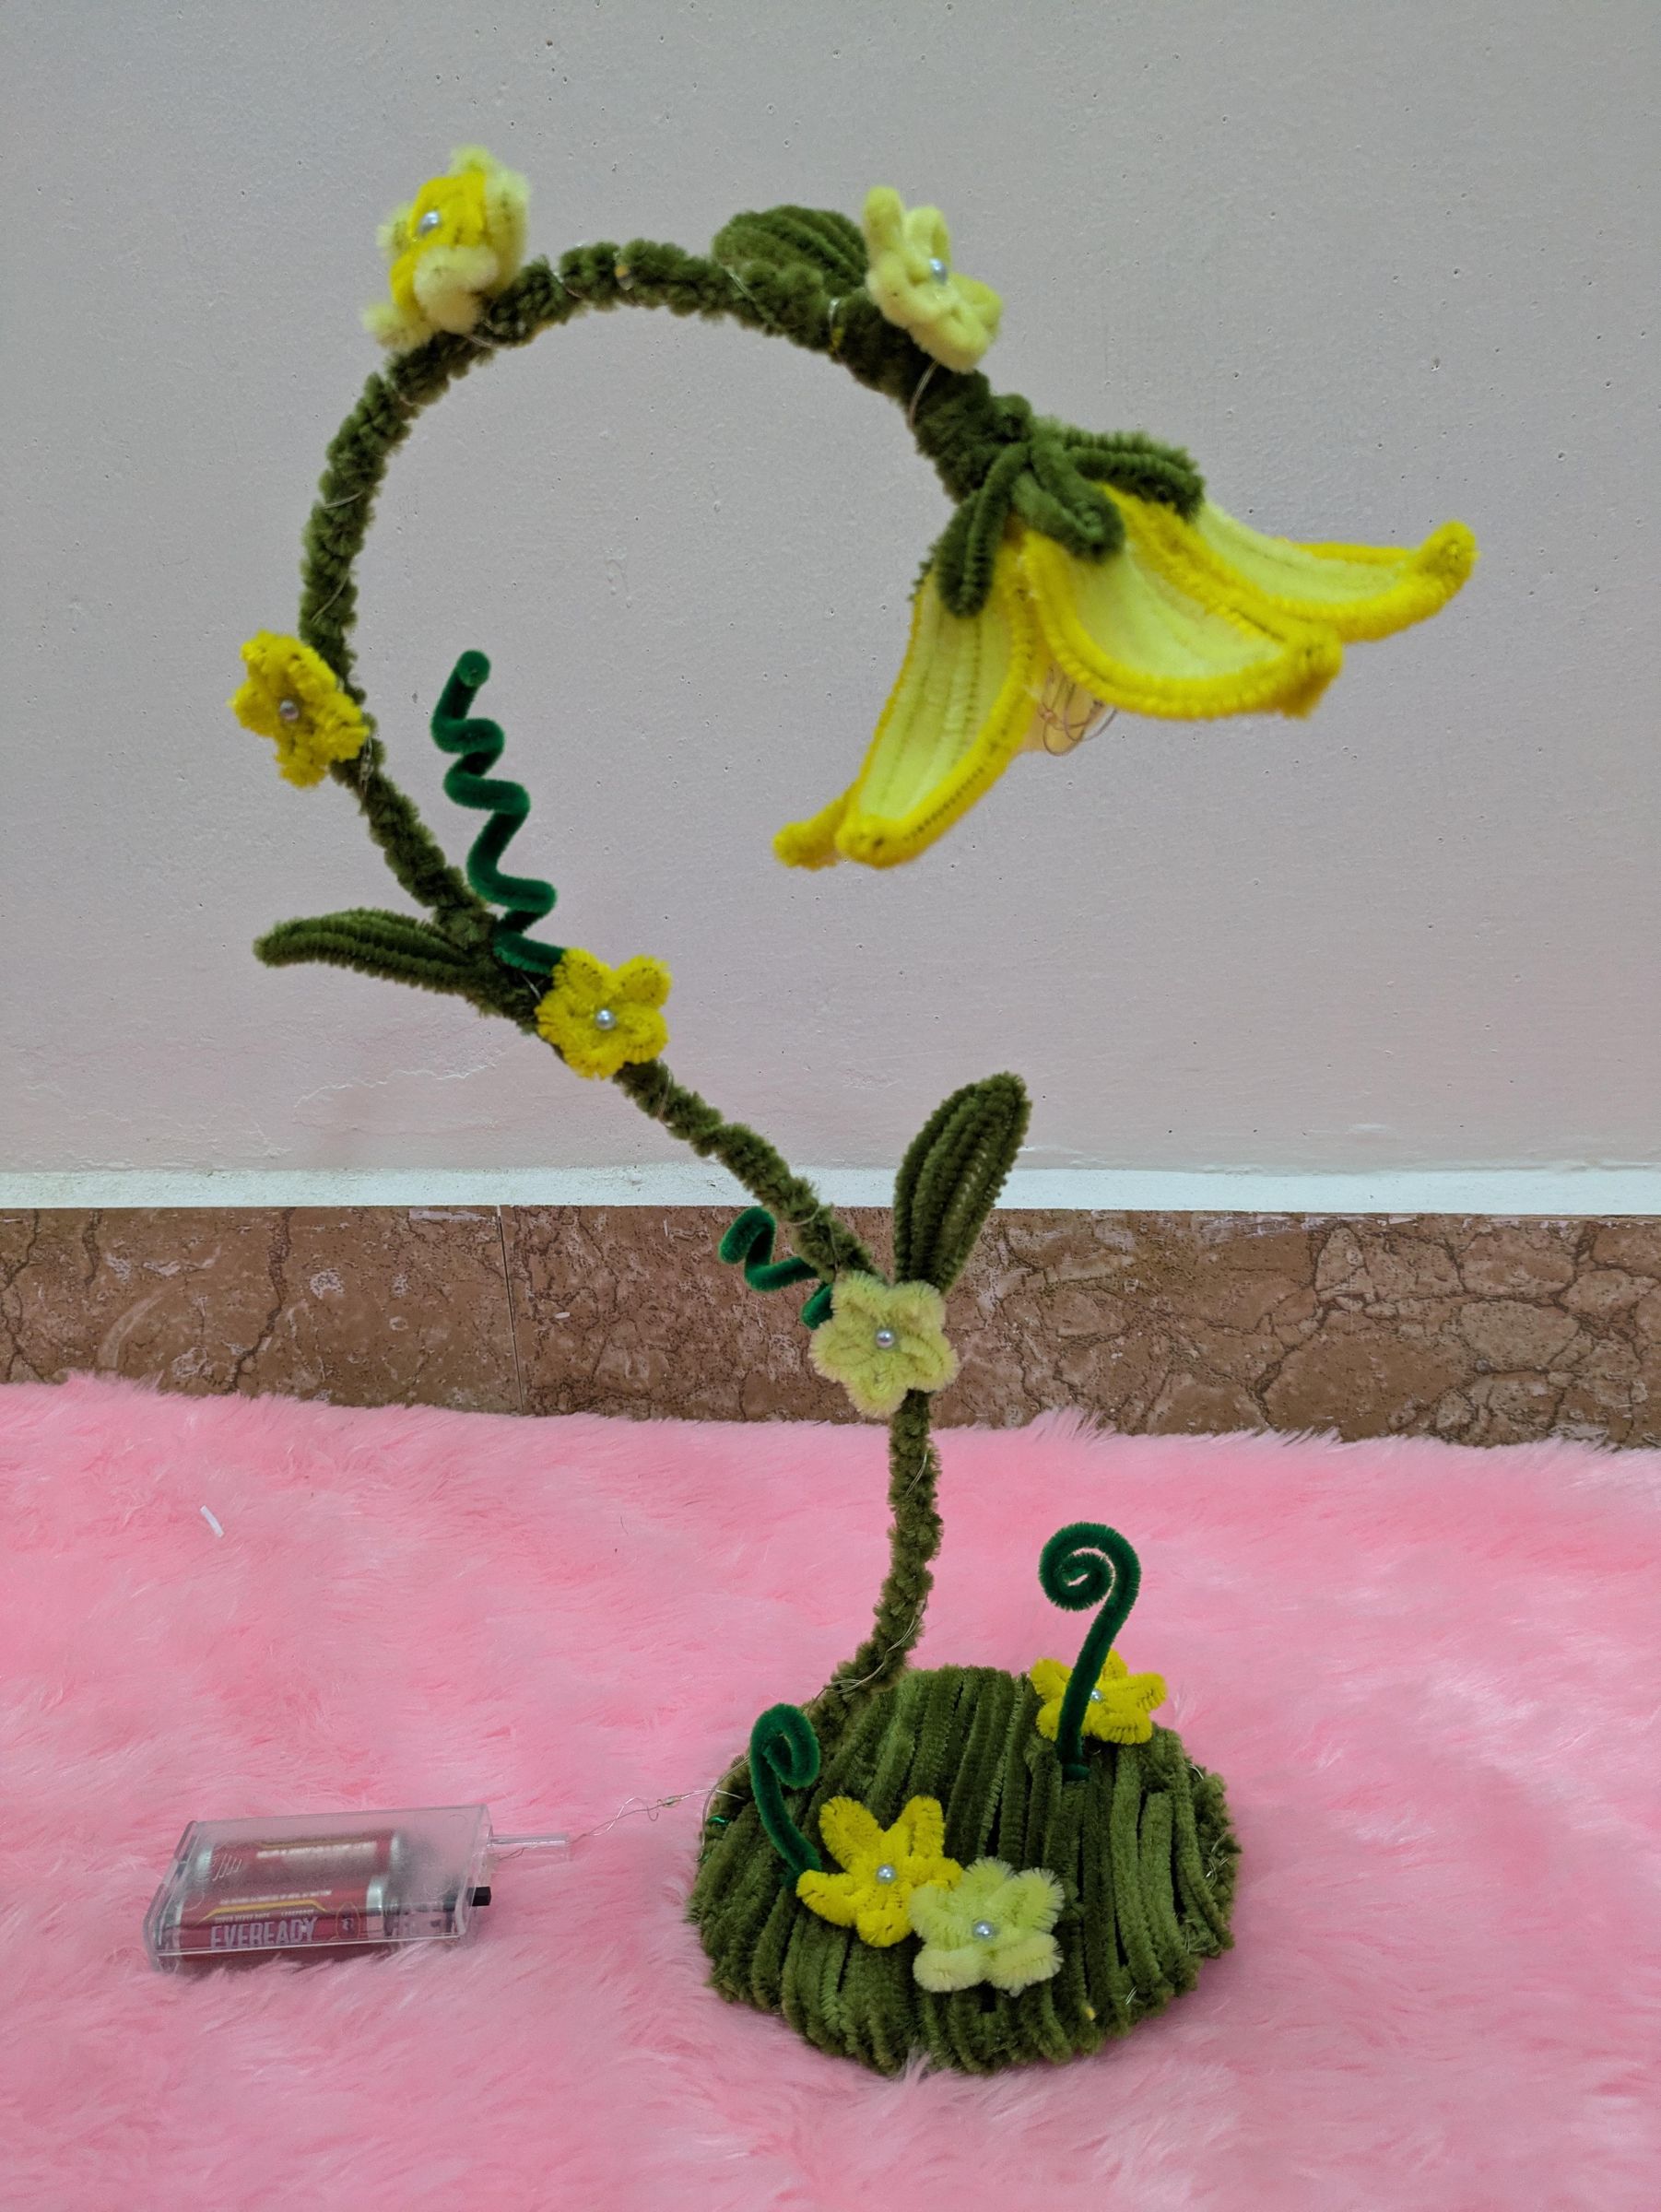
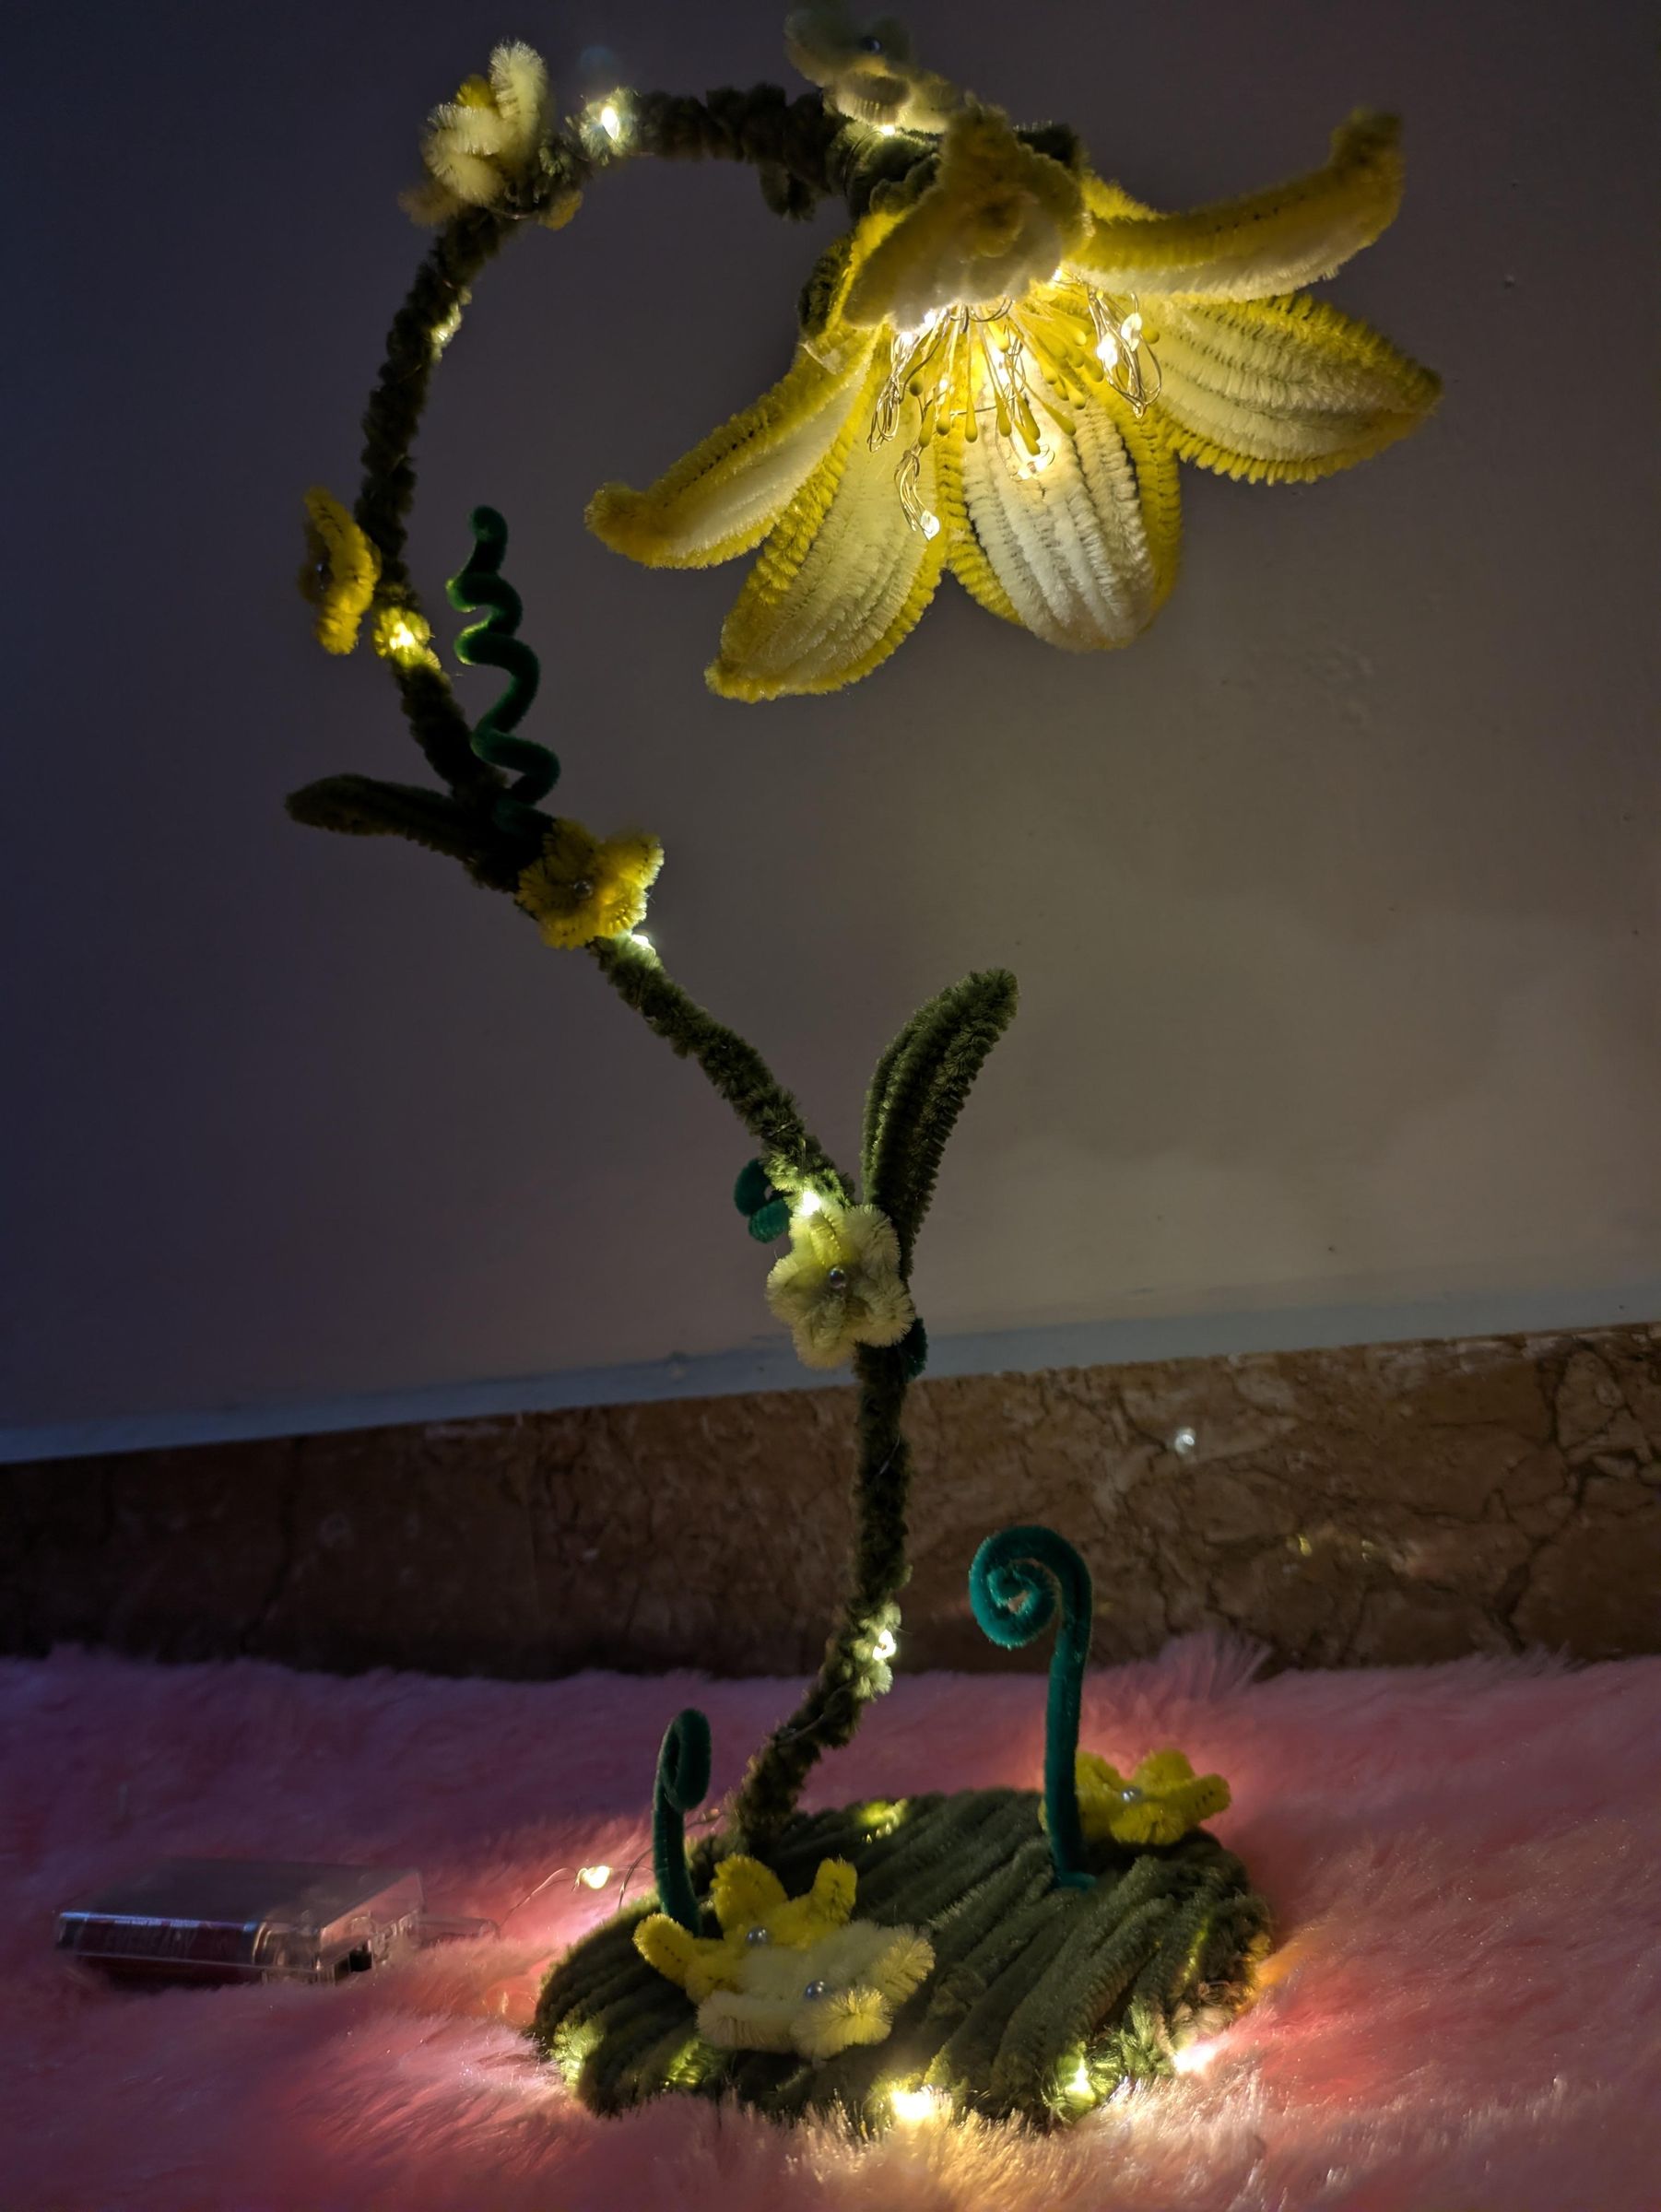
This is the final look, thank you for coming this far, this decoration is something very unique and such beauty to make on your hands for yourself or gifting purpose. If you try these, kindly drop your creation in comment section, would like to see these.
See you in next instructable !!