Yin-Yang Necklace (3D Printed) Using TinkerCAD
by SublimeFailure in Craft > Jewelry
689 Views, 2 Favorites, 0 Comments
Yin-Yang Necklace (3D Printed) Using TinkerCAD
.png)
To start, I will be using the TinkerCAD 3D modeling program.
First, find a flat image of only ONE half of the Yin-Yang that you would like to use, for best results look up Yin-Yang PNG or Clipart.
Step 1:Converting the Image Into an STL. File
Next, save the image to your computer and go to this site: https://convertio.co/. This will enable you to convert the image you saved into a 3D Model. Convert the file into an STL.
Step 2: Adding the Shape.

Open TinkerCAD and import the STL. file using the "import" button. Sou should have something that looks like this.
Step 3: Configuring the Shape.
Scroll through the shapes library until you find the "Ring" shape. You could use the "tube" or the "toroid" shape, but the ring shape makes things a lot easier and makes it look better without the extra hassle.
Step 4: Getting the Shapes You Need.
.png)
Place the ring on the workspace and size it up so it's just barely bigger than the necklace half.
Step 5: Getting Shapes (continued).
.png)
Next, get a "toroid" shape and stretch it so it's the same height as the ring.
Step 6: Beginning the Process of Construction.
.png)
.png)
.png)
Take the ring and cut it about in half. I found it helps to put the necklace half in there, just make sure to remove it when you cut it.
Step 7: Construction (continued).
.png)
Carefully line up the necklace half in the half-ring. Then group them together by selecting both of them (click and drag) and pressing CTRL + G.
Step 8: Construction (continued).
.png)
Add the small toroid onto the necklace half.
Step 9: Construction (continued).
.png)
Now, copy (CTRL + C) and paste (CTRL + V) your progress so far. Then, using the mirror/flip tool (in the top right, it looks like 2 triangles), mirror the project both vertically and horizontally. Then, turn one of the halves into a "hole" by selecting the gray stripes that come up in the color selection when you select the shape.
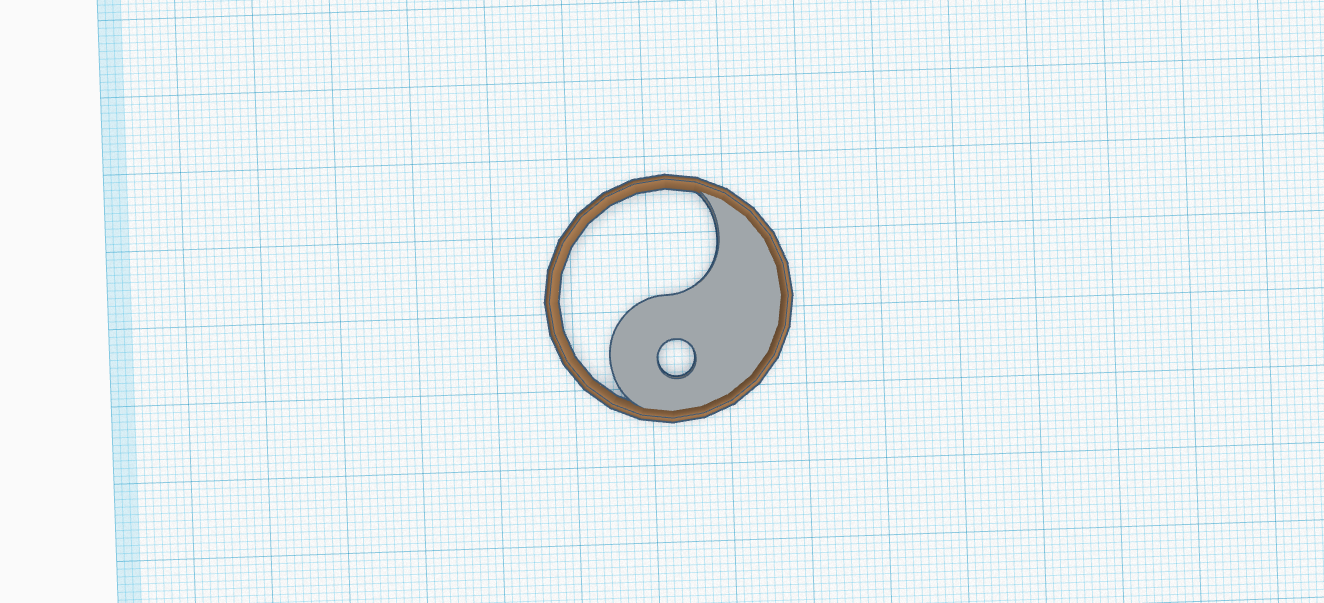
Step 10: Construction (continued).
.png)
.png)
Carefully line up the two pieces against each other and group them together. This will ensure that the two pieces fit together perfectly when they are printed.