Yogurt Pot Planter
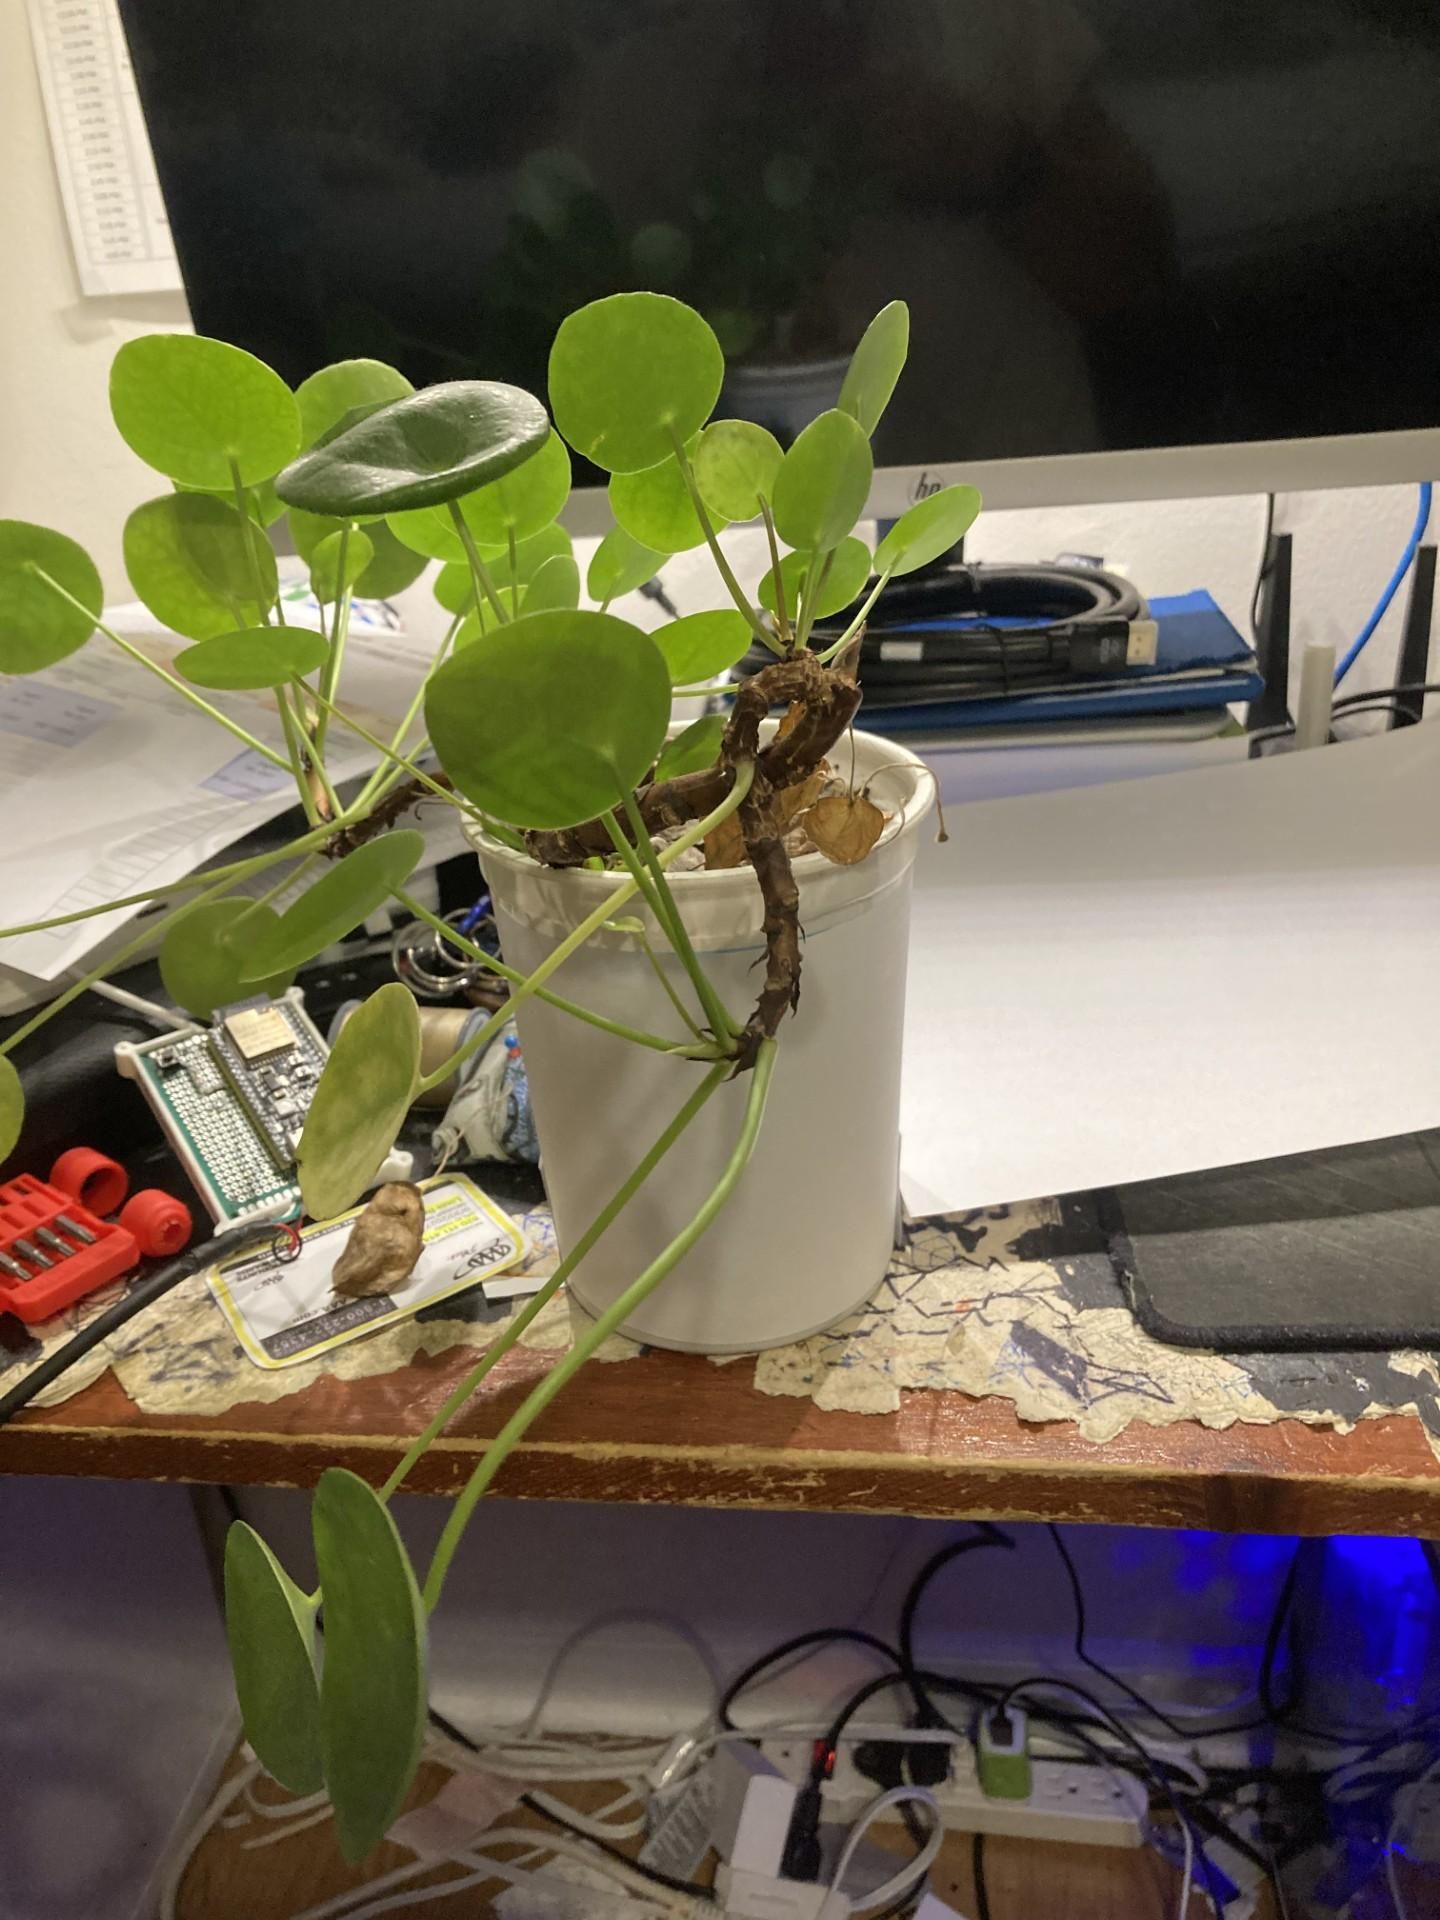
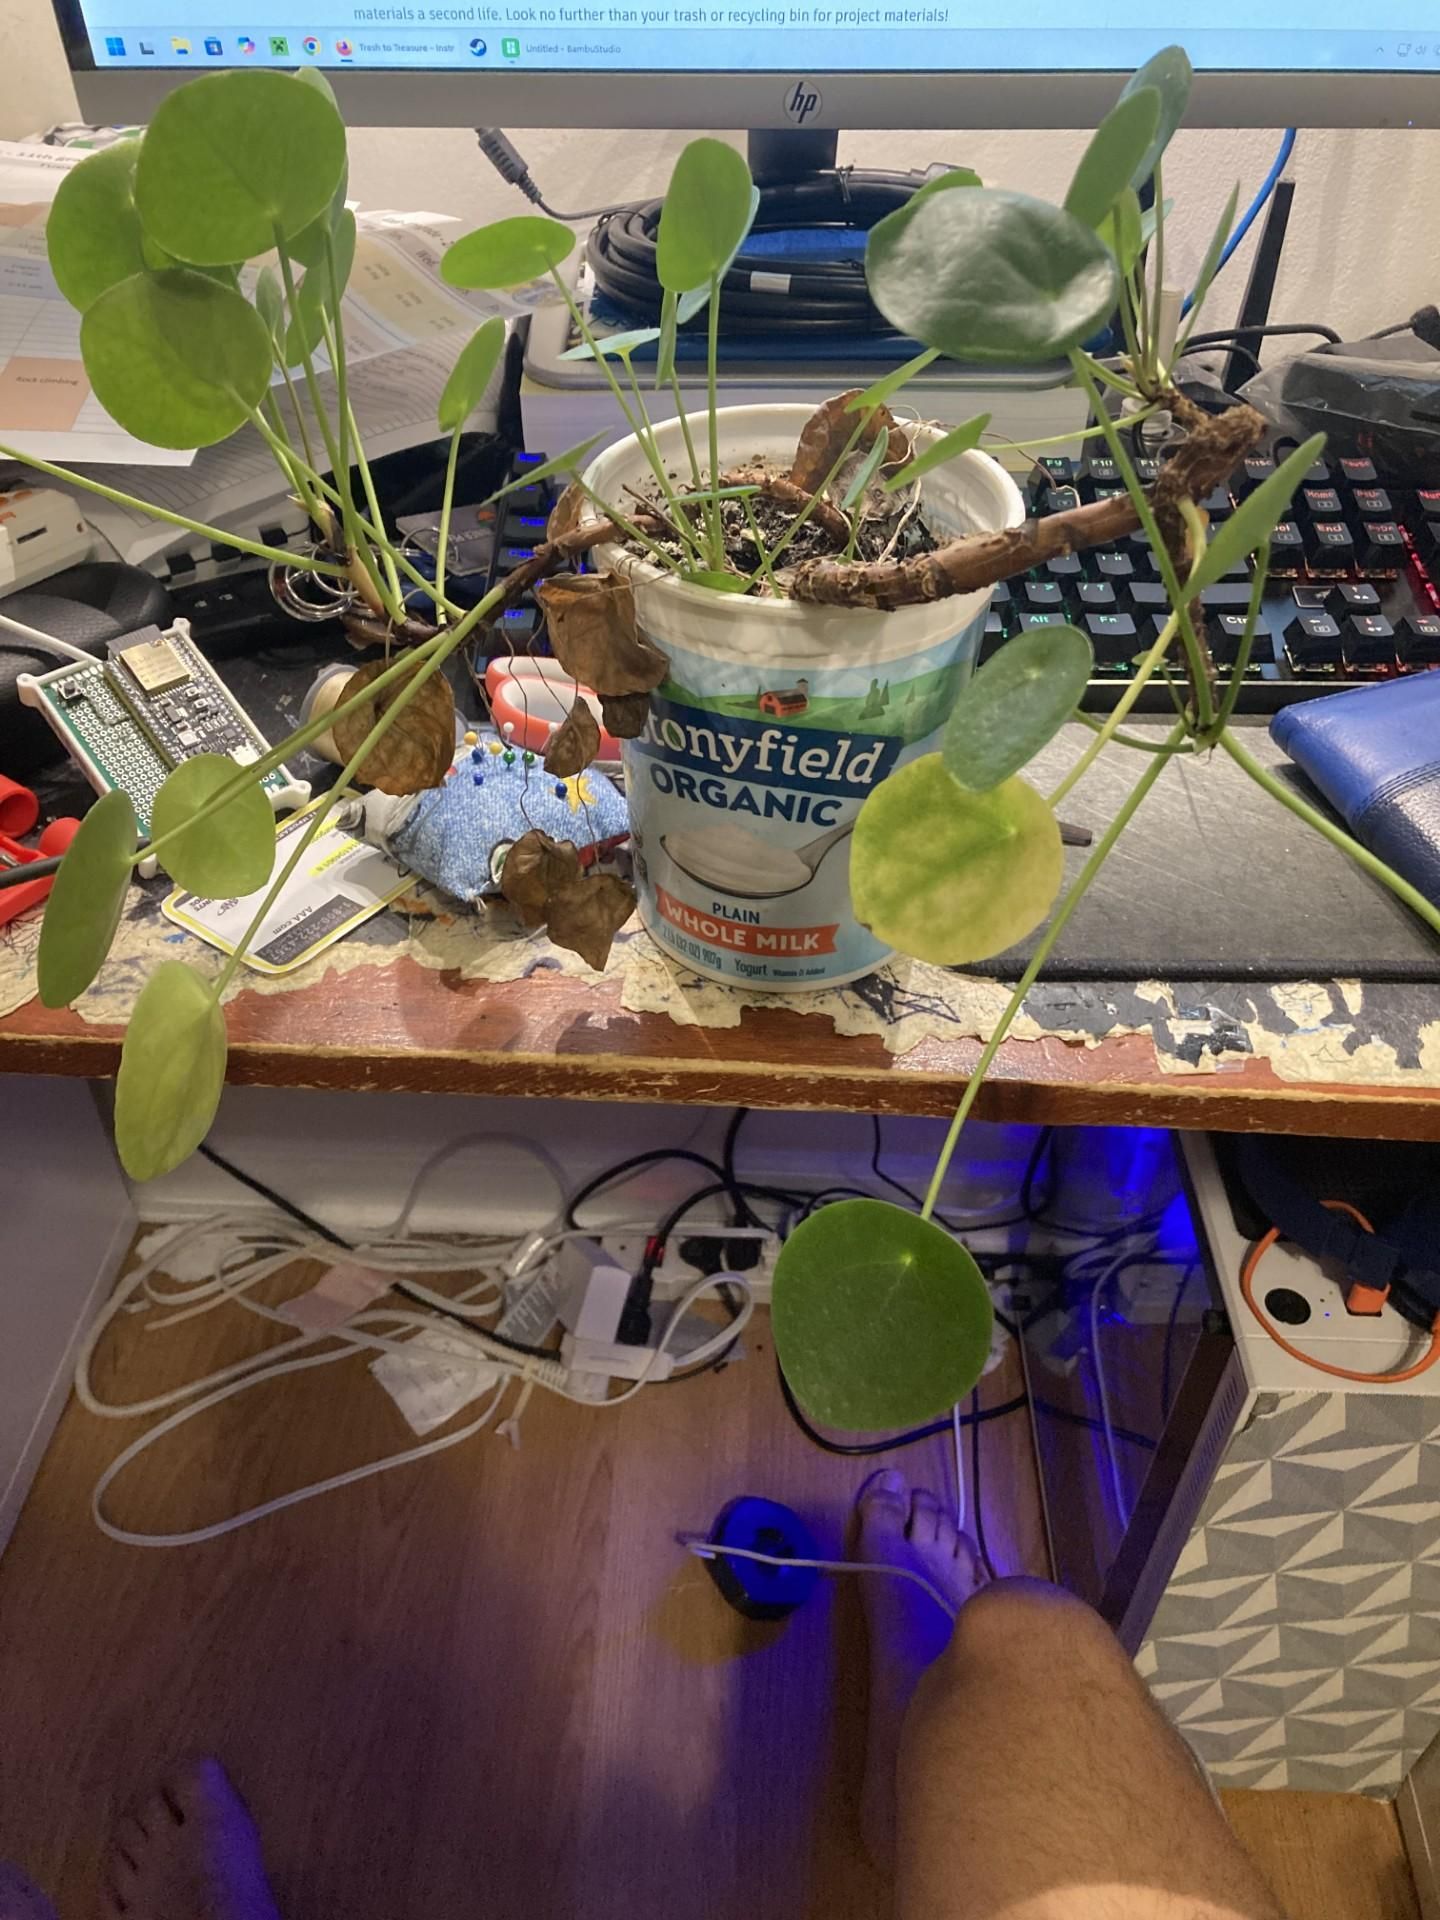
I turned a yogurt pot into a small planter/pot for plants in my room, as my old pot broke when exposed to a soccer ball.
Supplies
Large Yogurt Pot
Dirt(either from your yard, or excess from broken pots)
A plant(needs to be small)
White paper
Glue
Scissors
Soap
Cleaning the Yogurt Pot
Once you have obtained the Yogurt Pot, you need to clean it using soap and warm water thoroughly to ensure that no yogurt remains (This step may be skipped, but I recommend it if you want your plants to not smell bad).
Filling Yogurt Pot With Dirt
I recommend using a small trowel and getting some dirt from outside that has plants growing in it. Fill the yogurt pot up to around an inch below the top of the yogurt pot.
Planting Your Plant
In this step you can either plant seeds into your pot, or put an existing plant inside of the pot. I would recommend planting seeds as existing plants are harder to put in the pot. Usually you should bury these seeds a couple inches, but it is not always required.
Wrapping and Decorating
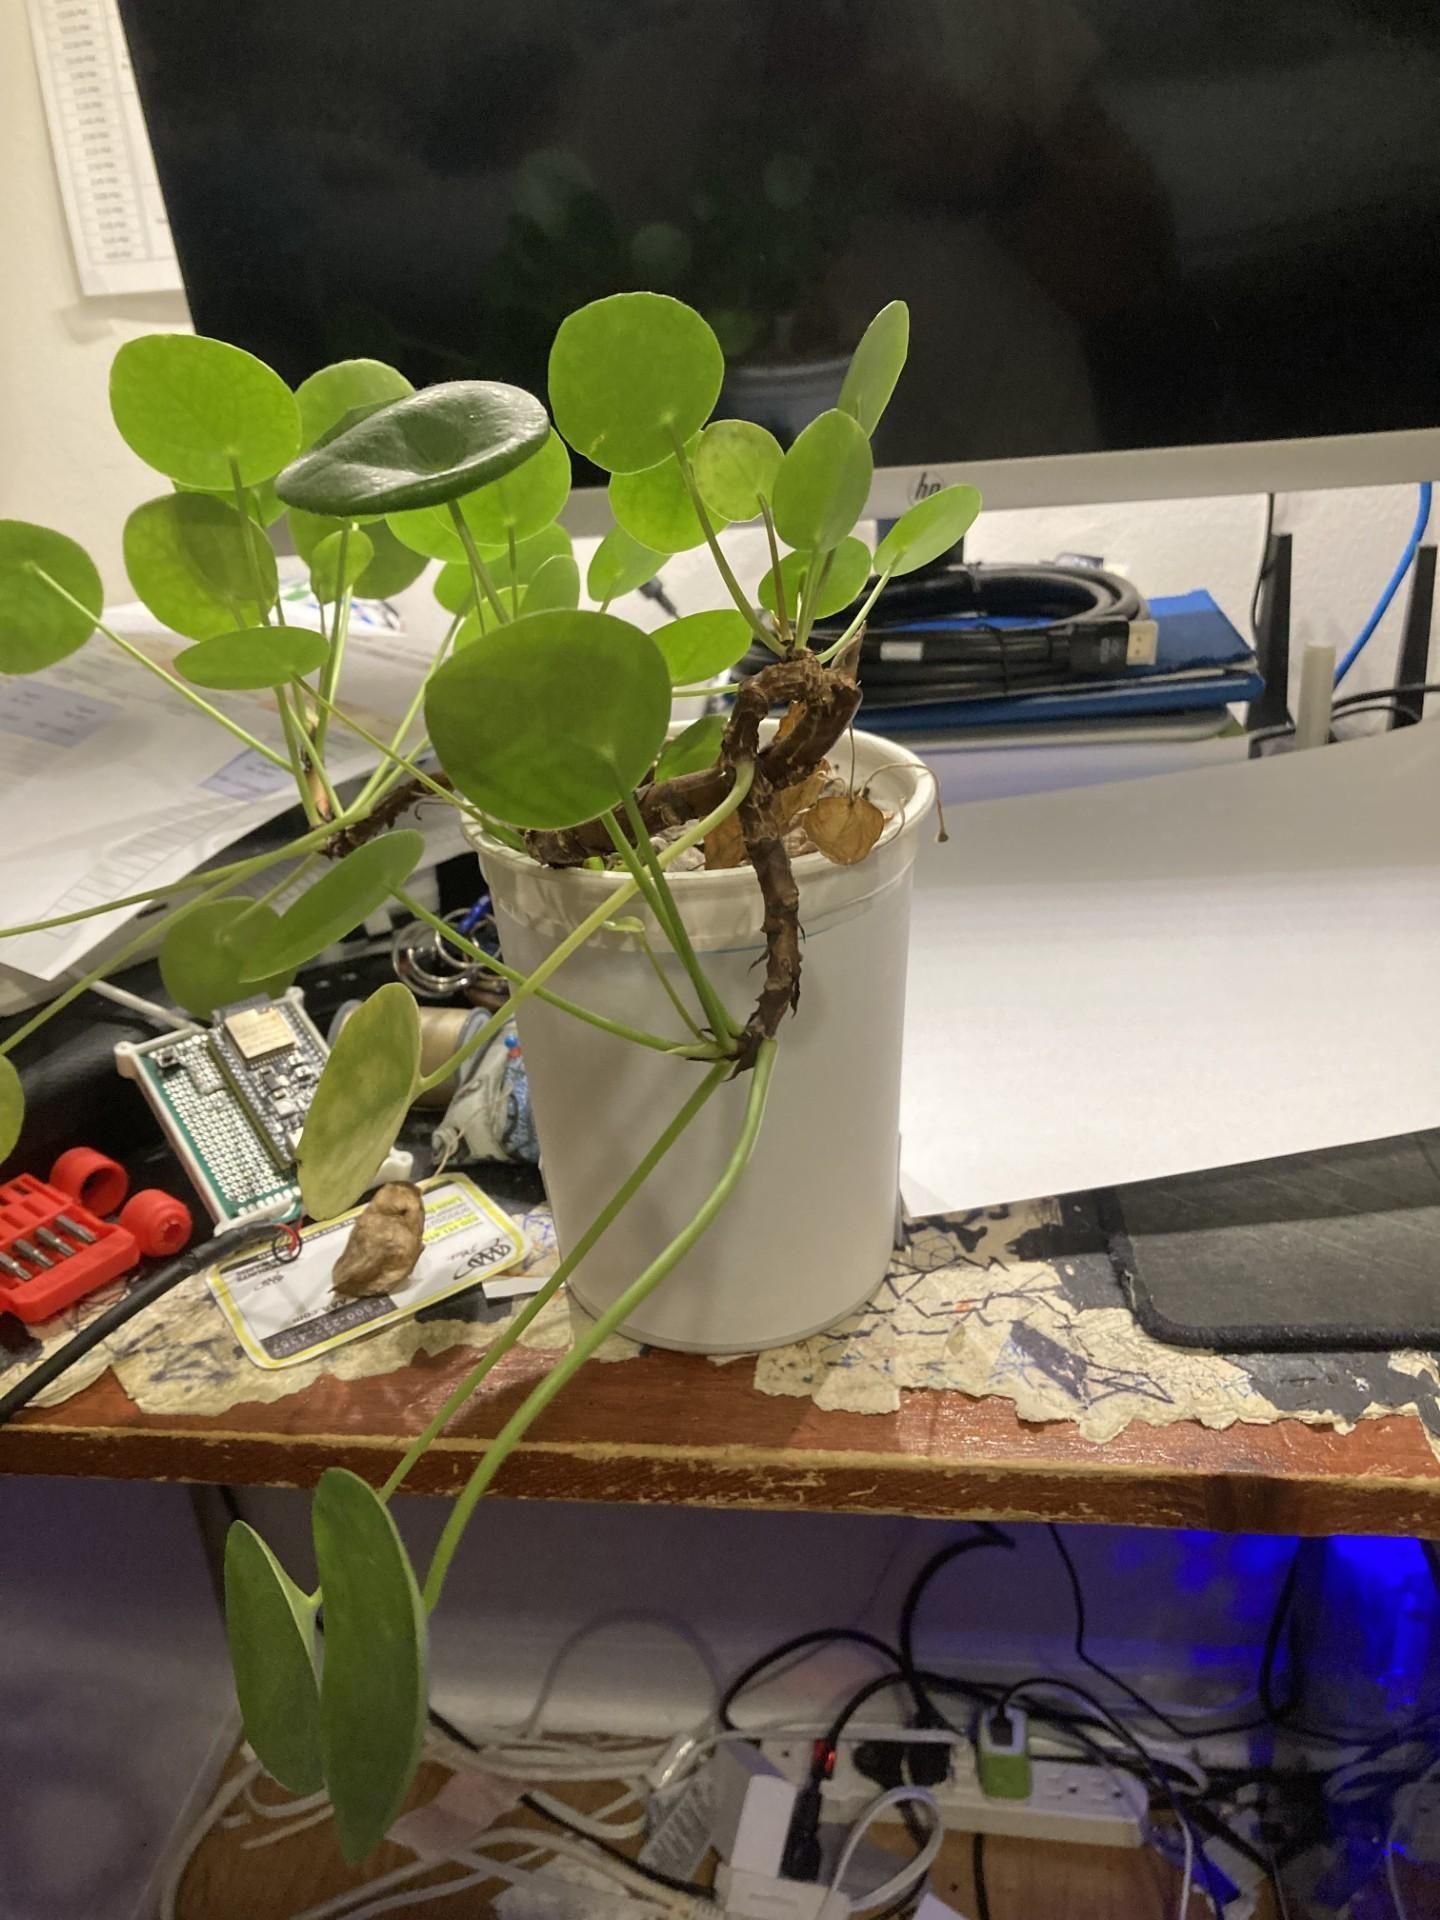
In this step you will need a sheet of paper that you can either cut into strips, or cut into a large strip and smaller strip. Smaller strips will look nicer as you will have less bending to do with your paper. You will want to fully wrap the yogurt pot in paper and tape or glue the paper at the end. Afterwards, you can paint or draw onto the paper.