Your Mood, State of Charge - Giant and Cozy Battery-Shaped Lamp + Secret Storage.
by TheSimonSays in Living > Decorating
1319 Views, 5 Favorites, 0 Comments
Your Mood, State of Charge - Giant and Cozy Battery-Shaped Lamp + Secret Storage.
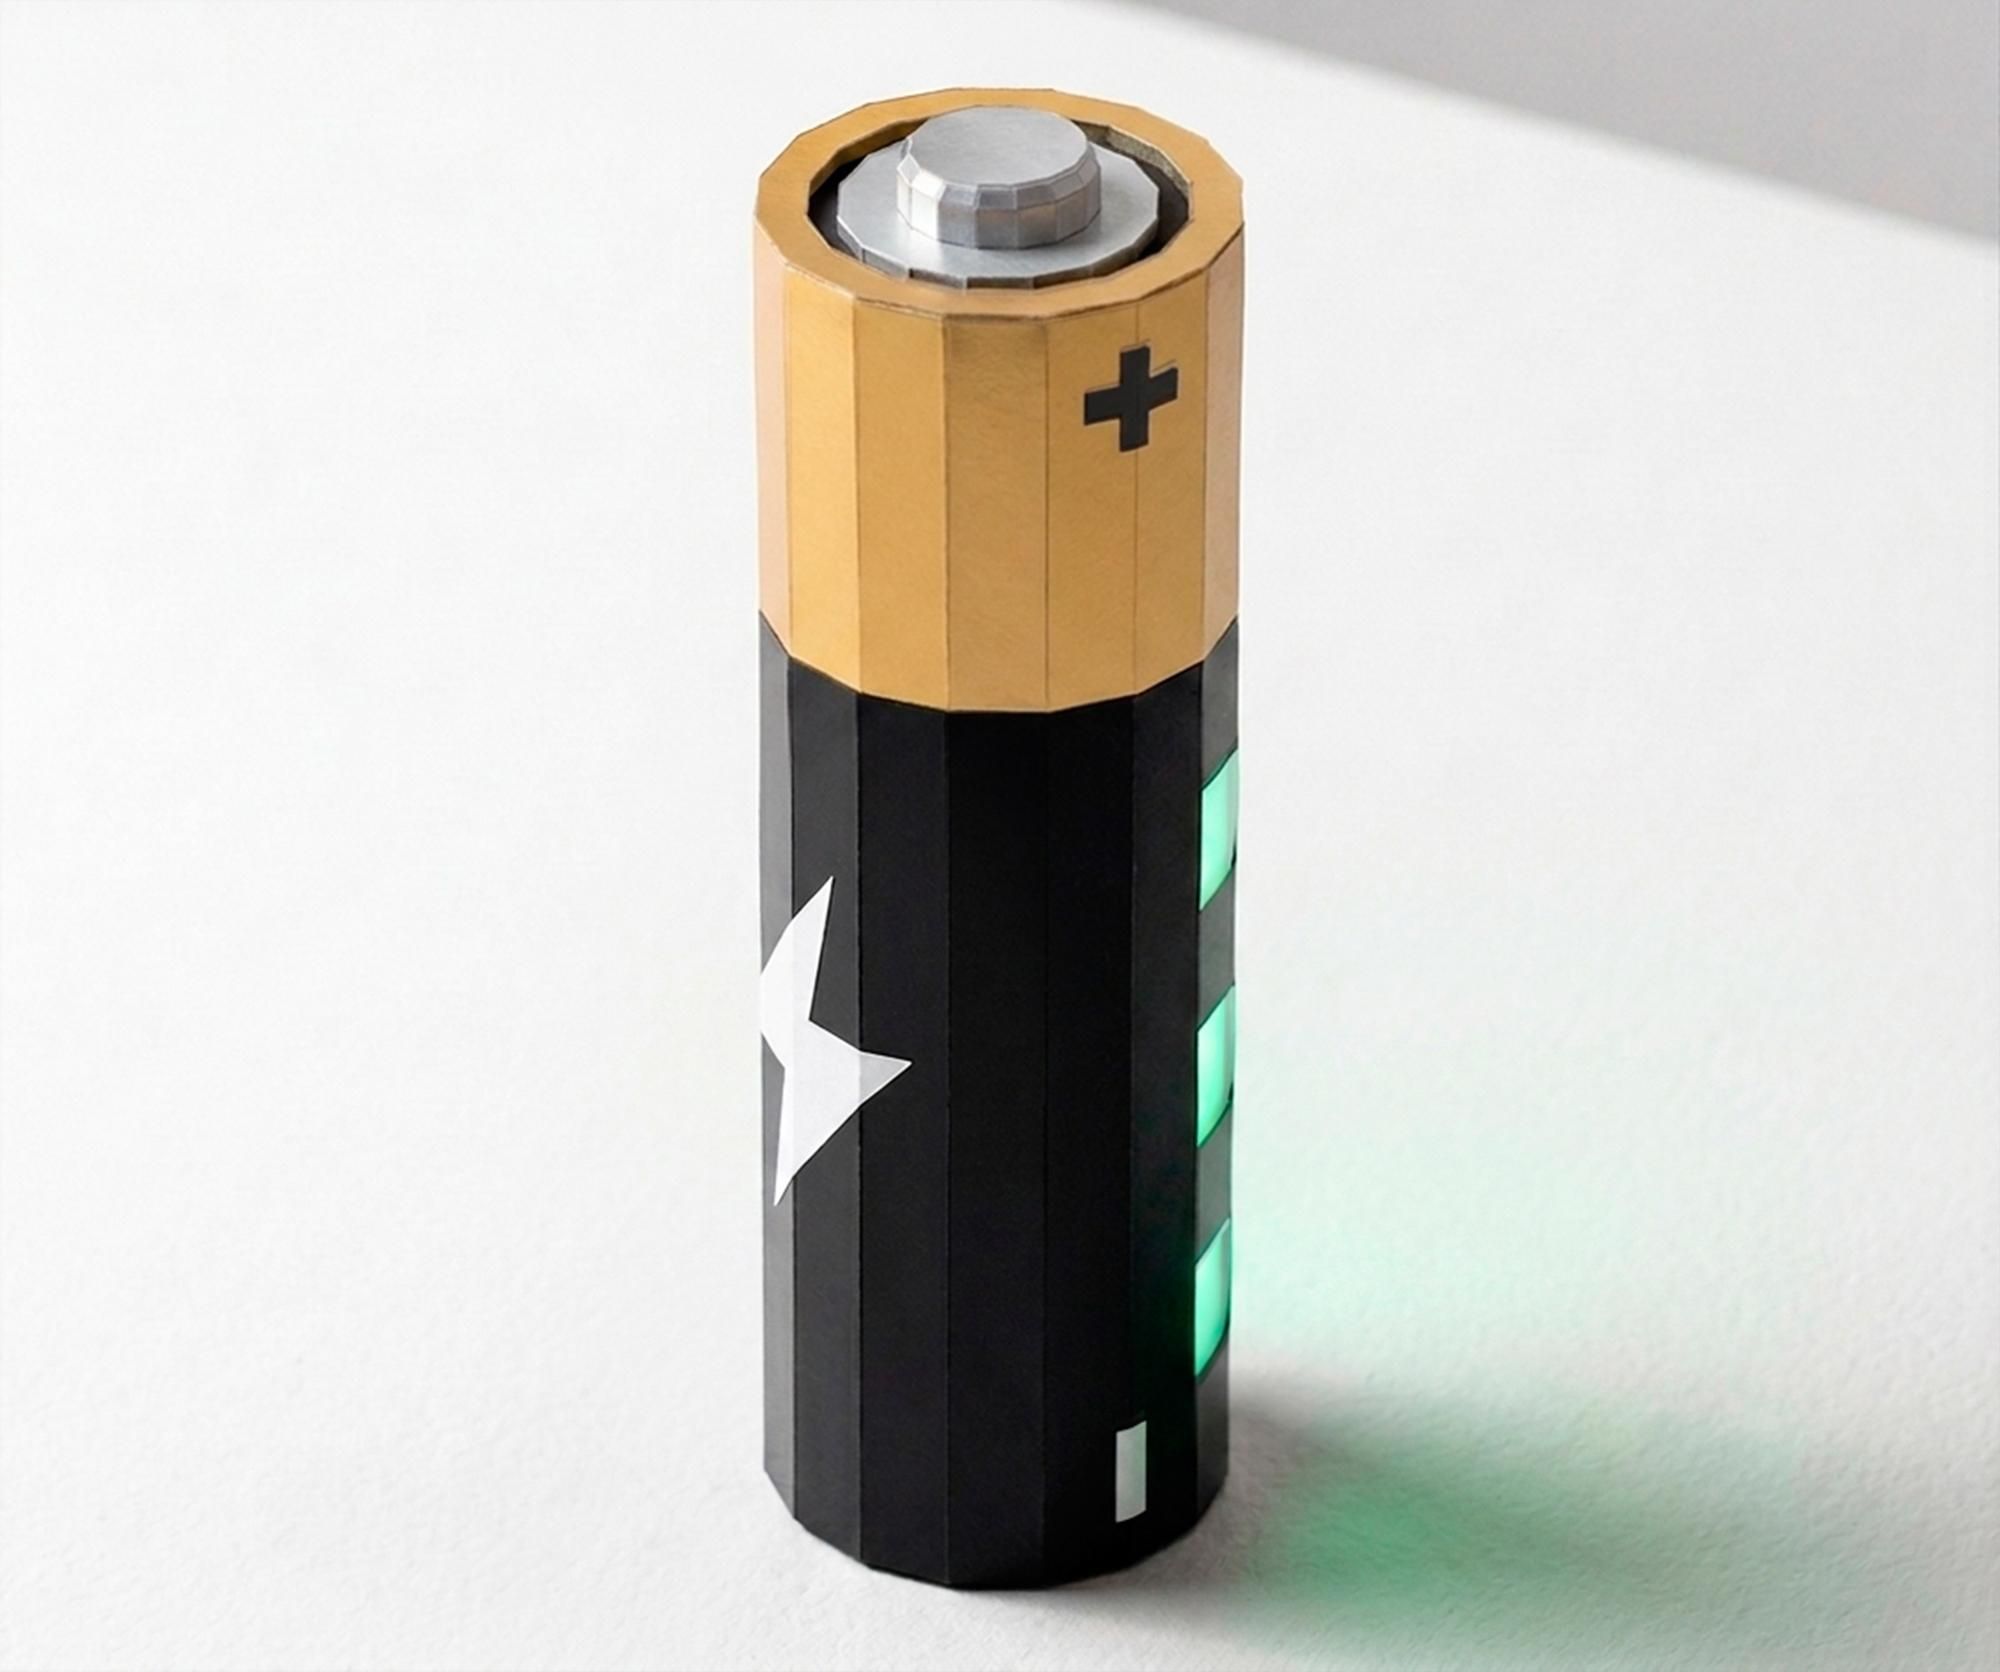
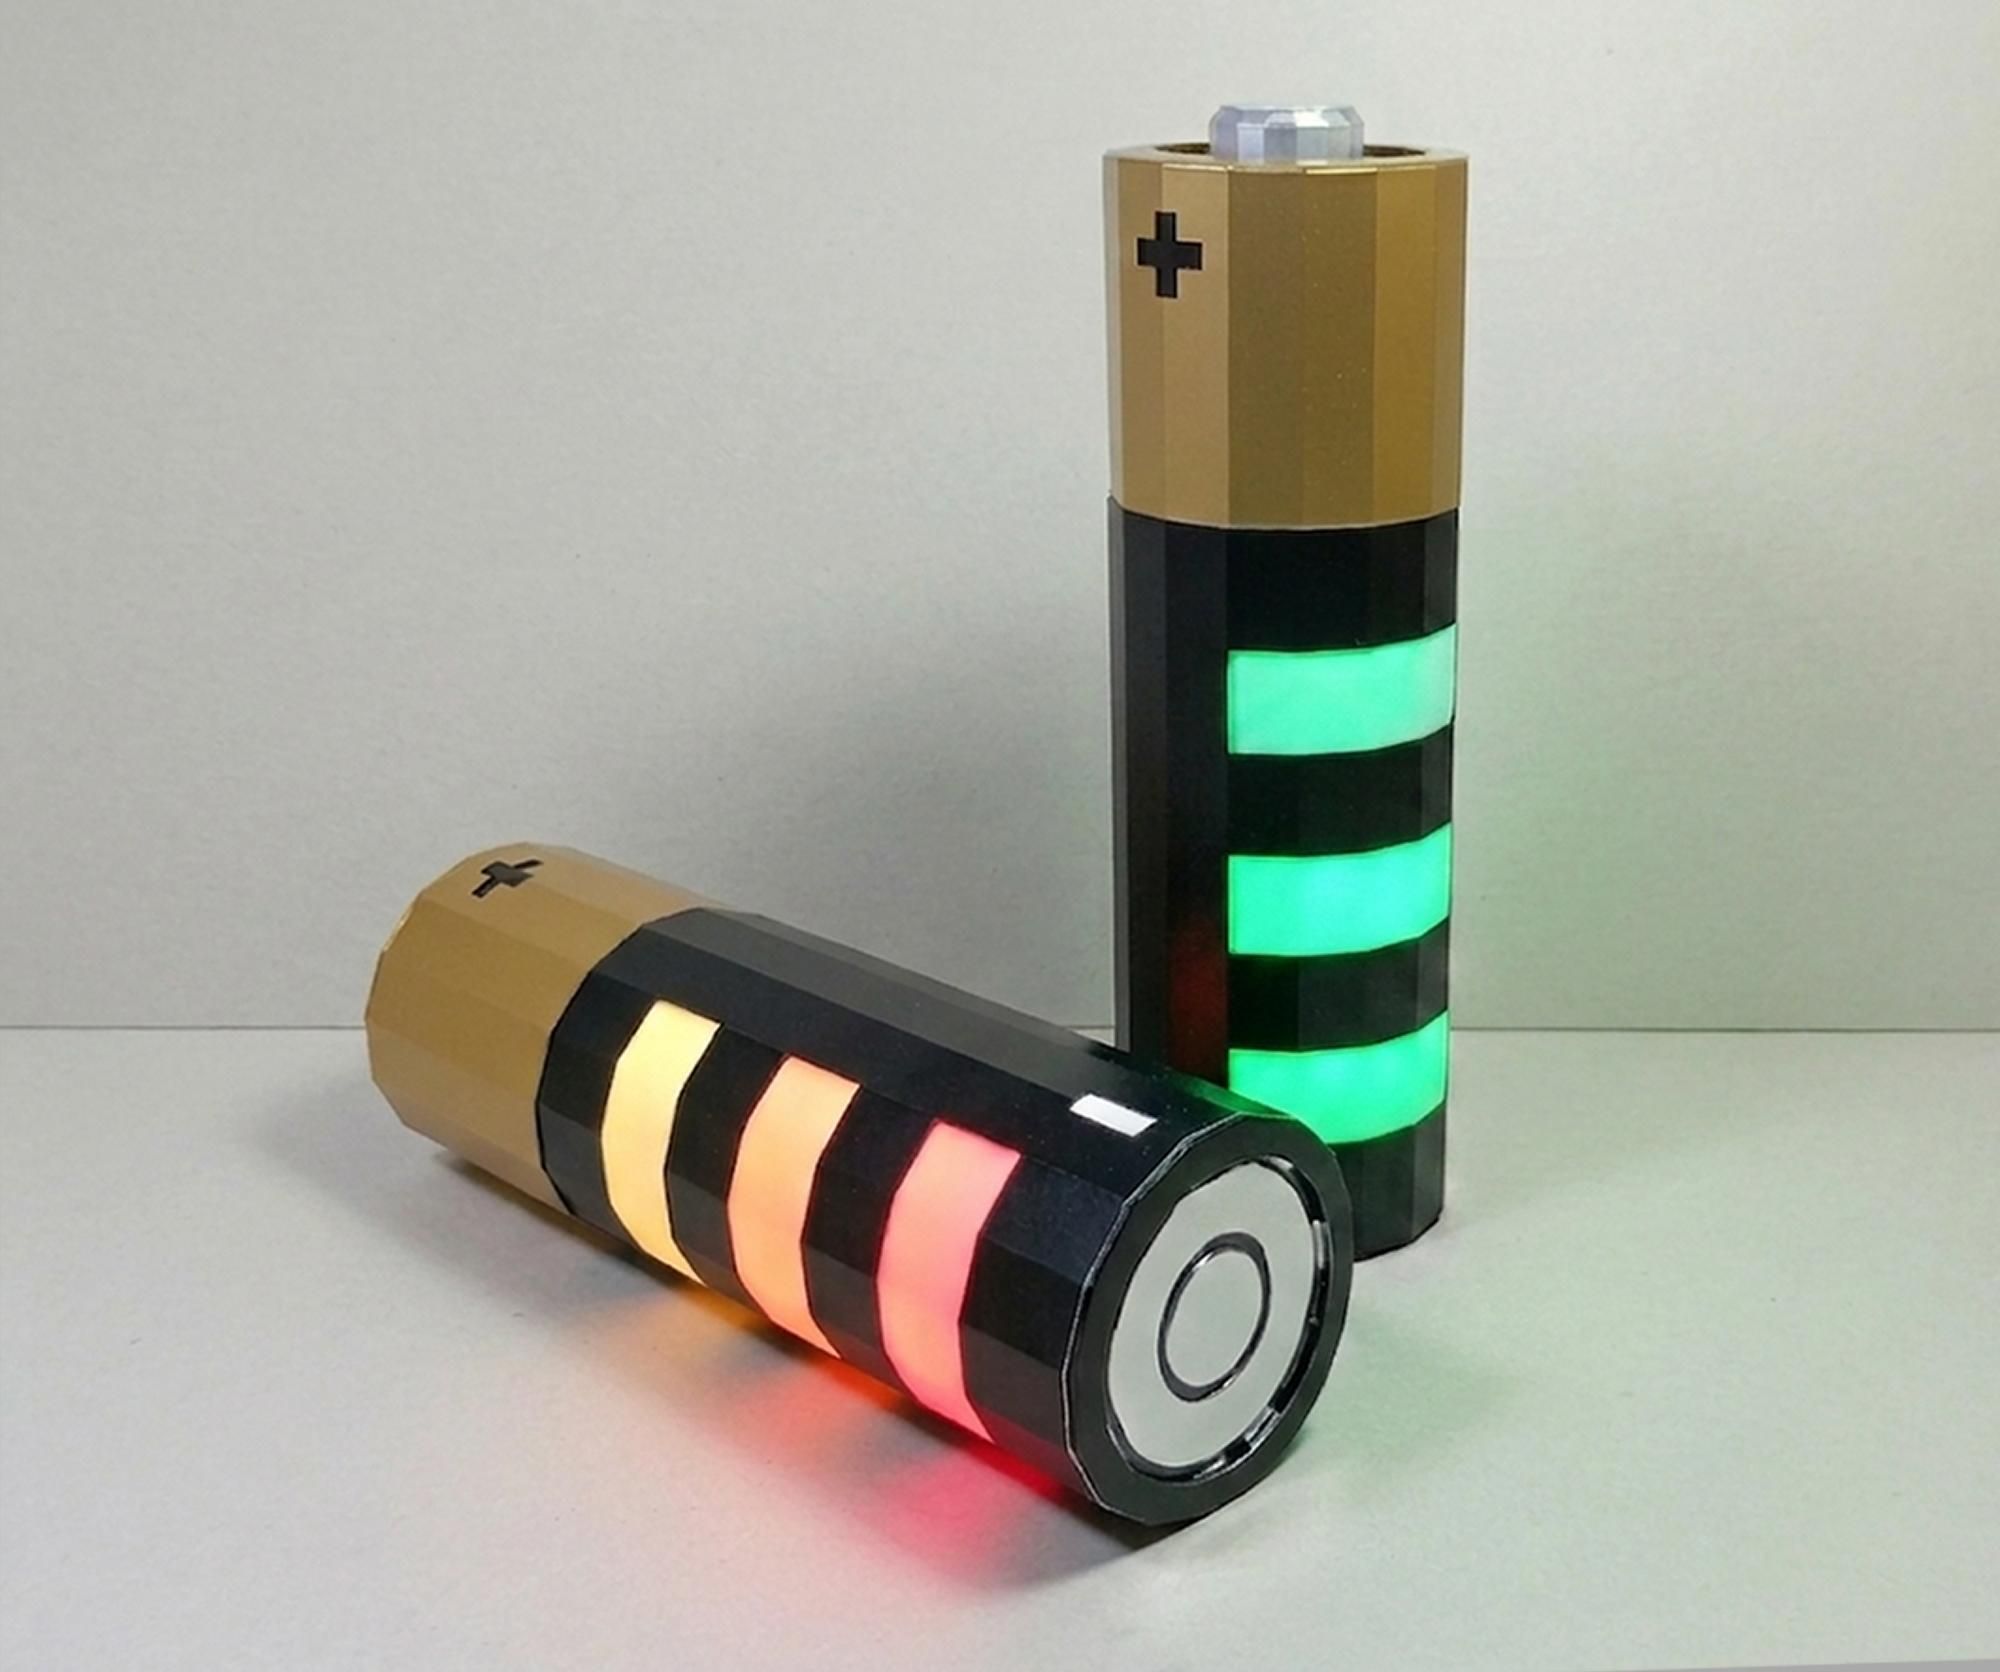
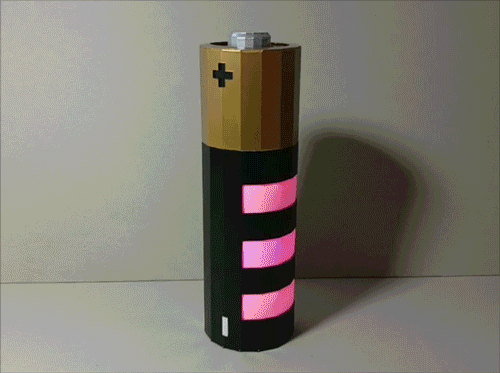
In psychology and cognitive science, a mood state functions similarly to a battery's state of charge. It represents your cumulative mental, emotional, and physical energy over time, dictating how much "charge" you have to focus, endure stress, or respond to your environment.
Your Mood State of Charge (SoC) is a conceptual way to gauge your mental, physical, and emotional energy—much like checking a battery percentage on a battery.
A high SoC means you are feeling vibrant and resilient, while a low SoC indicates emotional drain or the need for a mental reset.
Well, I'm going to show you how to make your own low-cost paper statet of charge-Battery Shaped lamp with a cool and functional design, so join me to make the Giant and Cozy Battery Shaped Lamp.
Supplies
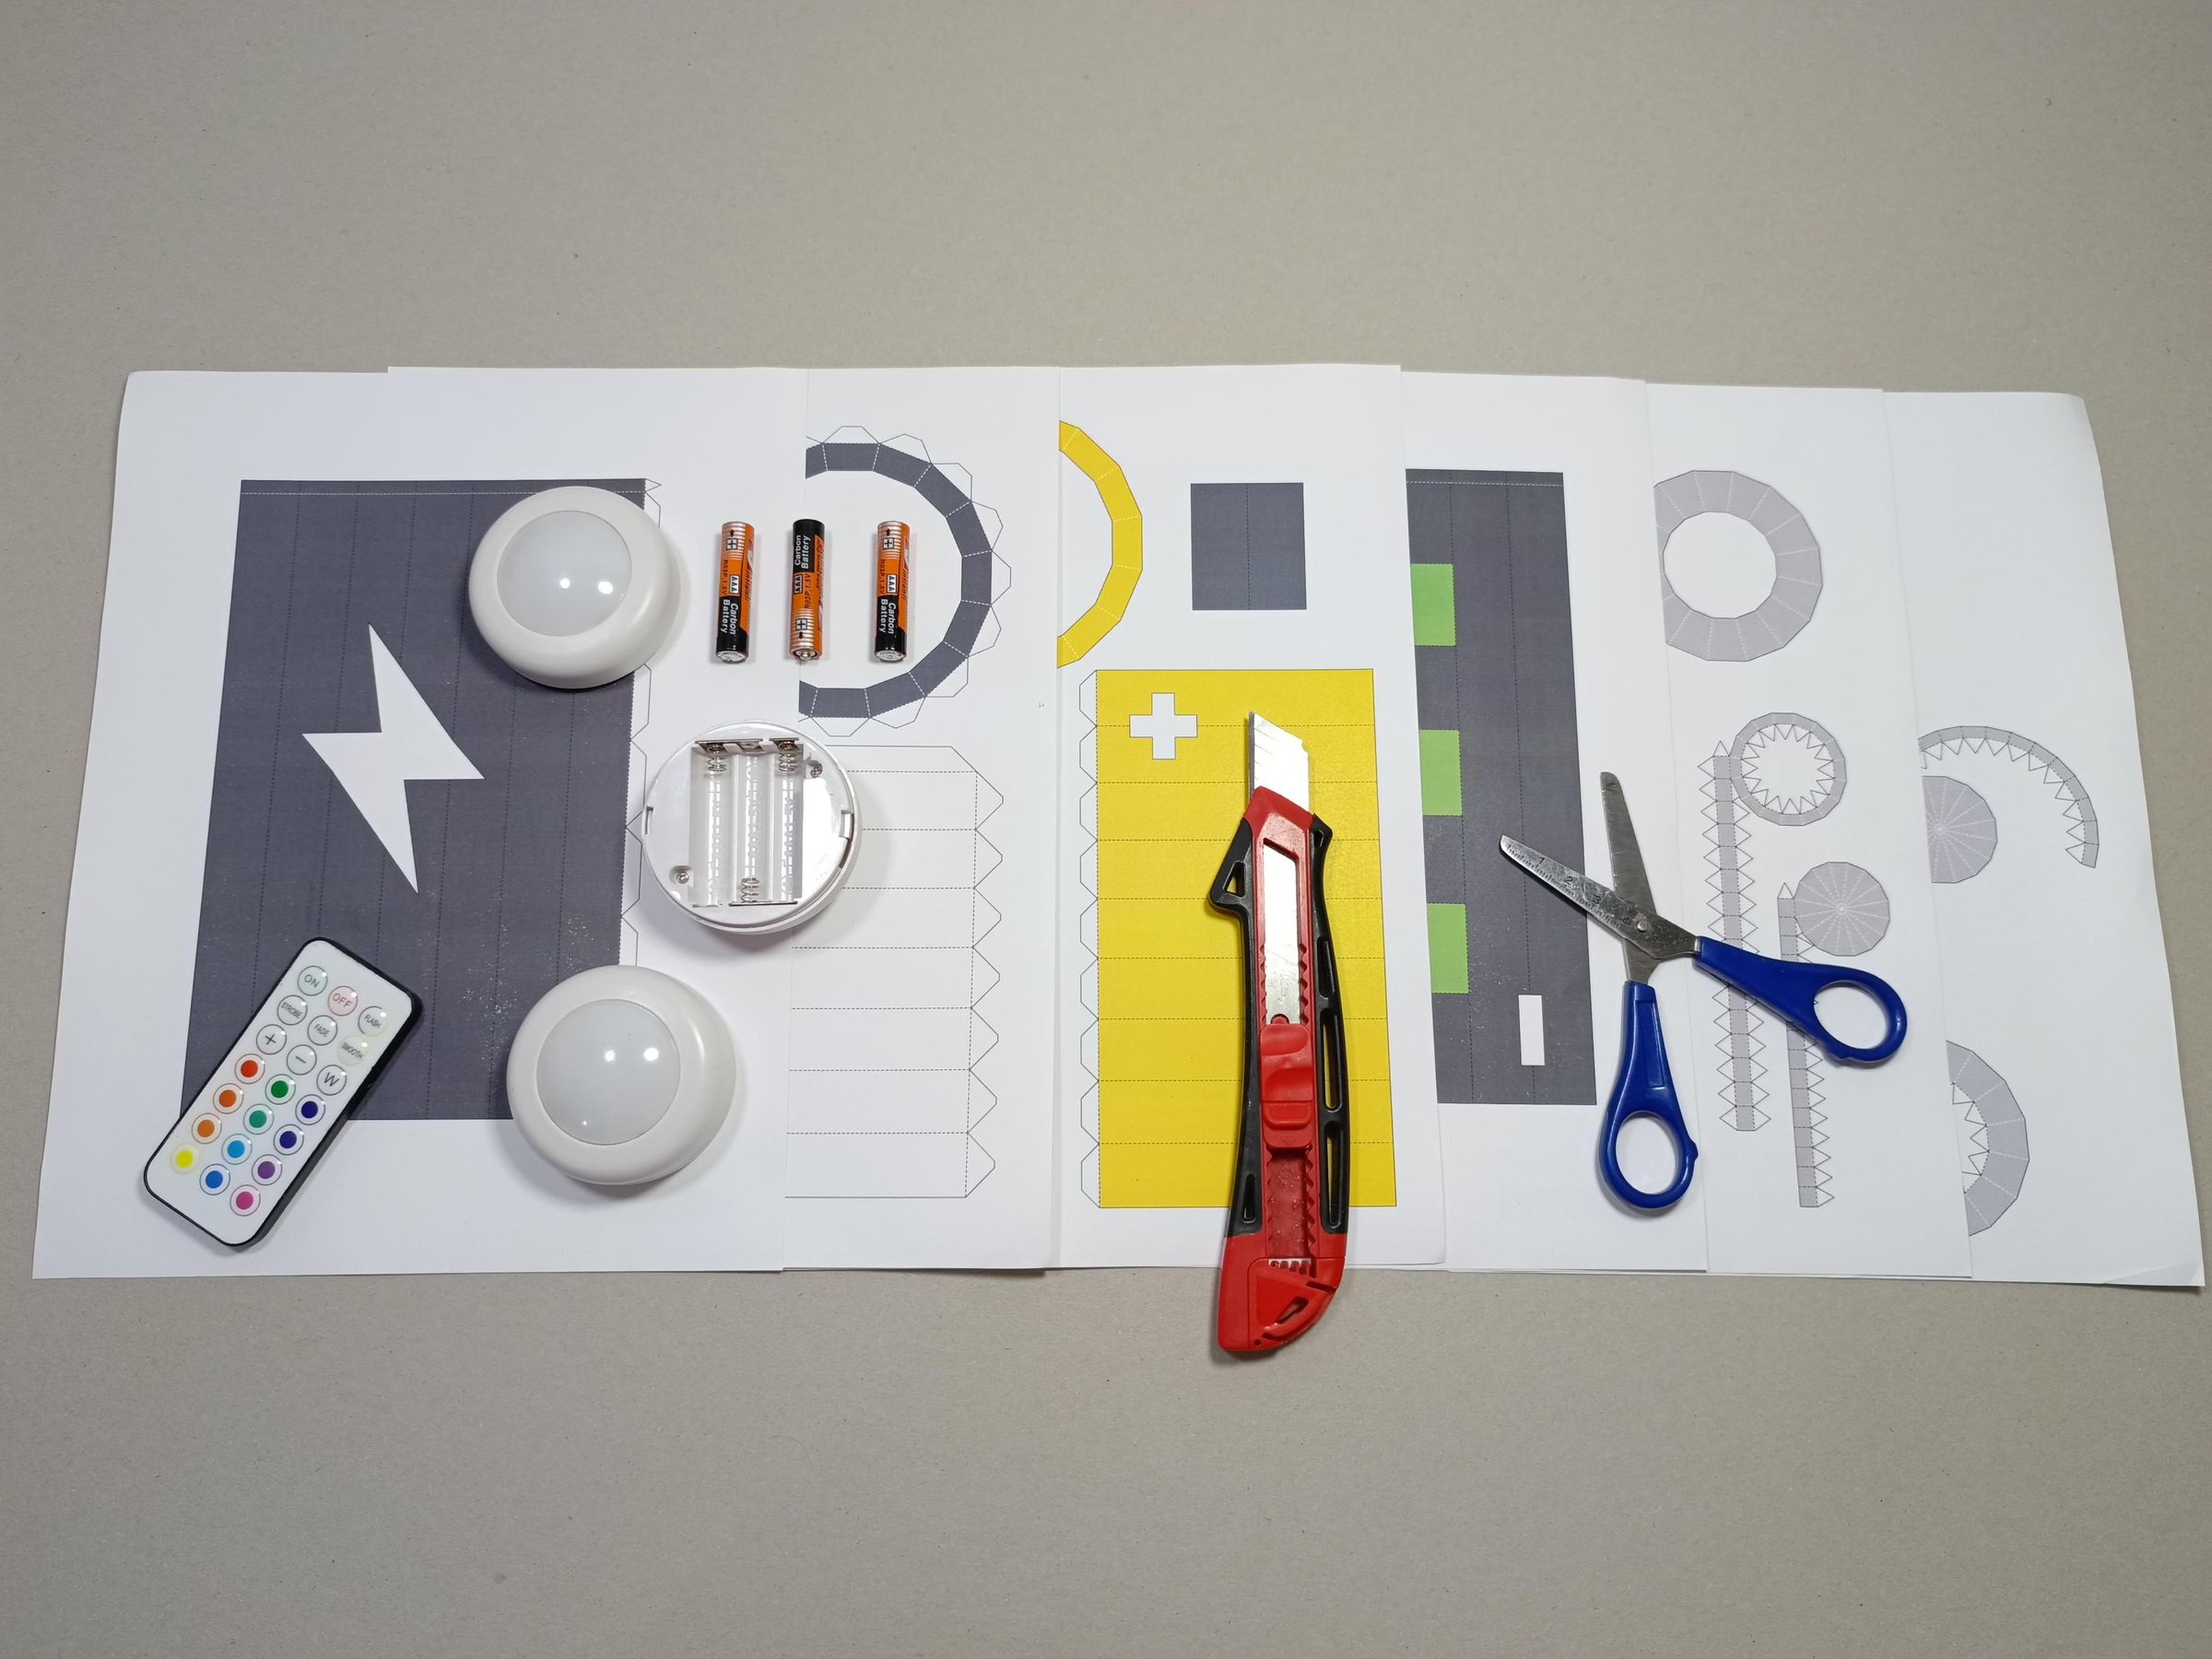
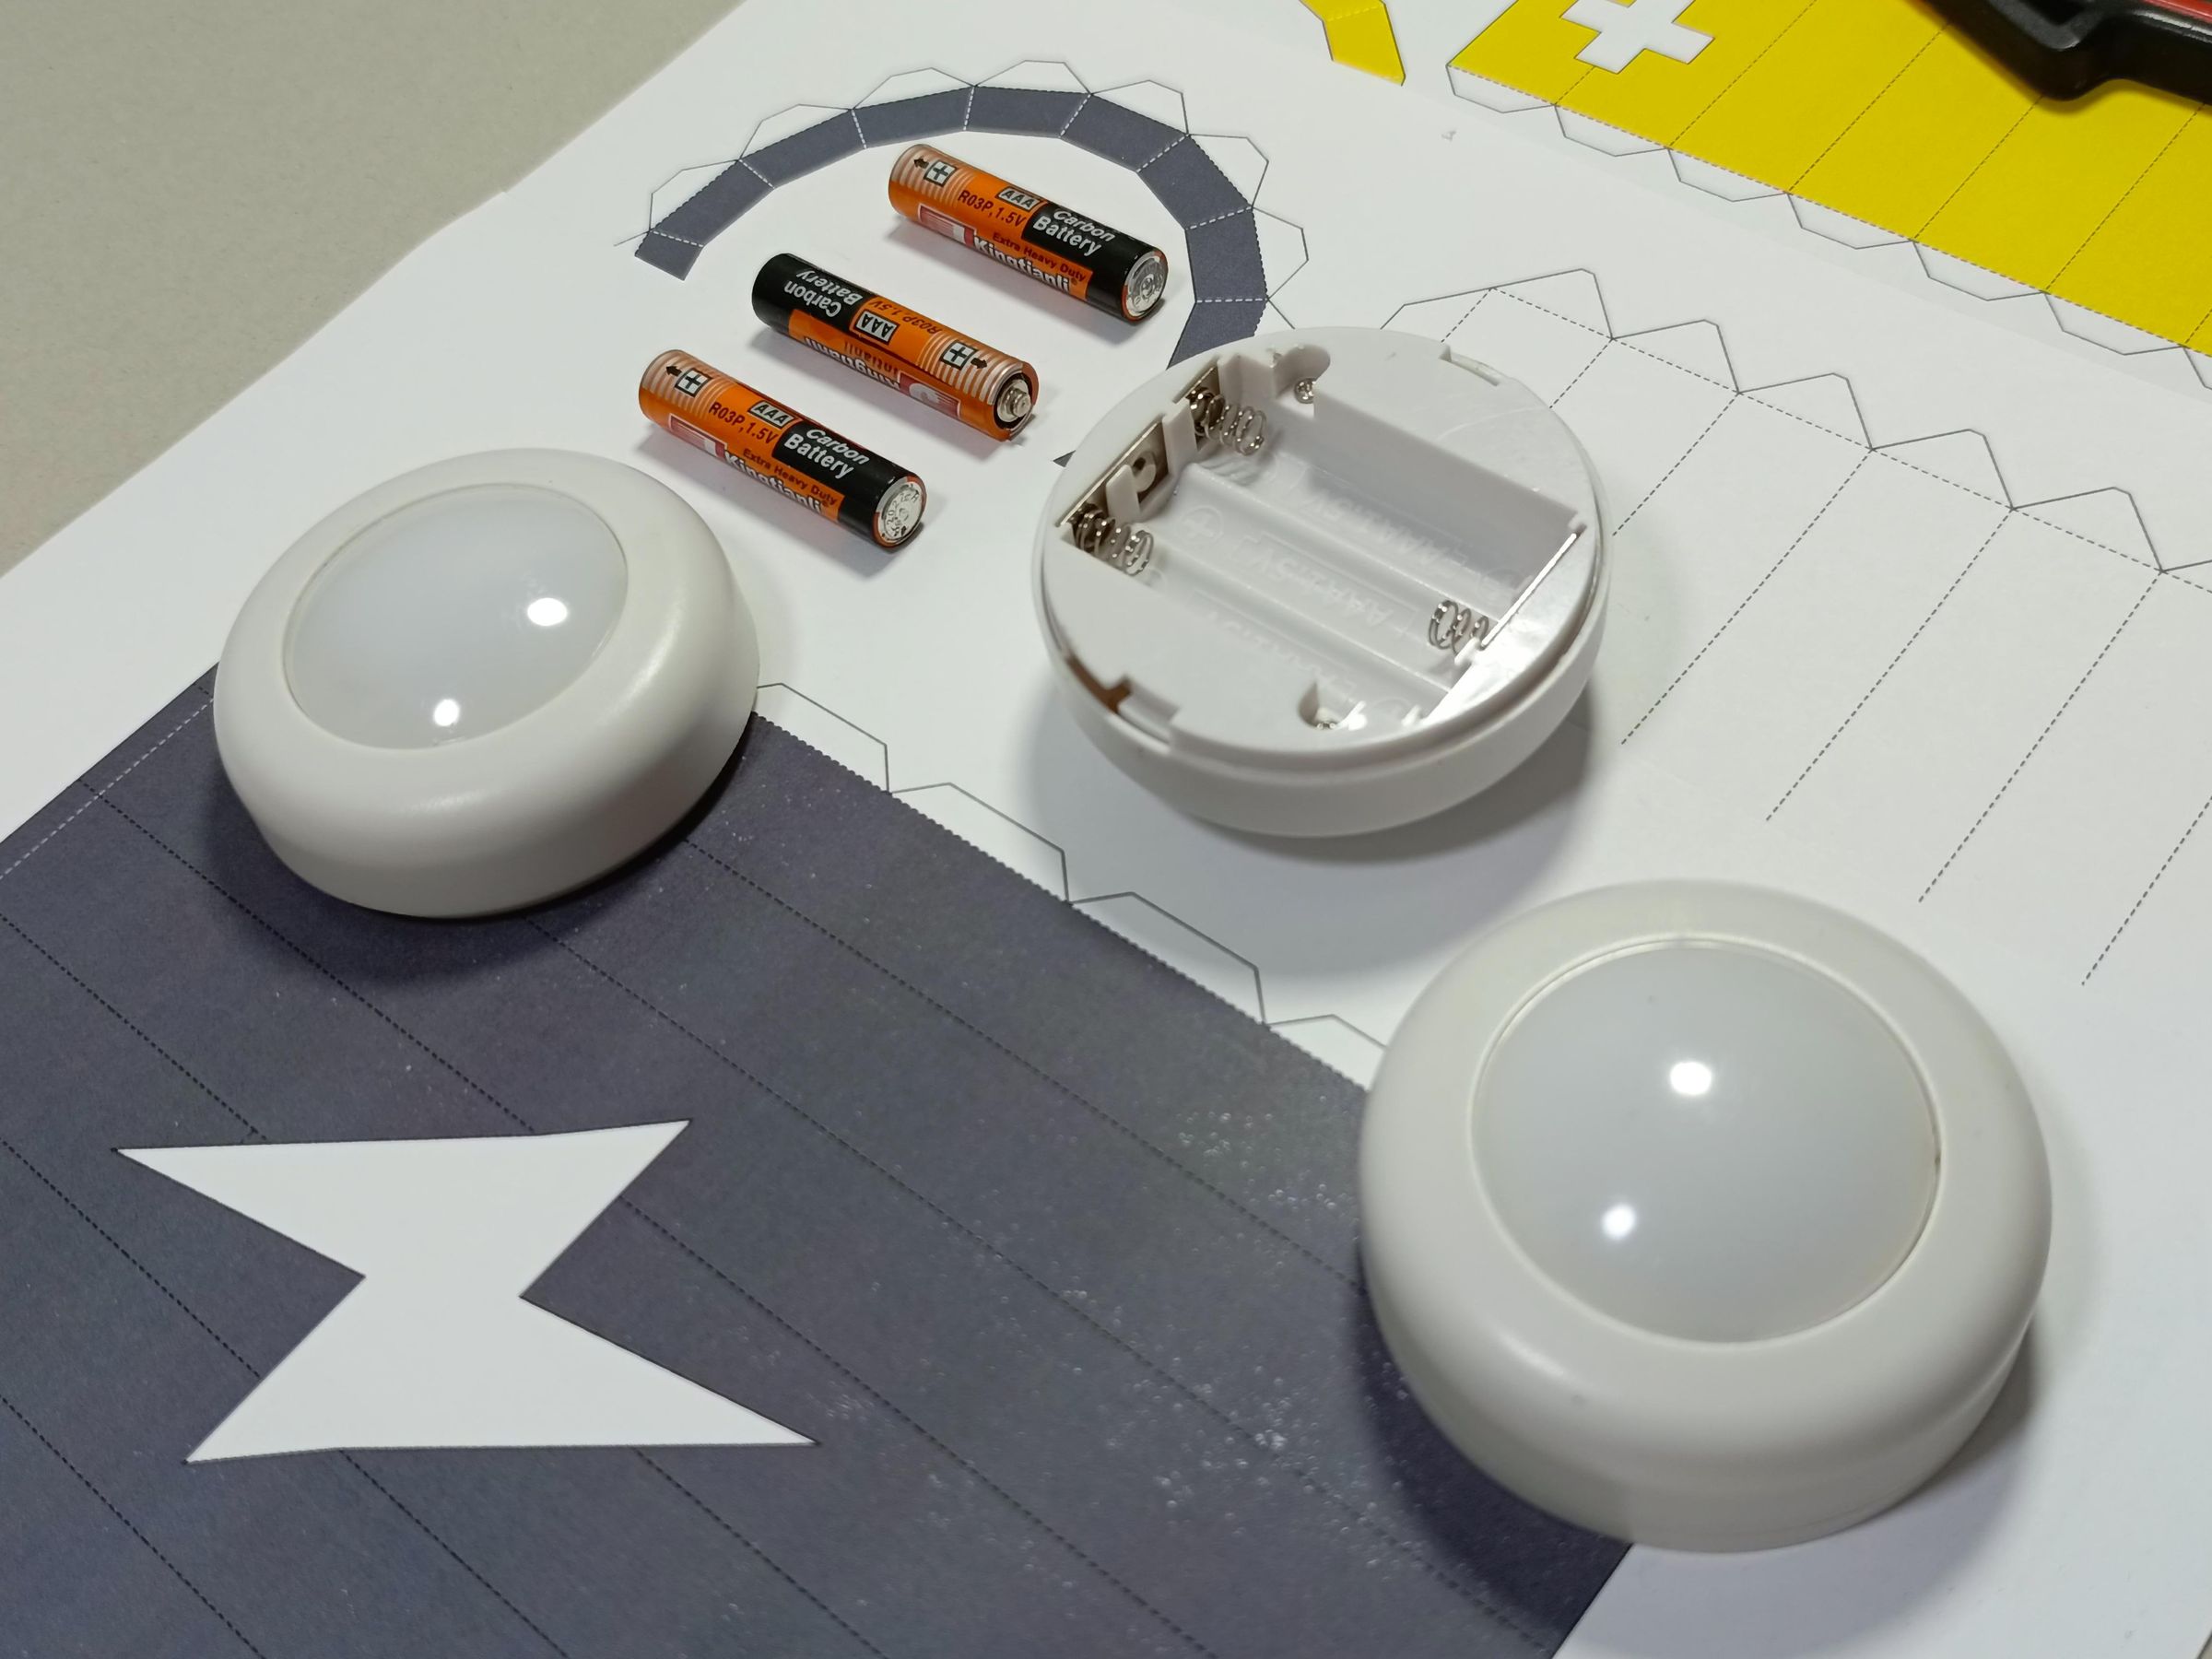
3 Battery Powered LED Puck Lights With Wireless Remote Control.
Batteries according to the LED Puck model (AA-AAA)
220g letter-size cardstock
Templates
Scissors
Cutter
Glue/Contact Cement
Concept
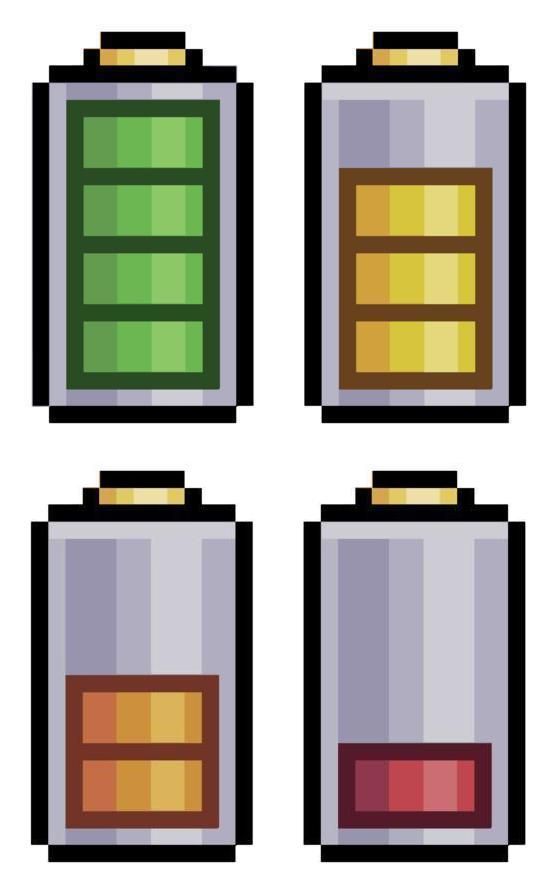
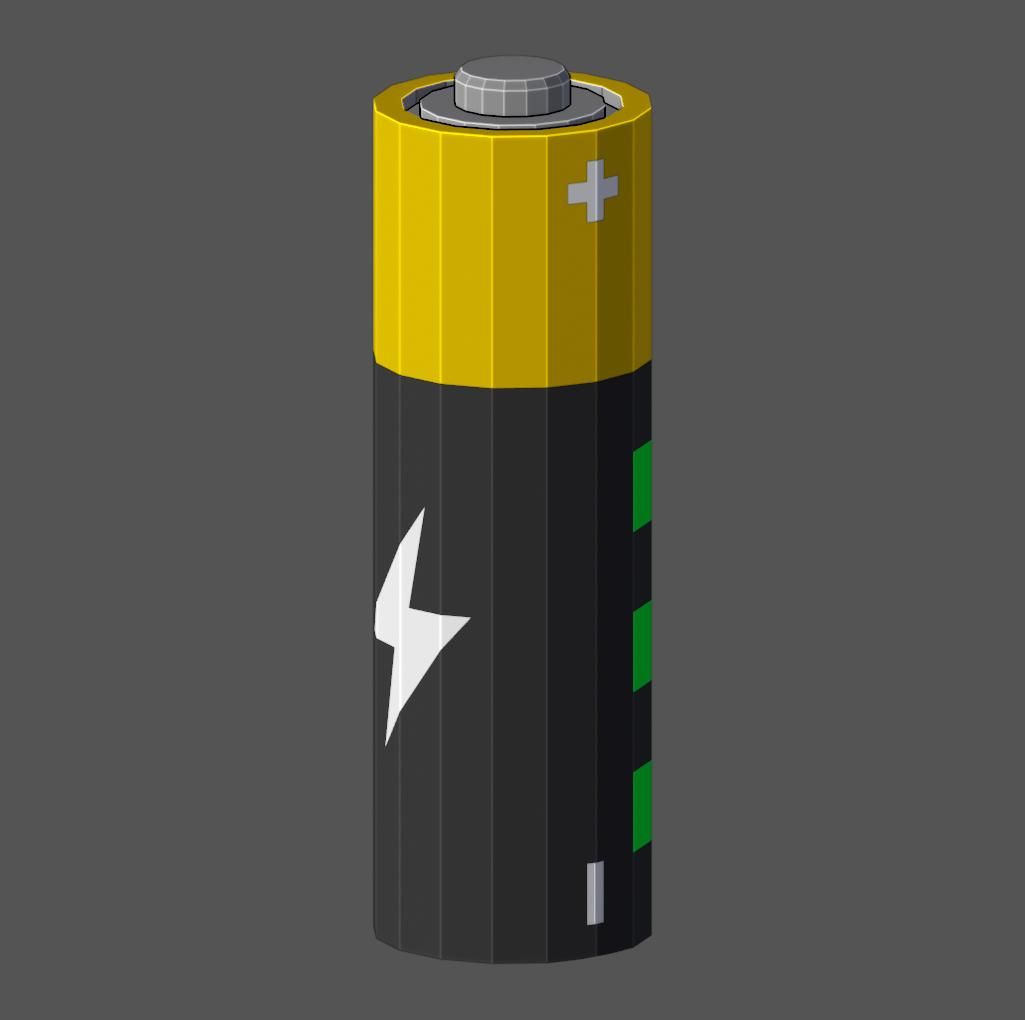
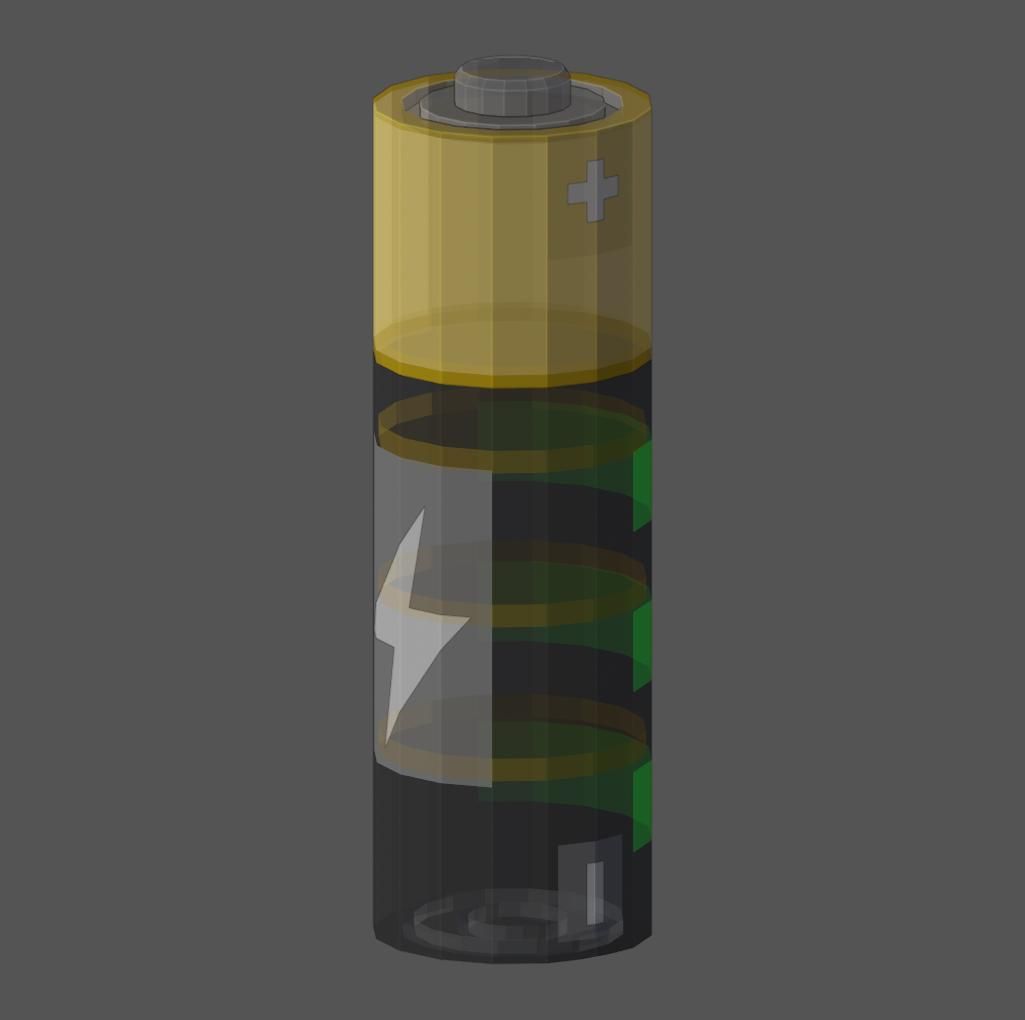
The idea came to me while thinking about the icons on cell phones that indicate how much battery is left on the device and how I could associate it with everyday life.
So the first thing that came to mind was a lamp where you can control the charging levels, based on your mood.
A colorful mood represents joy or anticipation of something good, while a somber color can represent something bad or urgent or something that was not resolved.
Template
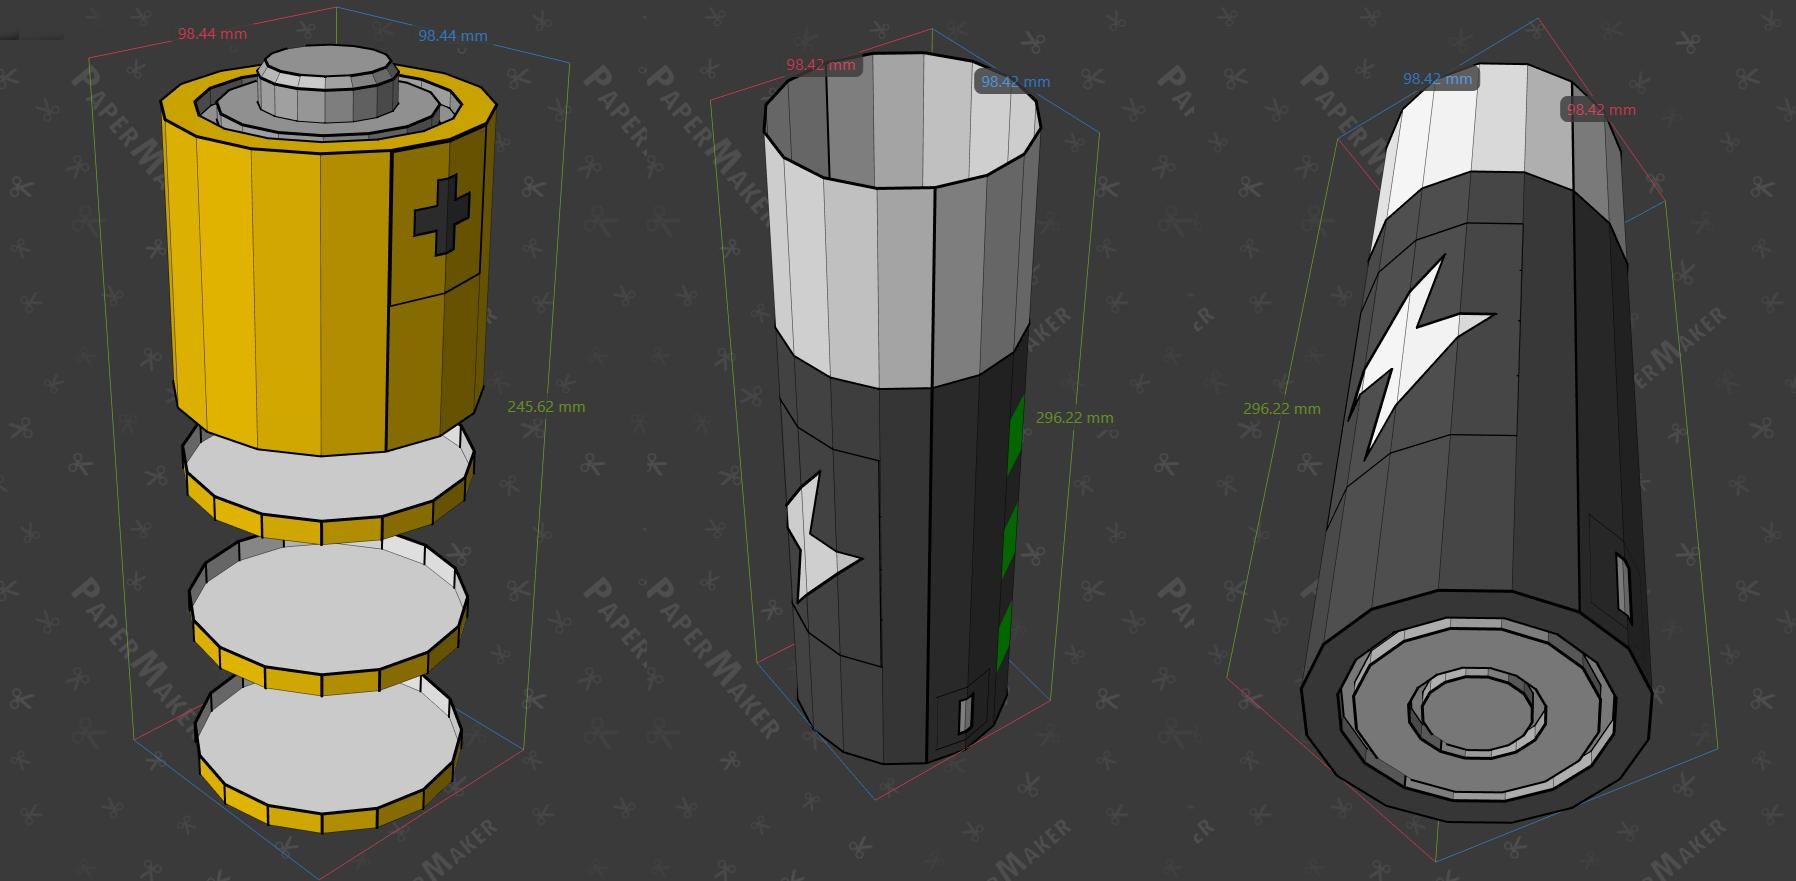
I worked on this 3D Battery design in Blender but to obtain the respective templates After the 3D design, I transfered the model to paper.
In paper, you will be able to make the physical assembly of pieces in 3 dimensions according to the instructions.
Here you can download the templates for the Cozy Battery Shaped Lamp and then review step by step which one corresponds and guide you through the assembly.
Batteries
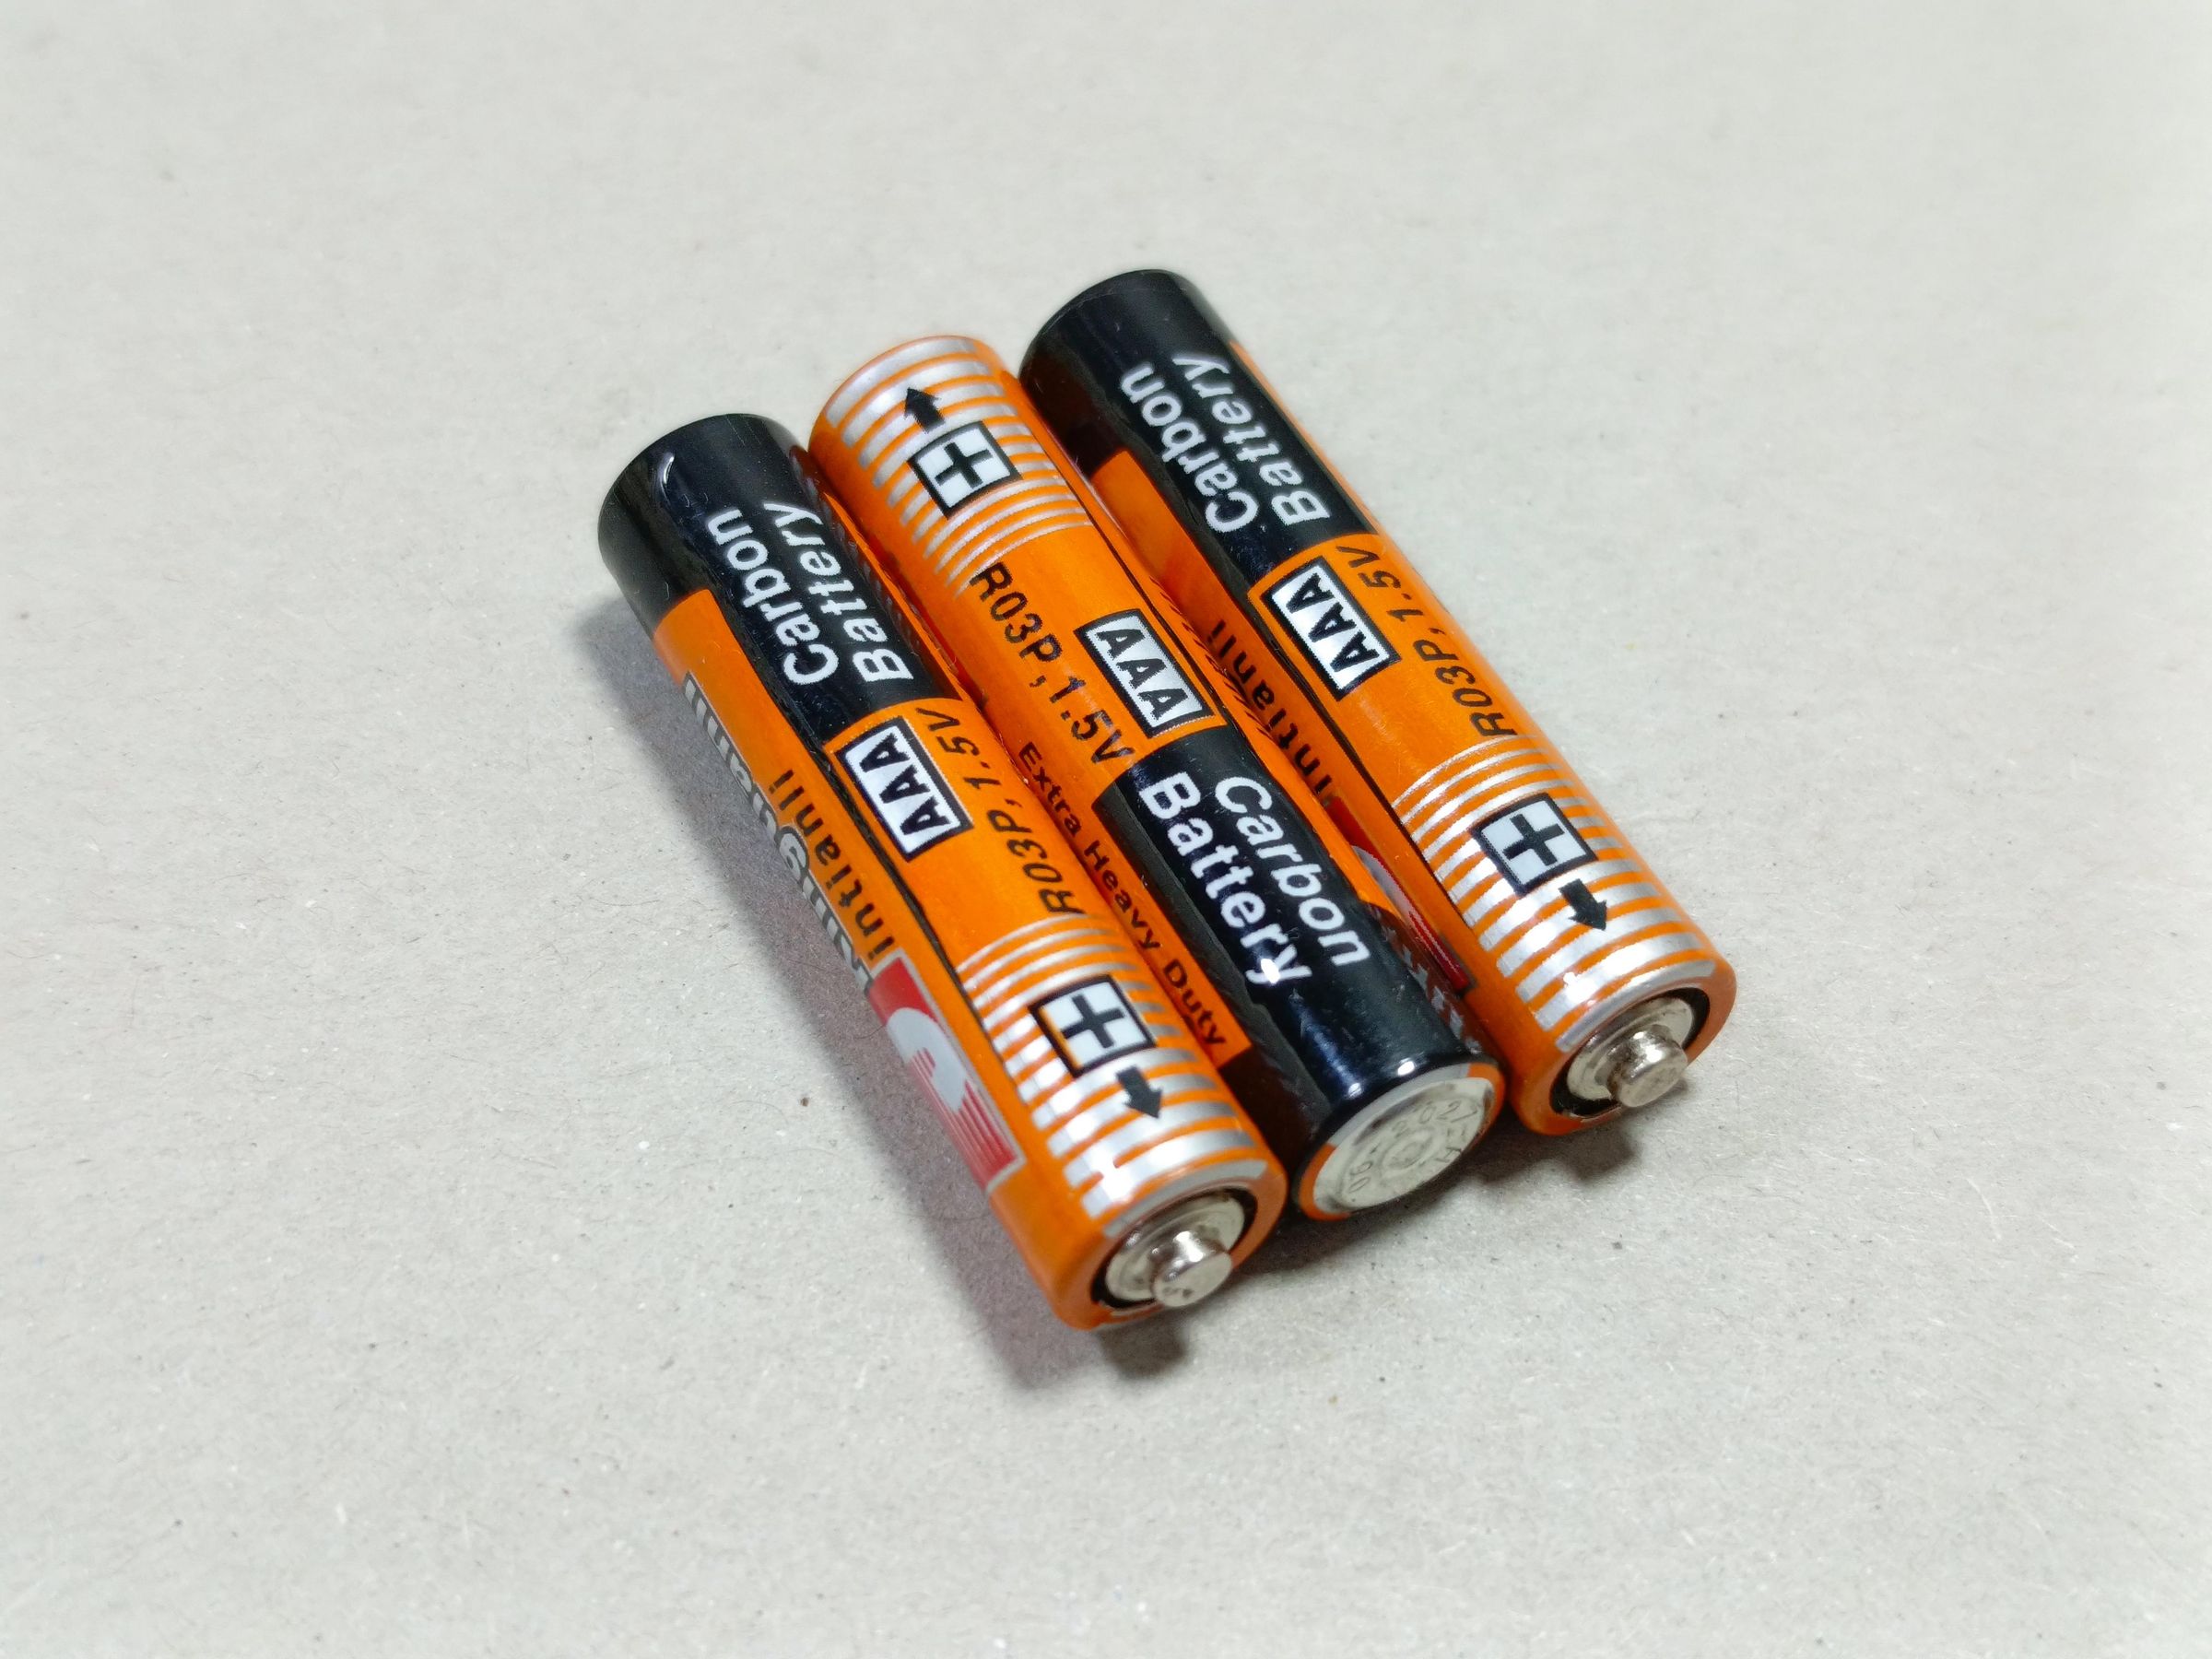
Batteries are categorized as either primary (single-use) or secondary (rechargeable).
The most common chemistries include lithium-ion (phones/EVs), alkaline (household items), lead-acid (automotive), and nickel-metal hydride (NiMH) (cameras).
Explore these to find exactly what you need in your future projects:
1. Primary Batteries (Non-Rechargeable)
Designed for single-use, these disposable batteries are perfect for devices that don't need frequent charging.
- Alkaline: The standard AA, AAA, C, D, and 9V batteries used in TV remotes and clocks etc...
- Lithium (Disposable): High-performance disposable batteries that work well in extreme temperatures and high-drain electronics like digital cameras or screens.
- Coin Cells / Button: Miniature disc batteries used in watches and mini leds.
2. Secondary Batteries (Rechargeable)
These can be recharged hundreds of times and are essential for modern portable electronics.
- Nickel-Metal Hydride (NiMH): Standard rechargeable replacement for AA/AAA batteries in devices like digital cameras.
- Lithium-Ion (Li-ion): Lightweight and high-capacity, used in smartphones, laptops, and electric vehicles.
- Lead-Acid: Heavy, reliable batteries mostly used for car engines (SLI) and backup power (UPS).
Battery Powered LED Puck Lights
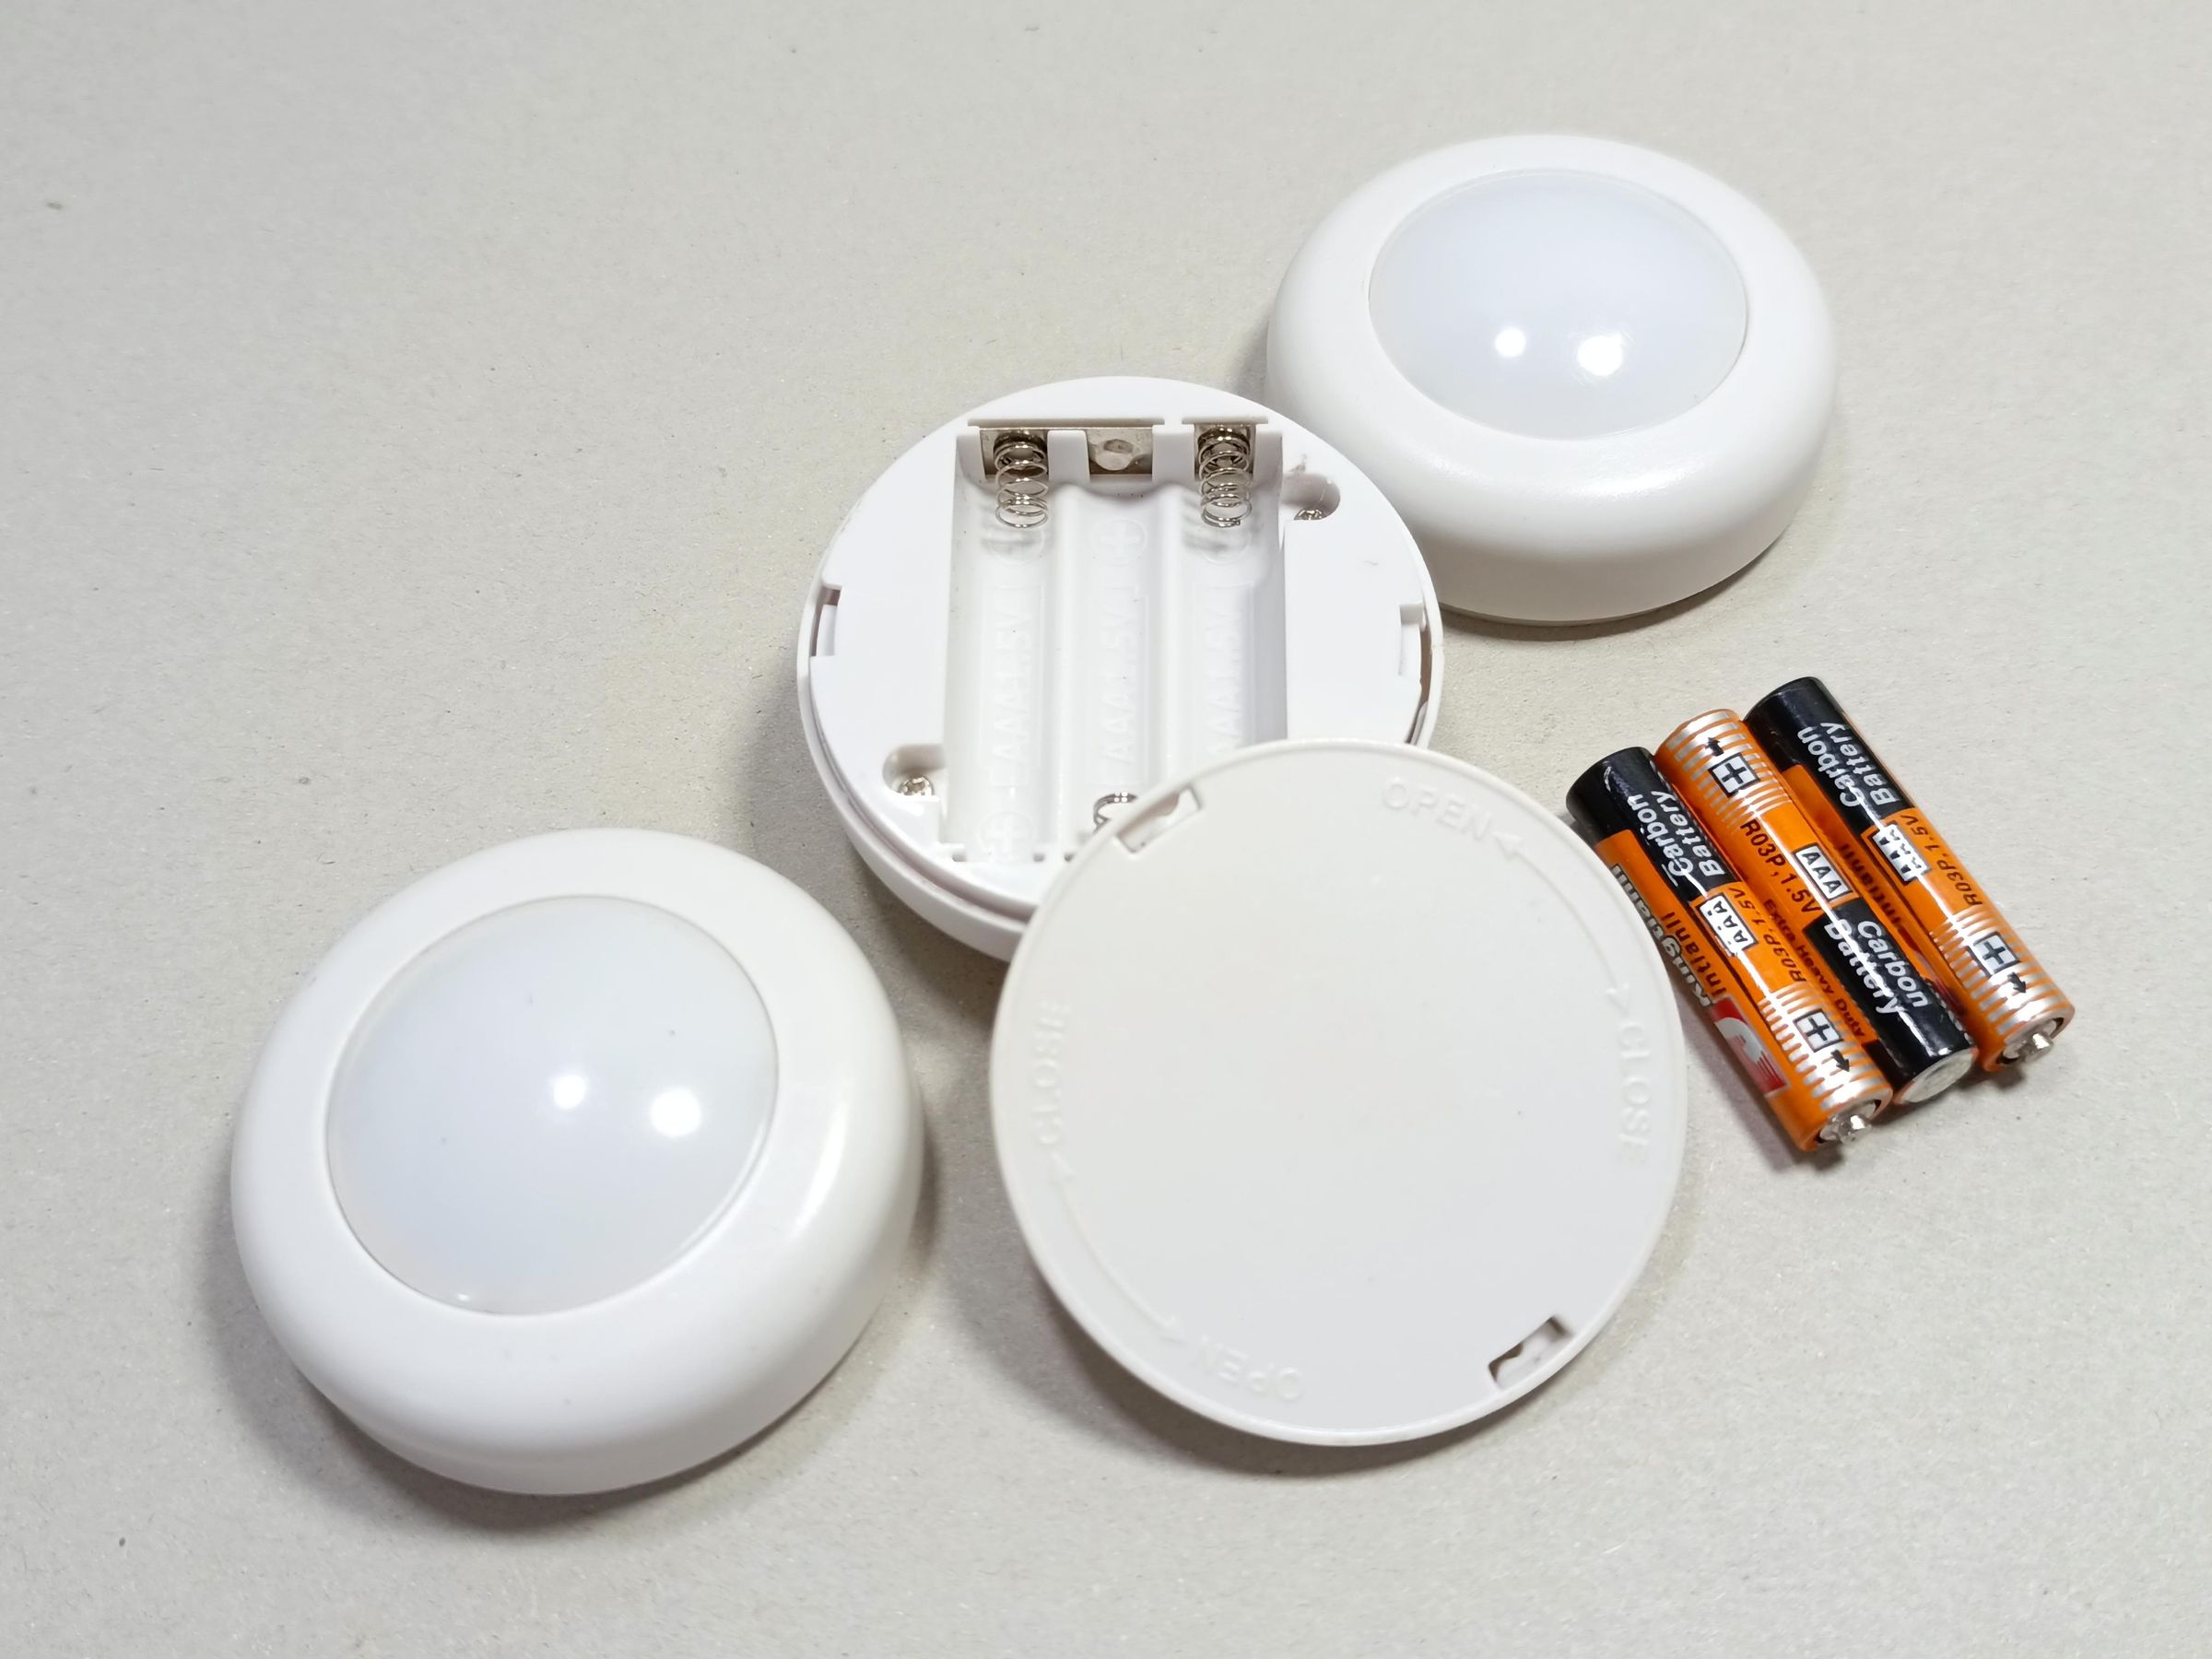
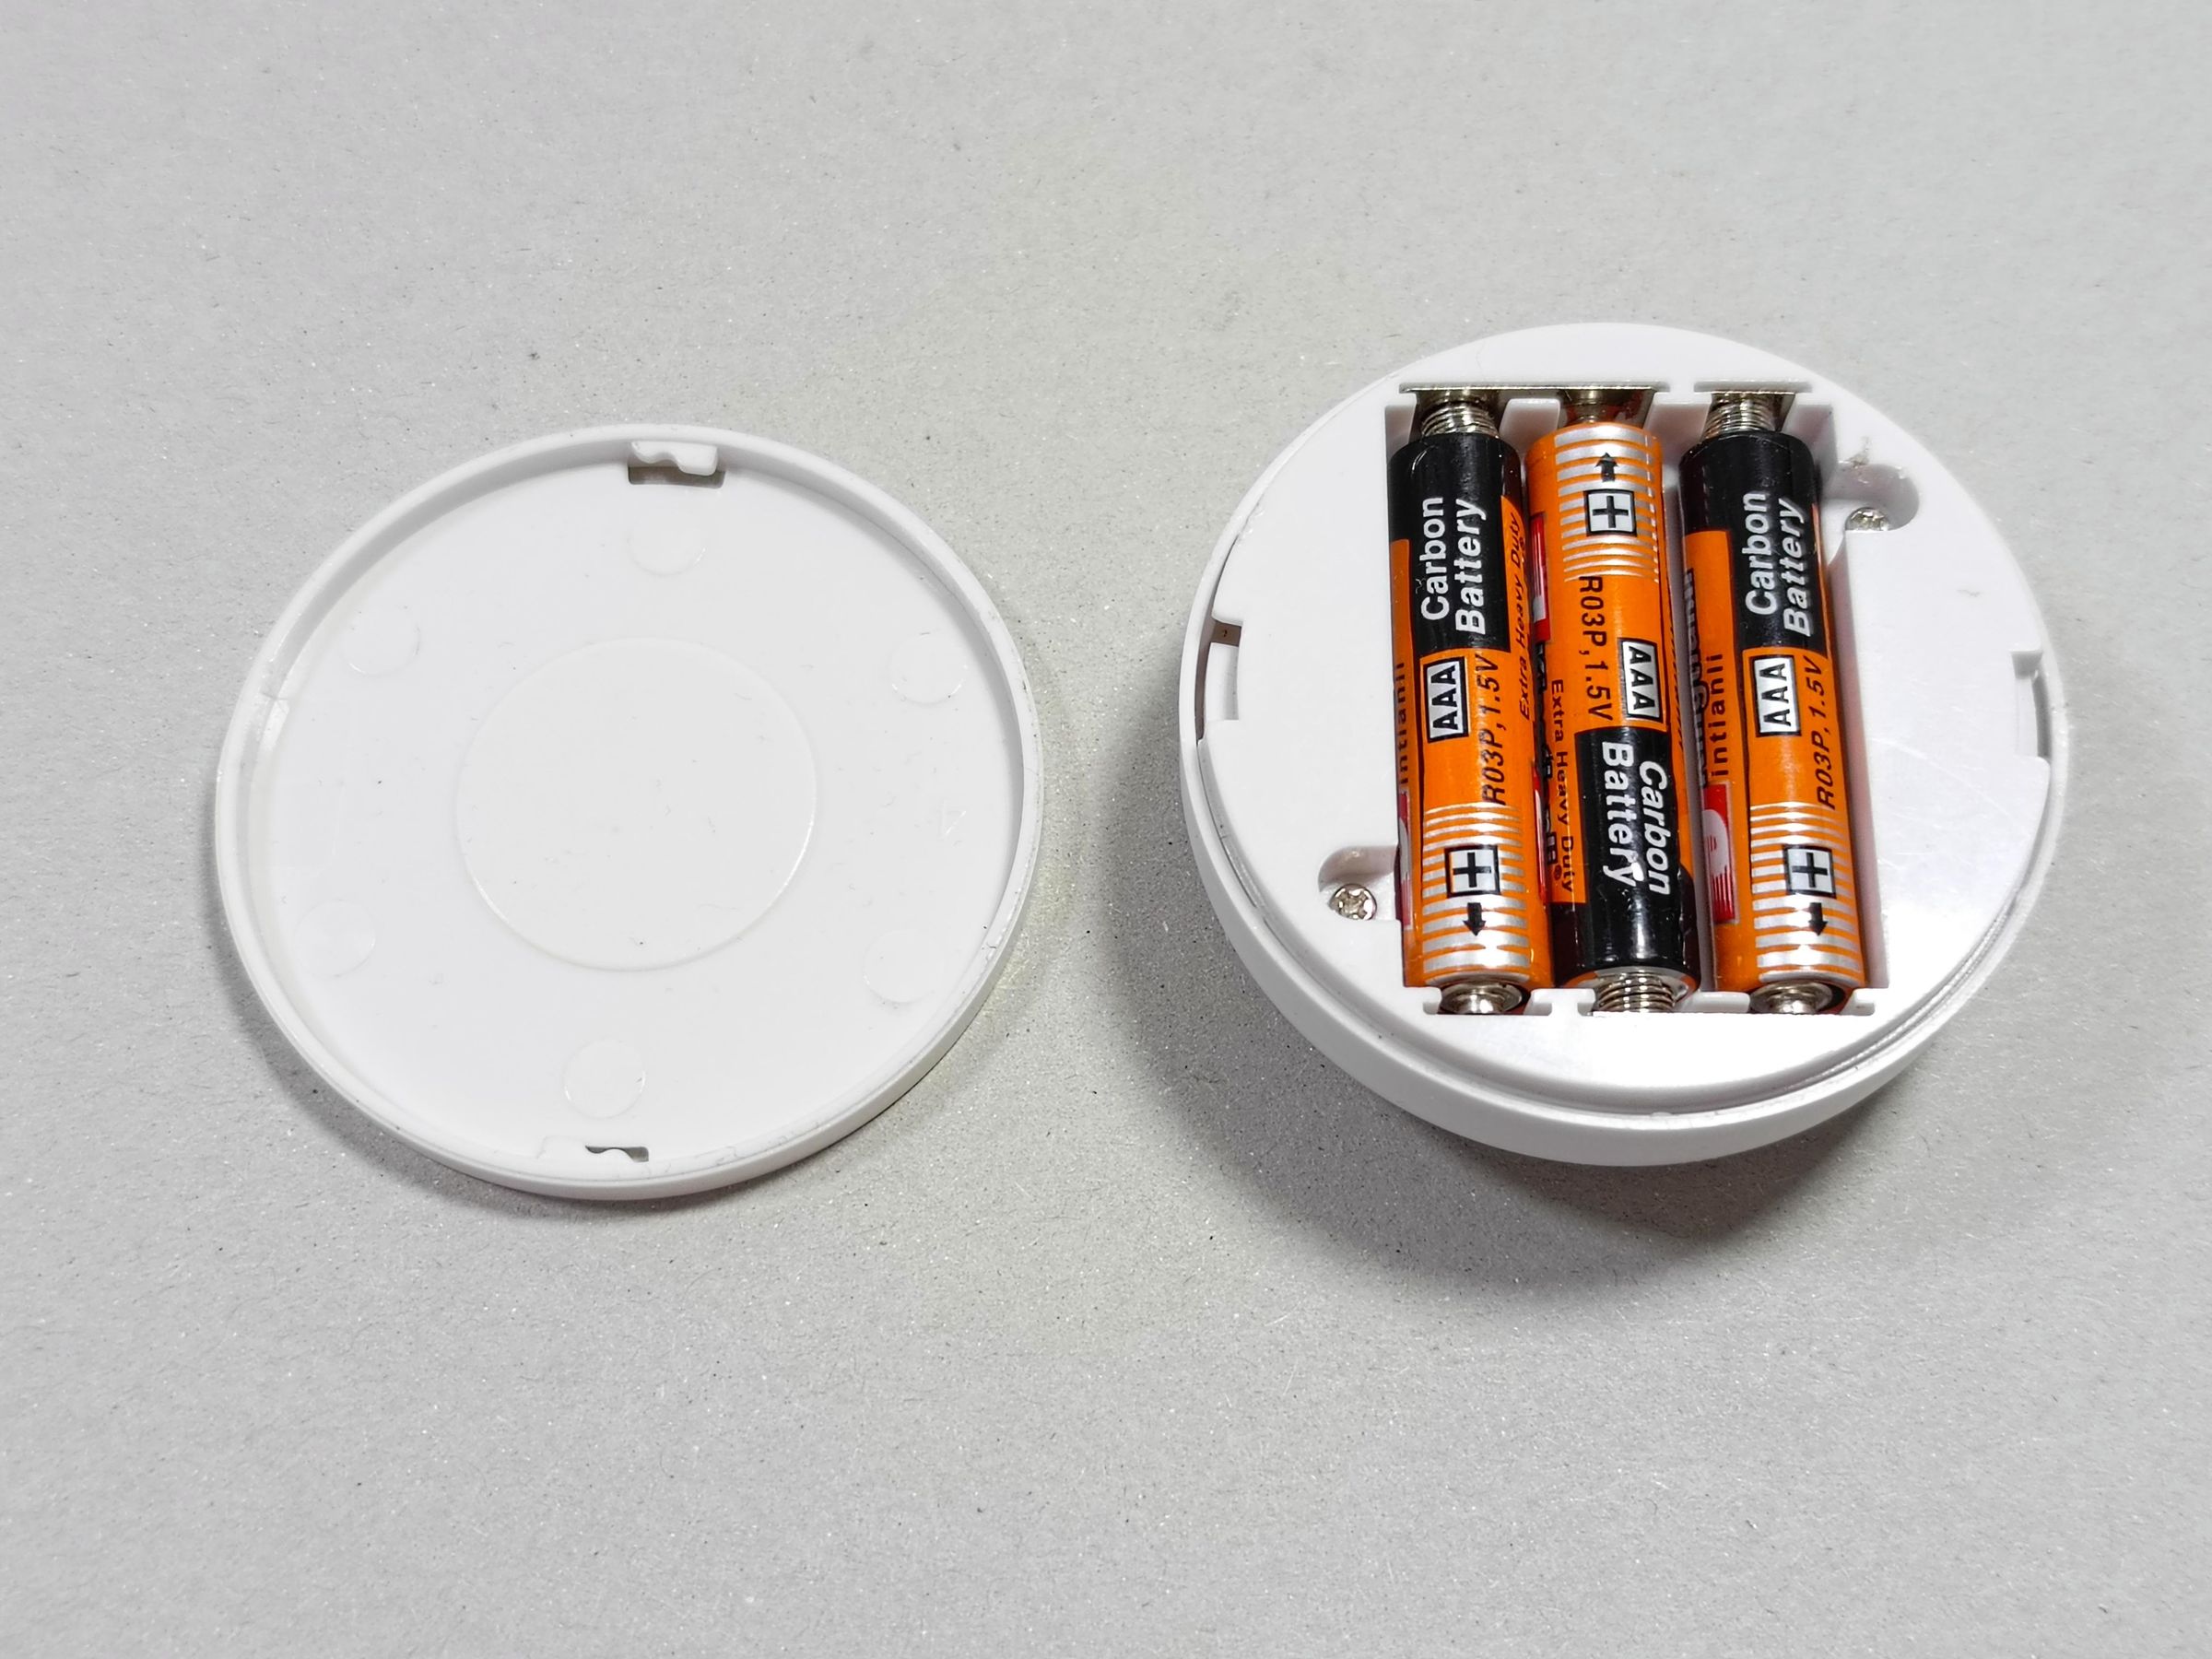
For this specific project, the LED pucks lights I bought use AAA batteries, but there are some on the market that use other types of batteries, such as the more common AA batteries, so check before making your purchase.
The primary differences between AA and AAA batteries are their physical size and energy capacity. Both deliver the same 1.5 V (or 1.2 V for rechargeable), but AA batteries are larger and hold double the energy, making them ideal for high-drain devices
Place the batteries correctly in the Pluck LED compartment.
Moods
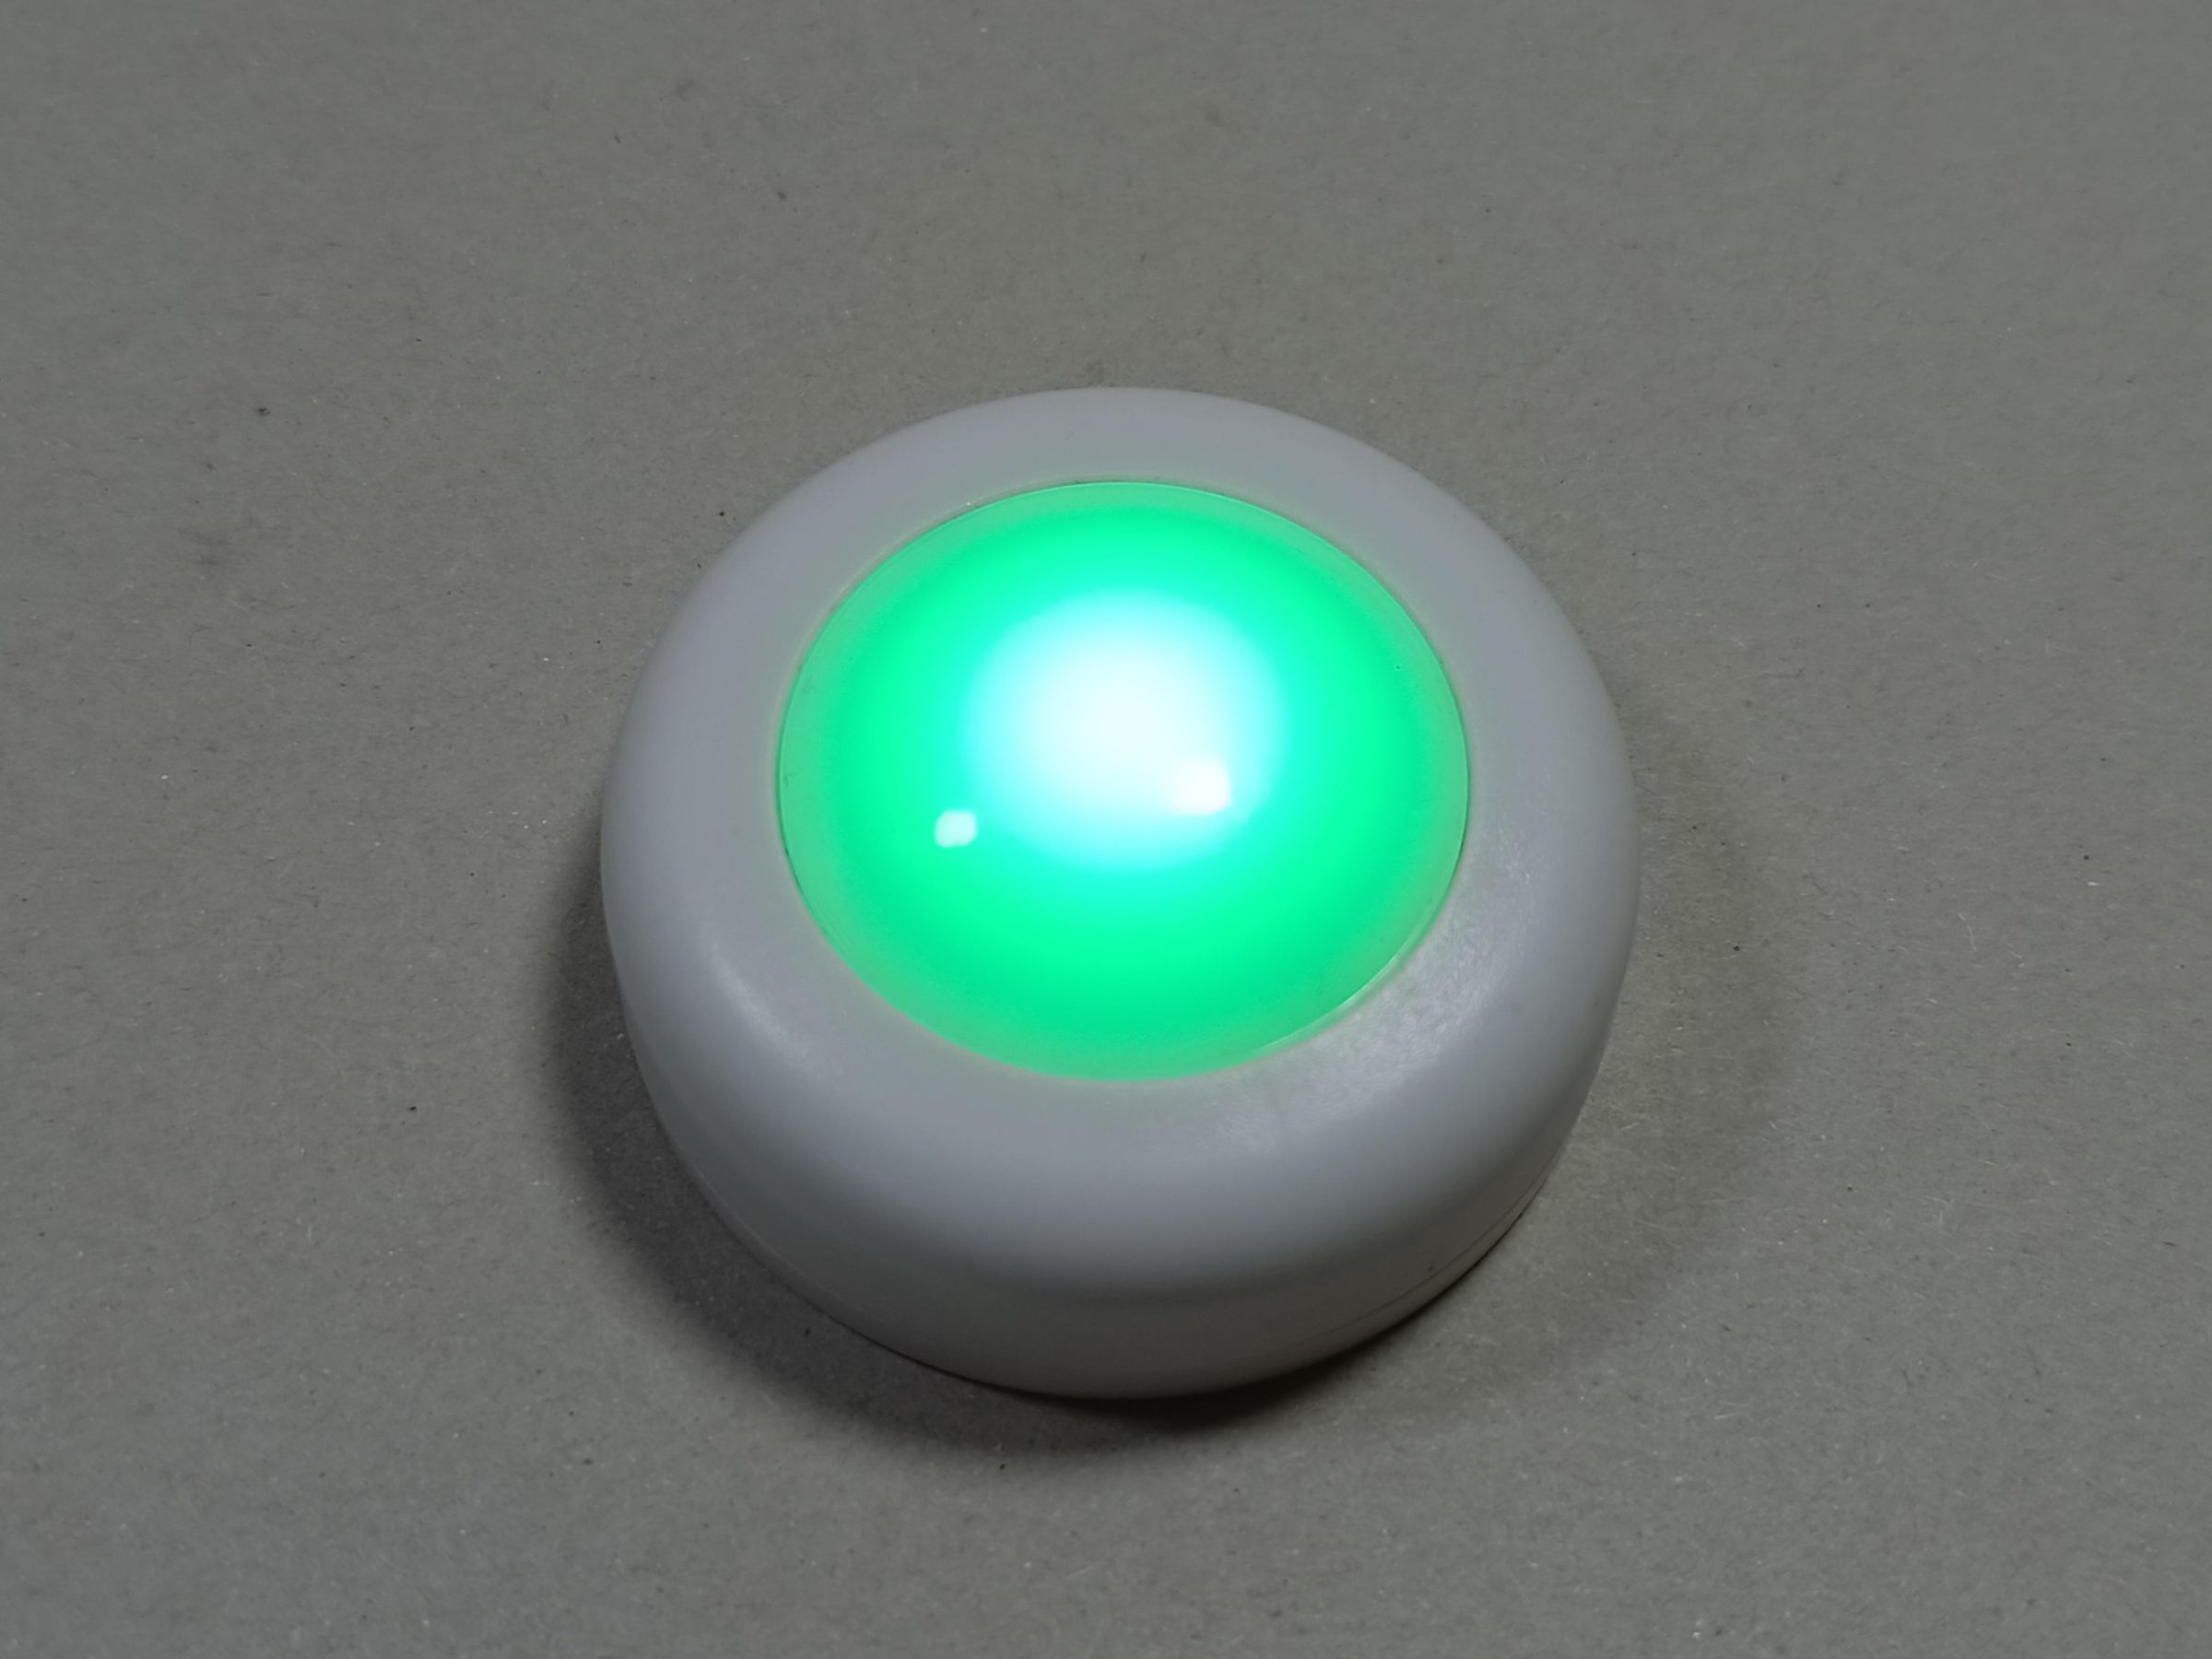
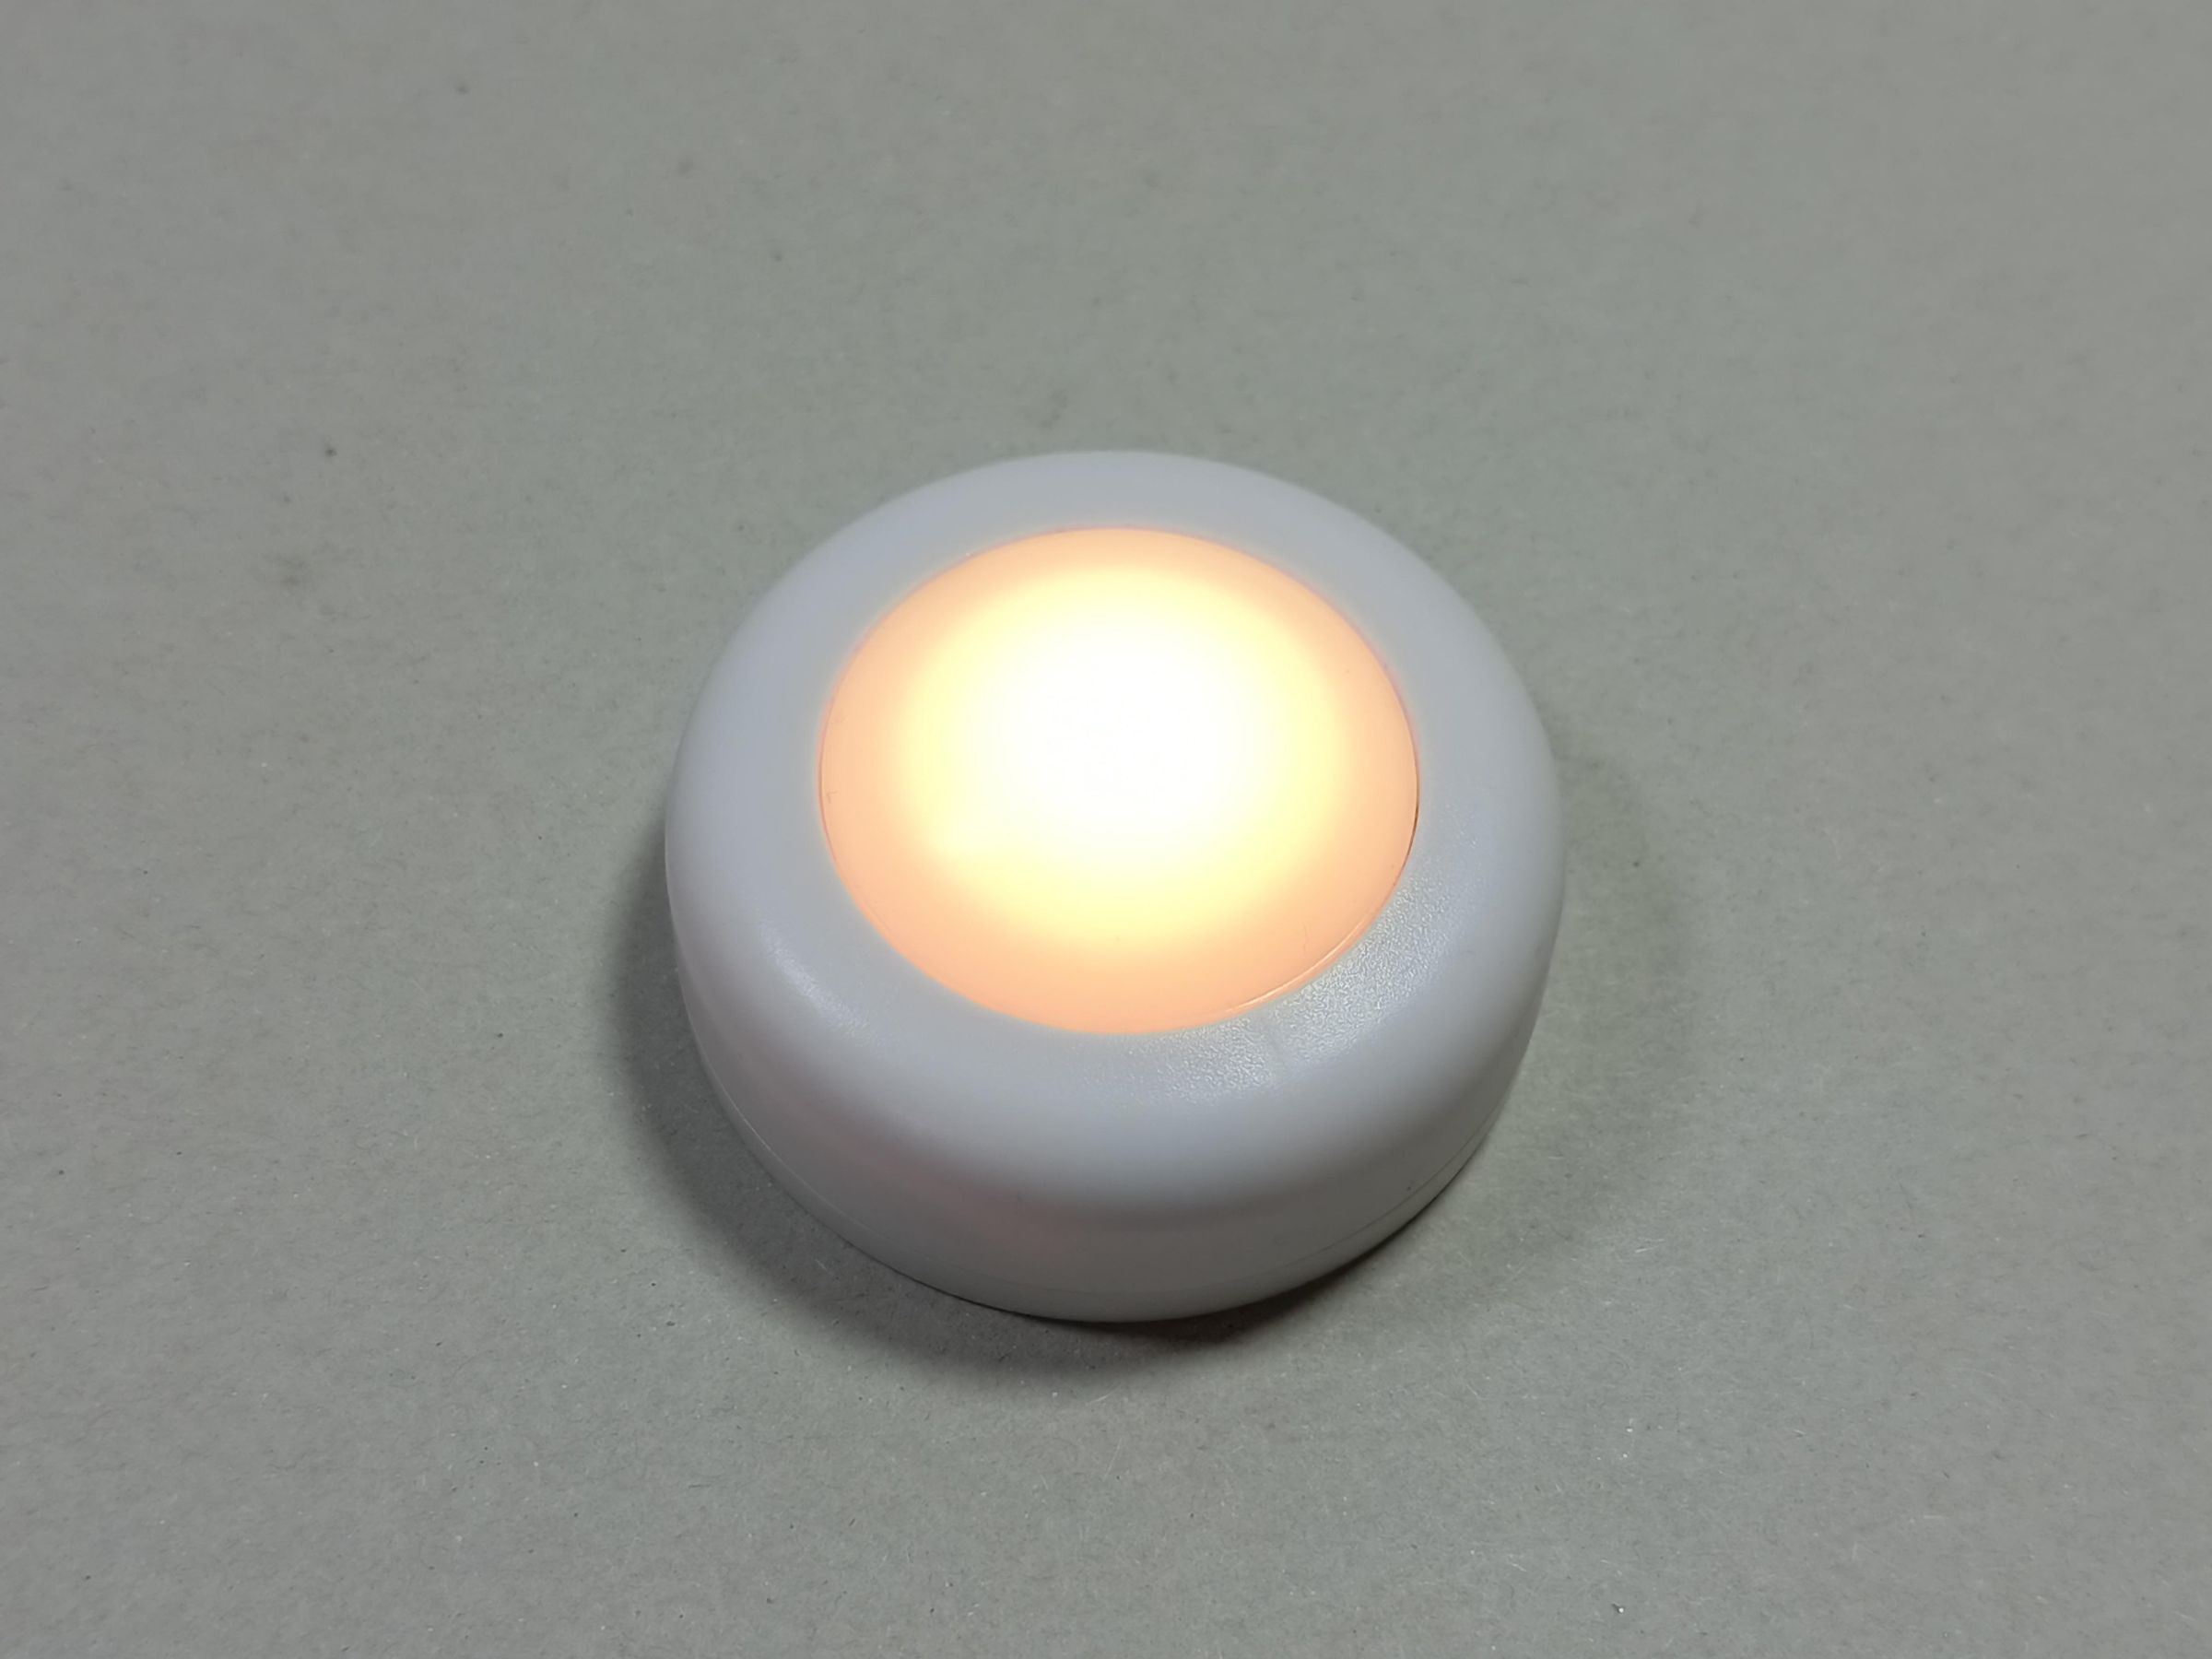
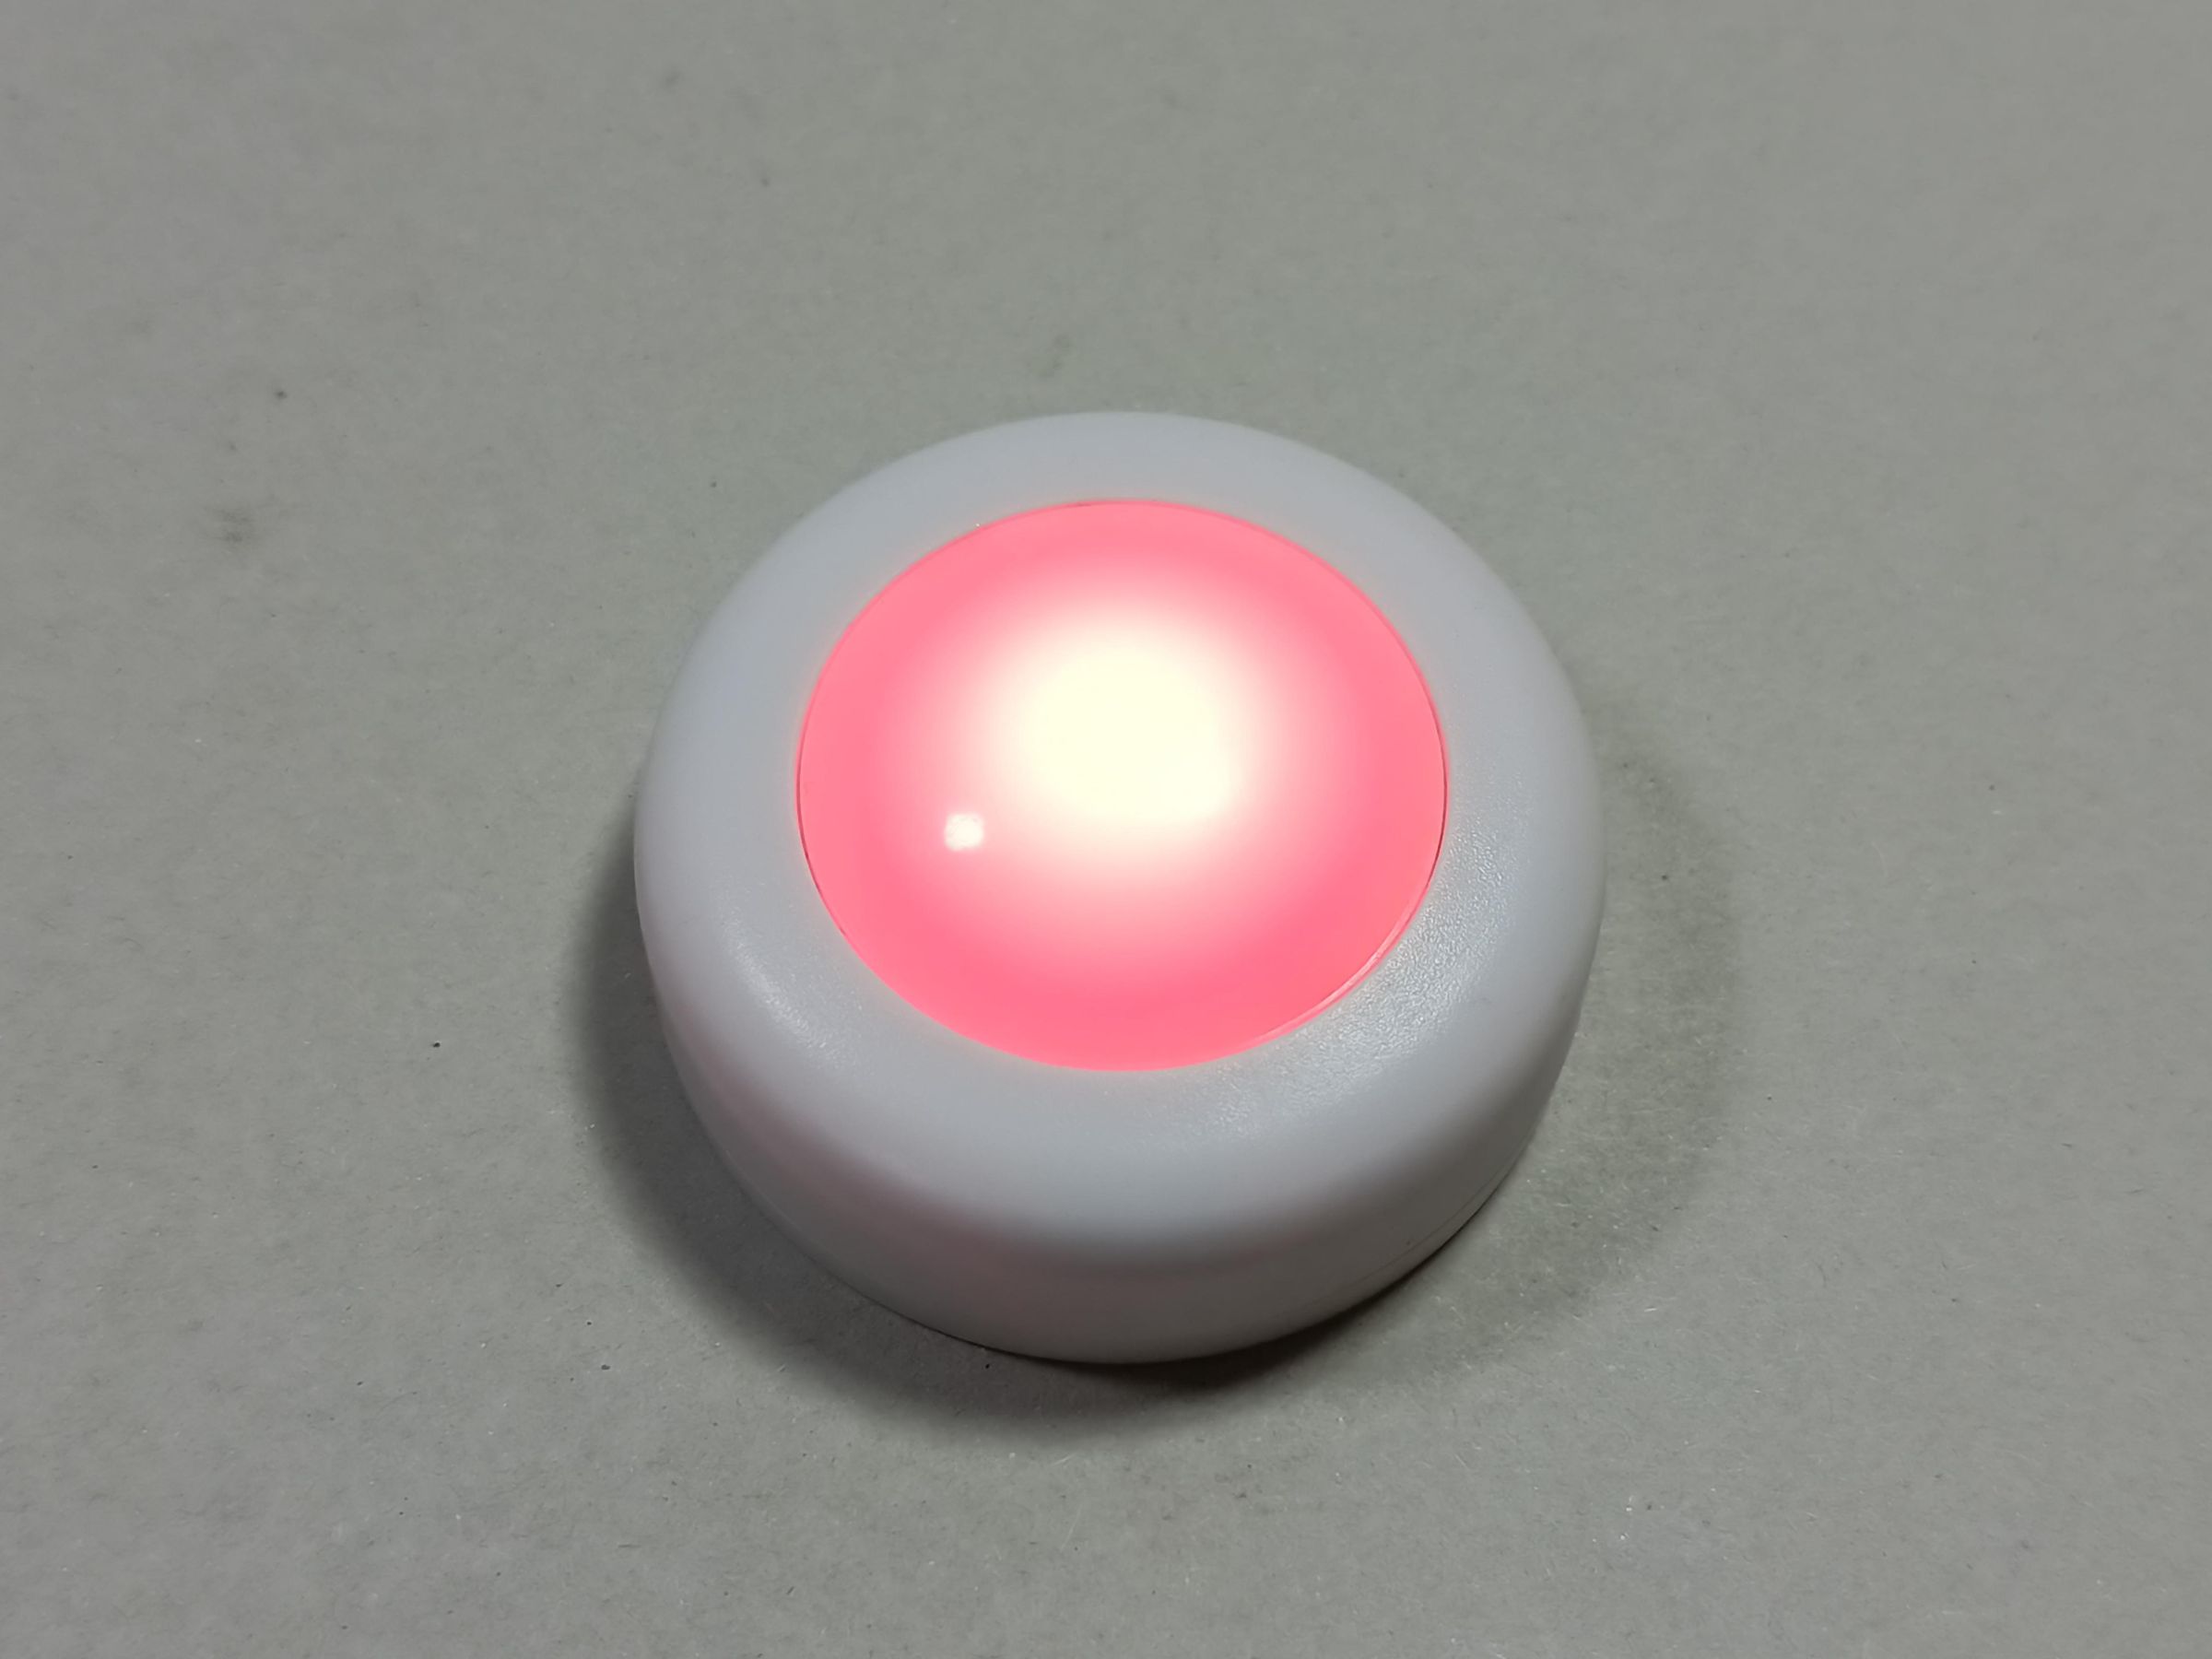
To represent moods on this battery-shaped lamp, use colors like green to represent calm and energy, yellow as an alert that you have forgotten something important or a worried mood, and red for something that reminds you of something urgent or makes you feel sad or low on energy.
You can also use other colors like blue to represent a supercharge of emotions or fuchsia to show love to someone close.
Cut and Join
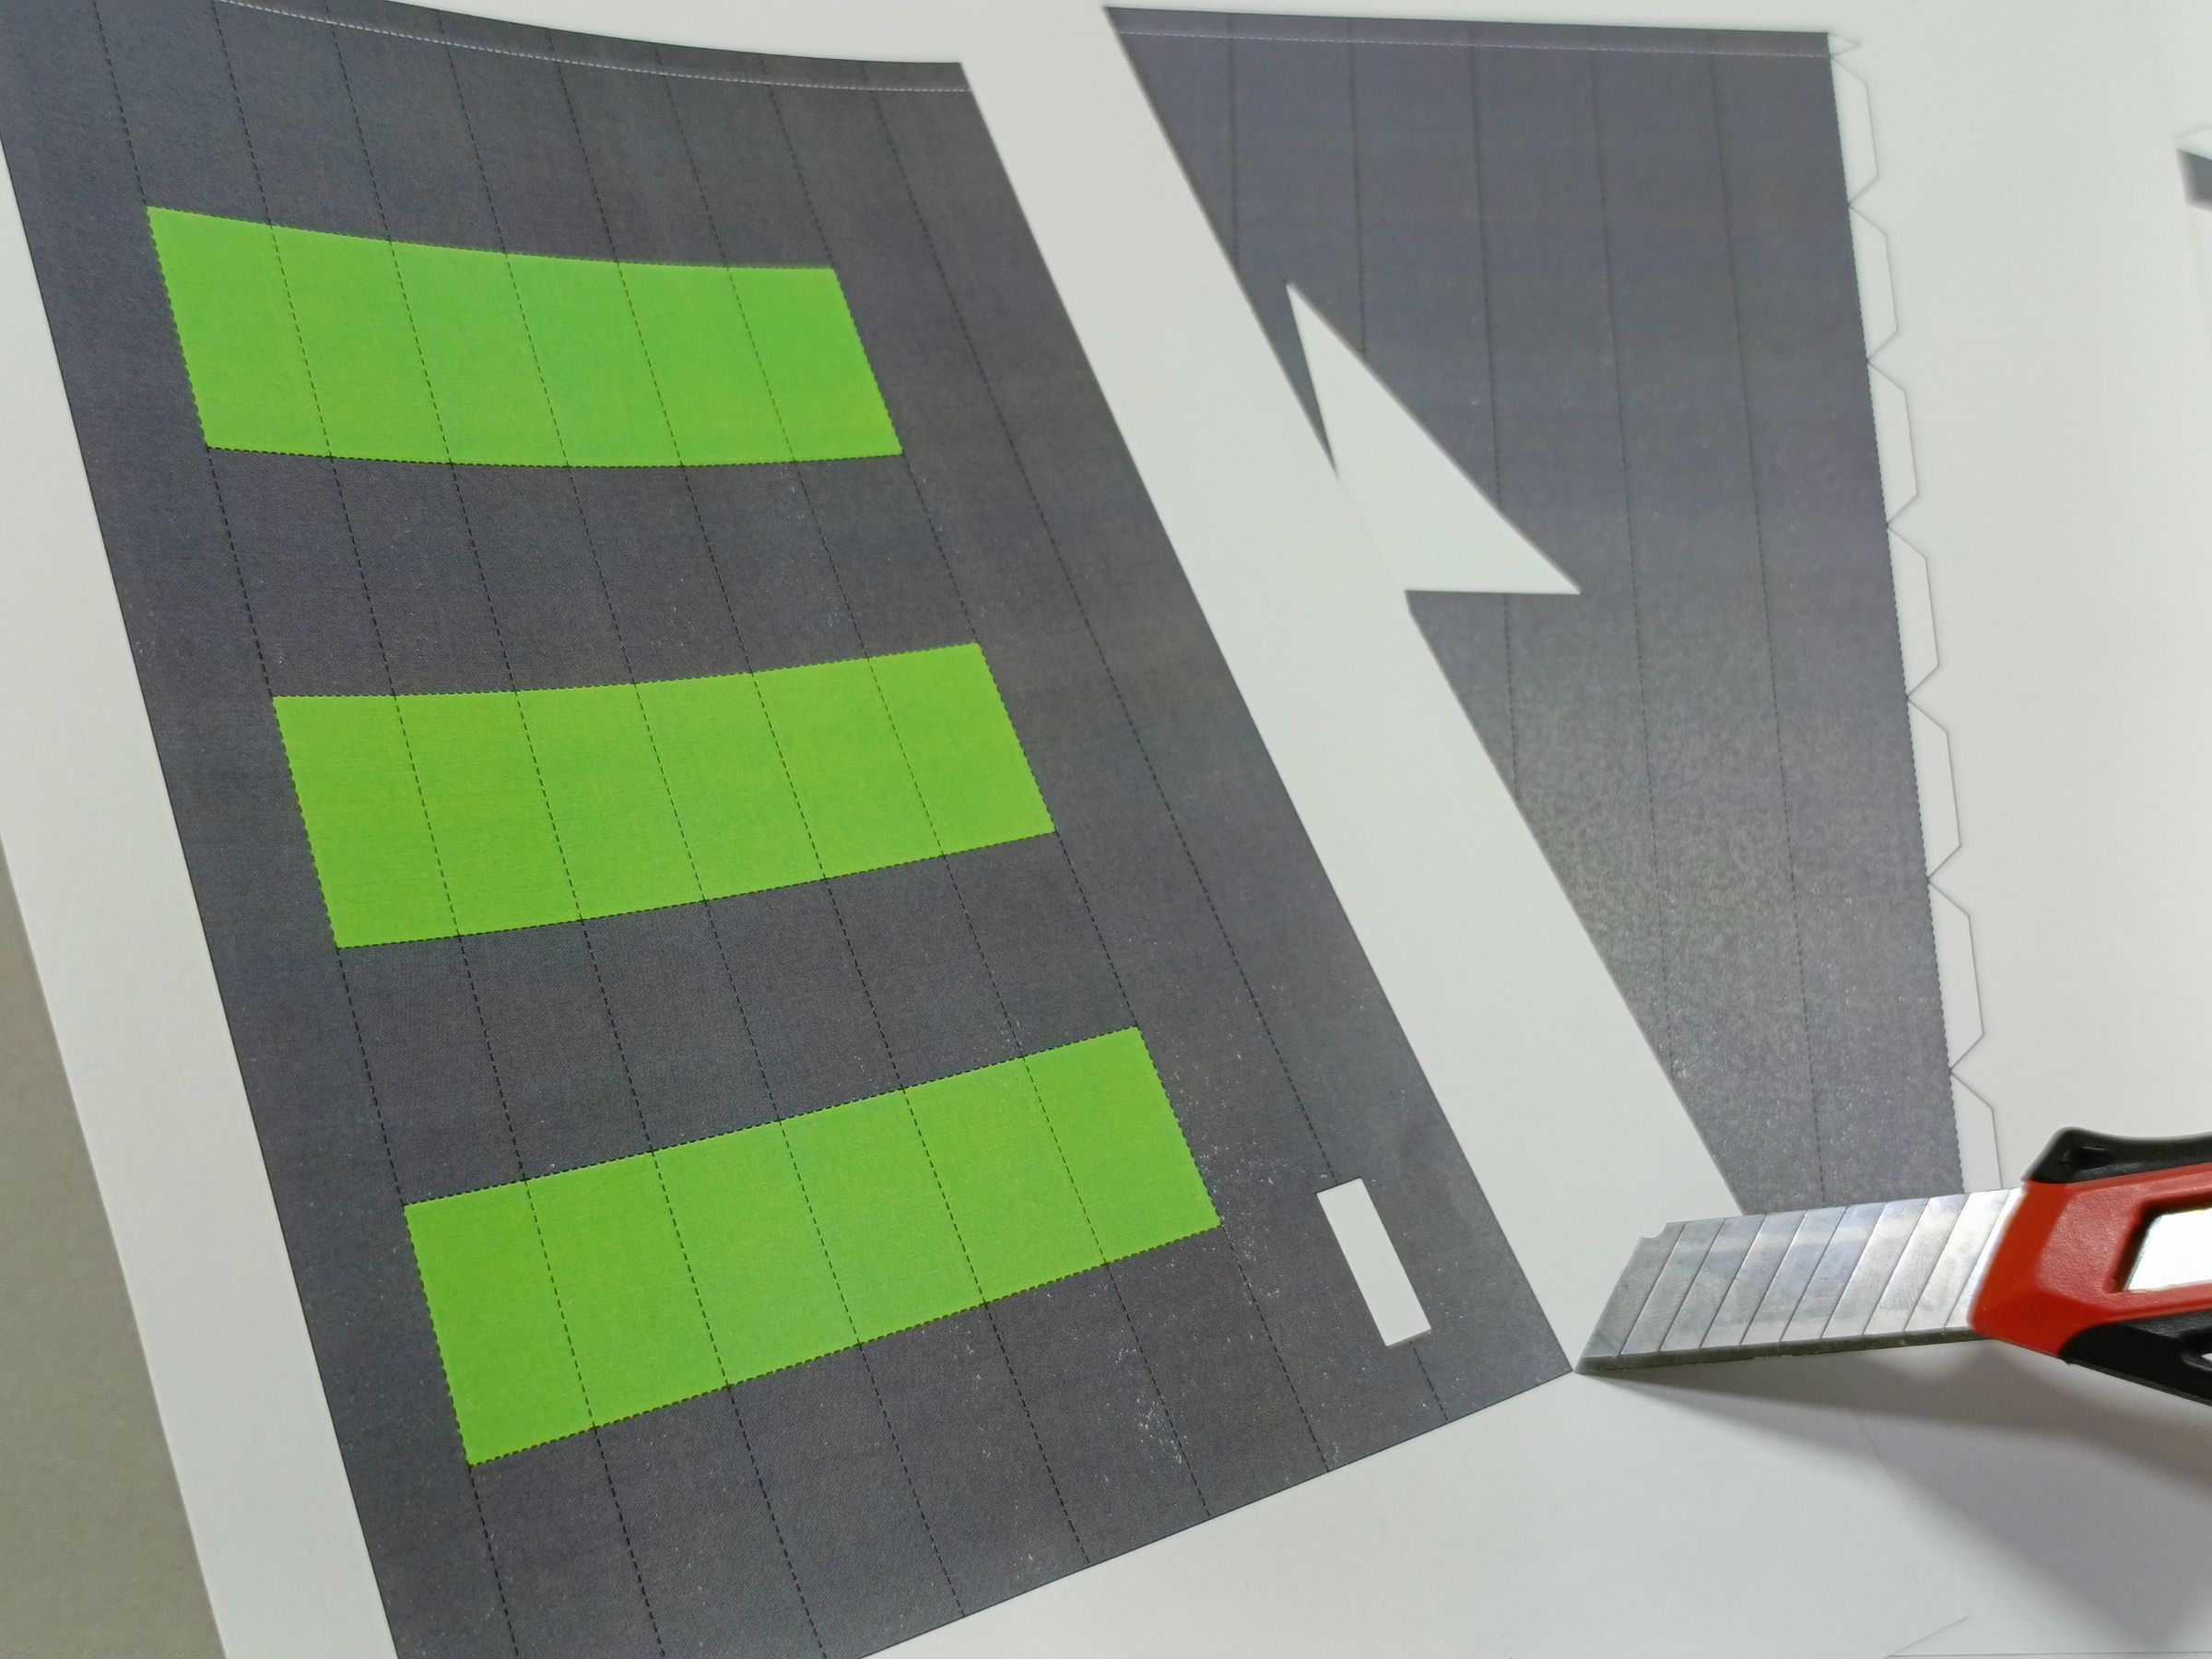
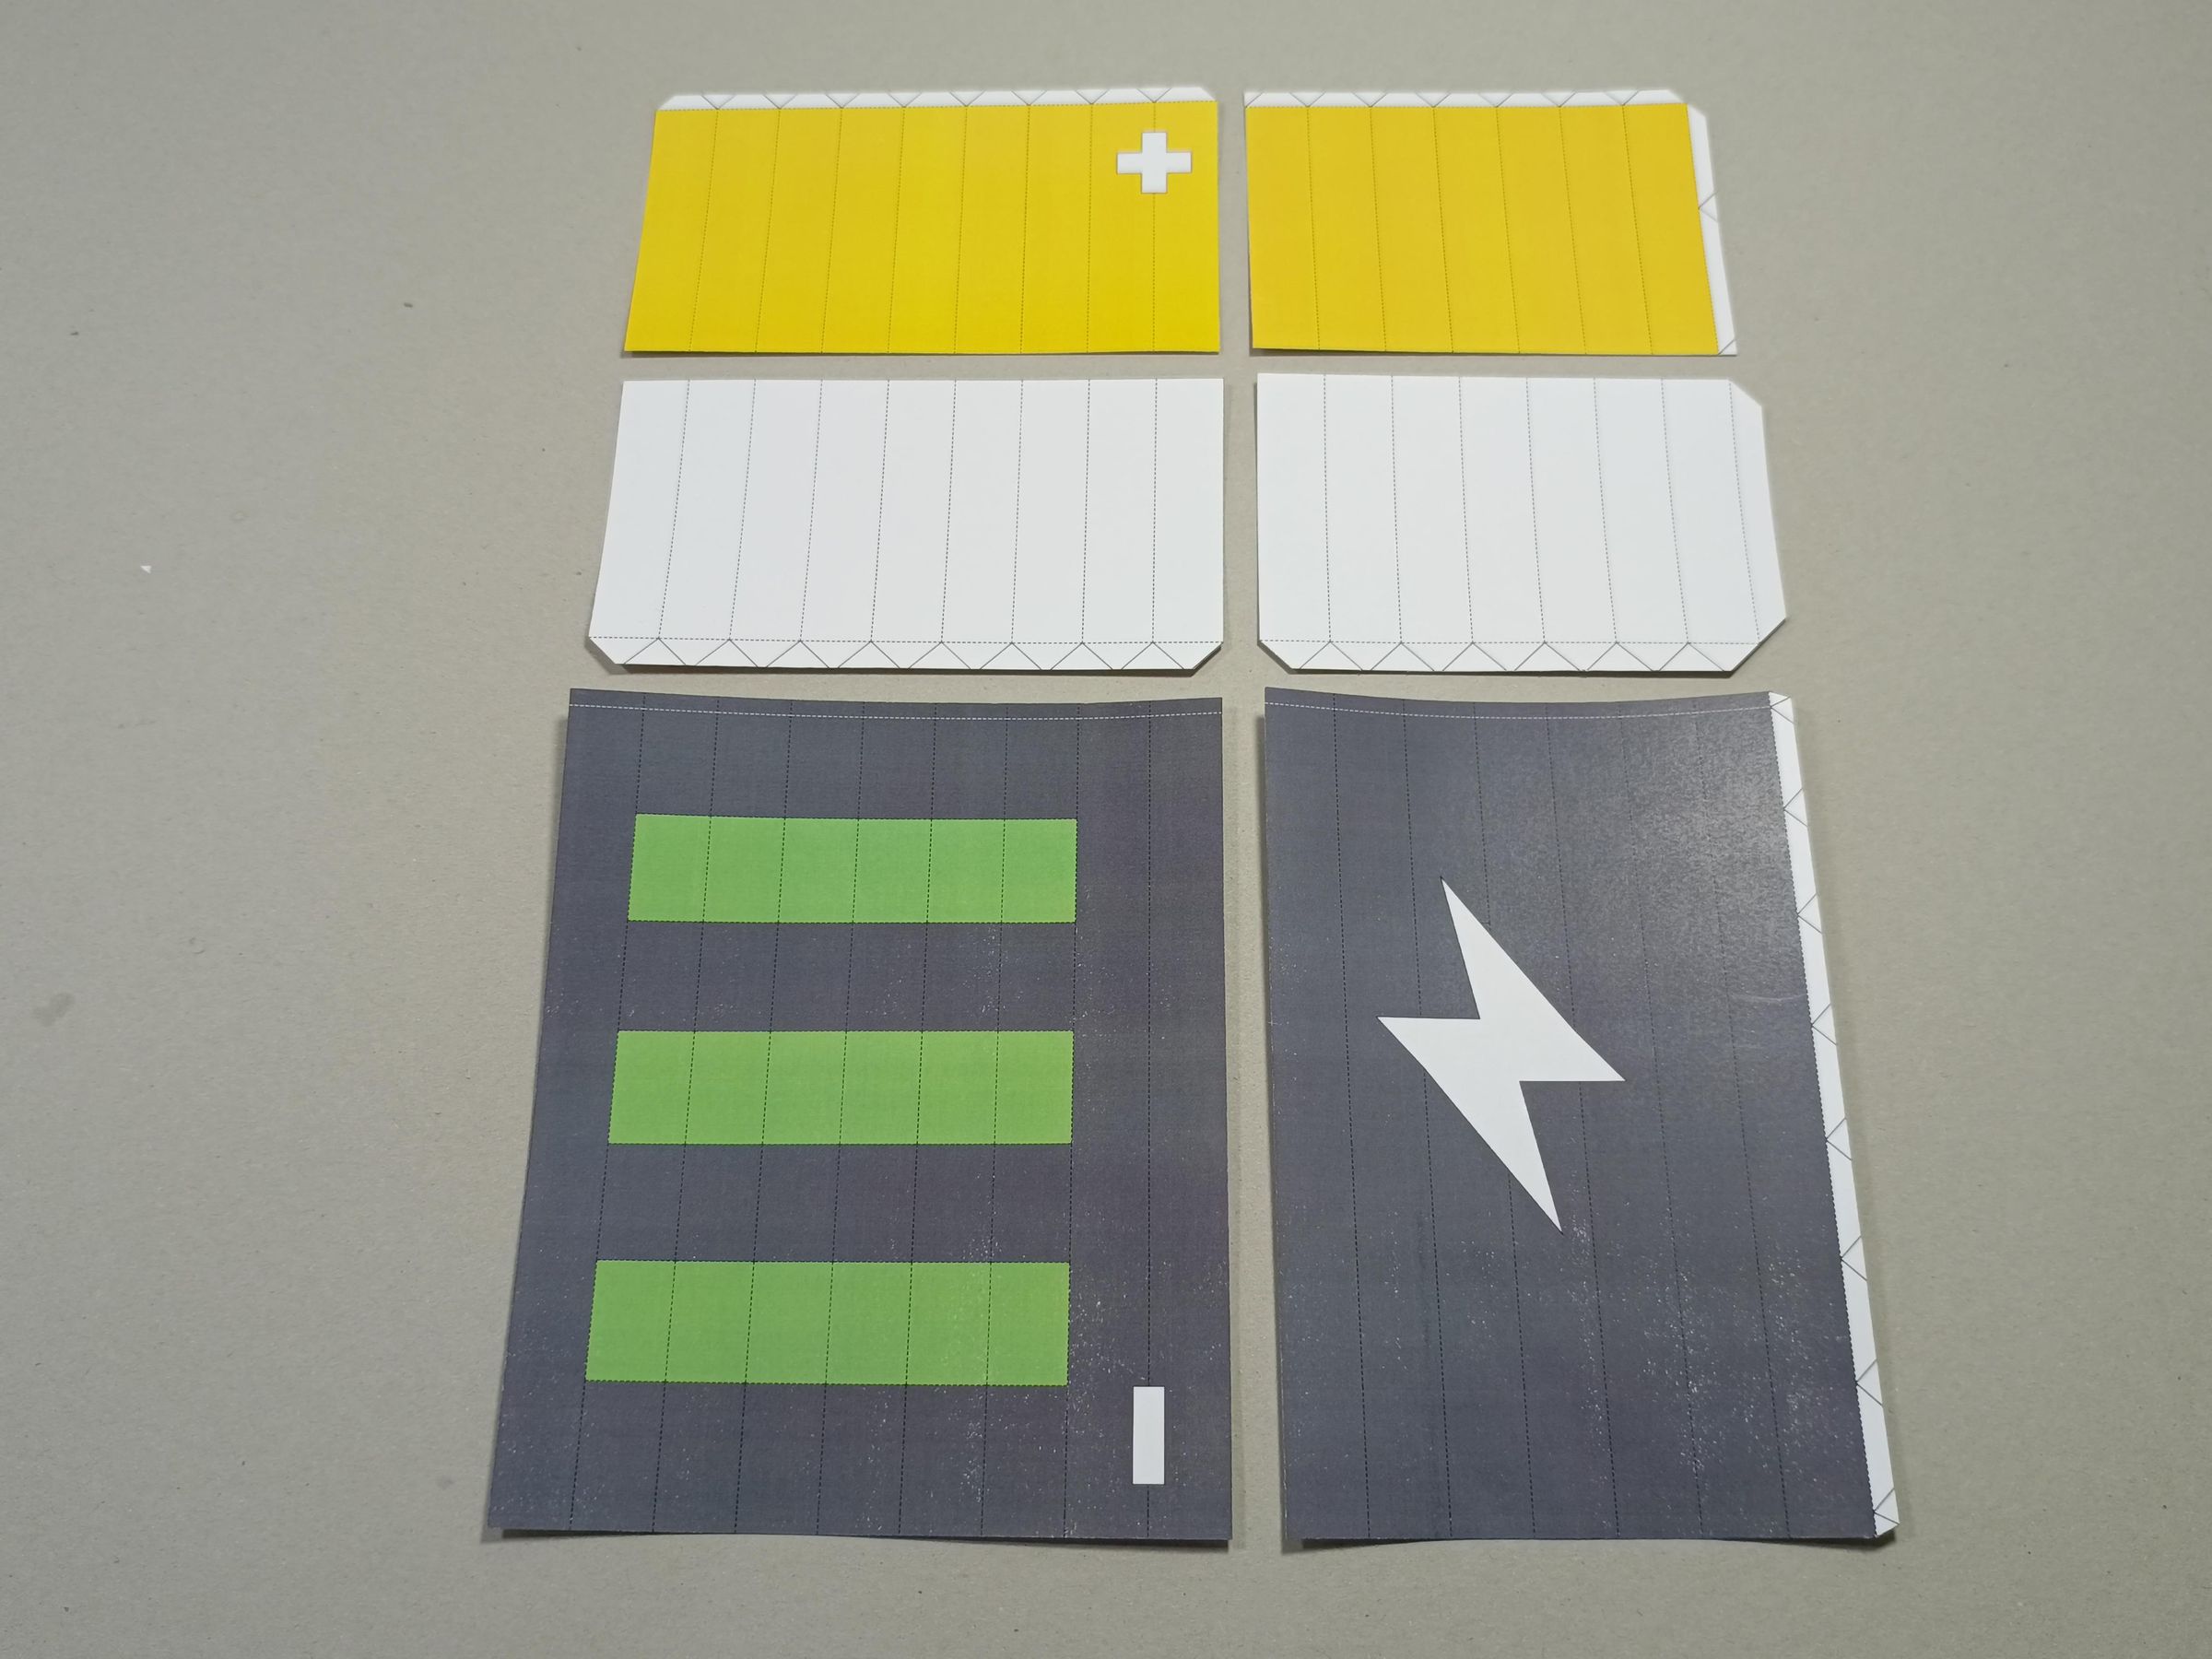
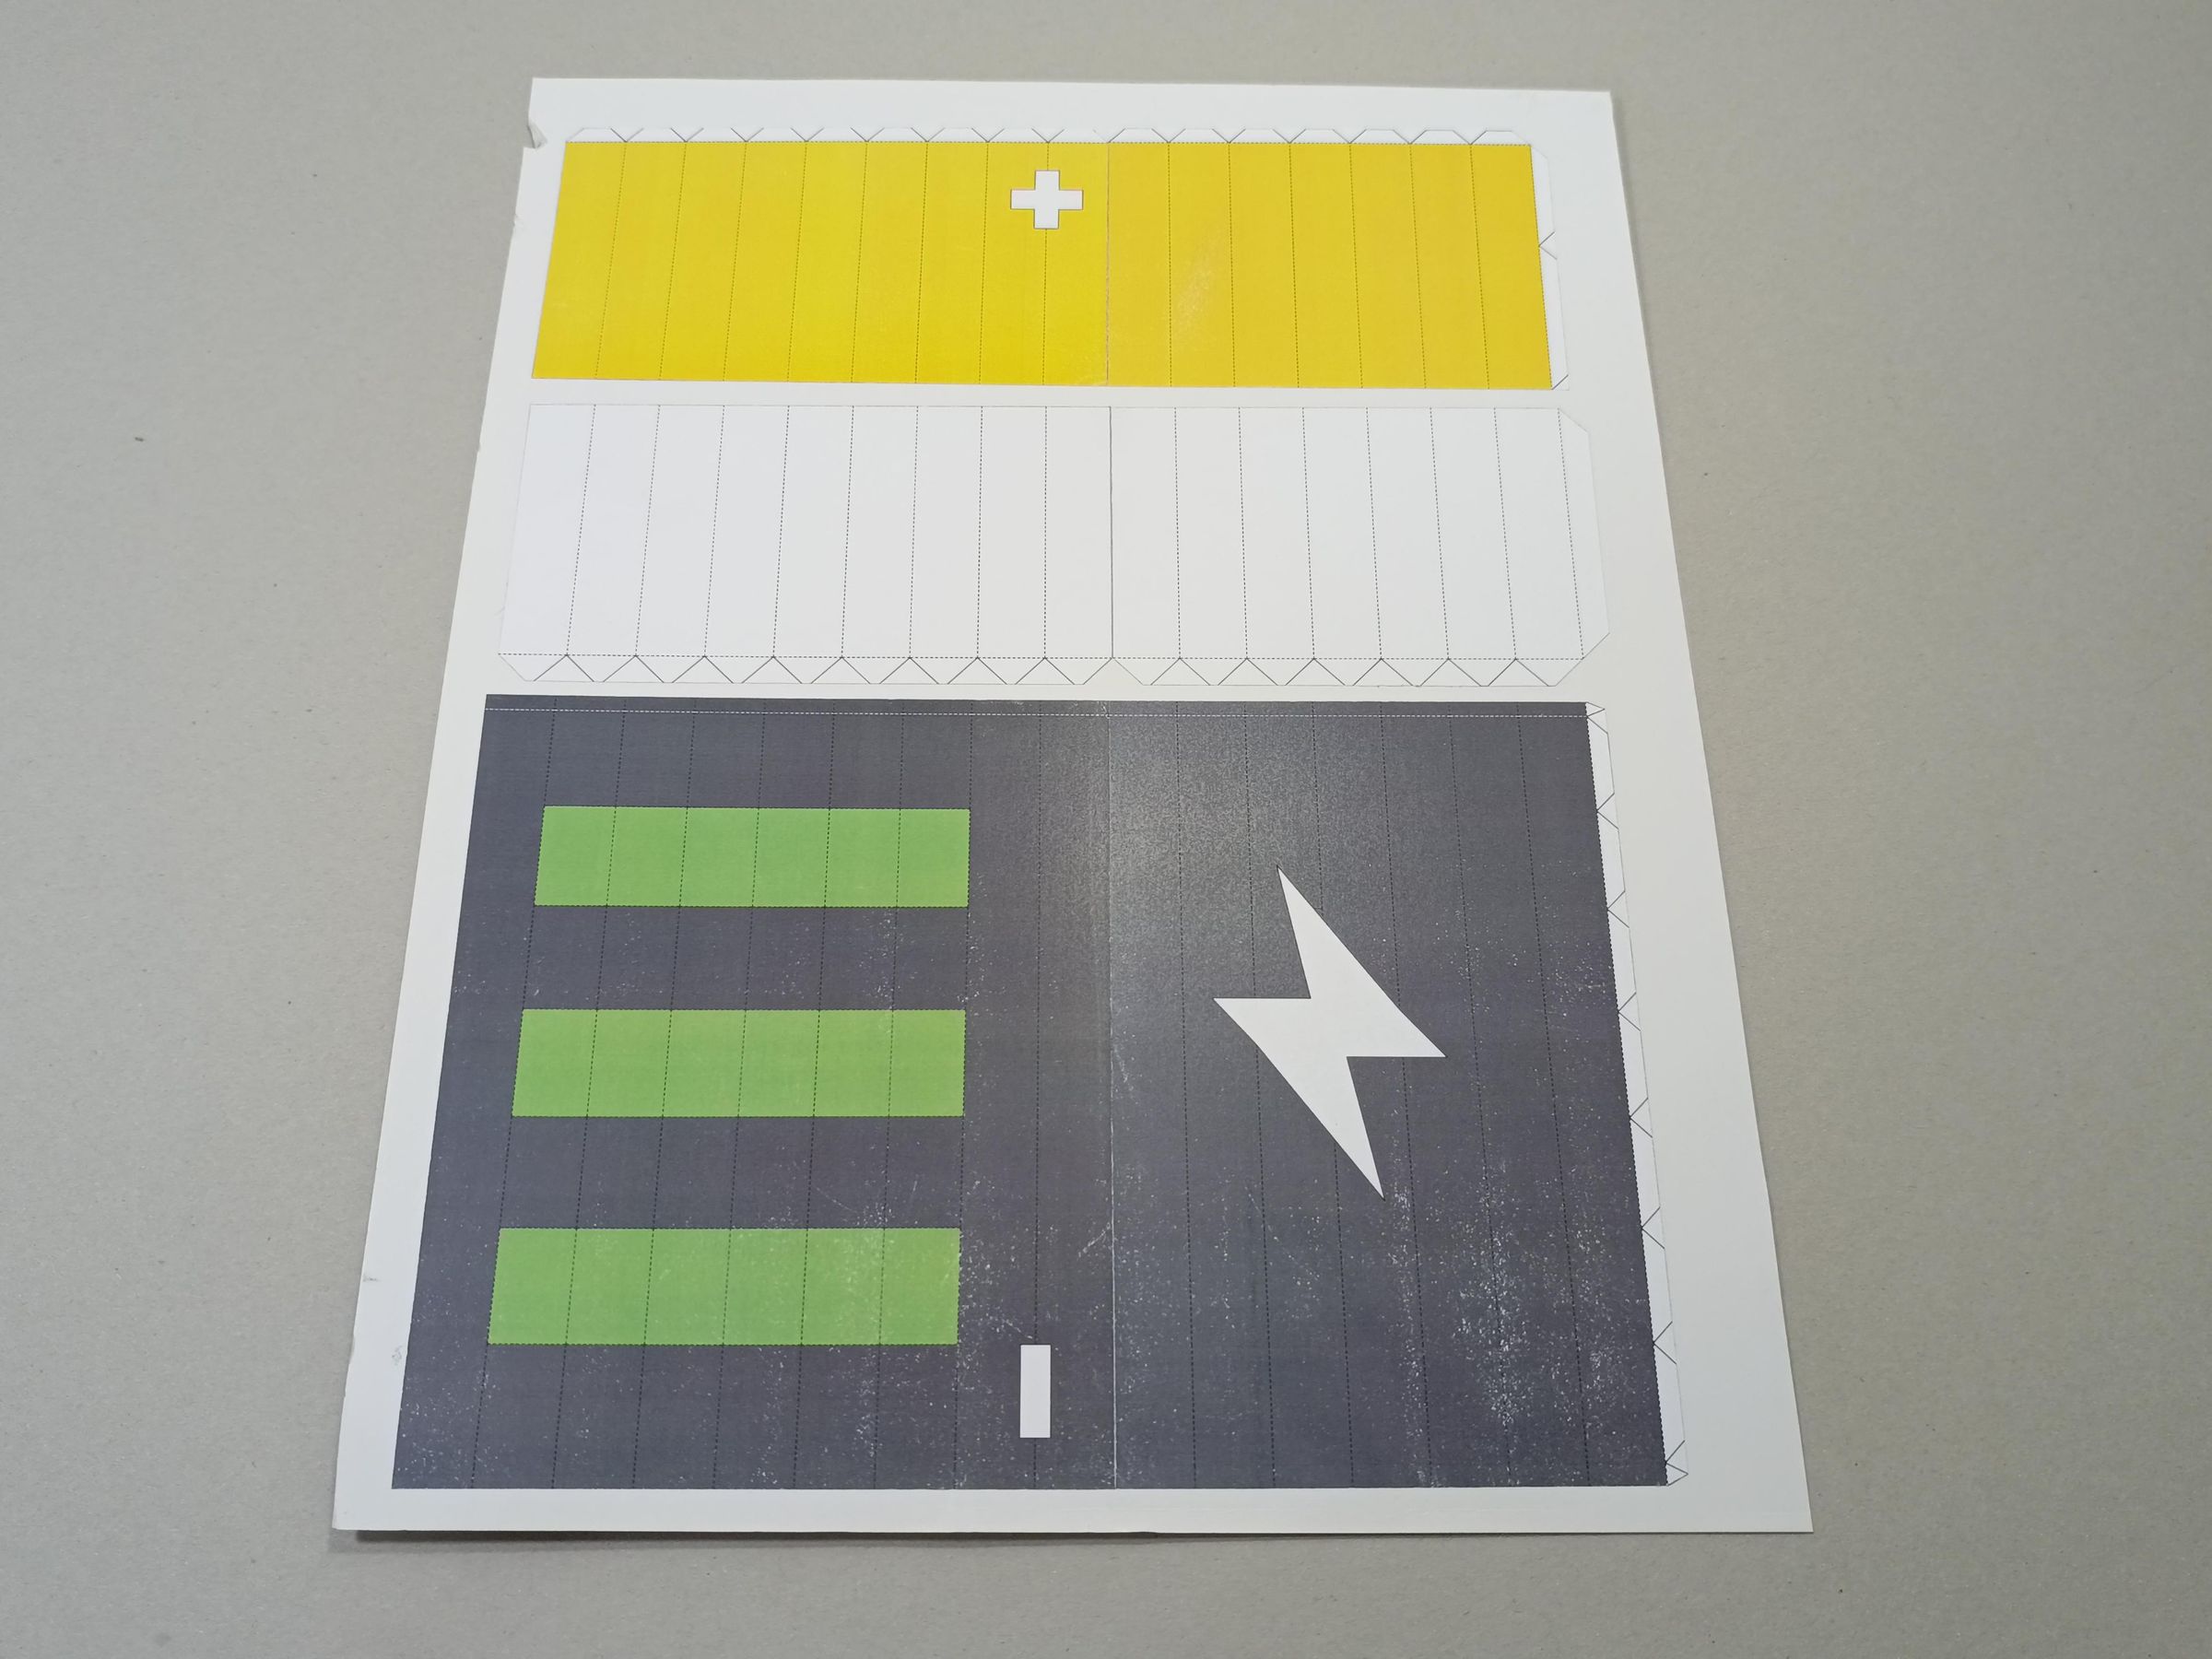
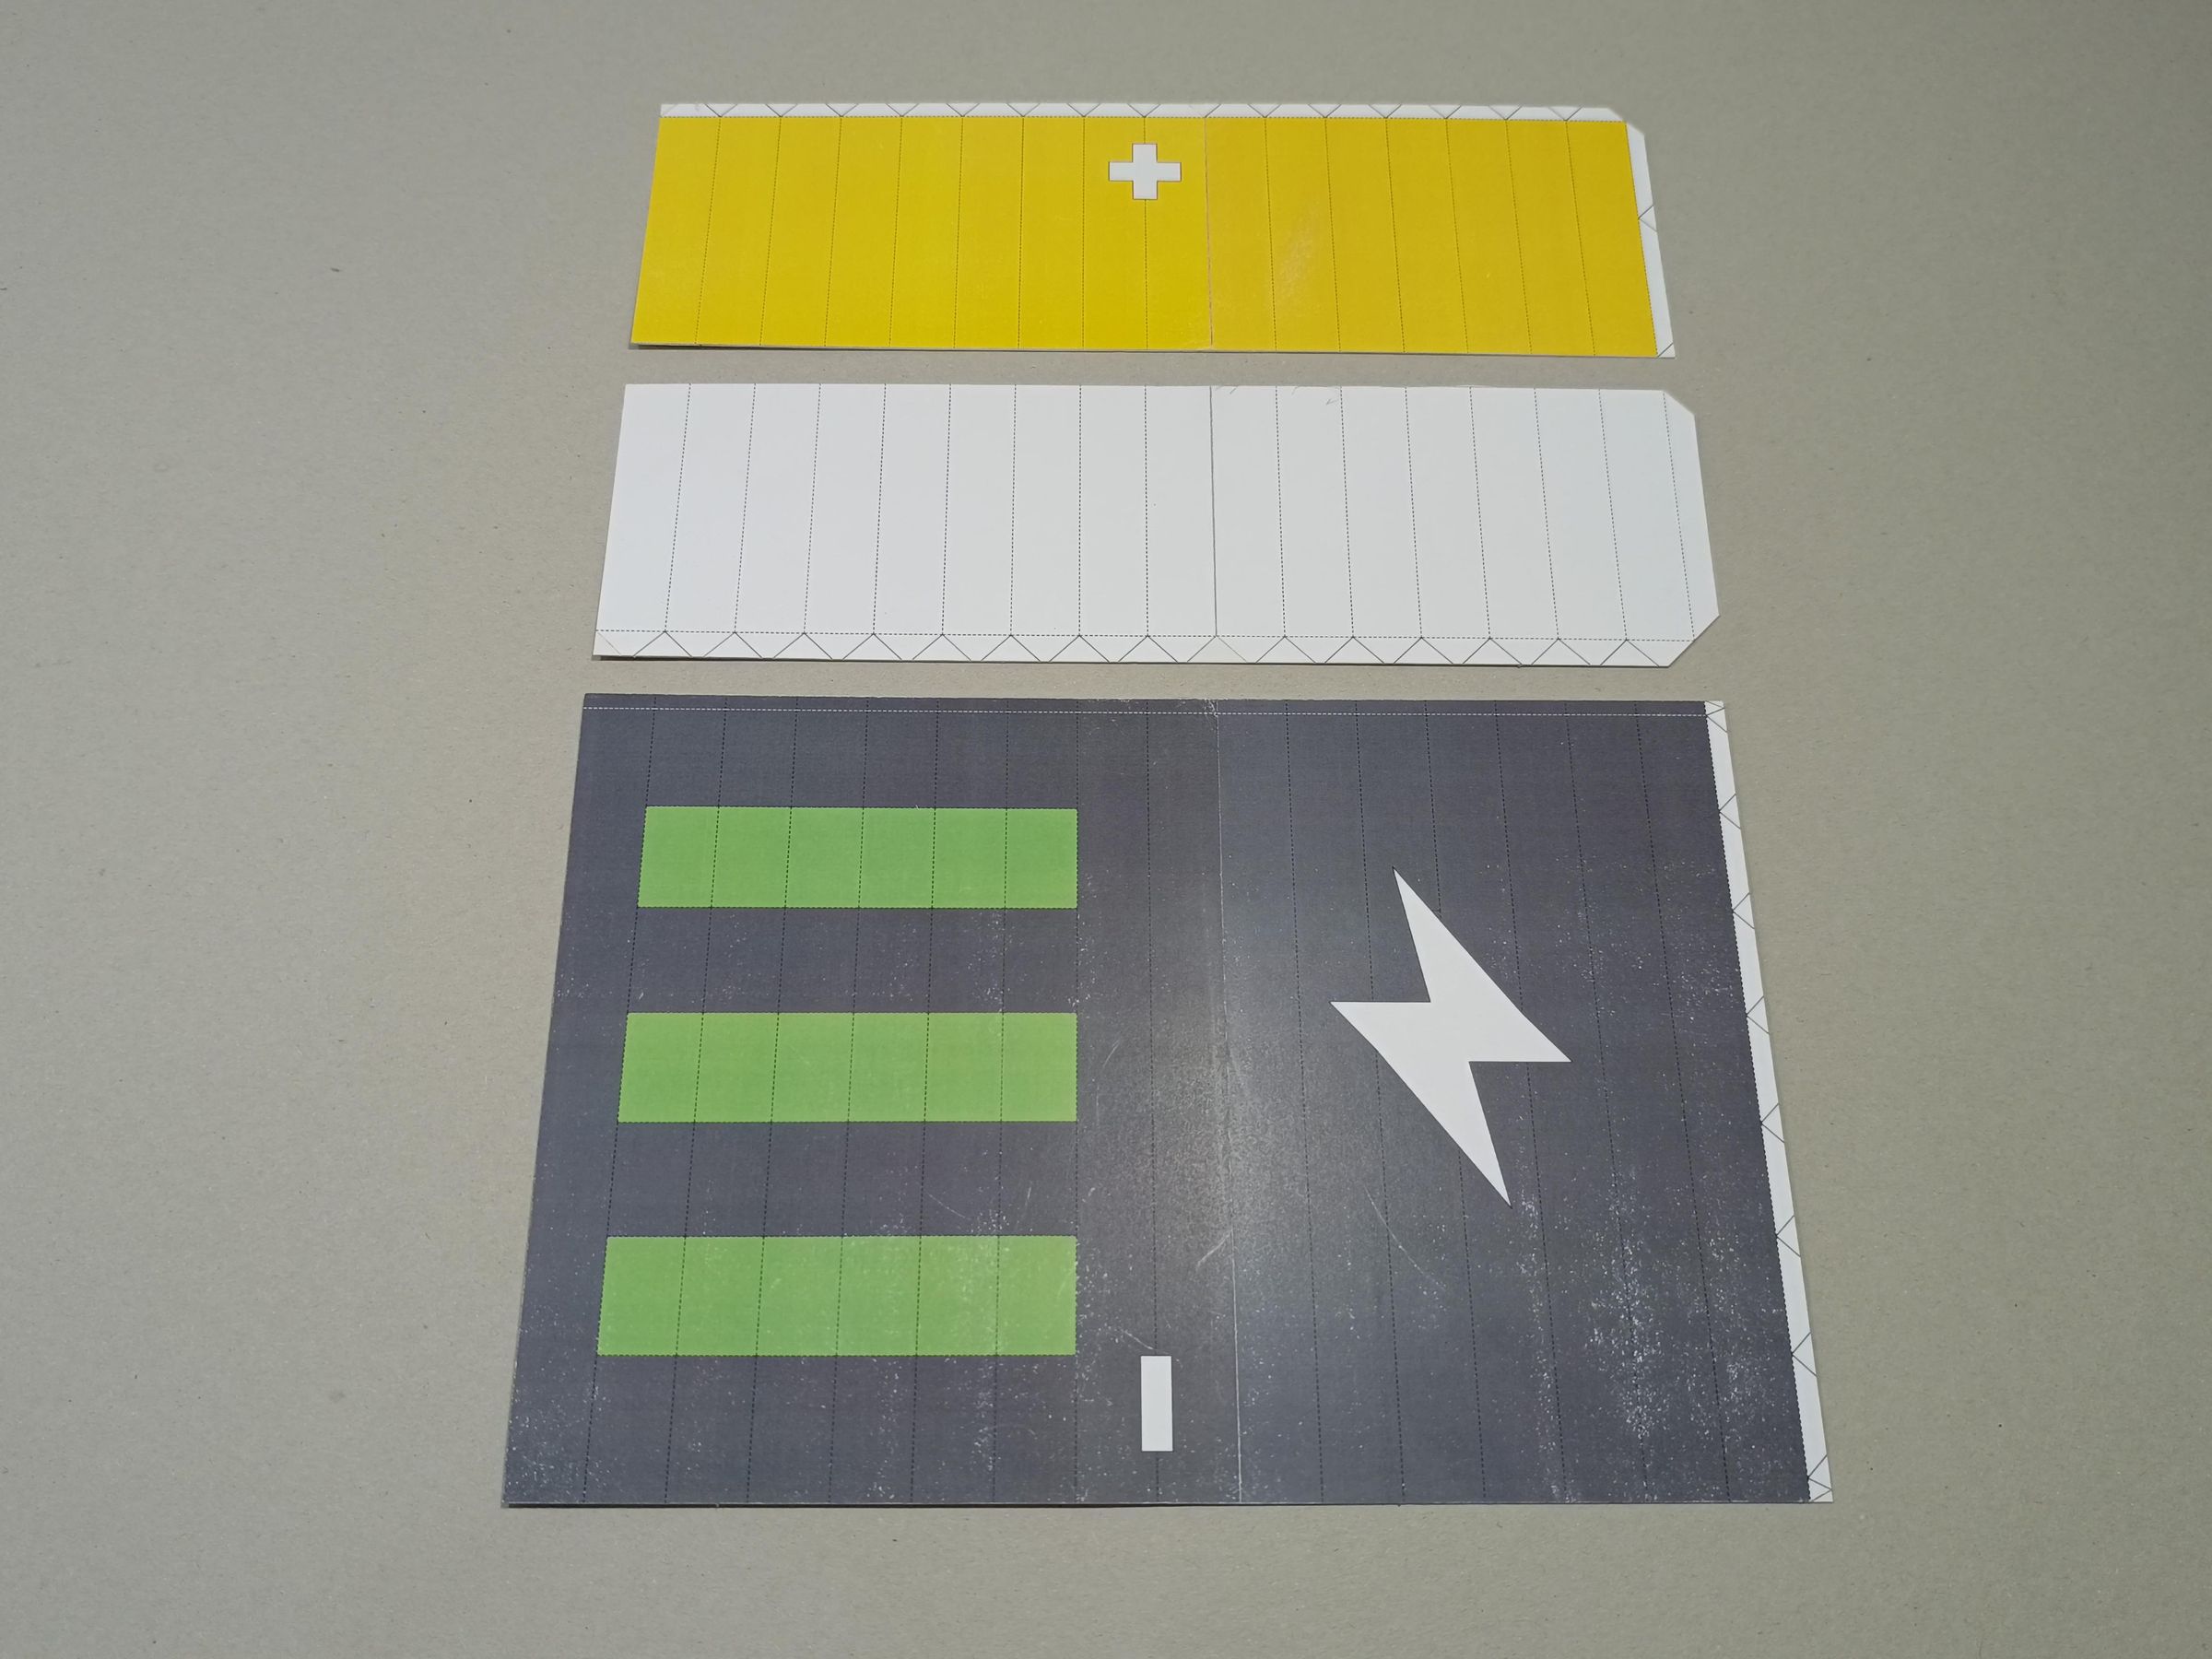
Print the templates and glue them together as shown in the images to make complete pieces. If you only have a letter-size printer, you will need to glue them onto another, stiffer piece of paper until you obtain the shapes indicated in each step.
Emboss
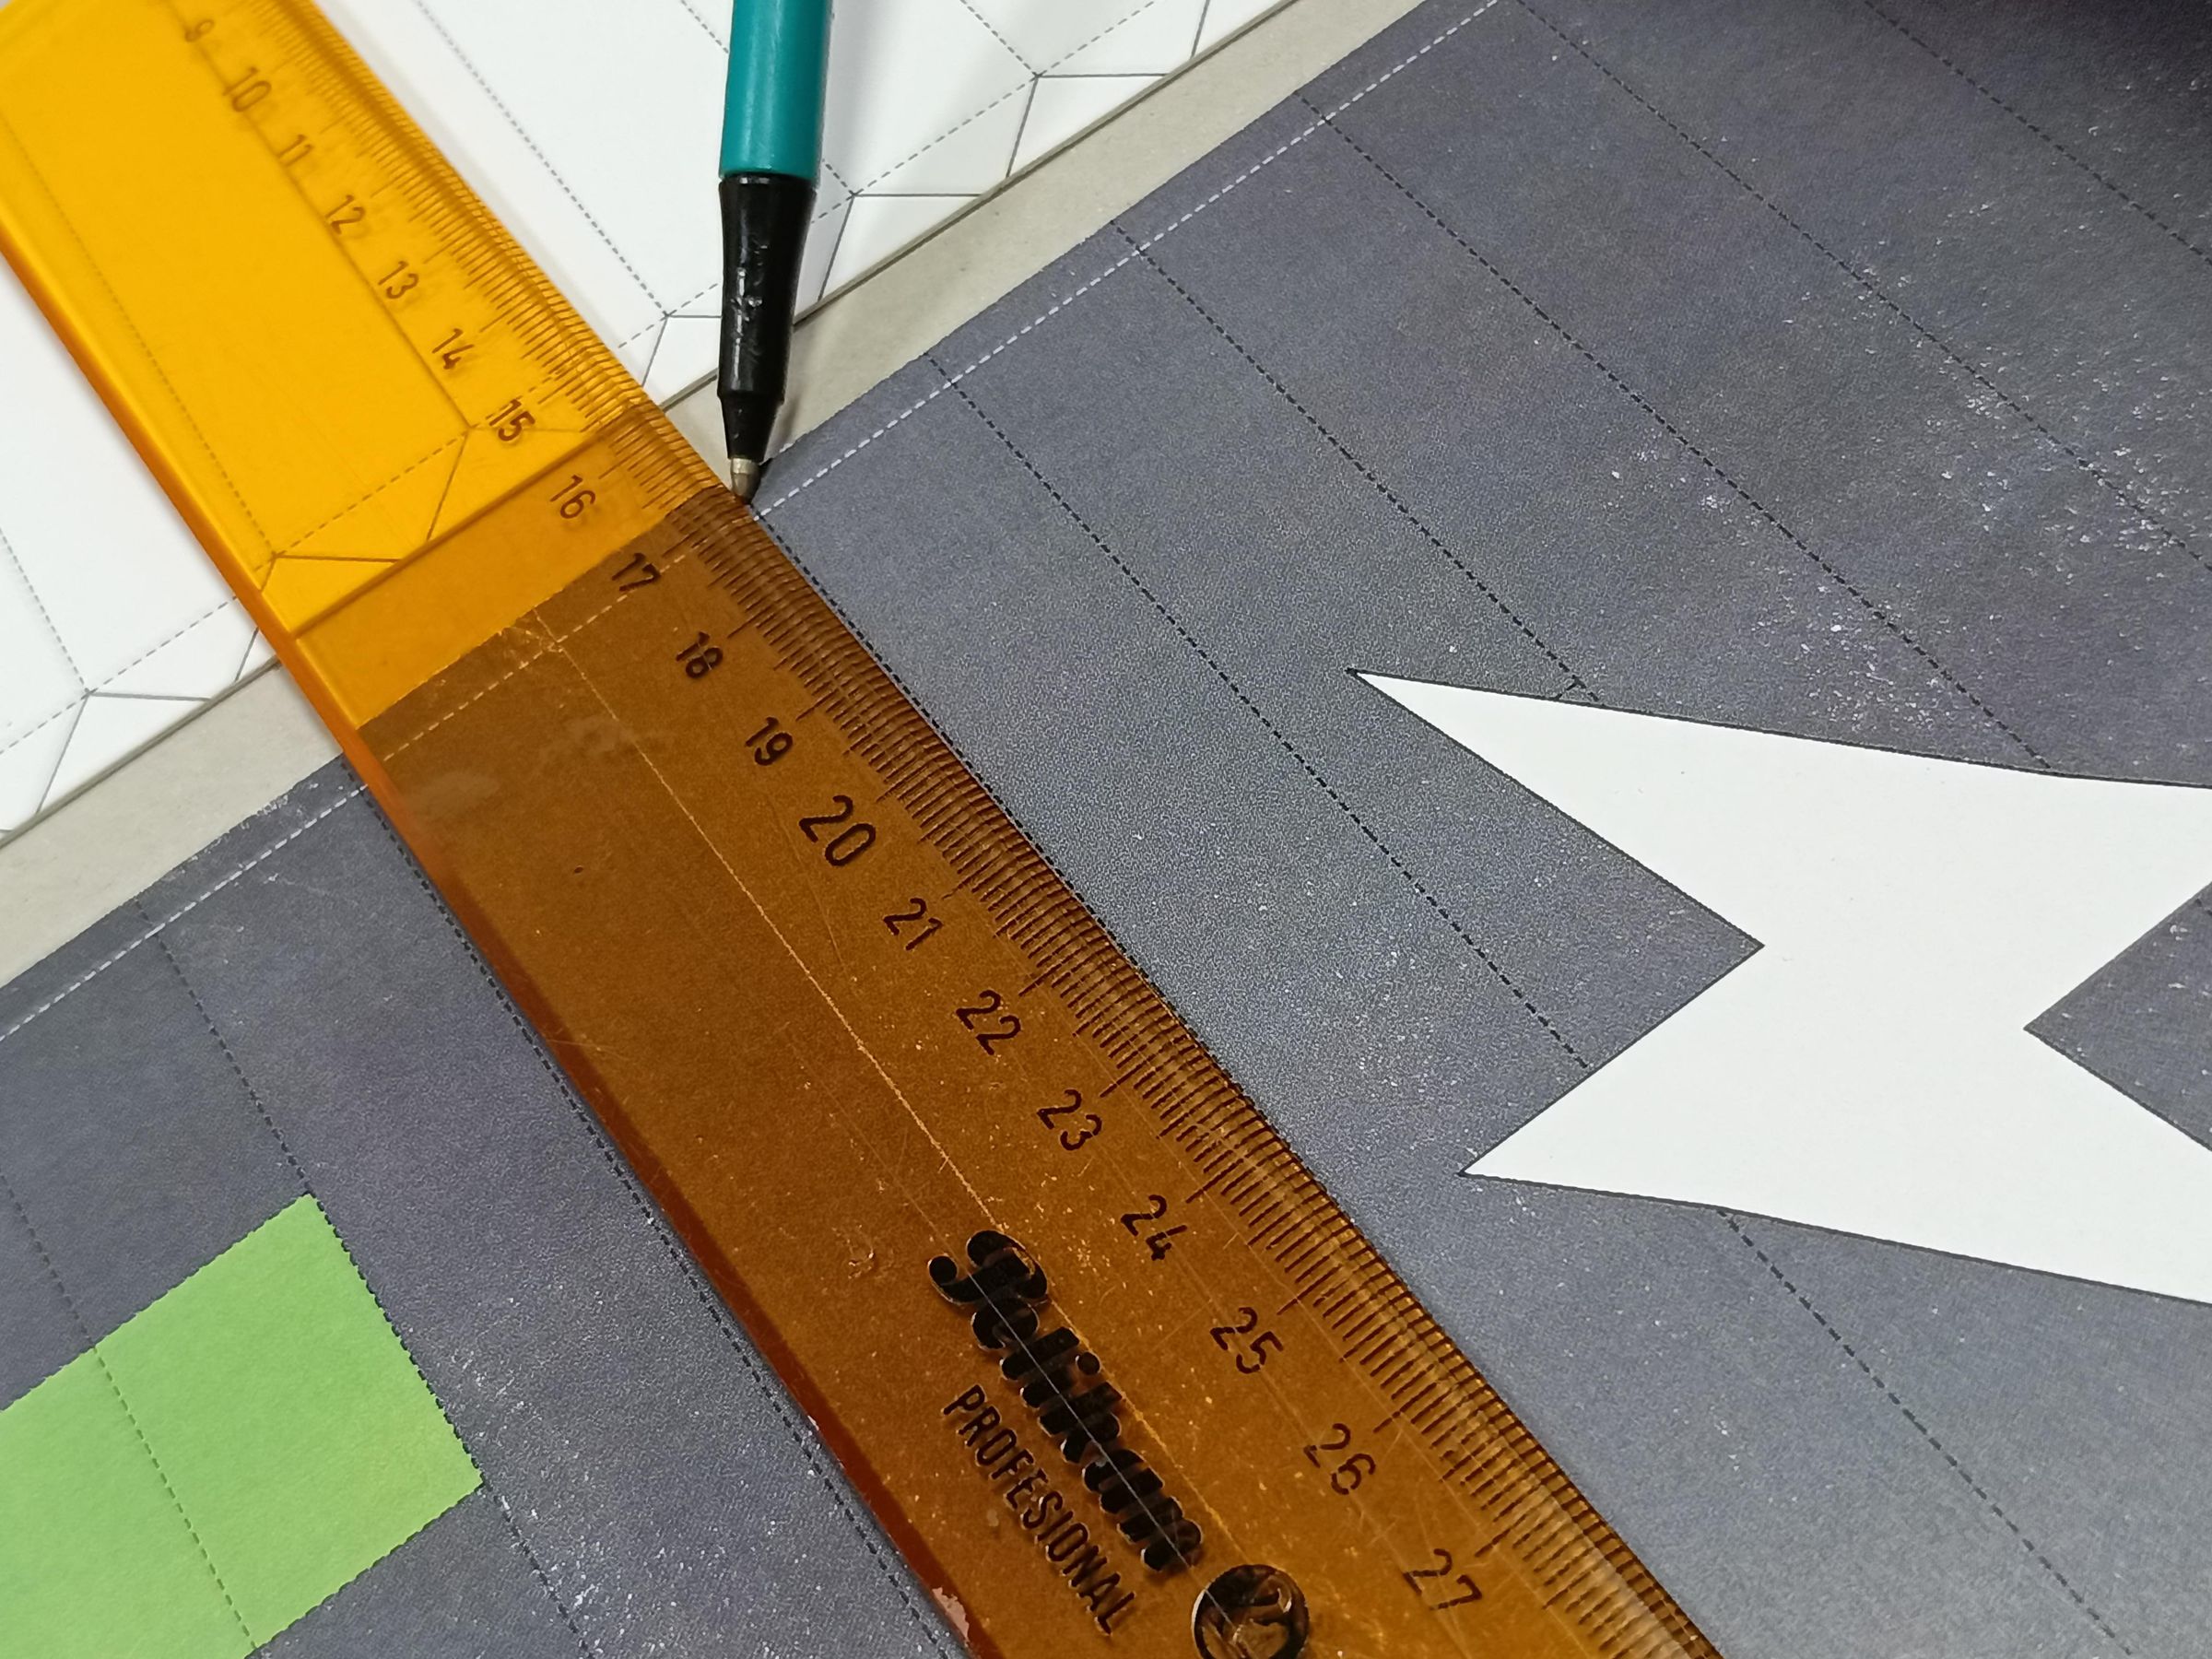
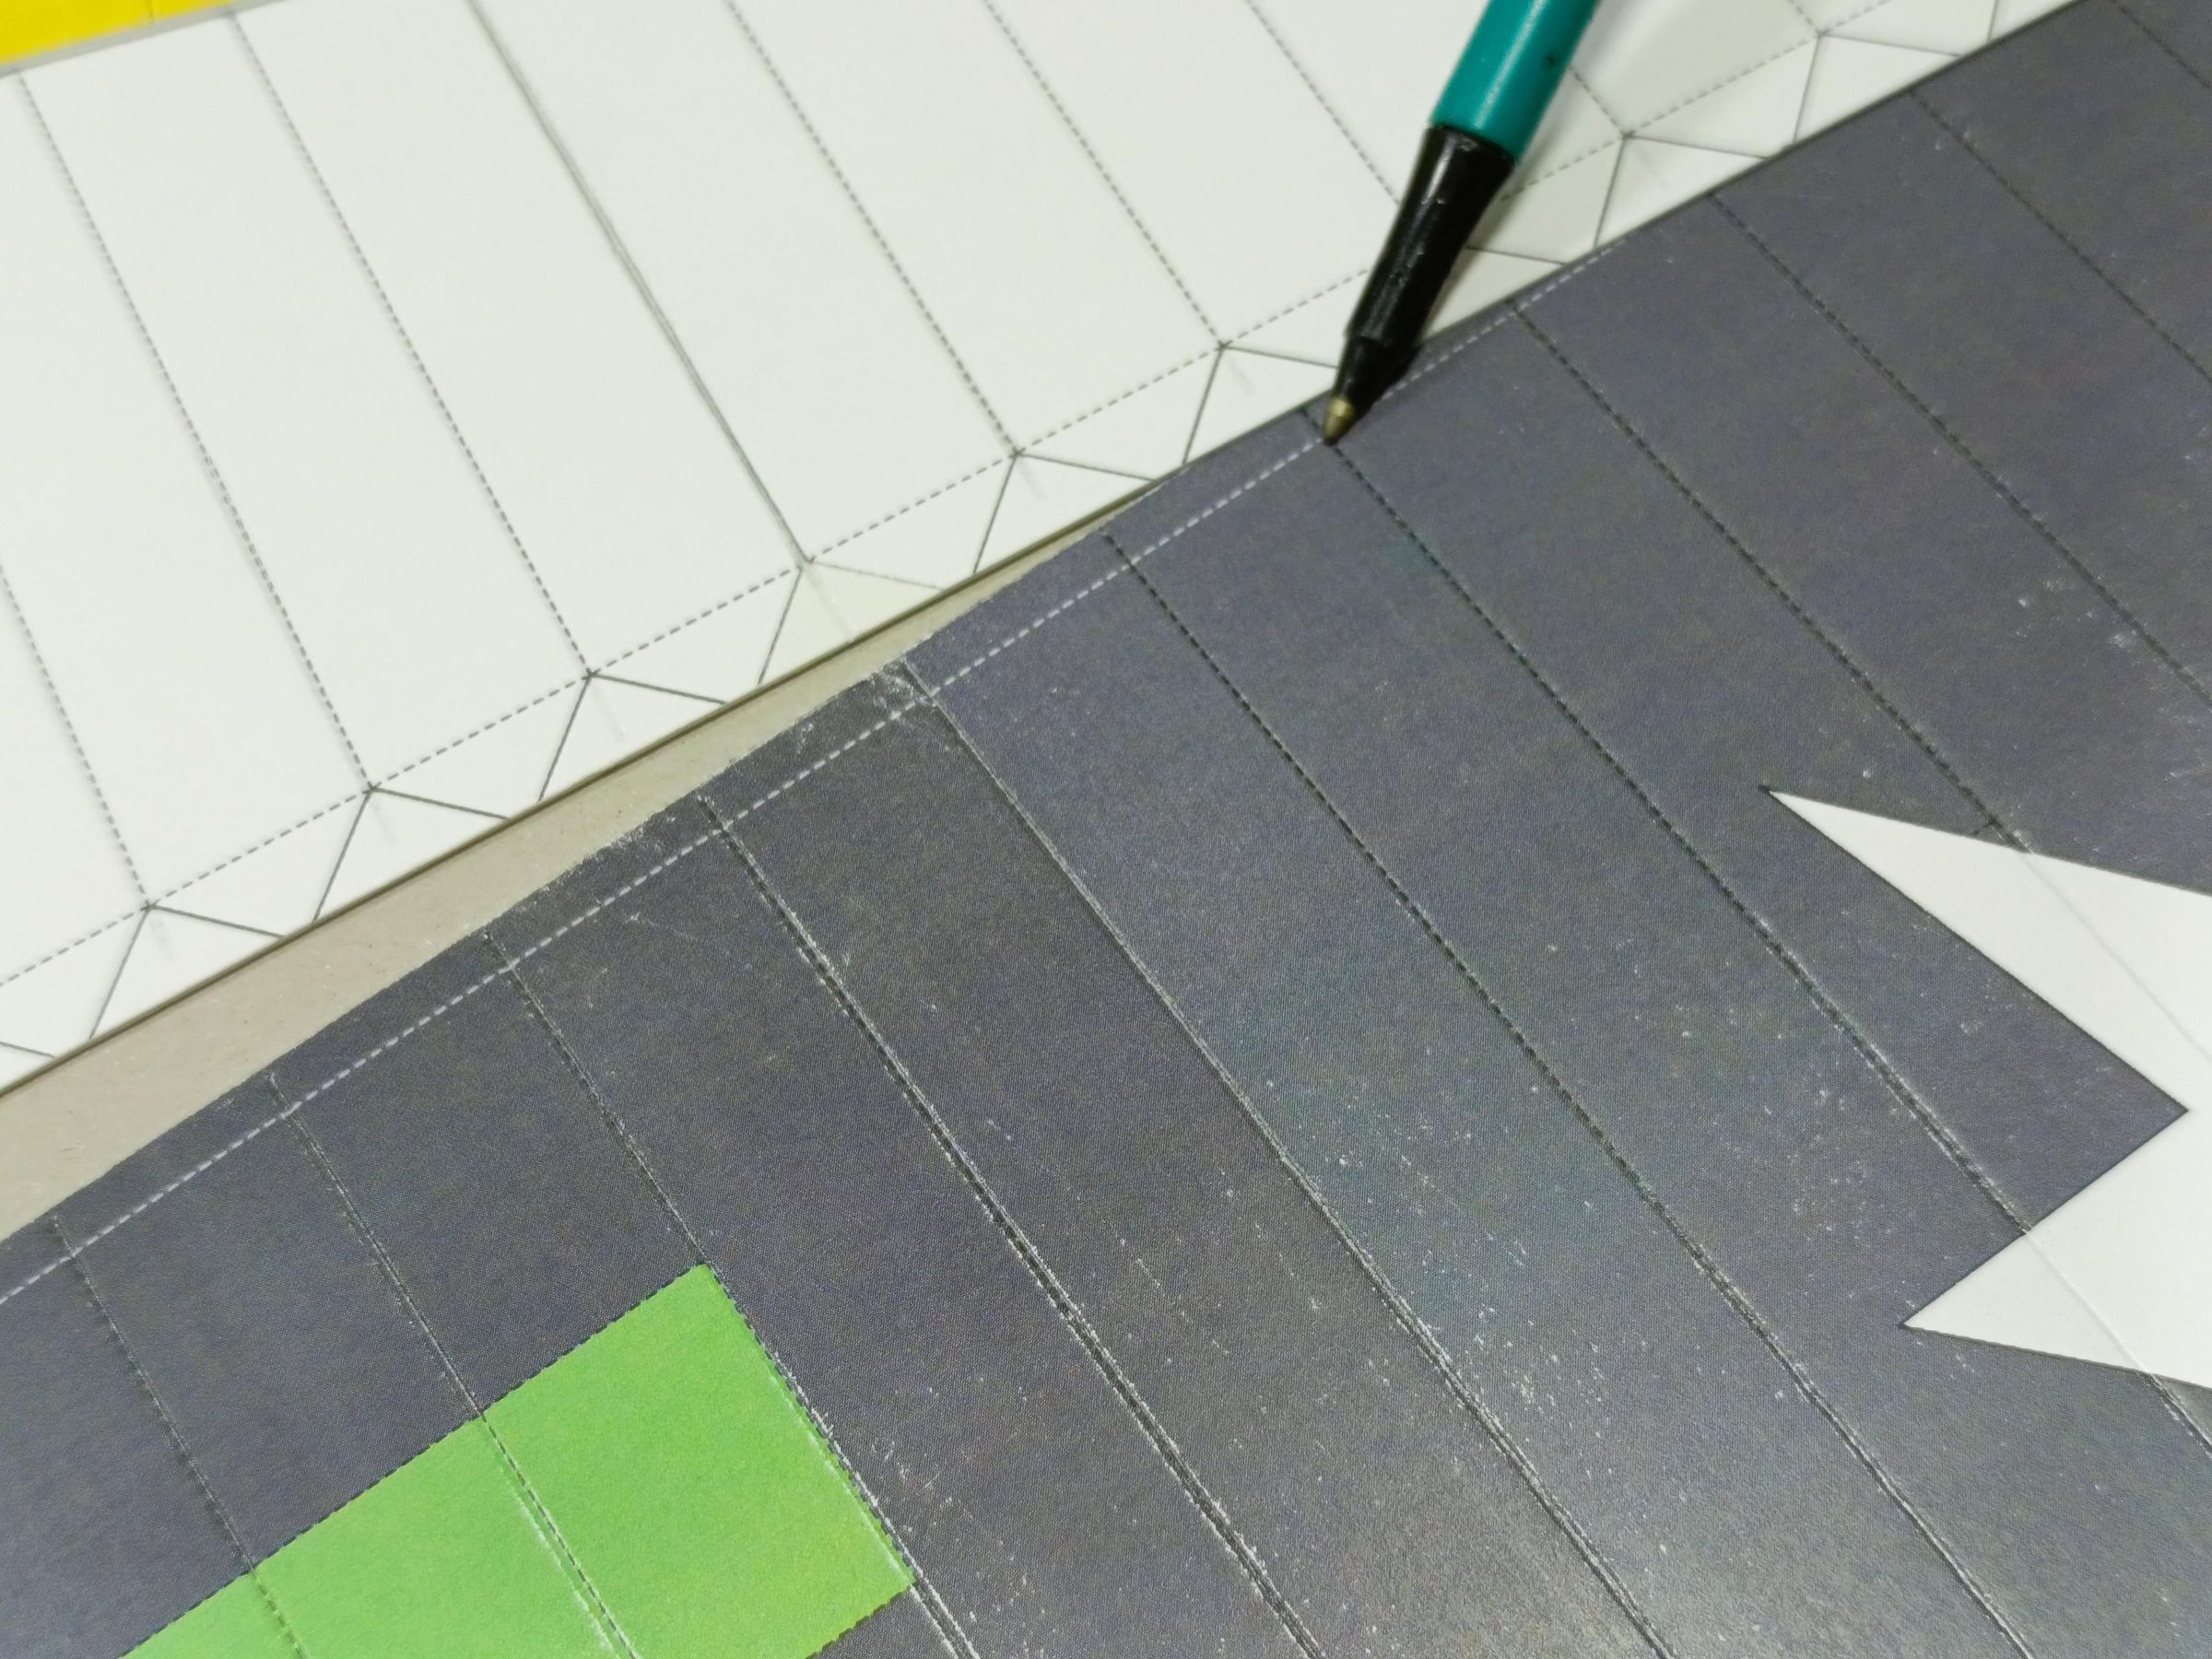
Now, using the ruler and an old pen, emboss the dotted lines to make folding easier and give the cardboard the desired curve.
Folds
.jpg)
Valleys and mountains are the two fundamental types of paper folds in papercraft, acting as the foundation for creating 3D structures from 2D paper. A valley fold forms a "V" shape (concave) with the paper sloping down, while a mountain fold forms a ridge "Ʌ" (convex)
Cut Symbols
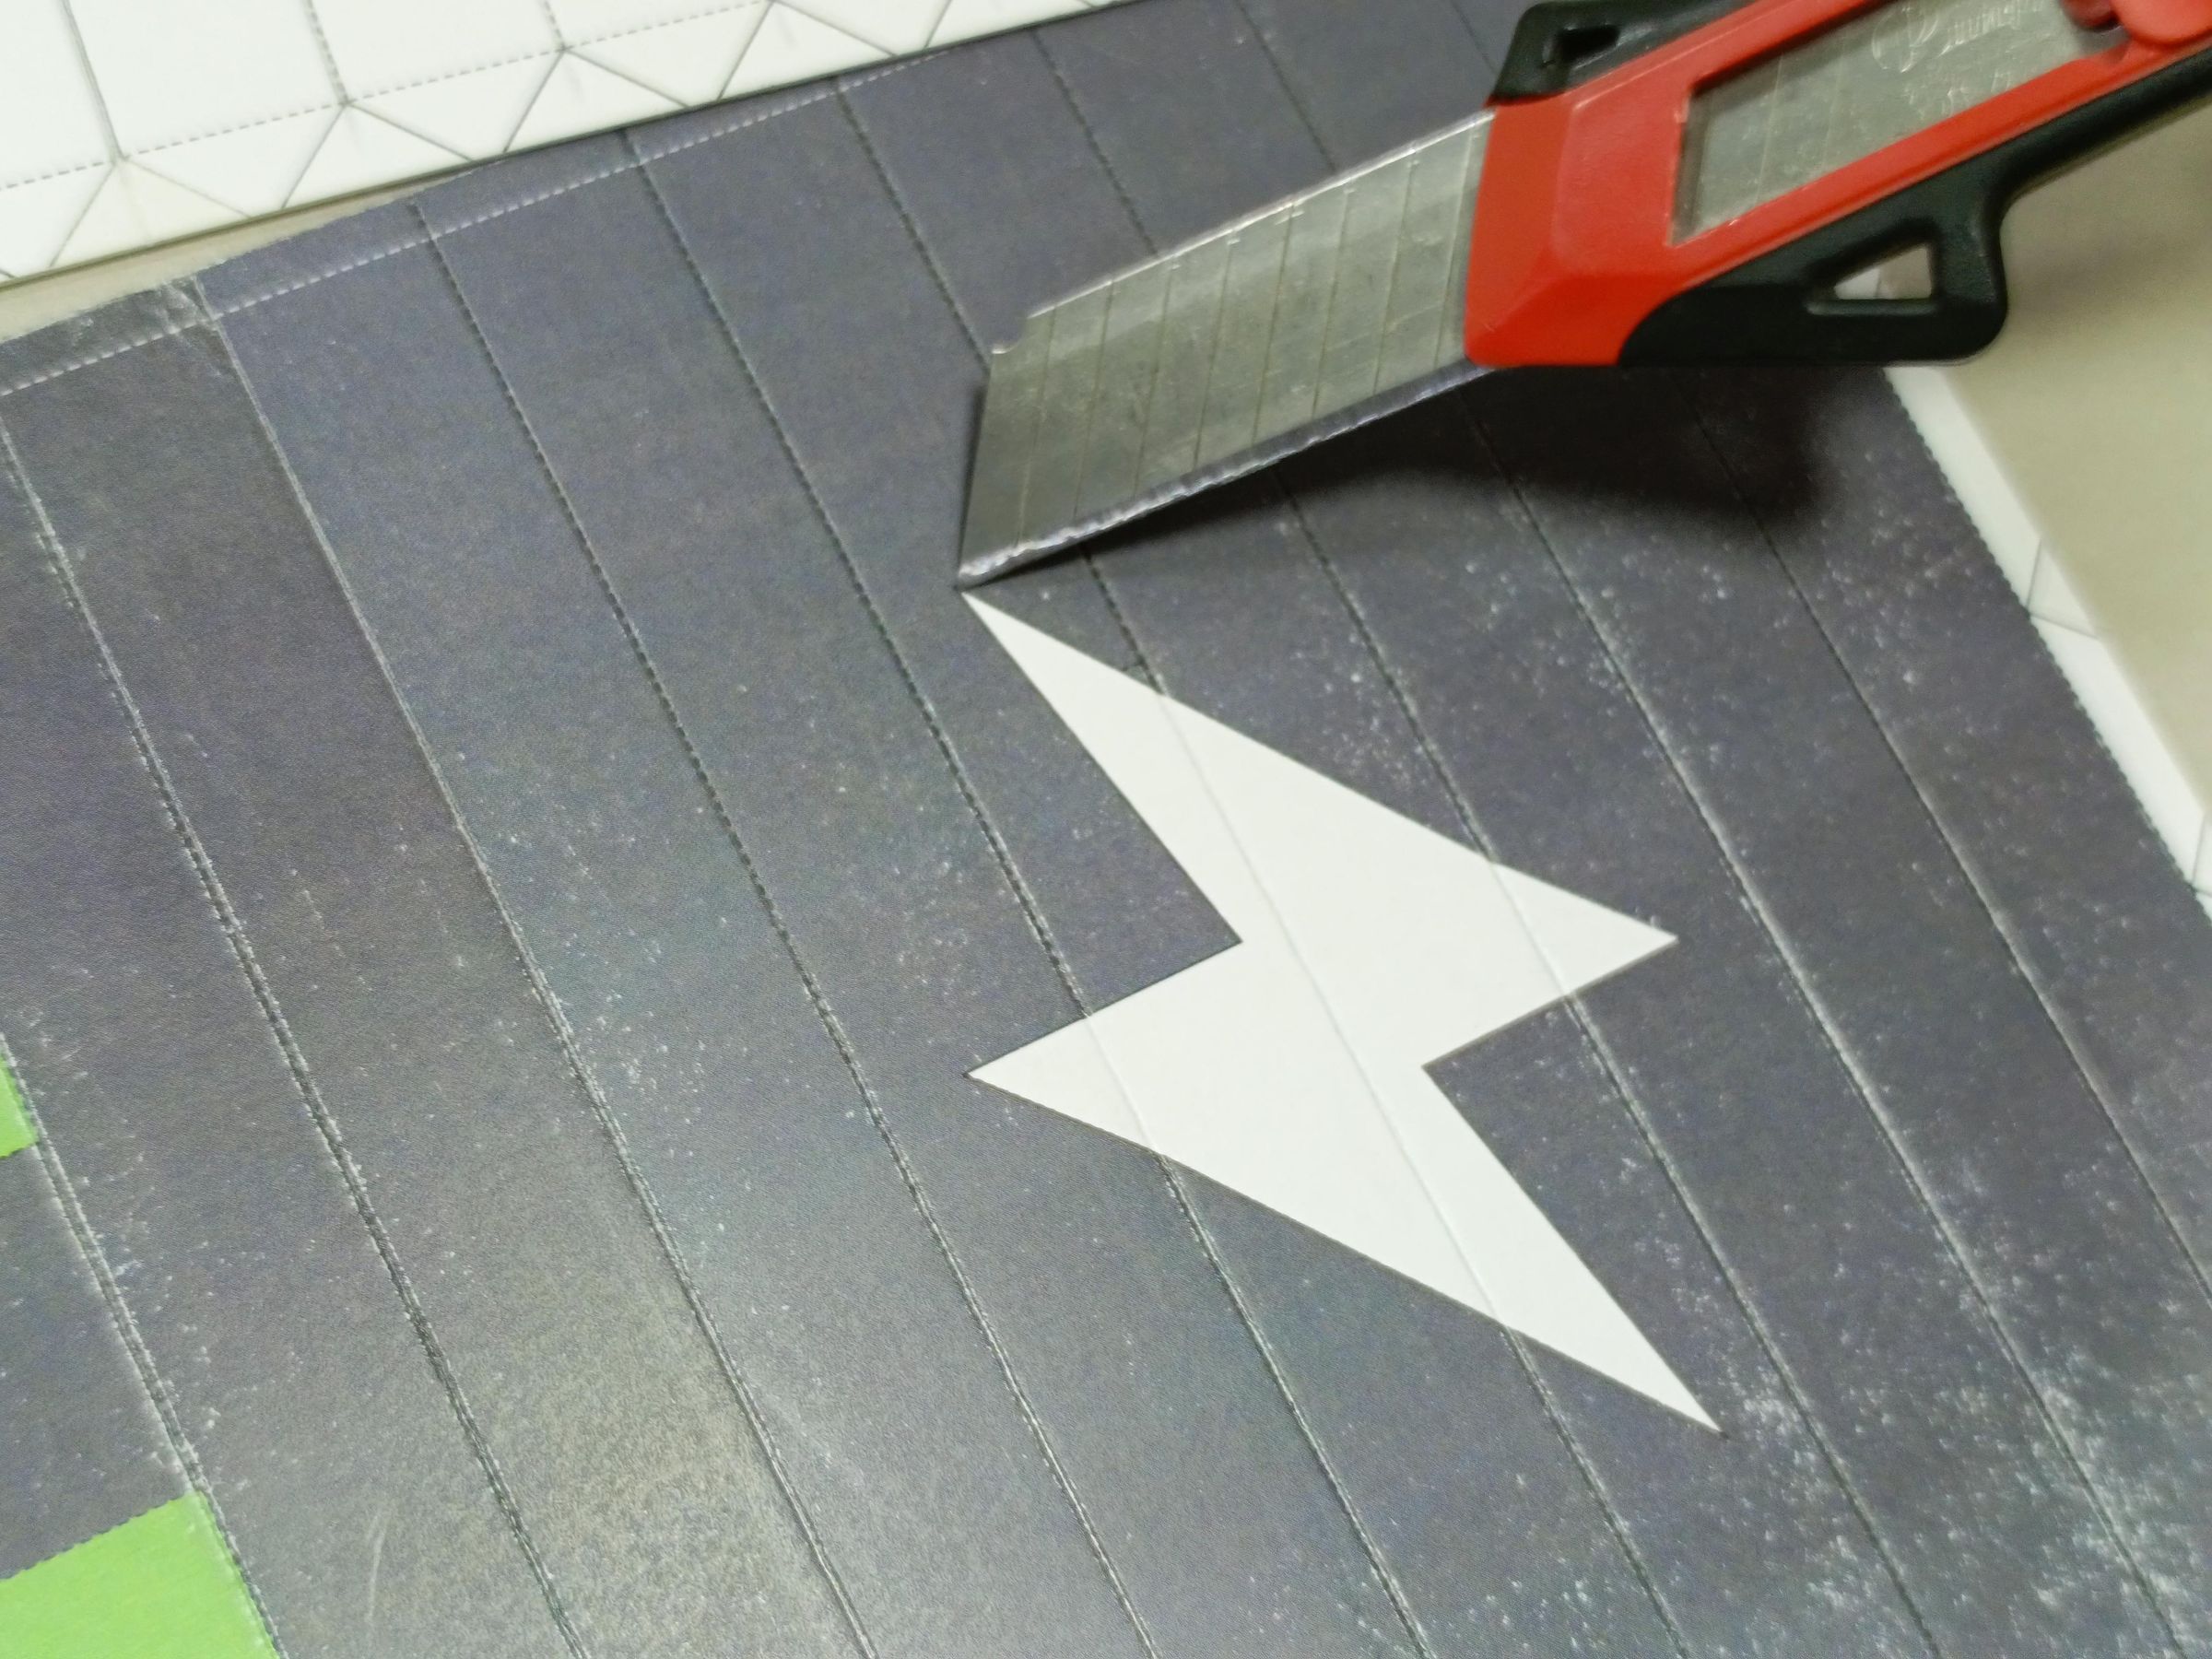
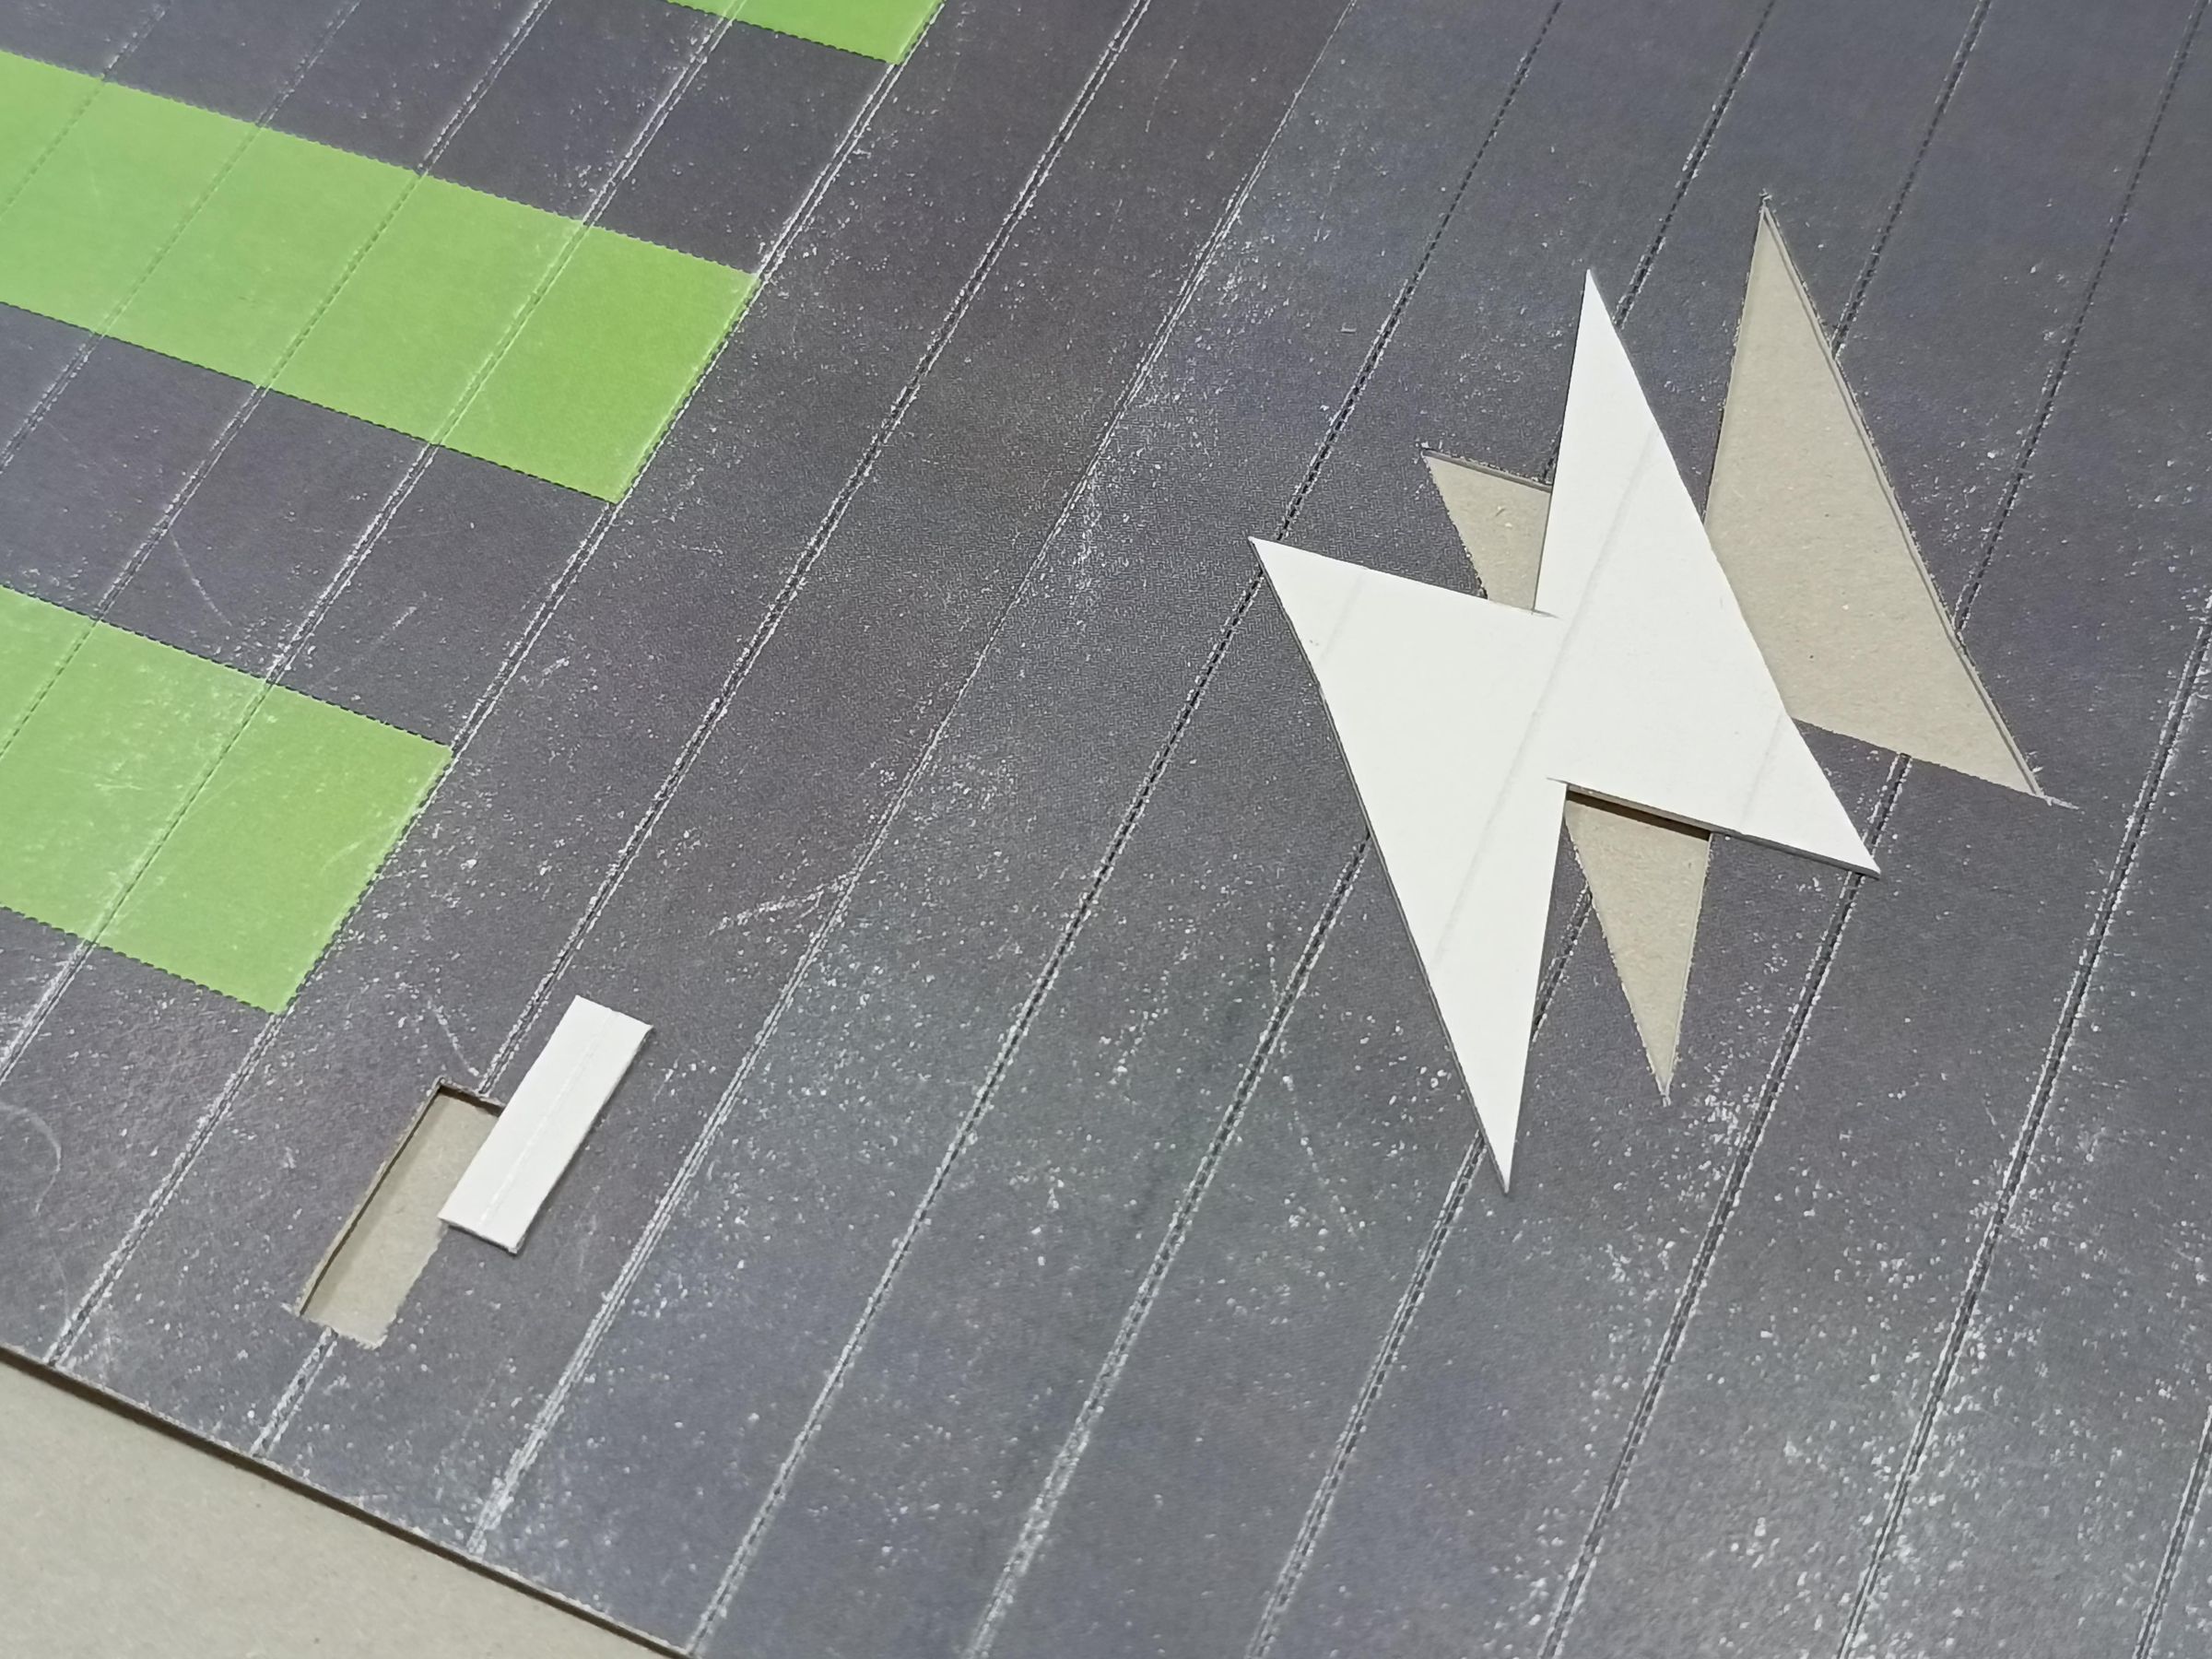
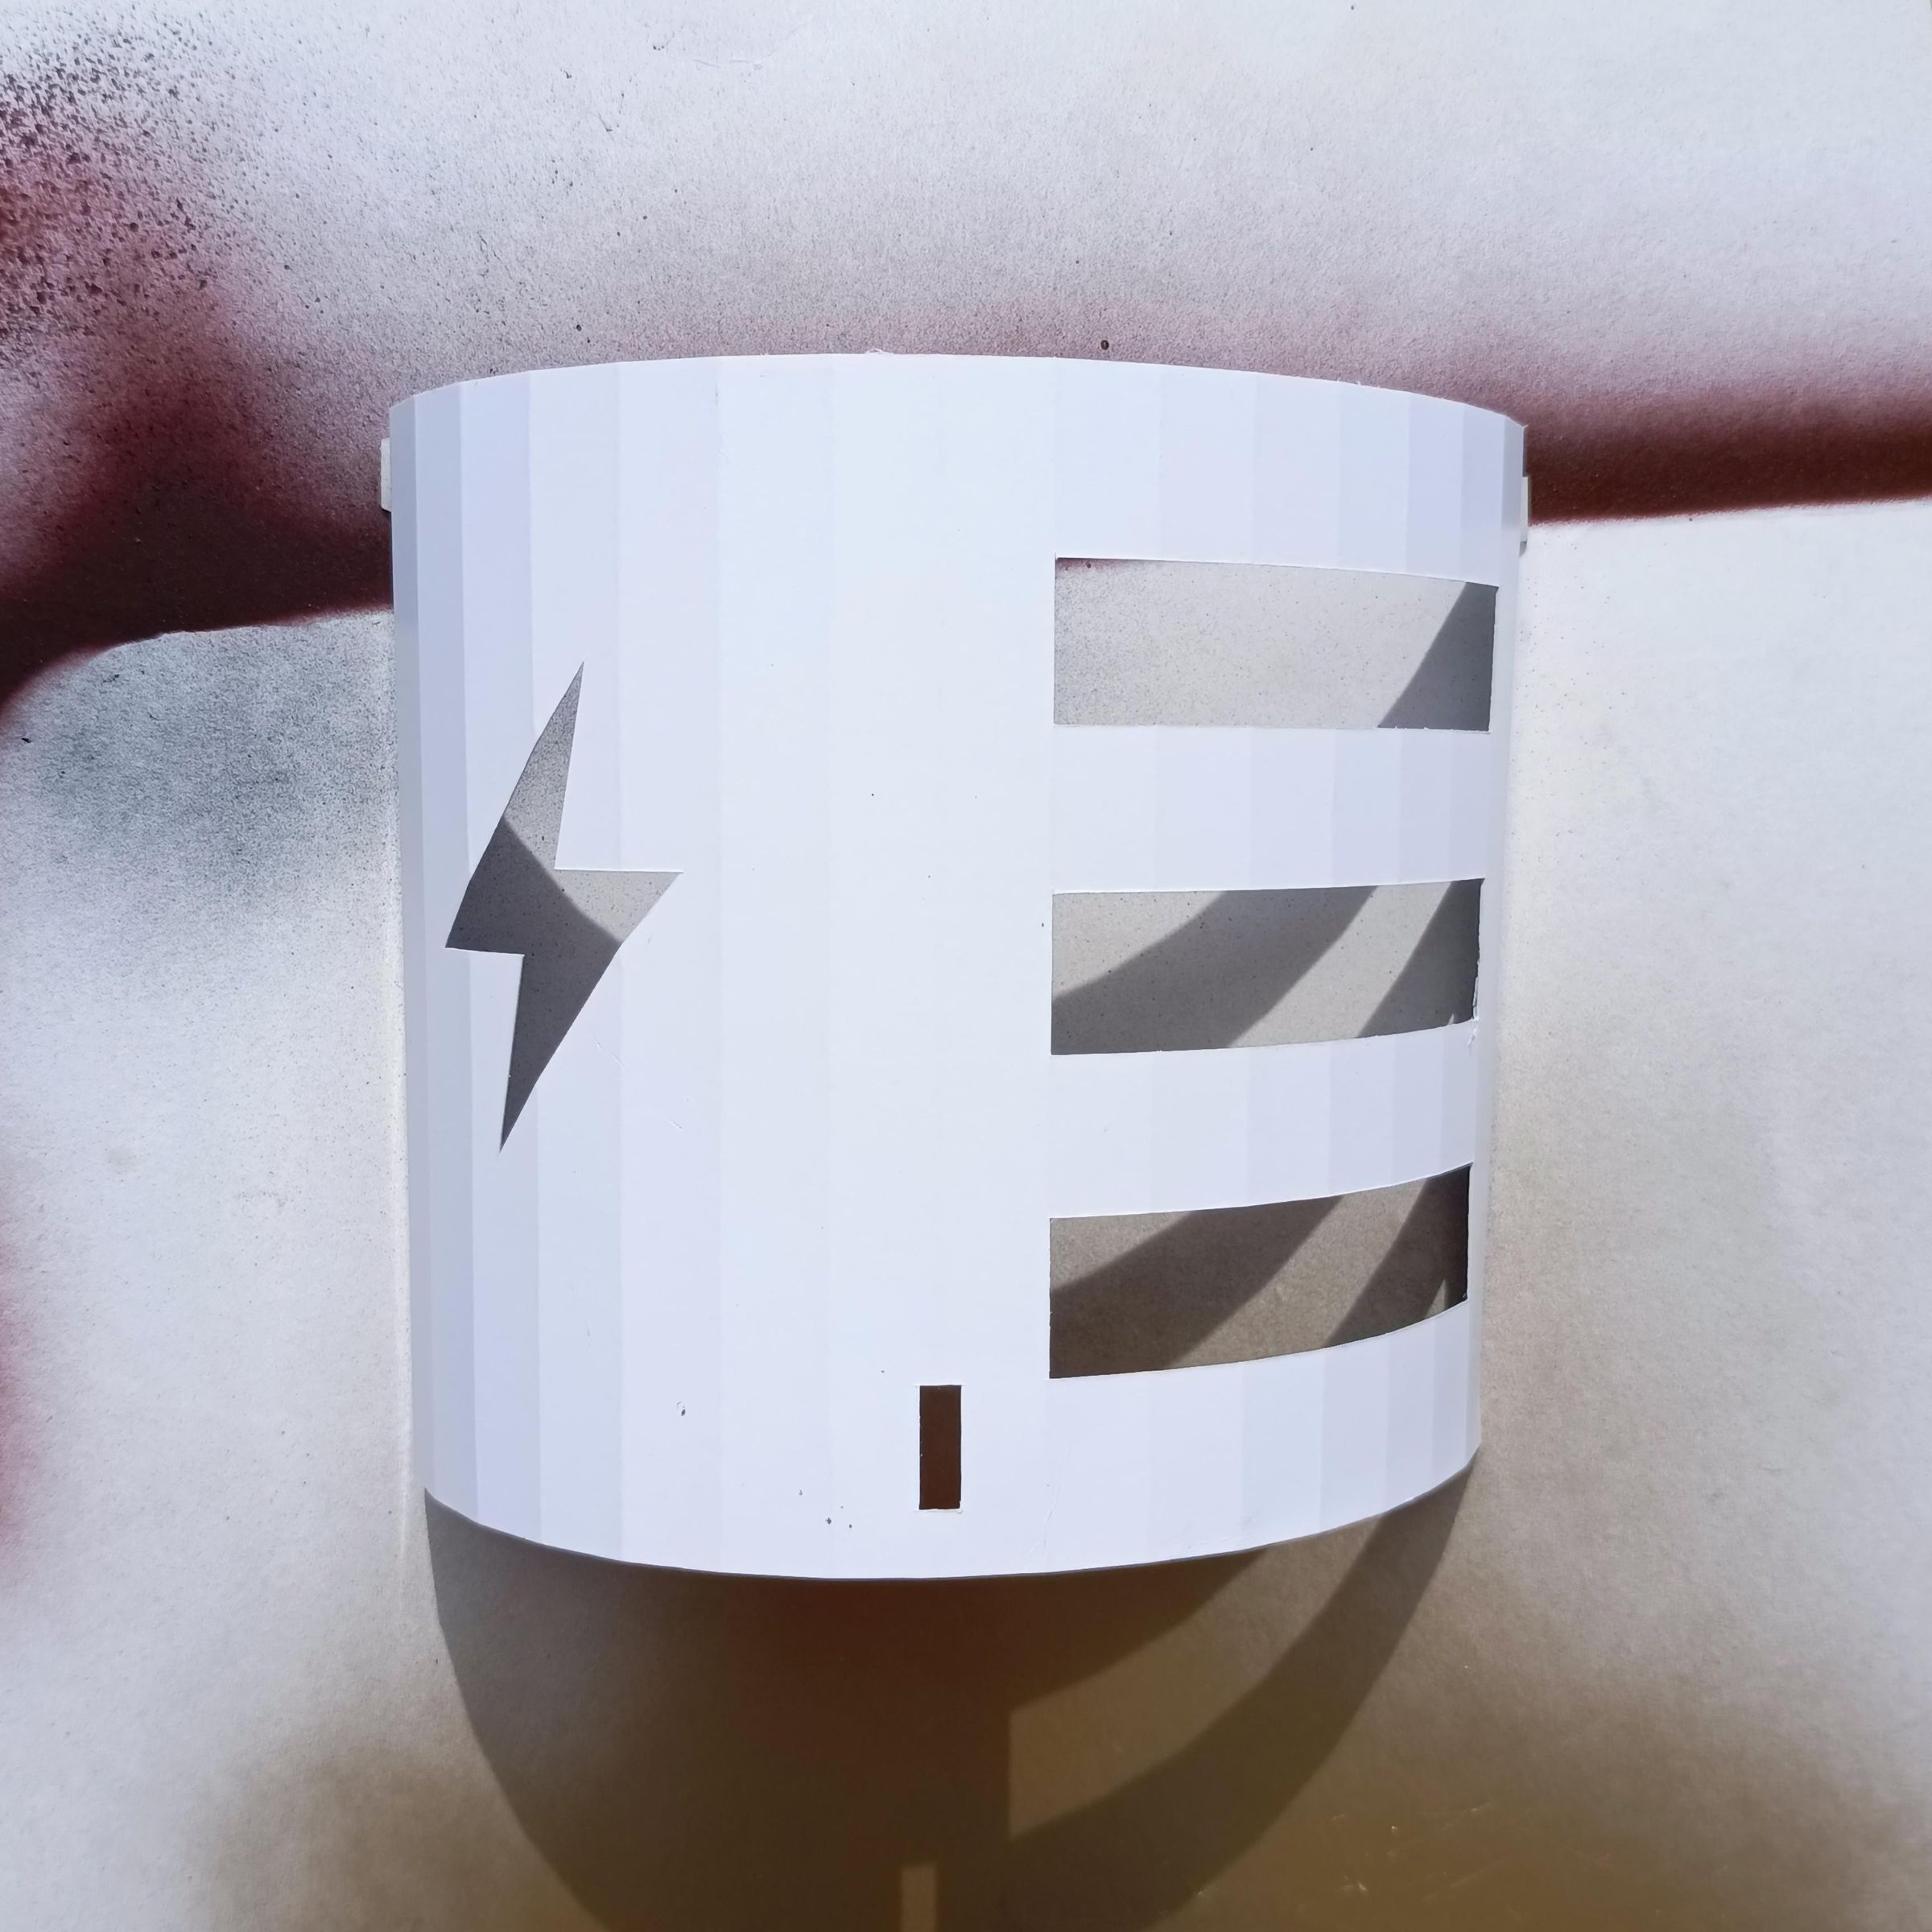
Cut out the lightning bolt shape from the middle part of the battery
I wanted to use the logo of a well-known brand, but I preferred to keep the design simple, so I added a lightning bolt instead.
Remember to do the embossing first before cutting any shapes indicated on the templates.
Cylinder
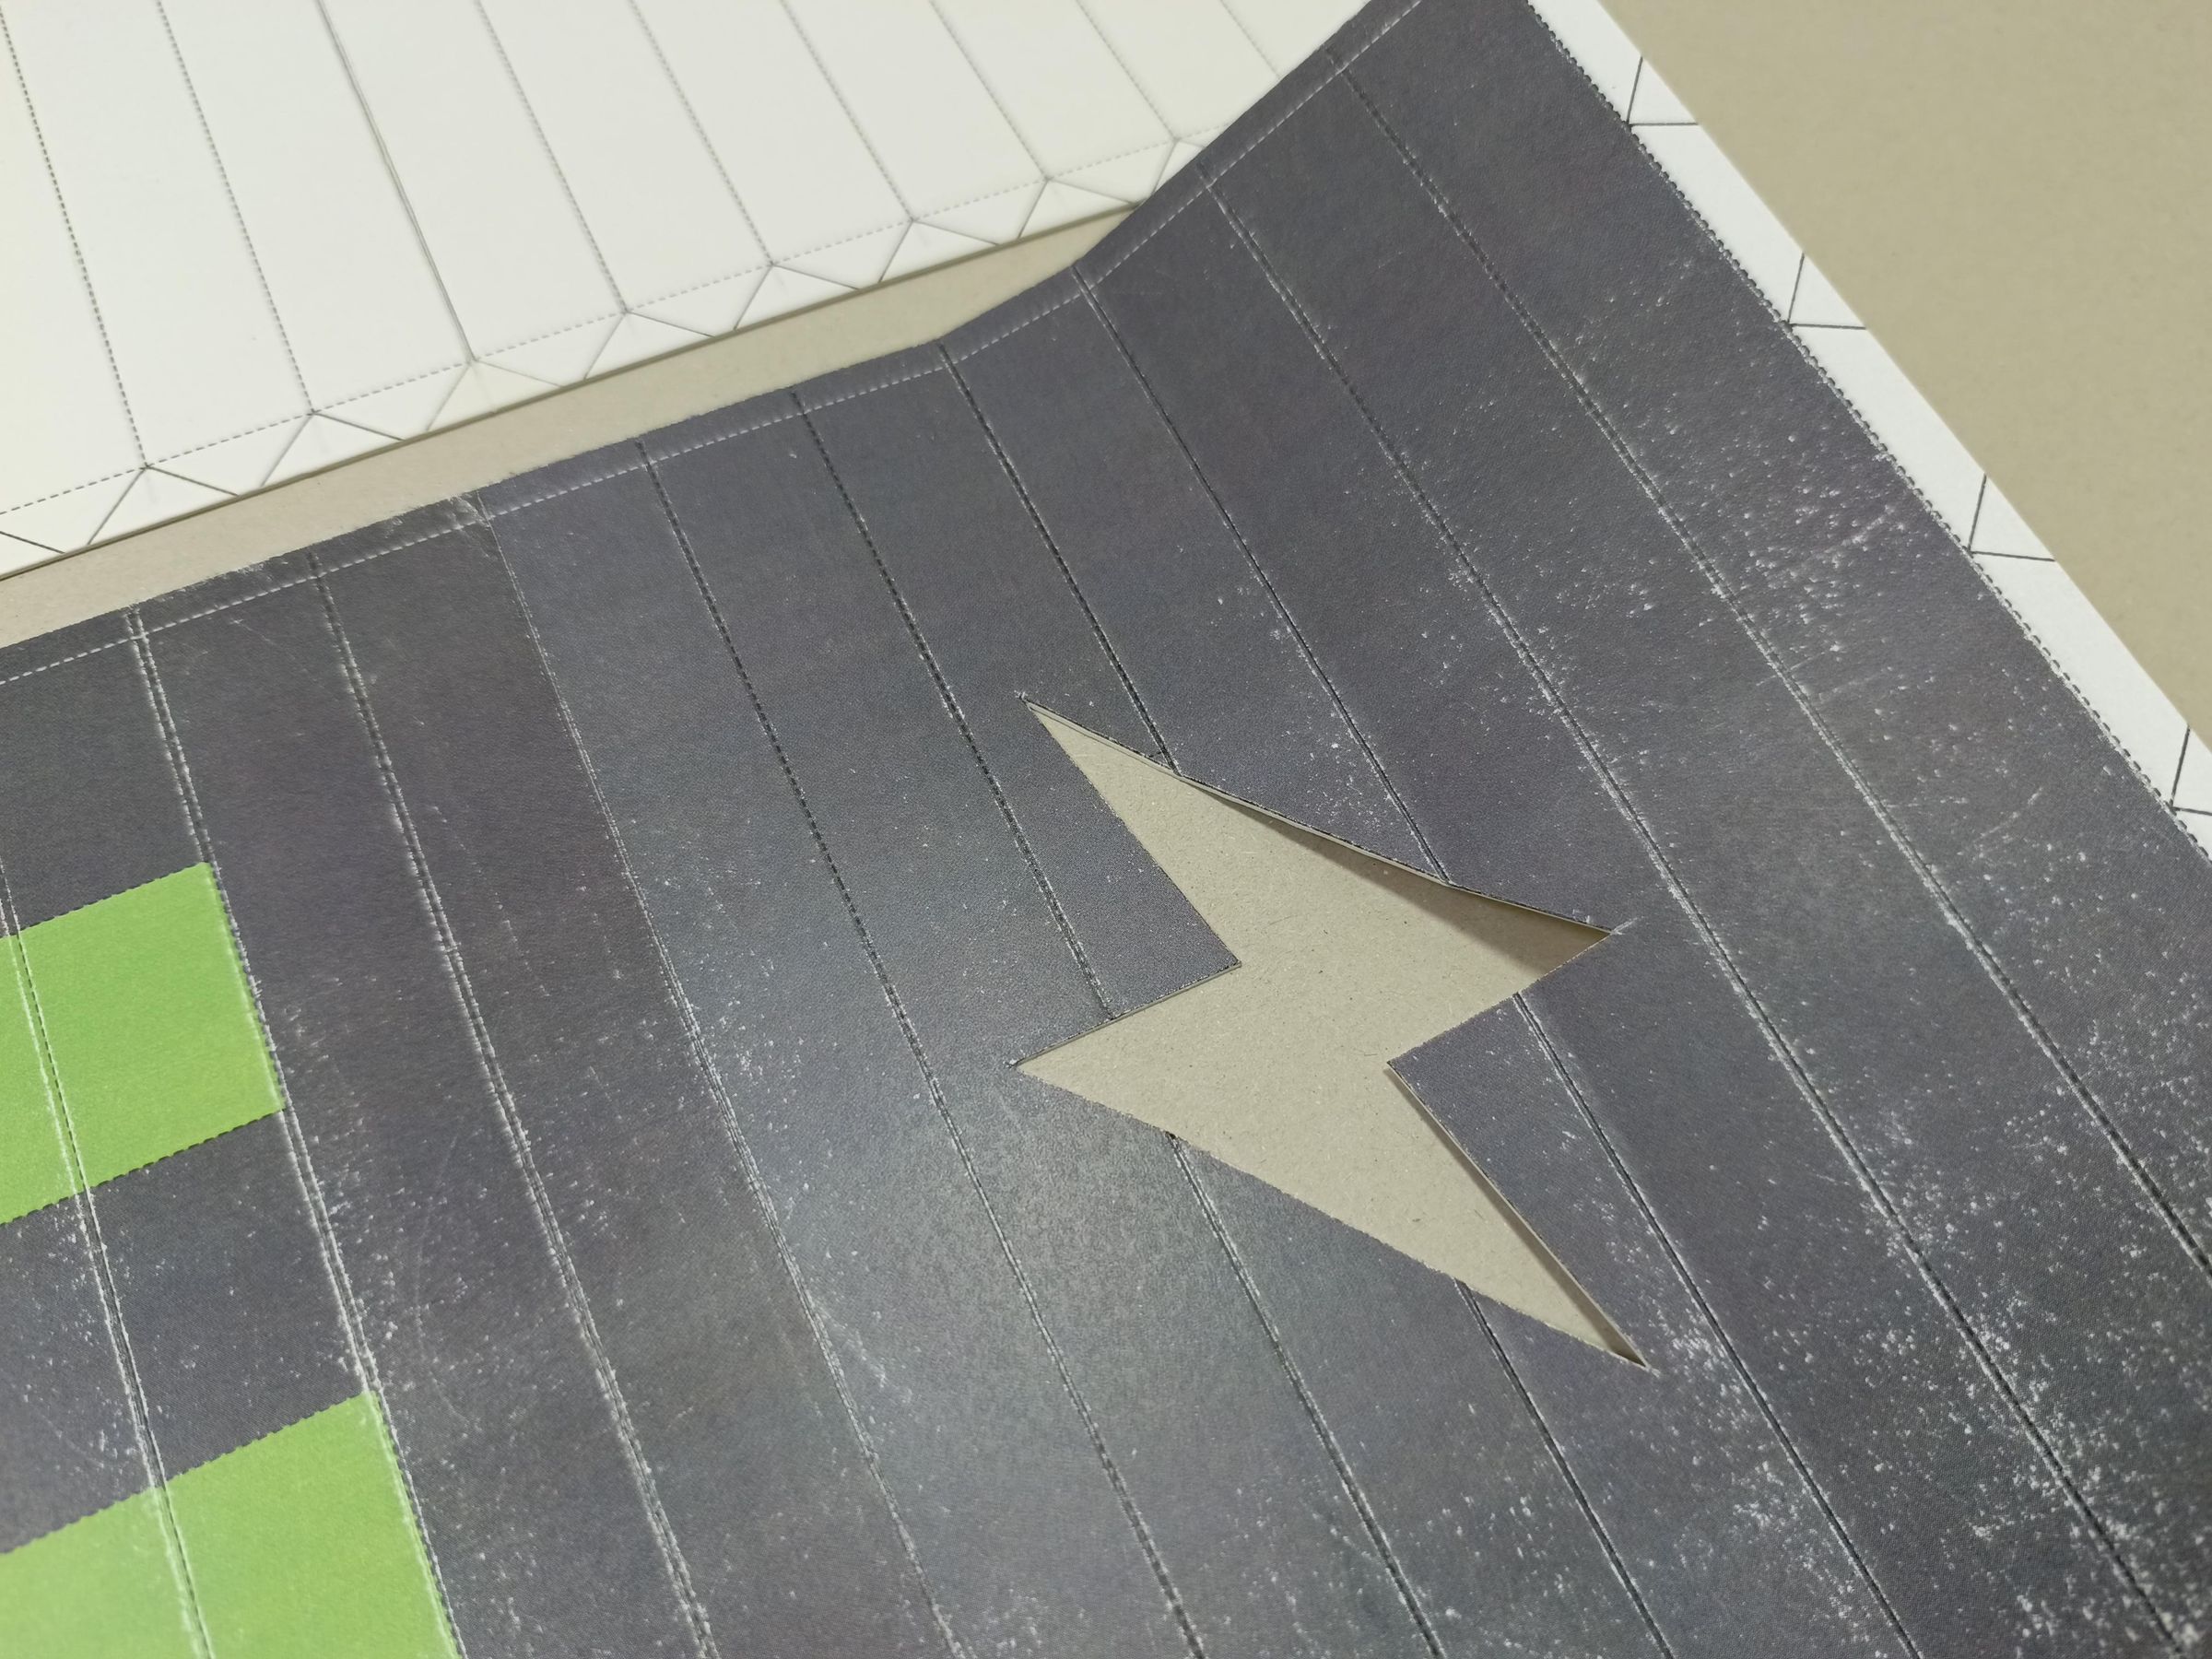
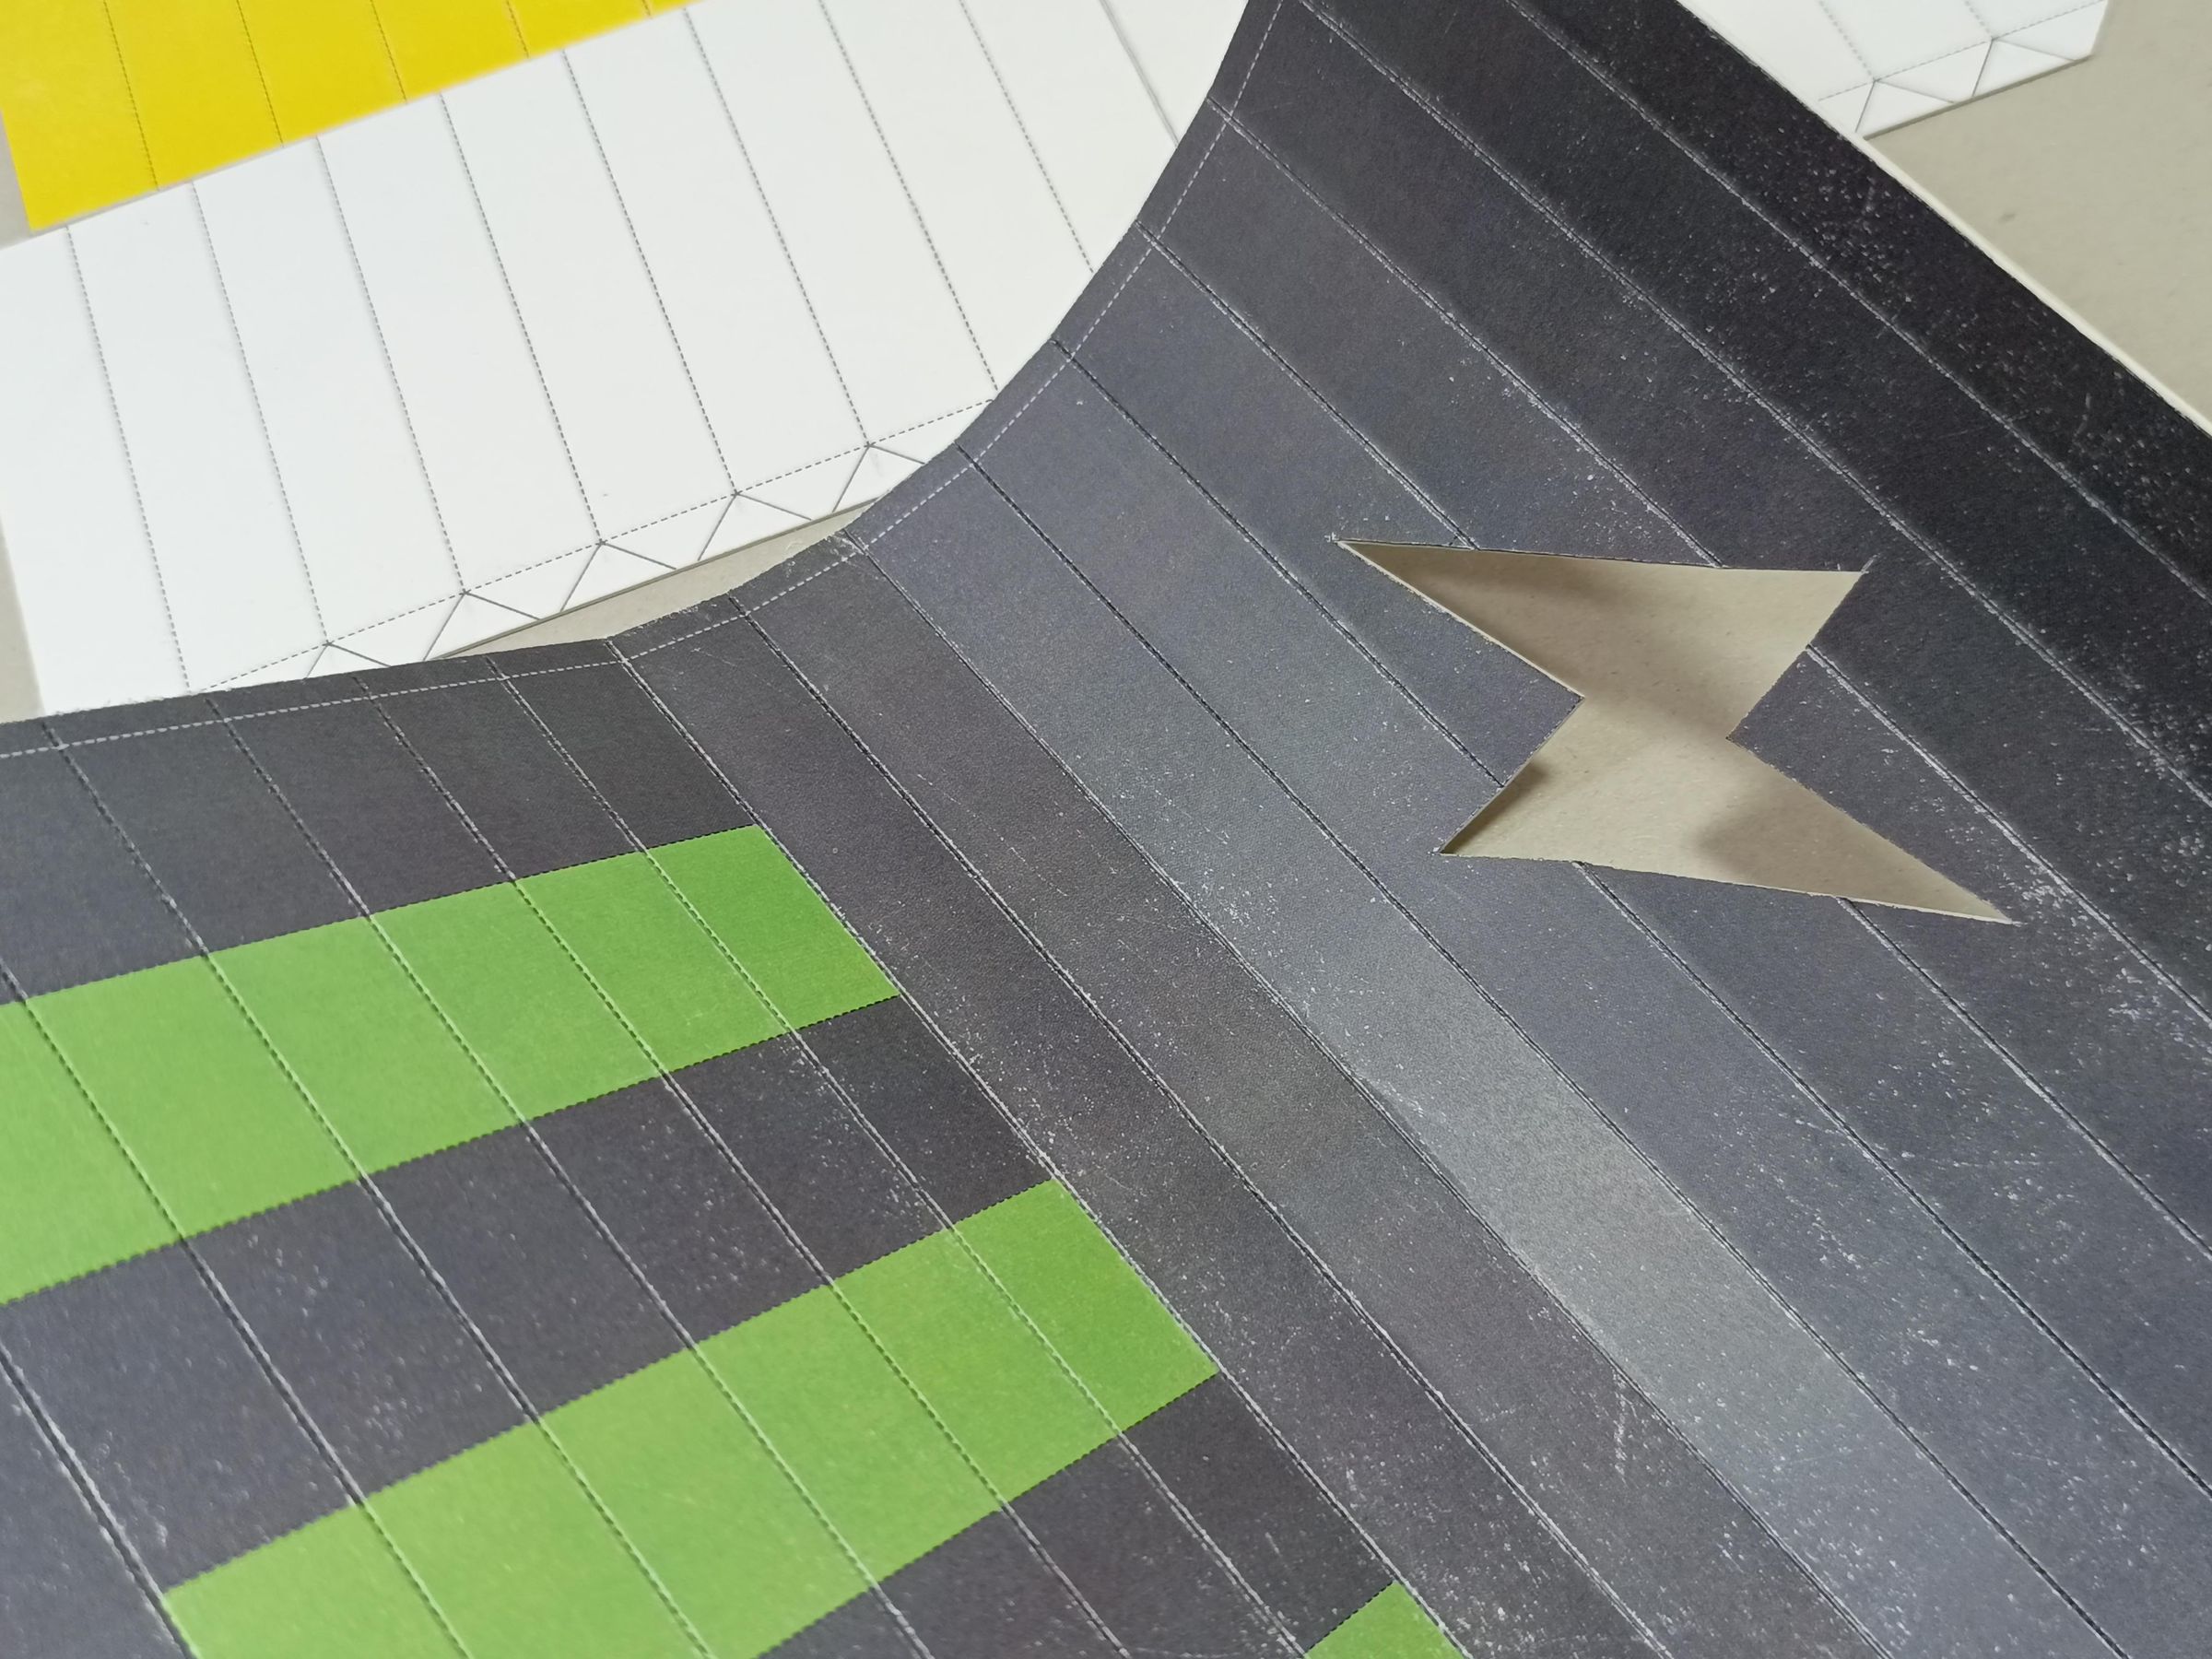
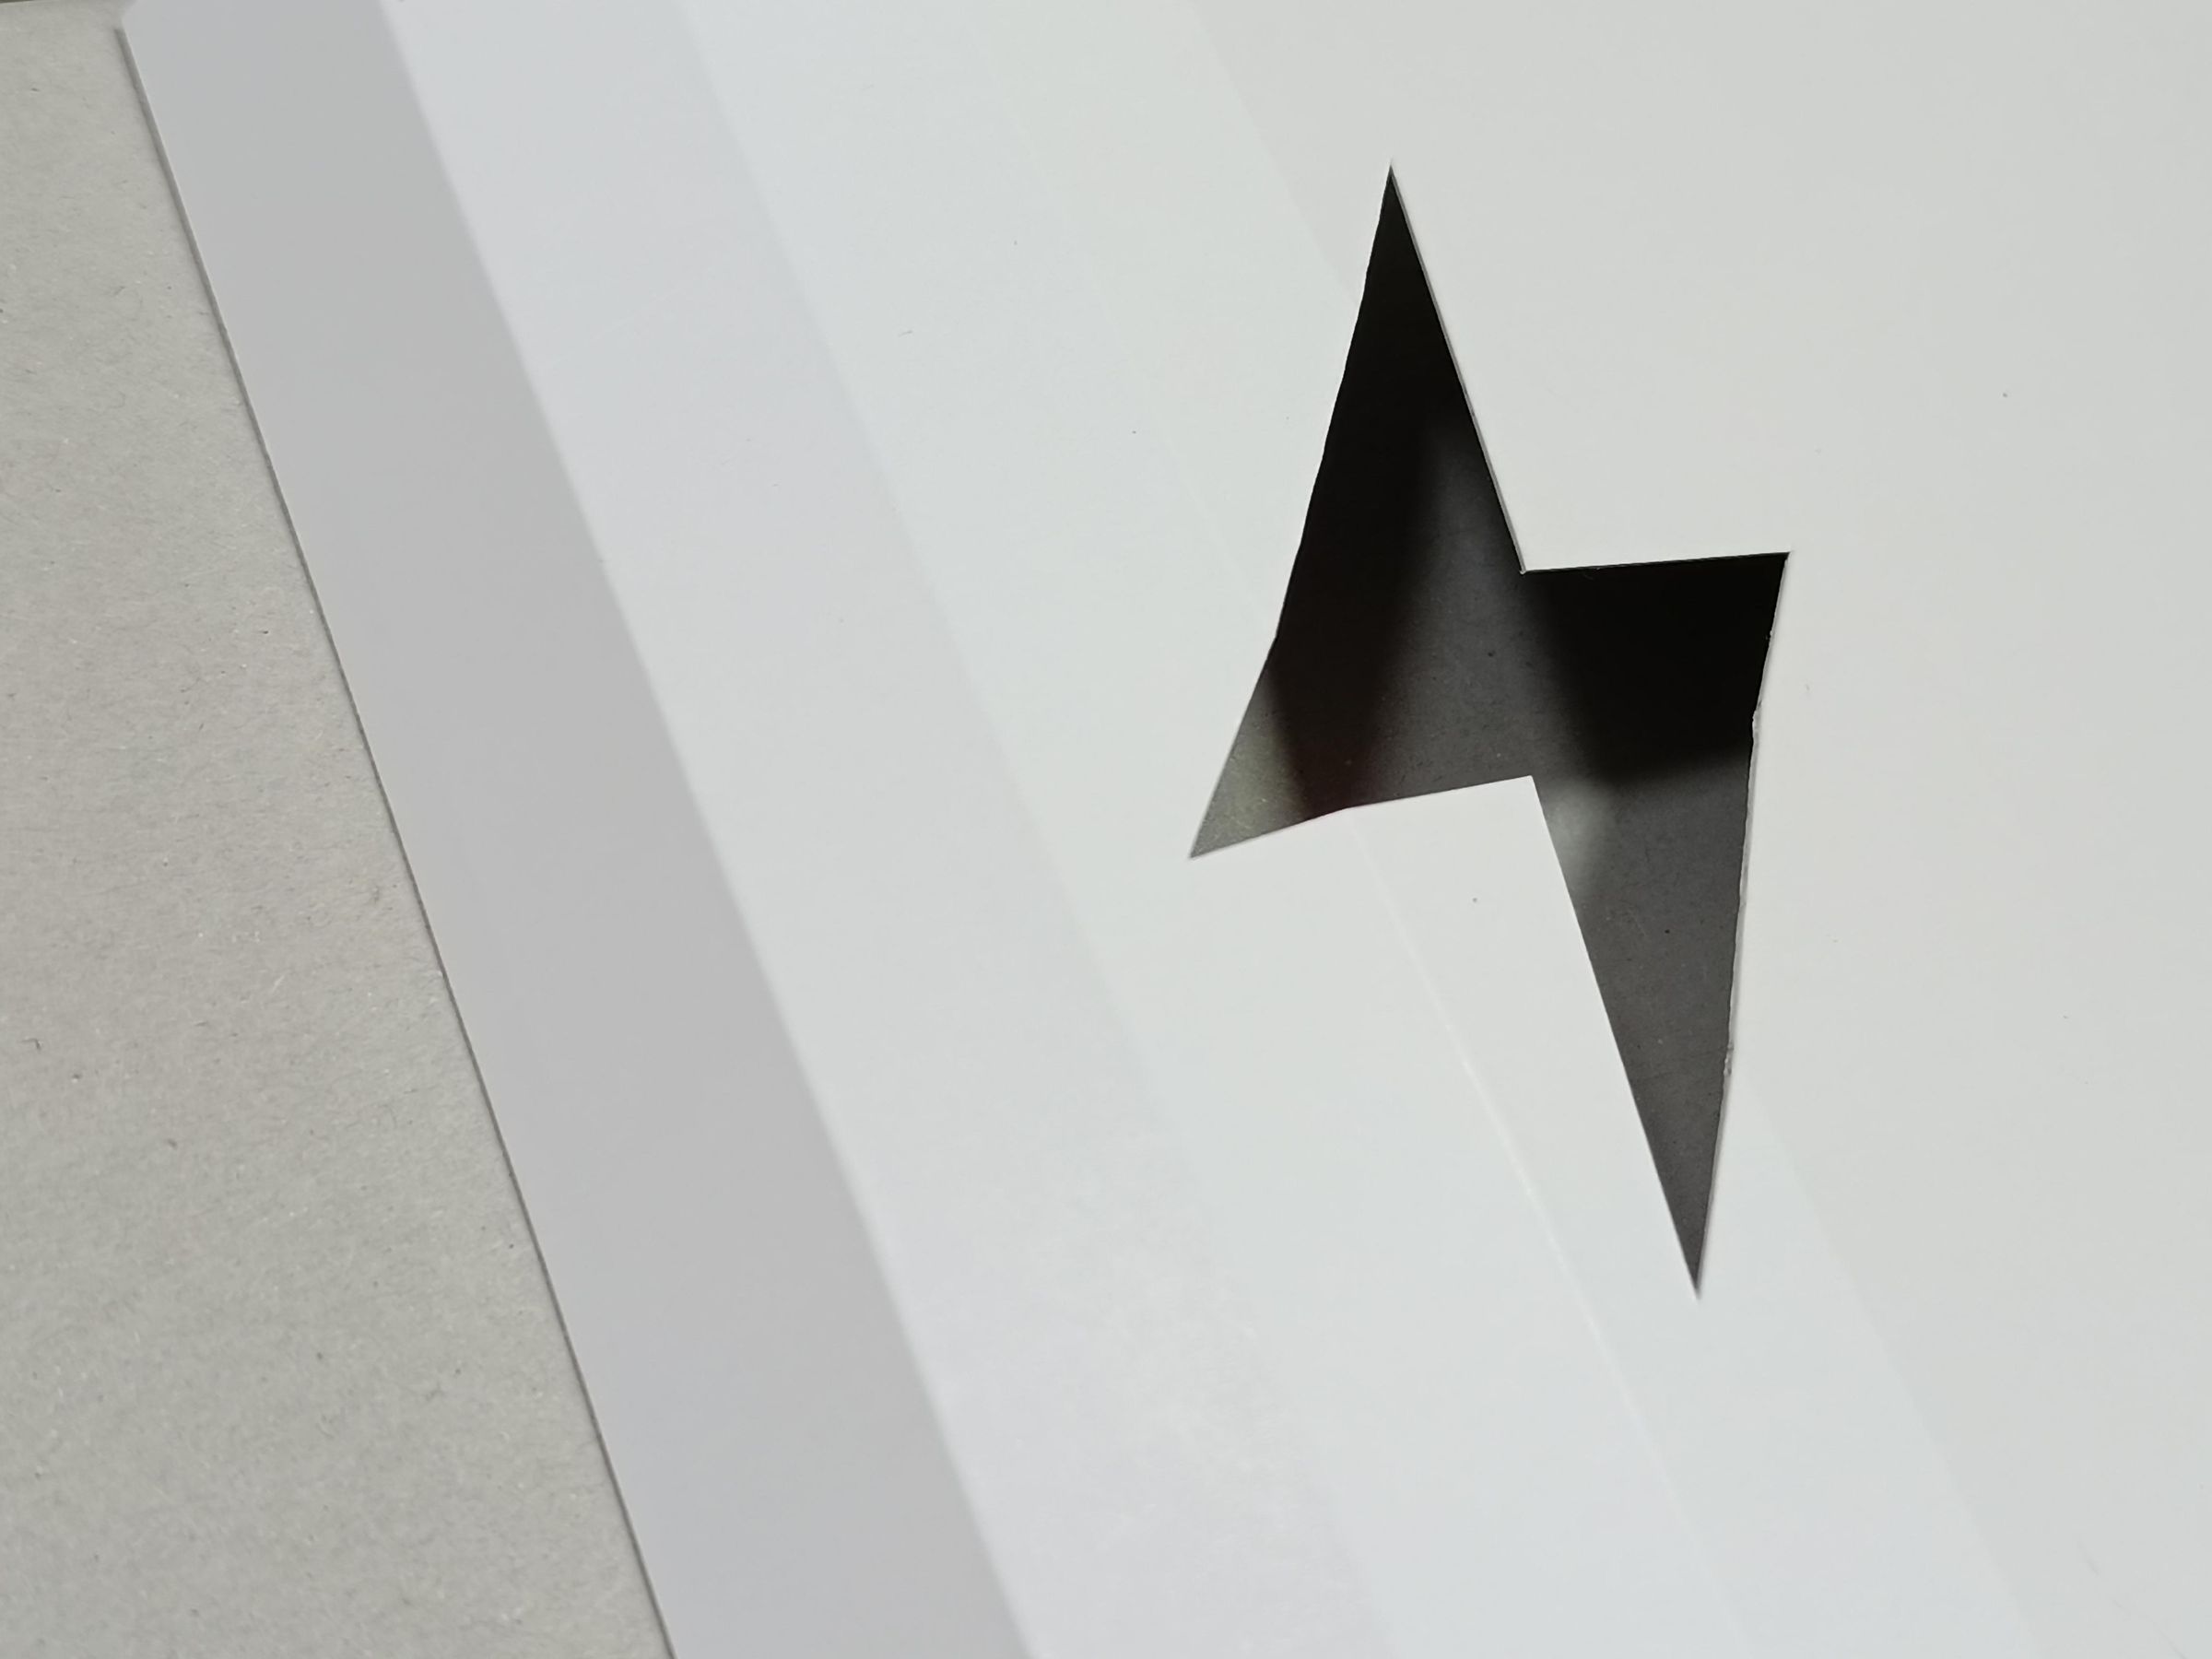
Gently press along the marked lines to form each fold and repeat the process until you form a cylinder
Battery Shape
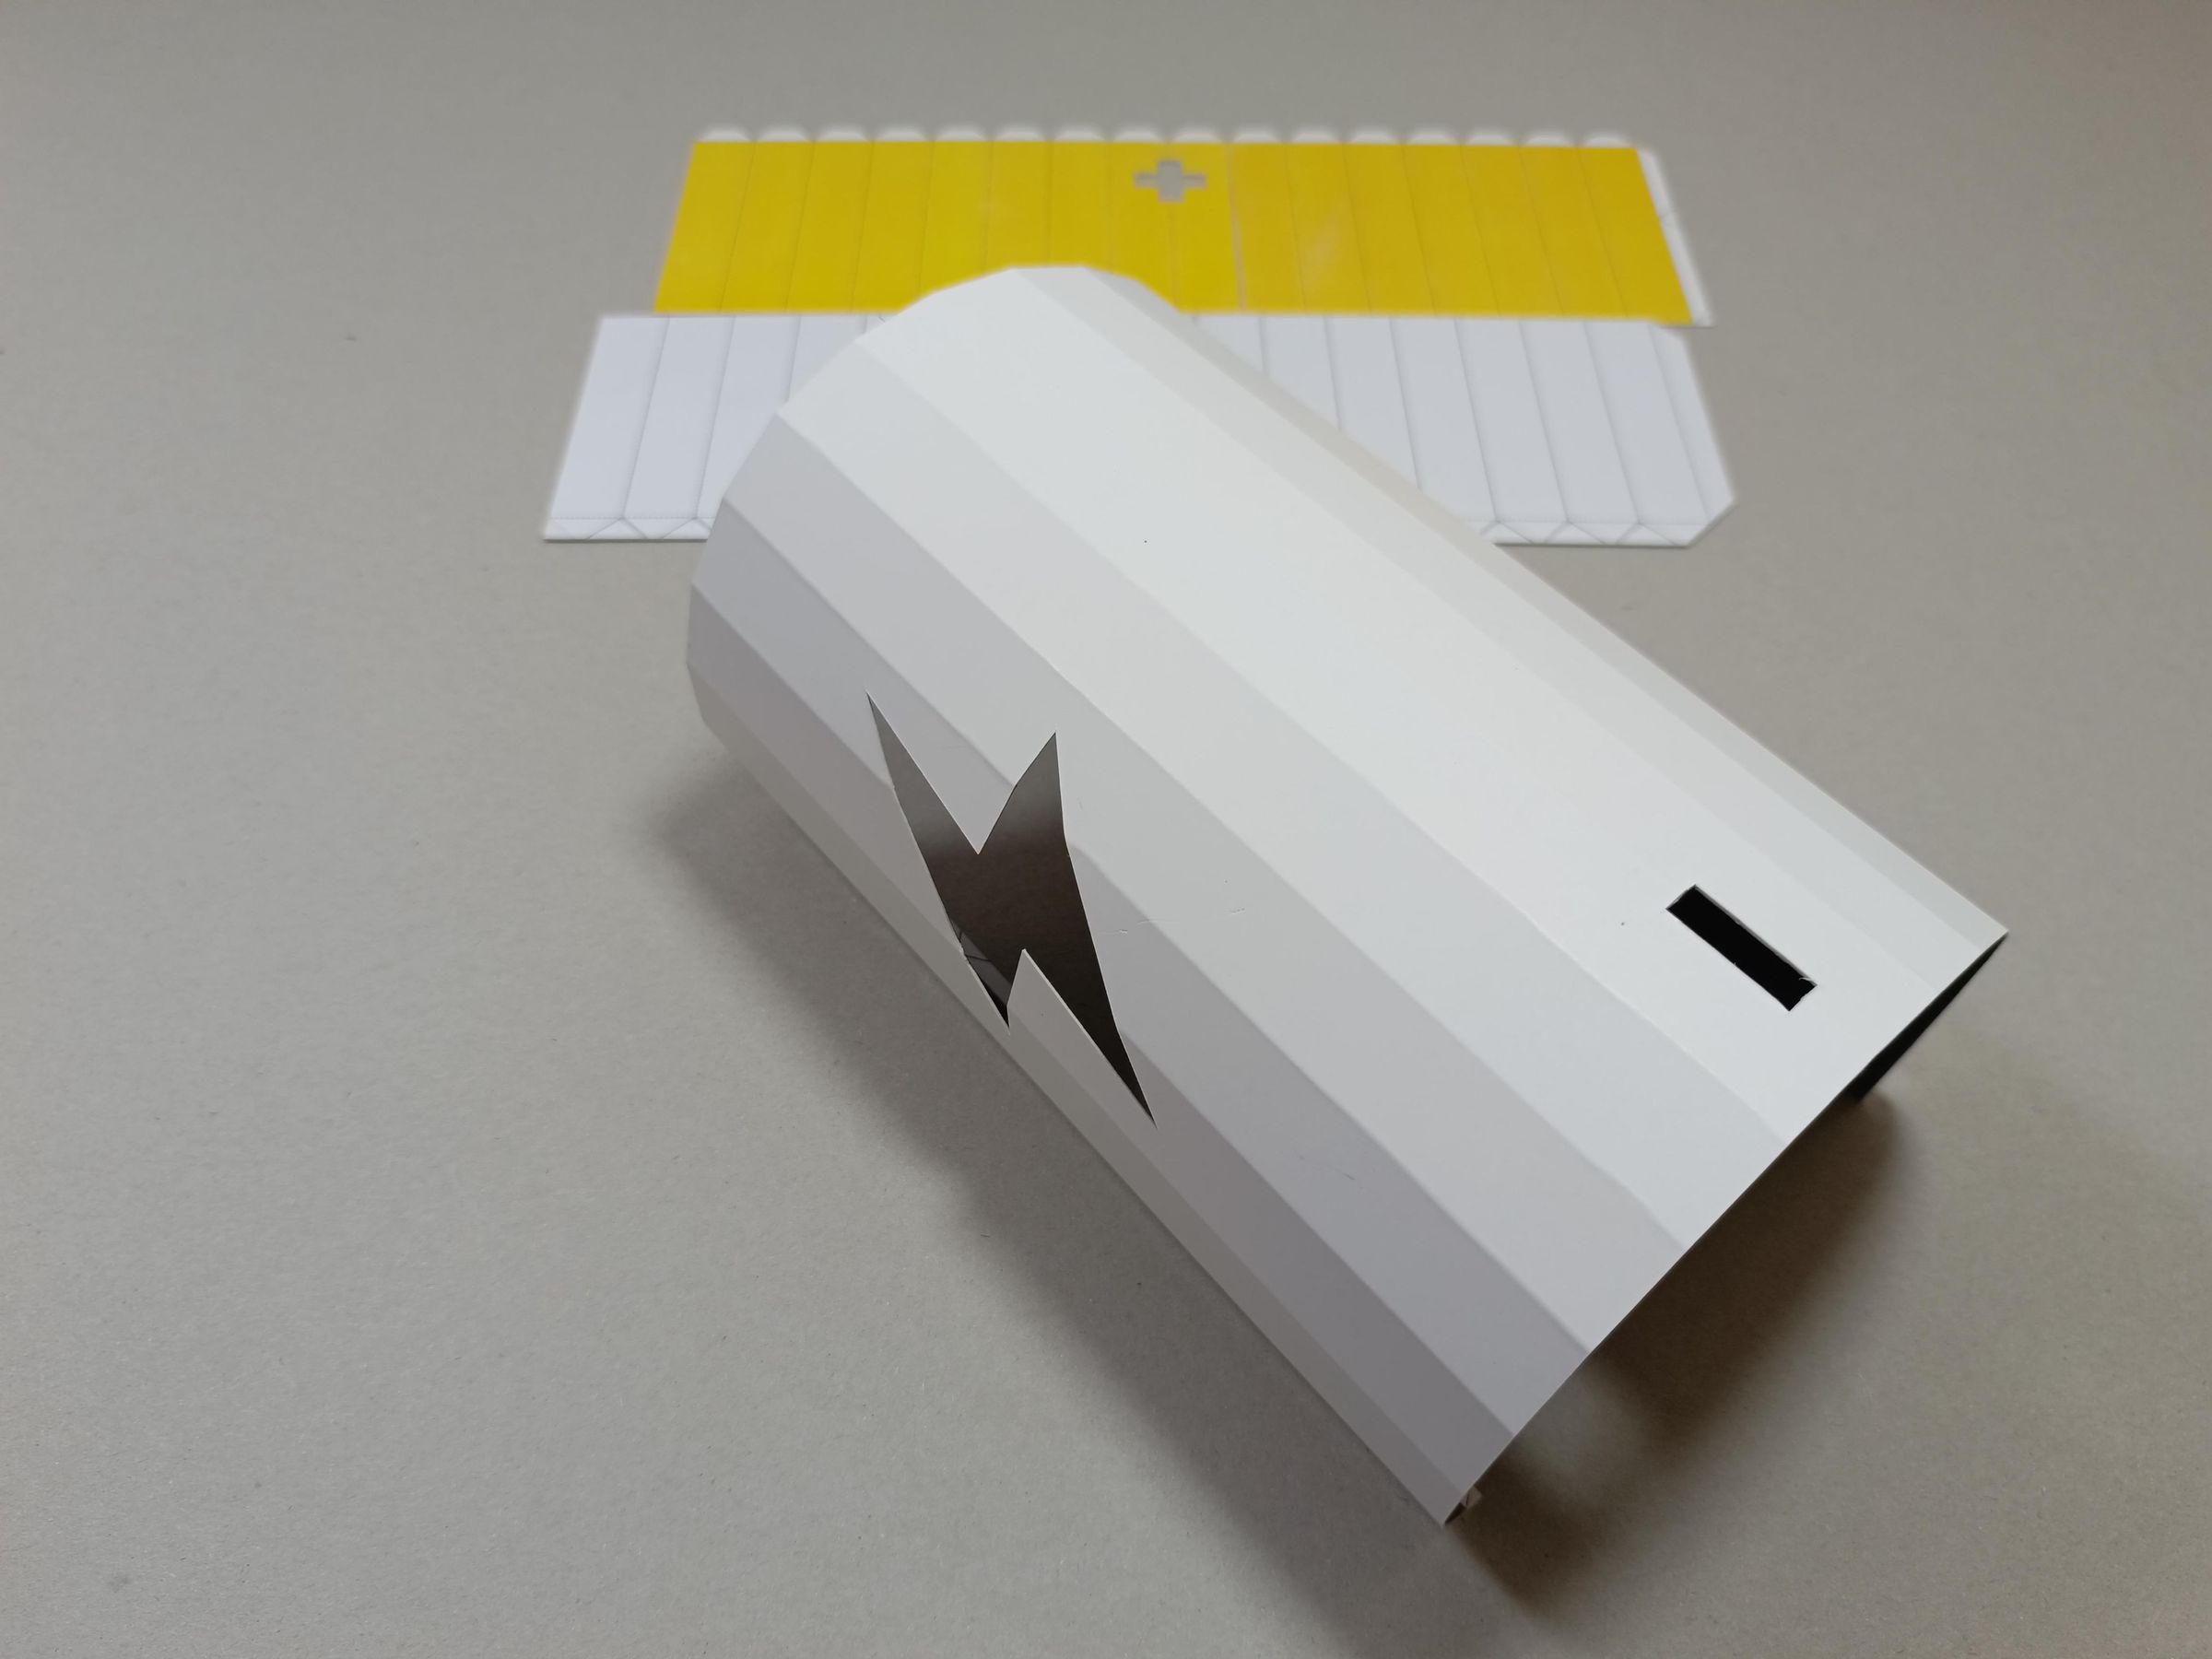
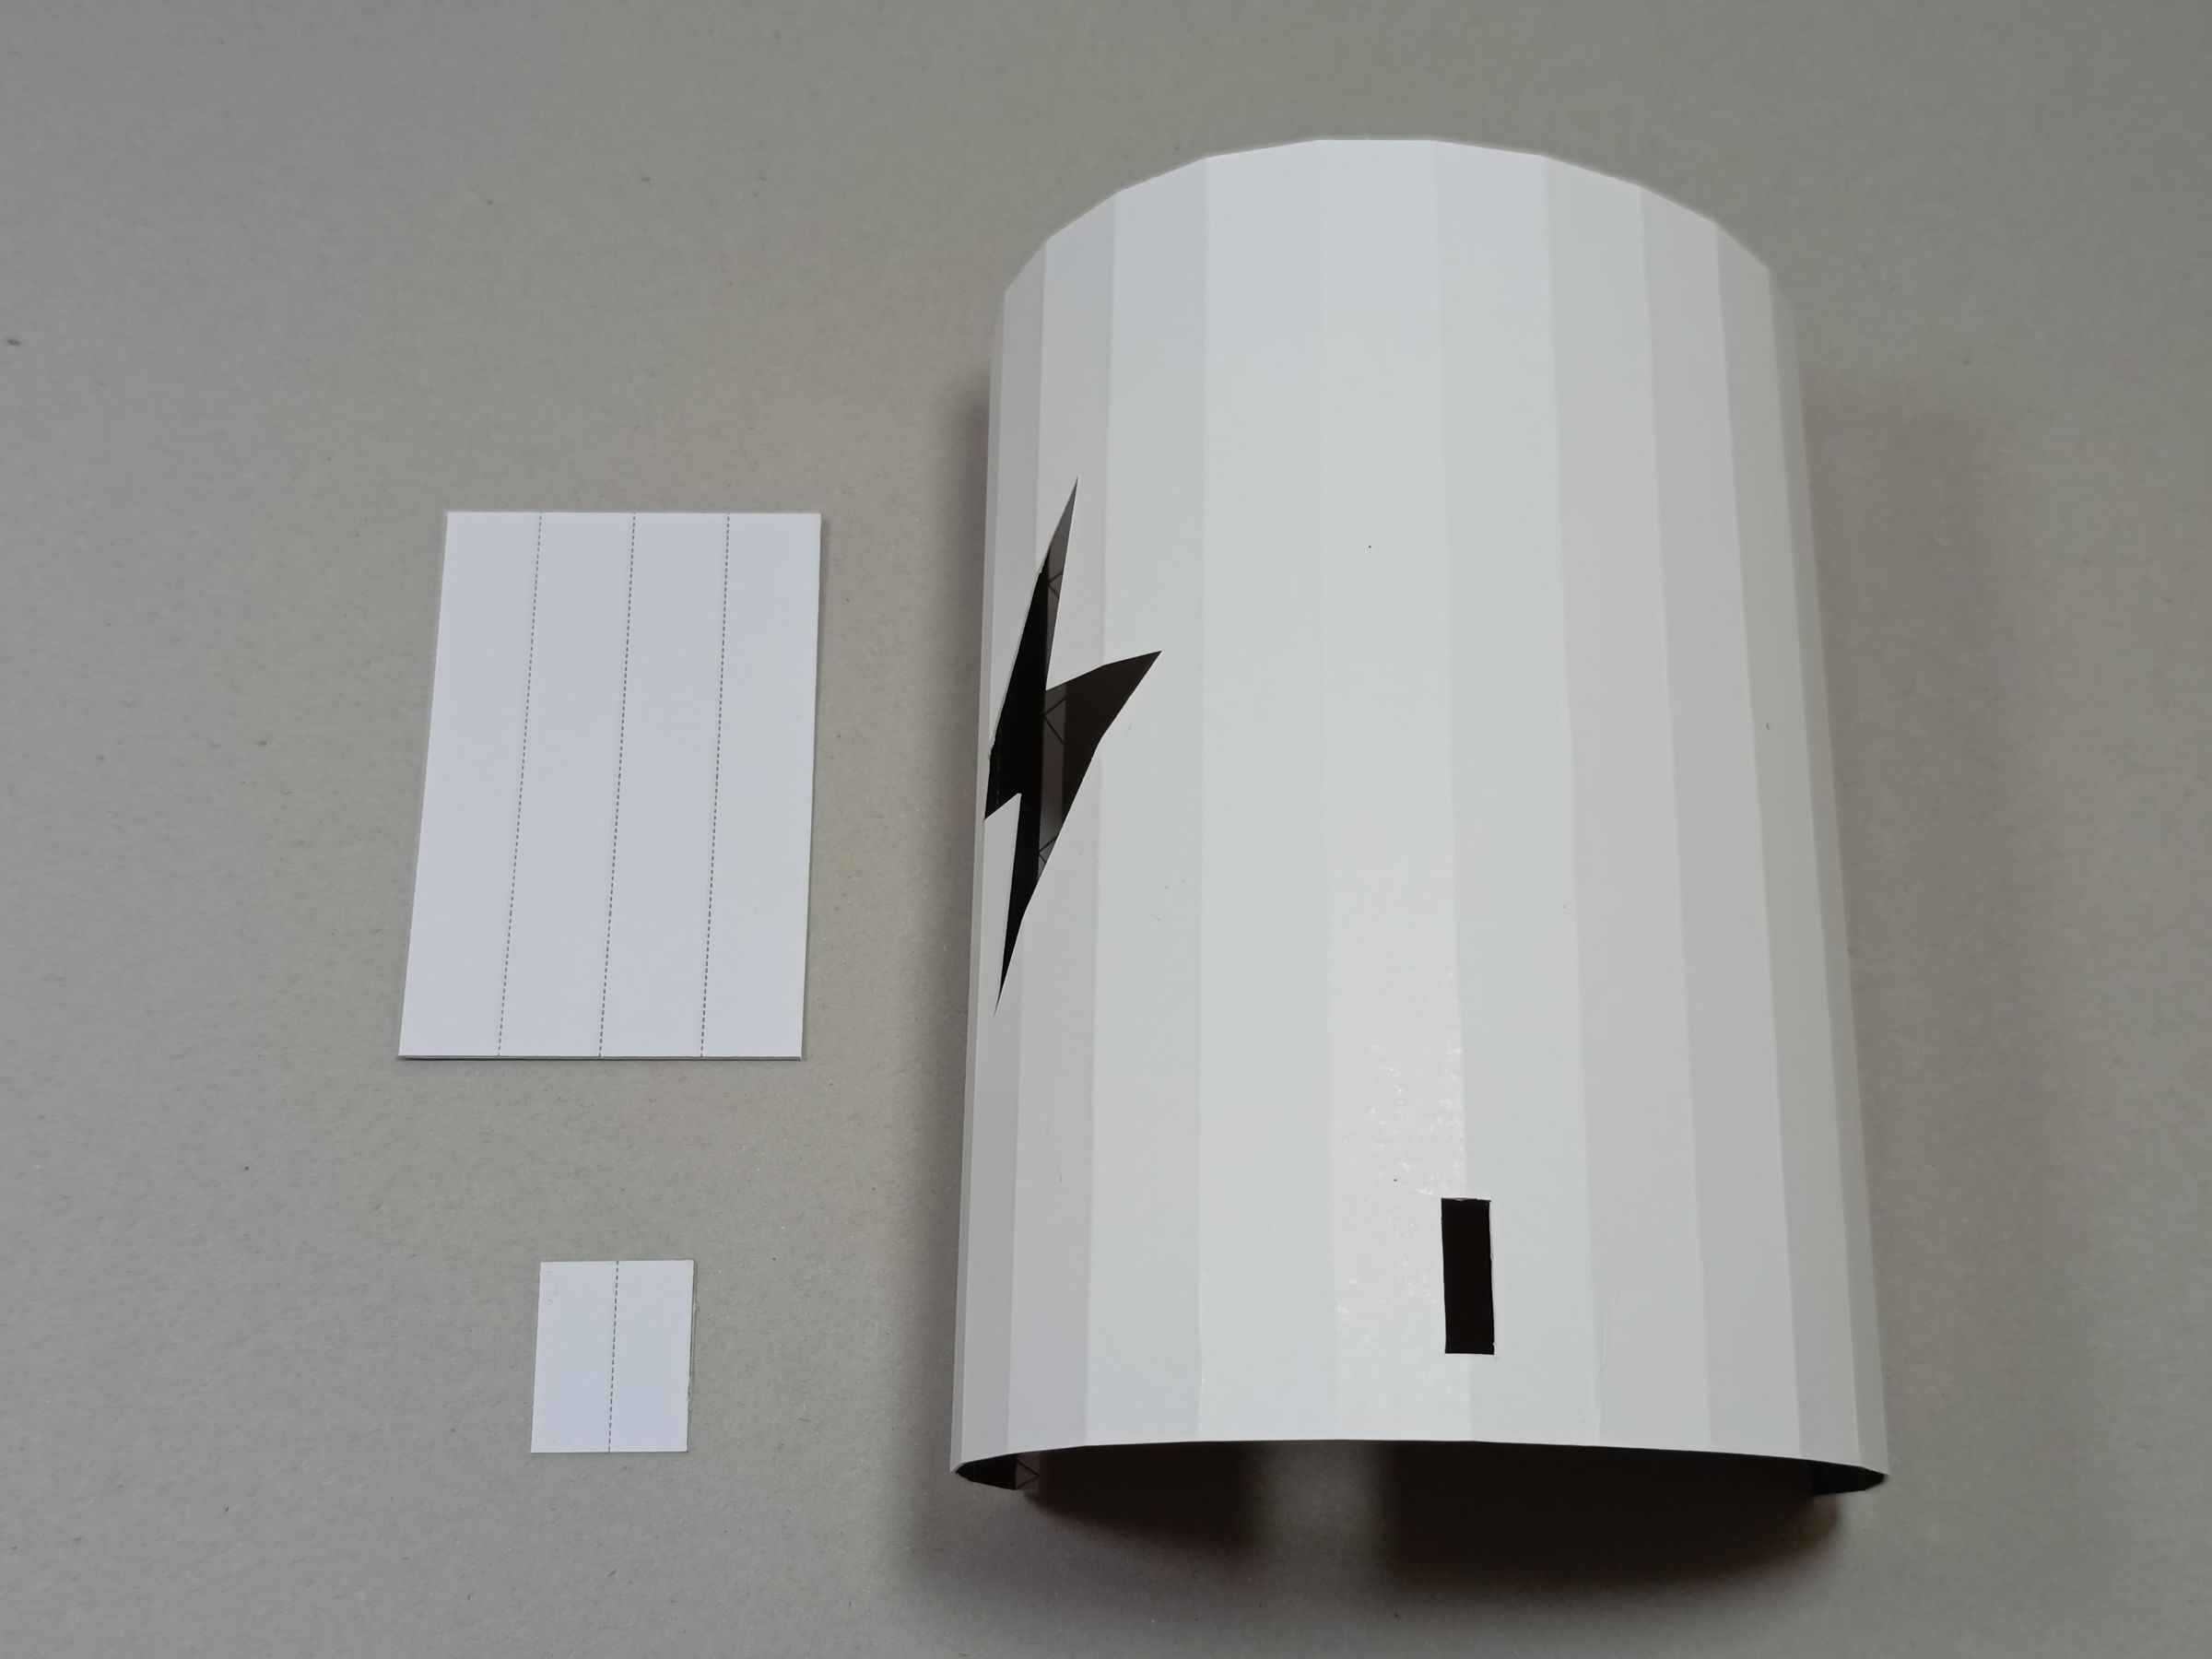
Make the necessary folds to give the paper the cylindrical shape of a battery.
Led Indicators
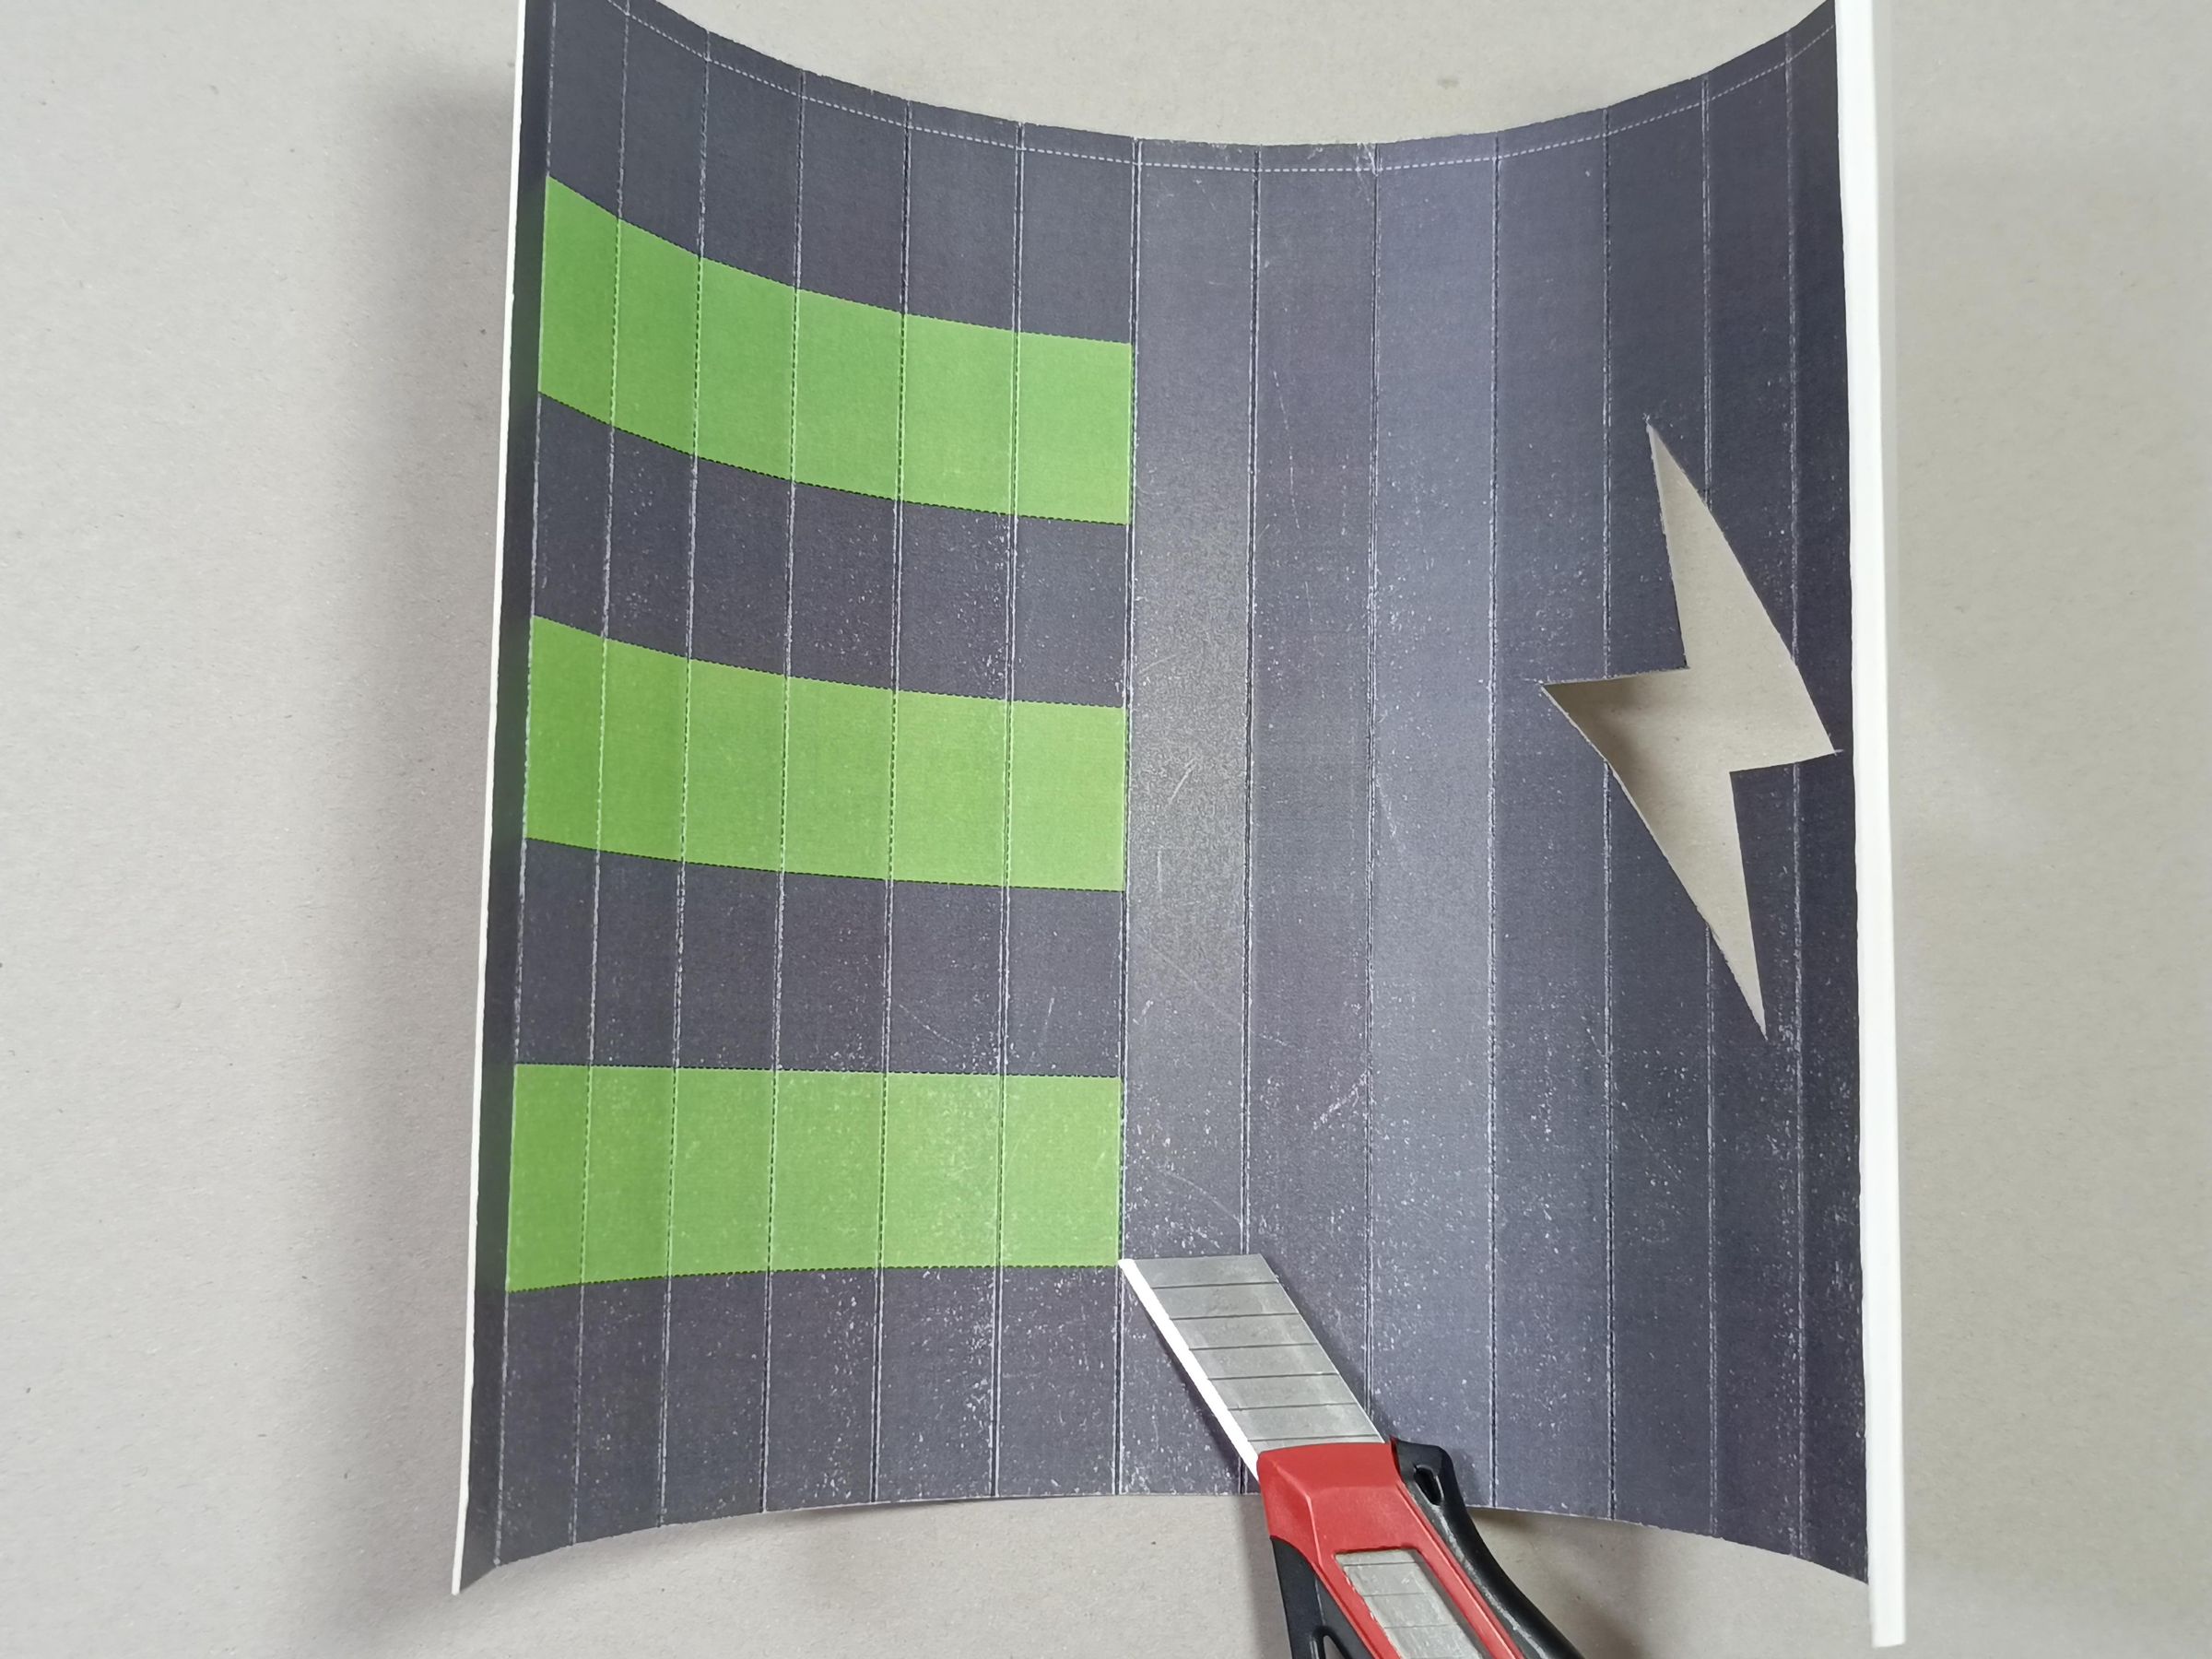
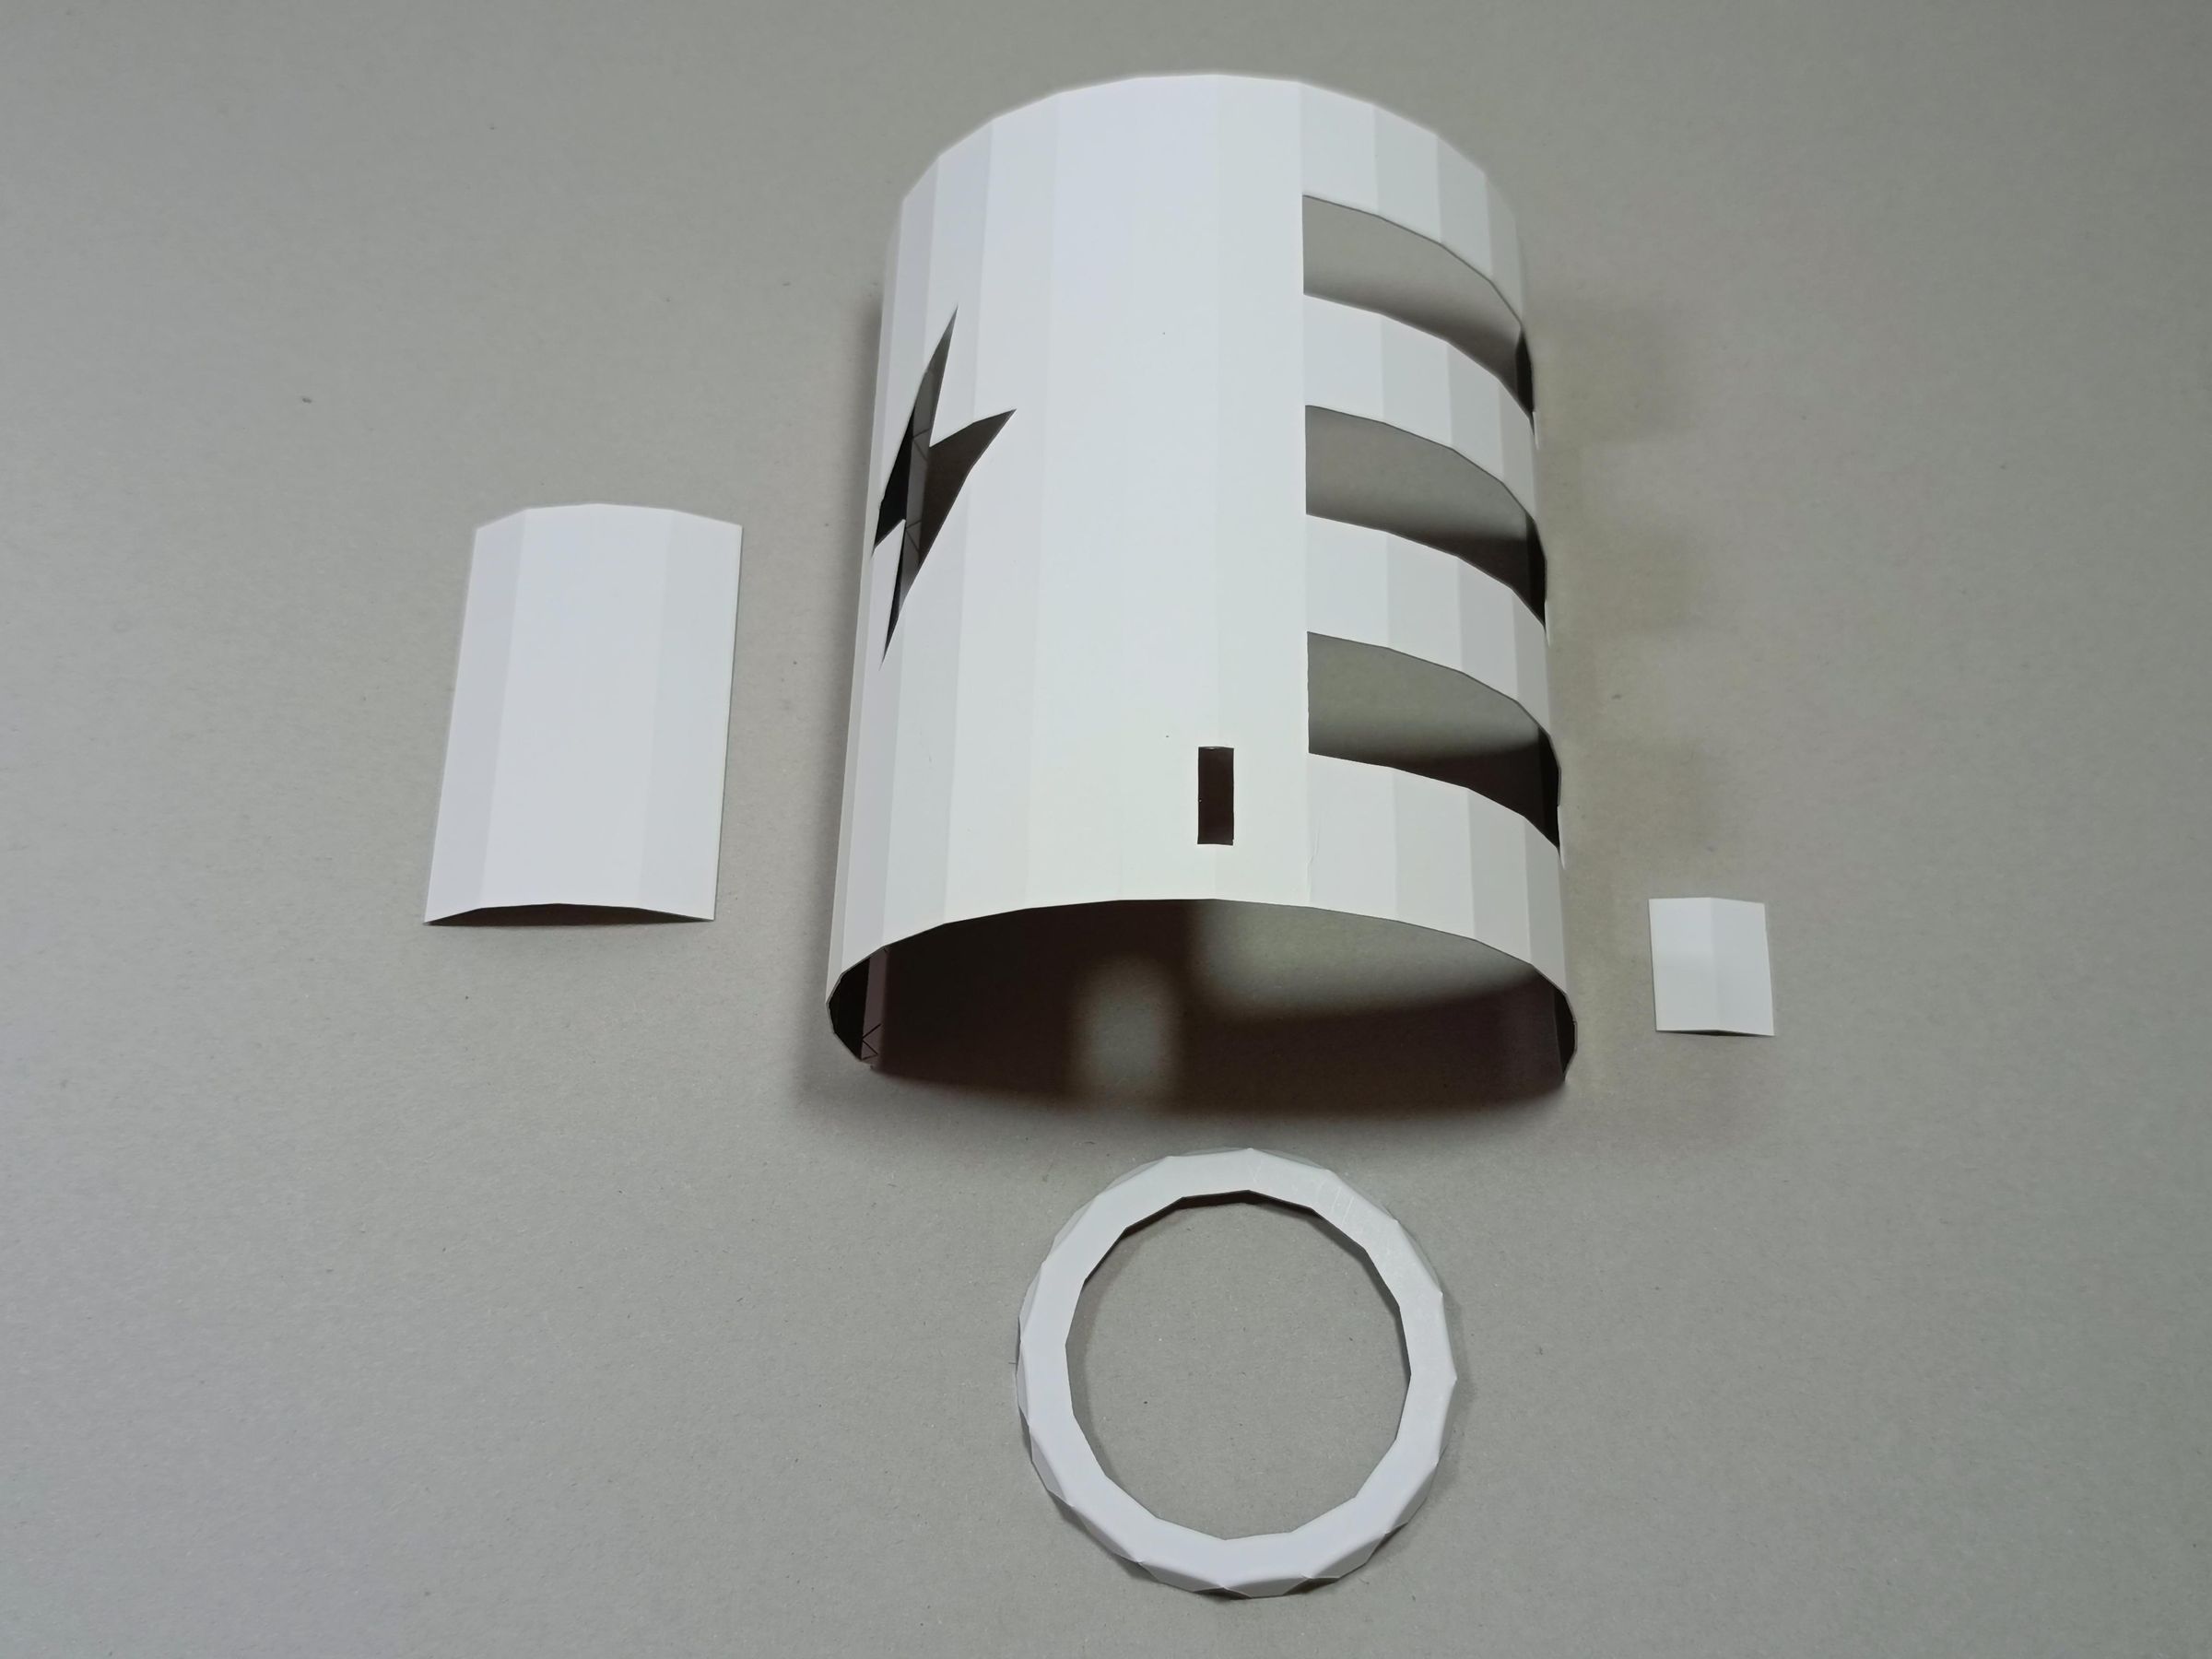
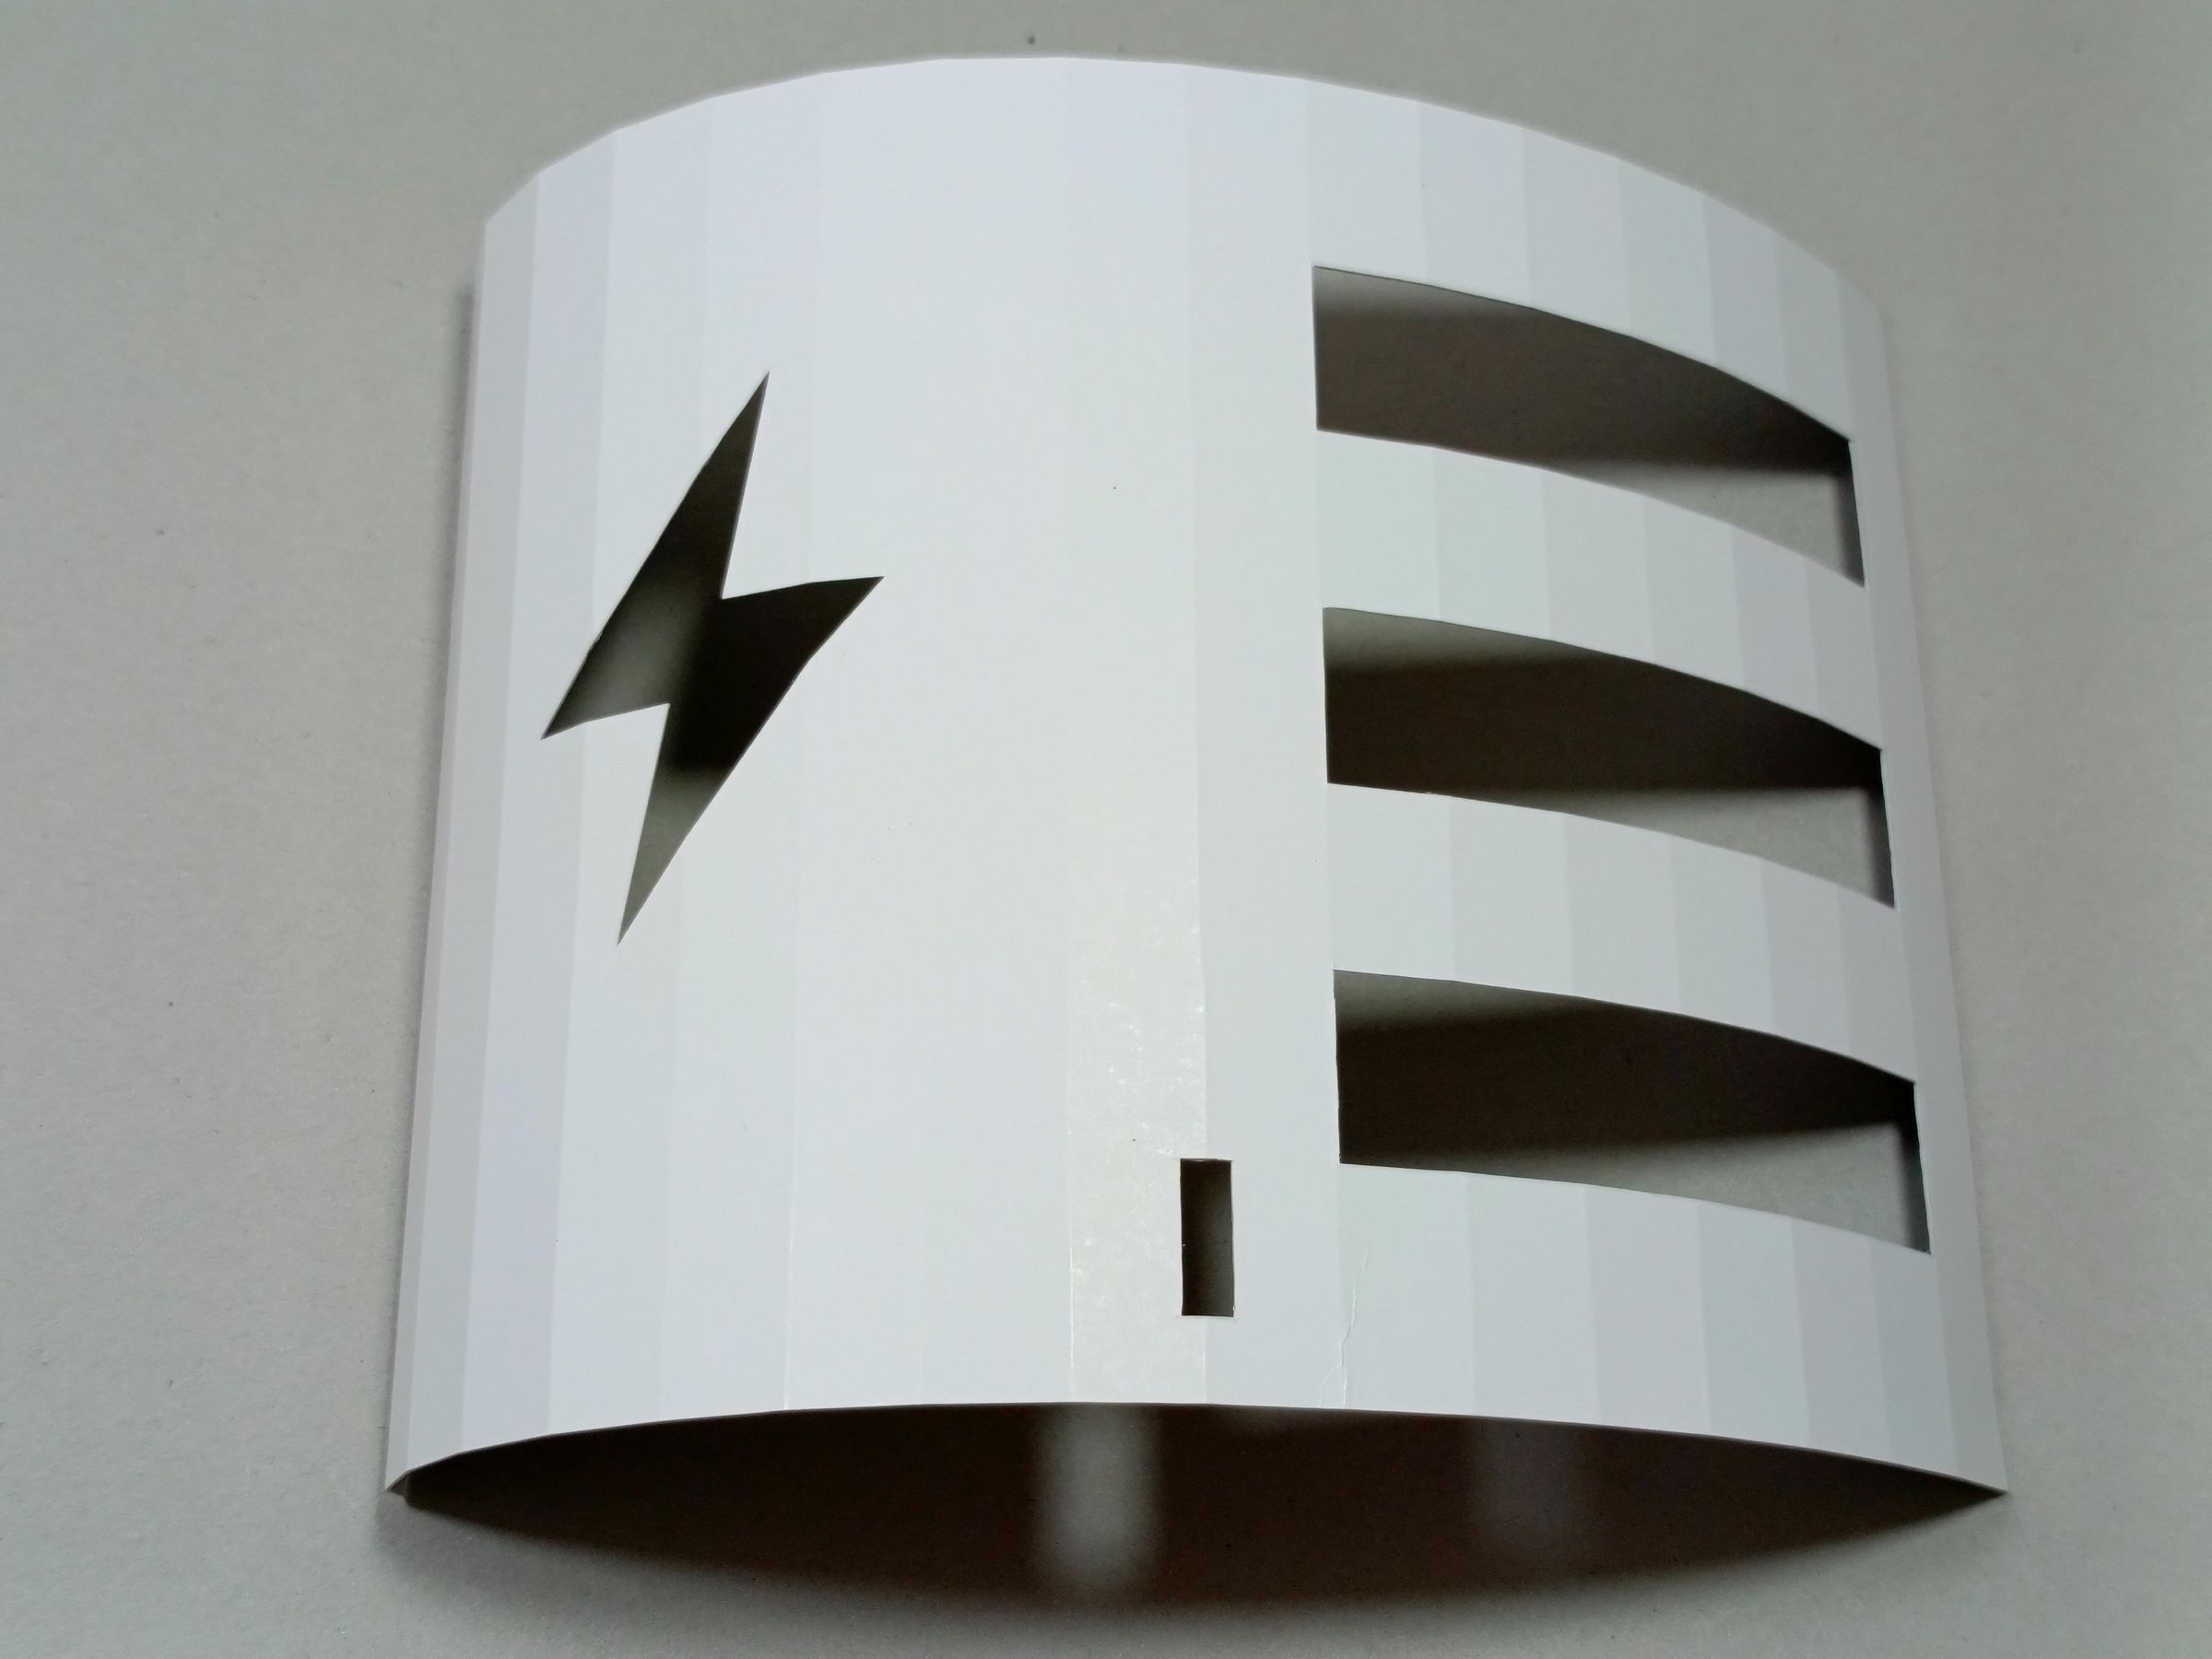
Cut out the spaces marked in green, which will be the battery charge indicators in the lamp; the light from the lamp will come out through these holes and will show the moods according to the color that most characterizes them.
Base and Top
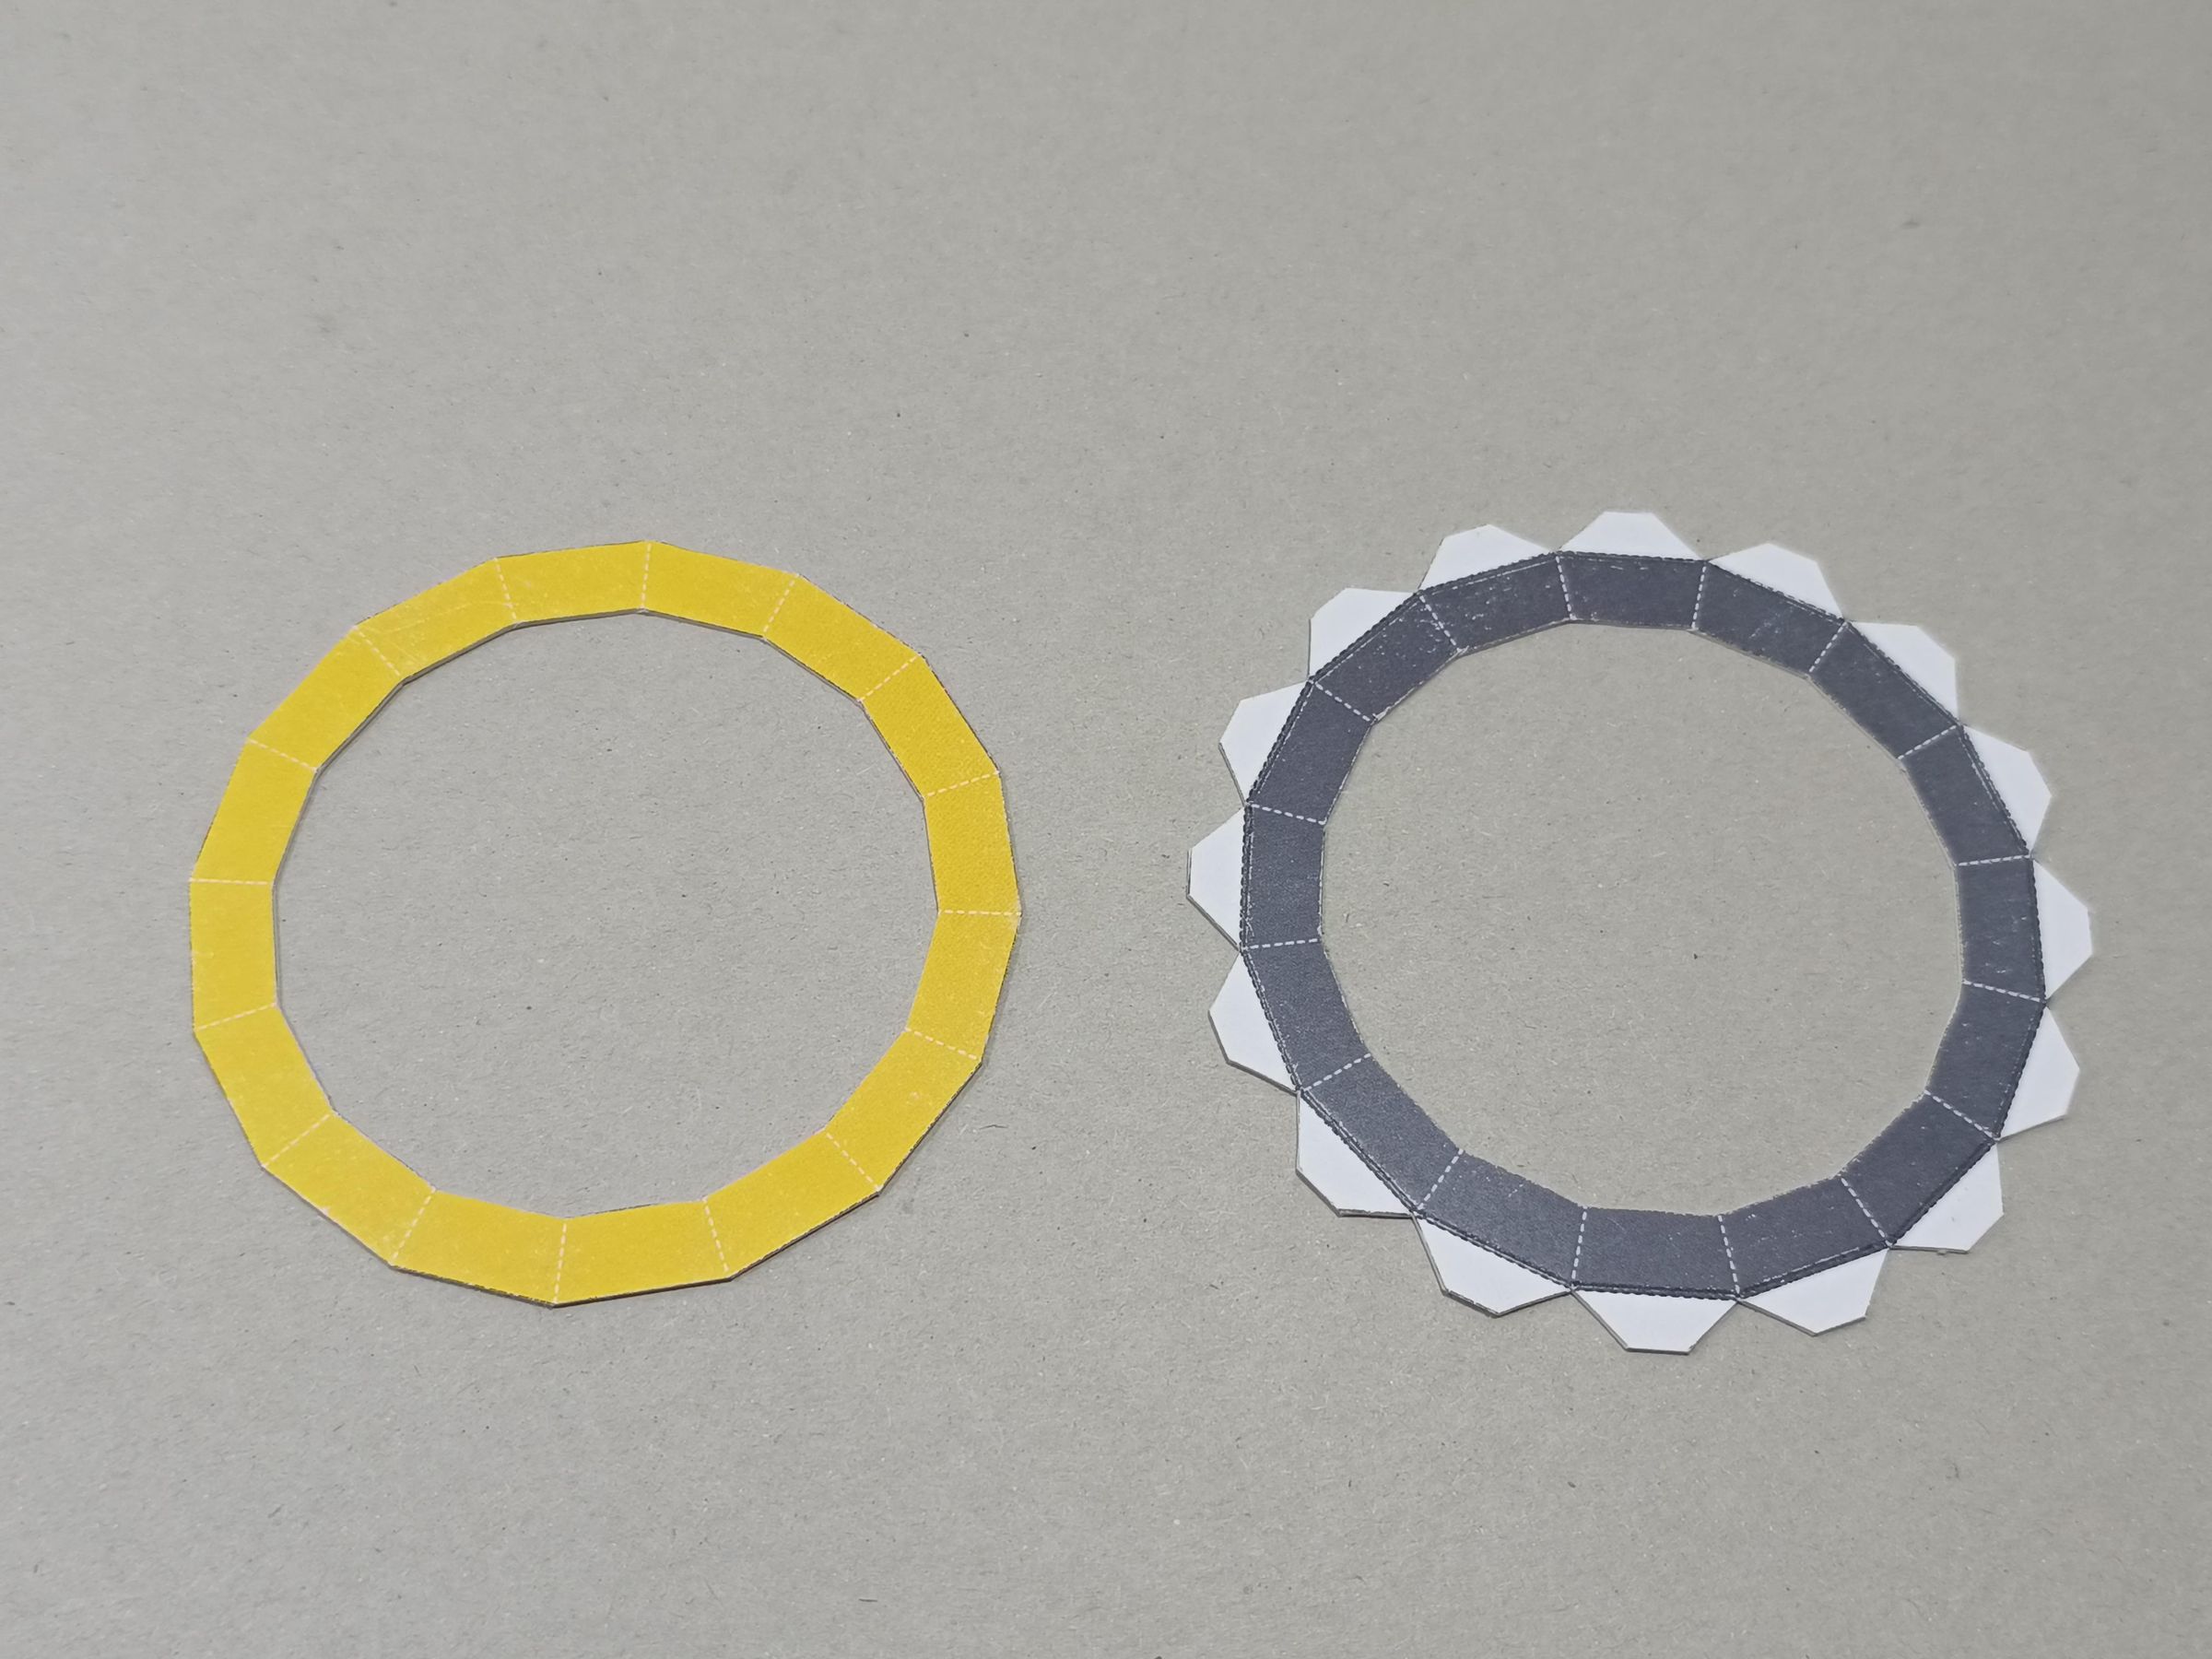
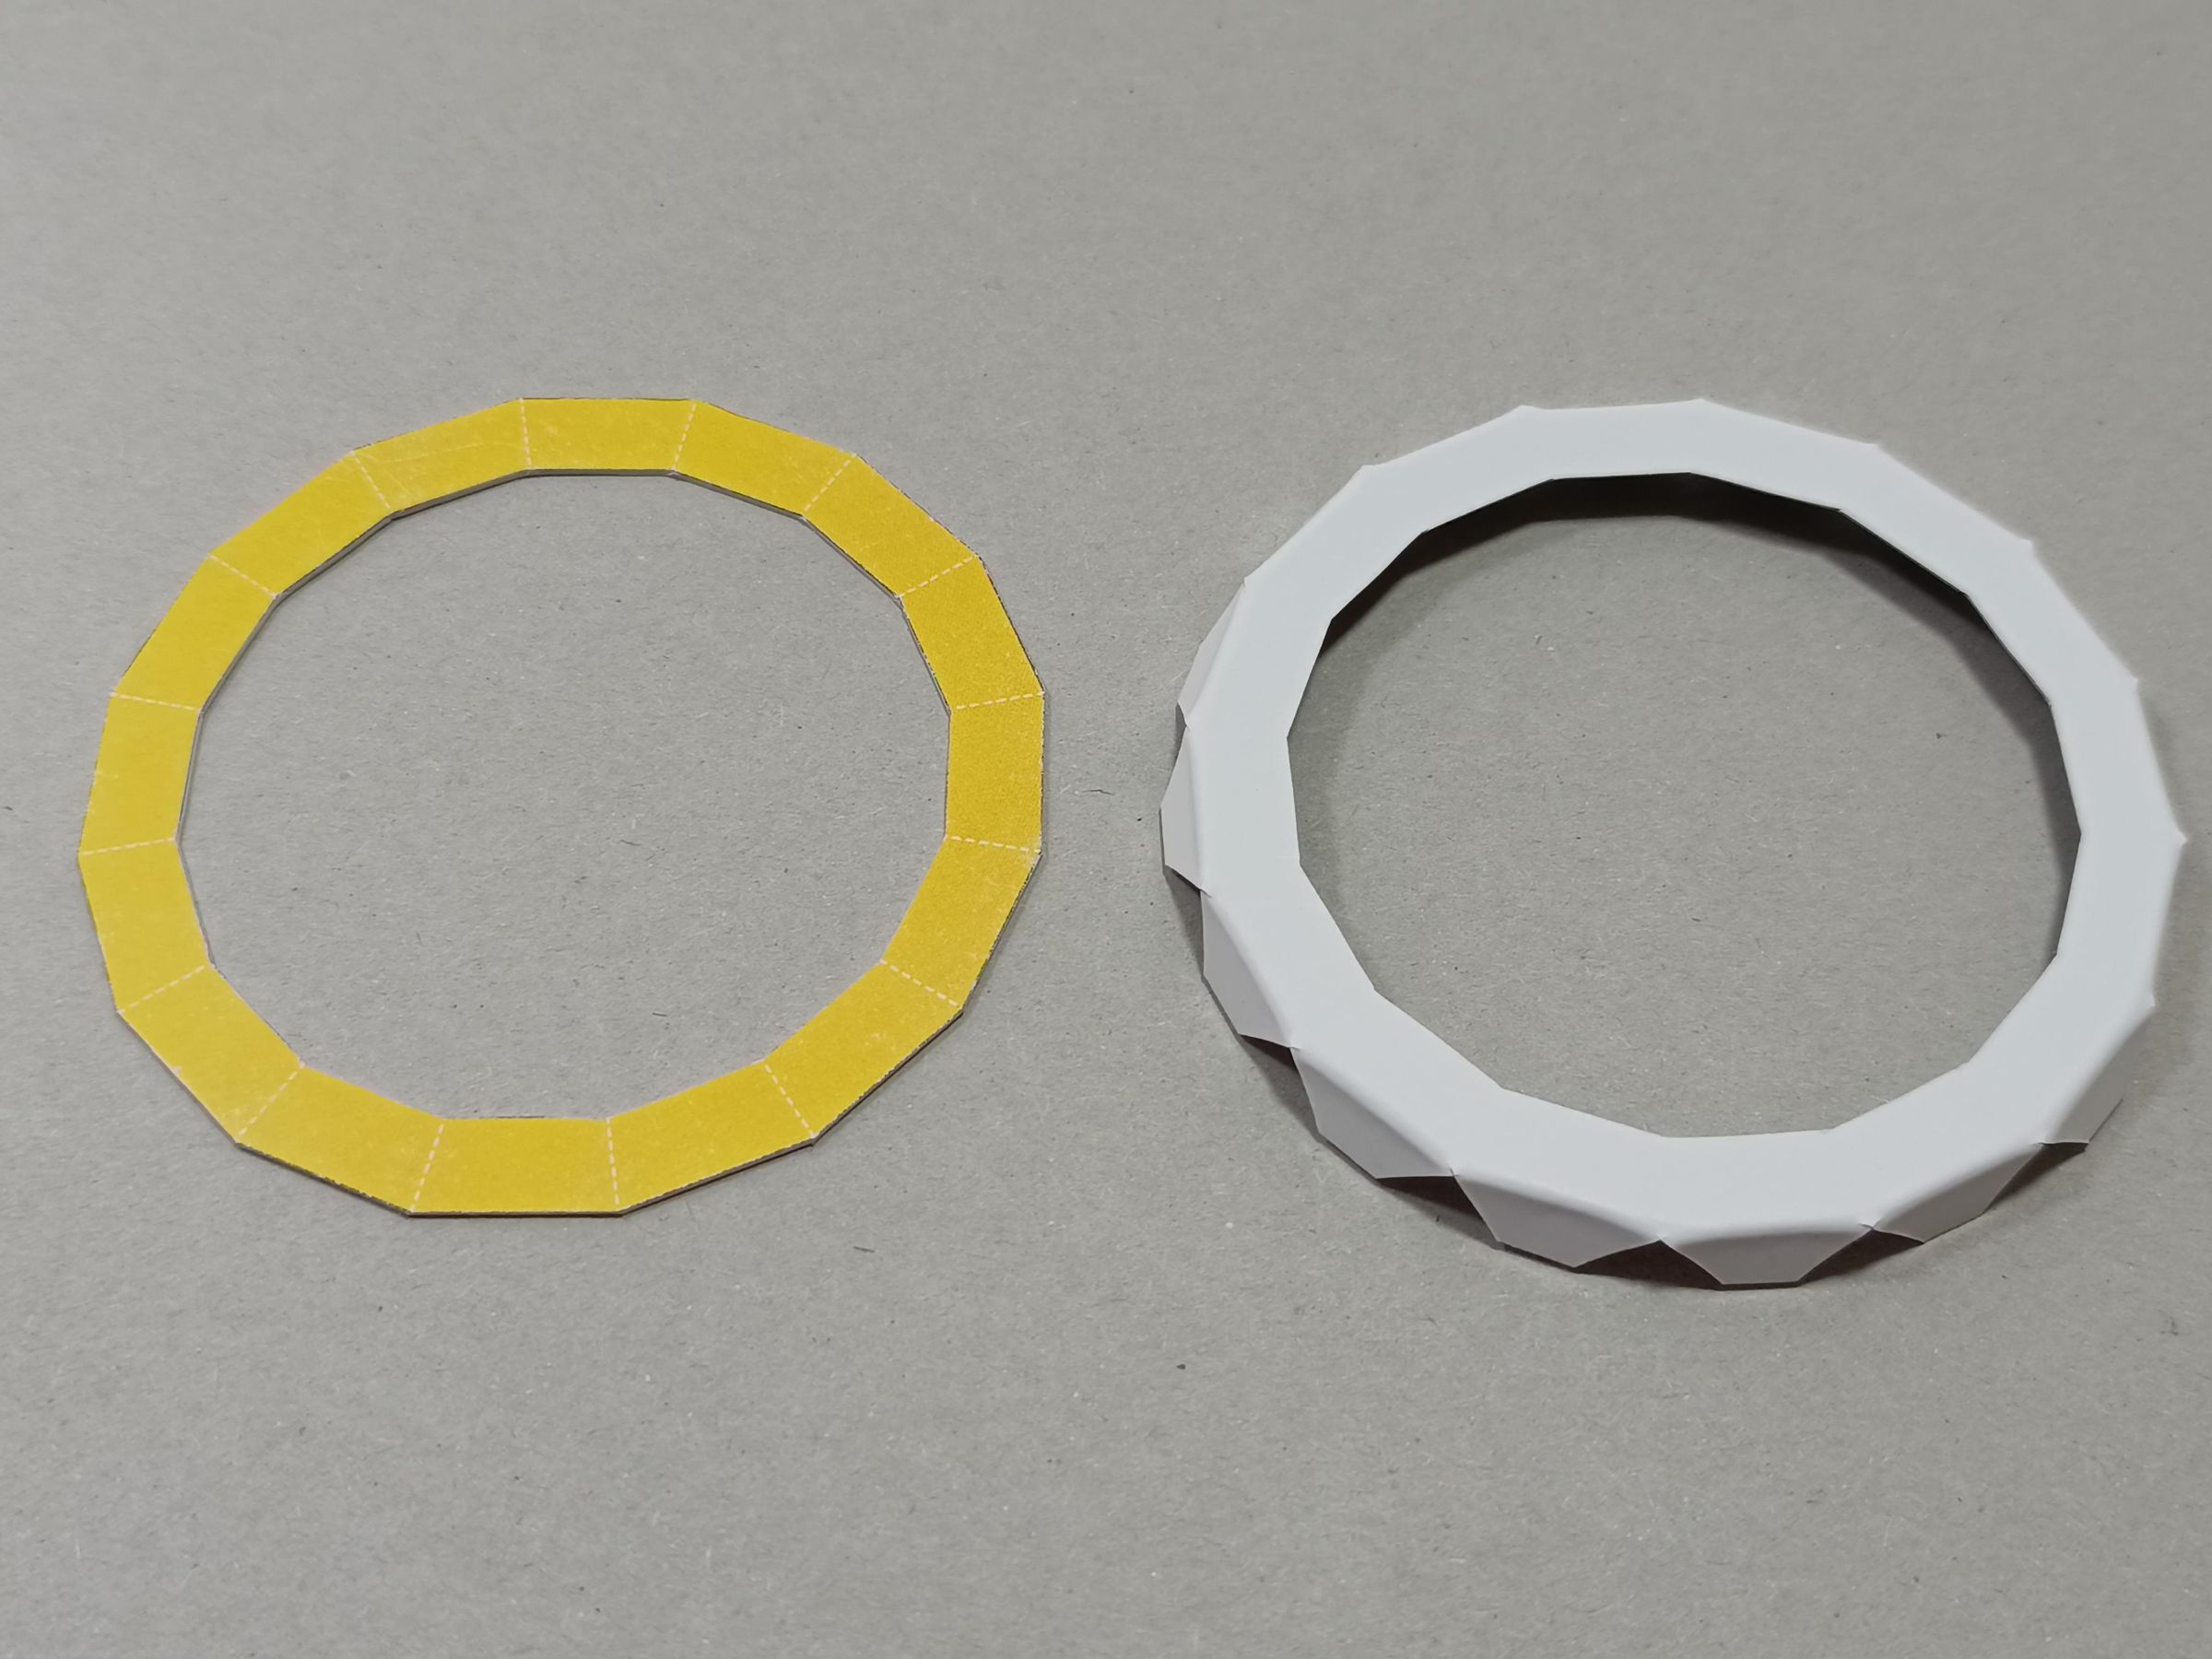
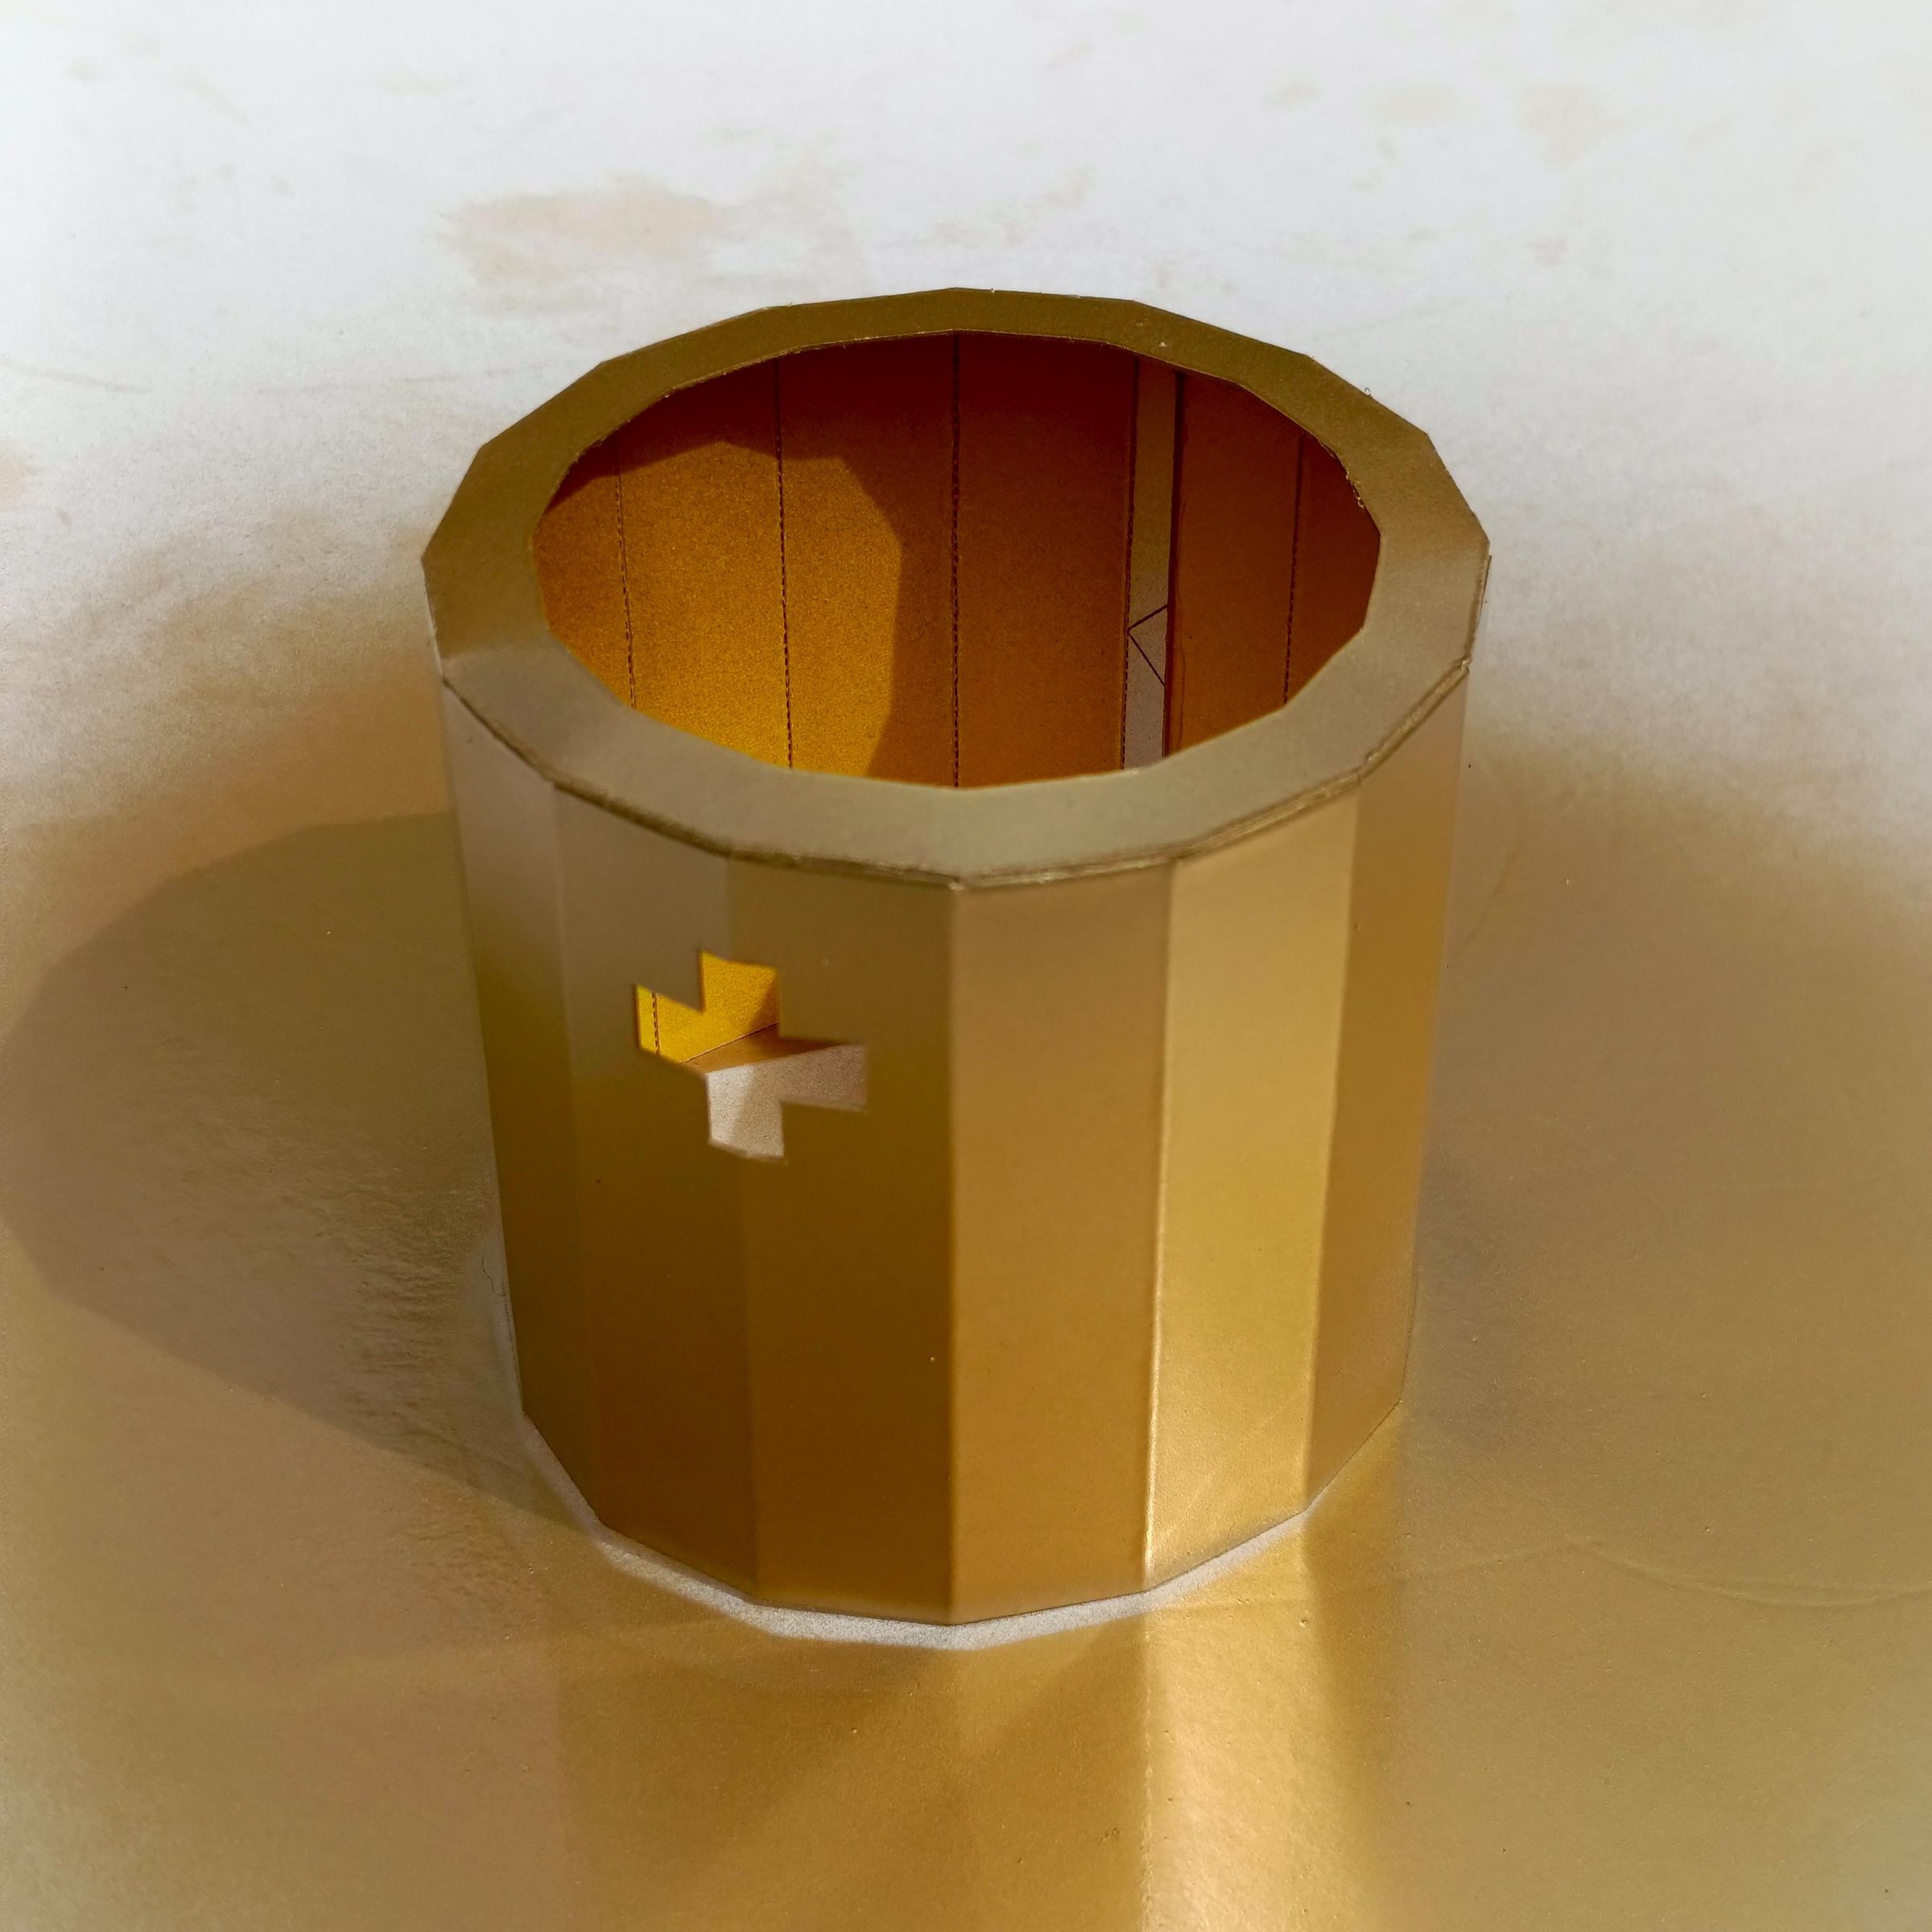
Cut and fold the top and base pieces. Note that the top will be yellow and the base black, but the negative and positive pieces will be silver or chrome-plated, like an original battery.
Cut Positive
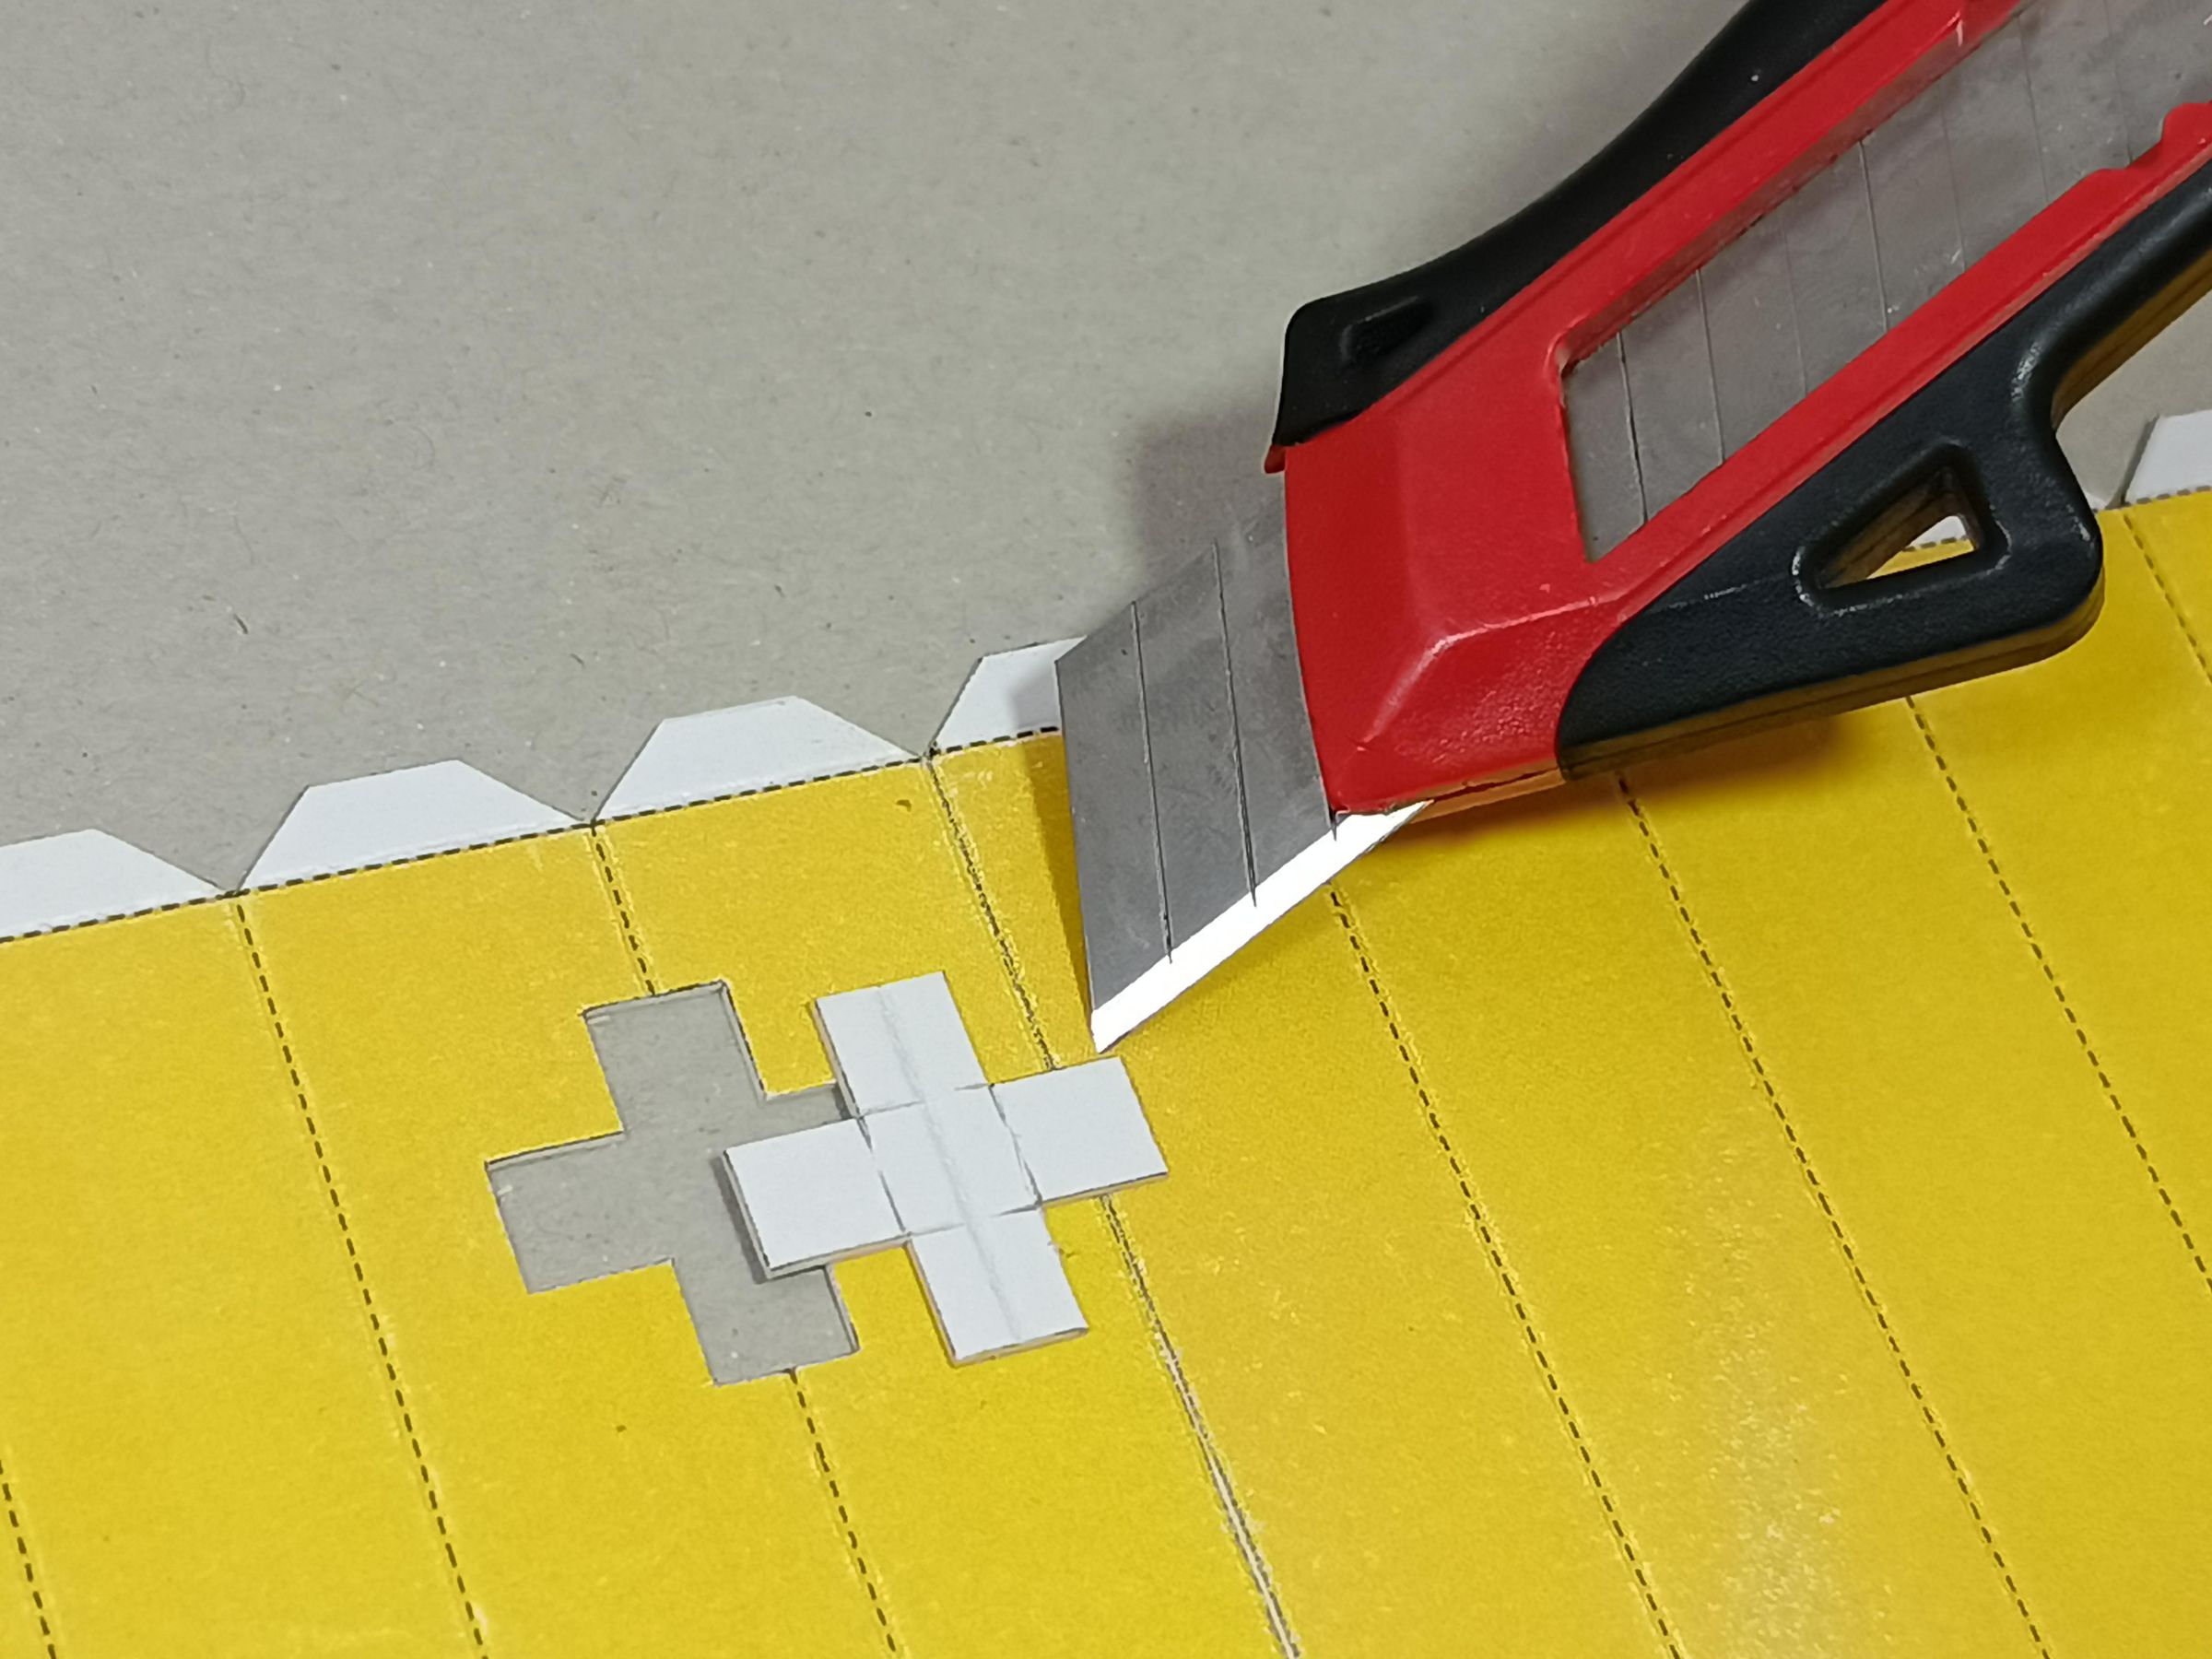
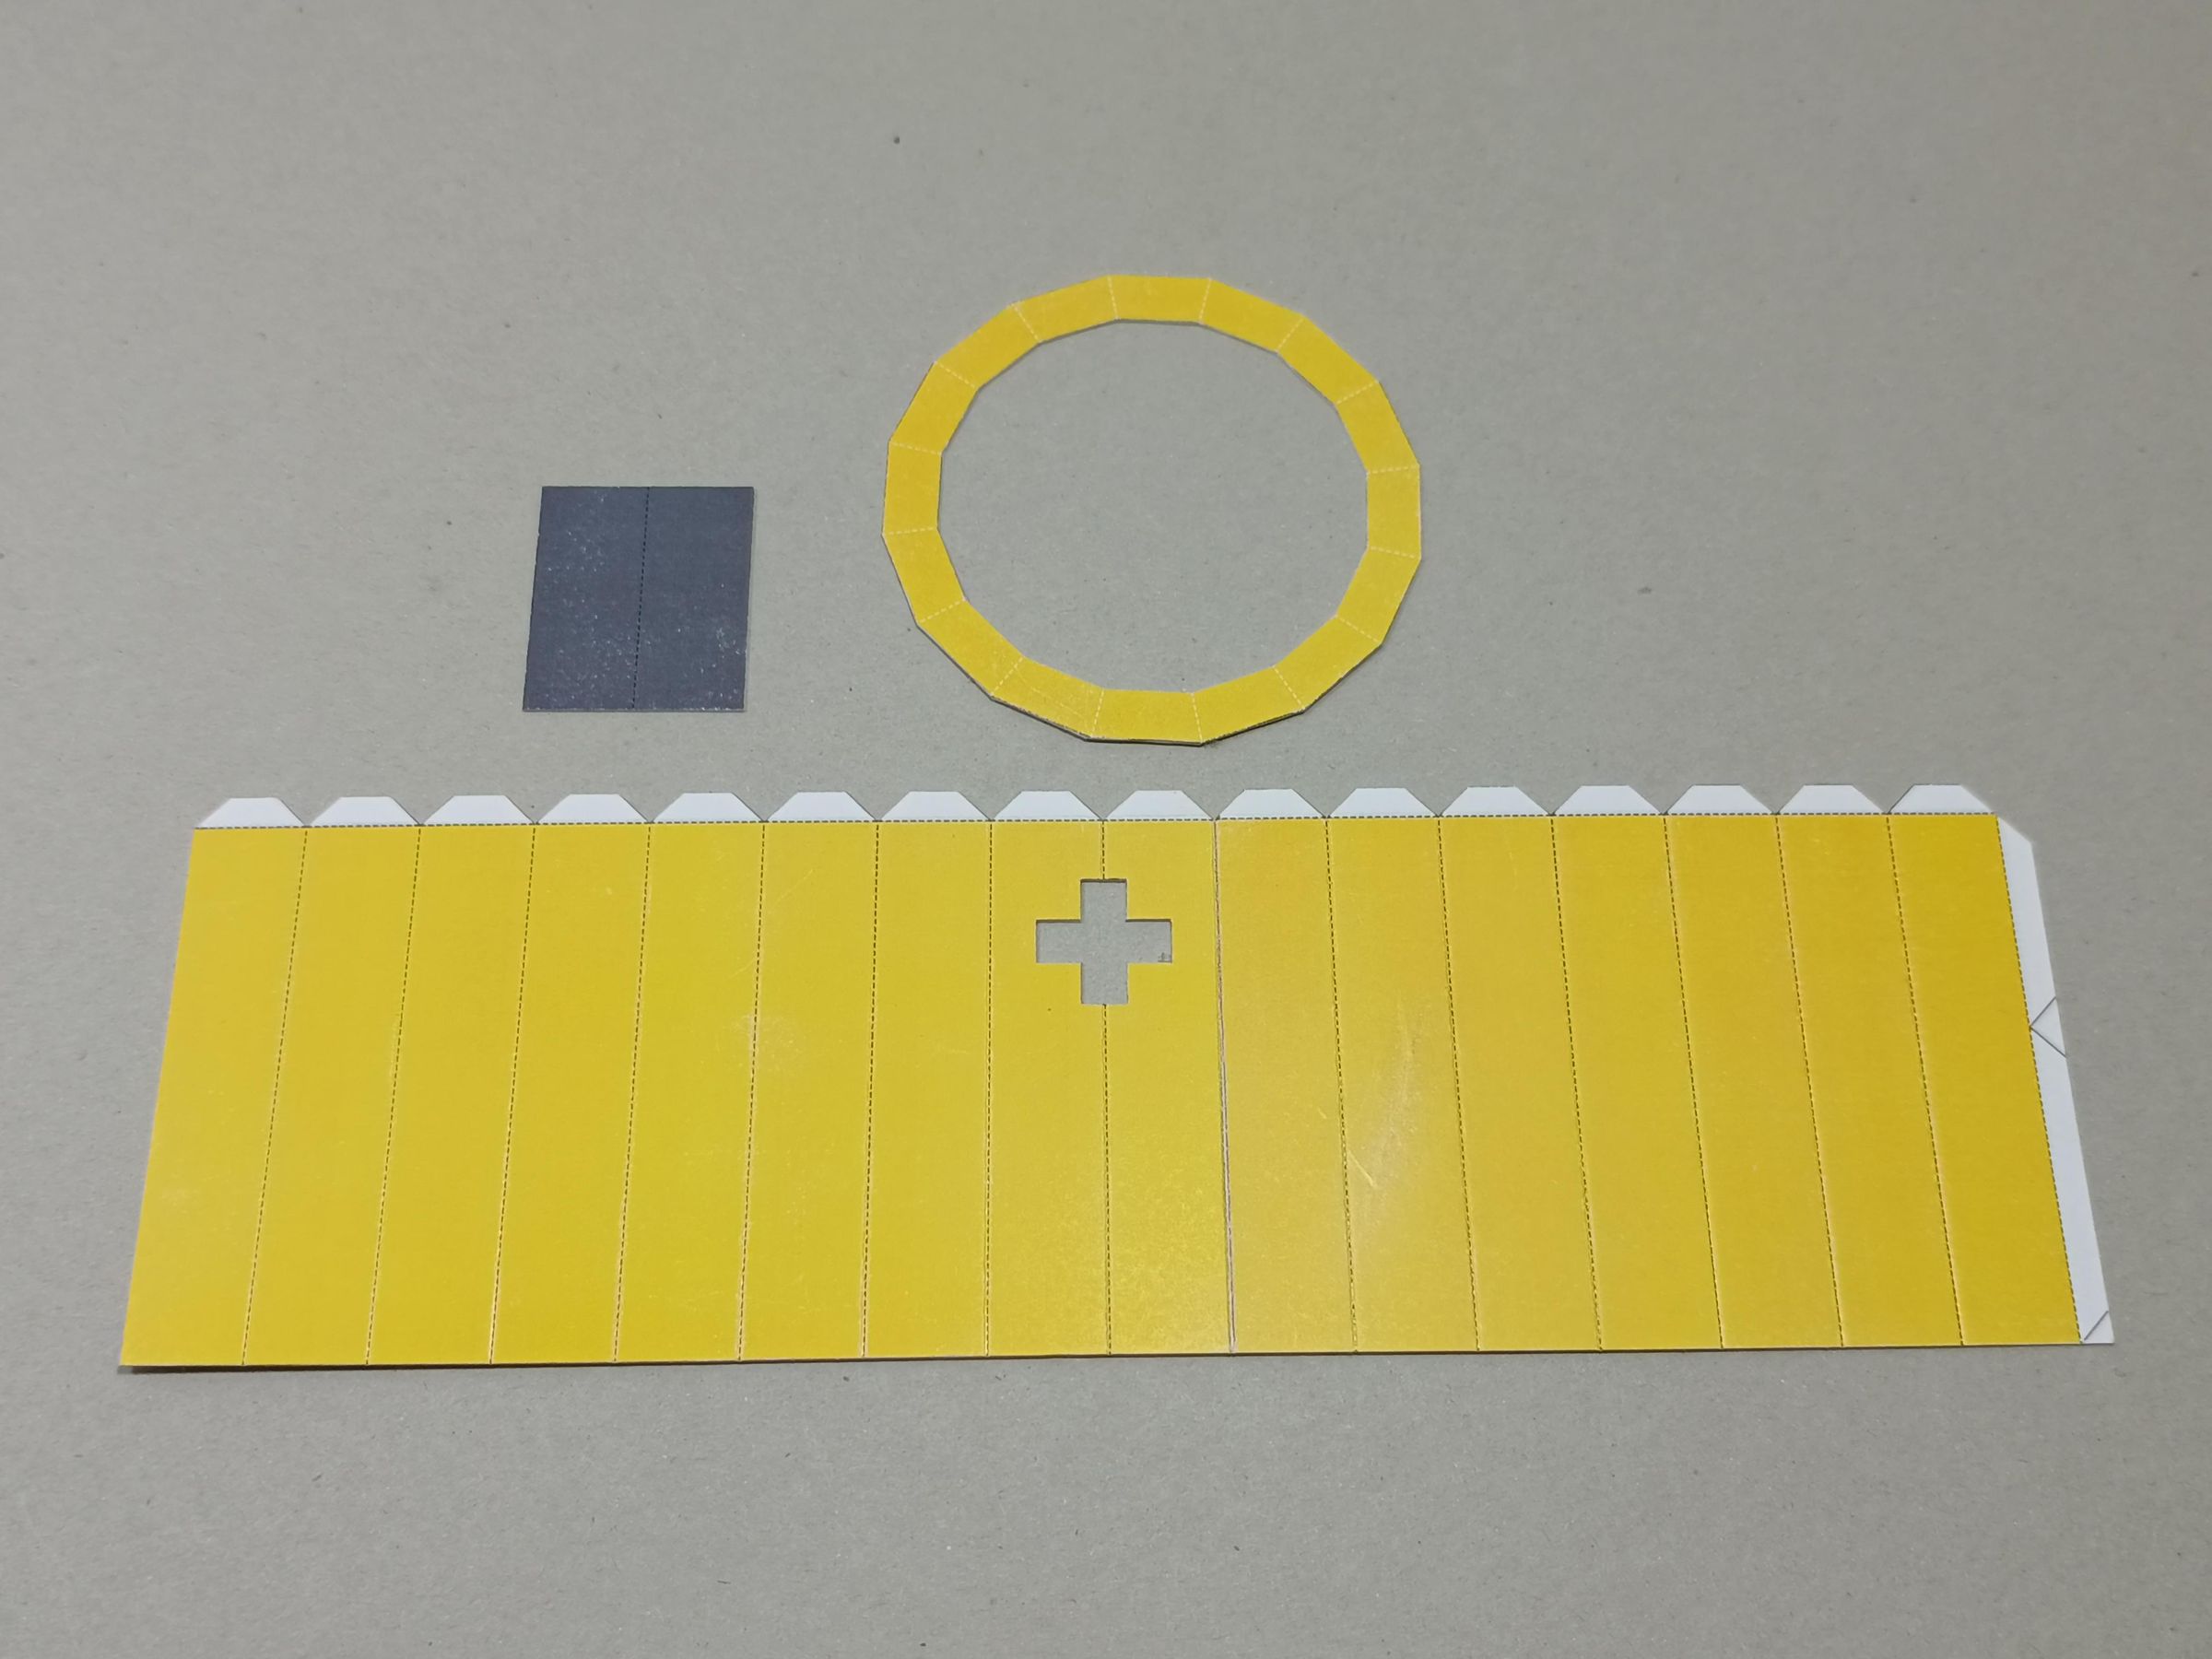
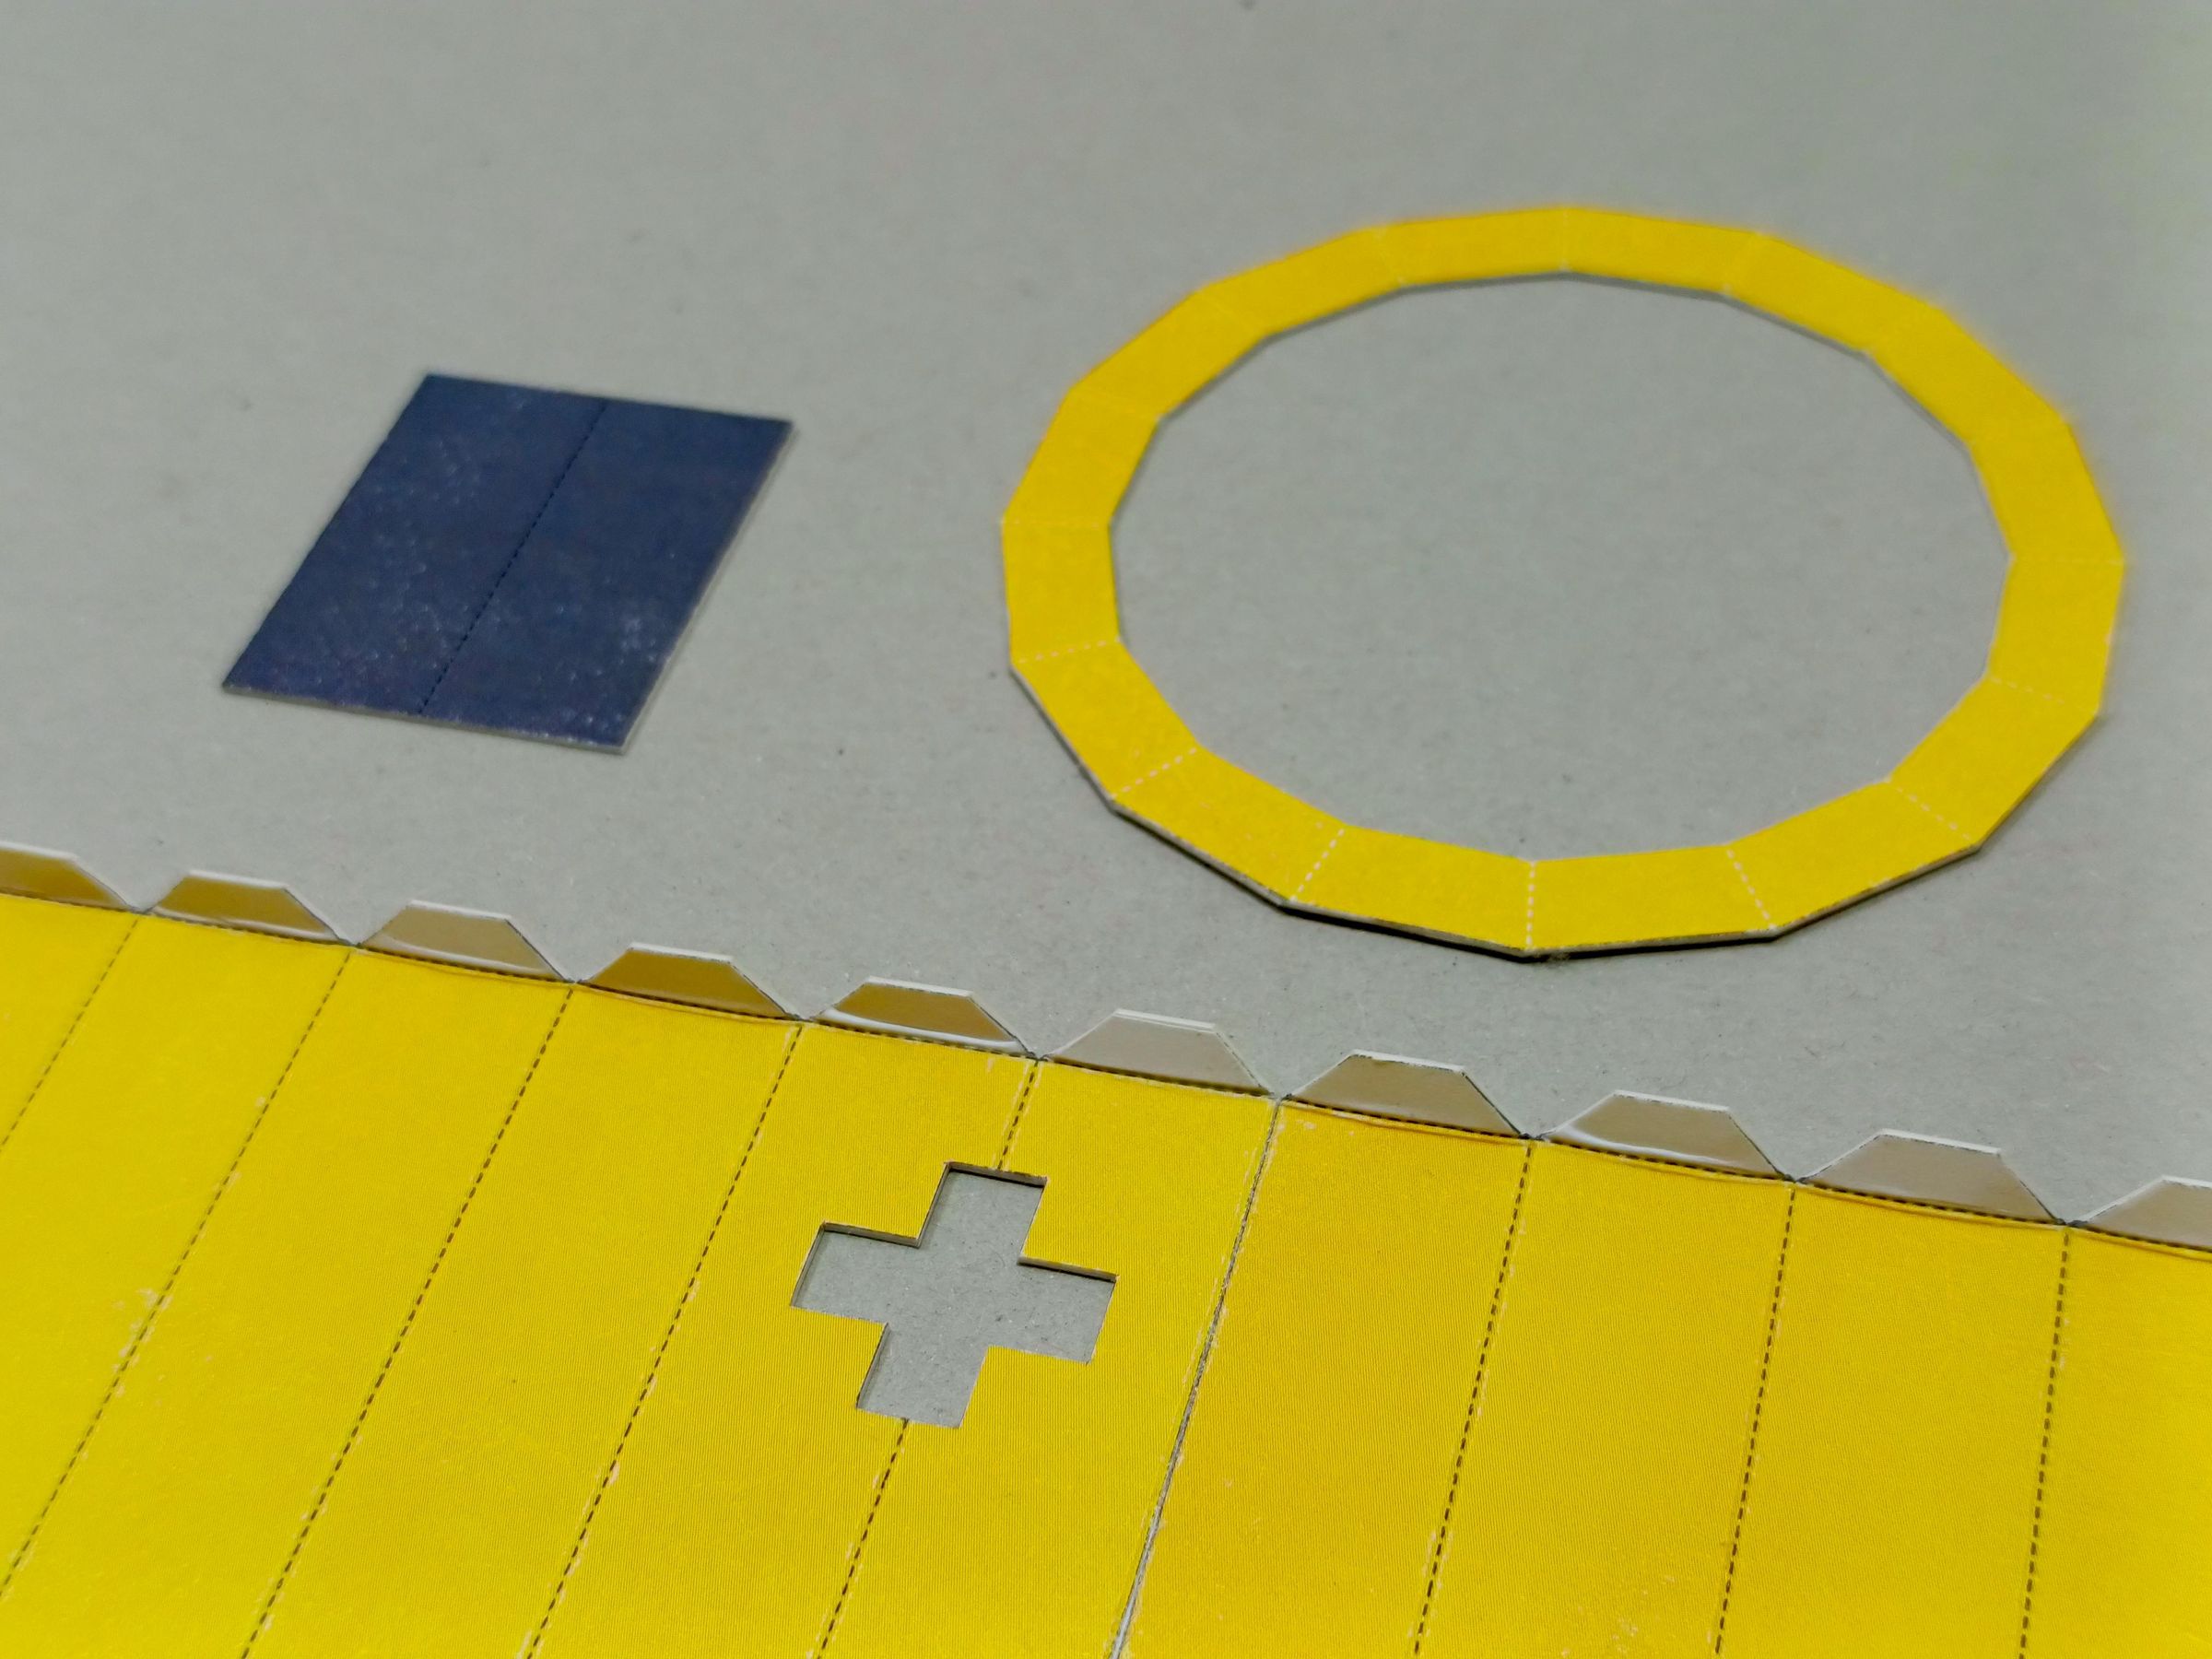
Cut out the positive symbol at the top, and prepare the pieces for gluing.
Positive Top
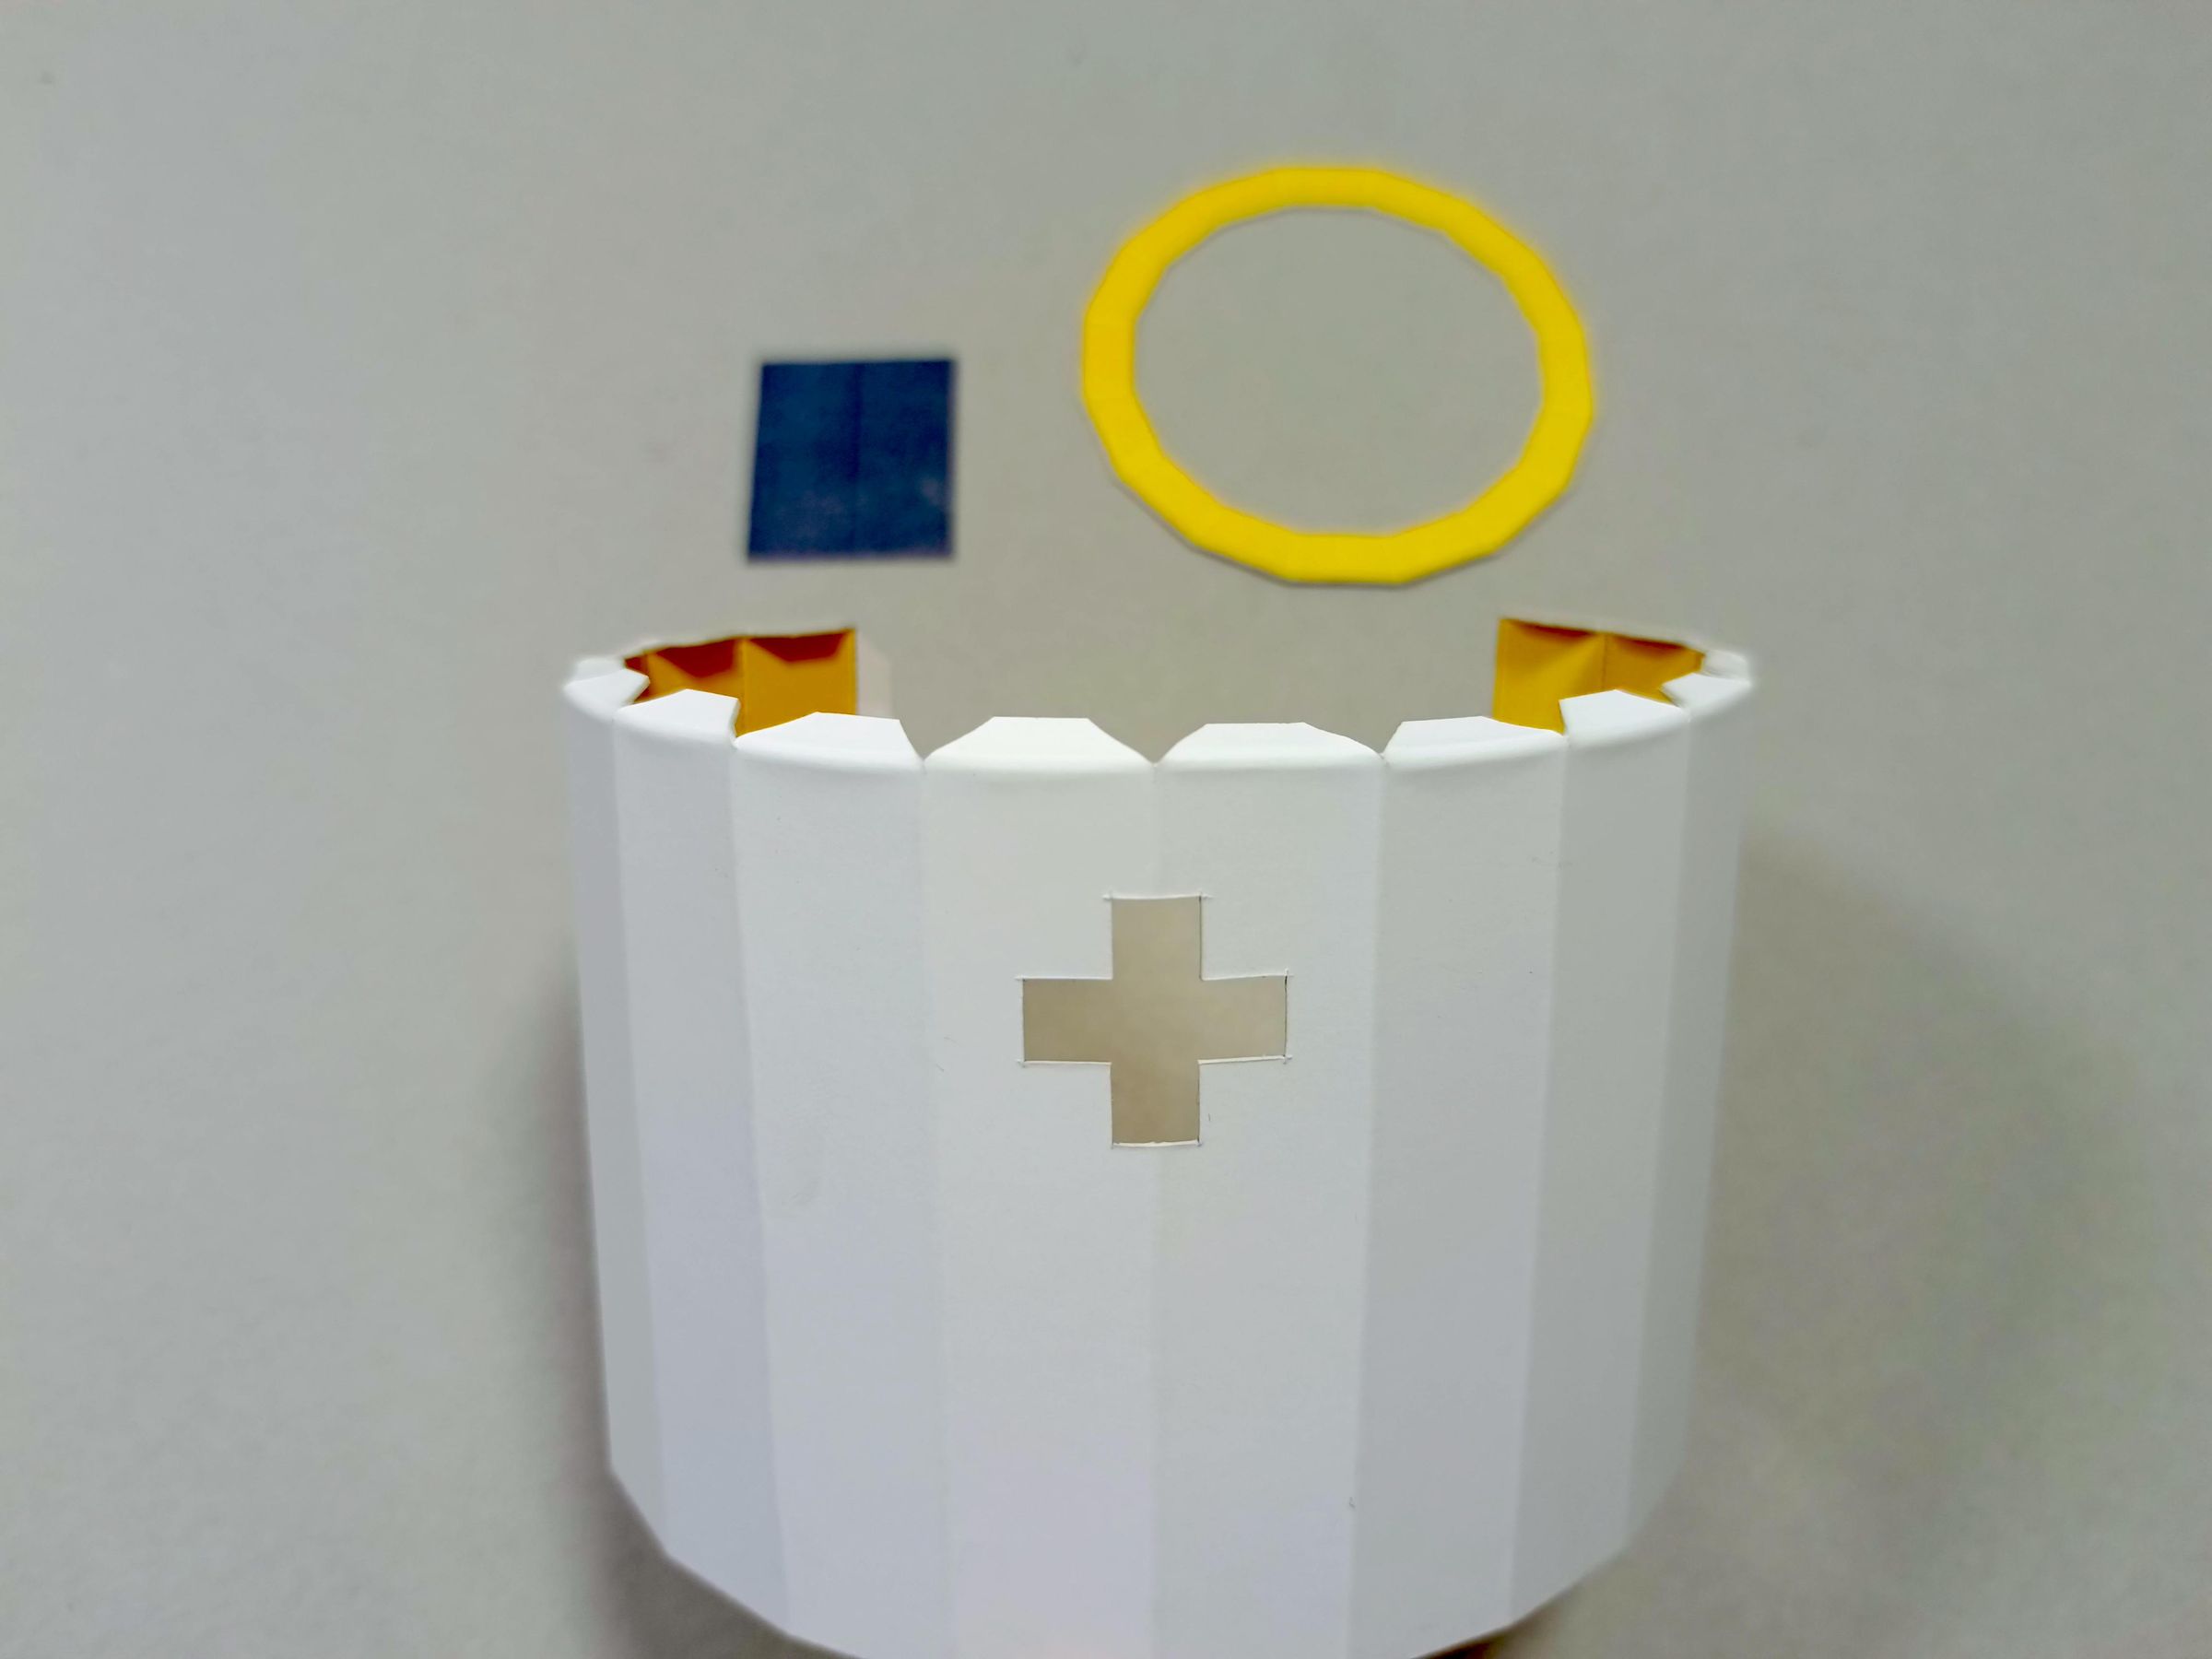
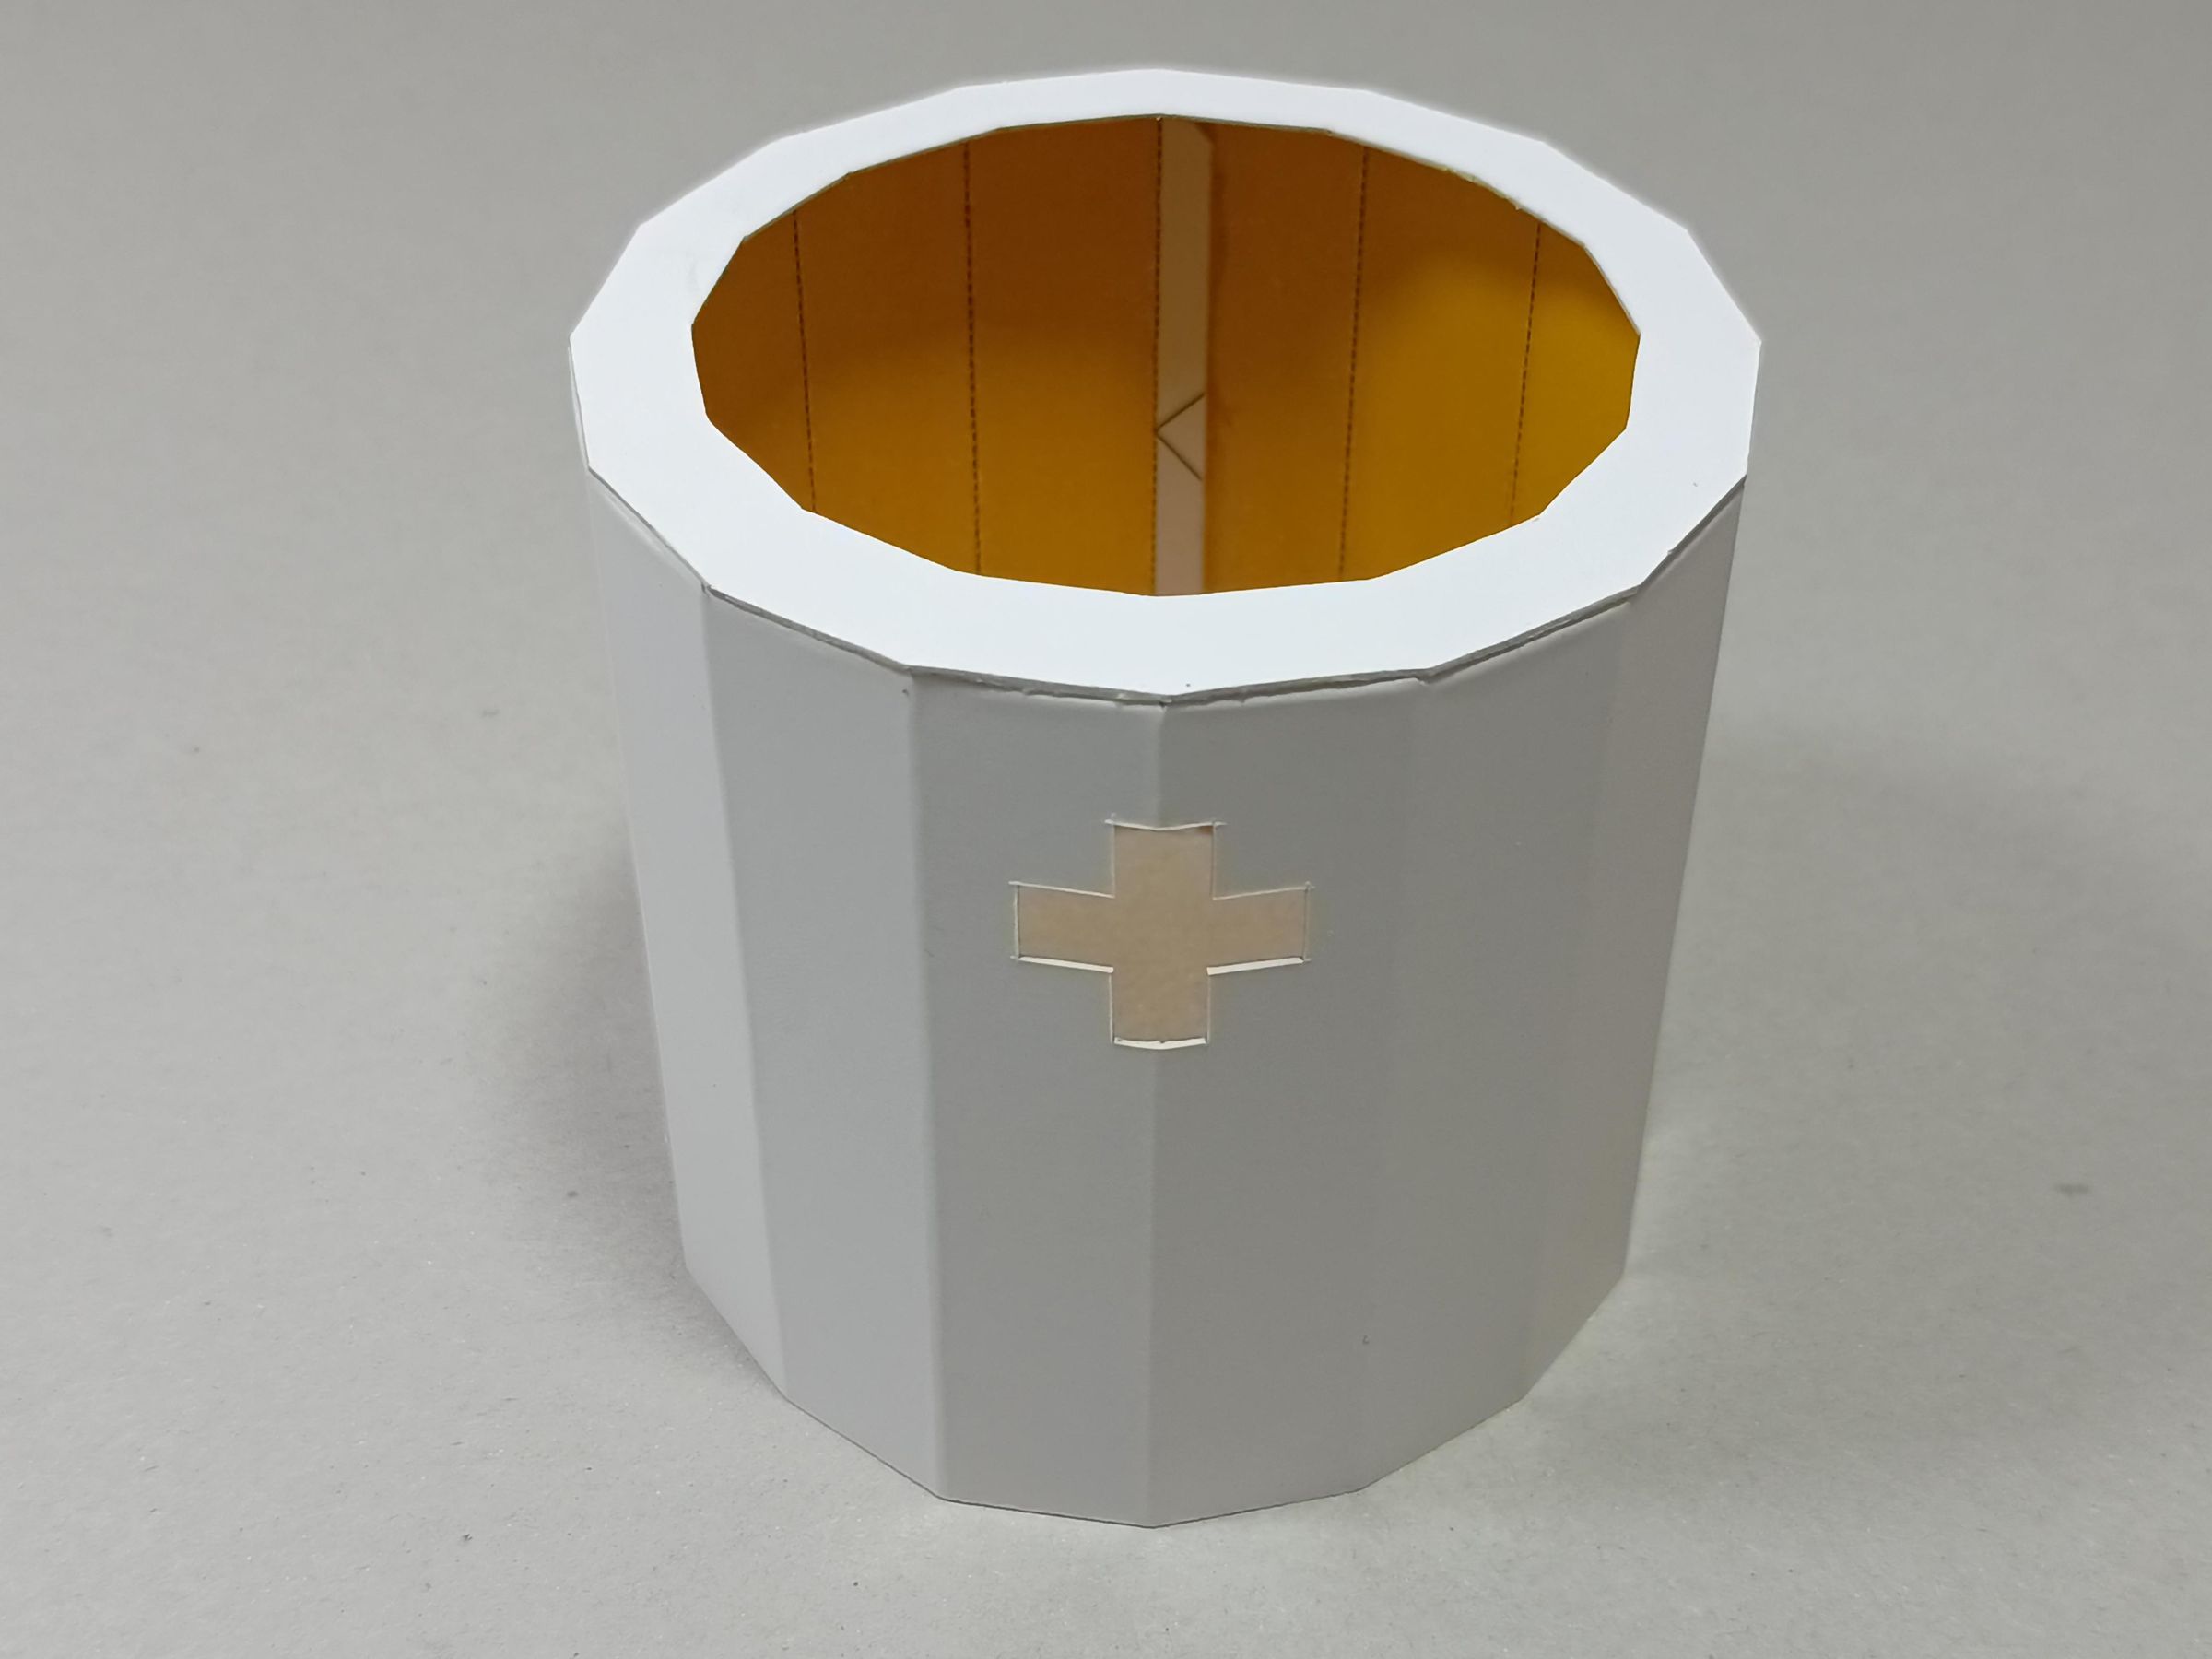
All the pieces of the top are gold except for the inside of the positive symbol which is black
Positive and Negative Template
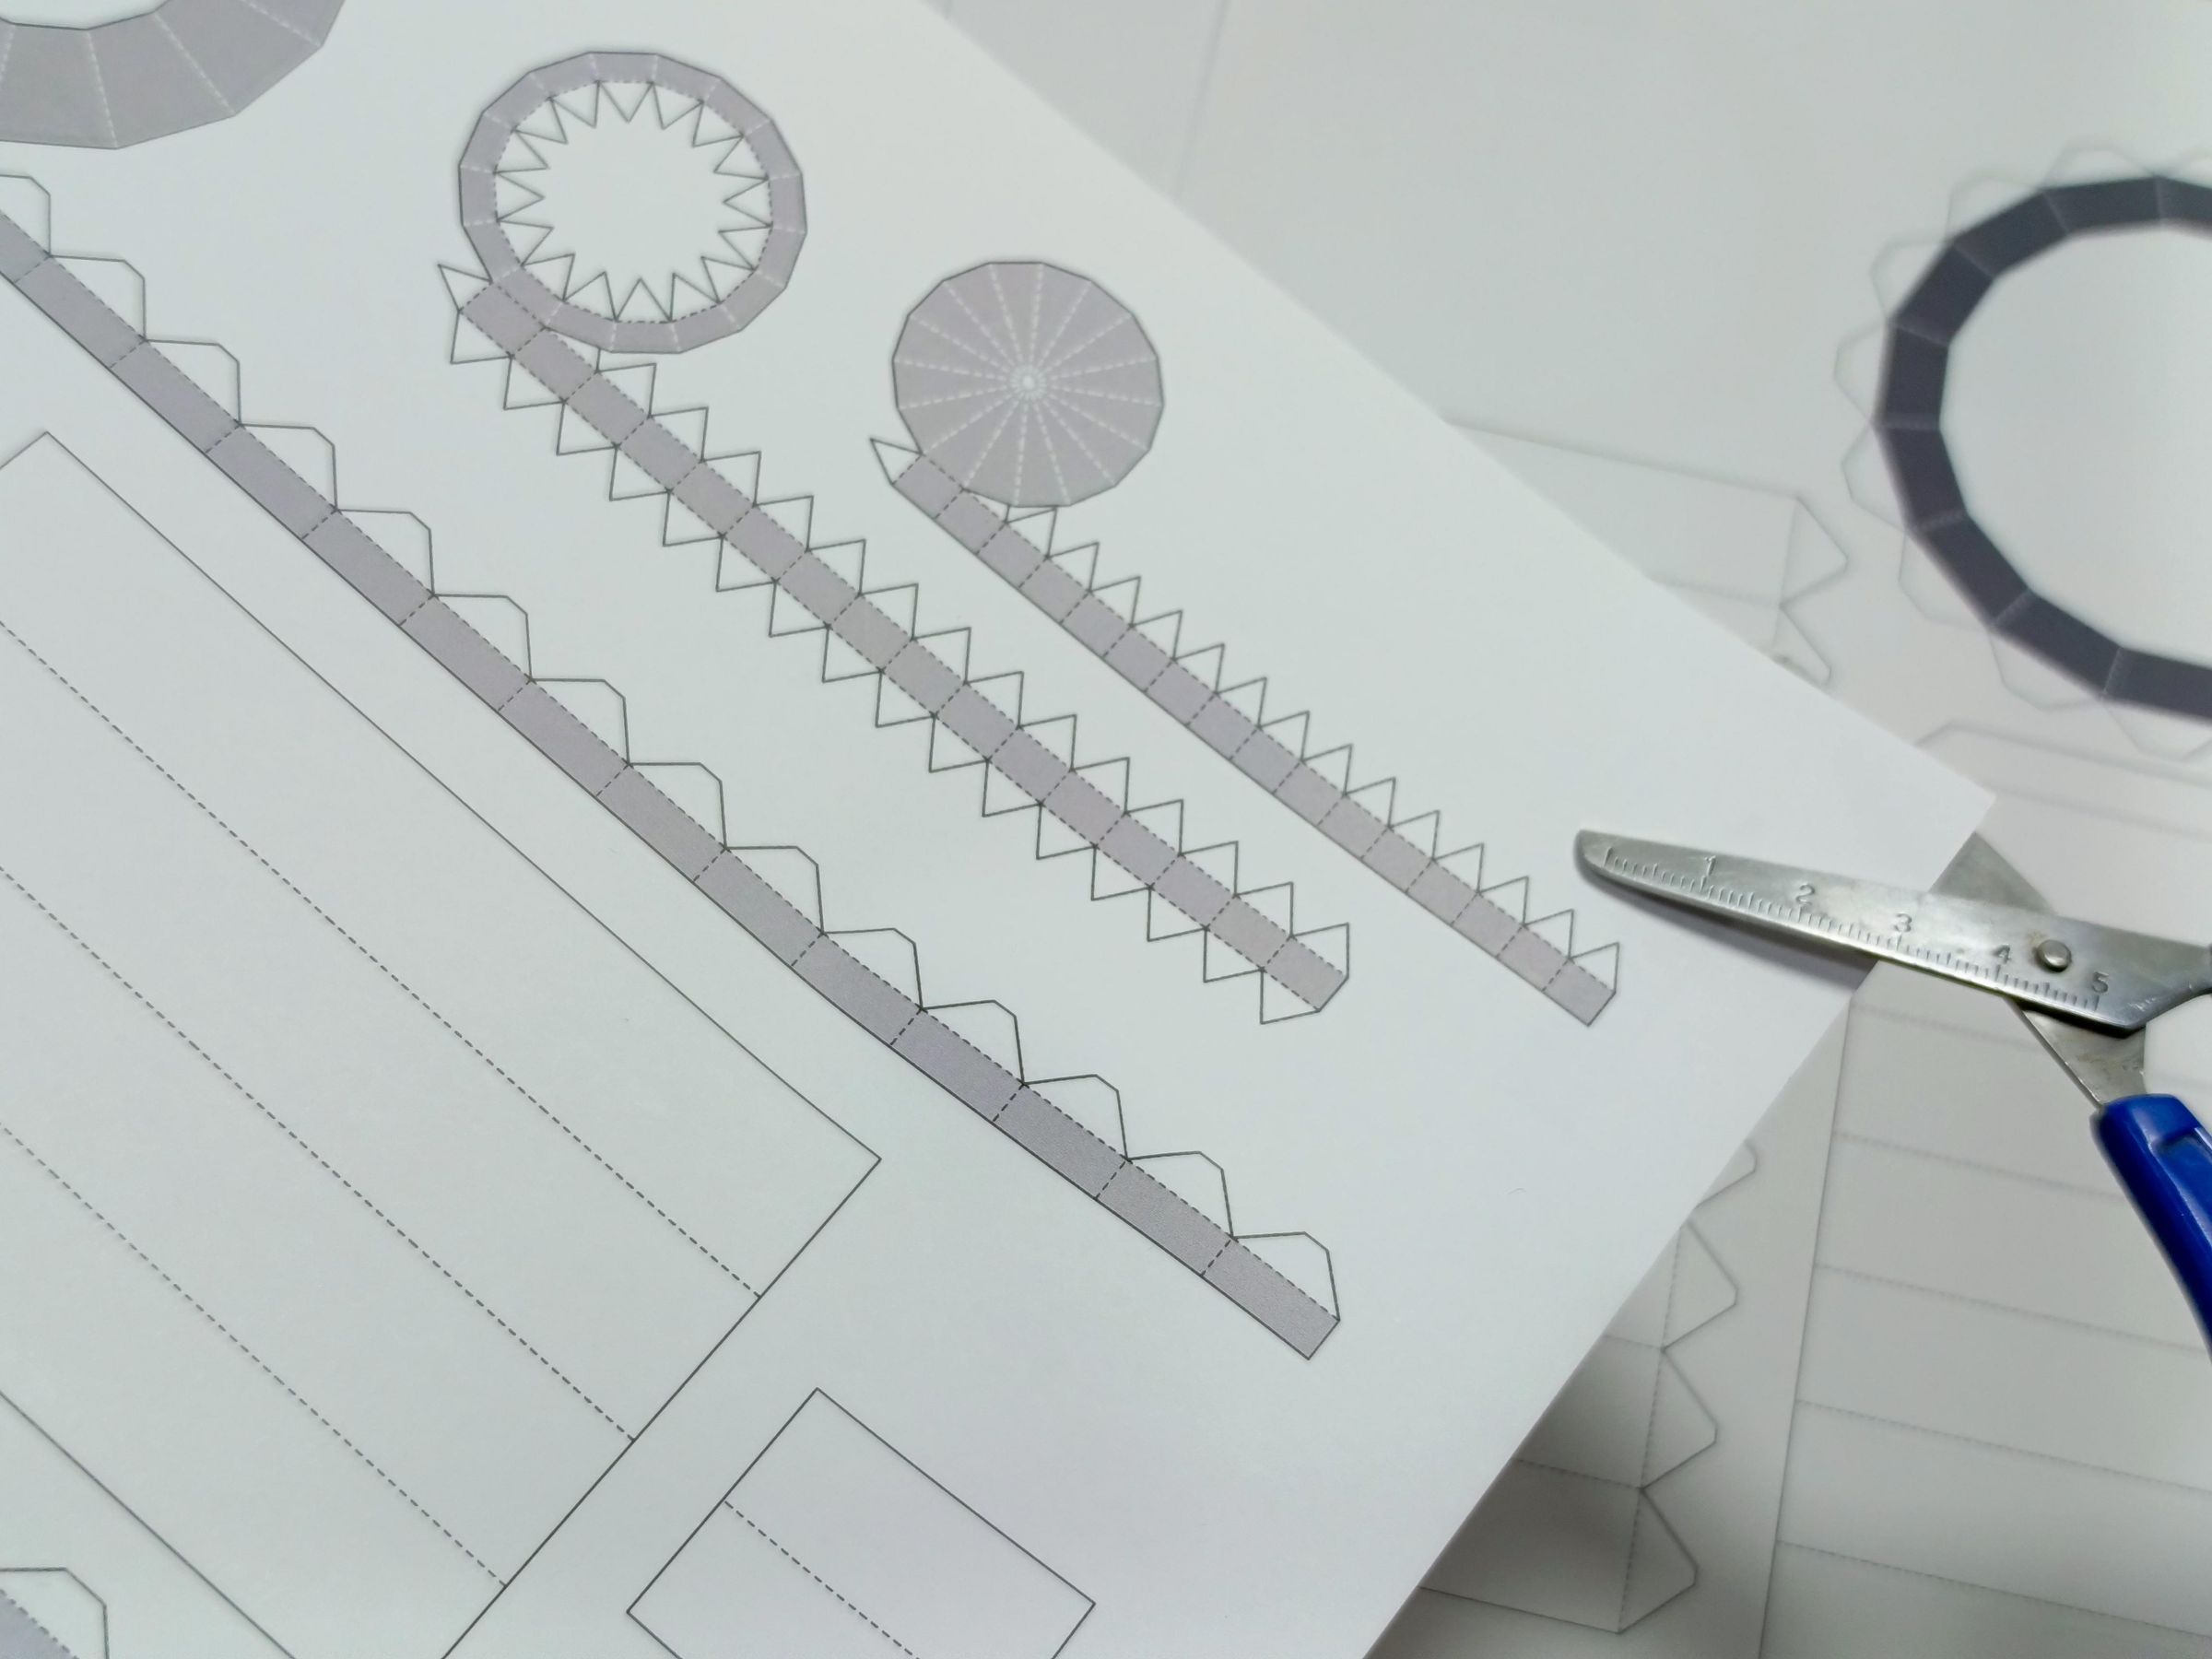
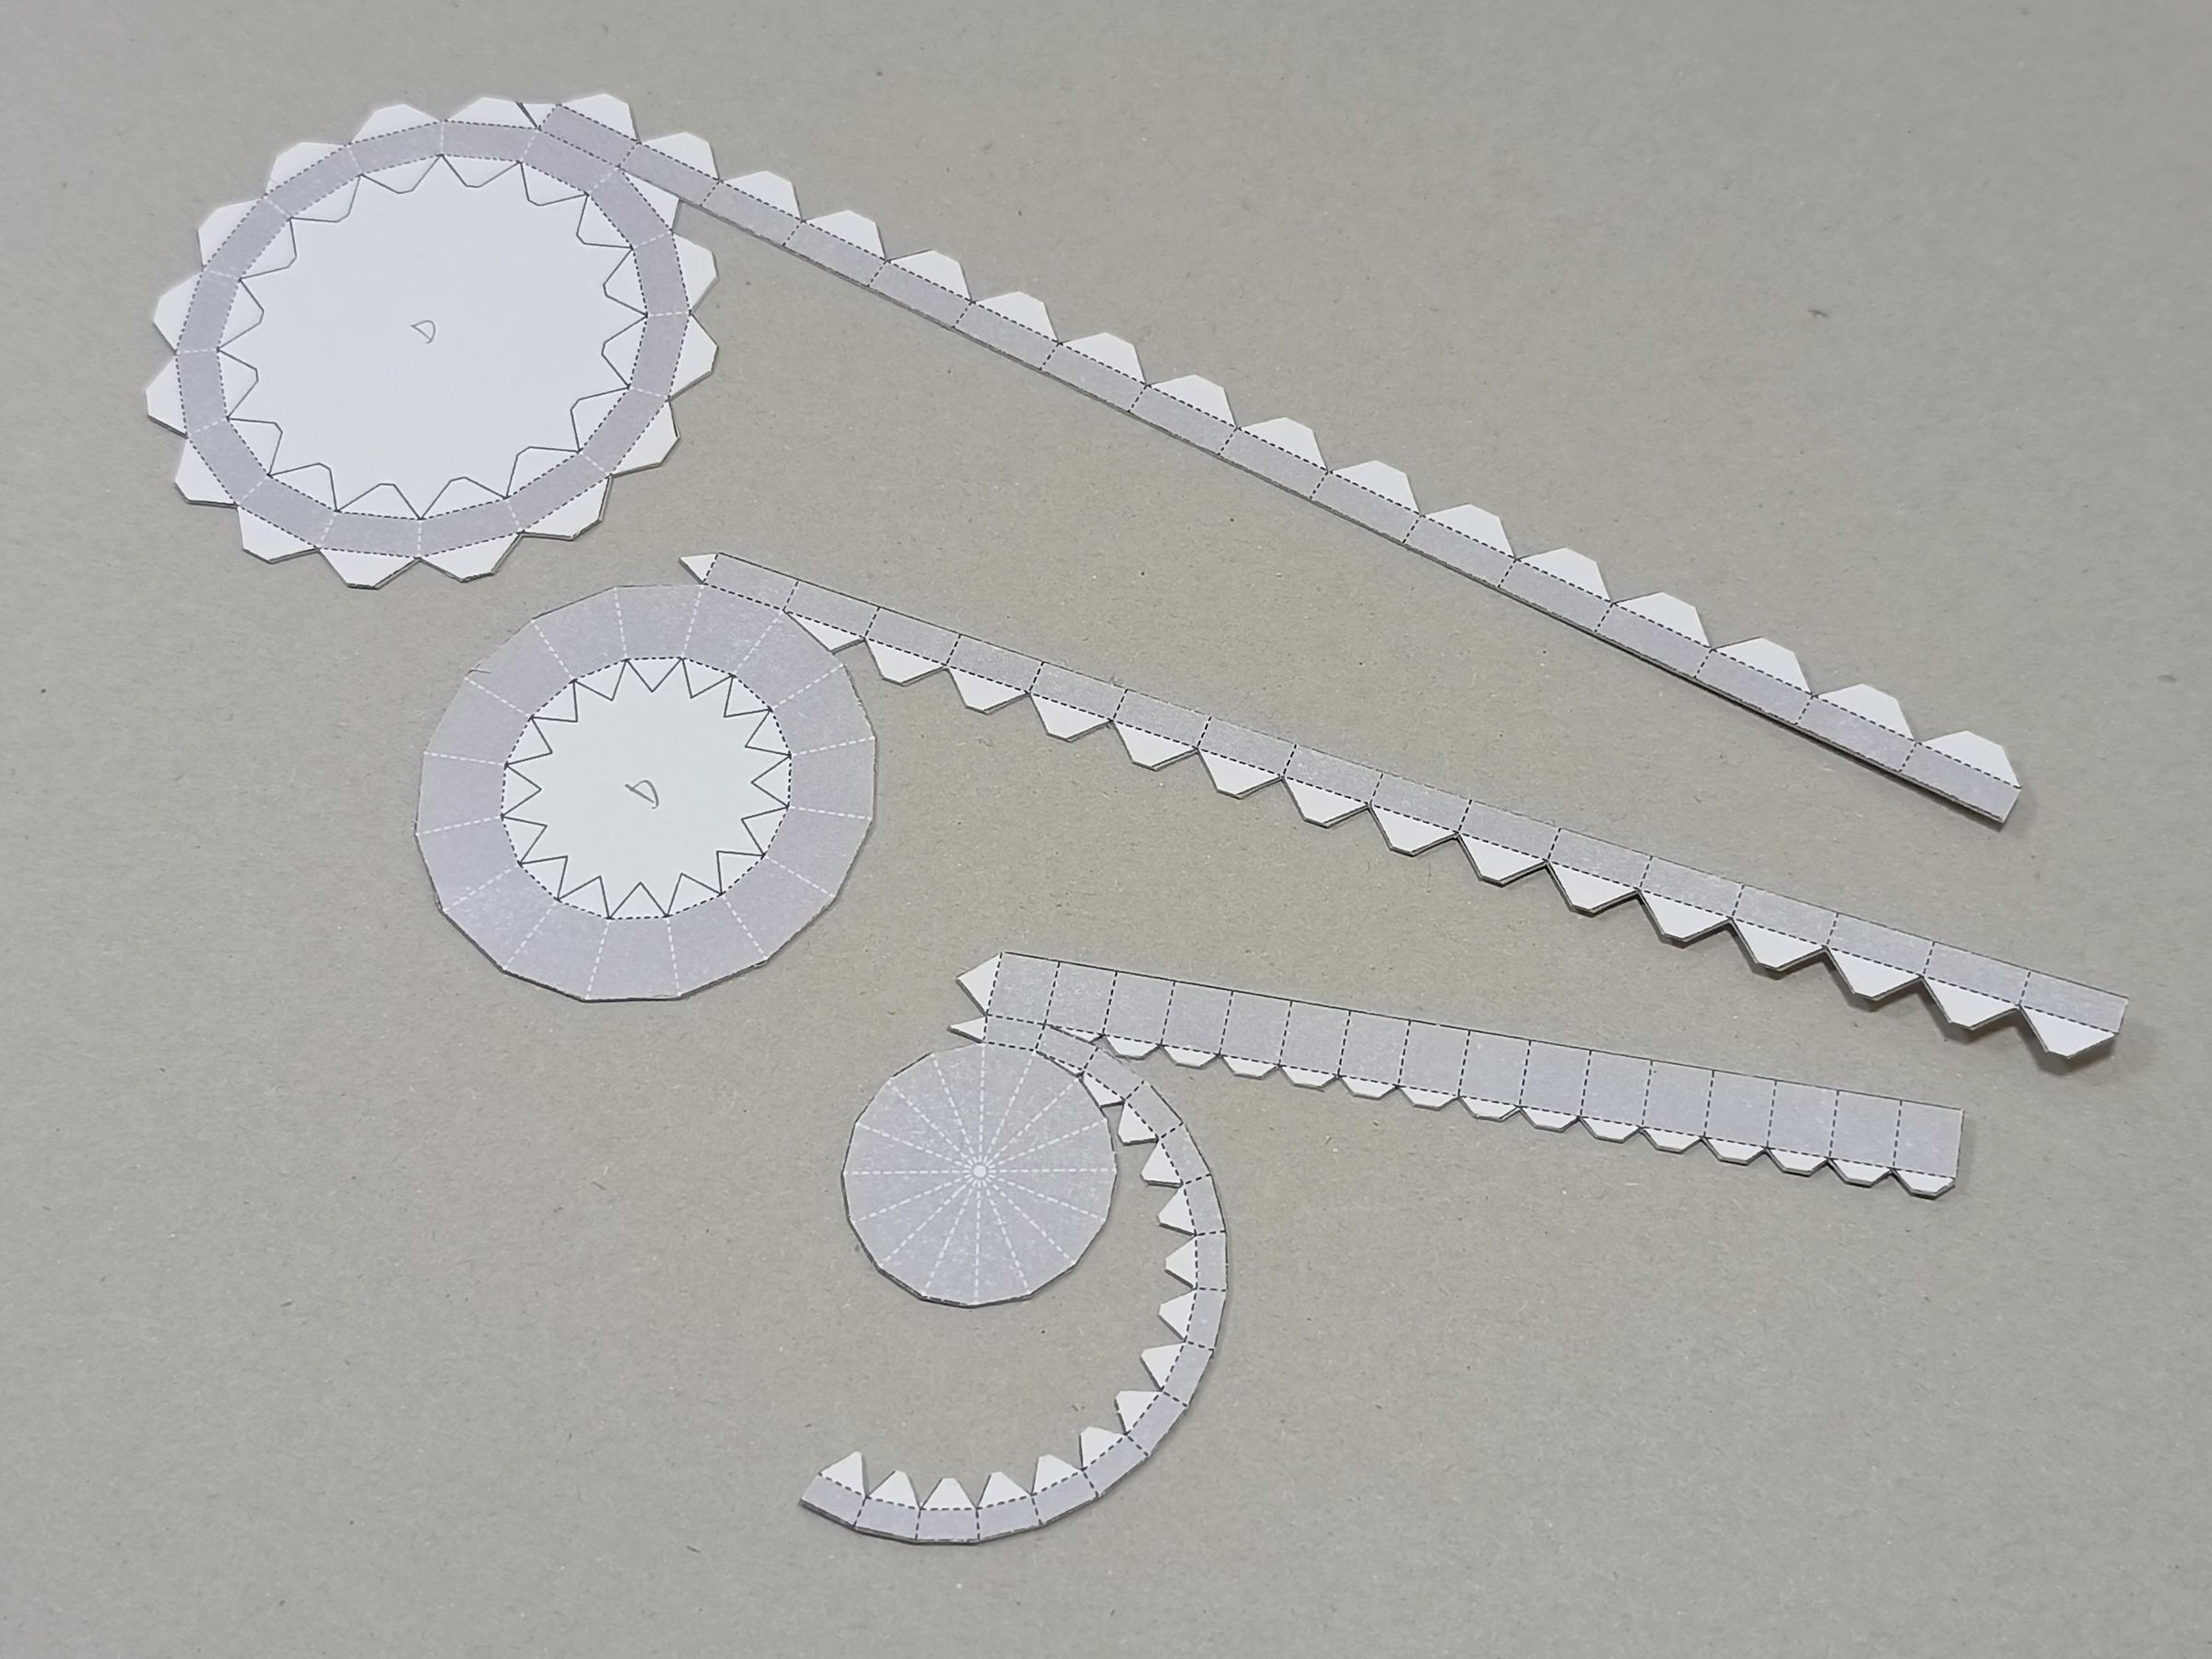
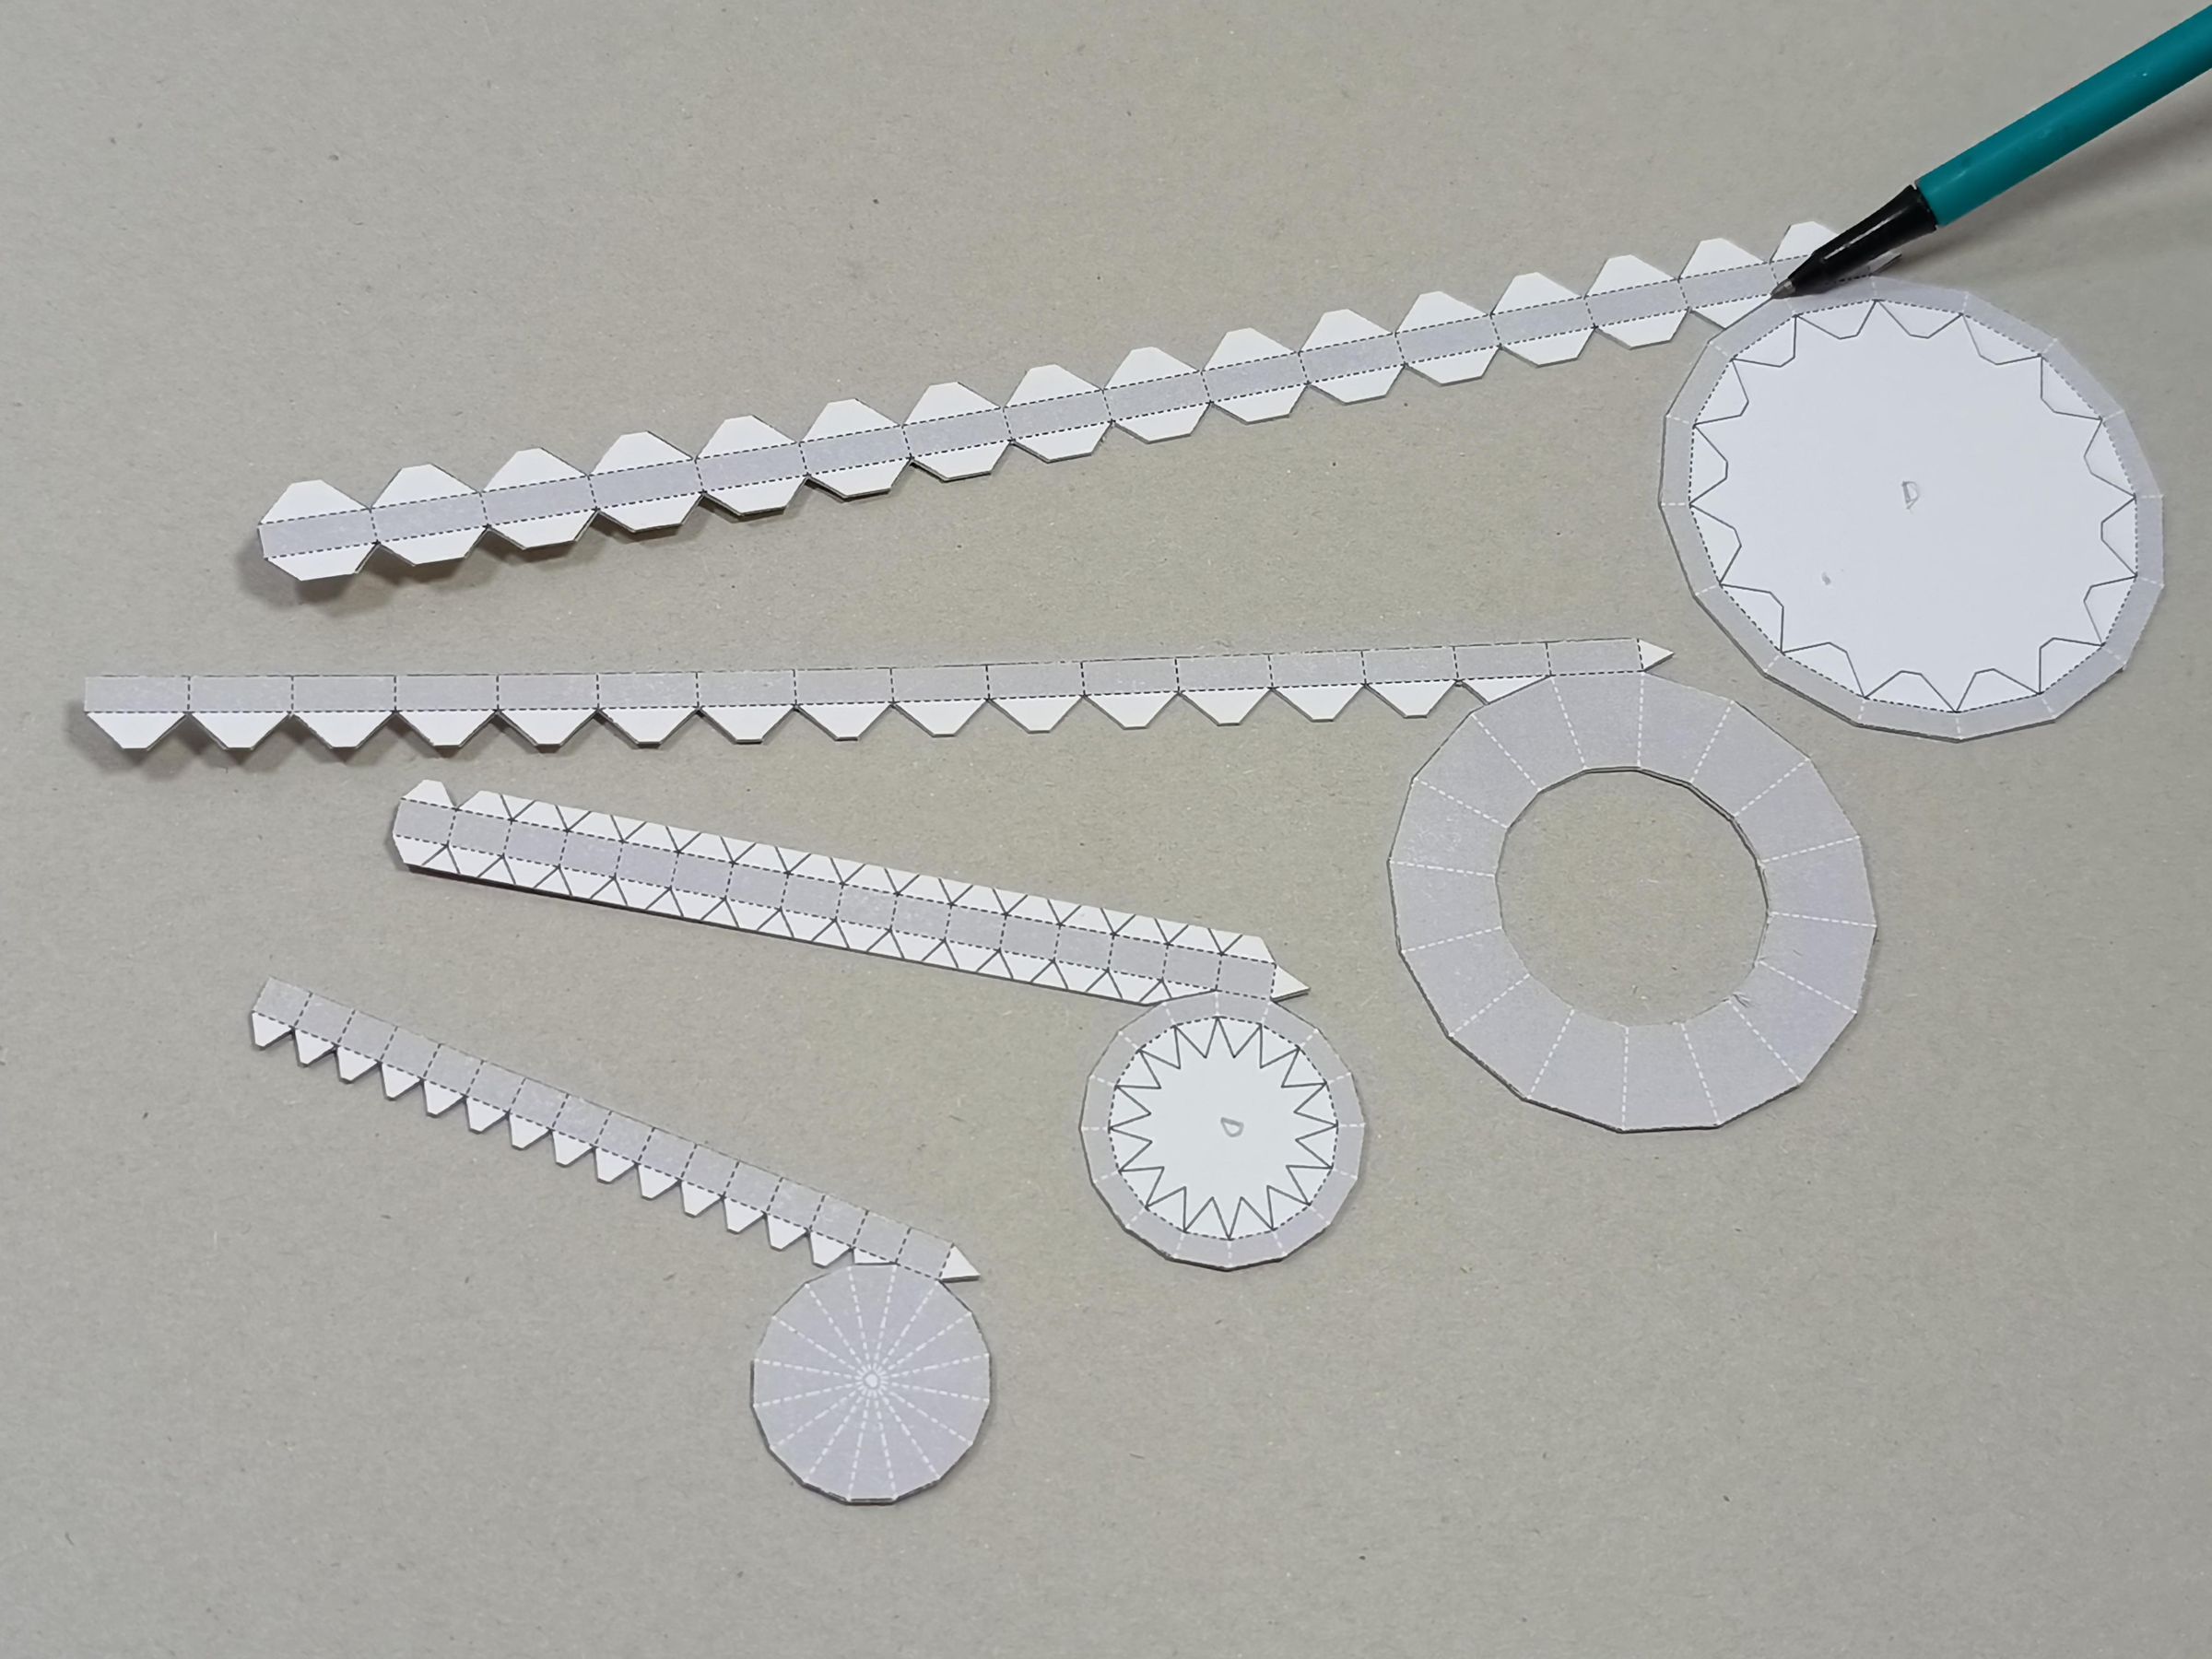
Now cut out the pieces that will form the positive and negative pieces.
The group of three pieces forms the positive and the group of four pieces forms the negative.
Fold Positive
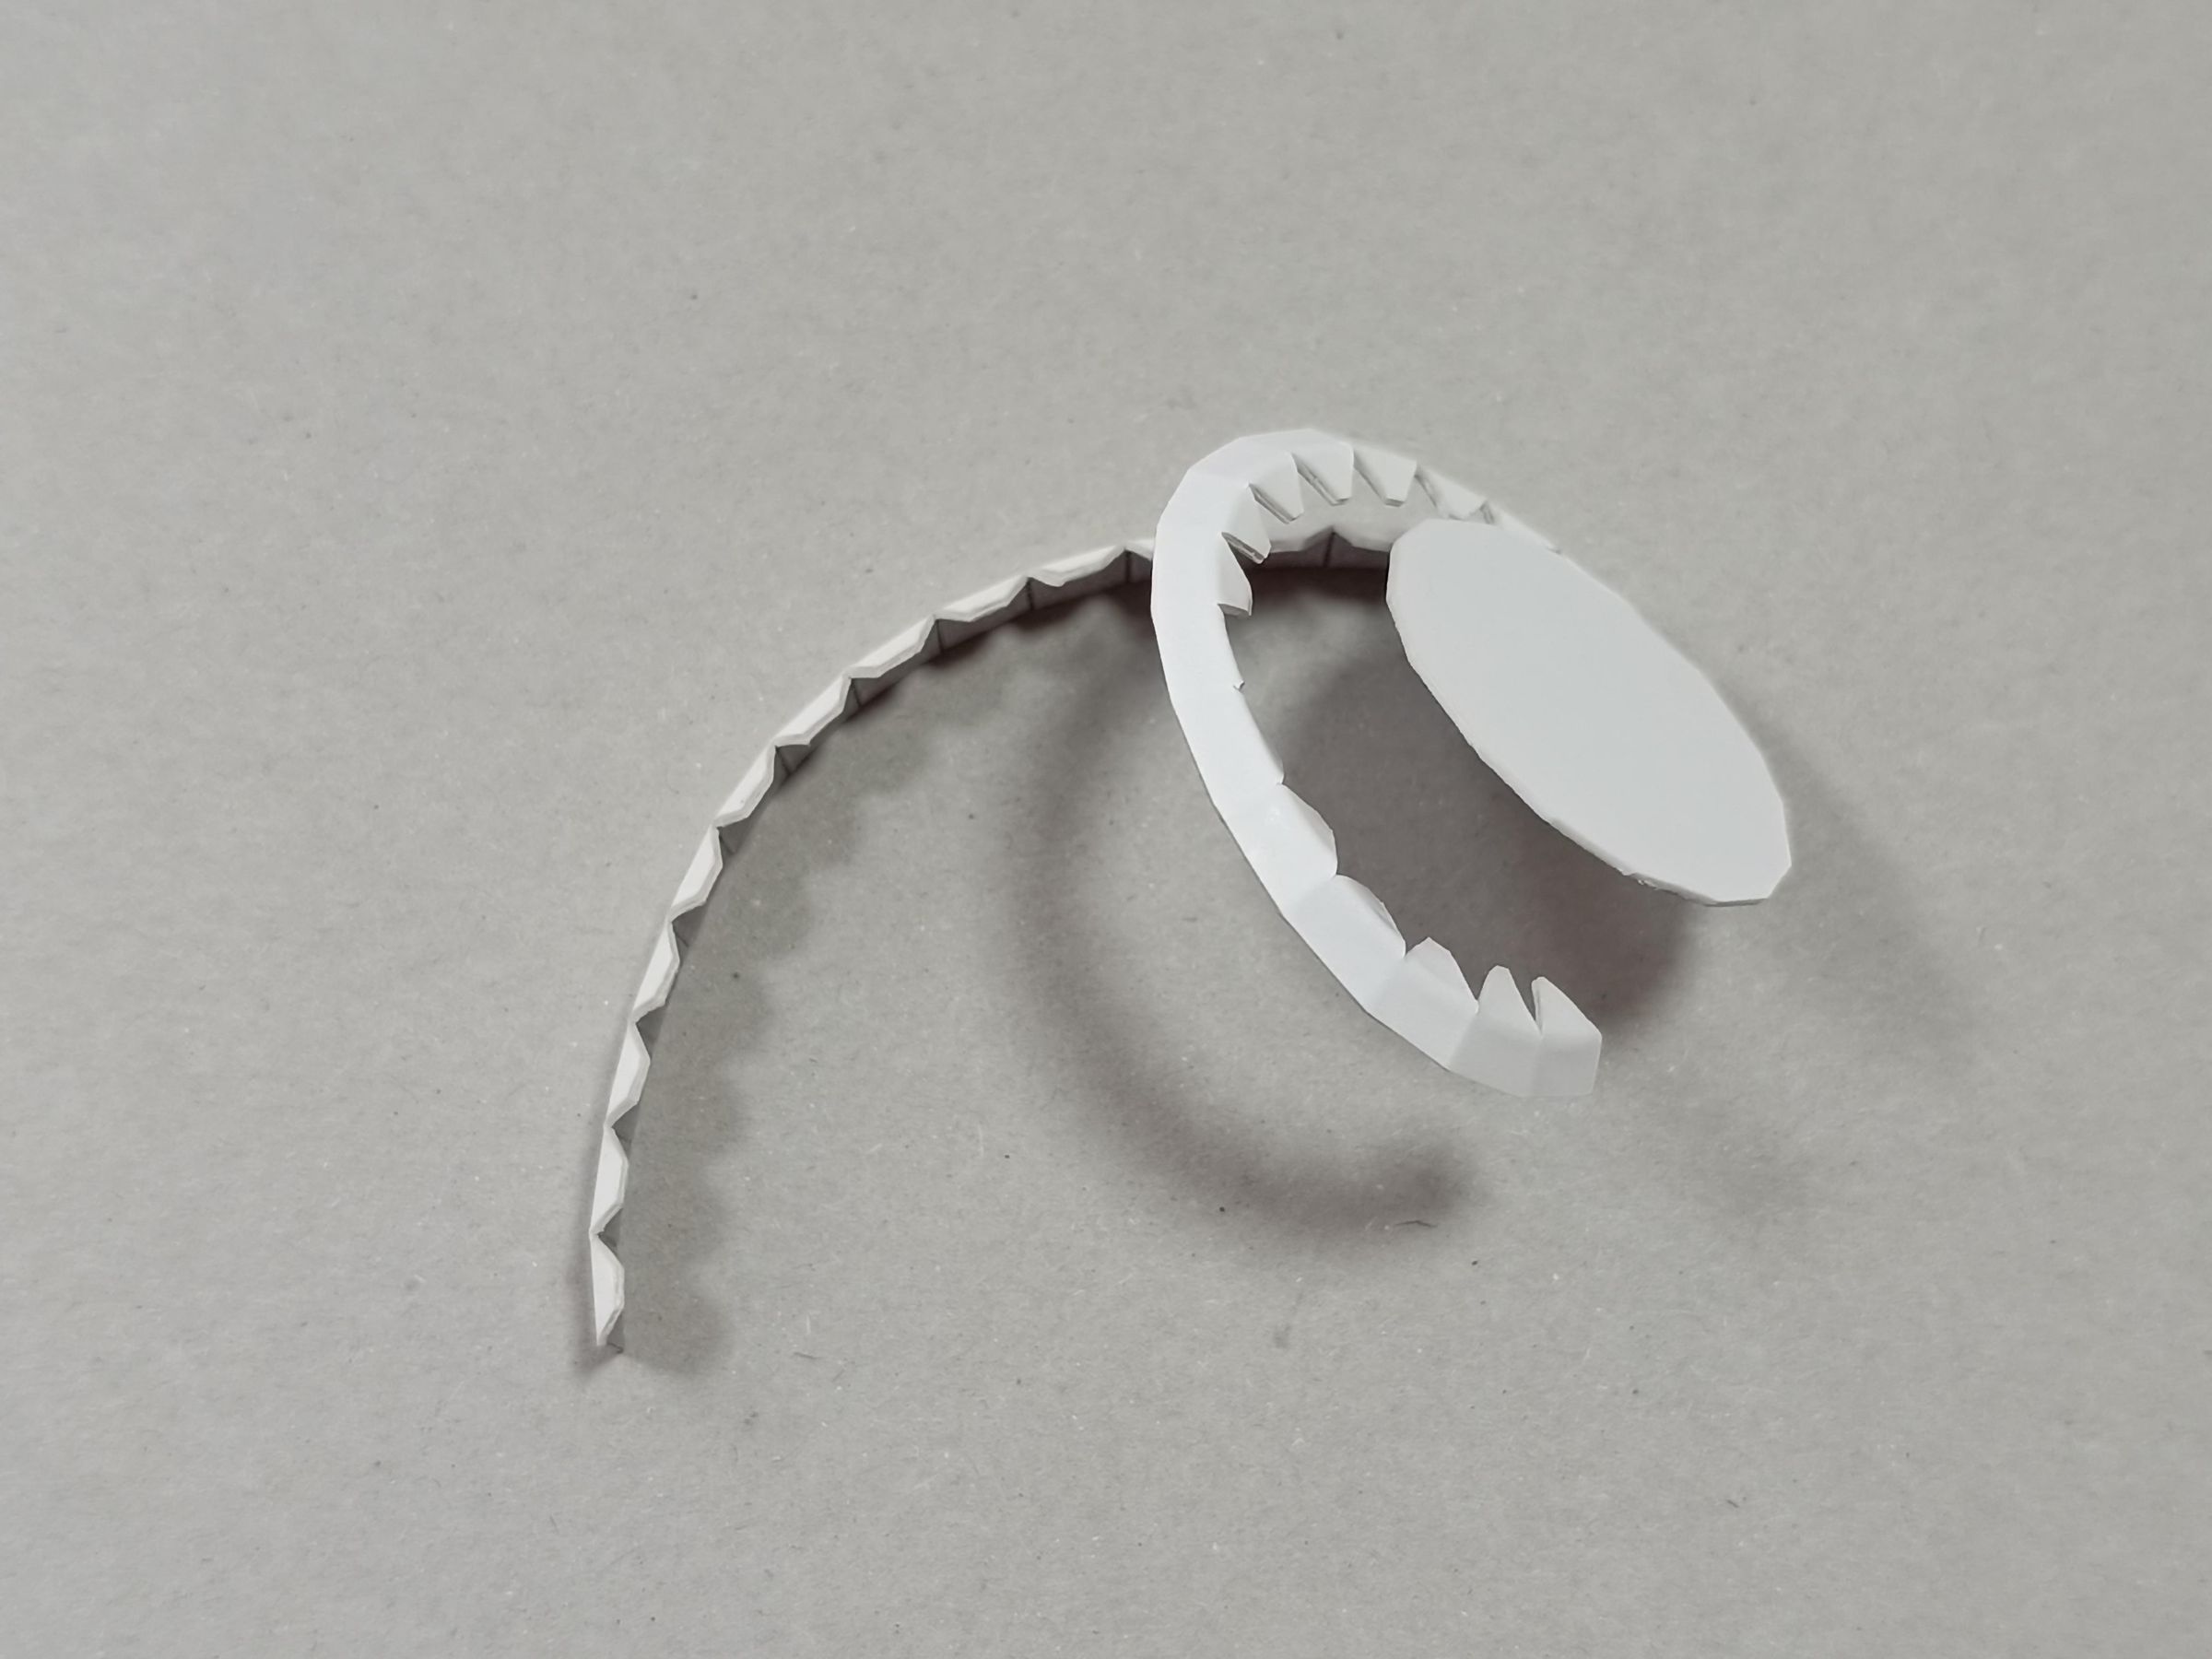
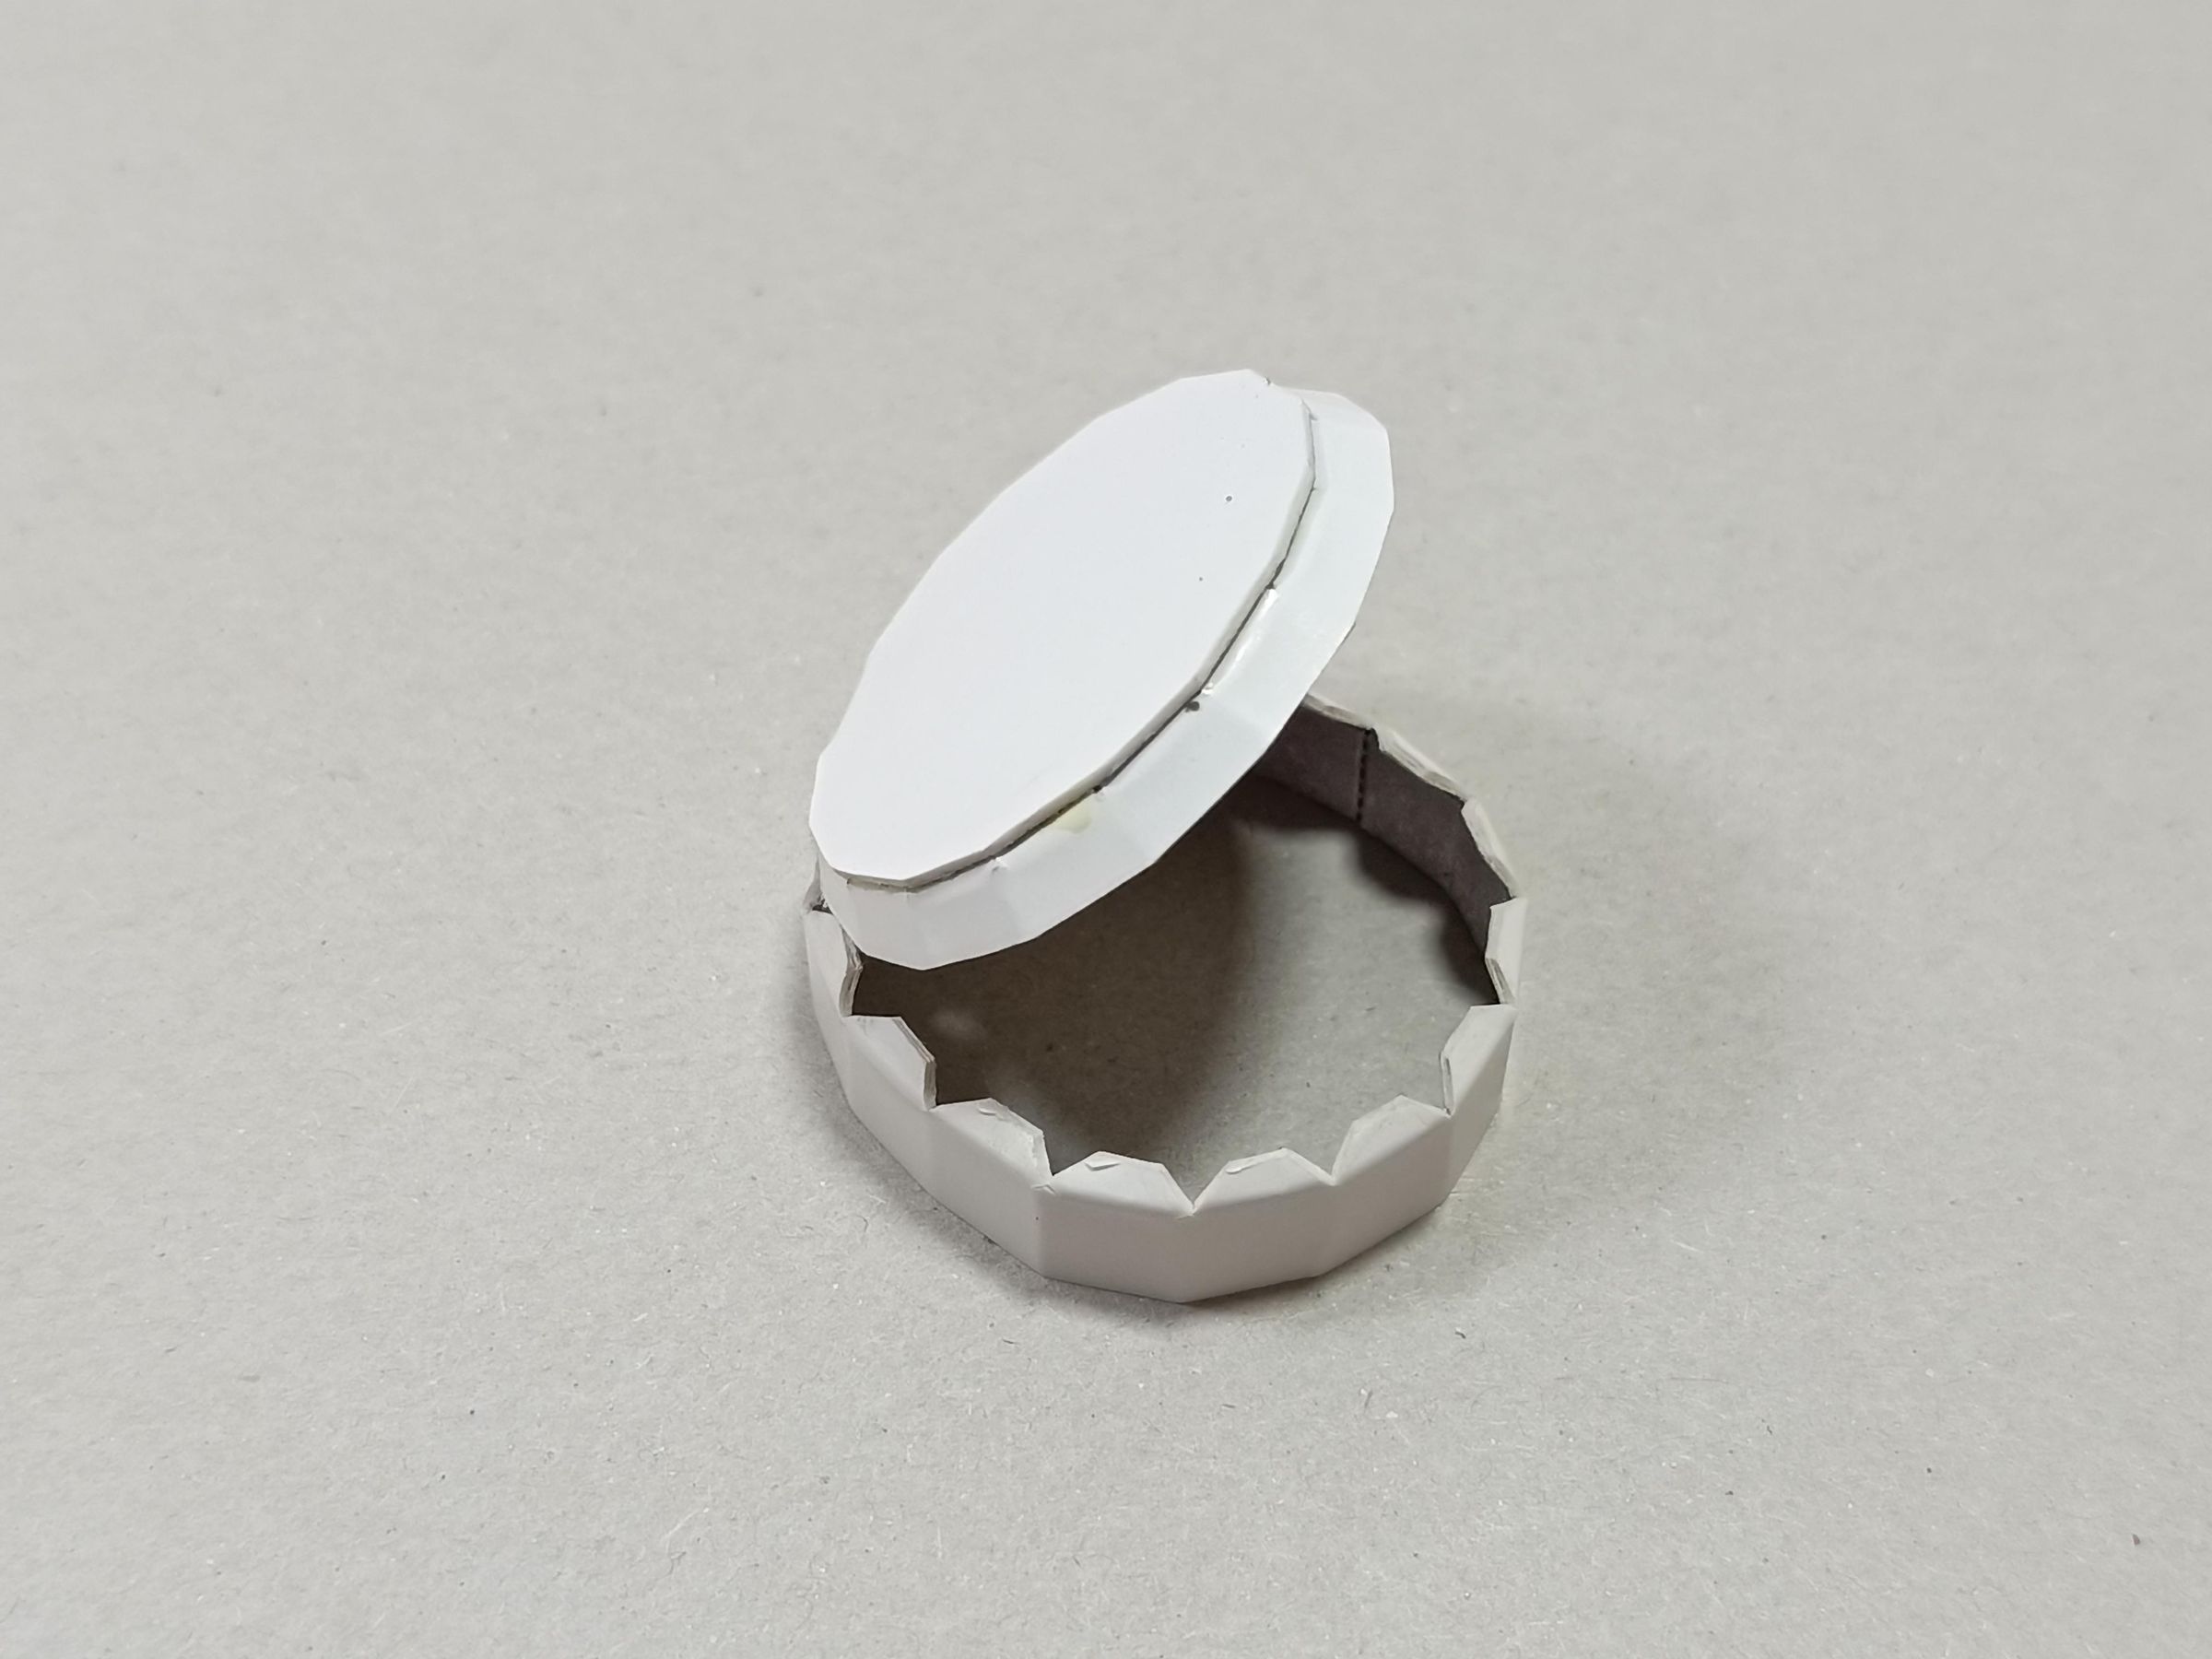
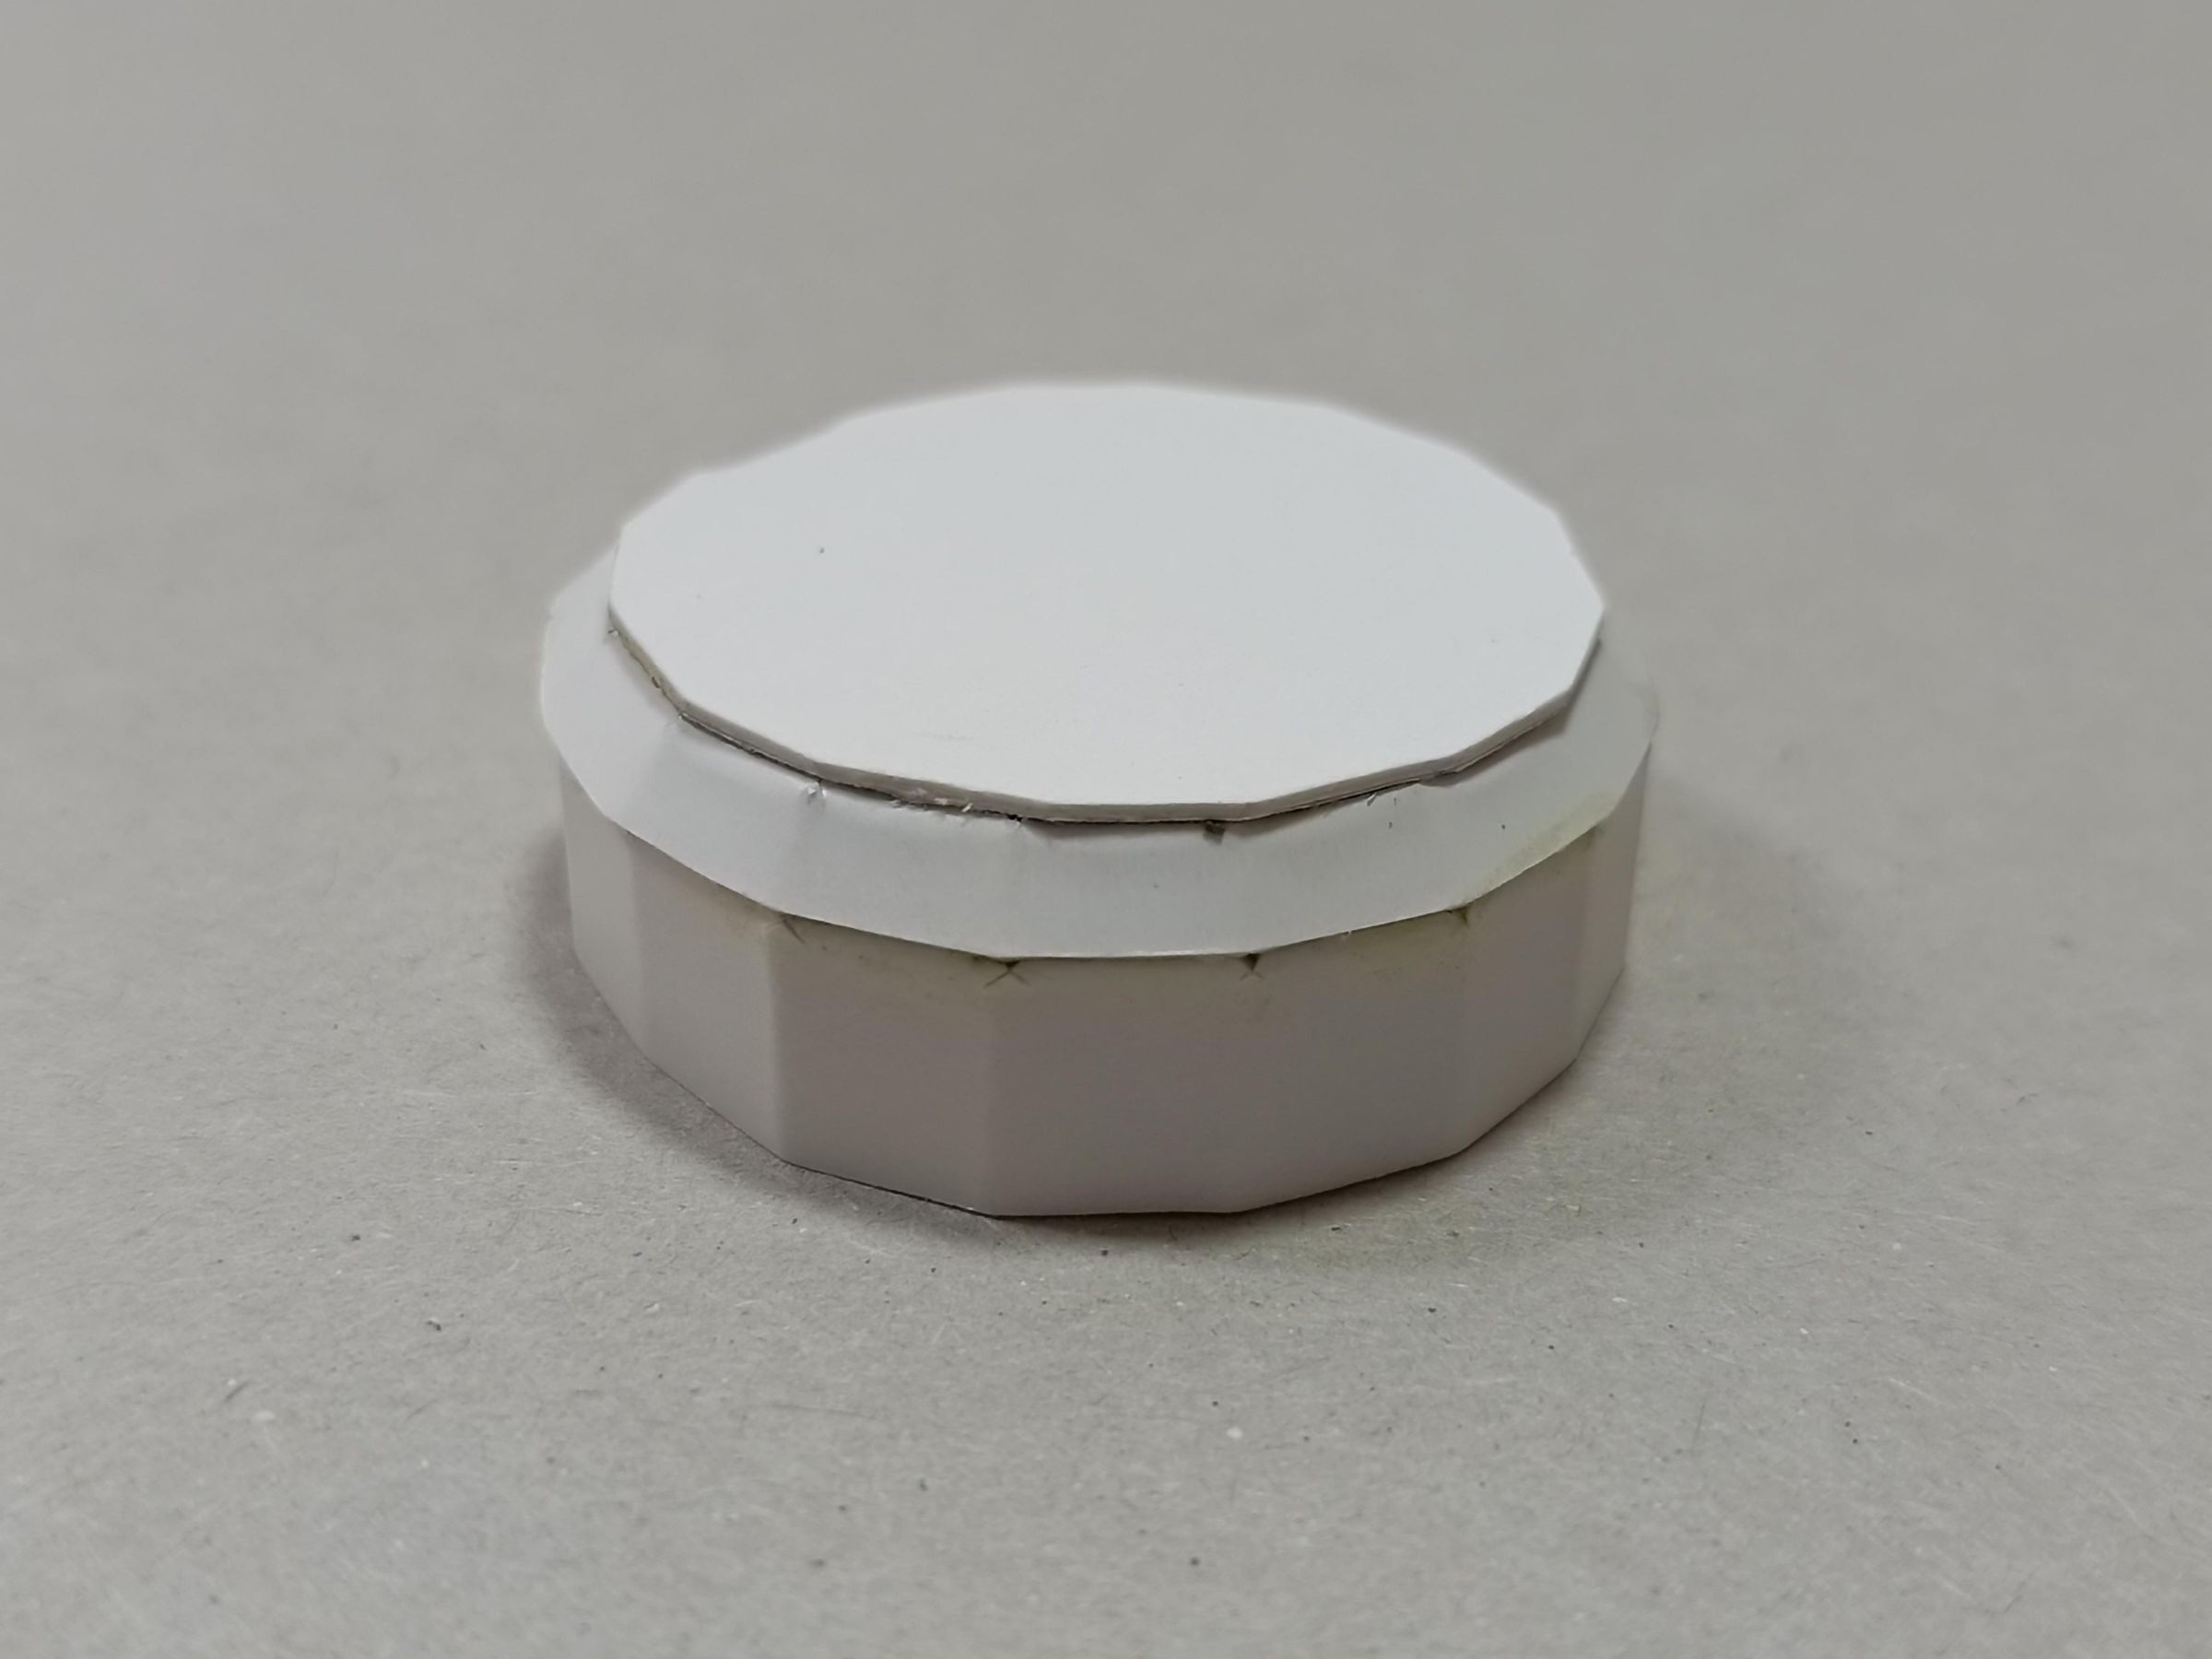
One circumferential piece each, as shown in the images, with its respective tabs
Join Positive
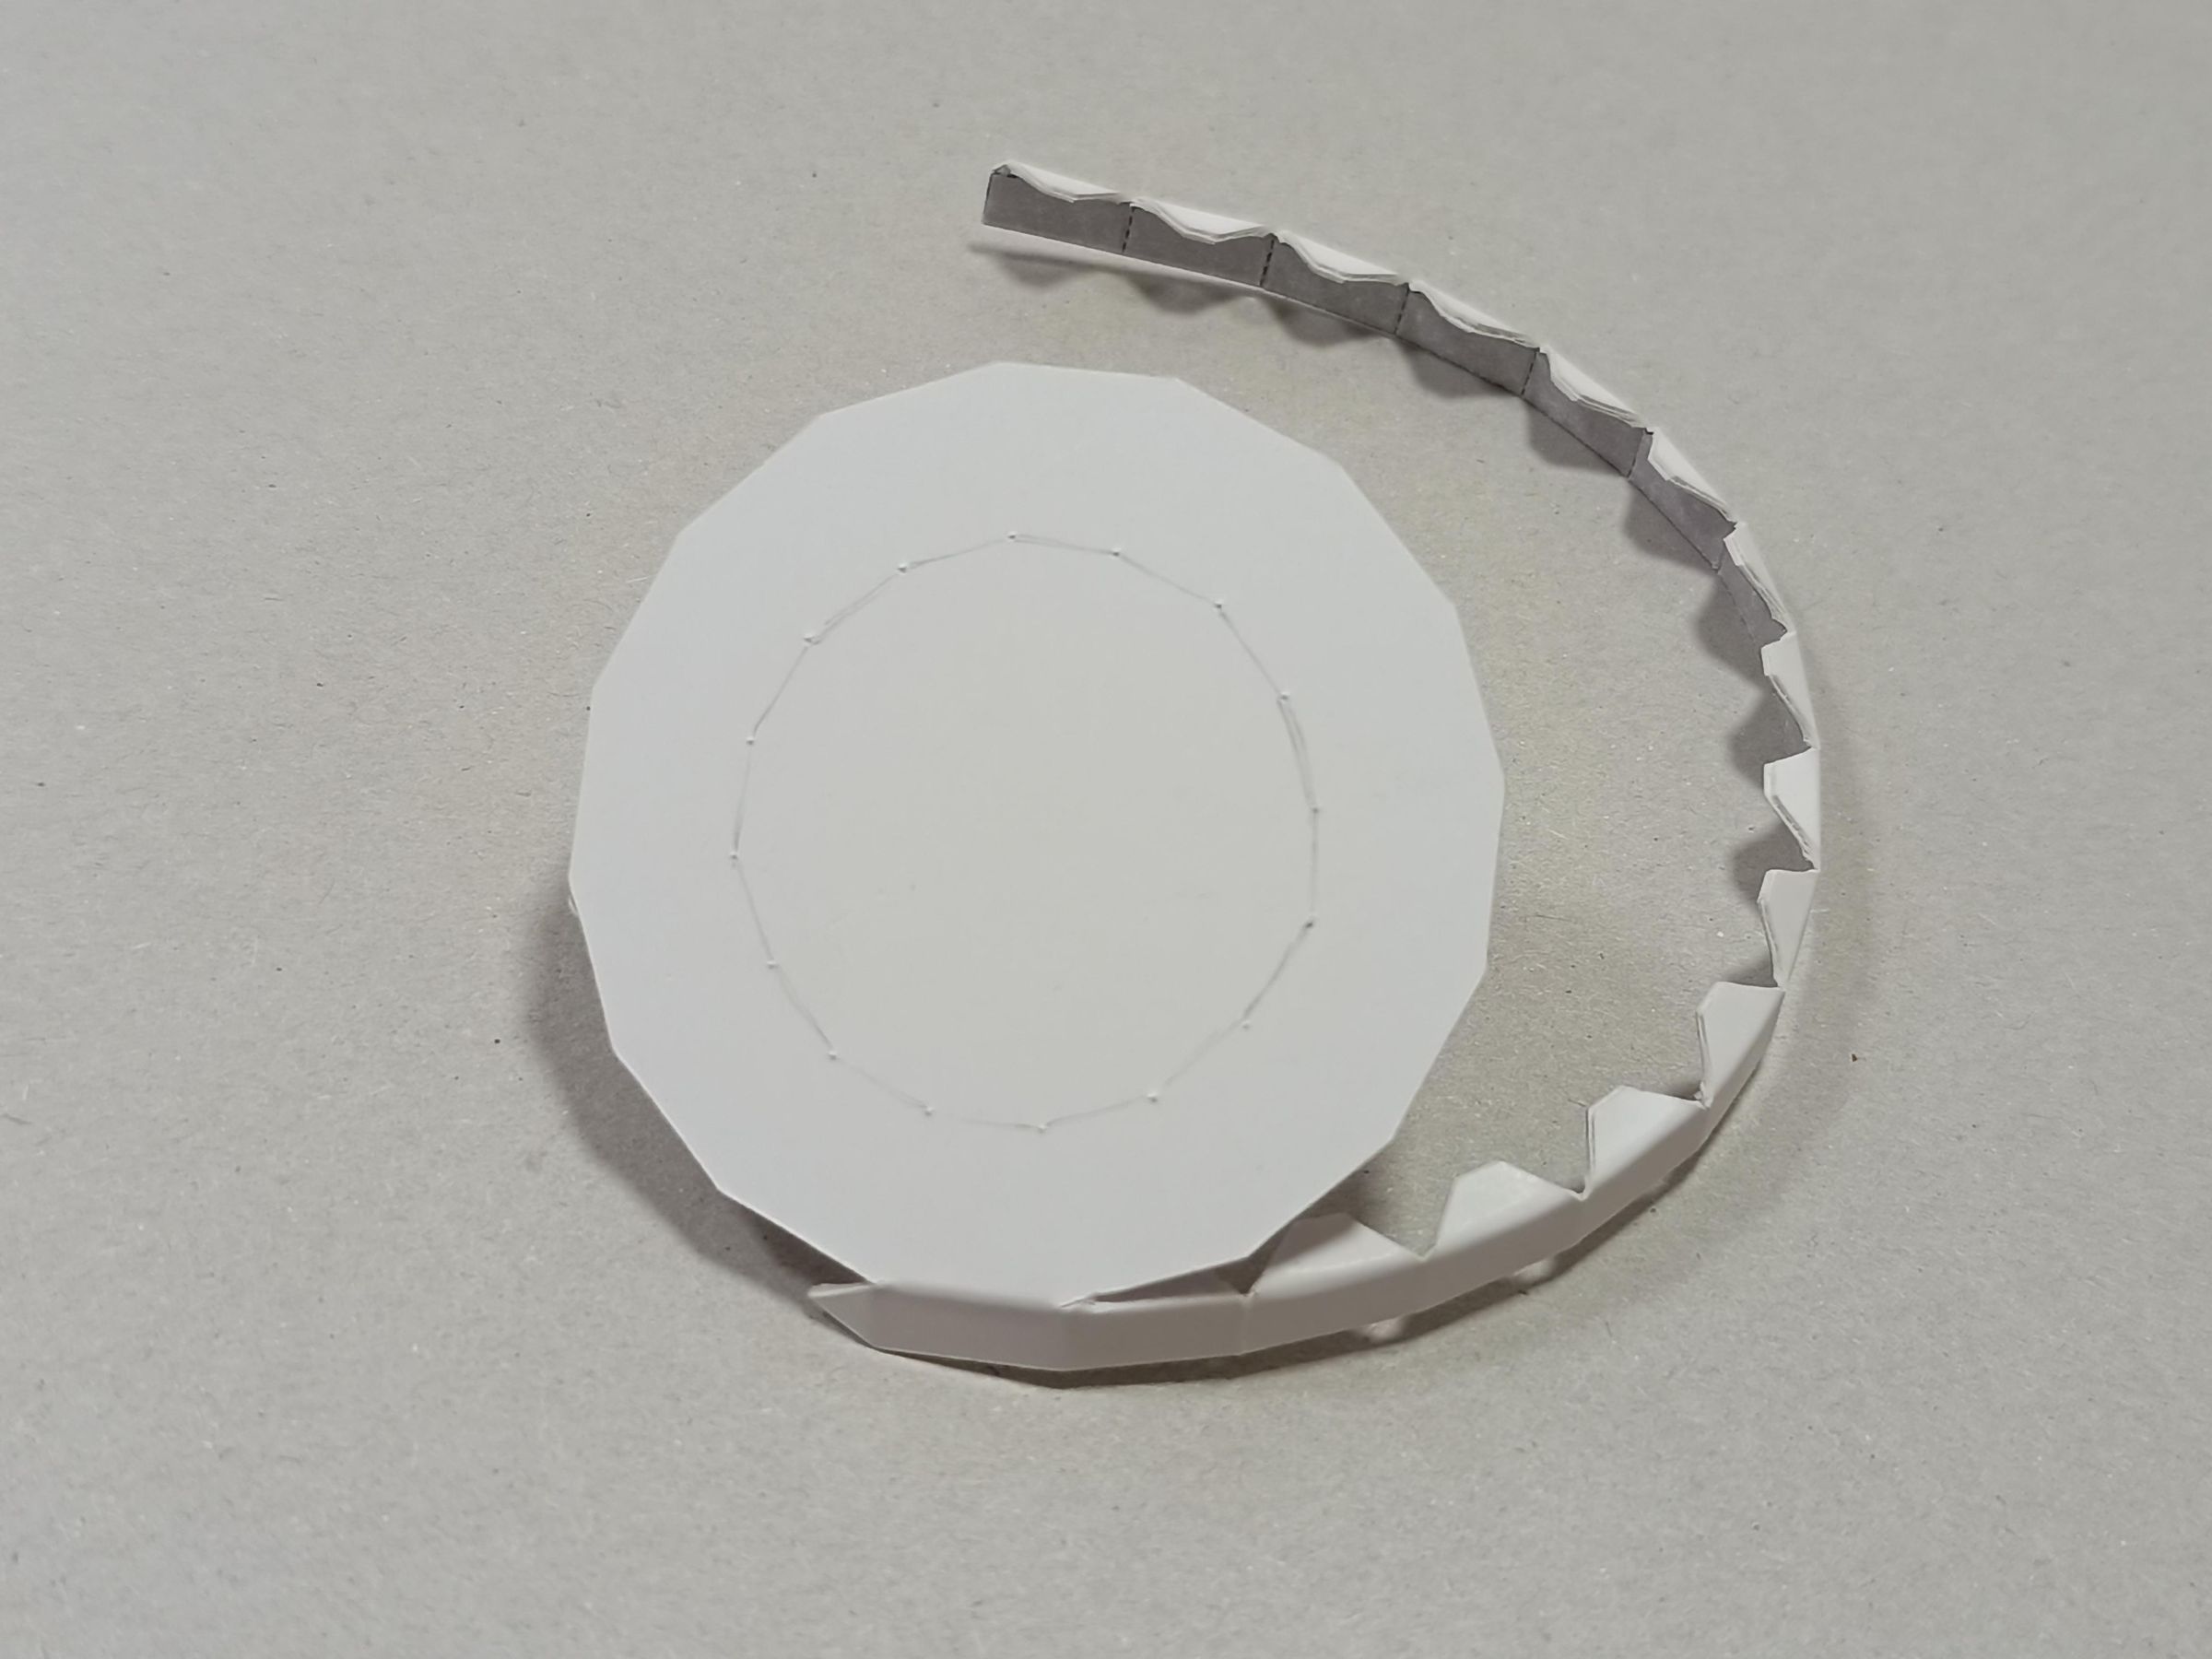
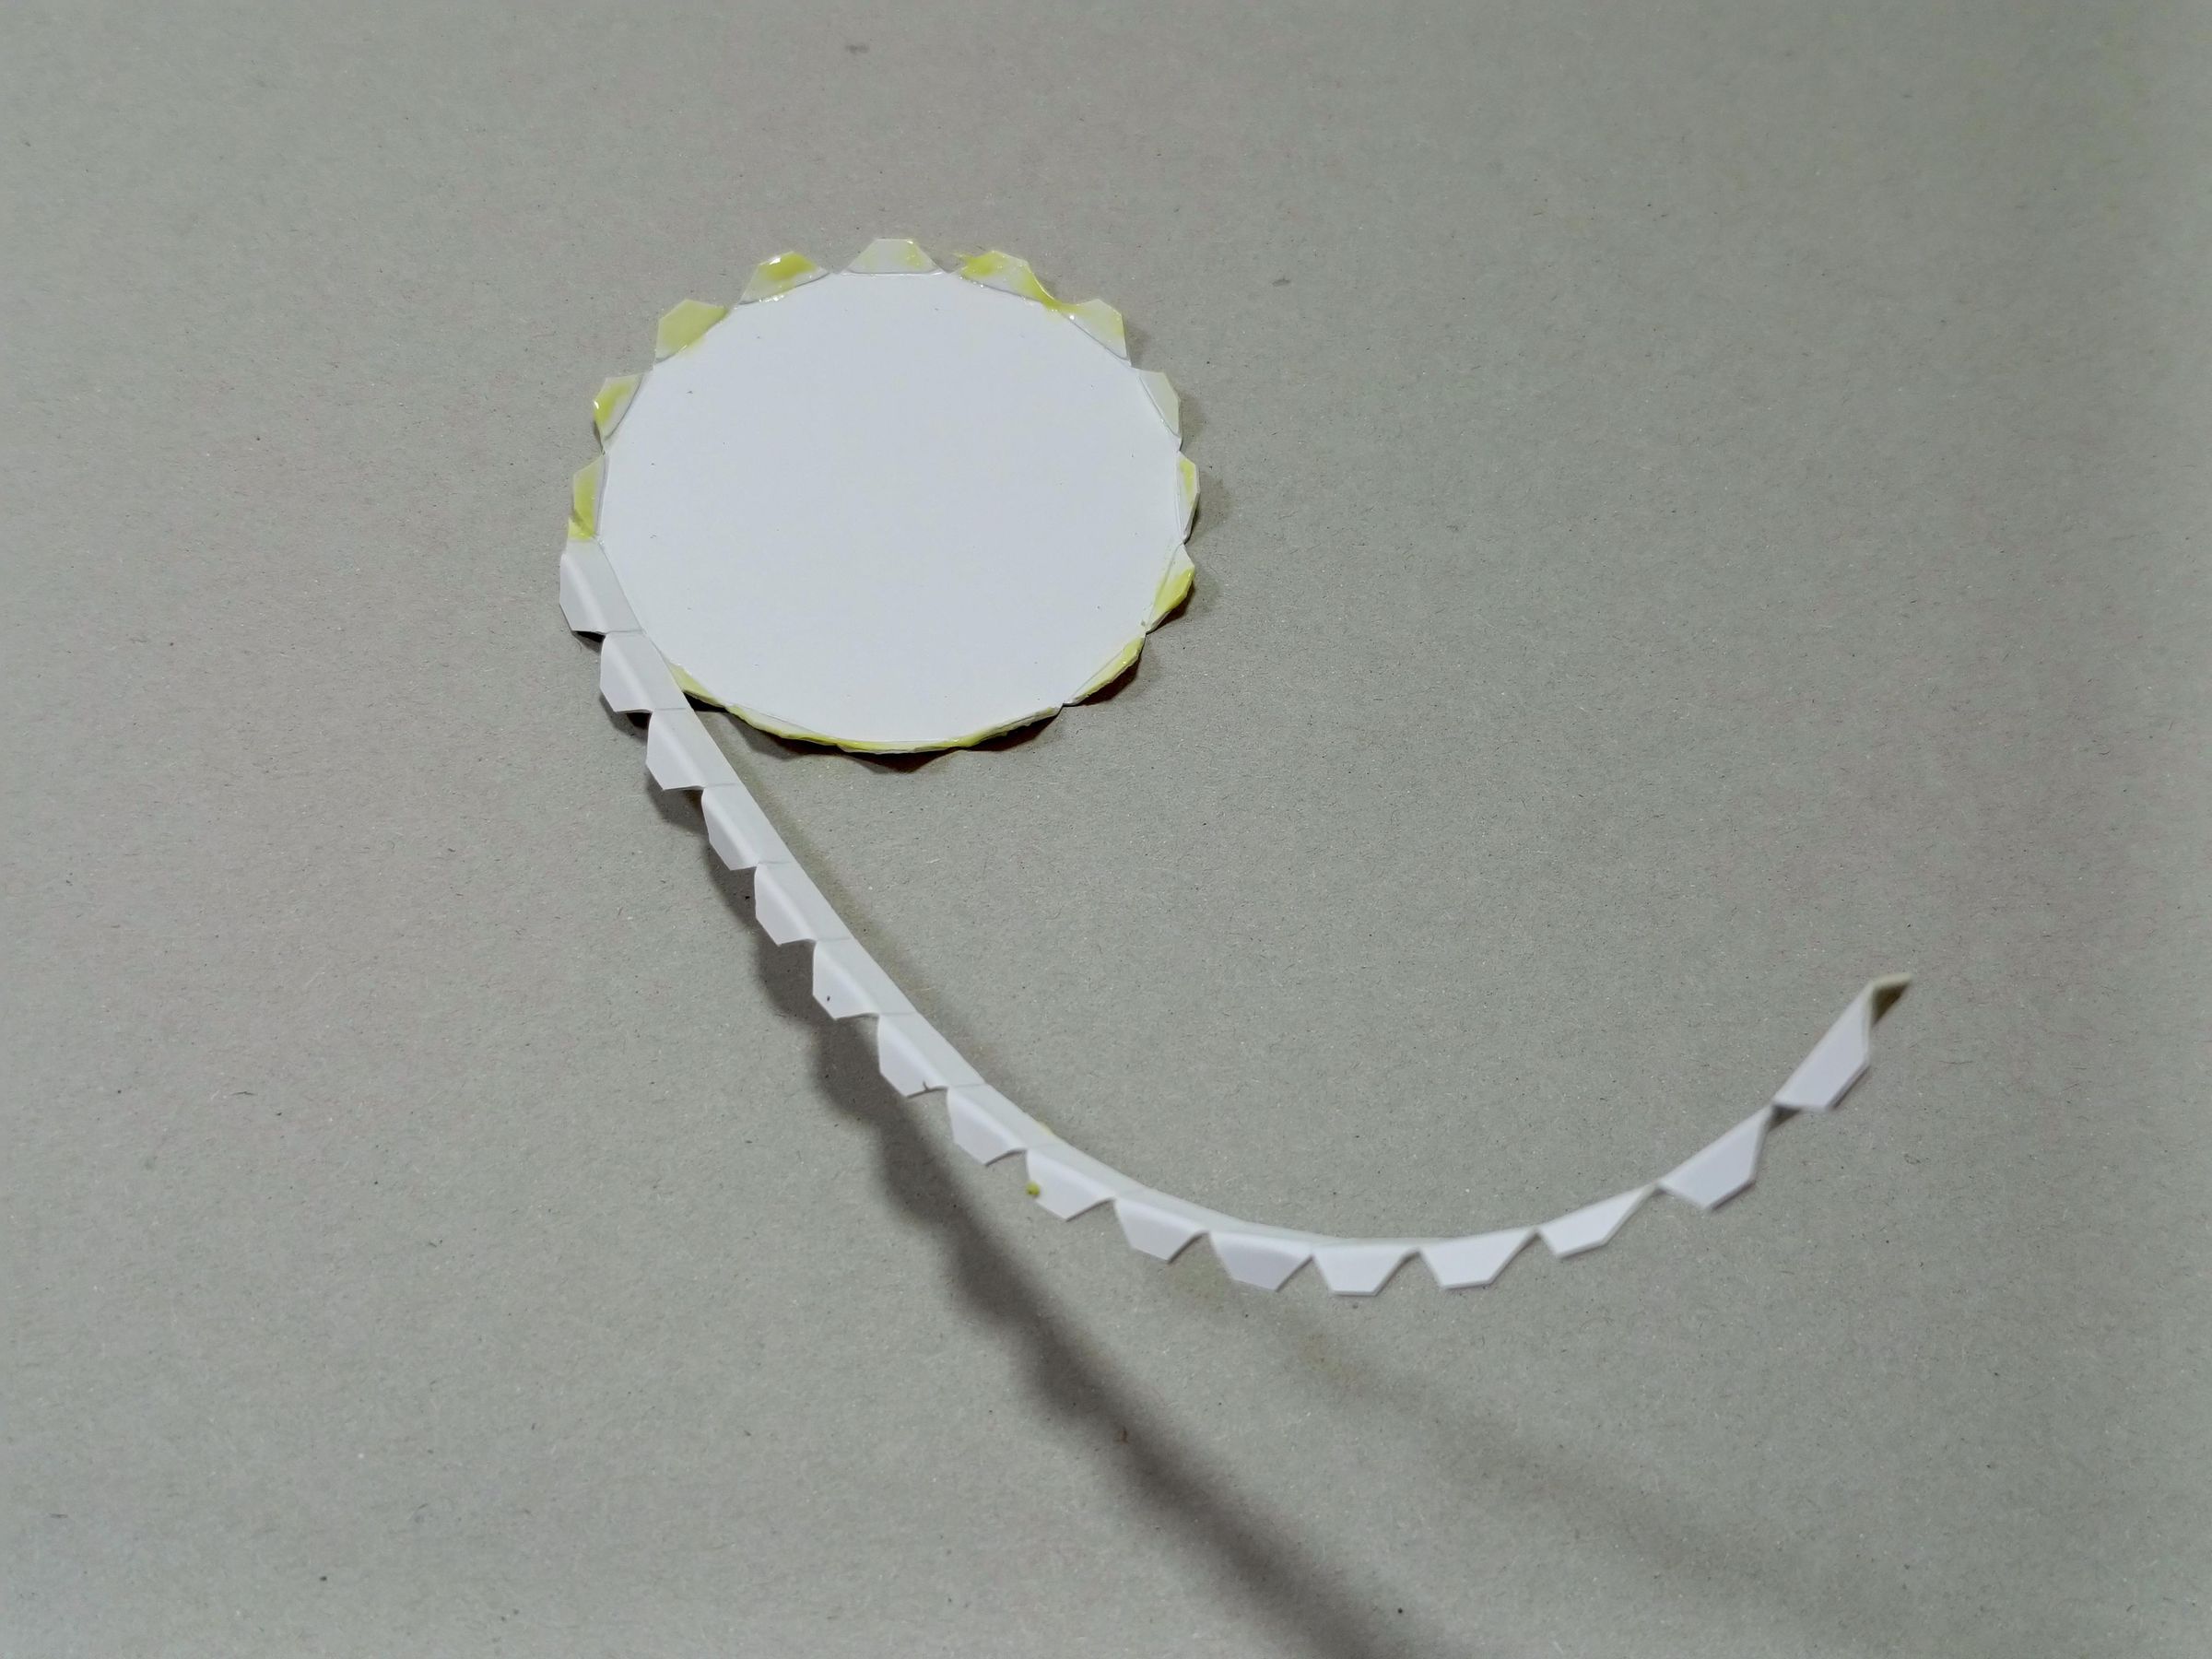
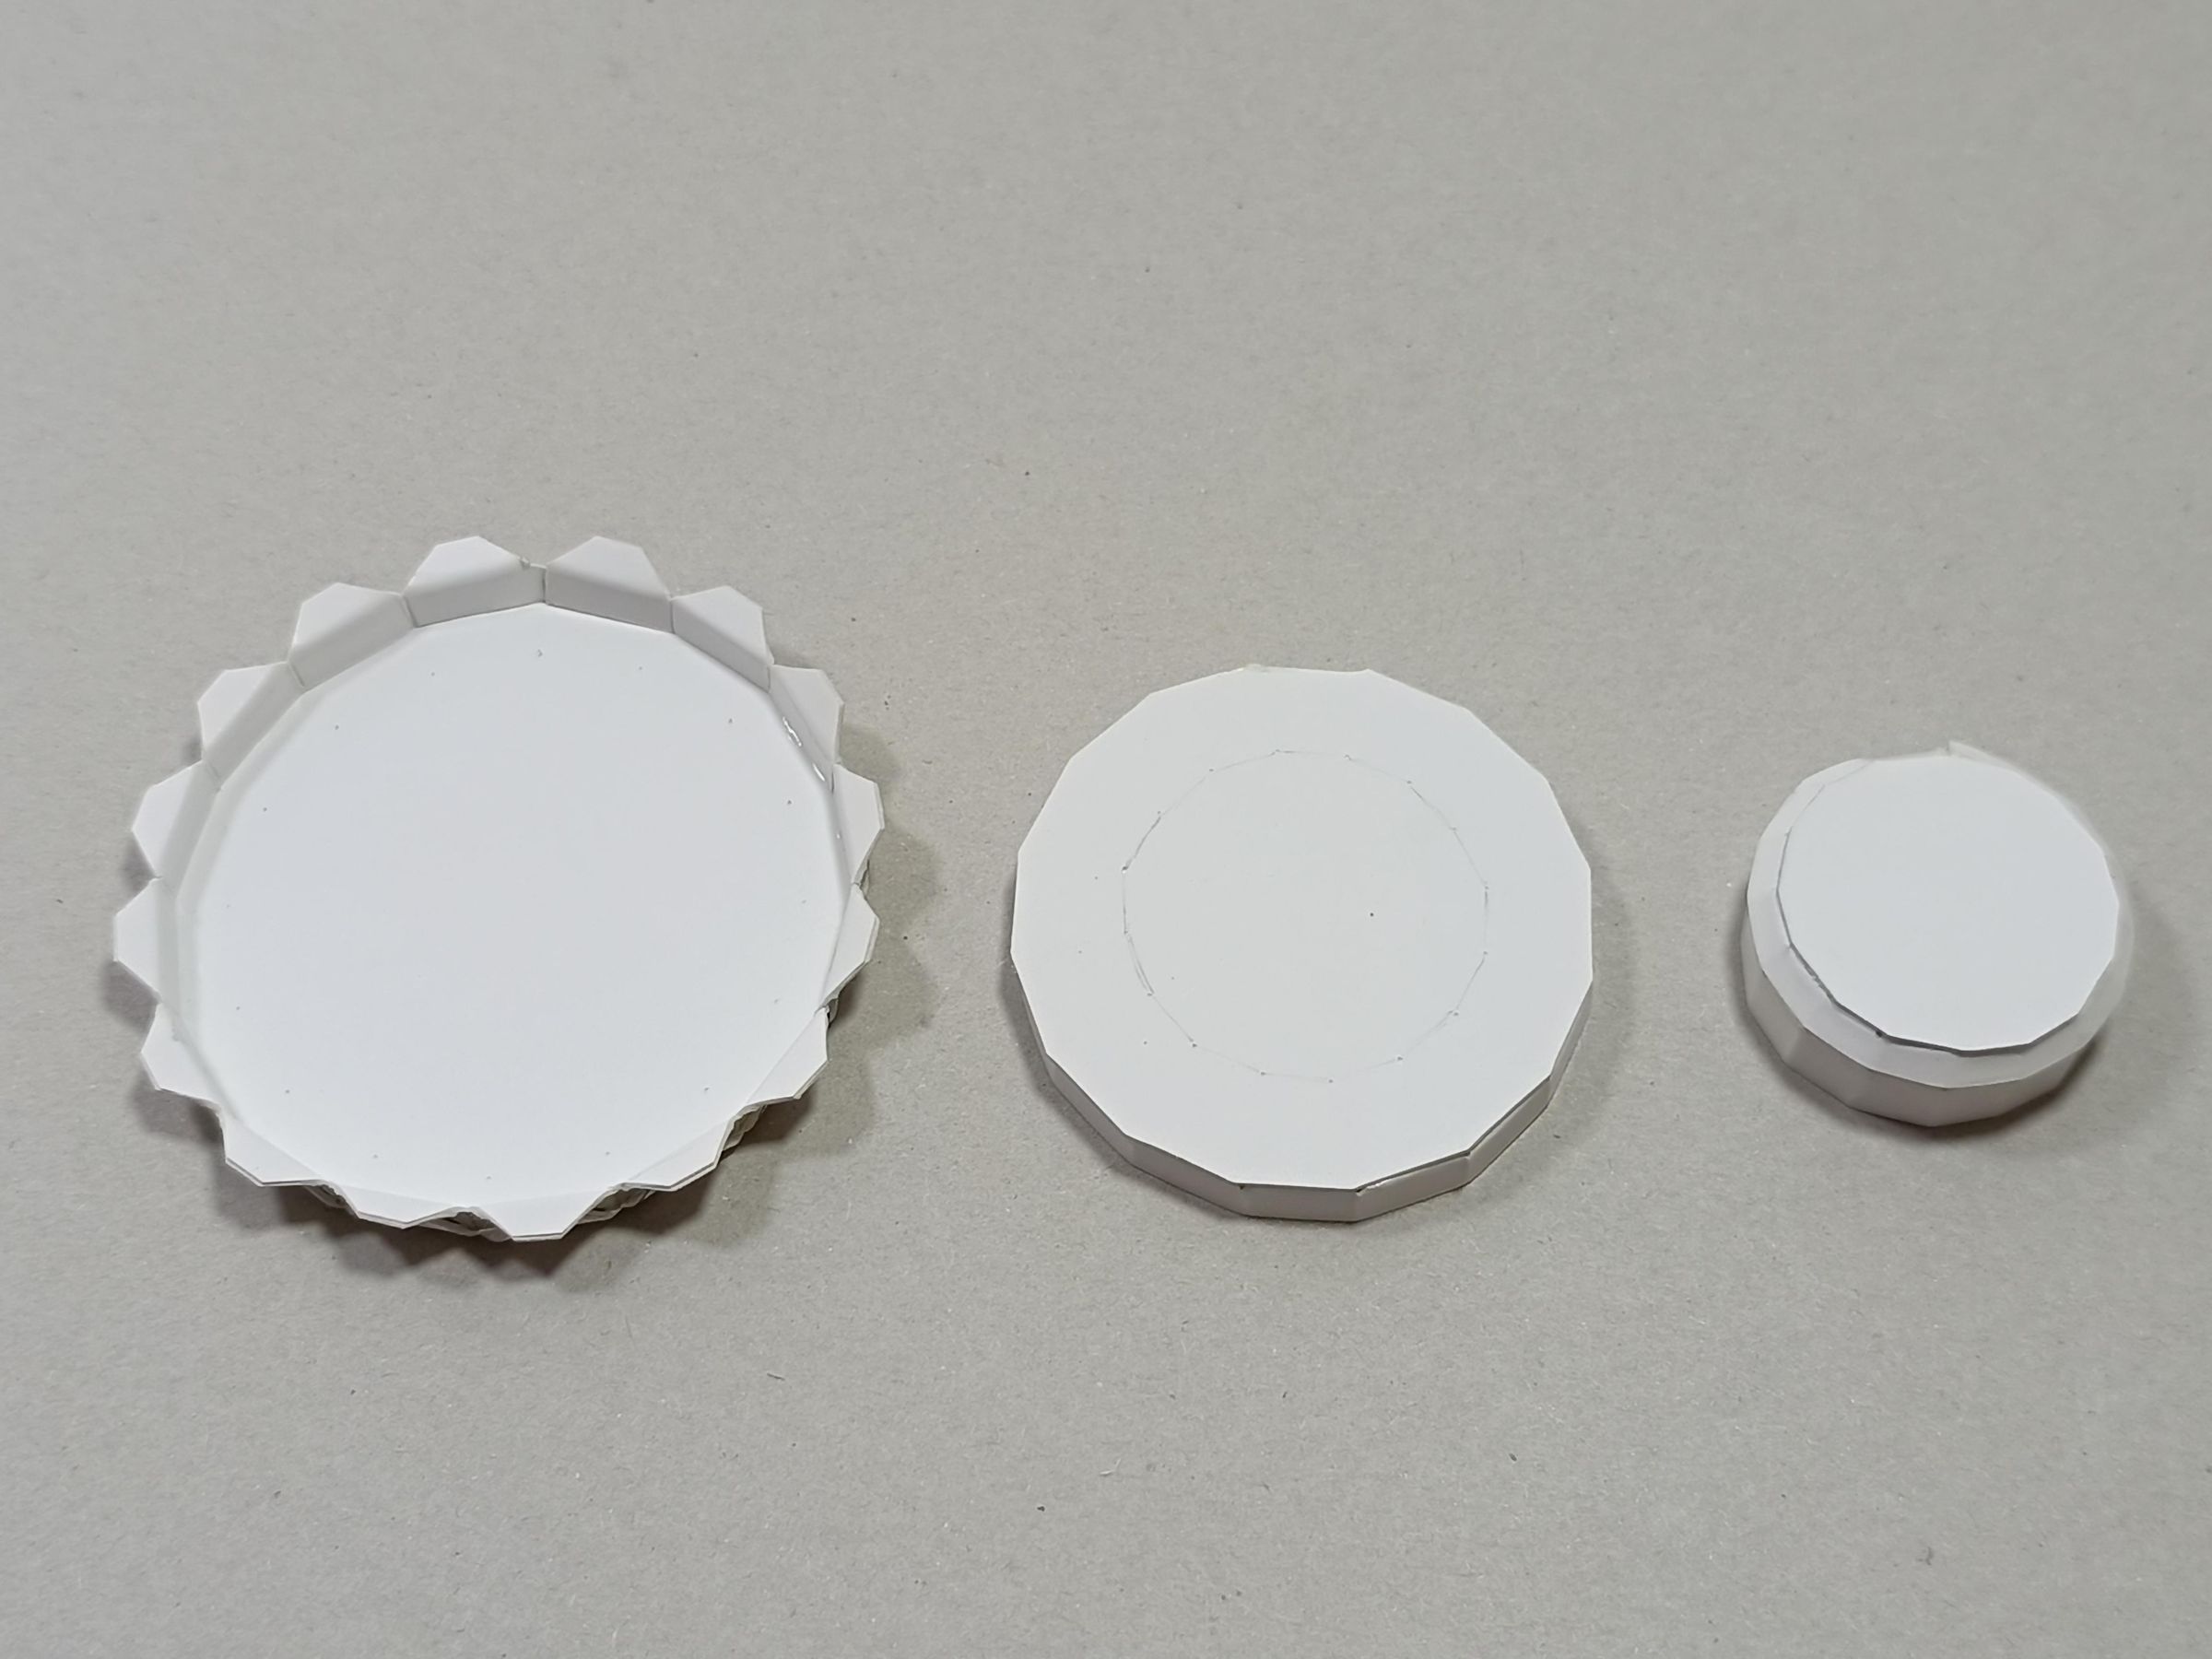
until forming the cylindrical parts indicated in these steps
Assembly Positive
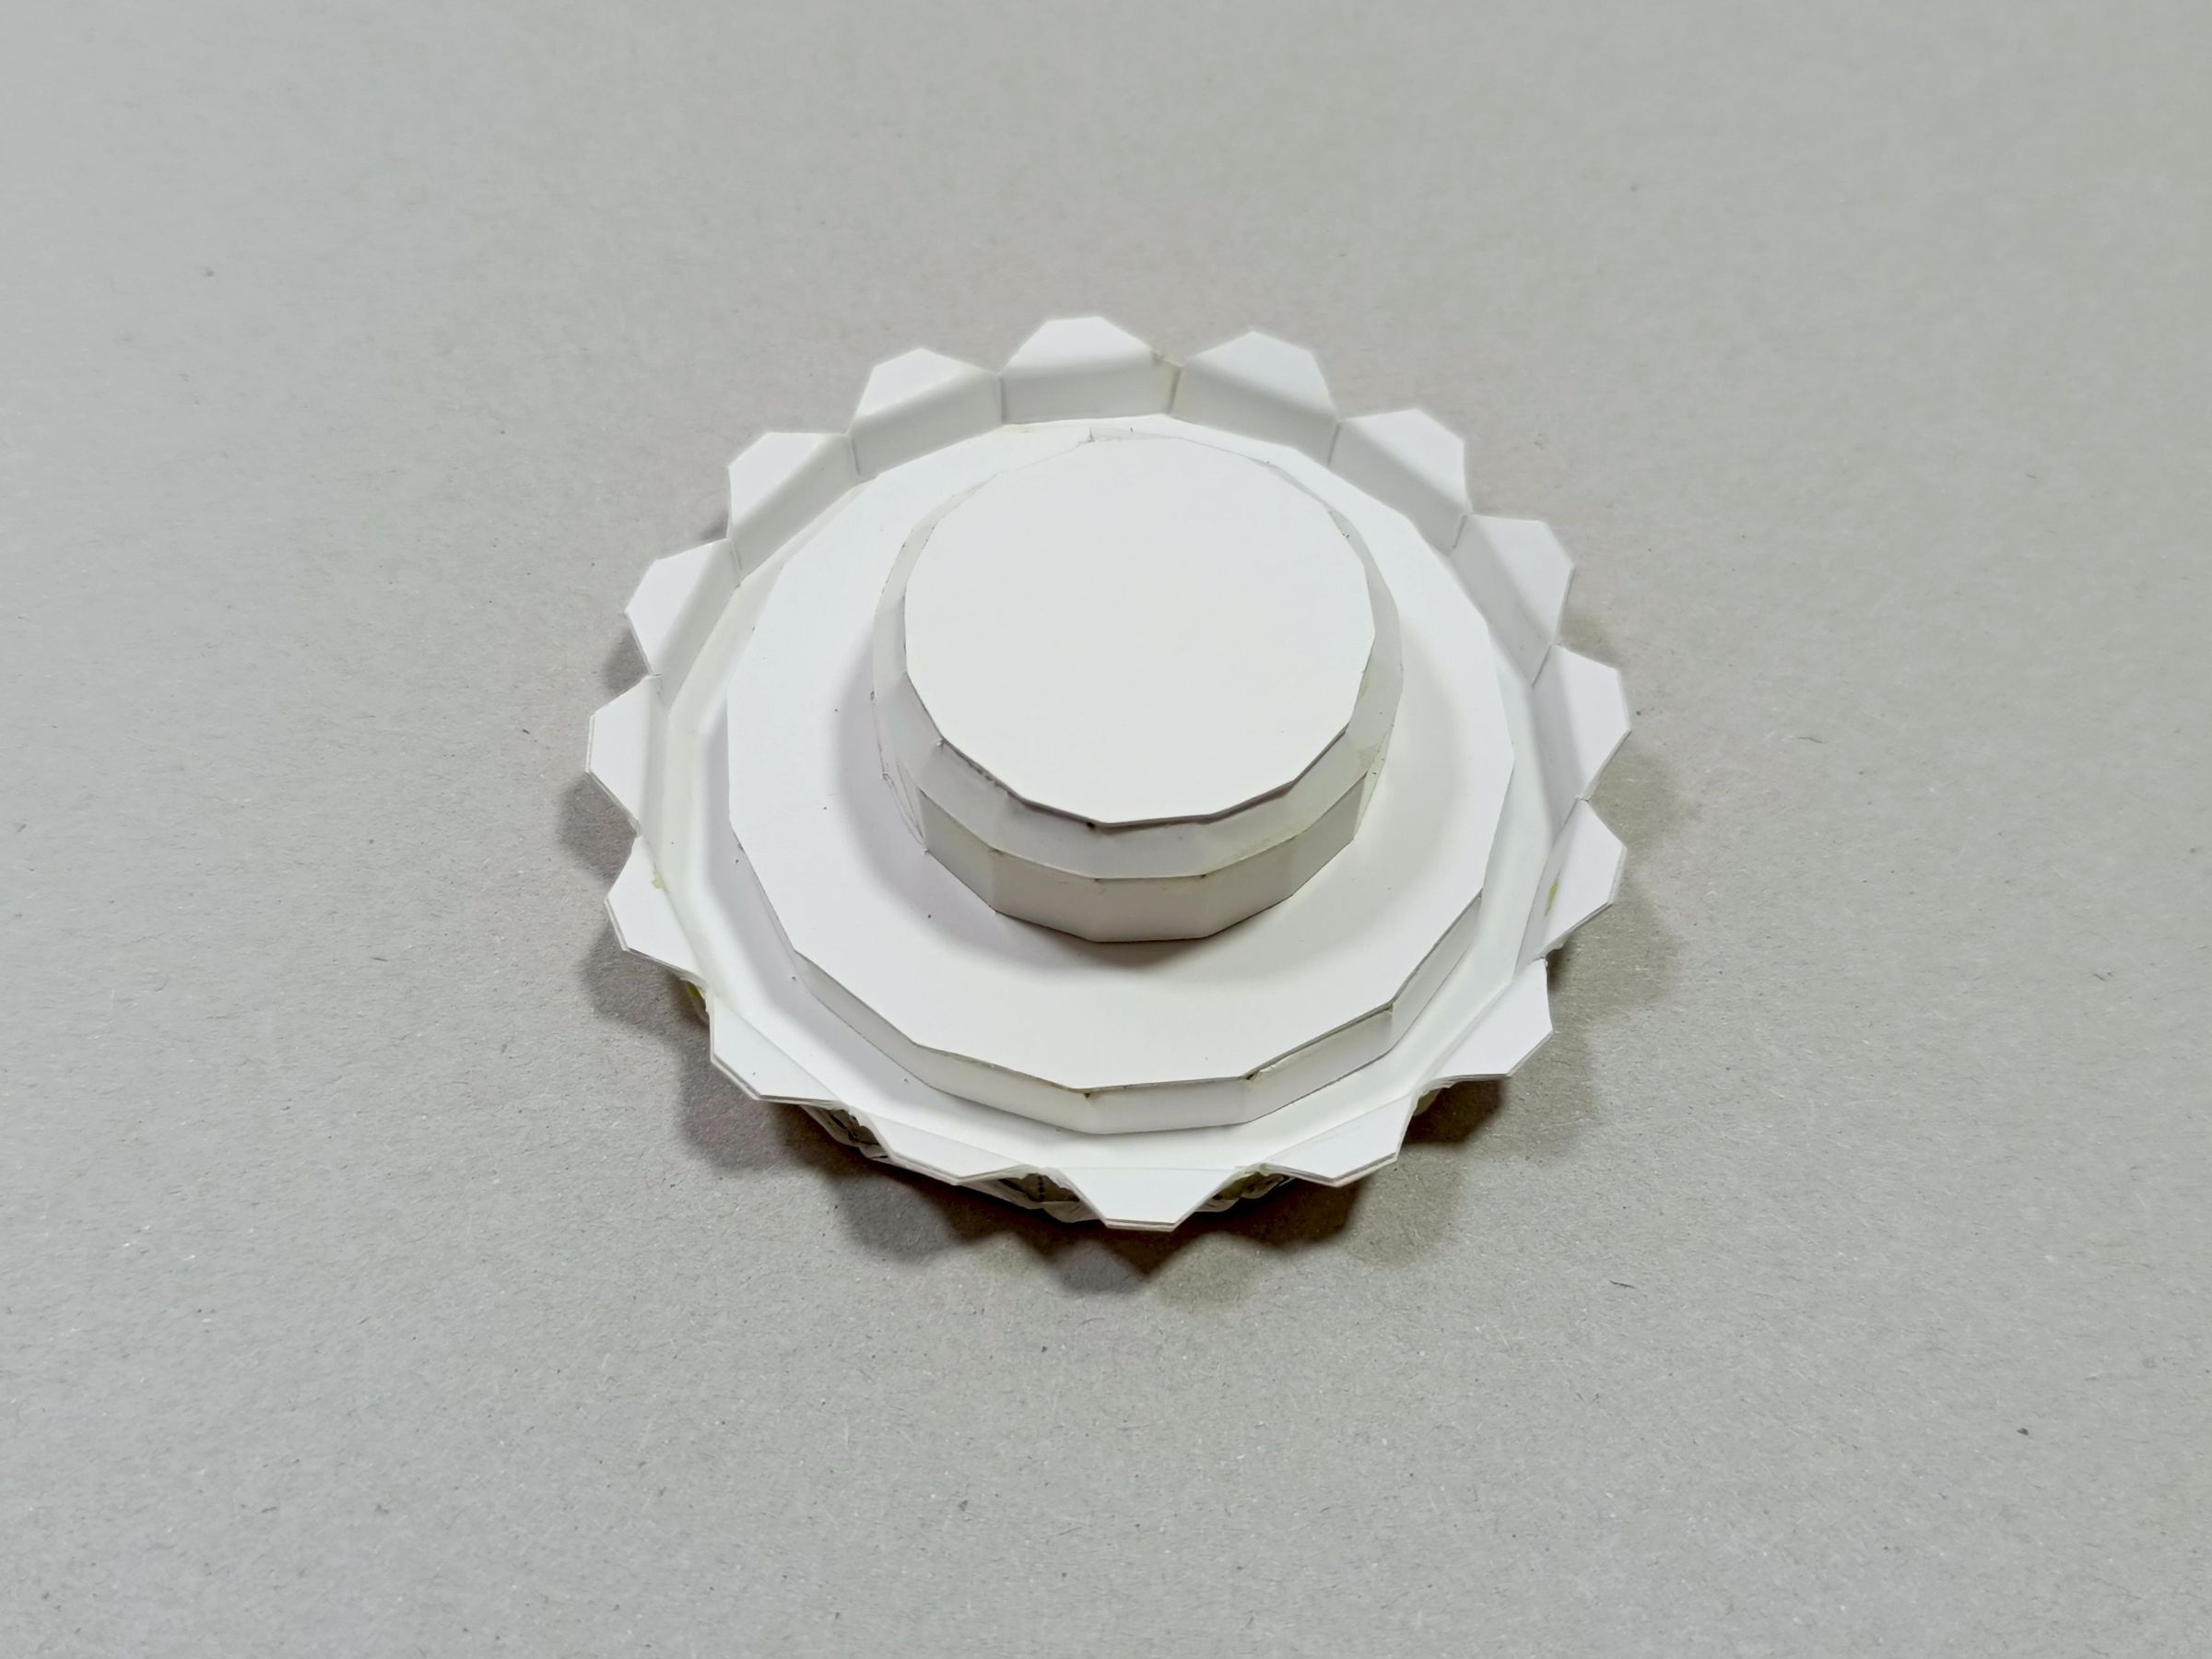
Then you will obtain the upper part corresponding to the positive terminal of the battery.
and it's ready to have the silver paint applied
Negative
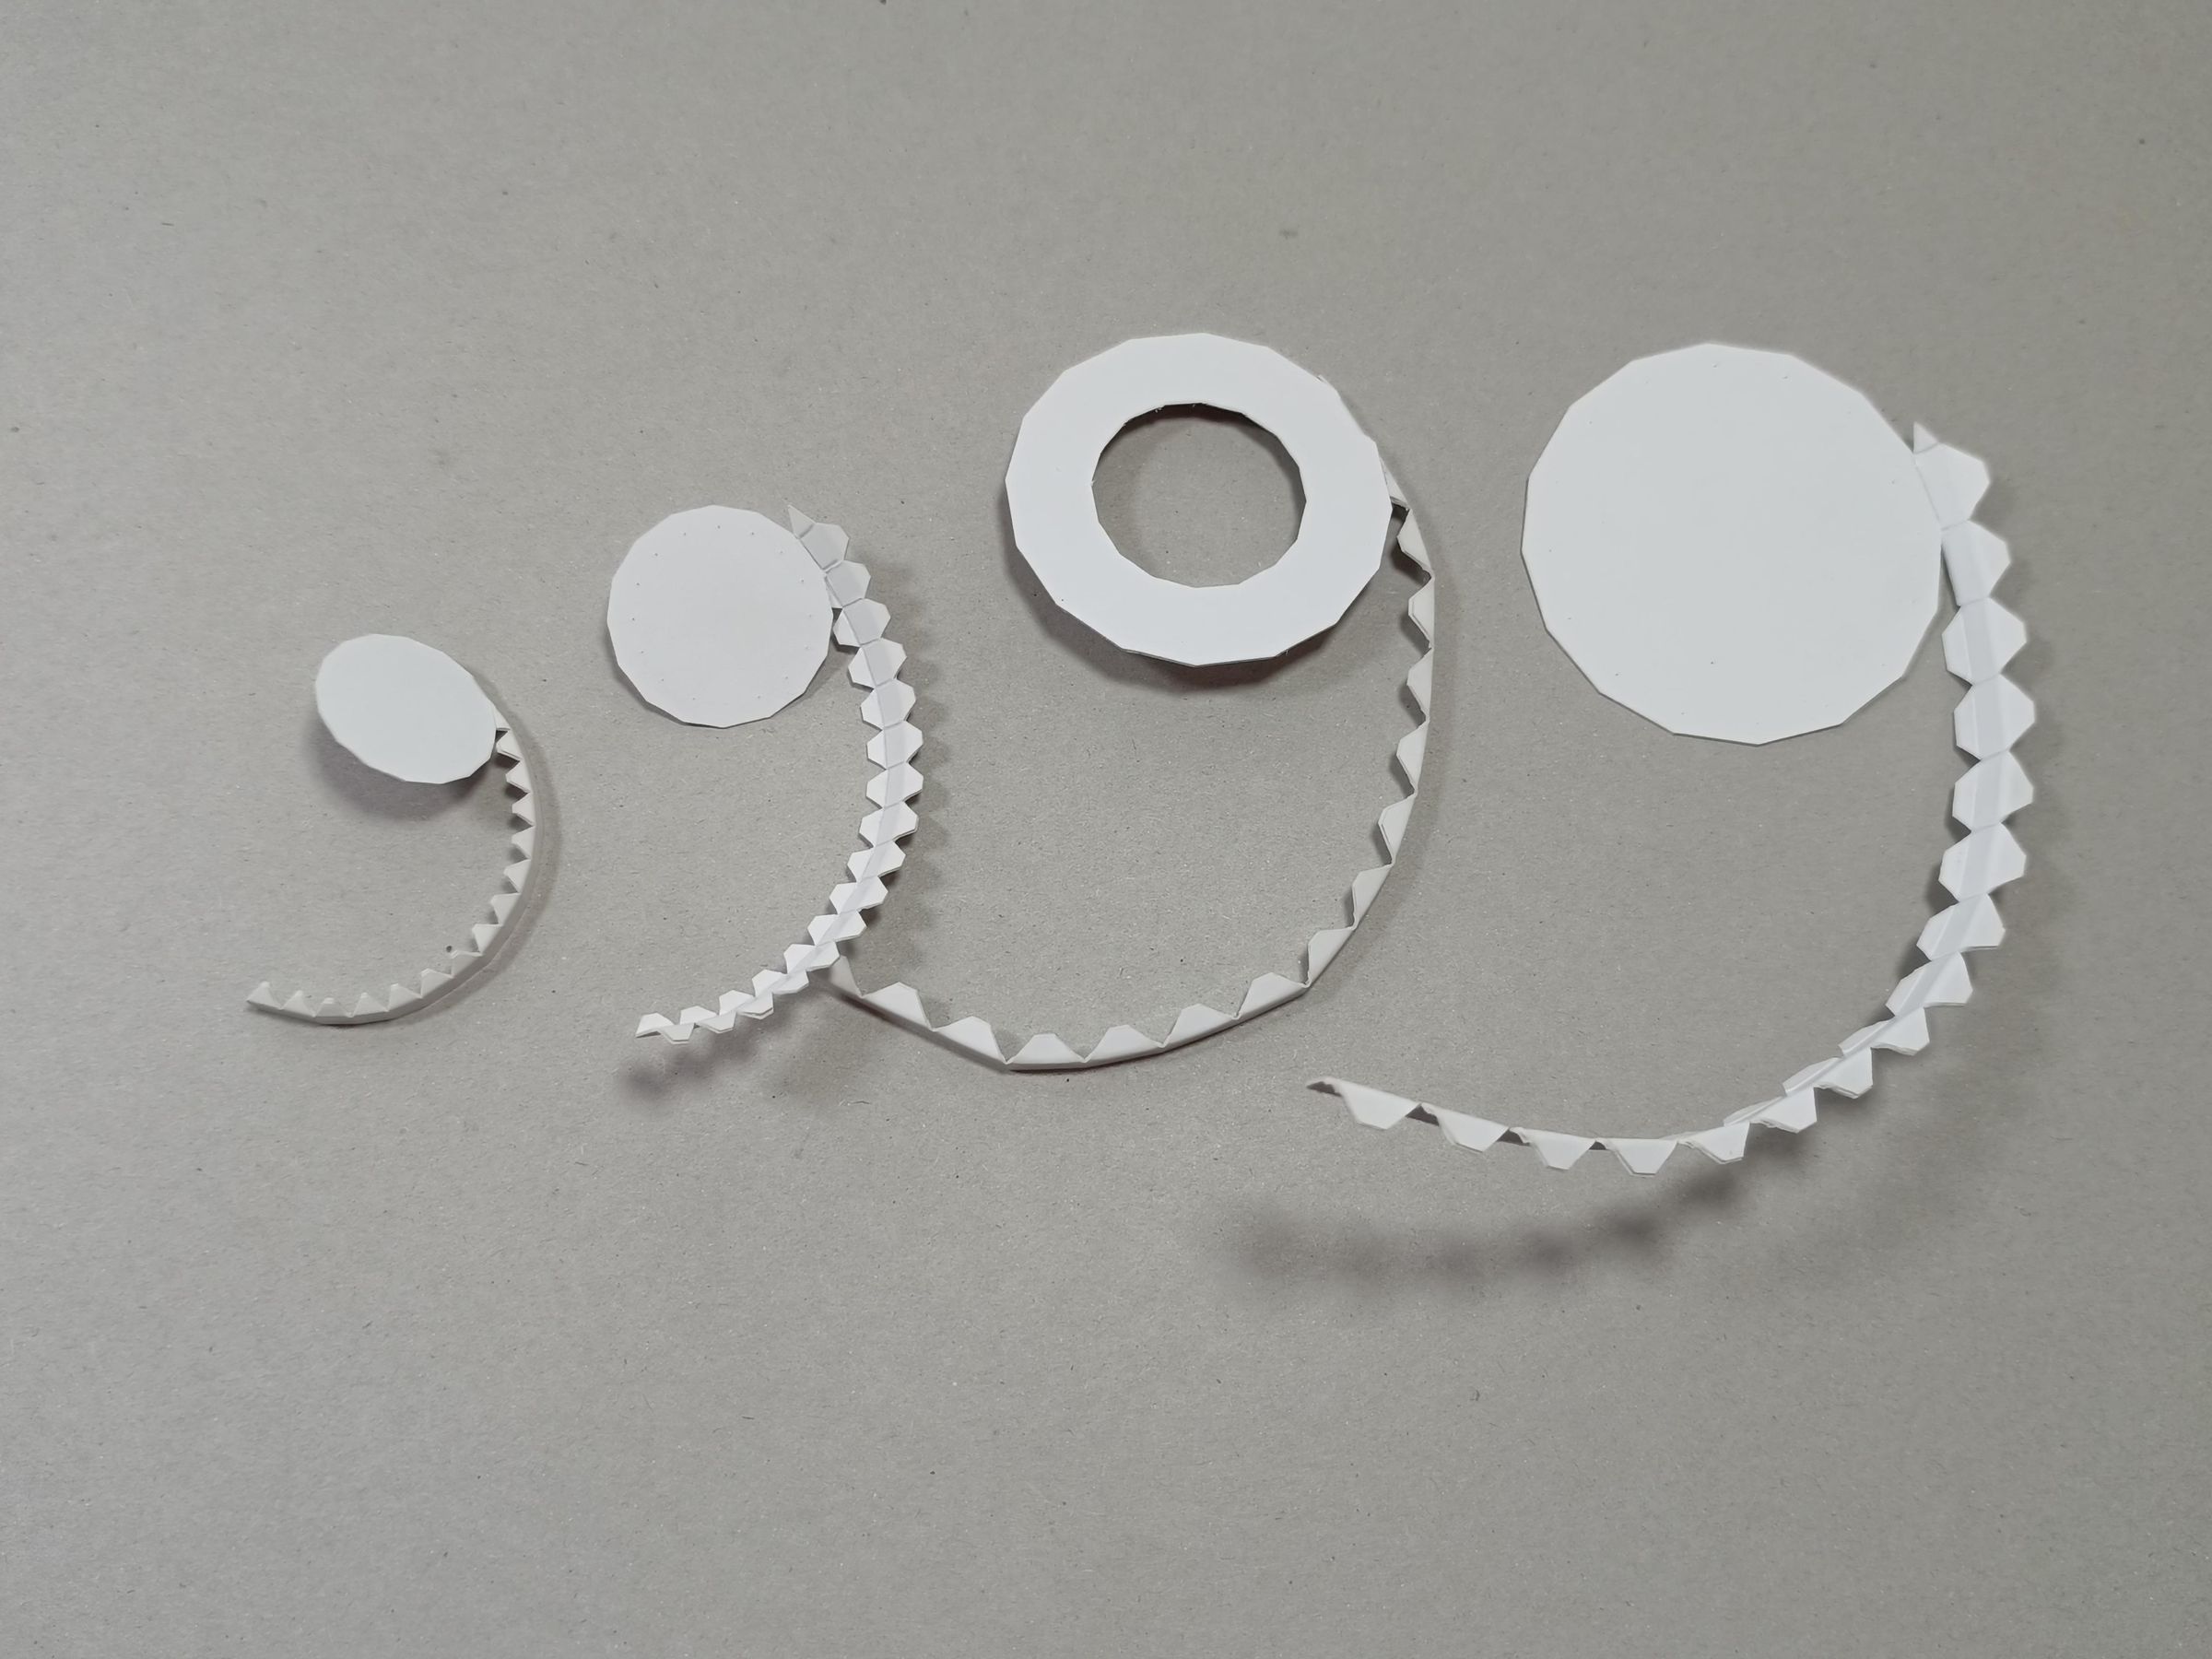
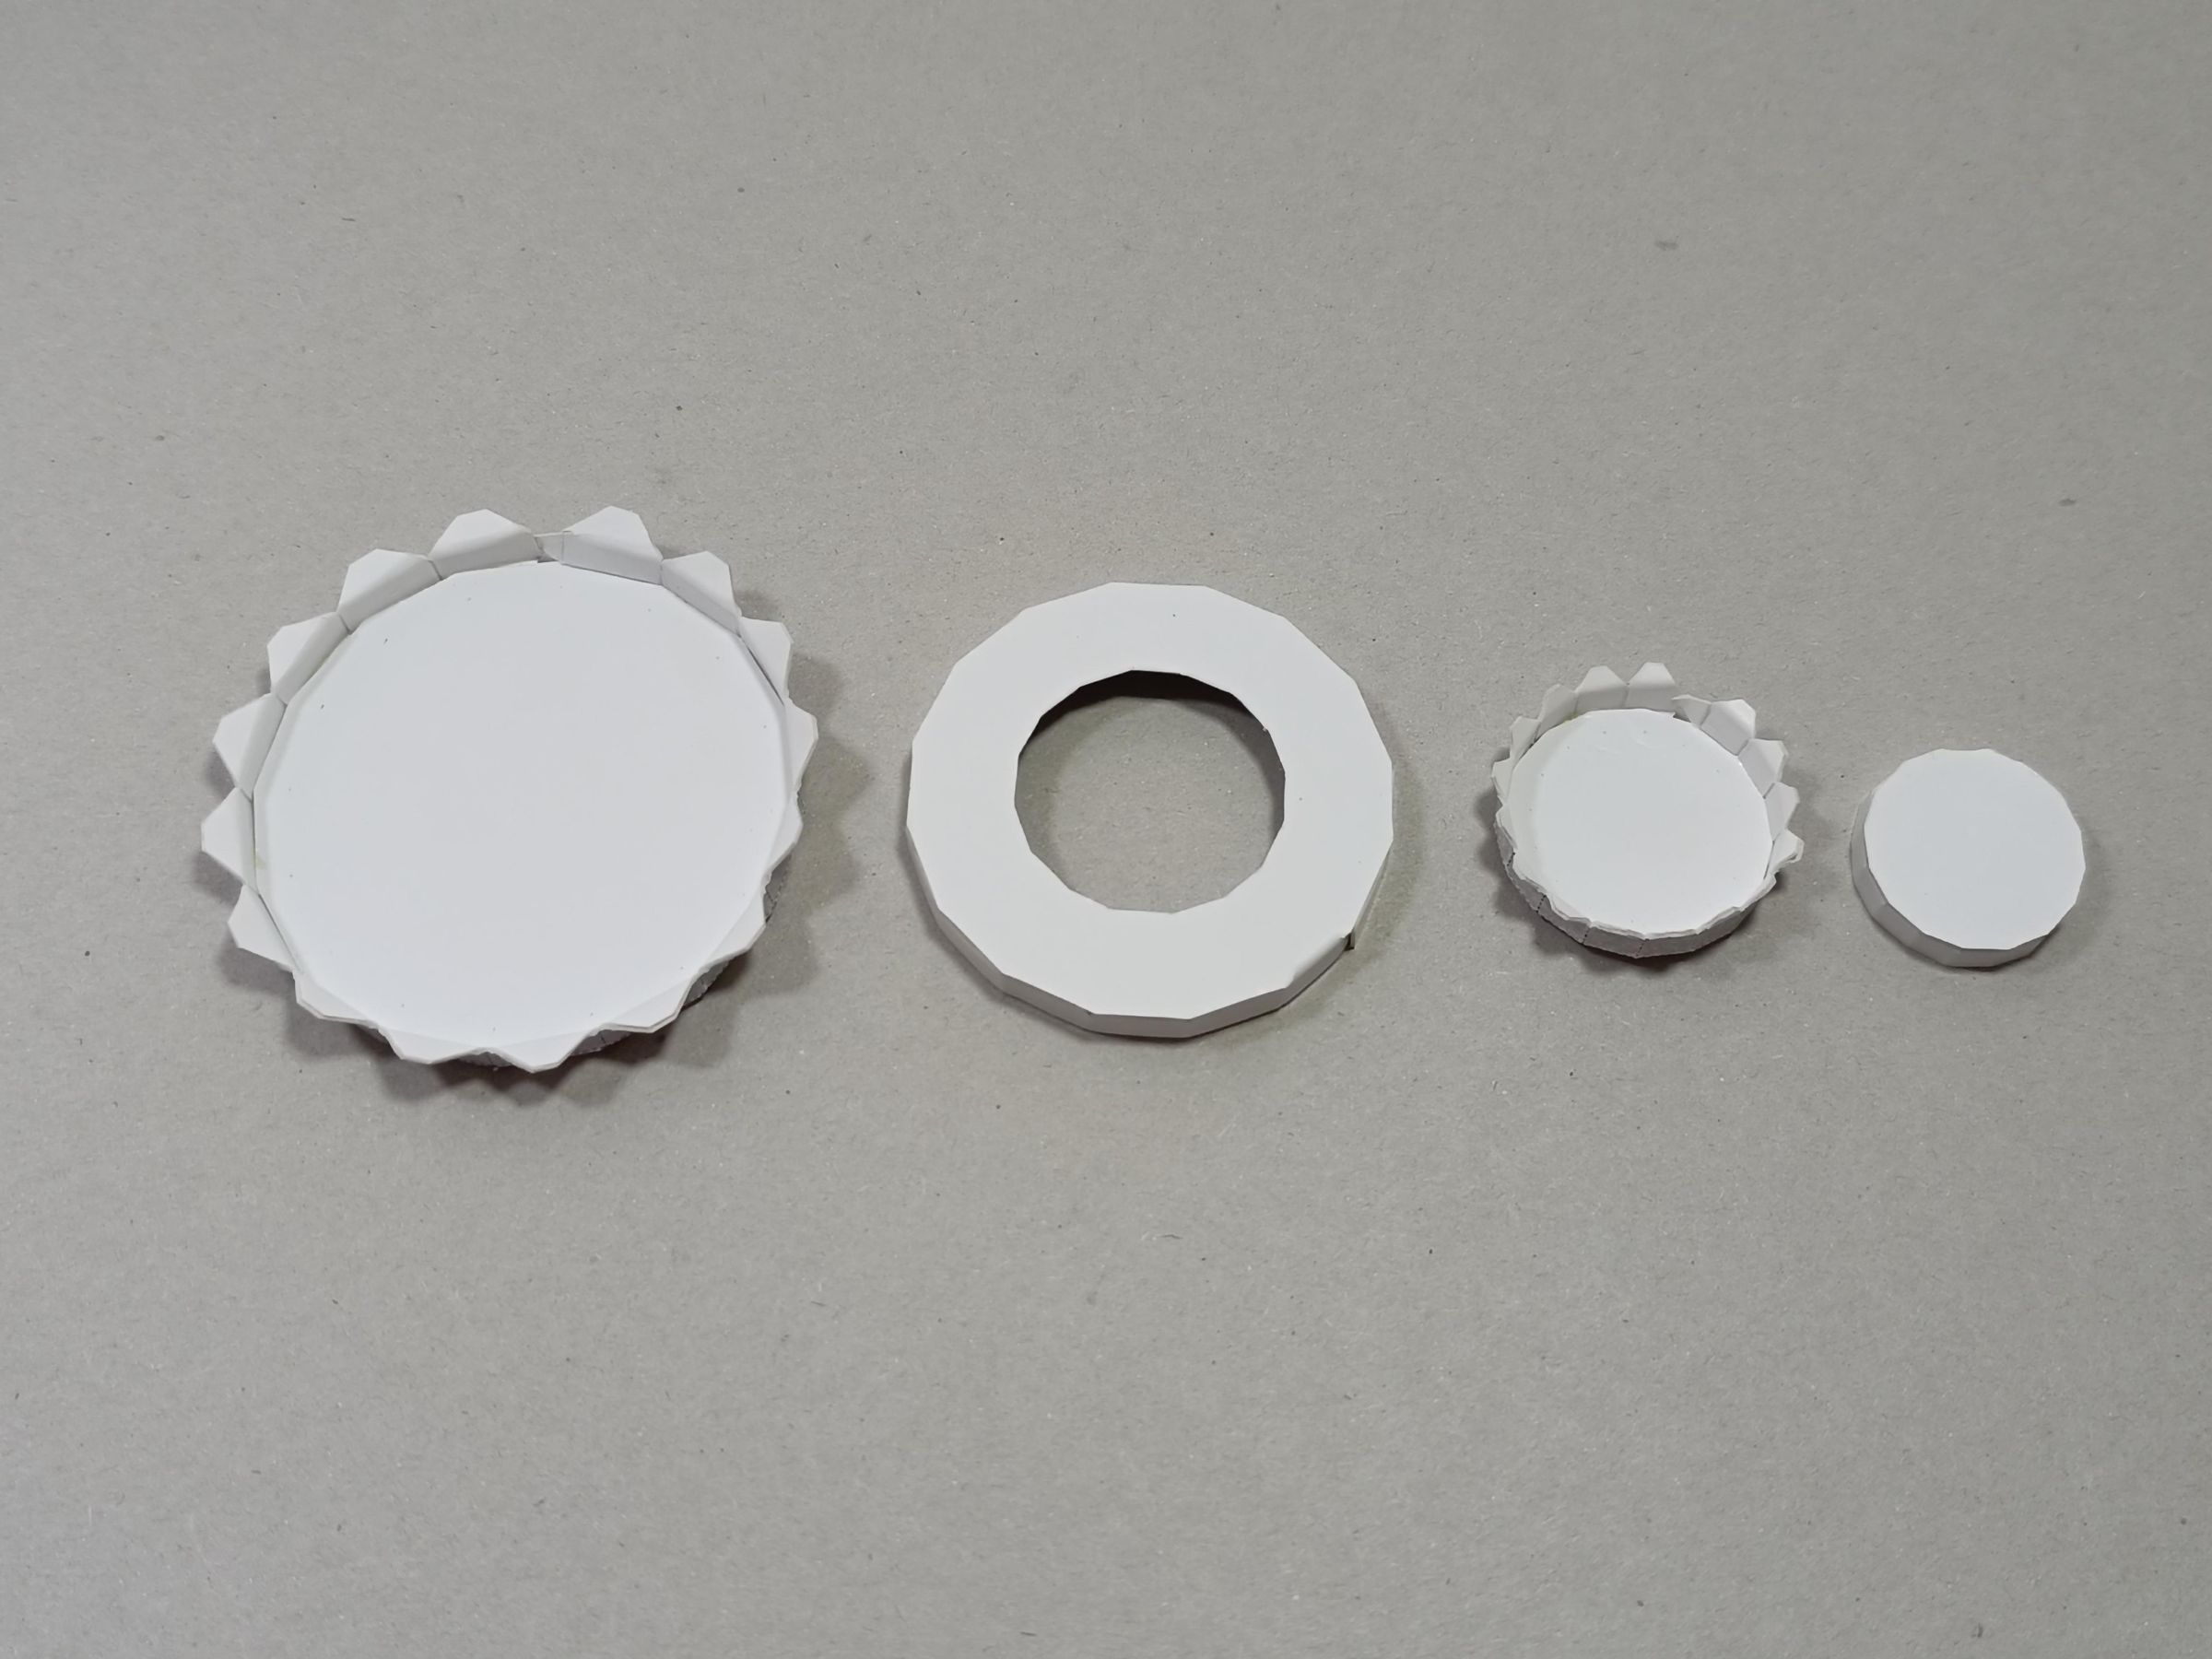
The negative is made up of 4 circular pieces that are assembled according to the image, from smallest to largest.
Positive & Negative Assembled
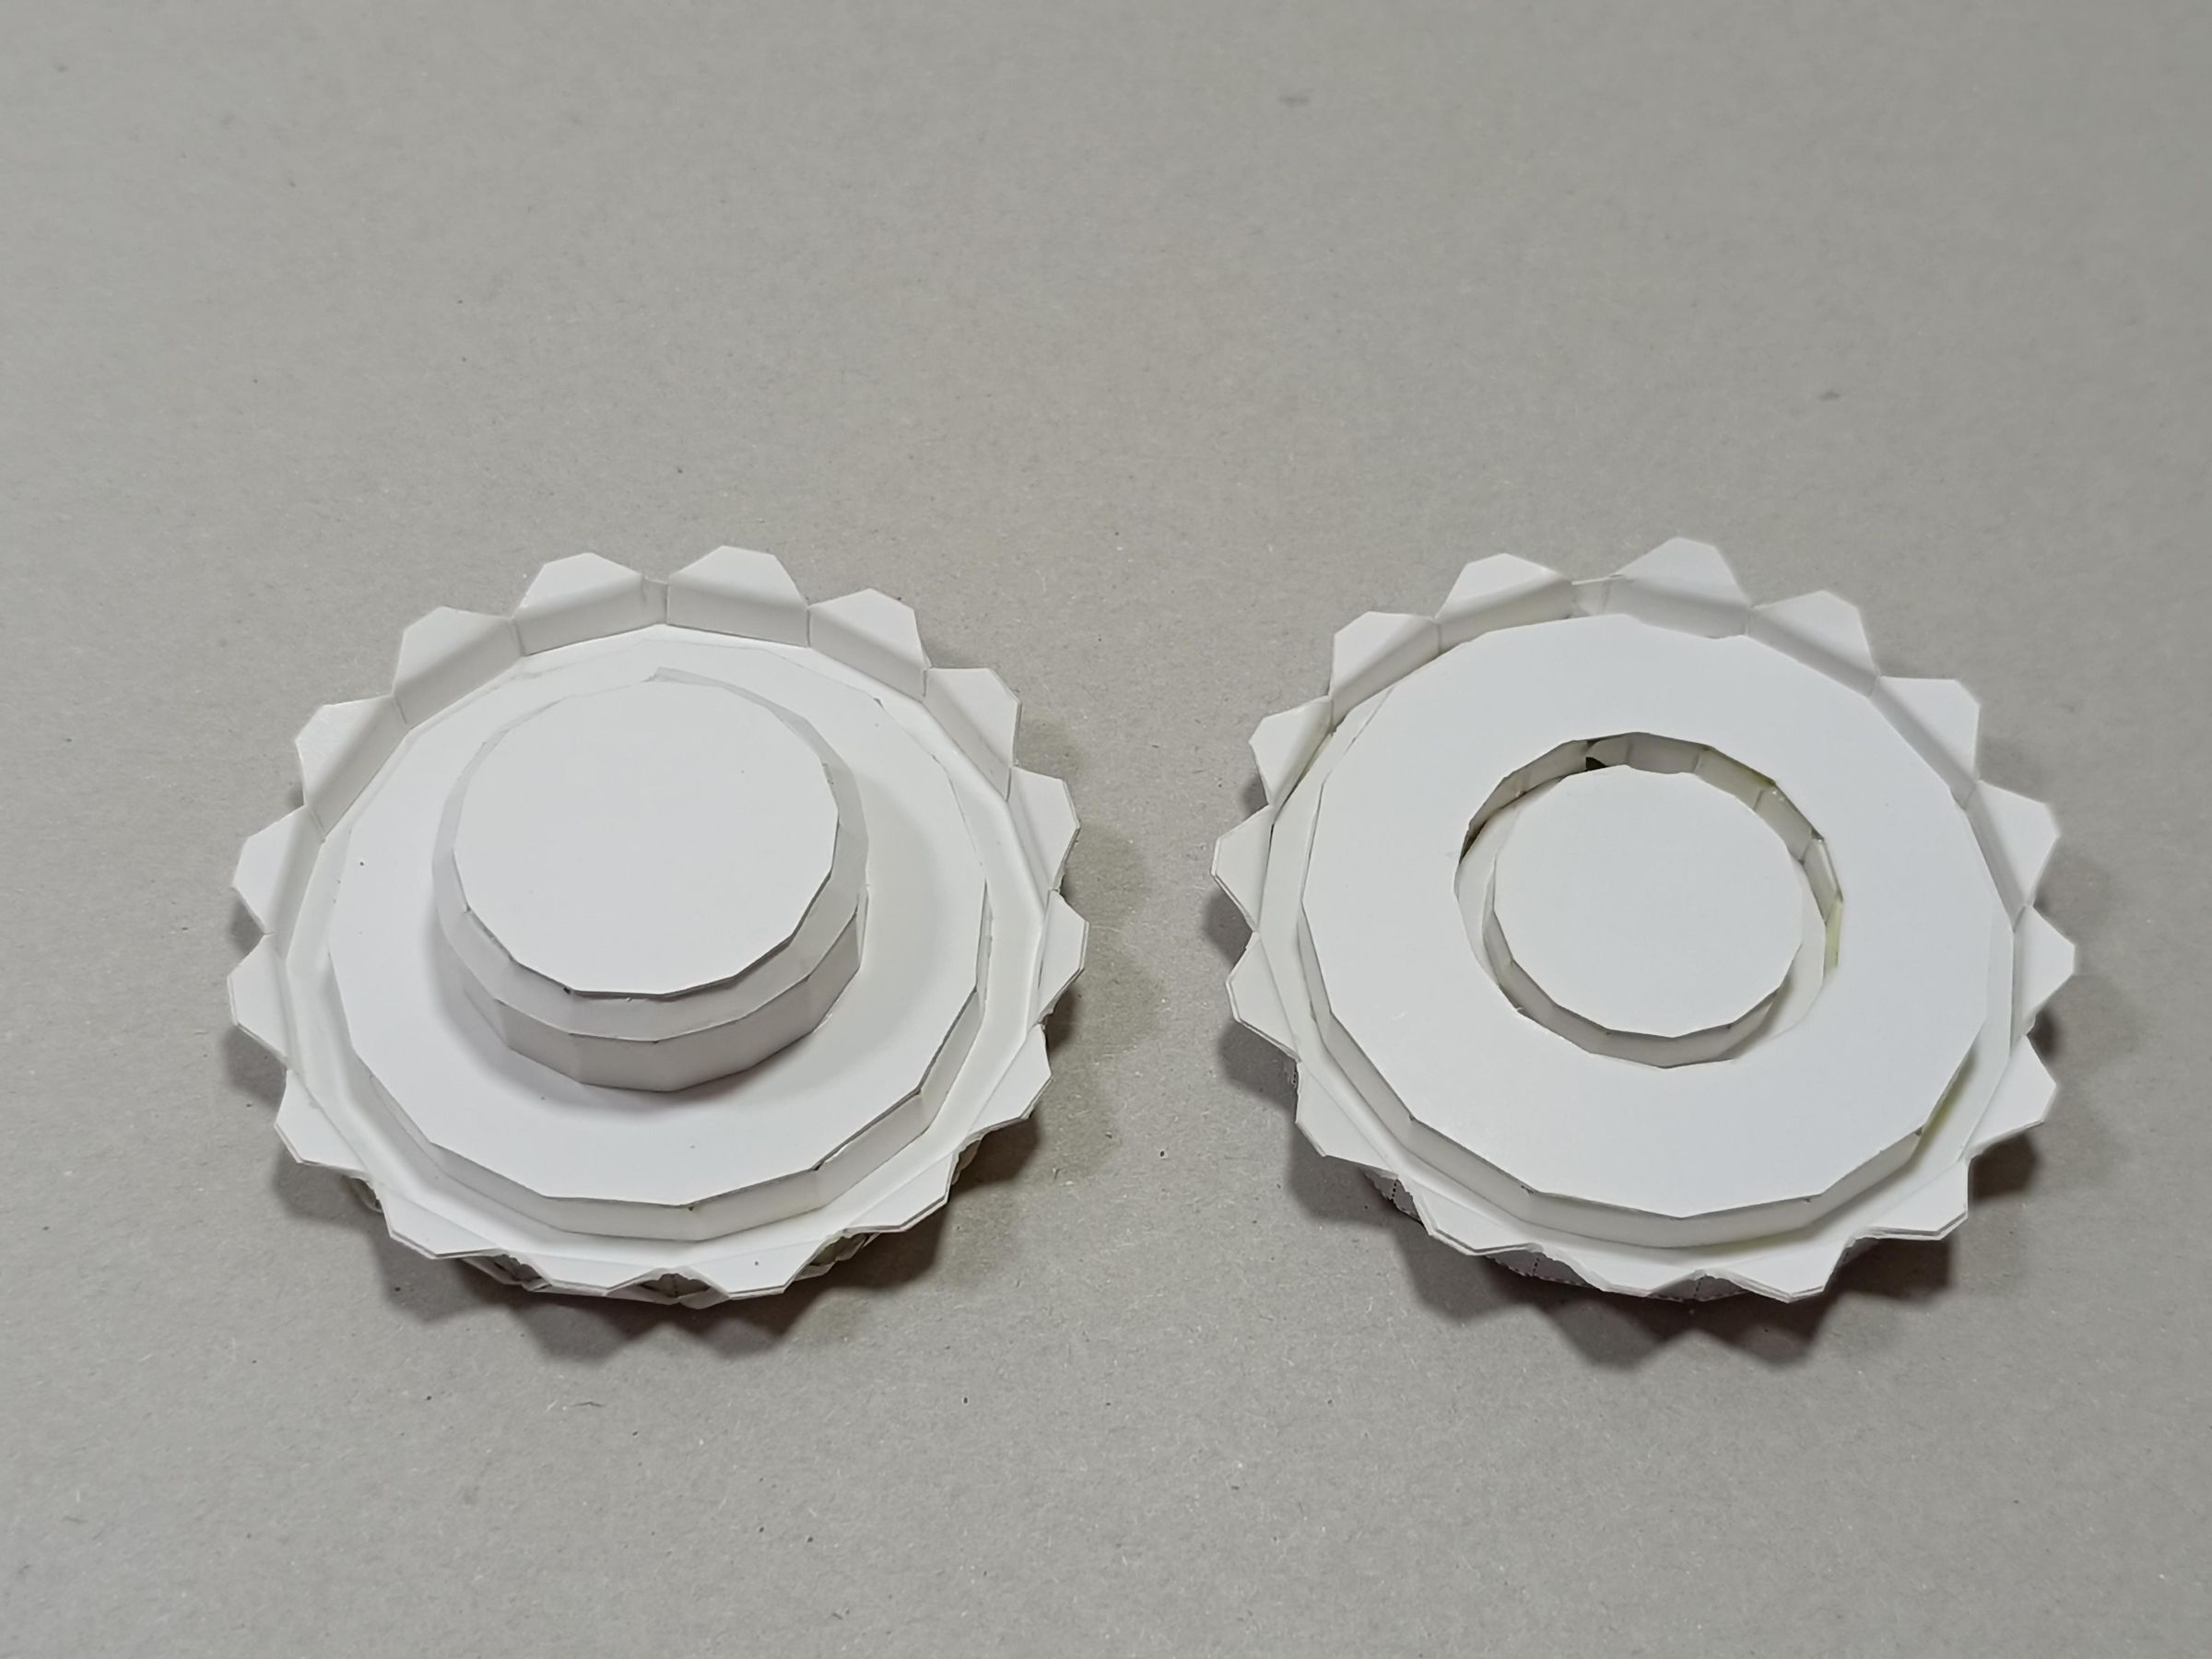
Here you can see how the upper and lower parts, which correspond to the positive and negative sides of the battery, are assembled.
Final Parts
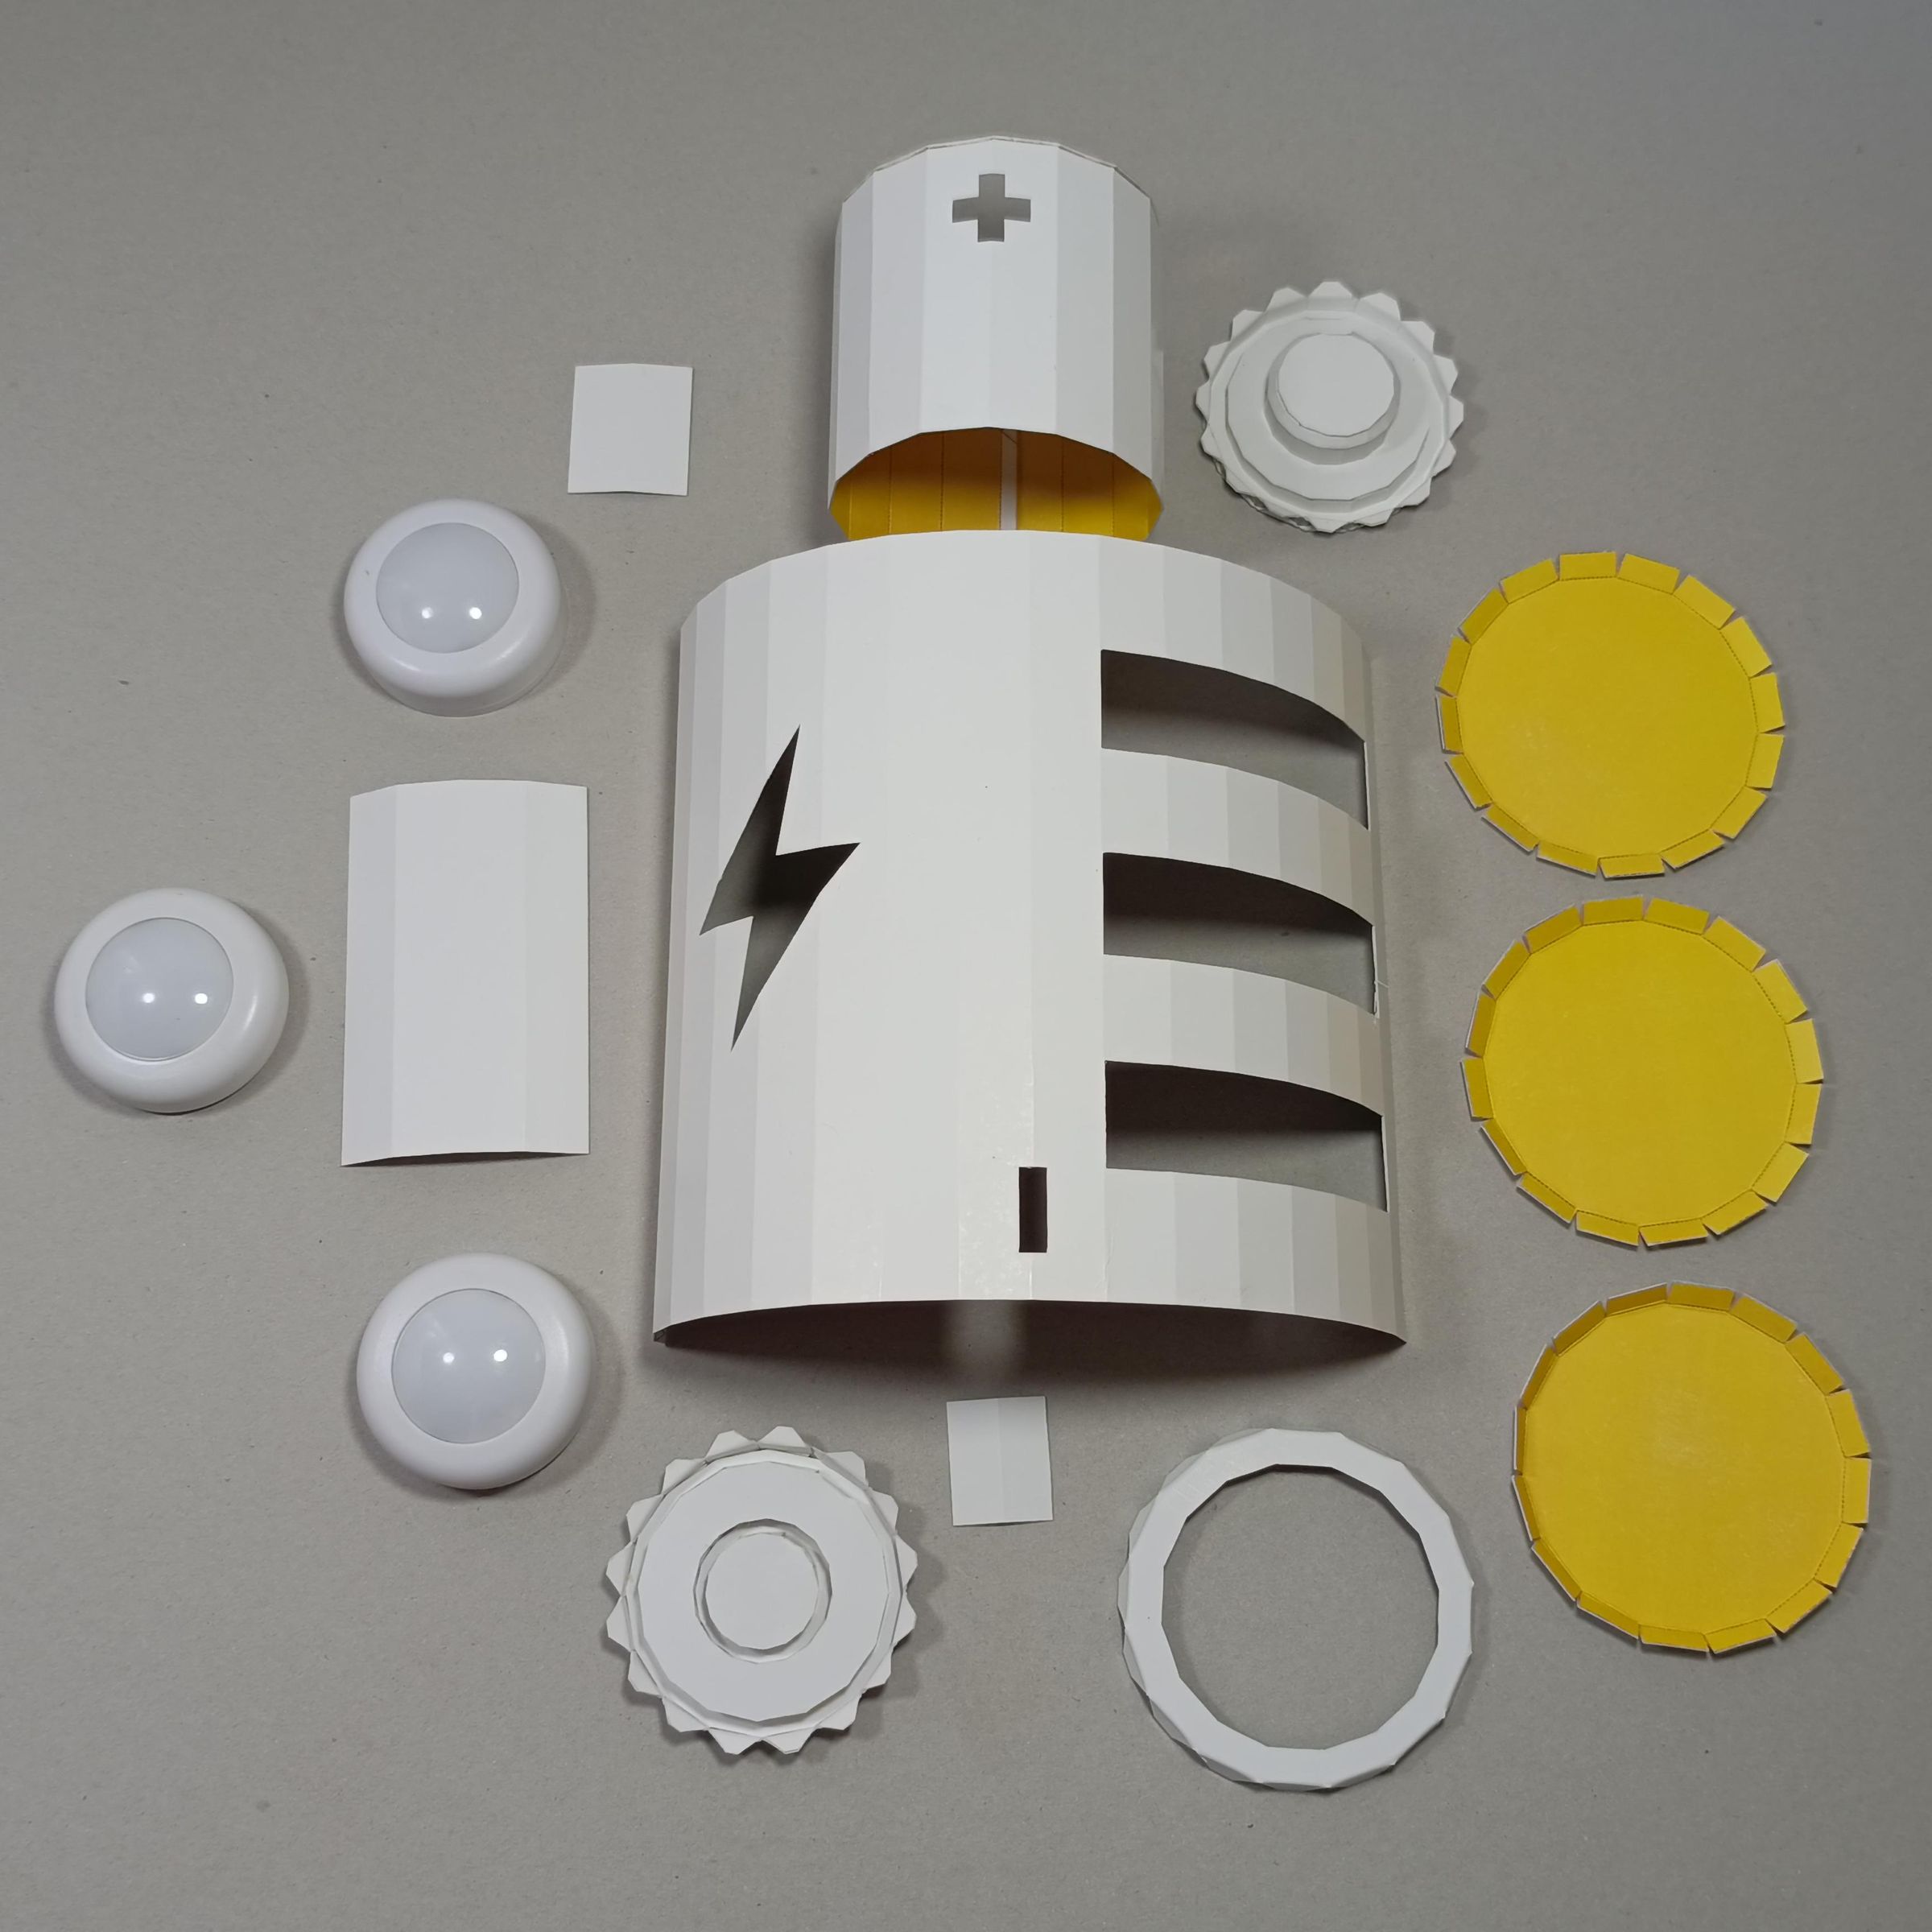
In the end, you need to have all the pieces in this image, to proceed with the painting and then the assembly.
Paint
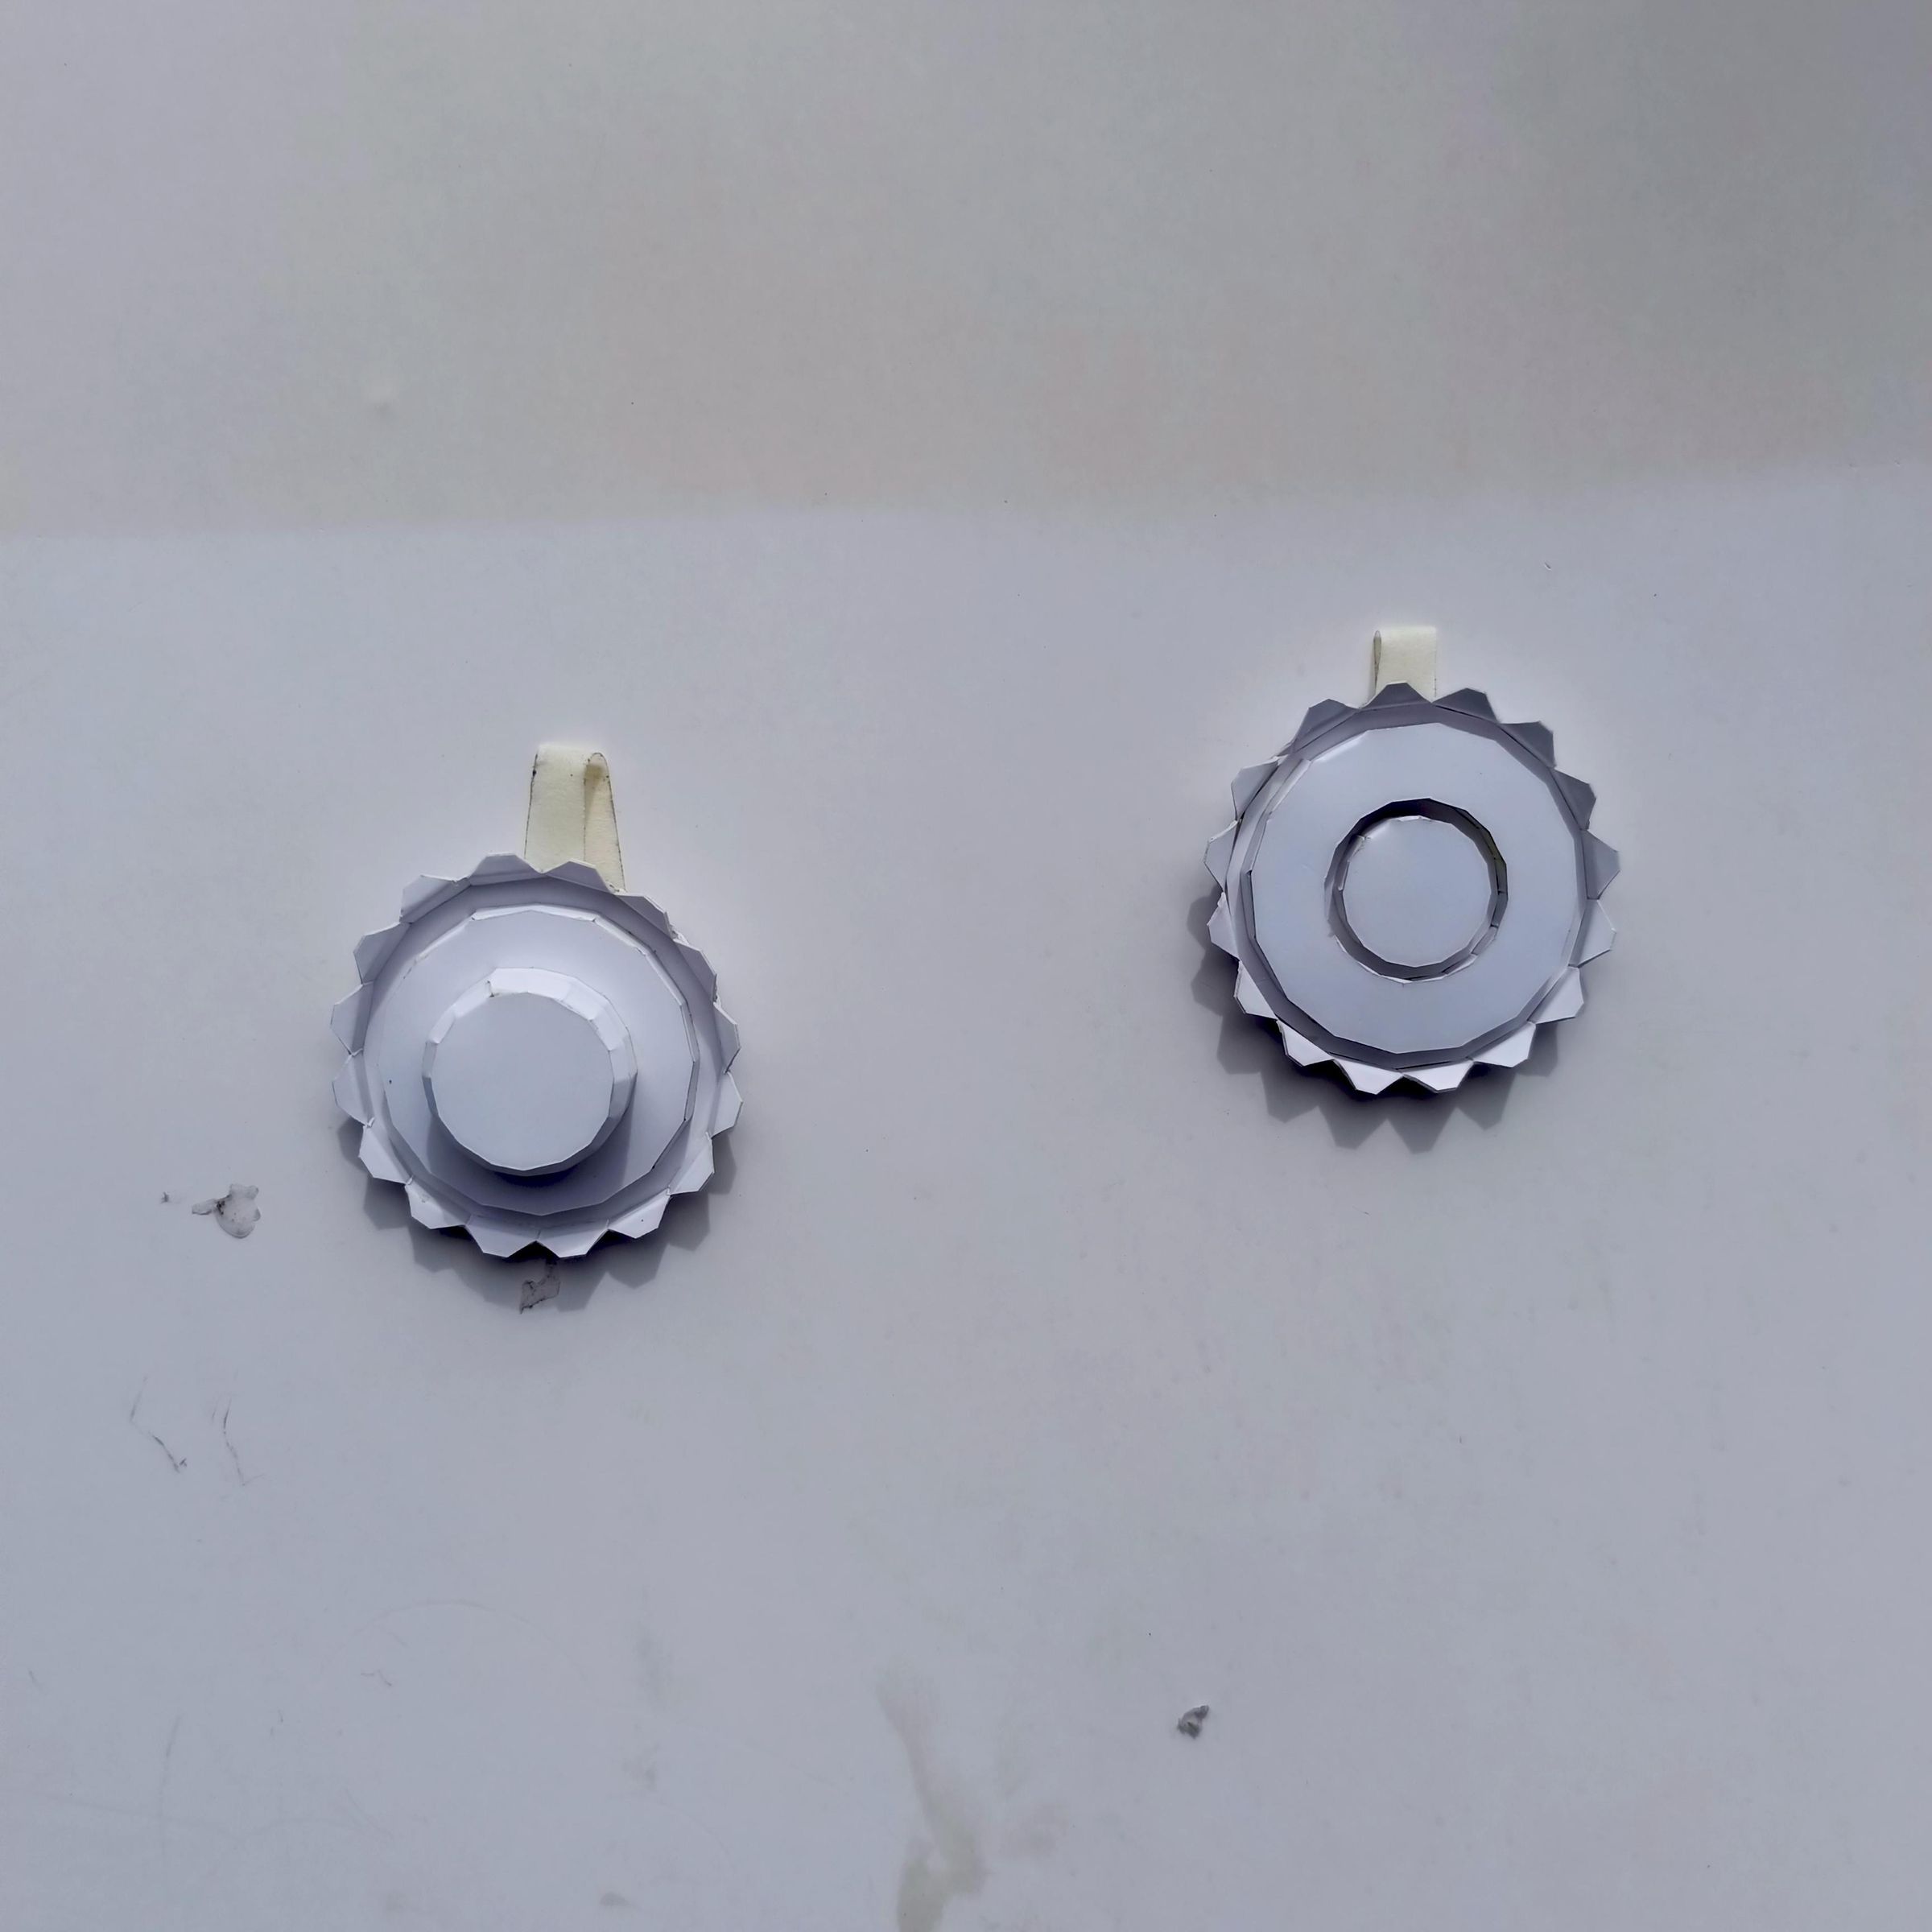
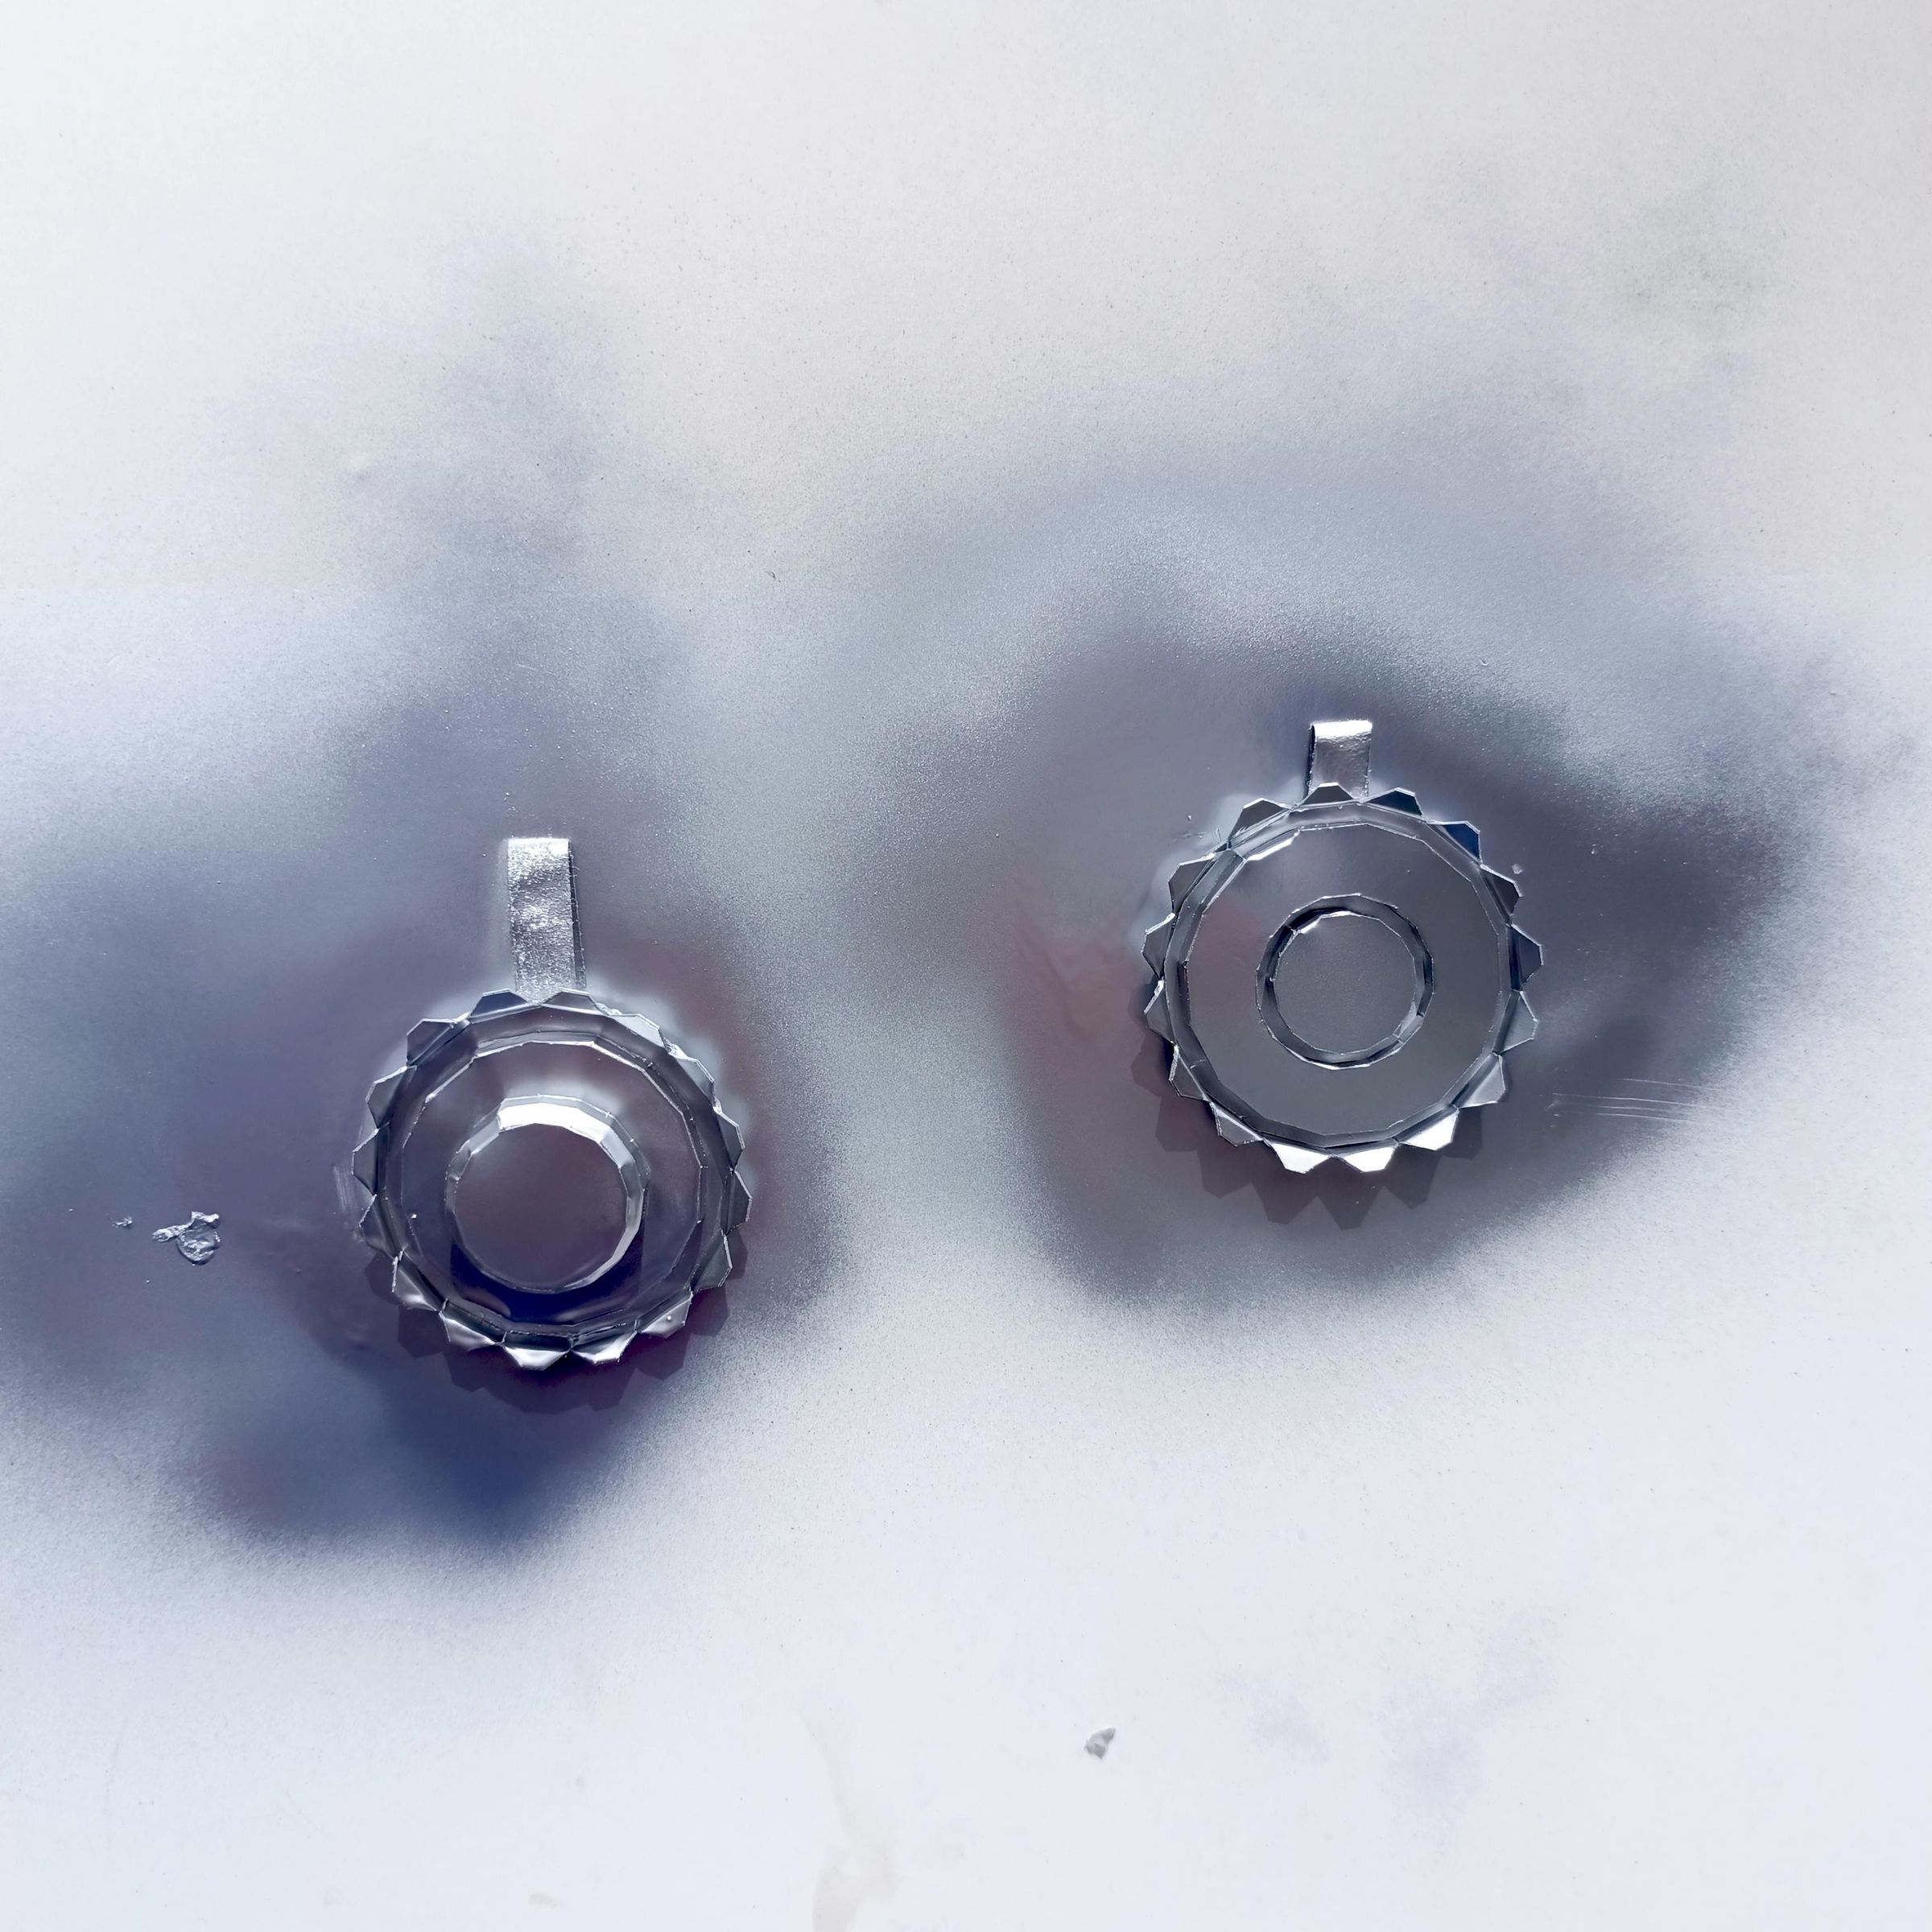
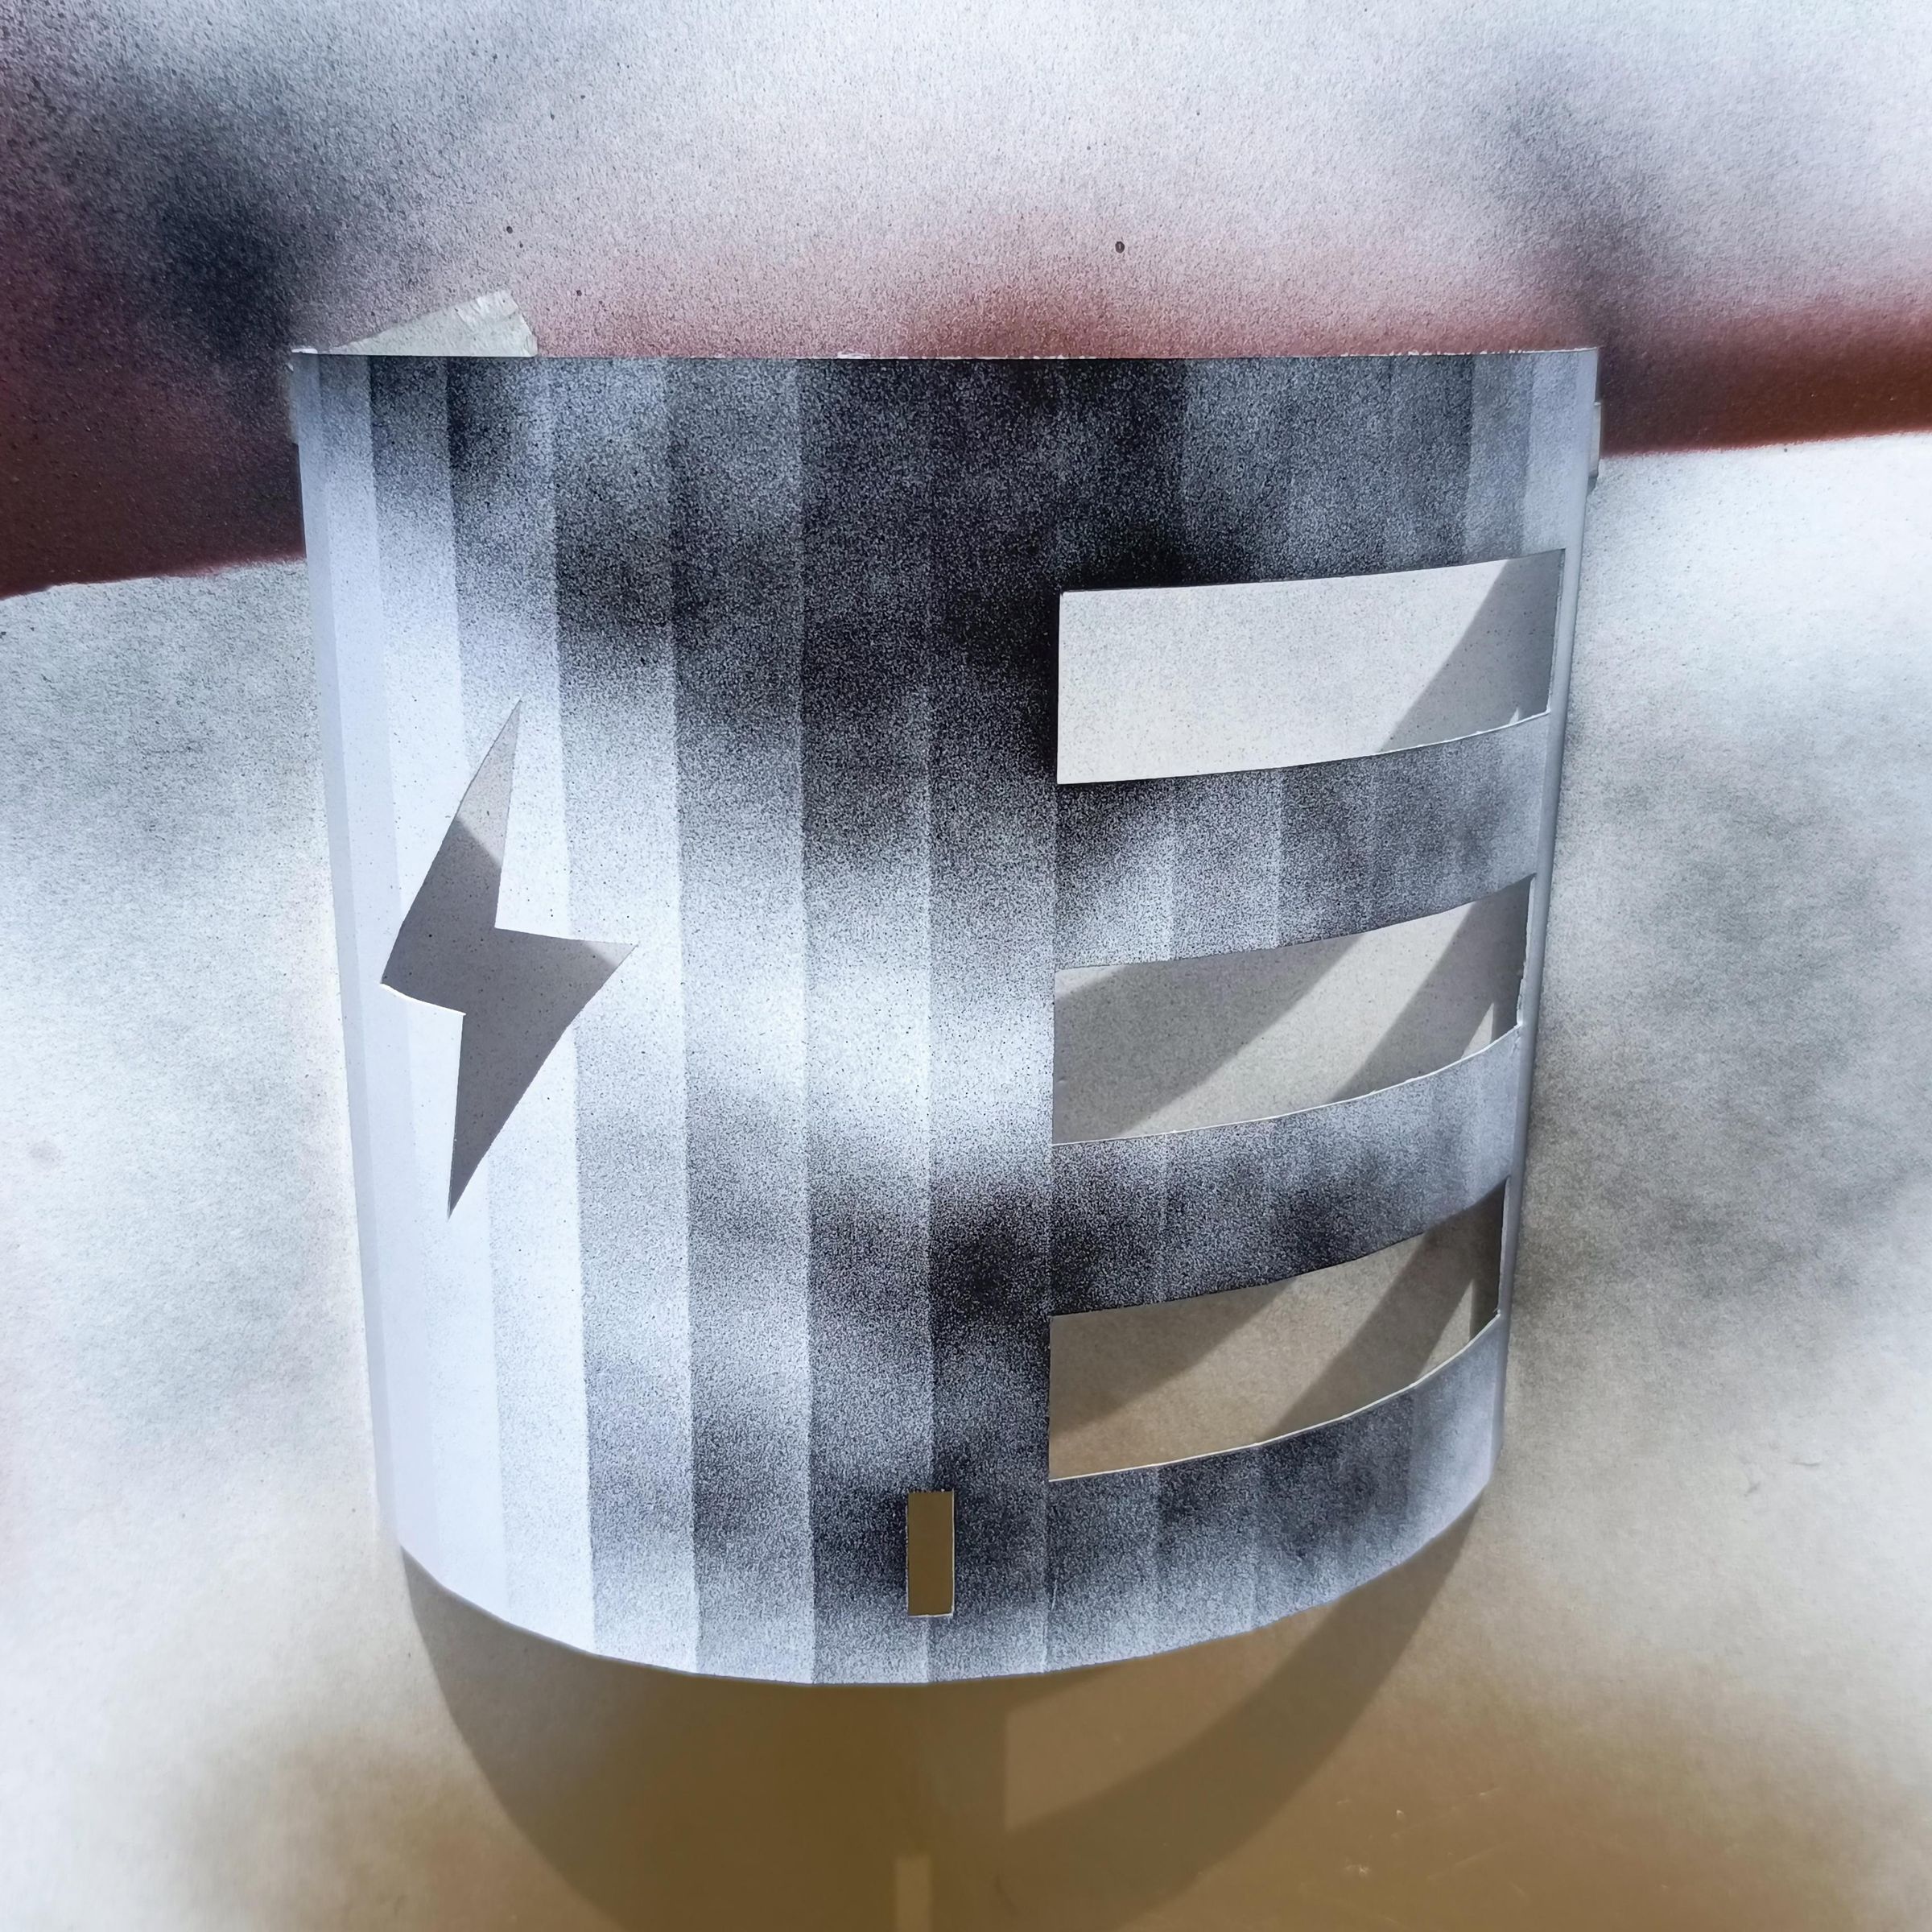
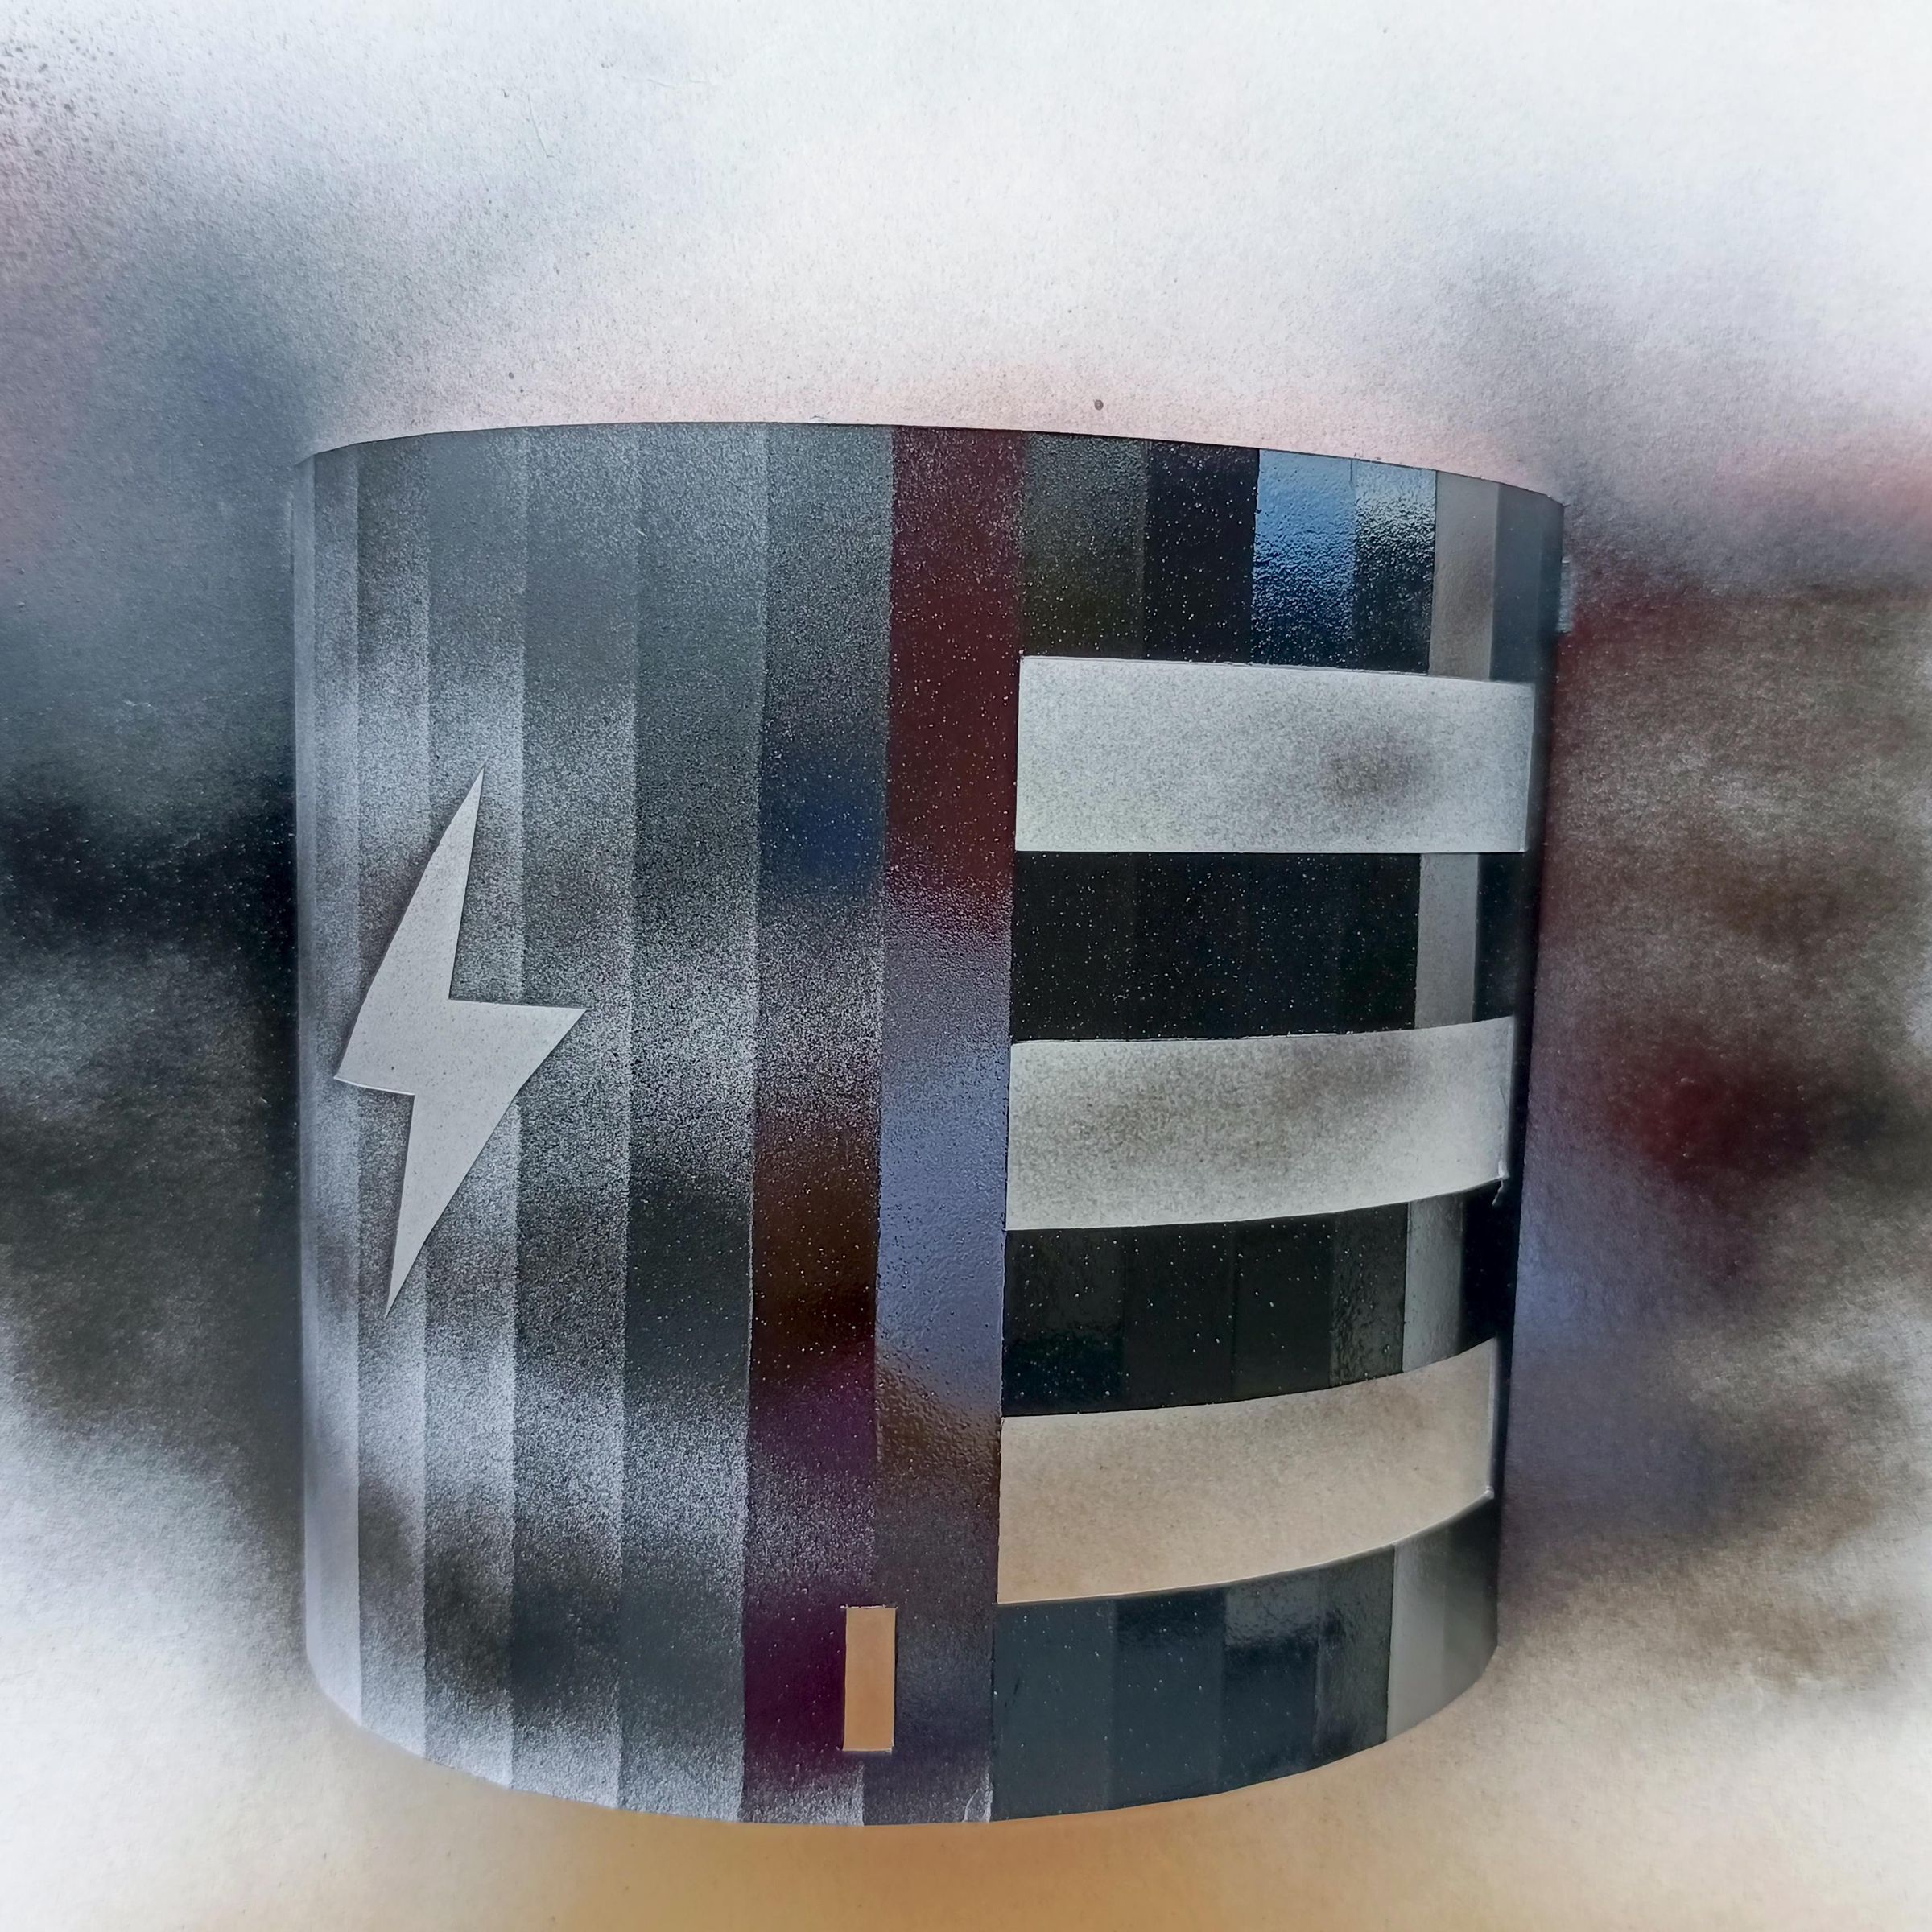
I will paint each part with the most characteristic colors that represent batteries in the world, its positive side in gold and its negative side in black, although you can paint it in any colors you want or with the brand that is most representative to you in the vast world of batteries that exist.
Inner Panels
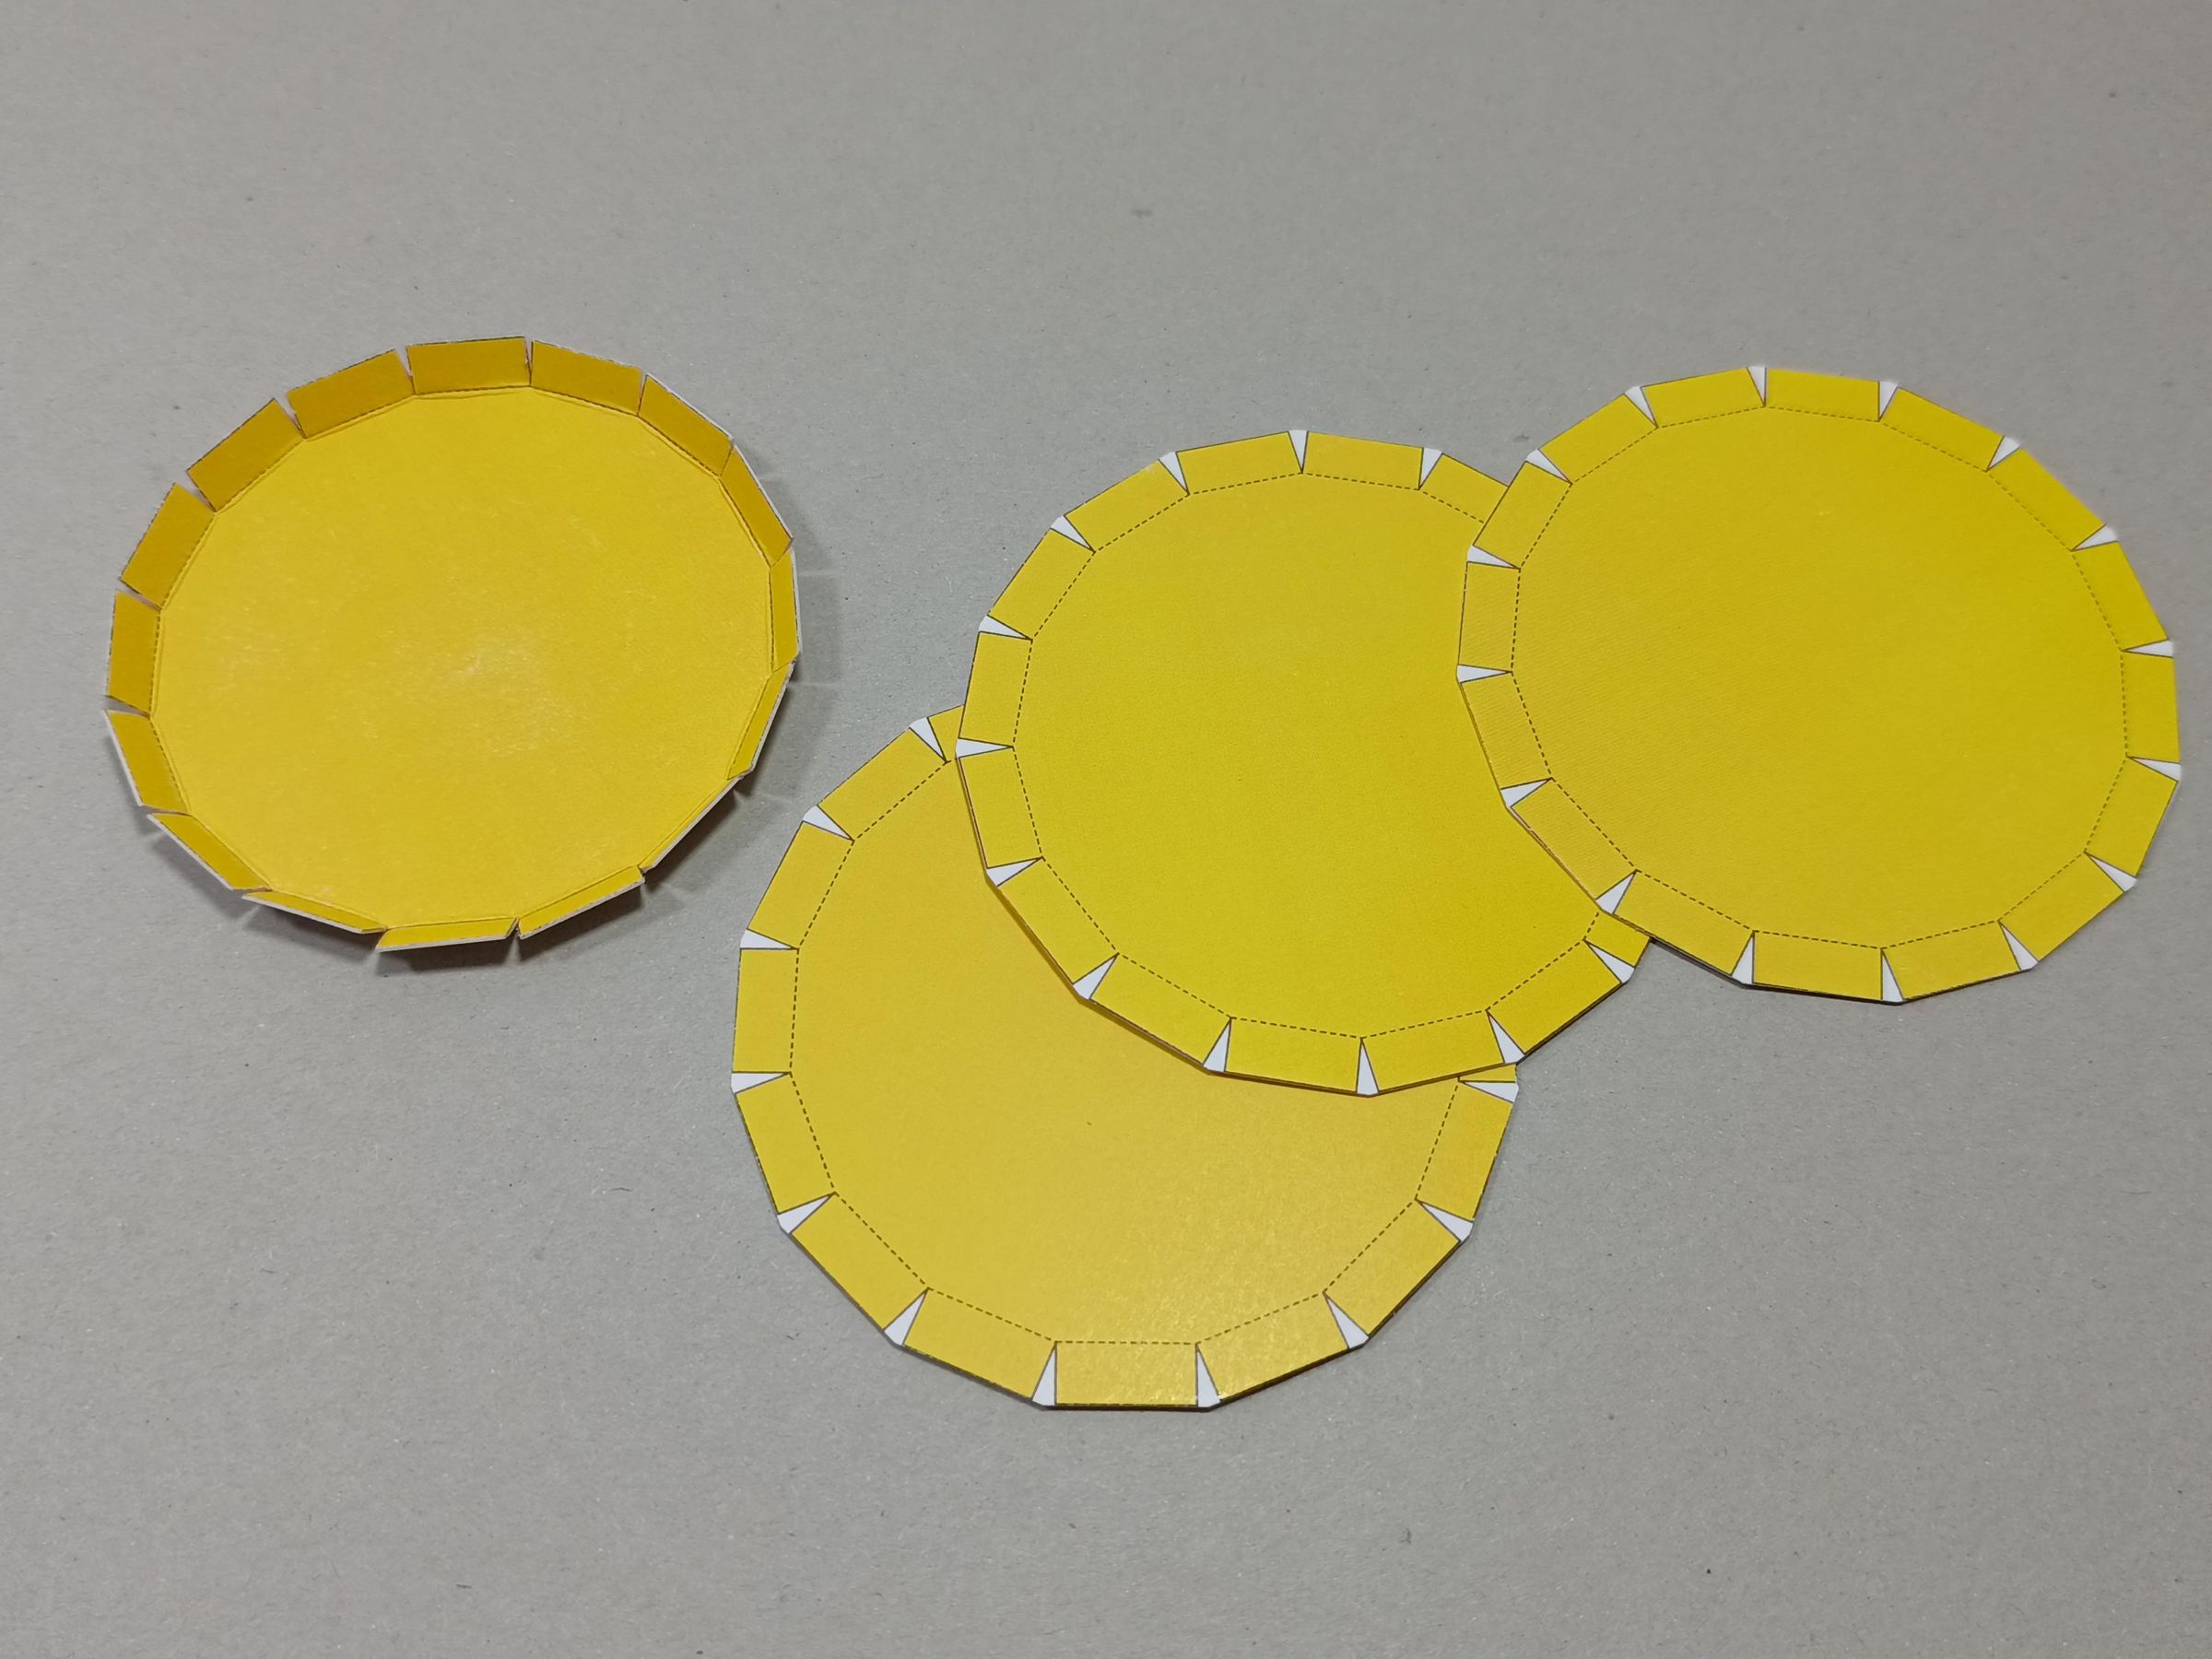
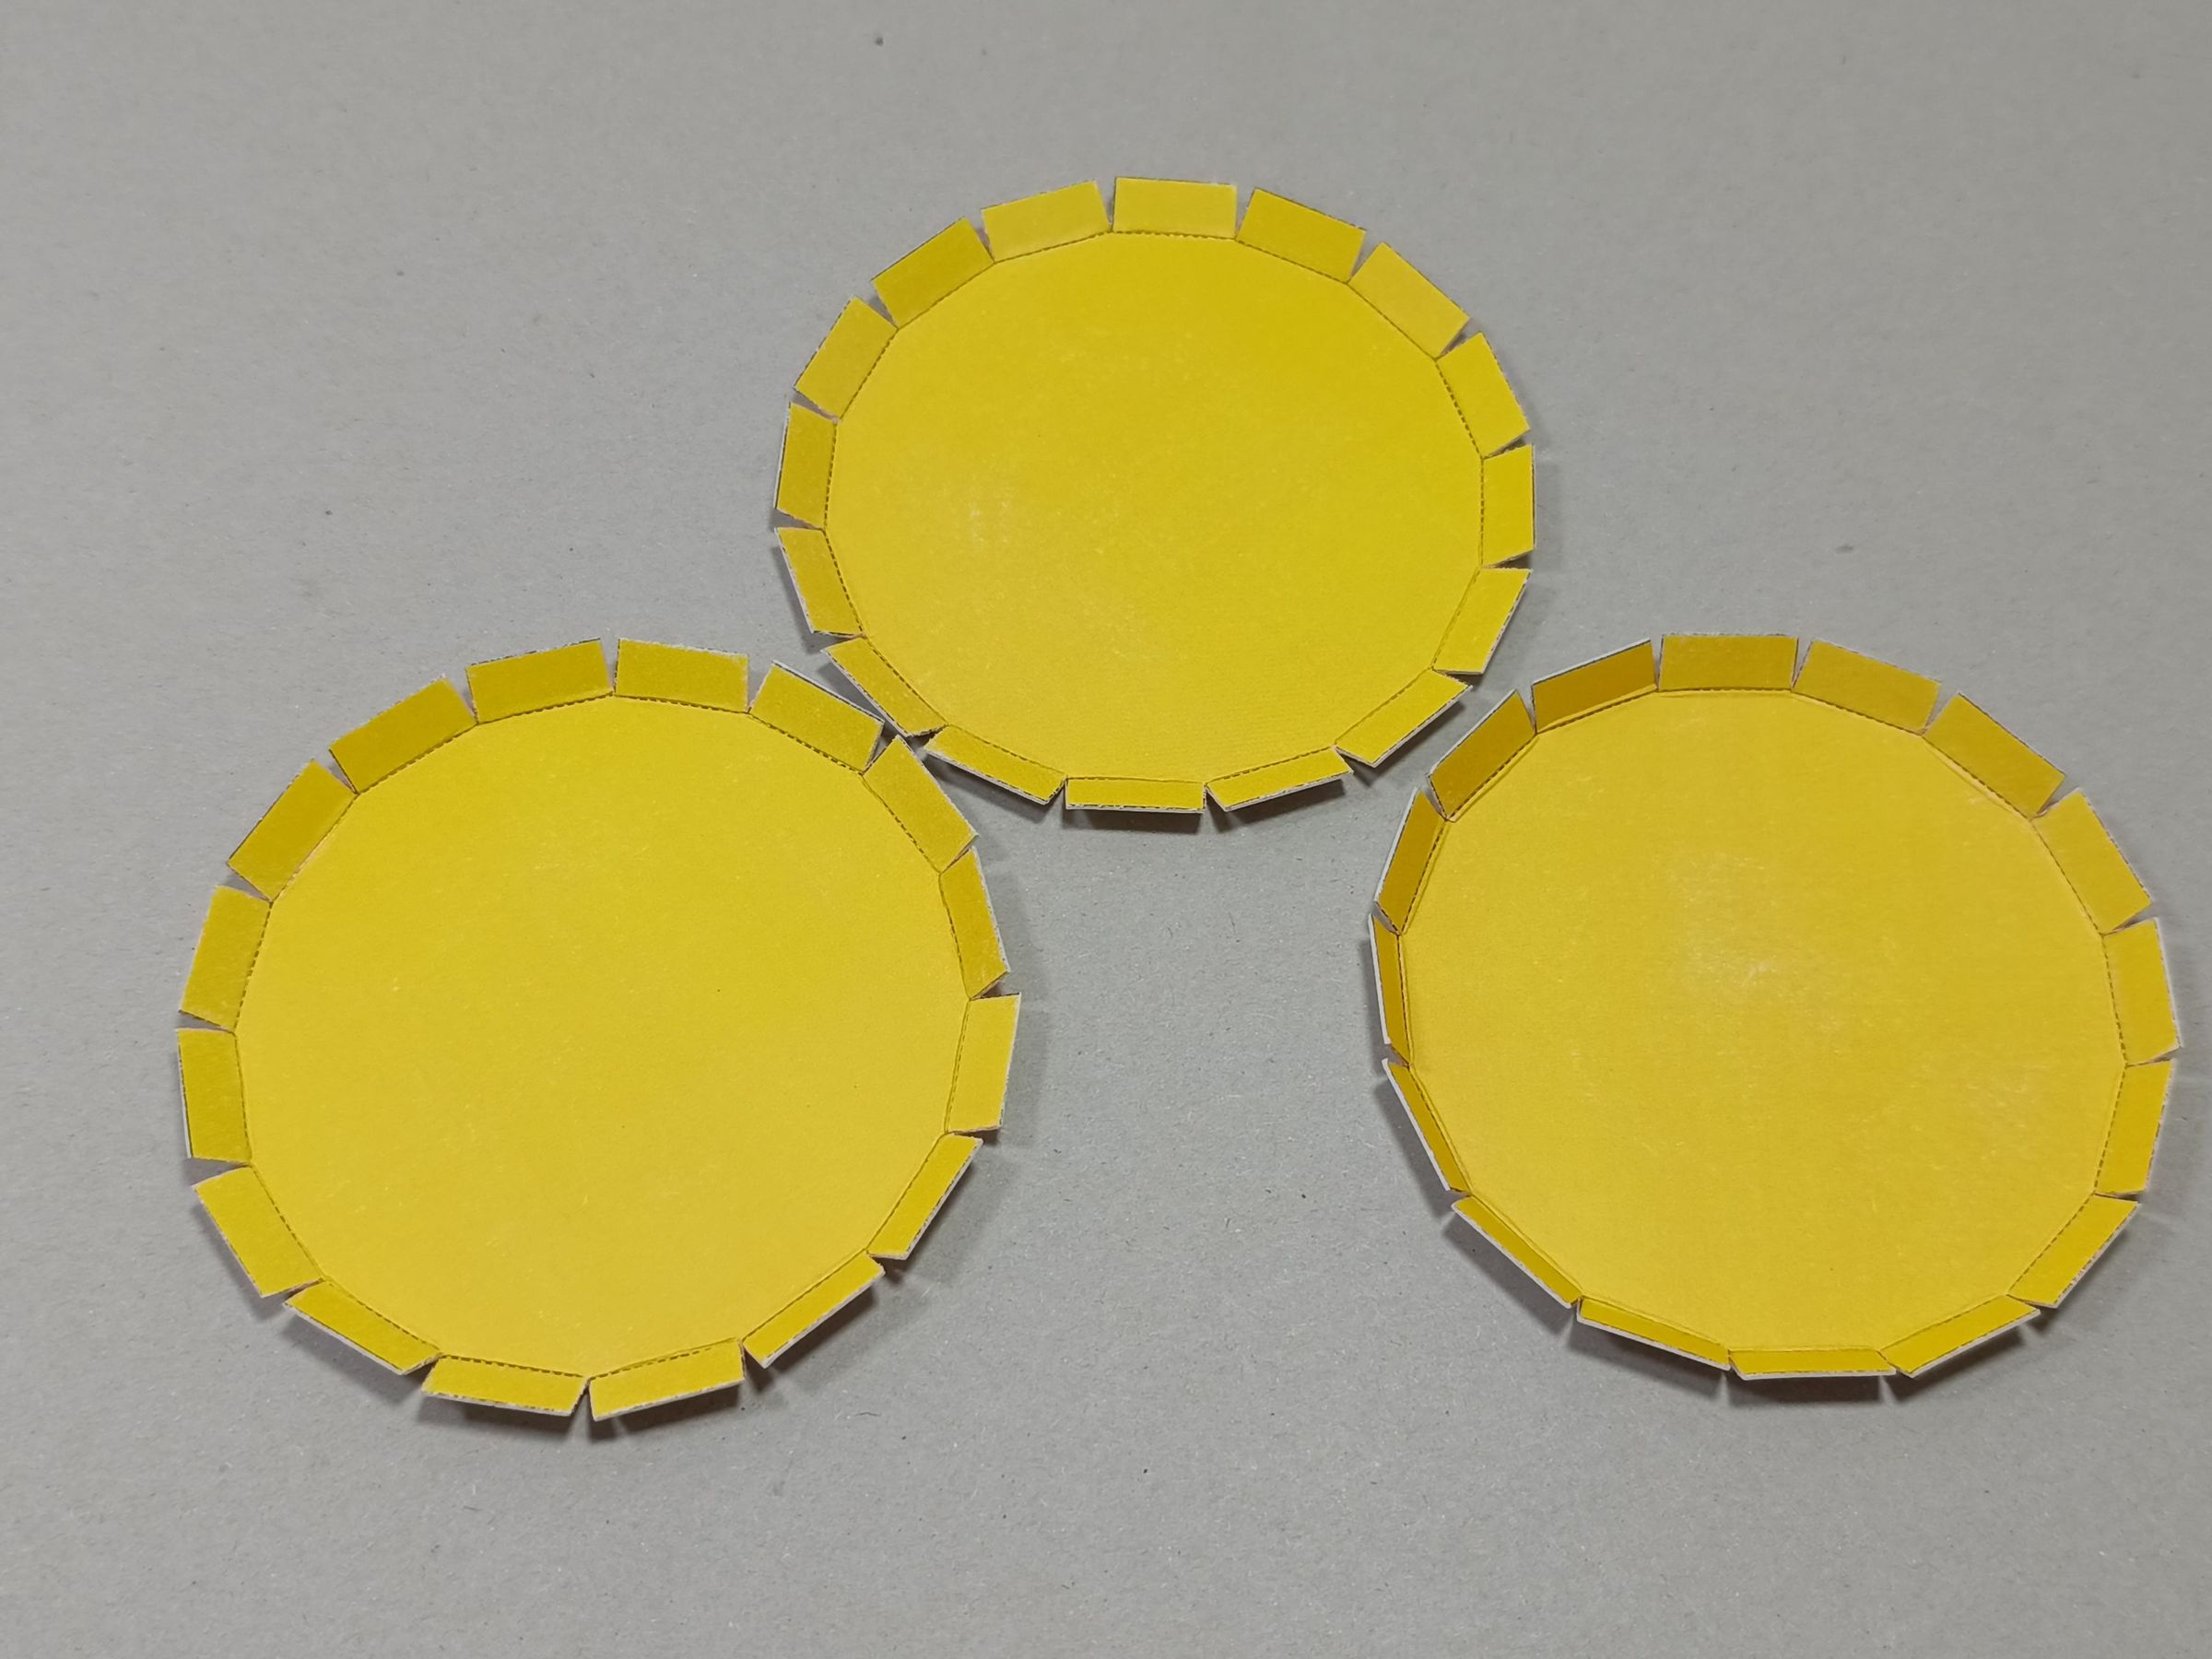
To hold the LED plugs inside, I will place some panels to distribute the lighting well and to separate each light in case of having several moods at the same time. This will allow each space to be controlled with the remote to set a specific color if necessary.
Negative Symbol and Battery Lightning Bolt
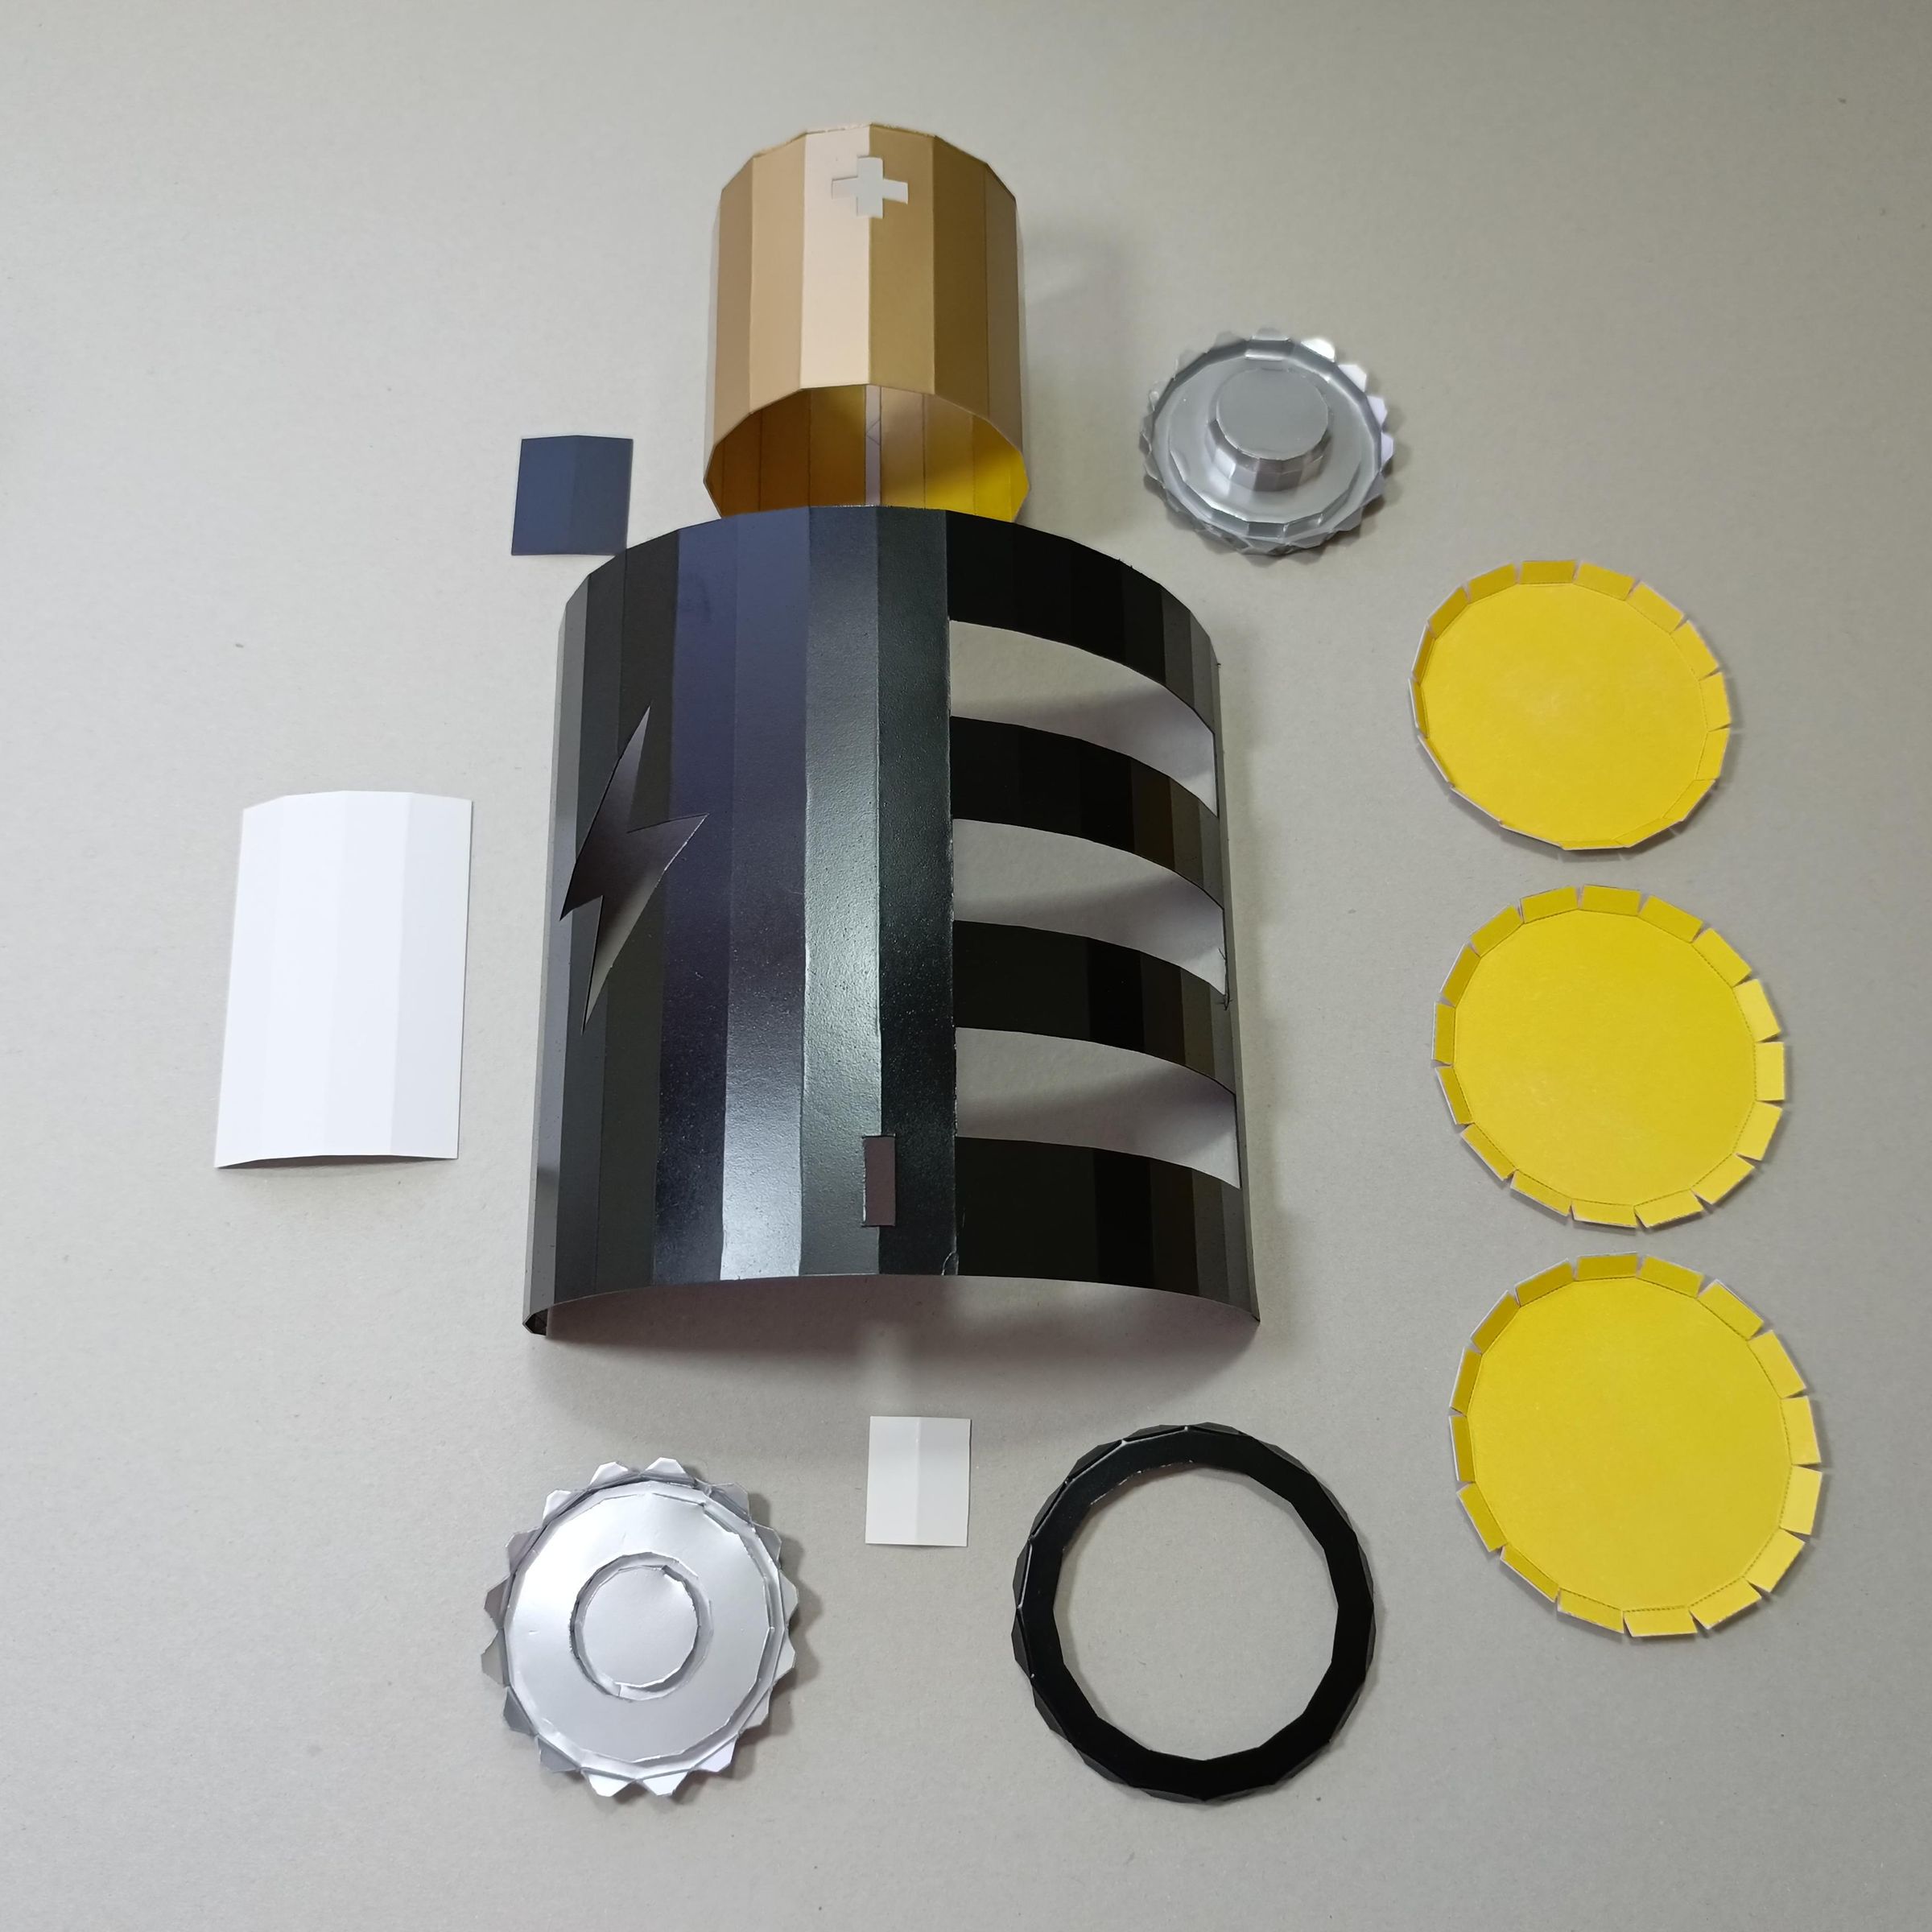
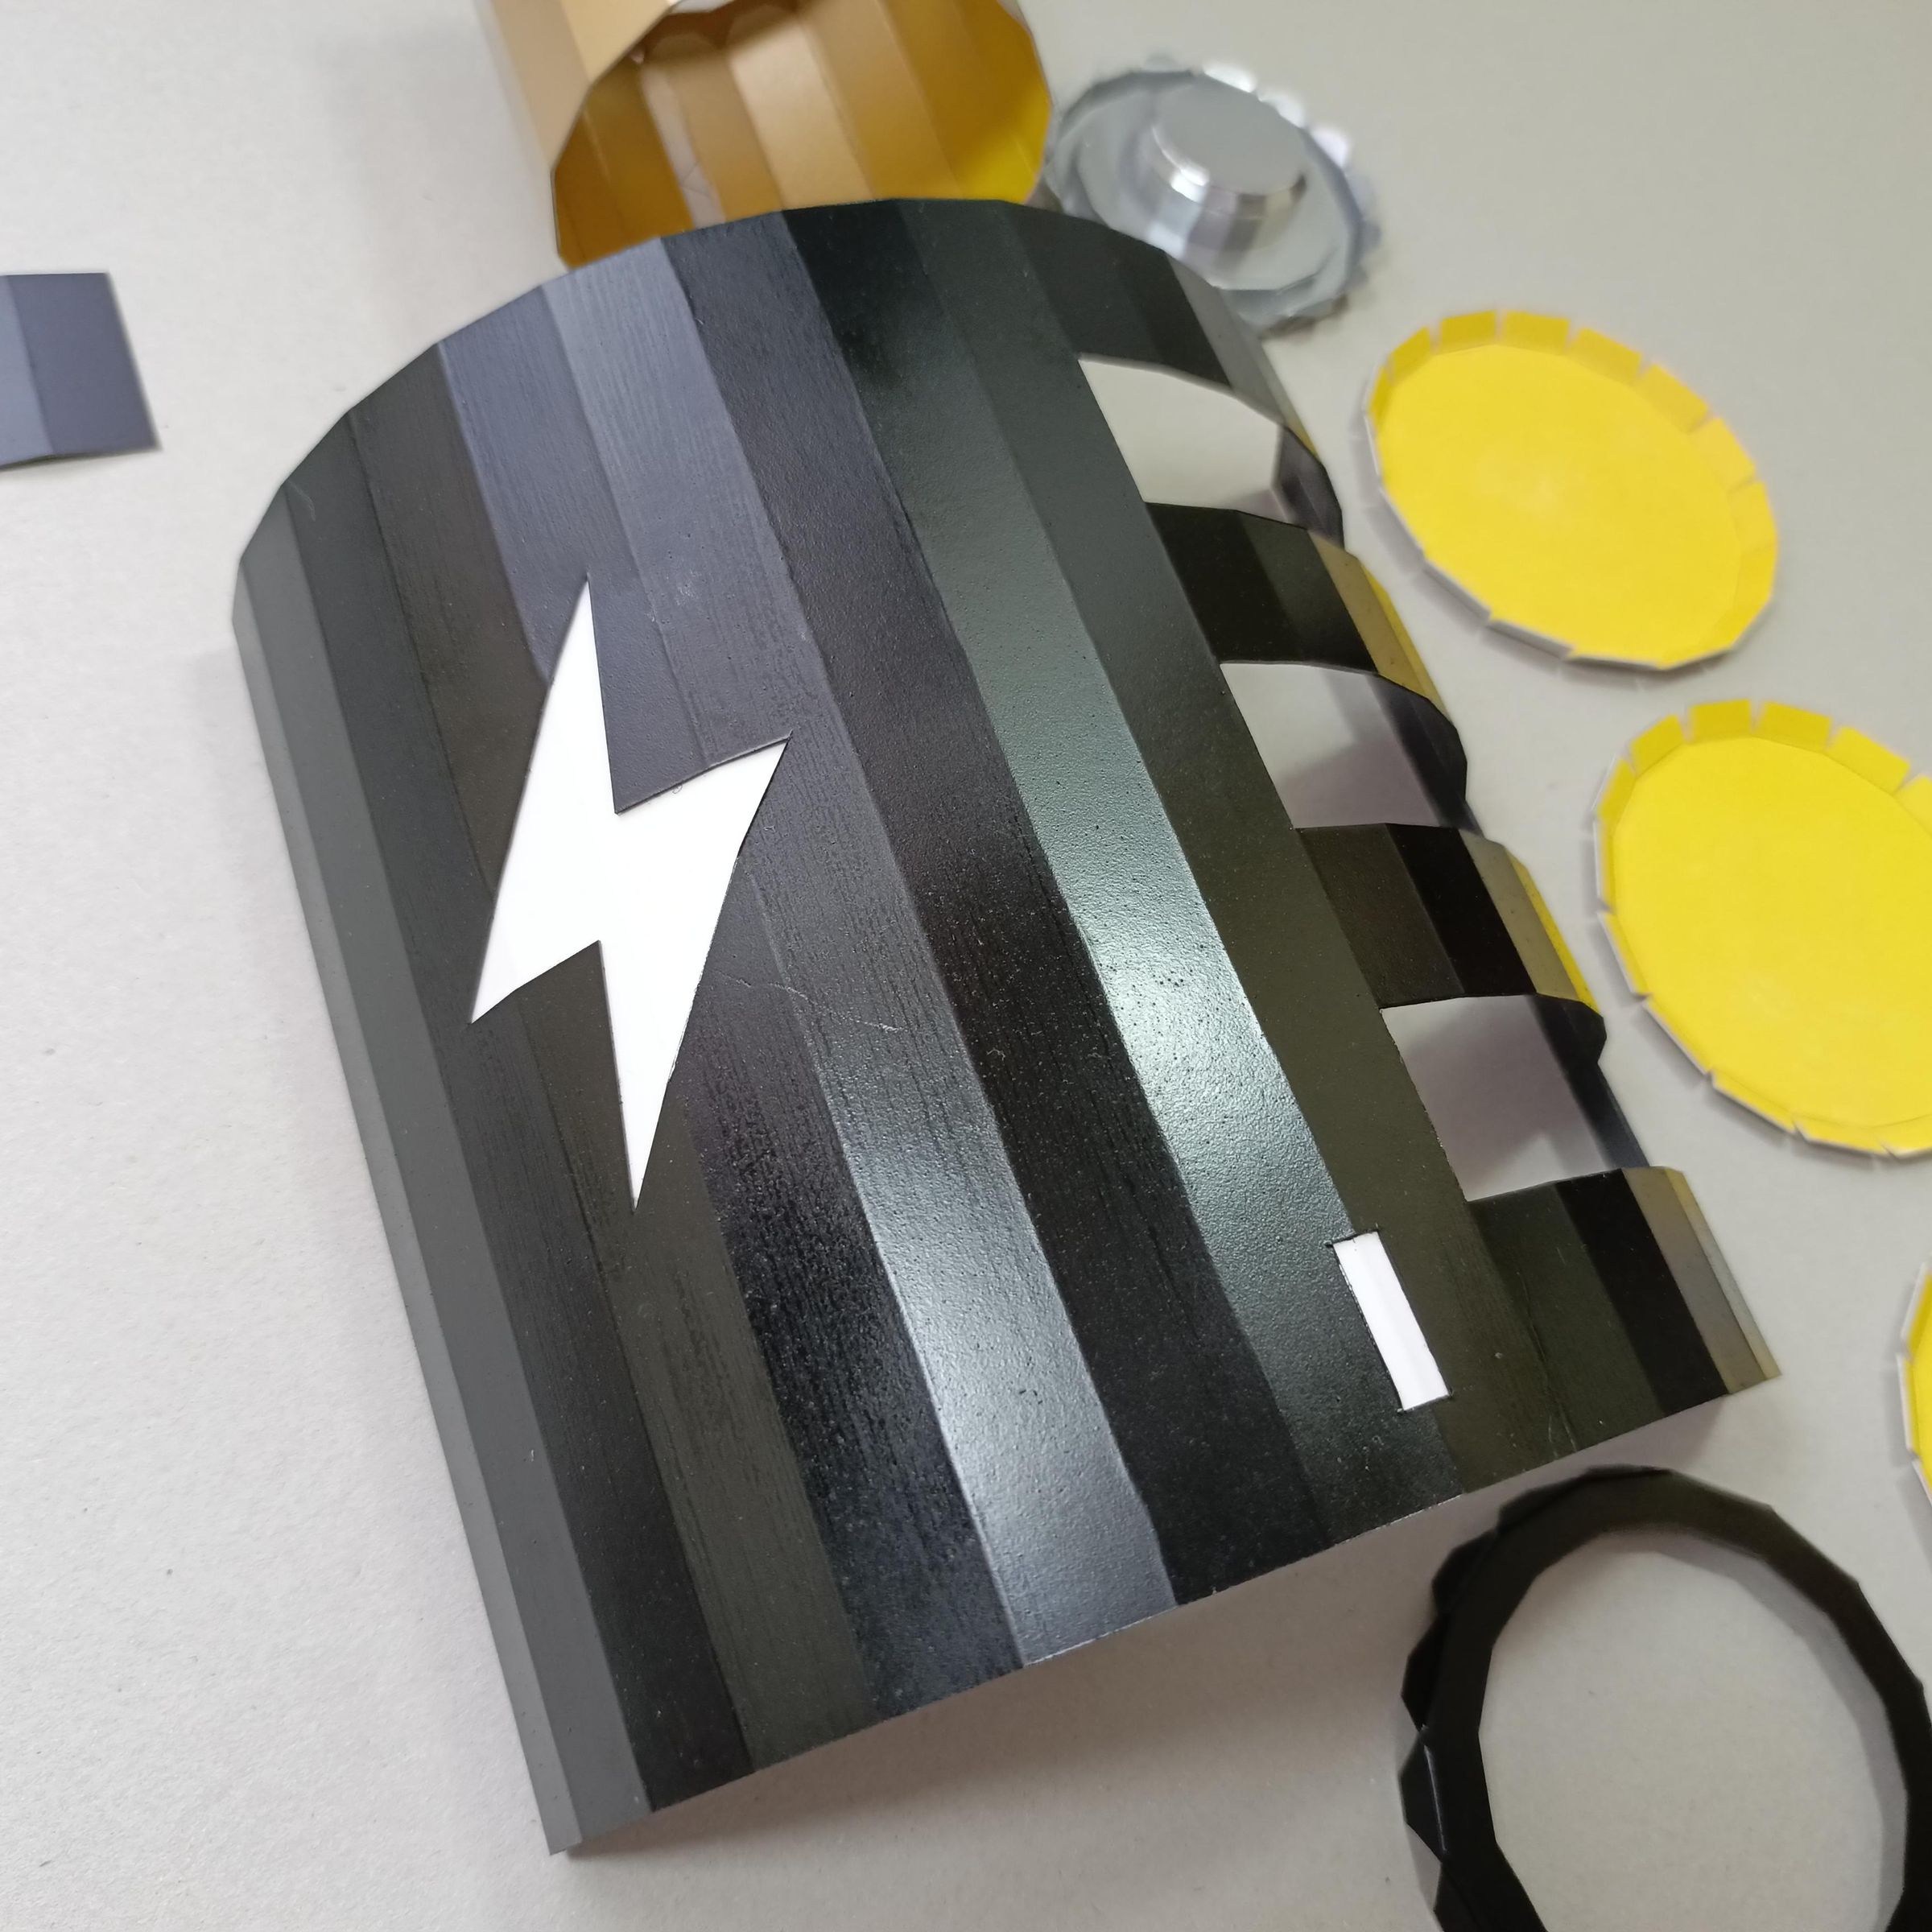
Place the white counterparts behind the area where I cut out the symbols depending on the color, white for the lightning bolt and the negative symbol
Positive Symbol
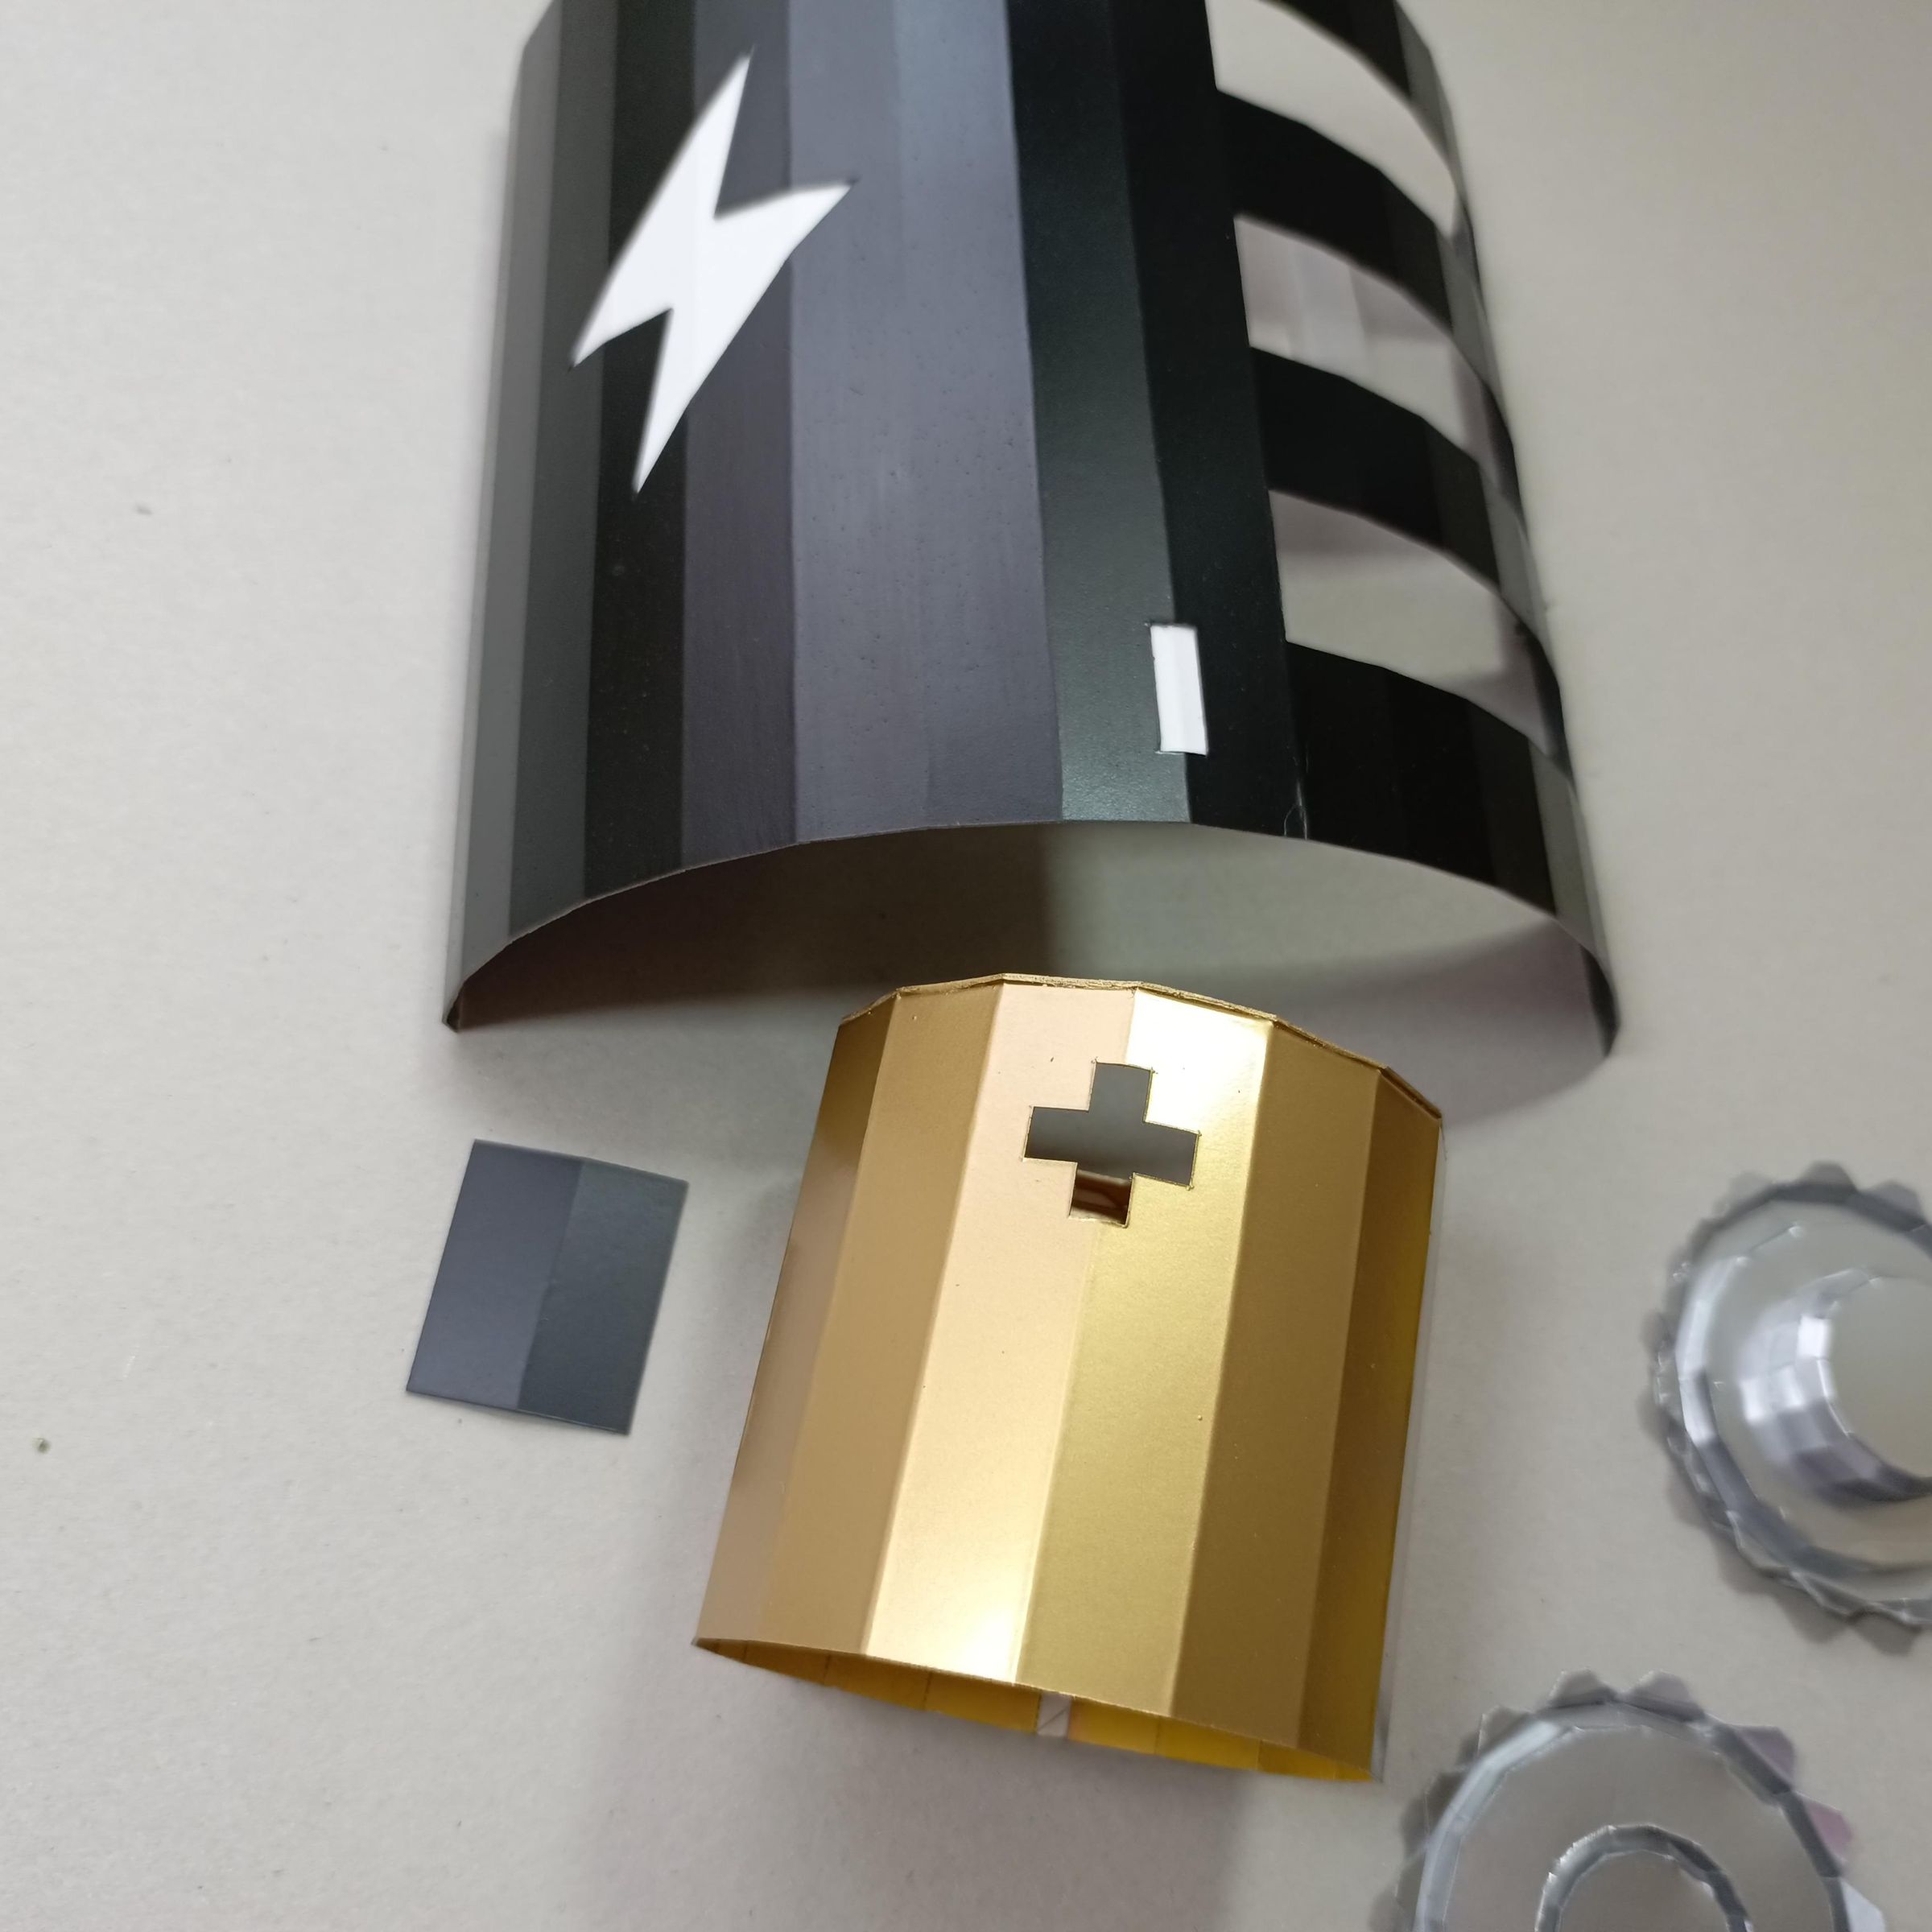
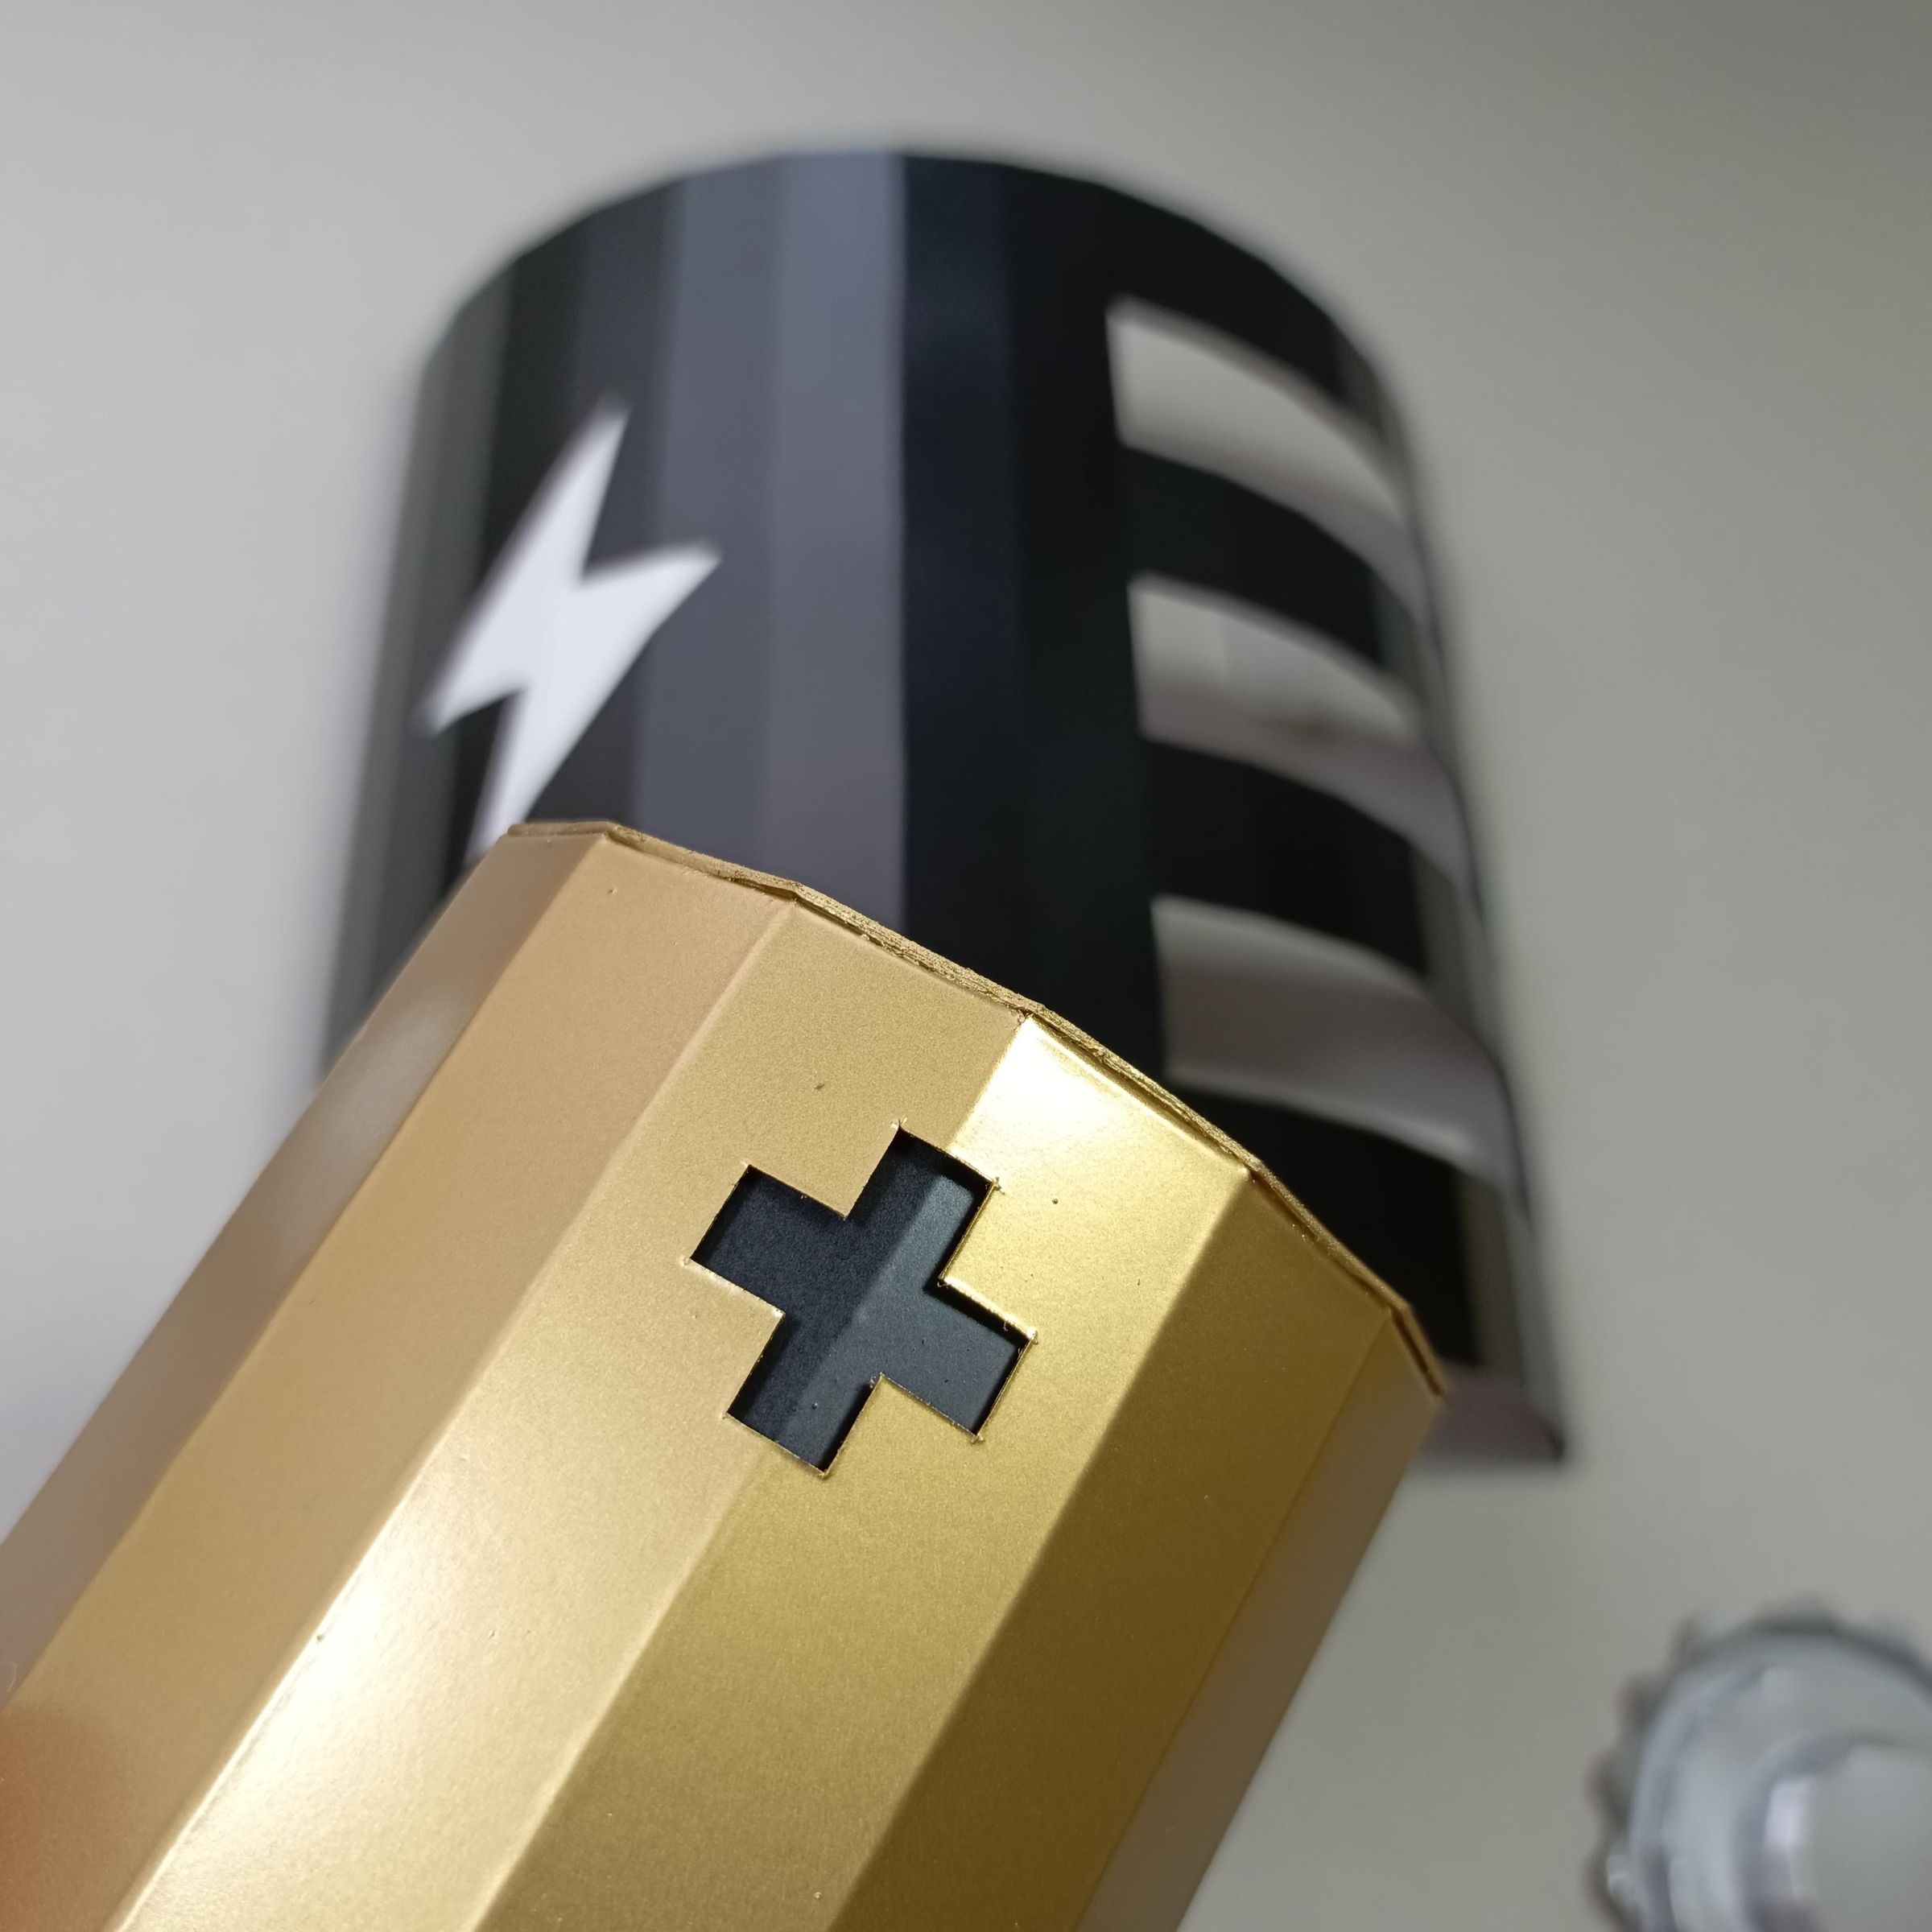
And do the same with the color black for the positive symbol
Light Expansion
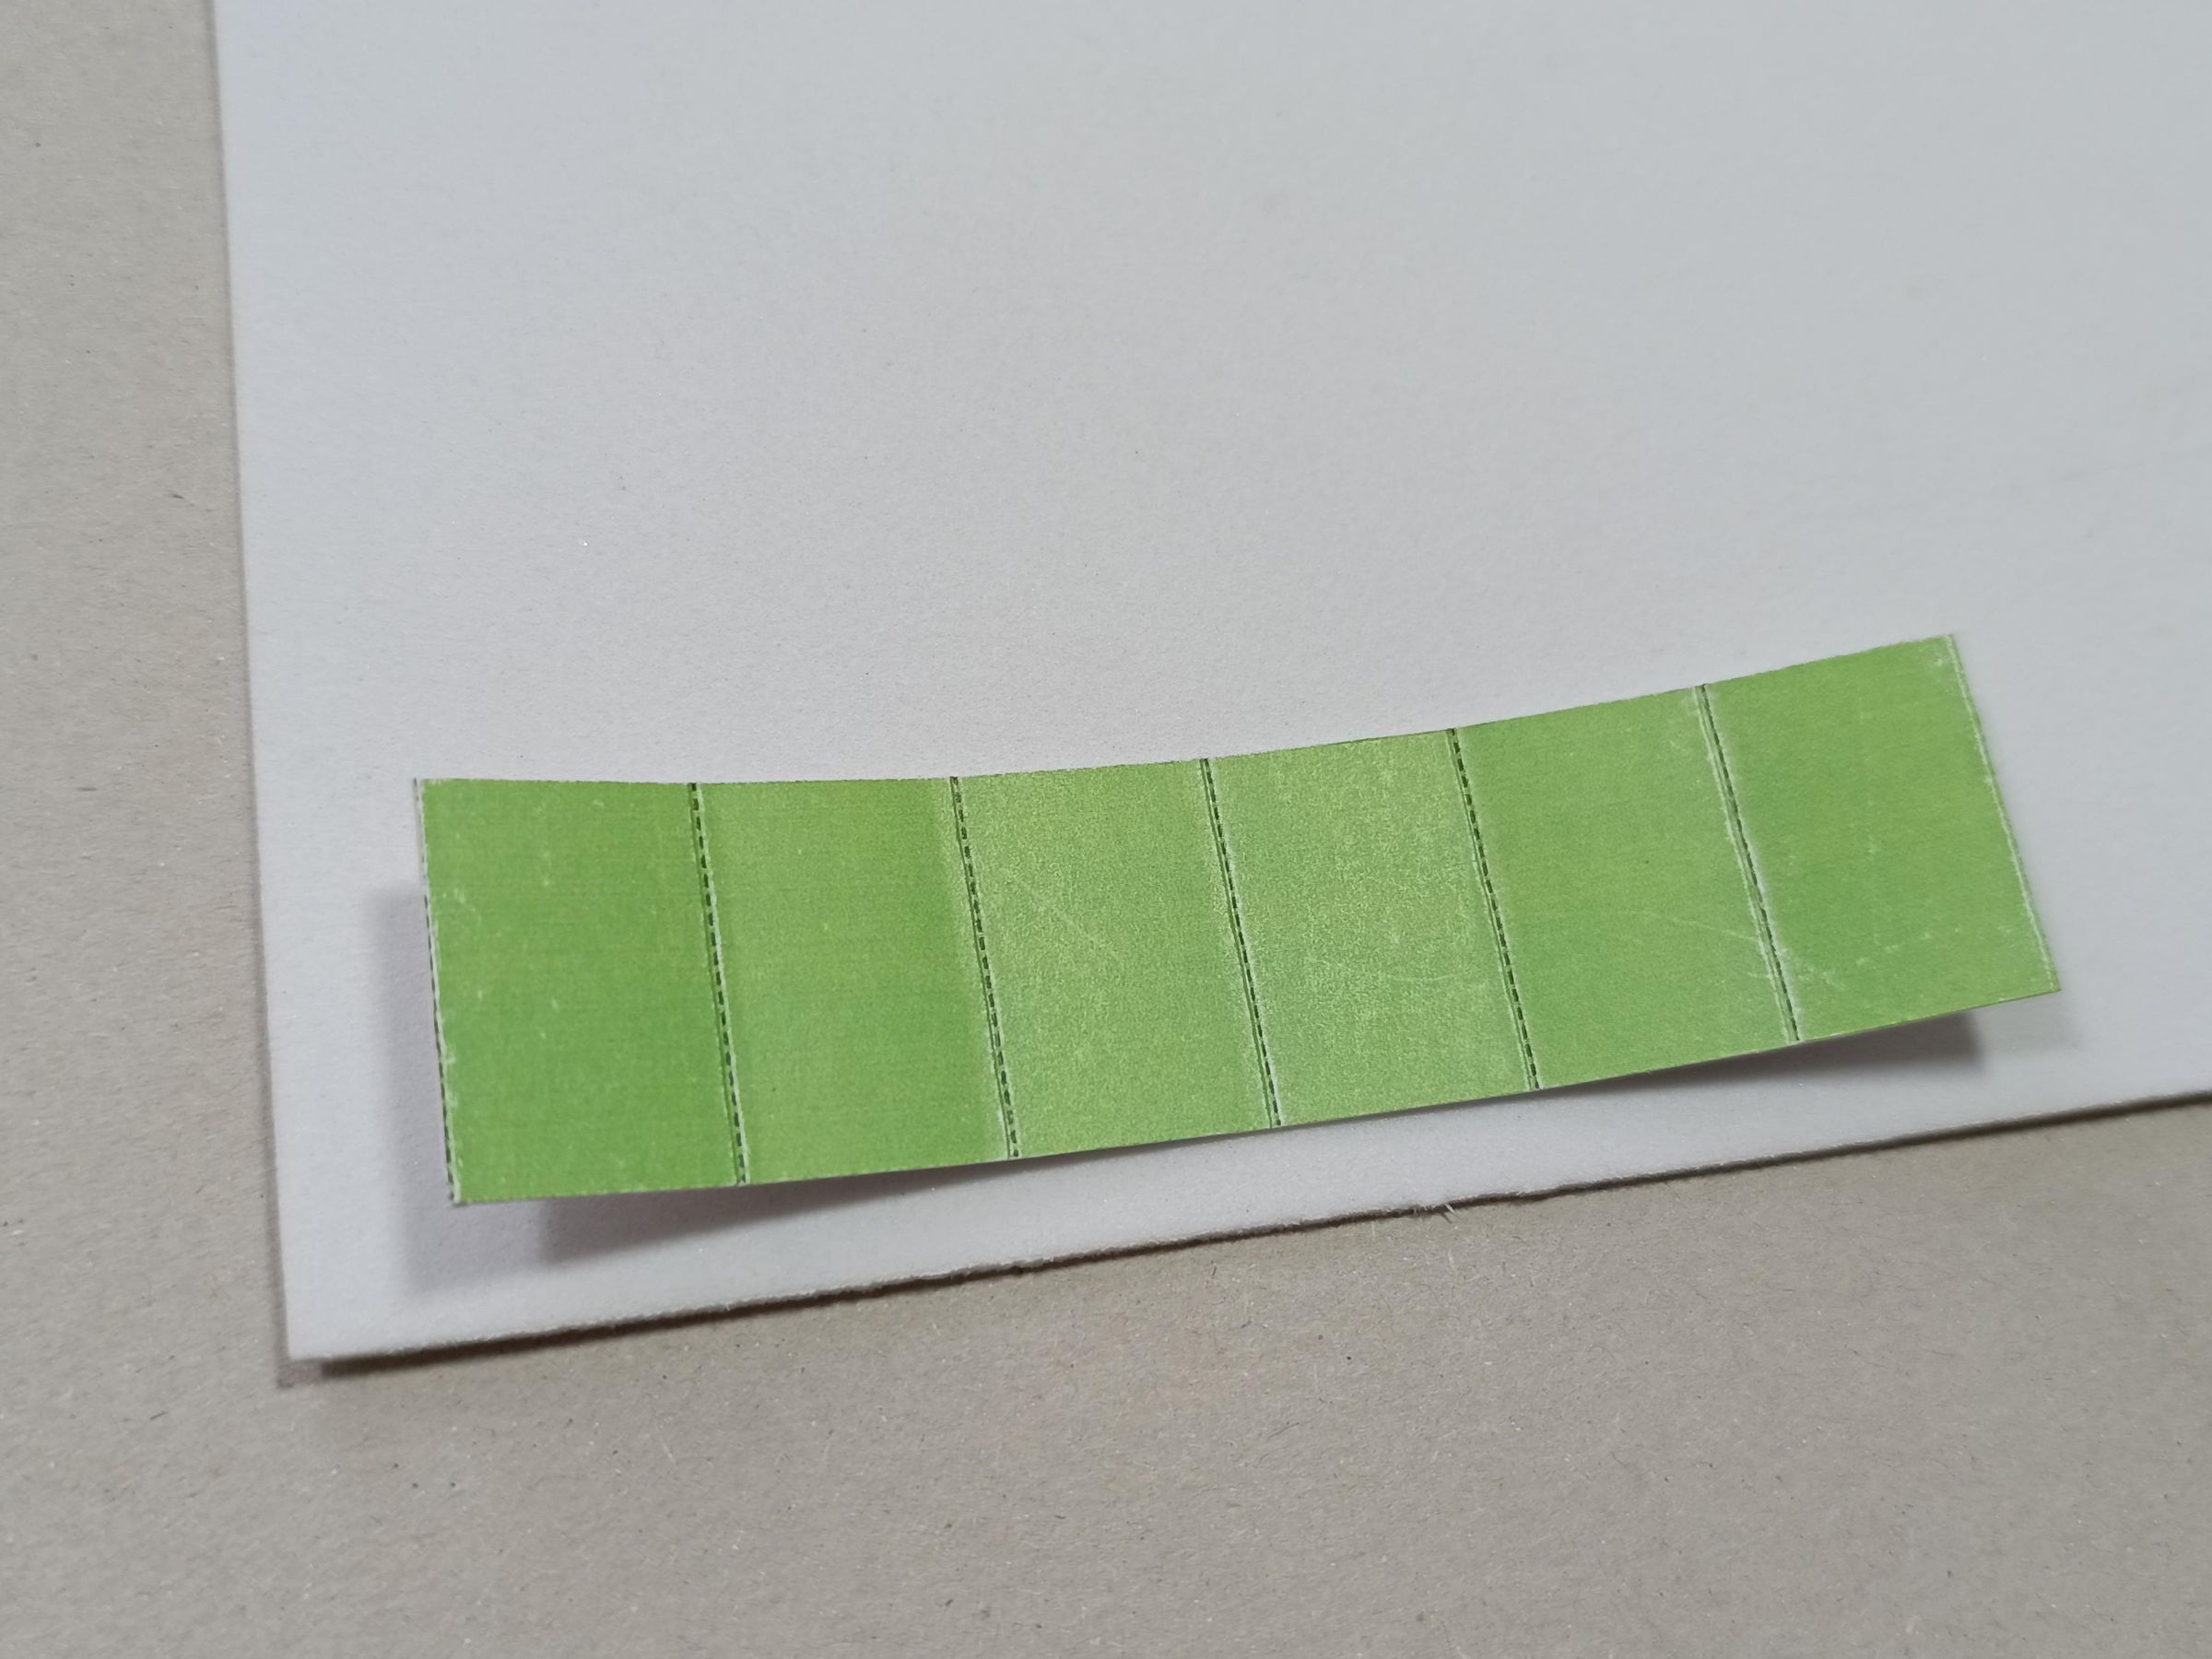
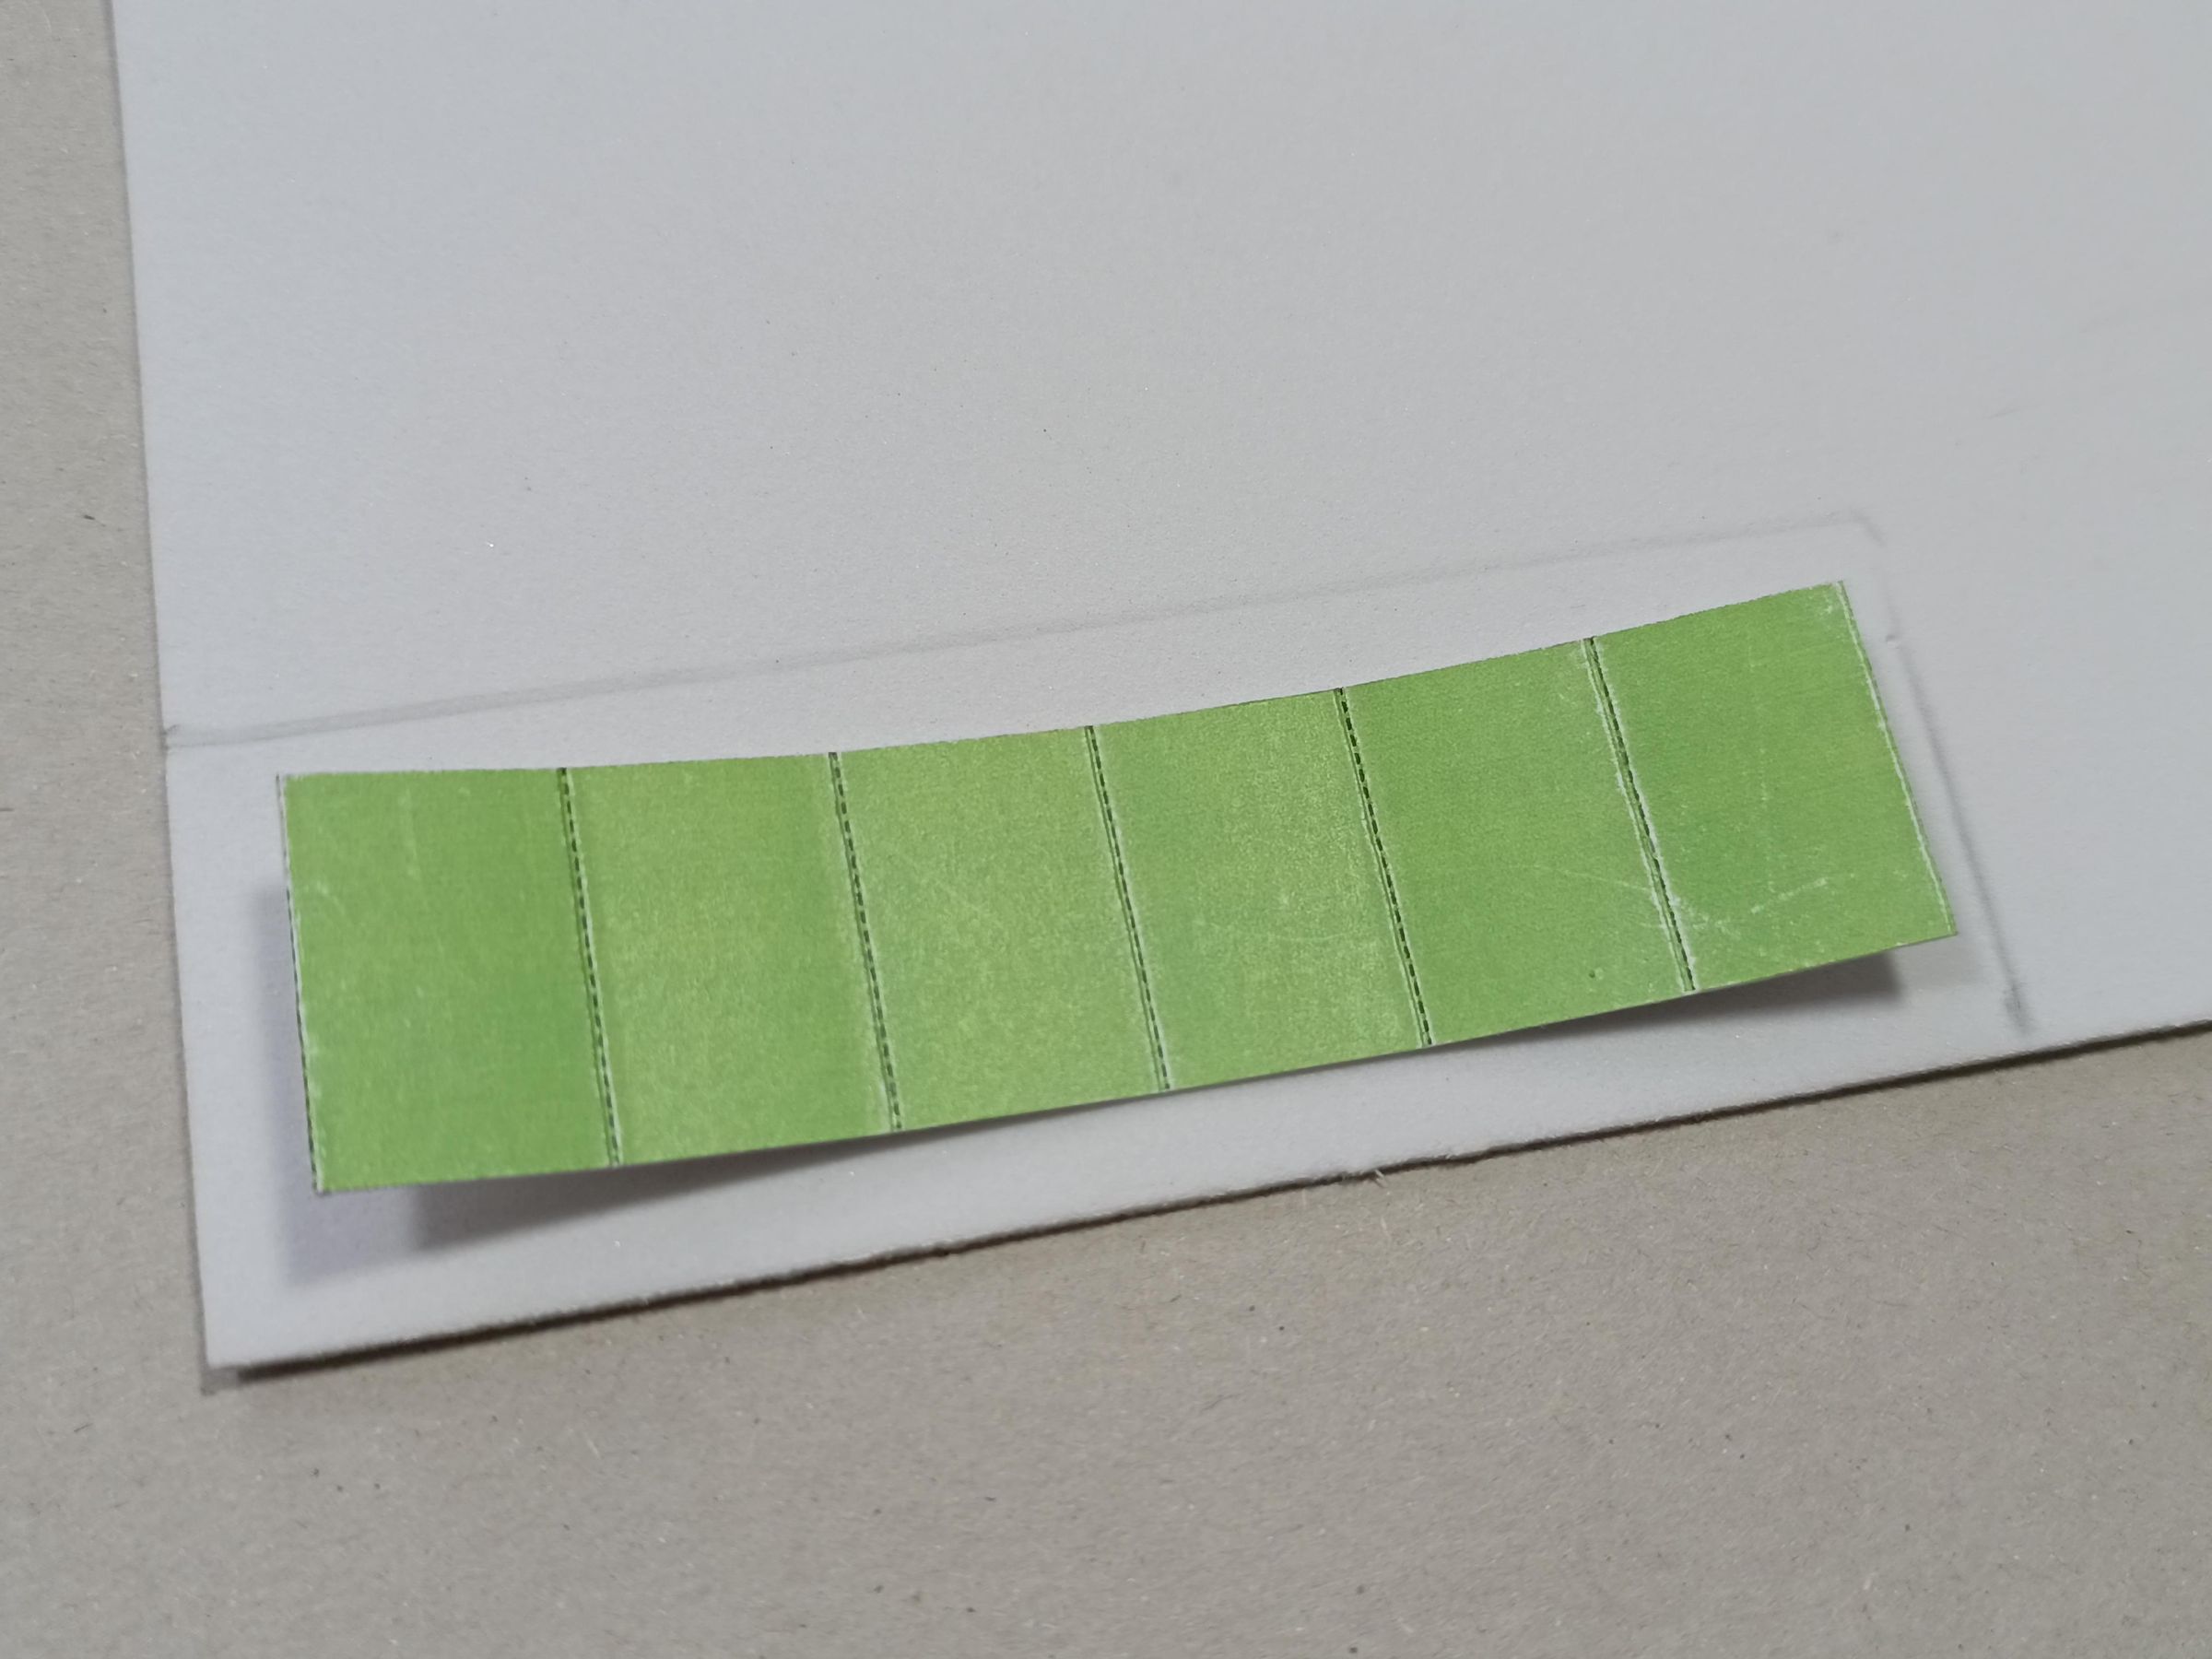
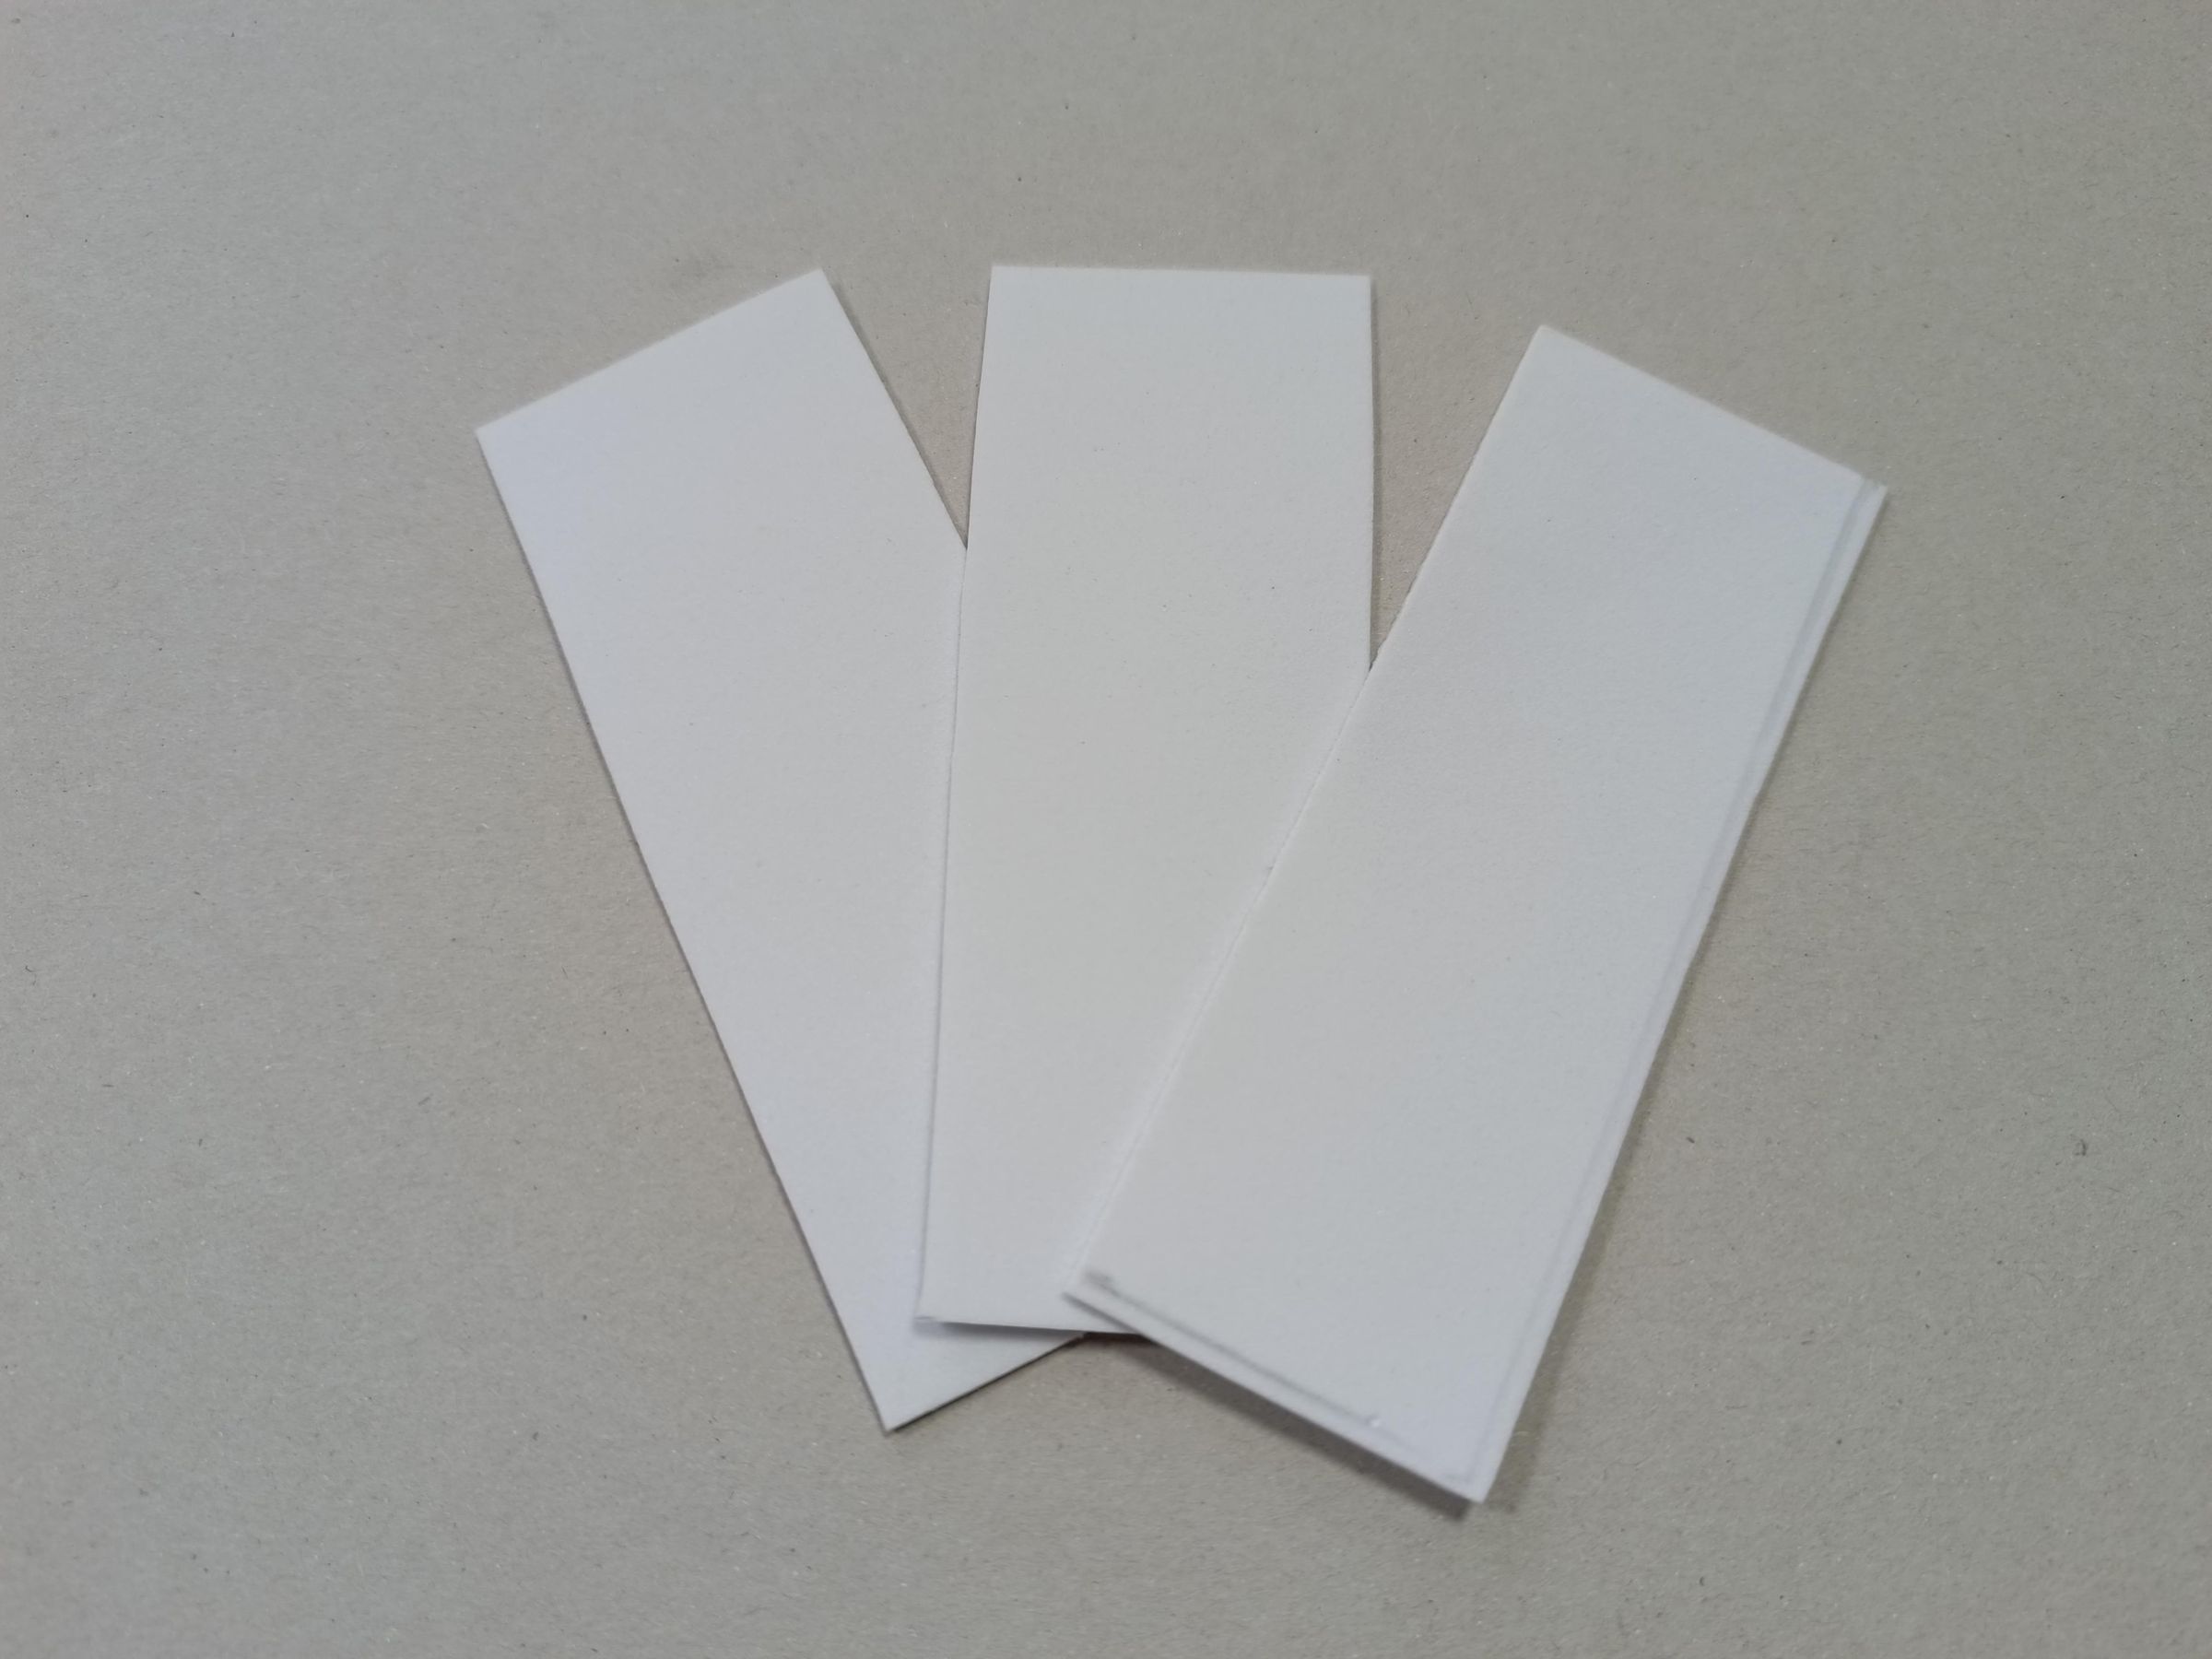
Taking into account the green color guide, manufacture 3 pieces of the same size in a white material to proliferate the light spread of the LED pucks.
Charge Level
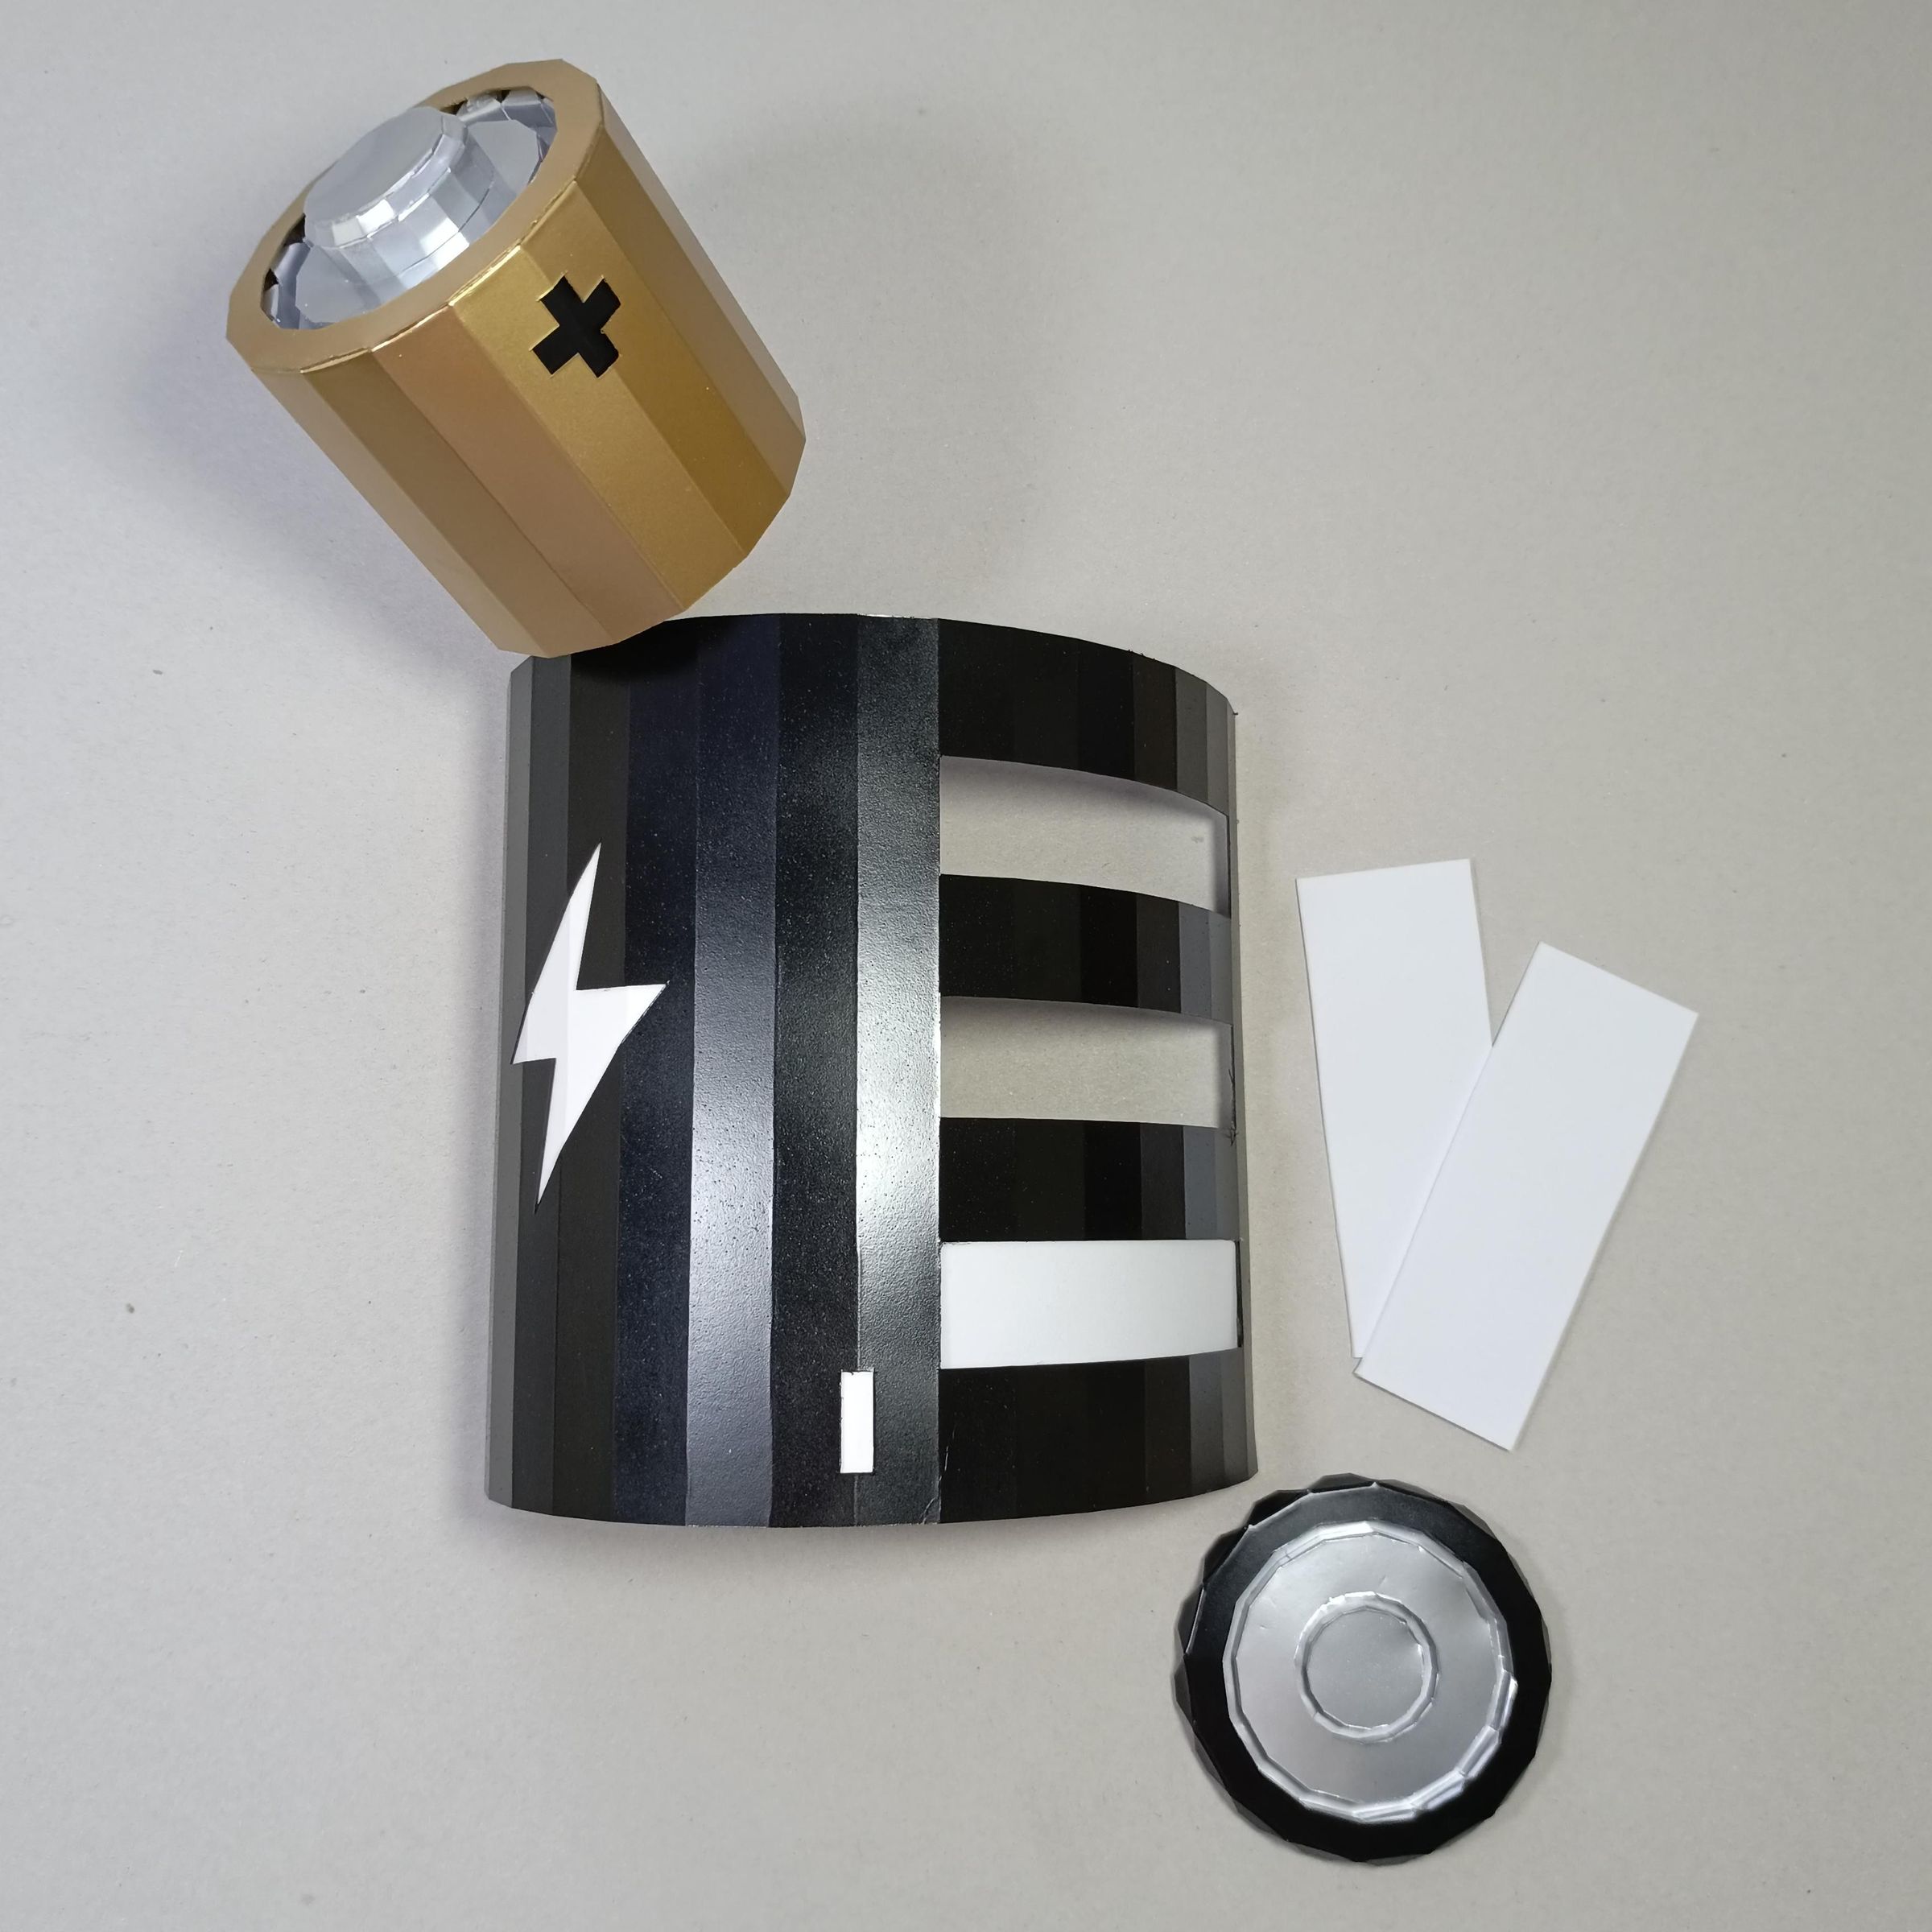
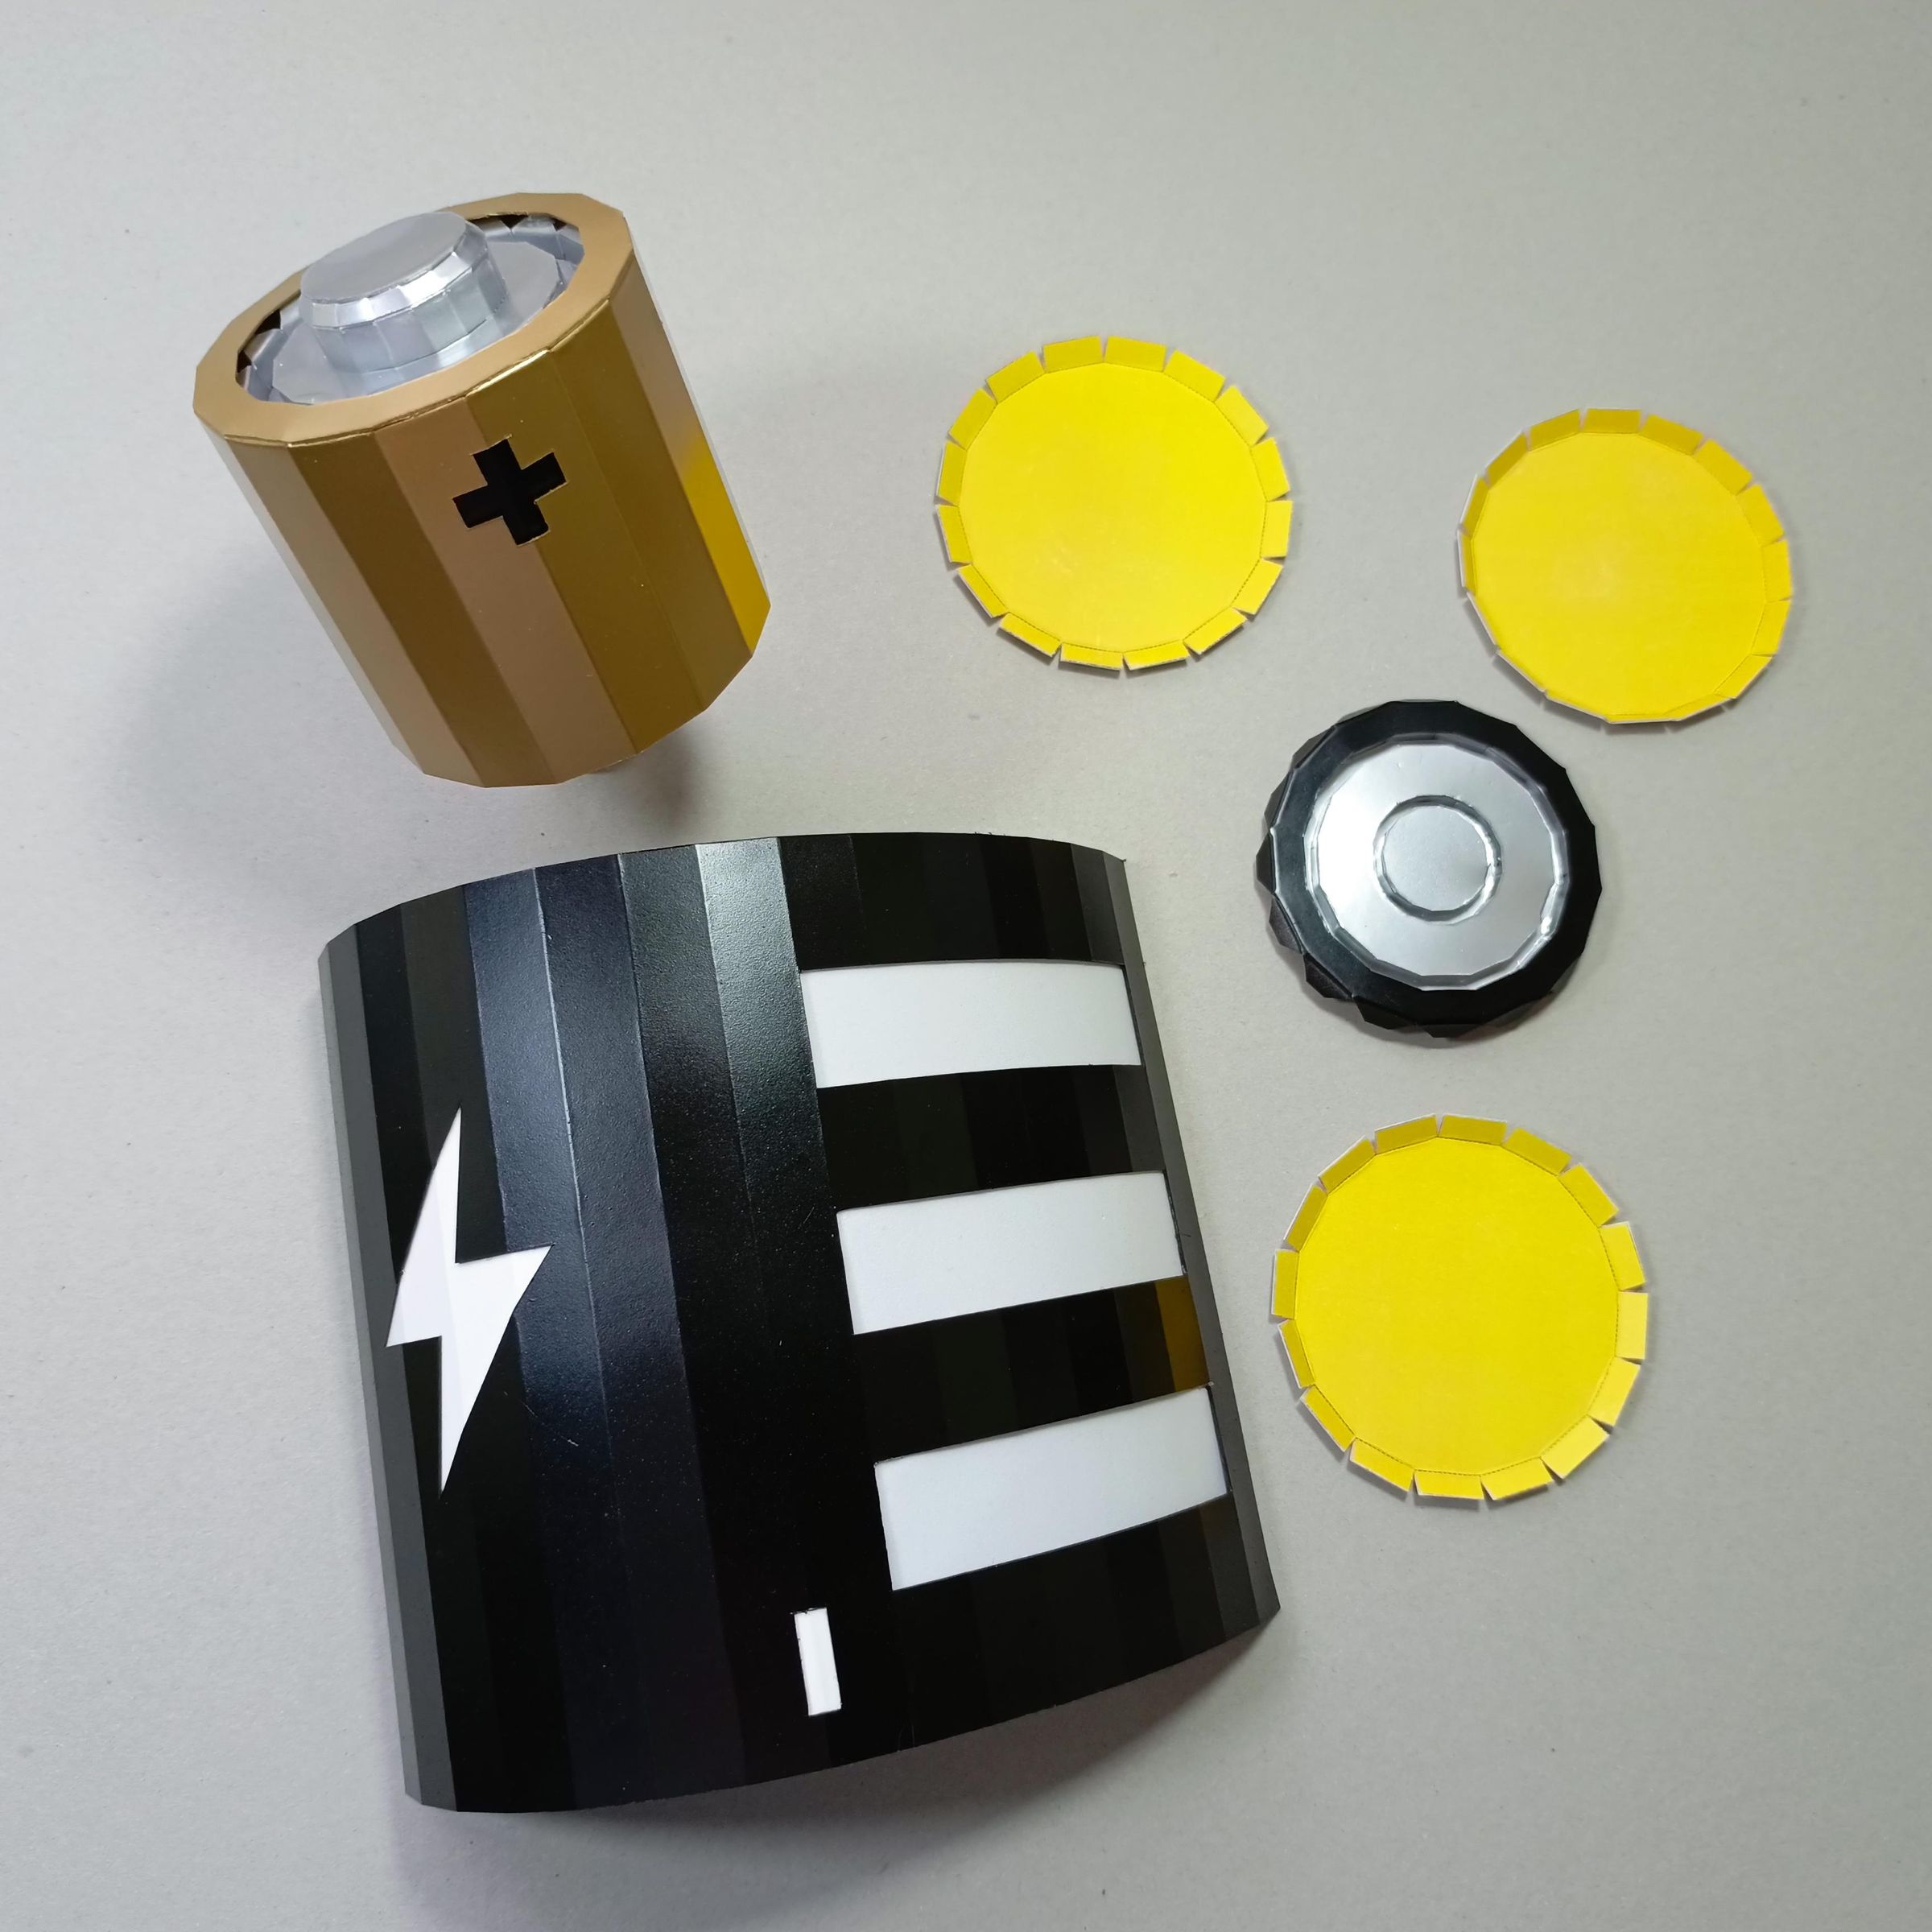
Take these three pieces of white material and place them in the respective battery charge level measurement holes.
+ & - Set Up
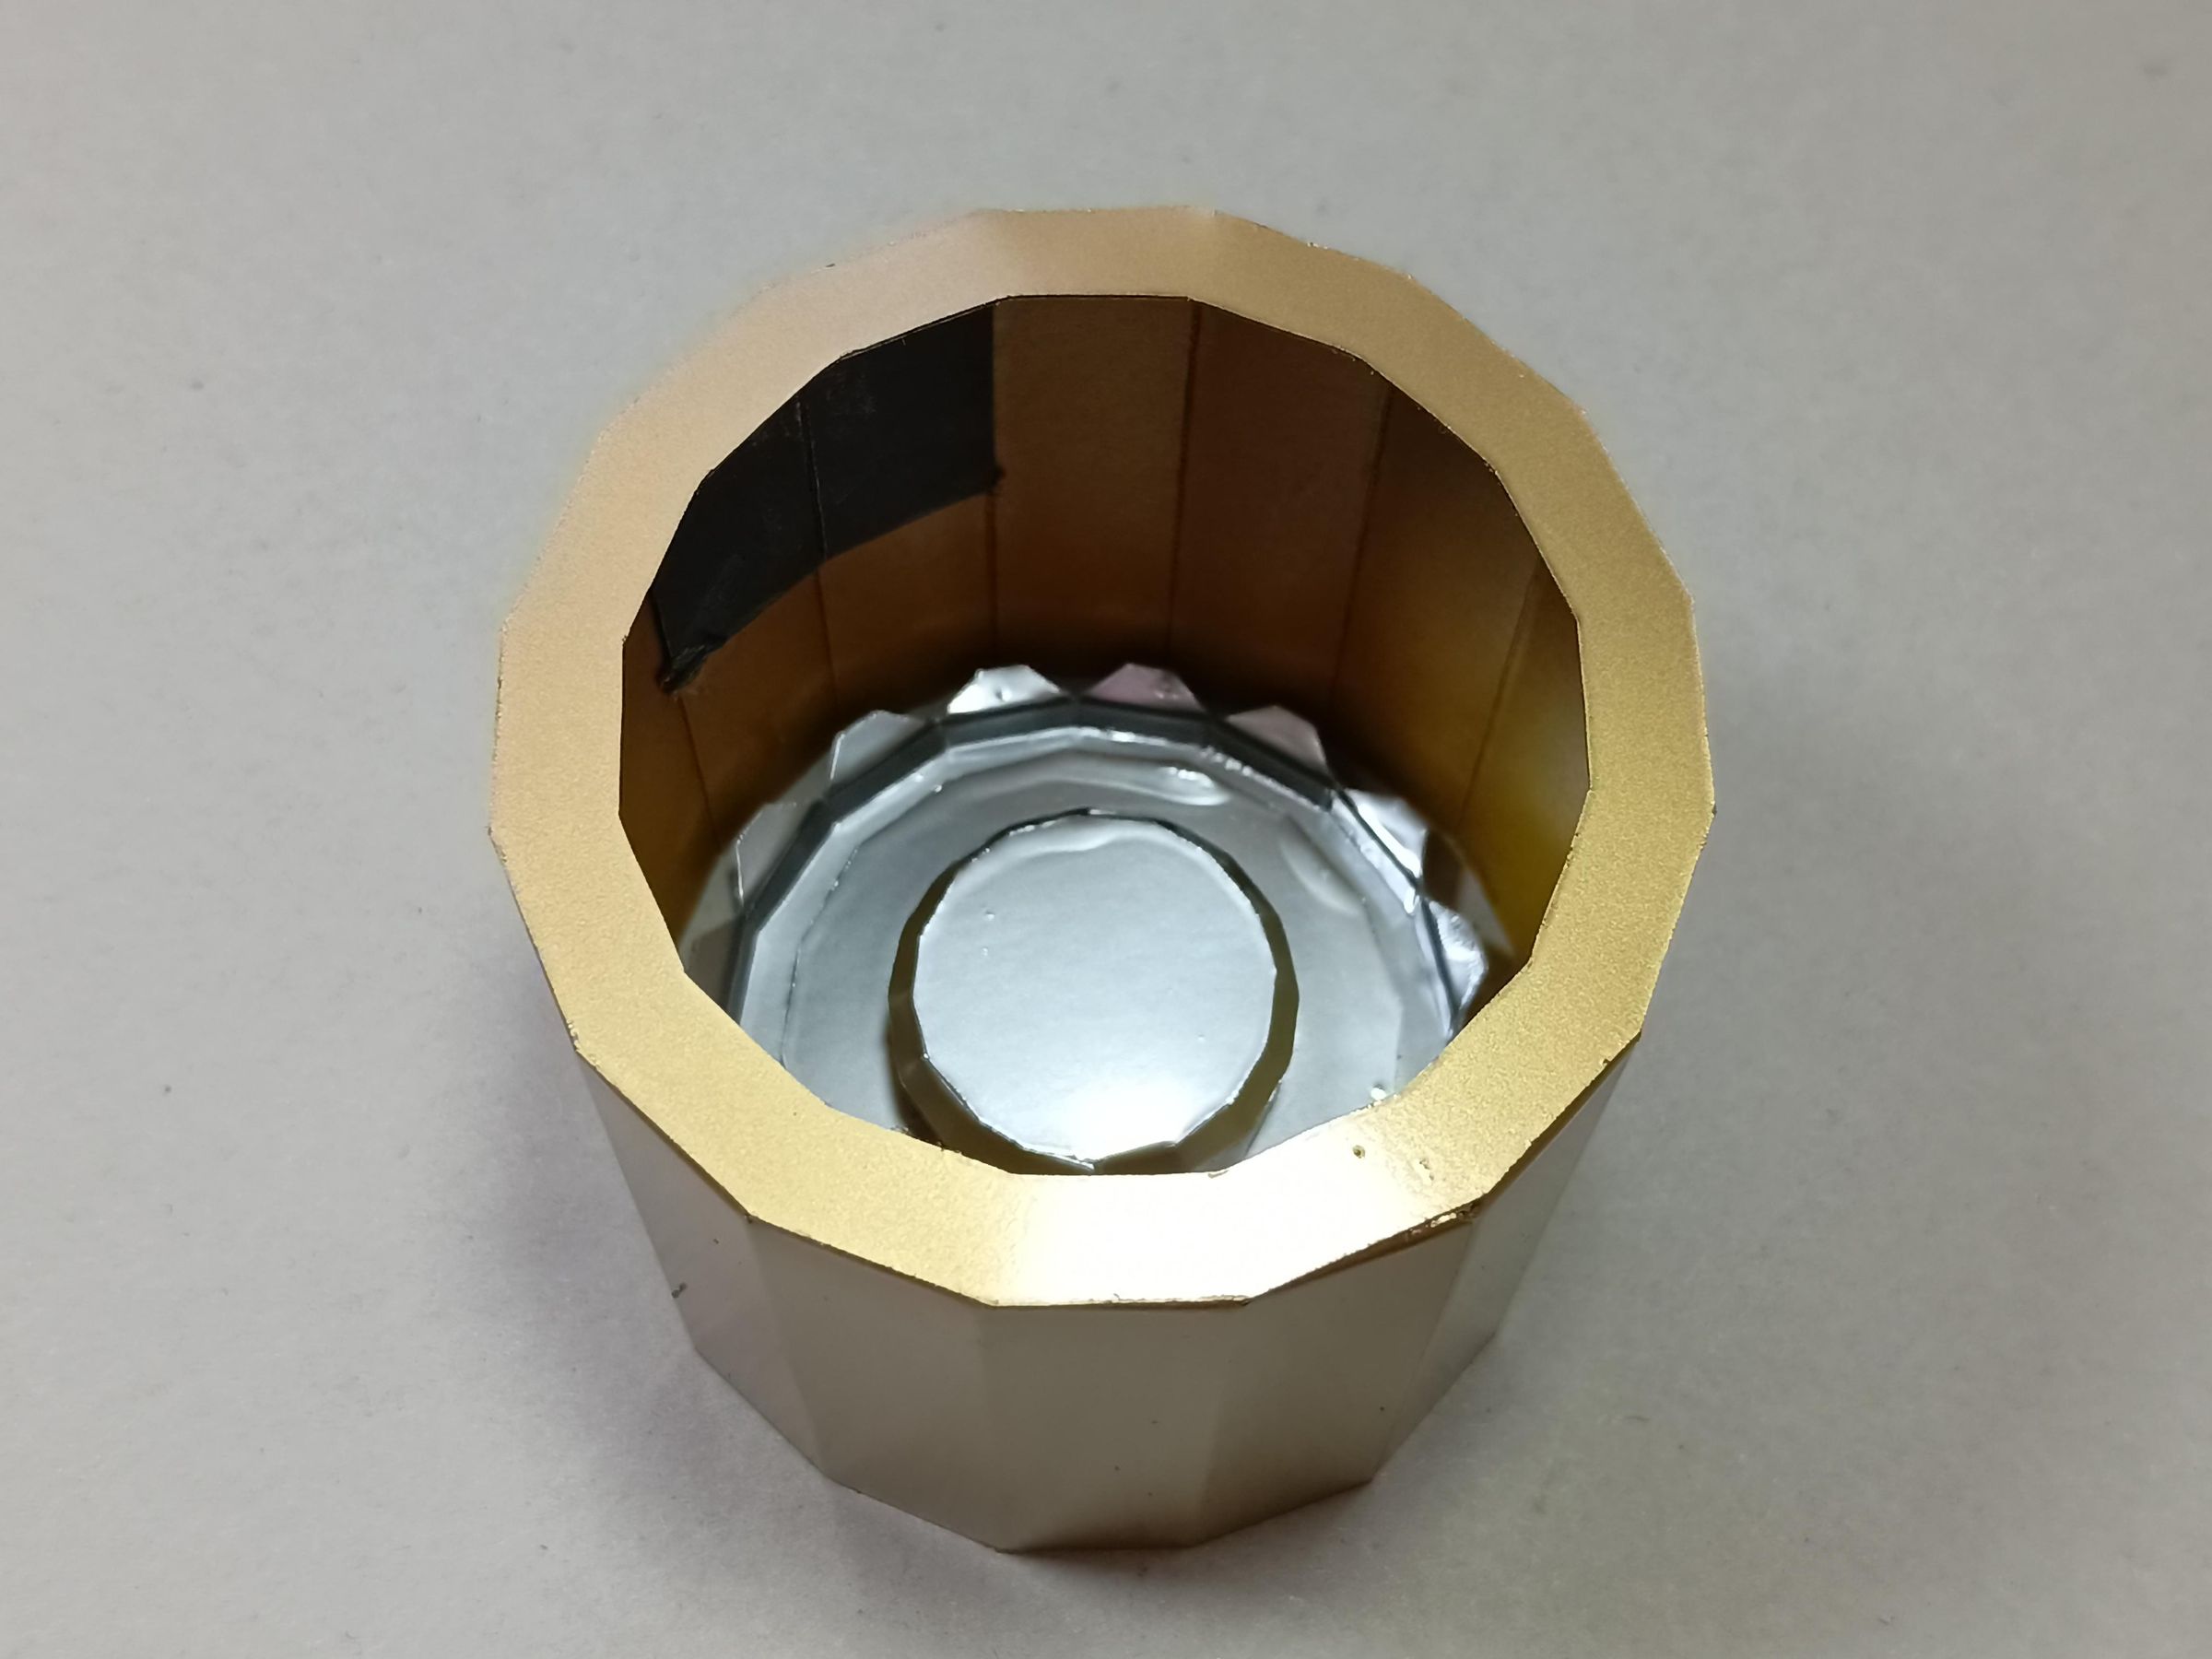
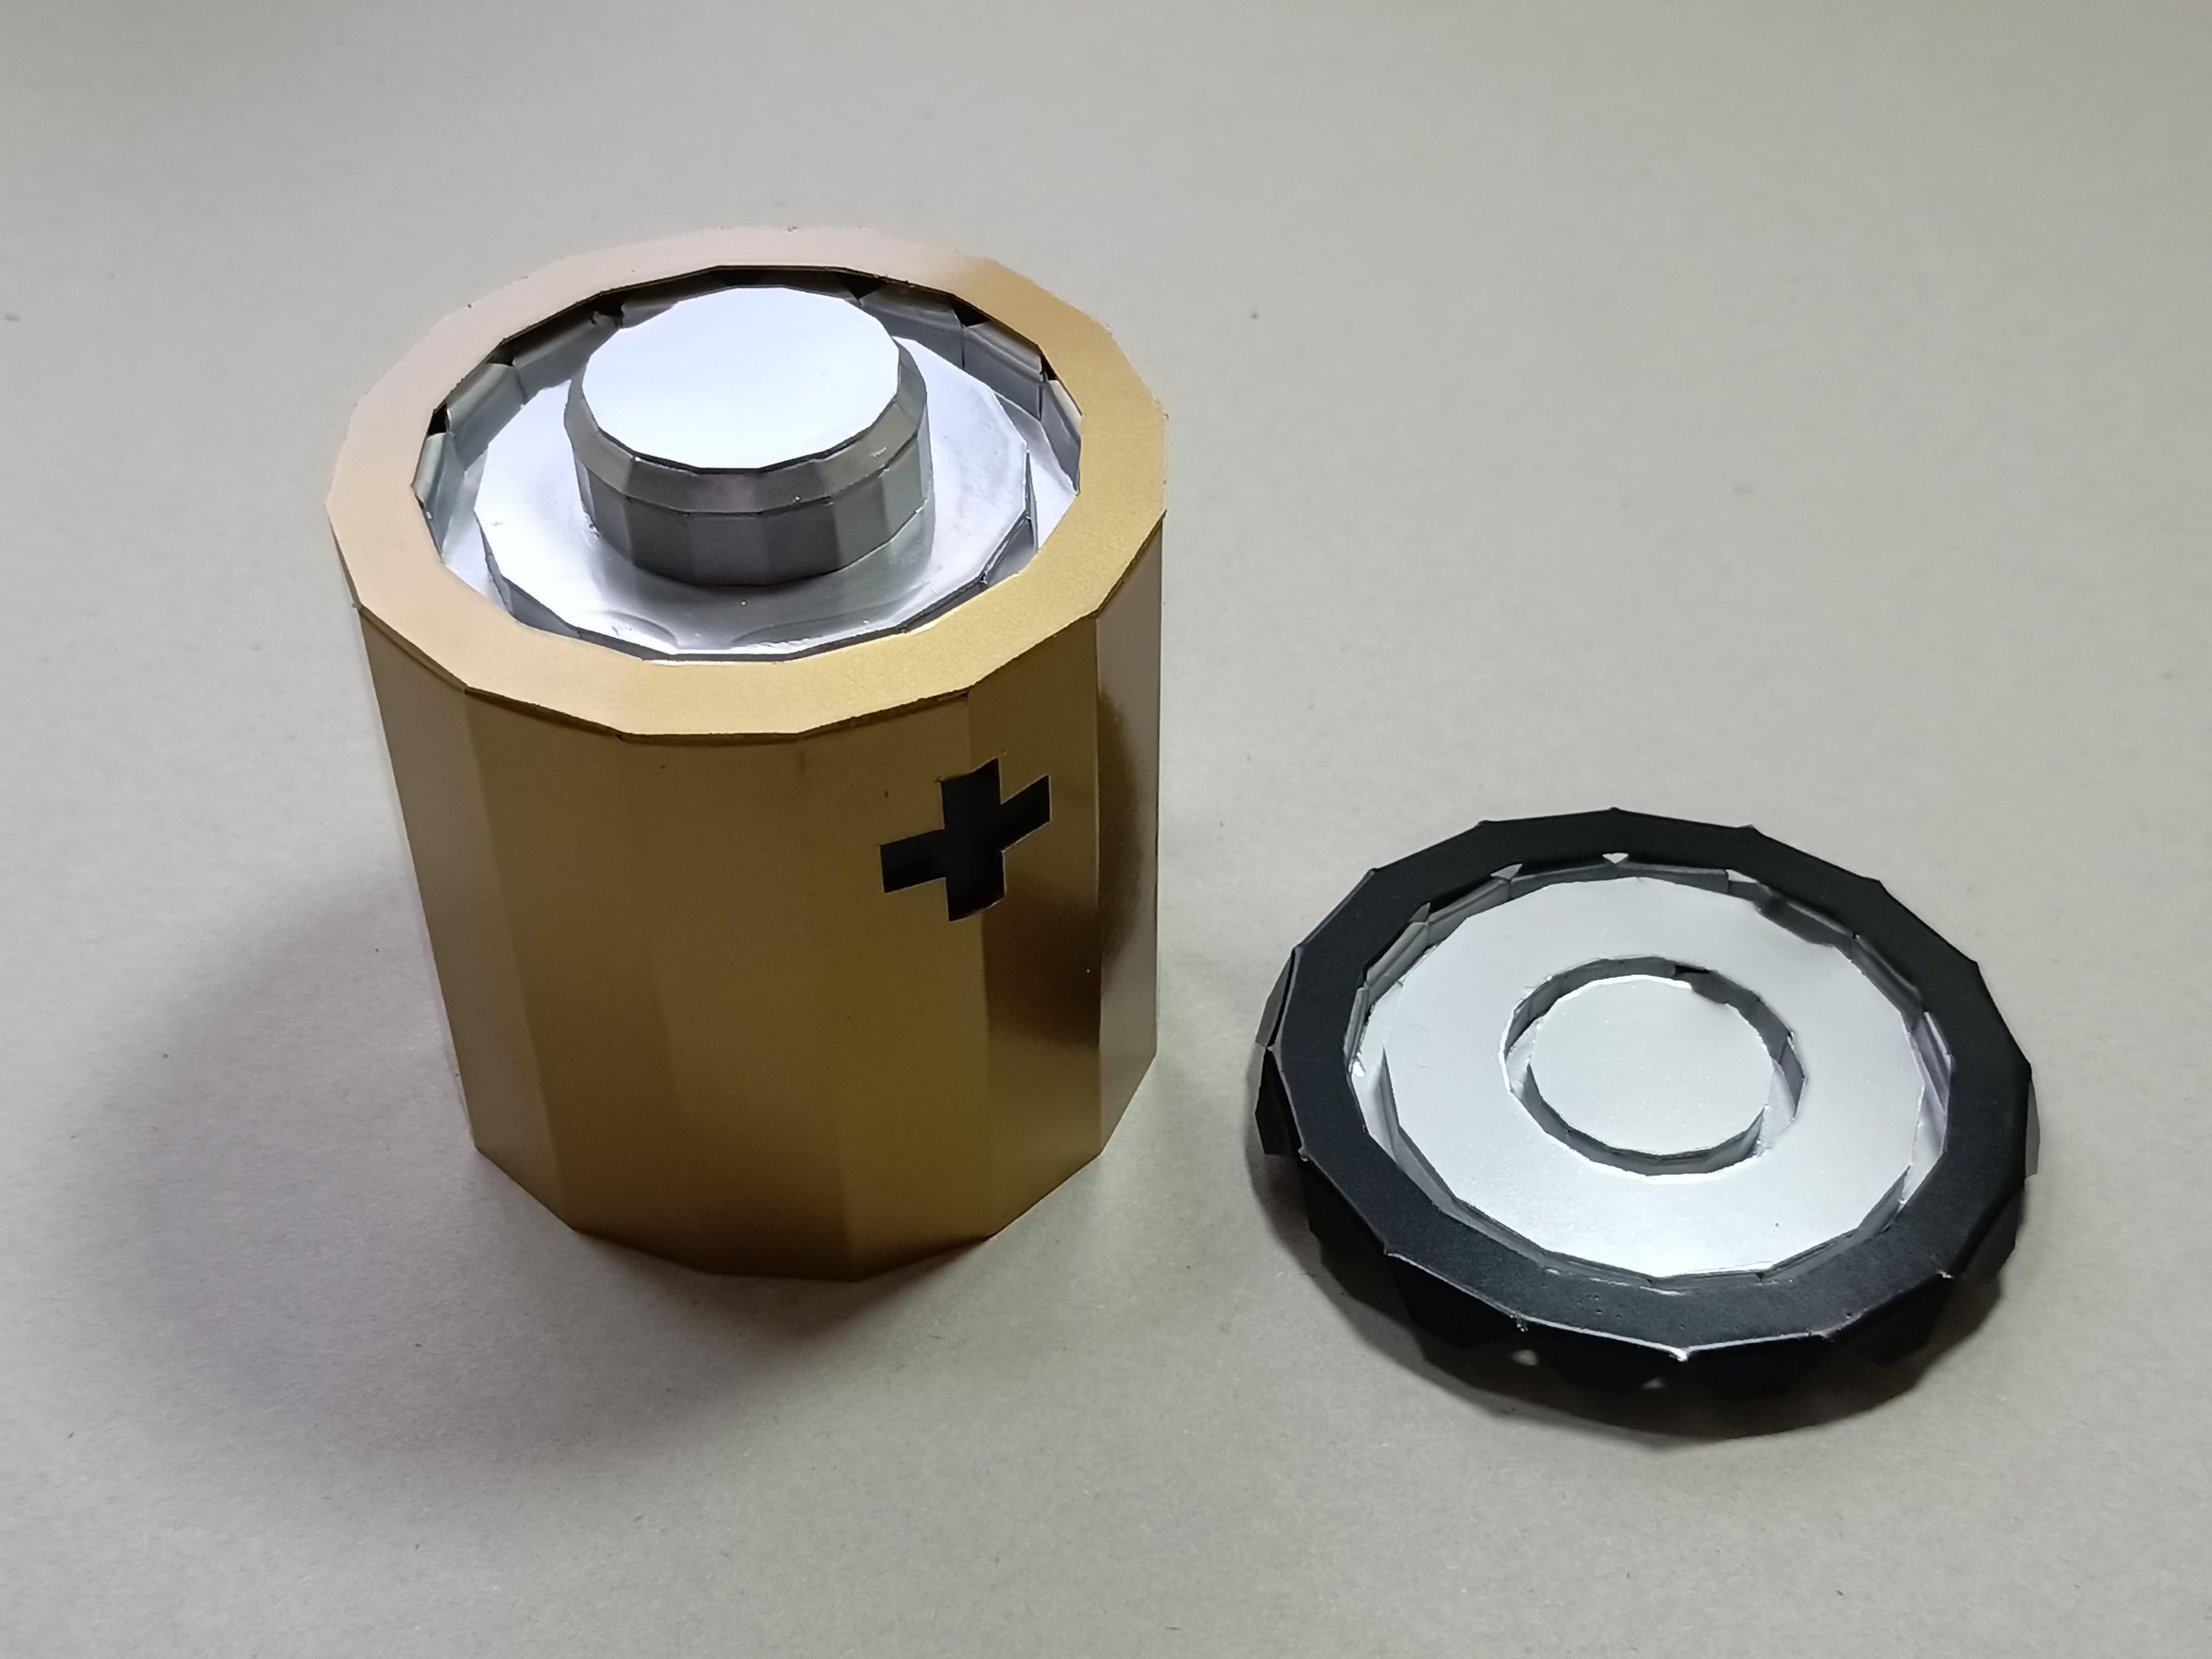
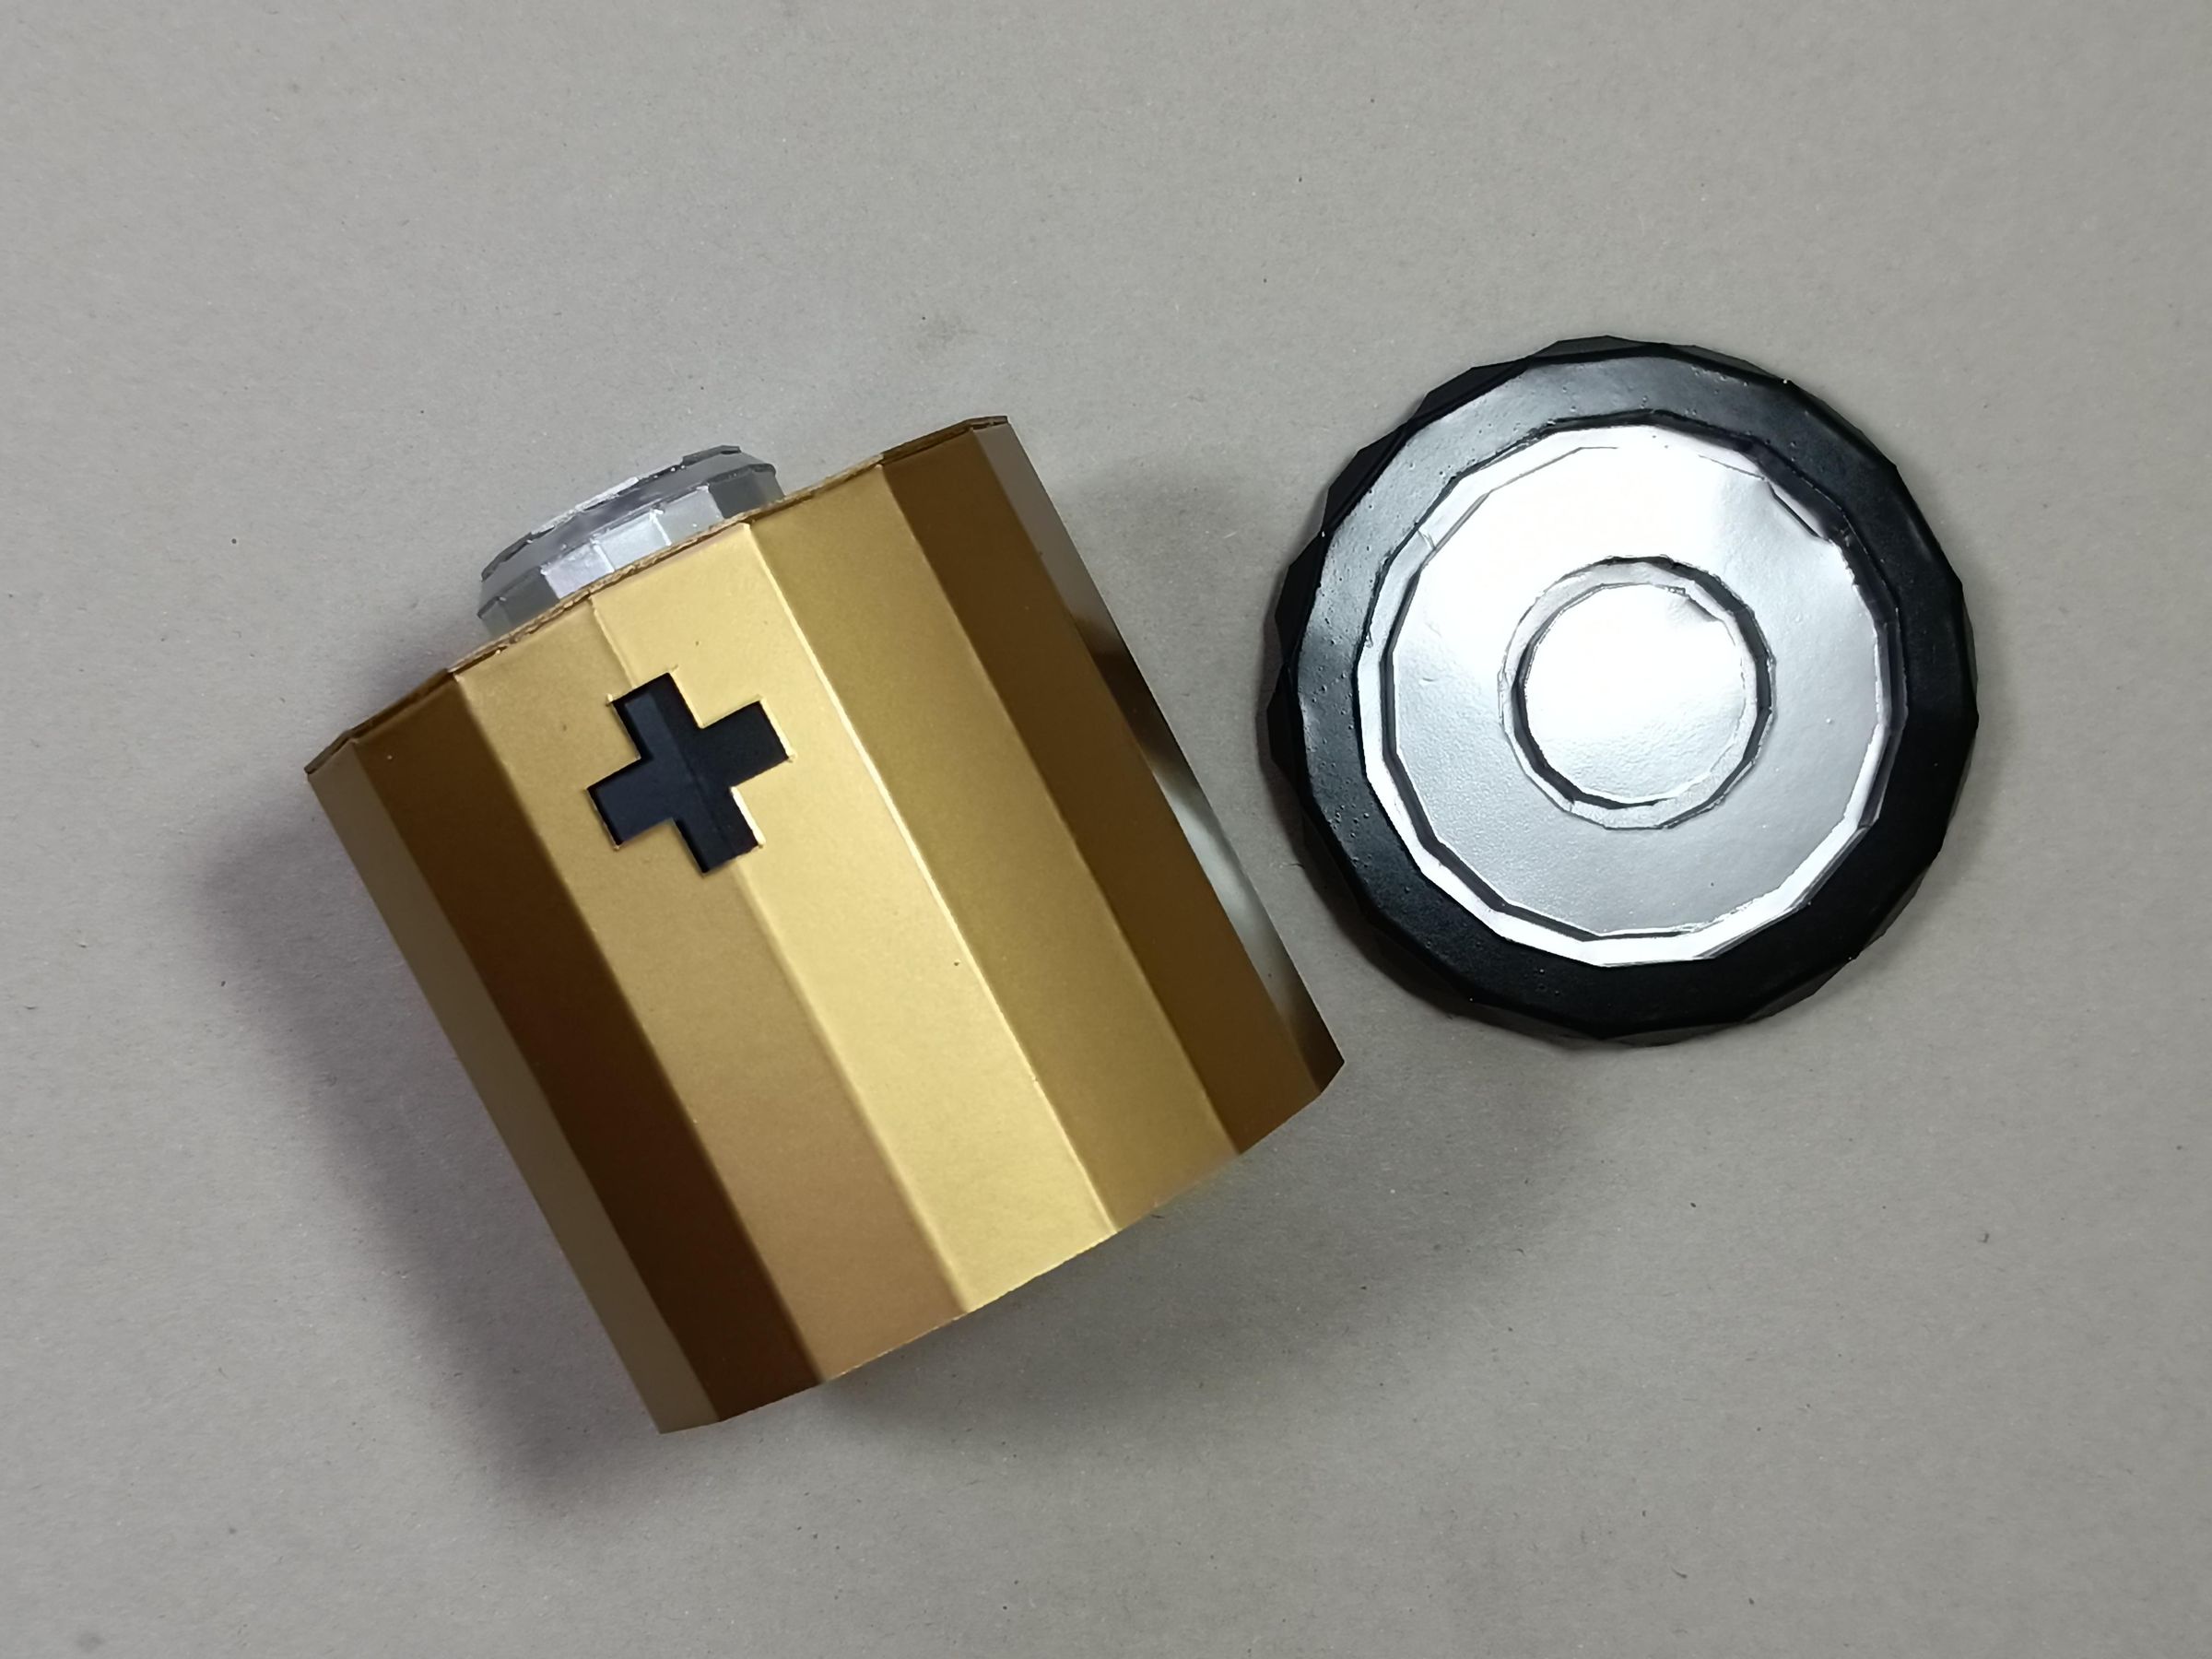
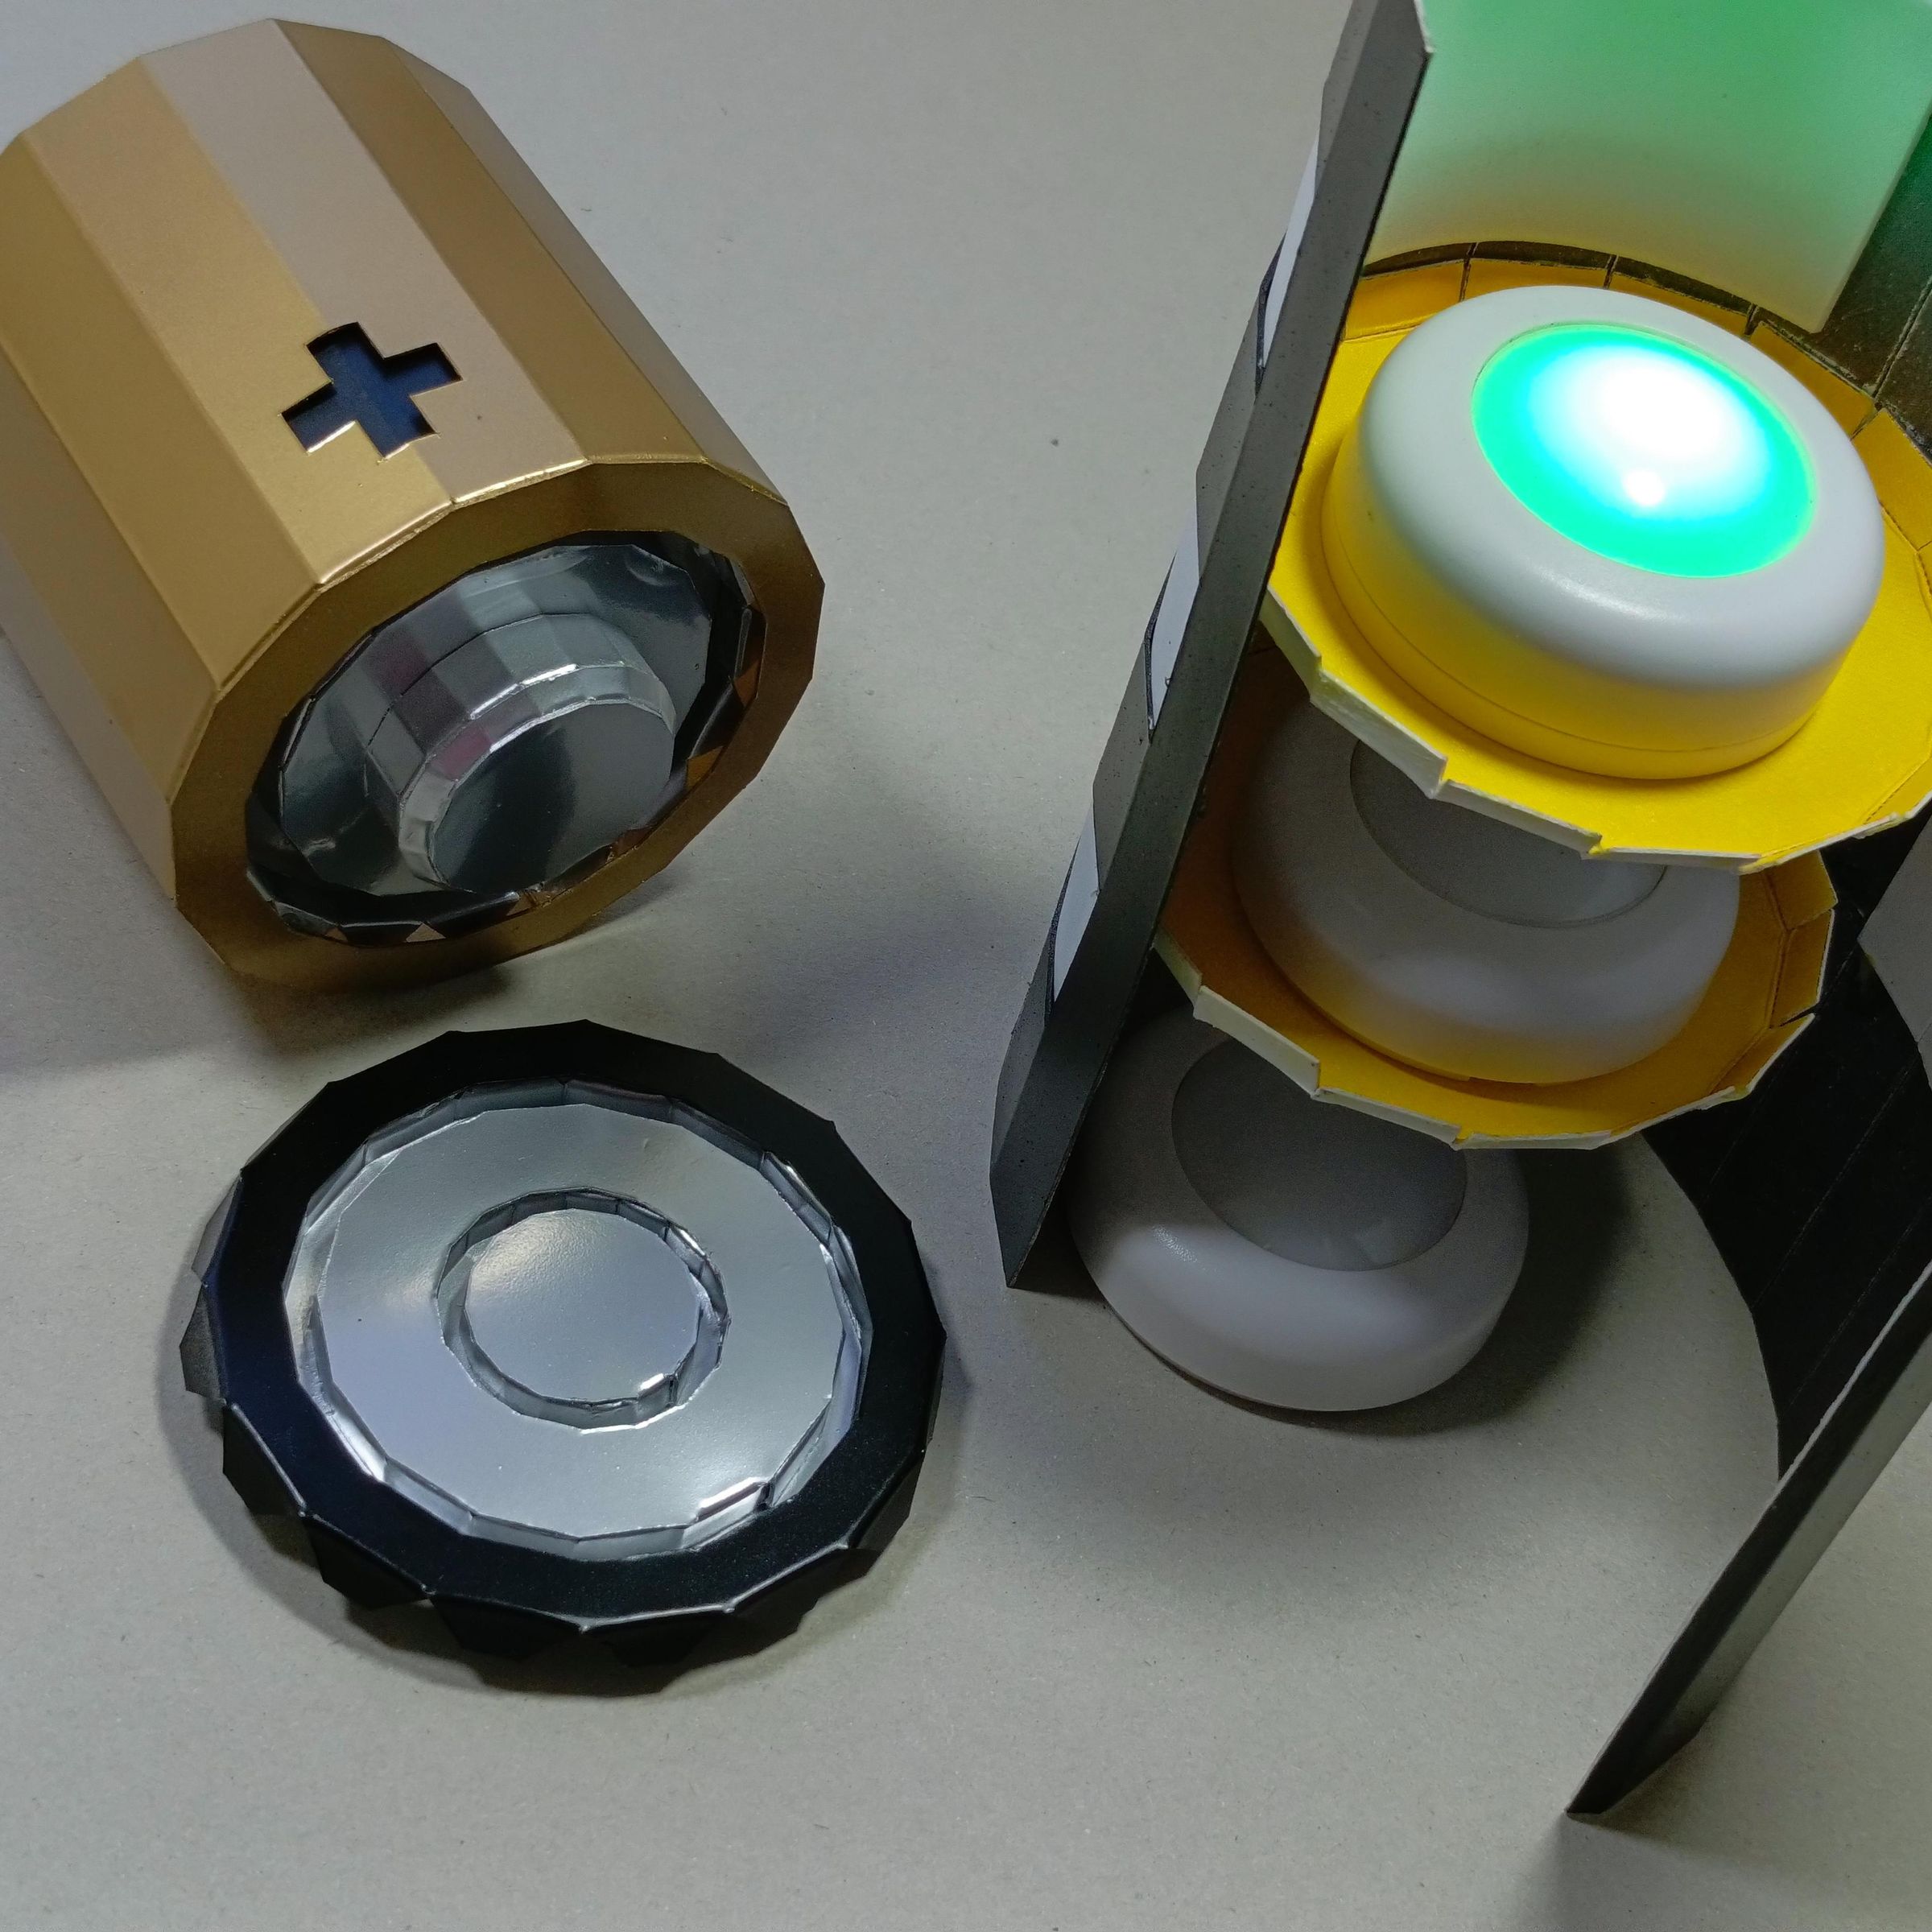
Now glue the positive piece to the resulting hole in the gold part, using the glue you think is necessary or the one of your preference.
We'll seal the negative part when everything else is in place.
Panels Instalation
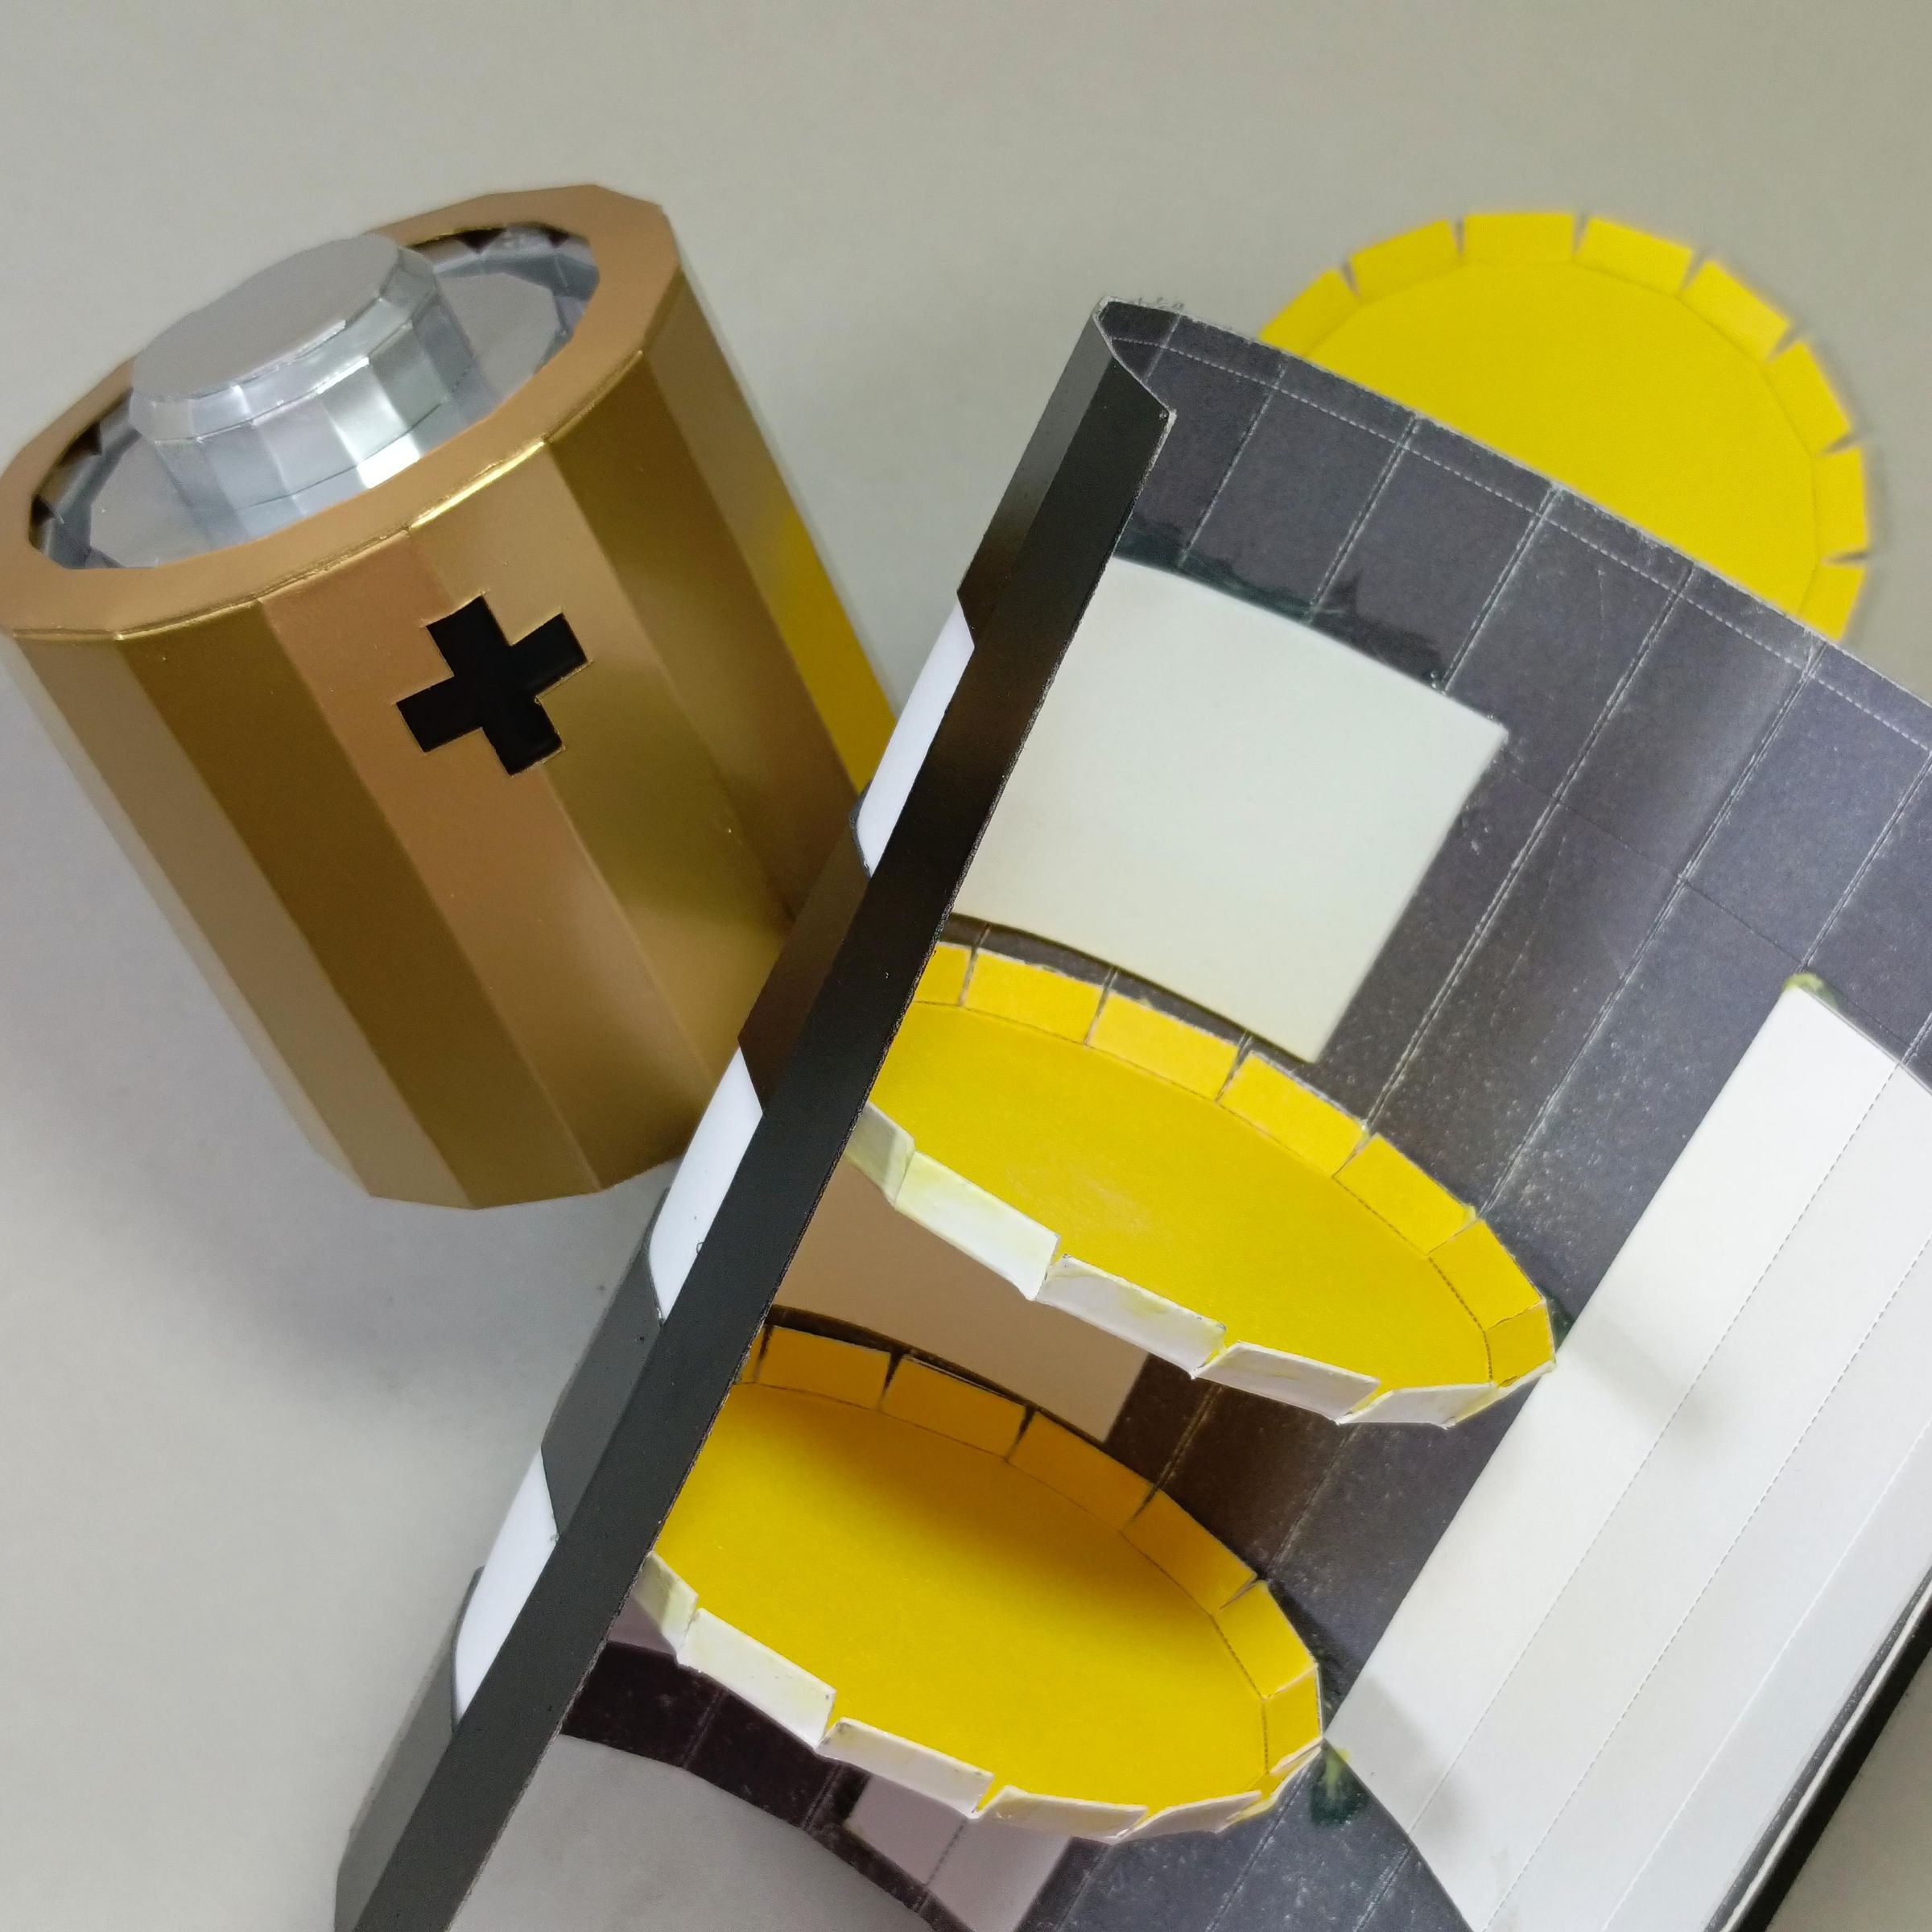
Install each panel above each edge of the battery charge level holes
Apply glue to the tabs of the panels and attach them to the inner walls of the battery.
Final Parts Assembly
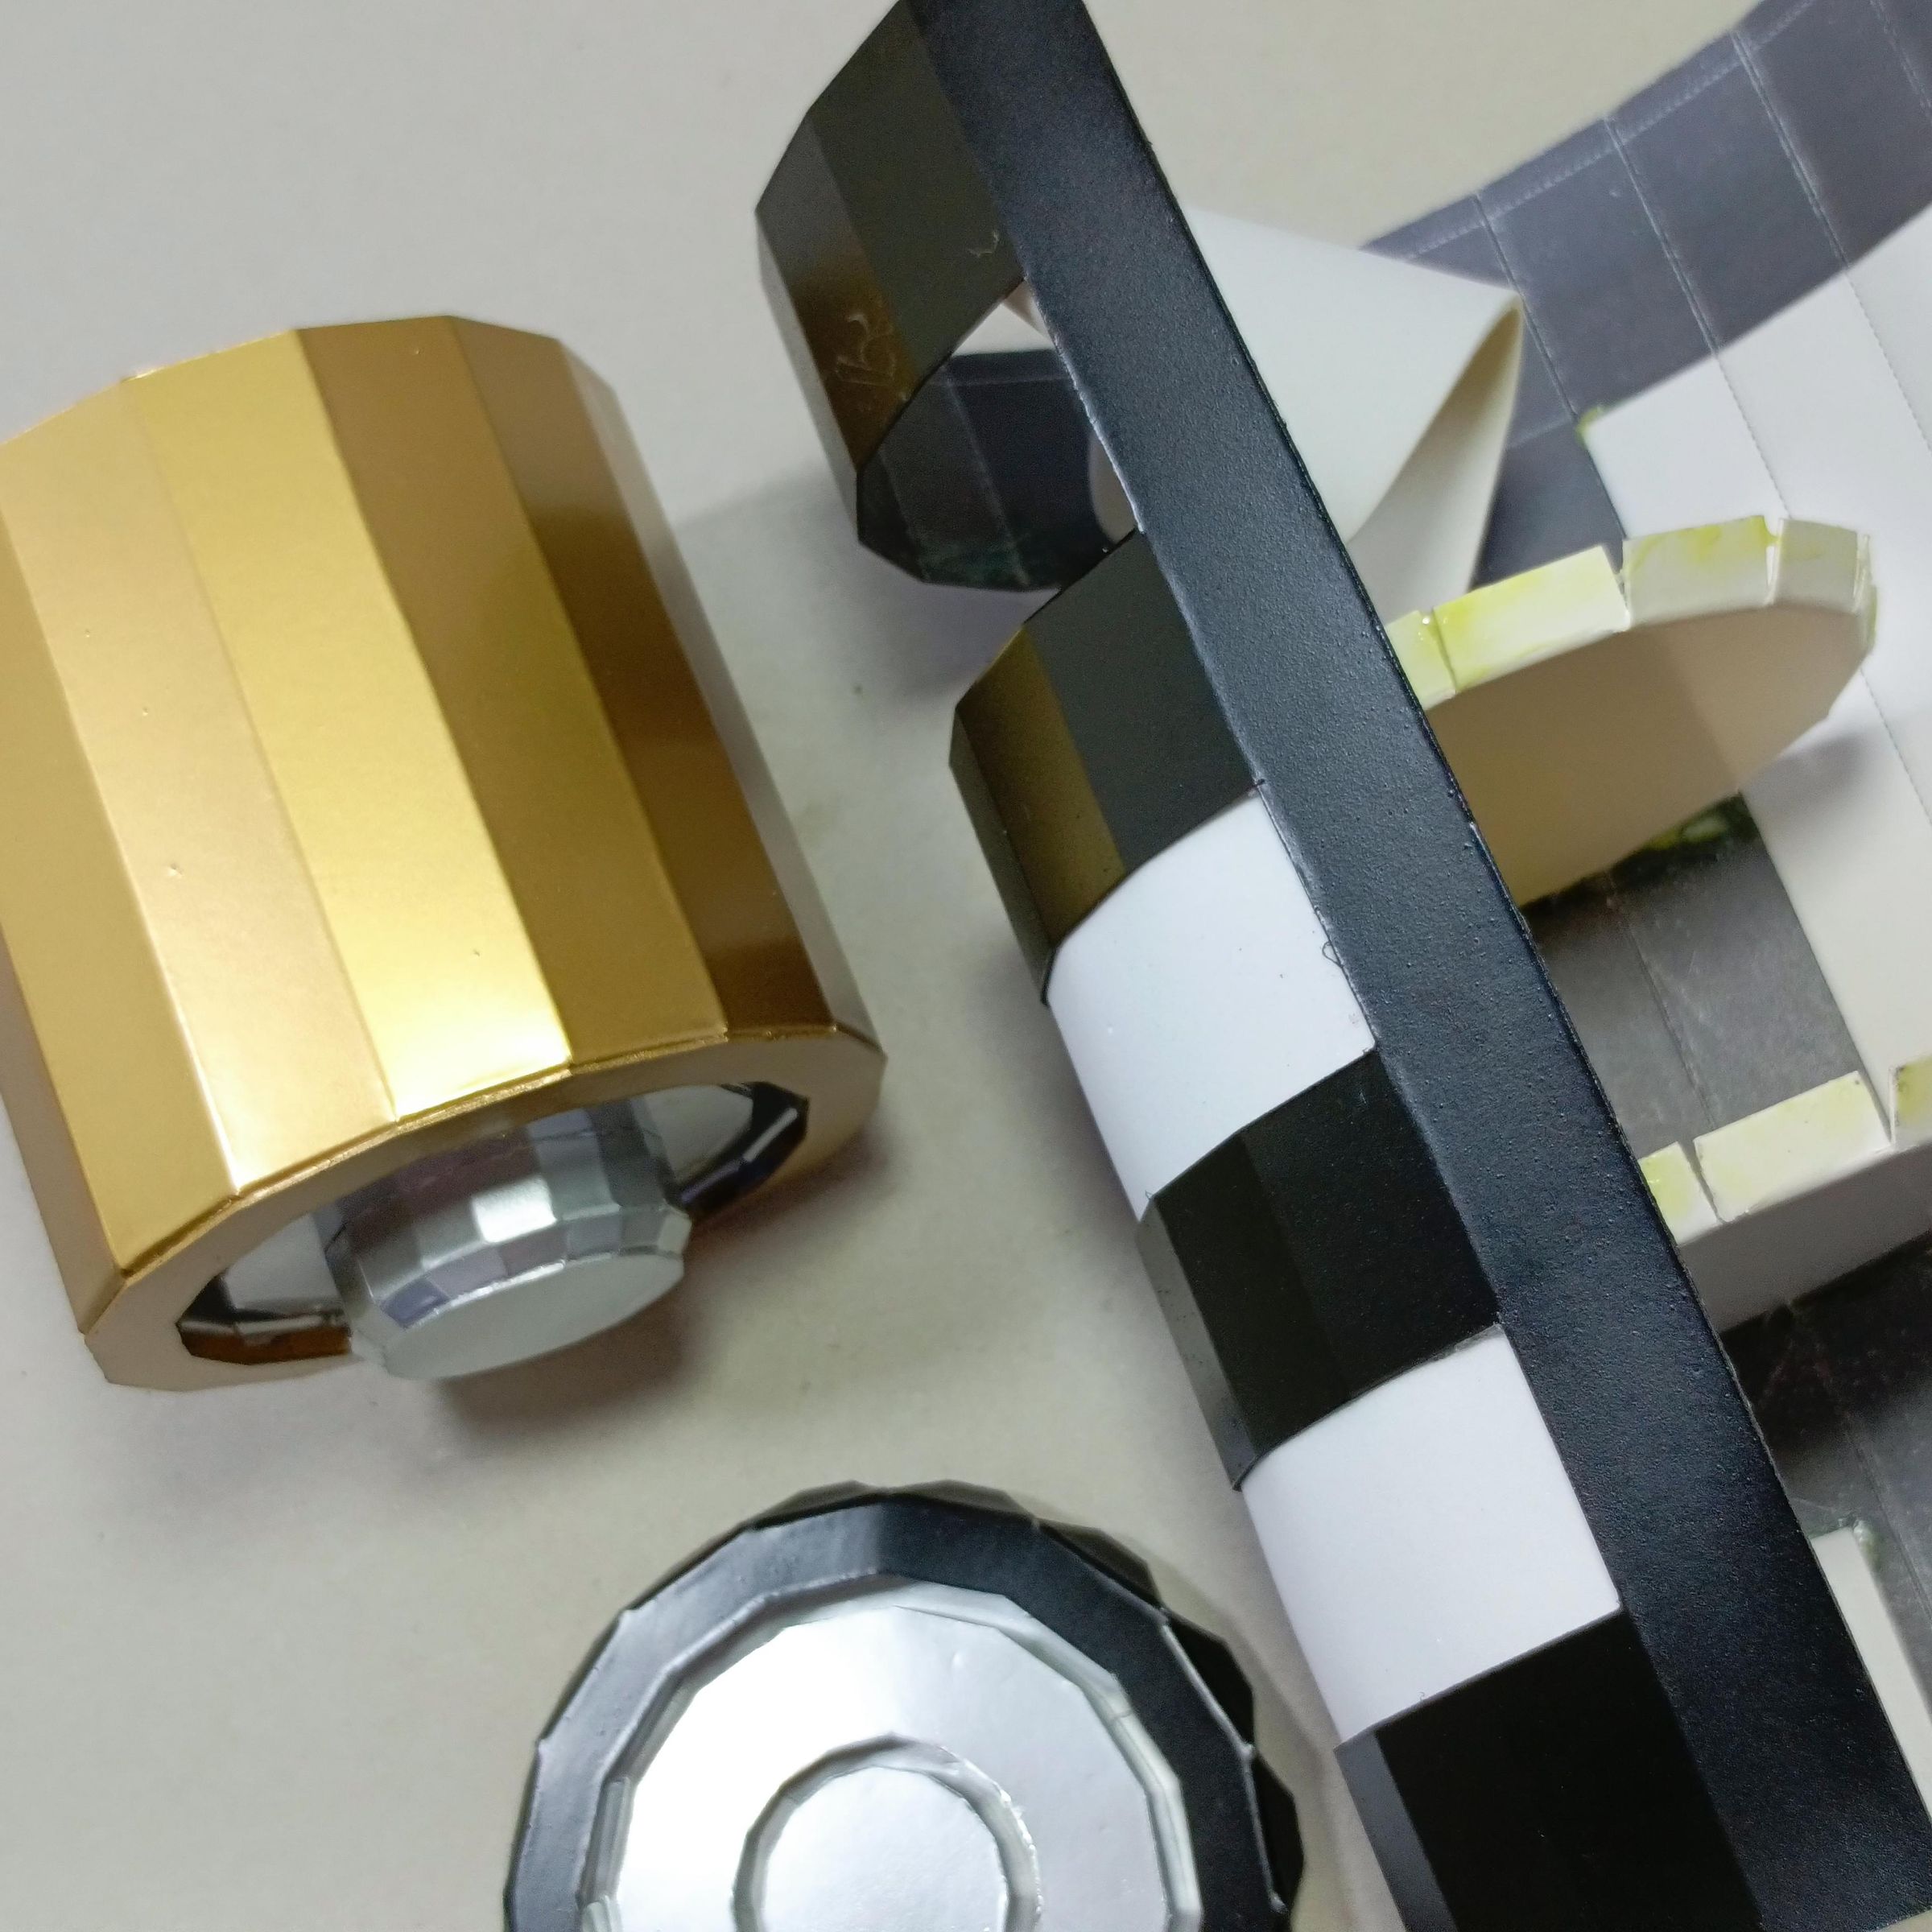
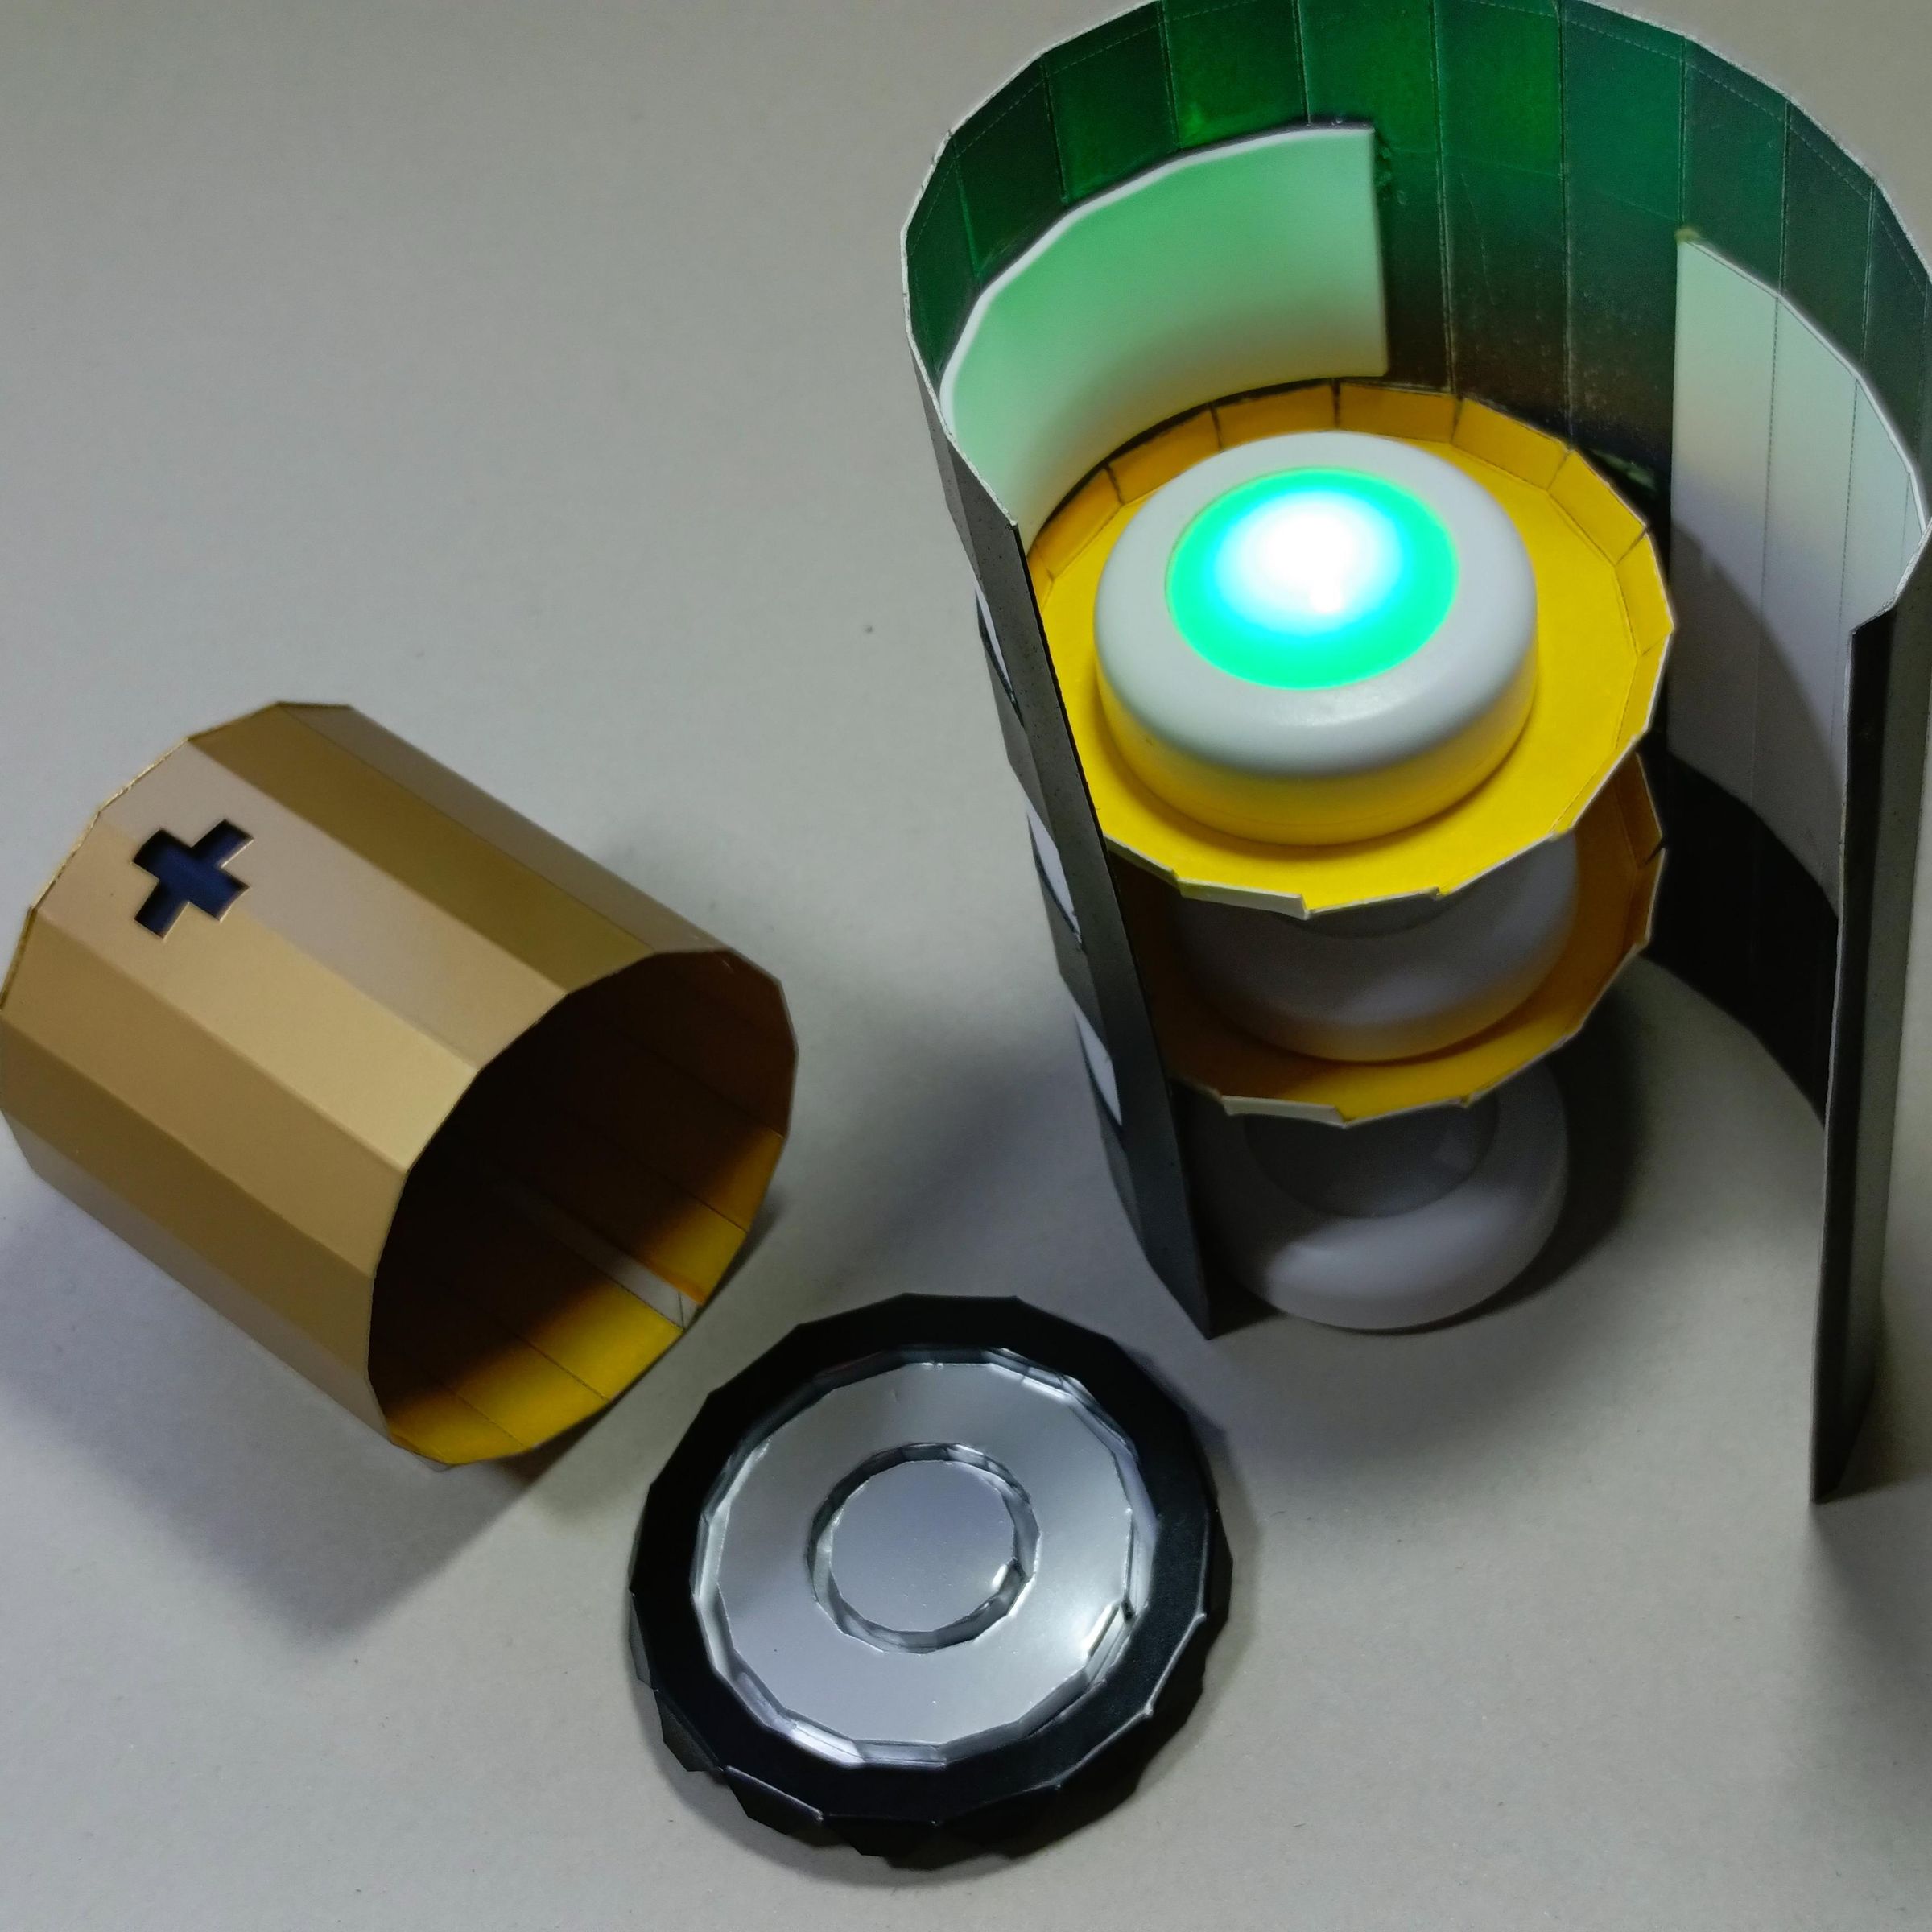
After installing the panels, place the LED plugs on each internal panel.
Then seal with glue around the edge and seal the cylinder
Place the positive end of the battery at the top and use the negative end as the base.
Glow Your Mod
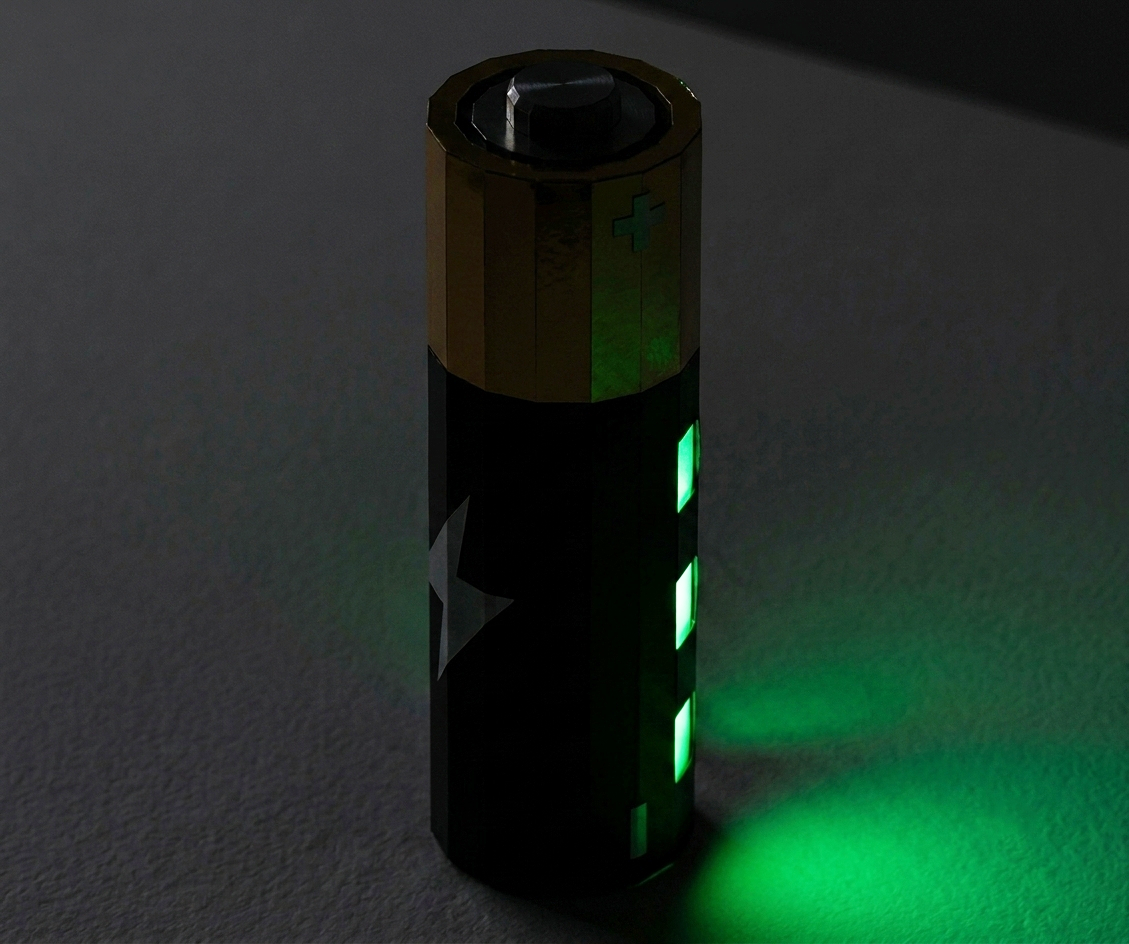
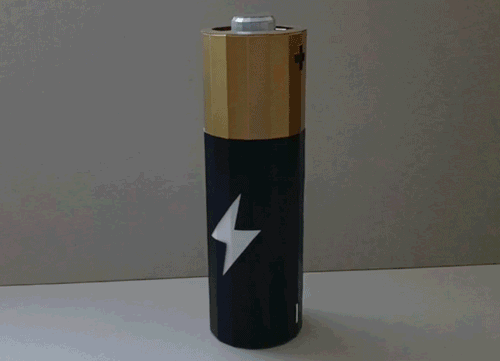
Conclusion:
This lamp is perfect for displaying your moods.
Adjust the colors lamp according to your moods.
You can use the space in the lid (golden part) to store your precious items.
Furthermore, its oversized design is eye-catching, and by being able to adjust the lights to your liking, you can make it look different.
A striking lamp with a specific function: to show your state of charge level in the real world.
Thanks for checking out my project.