ZX Spectrum USB PI Zero
by garrysmith in Circuits > Raspberry Pi
7109 Views, 22 Favorites, 0 Comments
ZX Spectrum USB PI Zero
![2016-03-25 12.18.18.jpg](/proxy/?url=https://content.instructables.com/FYR/7FQQ/IM5WJB4A/FYR7FQQIM5WJB4A.jpg&filename=2016-03-25 12.18.18.jpg)
![2016-03-25 12.19.07.jpg](/proxy/?url=https://content.instructables.com/FNI/P64X/IM5WJB4S/FNIP64XIM5WJB4S.jpg&filename=2016-03-25 12.19.07.jpg)
![2016-03-25 12.09.25.jpg](/proxy/?url=https://content.instructables.com/F6S/J3HP/IM5WJALC/F6SJ3HPIM5WJALC.jpg&filename=2016-03-25 12.09.25.jpg)
![2016-03-25 12.09.44.jpg](/proxy/?url=https://content.instructables.com/FYH/6T5C/IM5WJALE/FYH6T5CIM5WJALE.jpg&filename=2016-03-25 12.09.44.jpg)
In this instructable I will show how I fitted a Raspberry Pi Zero into a ZX Spectrum case and connected it to the Keyboard.
Following the steps in my previous Instructable I used a Minimus USB dev board to interface with the Raspberry PI Zero. Instead of using a long standard USB cable/plug I soldered a shorter Micro USB cable/plug (Aprox 400mm long).
https://www.instructables.com/id/ZX-Spectrum-Wired-USB-Keyboard-Part-1/
Fitting the Raspberry PI Zero
![2016-03-25 12.11.58.jpg](/proxy/?url=https://content.instructables.com/F50/4L91/IM5WJAMV/F504L91IM5WJAMV.jpg&filename=2016-03-25 12.11.58.jpg)
![2016-03-25 12.12.14.jpg](/proxy/?url=https://content.instructables.com/FTK/PBB2/IM5WJAOD/FTKPBB2IM5WJAOD.jpg&filename=2016-03-25 12.12.14.jpg)
![2016-03-25 12.12.35.jpg](/proxy/?url=https://content.instructables.com/F41/4CAI/IM5WJATQ/F414CAIIM5WJATQ.jpg&filename=2016-03-25 12.12.35.jpg)
![2016-03-25 12.12.40.jpg](/proxy/?url=https://content.instructables.com/F4X/ME9K/IM5WJAVK/F4XME9KIM5WJAVK.jpg&filename=2016-03-25 12.12.40.jpg)
![2016-03-25 12.14.11.jpg](/proxy/?url=https://content.instructables.com/F1K/XXPI/IM5WJAW0/F1KXXPIIM5WJAW0.jpg&filename=2016-03-25 12.14.11.jpg)
![2016-03-25 12.14.26.jpg](/proxy/?url=https://content.instructables.com/FME/I6NT/IM5WJAW2/FMEI6NTIM5WJAW2.jpg&filename=2016-03-25 12.14.26.jpg)
Two holes were drilled into the bottom half ZX spectrum (2.8mm diameter drill used) so that it is flush to the edge of the case. Using 2off M2.5 plastic nut n bolts the Raspberry Pi was fitted.
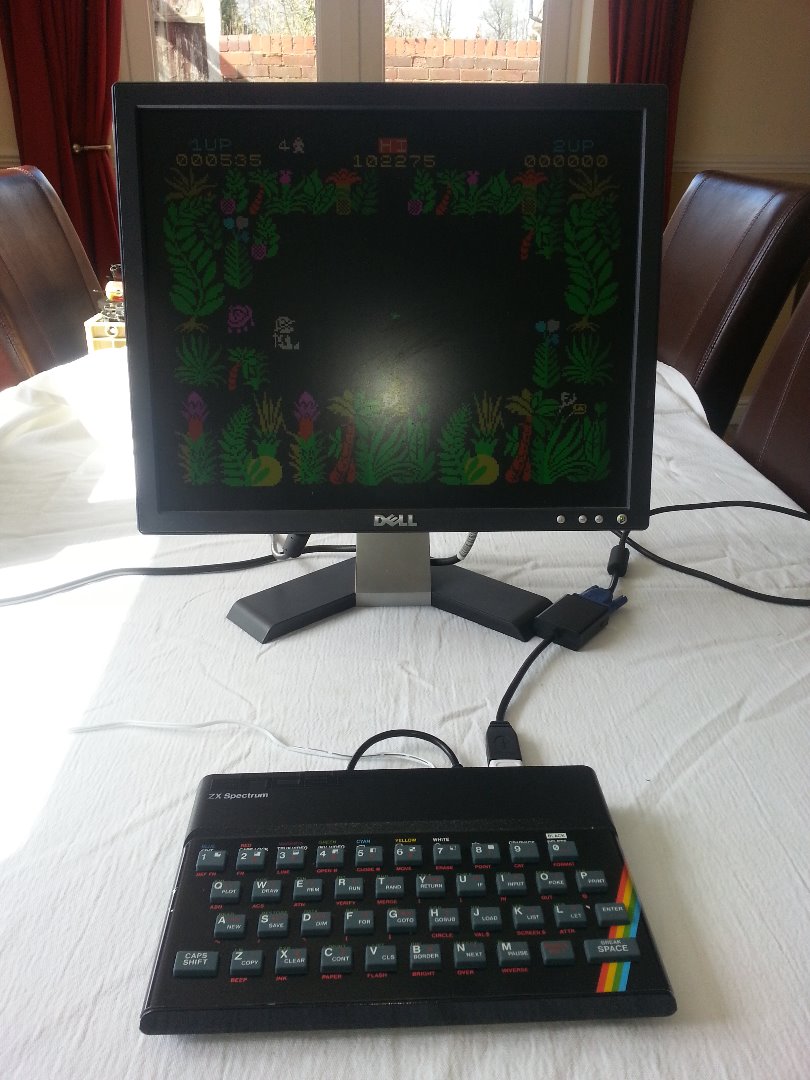
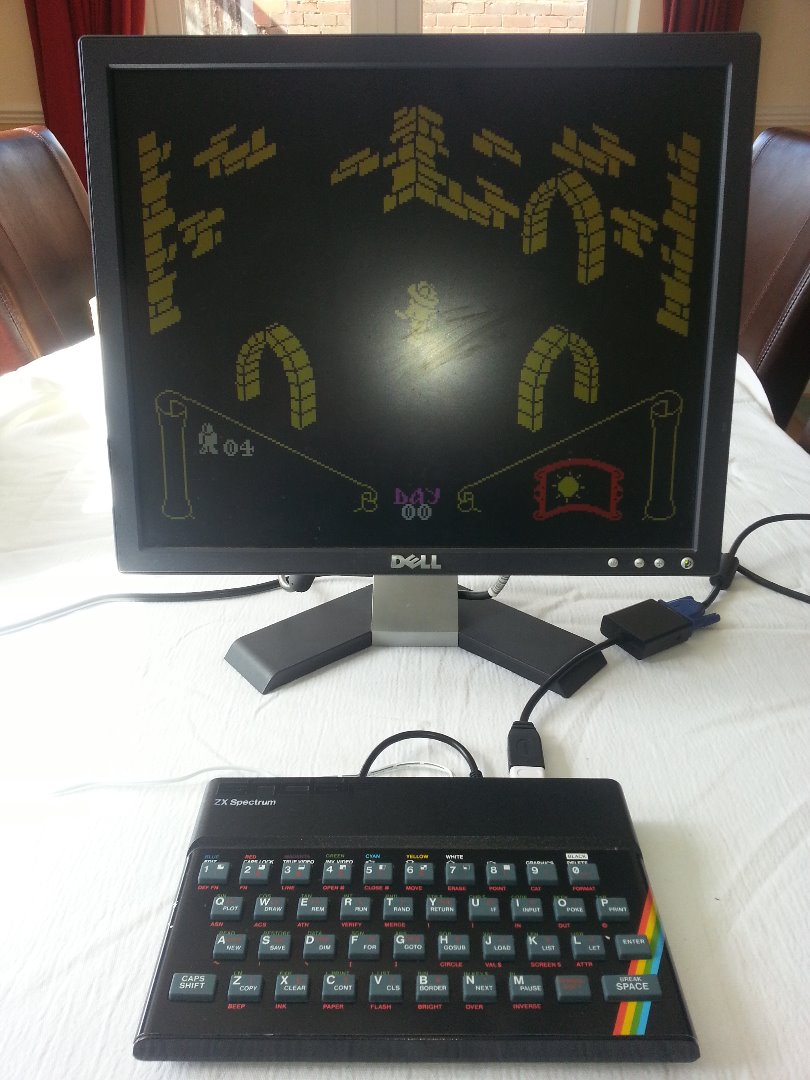
Note:- Unreal Speccy Portable and a full ROM set of games were loaded onto the SD card before hand.
Putting It Together.
![2016-03-25 12.15.09.jpg](/proxy/?url=https://content.instructables.com/FJ0/ORYX/IM5WJAWJ/FJ0ORYXIM5WJAWJ.jpg&filename=2016-03-25 12.15.09.jpg)
![2016-03-25 12.15.15.jpg](/proxy/?url=https://content.instructables.com/FYI/R0W7/IM5WJAZS/FYIR0W7IM5WJAZS.jpg&filename=2016-03-25 12.15.15.jpg)
![2016-03-25 12.15.41.jpg](/proxy/?url=https://content.instructables.com/FUH/IRKB/IM5WJAZW/FUHIRKBIM5WJAZW.jpg&filename=2016-03-25 12.15.41.jpg)
![2016-03-25 12.17.10.jpg](/proxy/?url=https://content.instructables.com/FJP/Y5JE/IM5WJB3U/FJPY5JEIM5WJB3U.jpg&filename=2016-03-25 12.17.10.jpg)
![2016-03-25 12.19.11.jpg](/proxy/?url=https://content.instructables.com/FEY/ZA1Y/IM5WJB4U/FEYZA1YIM5WJB4U.jpg&filename=2016-03-25 12.19.11.jpg)
The two halves of the ZX spectrum were now bought together paying attention to the cable gland.
Once reassembled and the screws were refitted the Micro-B USB from the keyboard was pluged into the Raspberry PI follwed by the HDMI via a mini-HDMI to HDMI adaptor and then the powere connection.
All booted up and ready to play.