Zeno, the Trash Handling Robot
by MikeTheMaker in Circuits > Arduino
4651 Views, 23 Favorites, 0 Comments
Zeno, the Trash Handling Robot
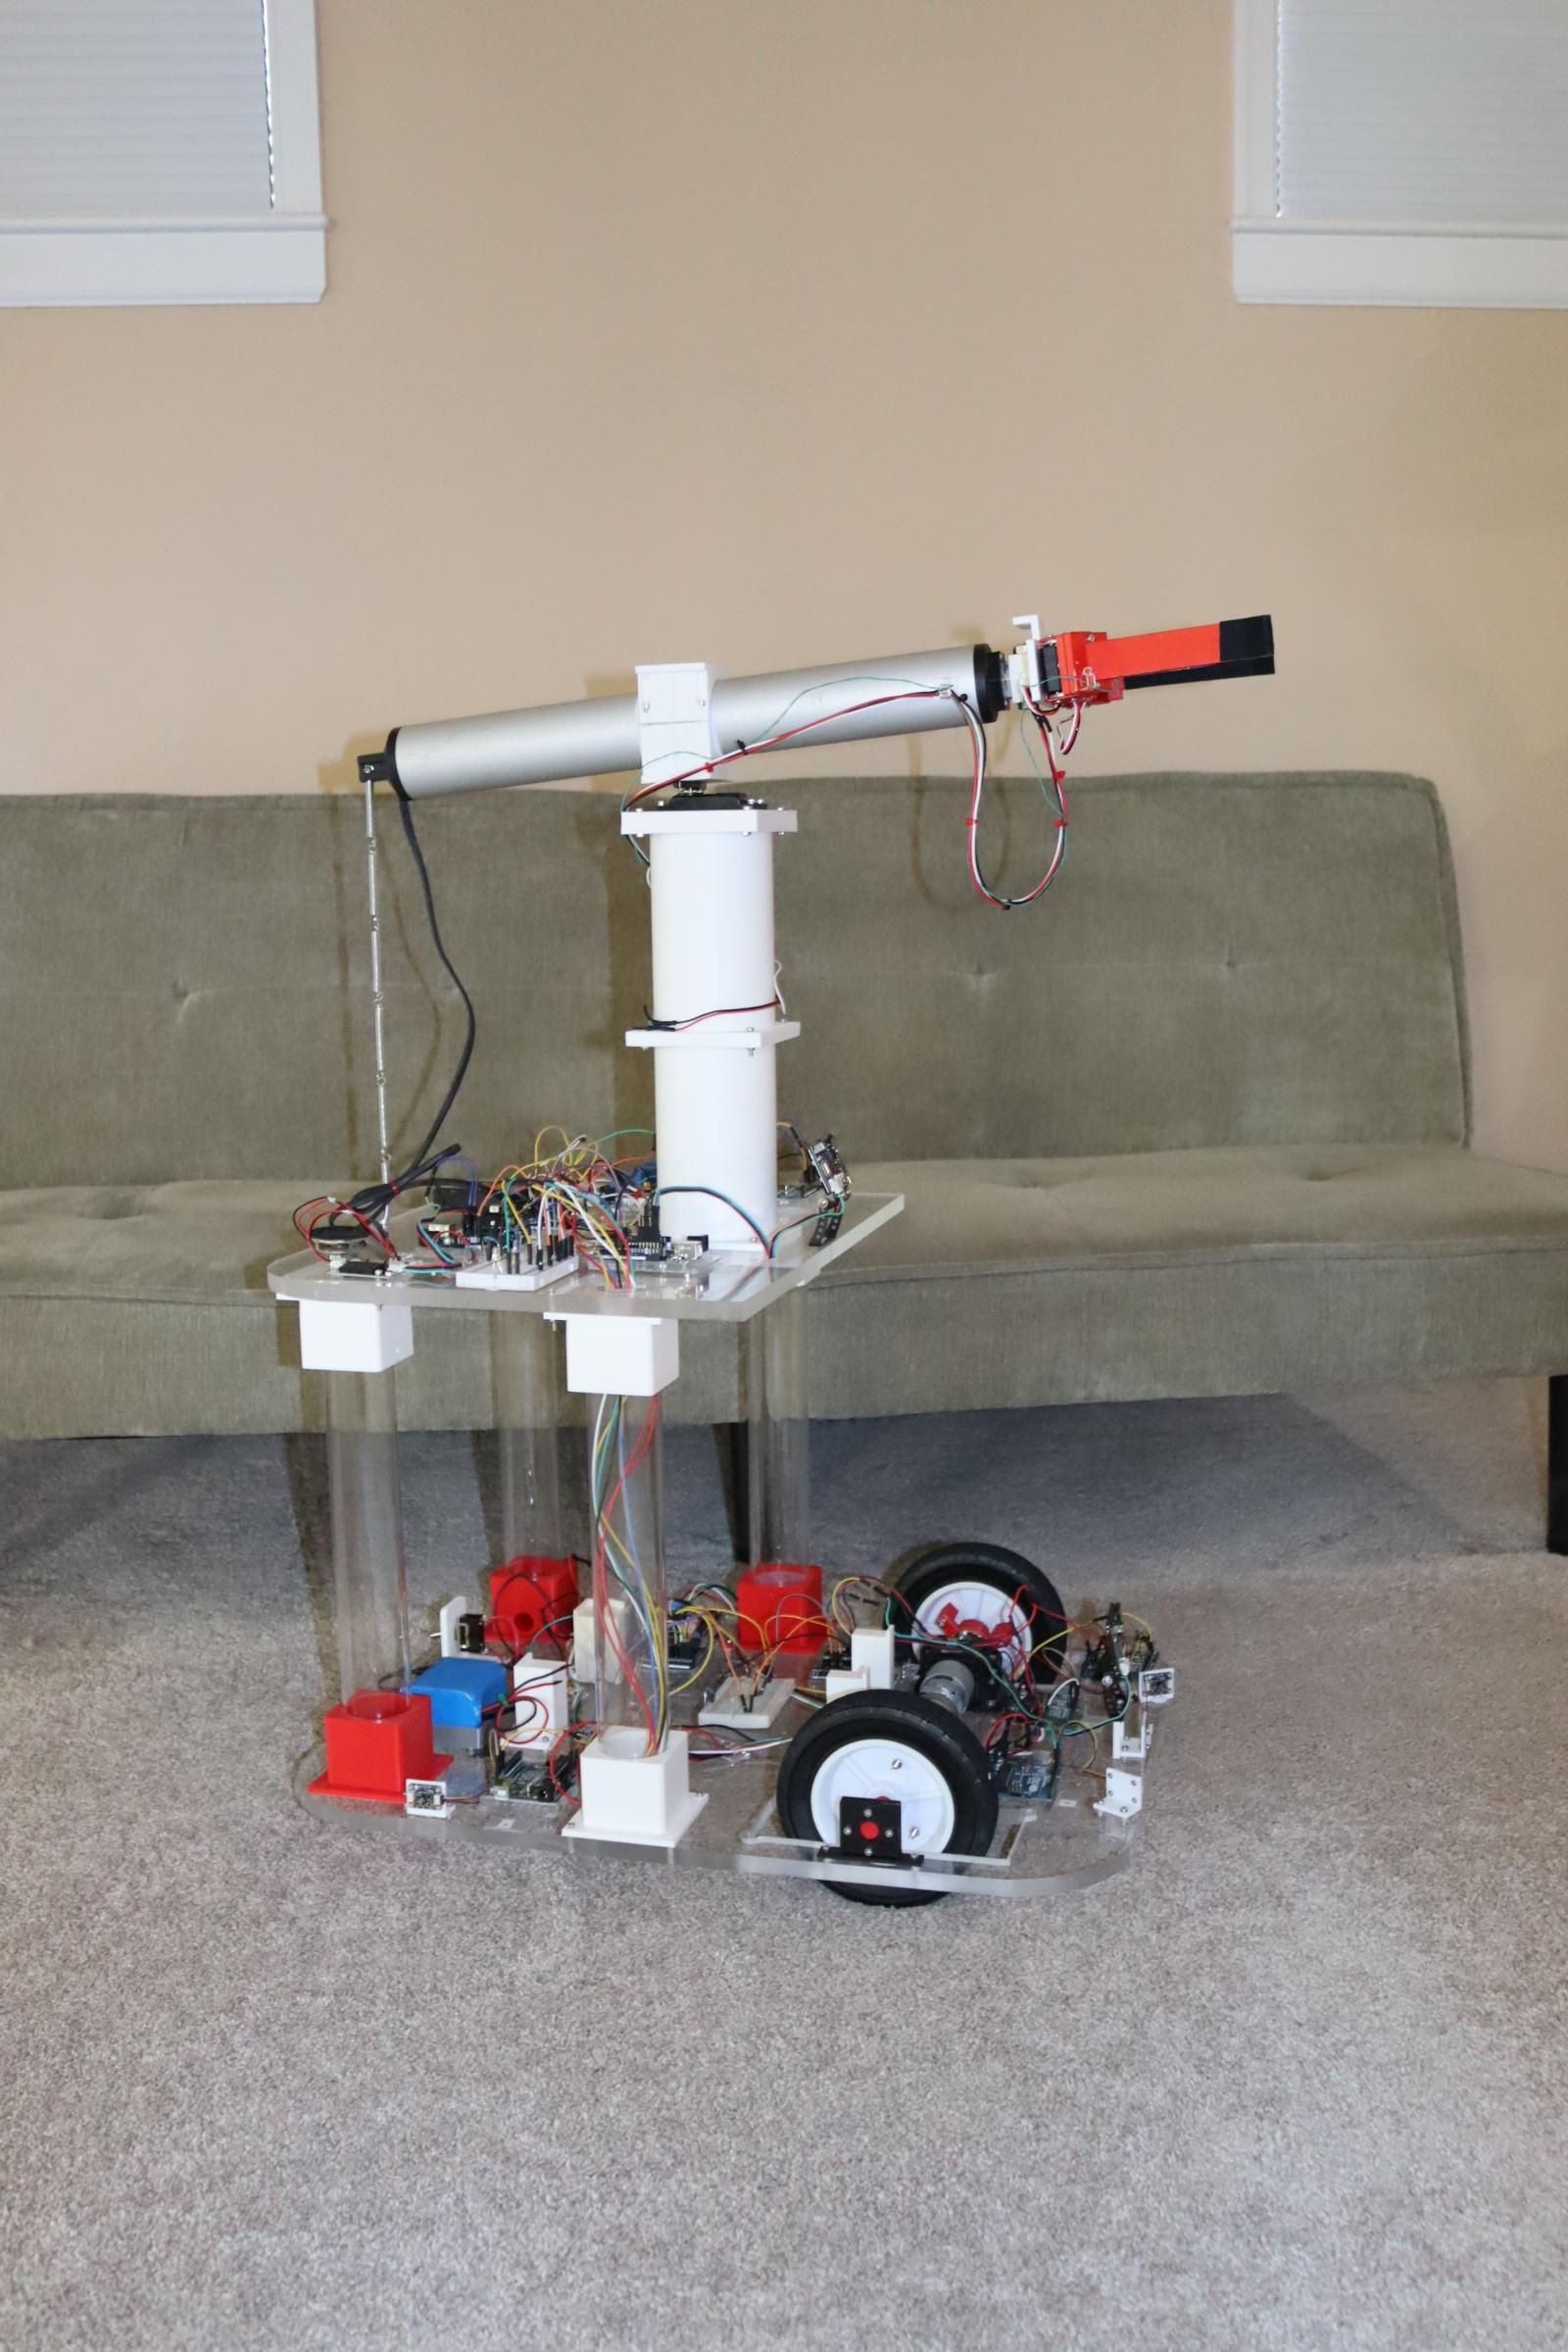
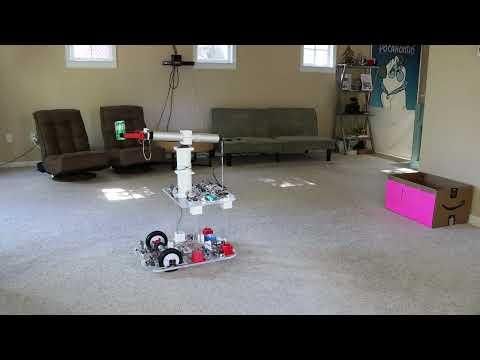
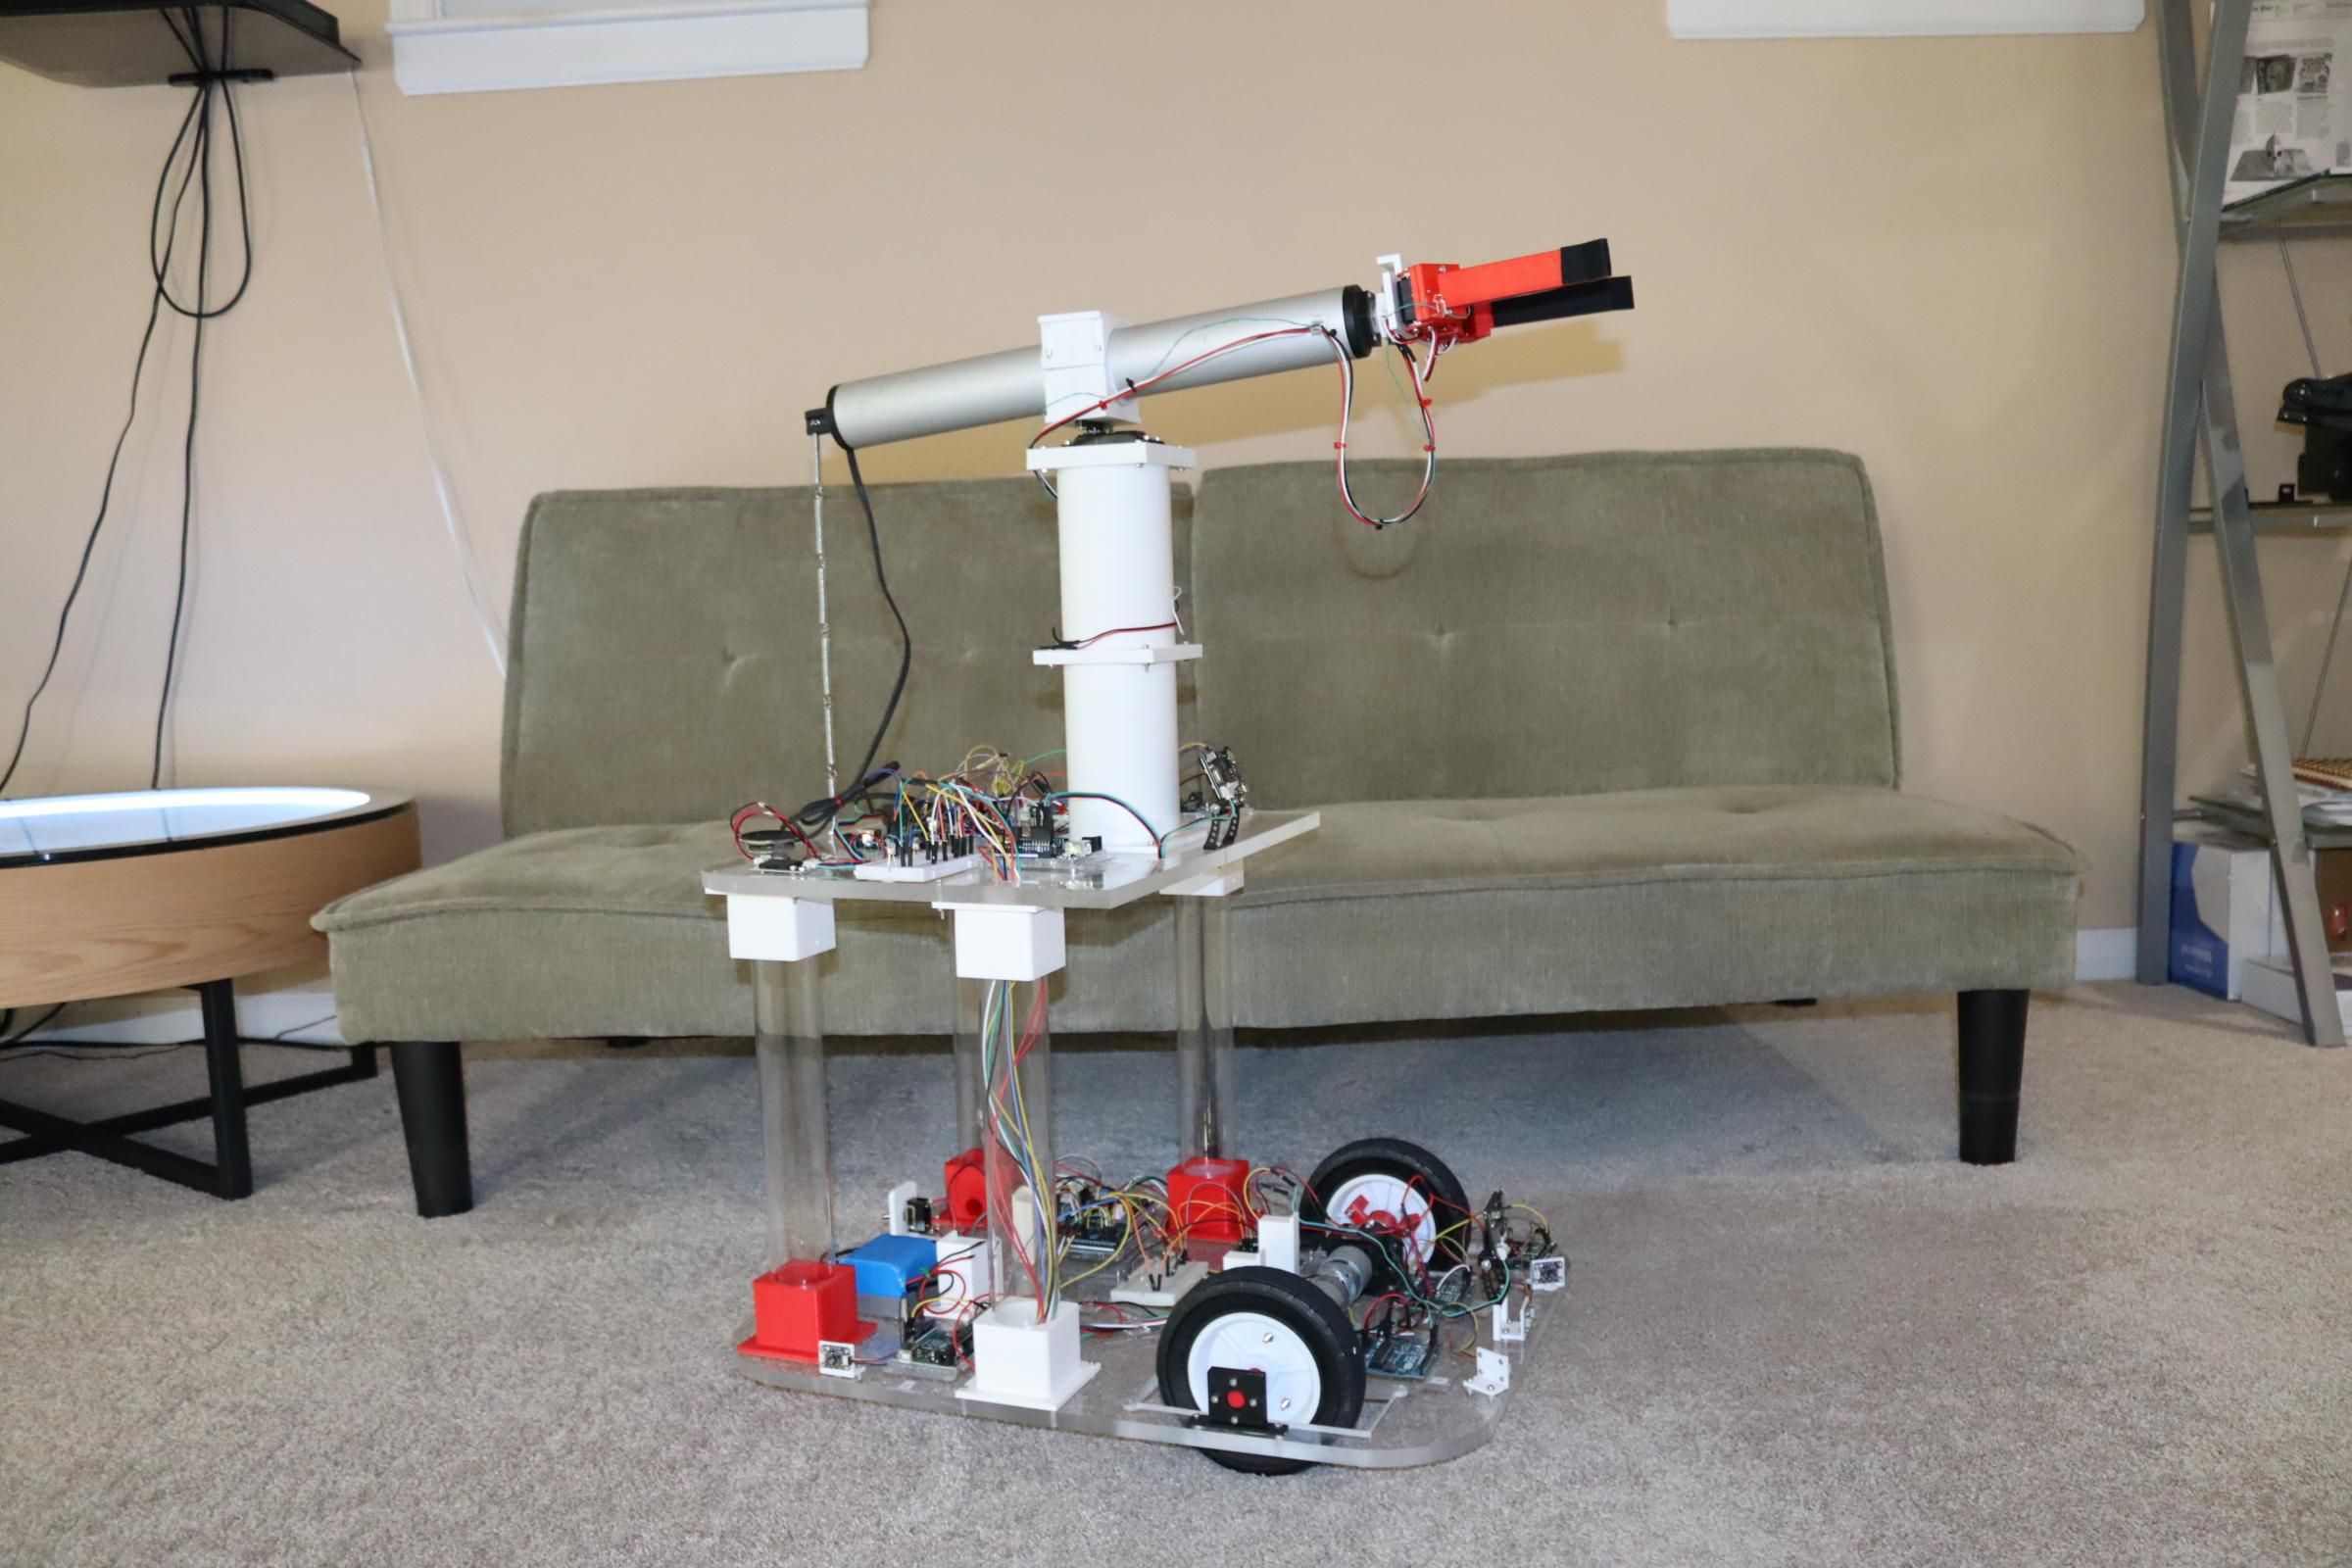
Zeno uses a camera to detect and follow humans, a camera to go to the trash bin, voice recognition to follow instructions, lidar to detect obstacles and a pressure sensor to control gripper squeezing. Eleven Arduino controllers are used to make all this work.
Supplies
(10) Arduino Uno
Arduino Mega
Arduino Motor Shield
(4) 2 inch by 13 inch acrylic tubes
(2) flange couplers
(2) Waveshare serial servo motors
(2) Wheels
(2) Acrylic 18 inch by 24 inch 1/2 inch thick
(5) Lidar units vs53l0x from Adafruit
Misc. wire, fuse, jumpers, 3mm and 2mm screws
About Zeno
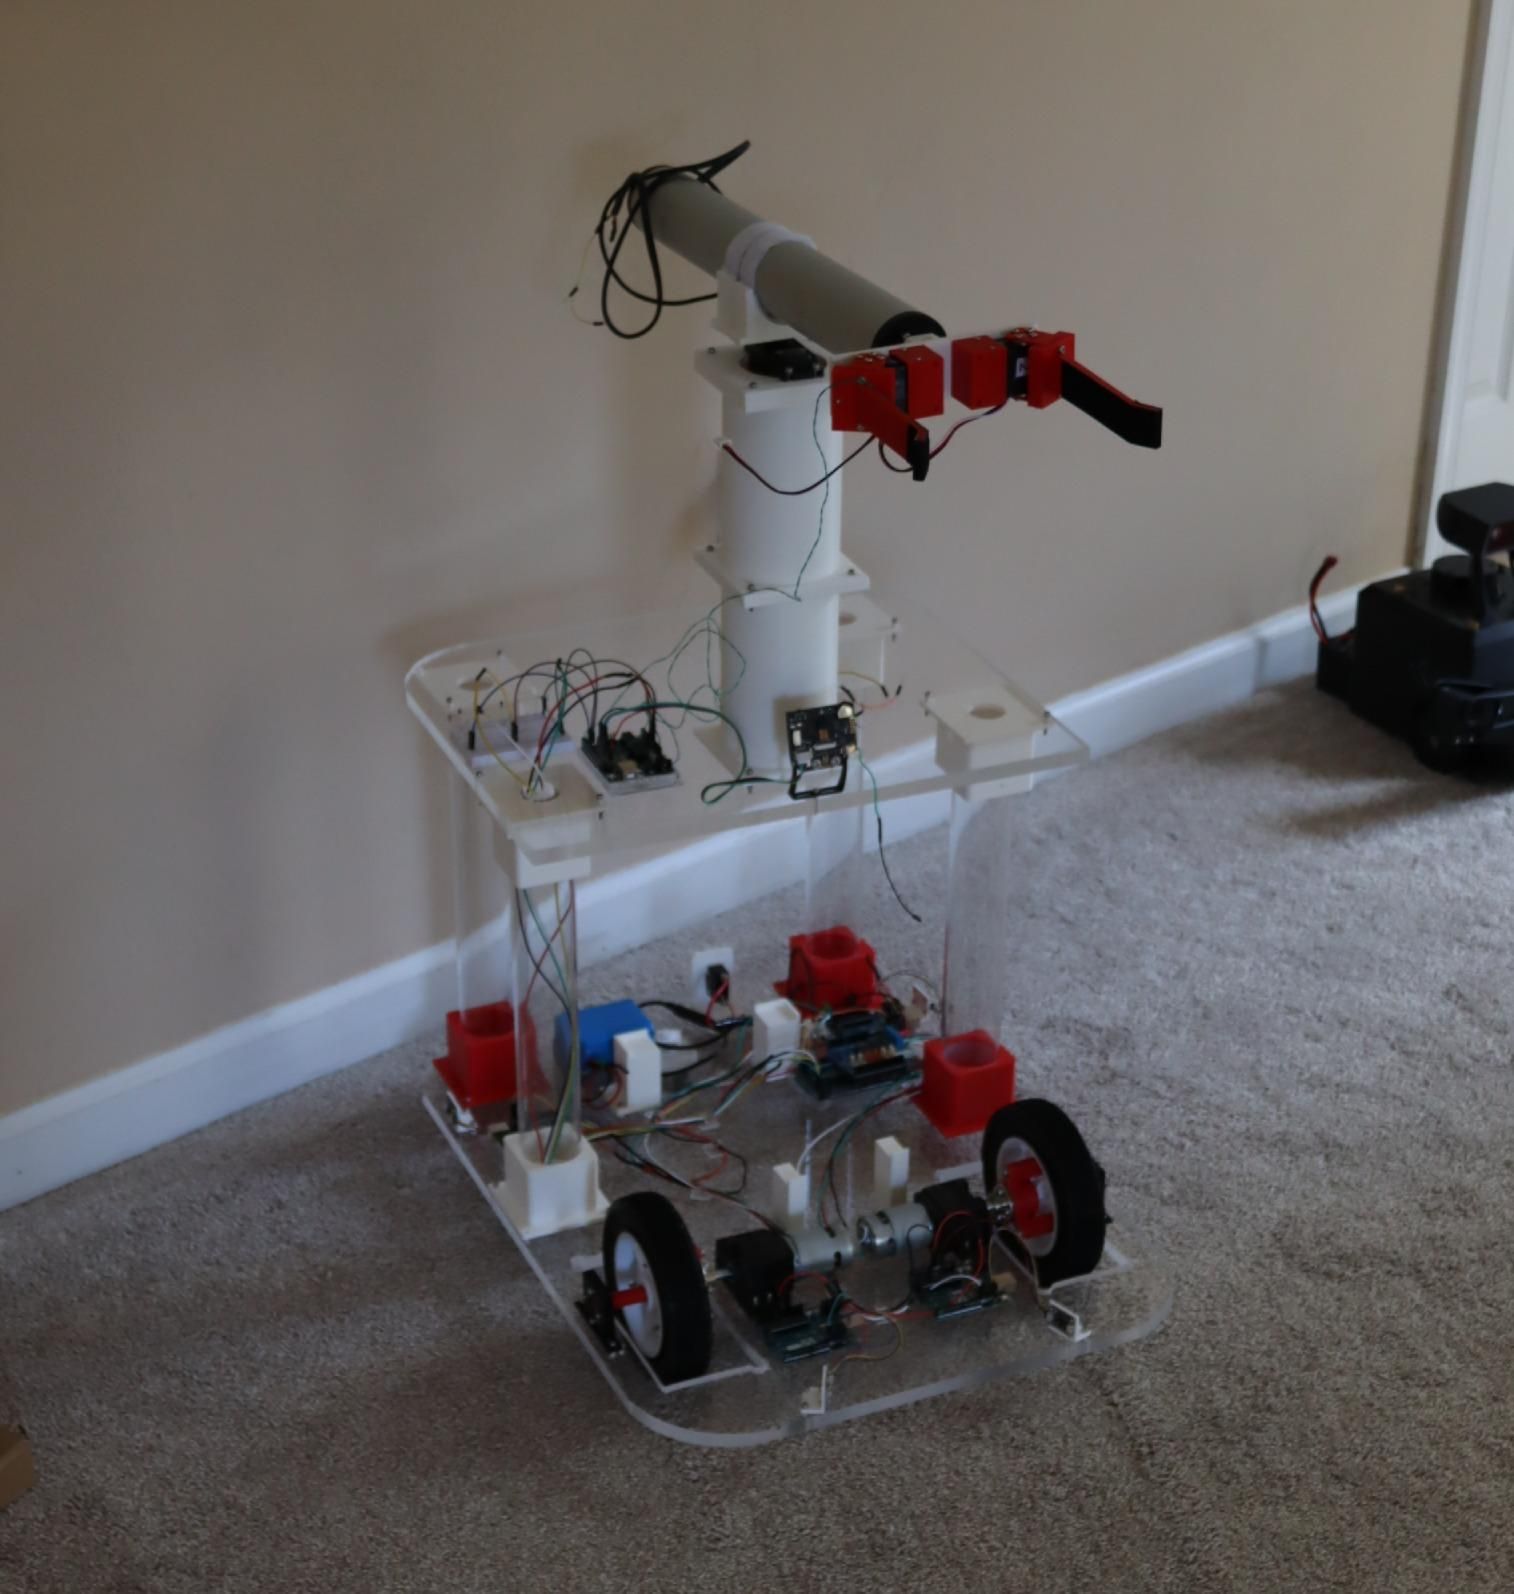
My wife thinks that all good robots need a name, so we discussed things, came up with a list and narrowed it down to either Lars or Zeno. This robot is based on MARS by Innate.bot.
Lars (large MARS) was a high contender for the name. I'll tell you my thoughts on Zeno and why that won out. I've dealt with many robots. I own two Aibo's (1999 and 2024 versions). I have an Astro robot (available from Amazon by invitation). I always wanted, but never acquired a Heathkit Hero robot. I currently have a pre-order in place for the humanoid, Neo (due to arrive sometime during 2026). I've applied to be a beta tester for Memo robot. Notice that these robots, Aibo, Astro, Hero, Neo and Memo all end in the letter "o." Obviously, Zeno sounds like it belongs.
MARS has an arm that can be "trained," it comes with an arm that can be used to teleoperate and train the system. The arm uses Dynamixel servos, so I thought it wouldn't be too hard to scale this up using larger Dynamixel servos while using the MARS training system. I have the parts and may try this, but I've done some thinking on household robotic applications and I want to try something else. I've played with grippers (see my hackaday project) and I like the idea of a gripper that "just needs to be near an object to close and hold it."
In principle, another thing that bothers me is that so many systems seem to use cameras only (x, y data), getting z data (if at all) using complicated cloud differences between two cameras. If I can identify a bottle of water and move to it (x, y data), then I only need distance (z data--obtainable by laser detector) to place the bottle in the center of my gripper. A close command will grasp the bottle.
Zeno is my first attempt at a robot strong enough to actually do things. I've taken a "one Arduino per function" approach. This makes it easy to troubleshoot, but it does require the larger robot body and power supply.
AI, which uses a lot of computing power--often in the cloud, provides great speech recognition/voice interaction and visual perception. A Huskylens and a speech recognition module provides limited voice control and limited visual recognition--but that's less than fifty dollars and it's local.
Construction
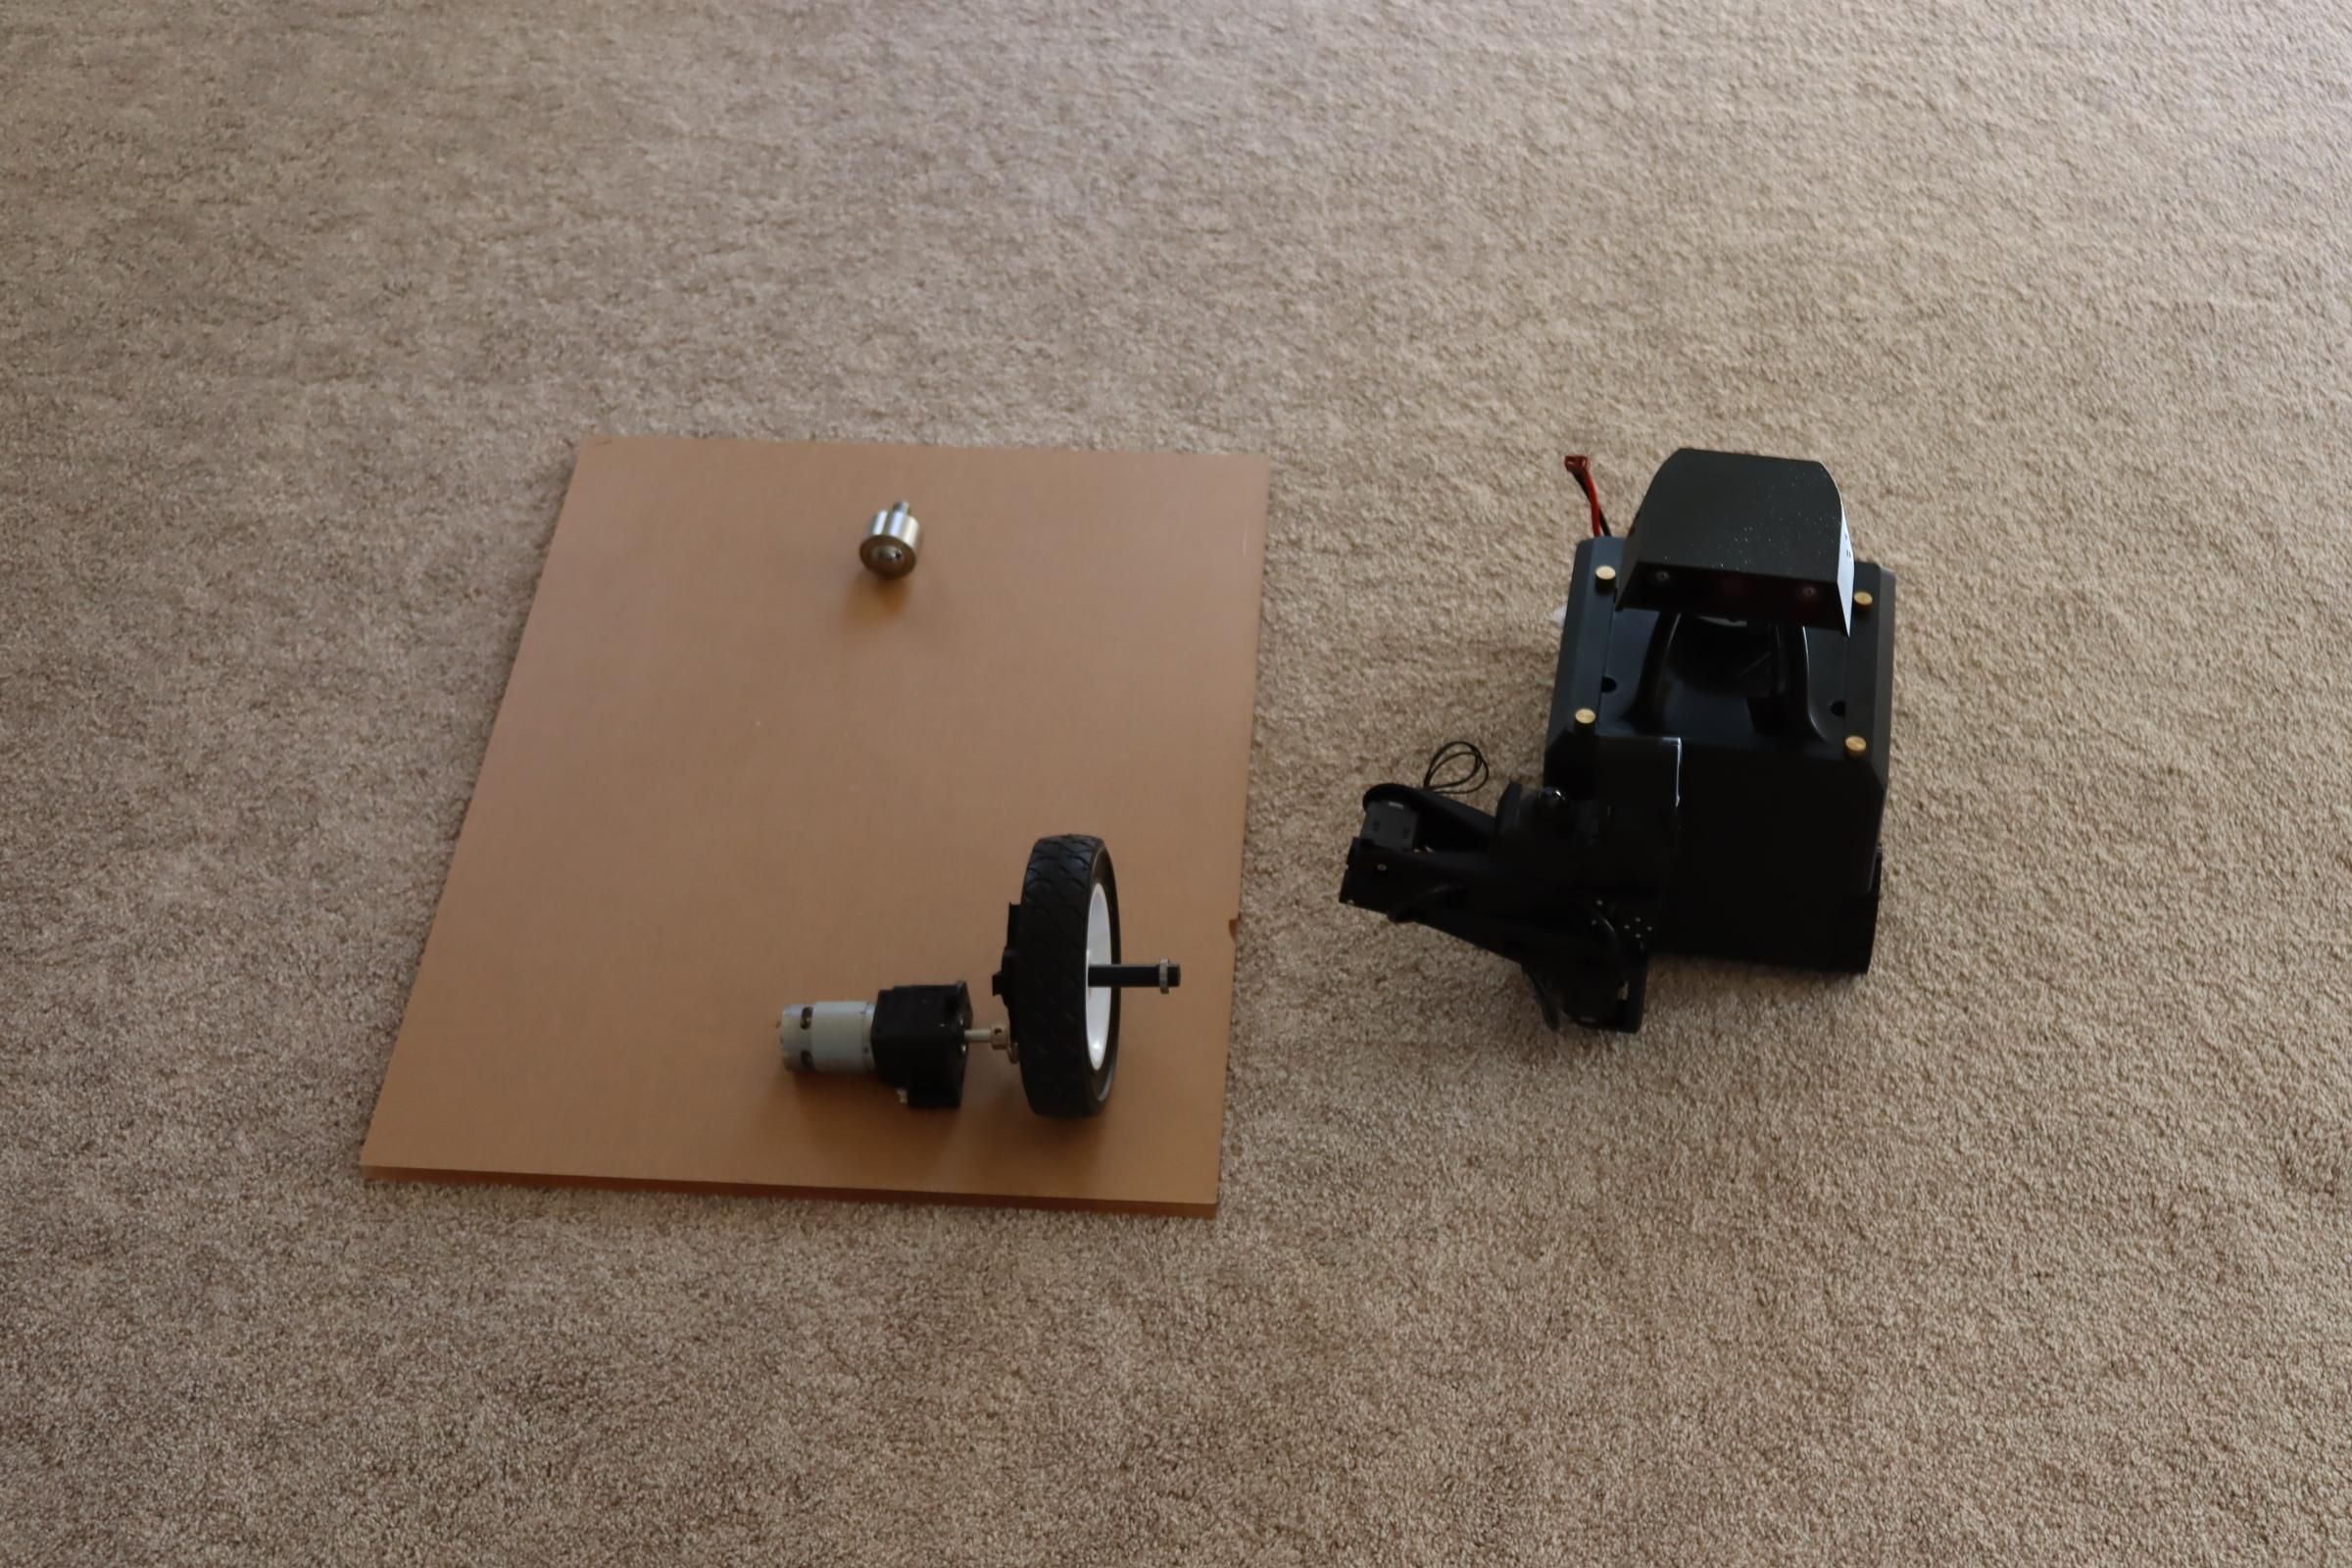
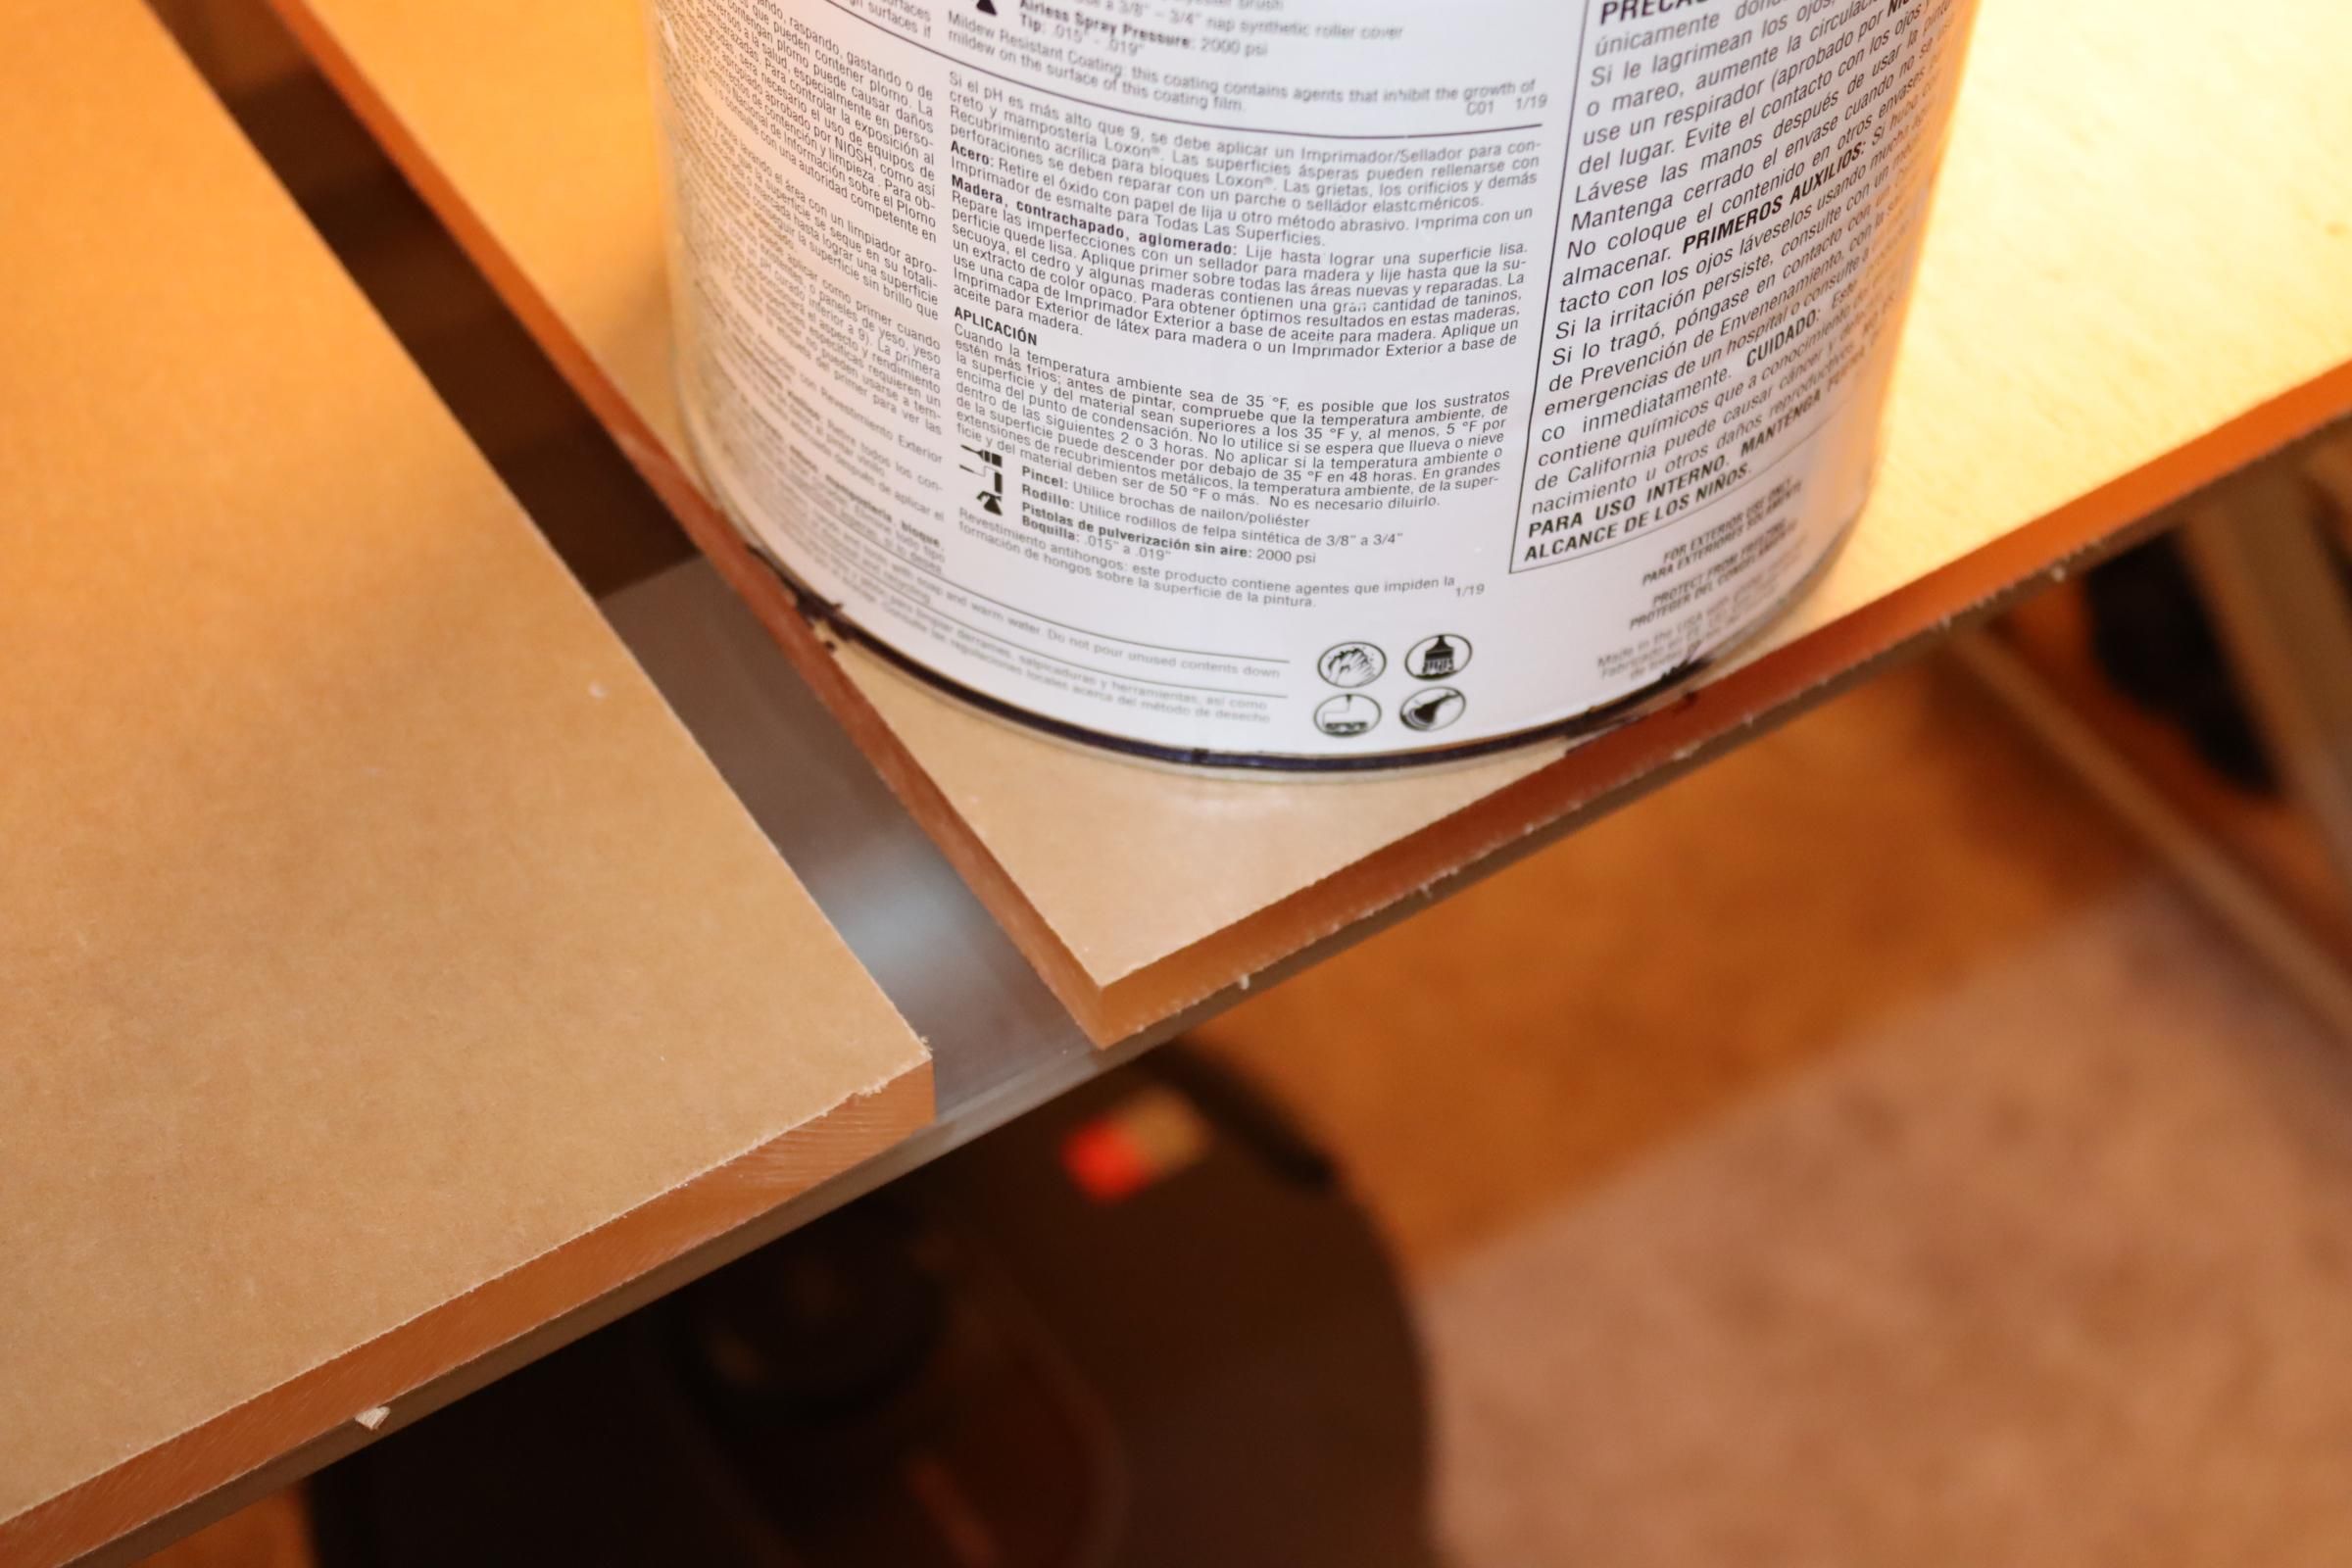
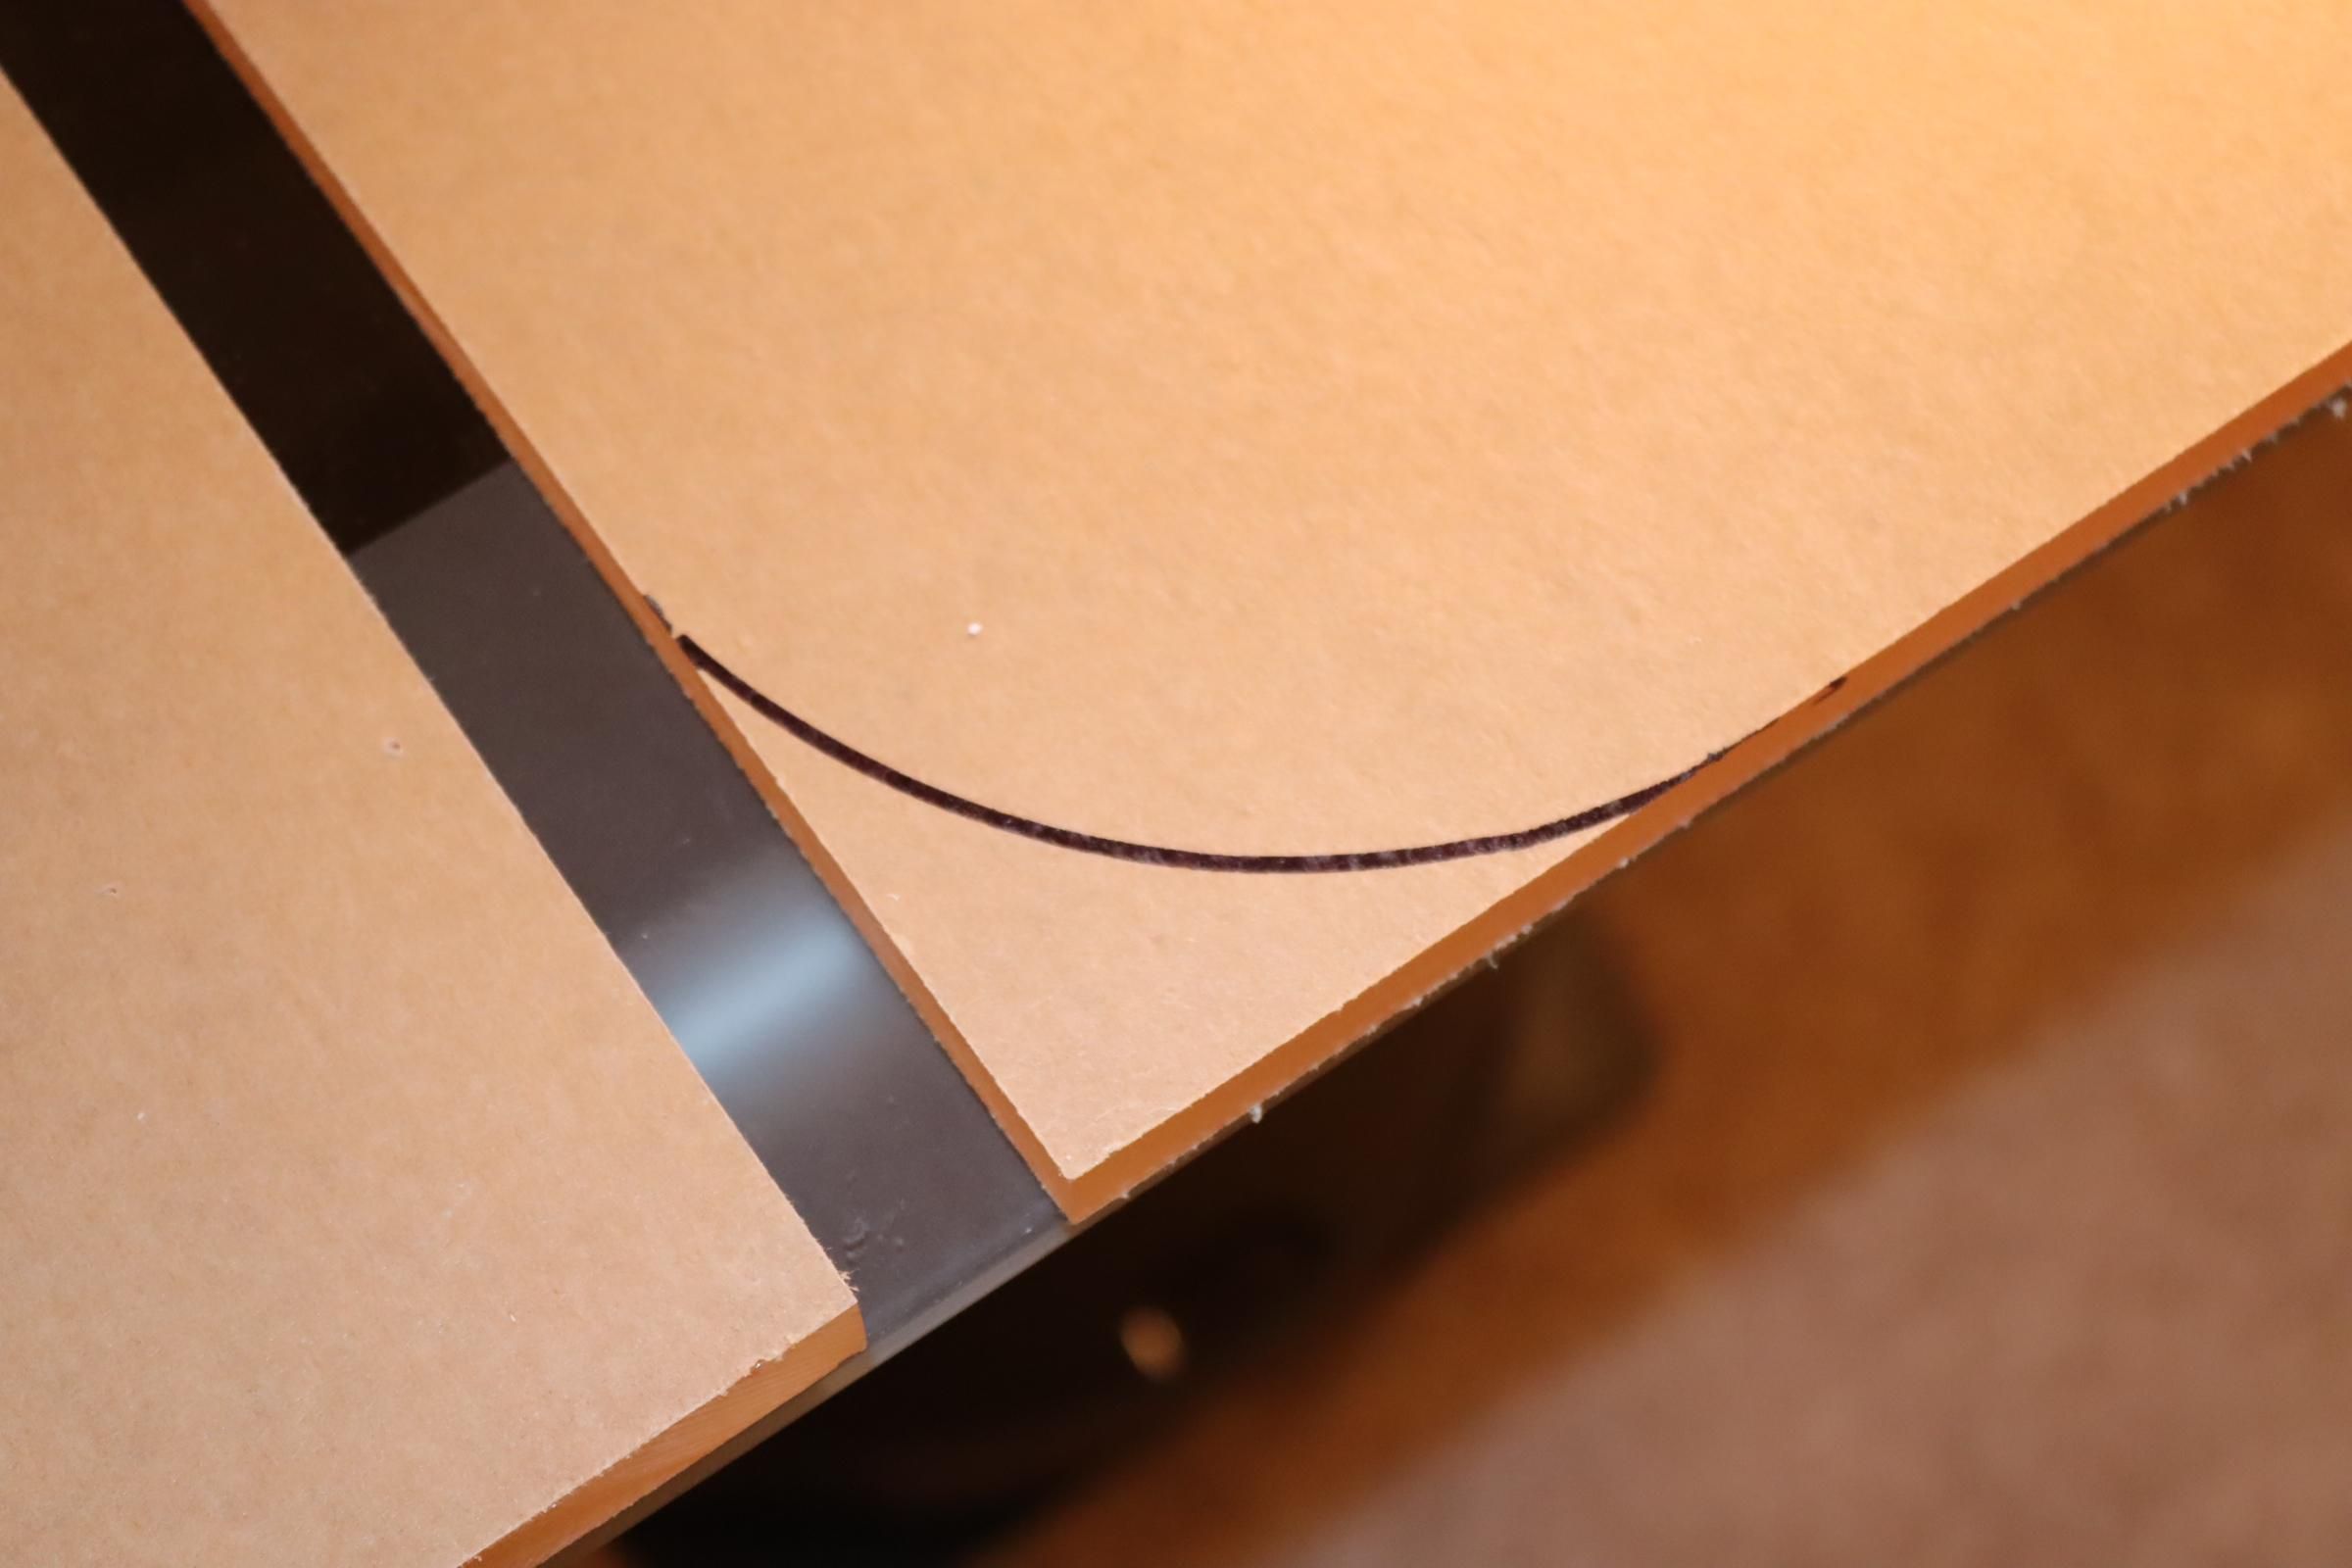
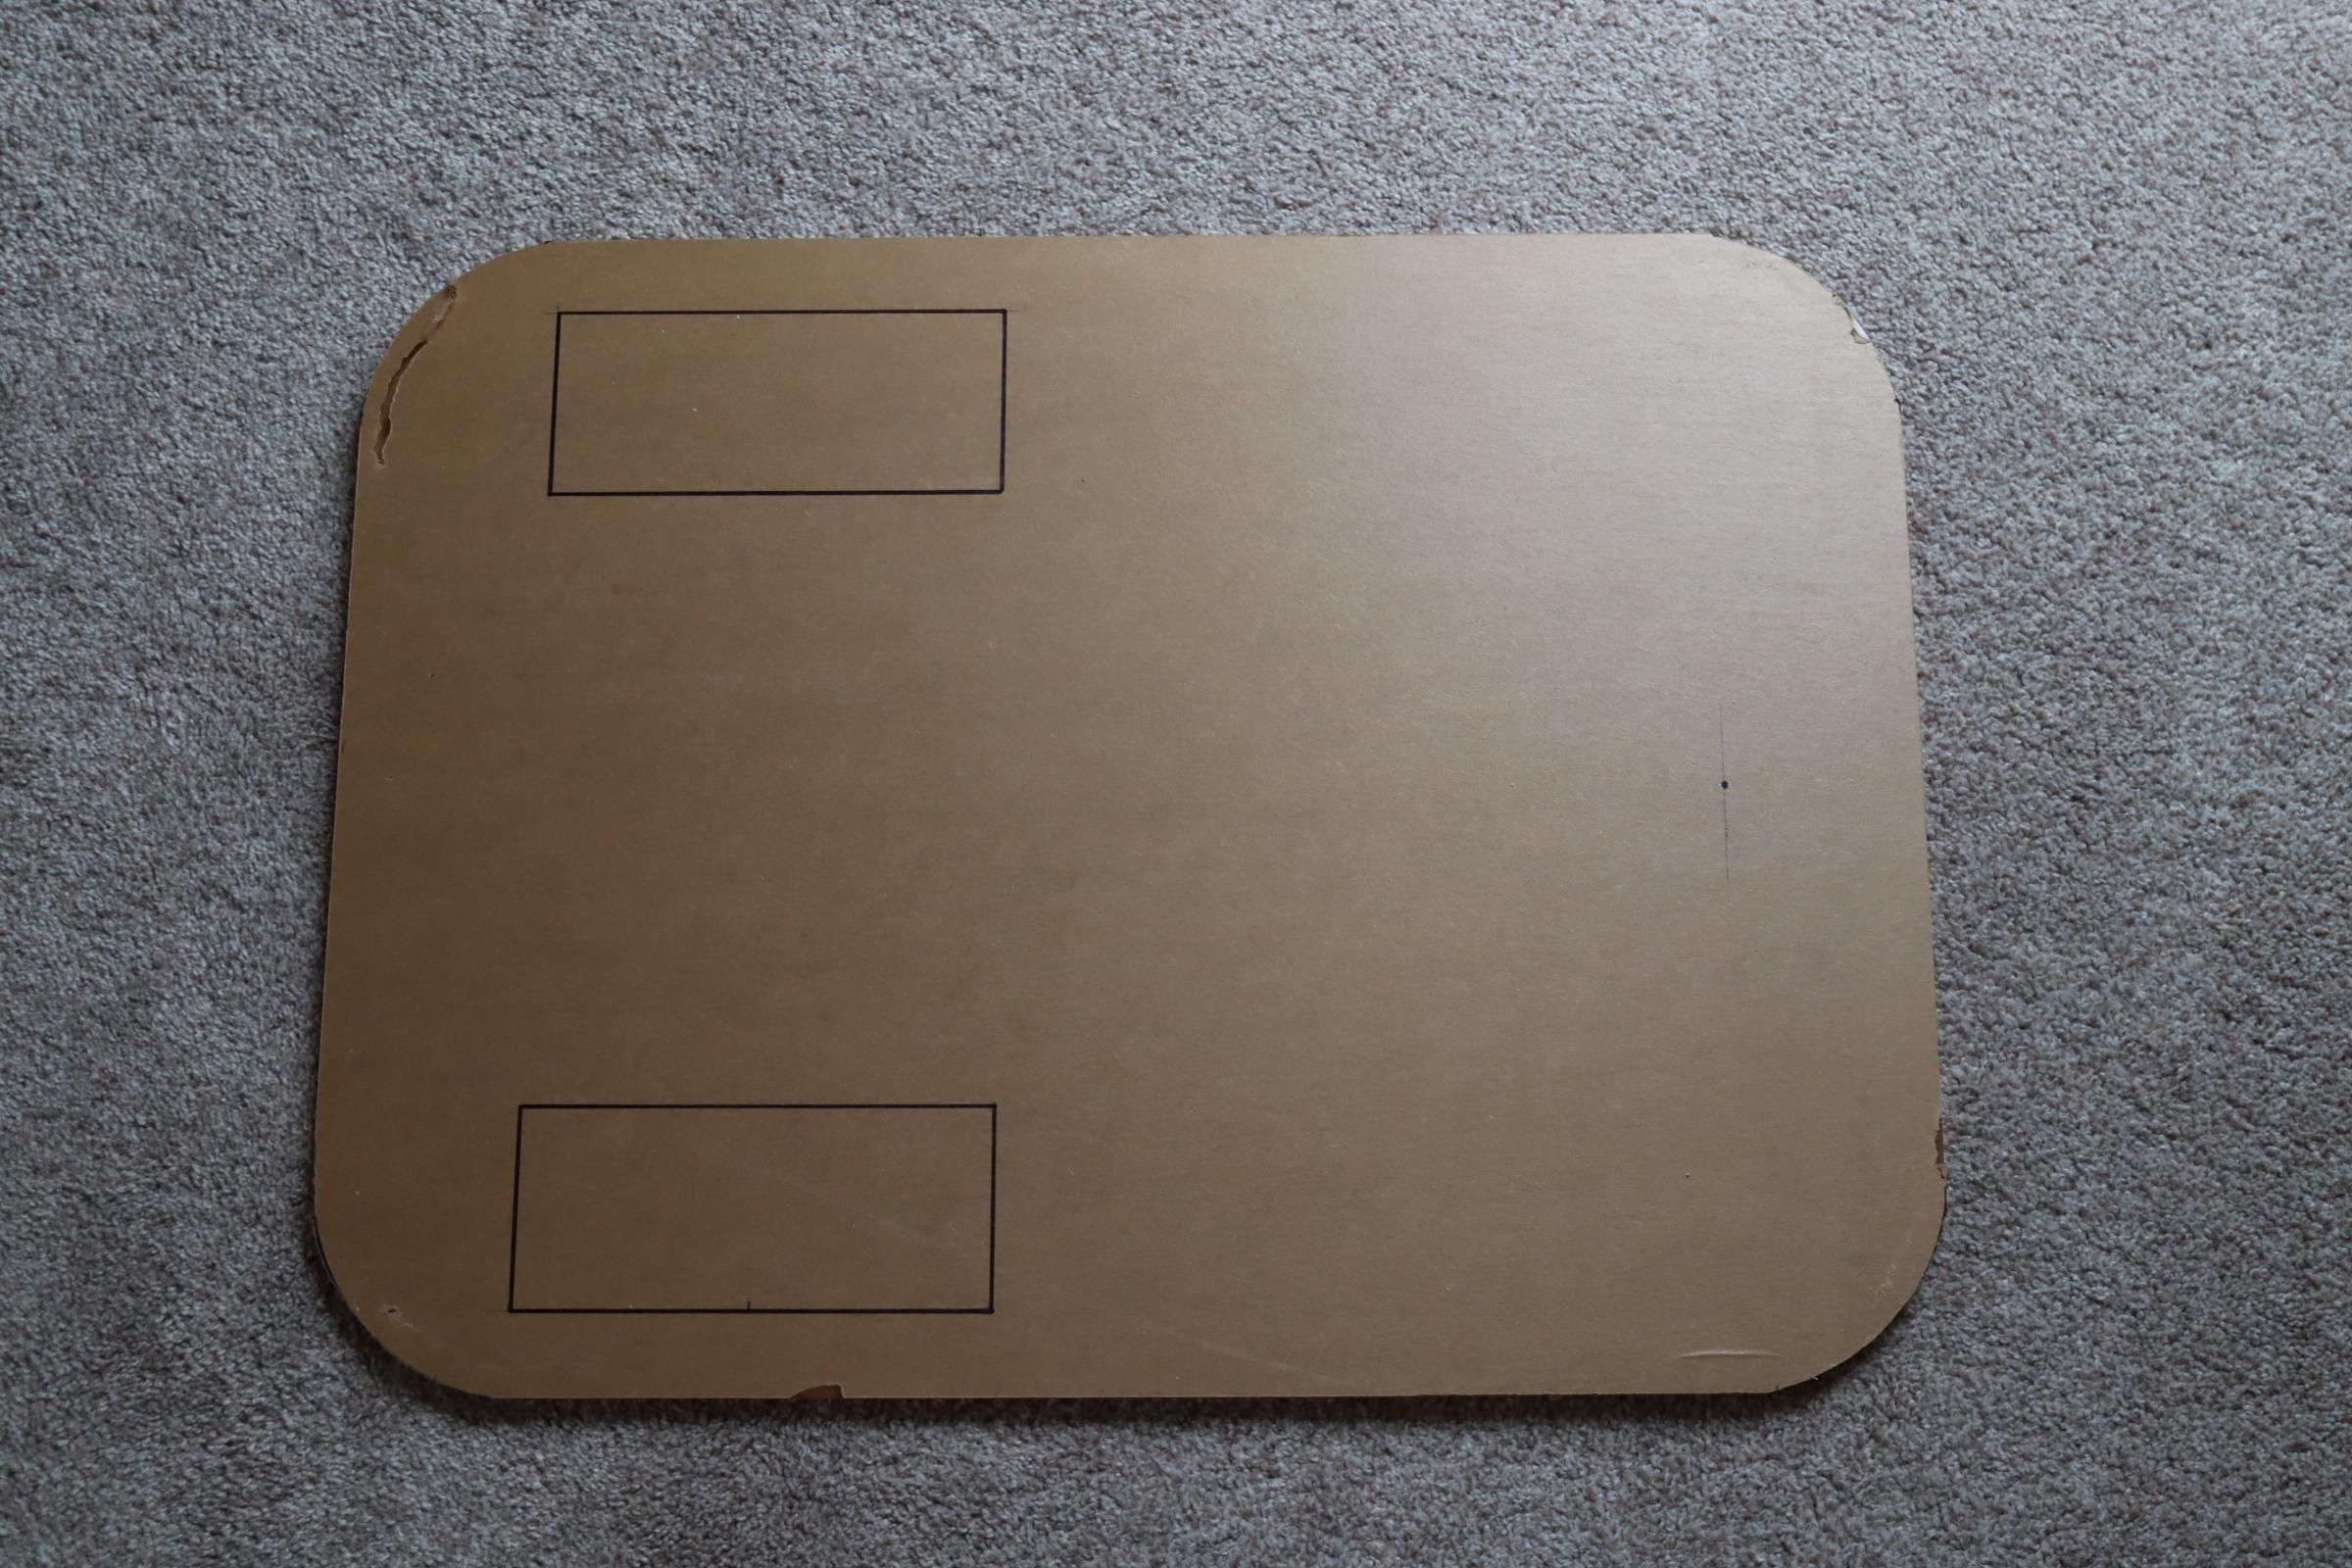
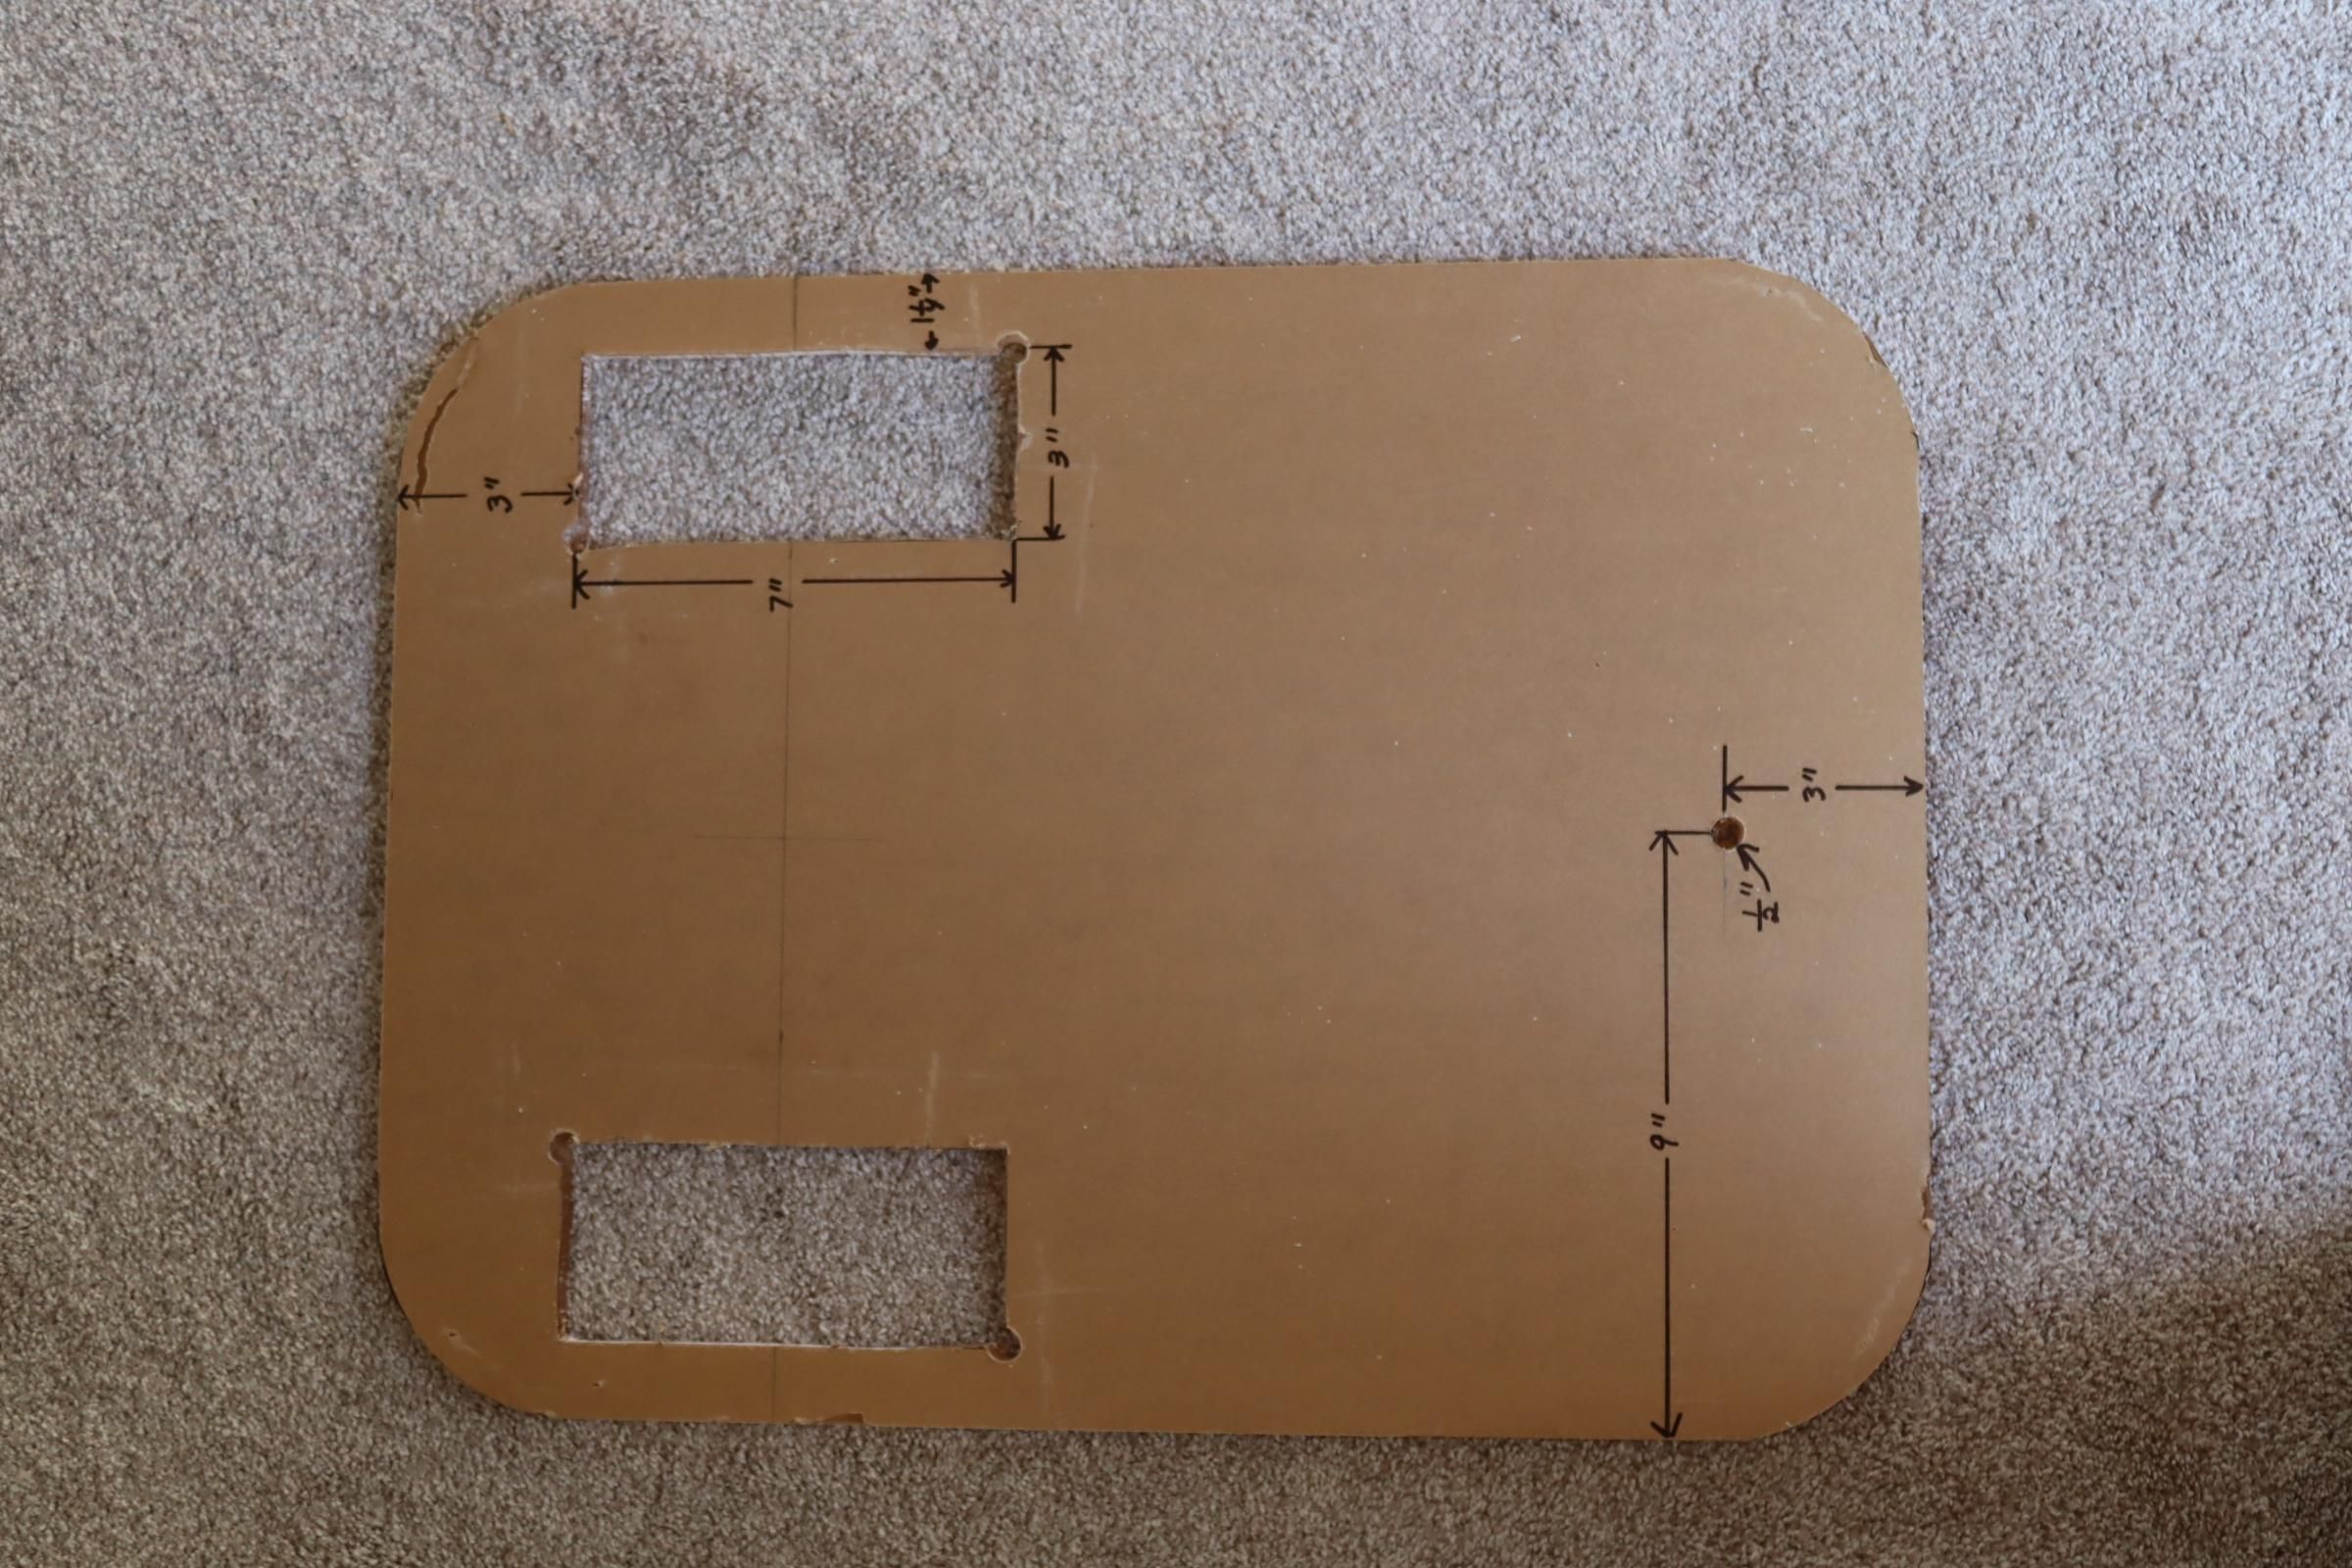
I started by using 1/2 inch thick acrylic. I rounded the corners using a one gallon paint can to make a curve. A sabre saw was used to cut the corners and the slot for the wheels.
3D Printed Things
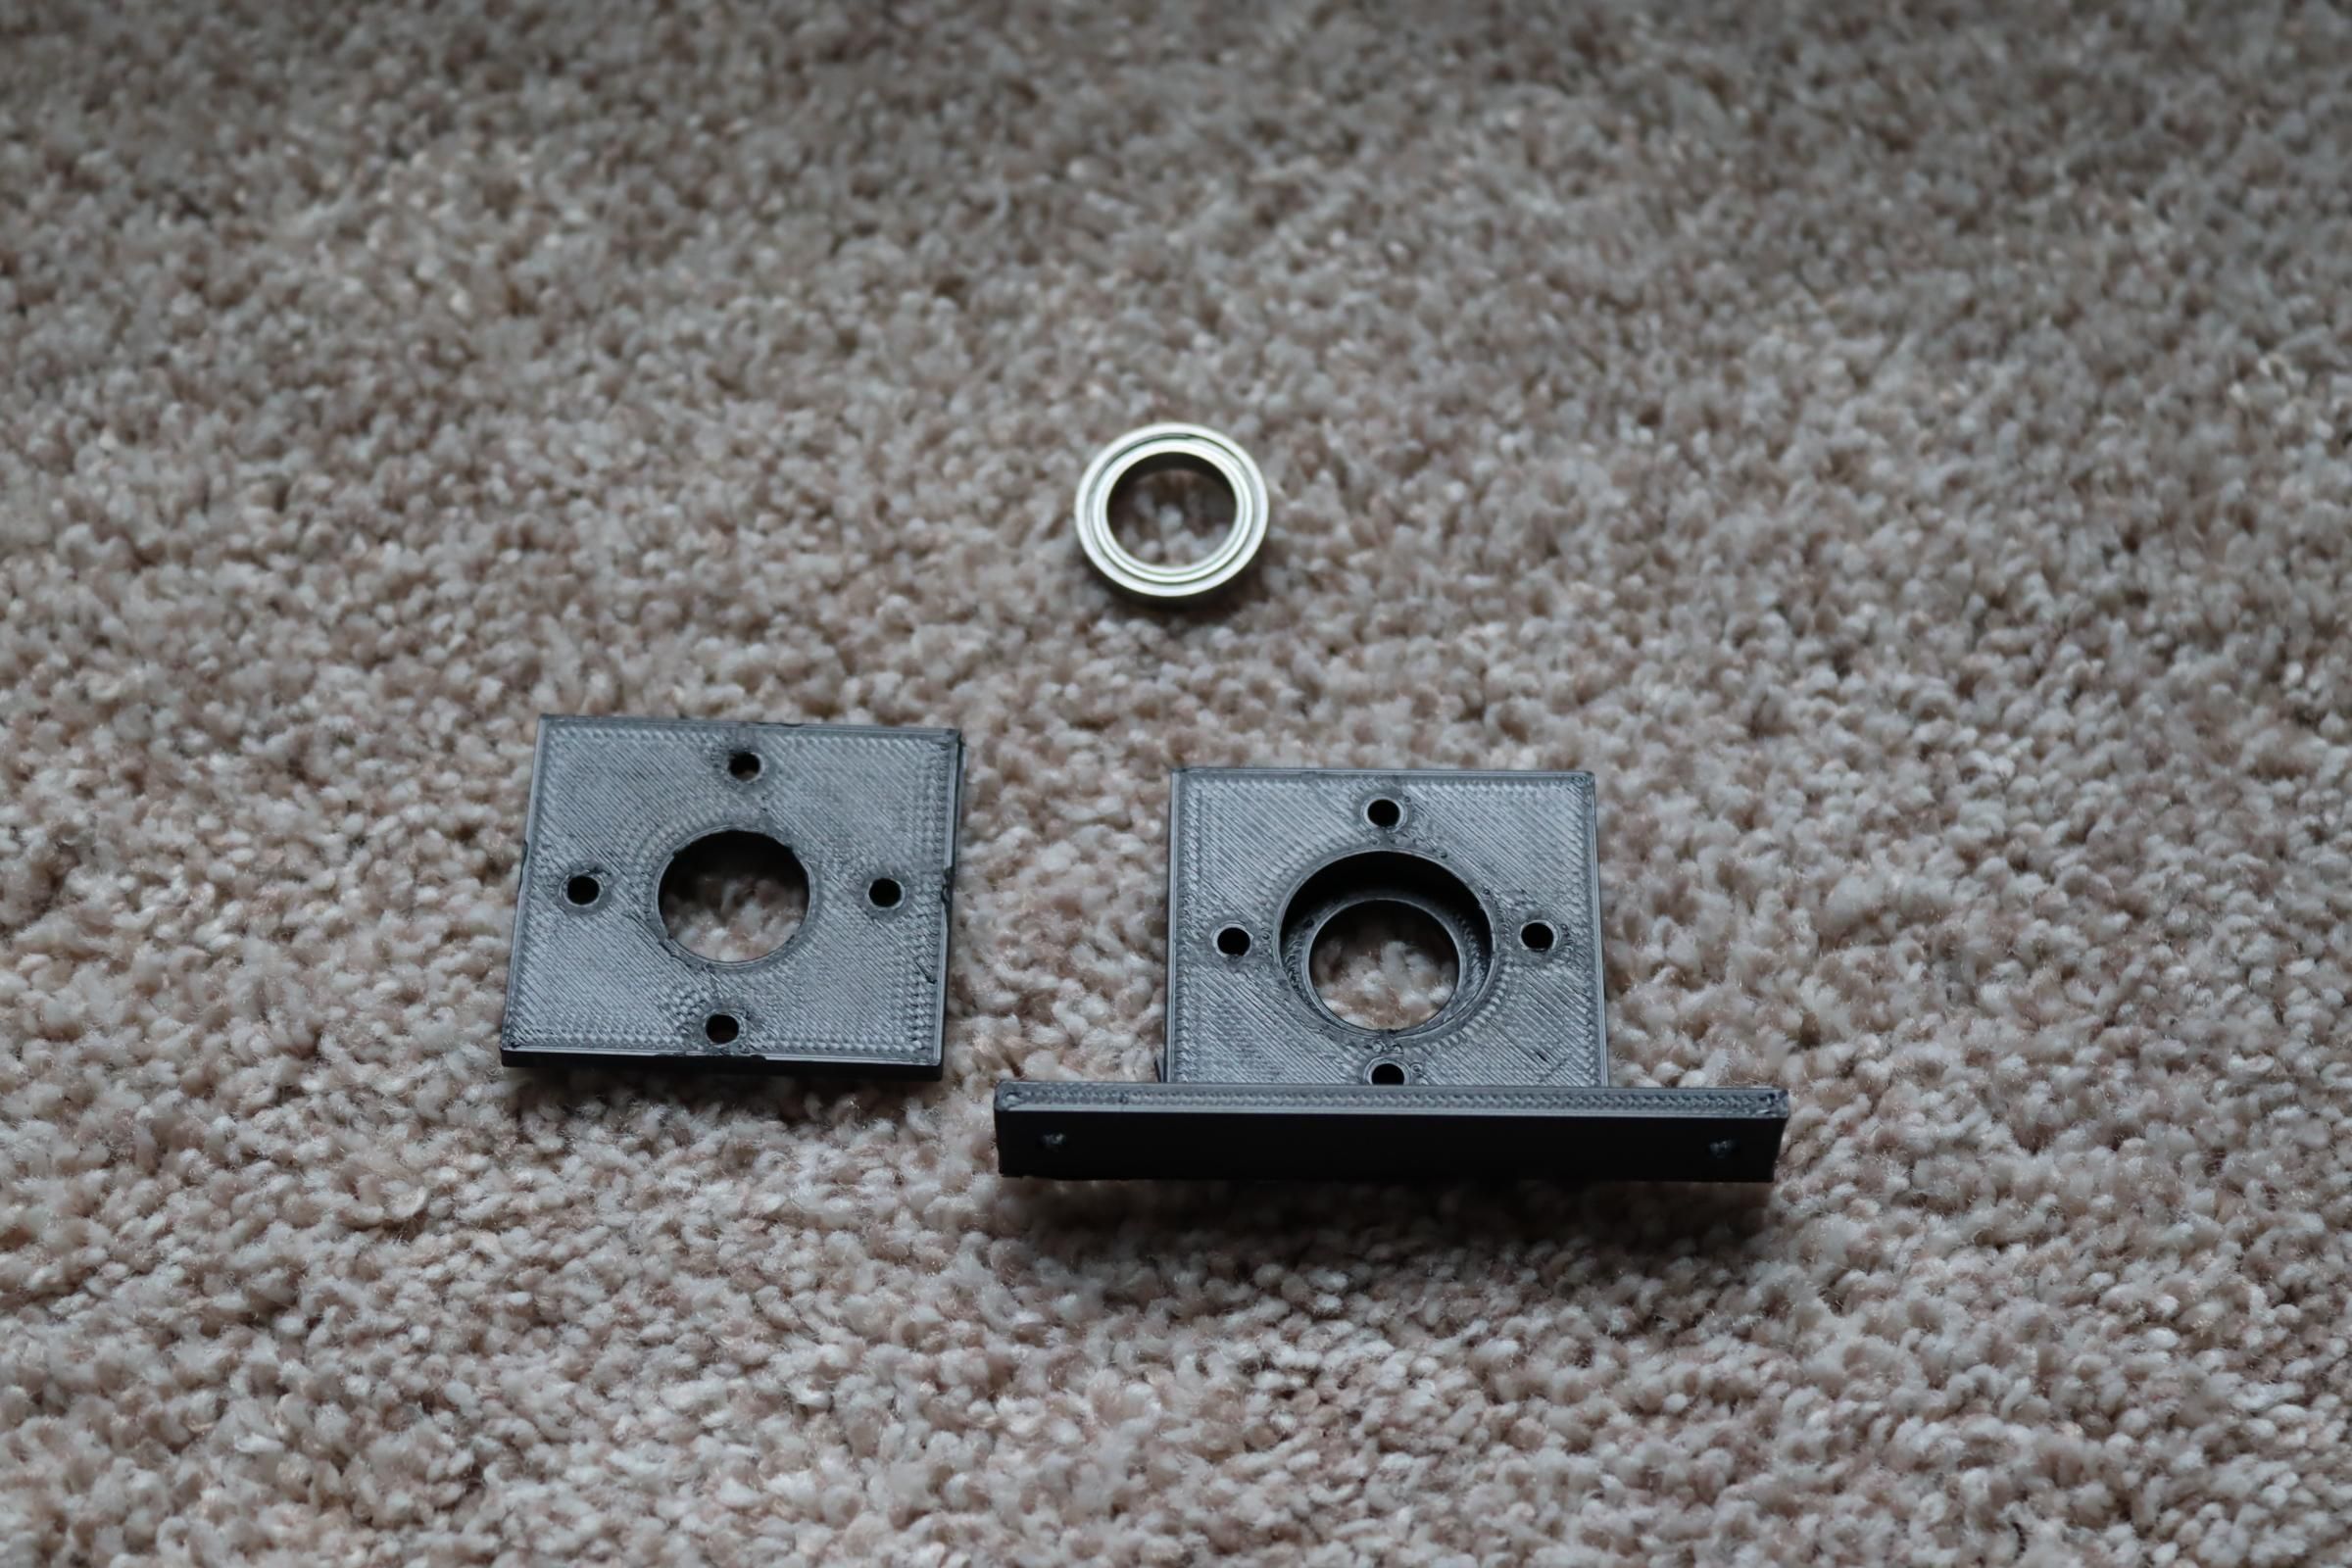
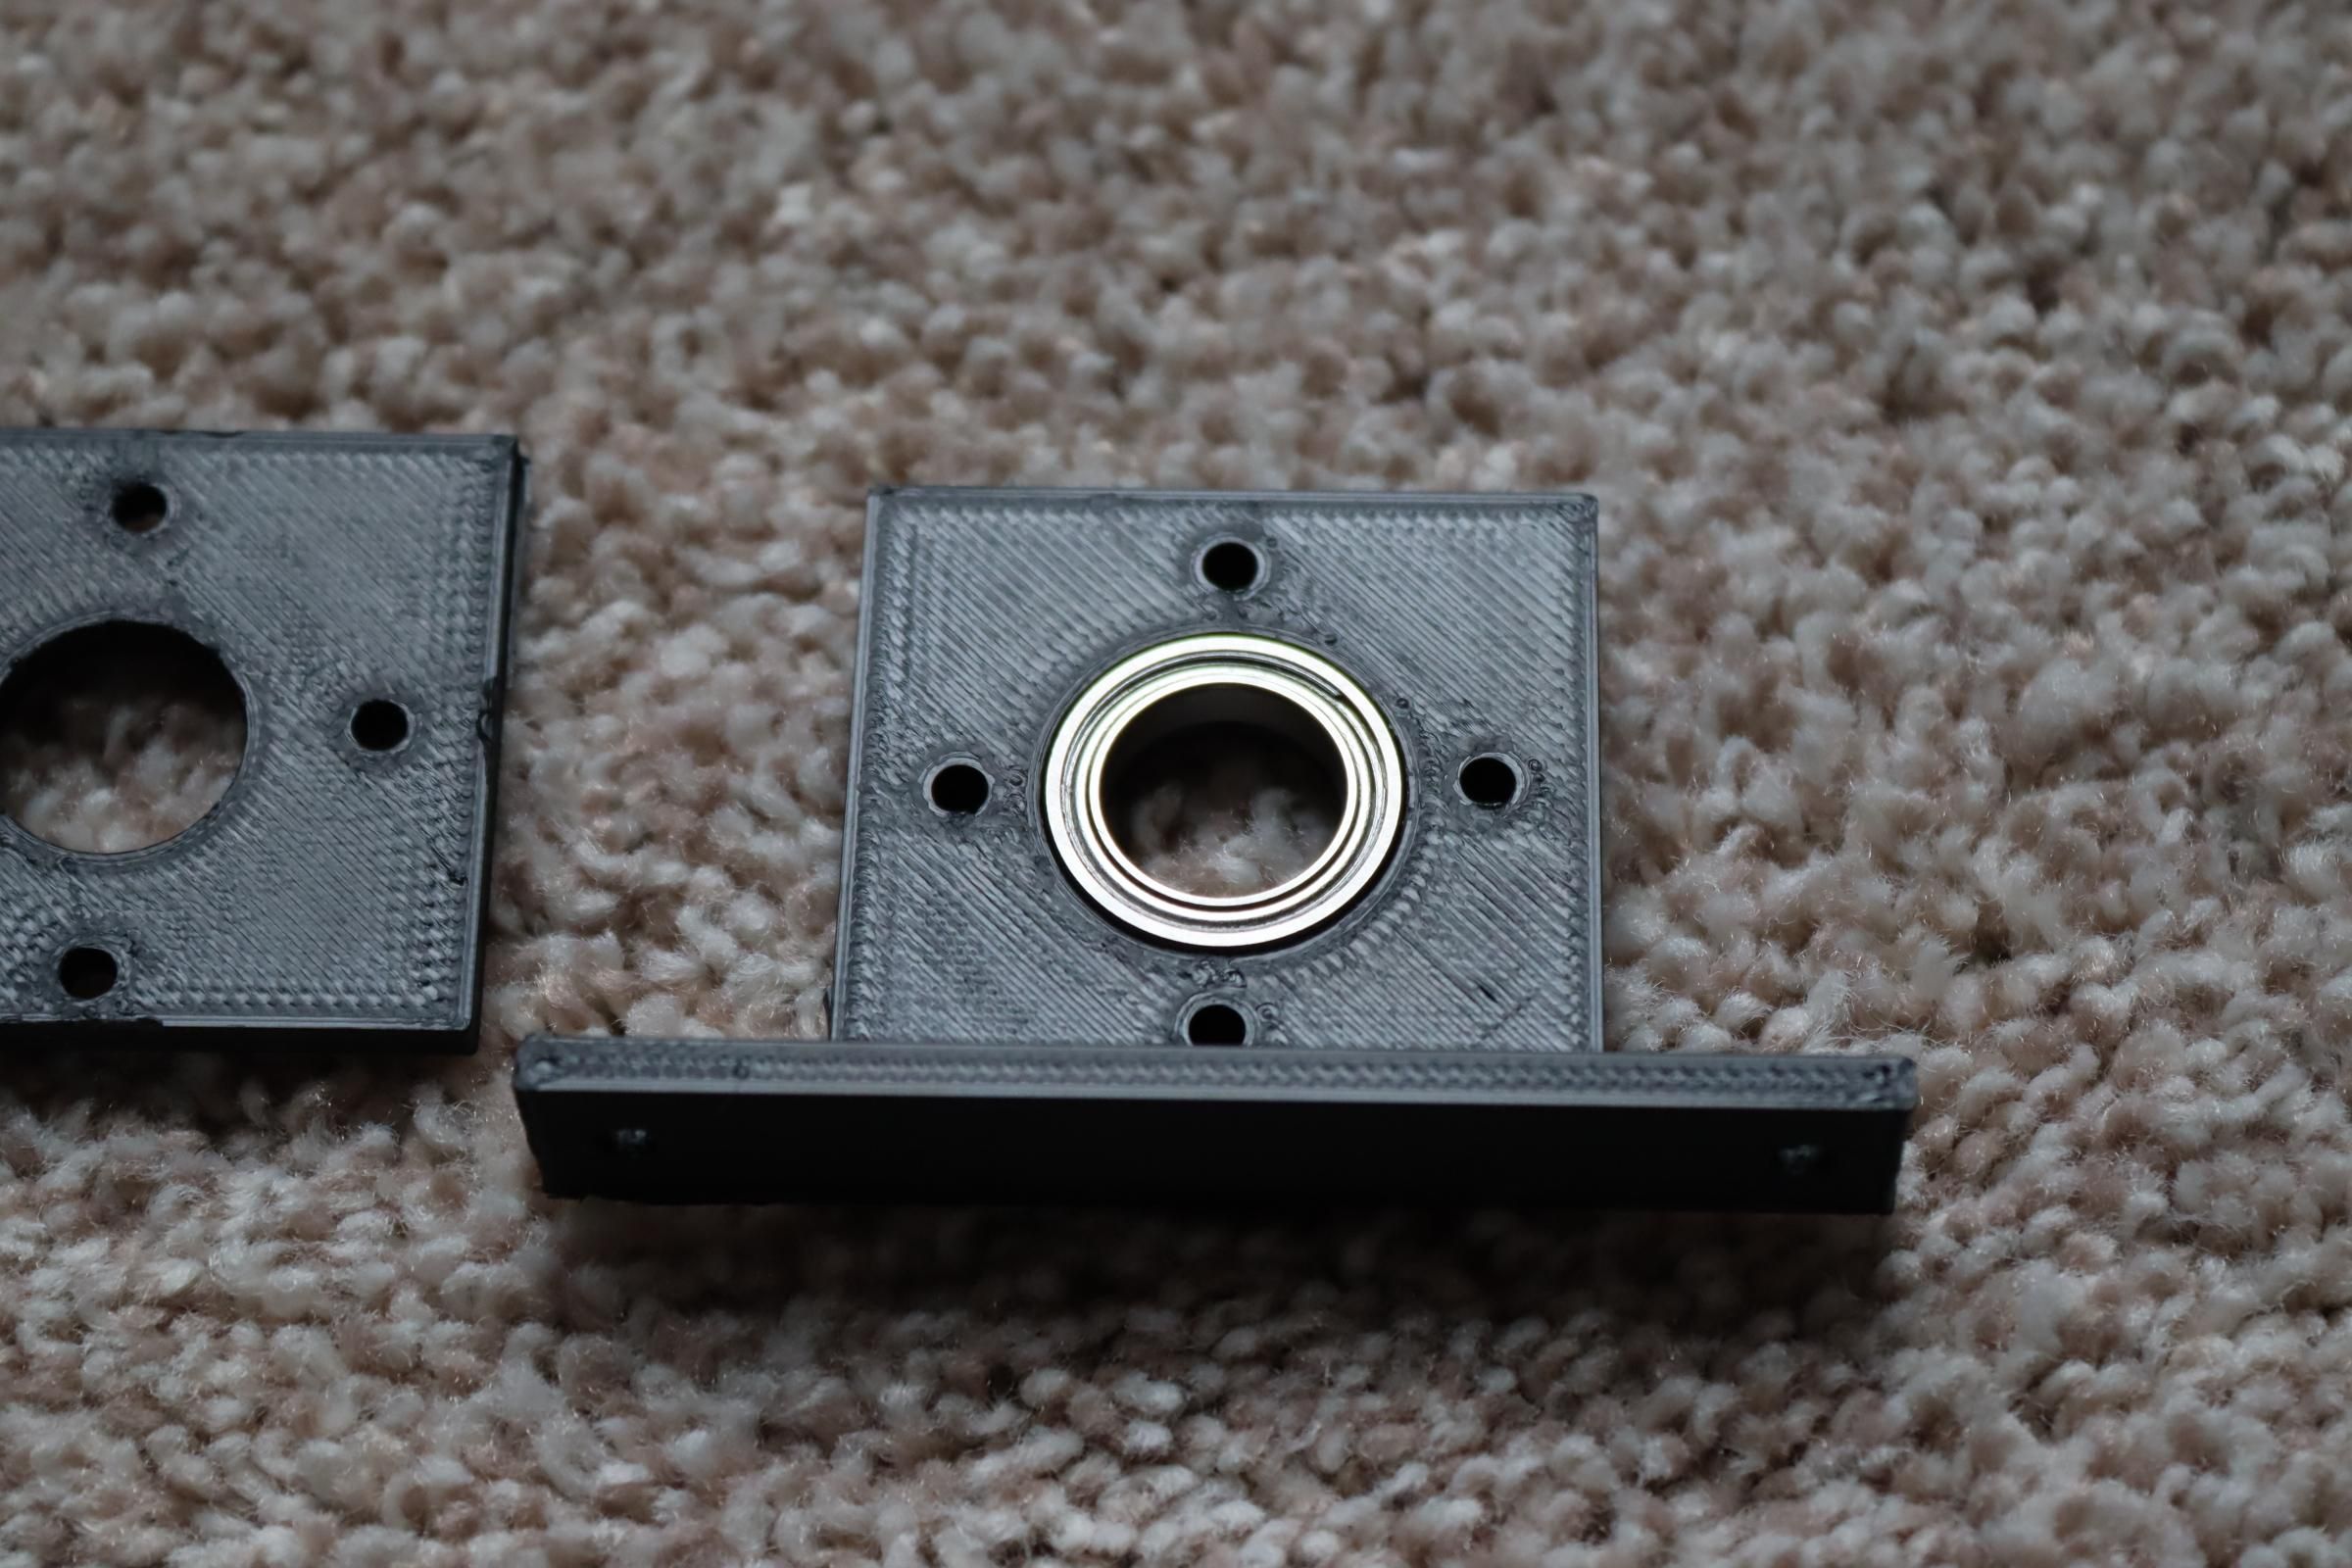
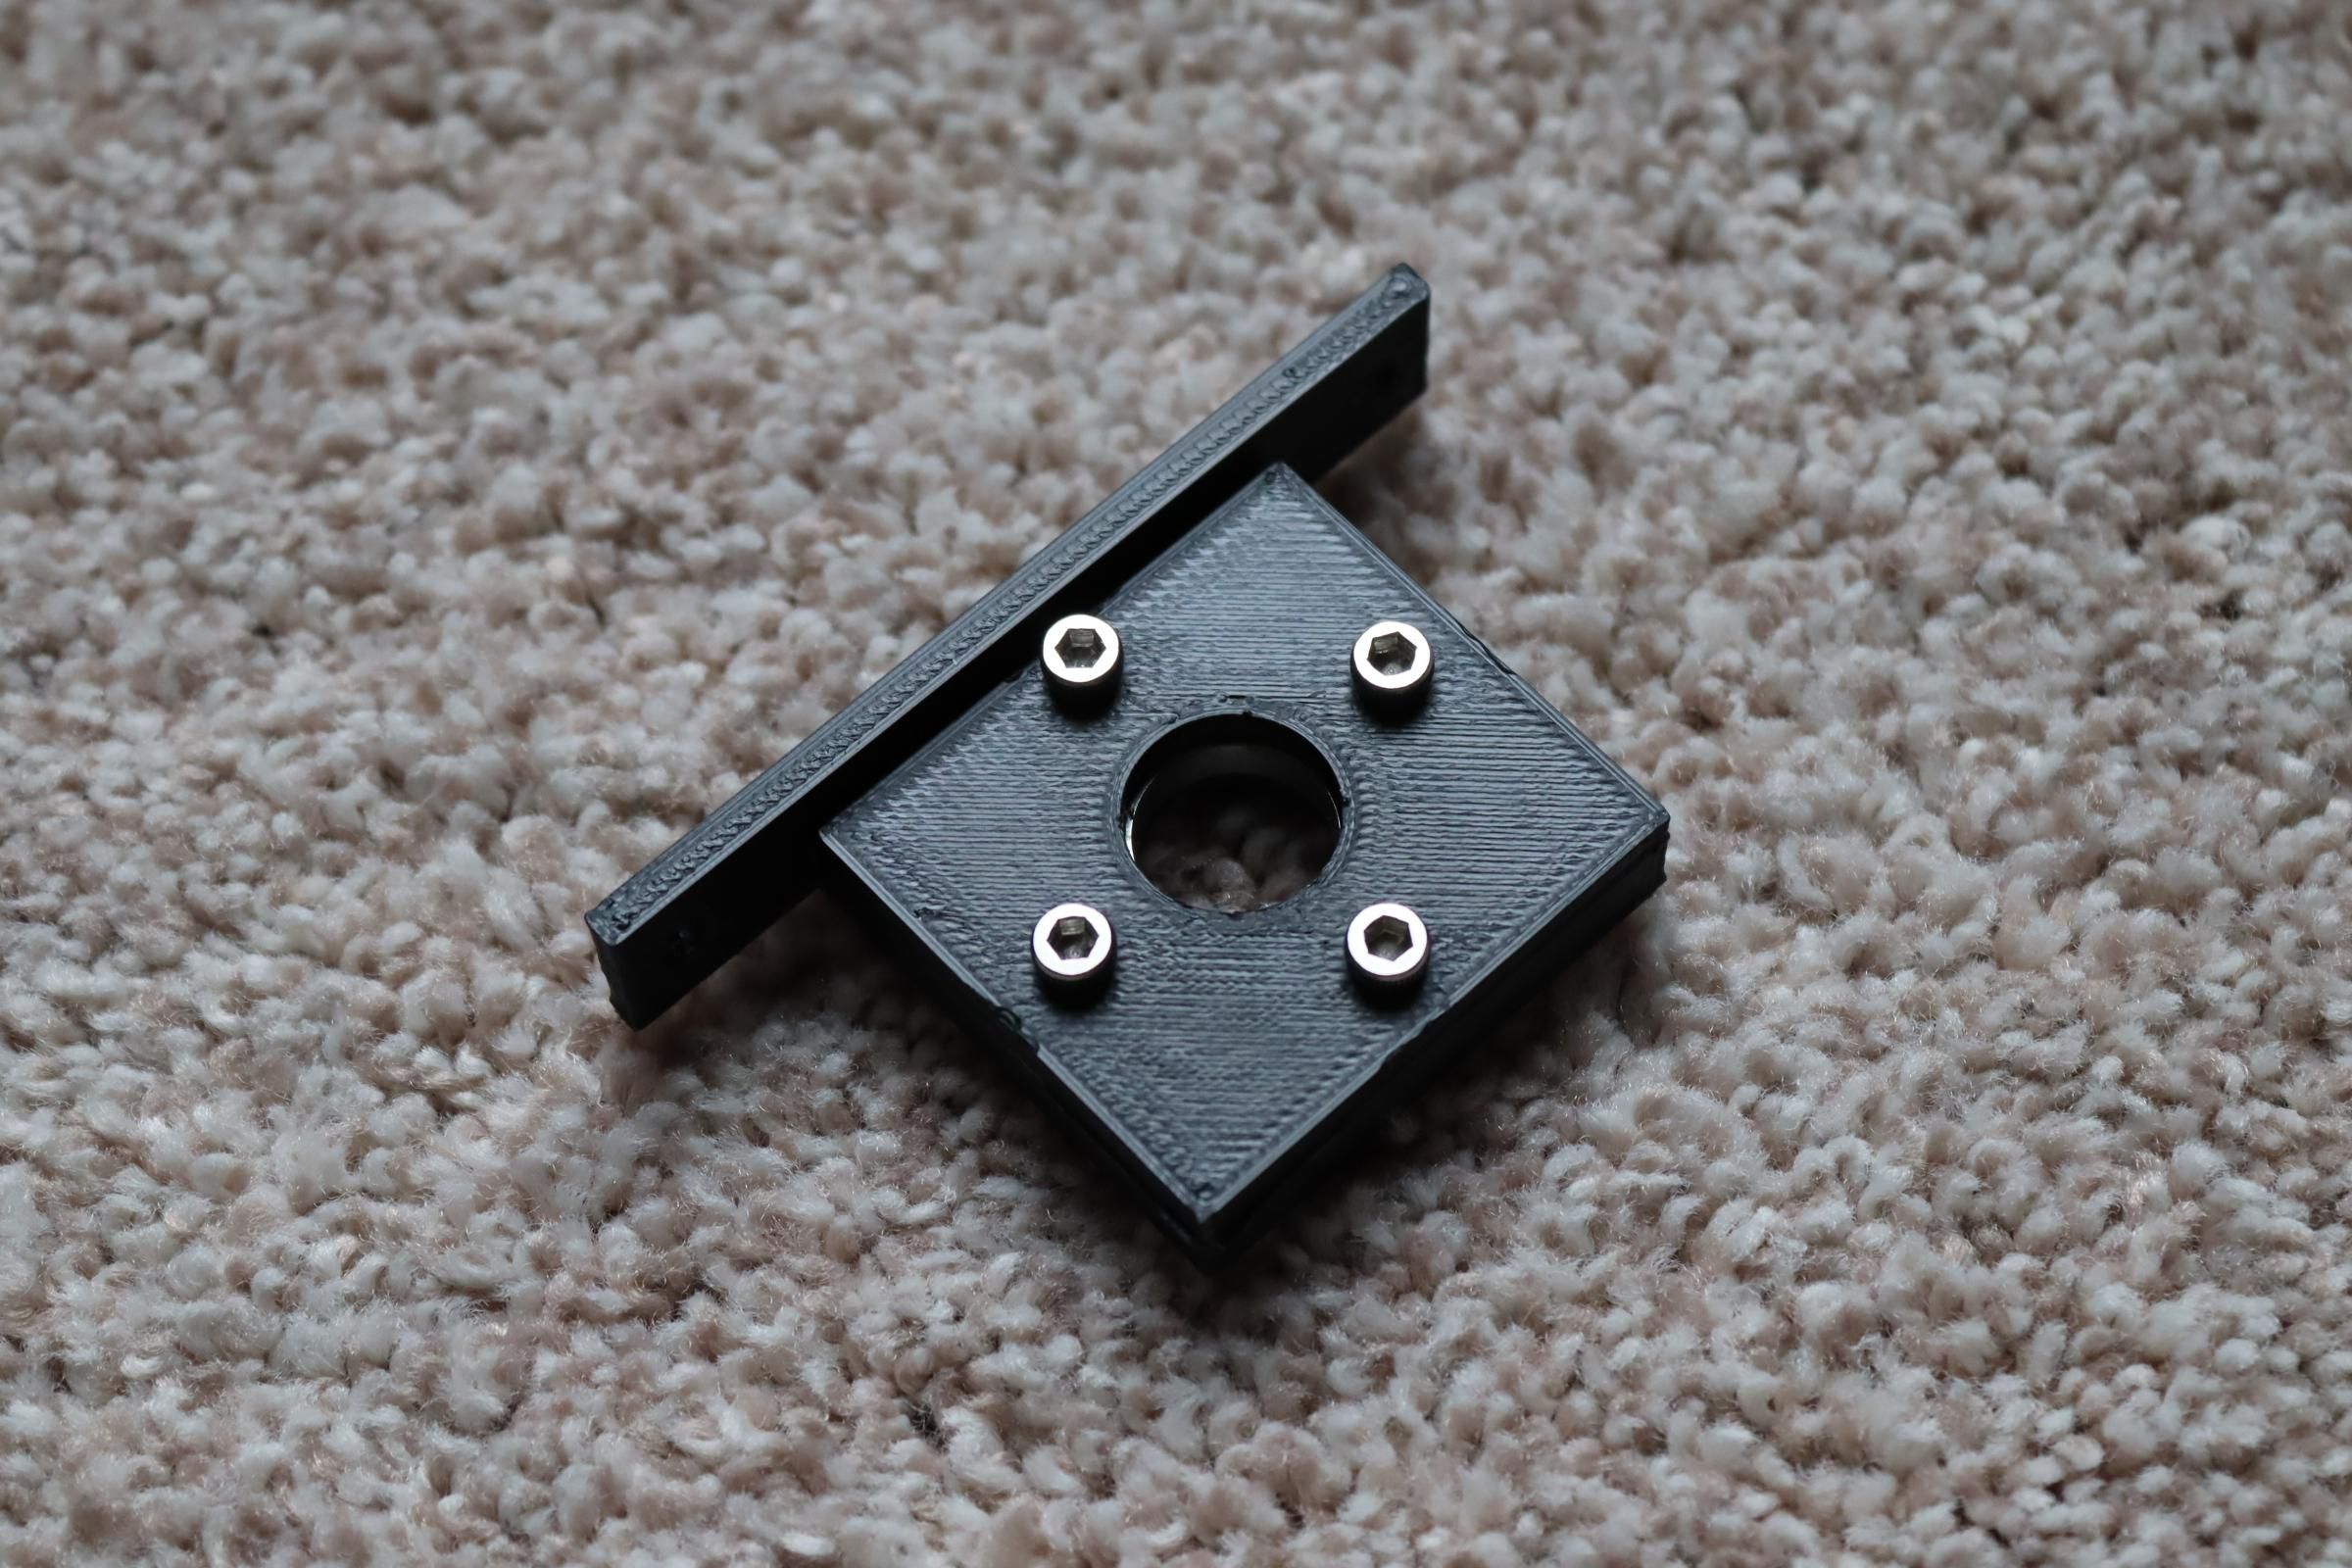
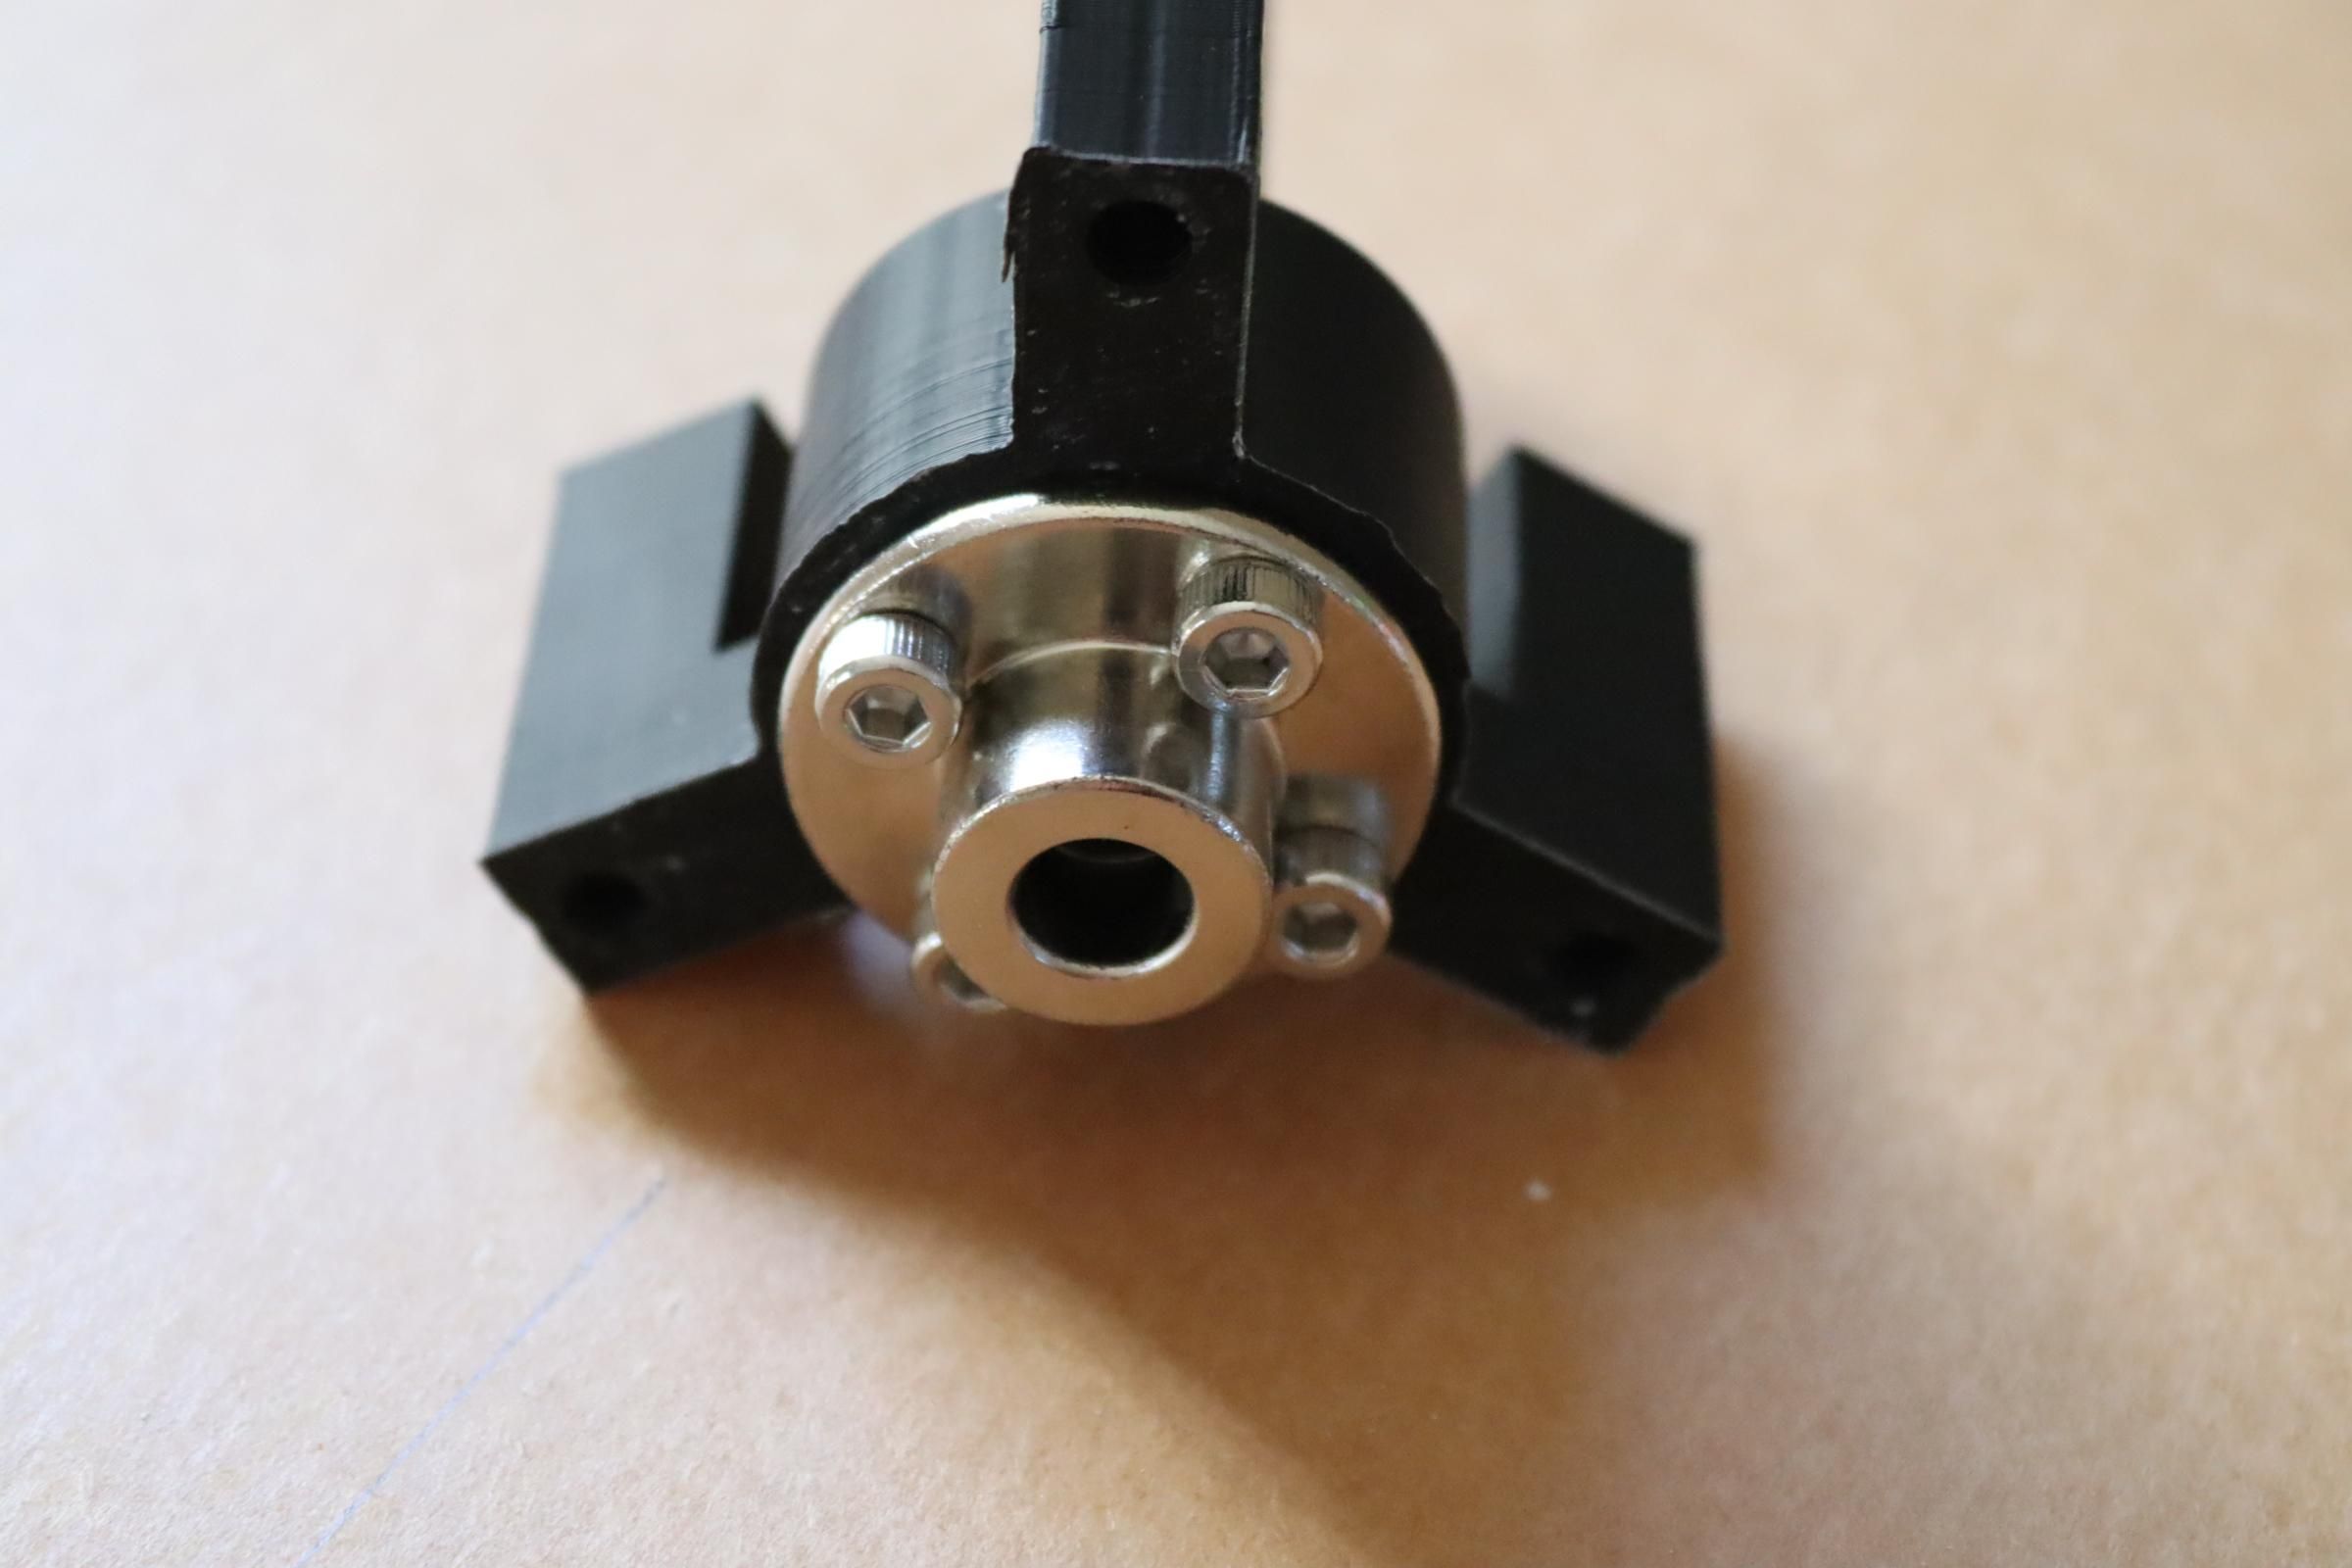
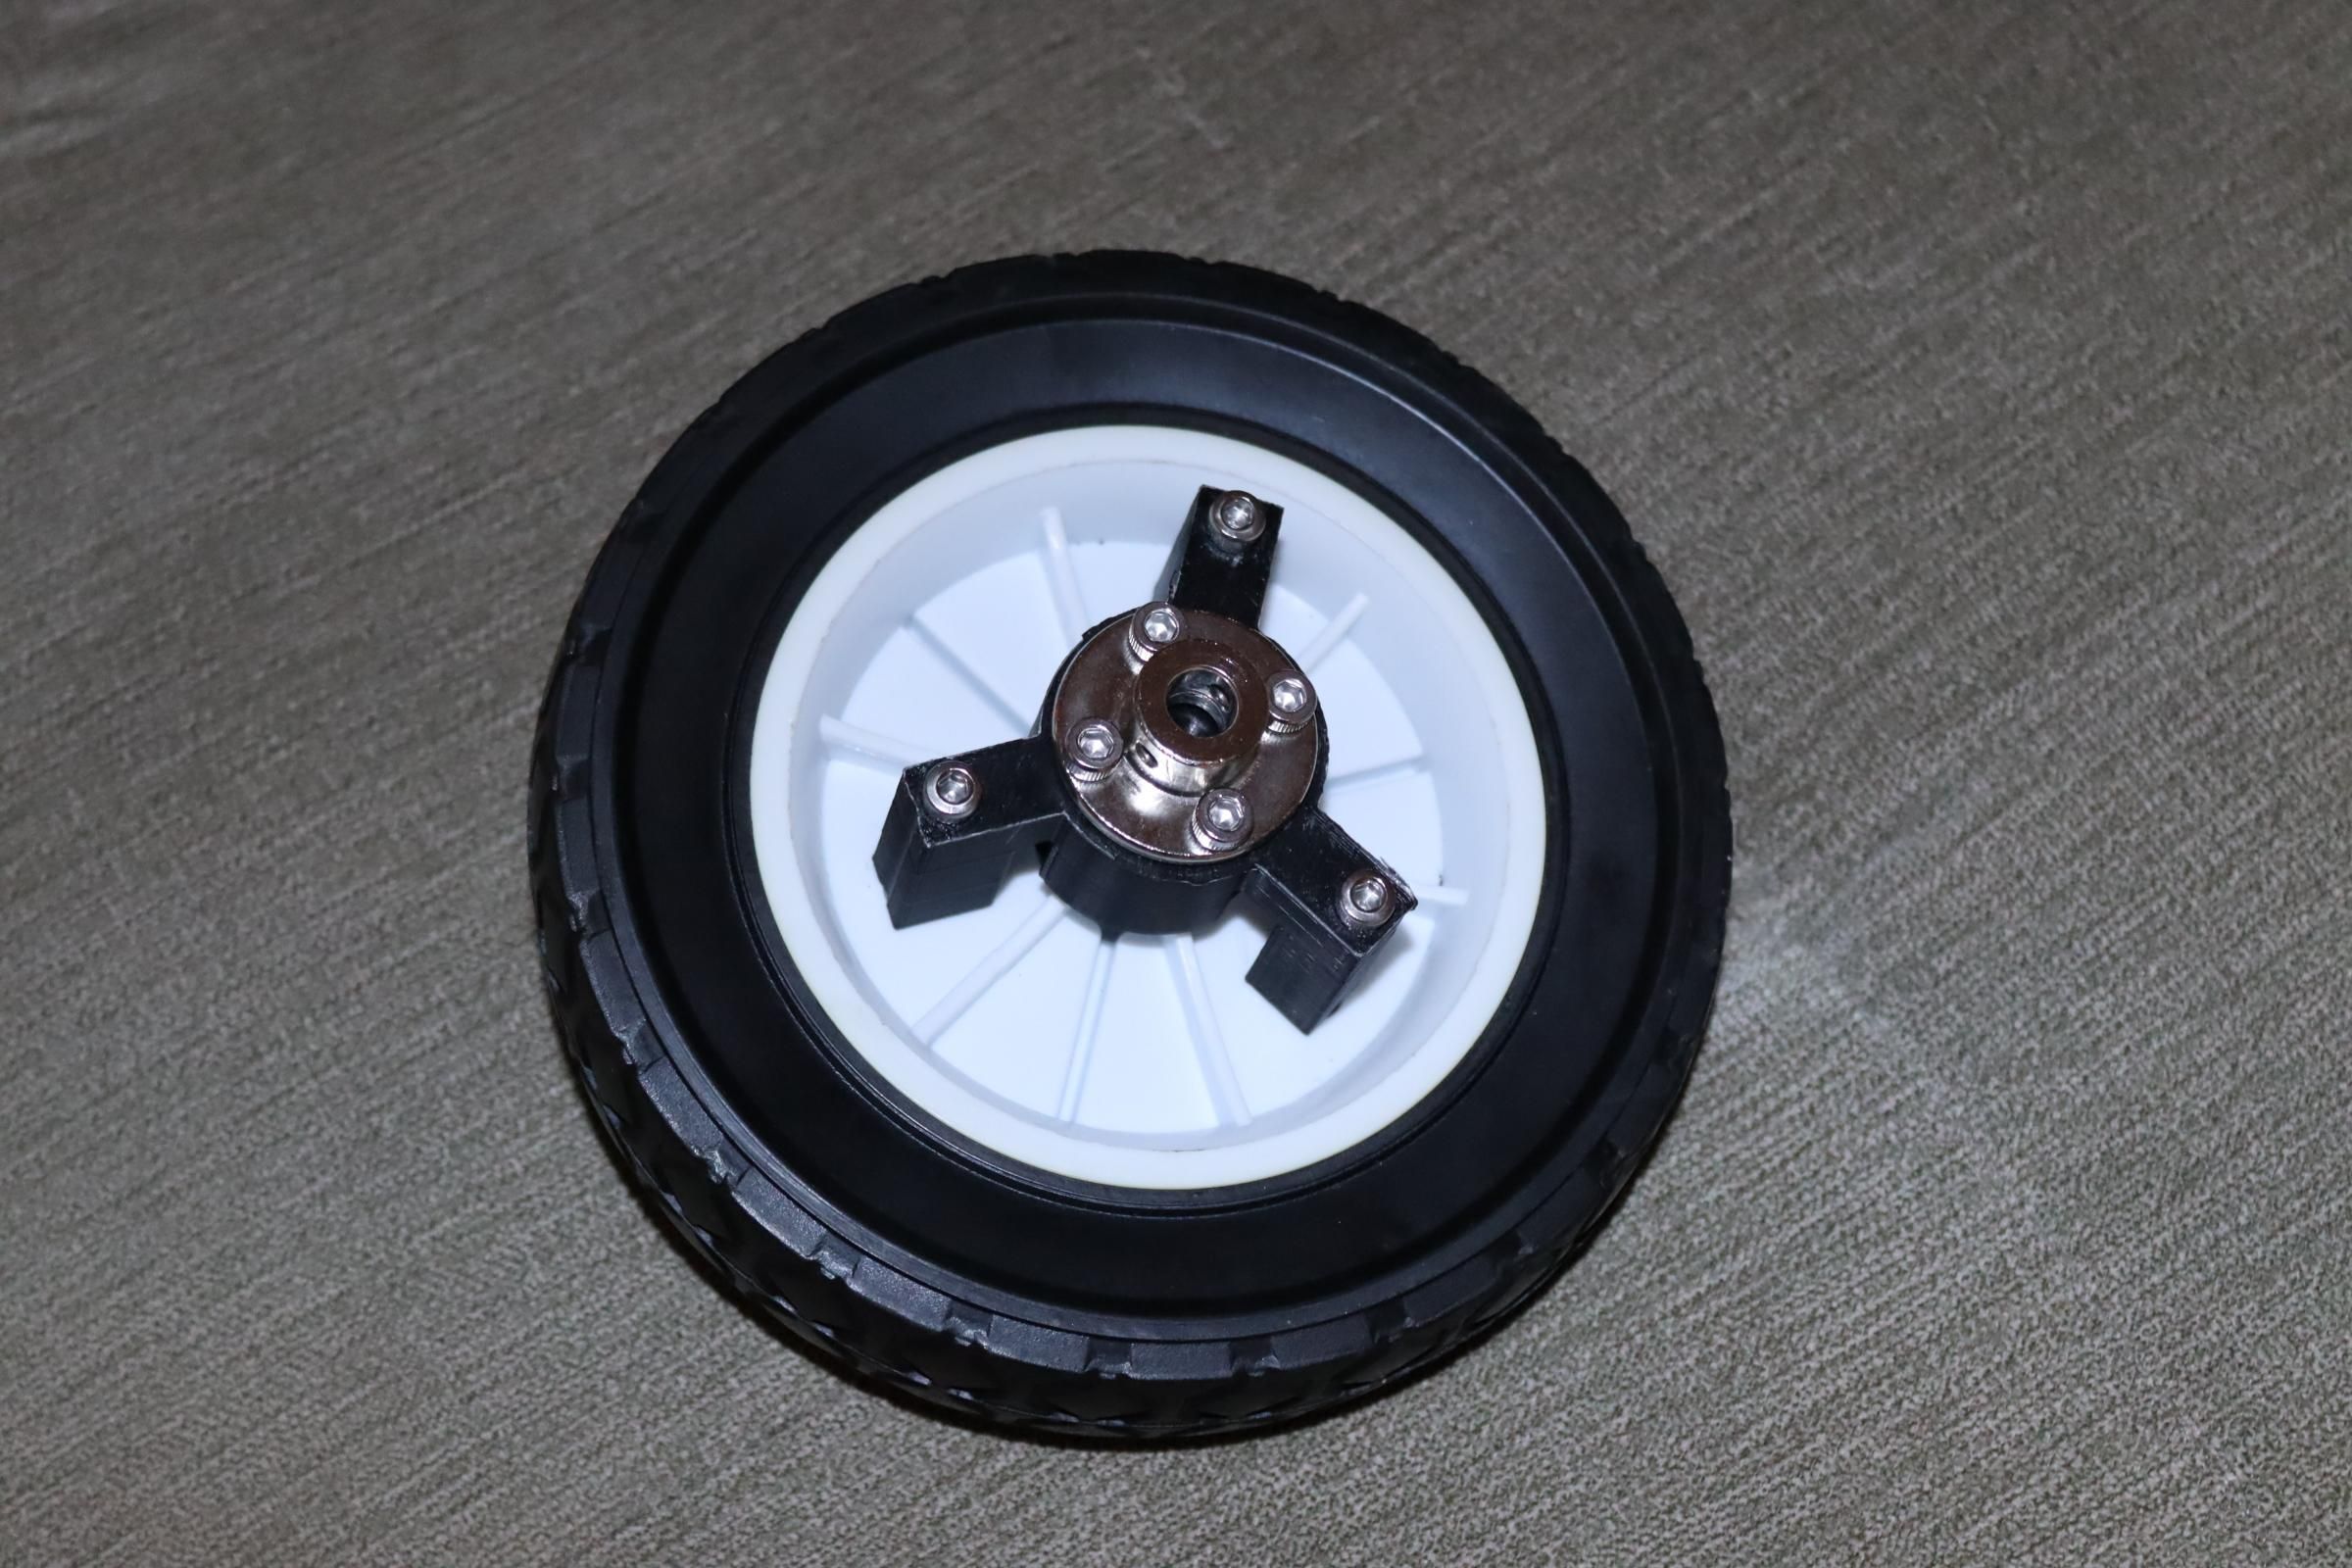
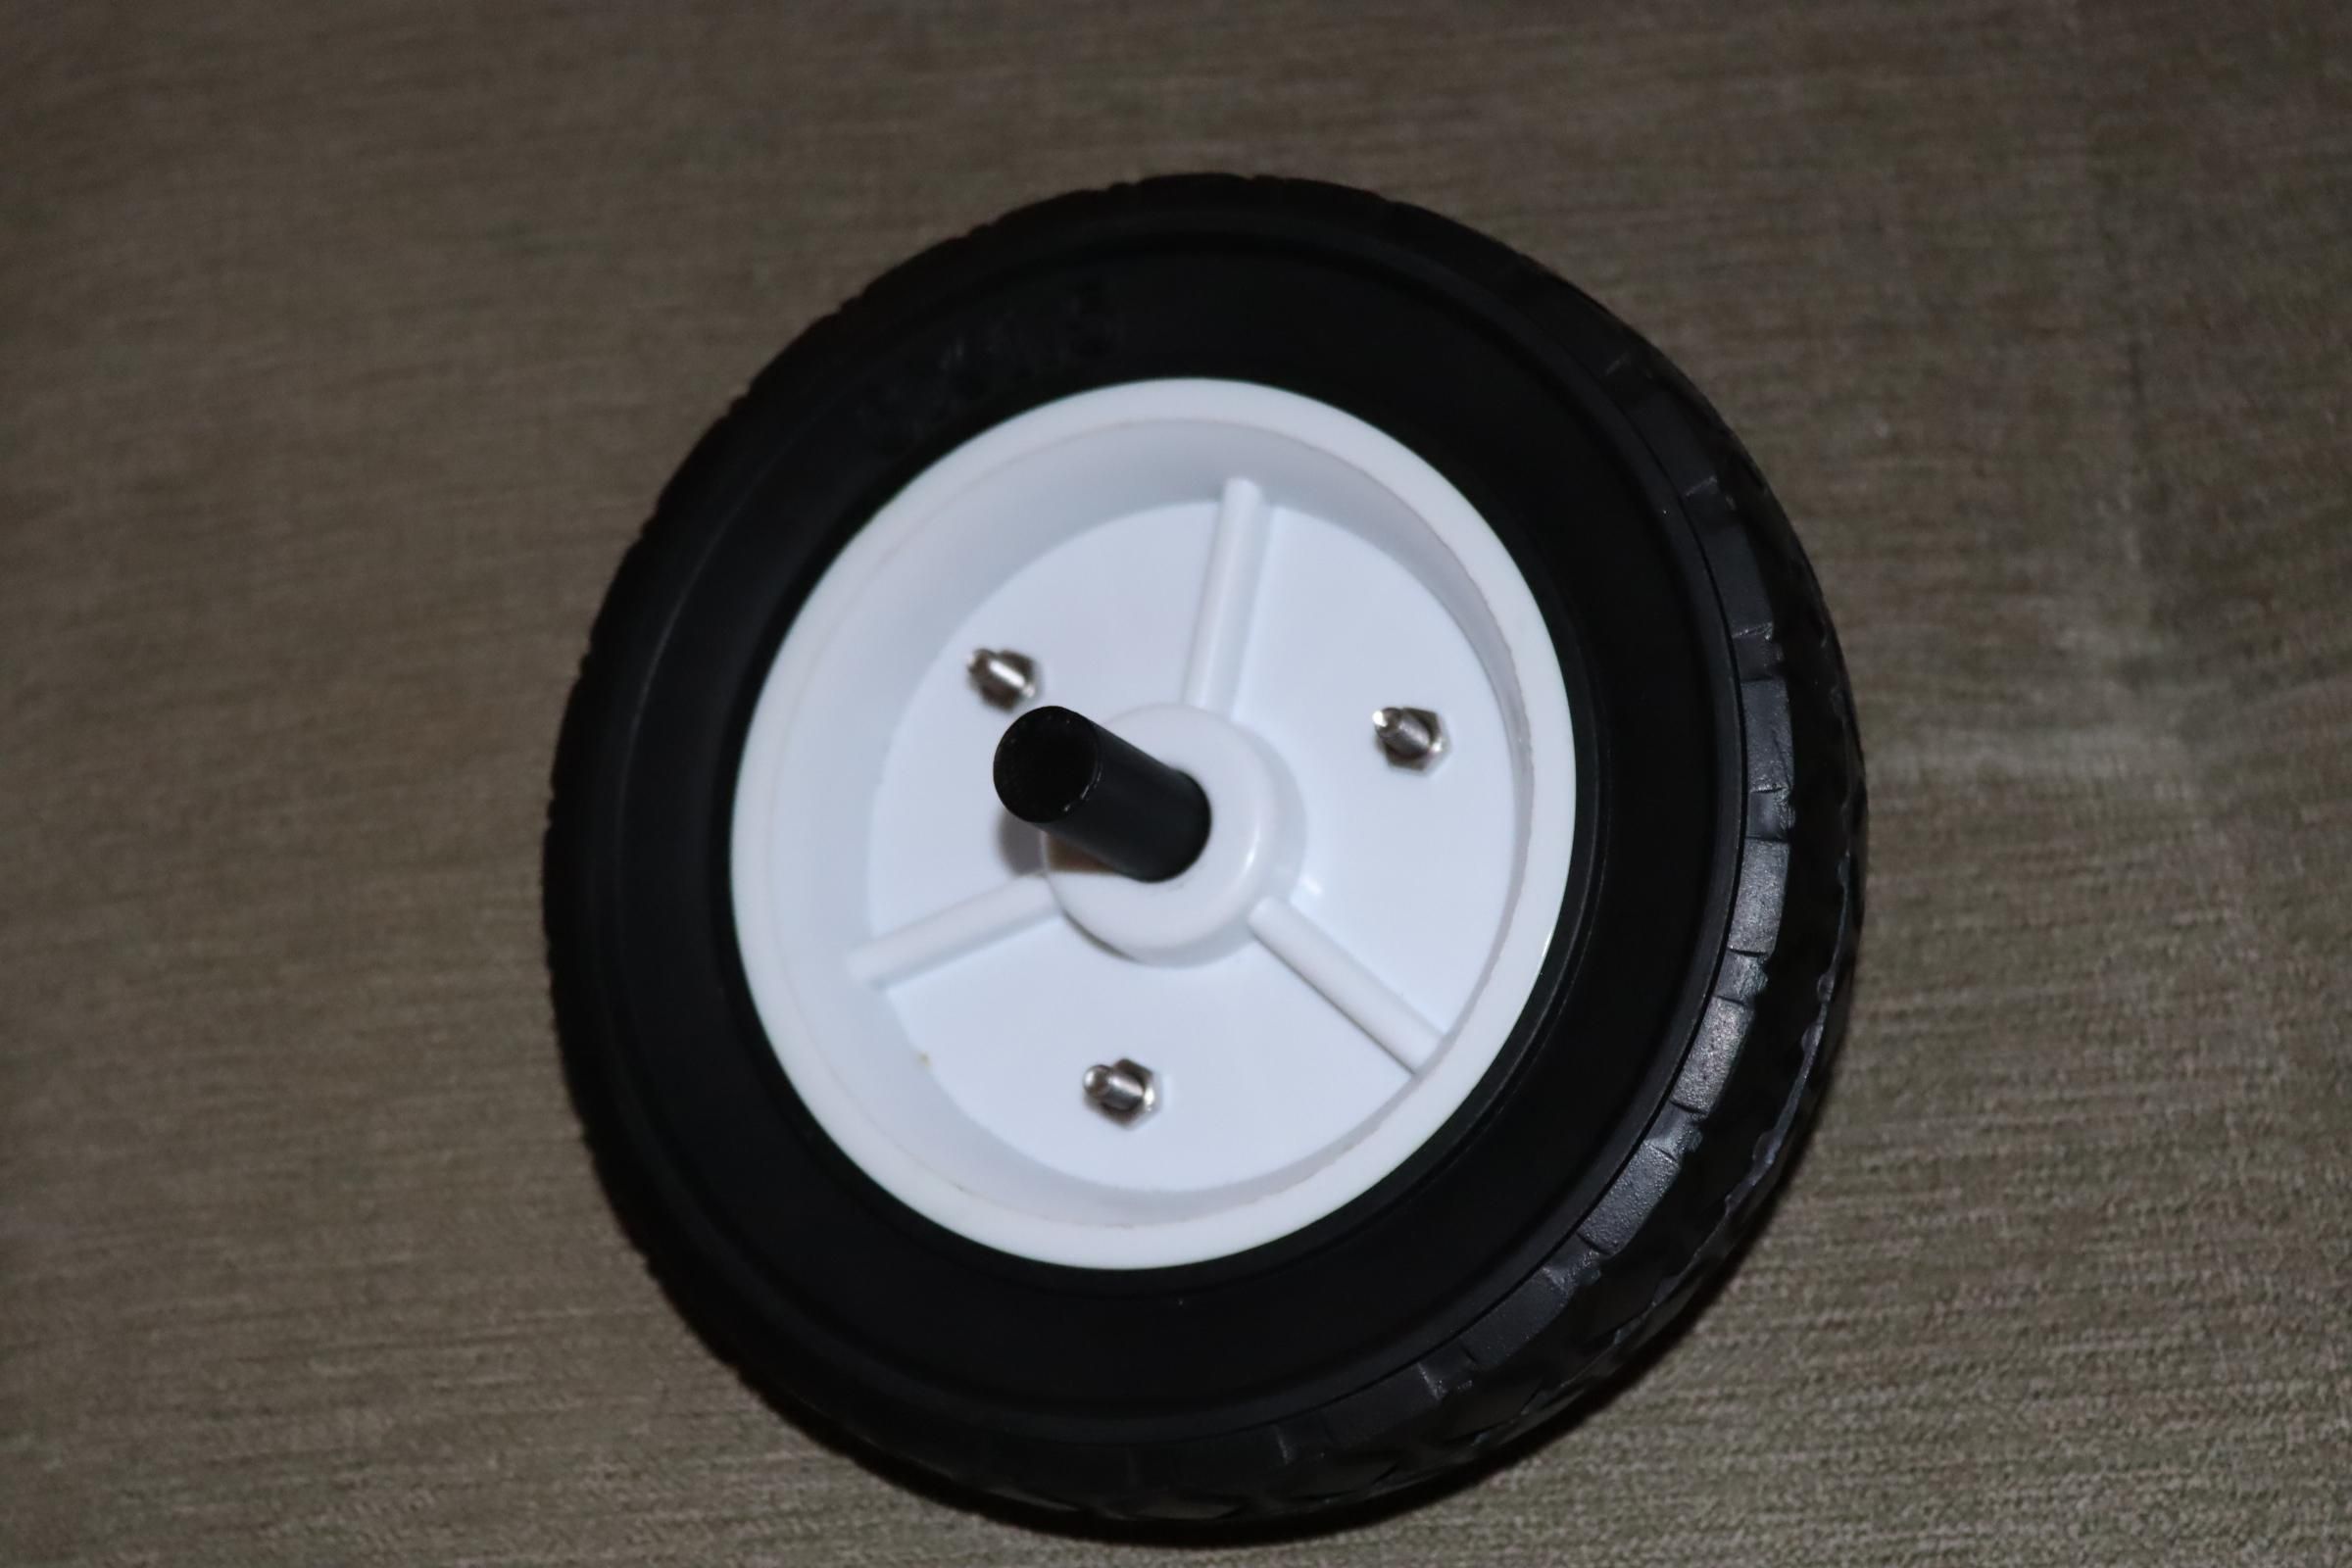
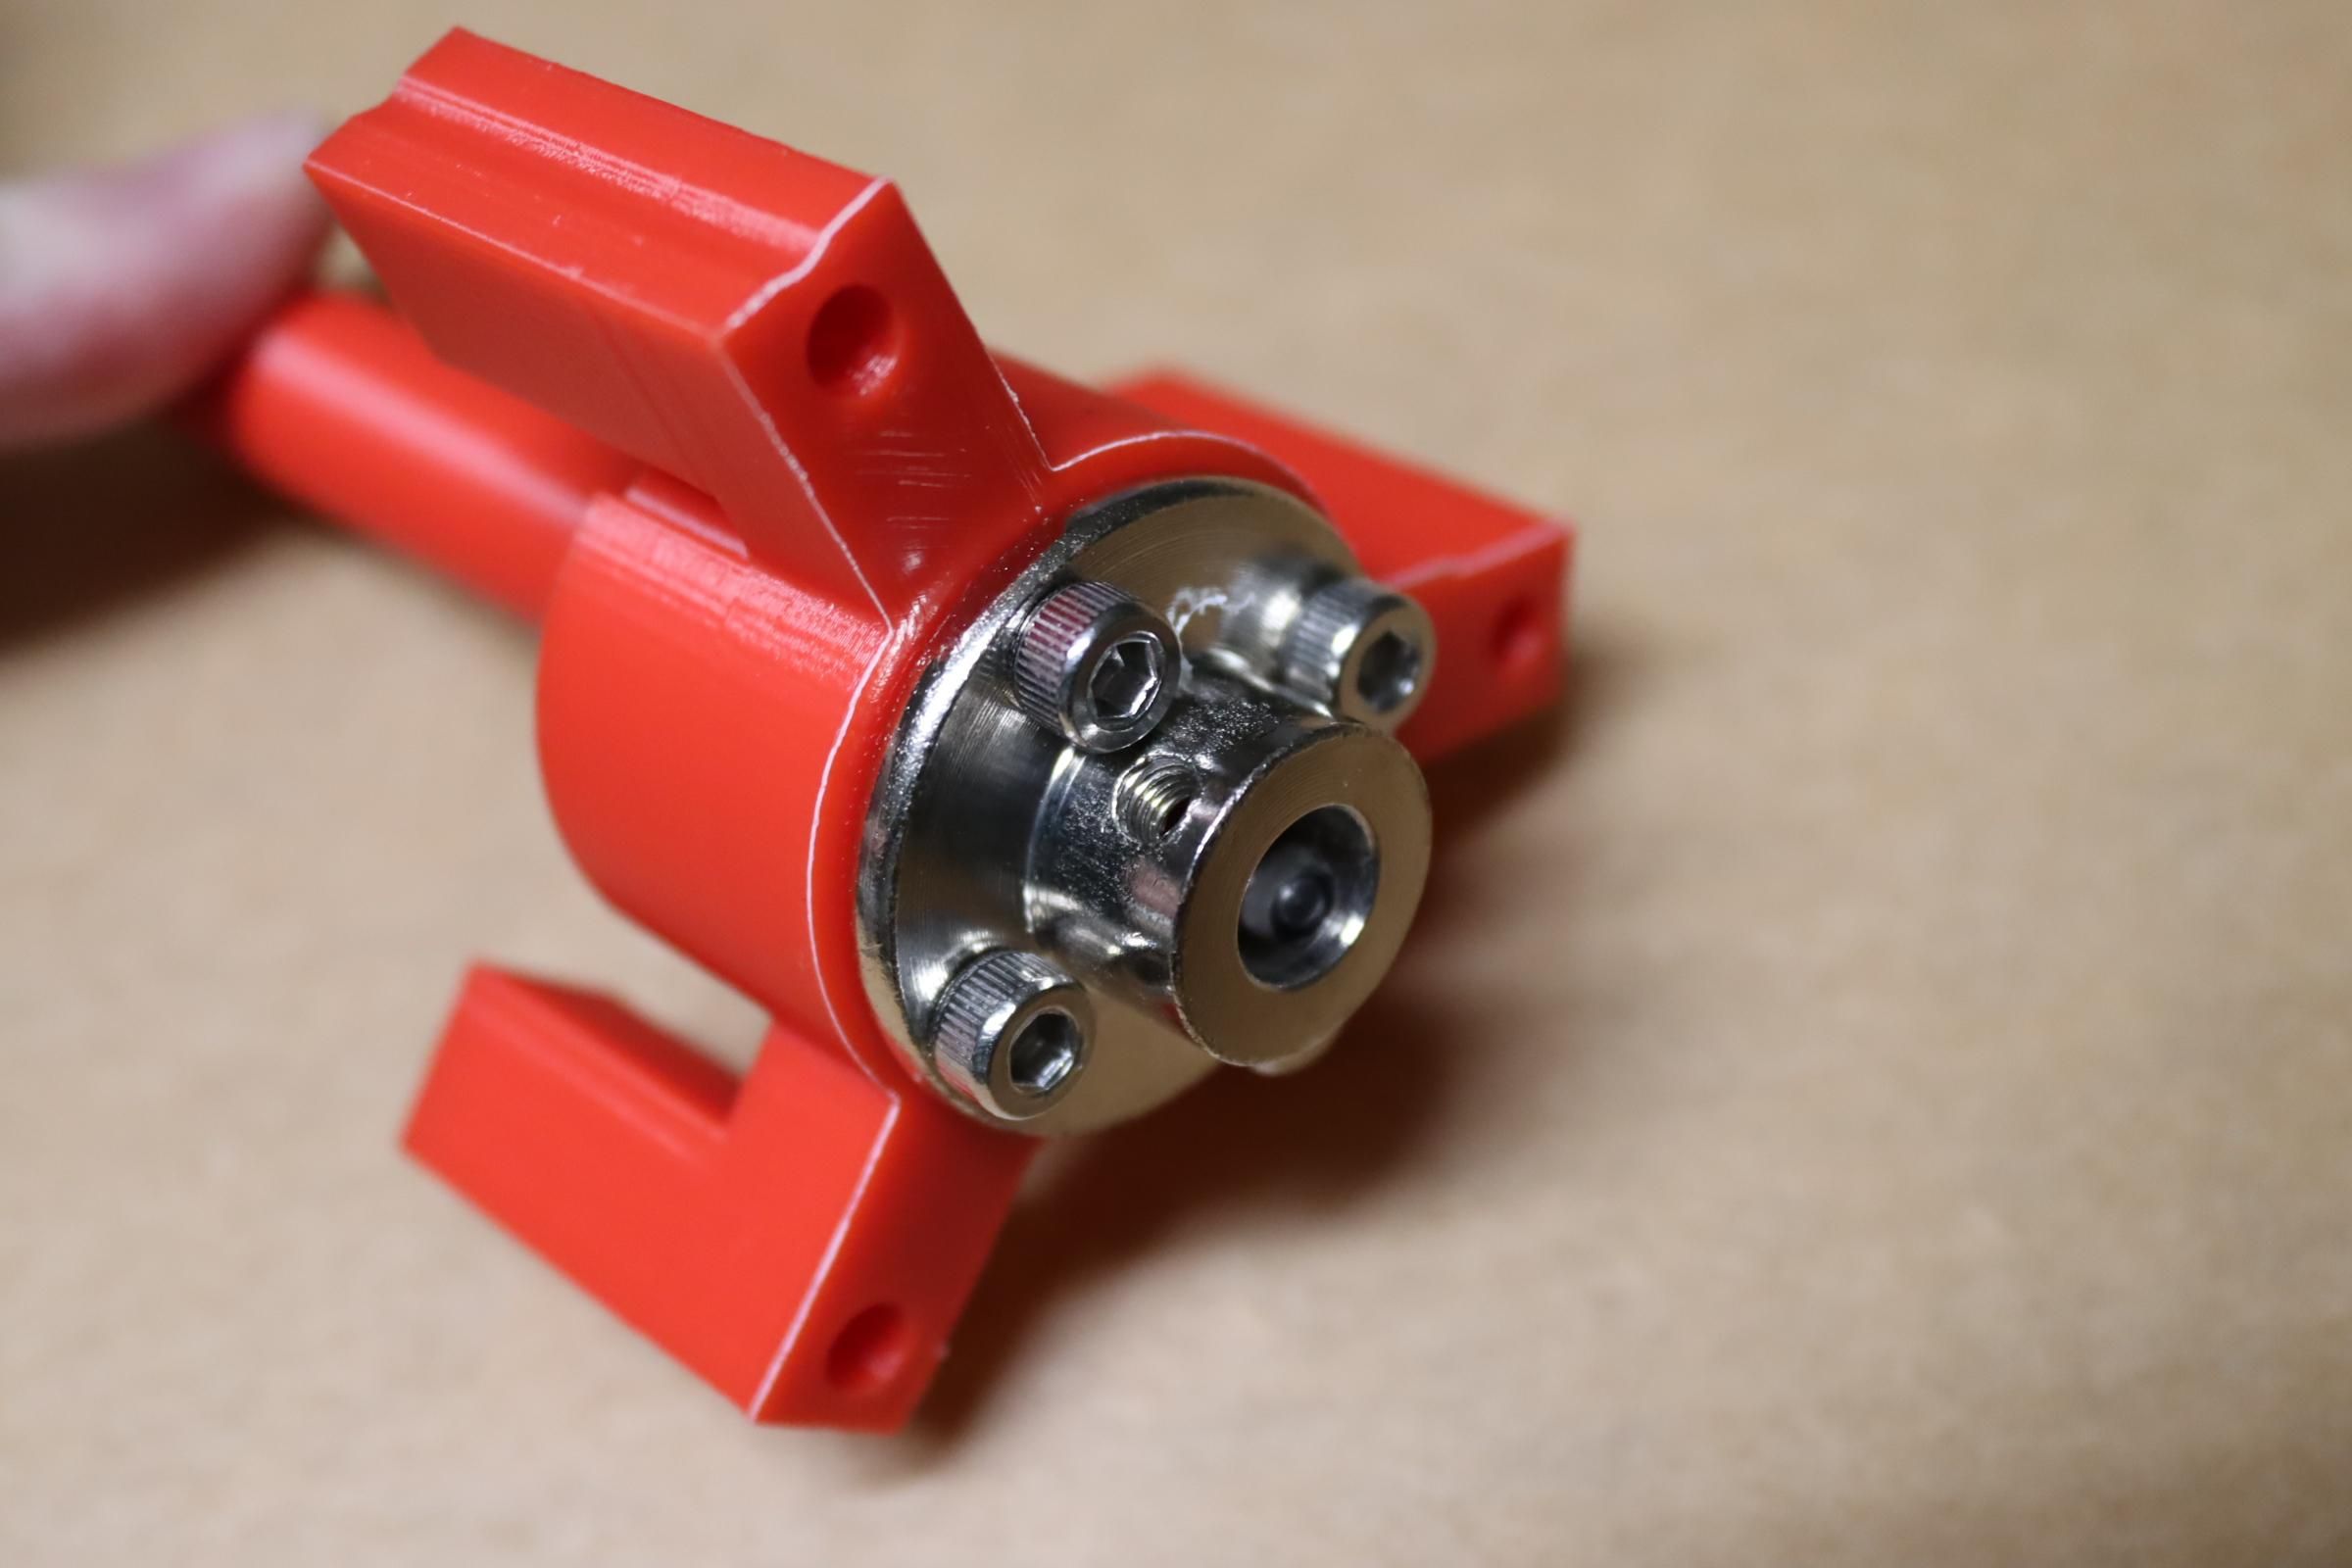
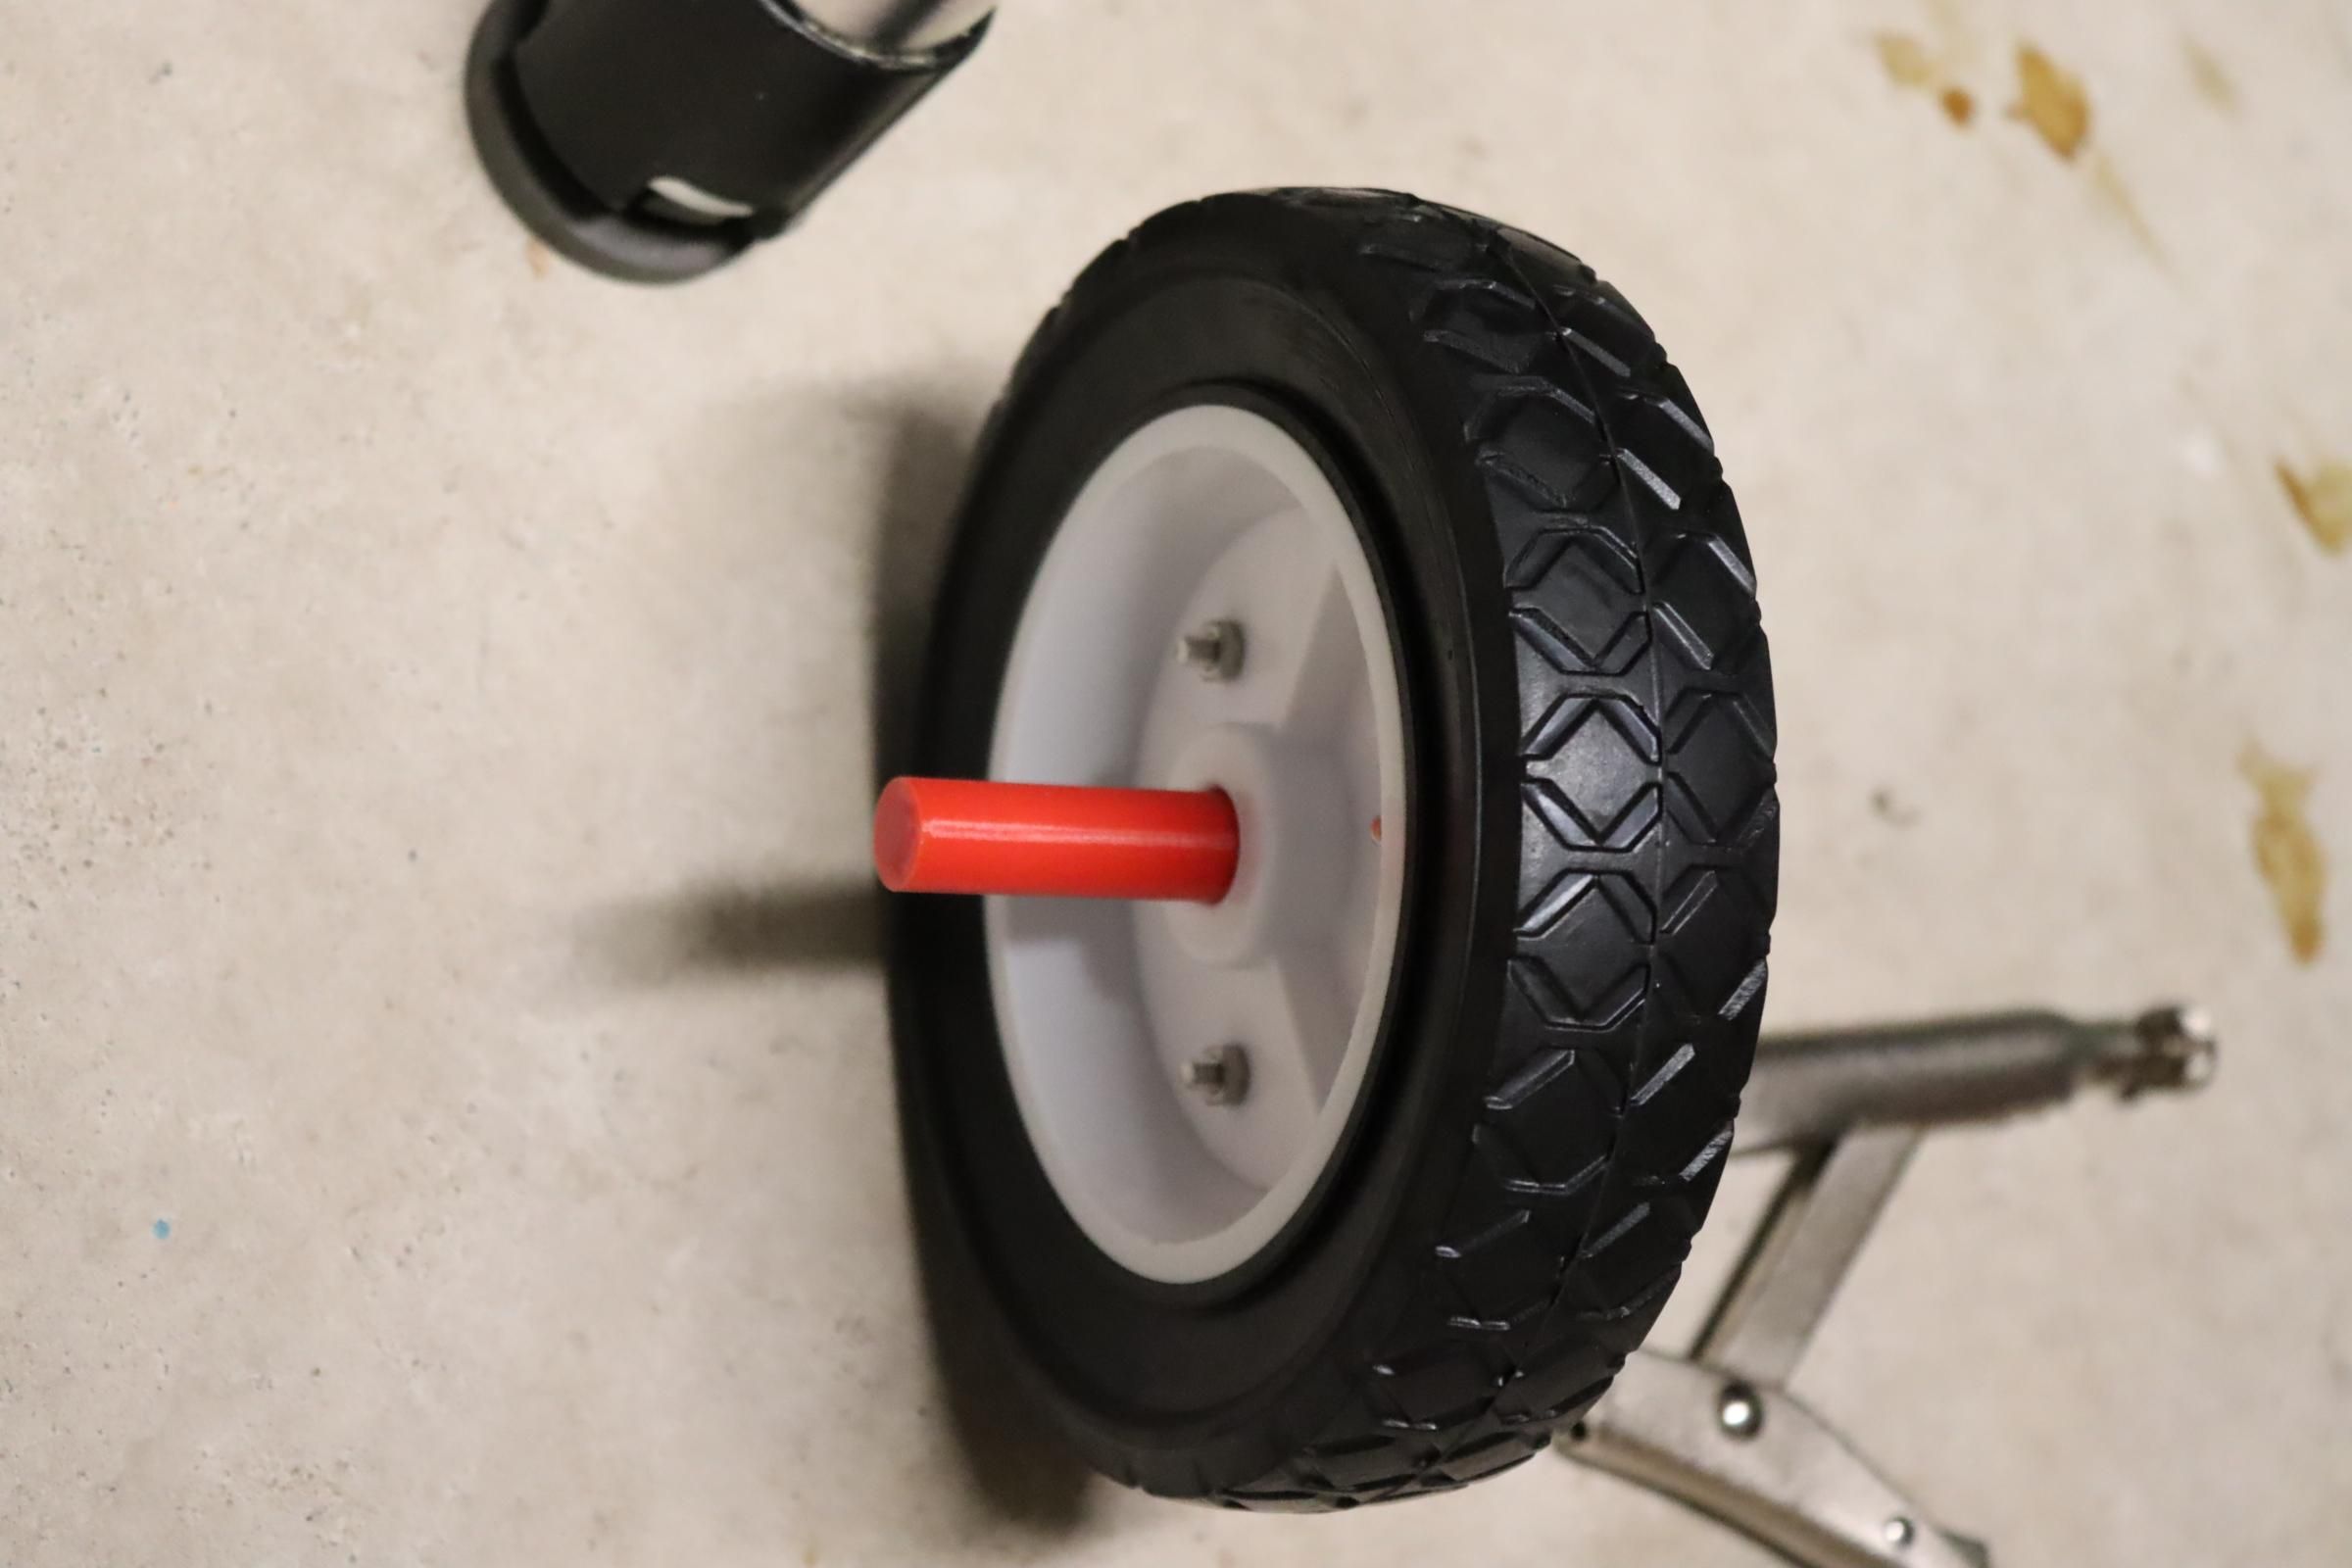
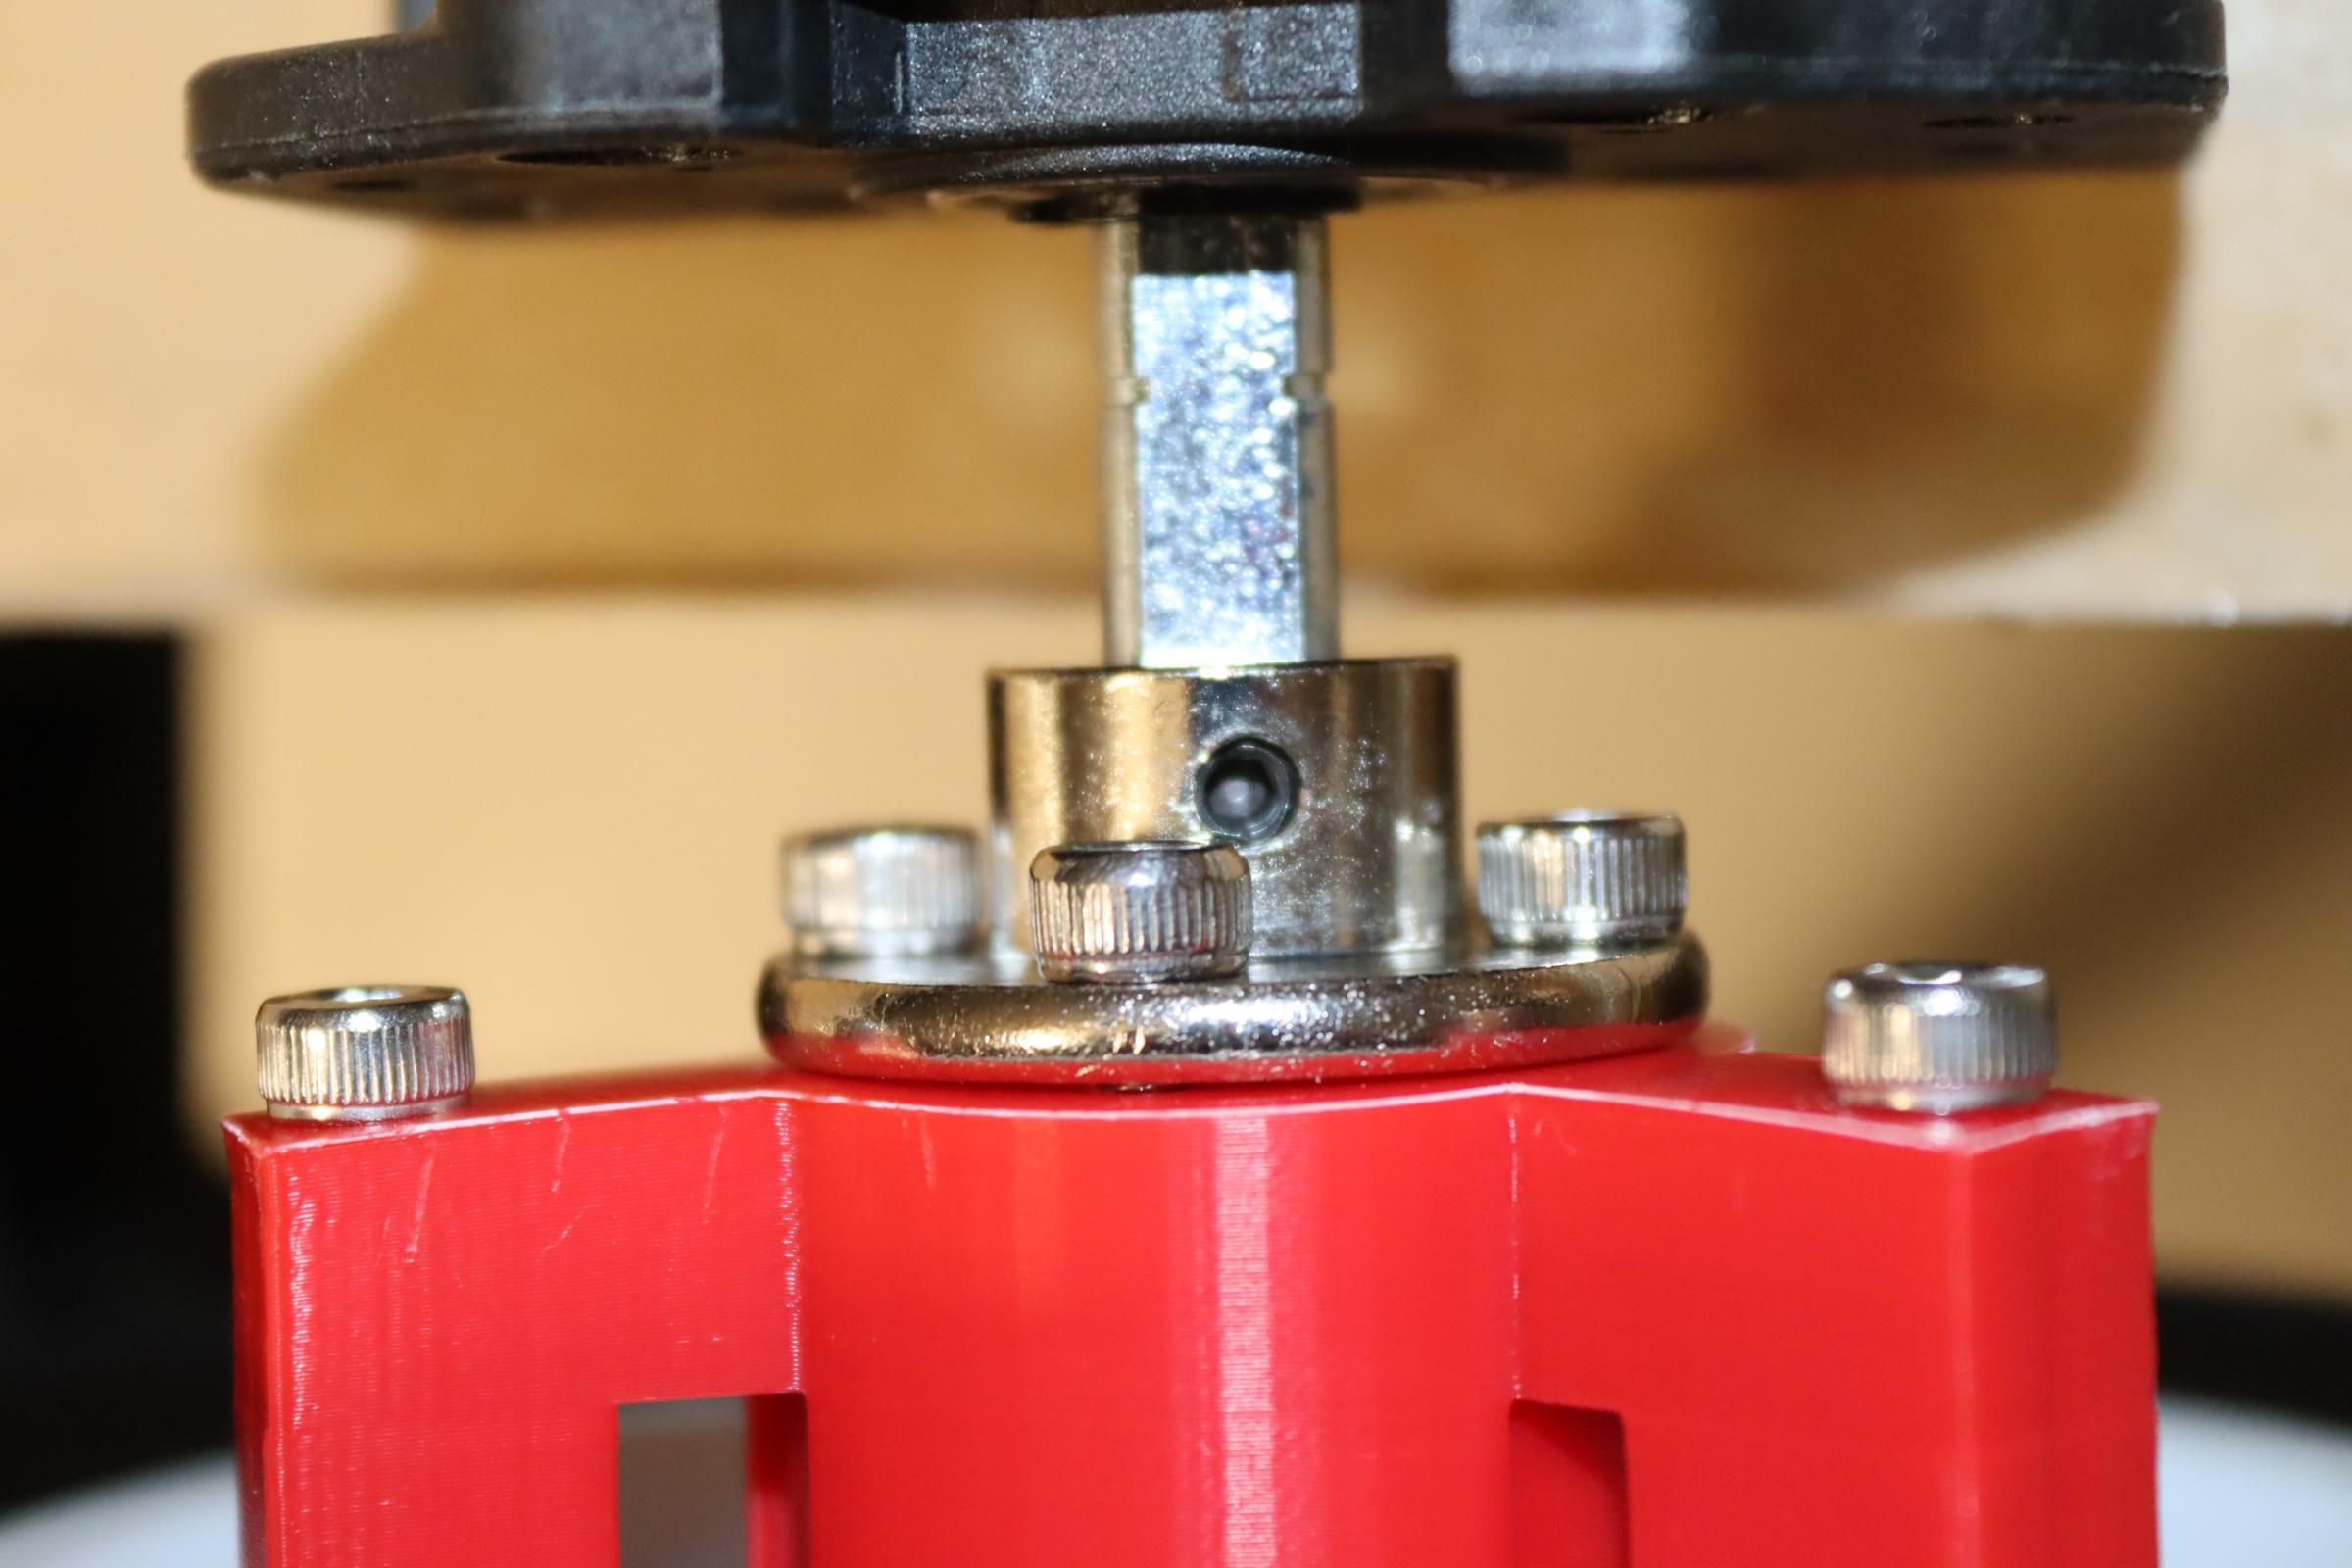
There are a number of items to 3d print. The axle for the wheels was first printed using black PLA, but I made the axle shorter and ended using red PLA (that's why the pictures show black and red).
Downloads
Motor and Wheels
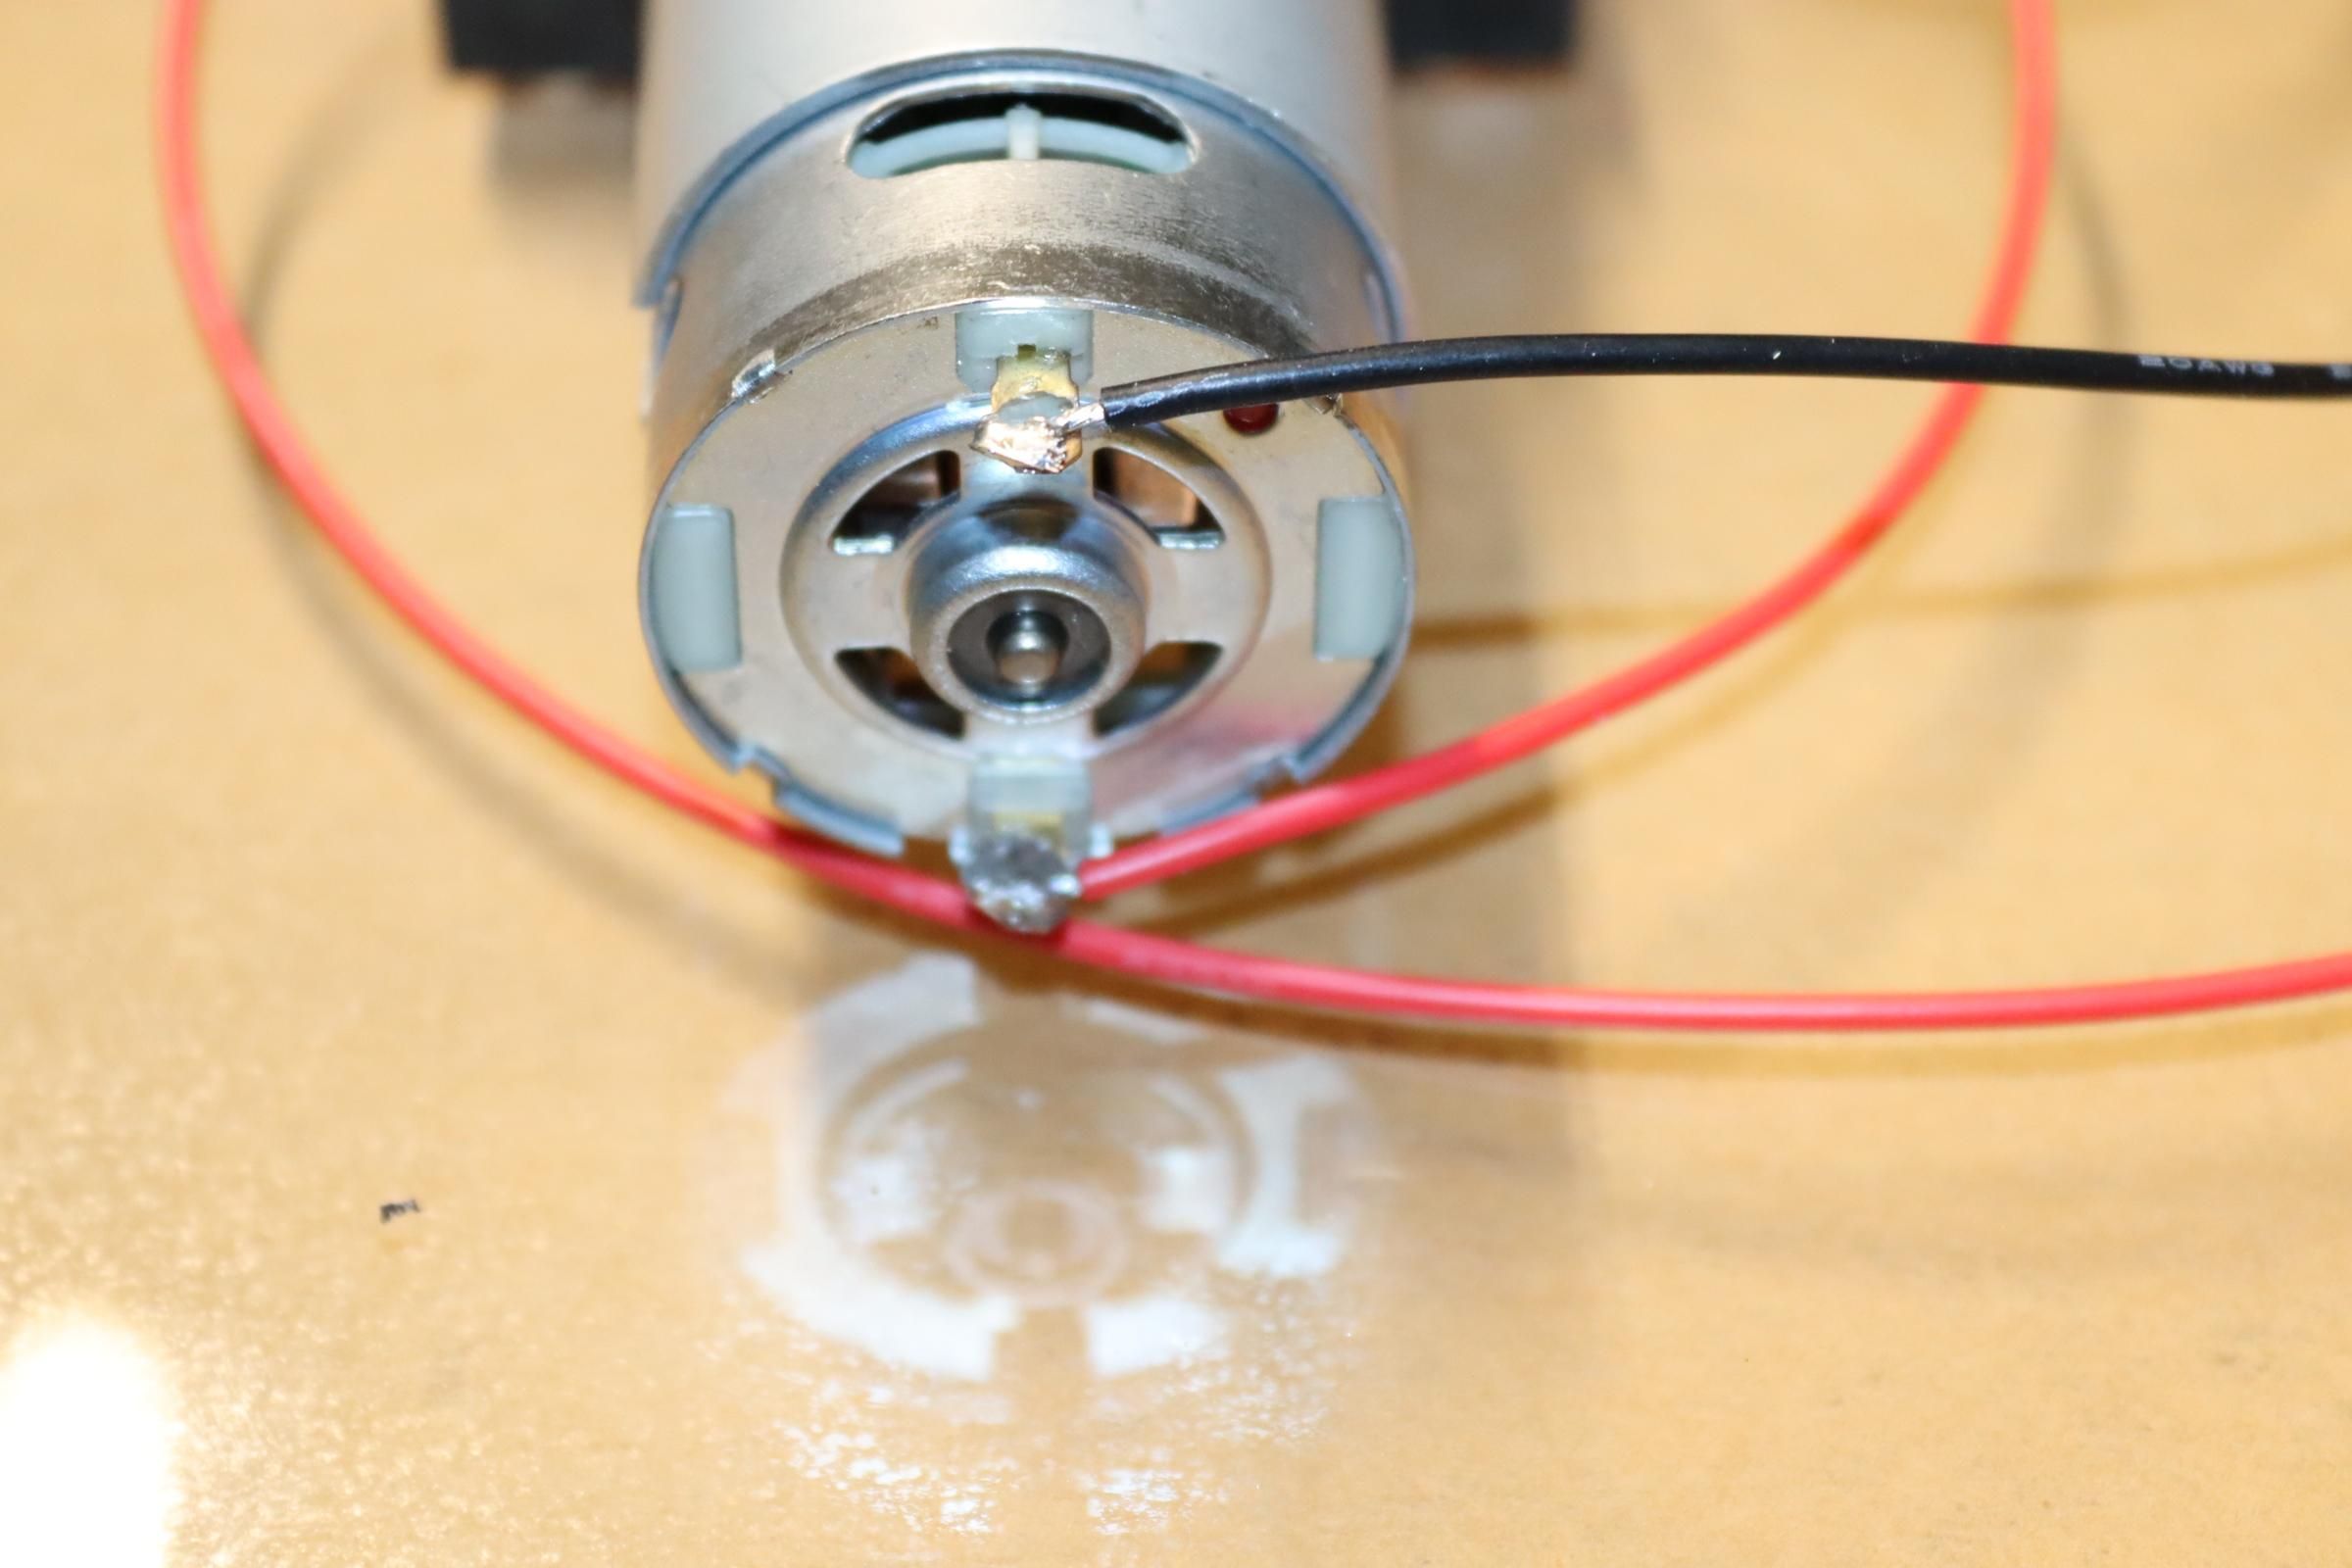
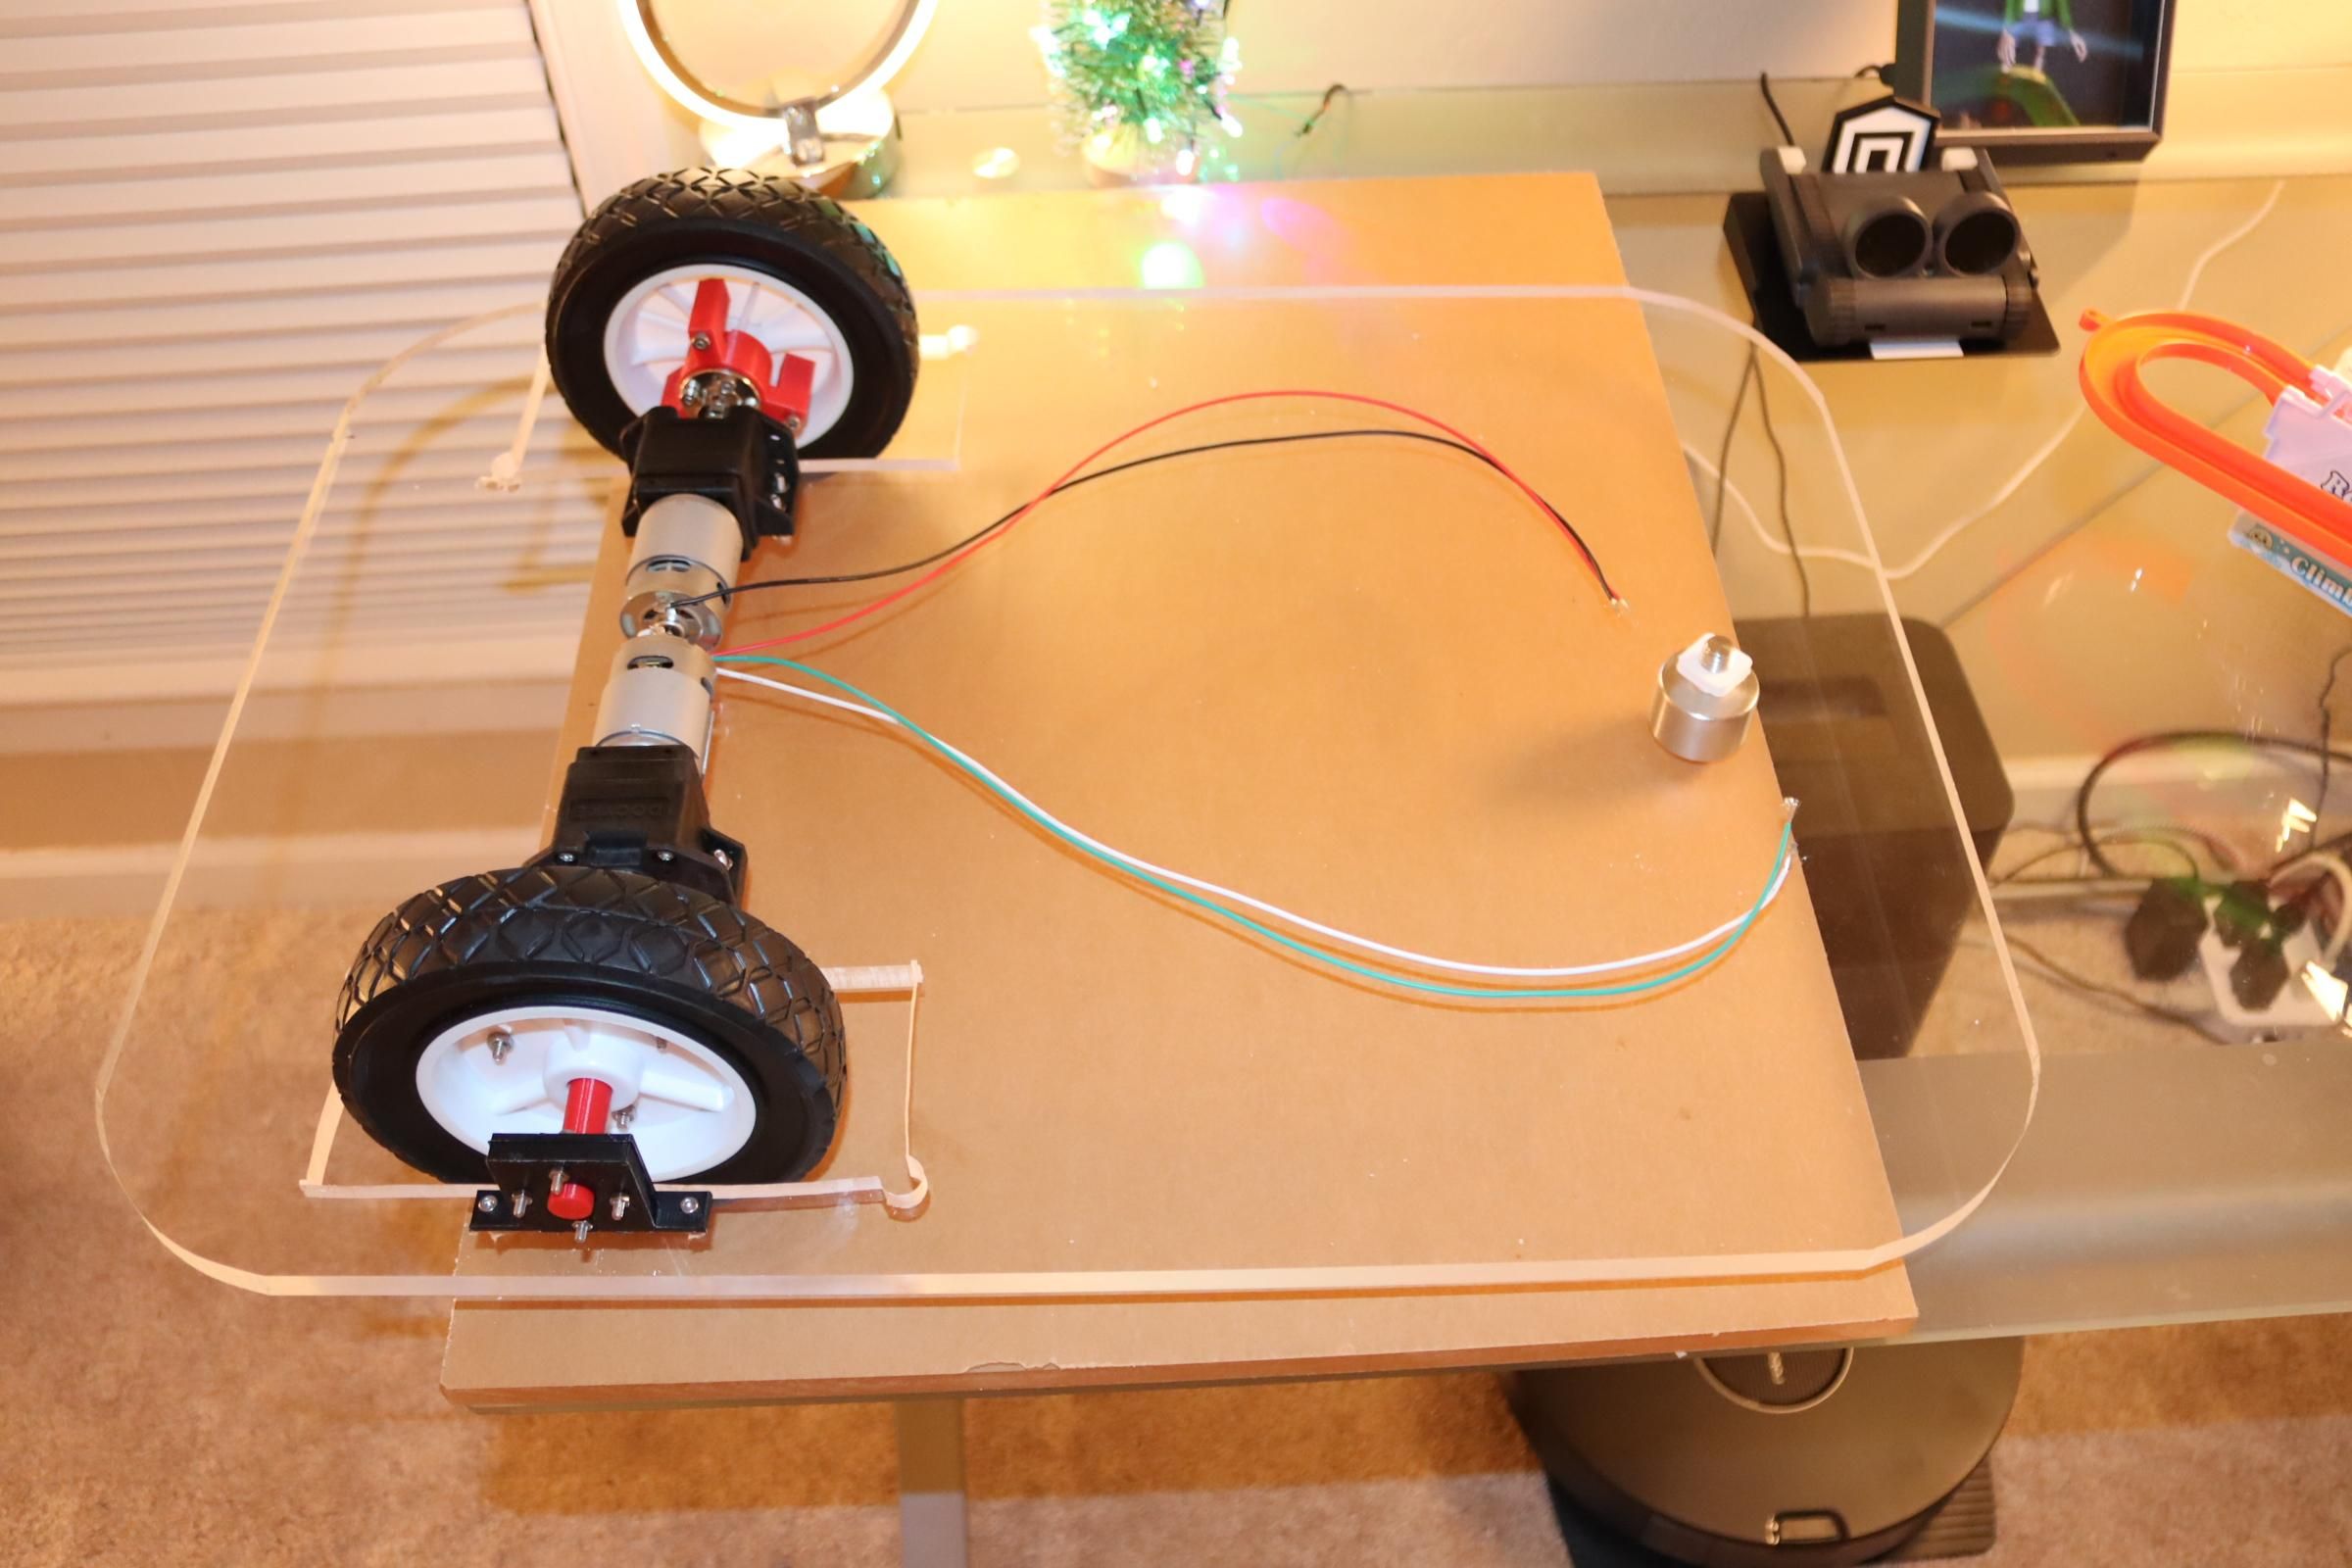
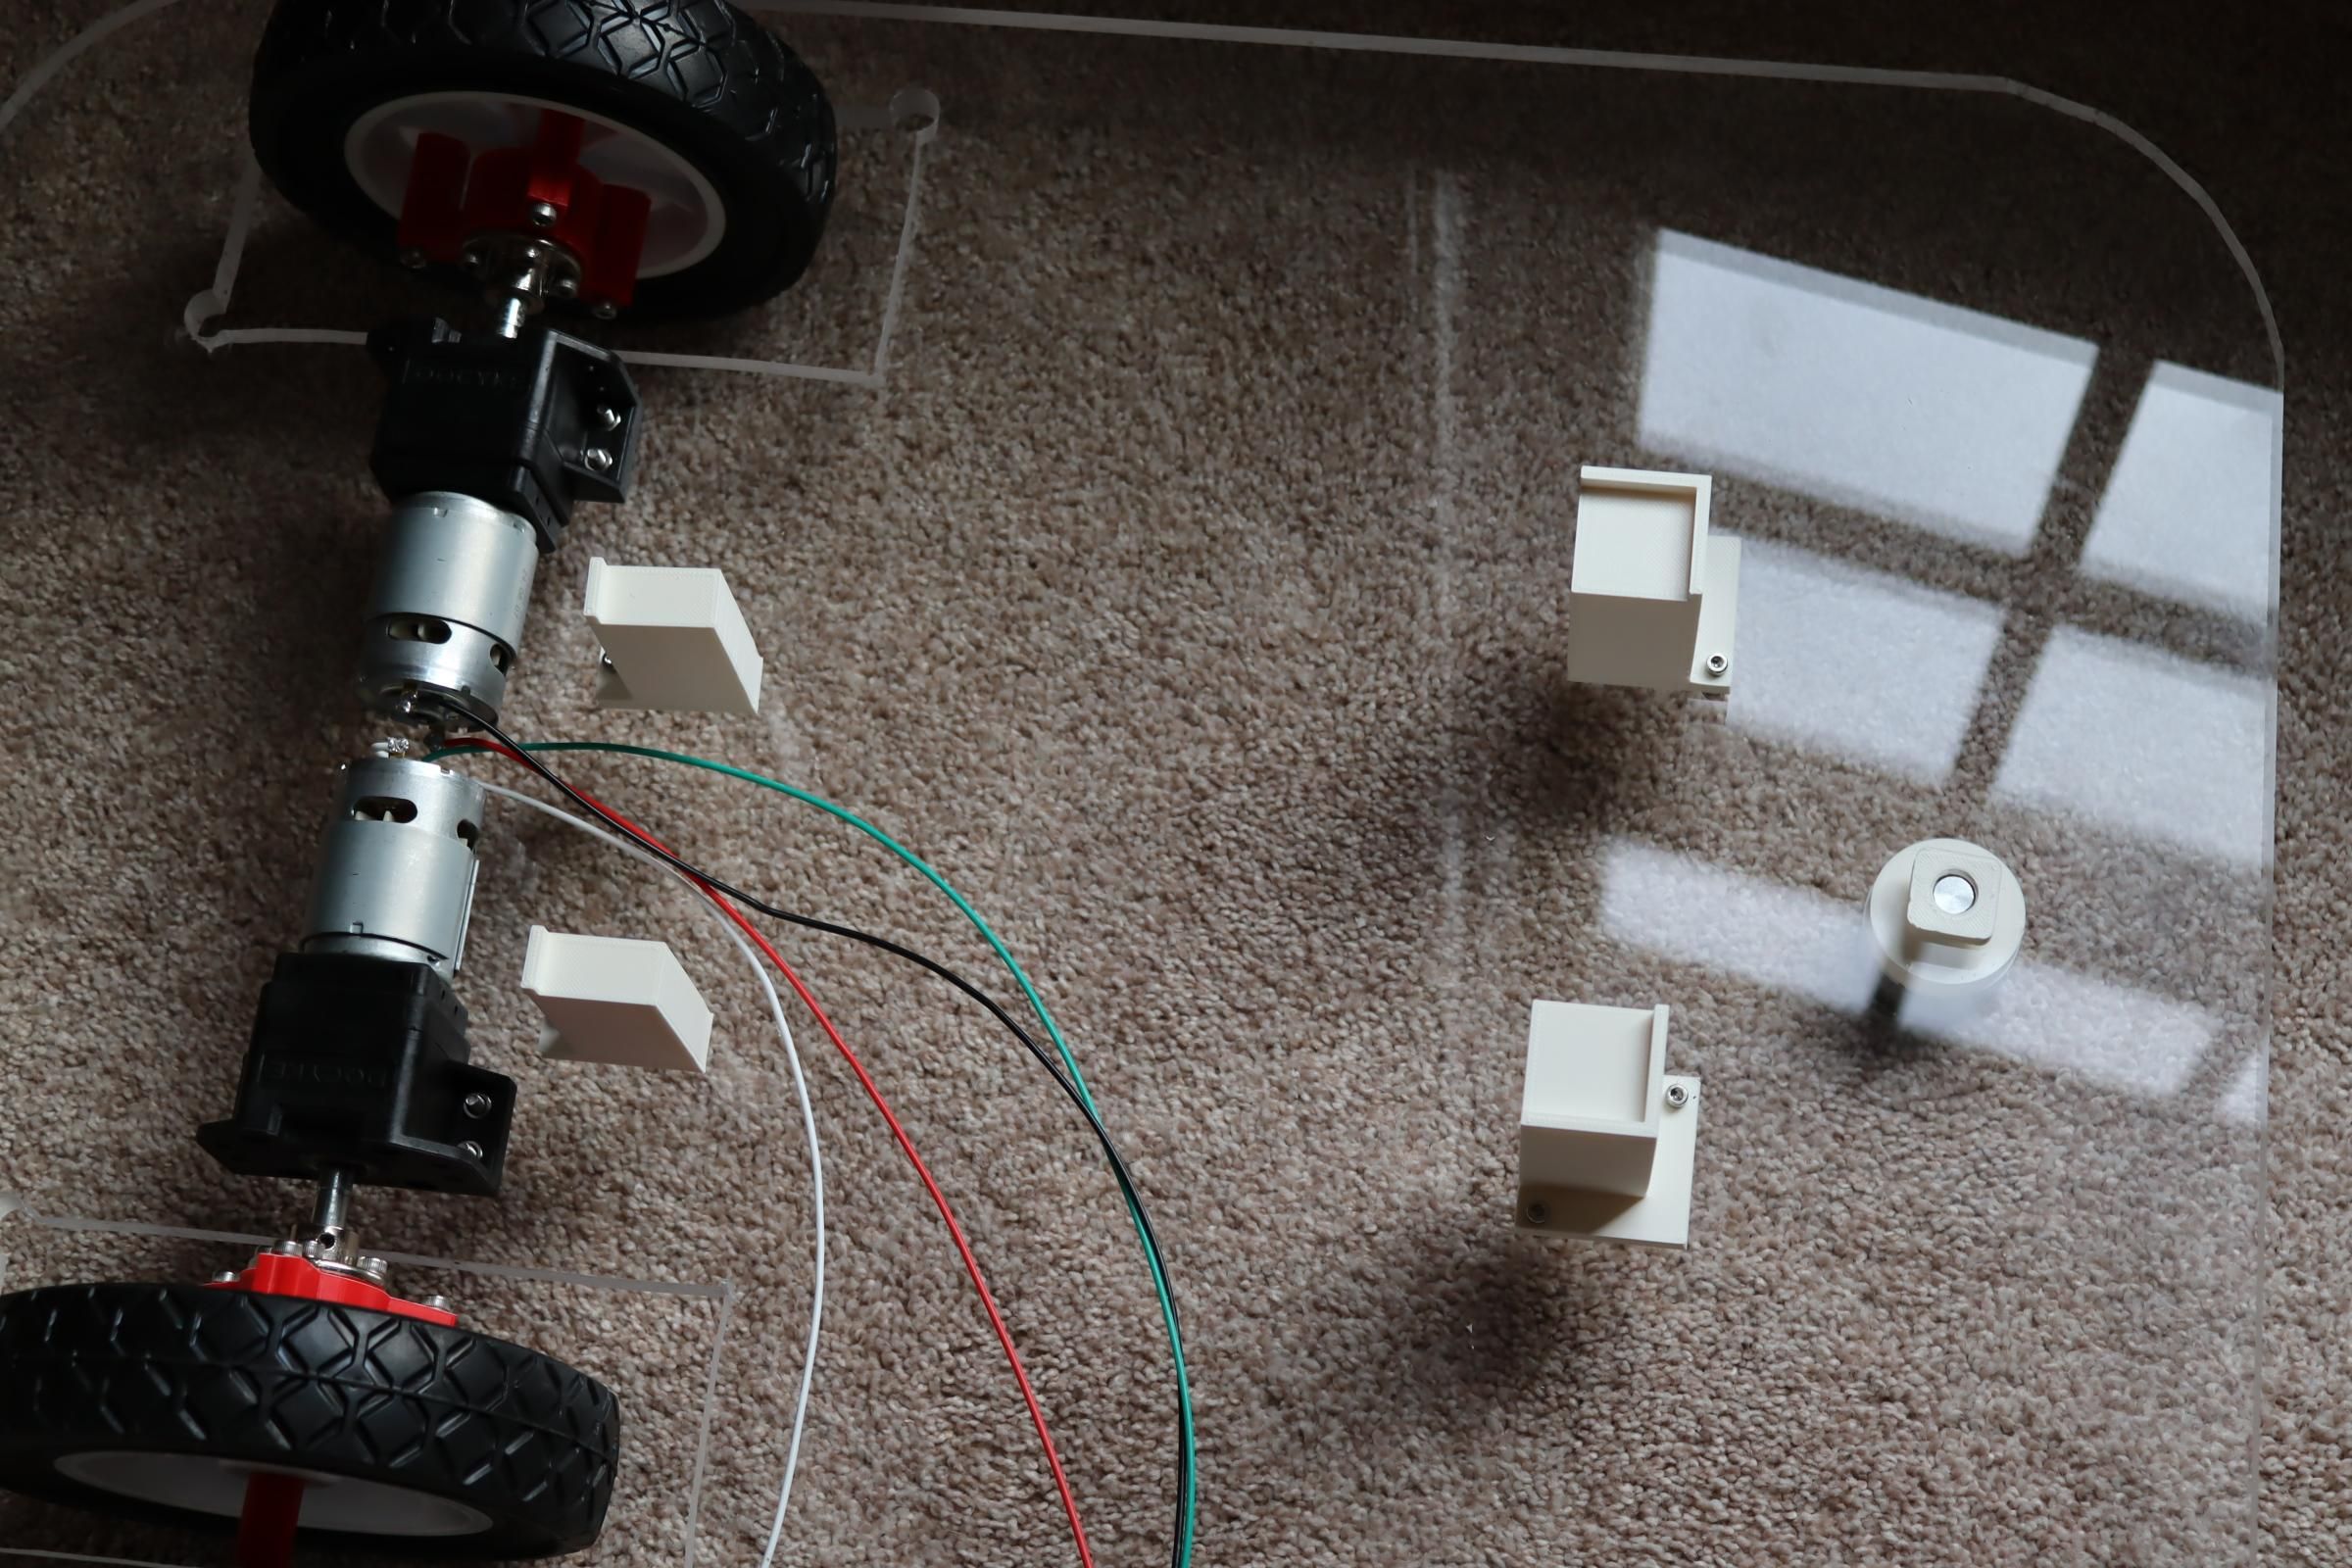
The motors and wheels are secured to the lower acrylic. The four white pieces were intended to hold the MARS (AI) robot -- to provide instructions to my larger robot. I abandoned that idea (for now), but the brackets remain.
Lidar Units
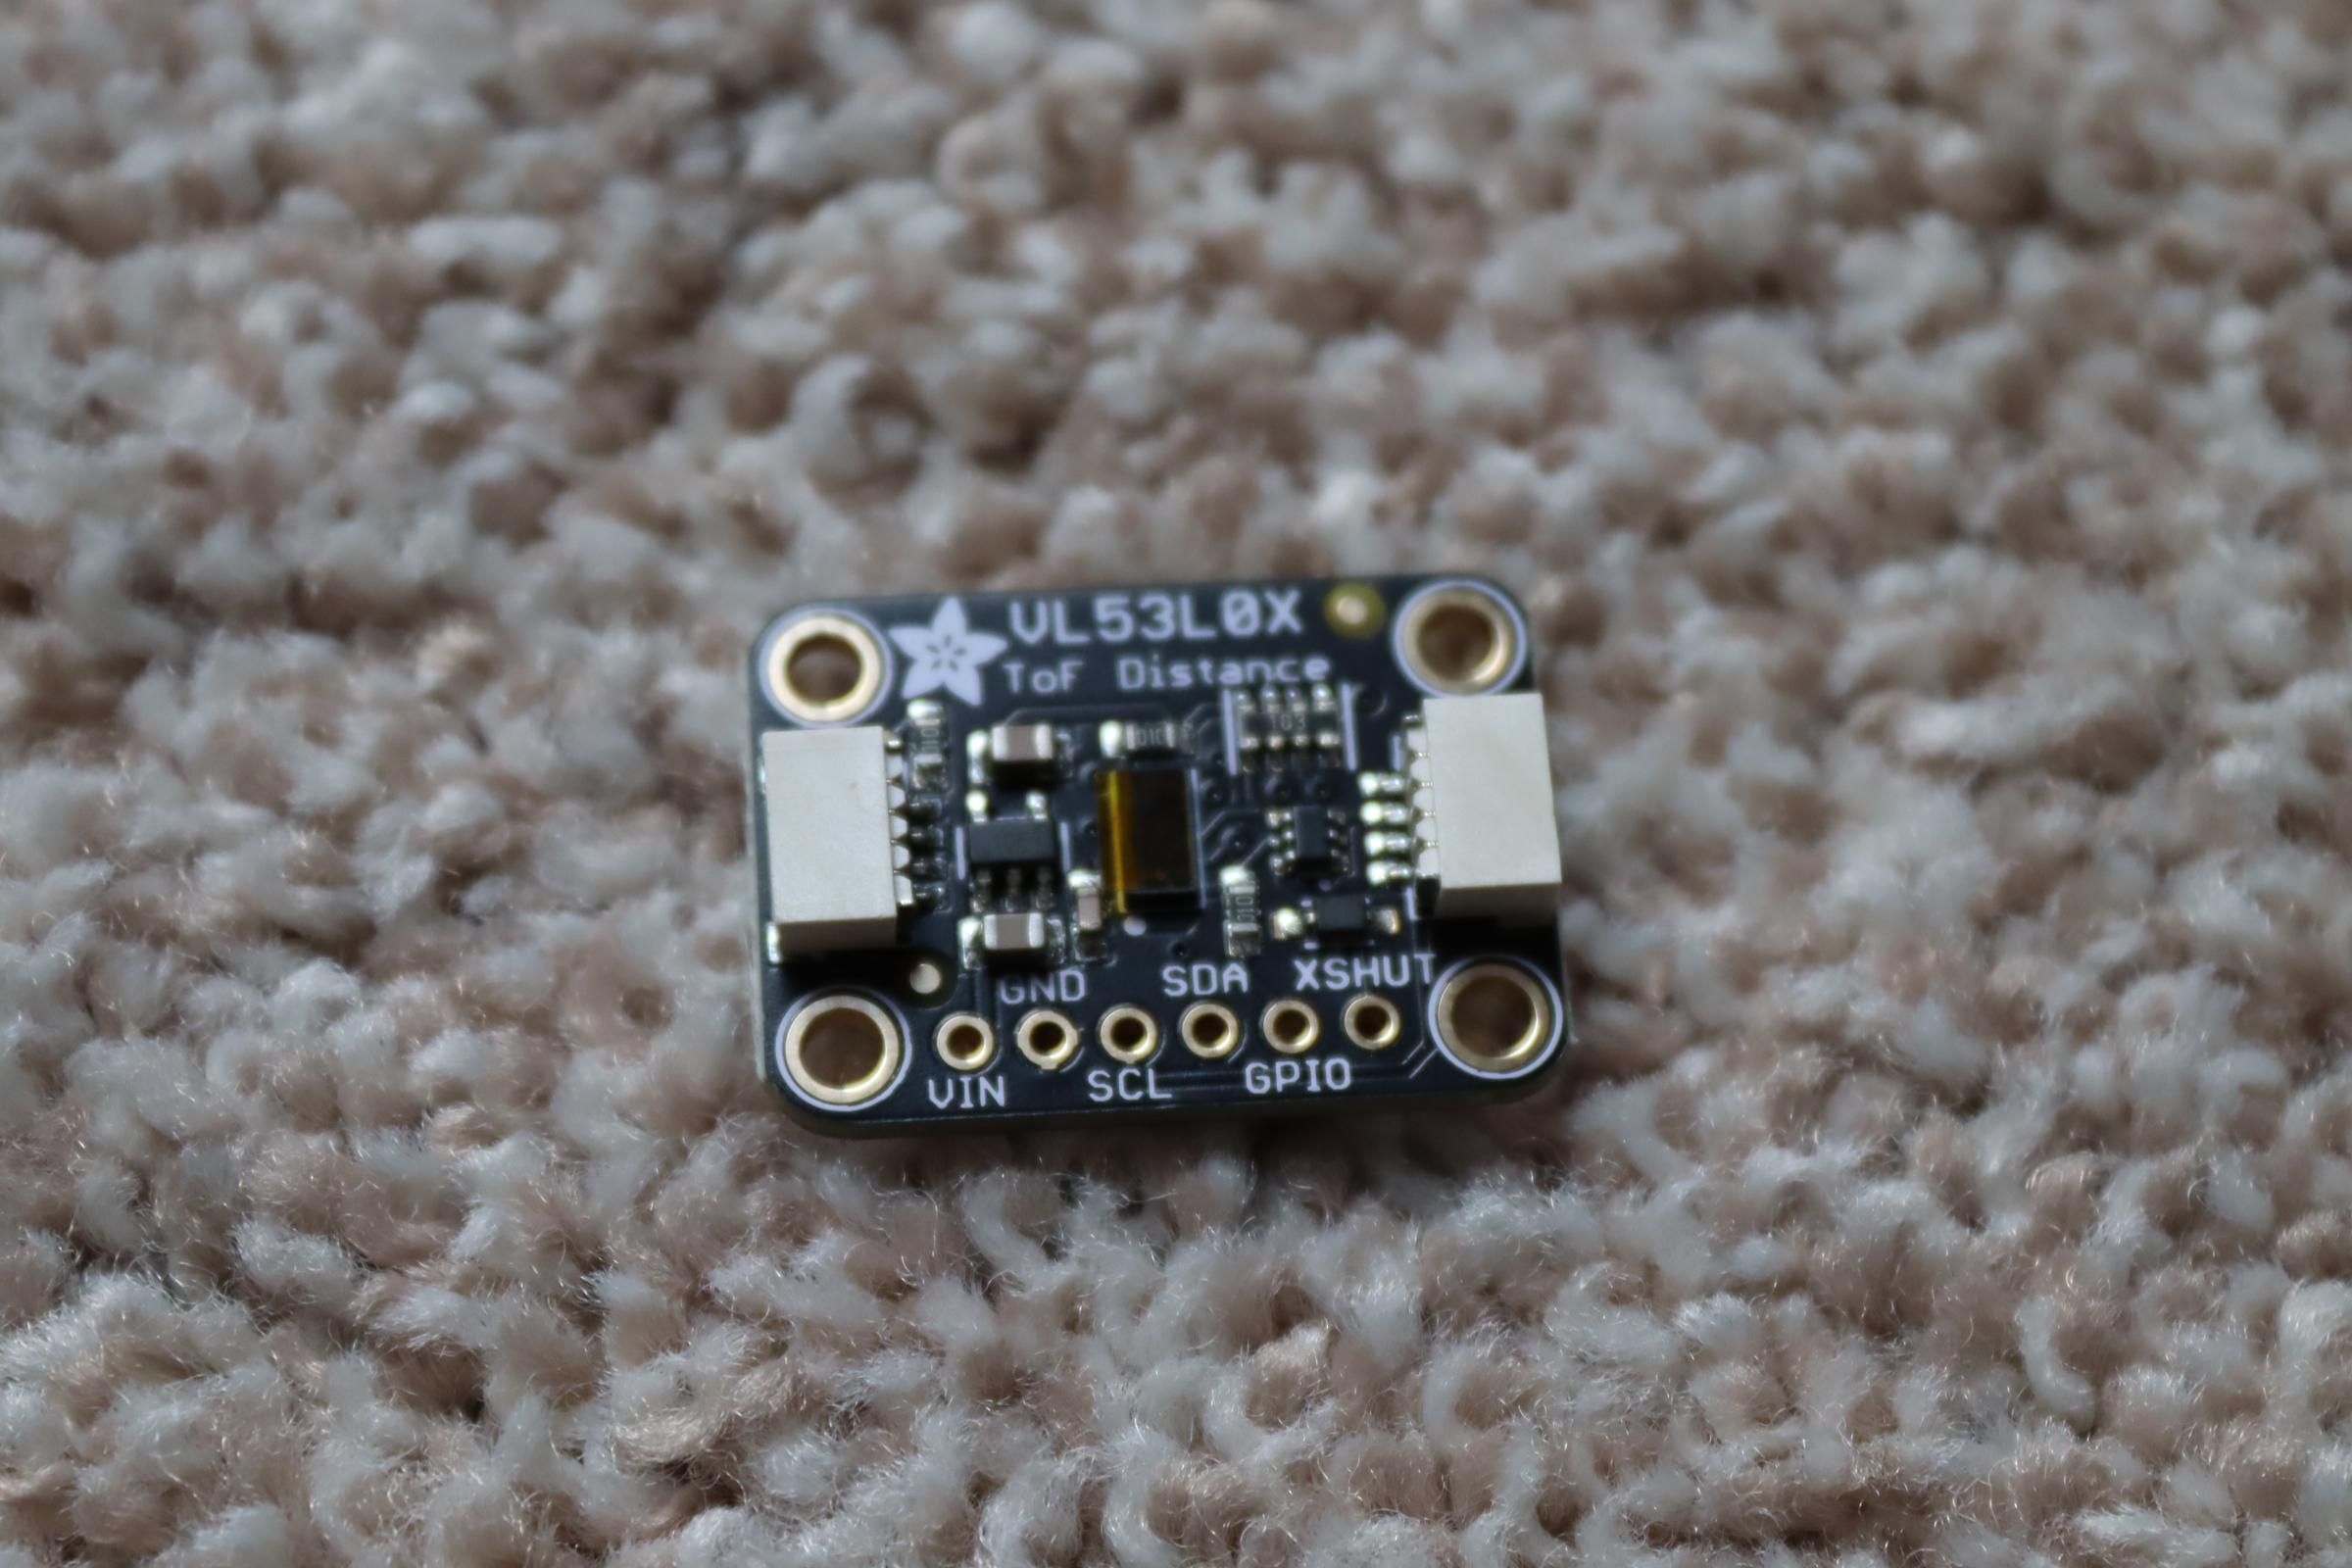
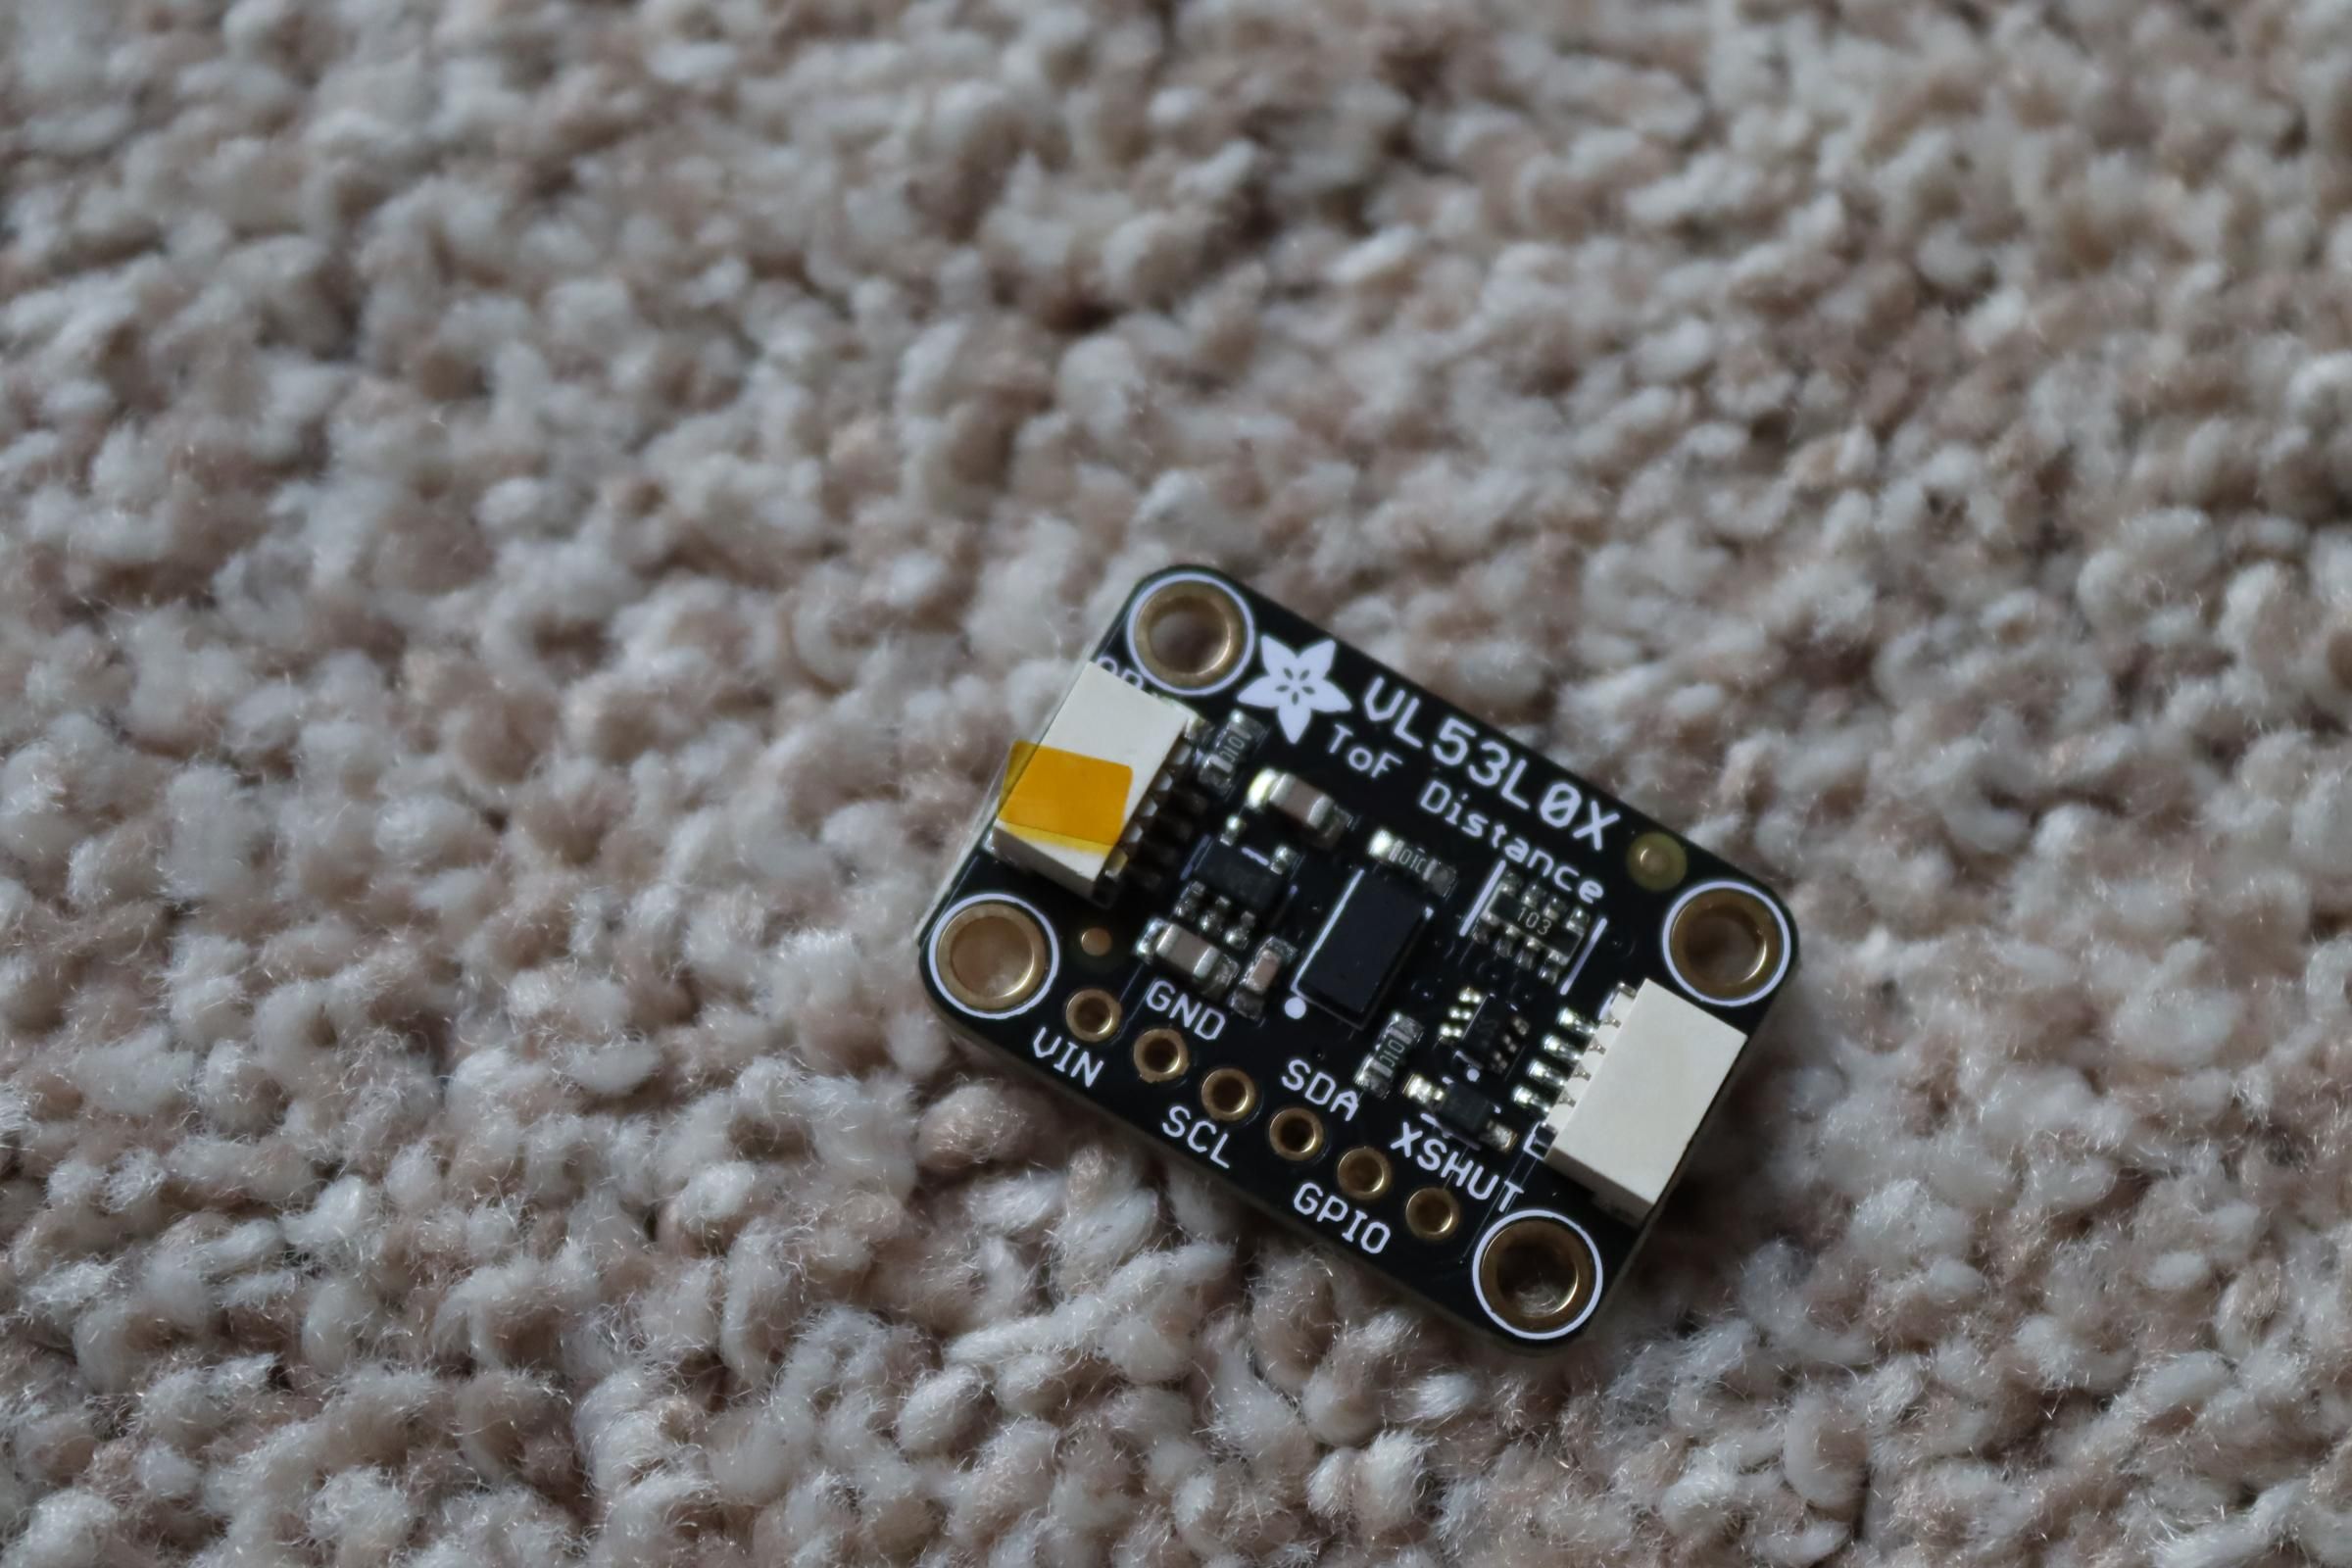
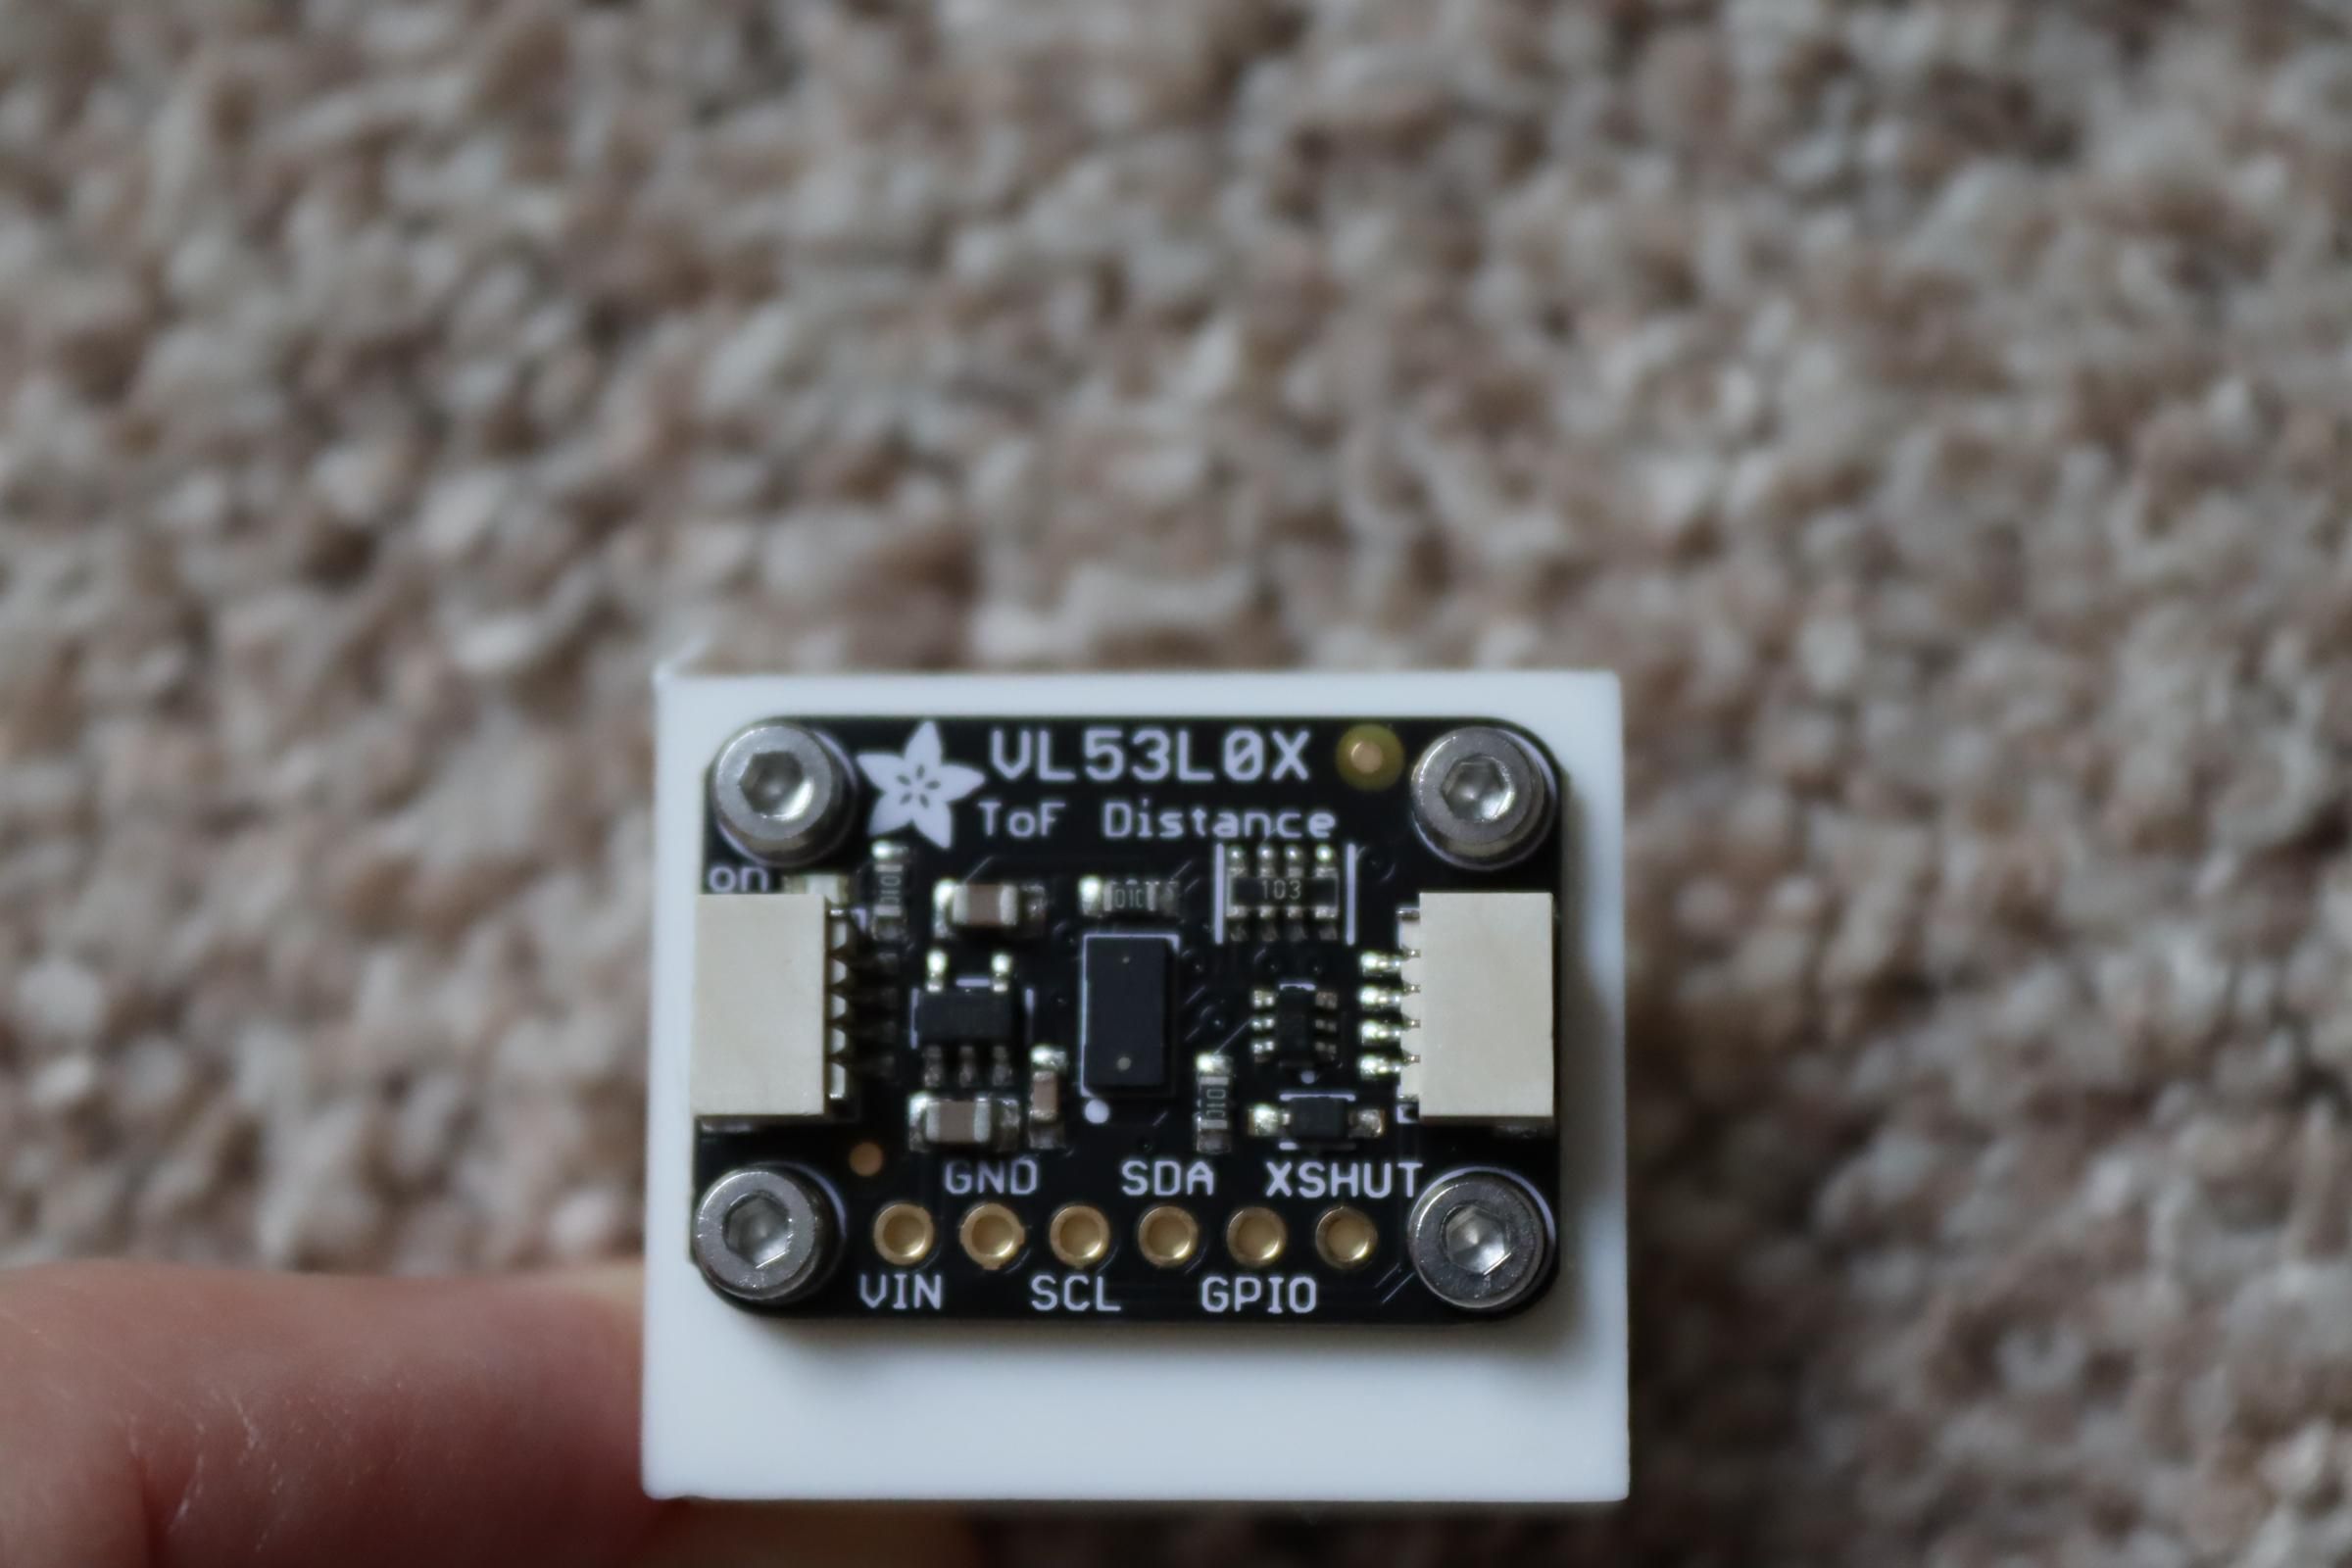
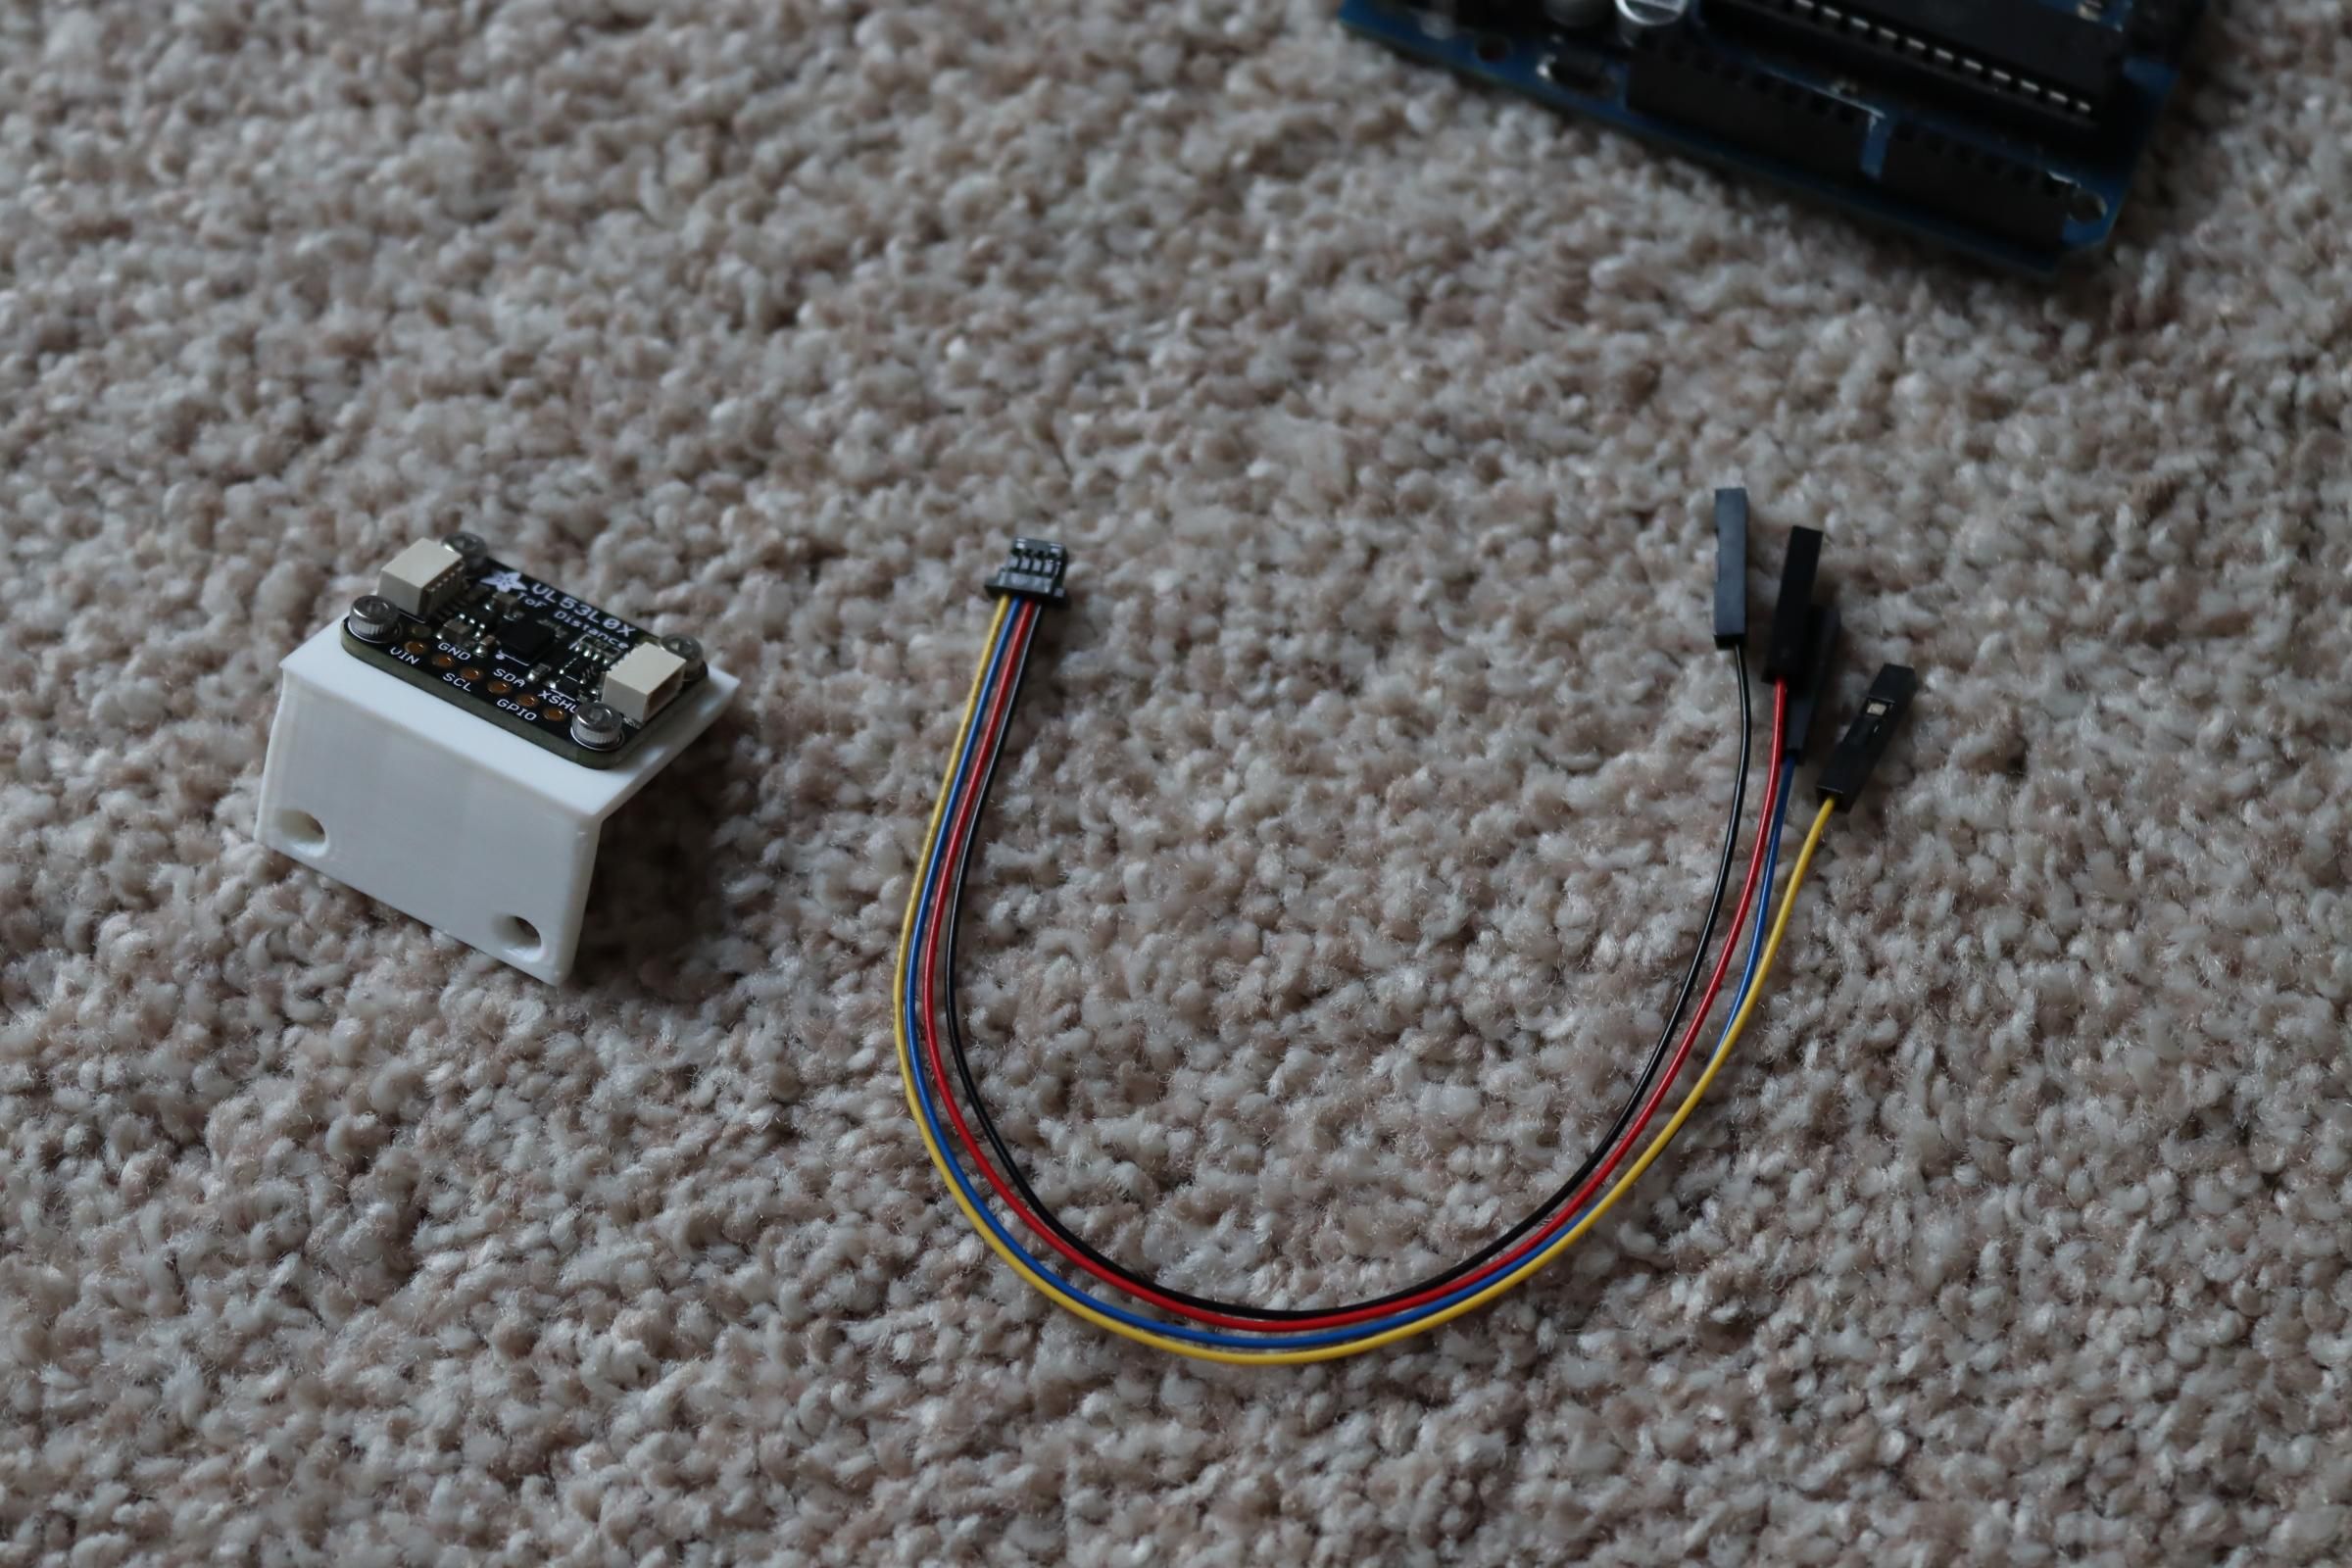
Lidar units are attached to the 3d brackets using 2mm screws. Be sure to remove the tiny yellow film from the "lens" of the lidar unit before operating.
Vision Sensor
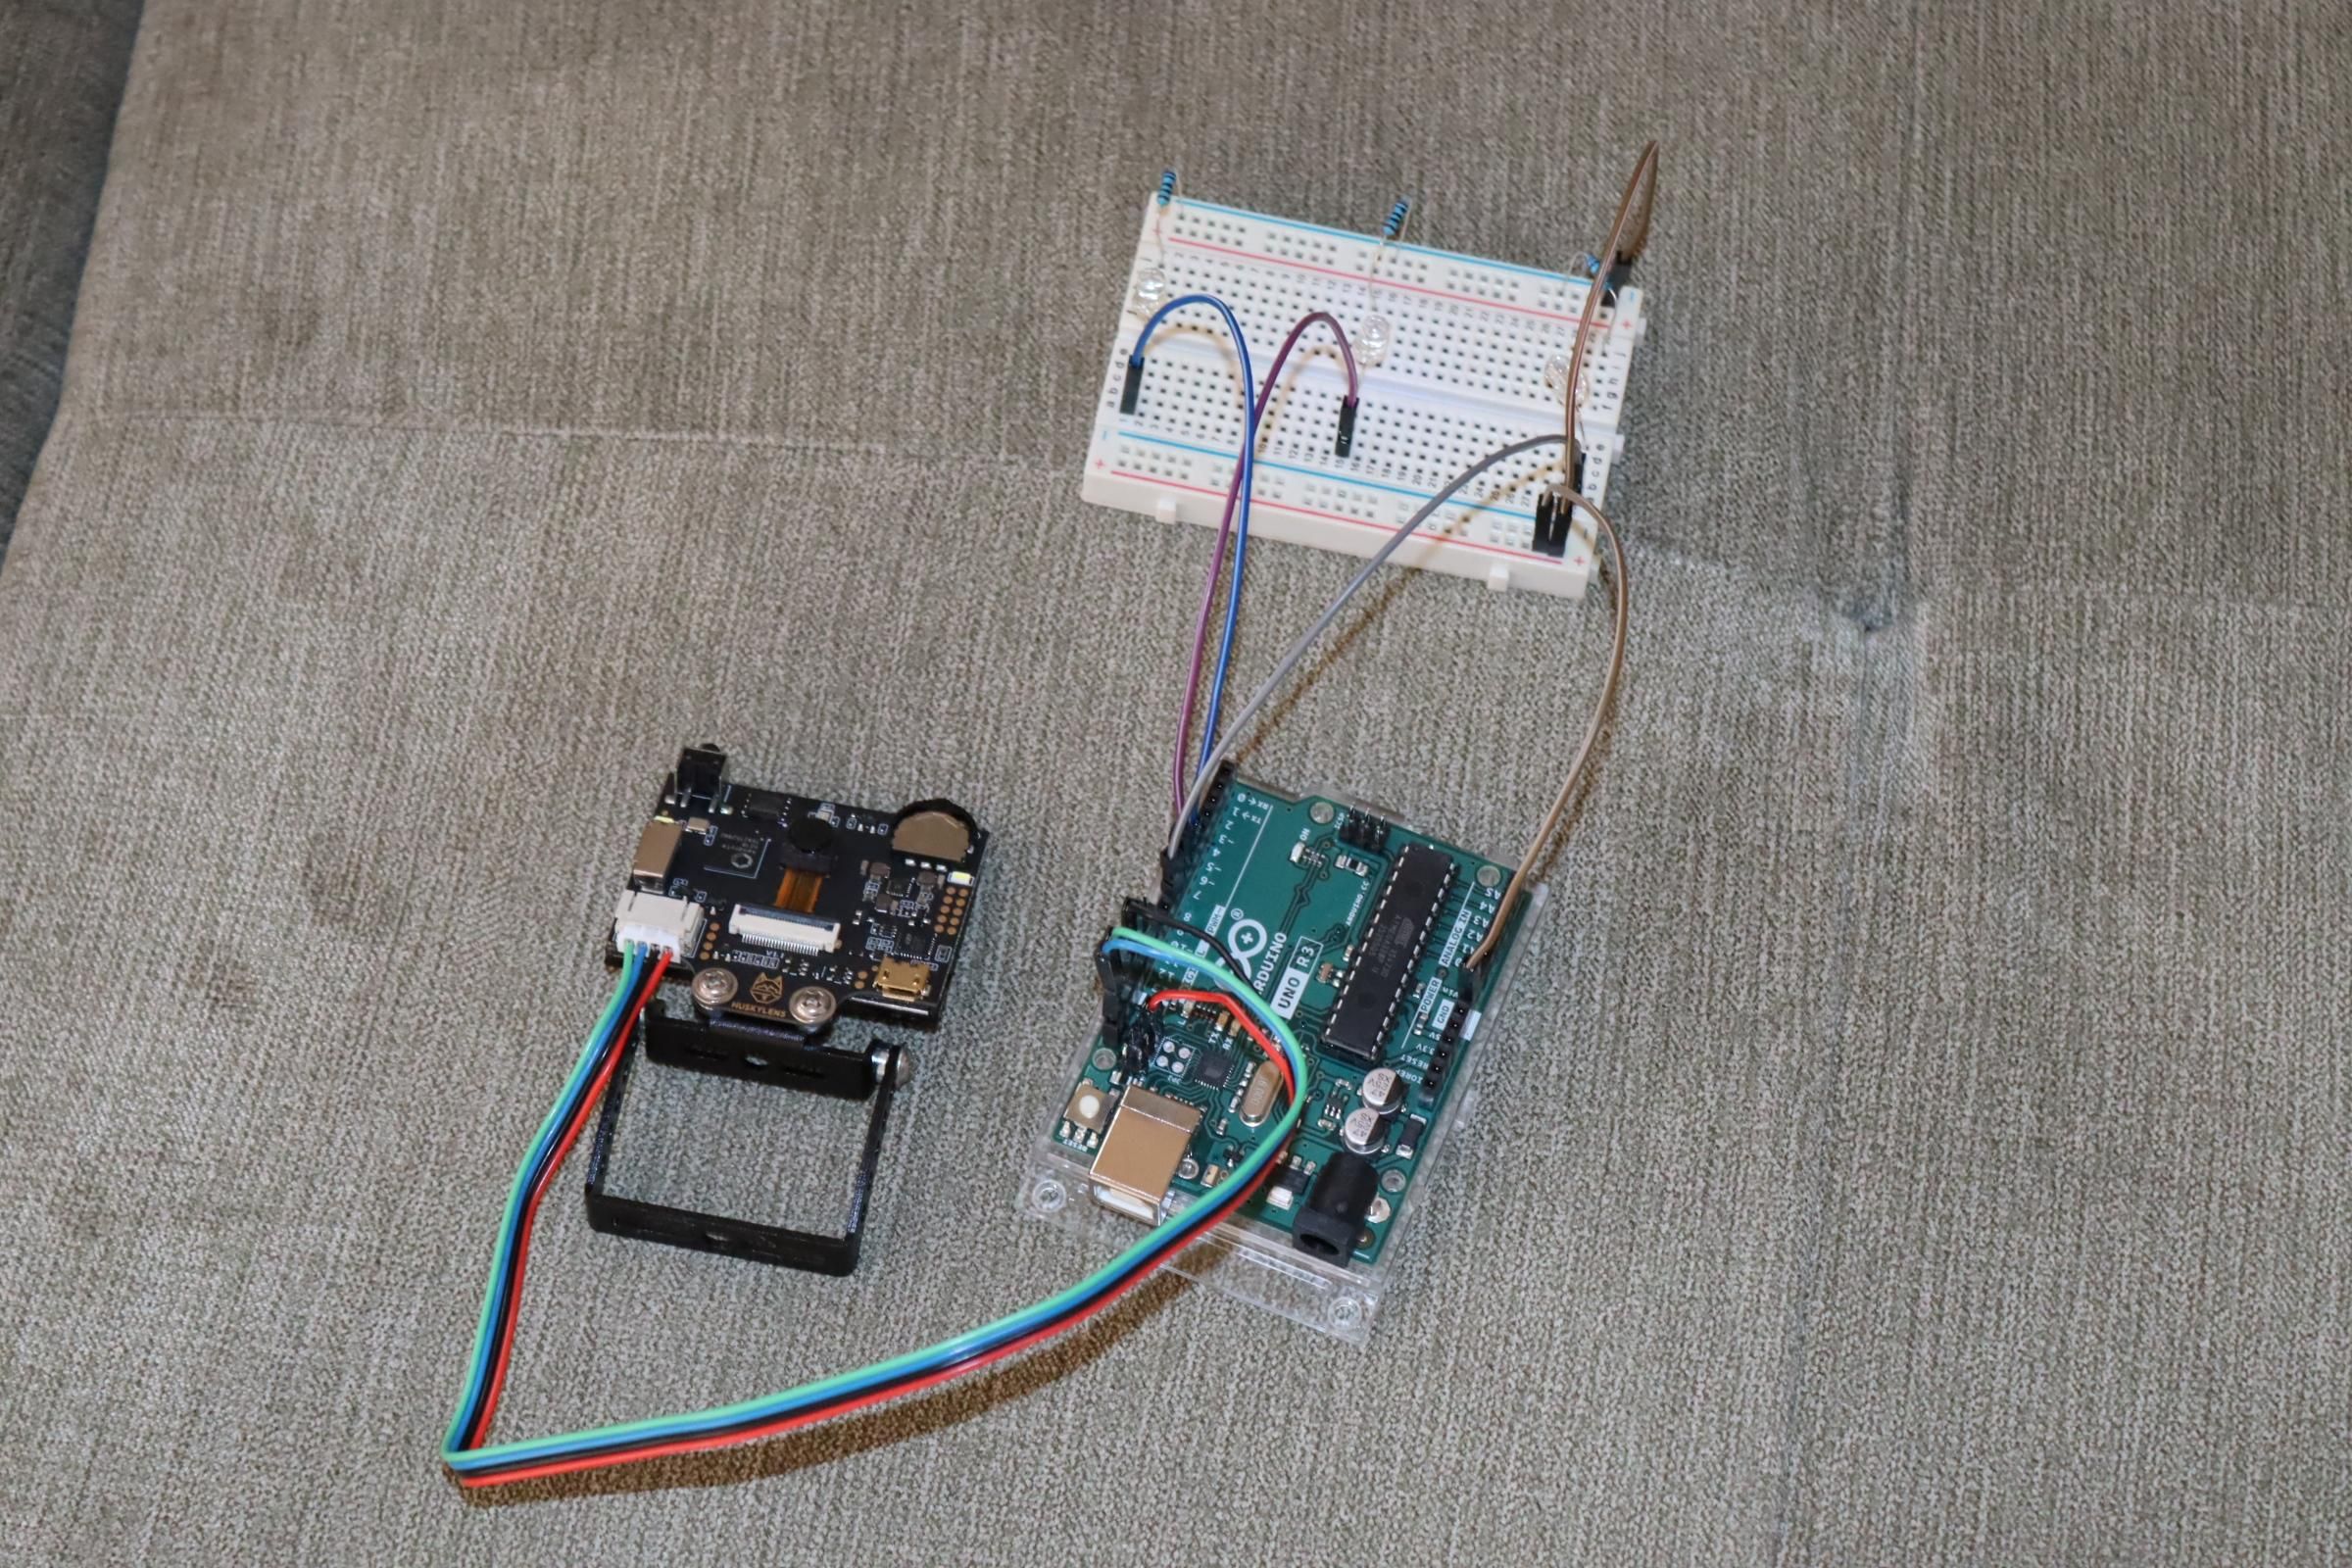
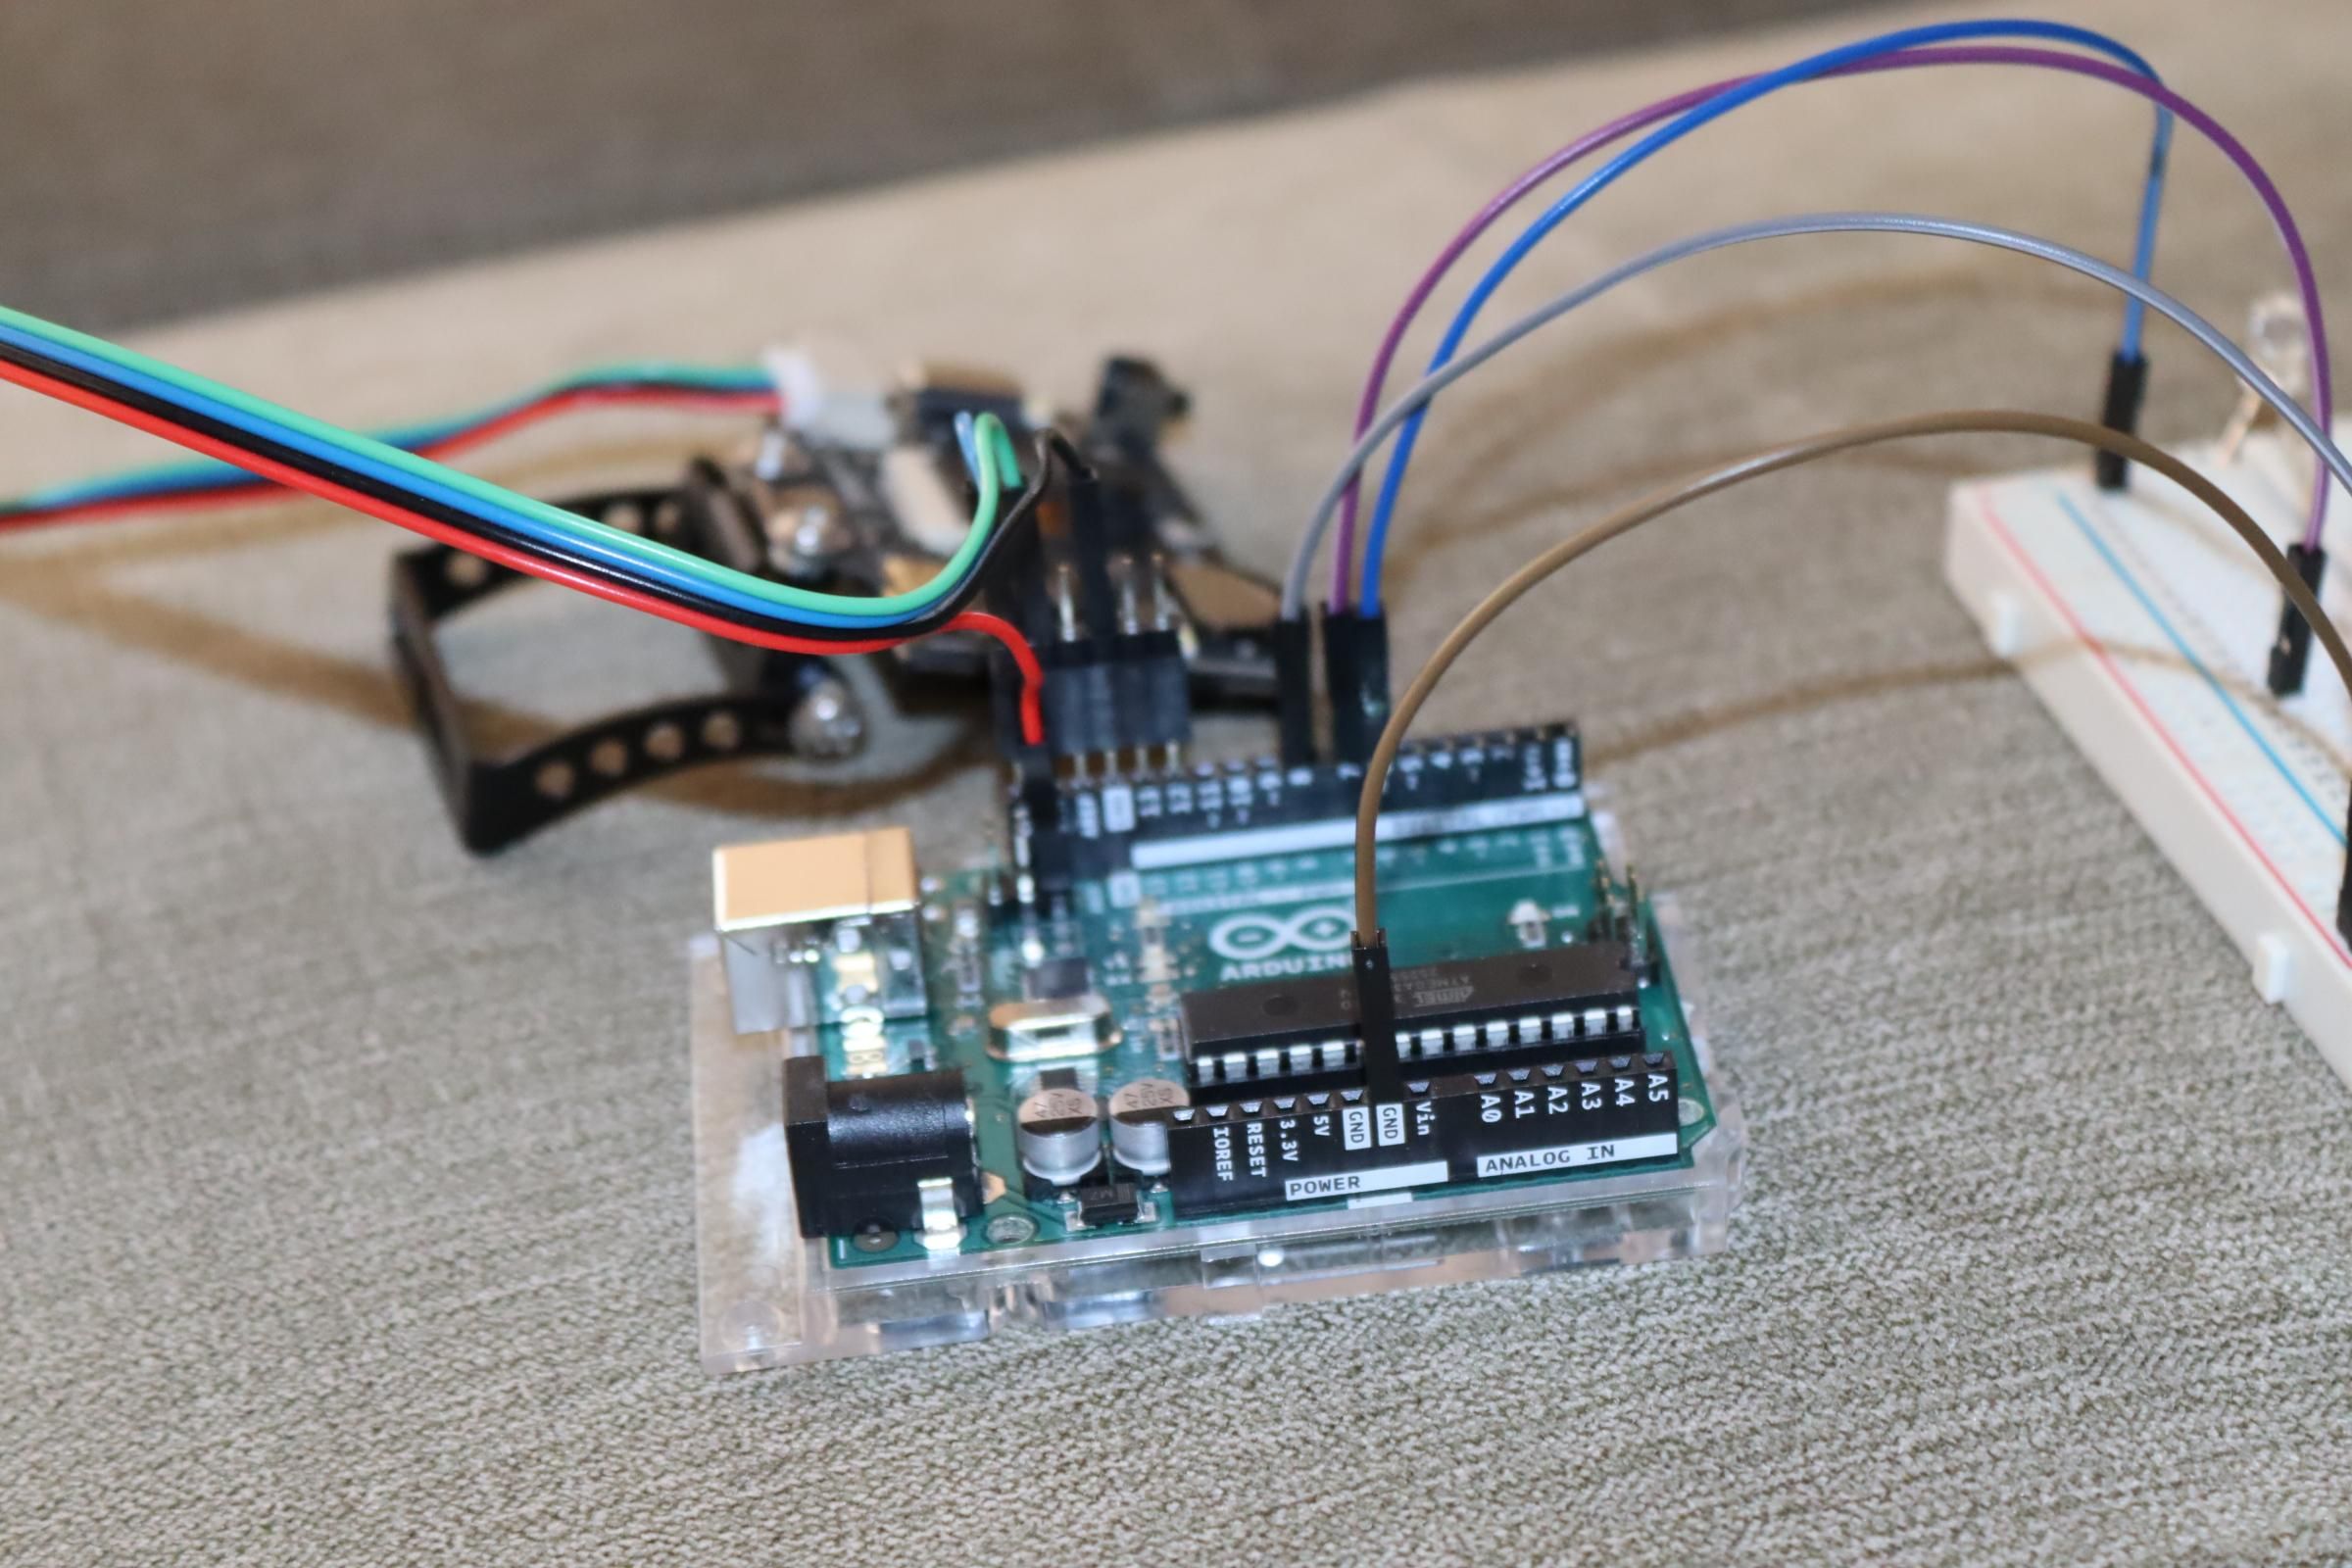
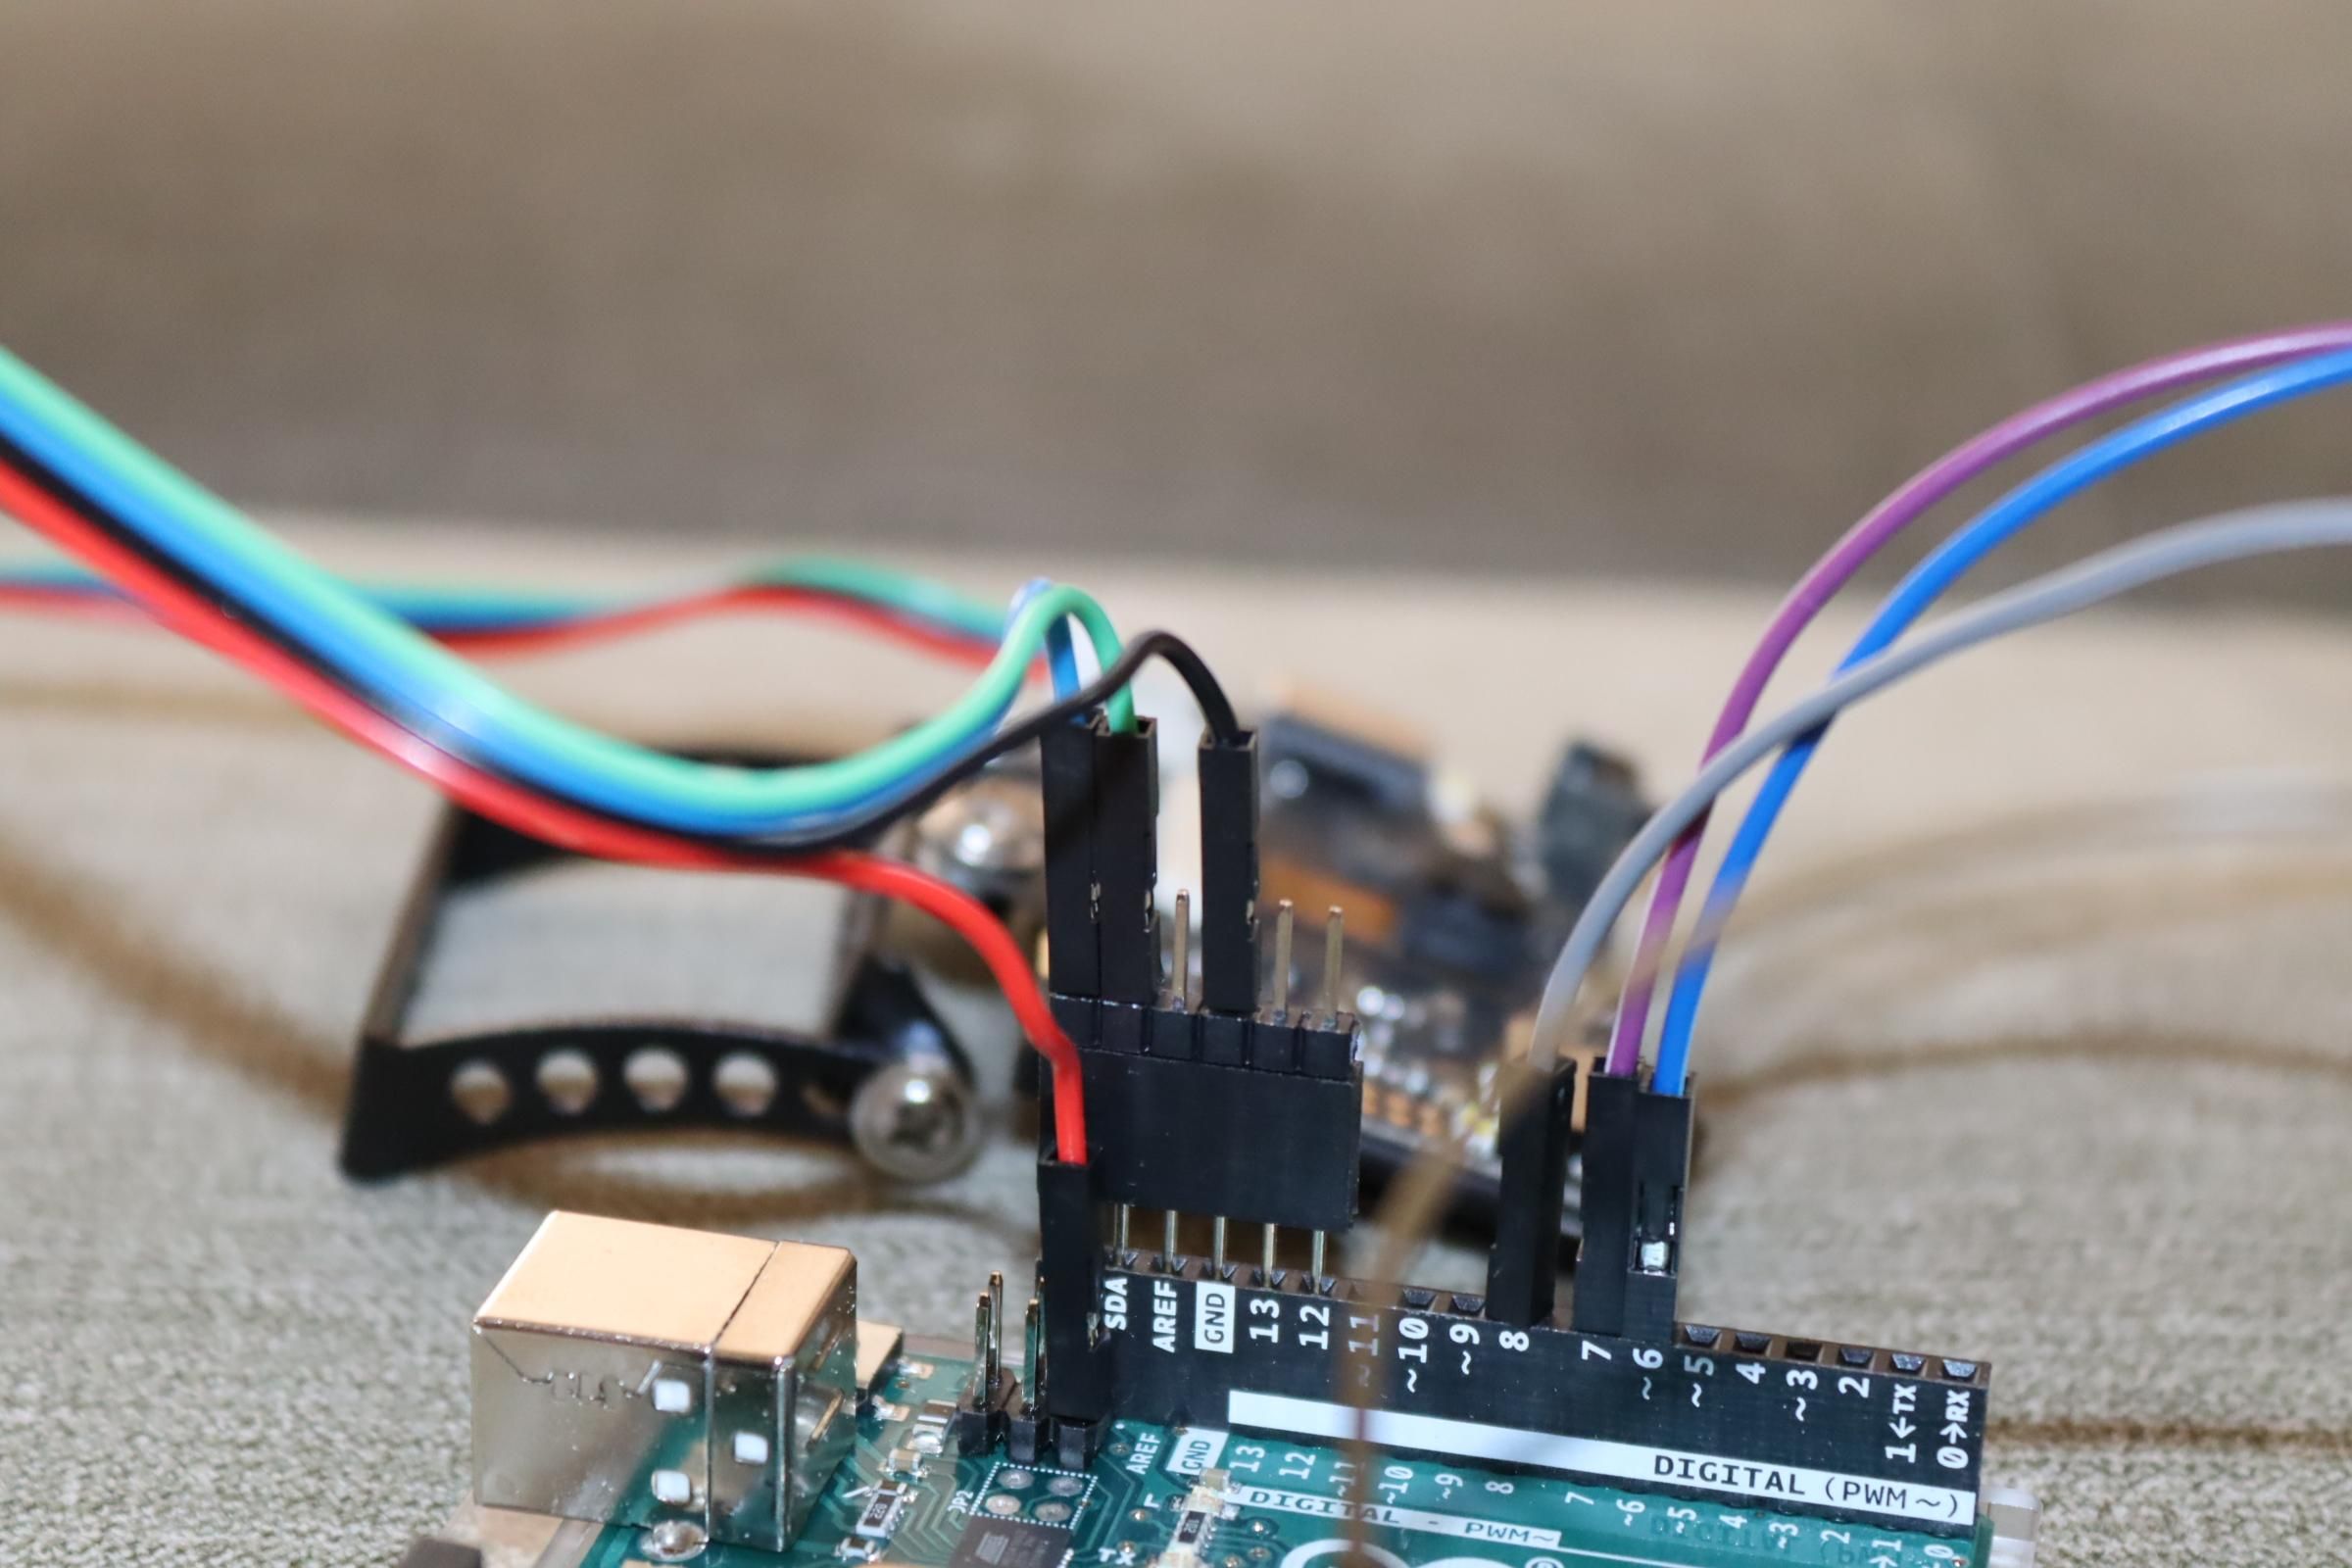
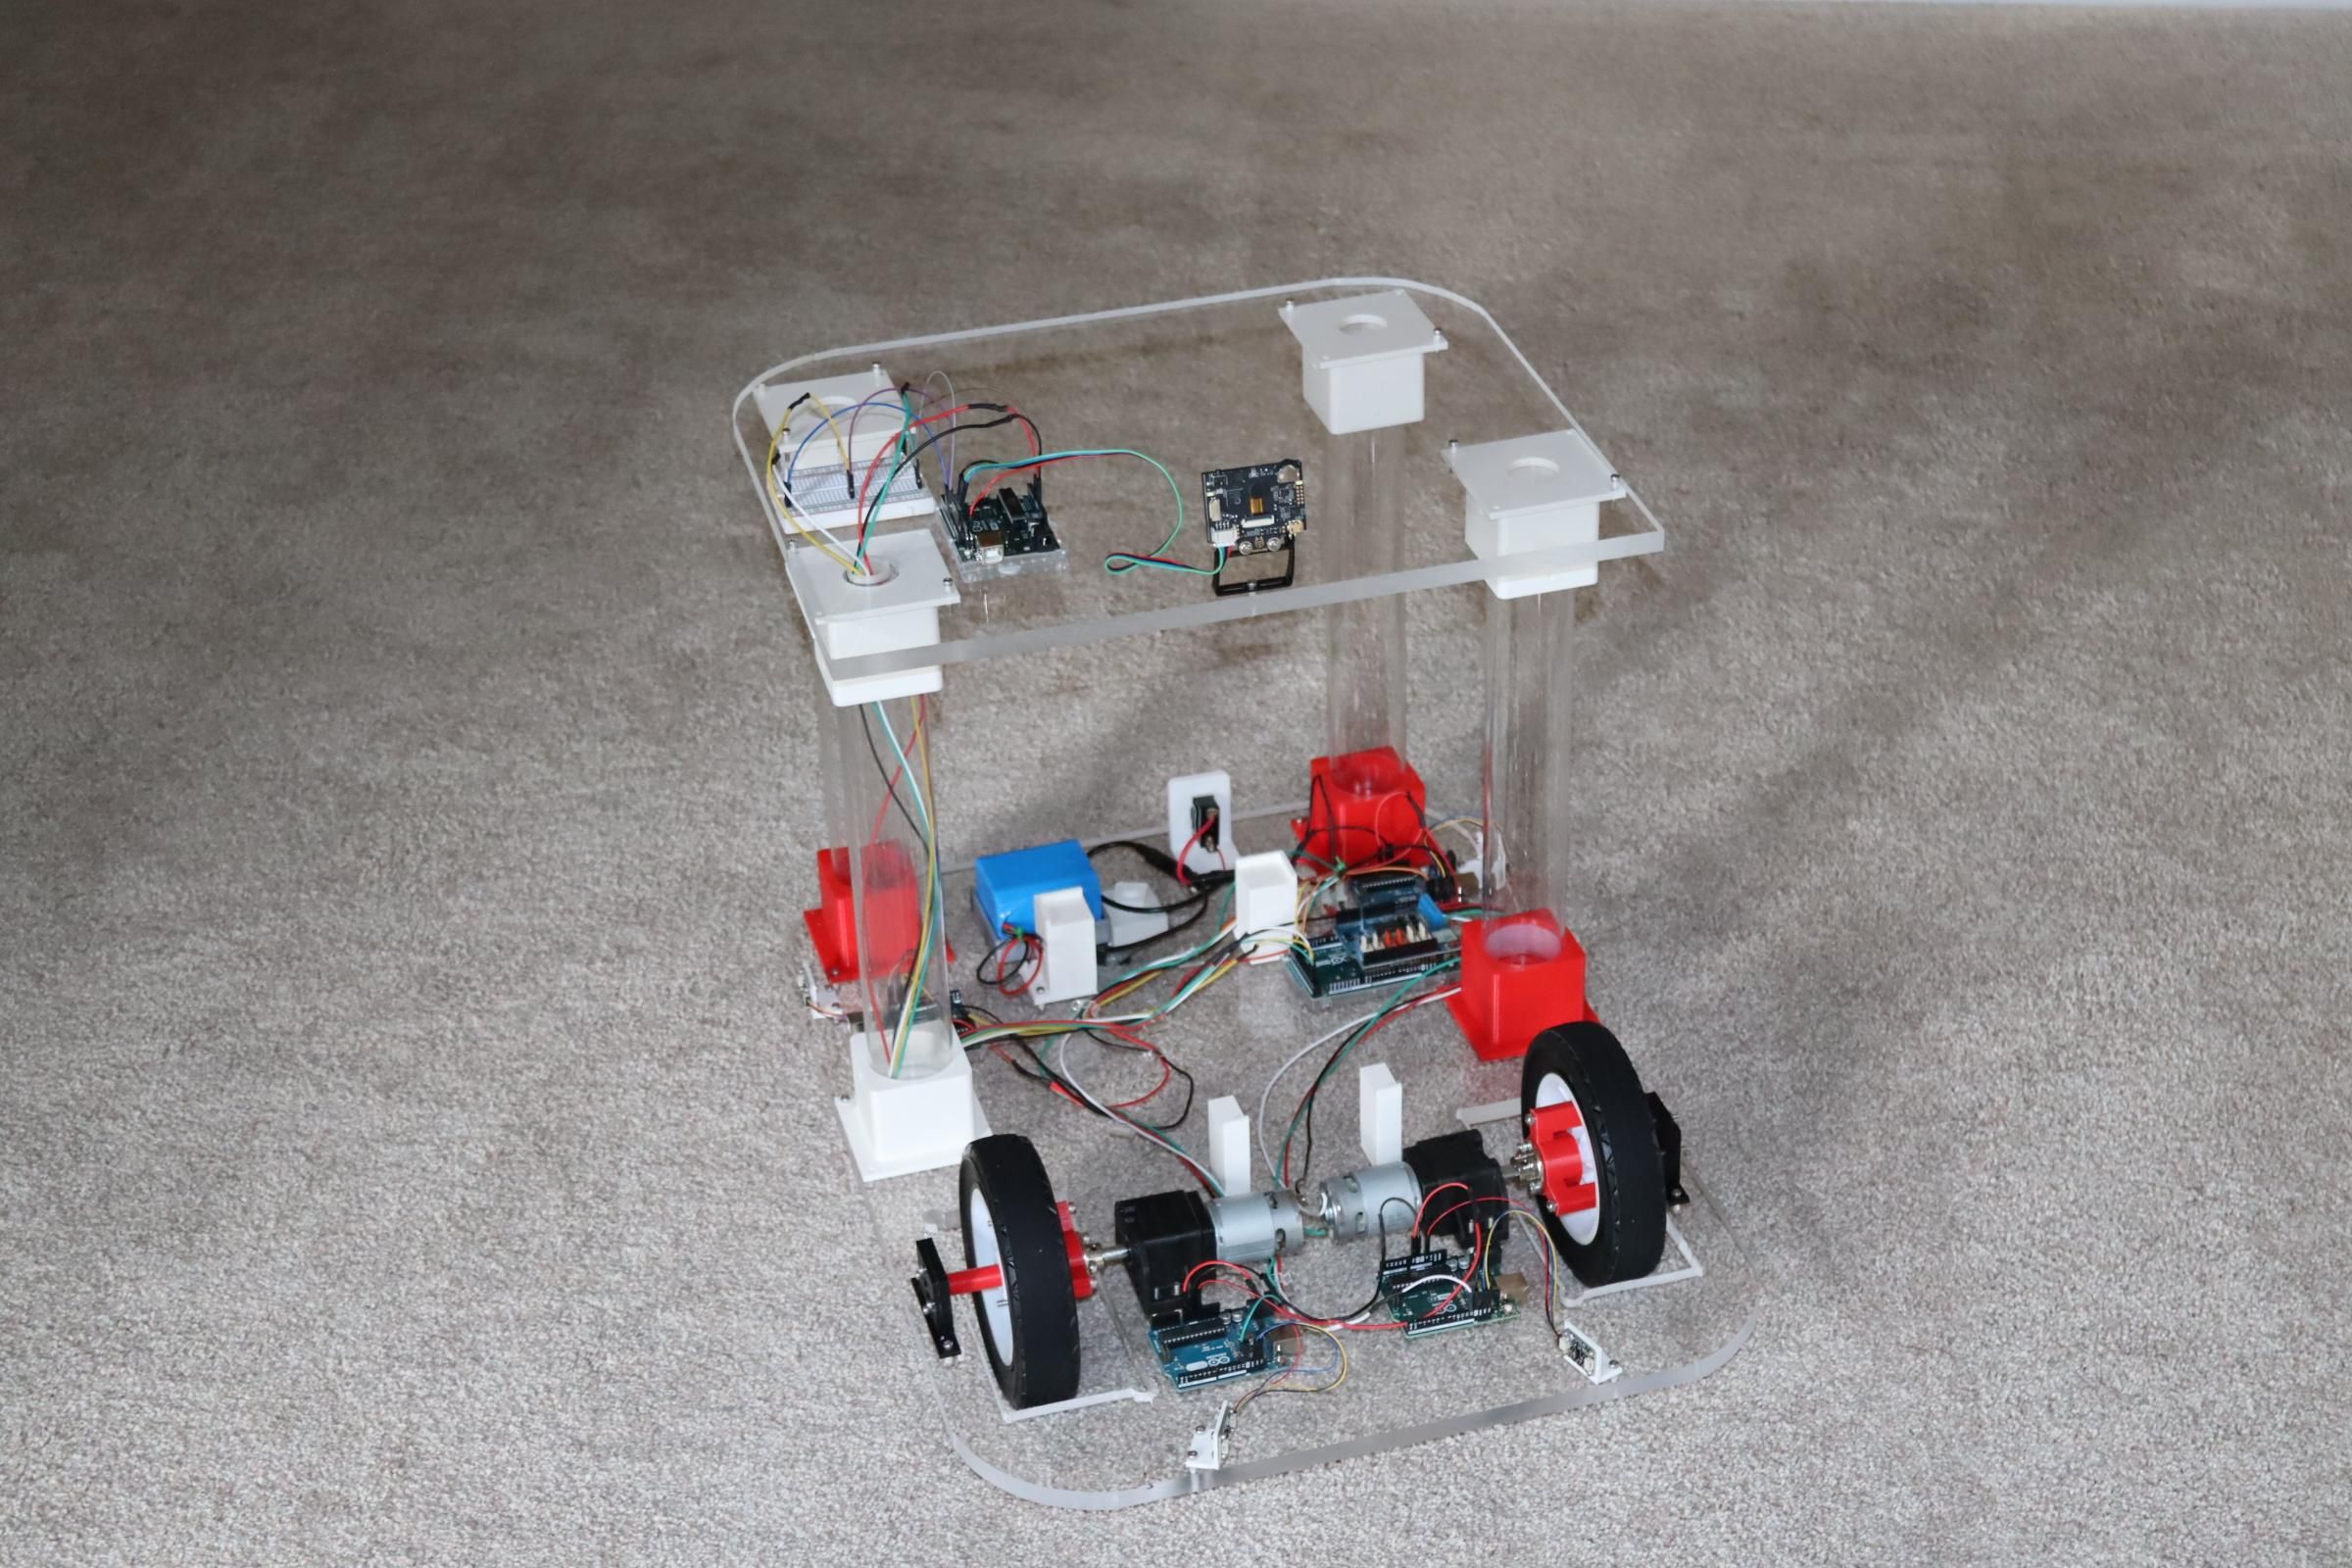
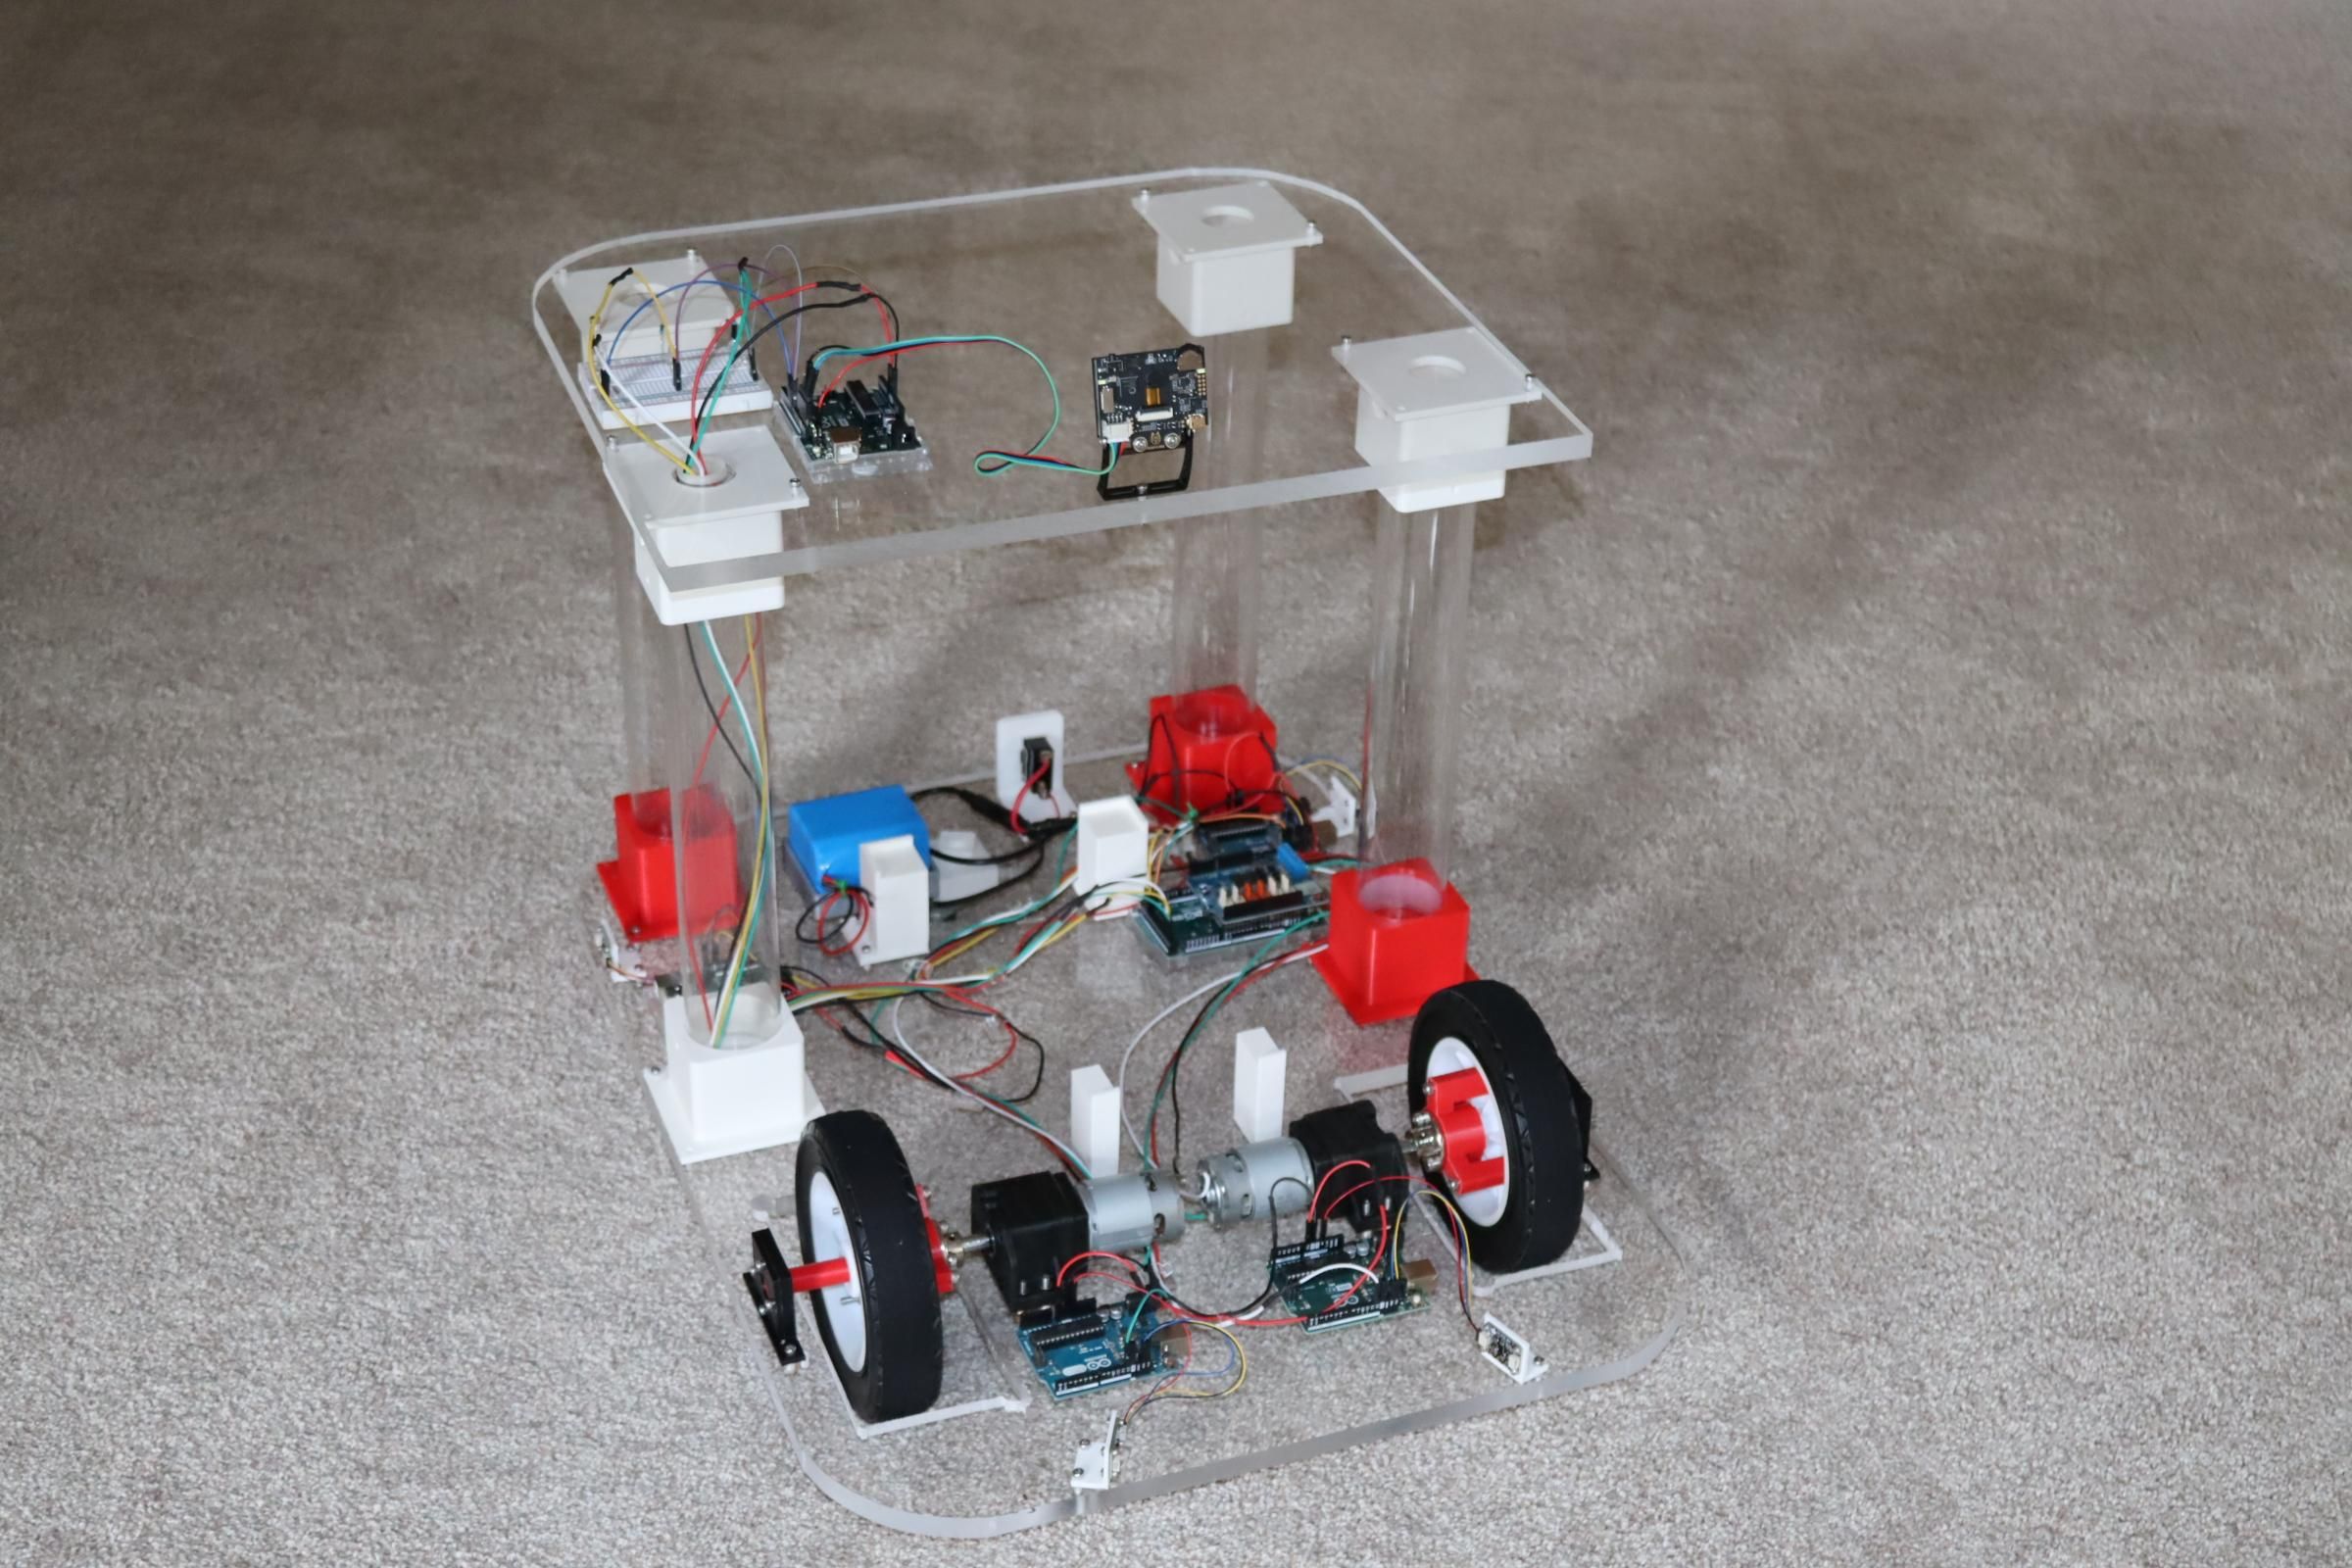
Add the huskylens vision sensor and the acrylic post to support the upper layer. One huskylens (upper level) is trained to a human (me, id1). It isn't very picky, probably will follow anyone. The lower huskylens is trained to the color of my trash receptacle.
Software and Interconnections
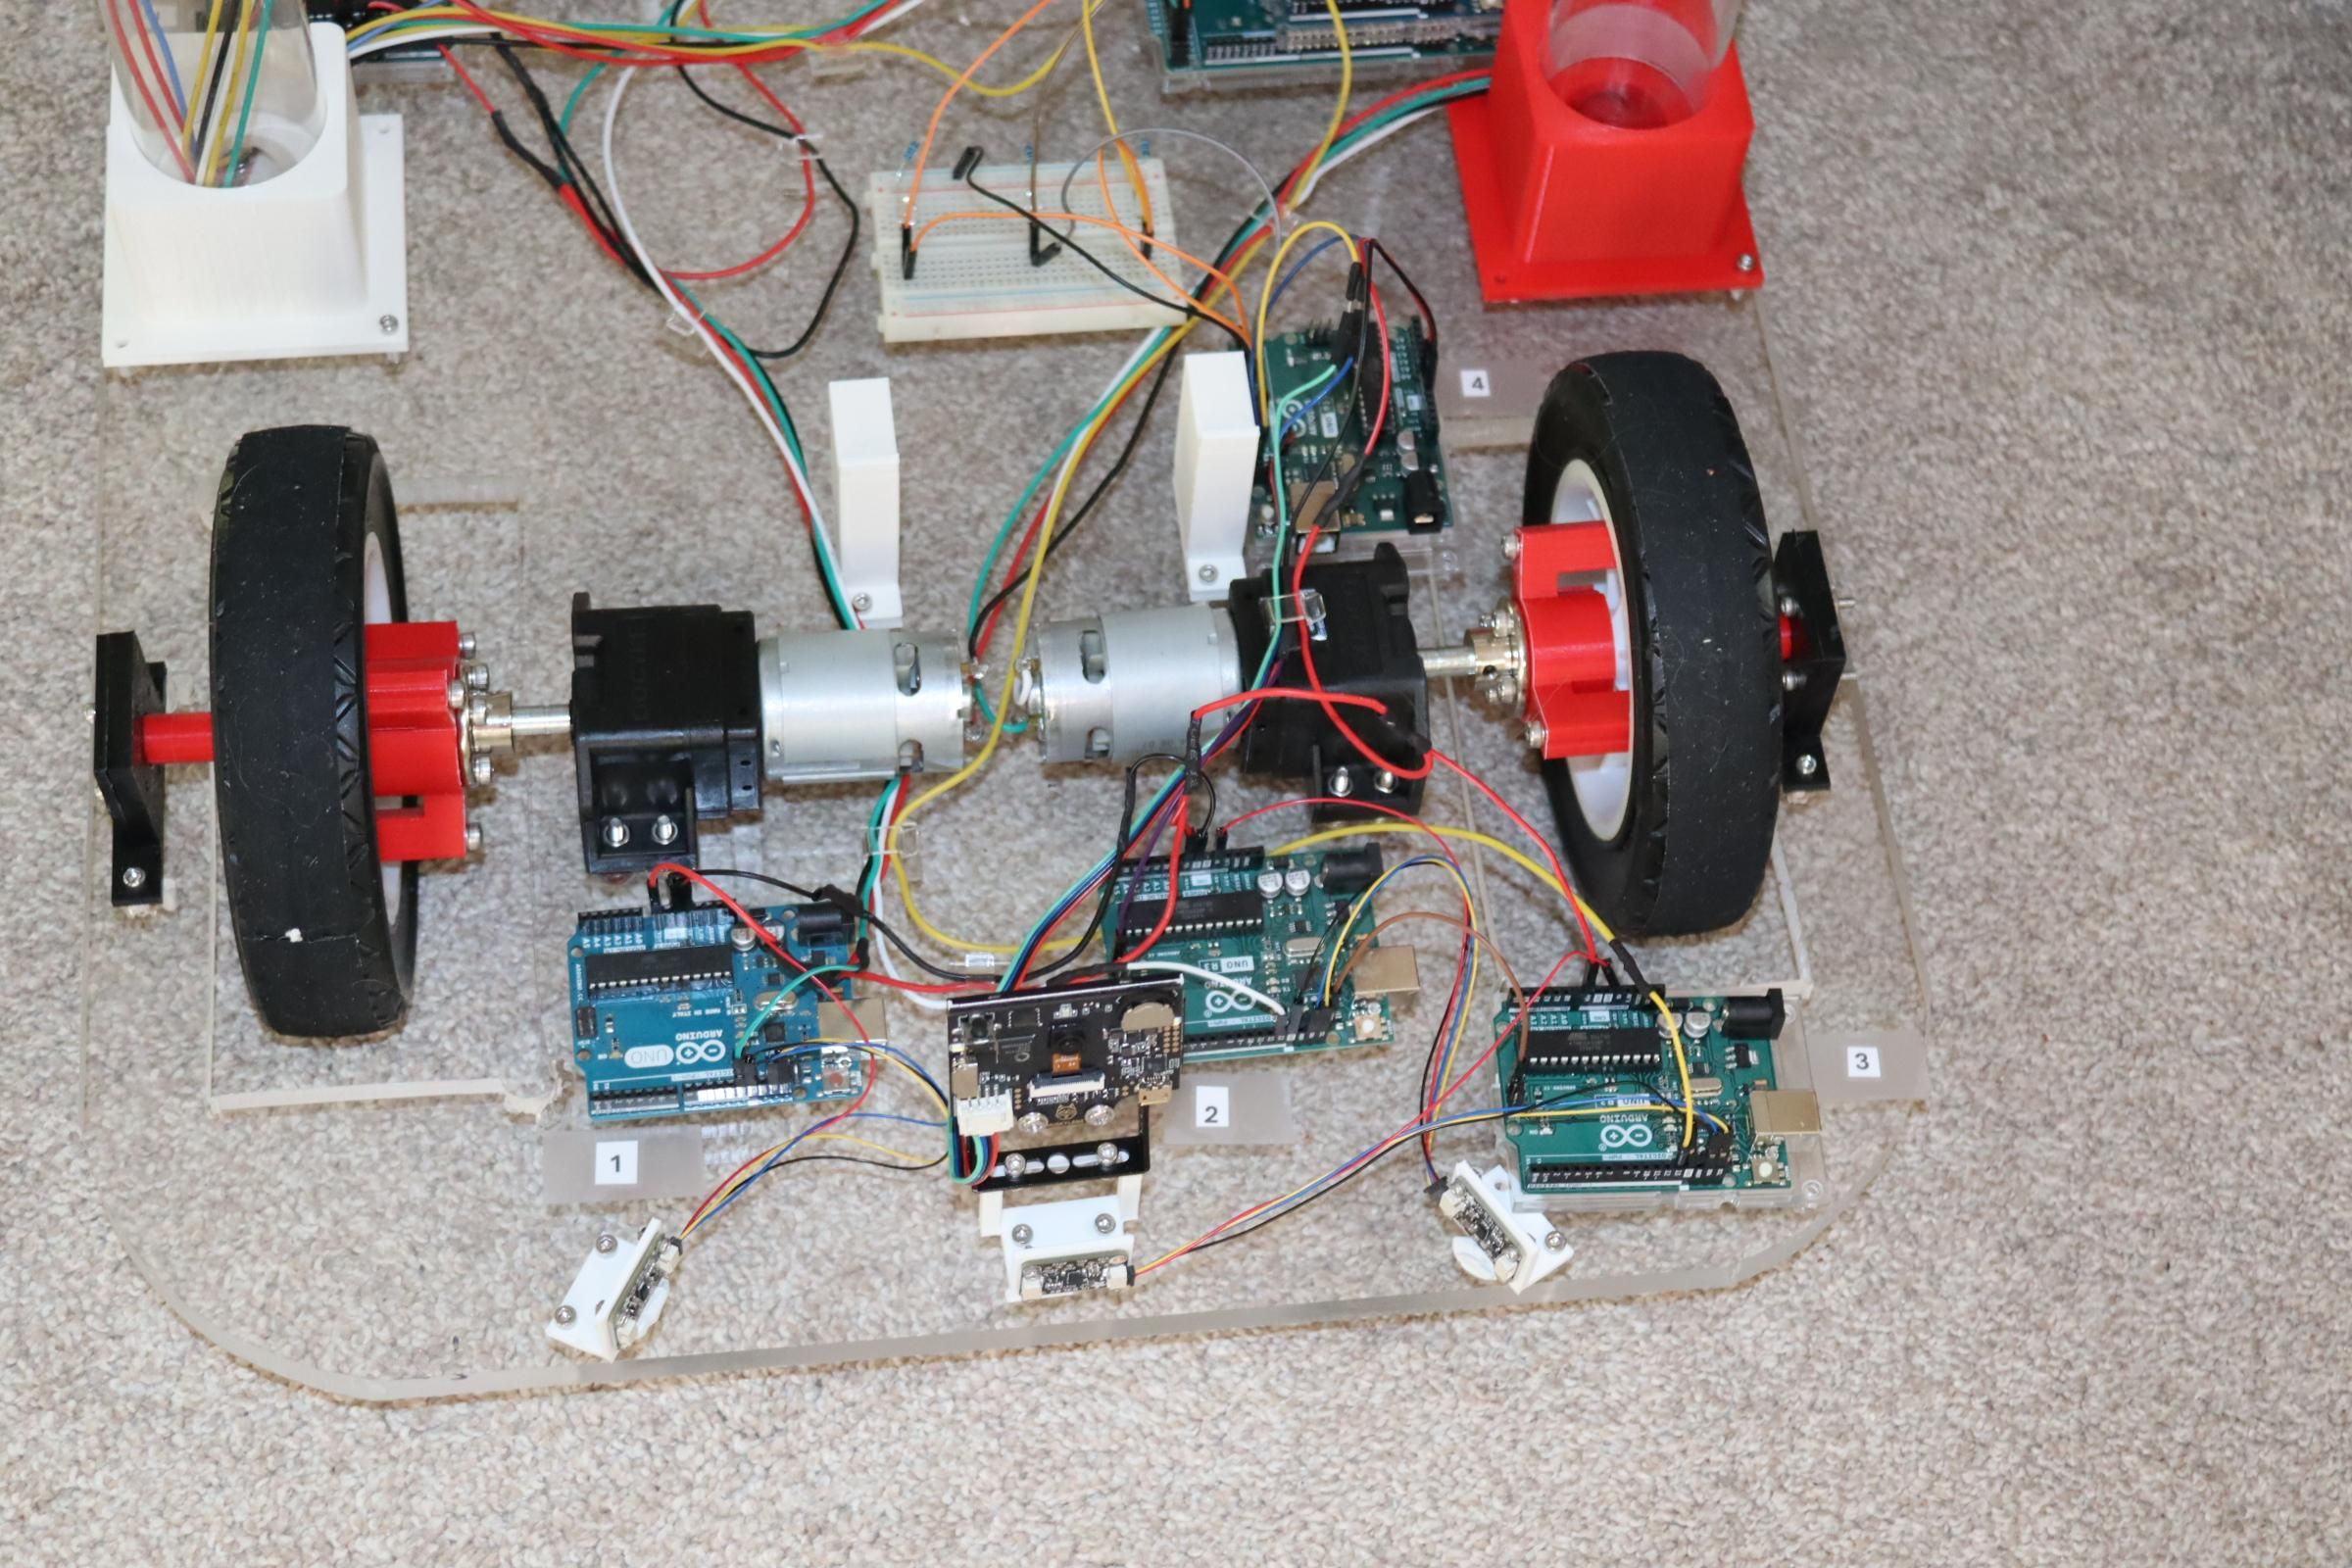
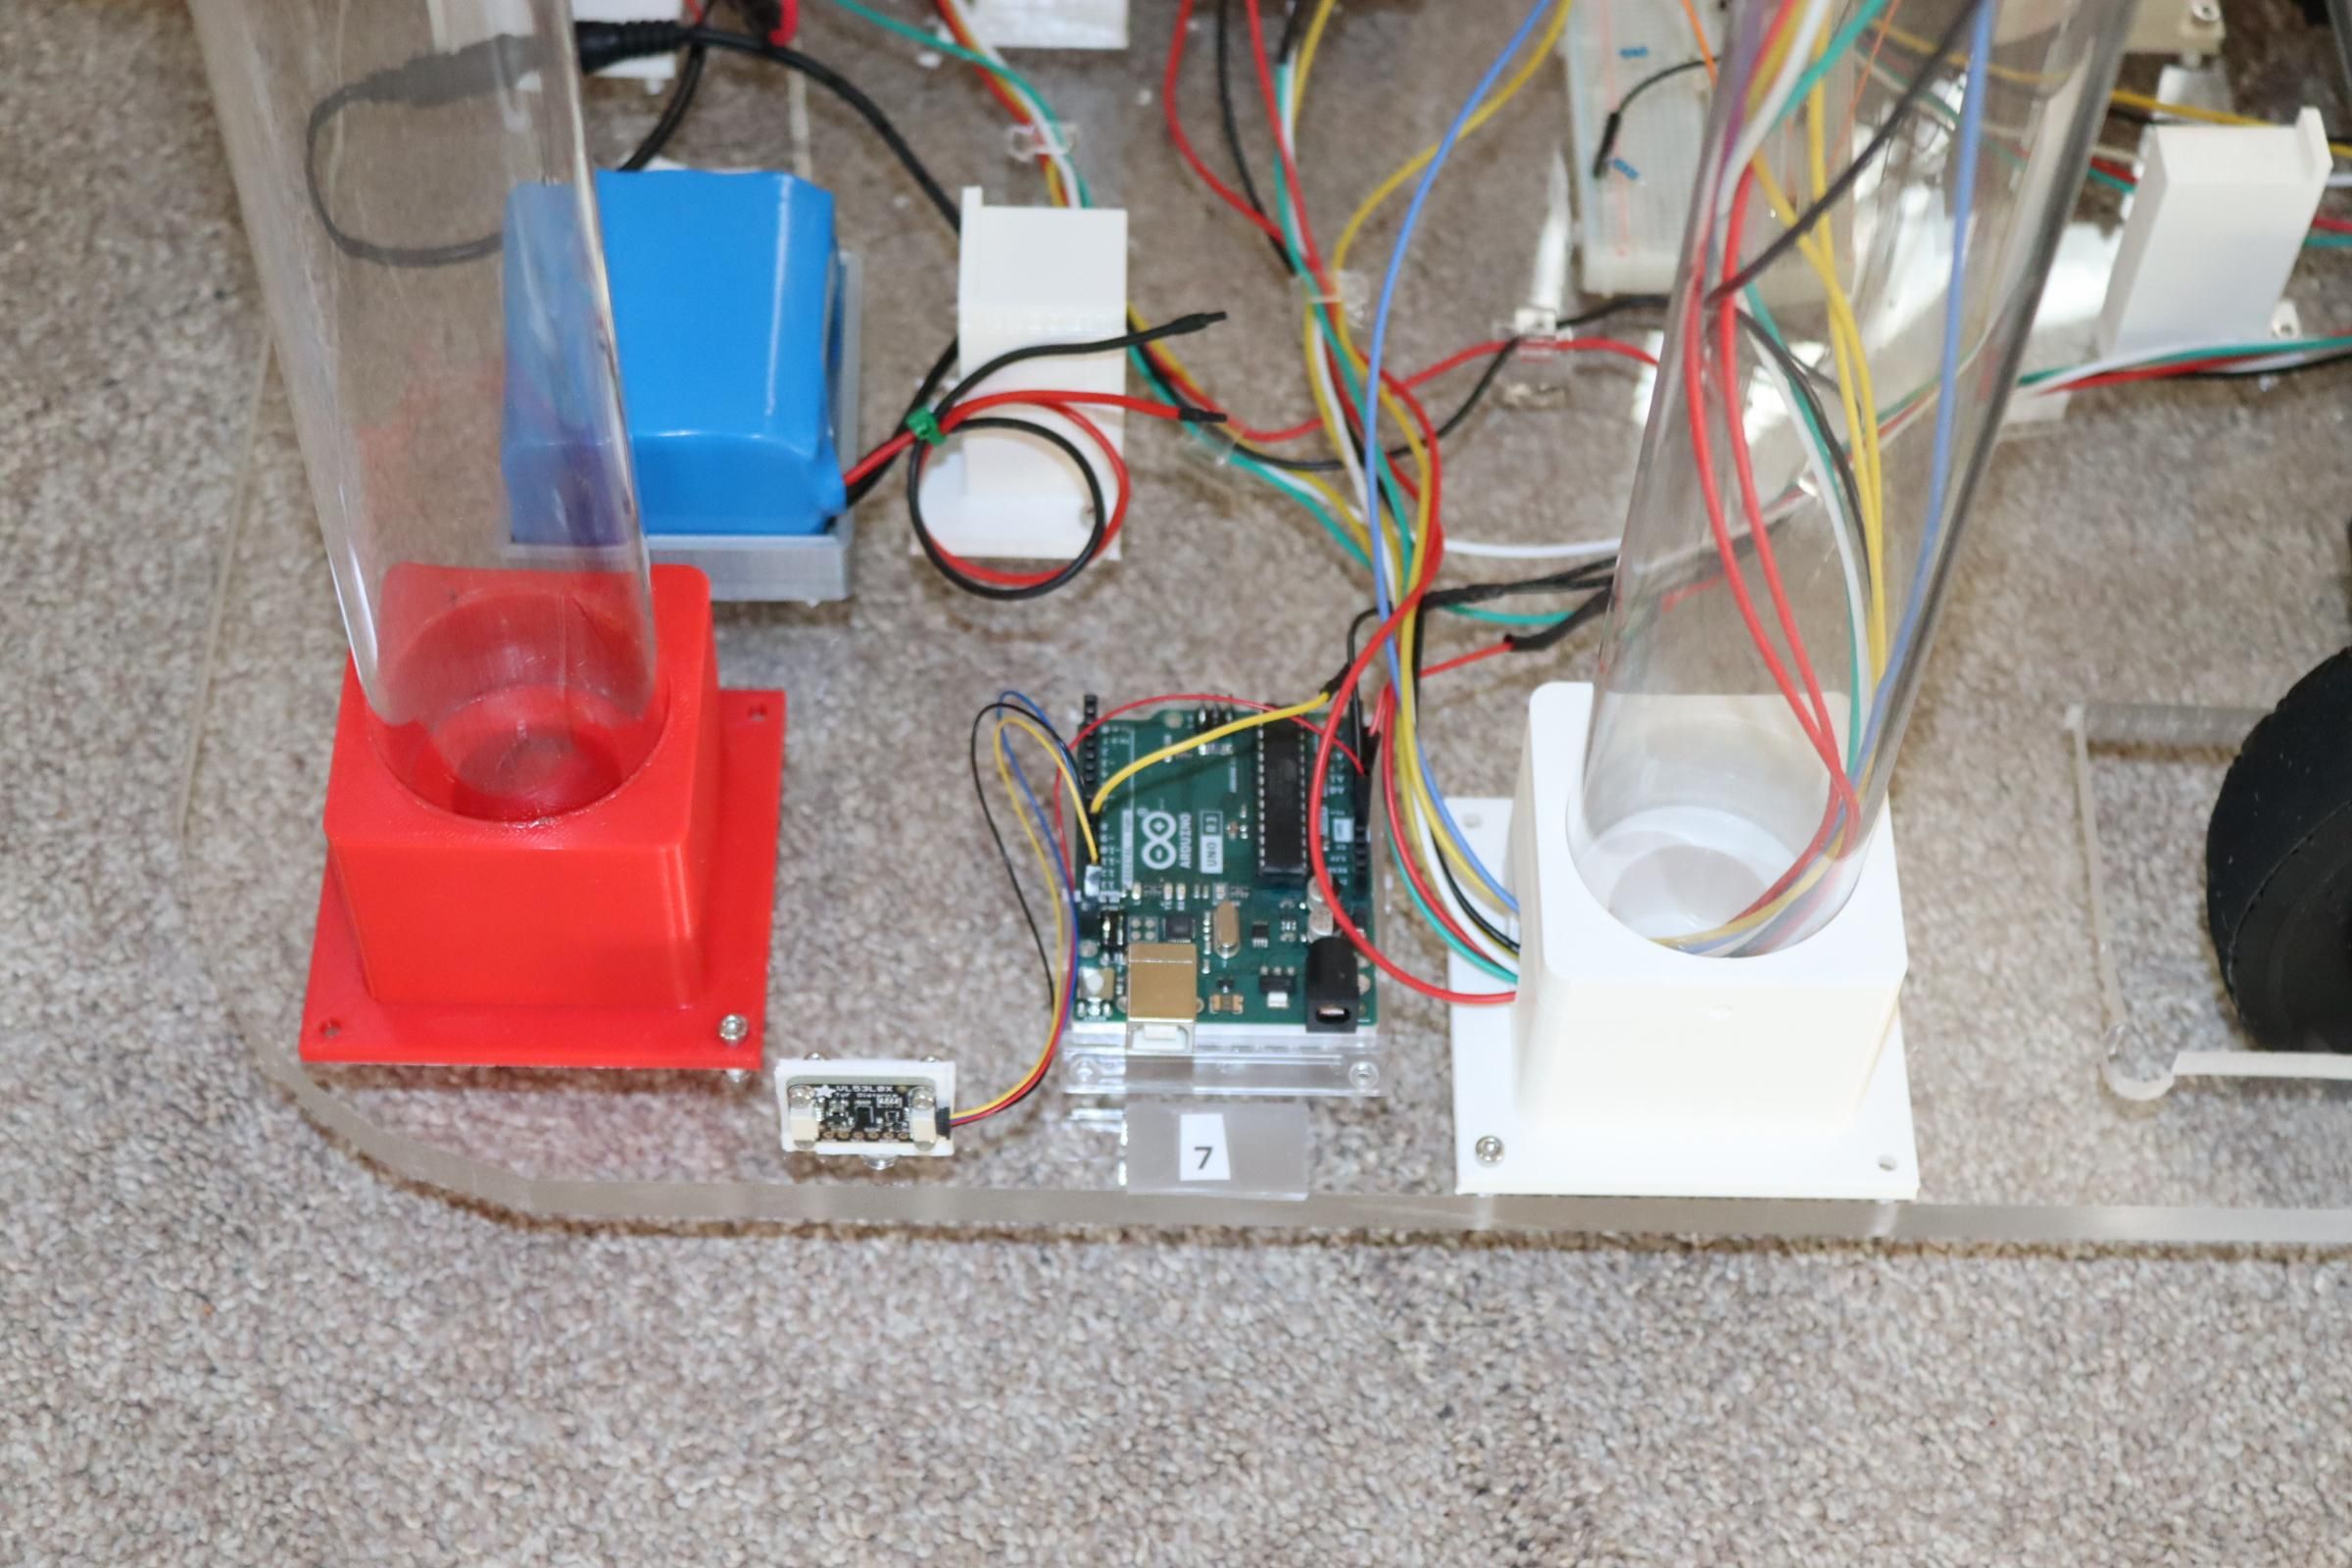
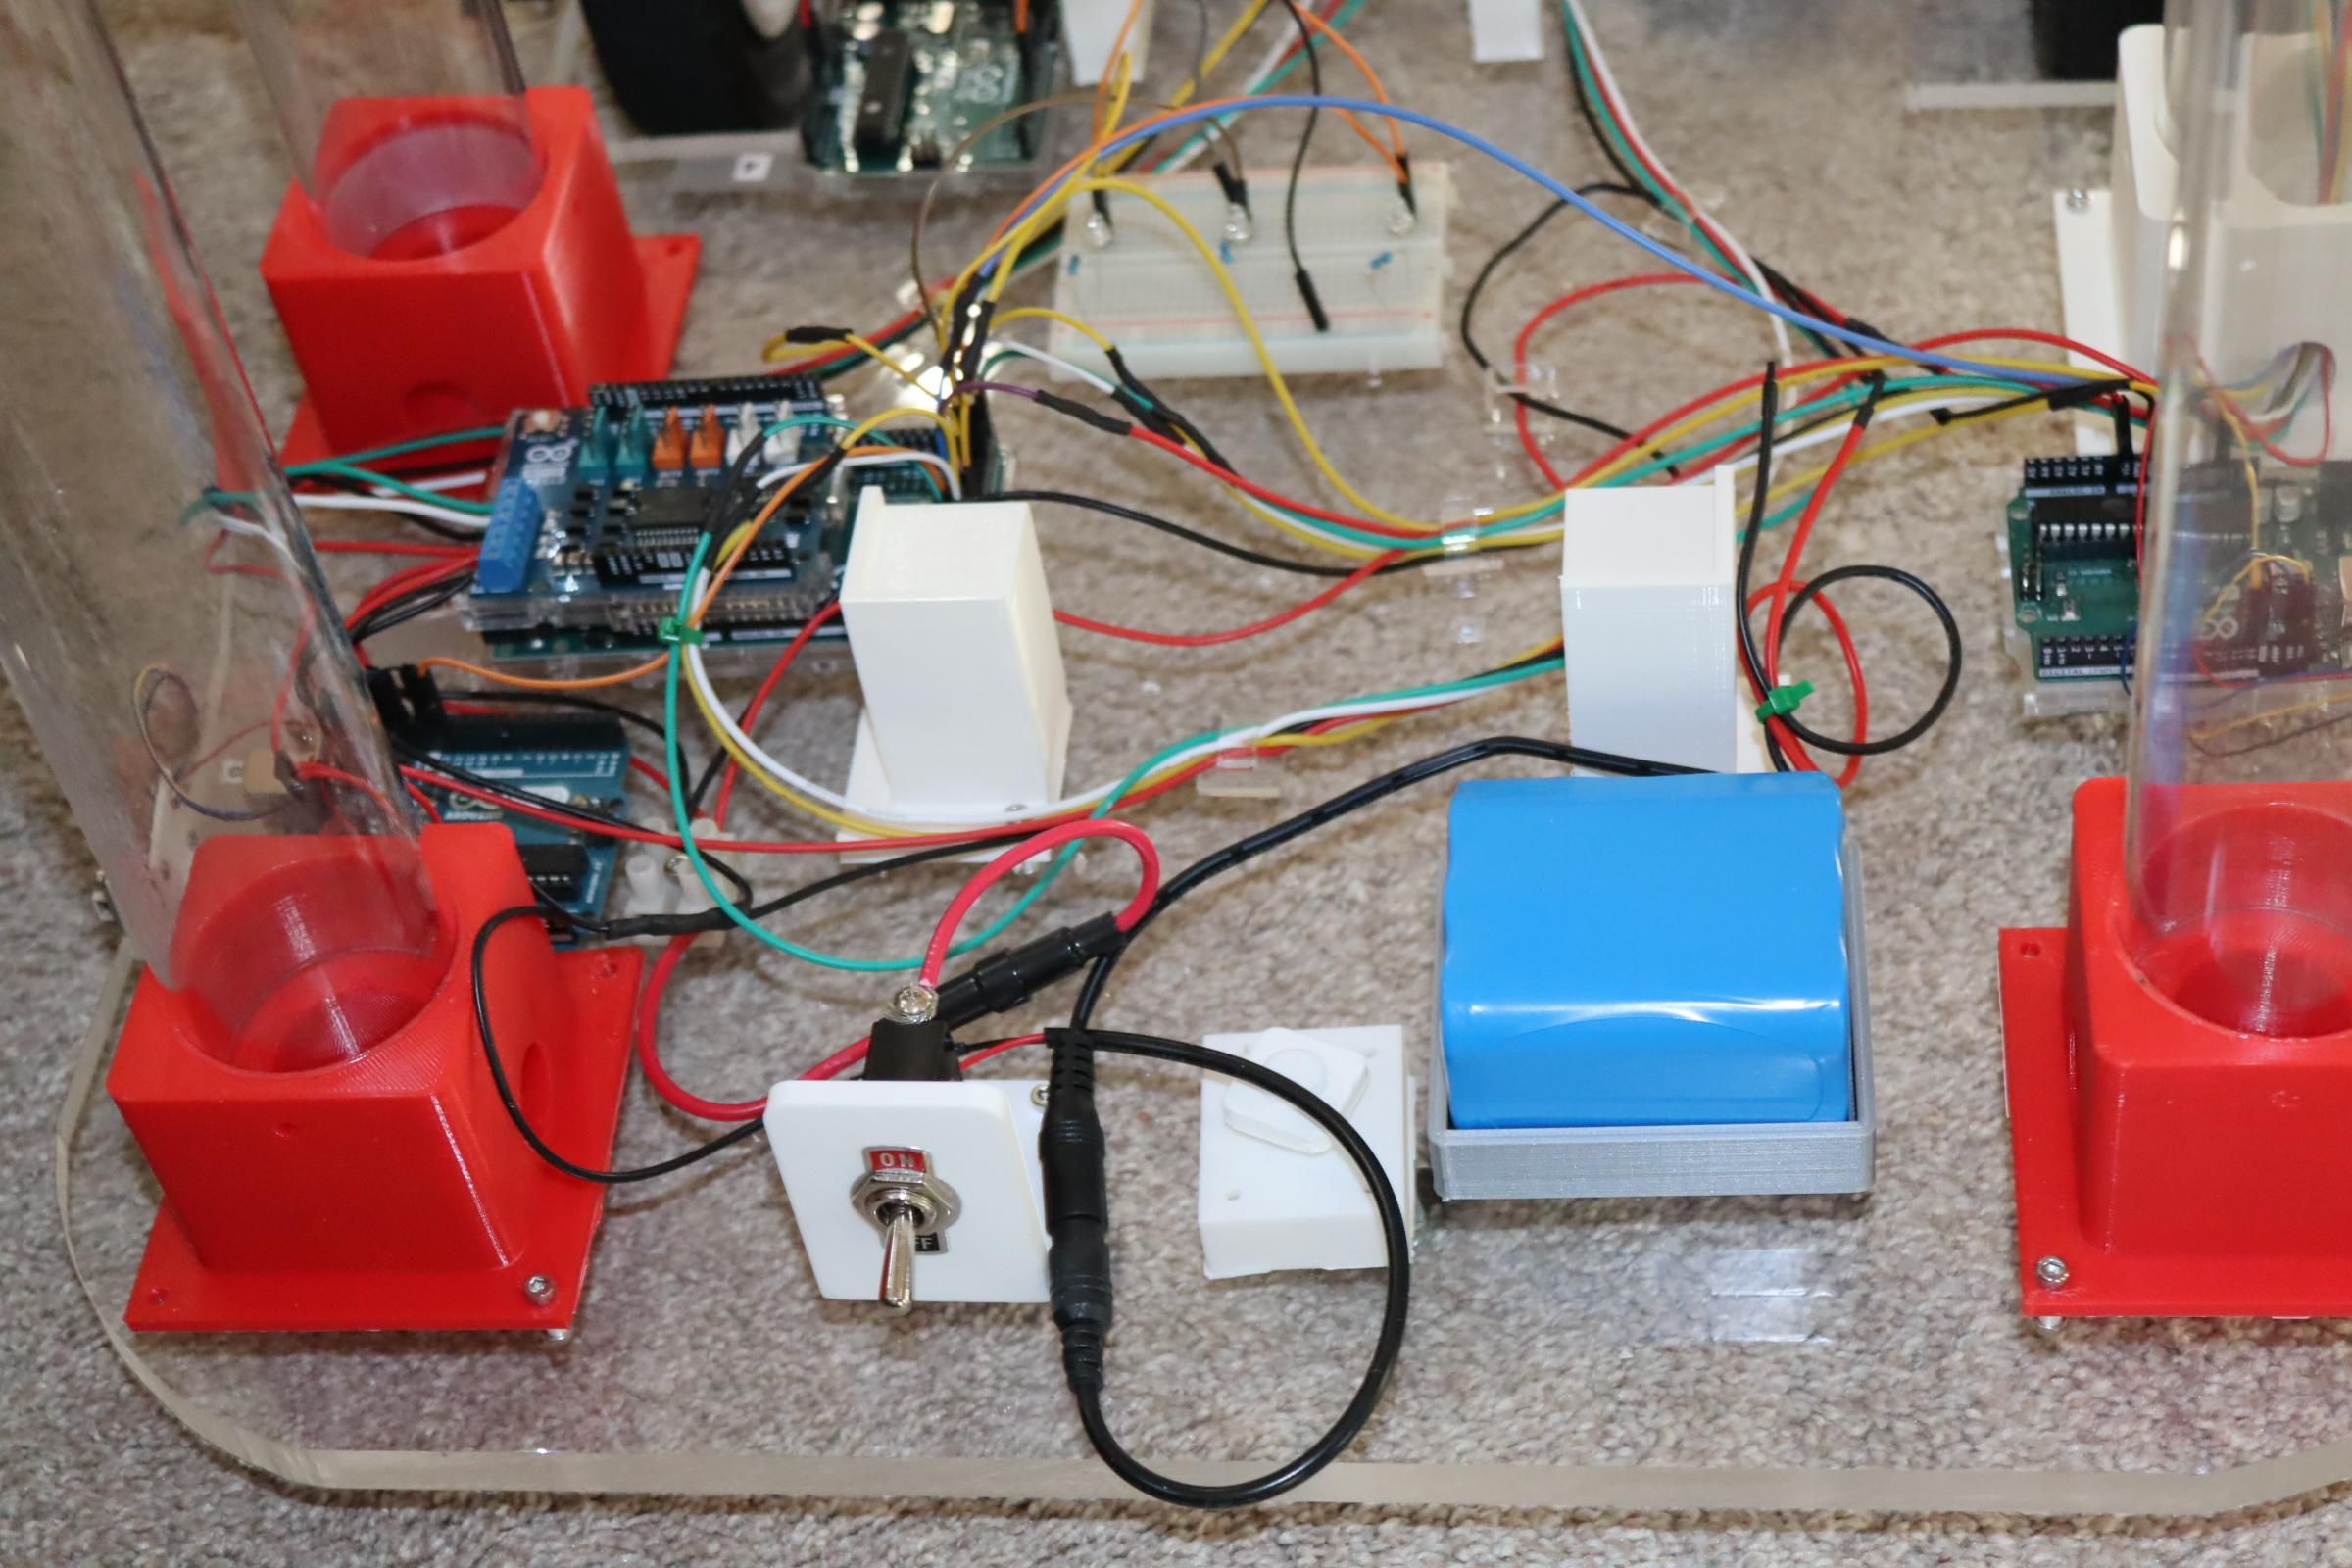
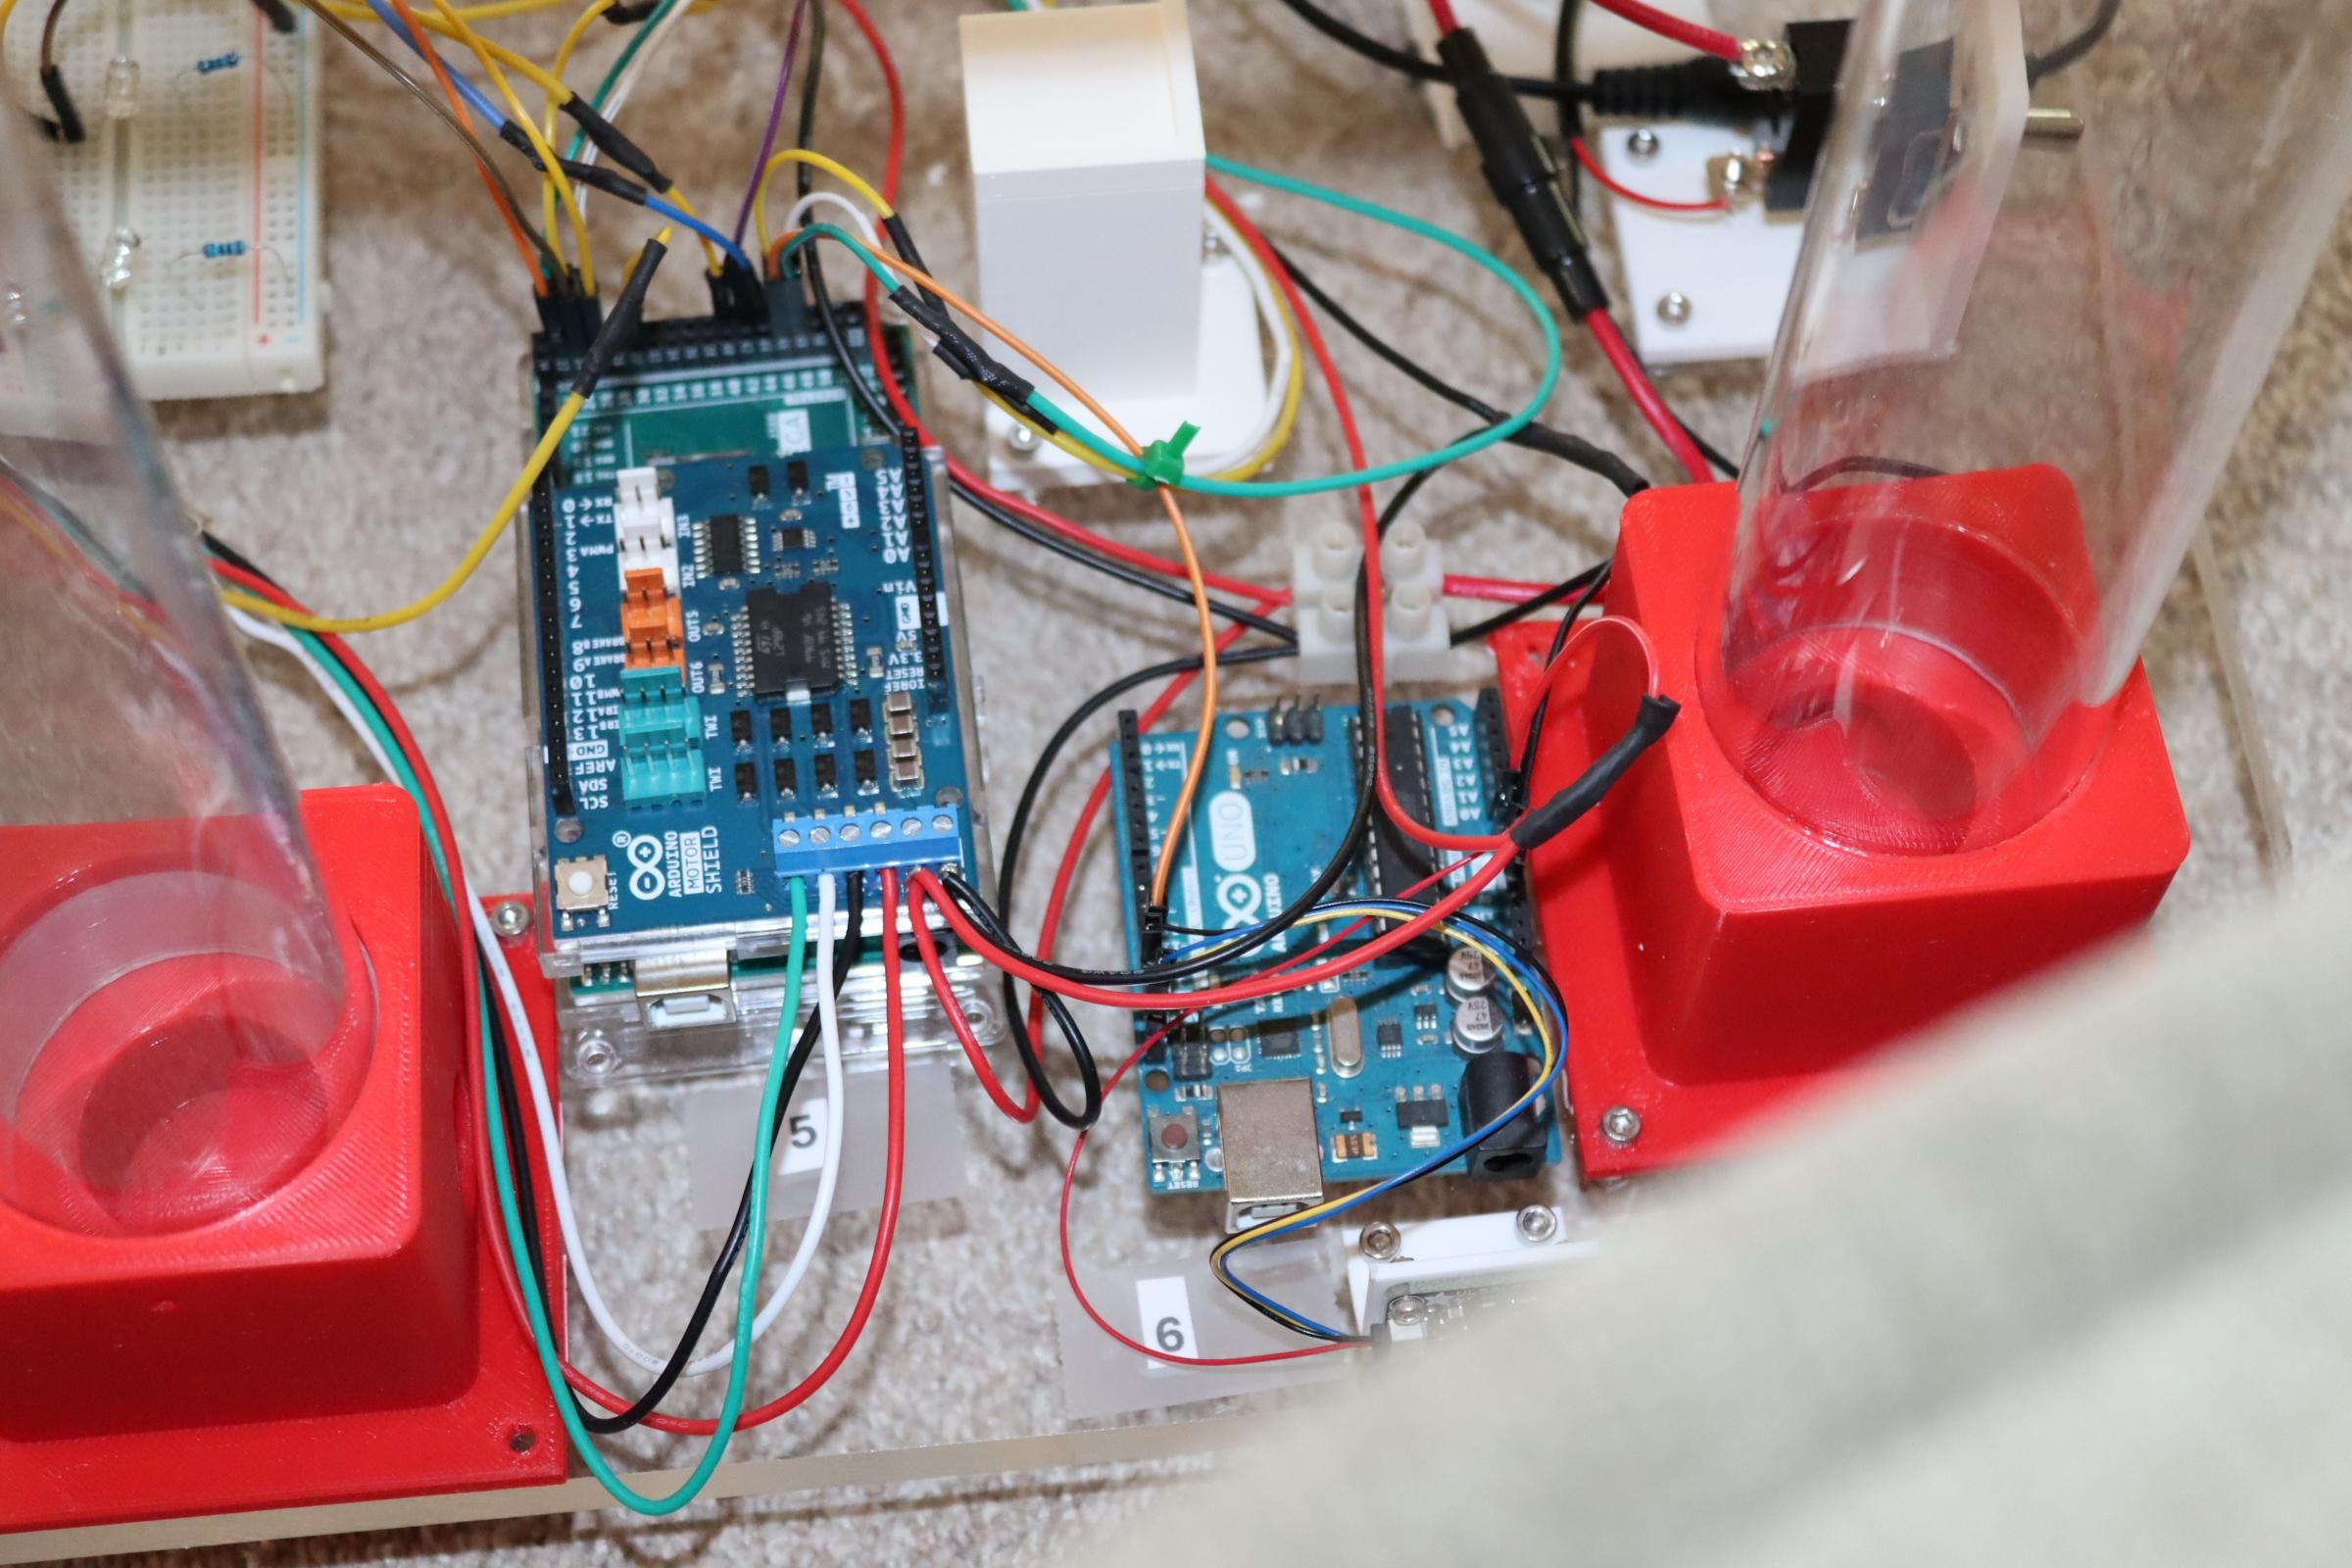
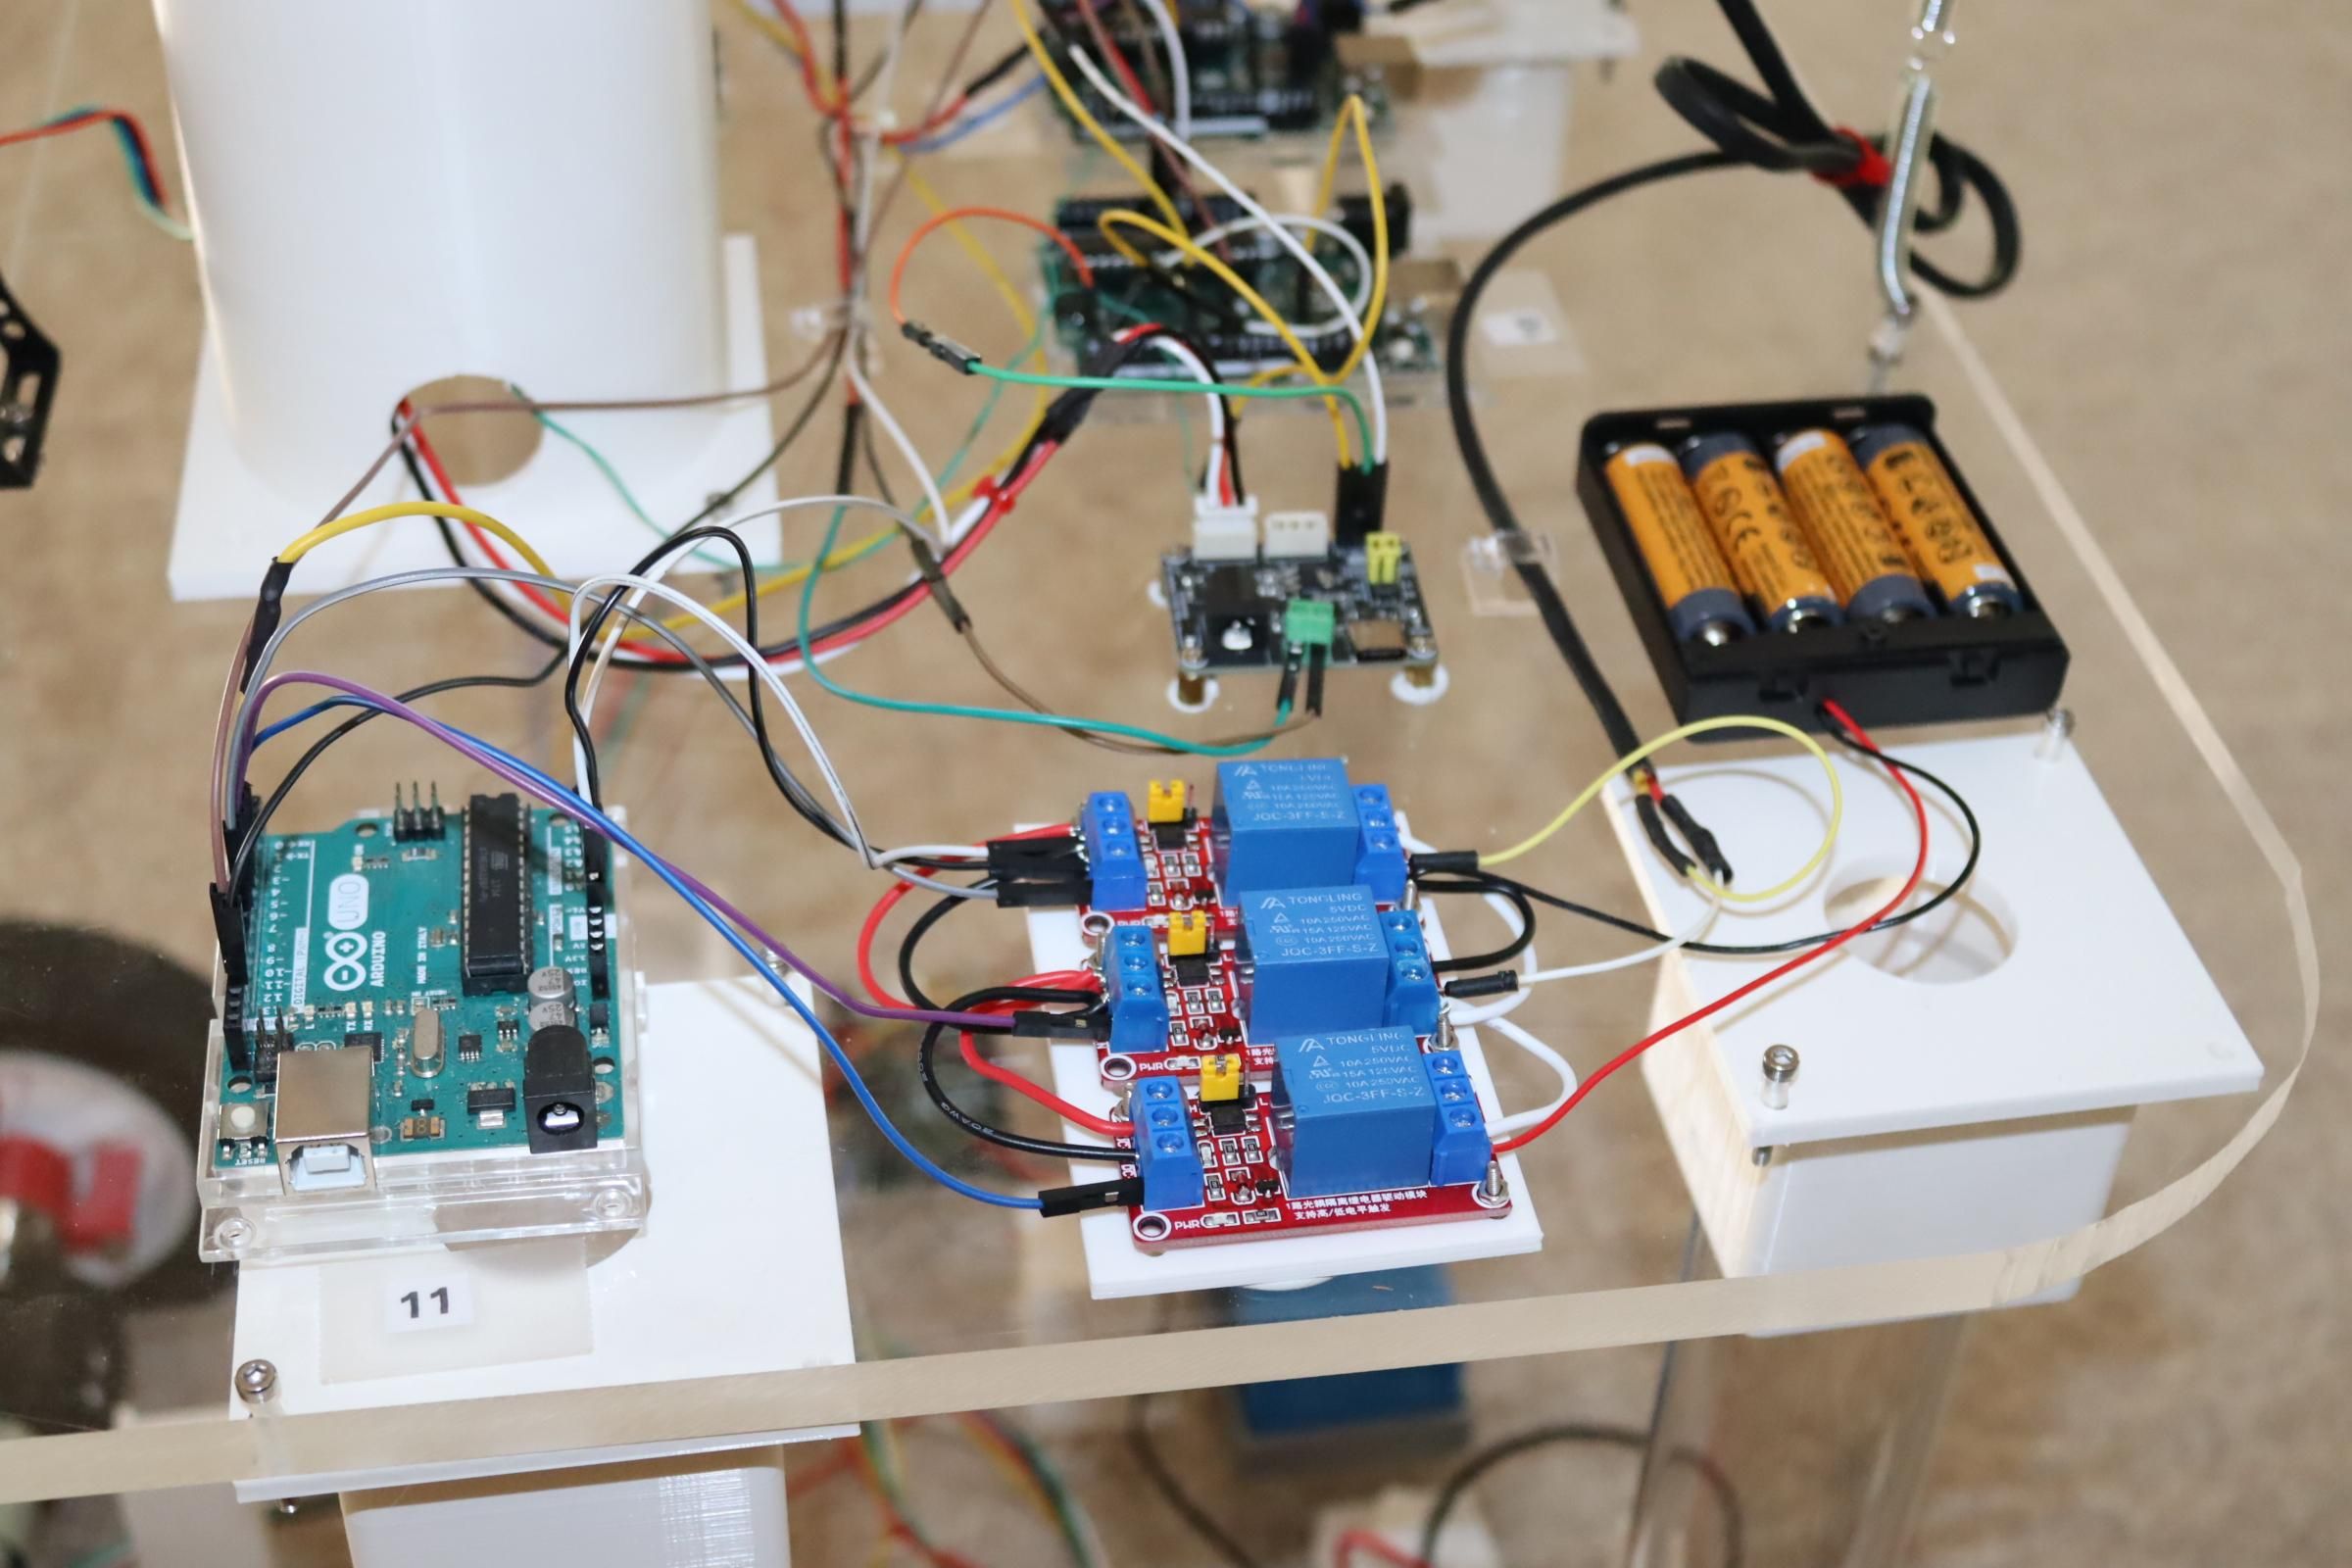
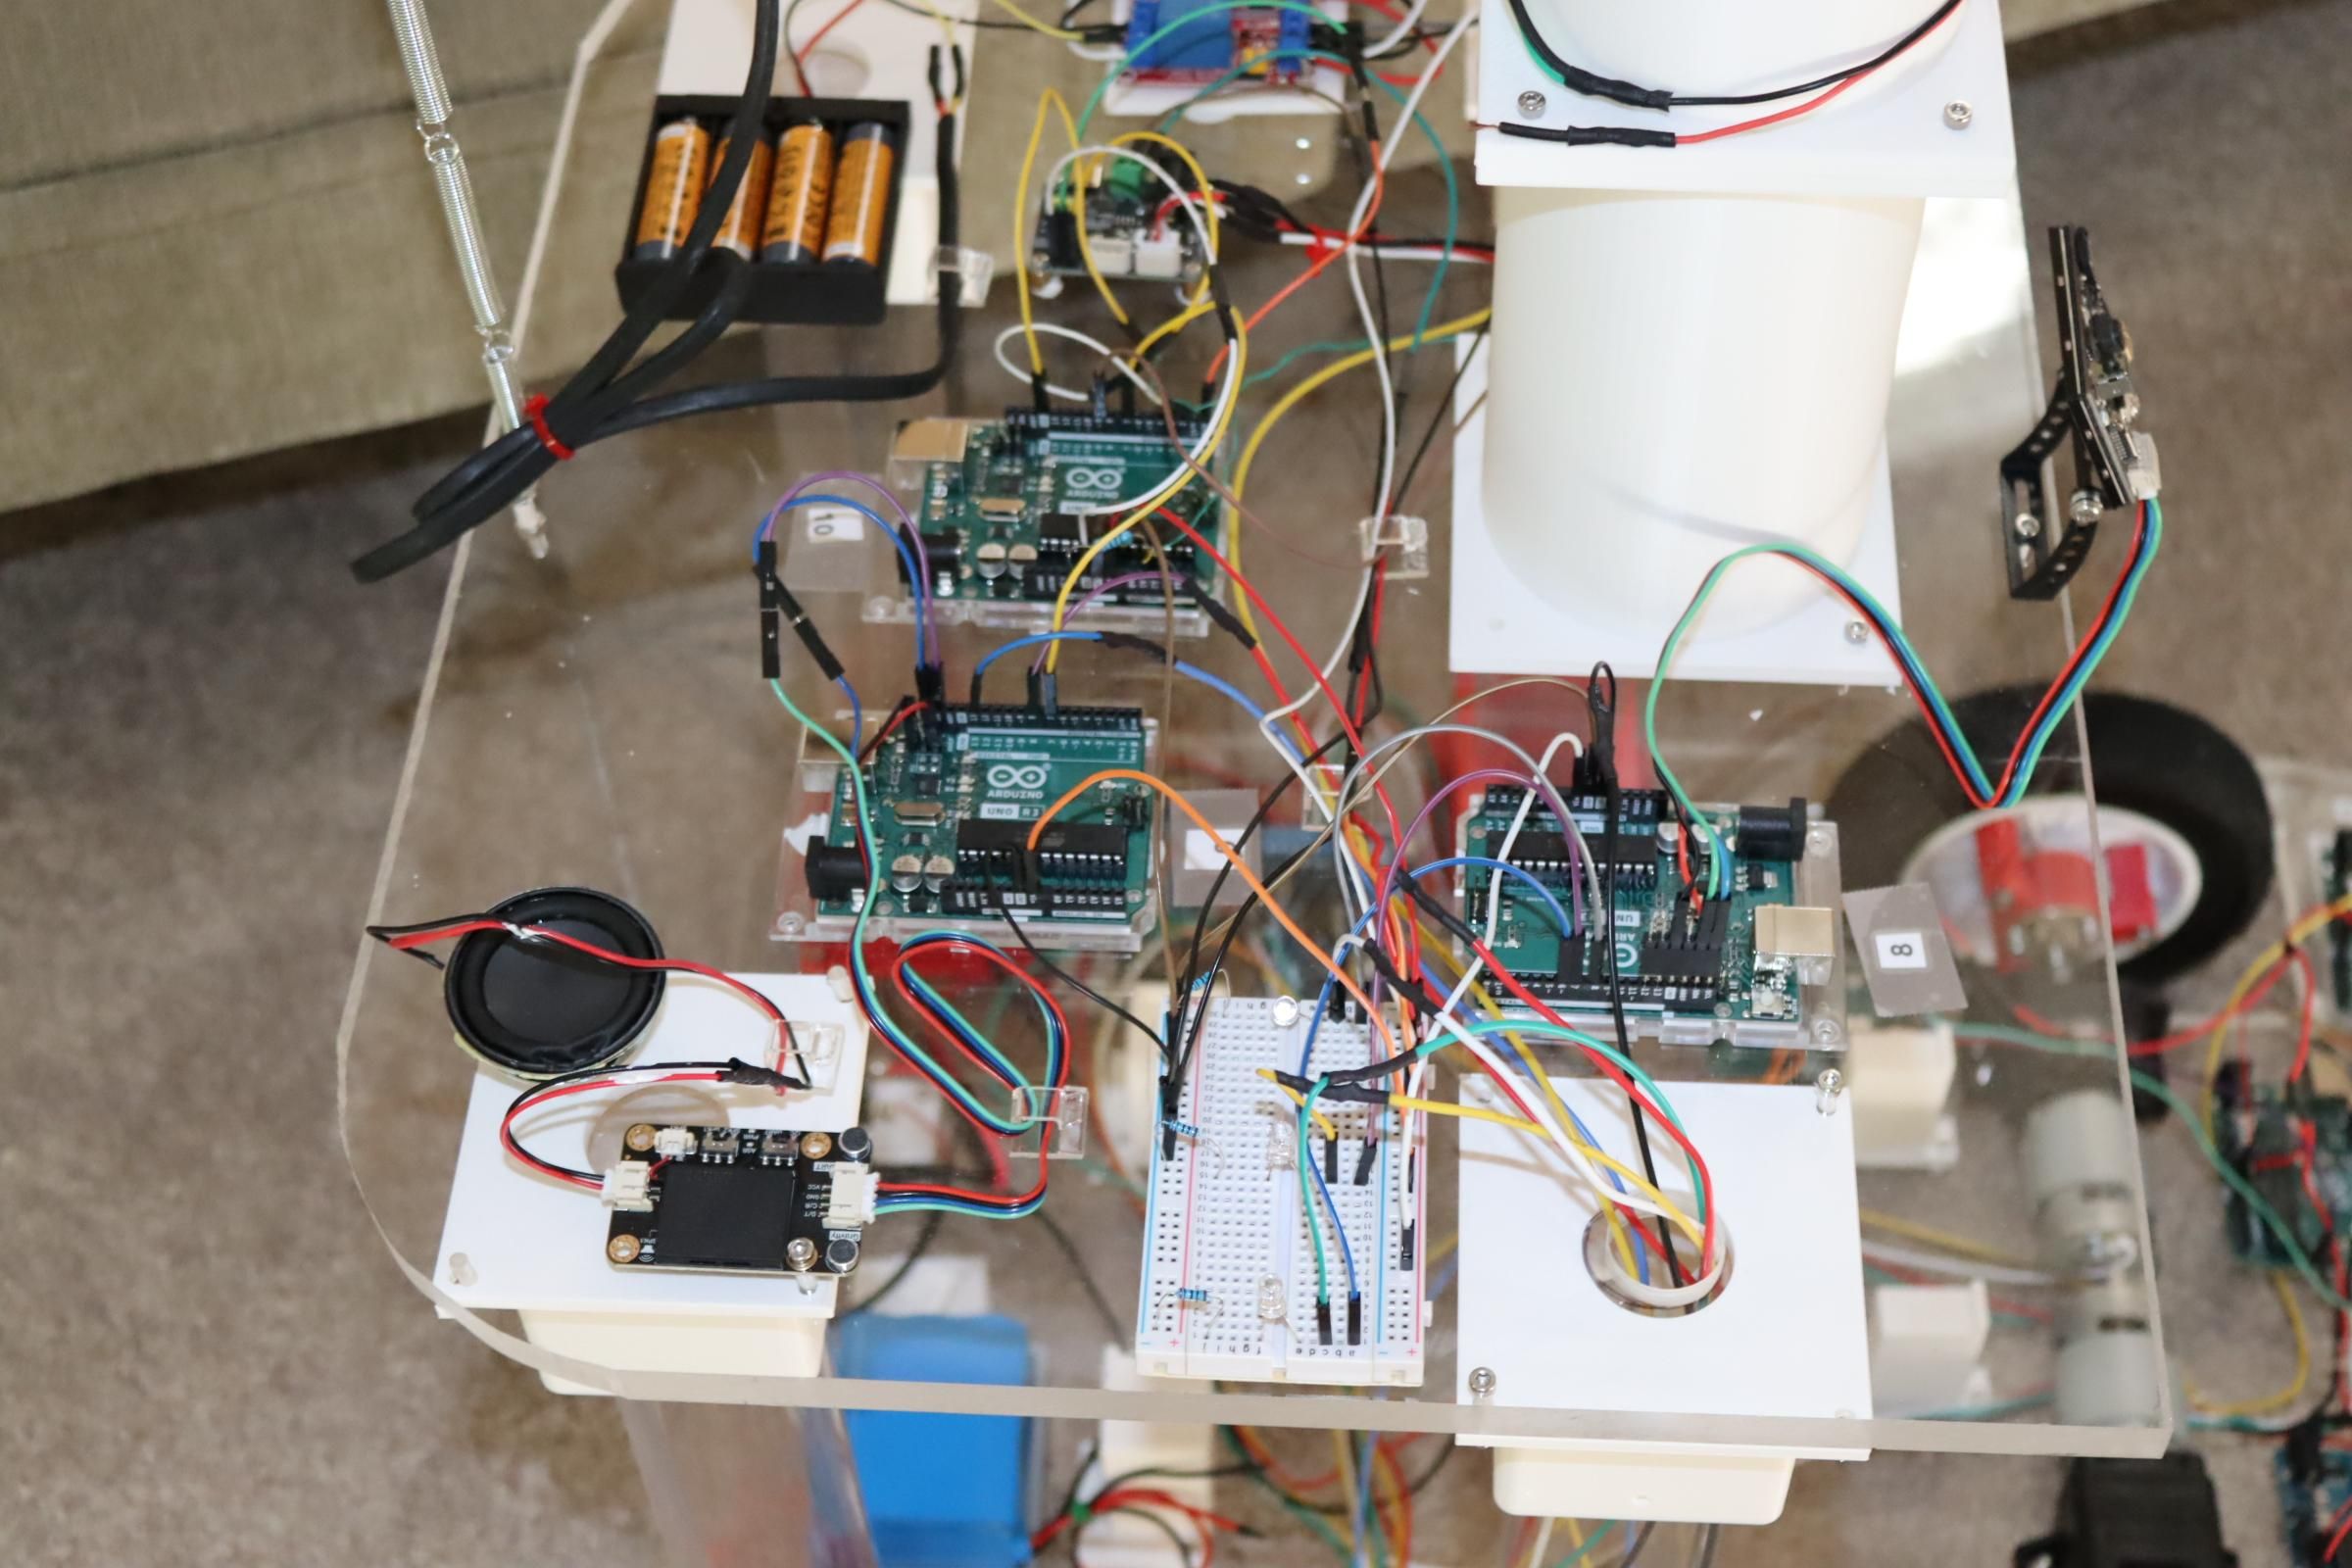
The various Arduino controllers interact according to this scheme:
Arduino Pin Connection Reference
Source Arduino
Source Pin
Destination Arduino
Destination Pin
Arduino #1 – Right Front LiDAR
Pin 13
Arduino #5 (Mega)
Pin 48
Arduino #2 – Left LiDAR
Pin 13
Arduino #5 (Mega)
Pin 49
Arduino #3 – Front Camera LiDAR
Pin 13
Arduino #5 (Mega)
Pin 30
Arduino #4 – Lower Front Camera
Pin 6
Arduino #5 (Mega)
Pin 26
Arduino #4 – Lower Front Camera
Pin 7
Arduino #5 (Mega)
Pin 24
Arduino #4 – Lower Front Camera
Pin 8
Arduino #5 (Mega)
Pin 22
Arduino #6 – Left Rear LiDAR
Pin 13
Arduino #5 (Mega)
Pin 46
Arduino #7 – Right Rear LiDAR
Pin 13
Arduino #5 (Mega)
Pin 47
Arduino #8 – Upper Camera
Pin 6
Arduino #5 (Mega)
Pin 27
Arduino #8 – Upper Camera
Pin 7
Arduino #5 (Mega)
Pin 25
Arduino #8 – Upper Camera
Pin 8
Arduino #5 (Mega)
Pin 23
Arduino #9 – Voice (Come)
Pin 13
Arduino #5 (Mega)
Pin 45
Arduino #9 -- Voice (Trash) Pin 7 Arduino #10 Pin 7
Arduino #9 – Voice (Trash) Pin 8 Arduino #5 (Mega) Pin 43
Arduino #10 –Gripper (inputs only)
Arduino #11 –Extender Pin 13 Arduino #10 Pin 9
Arduino #5 (Mega) Pin 41 Arduino #11 Pin 4
Spring for Extender
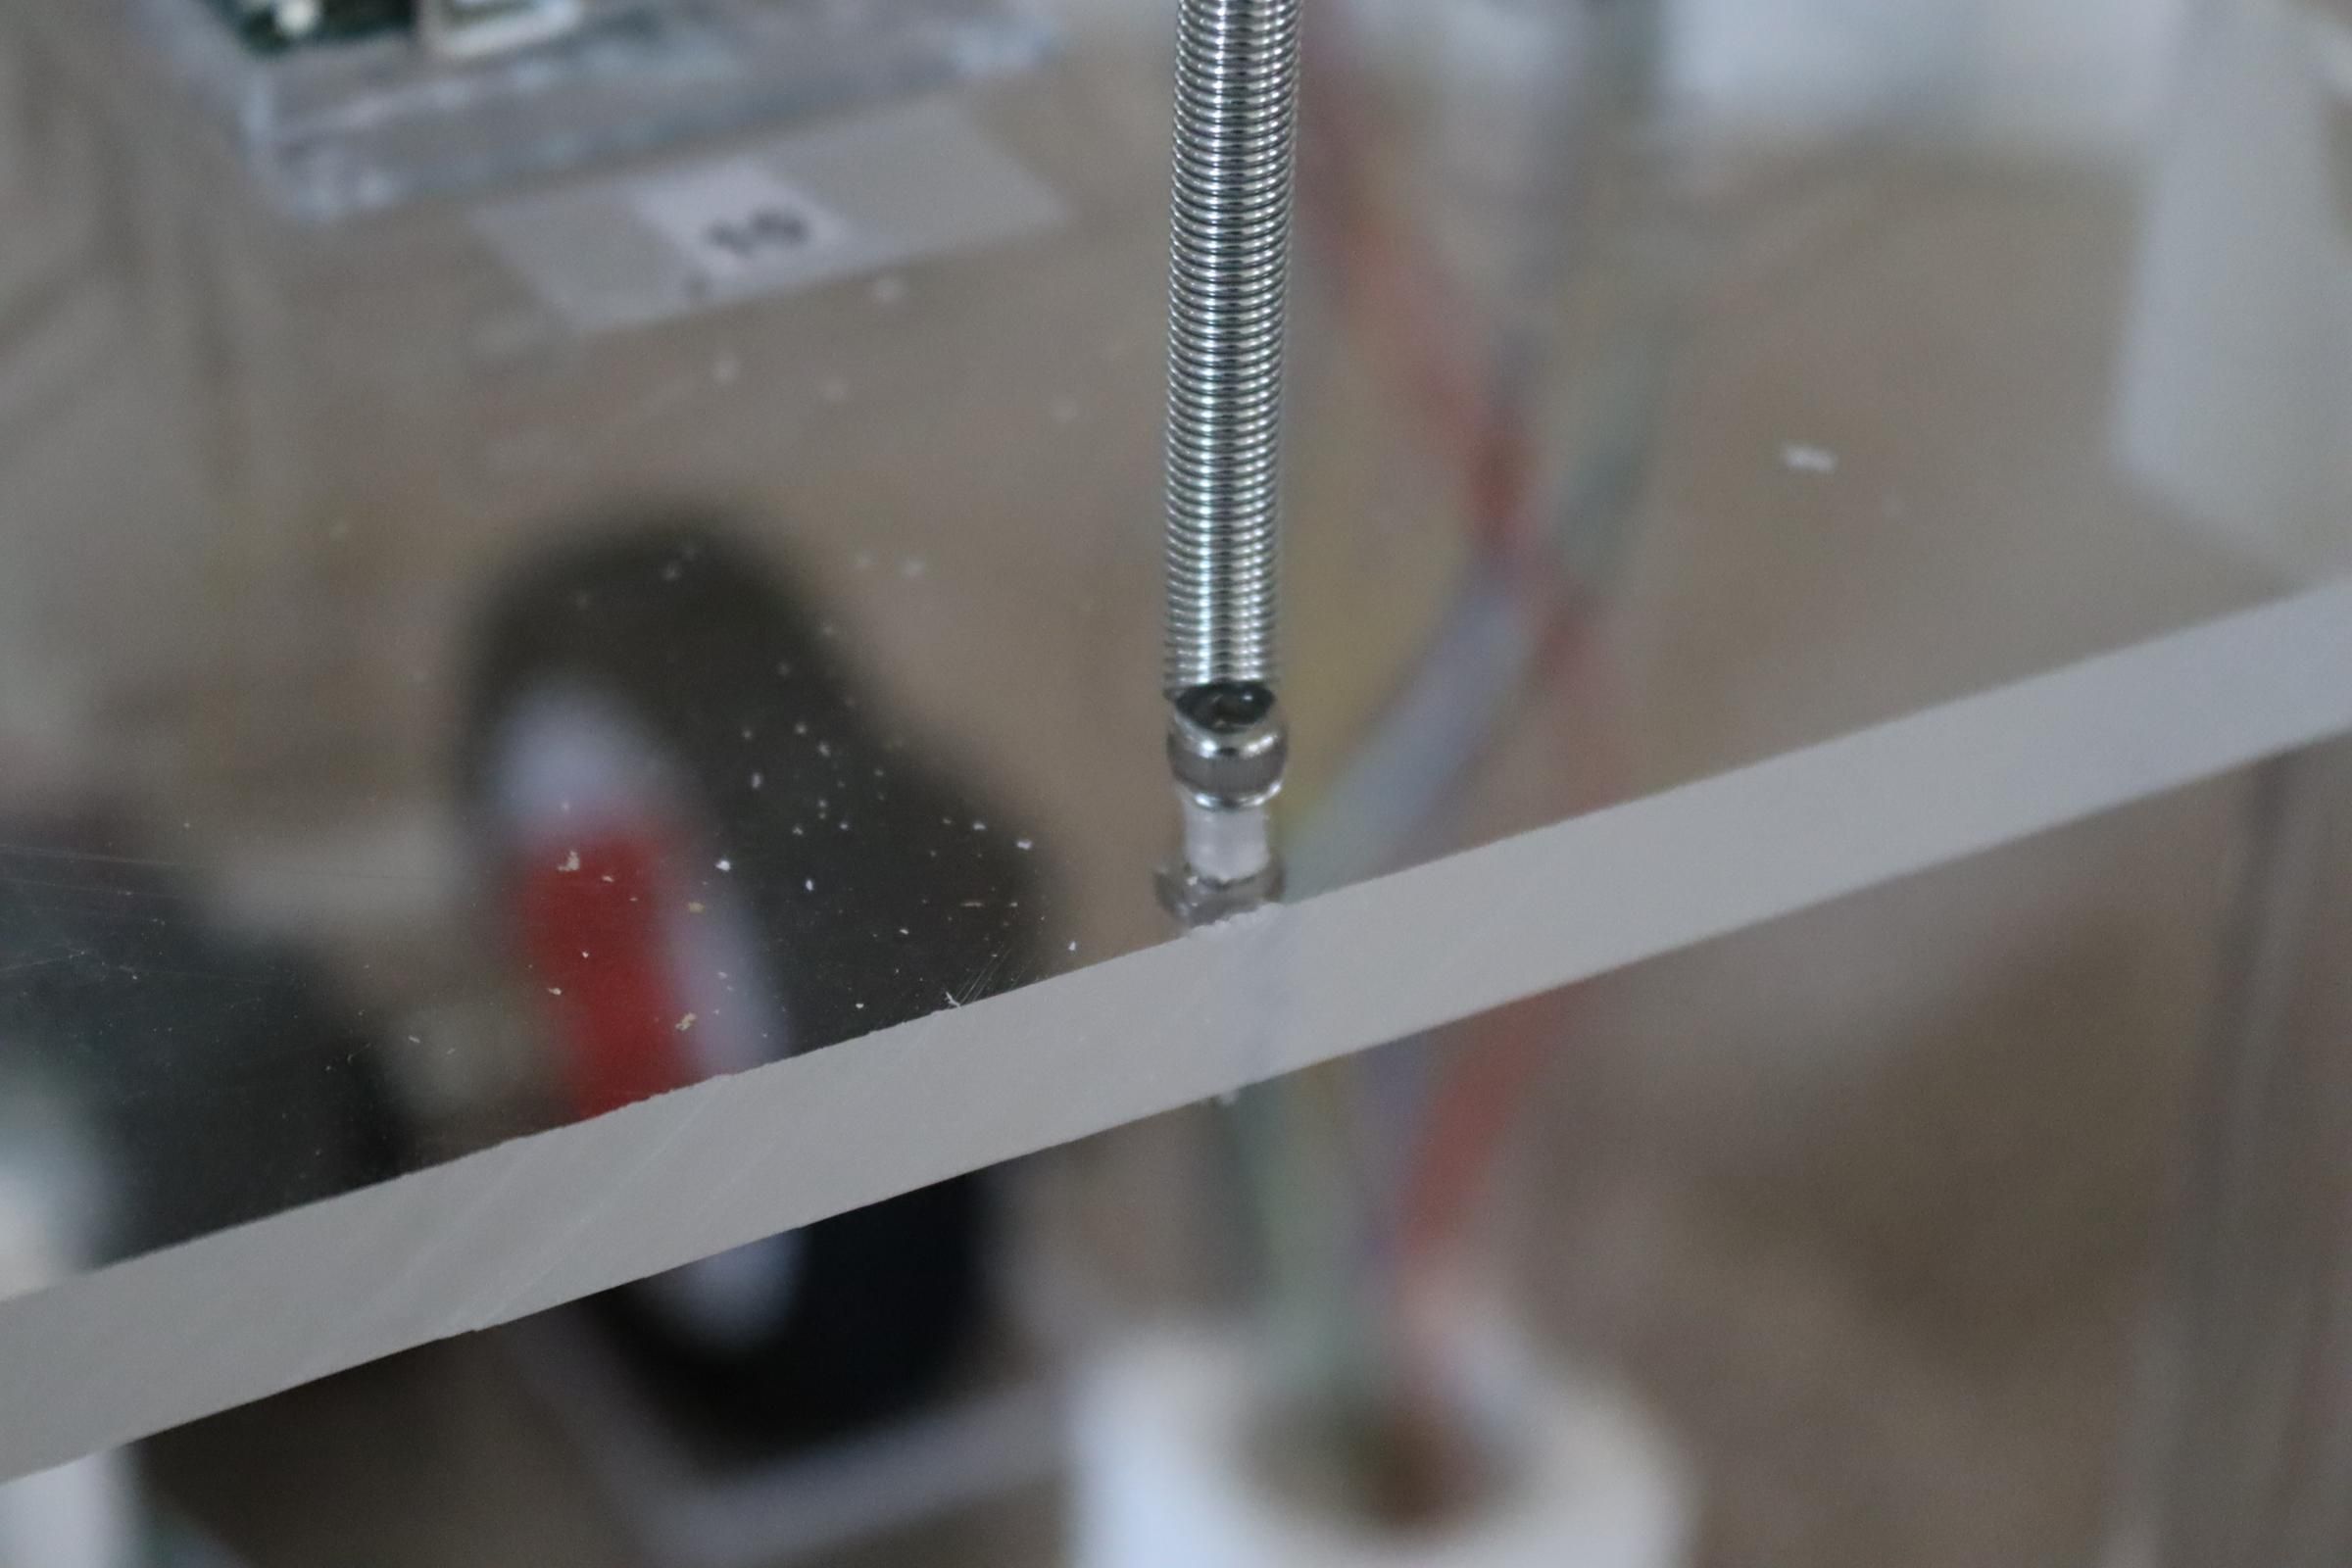
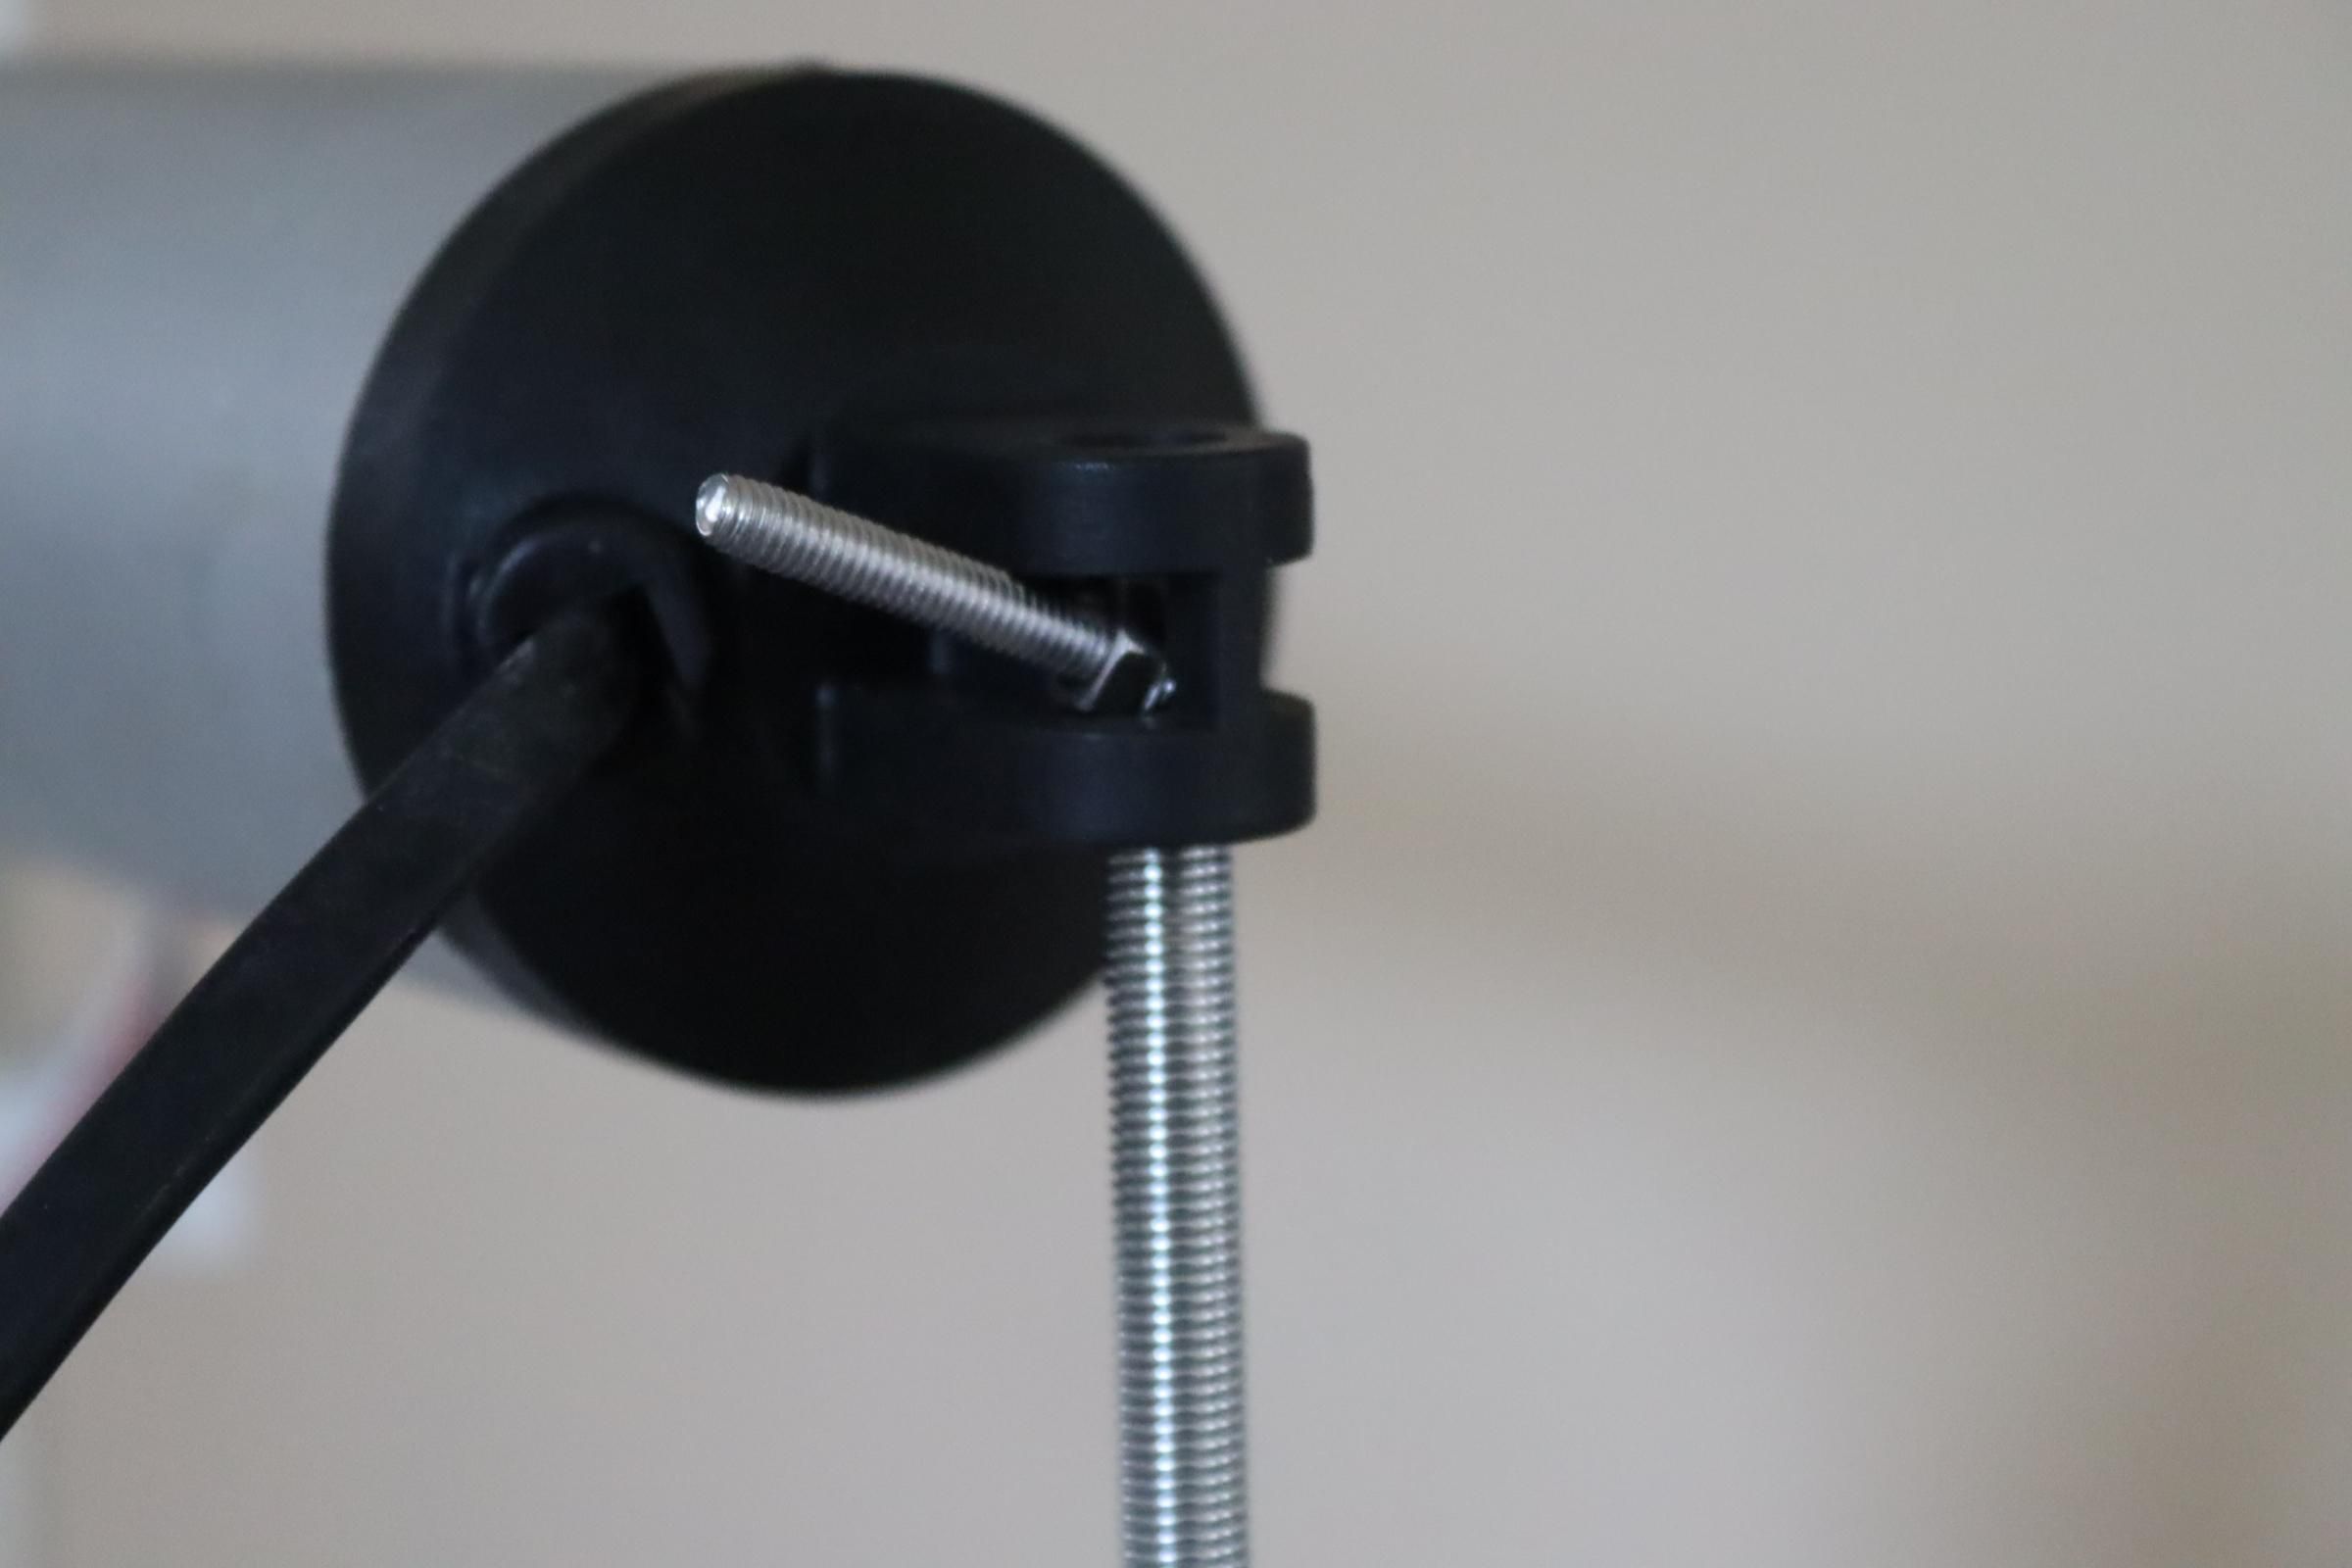
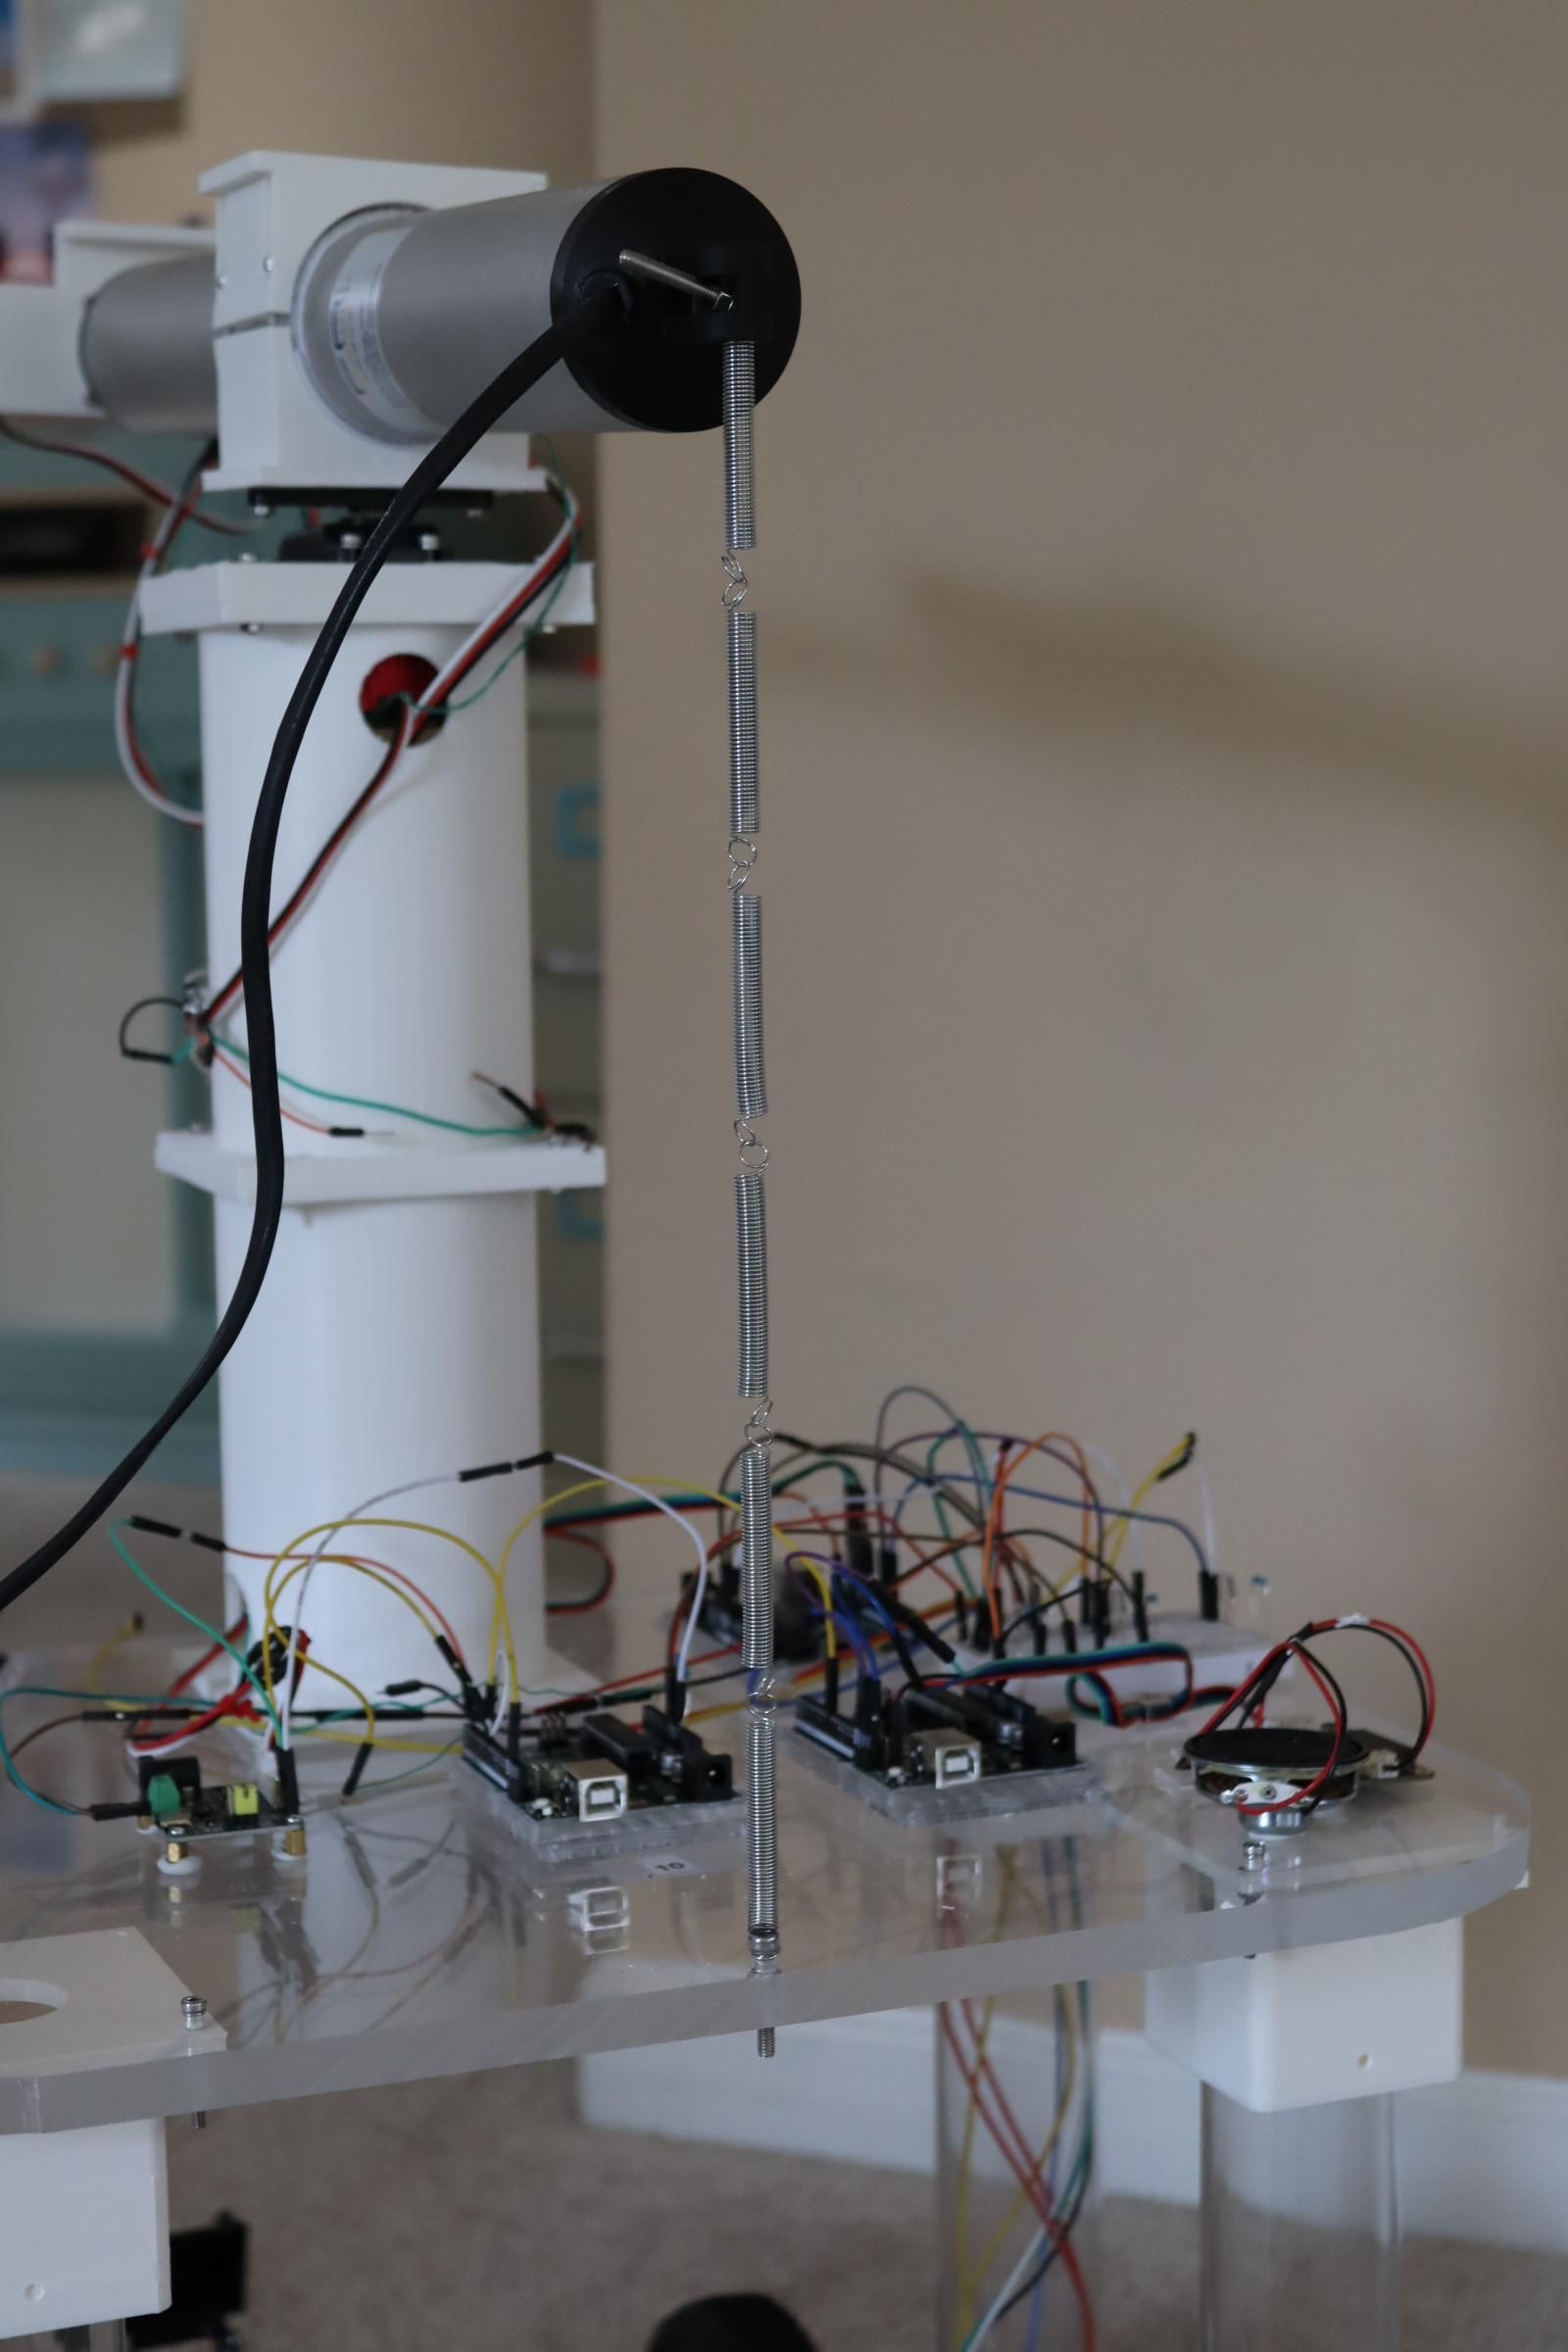
I used springs to support the back of the arm--it gets front heavy when extended.
Gripper
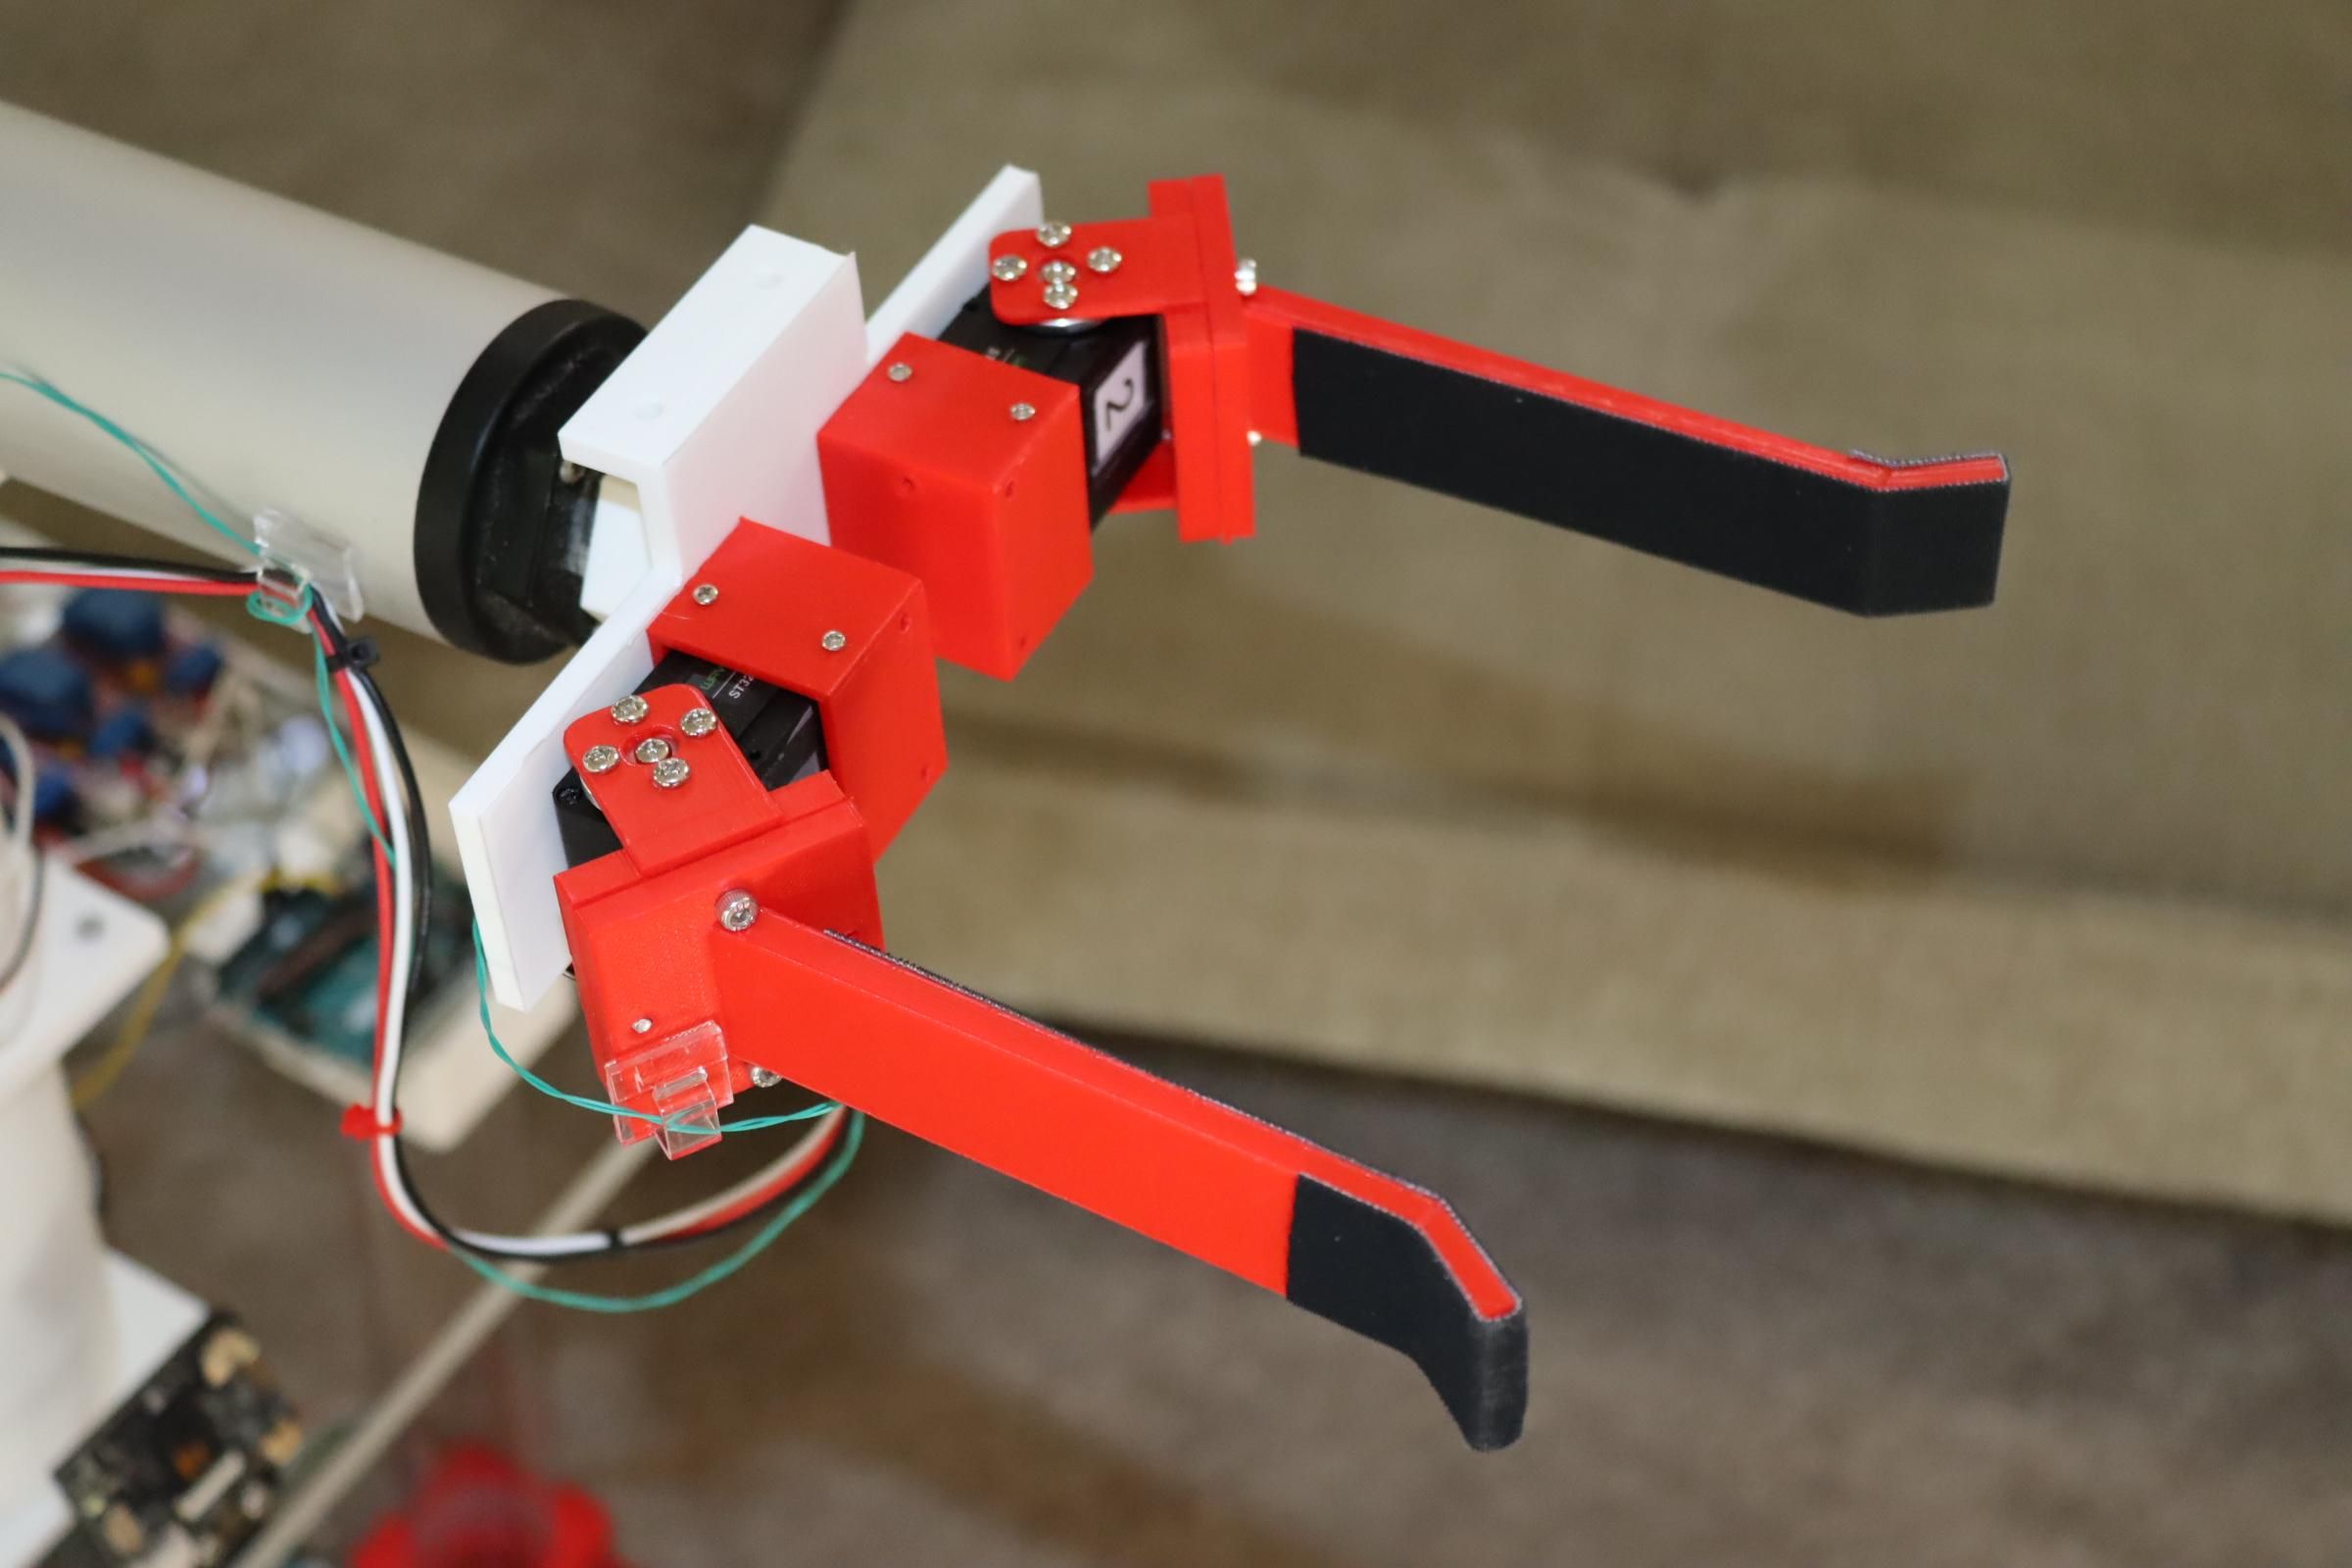
I use gripper tape on the grippers (see two finger gripper here) and I used the tape on the wheels so they would work on my carpet.
Extender Control
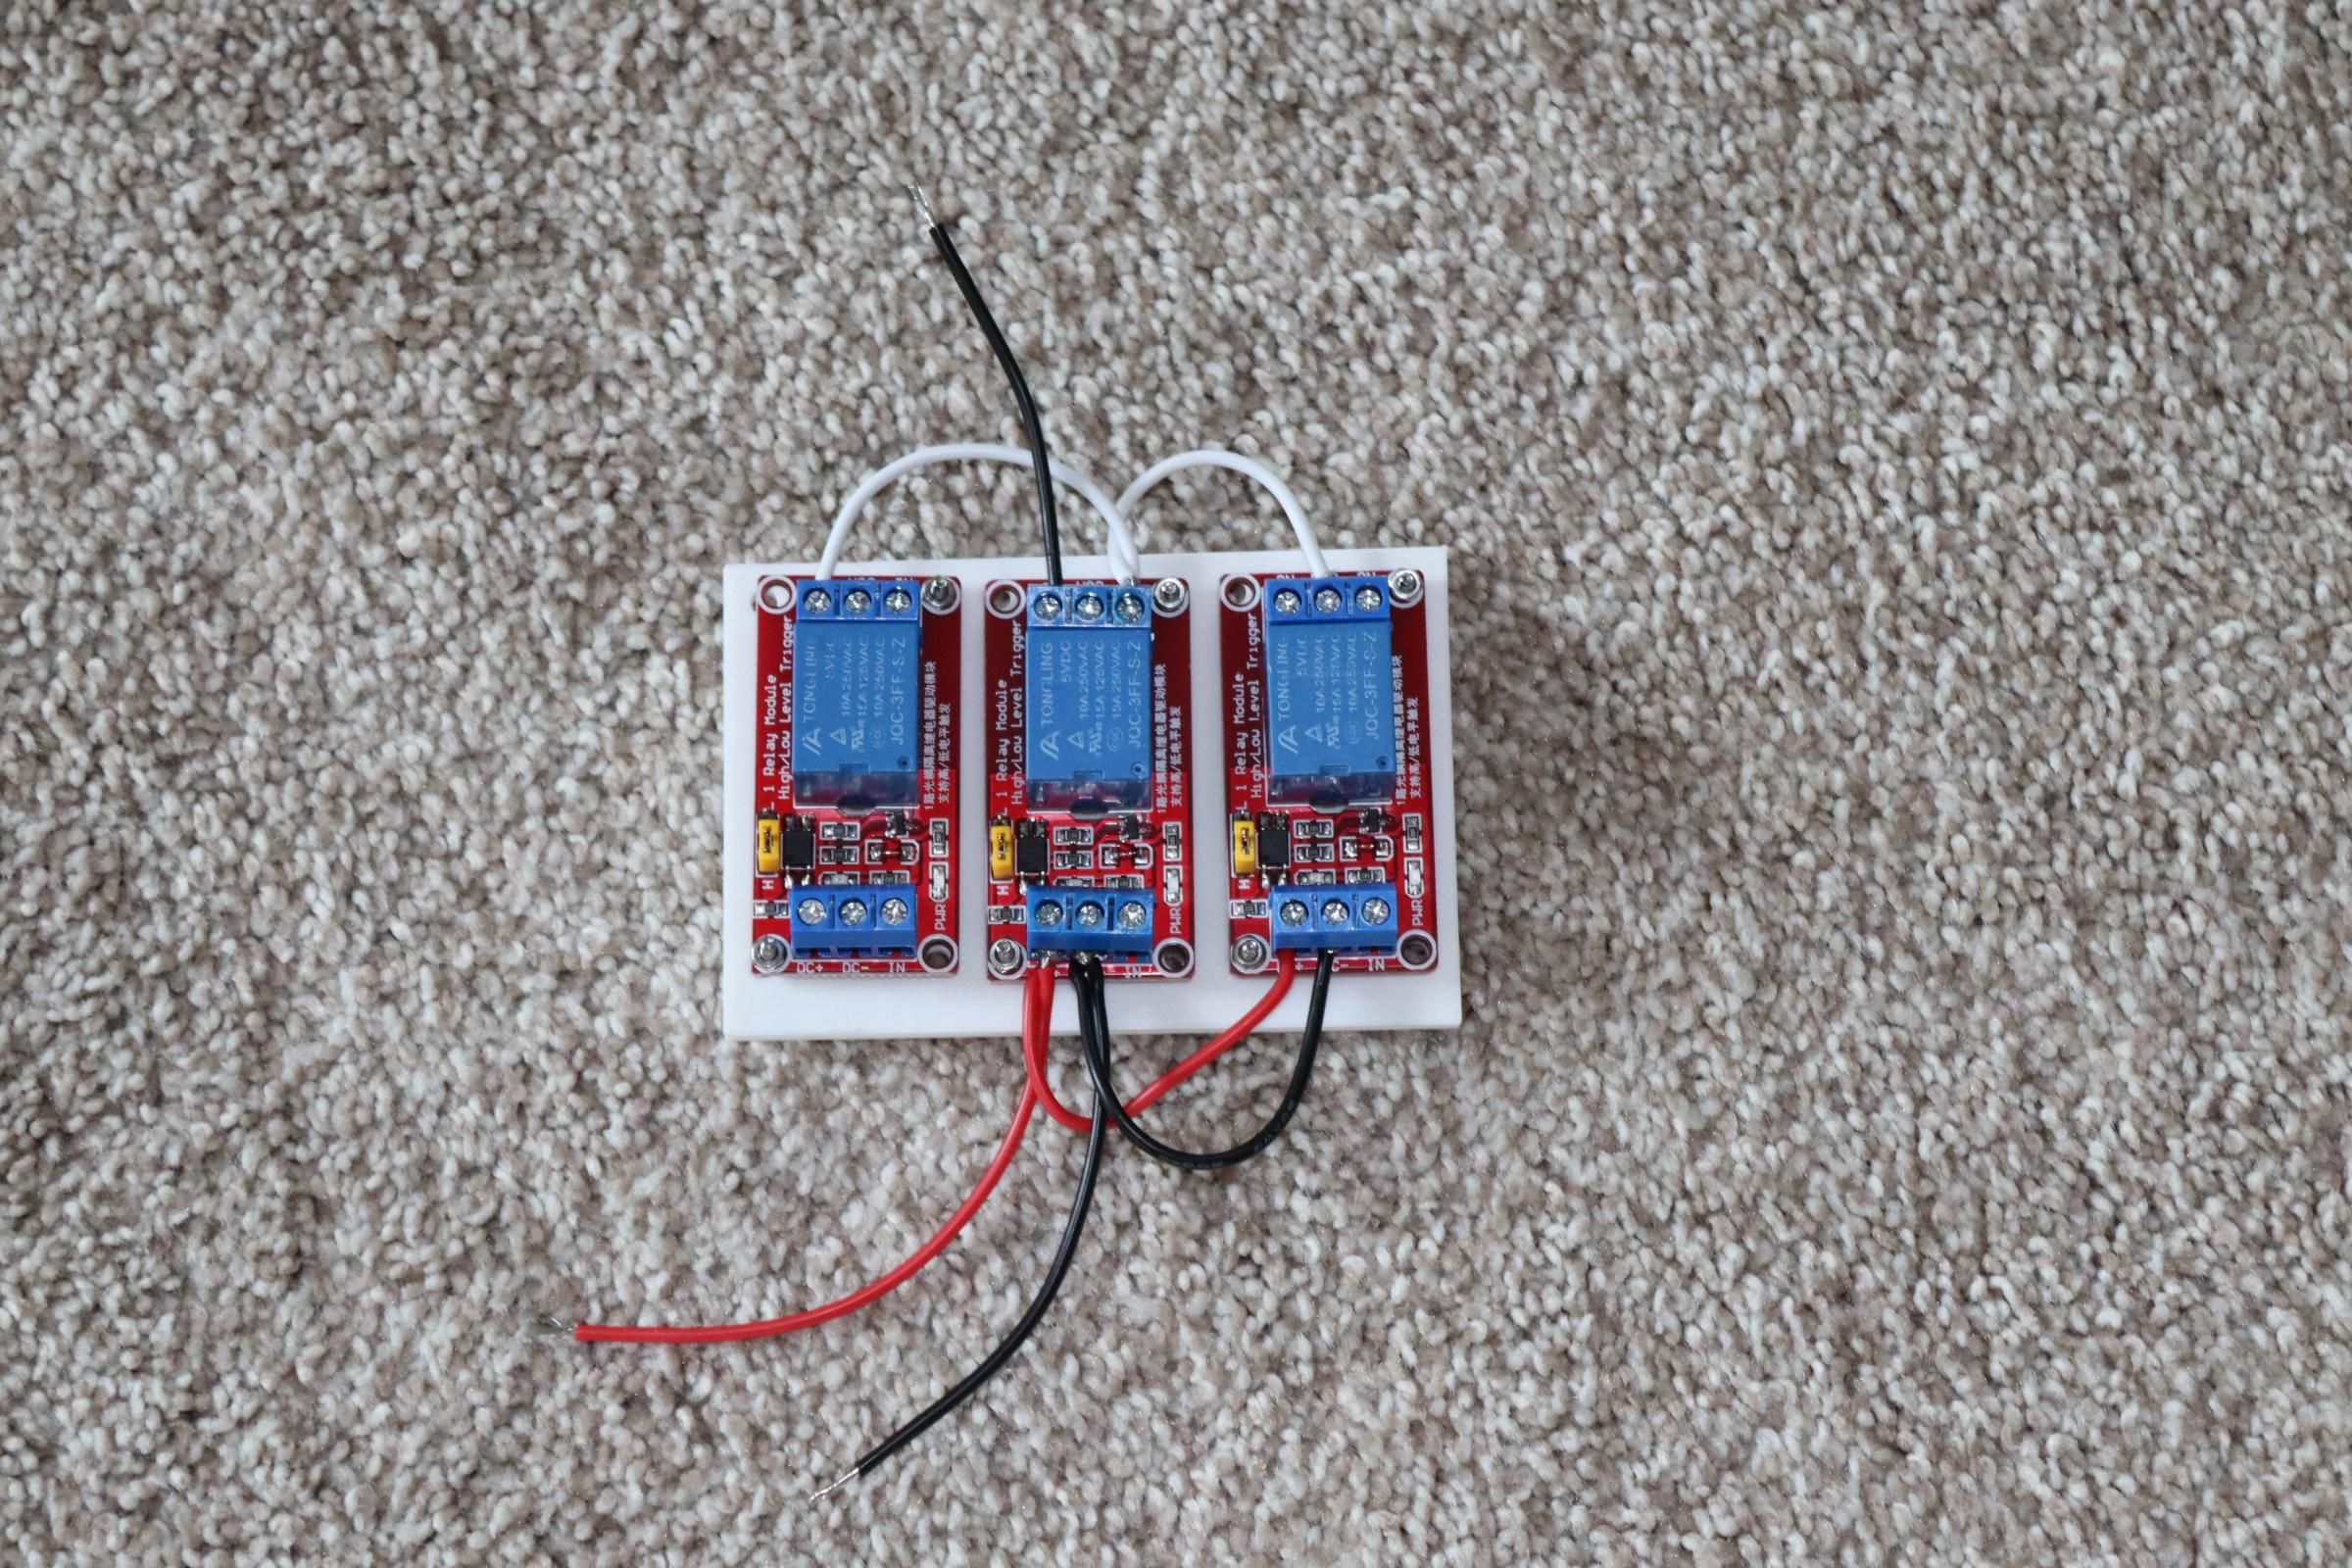
Arduino #11, extender control, uses three relays to control the direction of the extender arm (linear actuator). I powered the actuator using 4 AA batteries.
Future
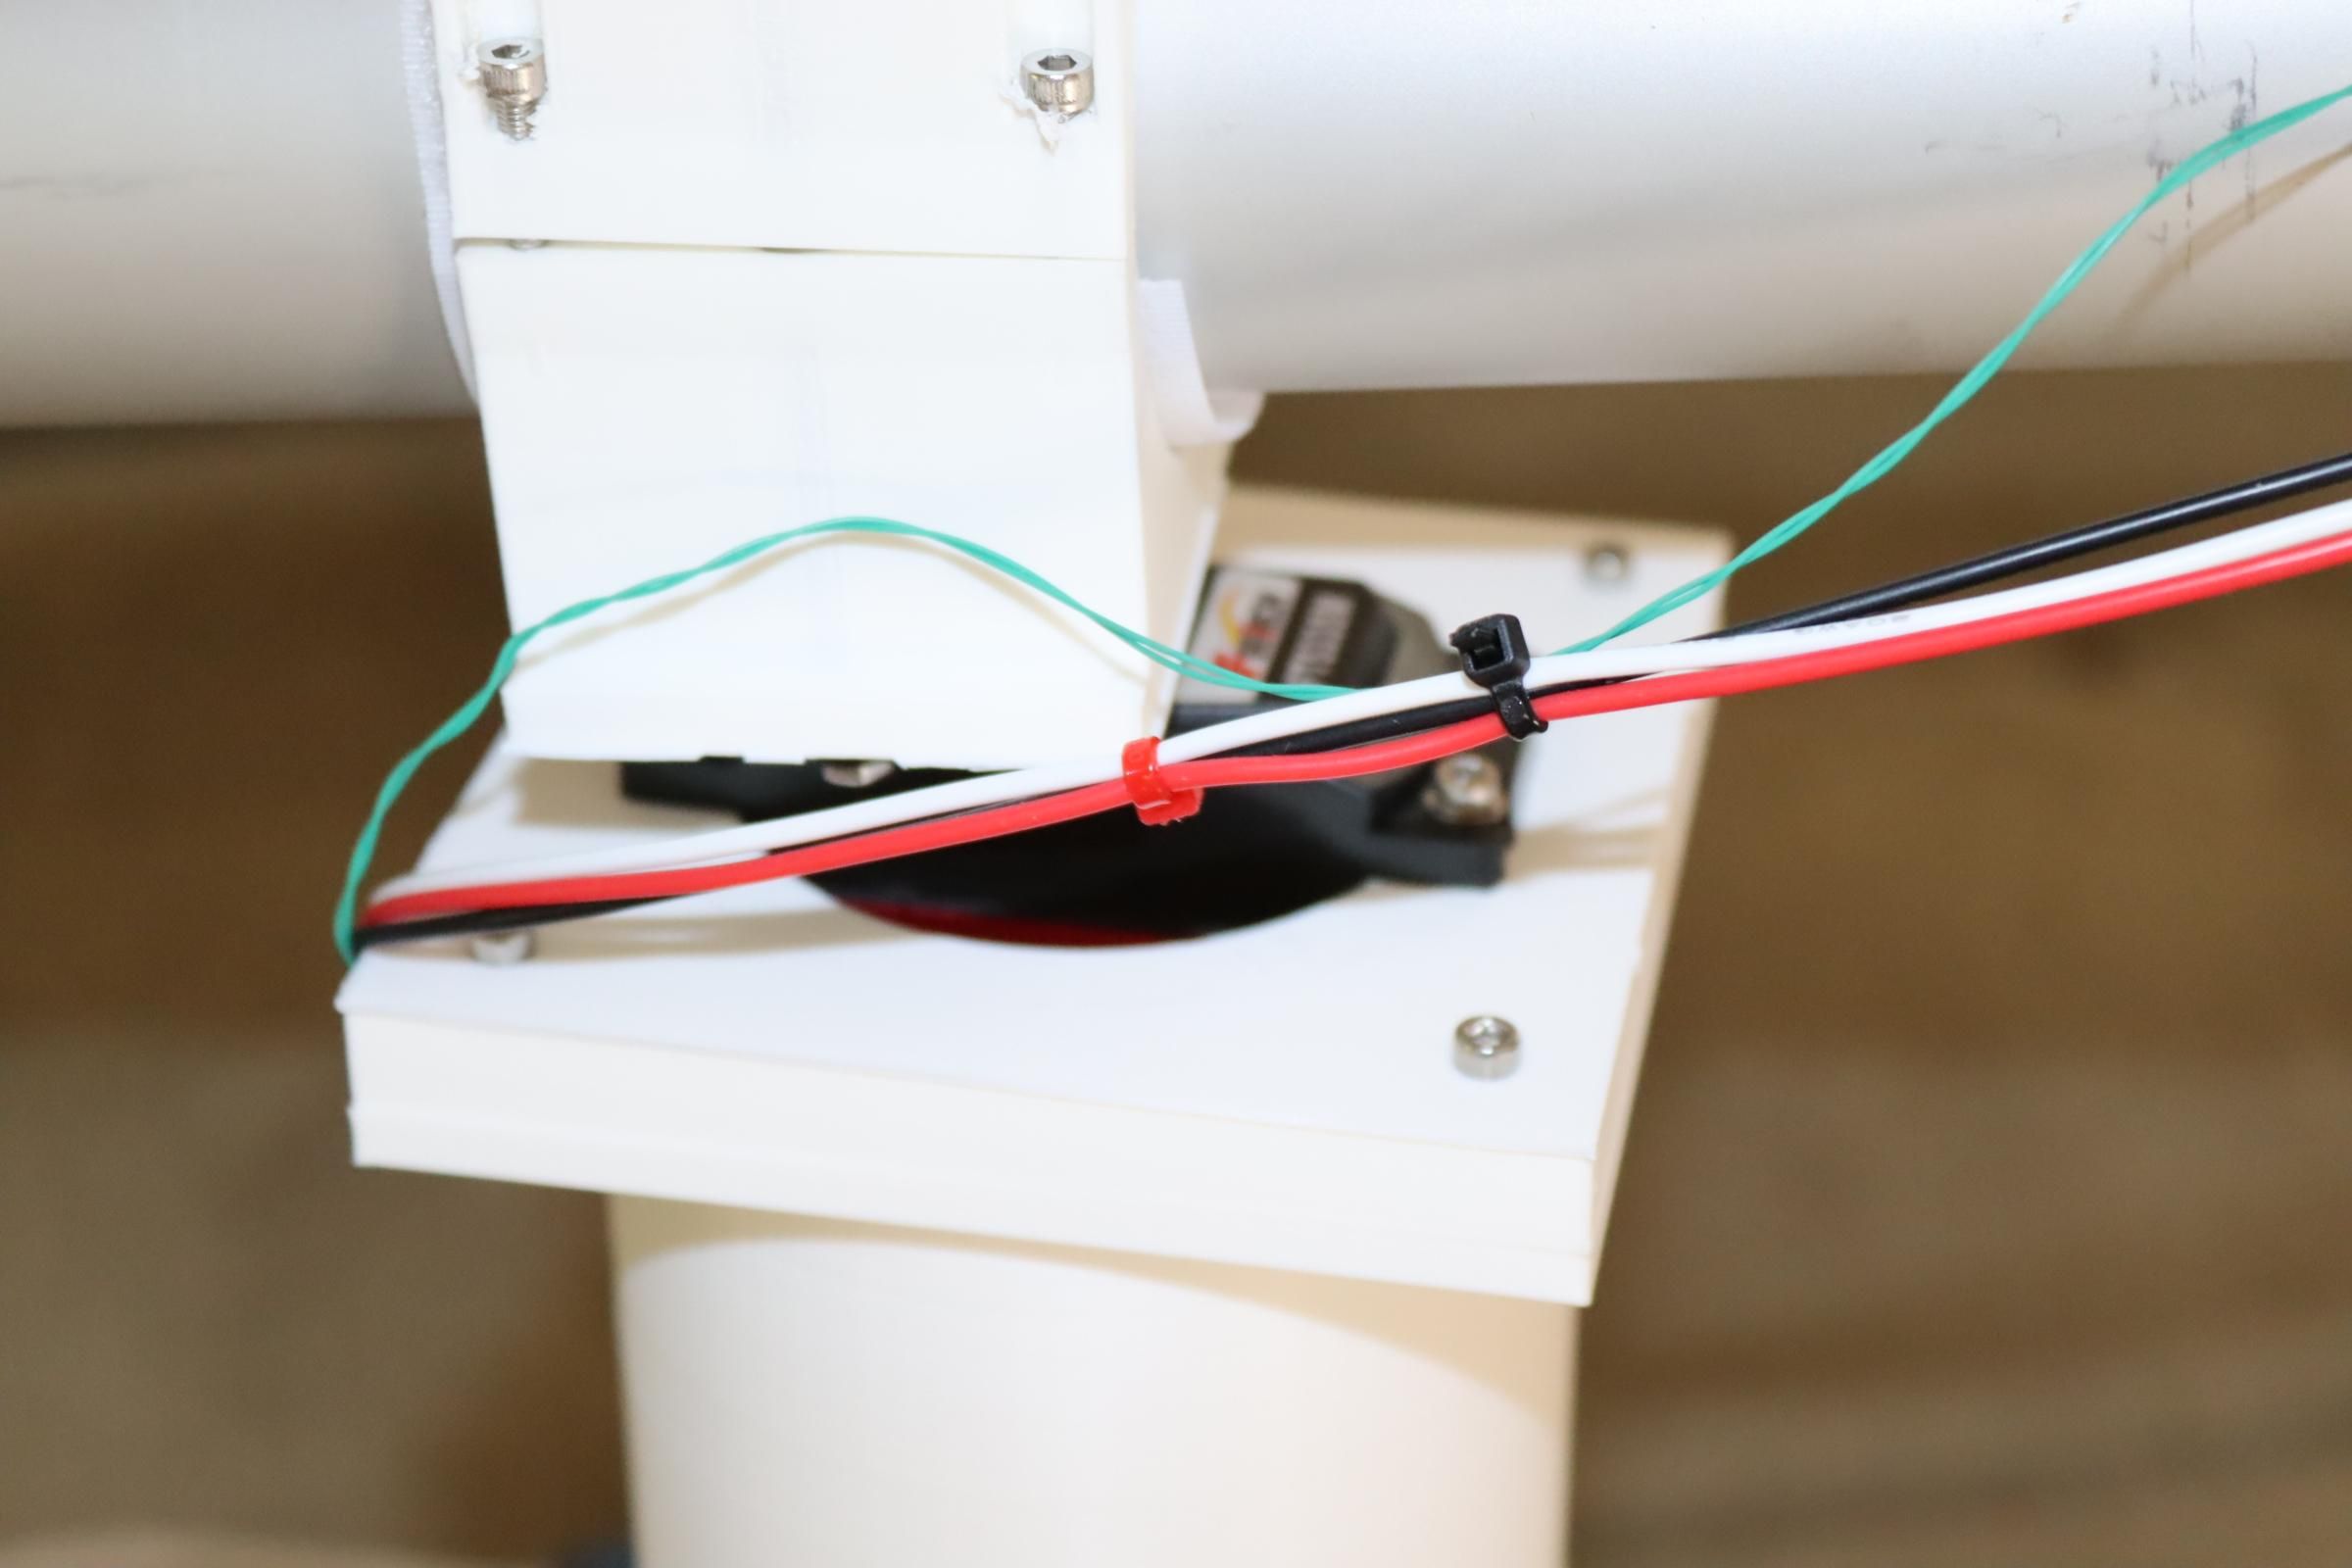
The large servo motor does nothing at this time. The gripper will accept another camera and lidar detector; in the future it can find a drink and grab it to bring to me. The gripper can easily handle a 16 ounce bottle of water at full extension. Arduino 1, 2, 6, and 7 currently are not enabled for the motor controller. They provide detection of obstacles in the front or sides. Curiously, they (on unpredictable occasions) detect something I can't see. My robot dog Max (Aibo) will bark at unseen objects (and display an "object X" on his map). Astro (Amazon robot) sometimes circles around "nothing" in the center of my large room. I will attend to this in the future.
Programming Using AI
I have found a way to "fudge" a bit on programming the Arduinos. For example, the most complex unit (Arduino Mega, #5--controls motors) was easily programmed by doing the following: I wrote a list of what I wanted the Arduino to do . . .
"Given an Arduino Mega with a genuine Arduino motor shield
Motors will be powered at 80 percent voltage
Input pins are 48, 49, 30, 26, 24, 22, 46, 47, 27, 25, 23, 45, 43
Output pins are 4
Motors are initially off
There are three stages:
Stage one starts when pin 45 goes high. Remain in stage one until exit condition is met:
Stage one:
If pin 25 is high, both motors on forward
If pin 27 is high, right motor forward and left motor reverse
If pin 23 is high, left motor forward and right motor reverse
If pin 43 goes high, exit stage one and start stage two
Remain in stage two until exit condition is met
Stage two:
Both motors off for 5 seconds
Both motors reverse for 5 seconds
Right motor forward and left motor reverse for 3 seconds
Stop both motors
If pin 24 is high, both motors on forward
If pin 26 is high, right motor forward and left motor reverse
If pin 22 is high, left motor forward and right motor reverse
If pin 30 goes high, exit stage two and start stage three
Stage three:
Stop motors
Make pin 41 high for one second, then low
Delay 23 seconds
Both motors reverse for 5 seconds
Right motor forward and left motor reverse for 5 seconds
Both motors off
Return to original condition, waiting for pin 45 to go high"
I copied the above text into Google AI and it gave me the code to paste into the Arduino coding system.
This took four or five minutes instead of hours to work out.
This machine can see, hear, feel and respond. It's all local and it's capable of manipulating real objects. I hope this gives someone ideas of what can be done without massive budgets or equipment.